HOLIDAY DONATION DRIVE - SUPPORT MSW - DO YOUR PART TO KEEP THIS GREAT FORUM GOING! (Only 68 donations so far out of 49,000 members - Can we at least get 100? C'mon guys!)
×

.jpg.1f80adf1a9b14a937cfcf2ca6af0f0d4.jpg)
WalrusGuy
-
Posts
1,007 -
Joined
-
Last visited
Content Type
Profiles
Forums
Gallery
Events
Everything posted by WalrusGuy
-
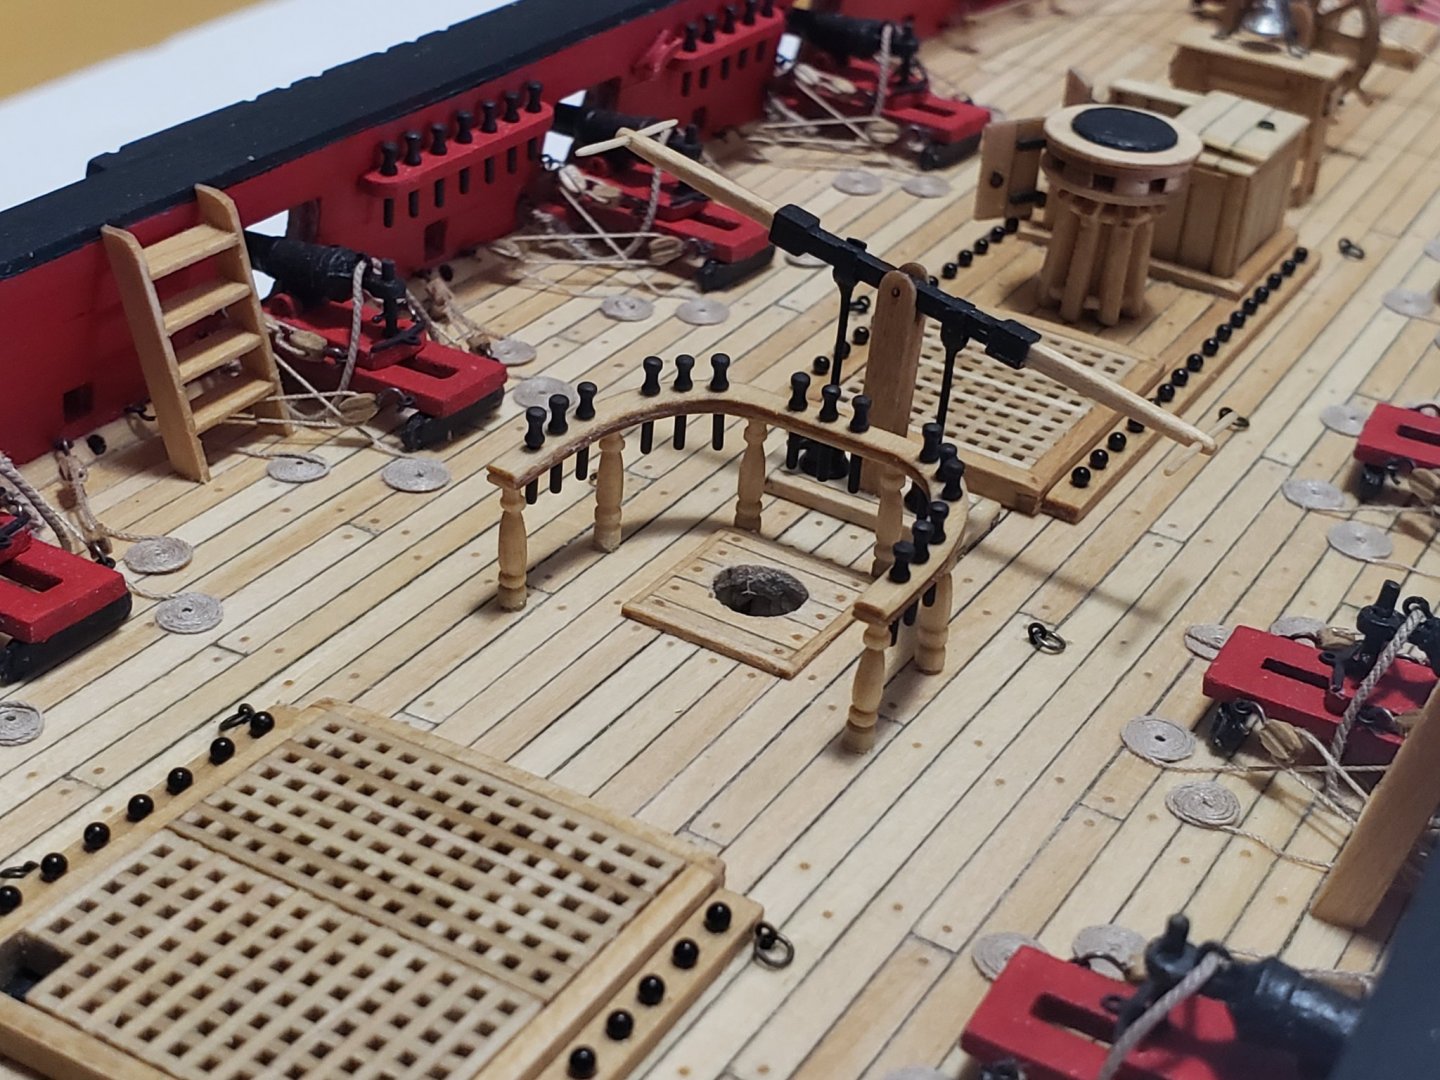
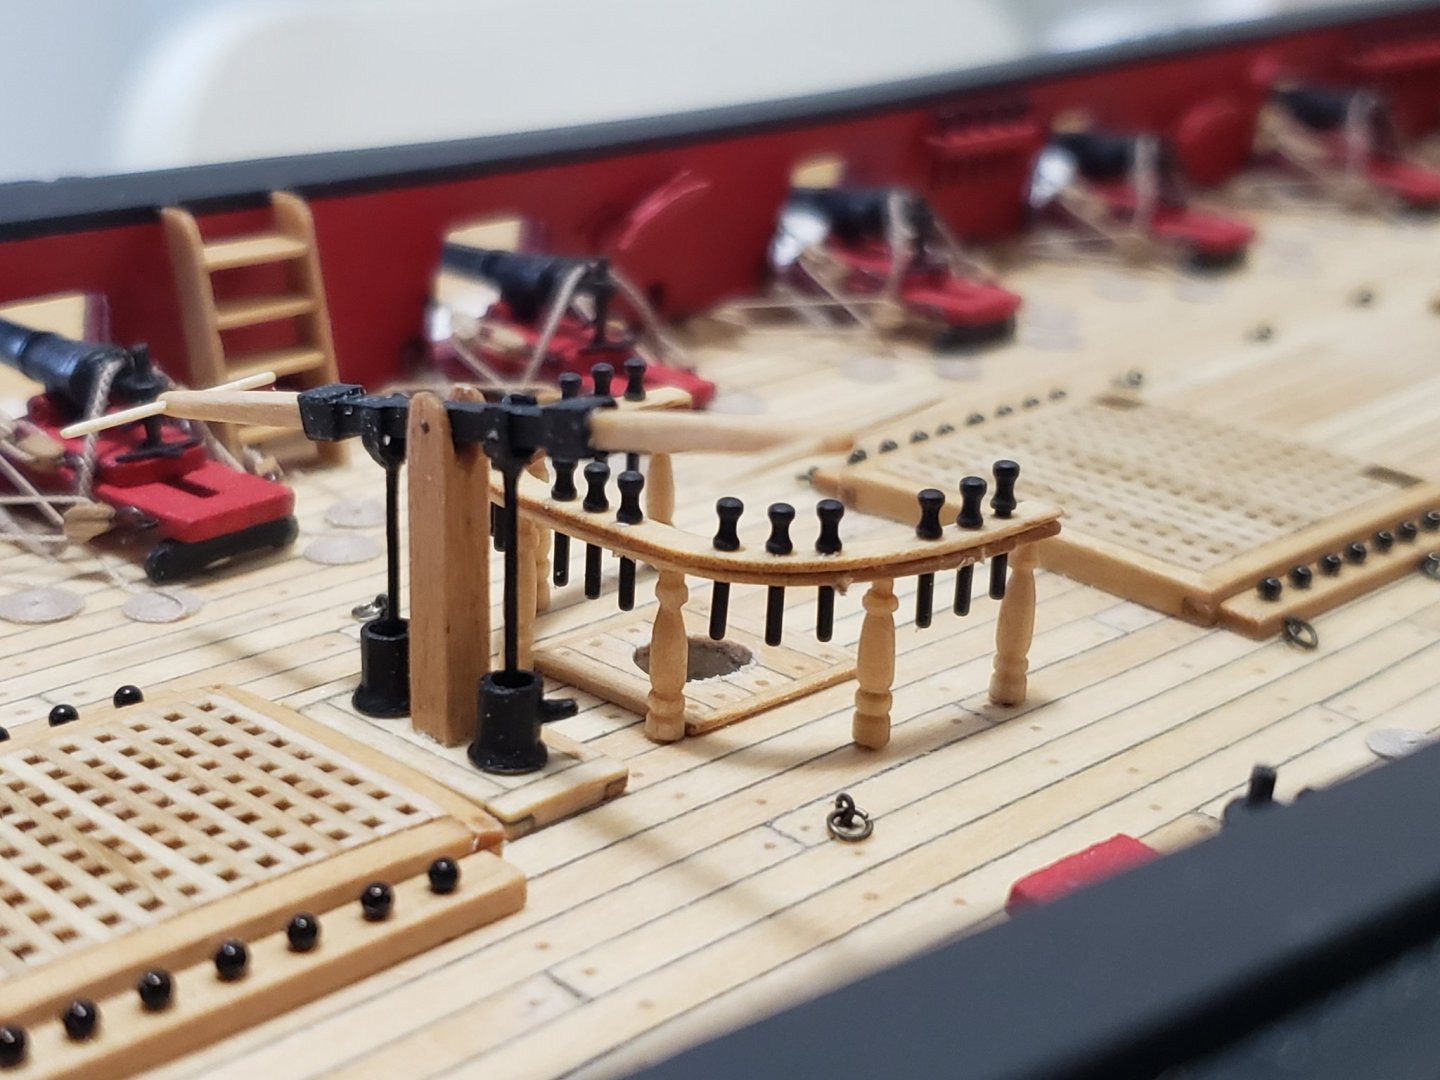
.thumb.jpg.62d1d69fed1f32364417cb1f9cdeb009.jpg) Thanks Robin and Thomas!! I finished with the gallow bits. Pegged them for extra reinforcement
Thanks Robin and Thomas!! I finished with the gallow bits. Pegged them for extra reinforcement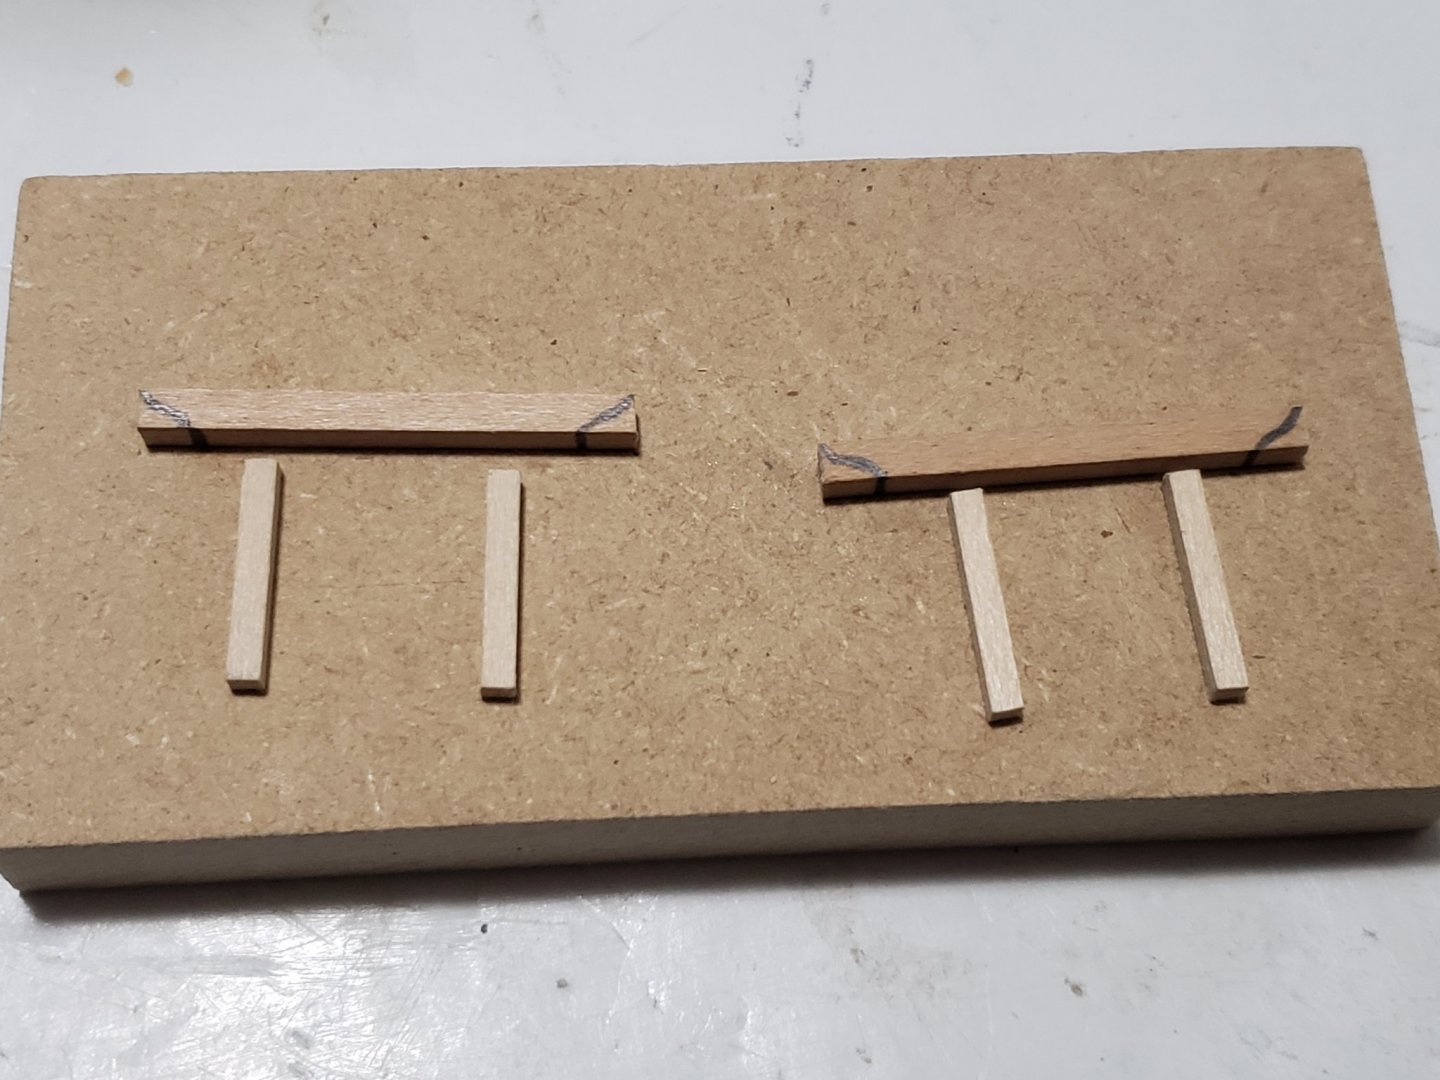

- 950 replies
-
- 13
-

-
- syren
- model shipways
- (and 1 more)
-
Very neat interior plank job!! I am also confused on how this happened.... hope it's an easy fix!
-
Very interesting build (or builds I should say 😁)!!! I'm very late to the party but I am very much looking forward to next bits of progress!
-
I agree with Justin. Try it out on a sample before attempting on the model. For mine I used toothpicks (each individually sanded to be more pointy). Back then it felt like the entire process was never going to end!! Also, applying tung oil to the wood with the inserted treenails allowed for the oil to be soaked into the grain edge of the toothpicks giving a nice darker finish than the rest of the planks
- 436 replies
-
- 2
-
-
- Syren
- Model Shipways
- (and 1 more)
-
For full strength its about 12 hours. But from my experience, for small surfaces to be bonded, around 10 to 15 minutes is good enough!
- 950 replies
-
- 1
-
-
- syren
- model shipways
- (and 1 more)
-
Thanks Patrick!! Been using this guy for all fittings to allow for some time to position it right before it sets. Description says it dries harder than PVA and twice the strength, but dunno if true 😄 For the pins in the legs I used CA since I did not care much for the time it takes to set.. Also been using CA for metal to metal contacts, but for most other stuff, I've been using the above one
-
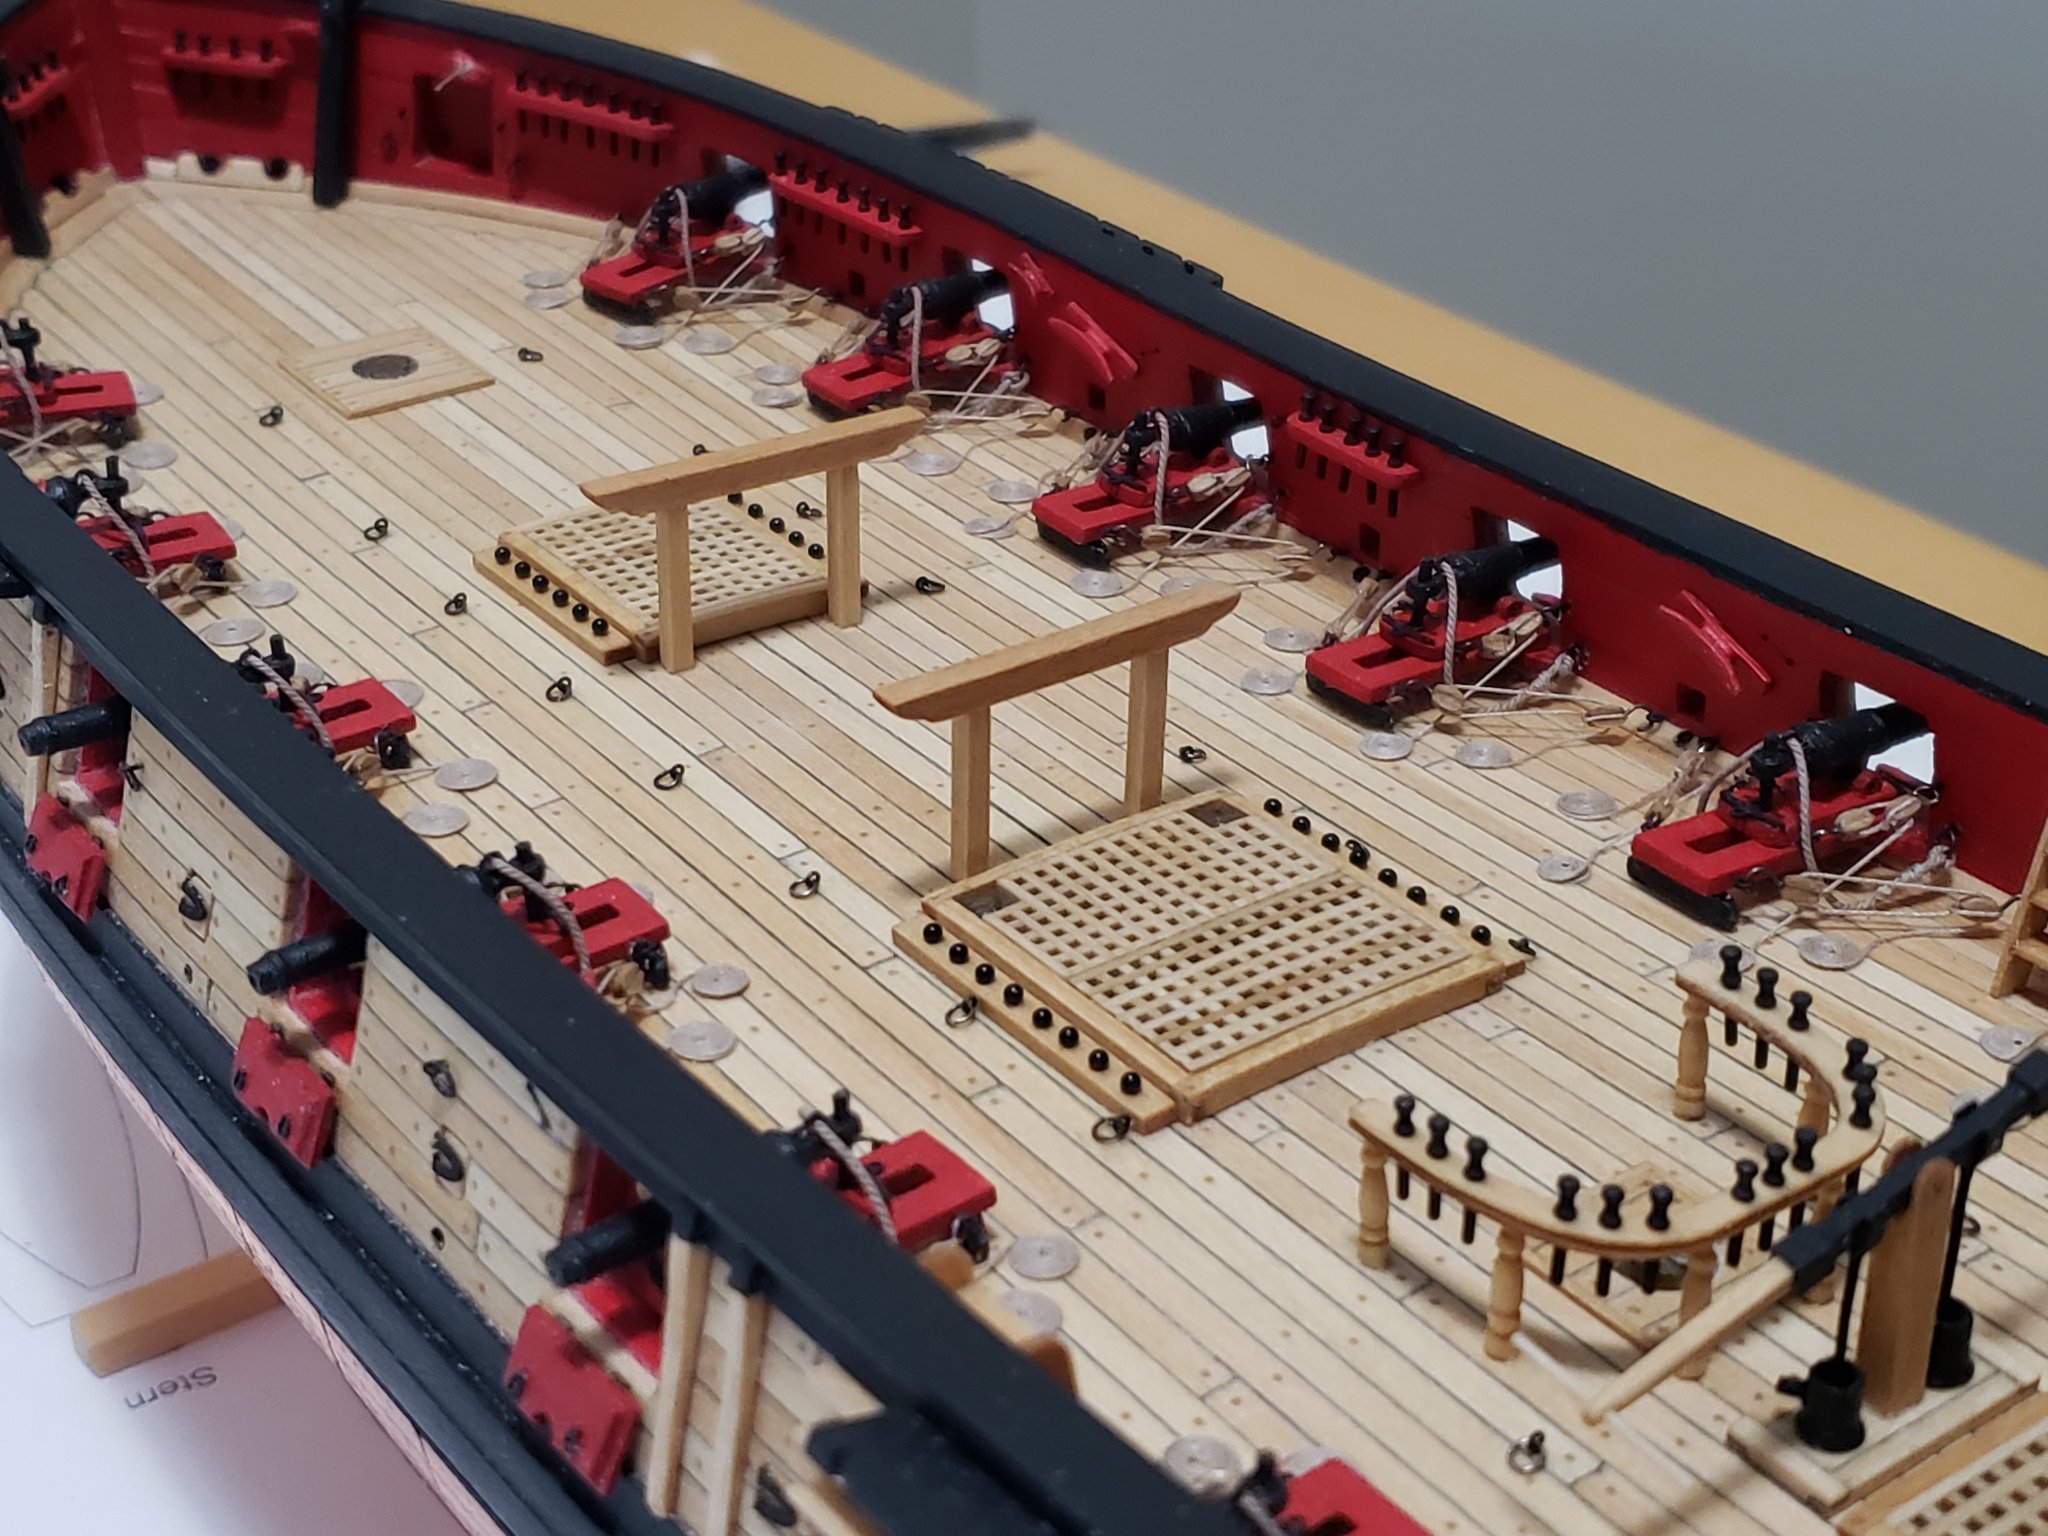
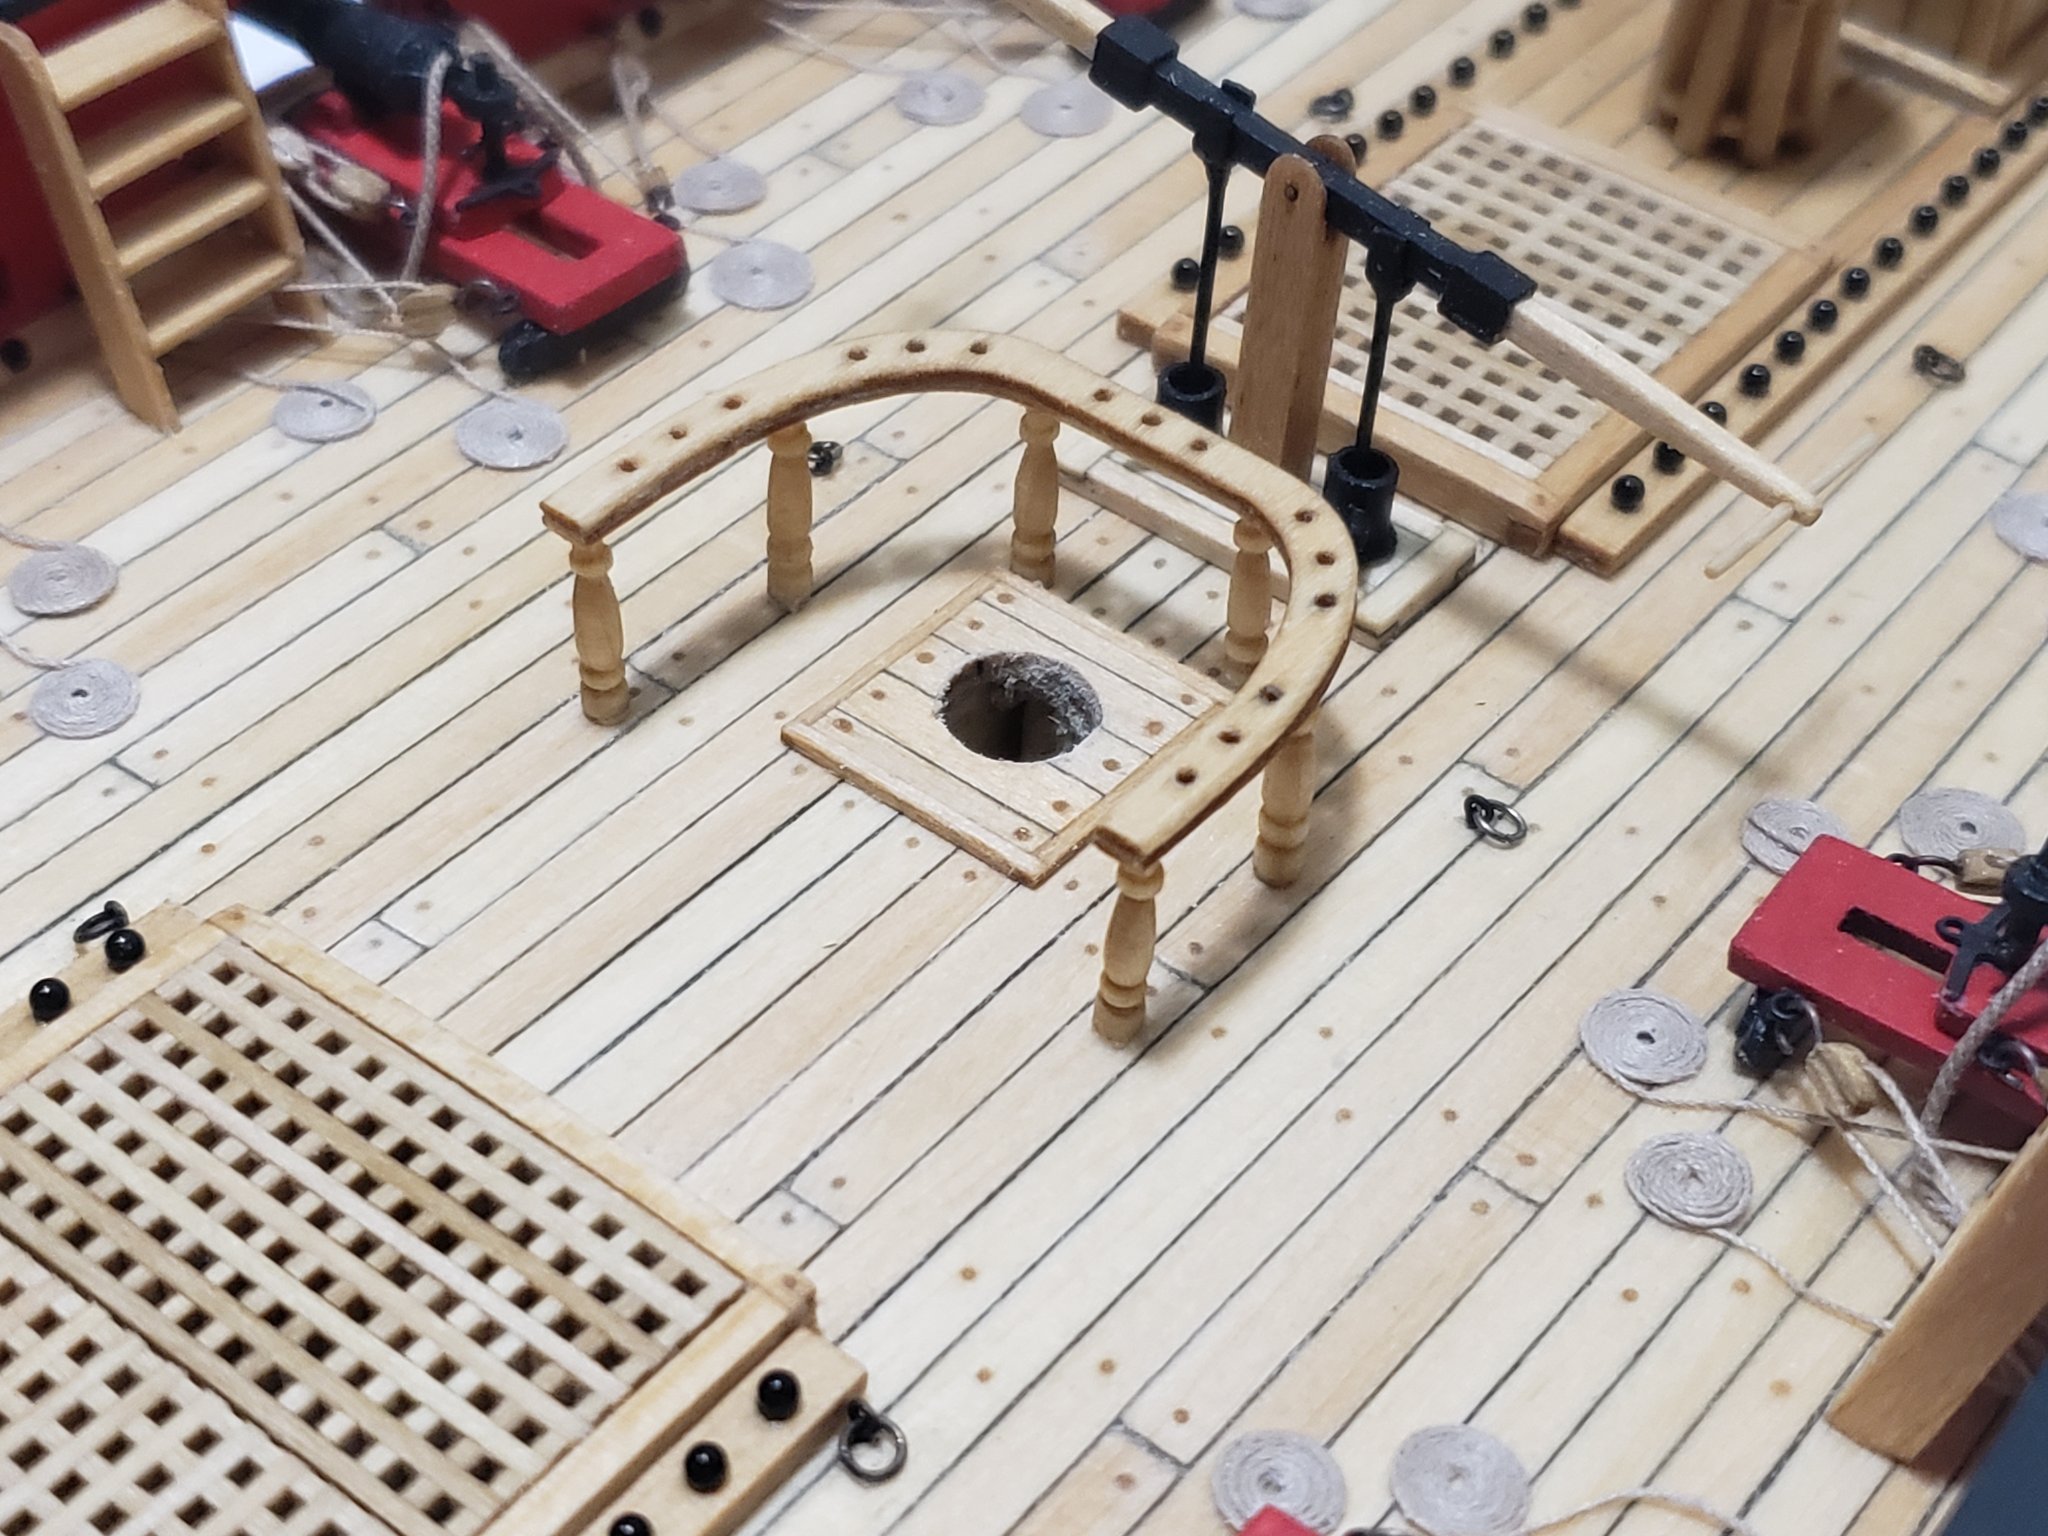
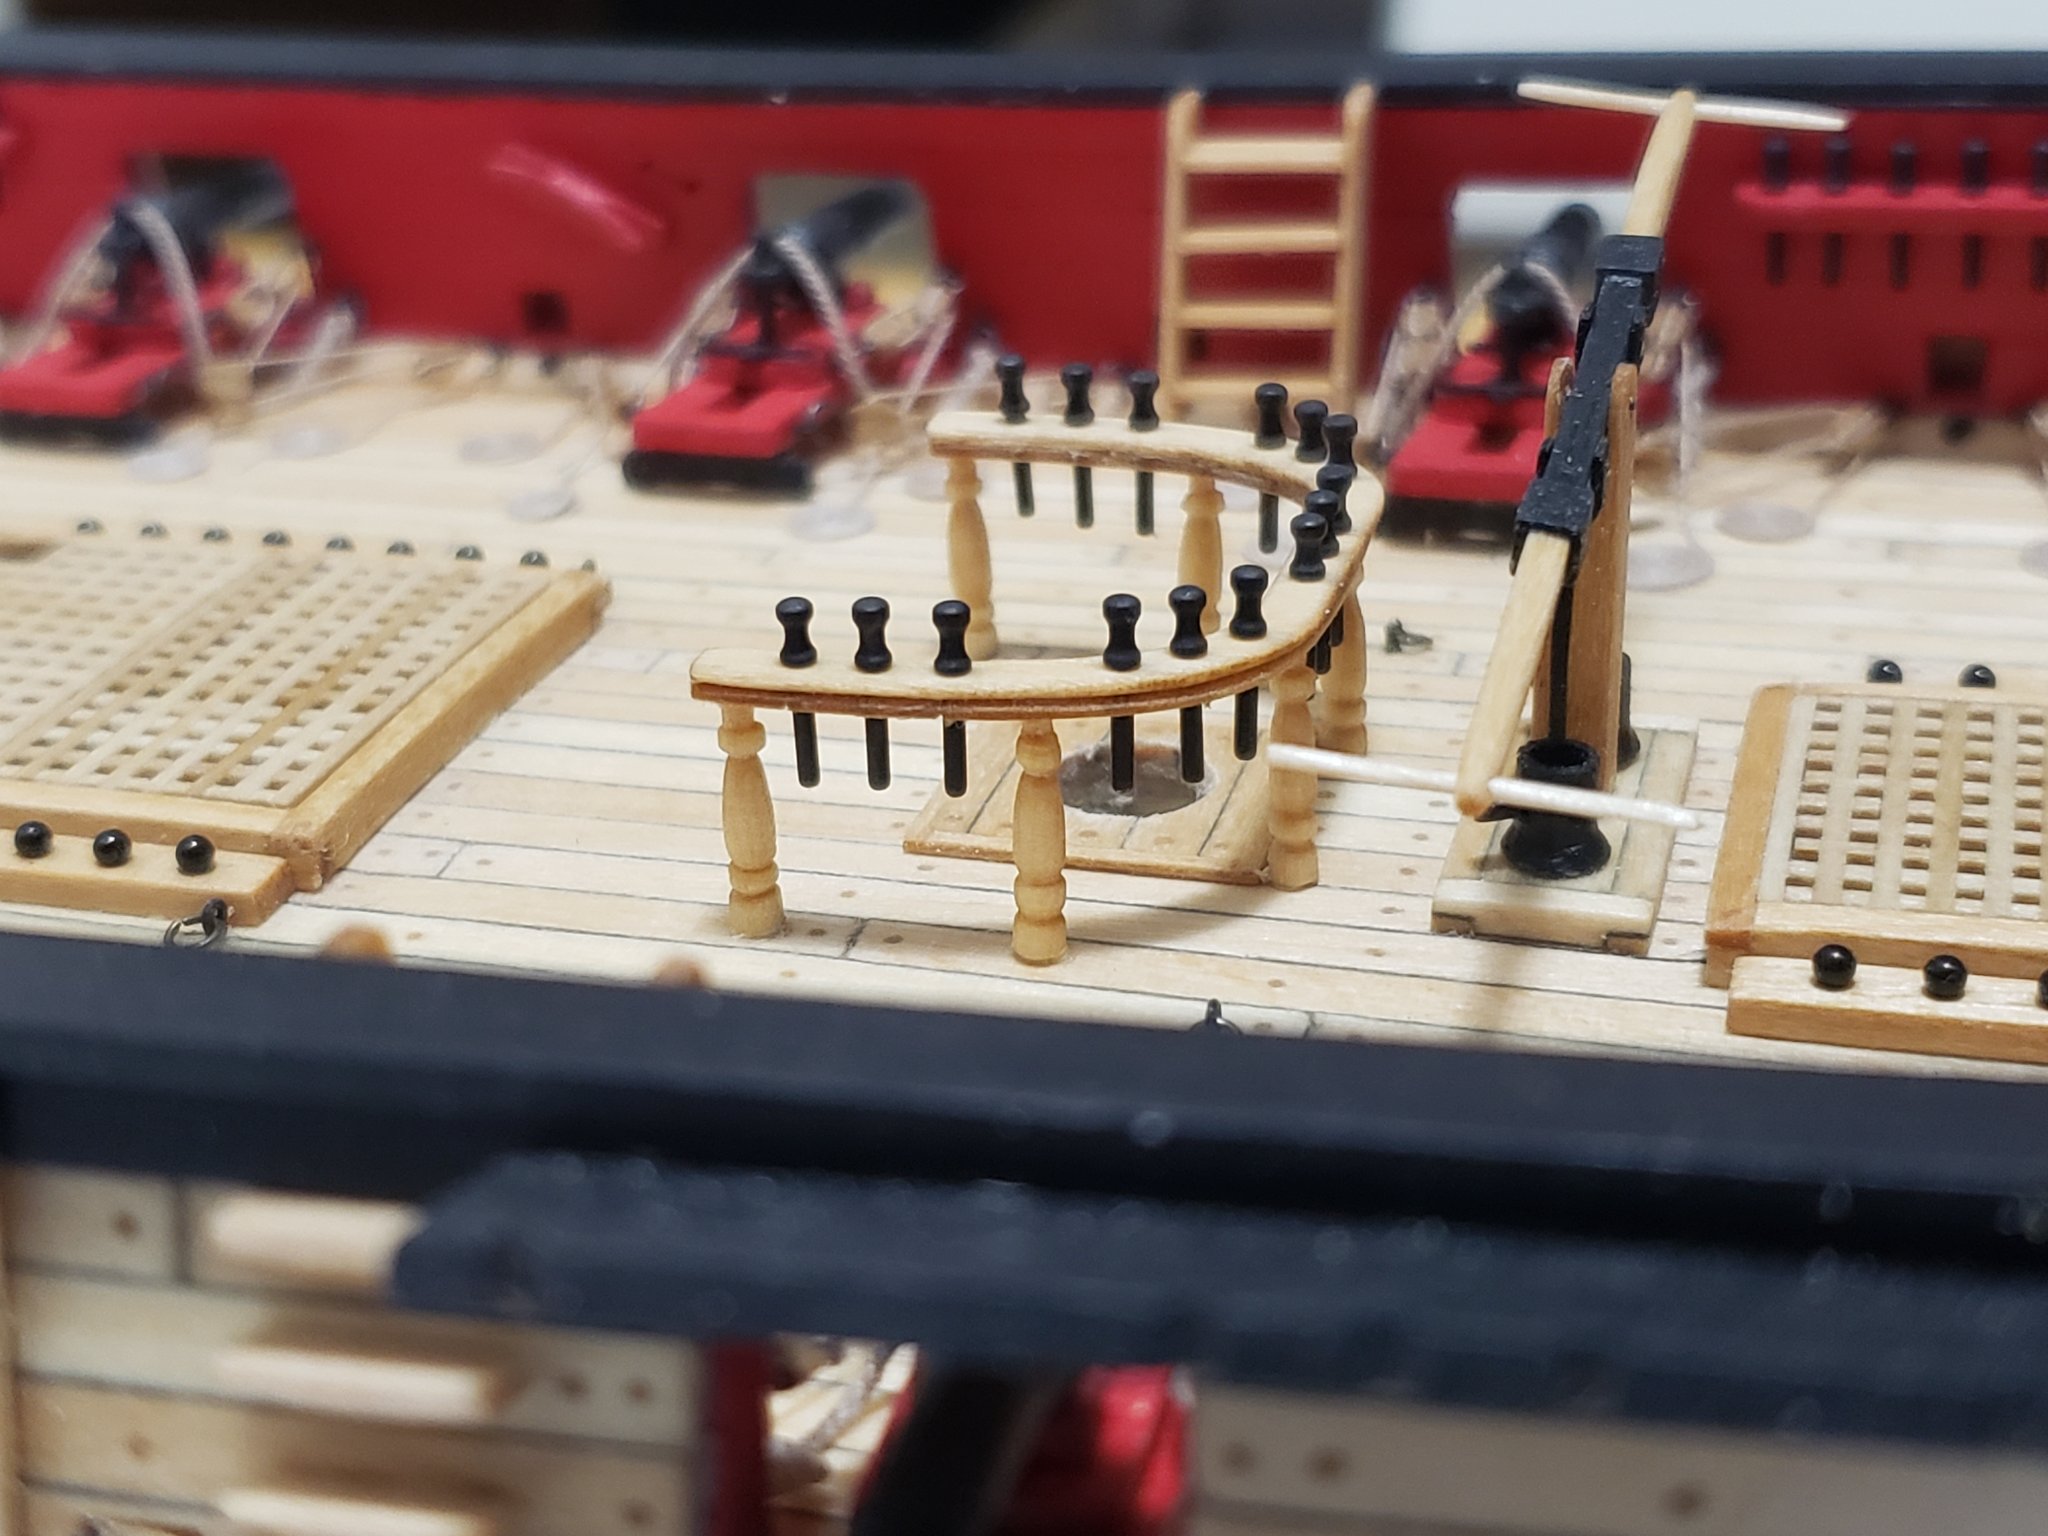
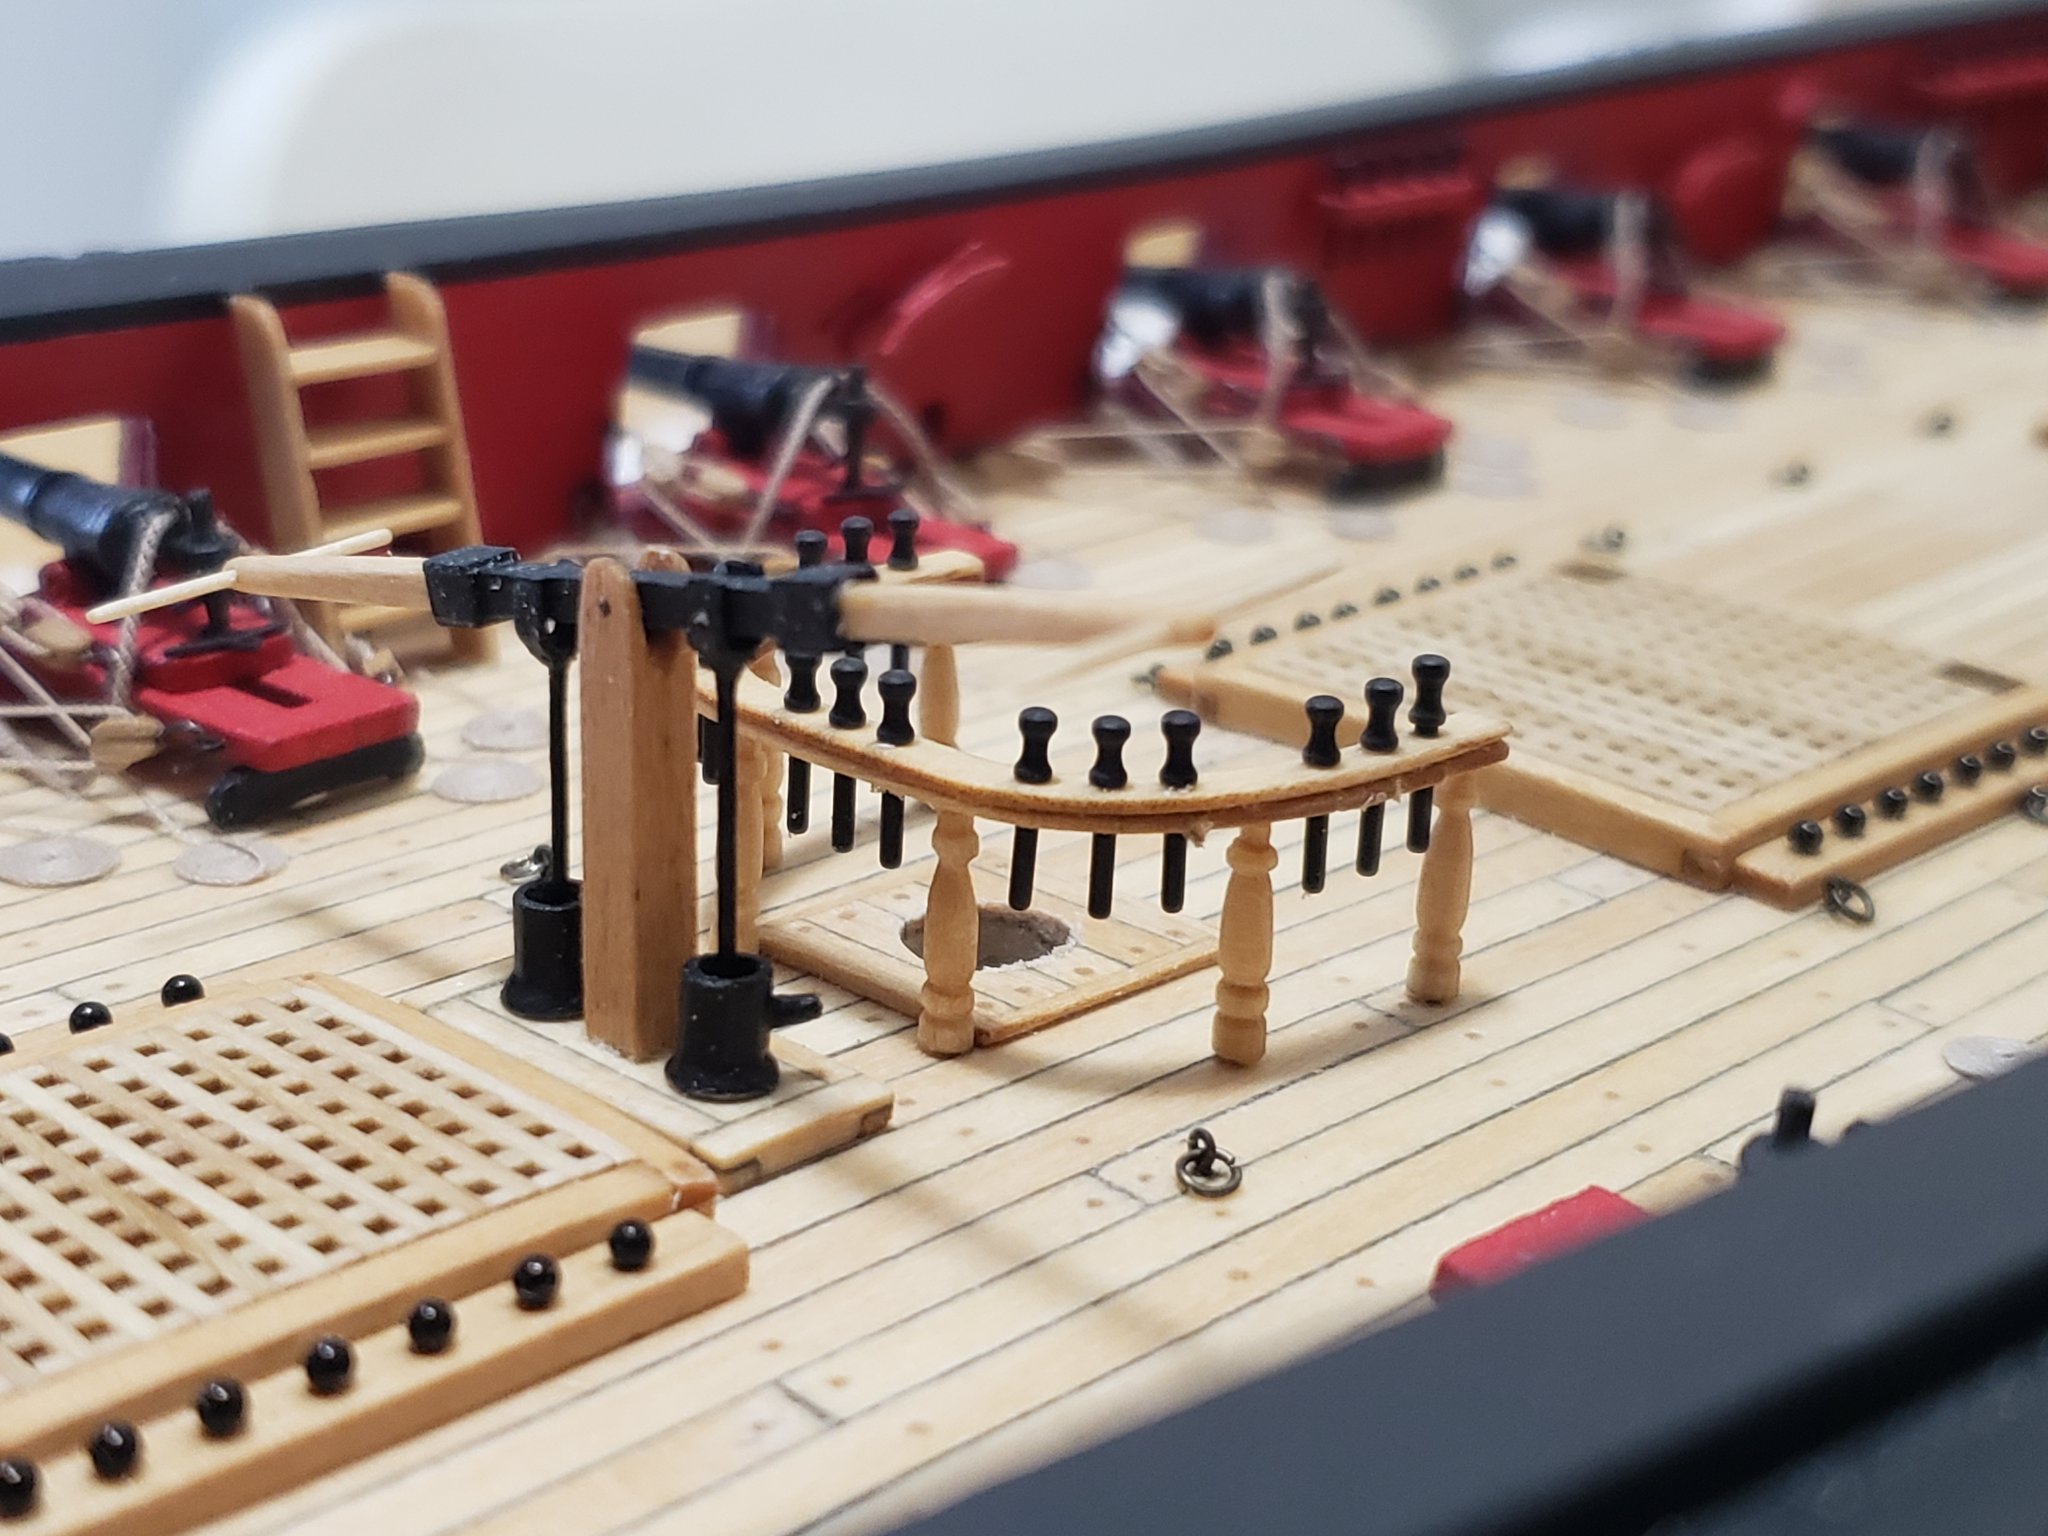
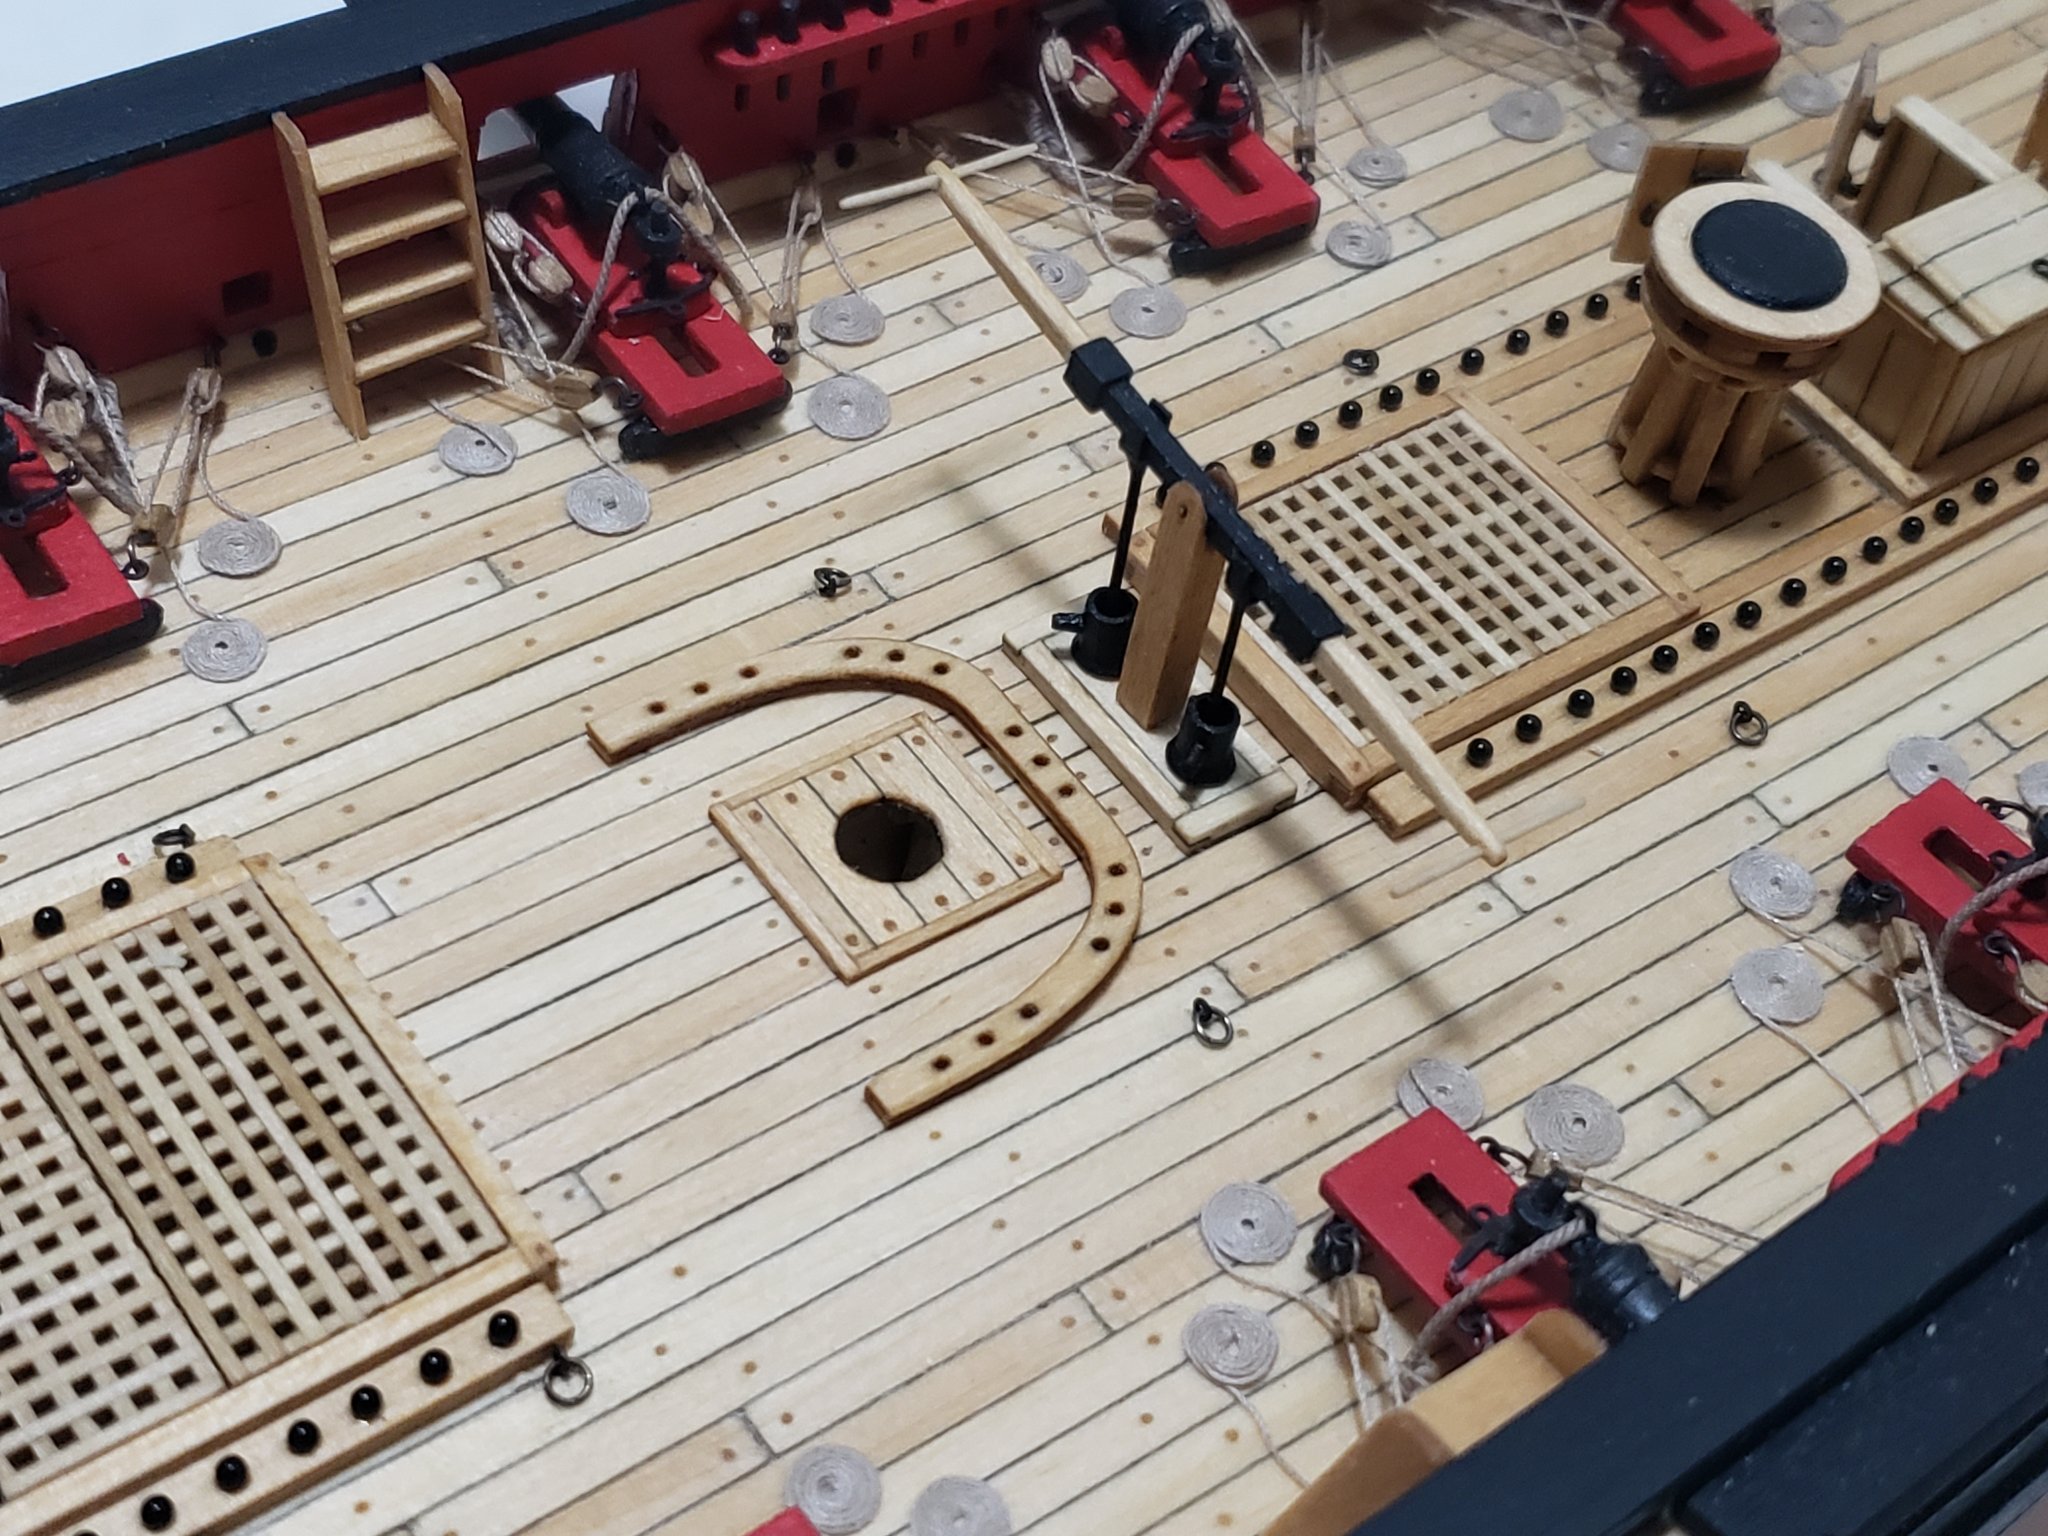
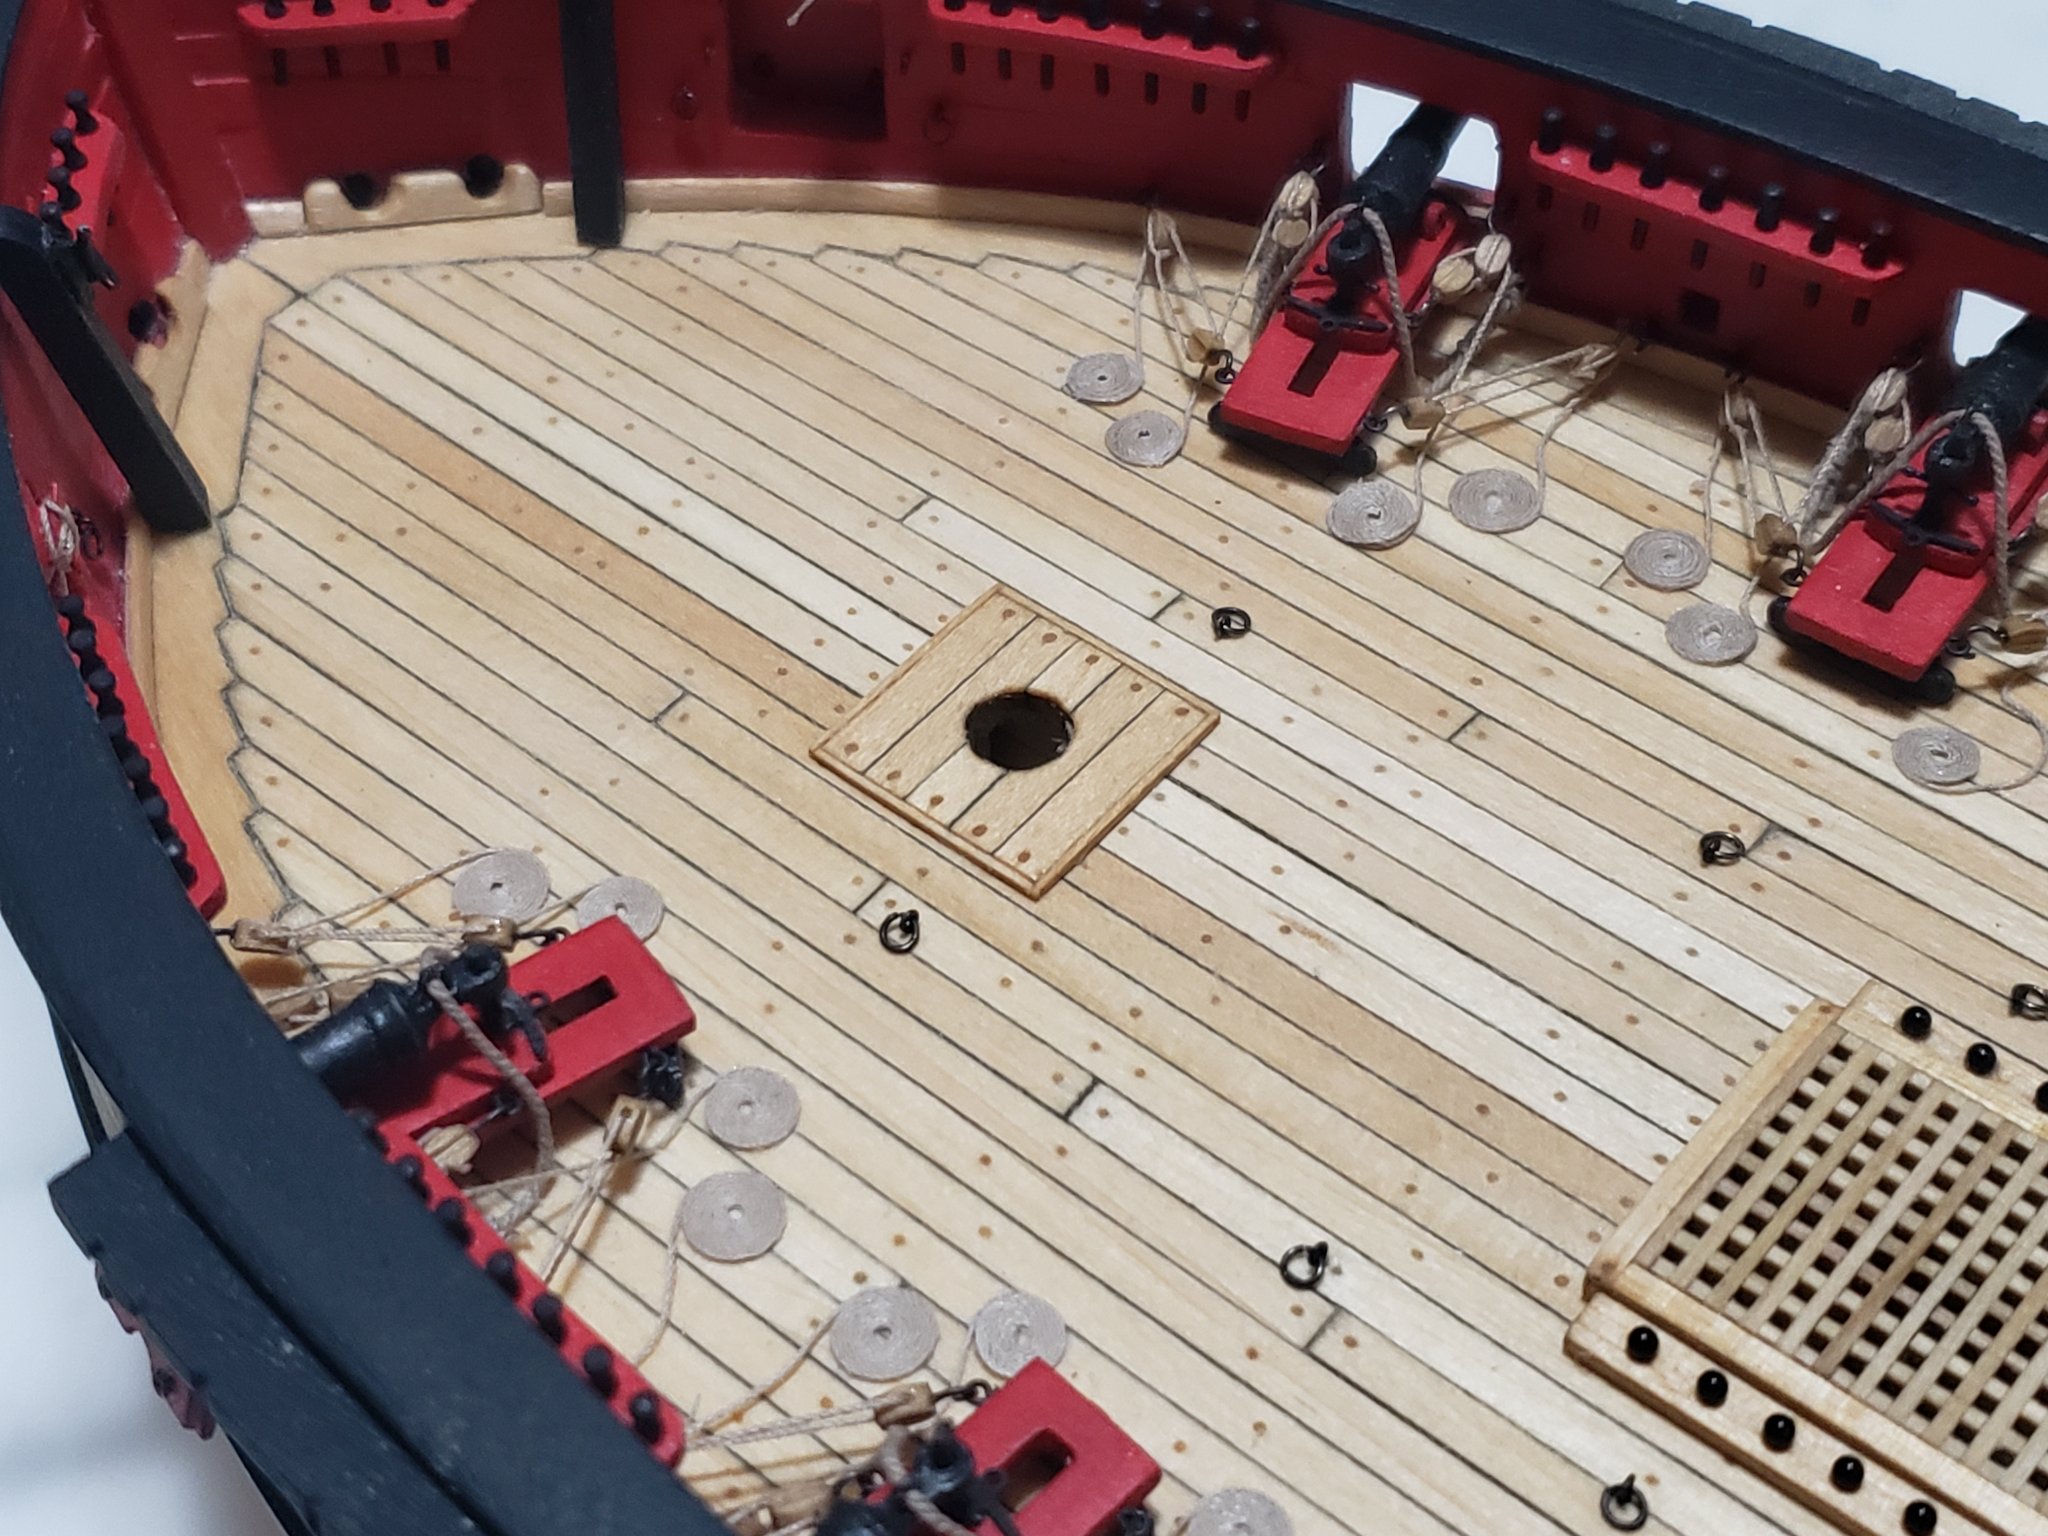
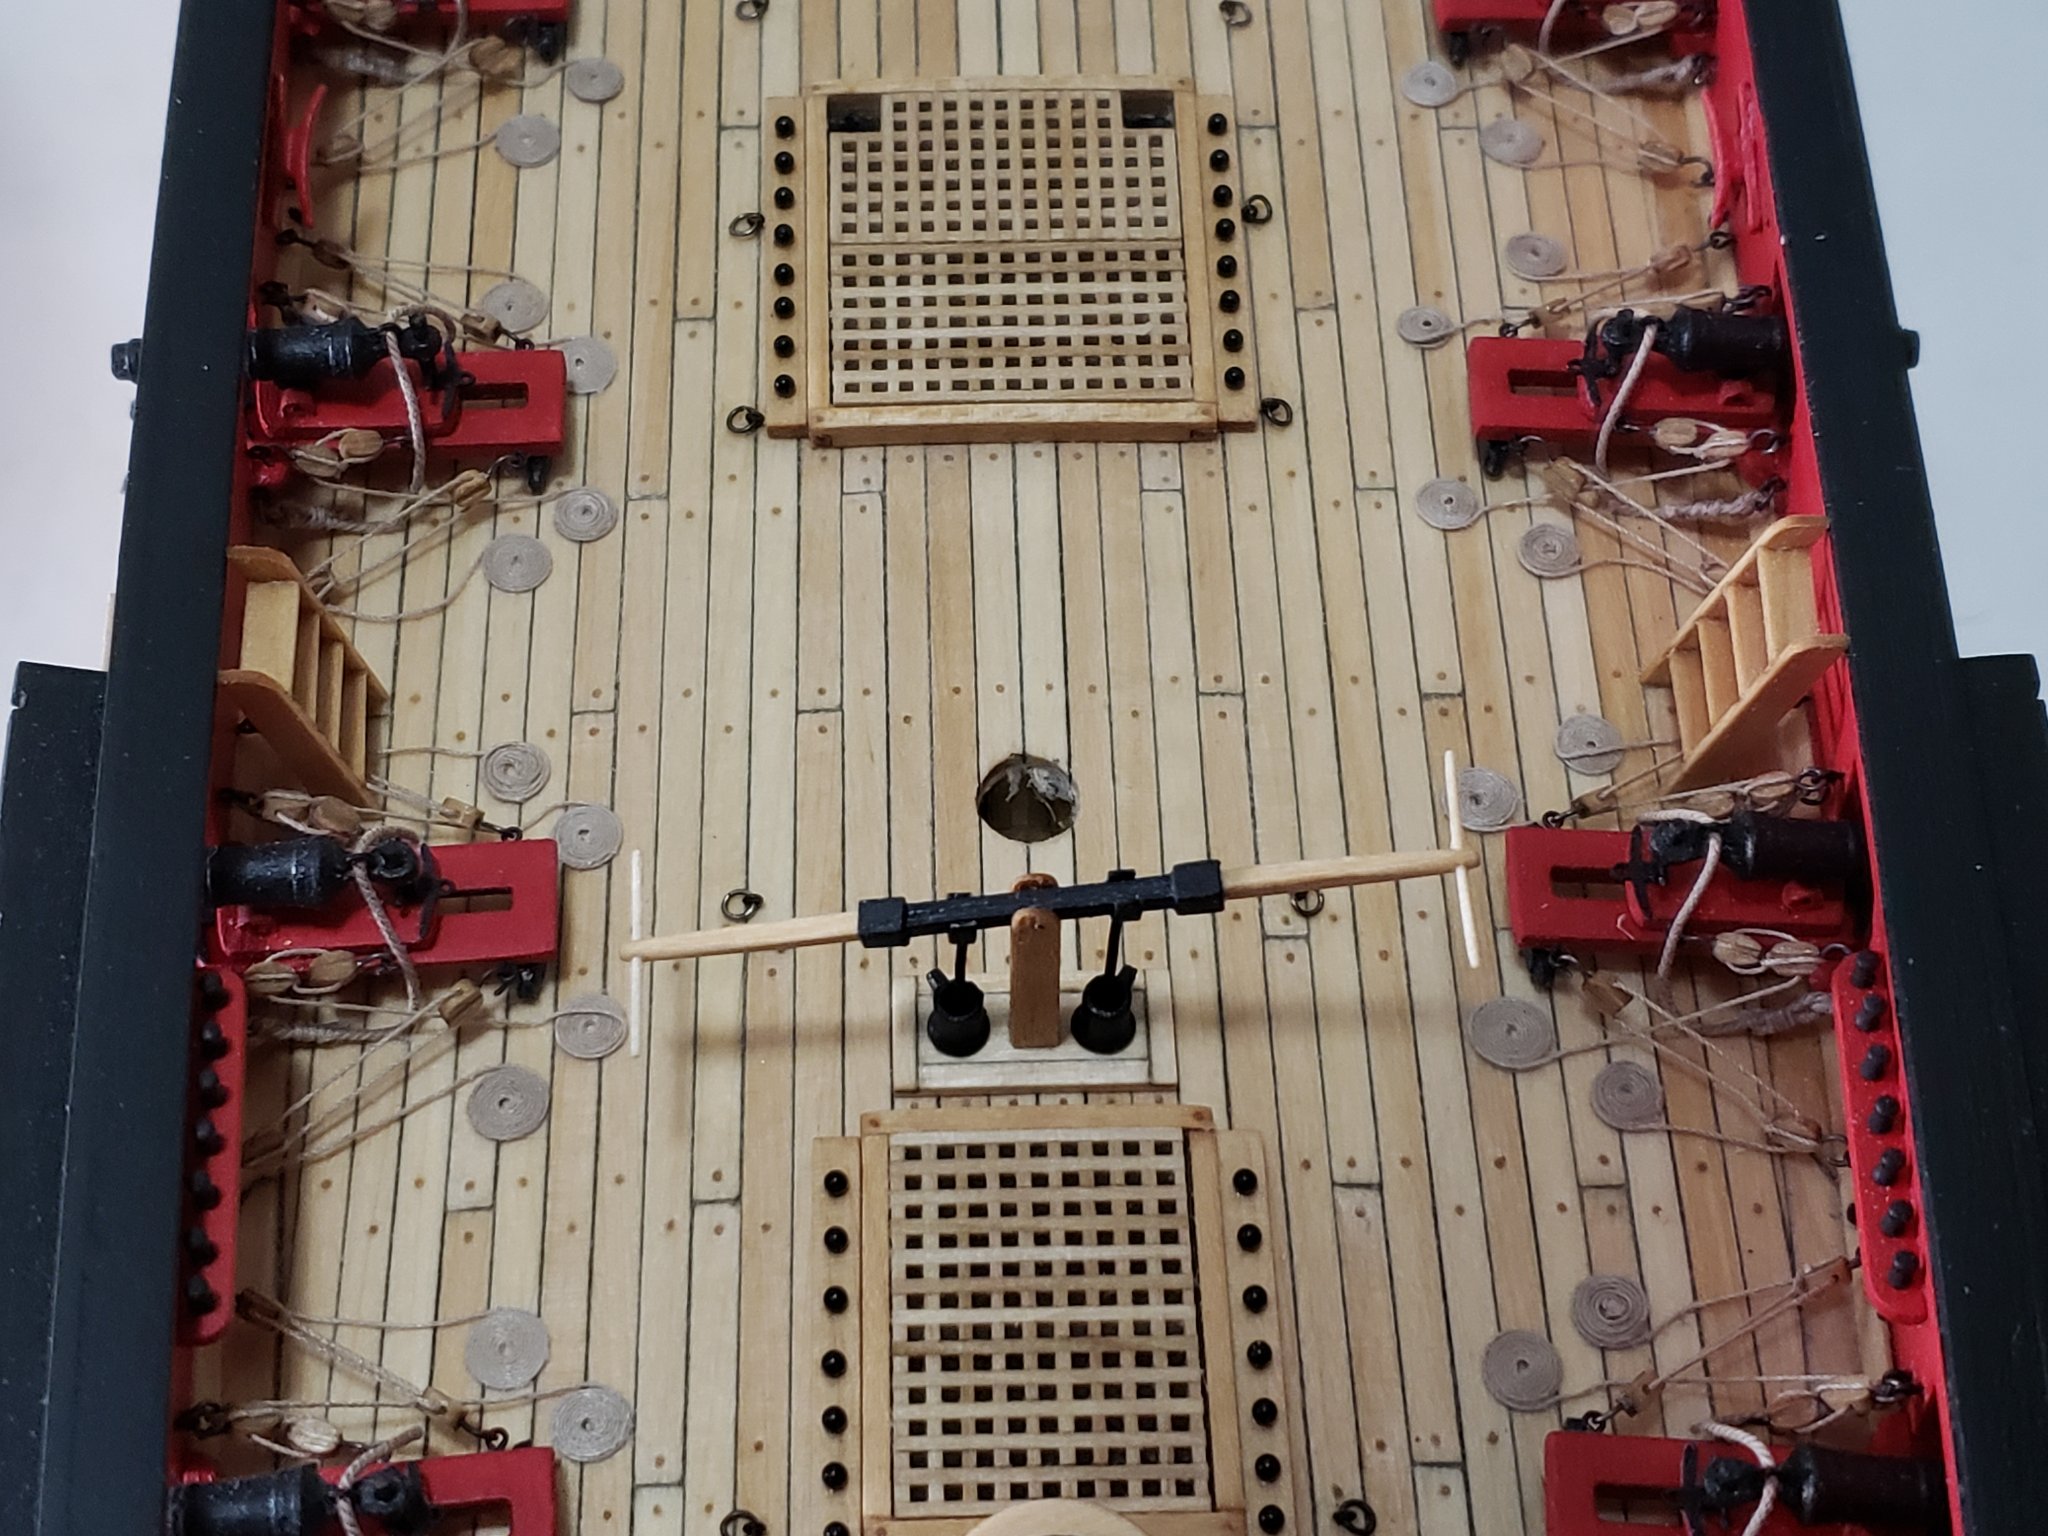
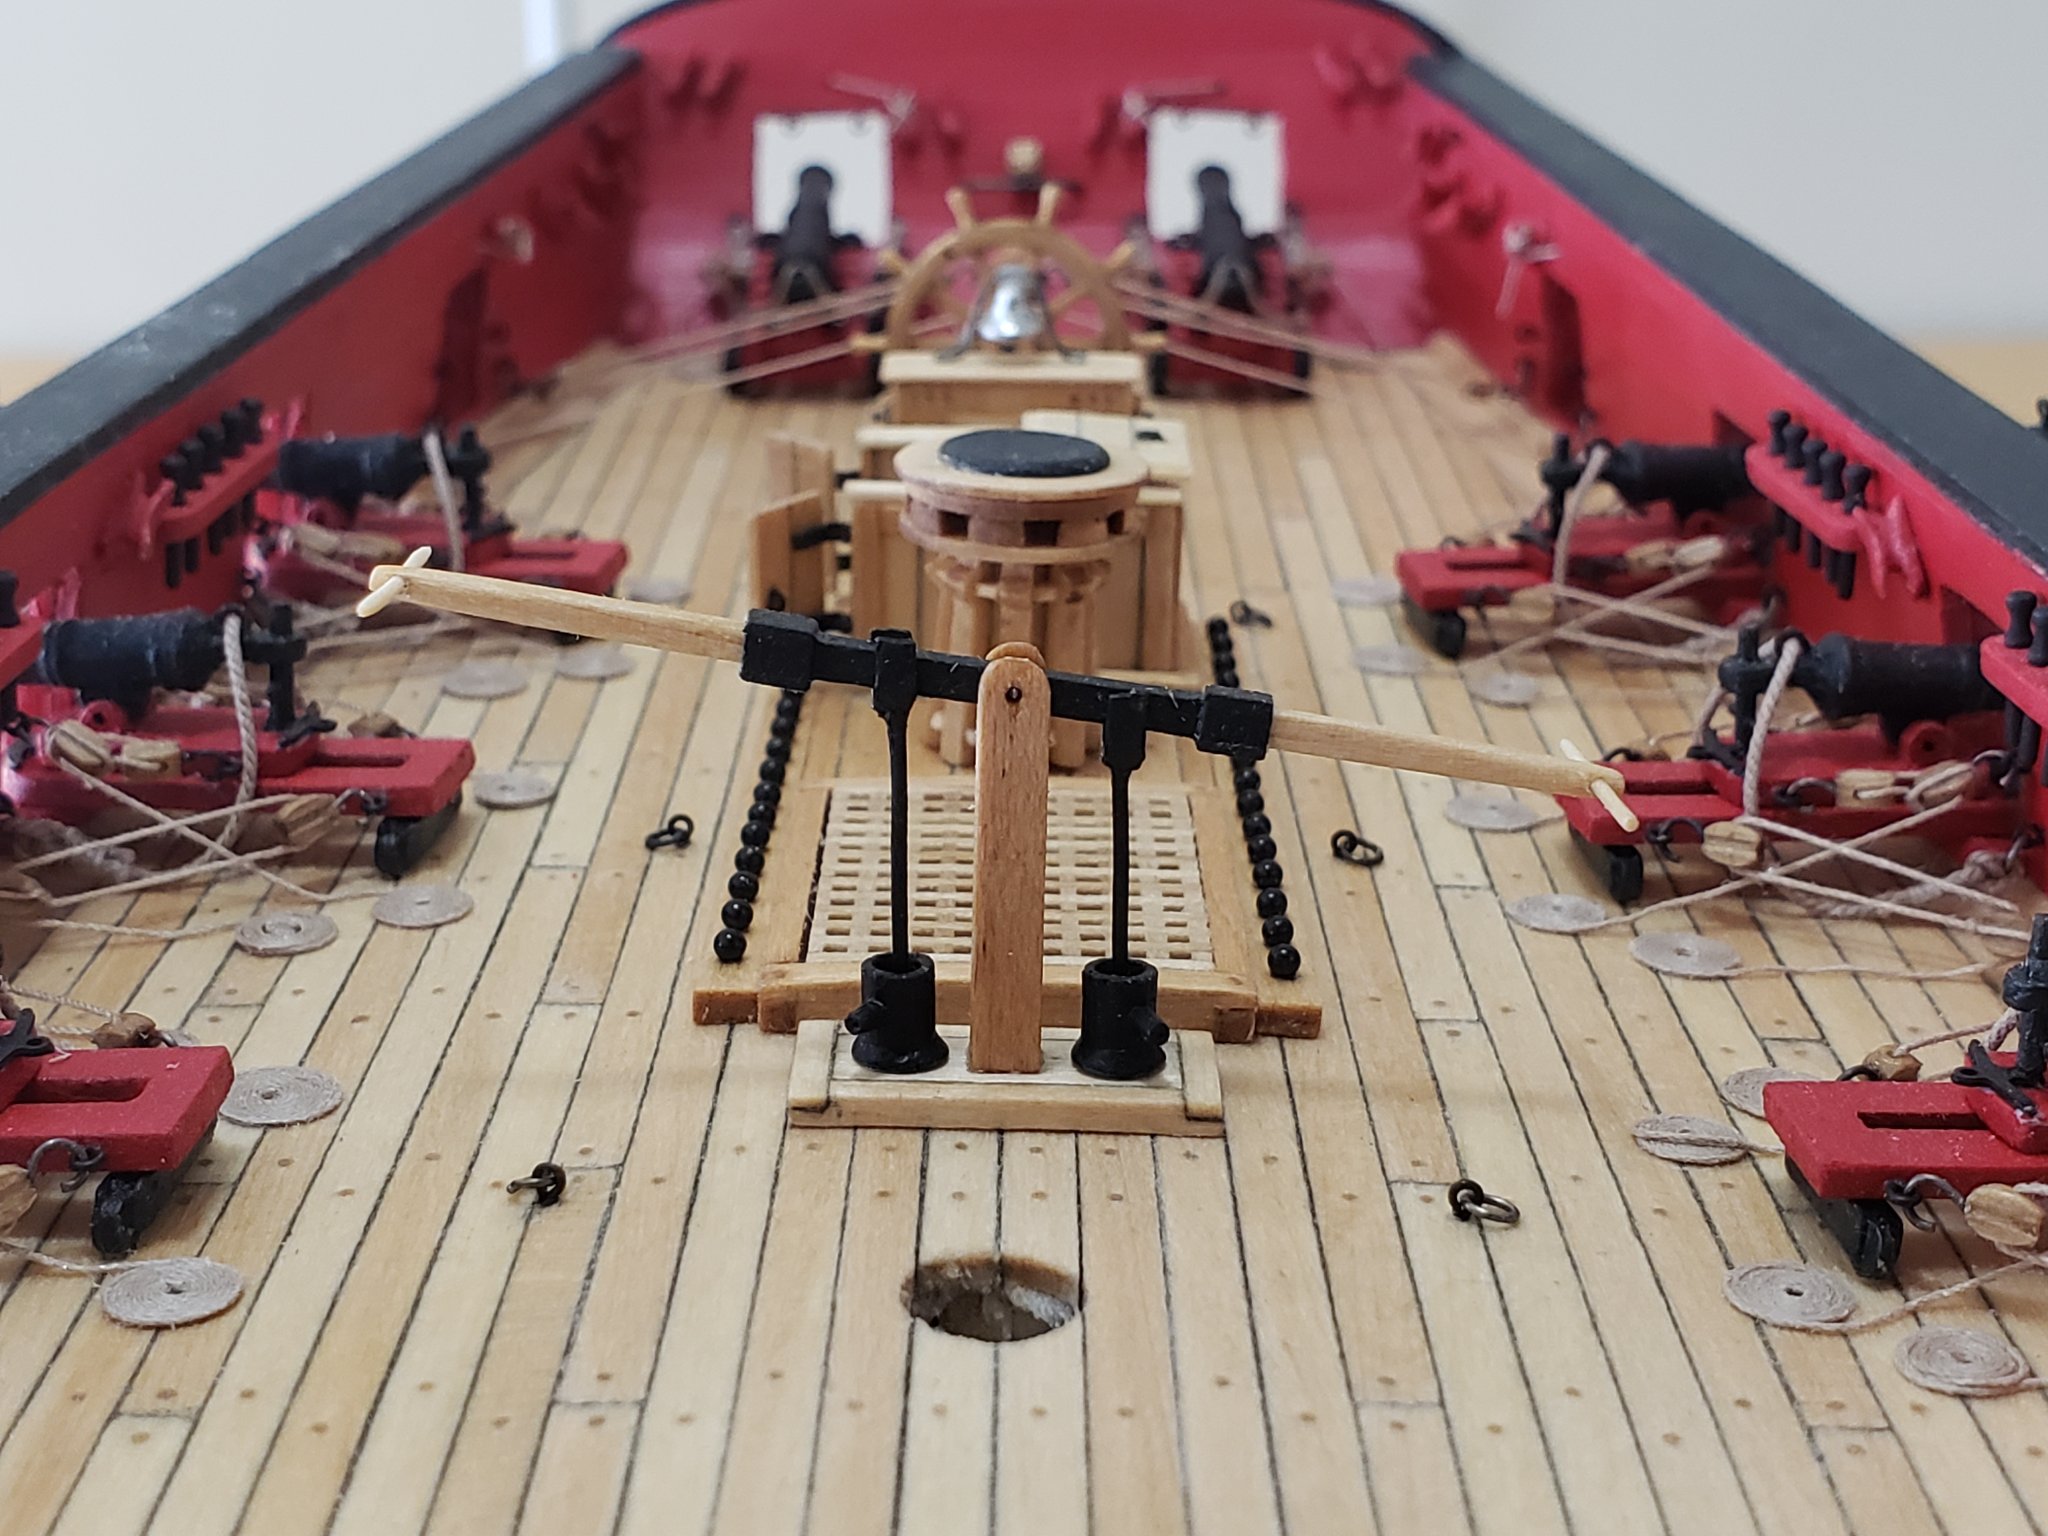
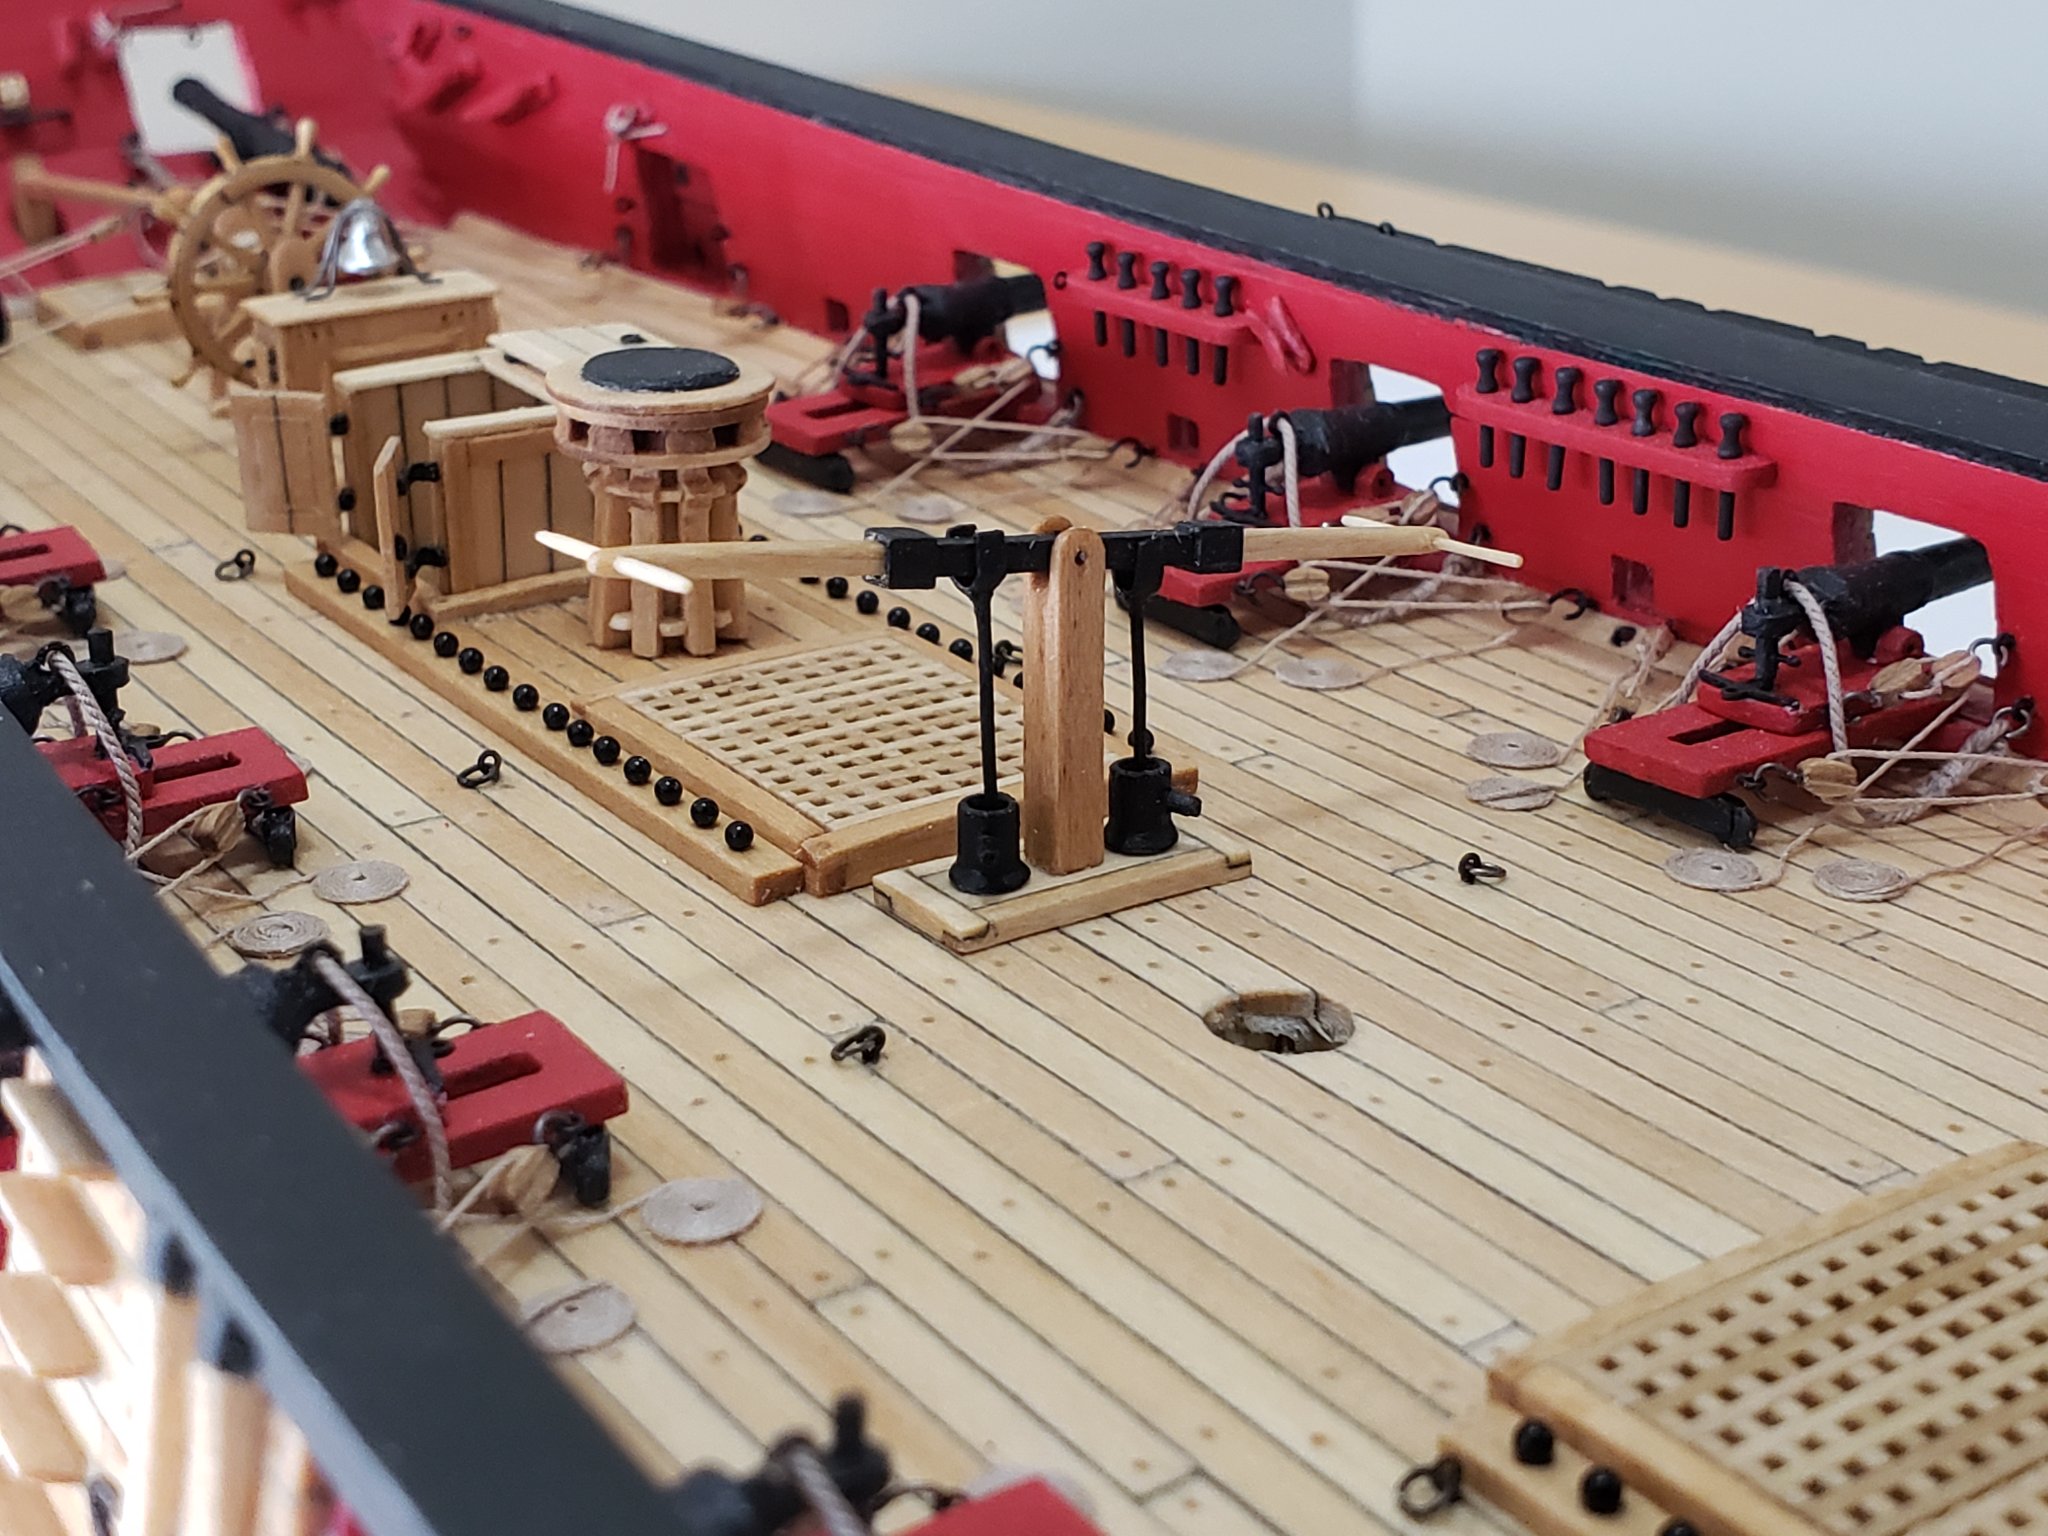
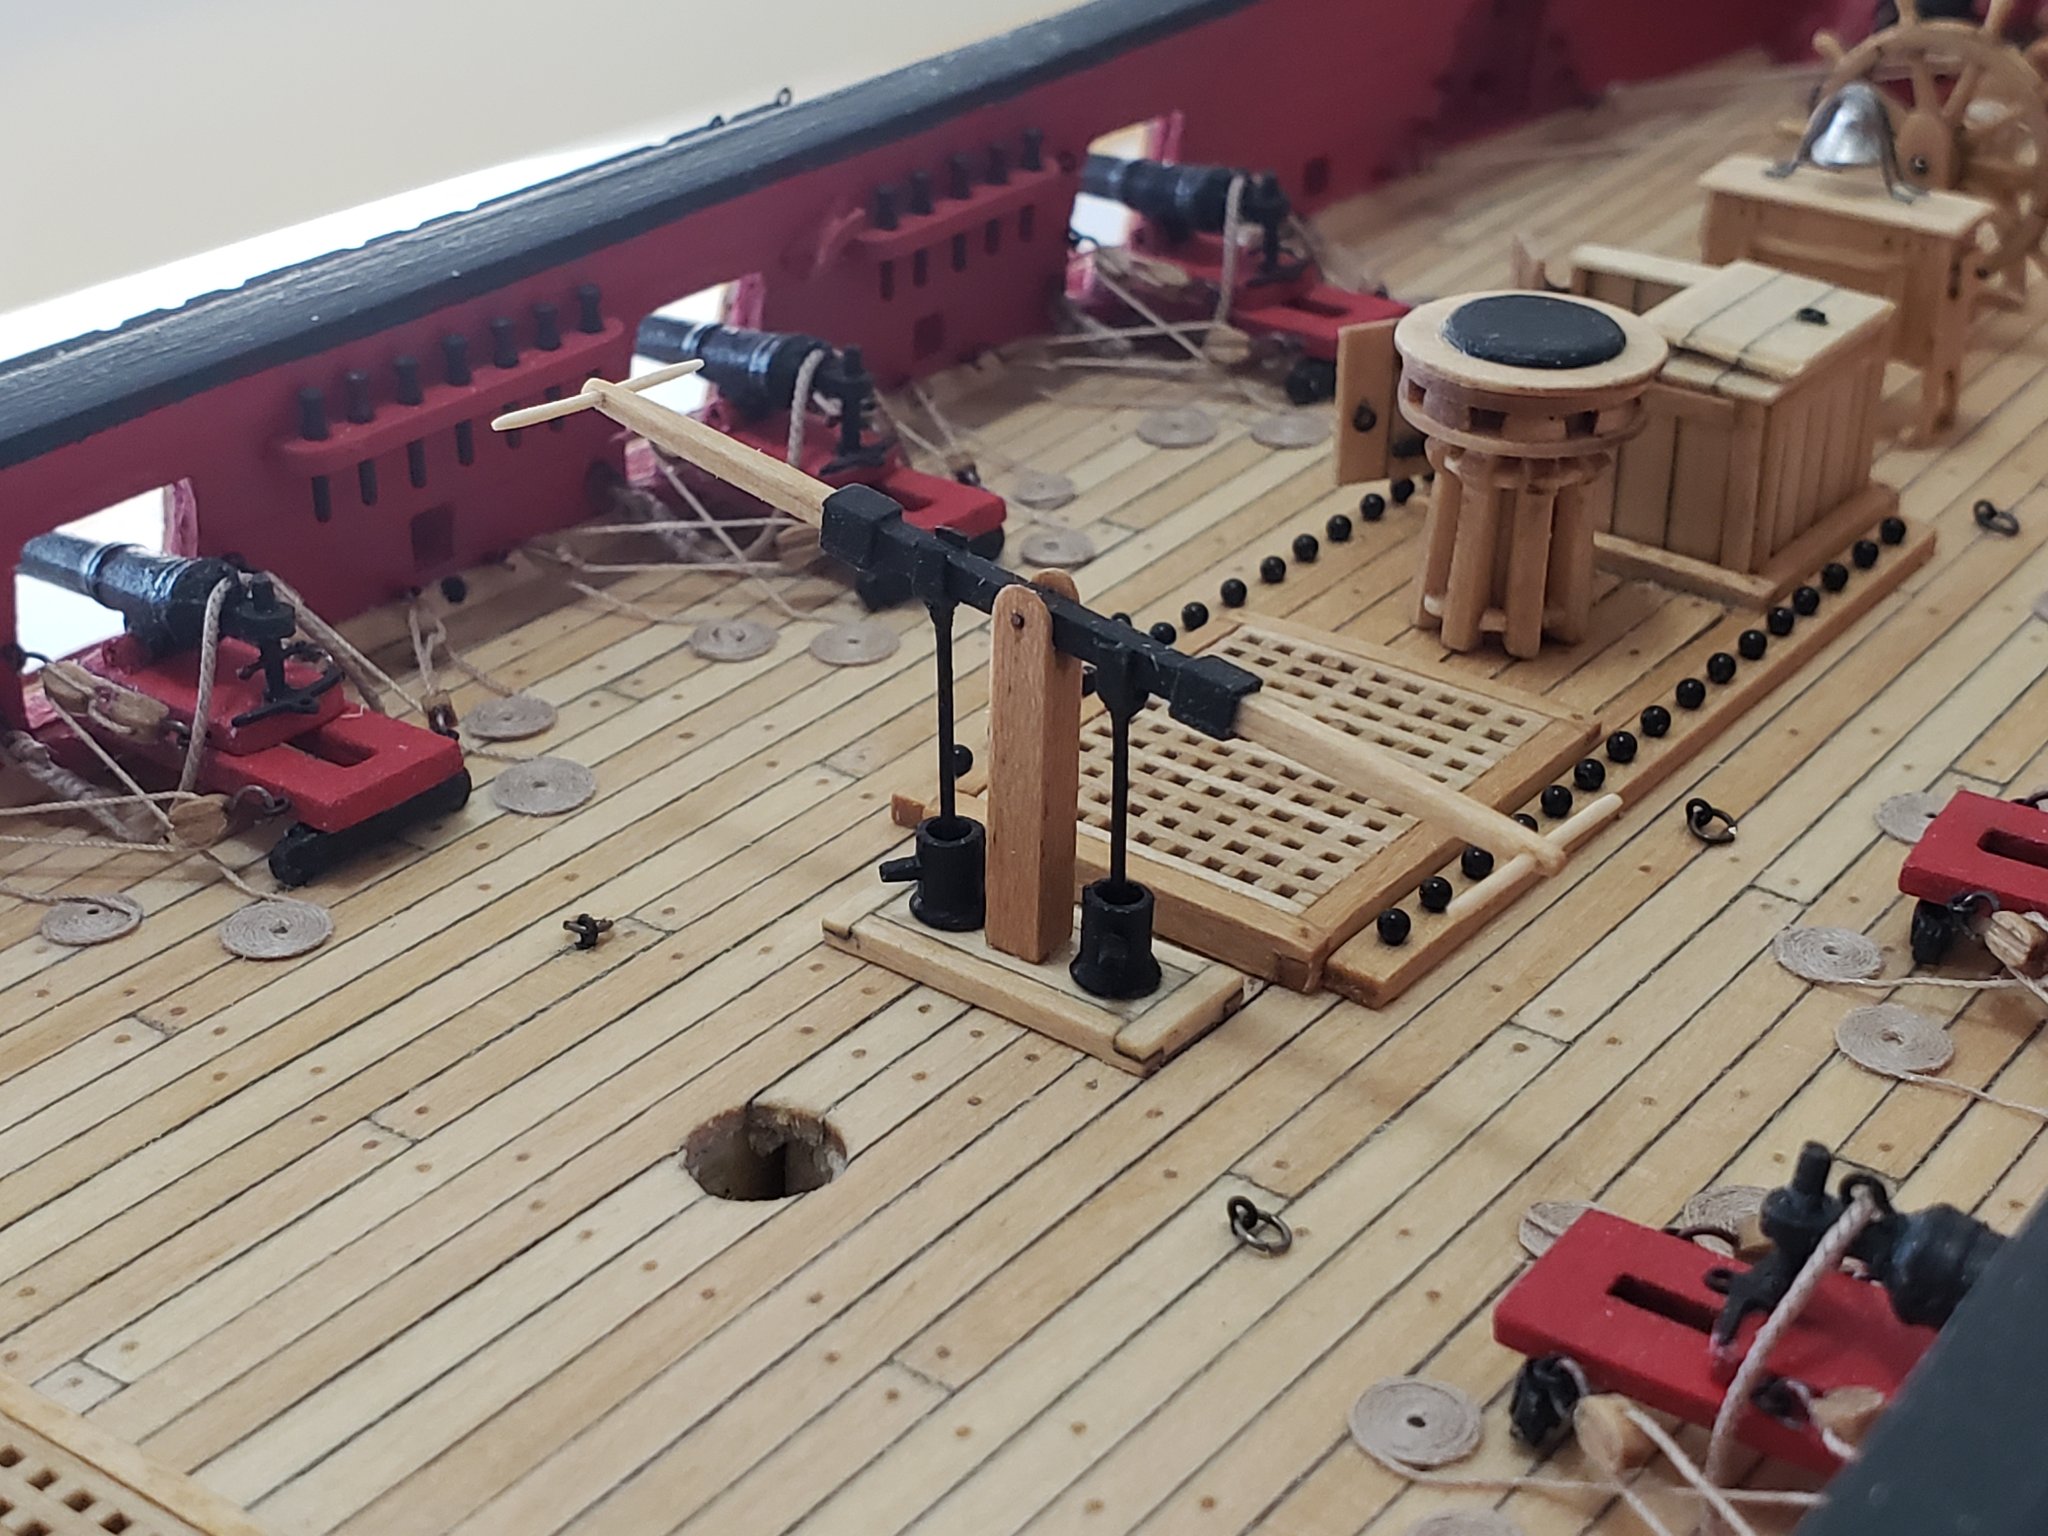
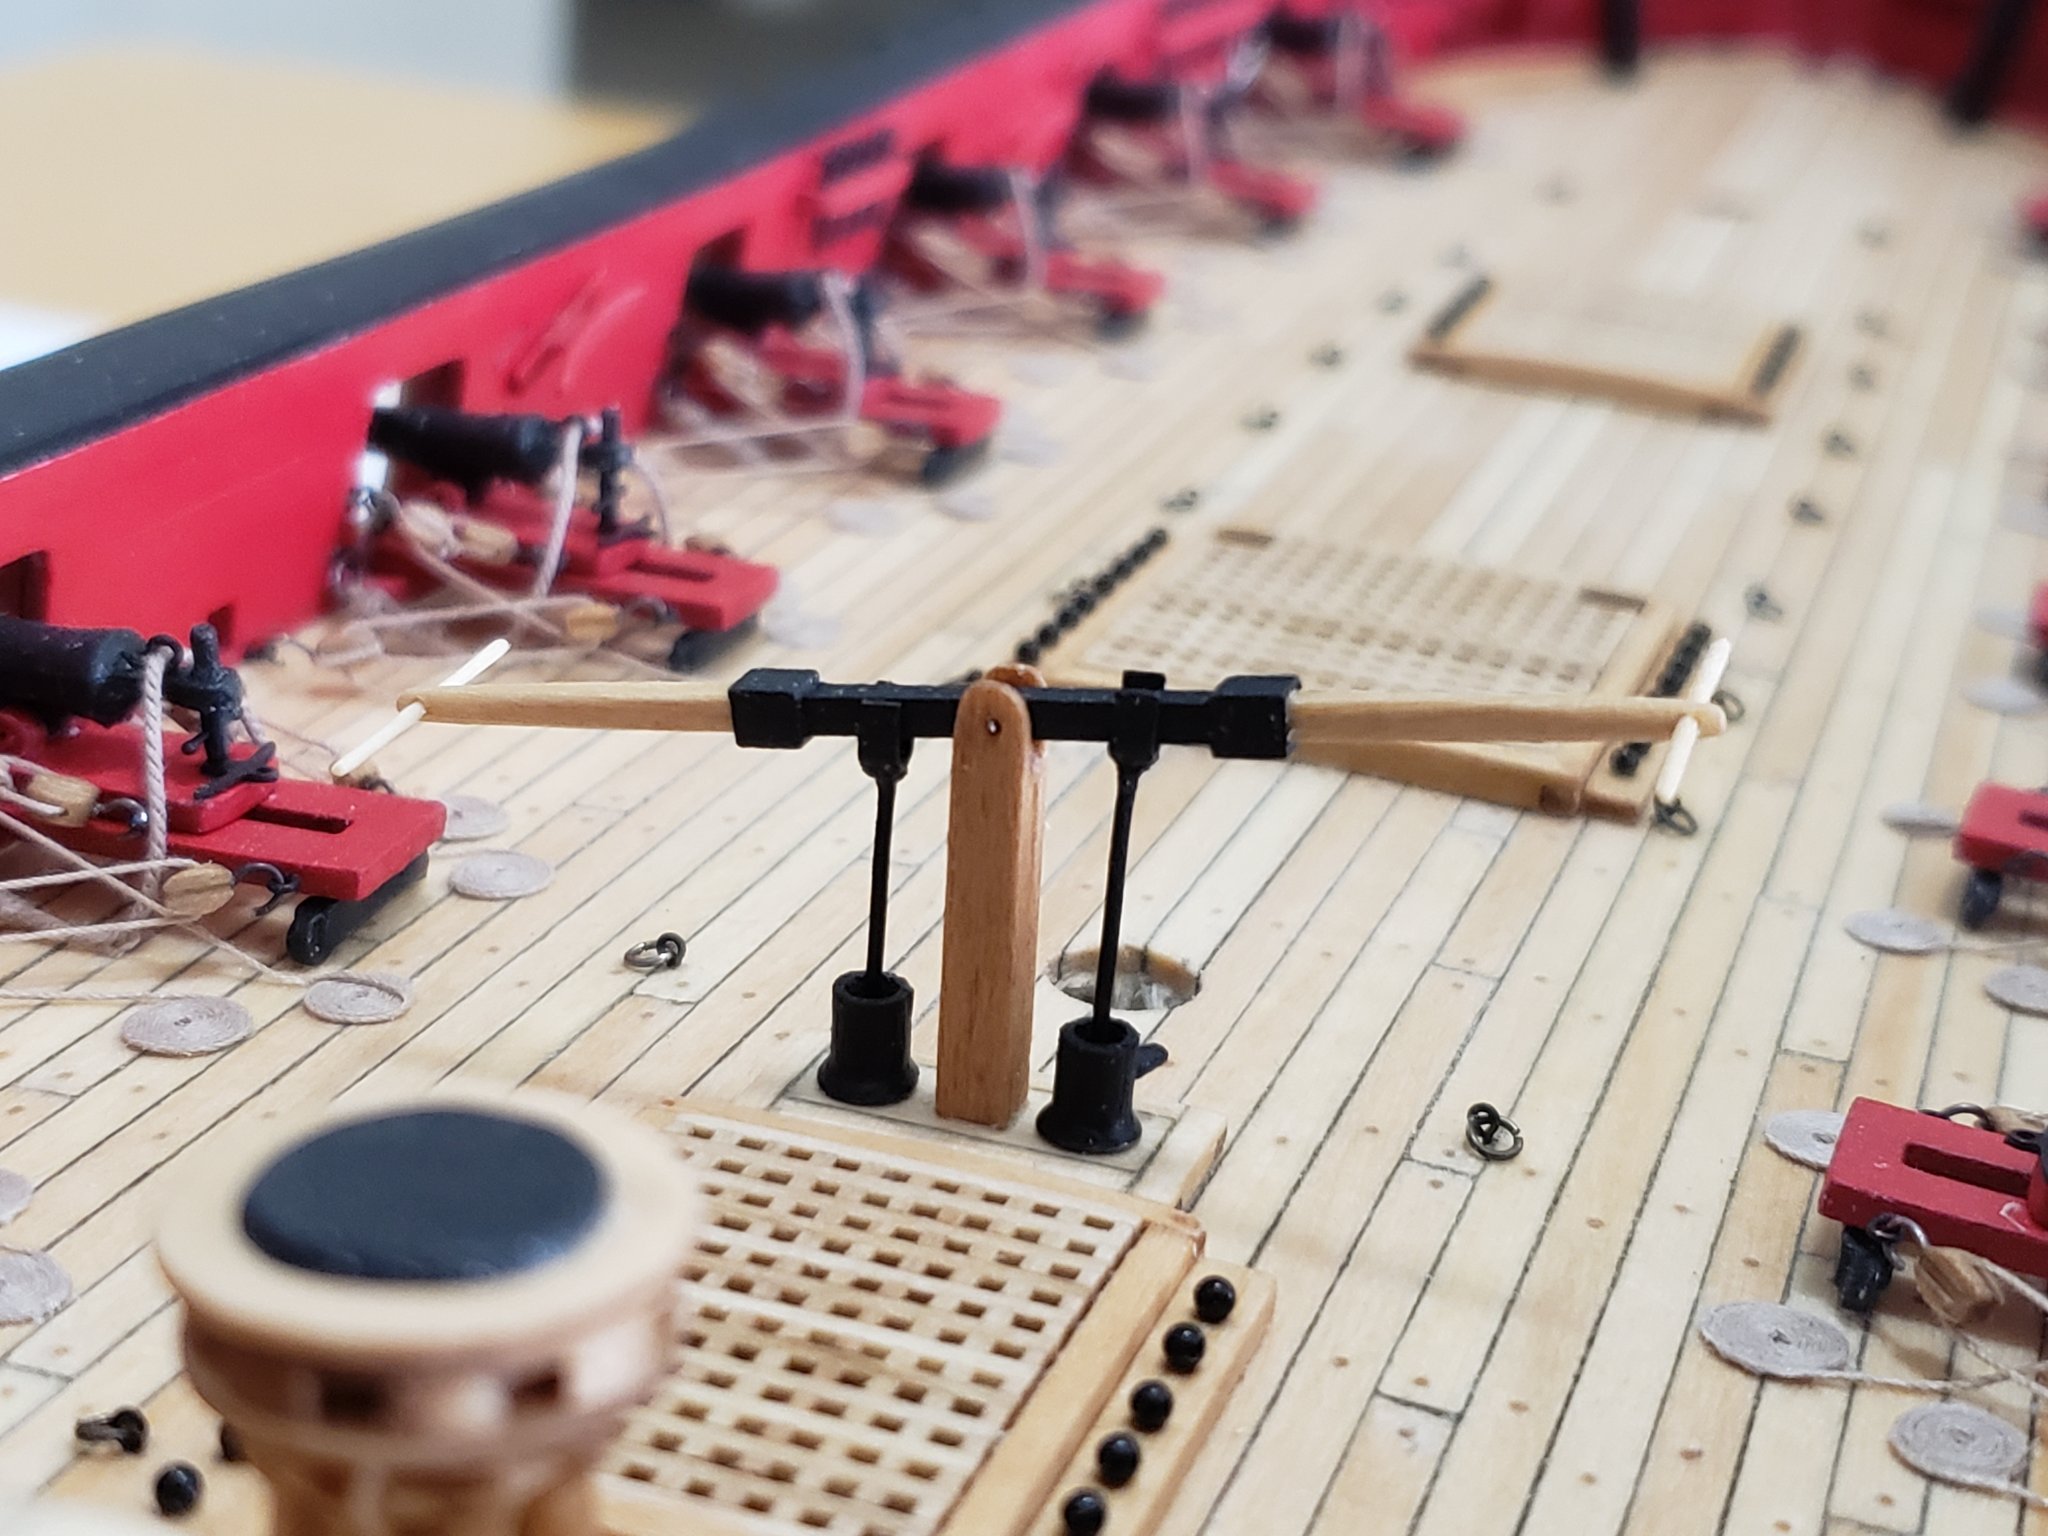
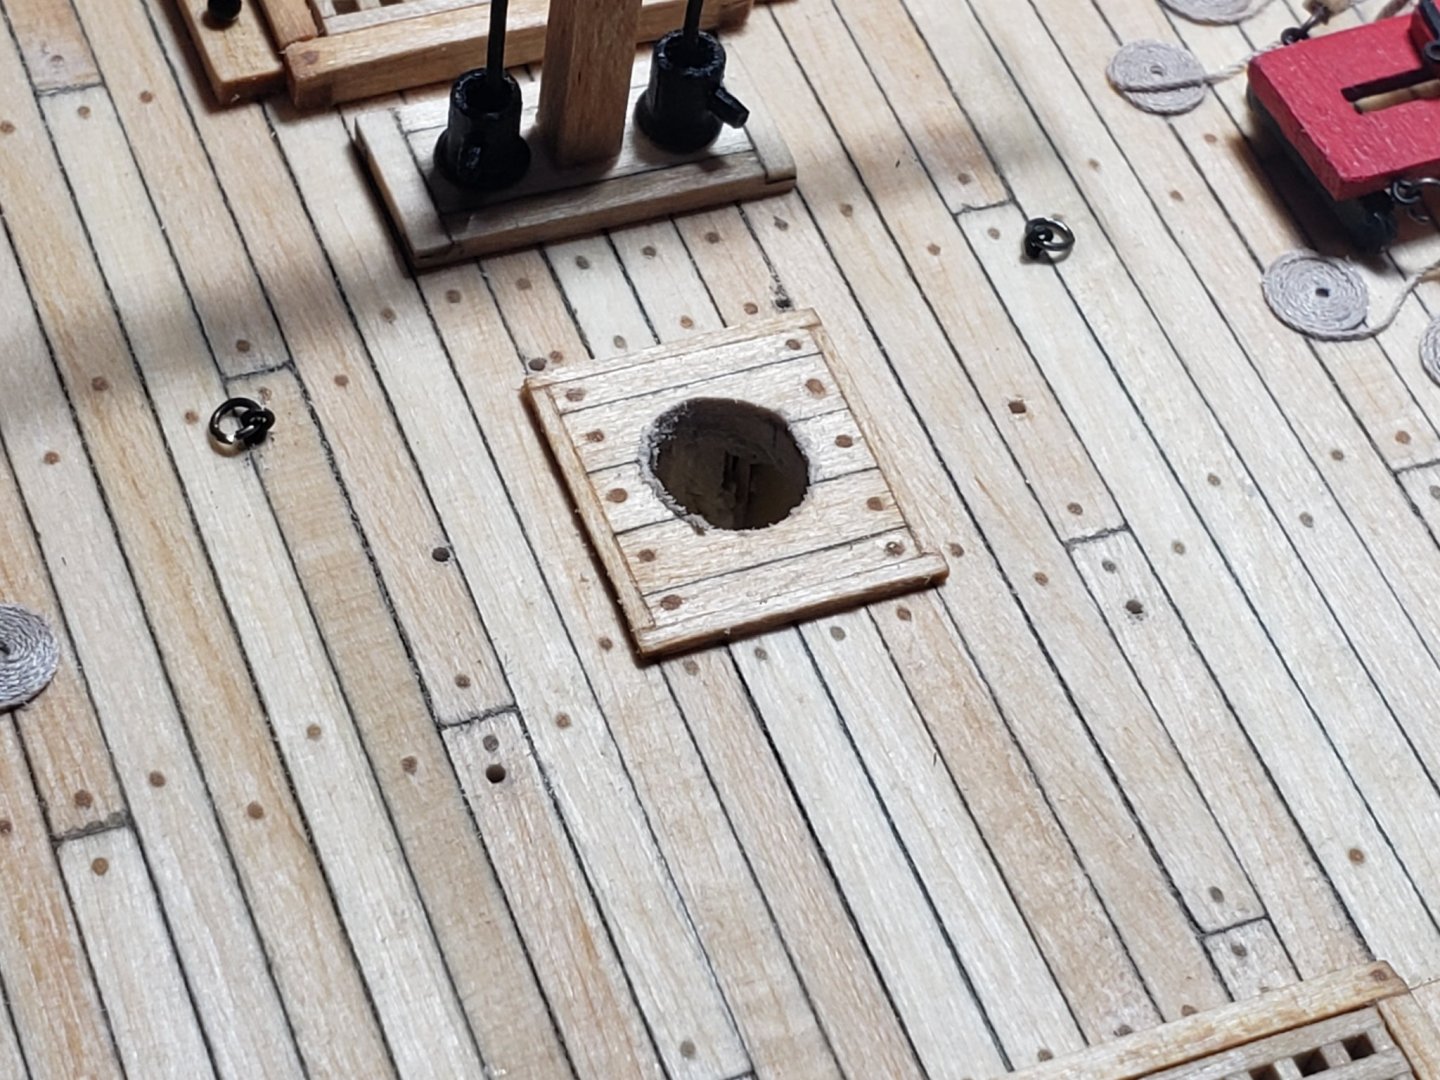
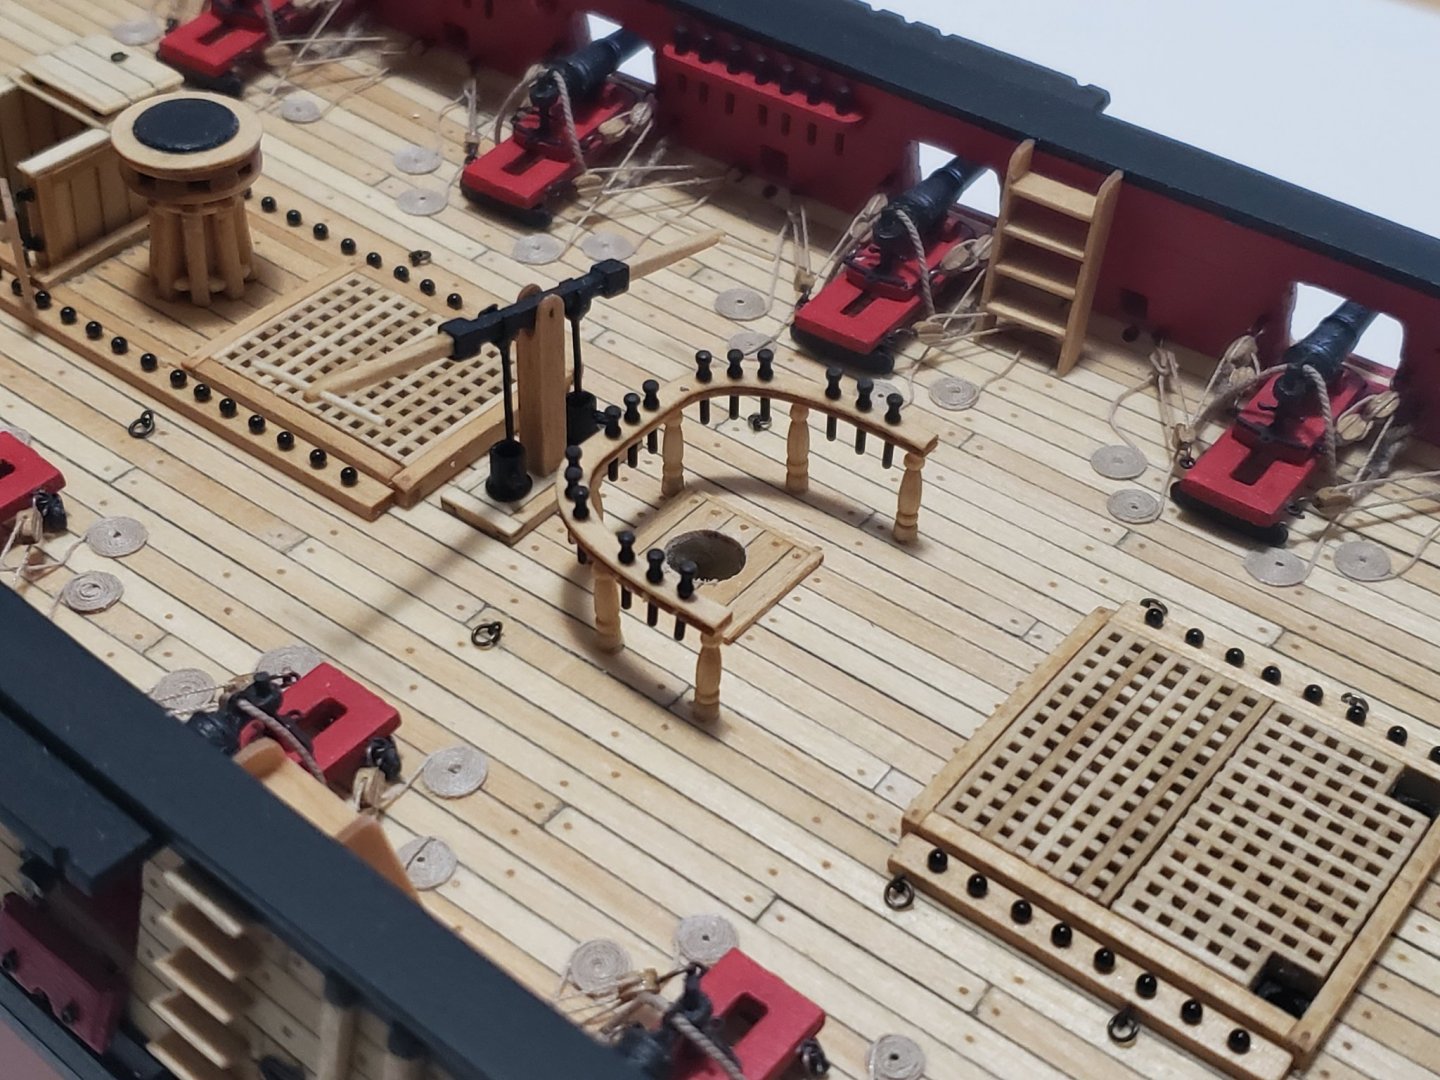
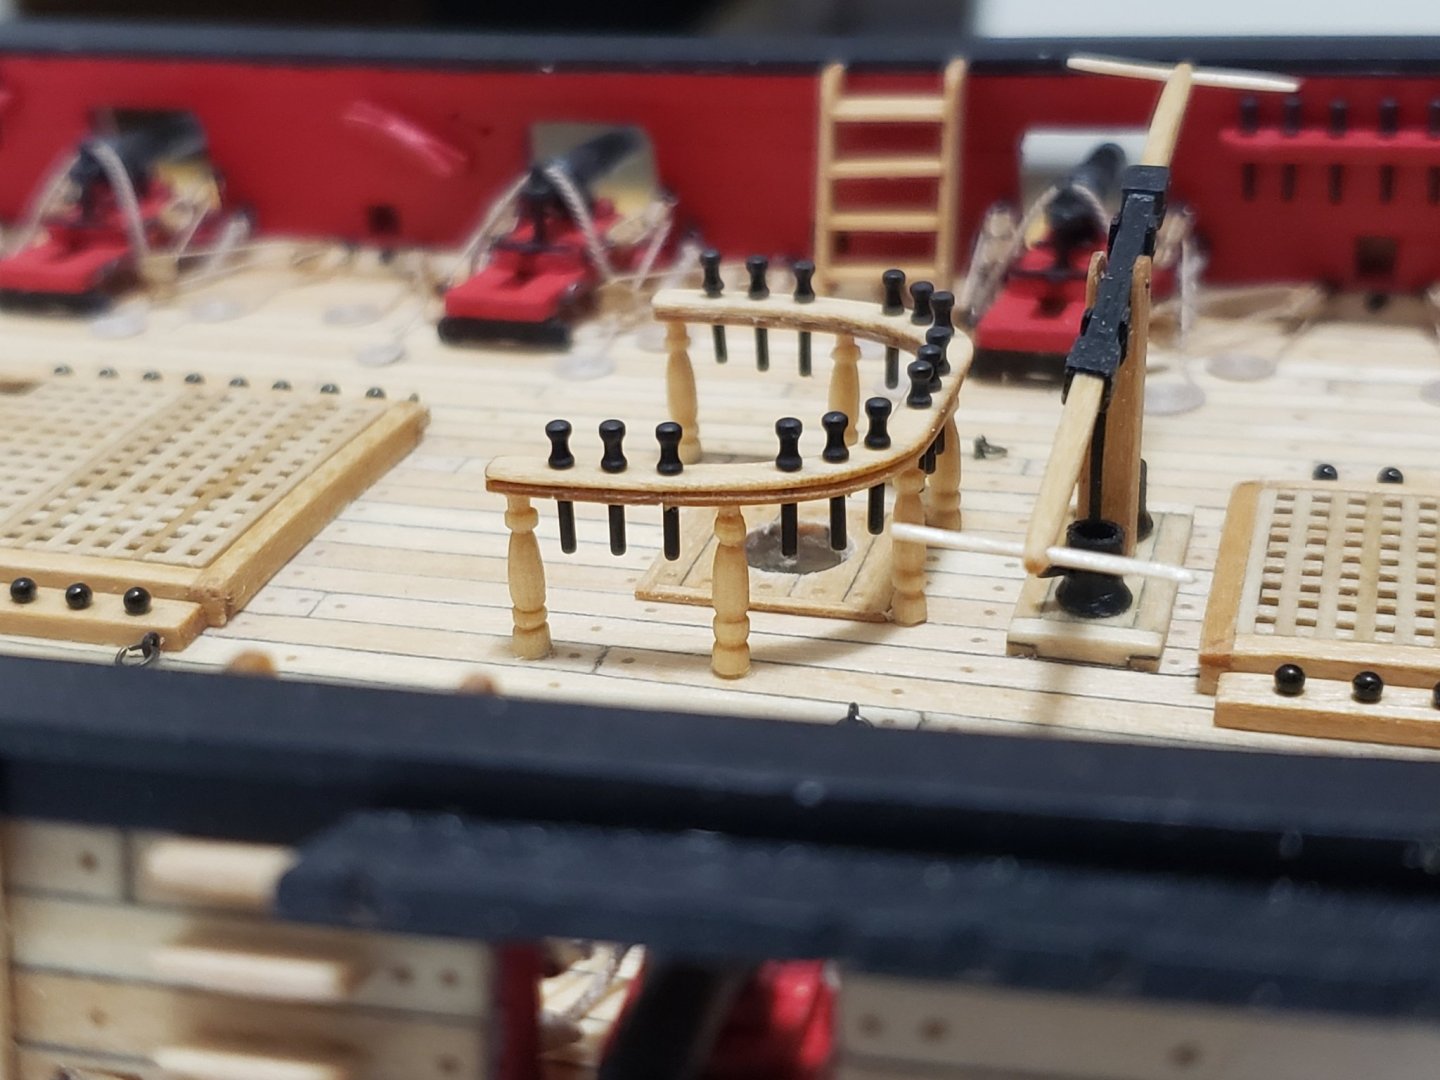
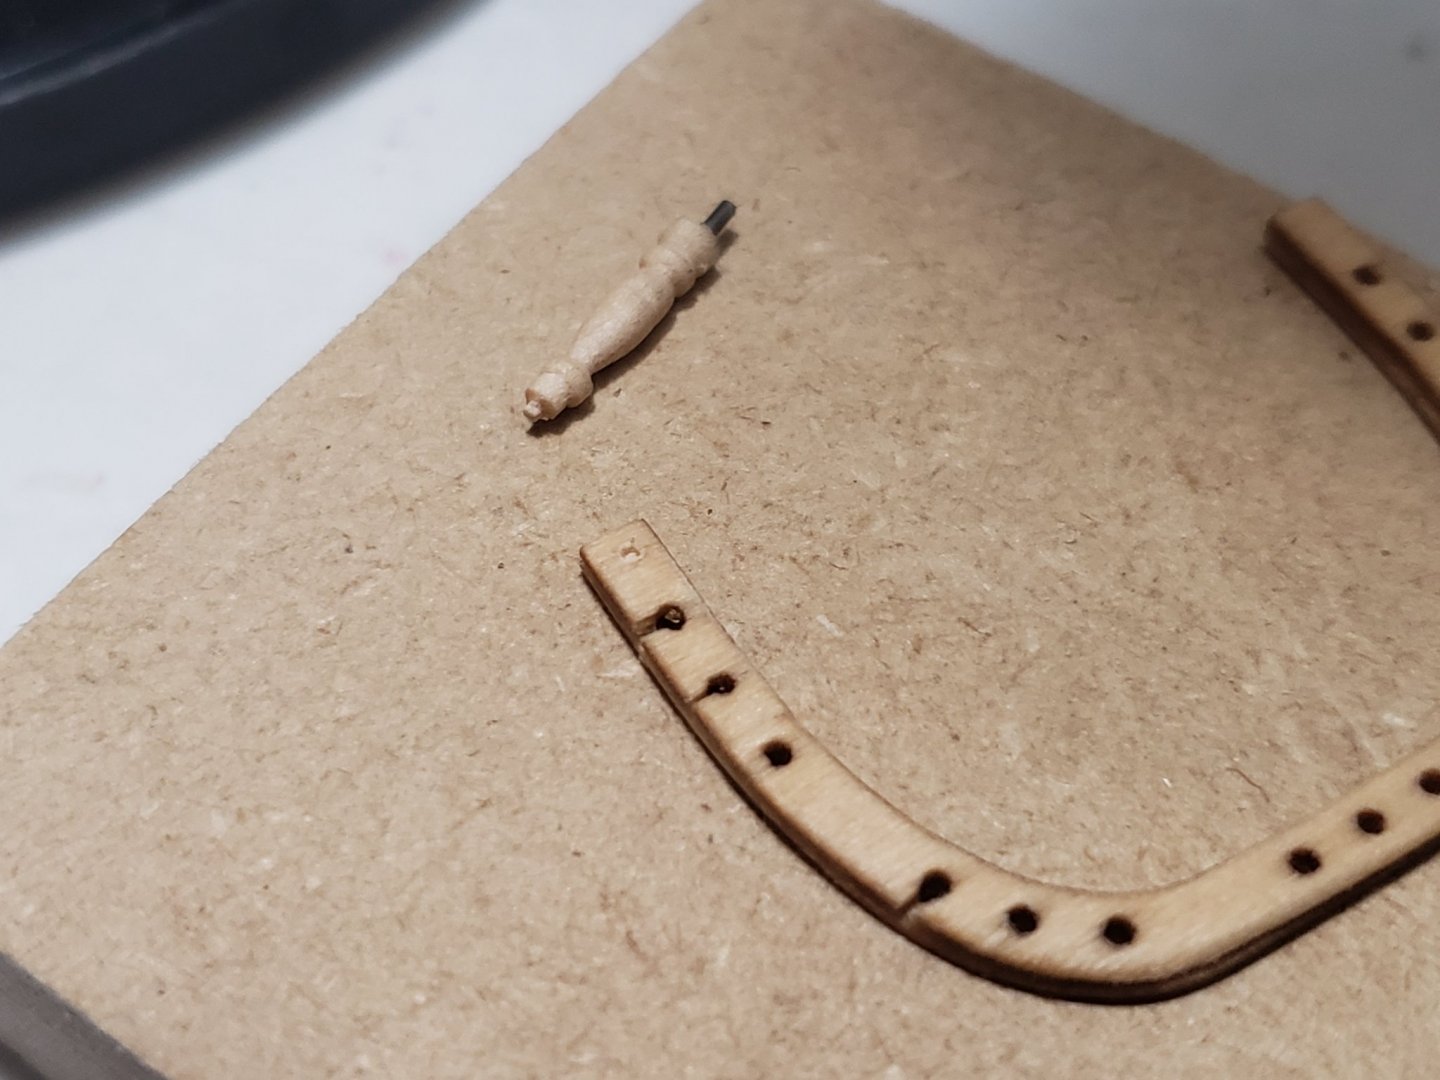
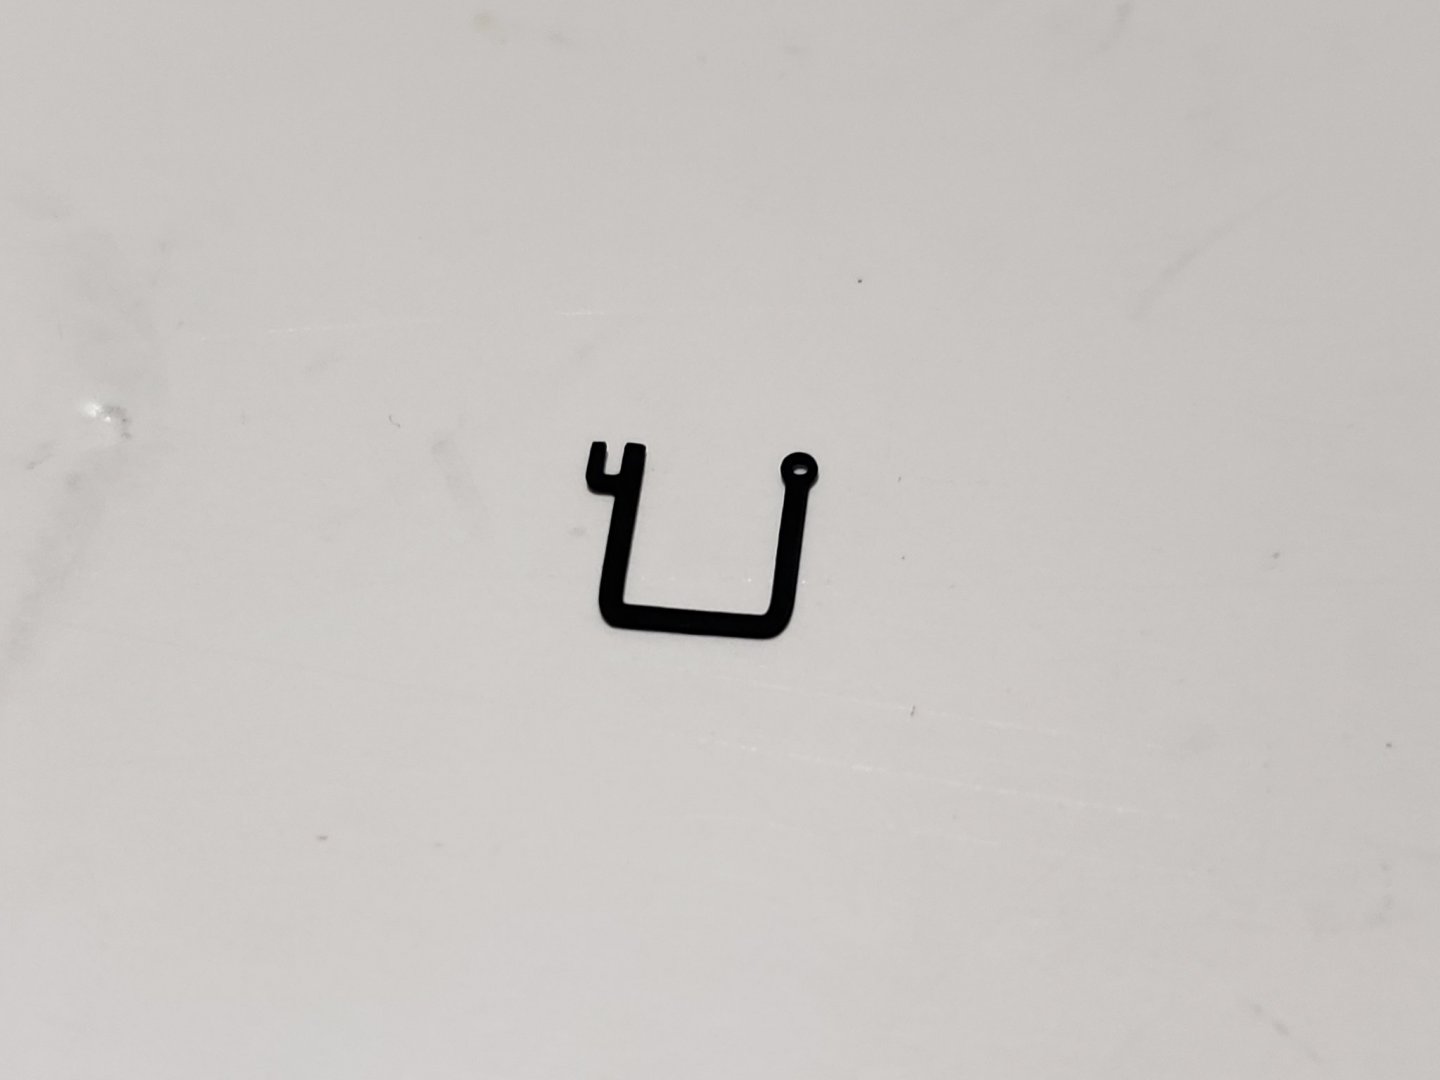
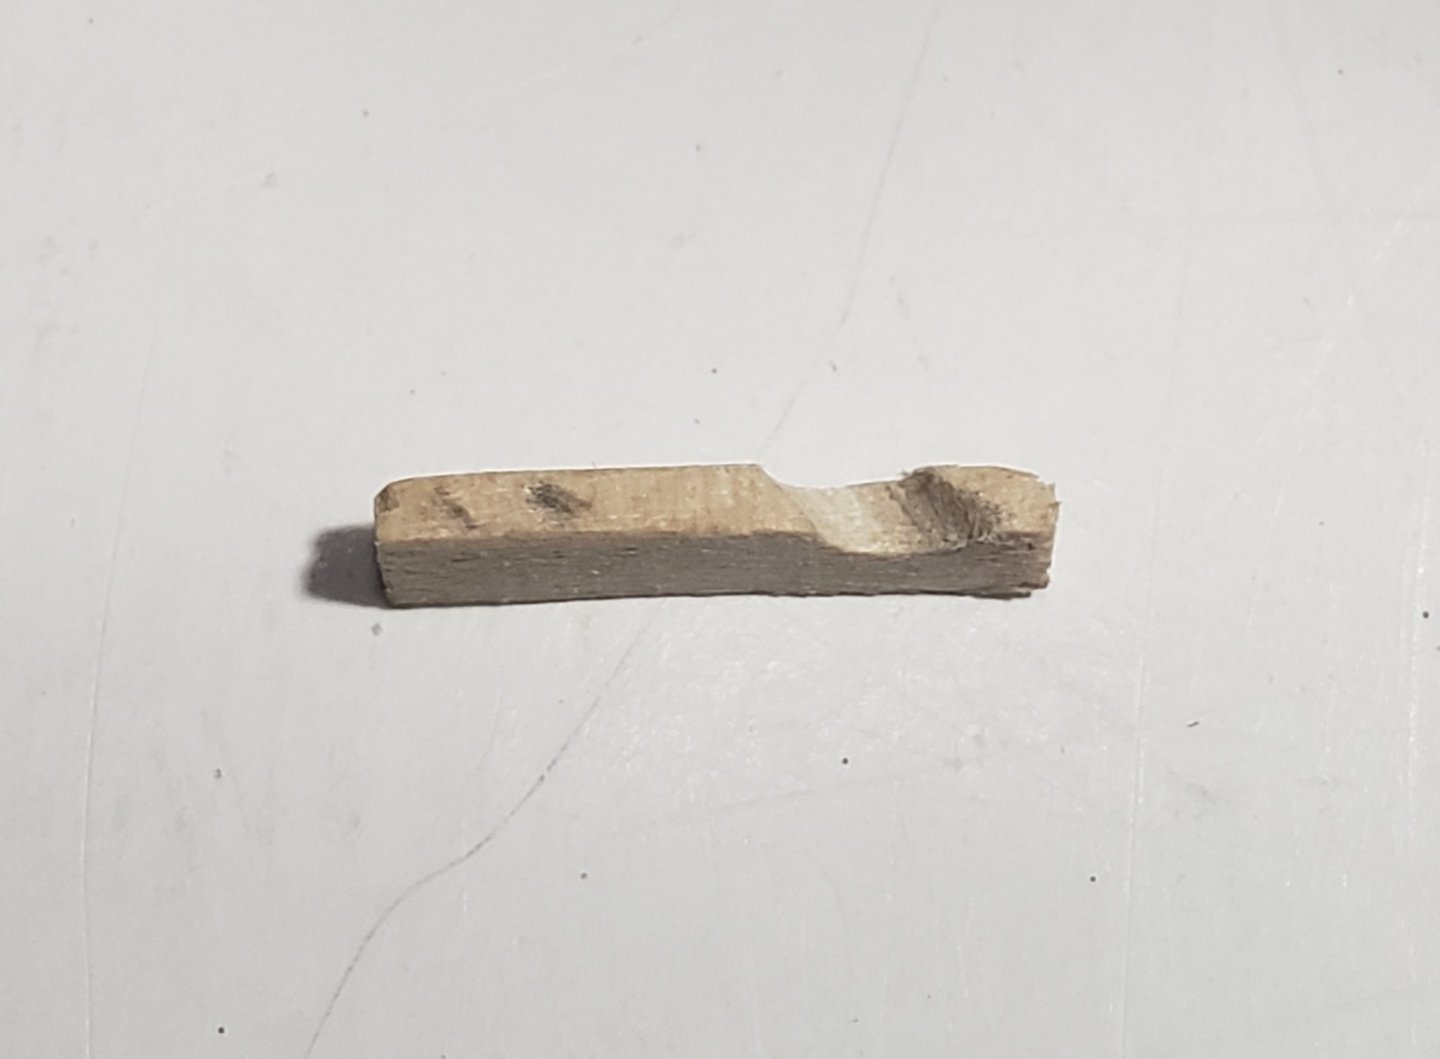
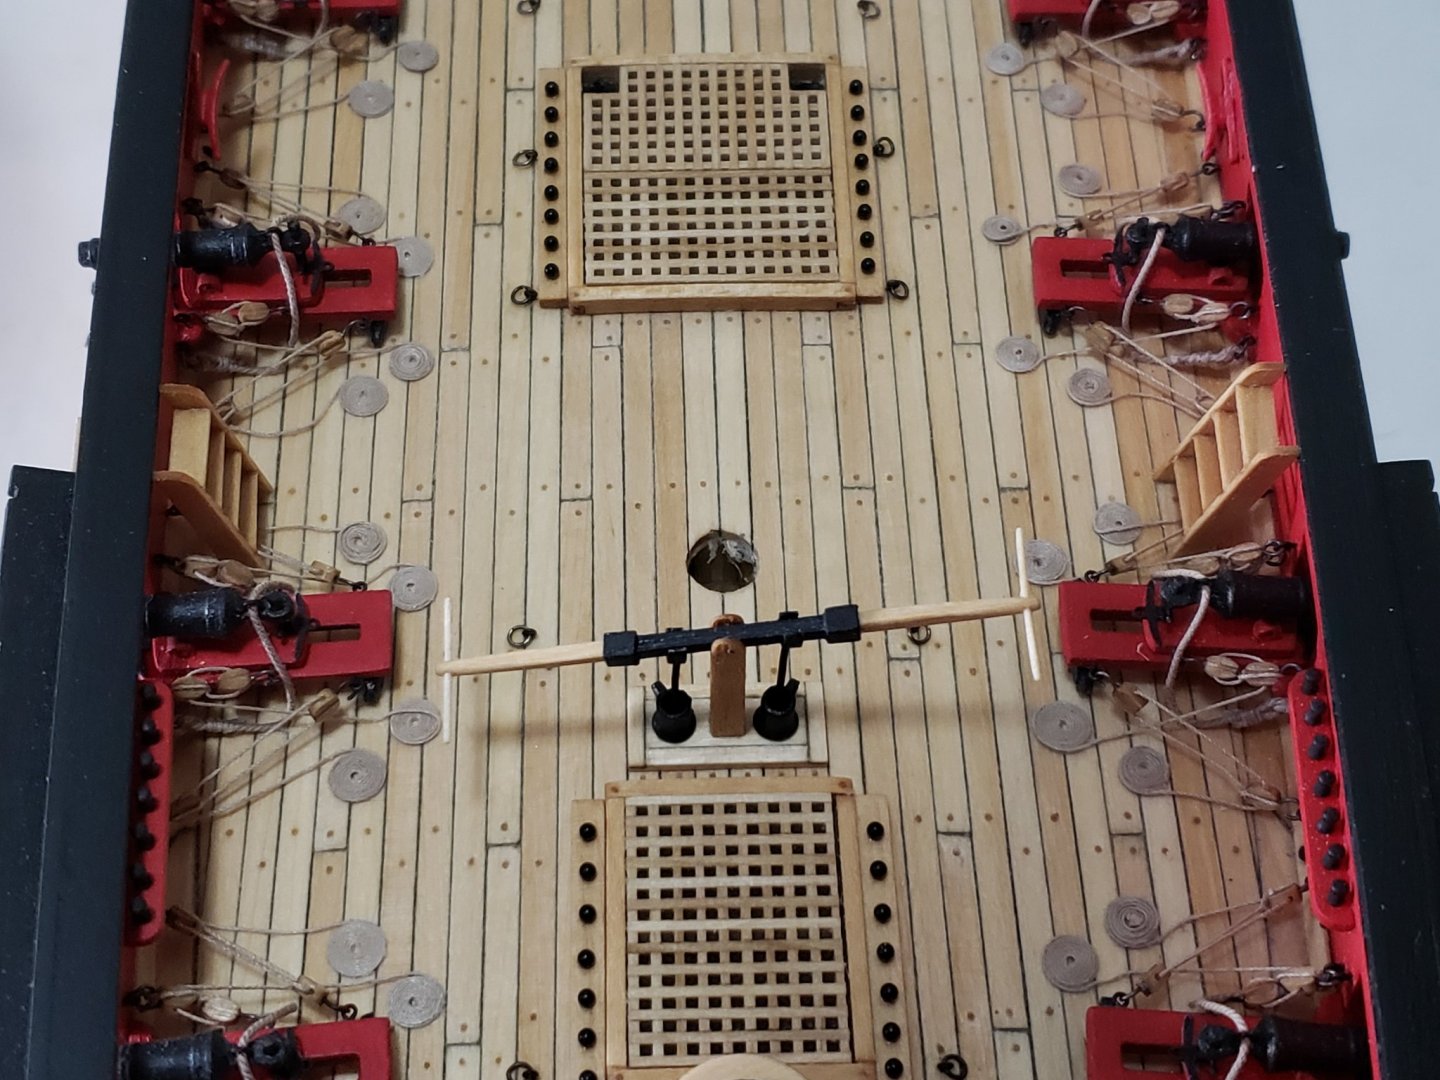
Holes in the deck were drilled 😬... Fortunately it went smoother than expected. I placed the rail with glued legs on the desired position and marked the spots on the deck where the wire touched. After triple checking the locations (and checking once more for good measure) I began drilling them. Found that one of the legs was shorter than the other 5 so made a new one to fit. After gluing the main fife rail in position, belaying pins were inserted. The 6 pins on the rail closest to the bow were too snug and I had to lightly tap them to place with the back of a needle file. Then I figured it would be better to increase hole width with a wider drillbit, so the rest of the pins are not as snug, but still a very good fit, and easier to put in position. Just hope the rail won't detach from the legs or the deck as I progress with the build.... I think this is the trickiest part of this chapter, so I hope everything else goes smoothly from here!!

- 950 replies
-
- 14
-
-
- syren
- model shipways
- (and 1 more)
-
I'll take the front row seat! Always have been fascinated with Master Korabel's kit designs. Very eager to see how she progresses!! 😊
-
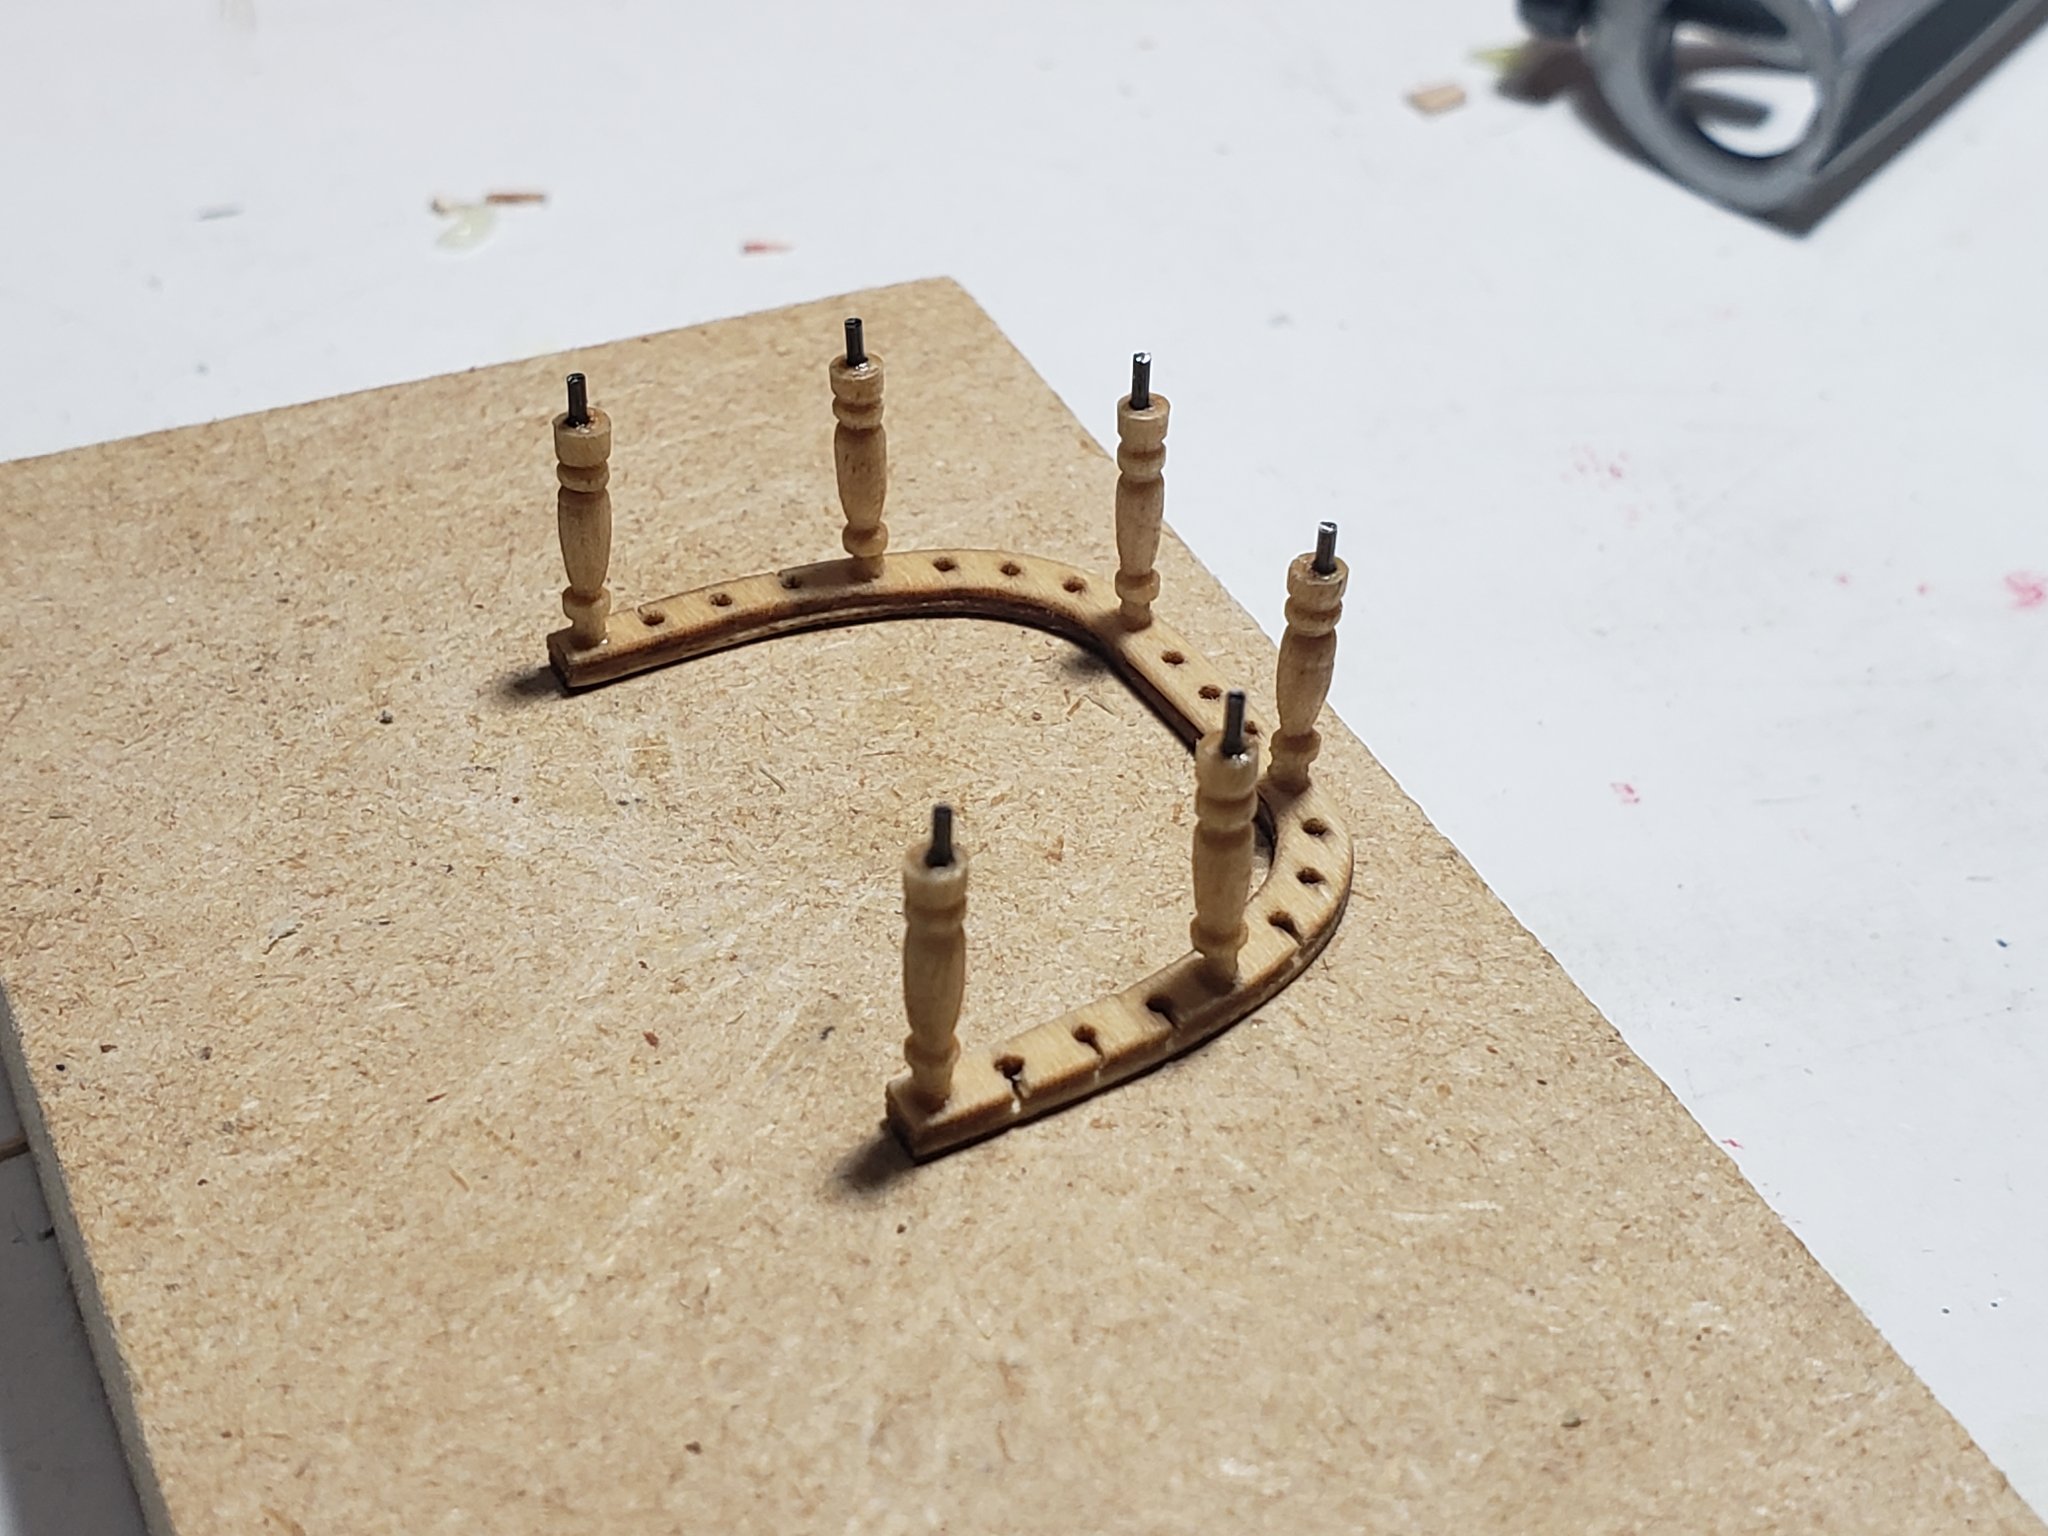
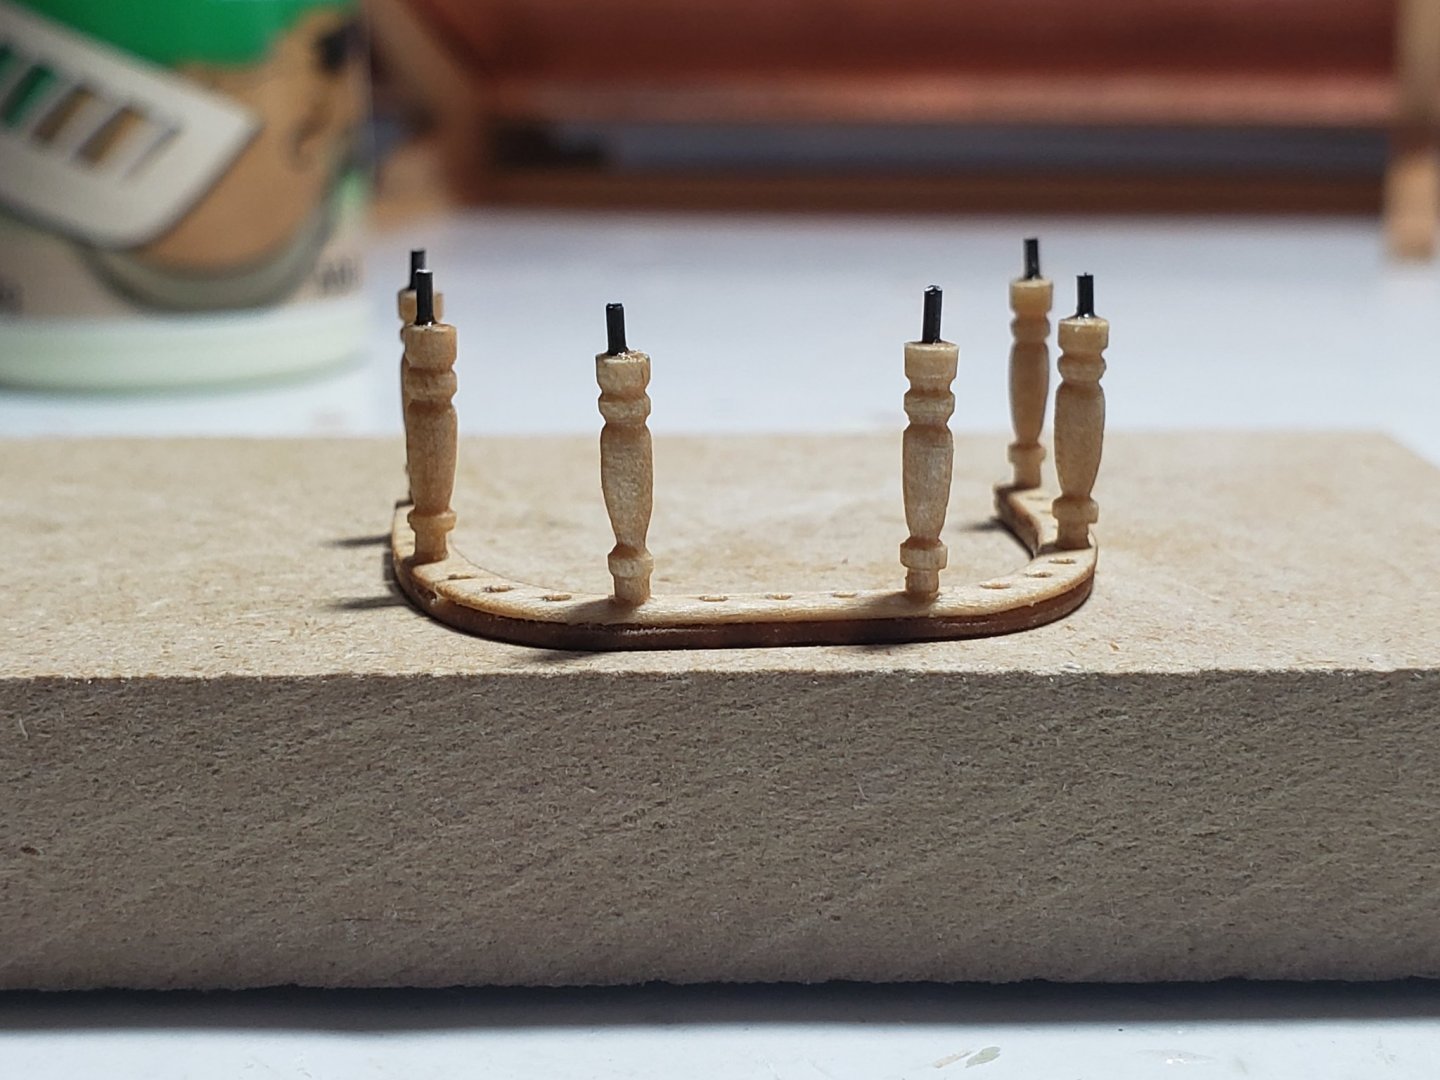
Stachions have been glued to the rail. Drilling the holes on the deck will be tricky...

- 950 replies
-
- 13
-
-
- syren
- model shipways
- (and 1 more)
-
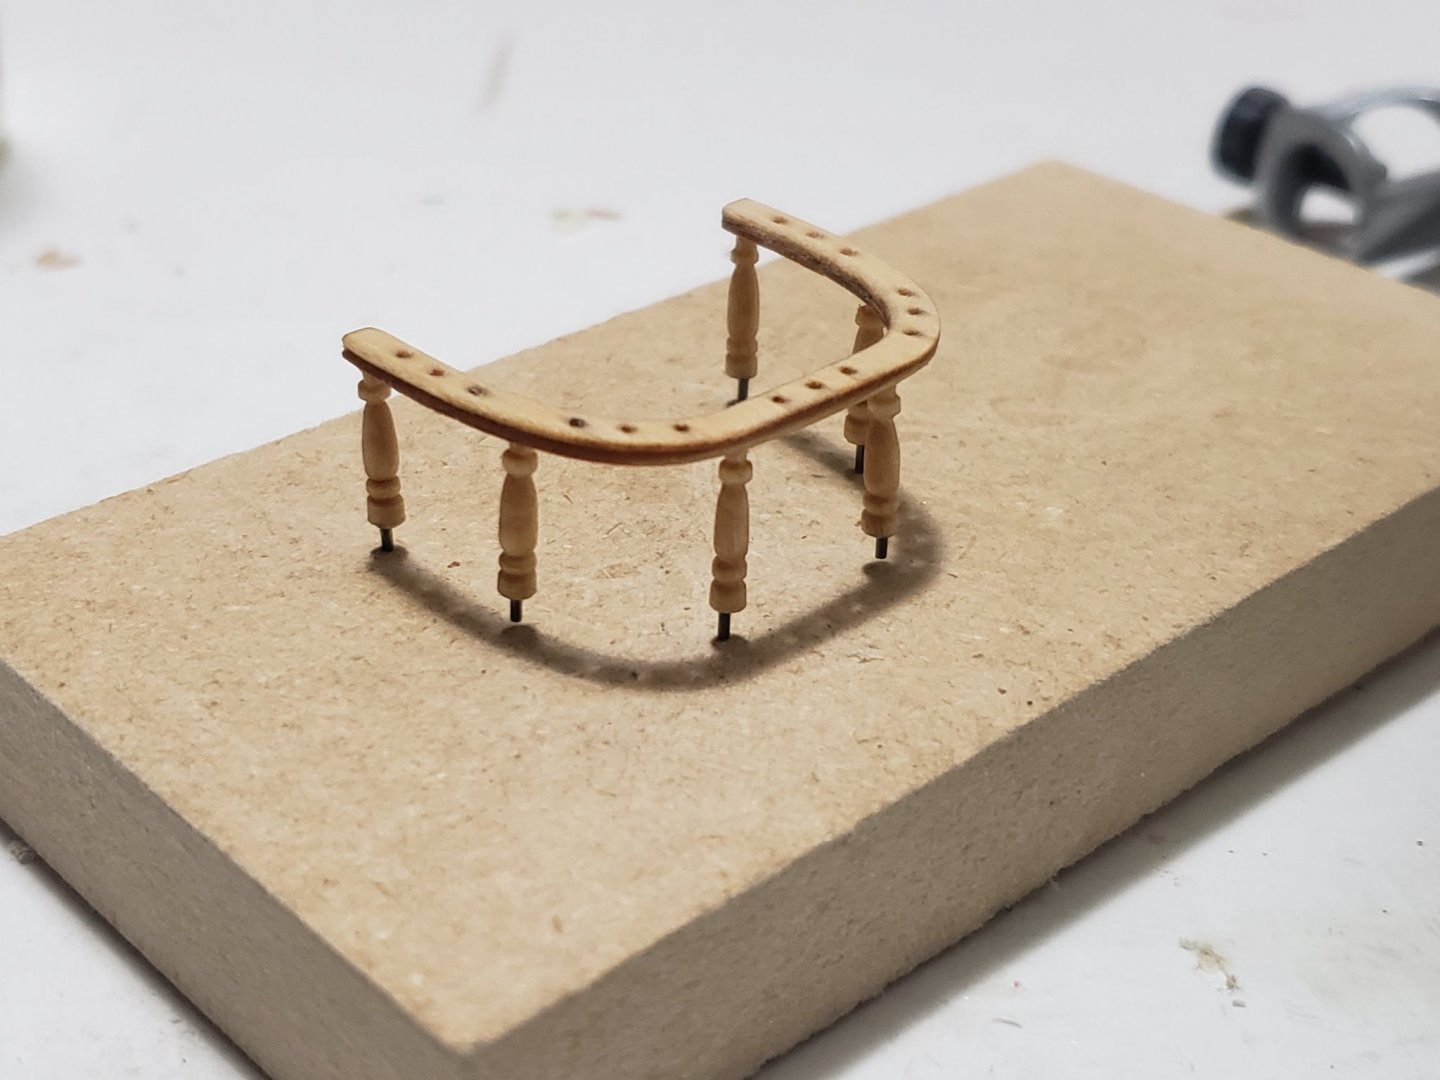
Thank you for the compliments Will. For the stanchions I think I'll try this method. I sanded a small notch on the top which will be inserted into a tiny hole on the rail. Hoping this would make it secure enough.....

- 950 replies
-
- 7
-
-
- syren
- model shipways
- (and 1 more)
-
Looks very crisp!!!!
-
The figurehead painting looks great! And the head rails came out very nice!! 😁
-
Thanks for the comment Robin! I was also thinking of drilling a wire but I am 100% sure the wood would split given its basswood and all... I'll see if I can think of another way of going about this.
- 950 replies
-
- 1
-
-
- syren
- model shipways
- (and 1 more)
-
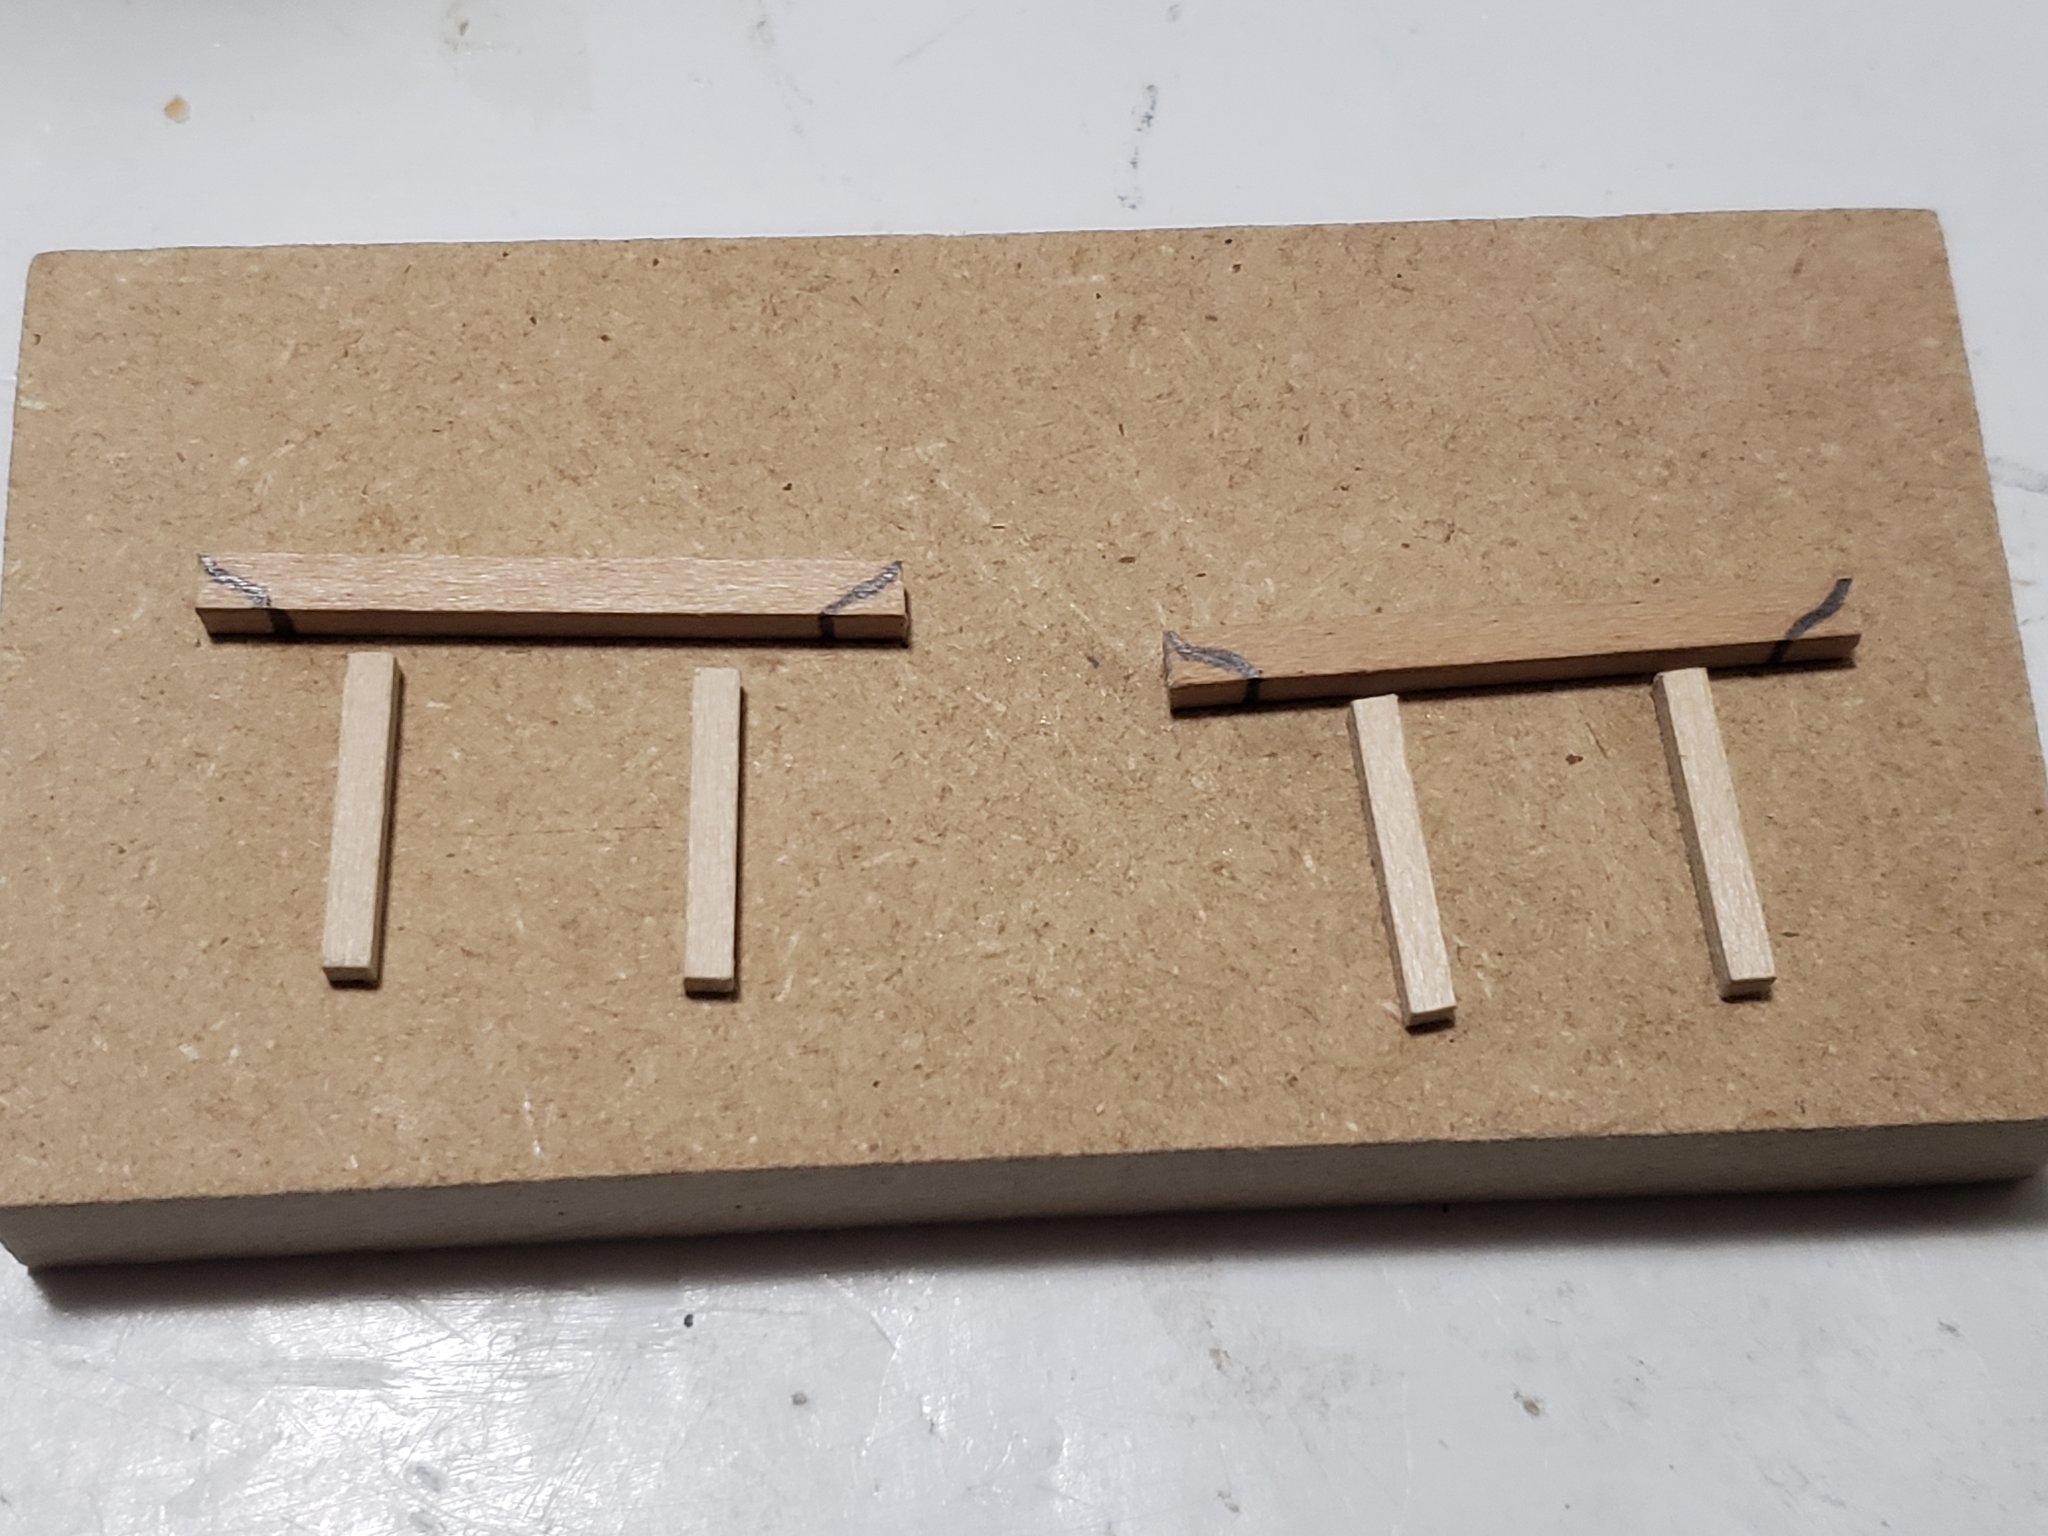
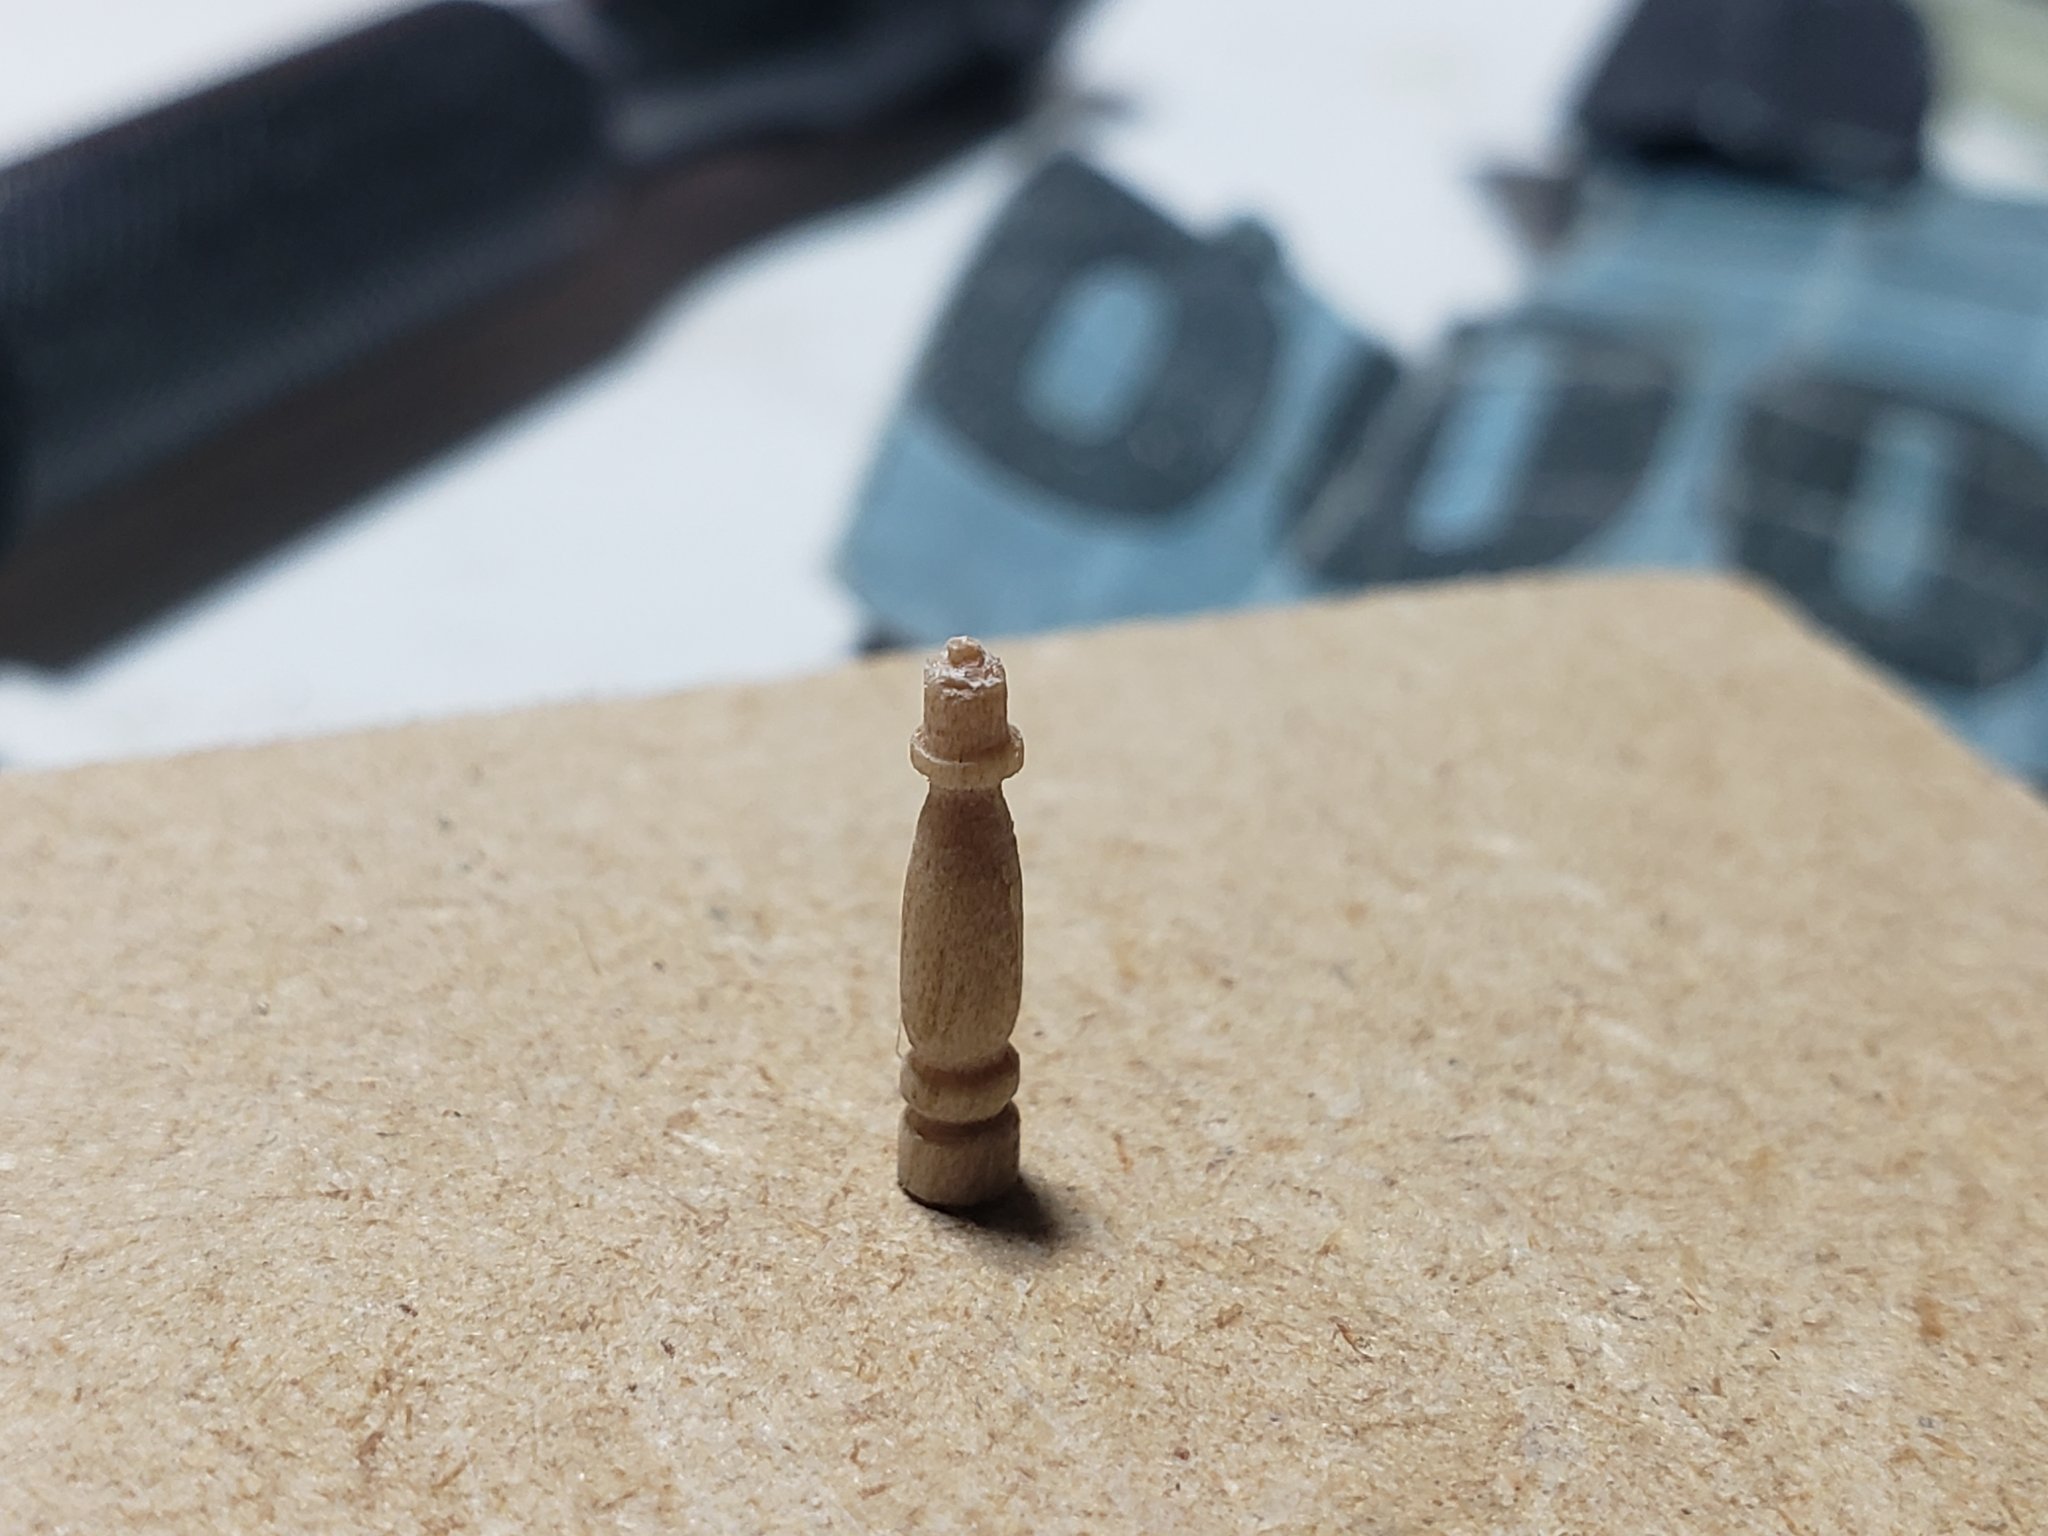
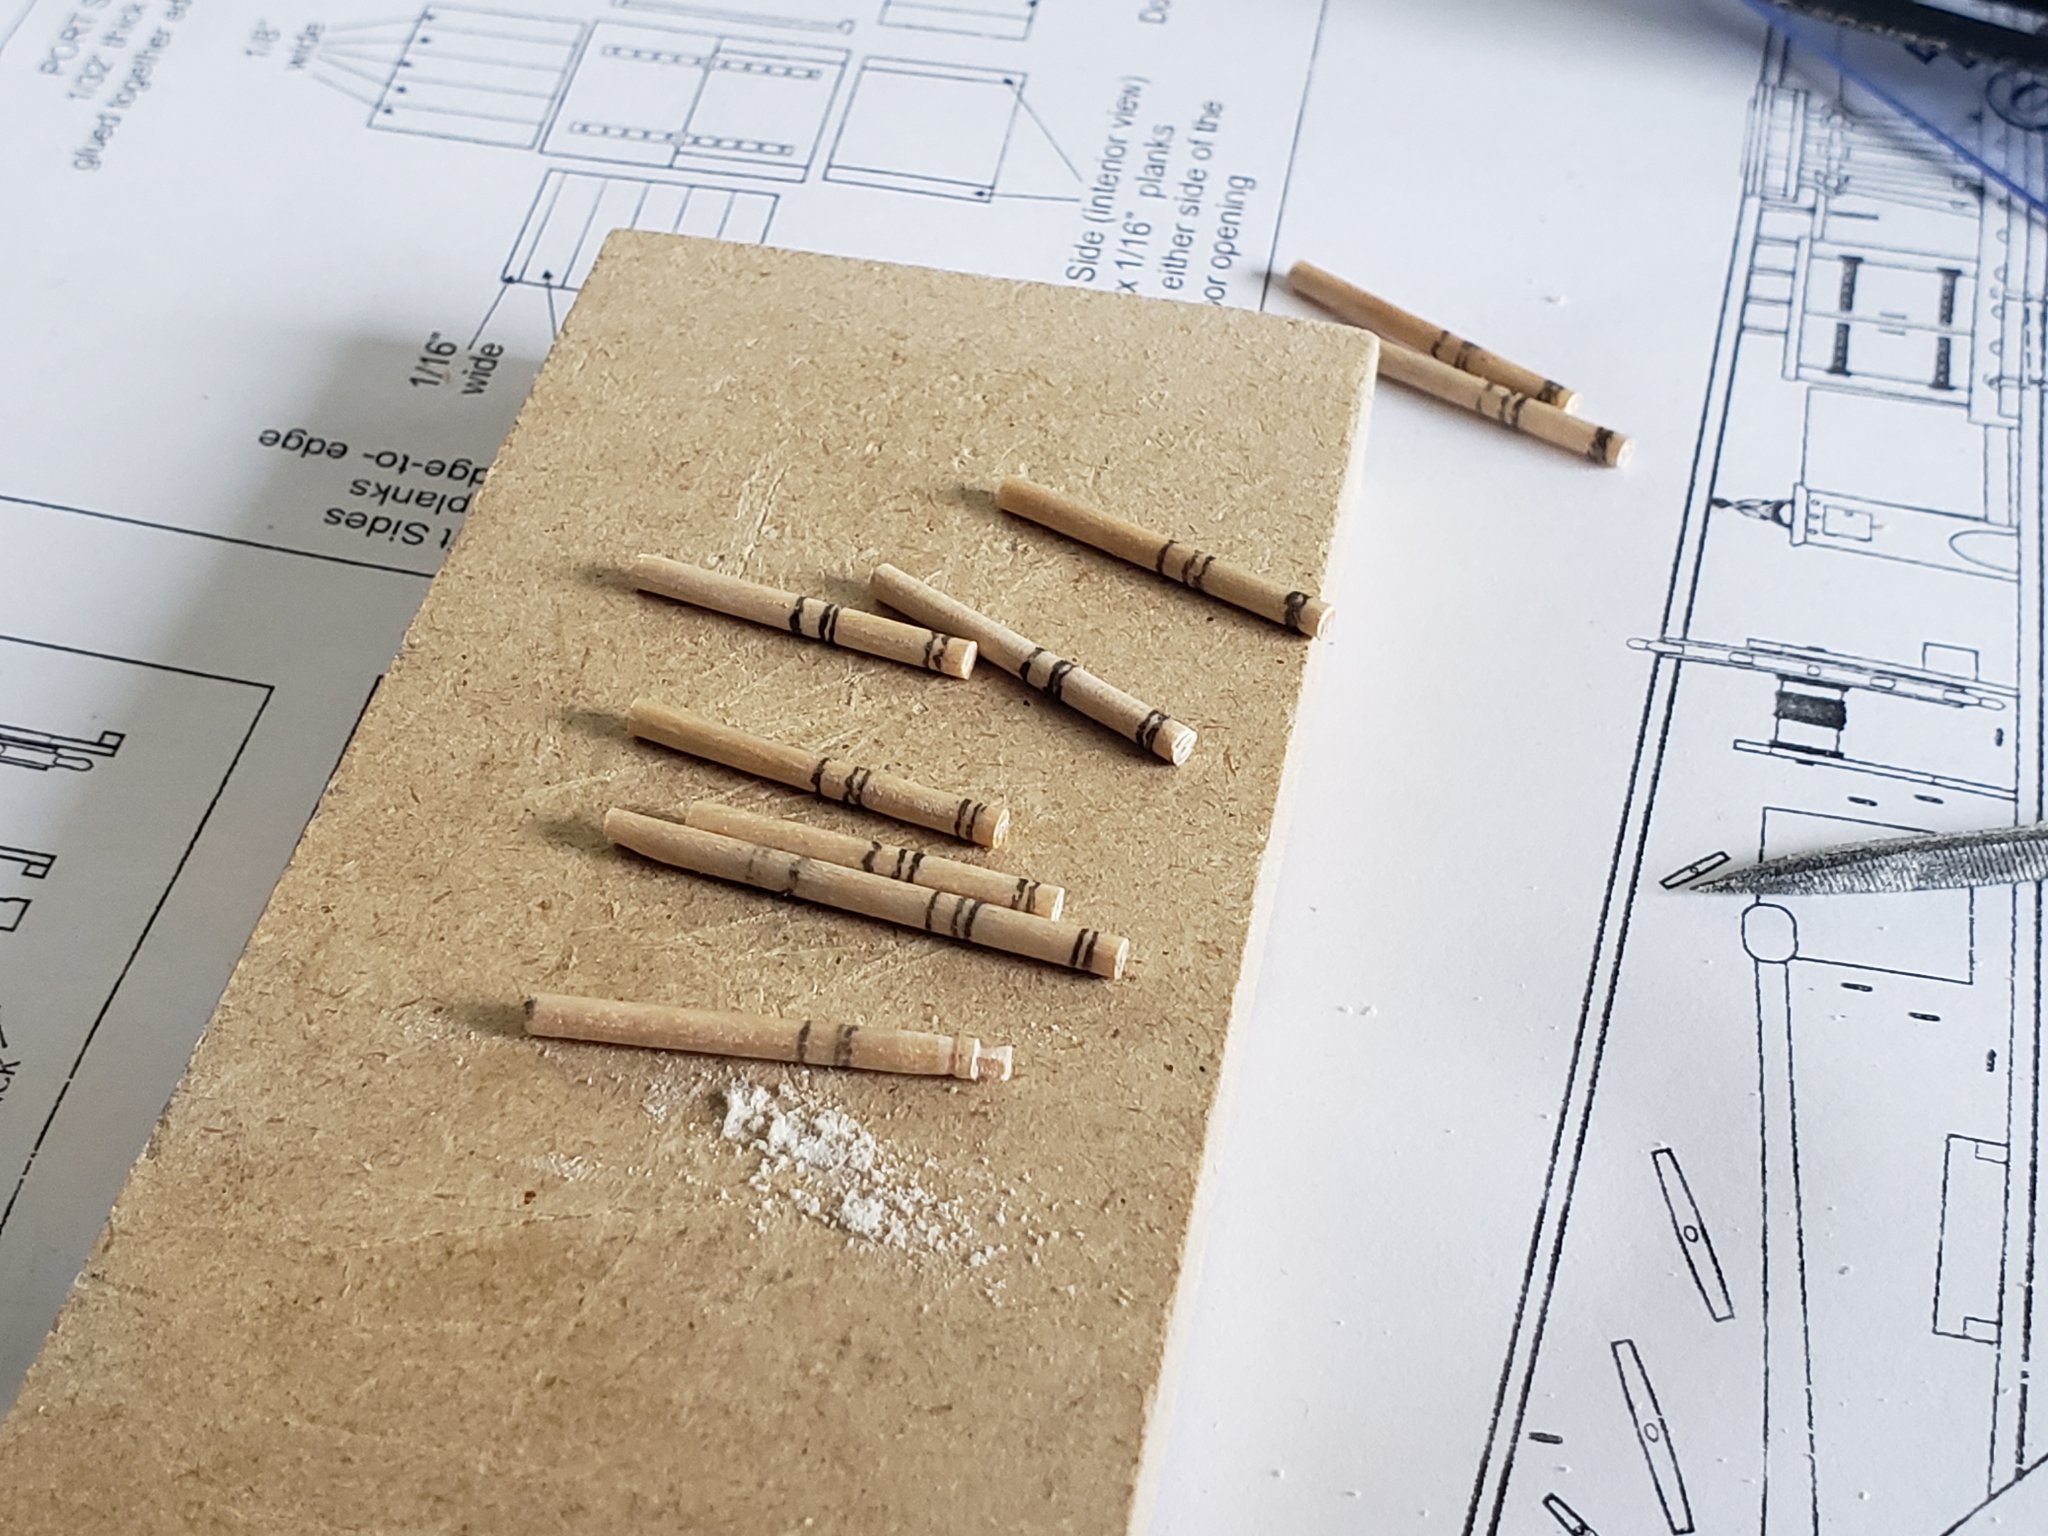
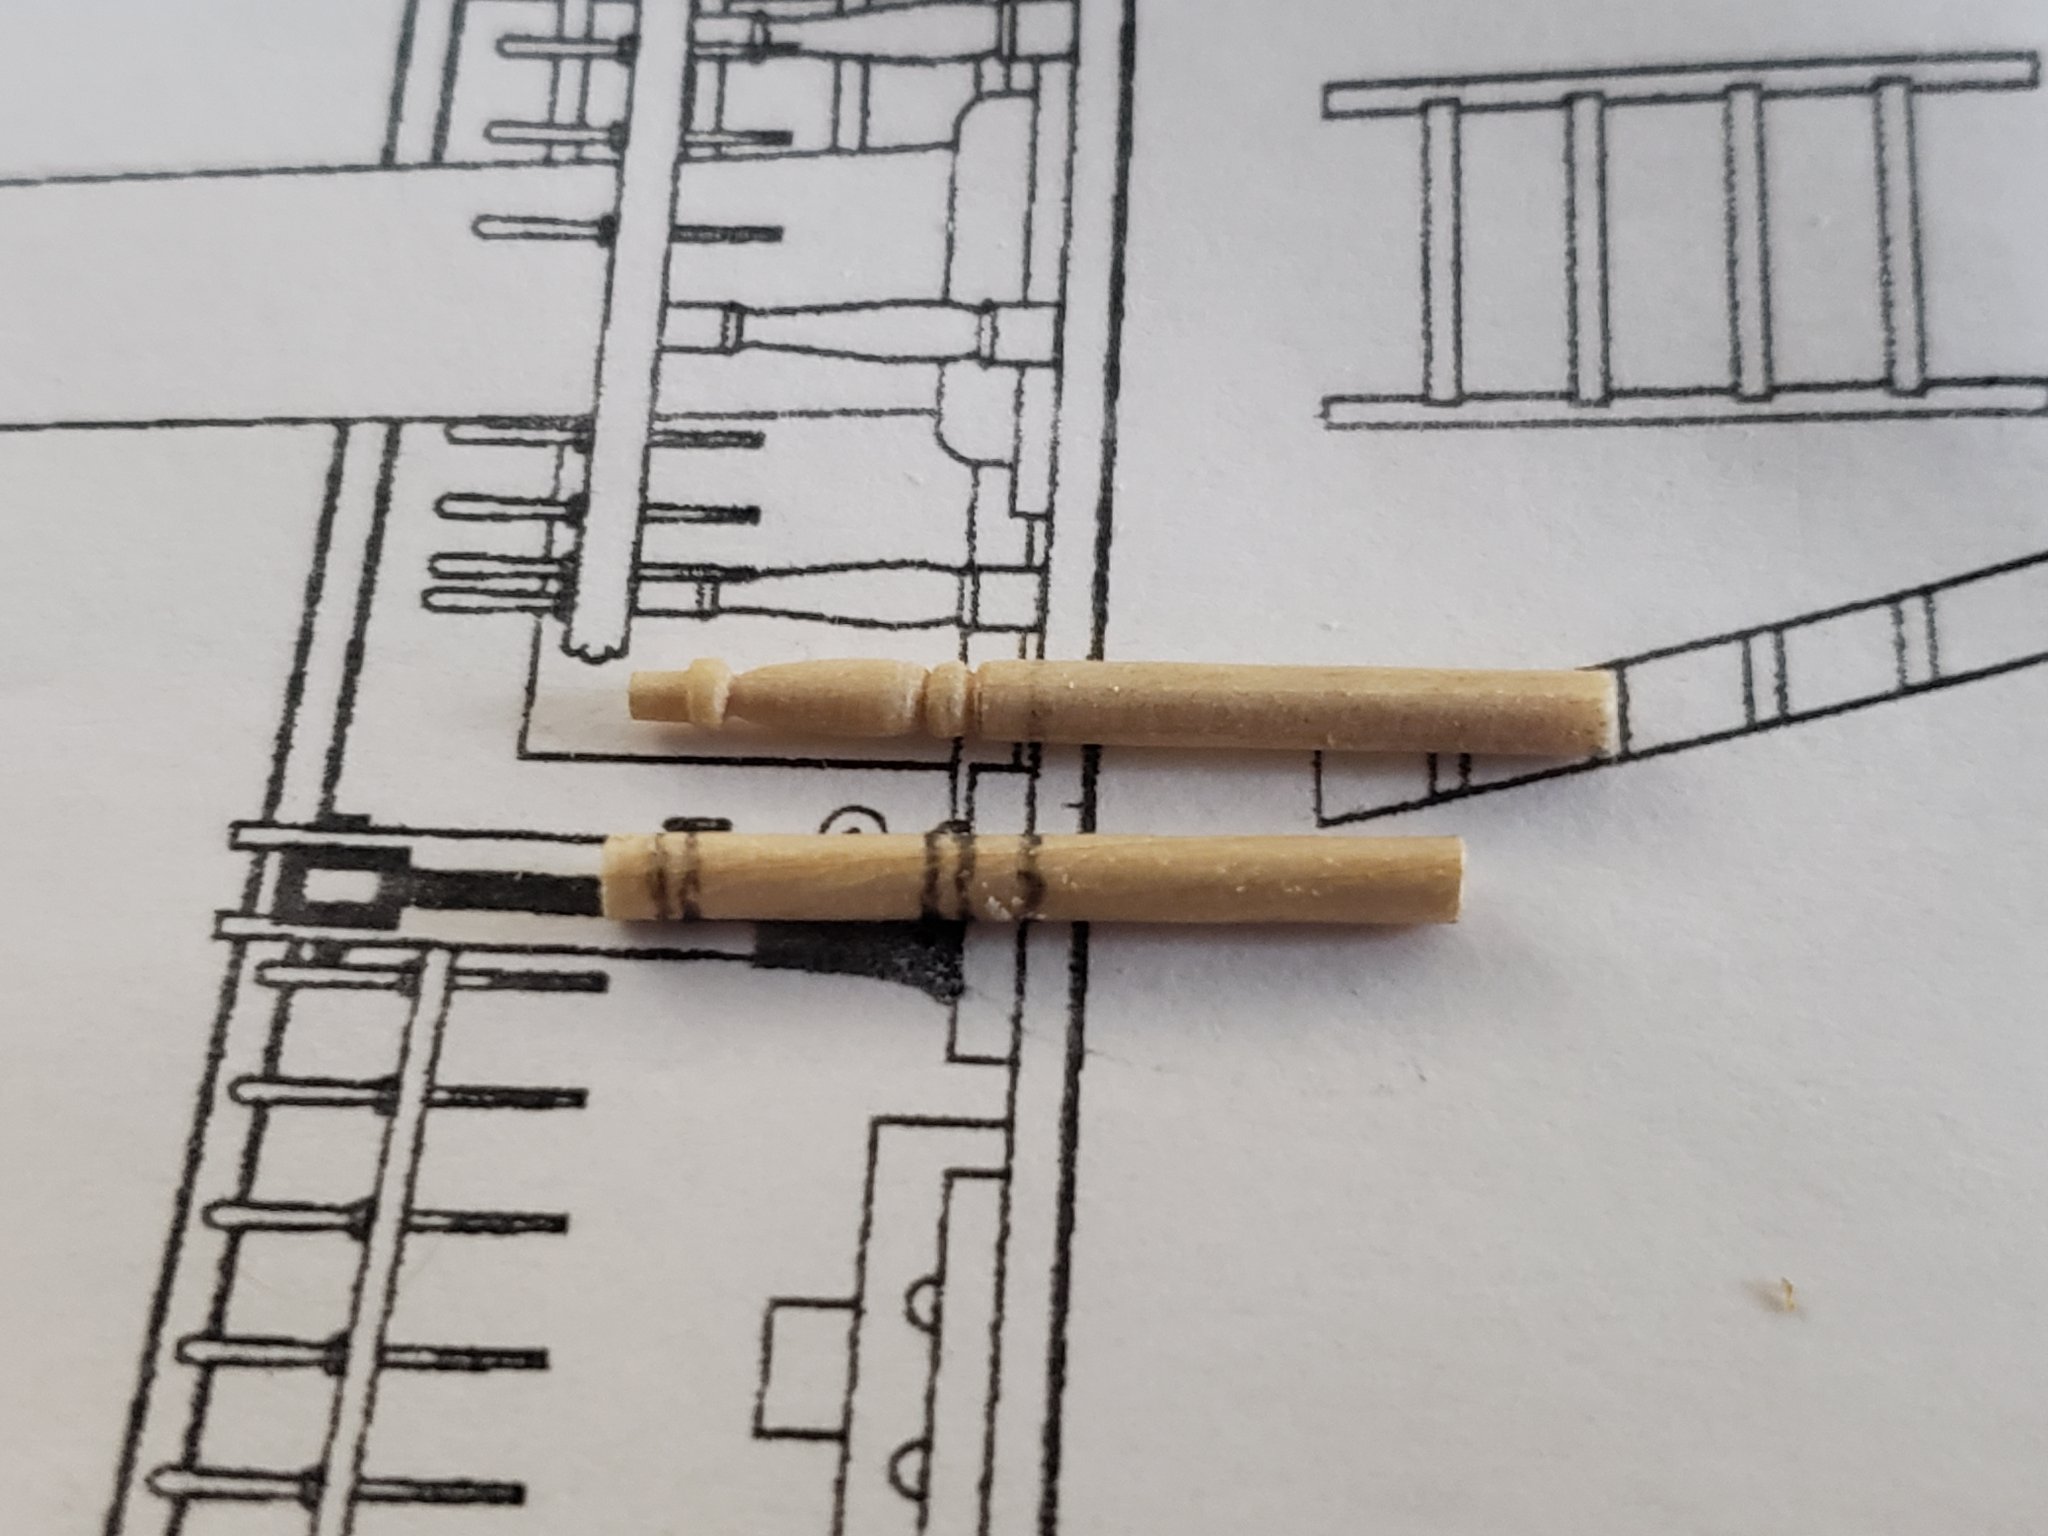
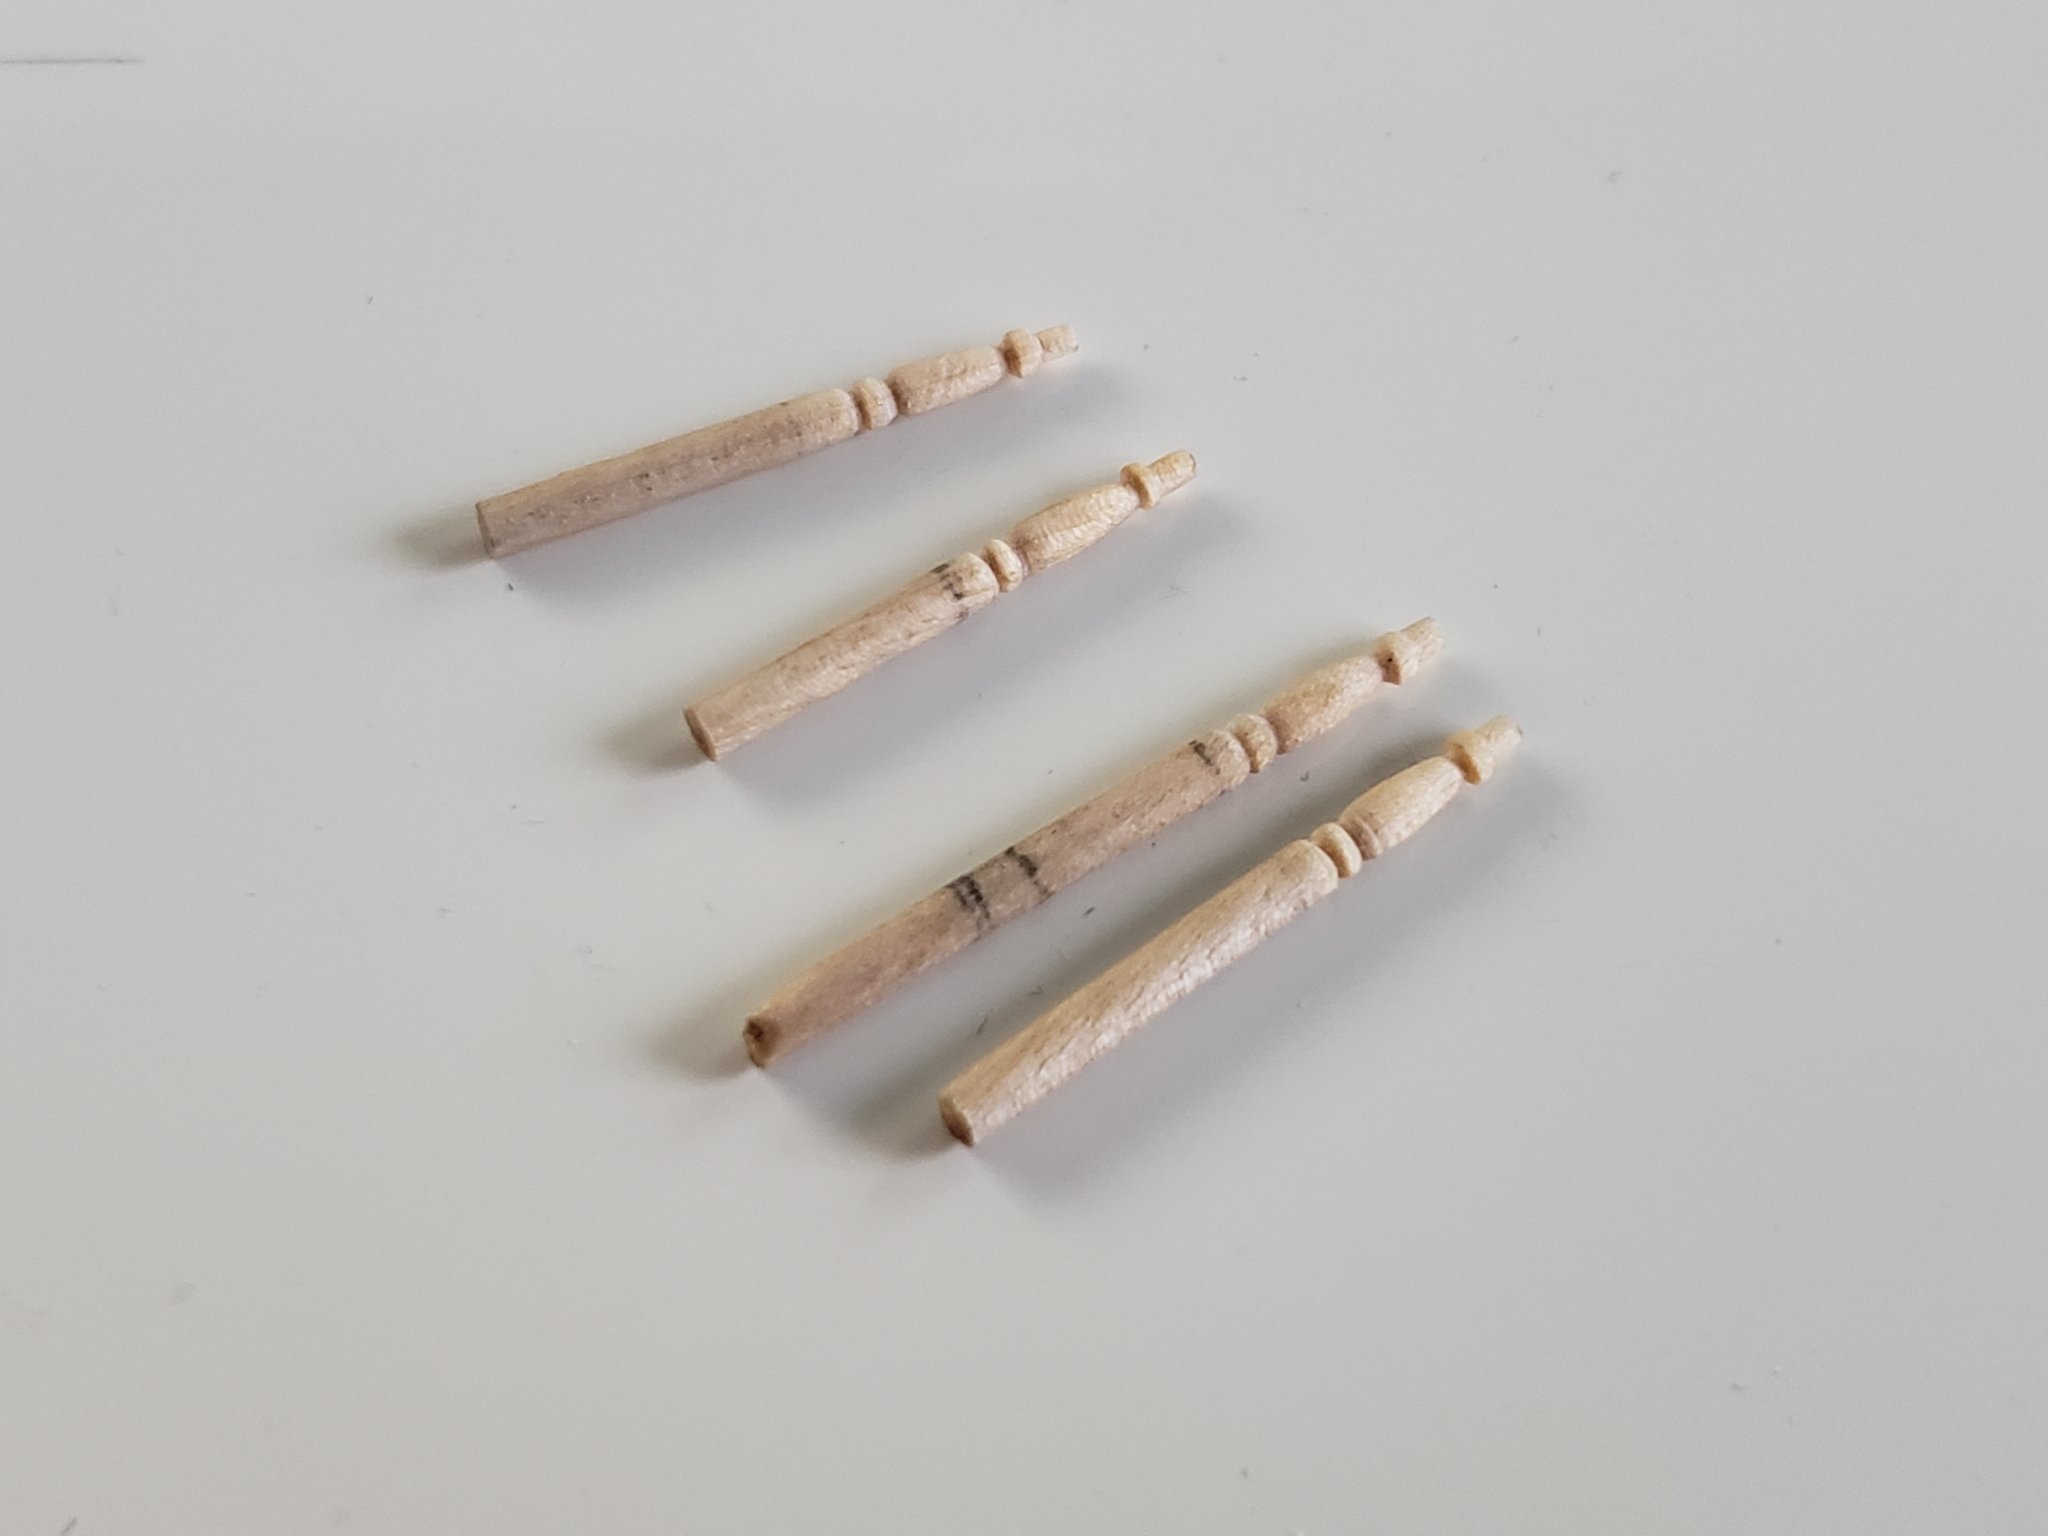
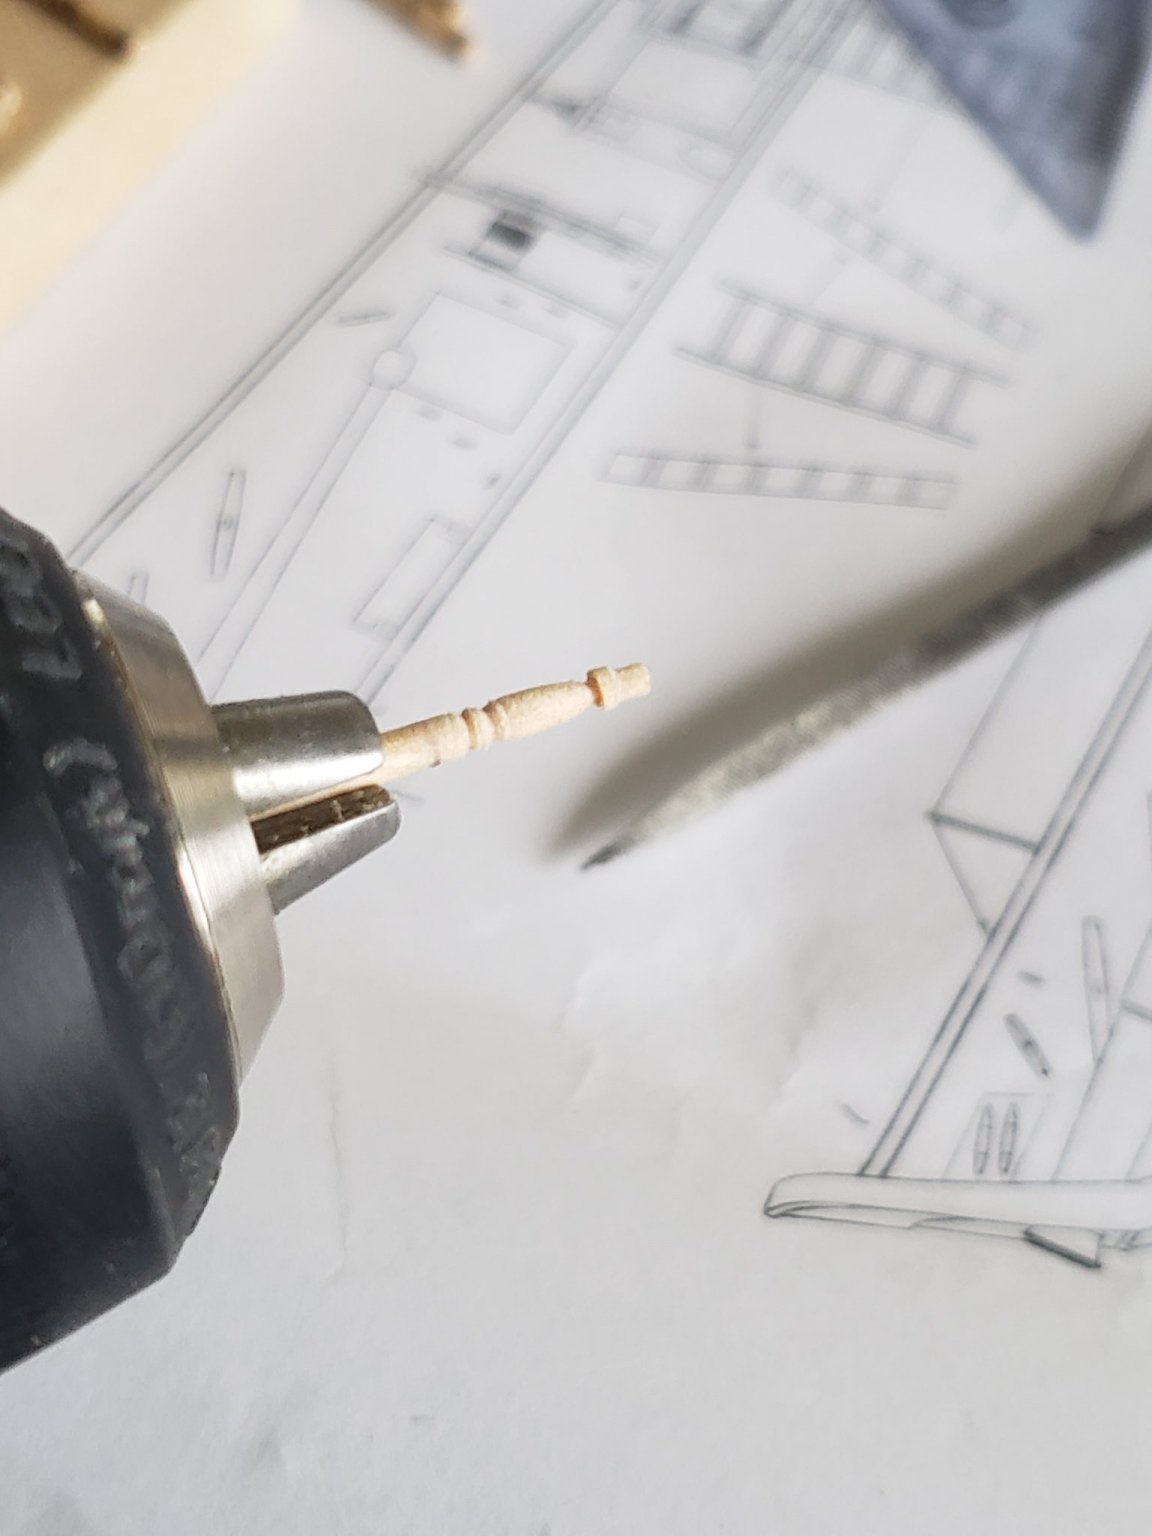
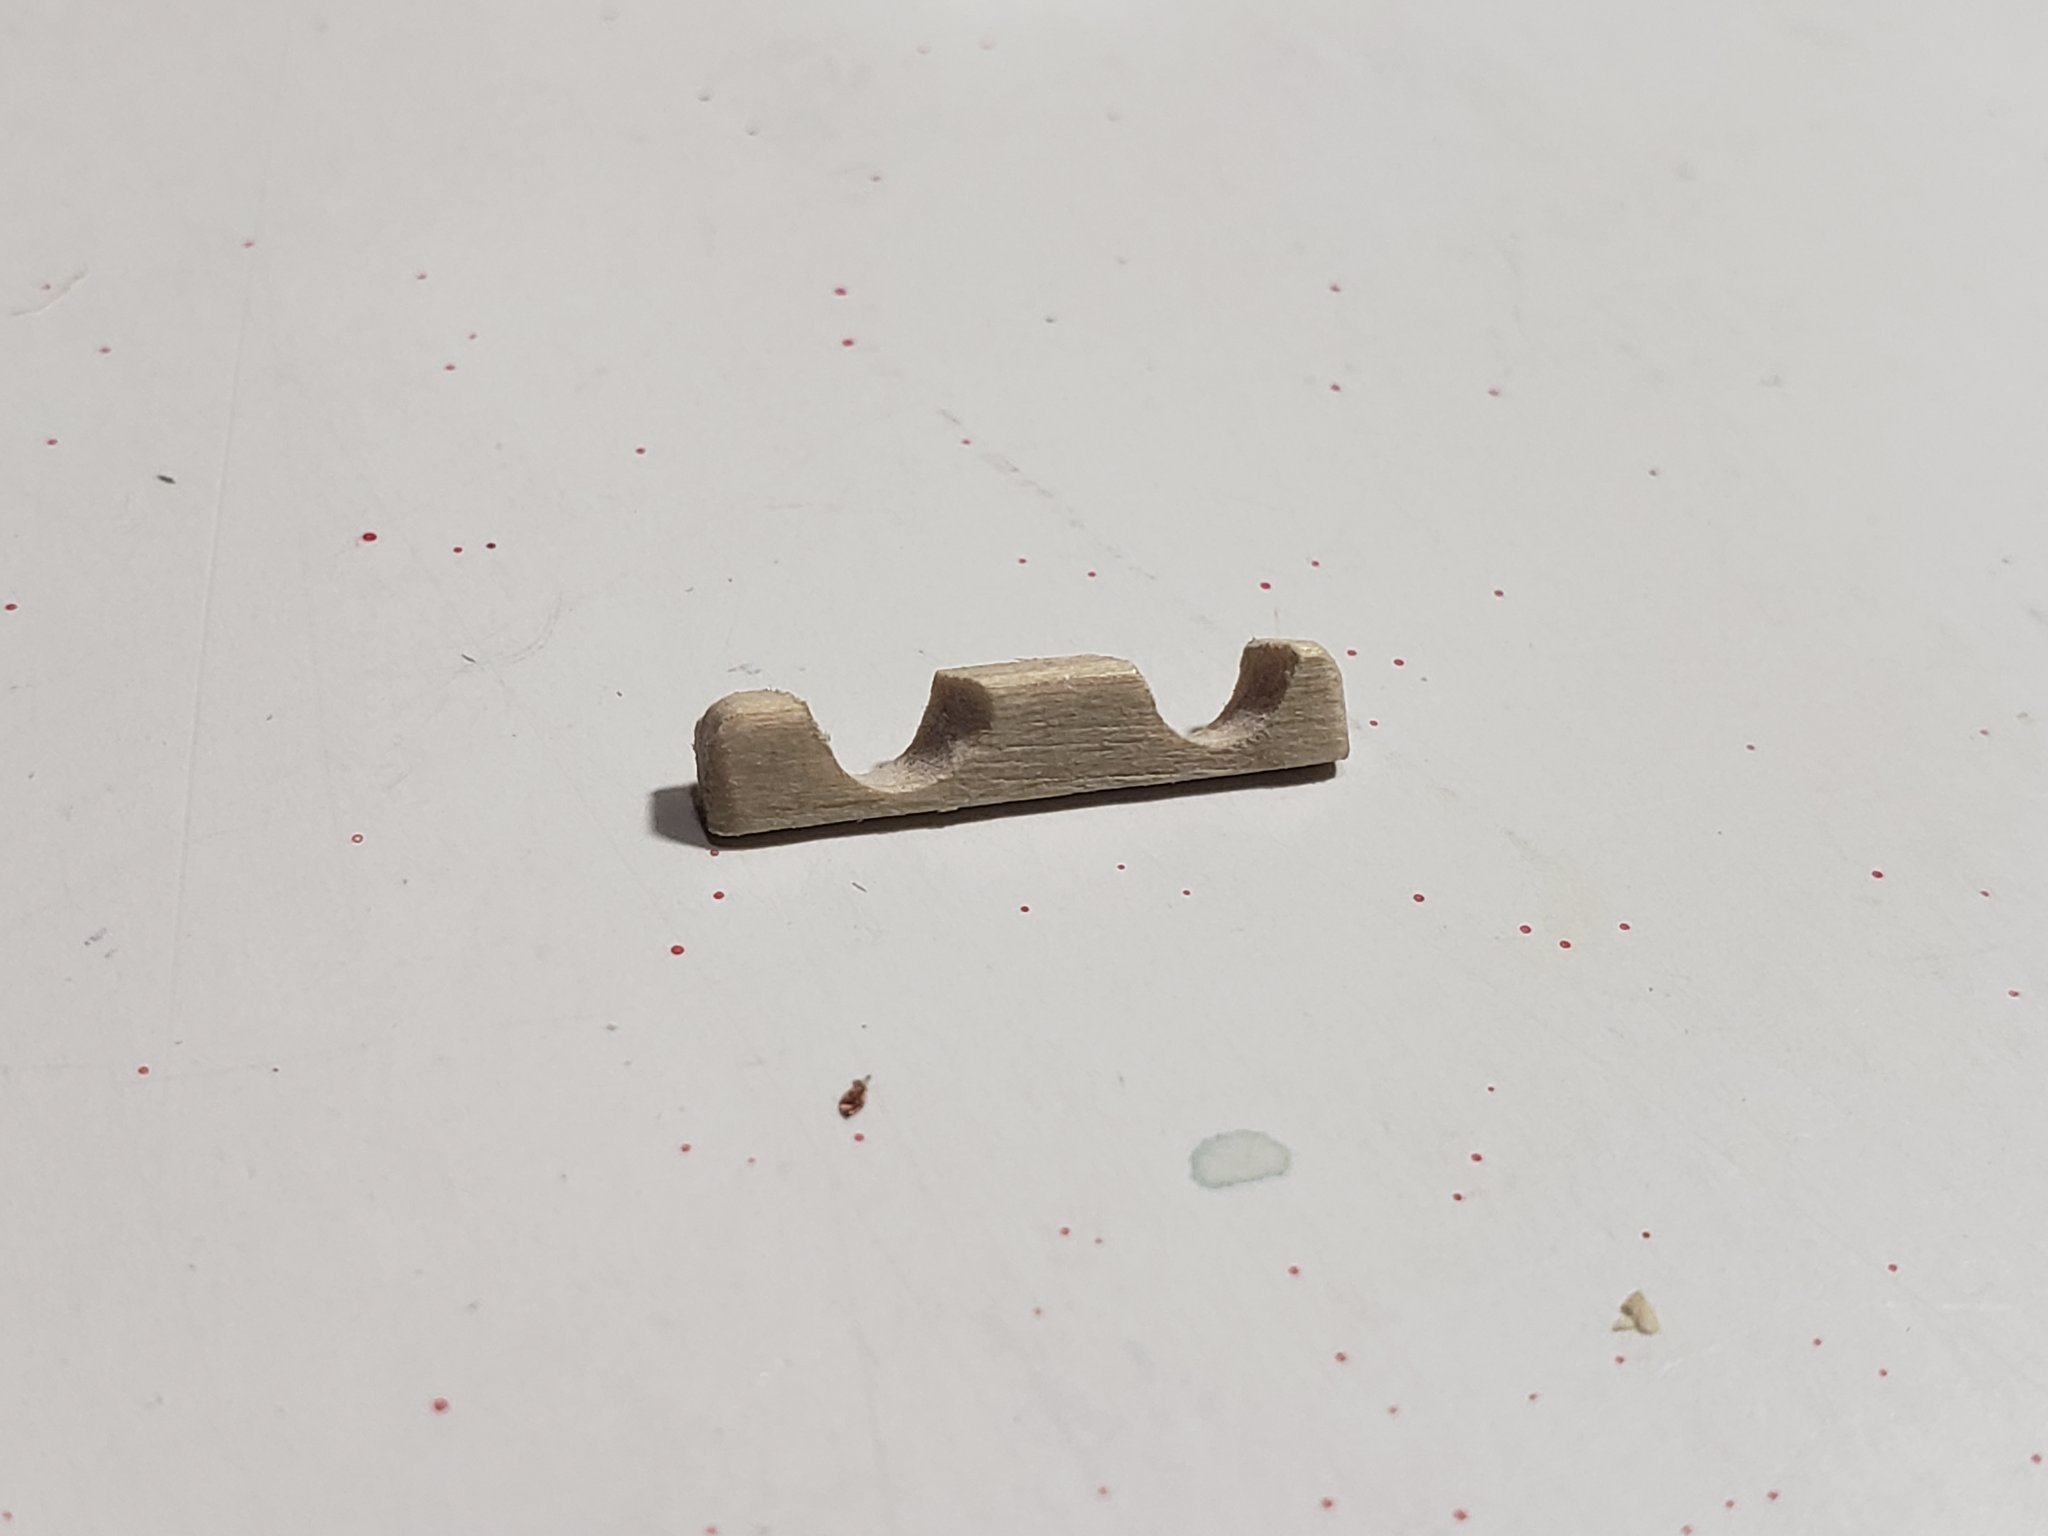
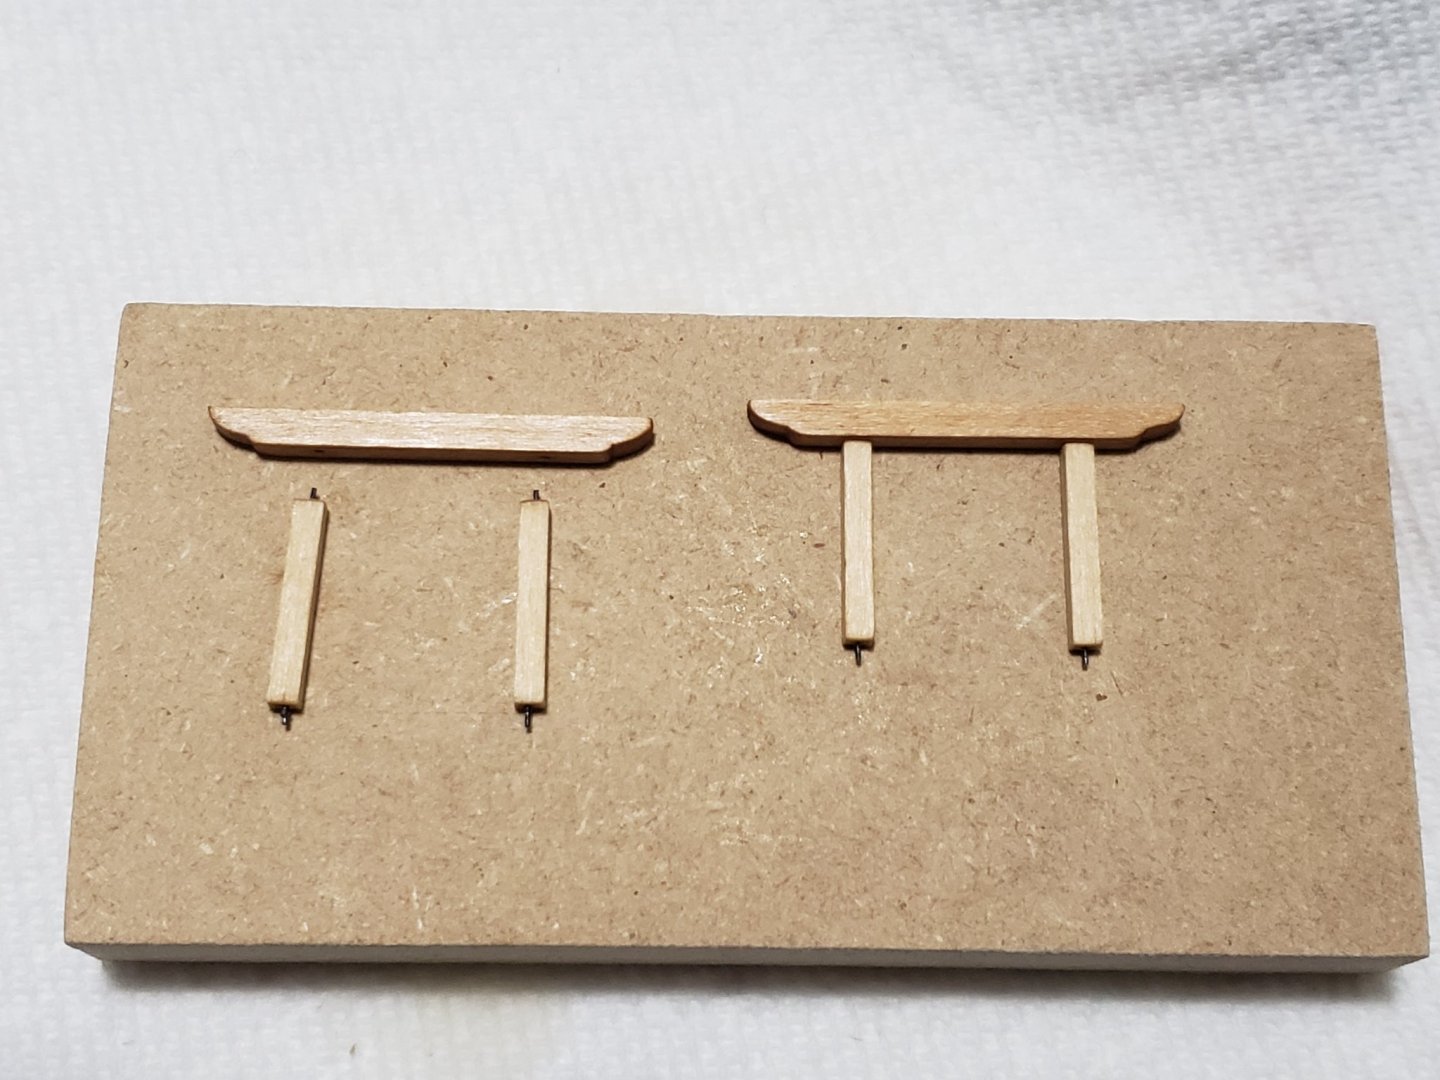
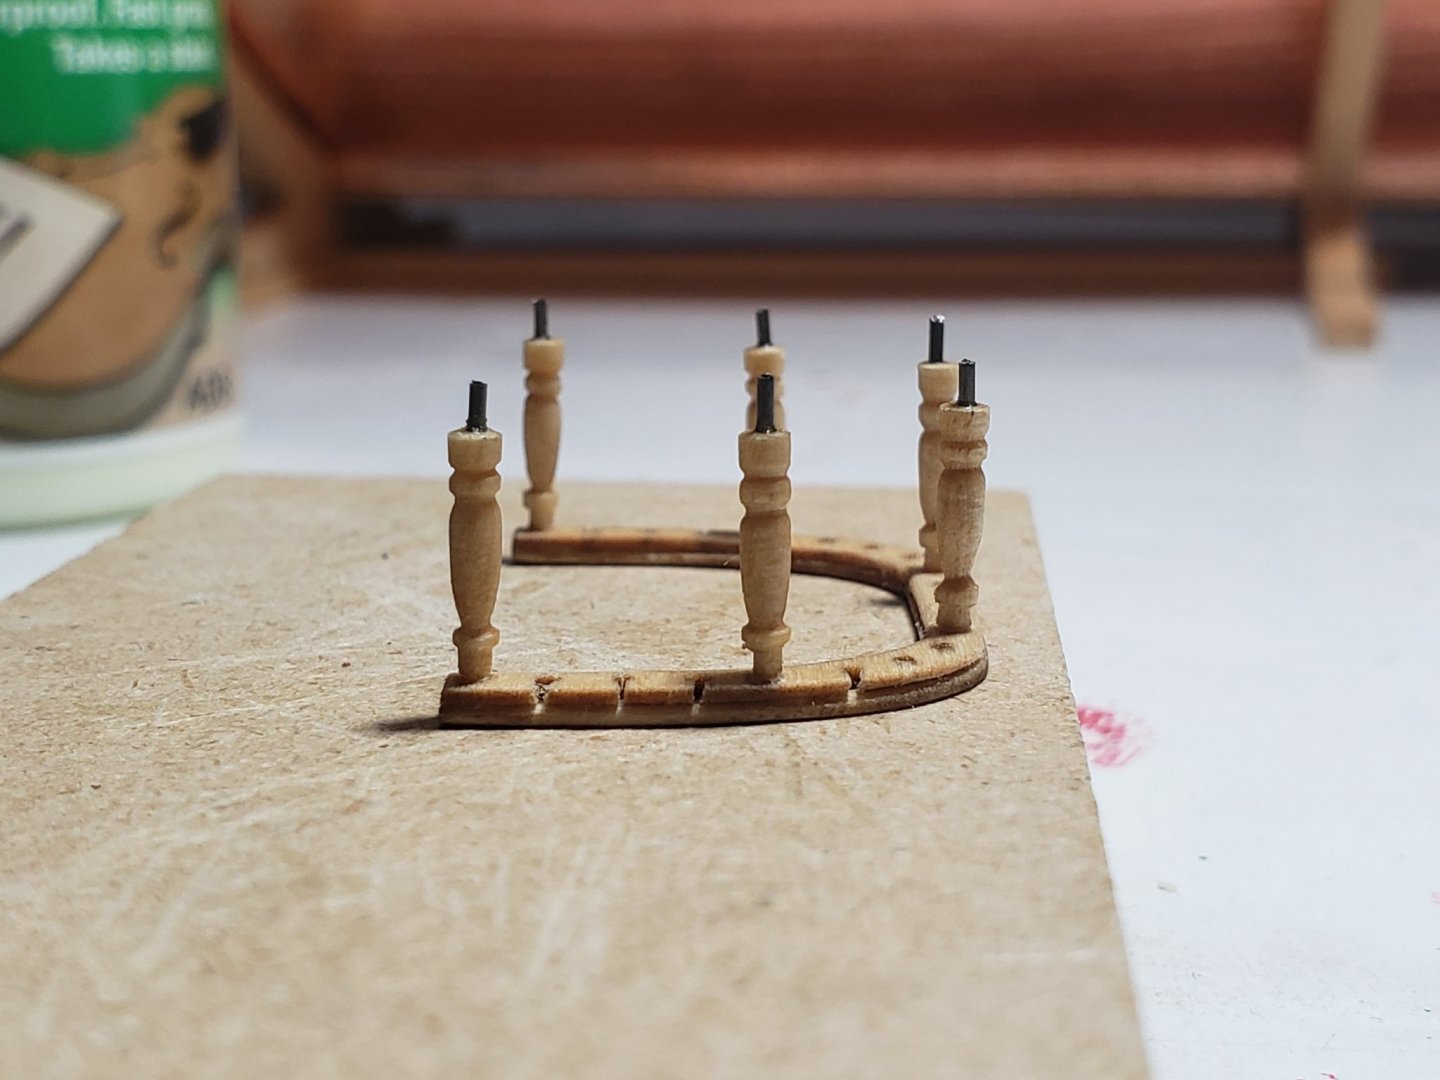
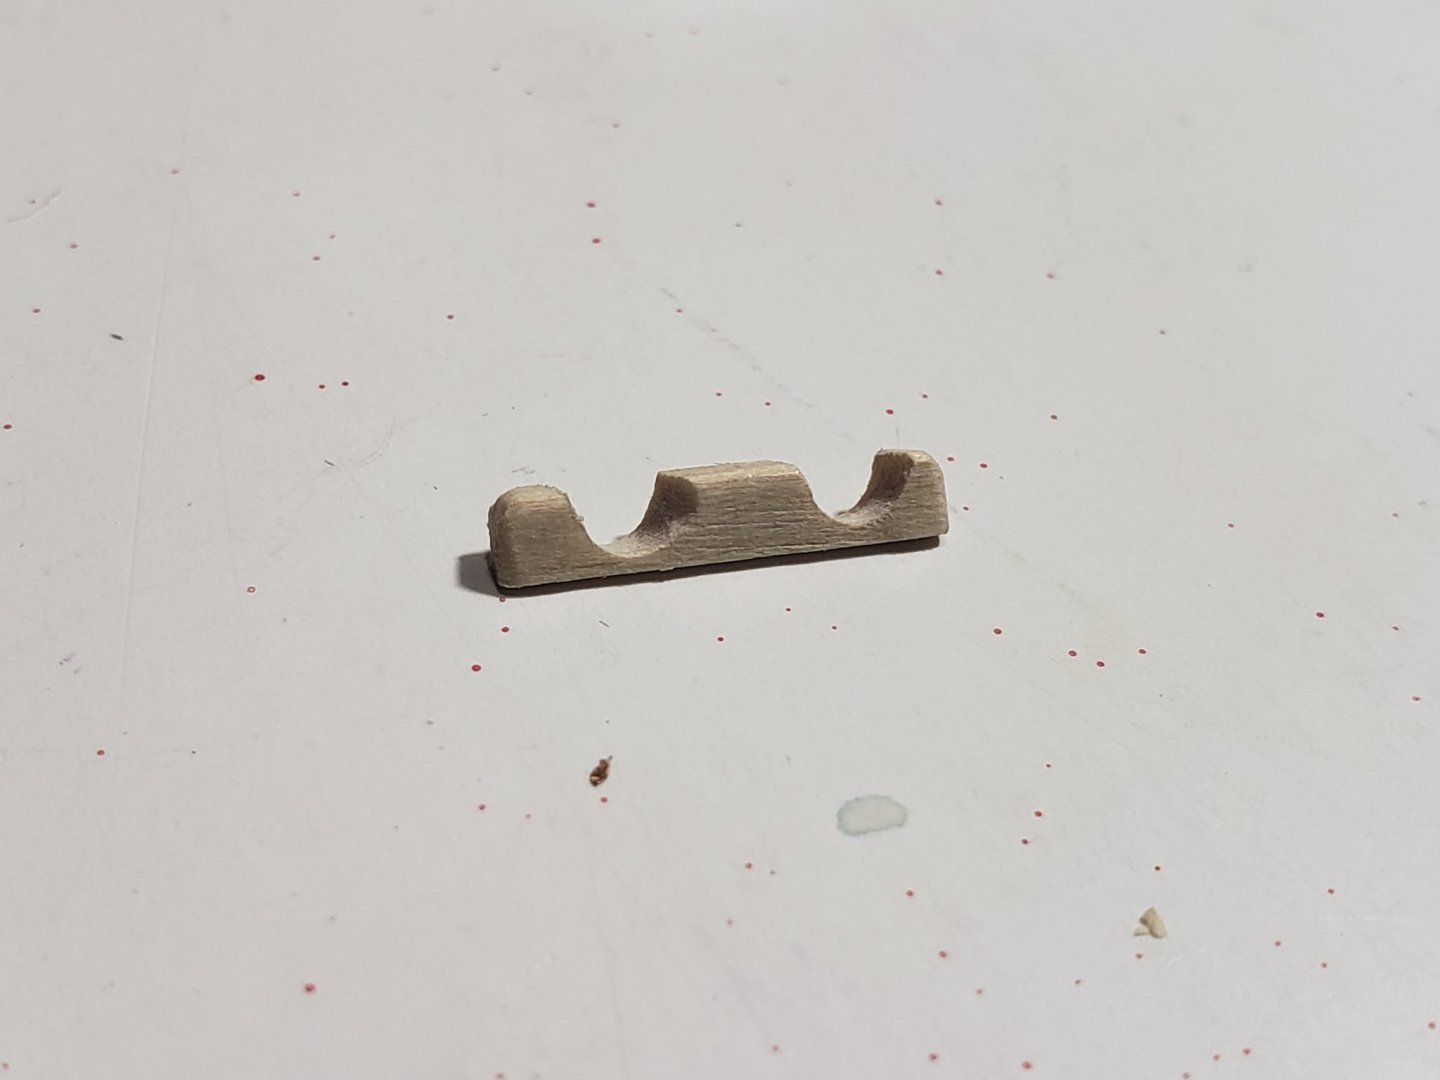
Started working on the stanchions for the main fife rail. I think the ones made so far are passable 😅 First I marked locations based on the plan of where the curves should end. The bit at the top was roughly sanded at first to make it thinner so it easier to have a thinner finish at that location Then started shaping with a triangular needle file Comparison with plan: Ones made so far: Still wondering on how the top of these stanchions will be secured to the main fife rail. I am considering drilling a hole partway in the main fife rail where 0.5mm of the stanchions can be inserted in for a more secure fit, but a bit nervous on the wood splitting...


- 950 replies
-
- 9
-
-
- syren
- model shipways
- (and 1 more)
-
Many thanks for the great comments Robin and Steven!
-
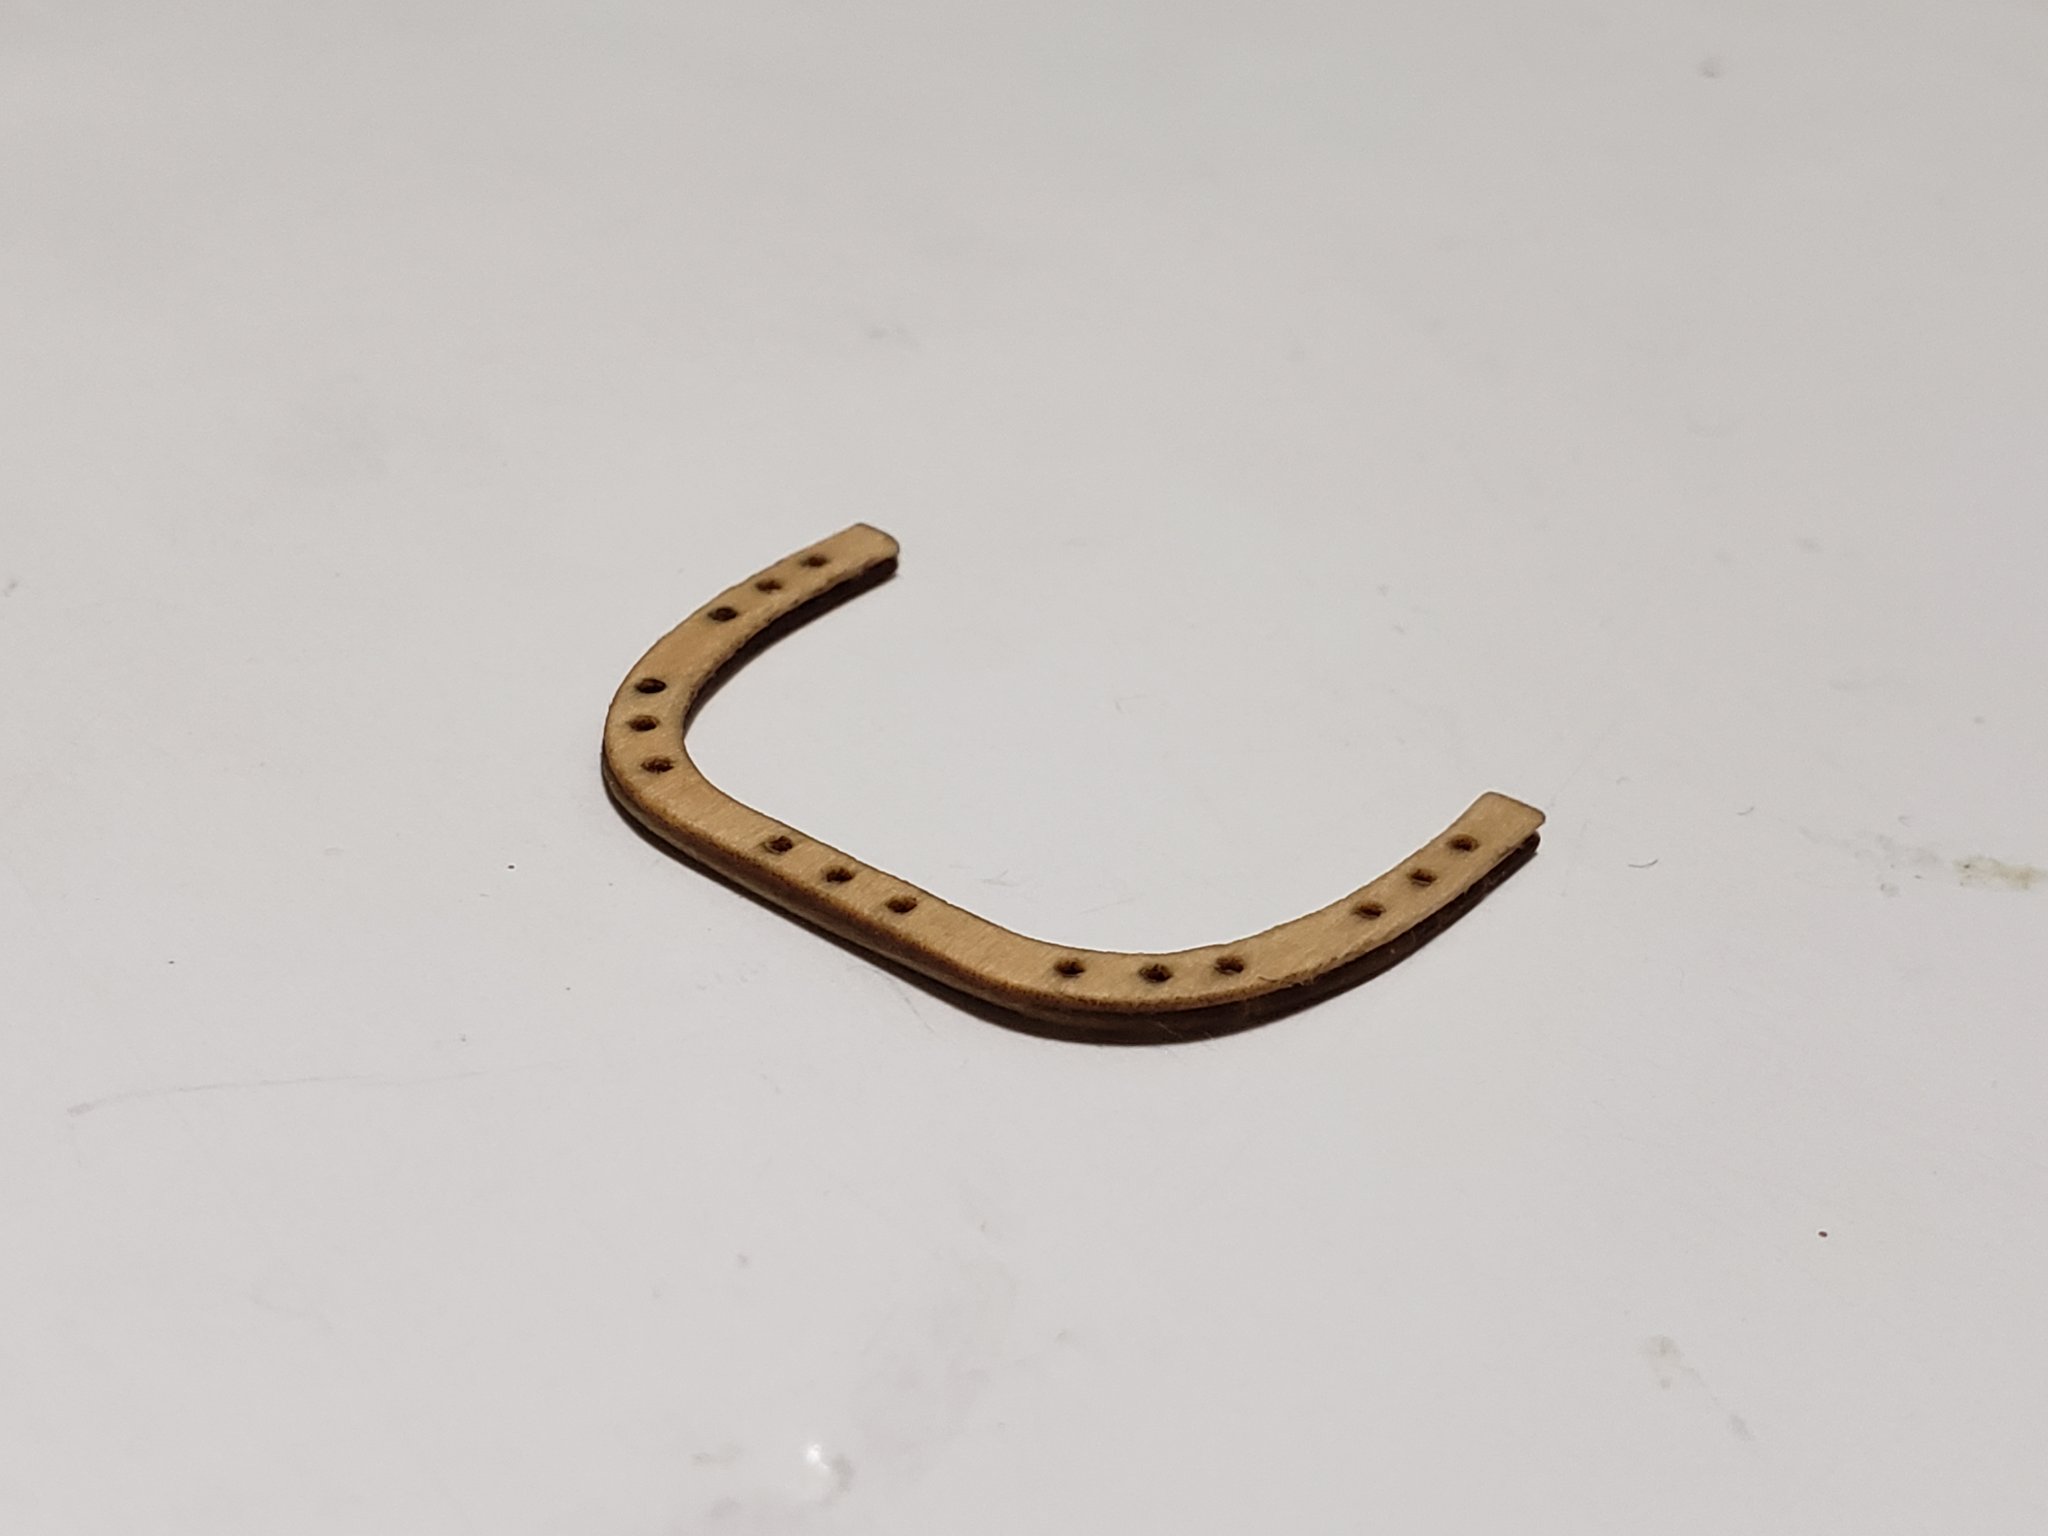
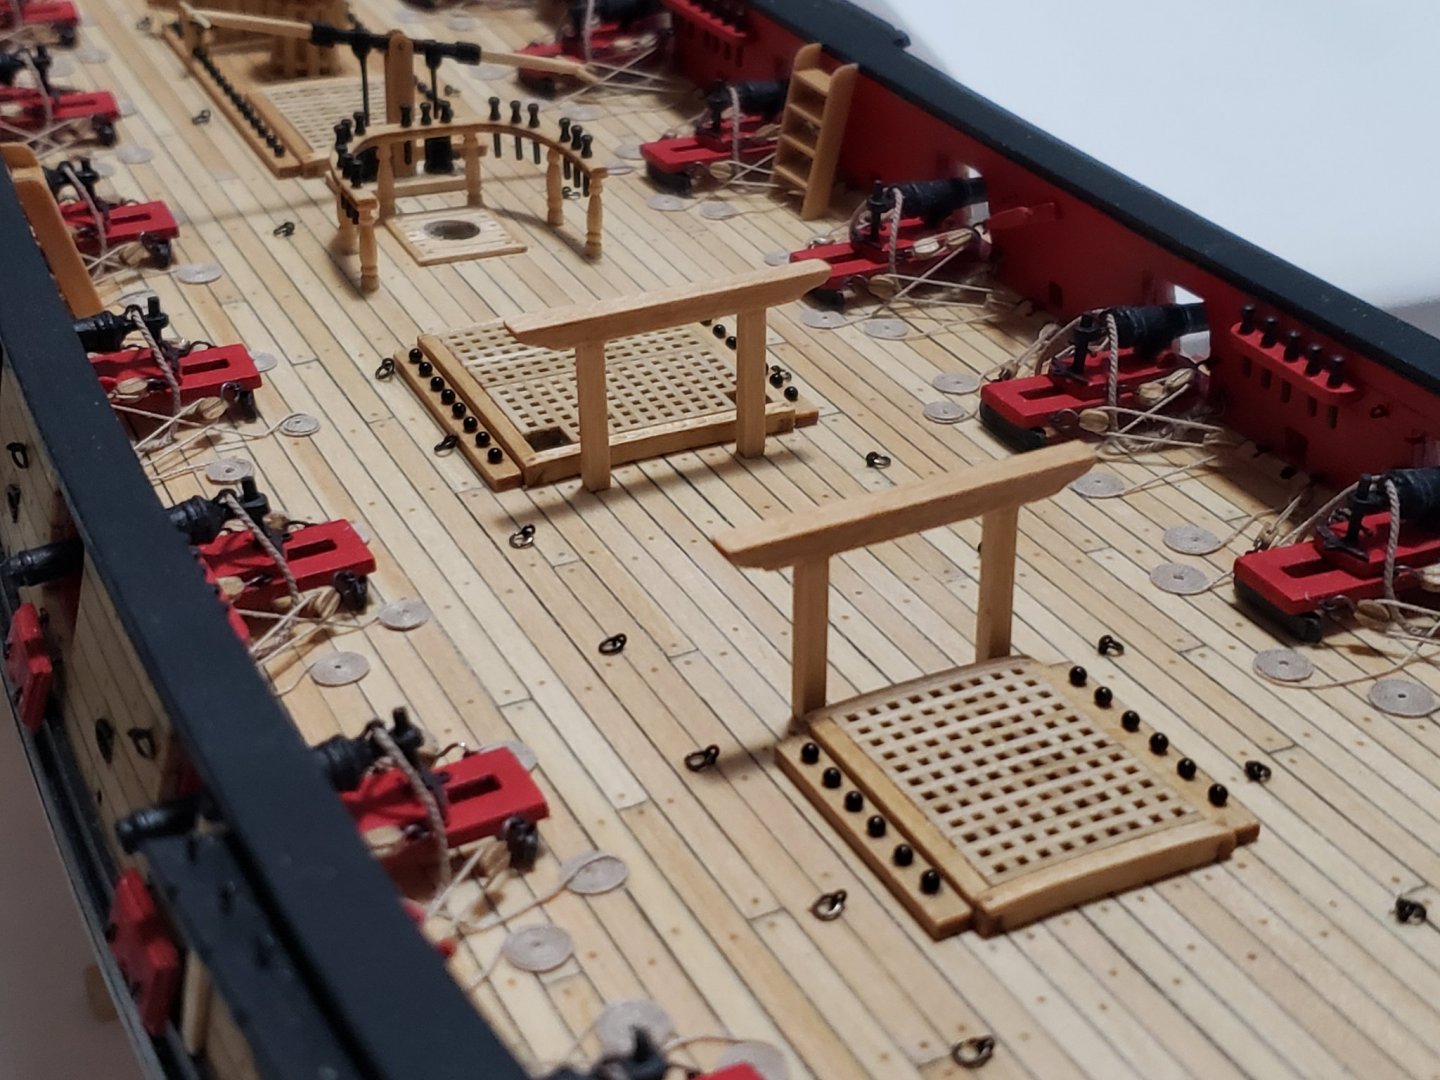
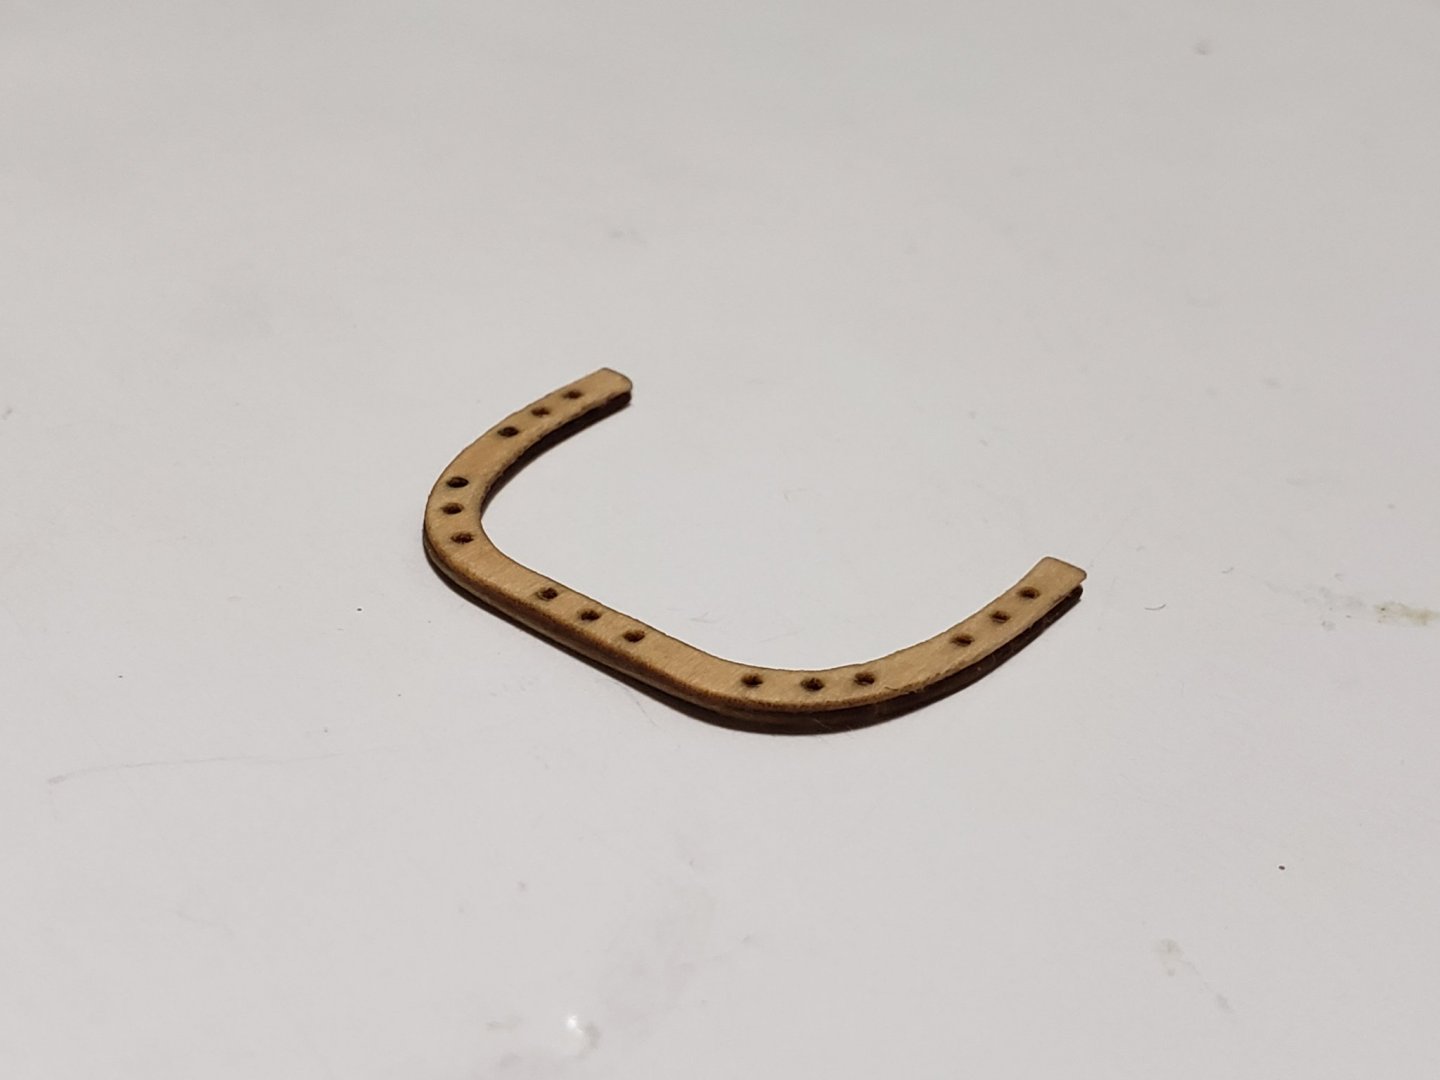
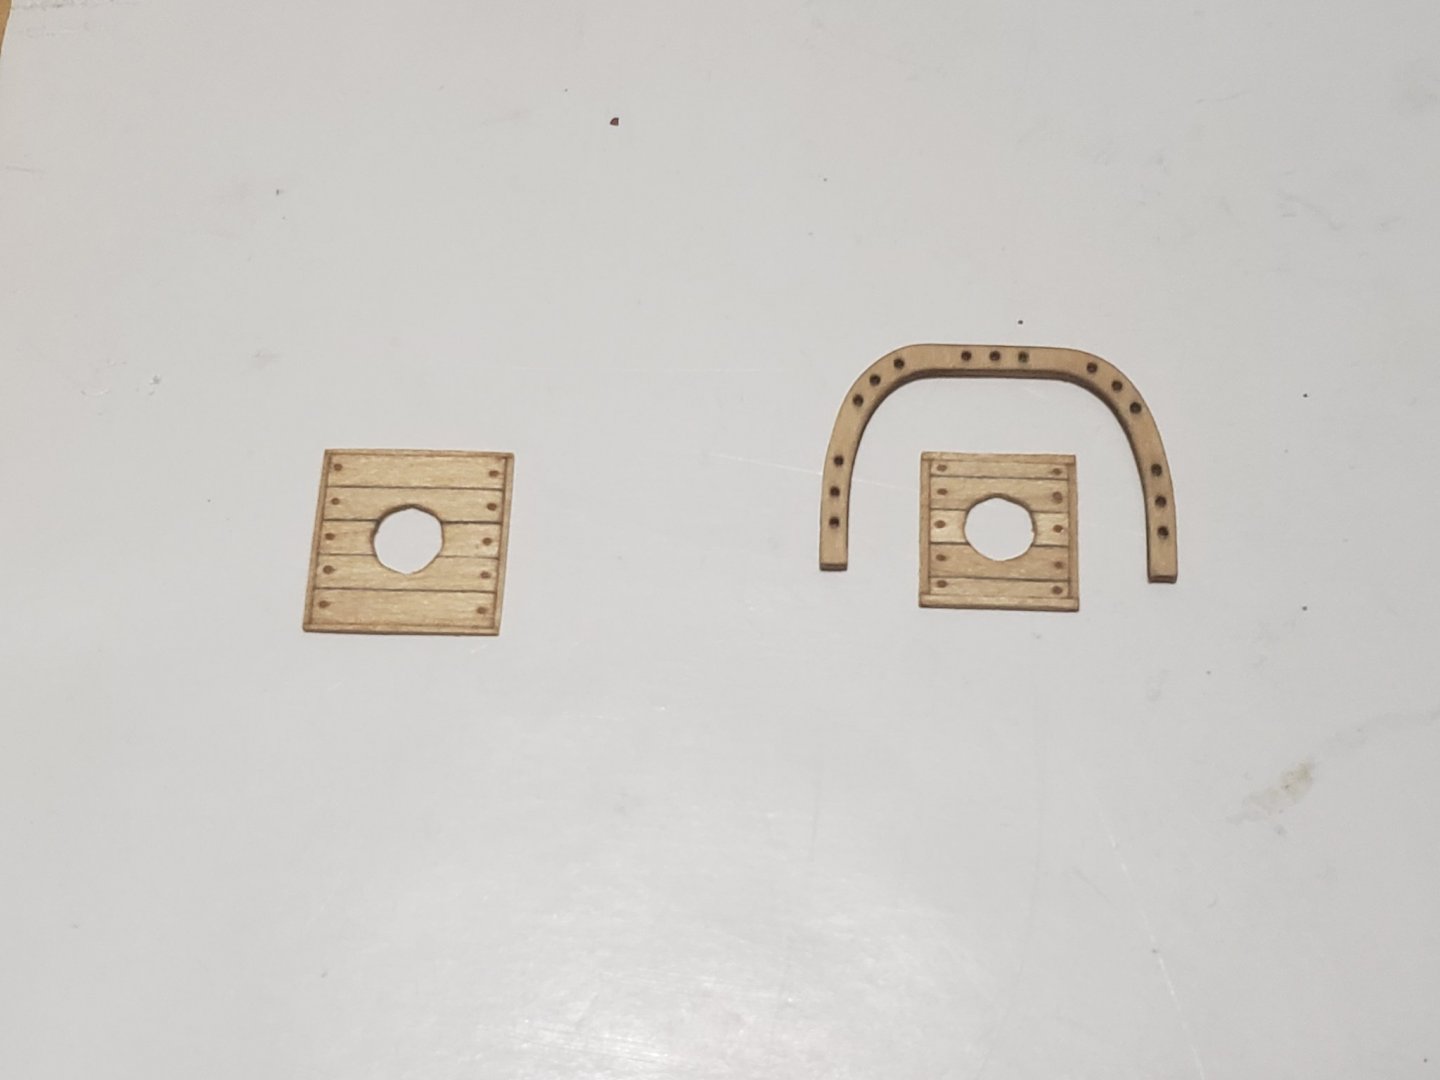
Started working on the main fife rail. The laser cut part was very weak and it didnt take long for me to split one of the layers. Fortunately I was able to glue it to the other layer so it's like nothing ever happened 😉 Also made the holes wider a bit so the belaying pins can fit snuggly in them Also finished making the thicker deck sections for below the mast. Making holes in these were a bit tricky. My first attempt resulted in the wood splitting, even though I increased the drill bit size gradually. The method that I found to work was very time consuming, but it worked.... Instead of drilling in a clockwise direction, I manually drilled the holes counter-clockwise. This way the drill did not penetrate the wood, but instead made it thinner for it to be filed with a round needle file. This was done by gradually increasing the drill bit and filing at each interval. Also noticed, the forward one on the plans appeared bigger than the one aft of the ship, so I followed suit. I think the one at the back is smaller to allow for the main fife rail to have enough space. One last thing, I noticed I cut out the hammock cranes wrong 😬 back when I blackened the brass parts... I had to leave the extension bits on so they remain secure on the ship's cap rail. So I've e-mailed modelexpo for replacement parts... Maybe this was a blessing in disguise as this time I'll try to thin them down a bit. Good thing I read this chapter ahead of time!


- 950 replies
-
- 10
-
-
- syren
- model shipways
- (and 1 more)
-
I used the Model Expo paint as well for my Syren. First time I've painted a model so too early to say if it's my favorite 😄
-
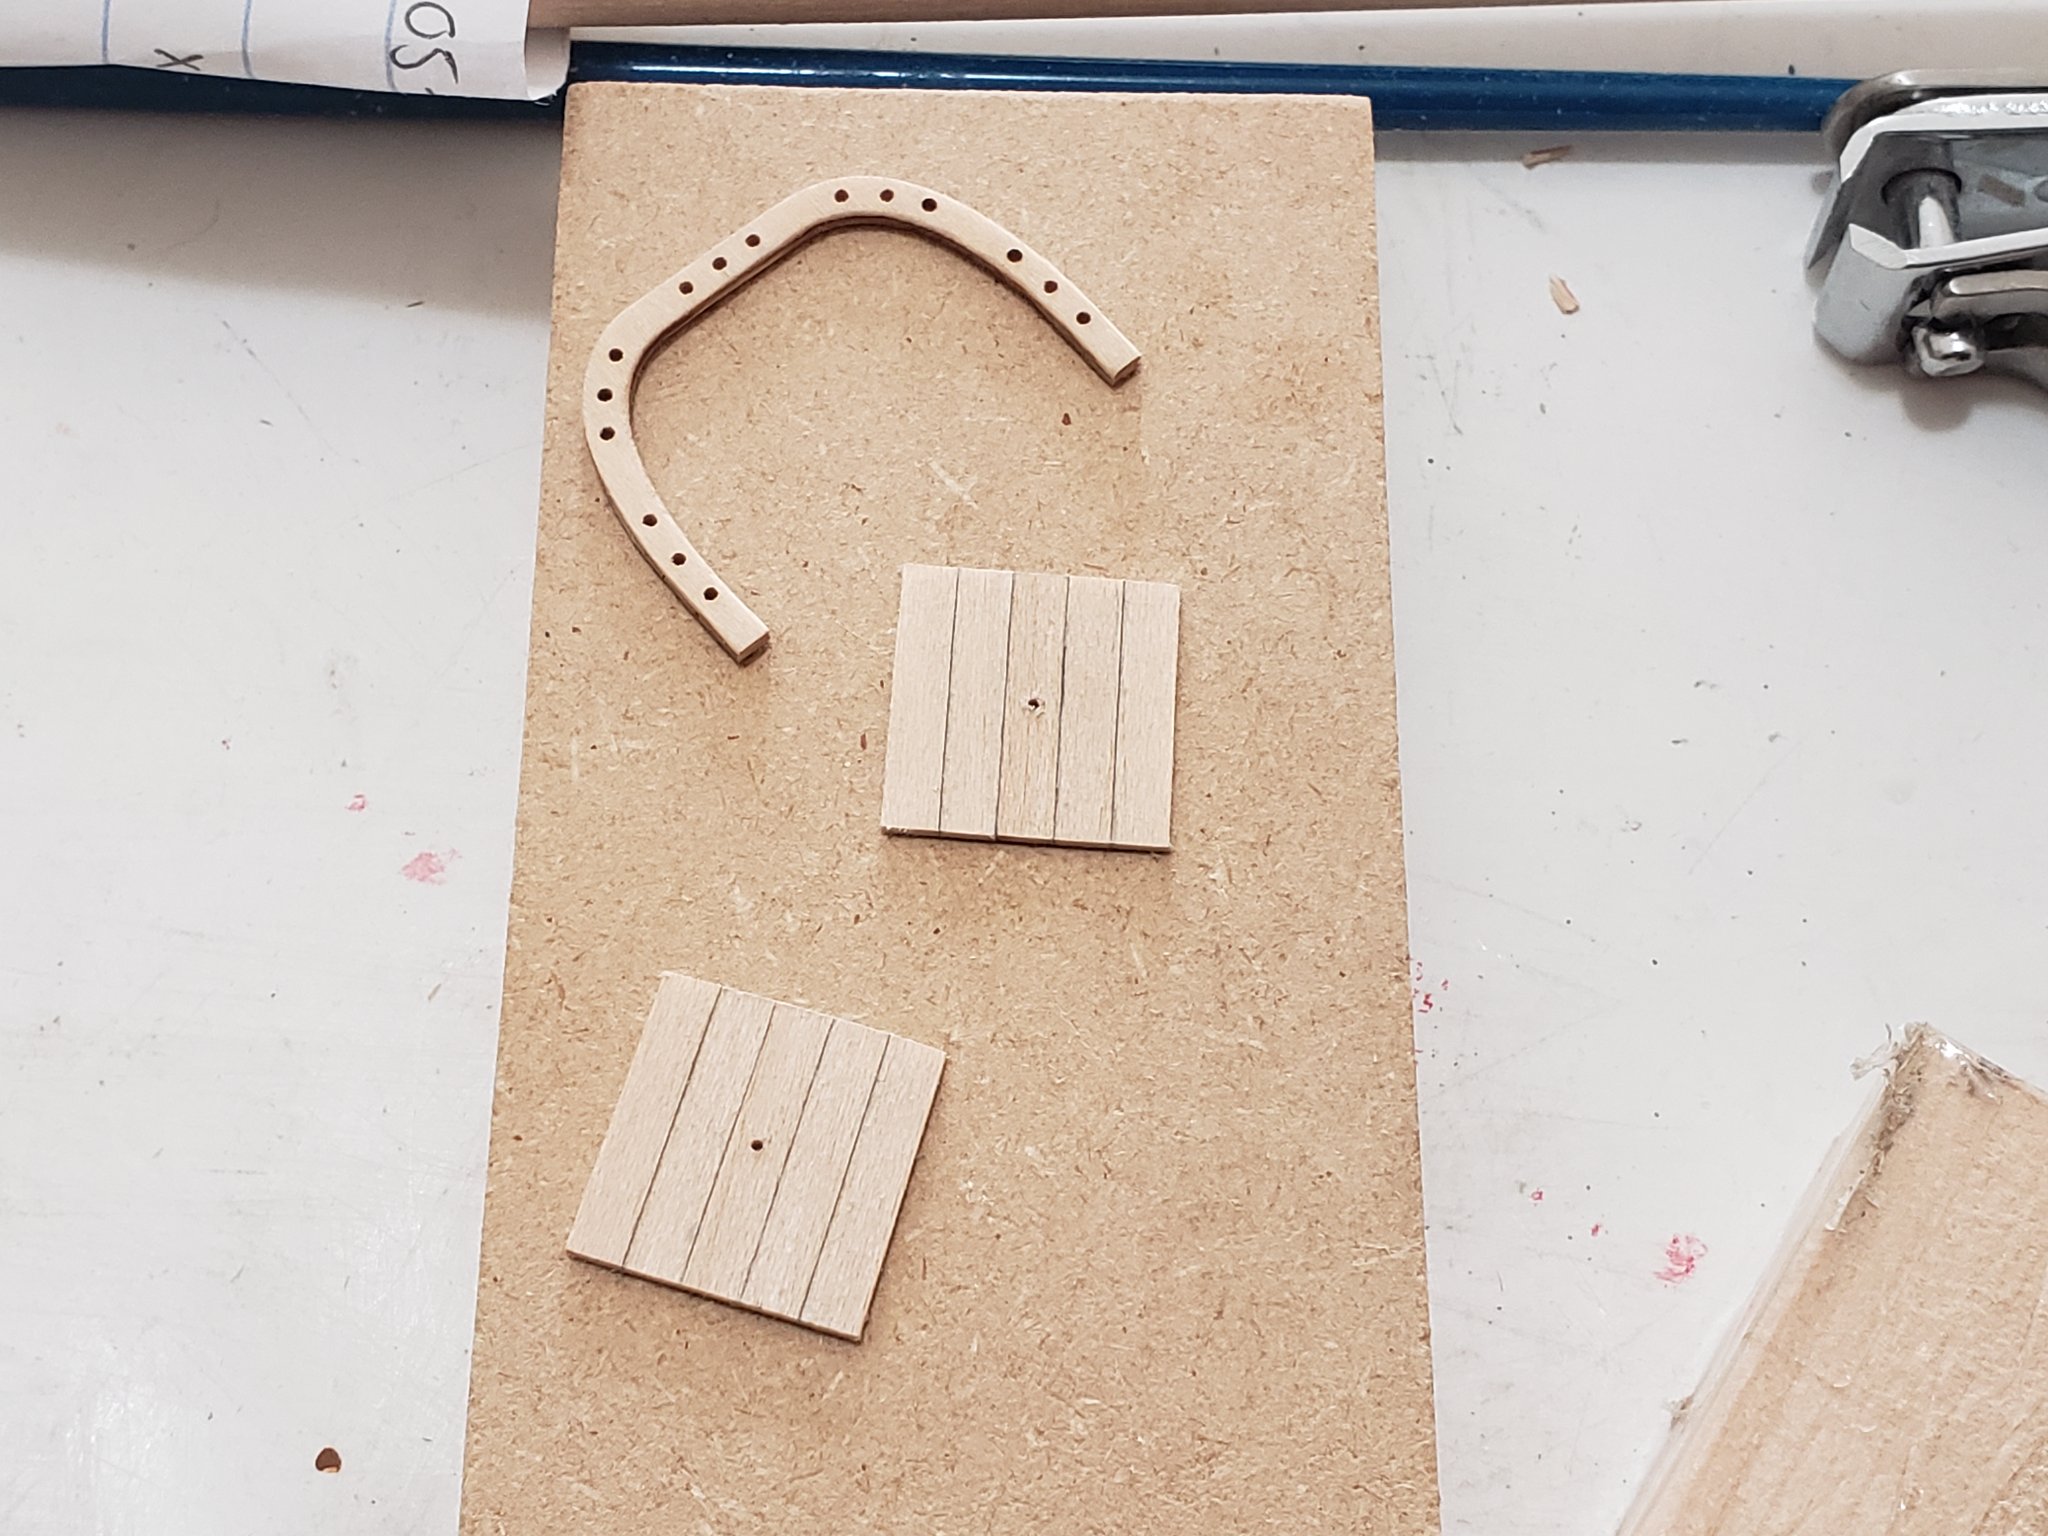
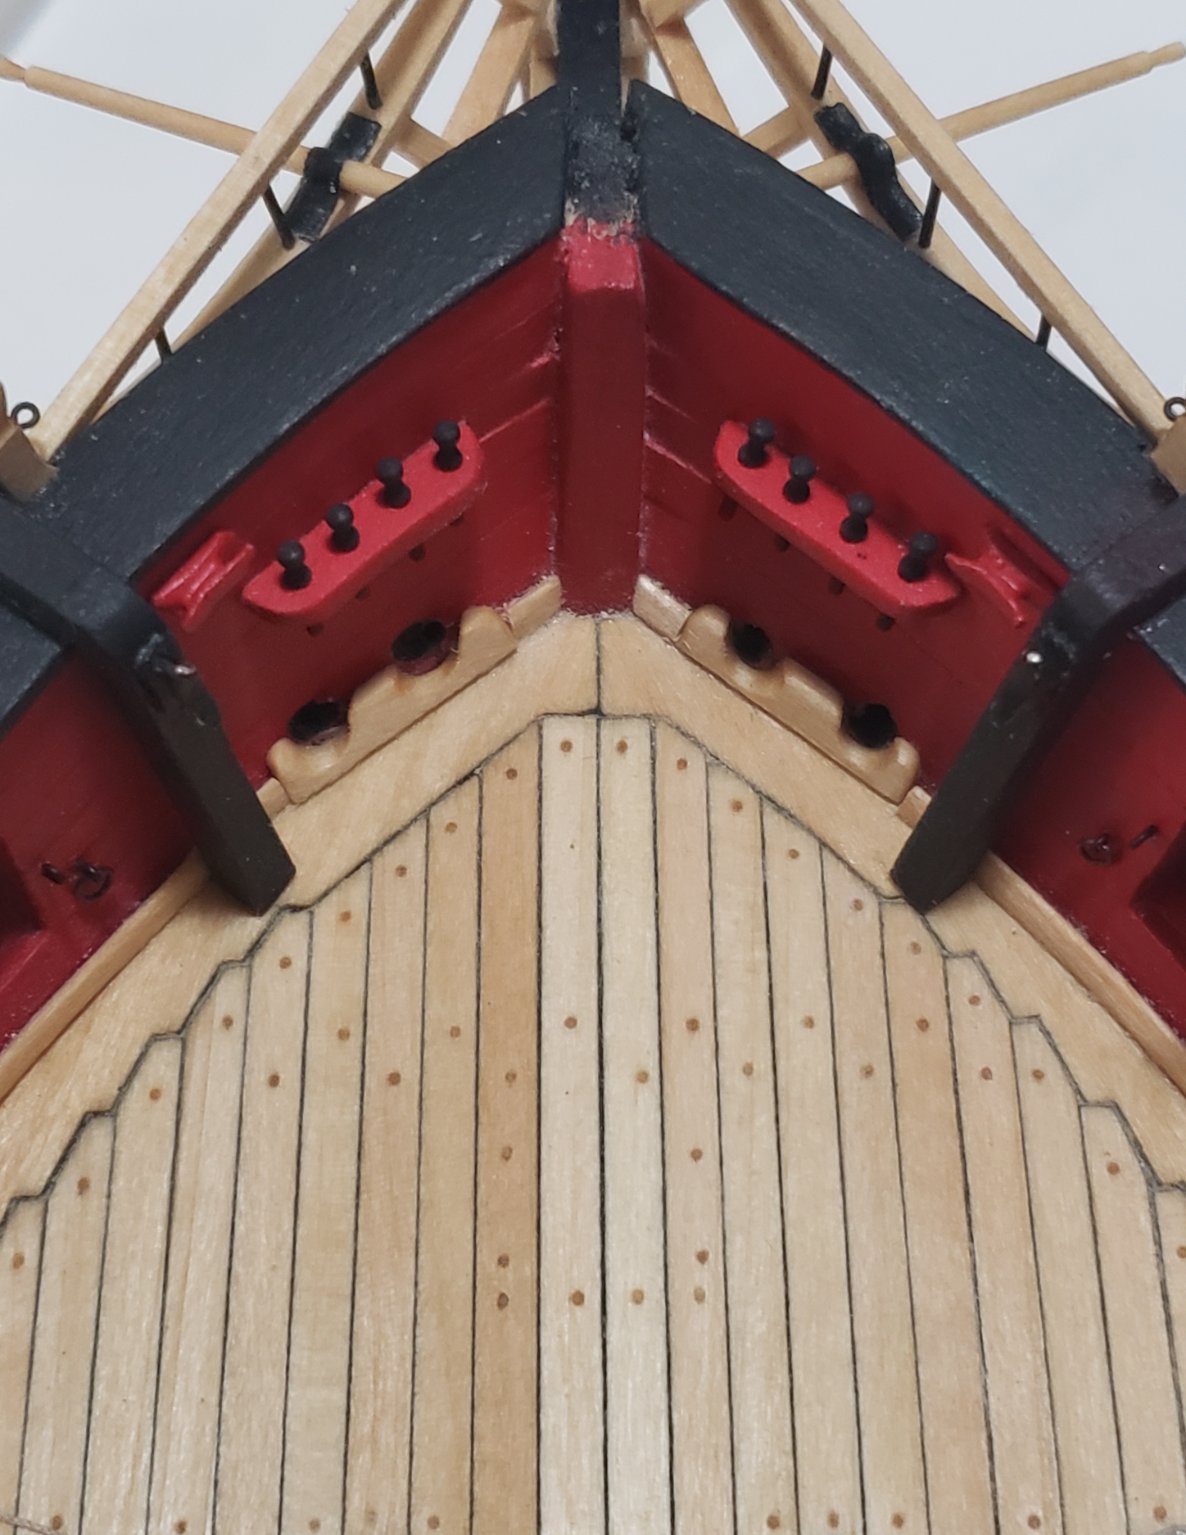
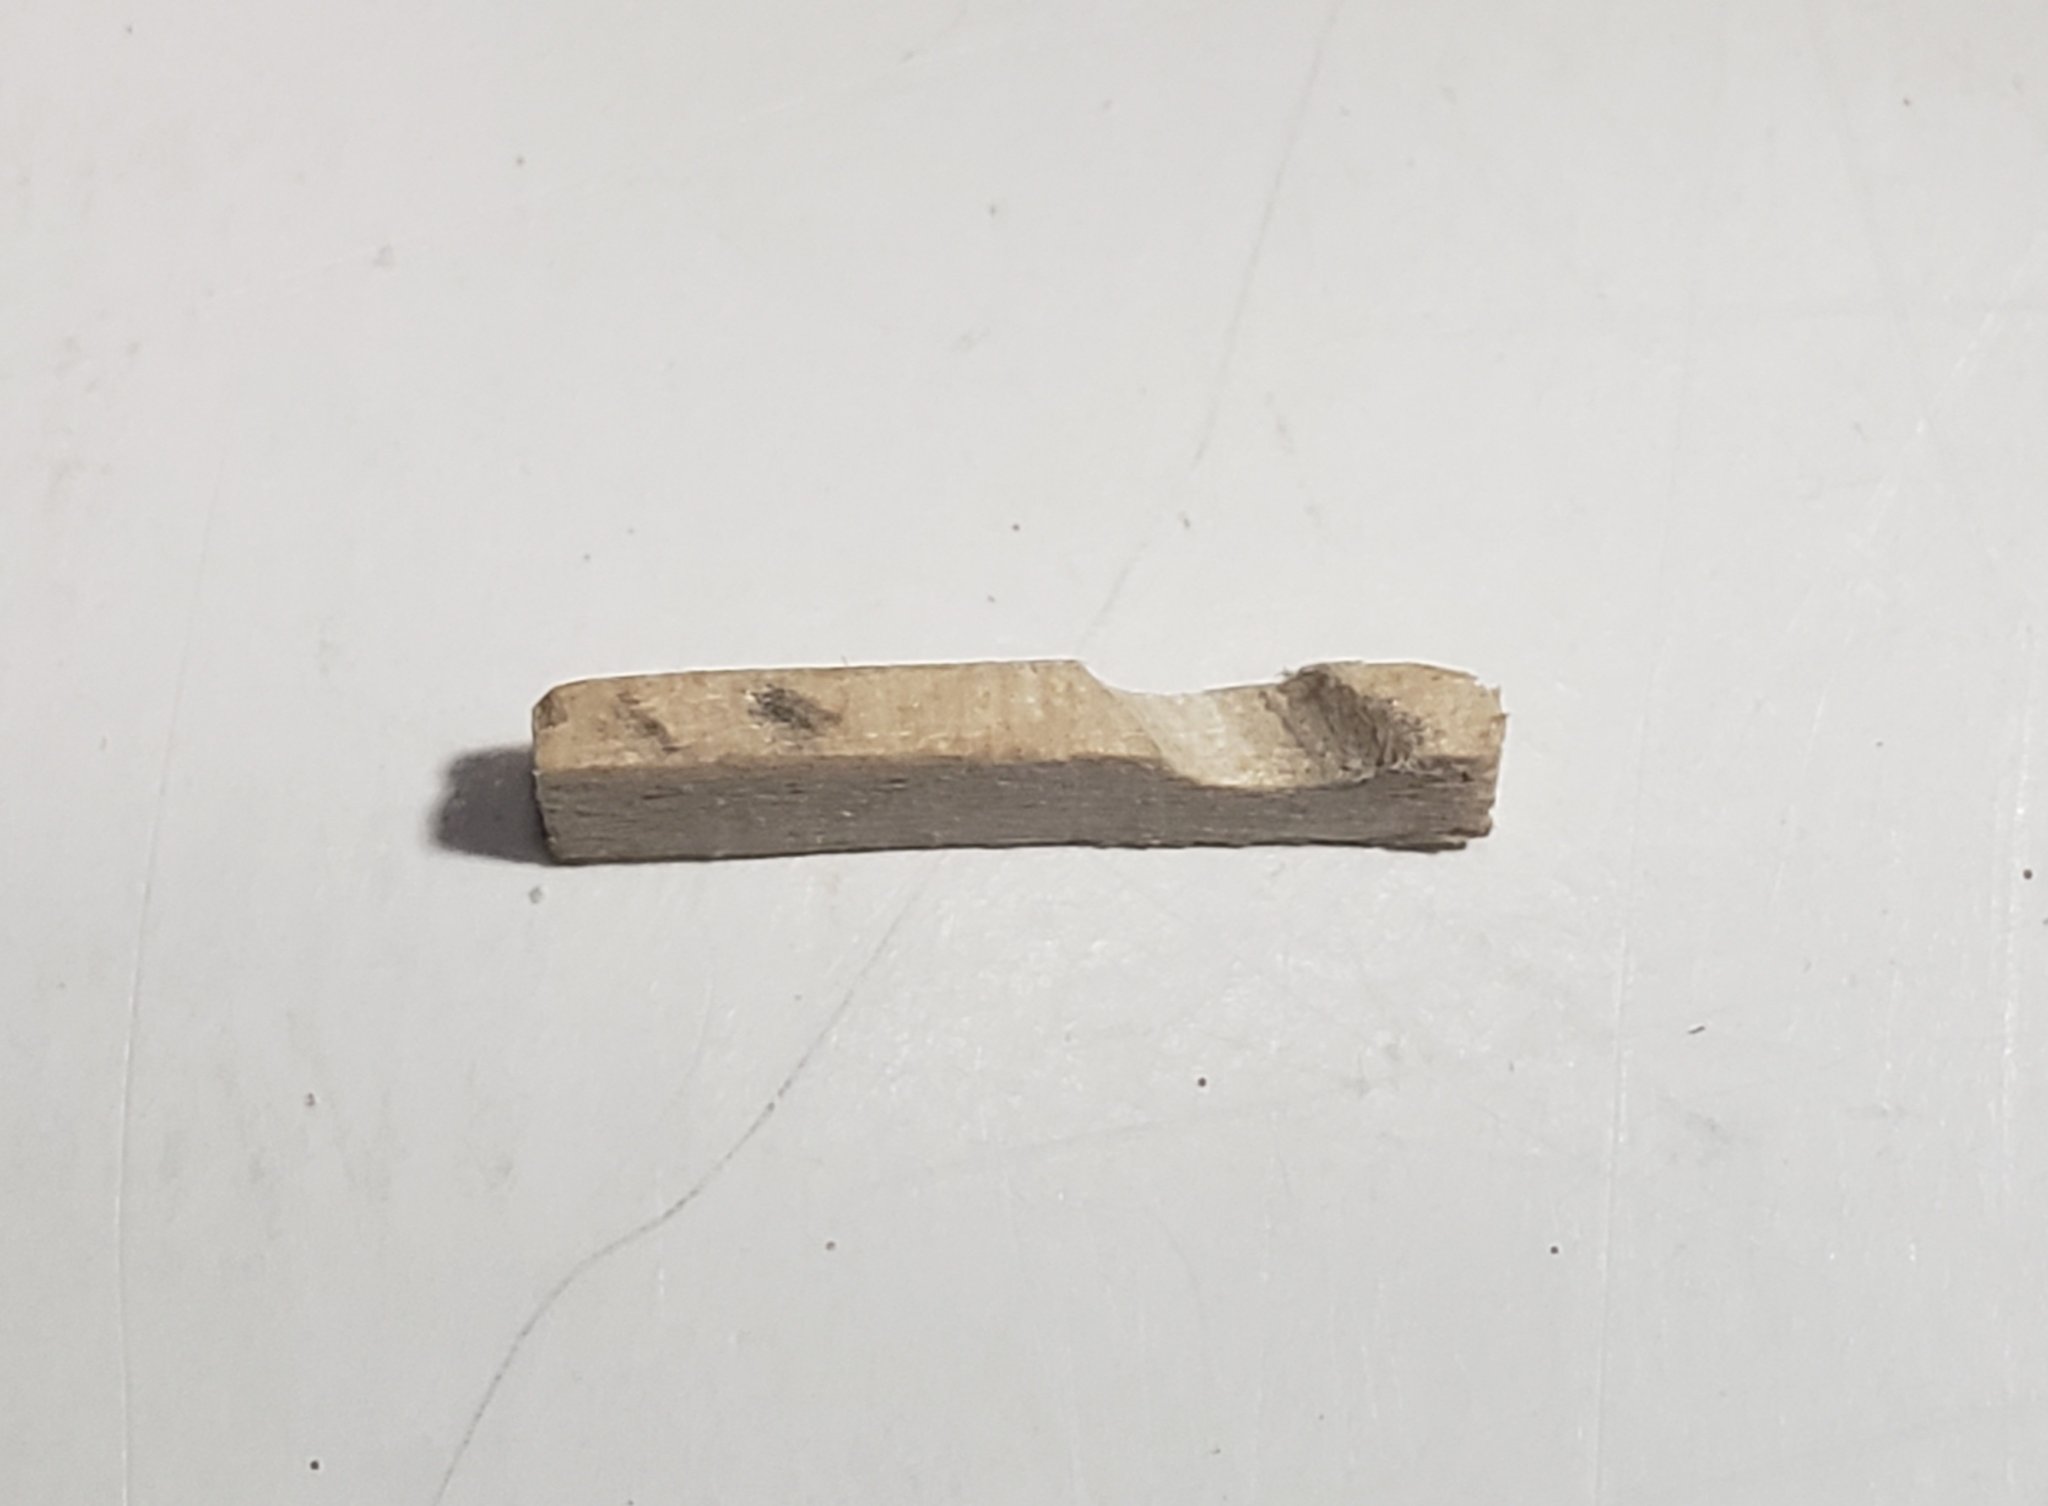
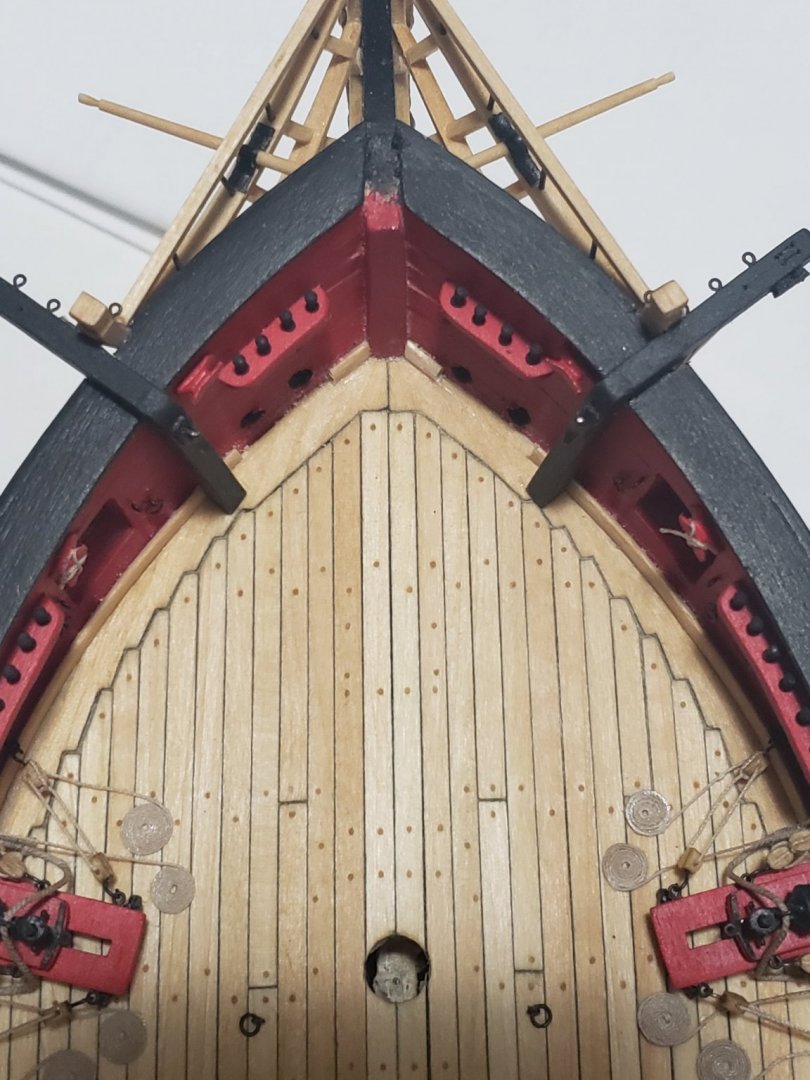
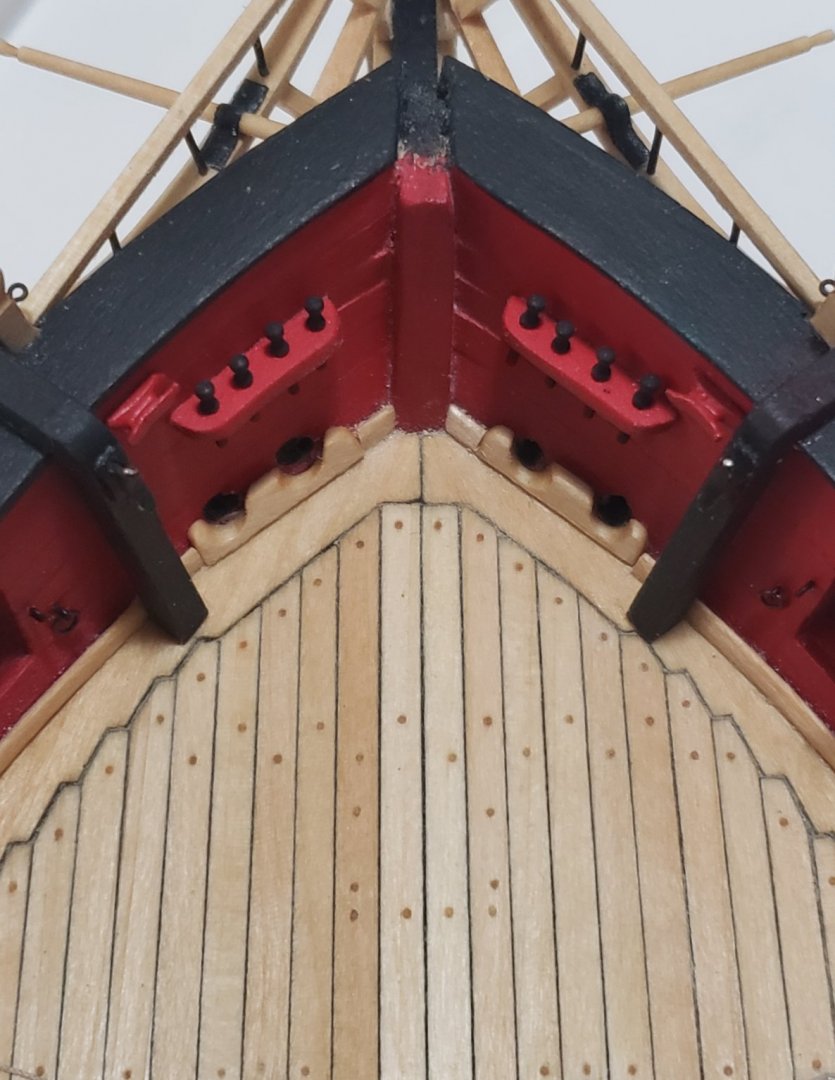
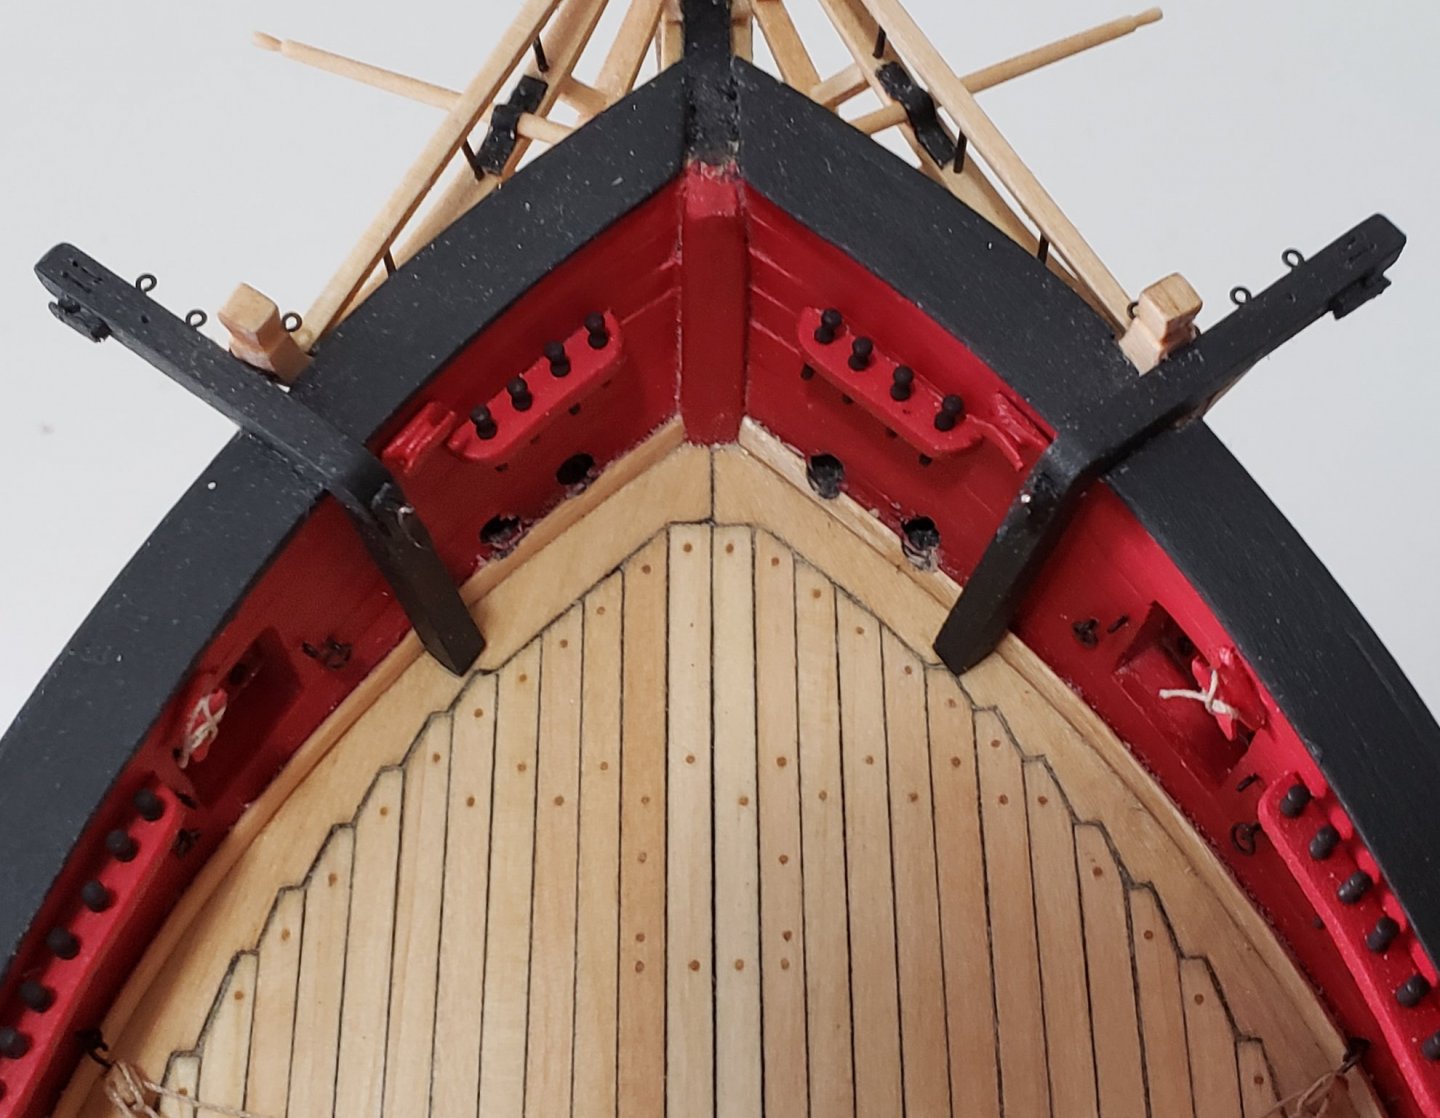
I completed making the guide for the hawse holes. It wasn't too bad but cutting the waterway was scary 😬.. Felt like I was performing open heart surgery. For the guide, the wood was positioned in the cut out section, then I drew the angle needed for the guide, and filed with a rounded needle file. Also softened the edges a bit To cut it out I put a notch on where the guide should be with a sharp #11 blade then peel out the wood each grain at a time. Again, very scary!!
- 950 replies
-
- 11
-
-
- syren
- model shipways
- (and 1 more)
-
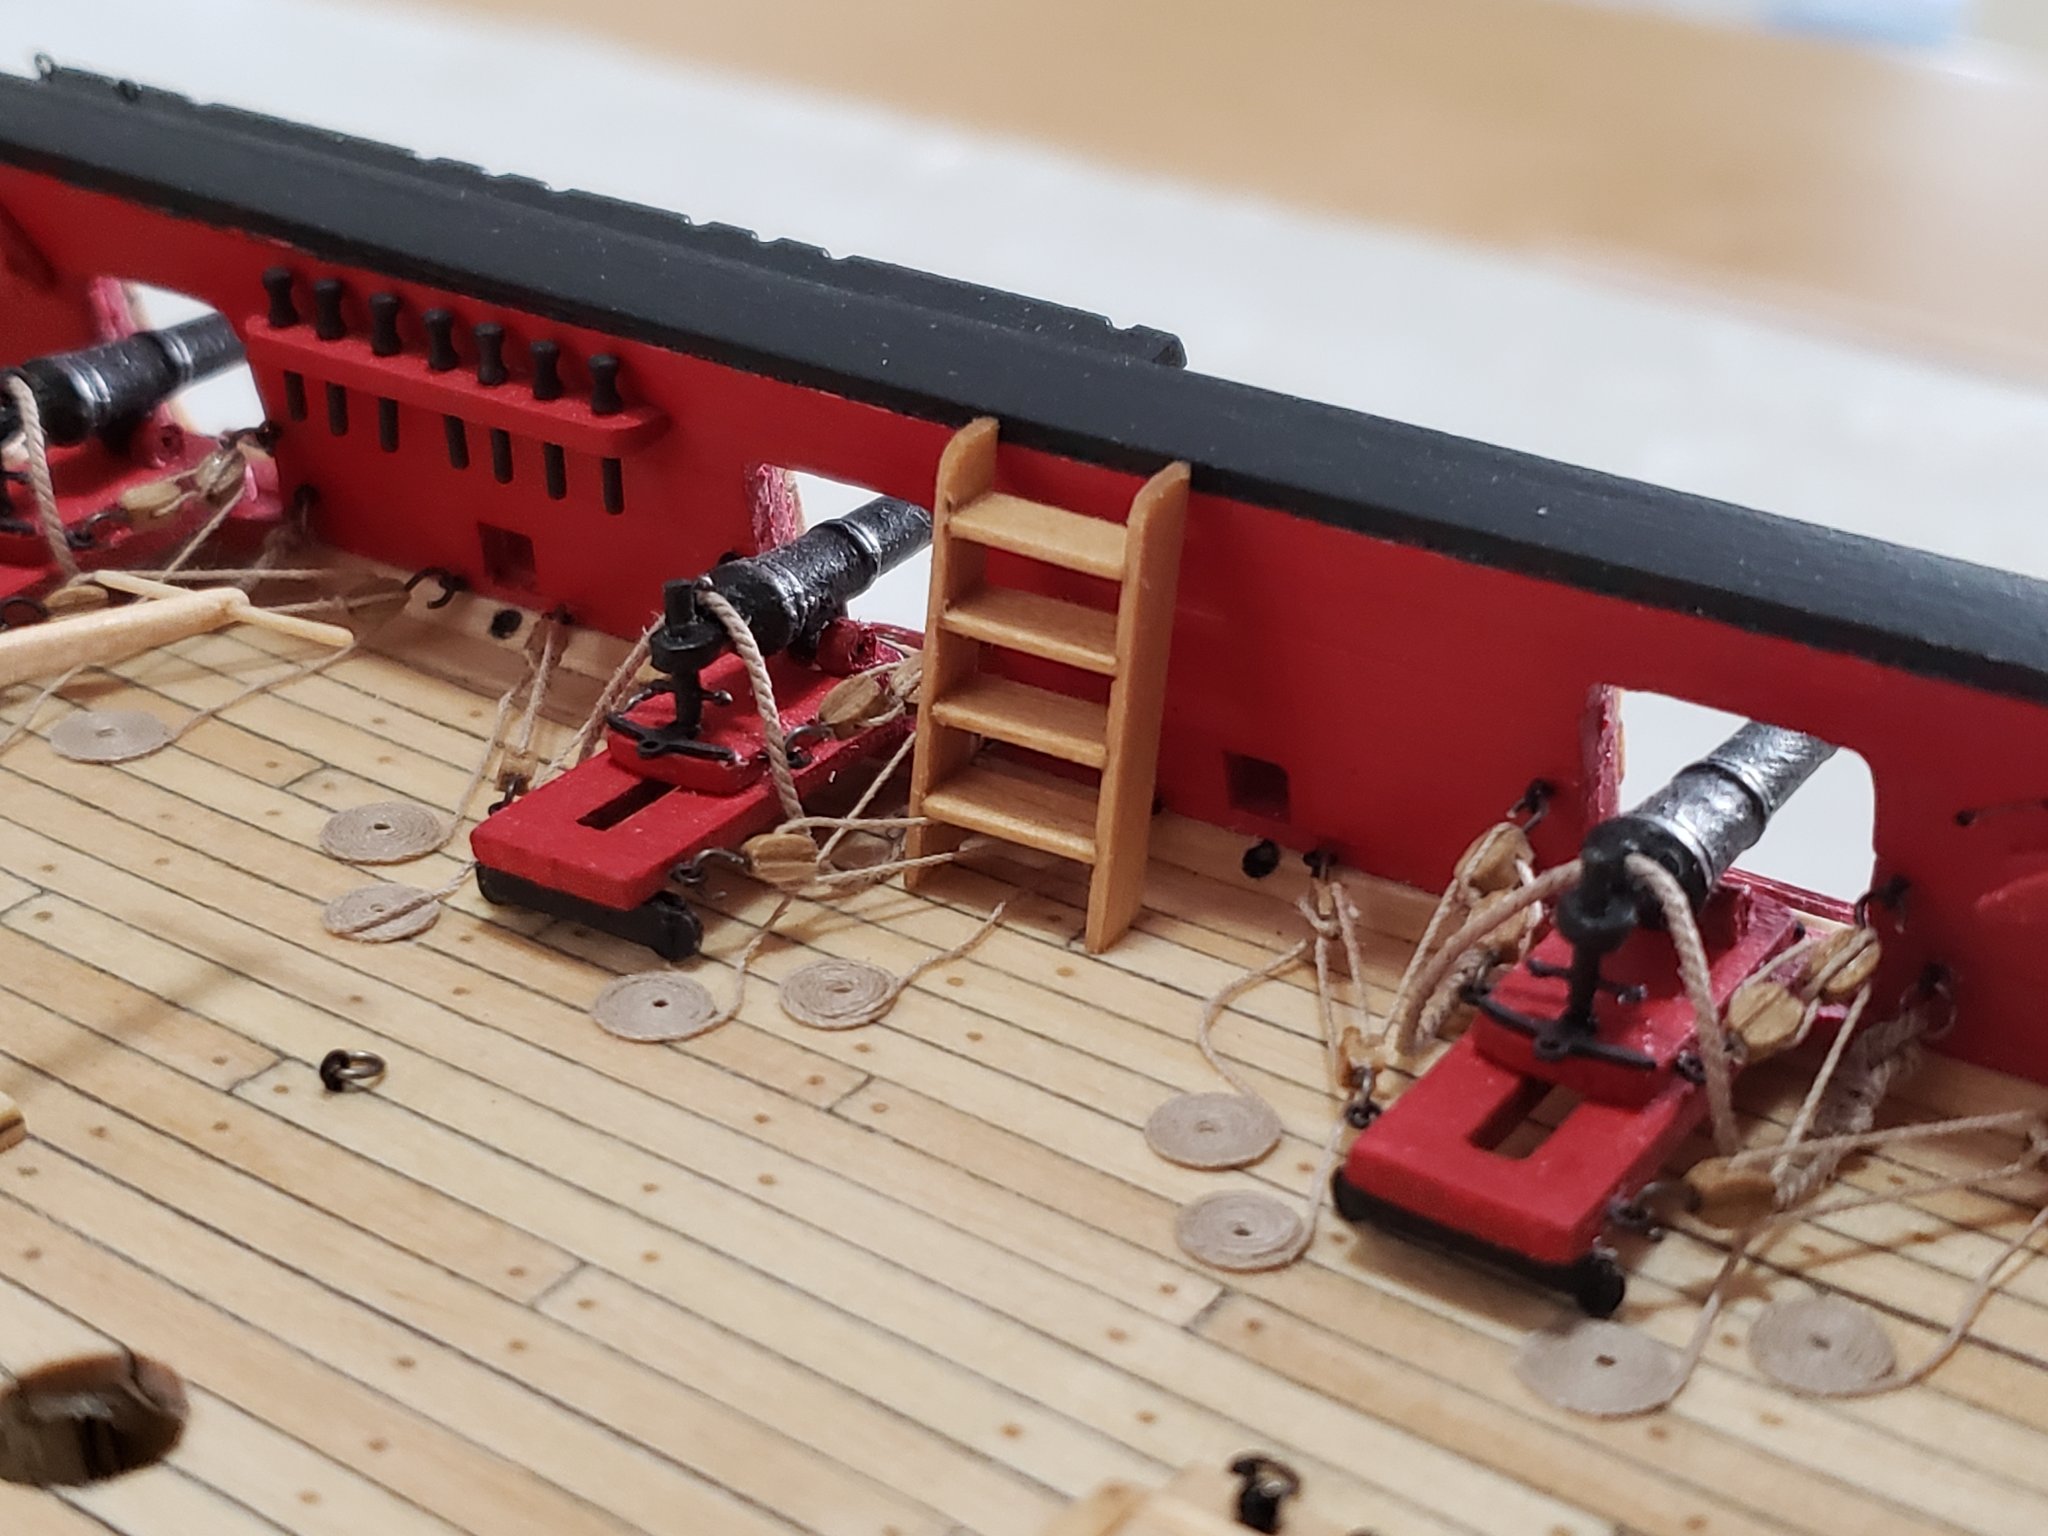
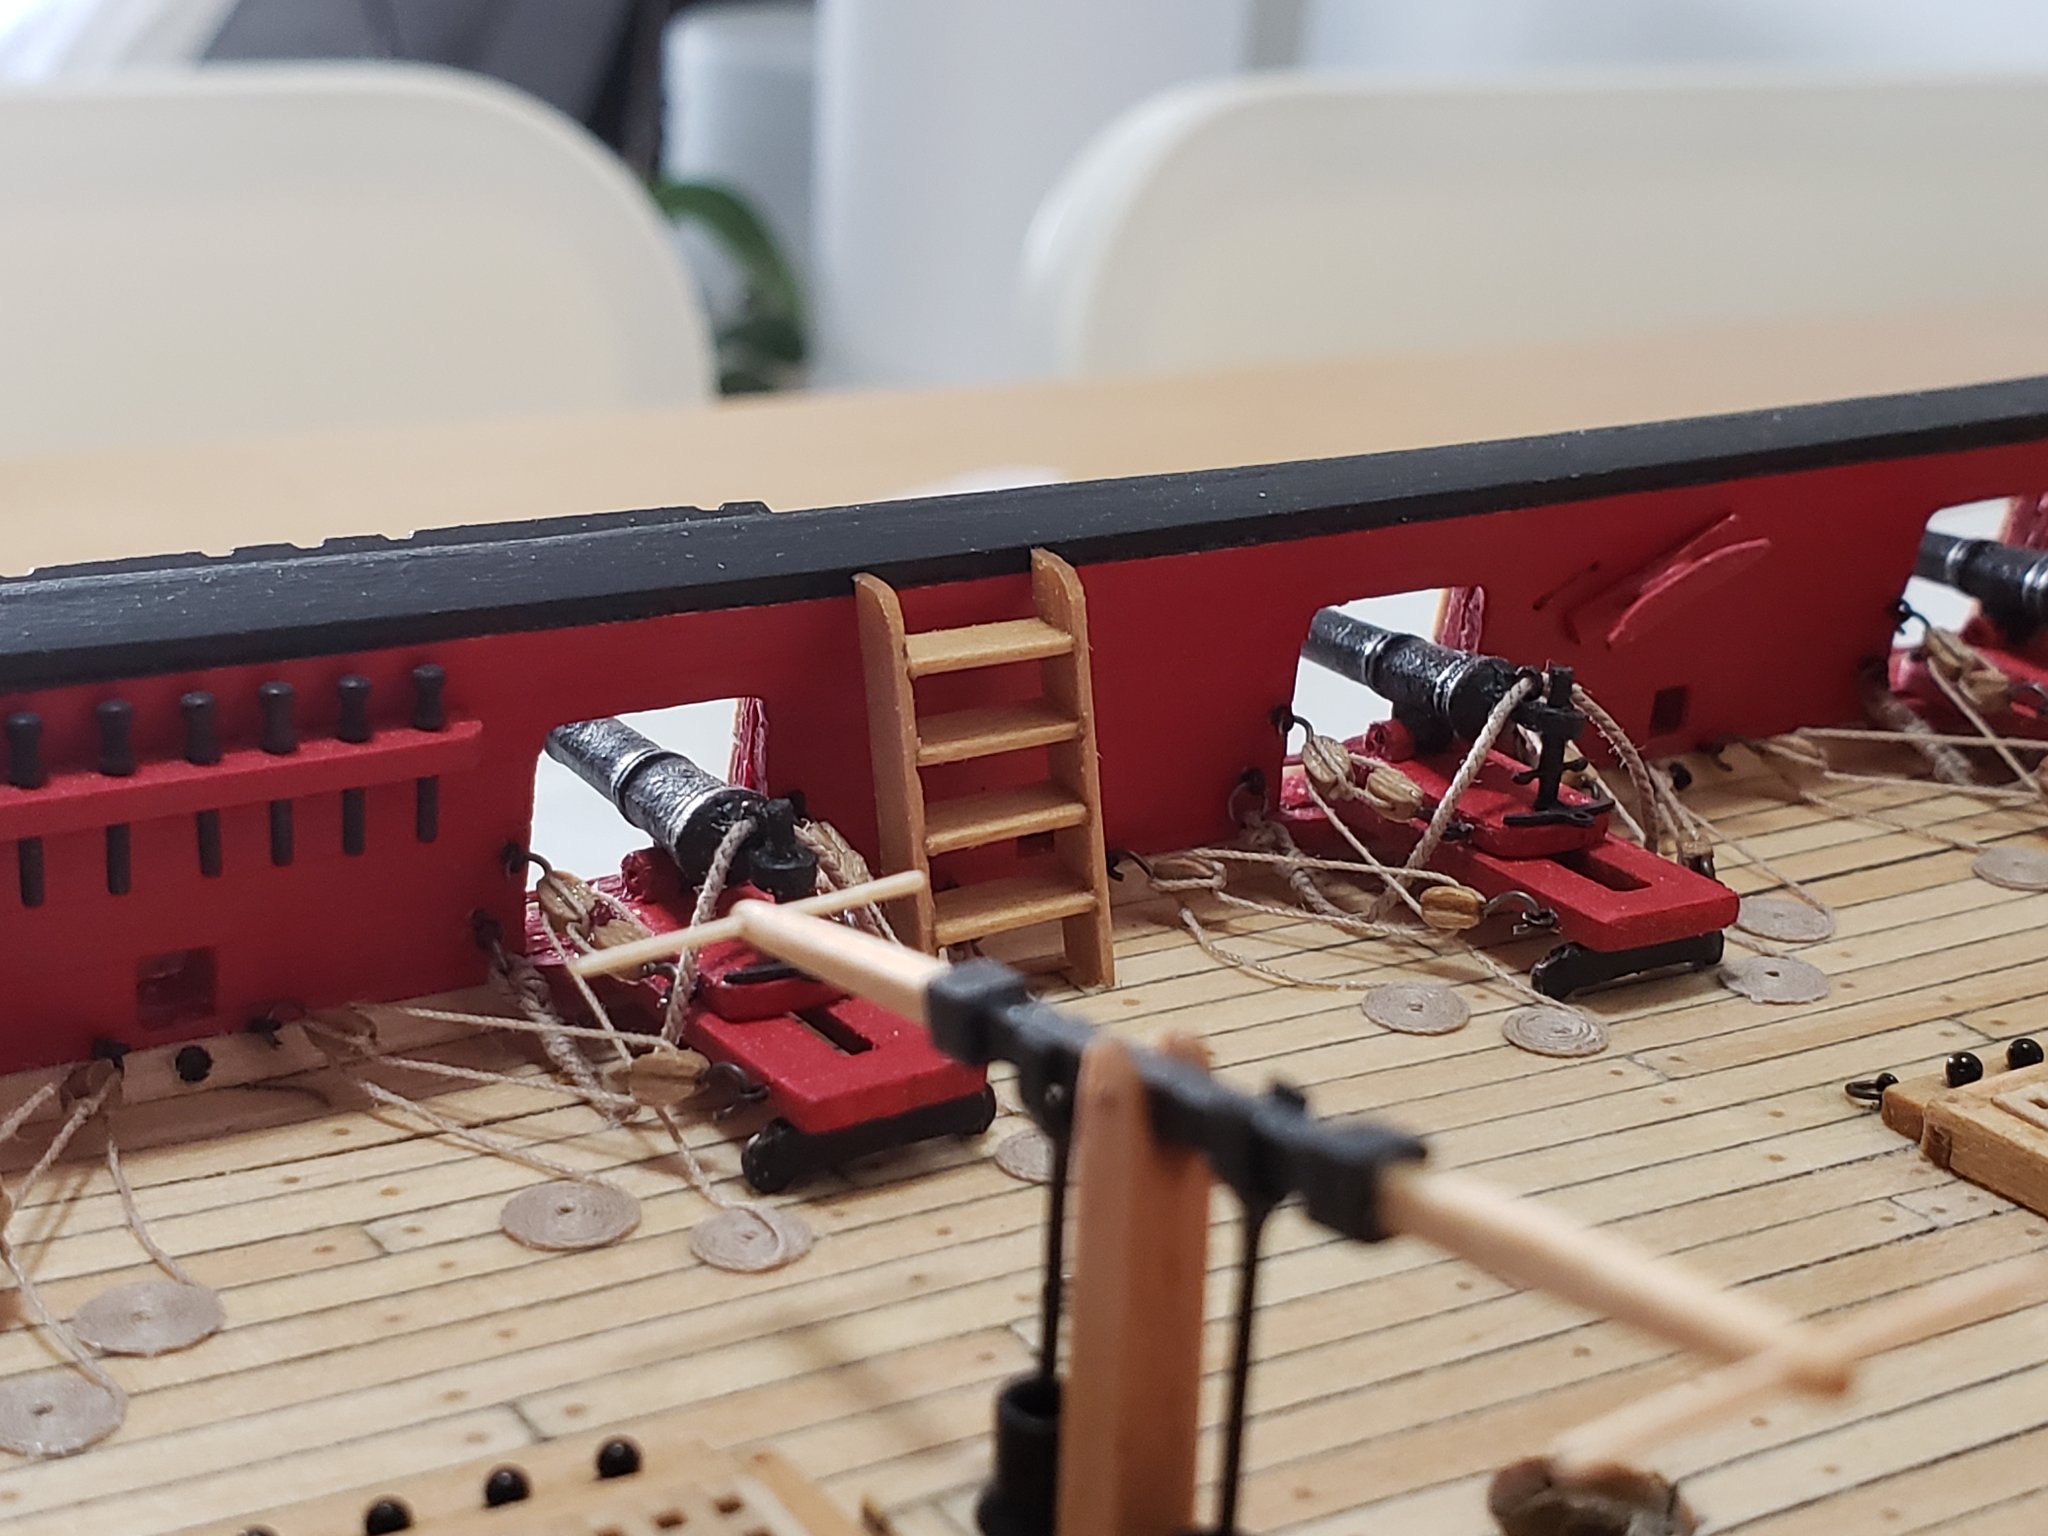
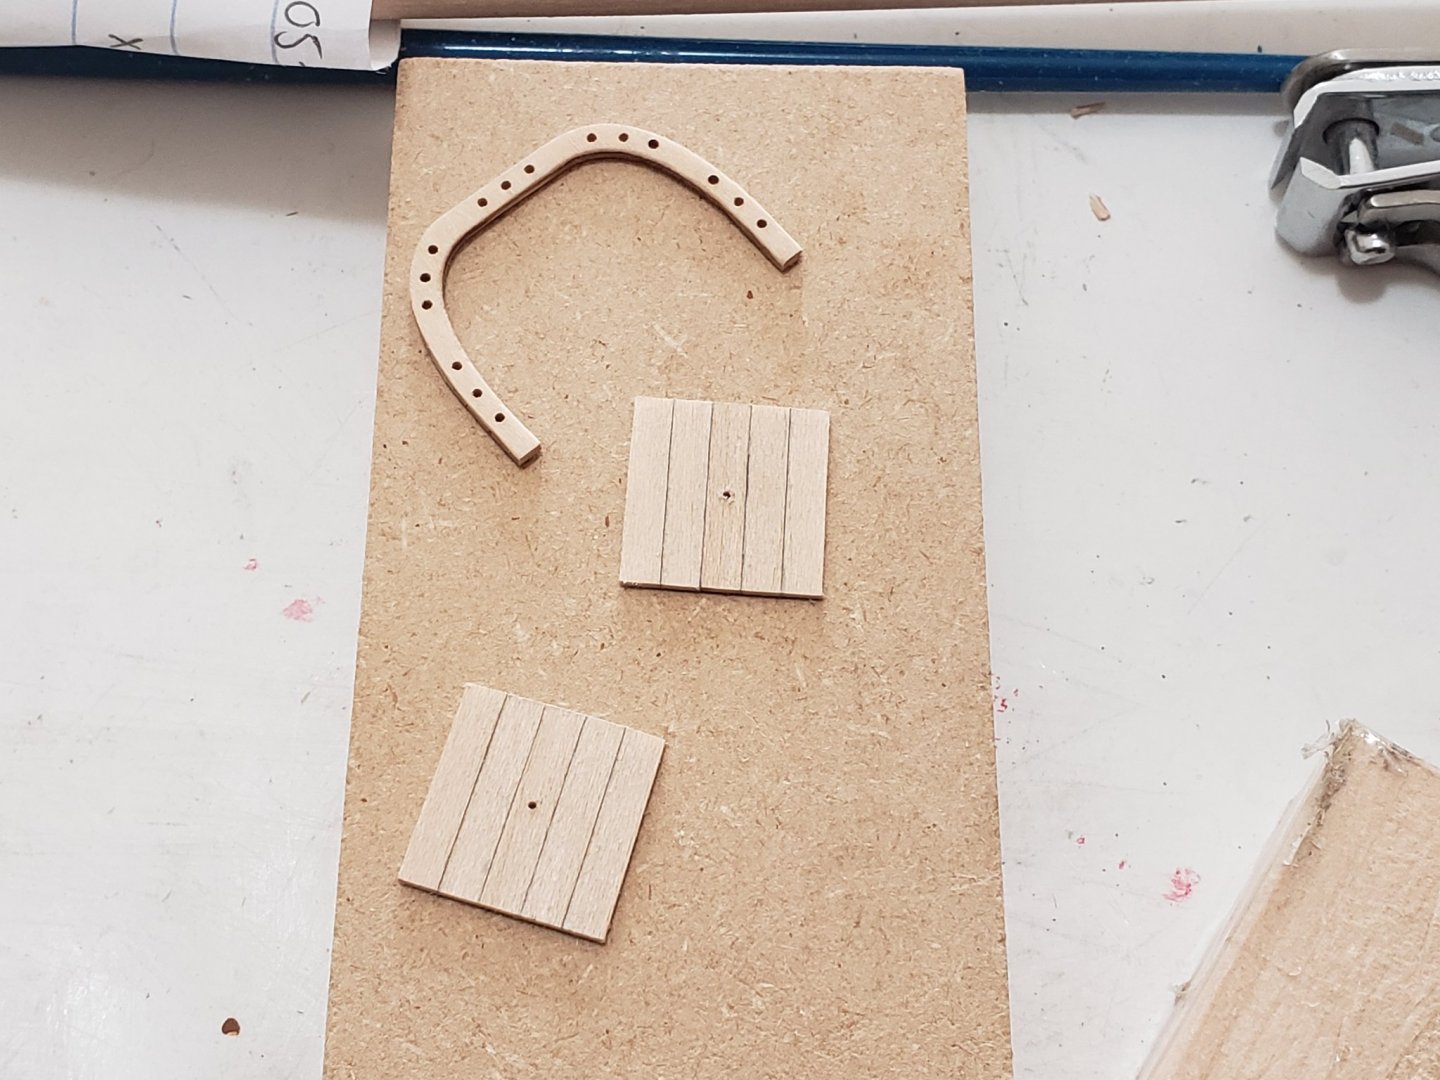
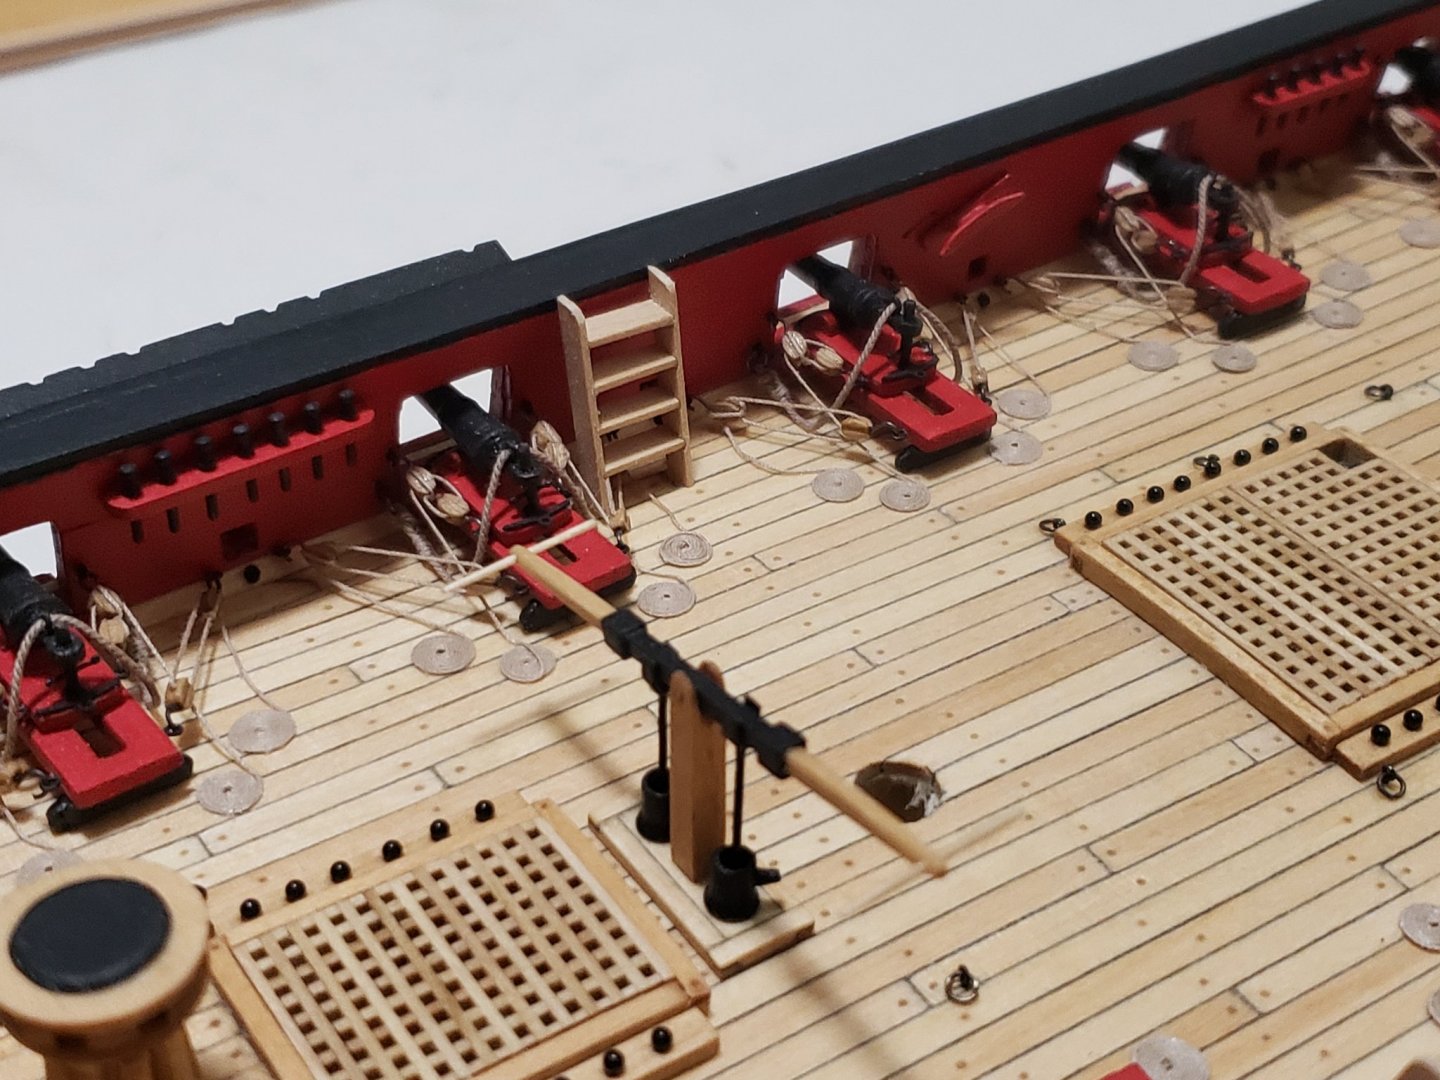
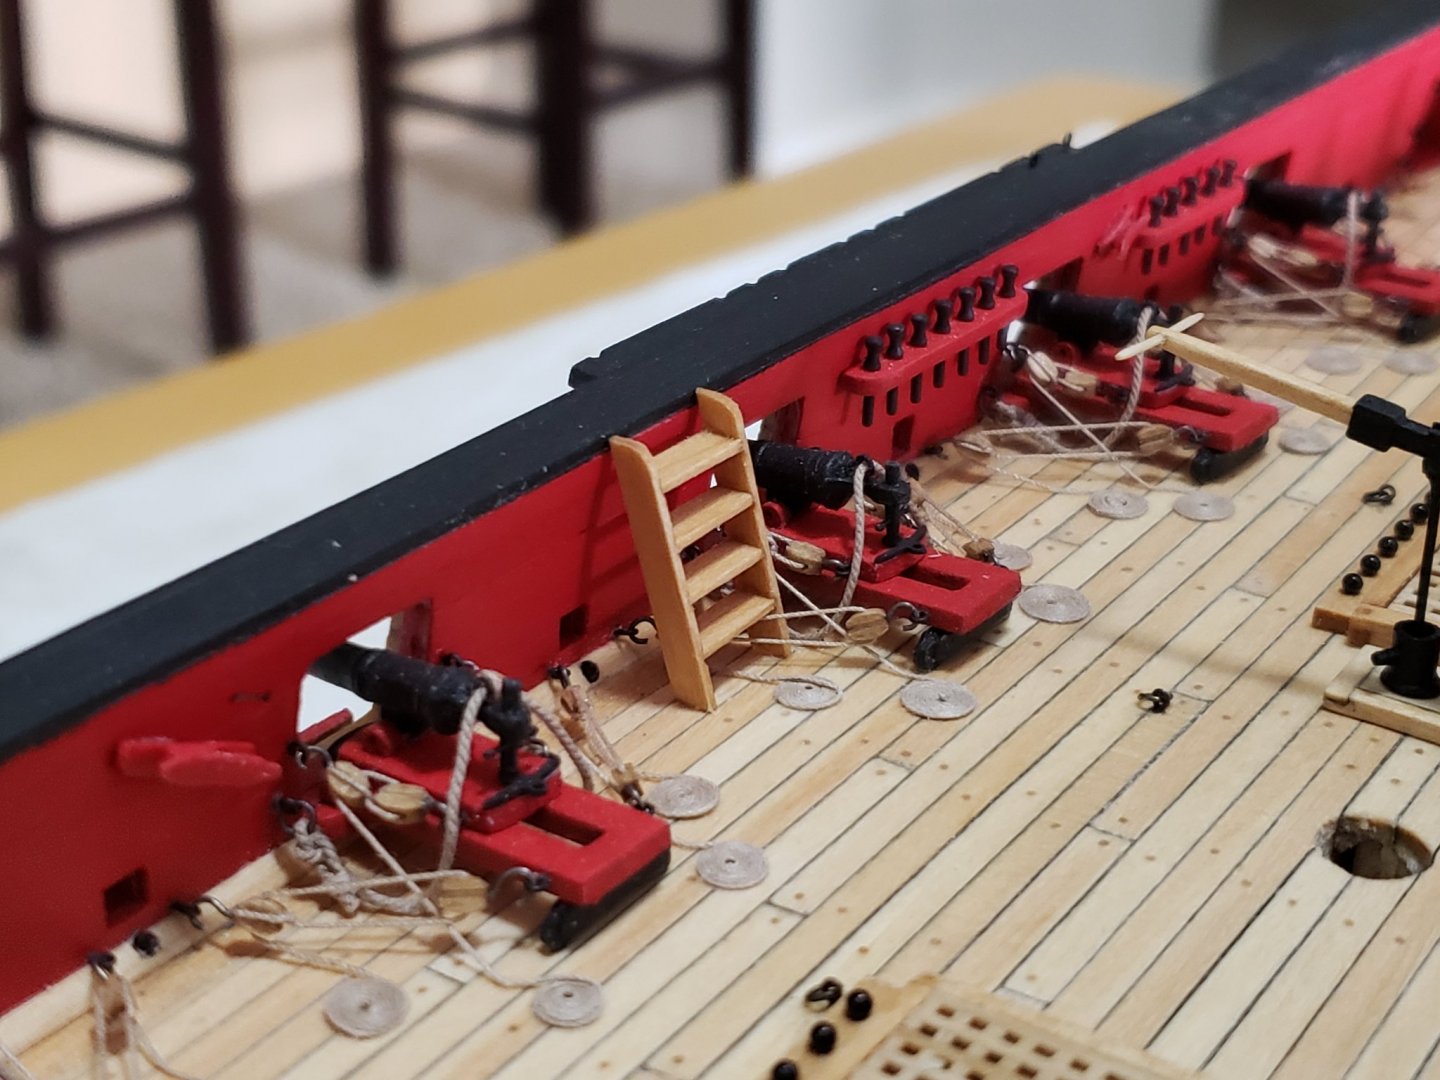
Thanks Daniel! I finished making the ladders Next I want to work on making the guide near the hawse holes. I kept delaying this step (mostly due to nervousness of cutting the waterway) but I think it needs to be done before carrying out with the rest of the deck furniture. Here's a pic of why I want to do this step. Even after trying to clean the holes they still don't look very good. Hoping the guide gives a cleaner look.


- 950 replies
-
- 8
-
-
- syren
- model shipways
- (and 1 more)
-
I found Syren rope to be leagues over the kit ones in terms of quality and looks. Also, nice idea with the hooks! Wish I had thought of that!!!
-
Very nice and neat planking! Looks superb!!!
-
Thank you Patrick and Matt! And thanks for all the likes!