.jpeg.7d7eba14c97a2e1d9f79cd2c97f6424a.jpeg)
EricWilliamMarshall
-
Posts
985 -
Joined
-
Last visited
Content Type
Profiles
Forums
Gallery
Events
Posts posted by EricWilliamMarshall
-
-
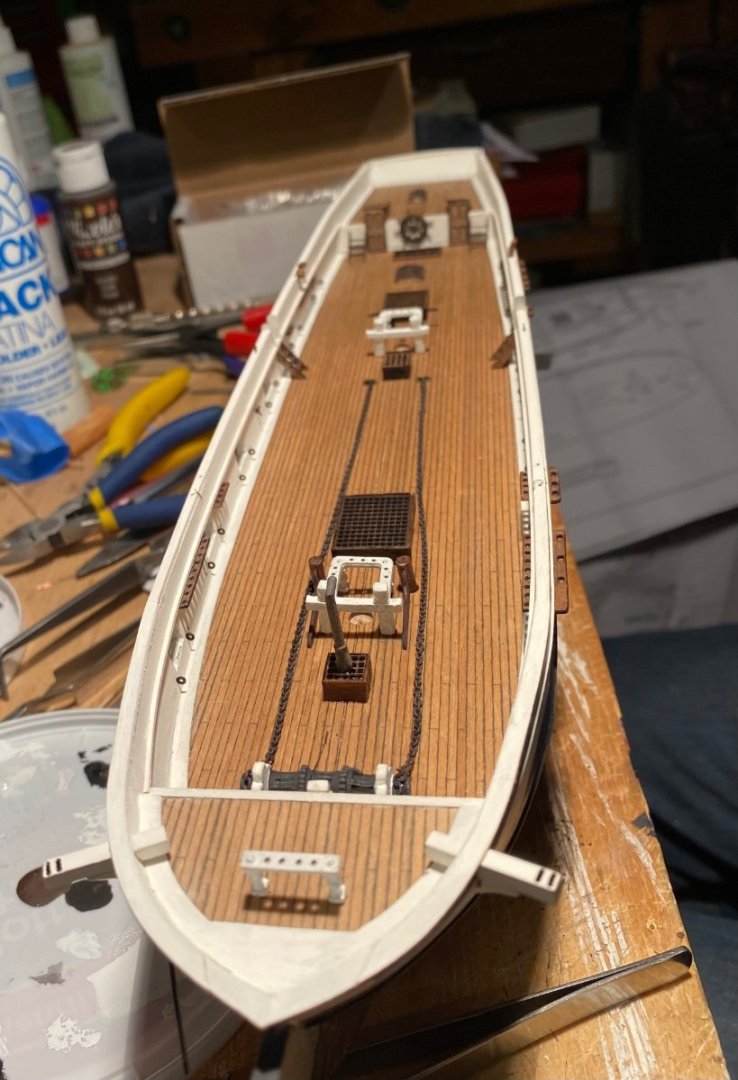
Meanwhile on the Perry, I’ve added more of the deck goodies.


-
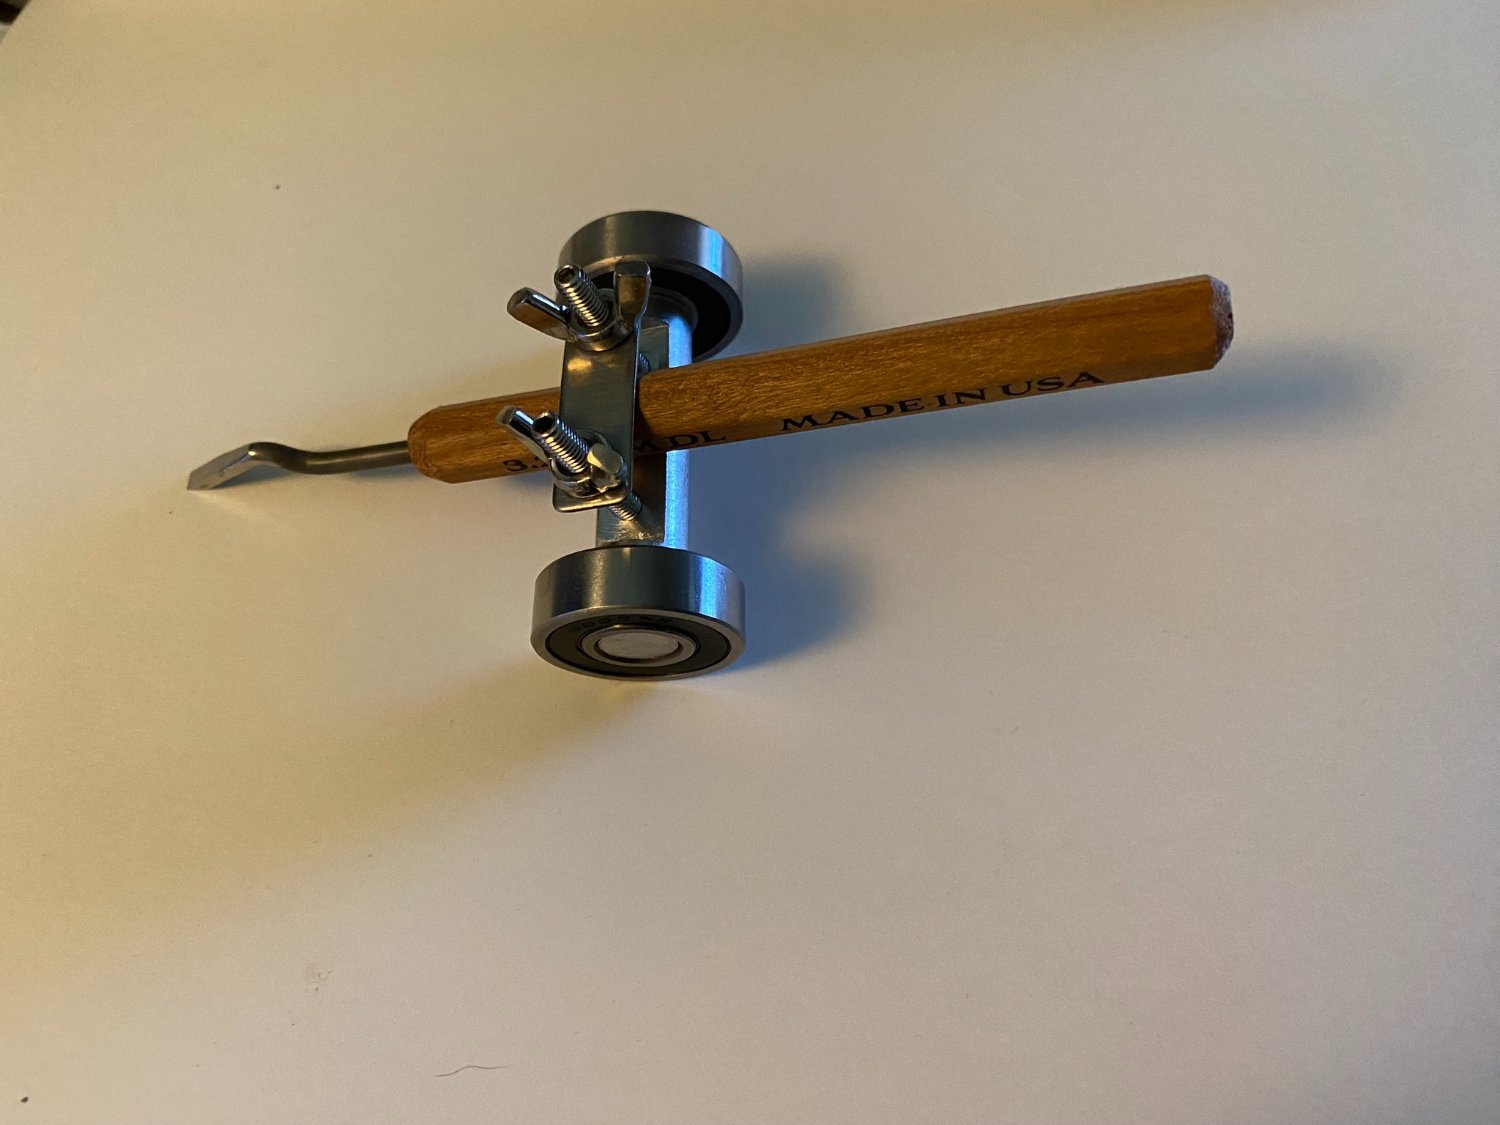
The dog-leg Dockside chisels I have are built so the handle facets are parallel to the blade. So any top to bottom adjustable guide (for full-size chisels) will work. Most of the side-clamping guides will also work (assuming the bottom of the handle can rest on parallel pins that hold guide together. Here is one of each for cheap:
https://www.amazon.com/gp/product/B08B8DJ282/ref=ppx_yo_dt_b_search_asin_title?ie=UTF8&psc=1
https://www.amazon.com/gp/product/B08DRM941P/ref=ppx_yo_dt_b_search_asin_title?ie=UTF8&psc=1
Here is how you can use the handle for clamping in the guides:
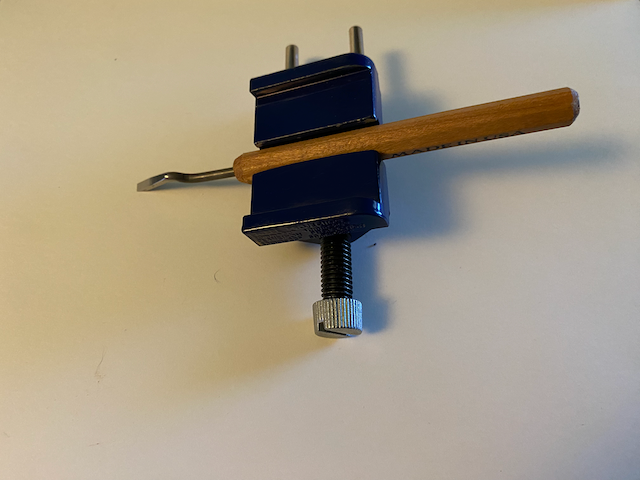
Note: for the top clamping guide, the chisel can be 'off' of 90 degrees and your sharpening will also be off!
I also second the use of scrap wood and honing compound that @druxey suggests!
Also note, none of these guides will help with sharpening the gouges, so it is worth experimenting to learn the 'by hands alone' method. -
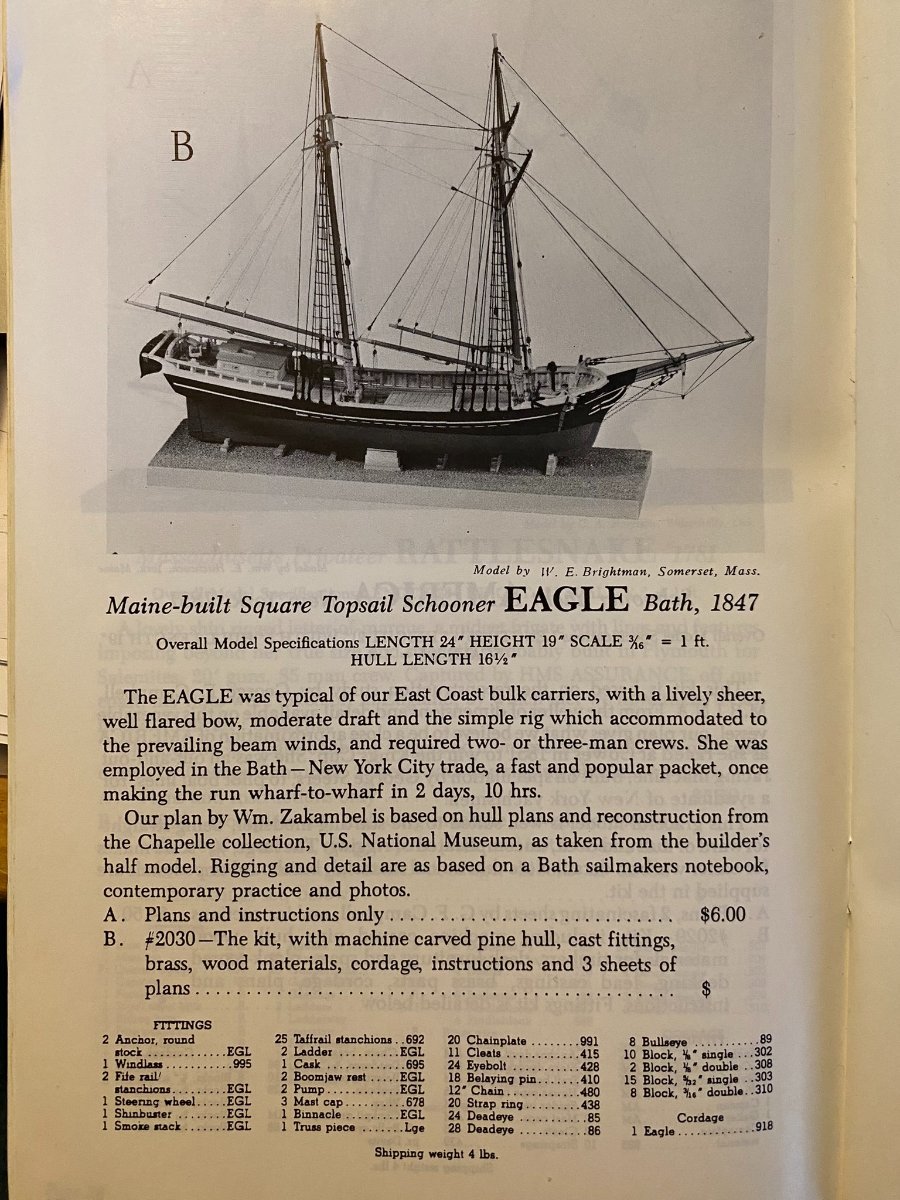
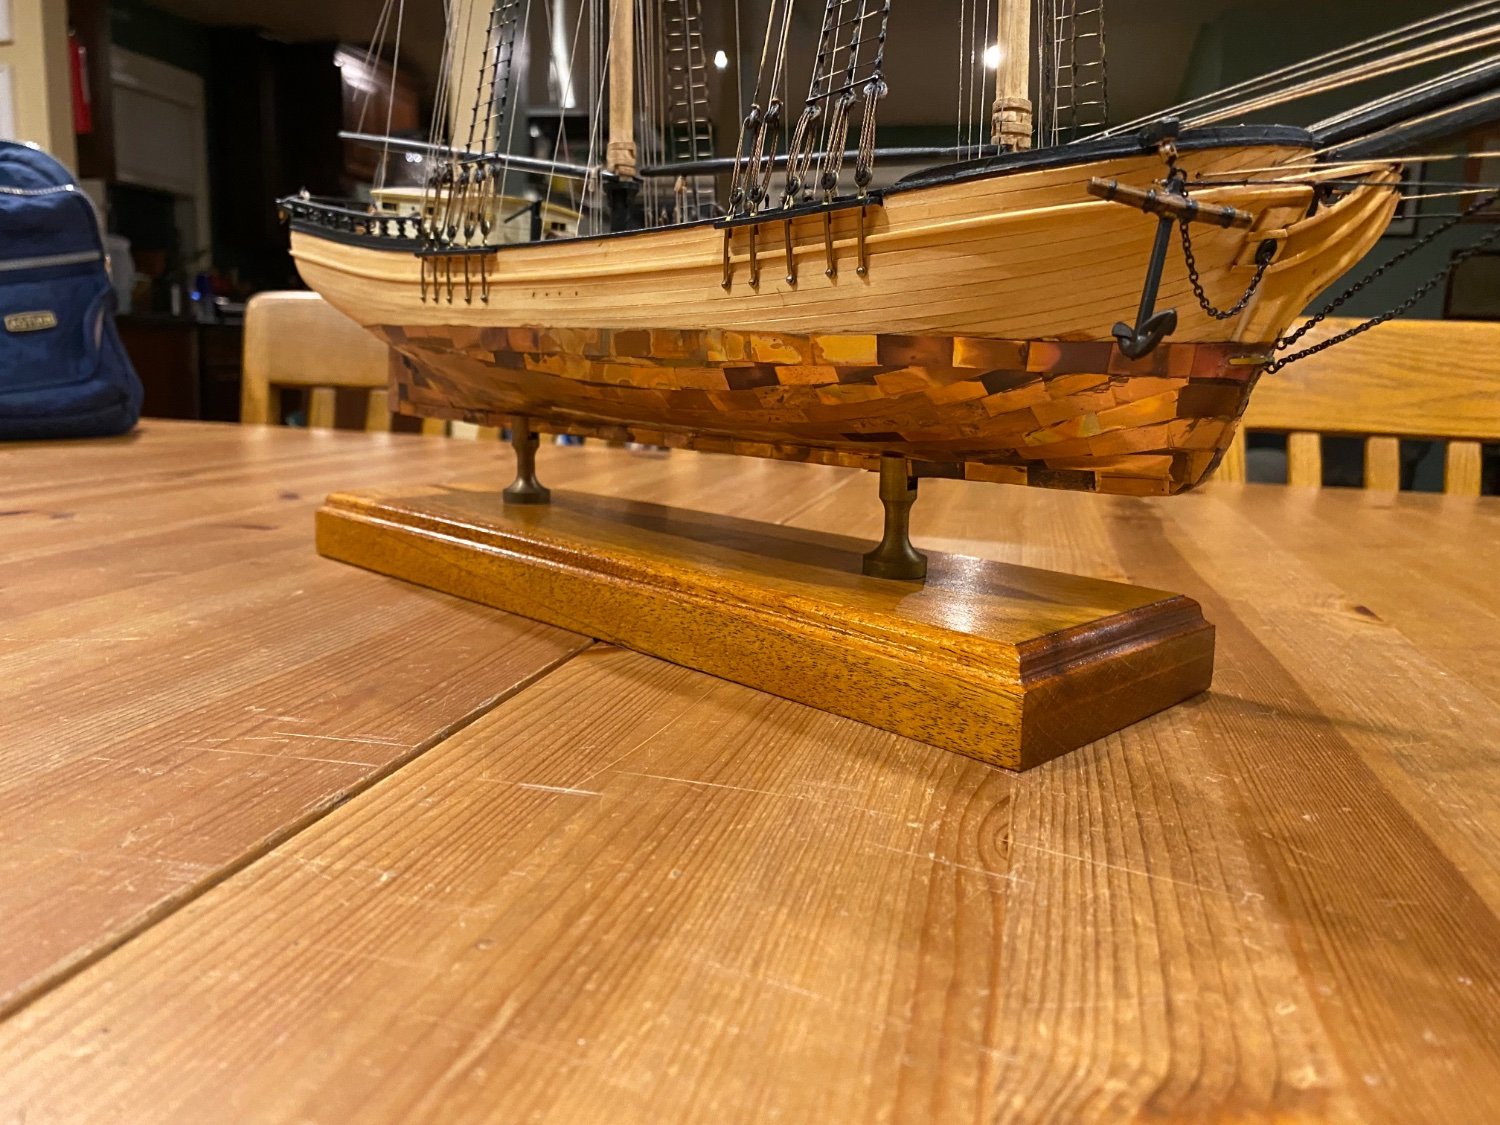
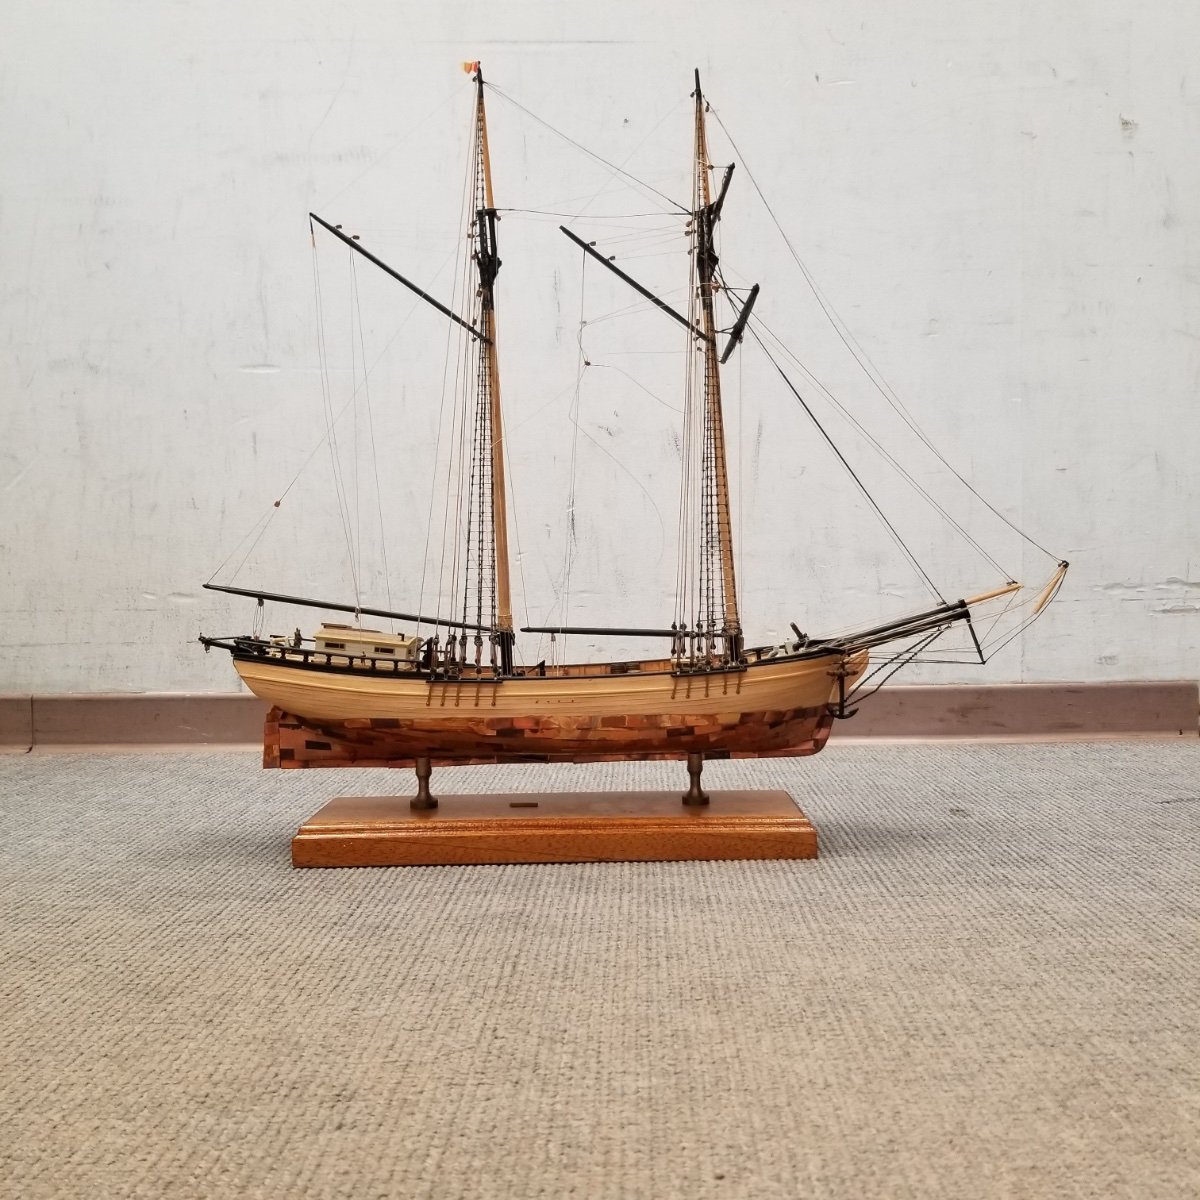
The repaired ship model is a kit. Thanks to Rich to recognizing it and hunting it down!! The is kit is a Model Shipways #2030 Maine Topsail Schooner EAGLE 1847, no longer sold by Model Expo but ebay still has copies.

The image is from my copy of the 1986 Model Shipways catalog.- ccoyle, Keith Black and Chuck
-
 3
3
-
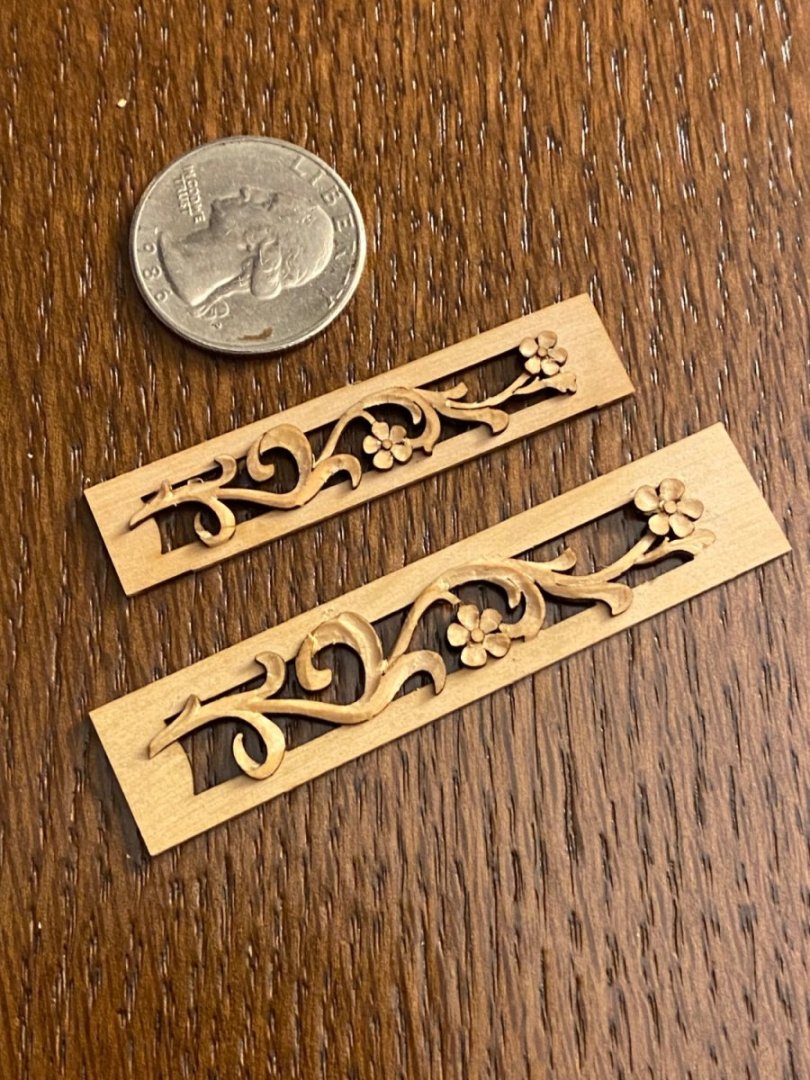
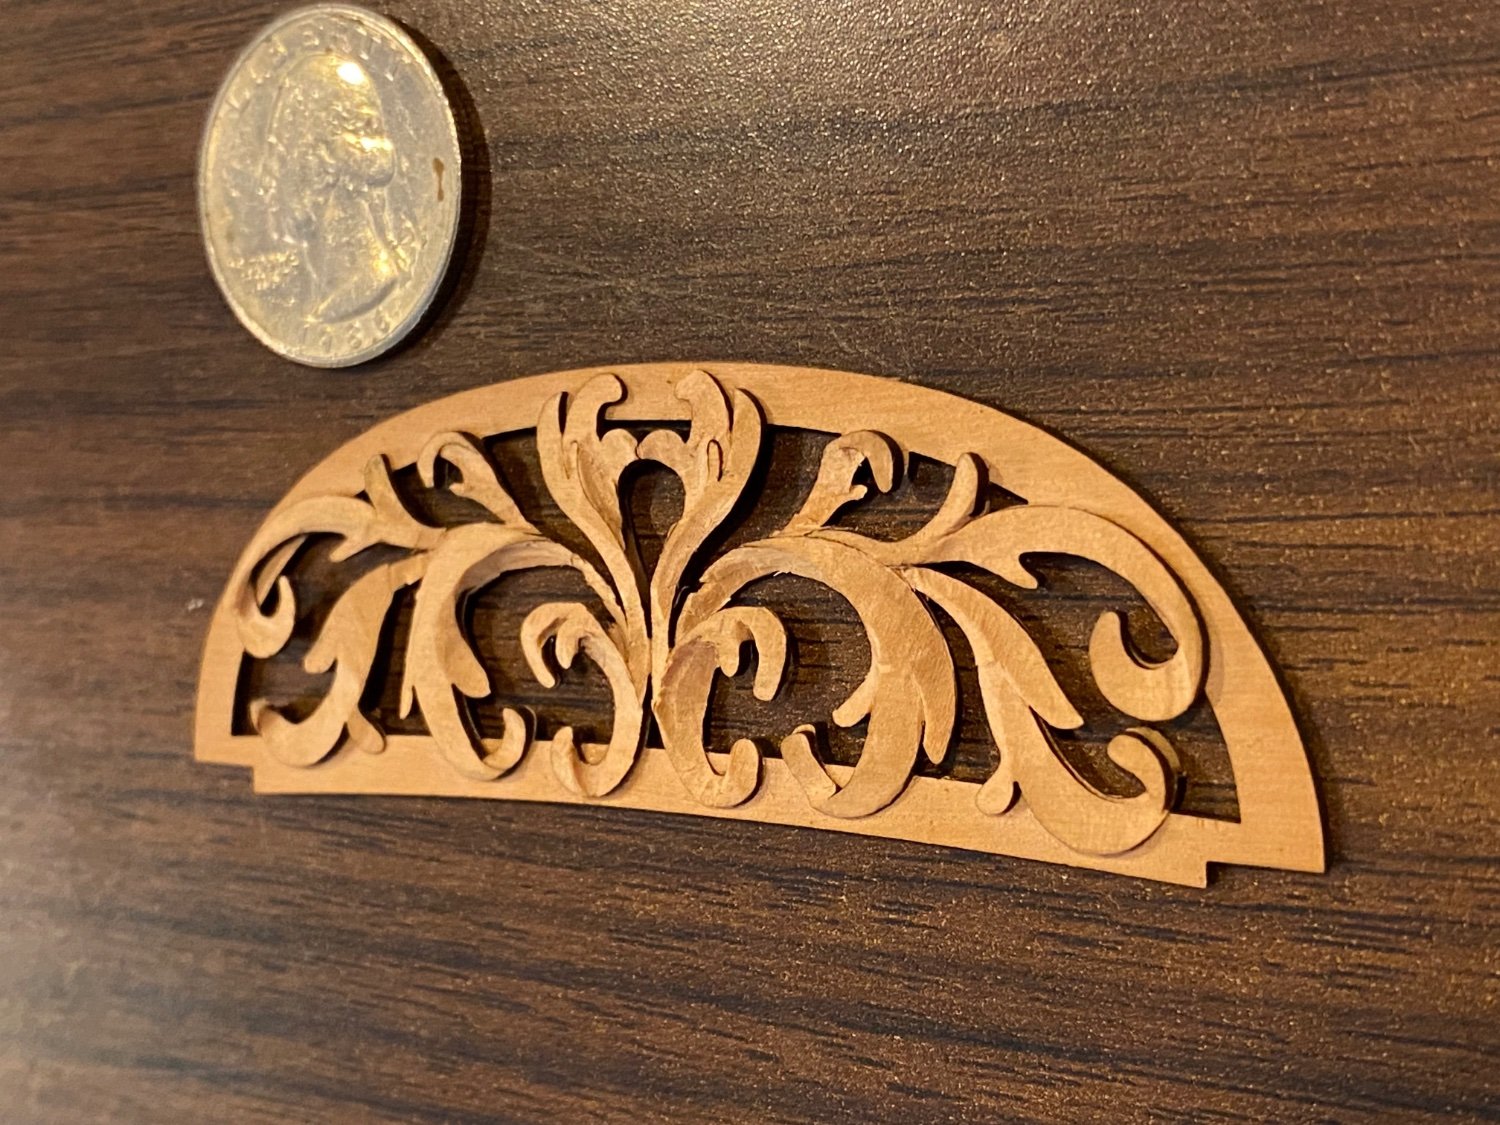
Here are few of my attempts at small scale carving using Chuck’s laser cut blanks.

- Ryland Craze, ccoyle, gsdpic and 5 others
-
8
-
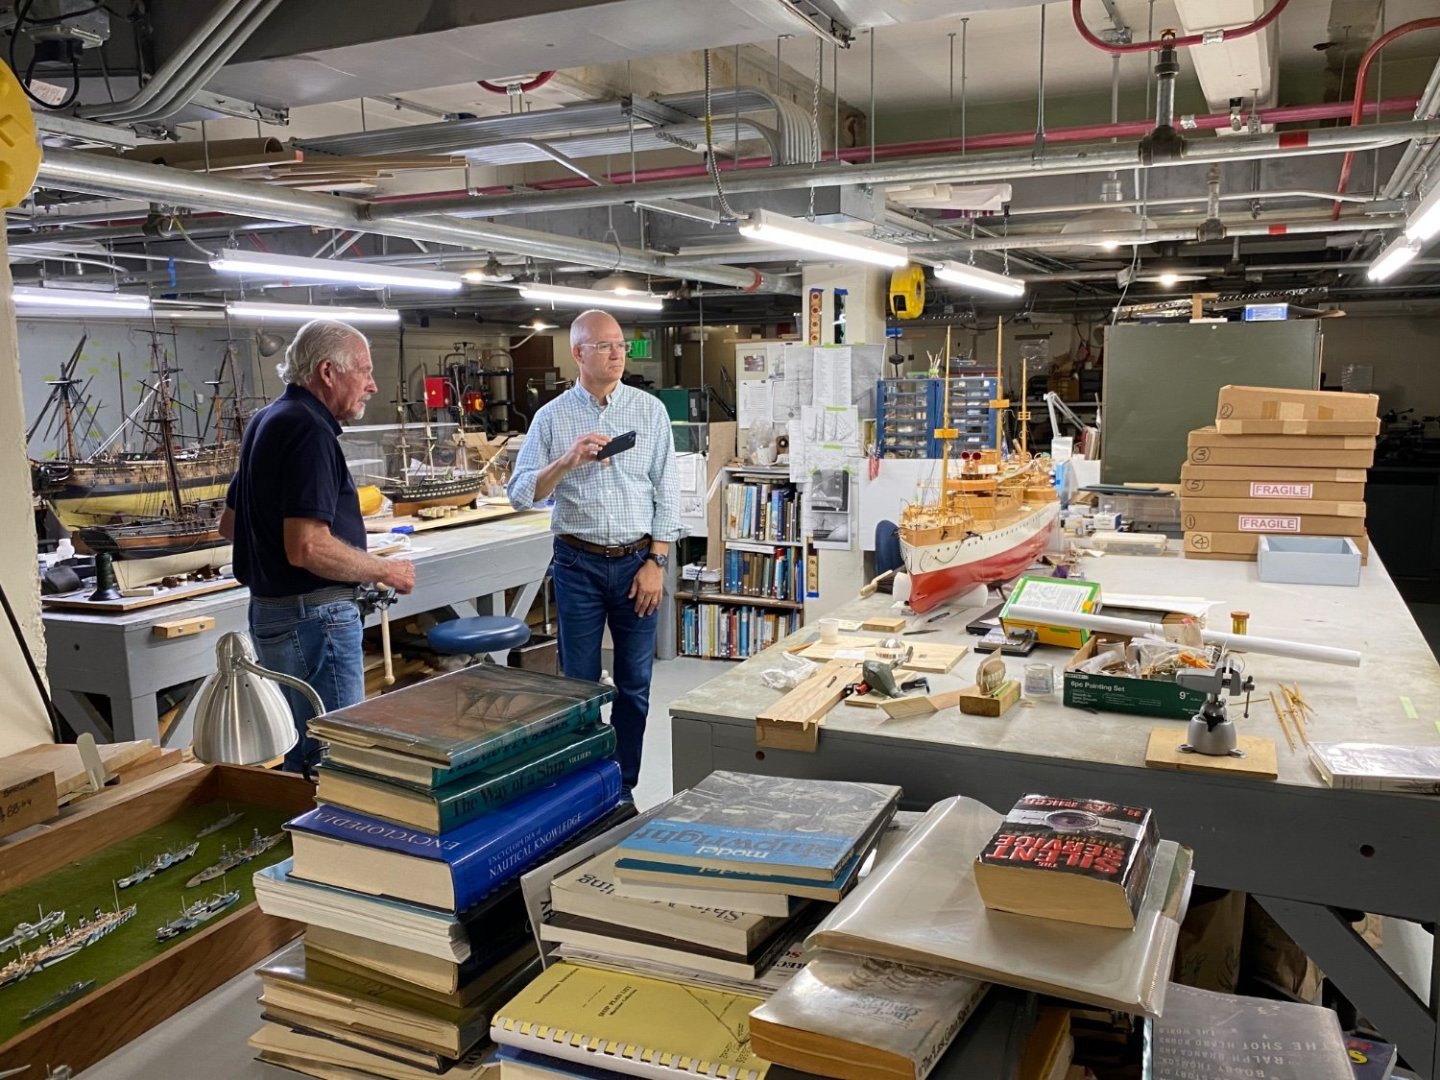
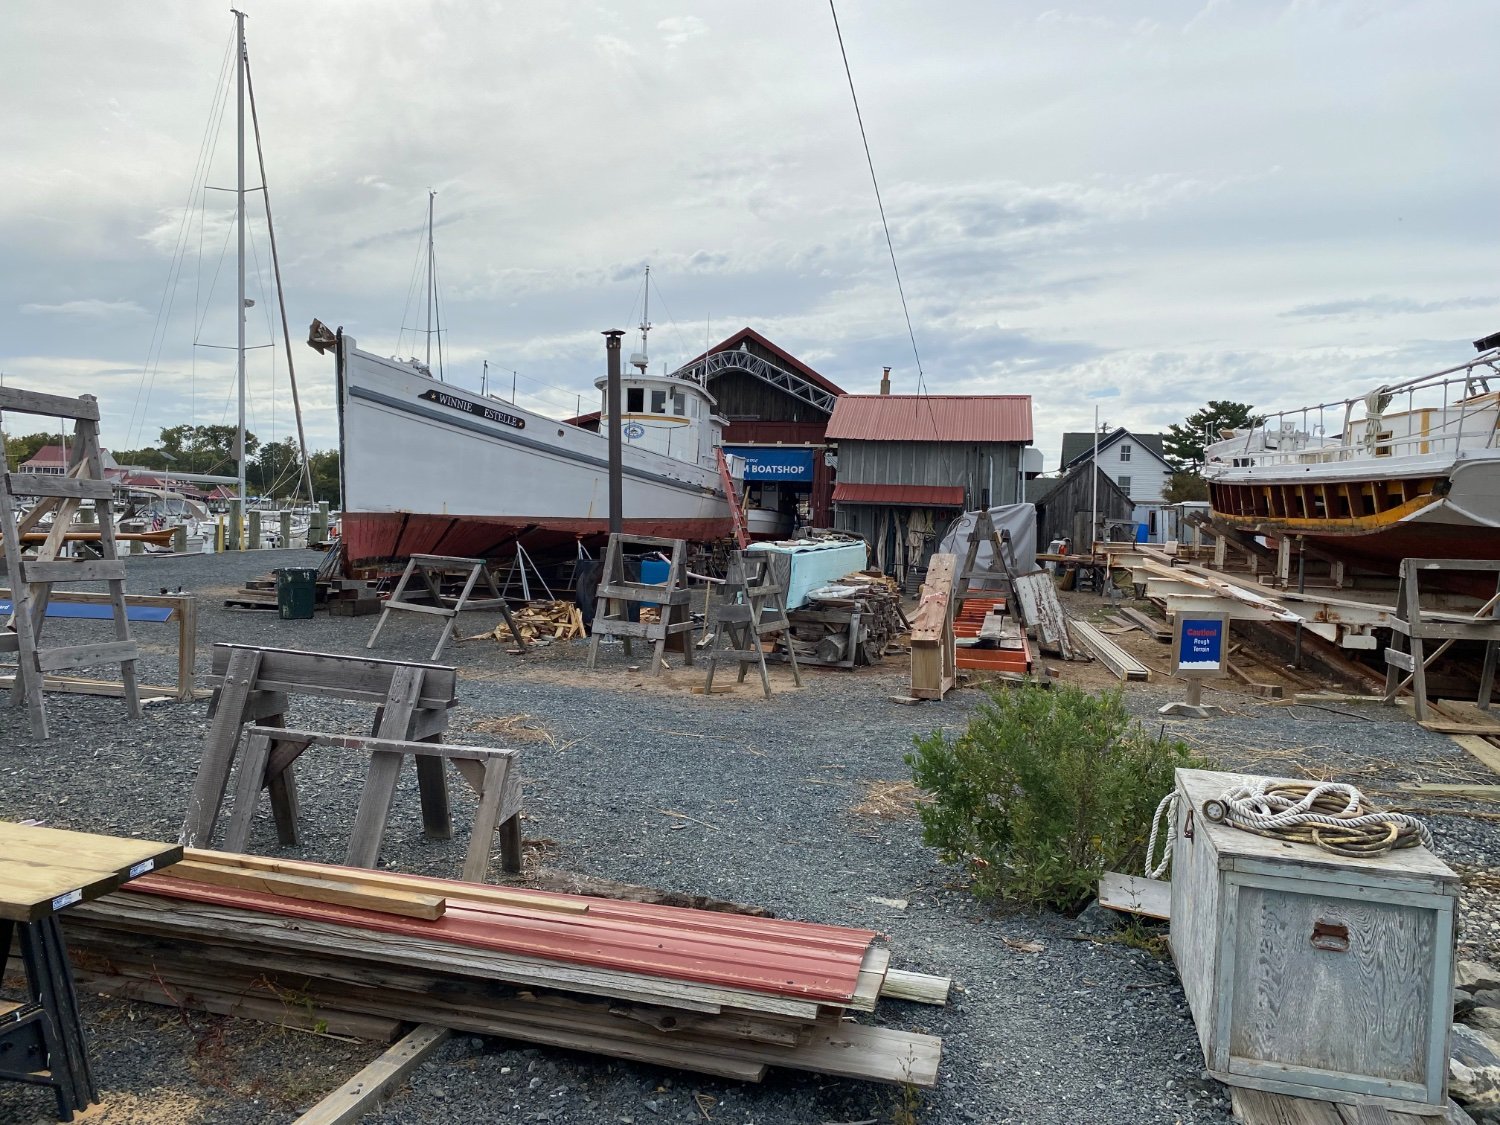
Also off topic: I attended David Antscherl’s and Greg Herbert’s workshop on carving. Also Had tour of the ship models at the Naval Academy (finest collection in the New World) as well as a behind the scene tour! I also stopped by the Chesapeake Bay Maritime Museum and bumped into the author and ship builder Douglas Brooks who was kind enough to chat with me for a bit.


- ccoyle, Ryland Craze and Keith Black
-
3
-
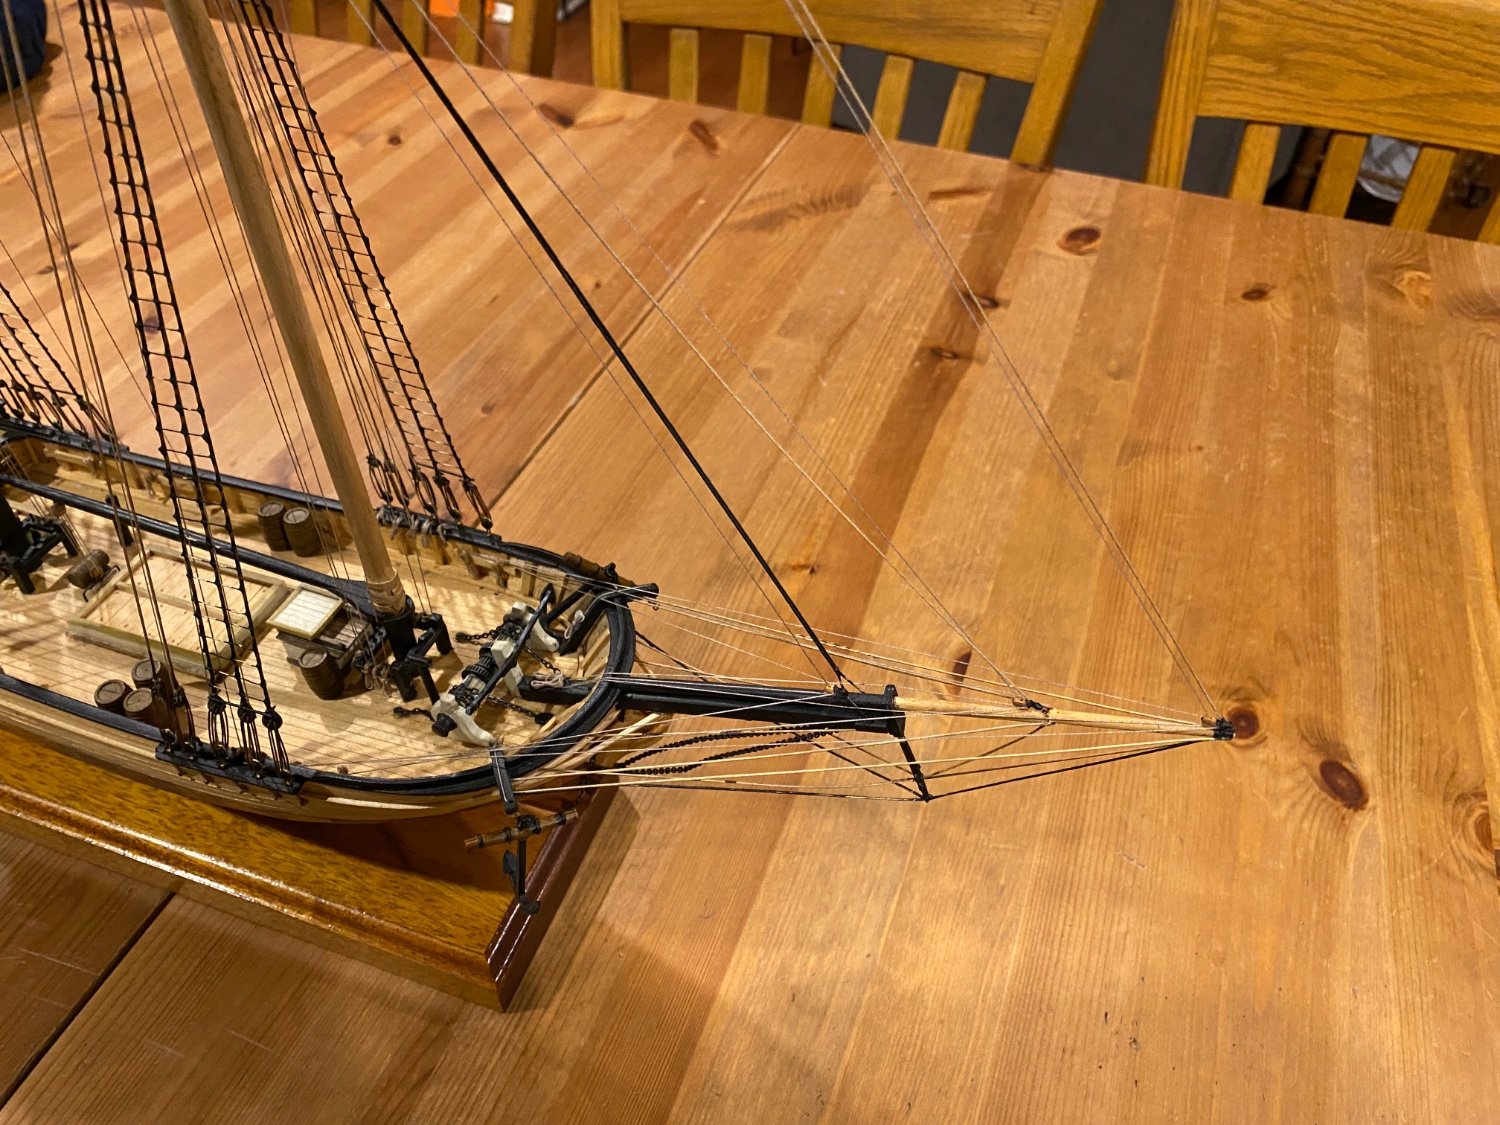
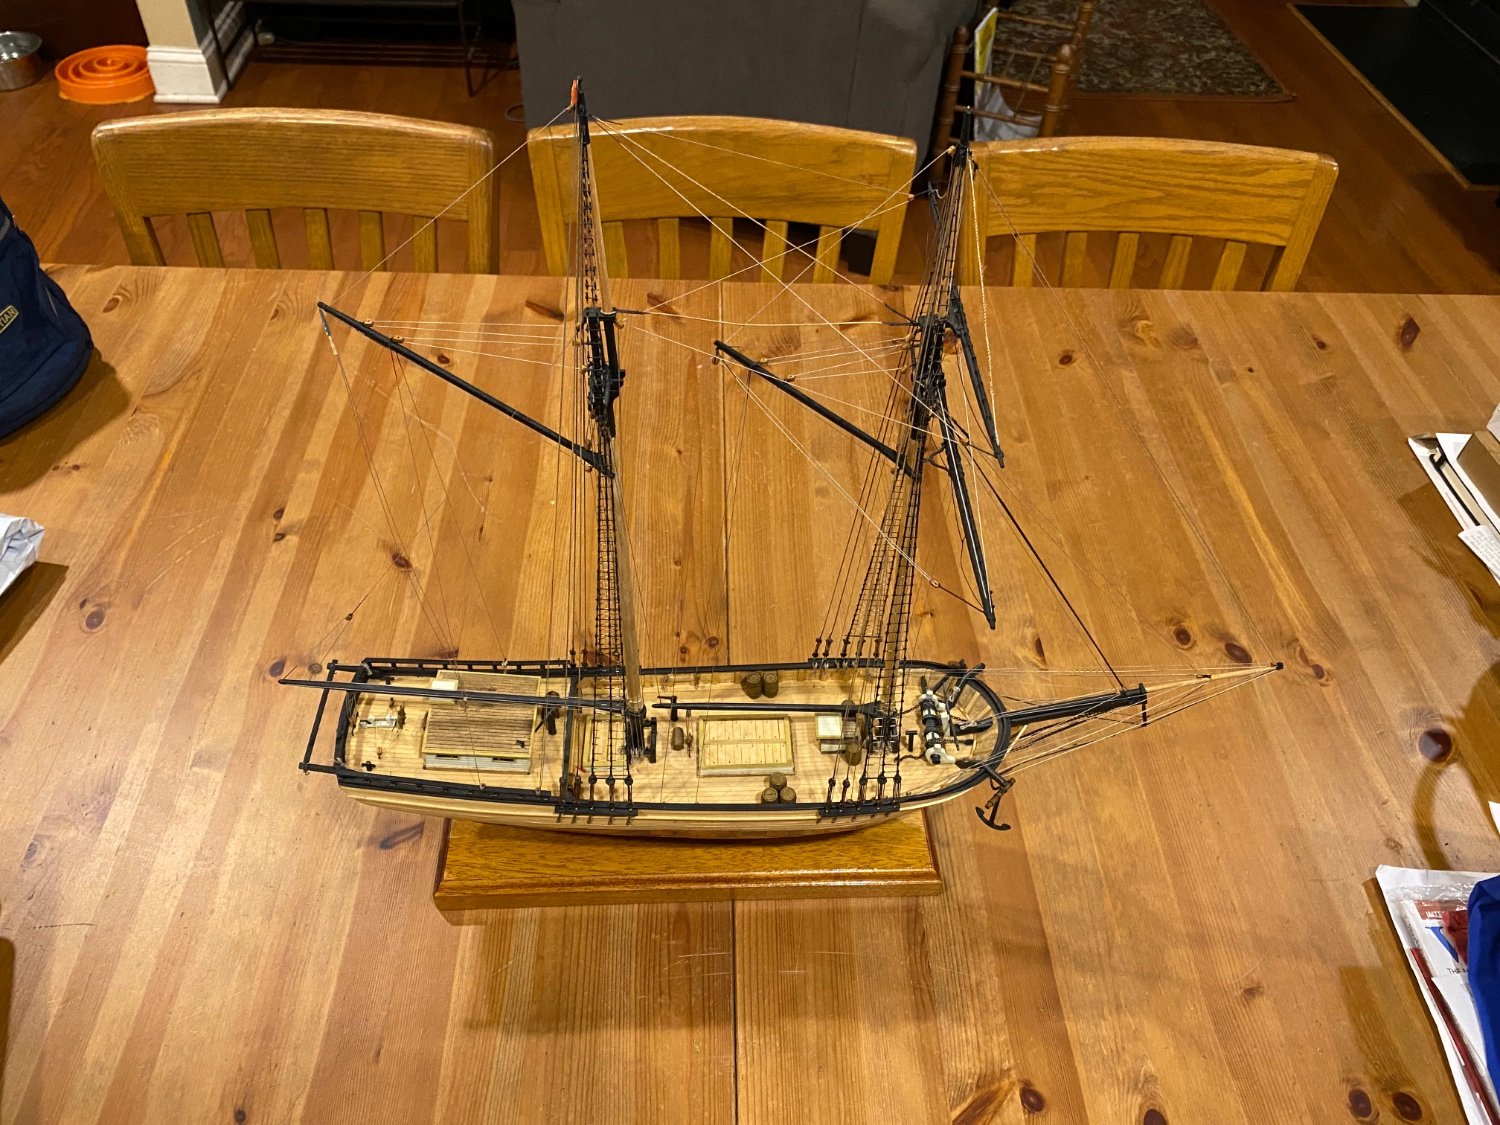
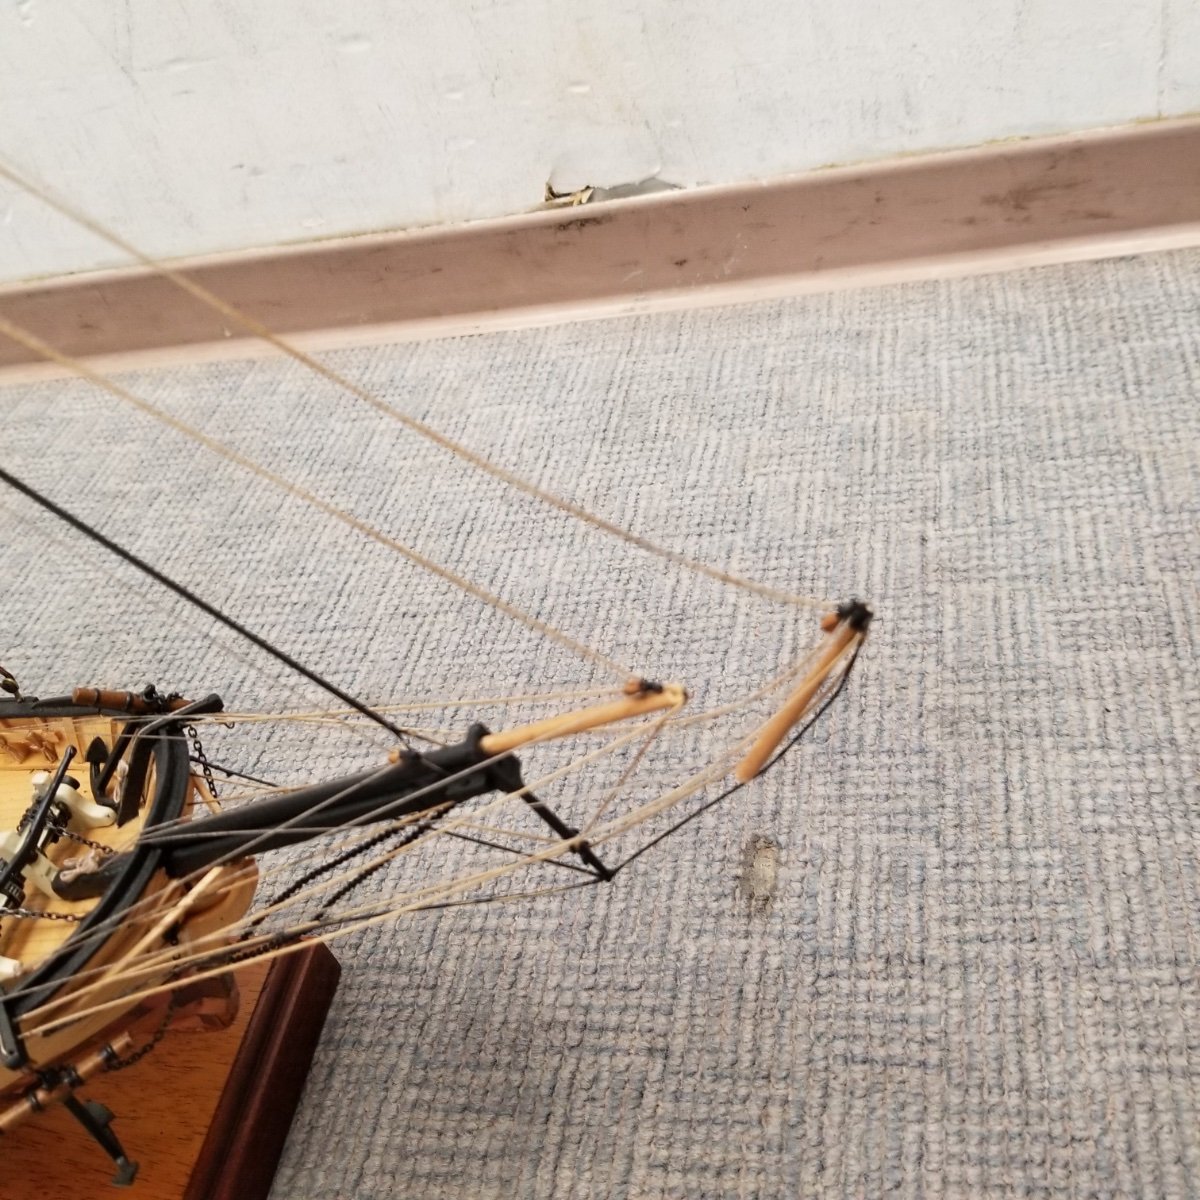
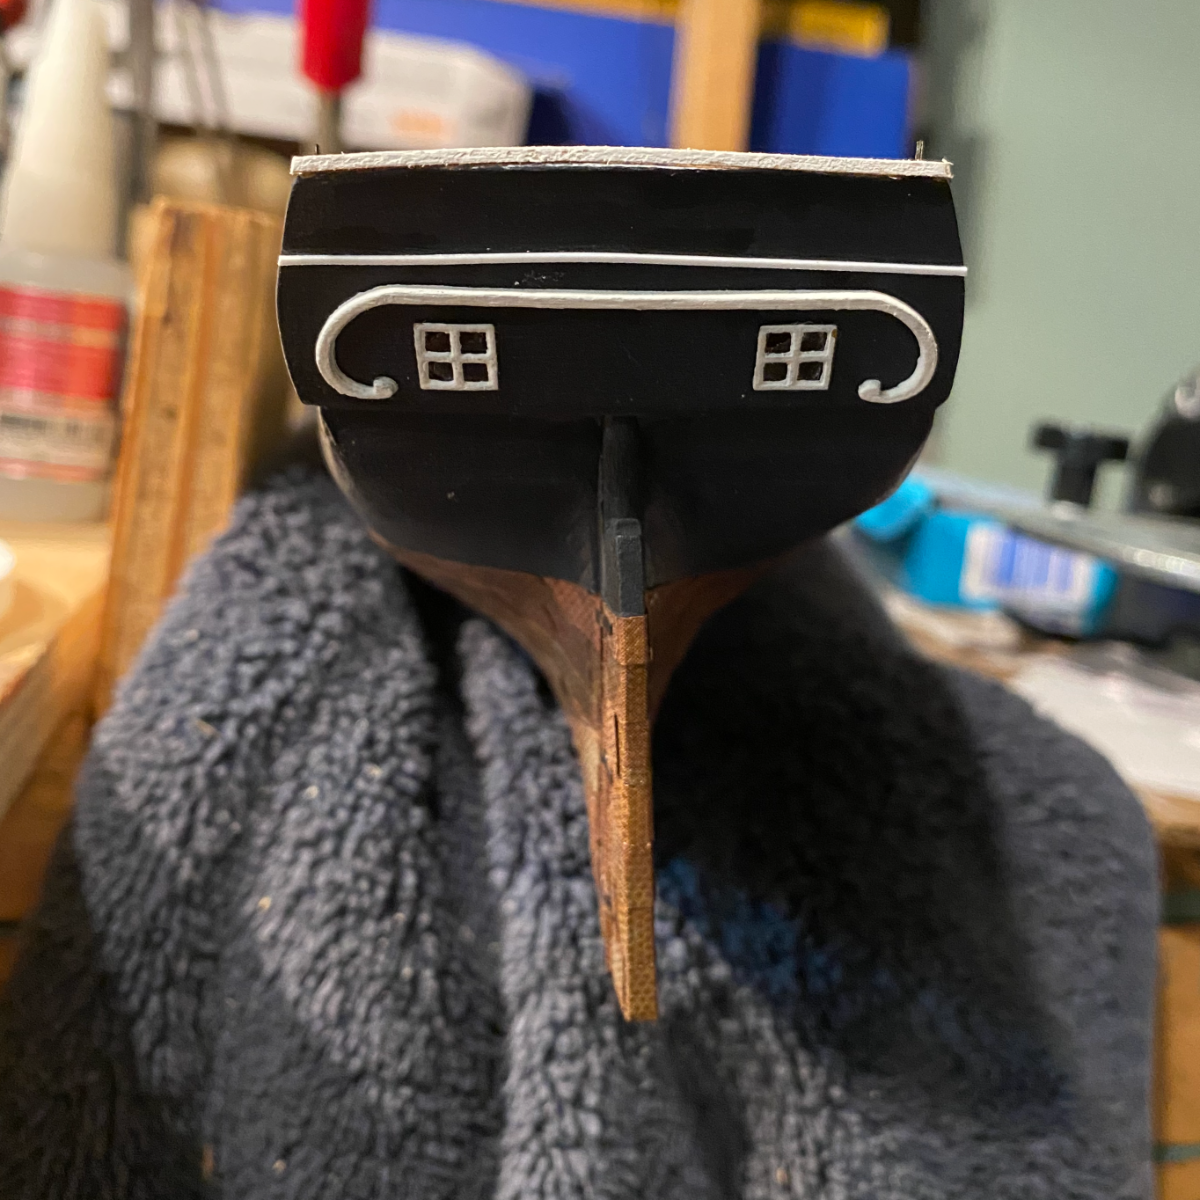
And the repaired beastie! I feel I was able match the quality and style of the existing model, so one can tell my work from the original.


- Keith Black, KenW, ccoyle and 2 others
-
5
-
-
Which way do folks think the kitchen’s chimney should point? The photo of the model points to the aft but others point the other direction.

- Keith Black and Ryland Craze
-
2
-
-
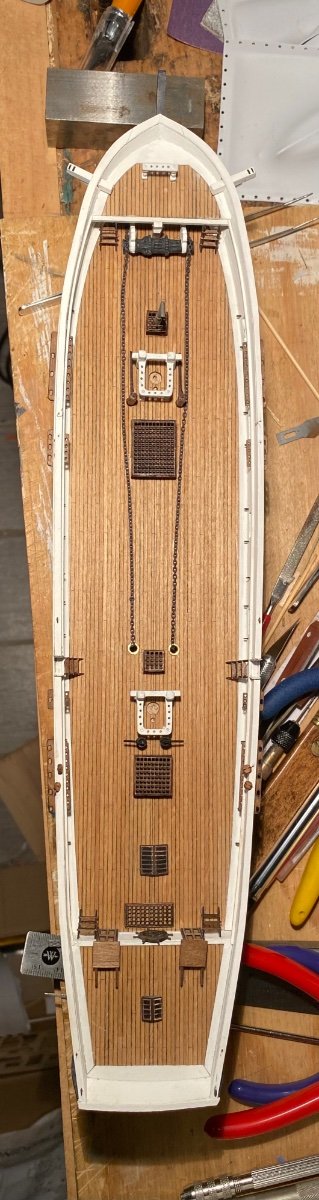
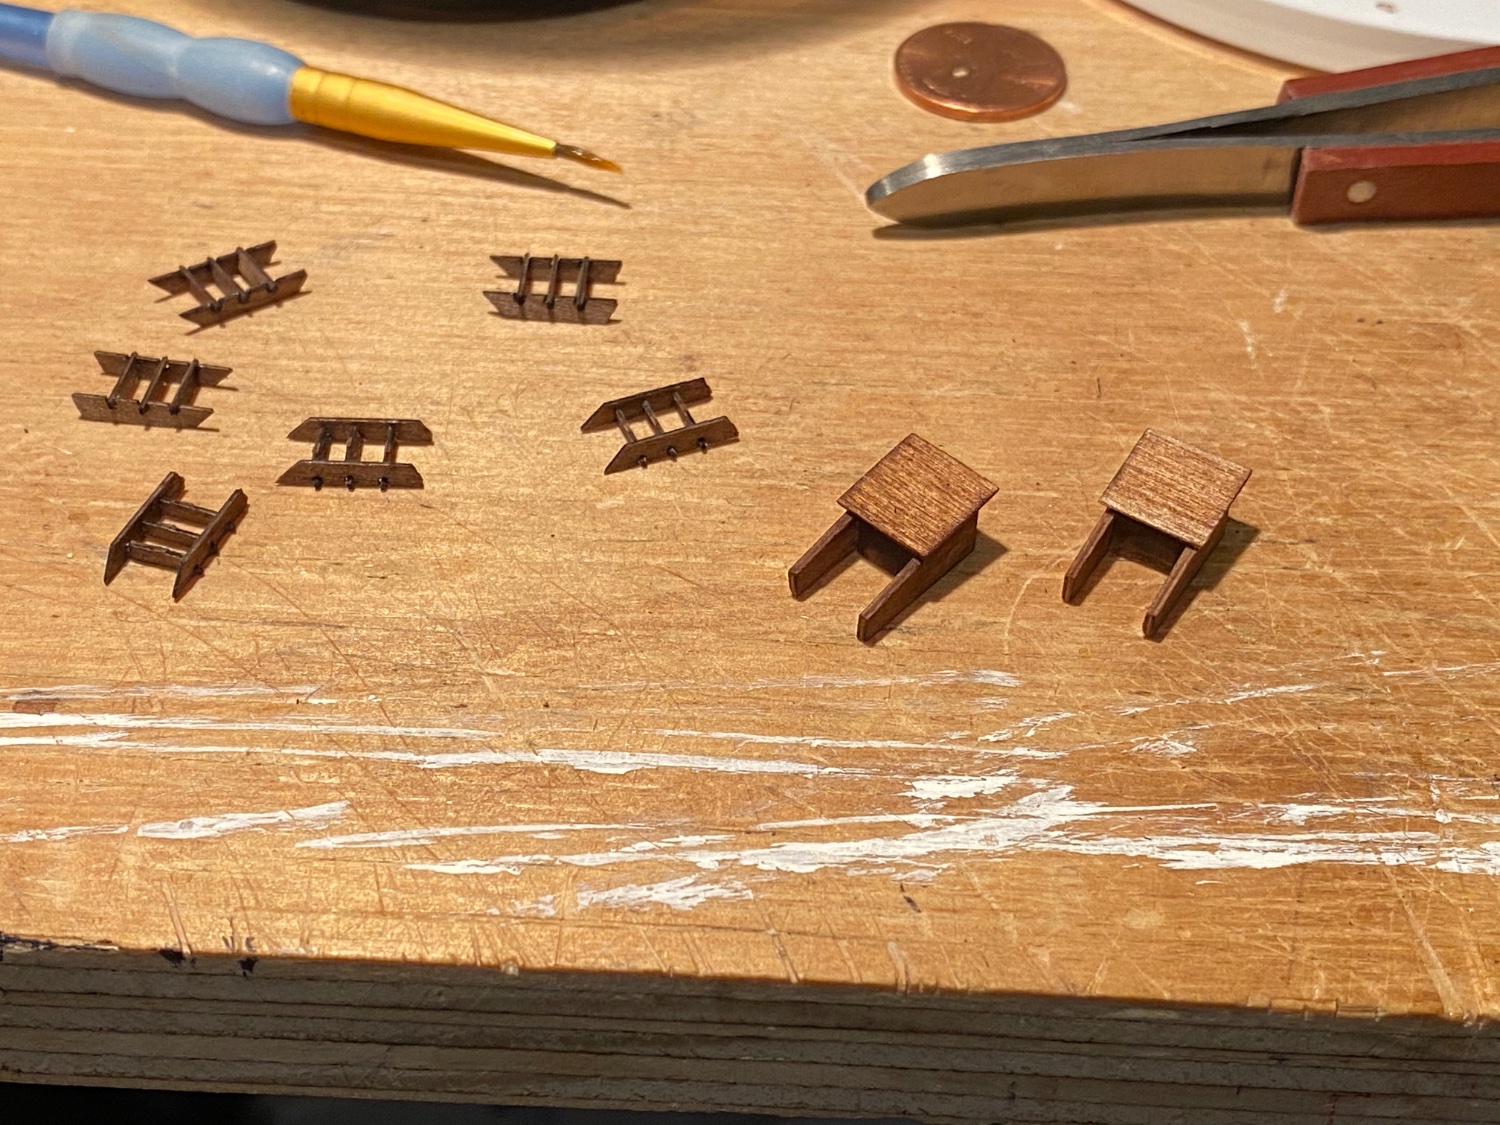
A bit of progress with the deck “furniture”.
")

-
Enjoy your time away! Your ship and your blog are an absolute delight! Reading this makes me feel like I’m being truly wasteful with my time!
- mtaylor and Hubac's Historian
-
1
-
 1
1
-
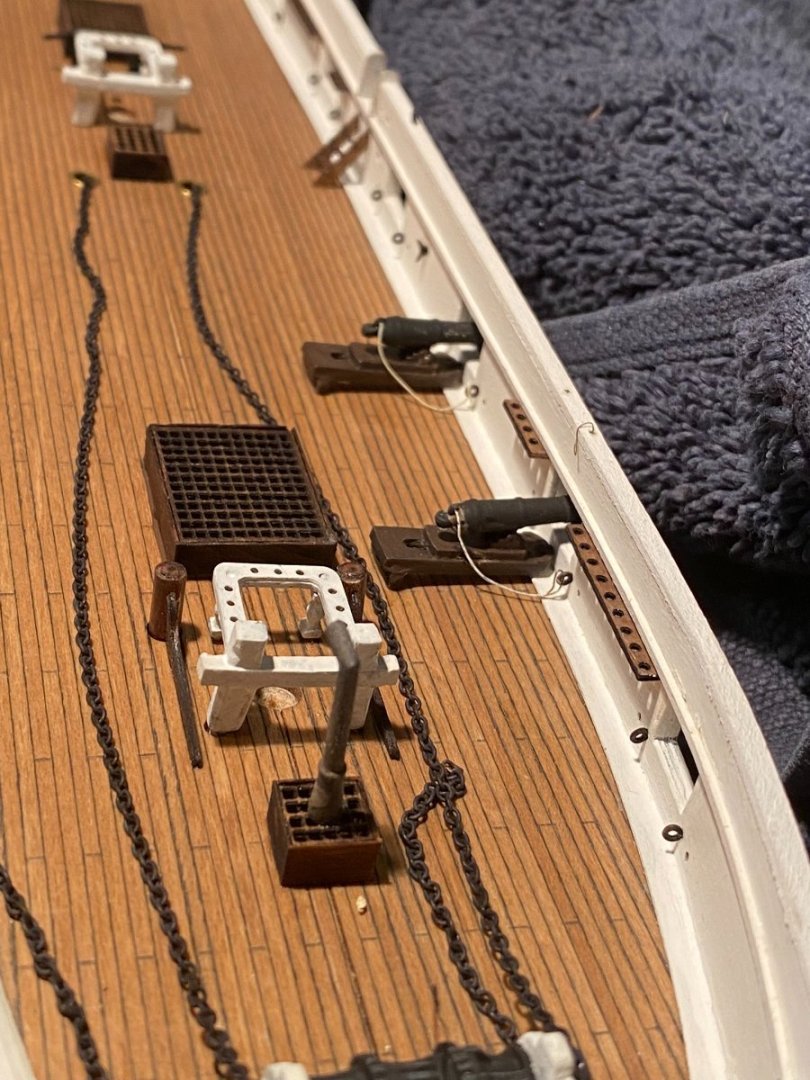
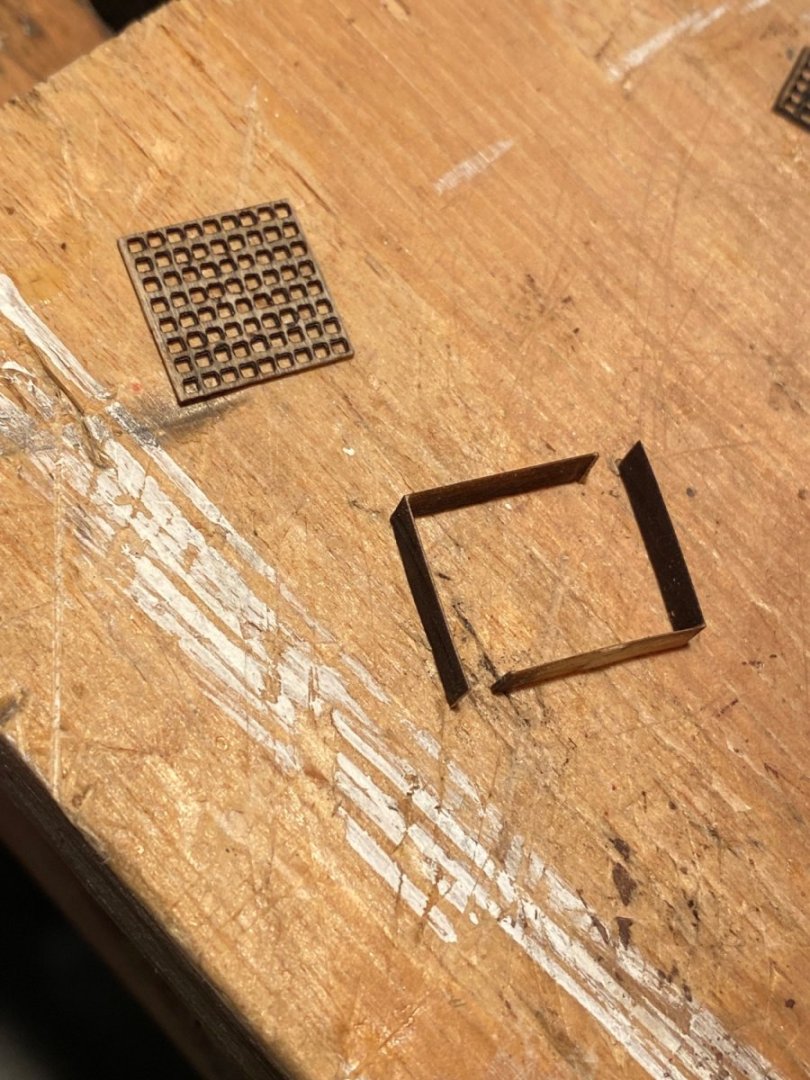
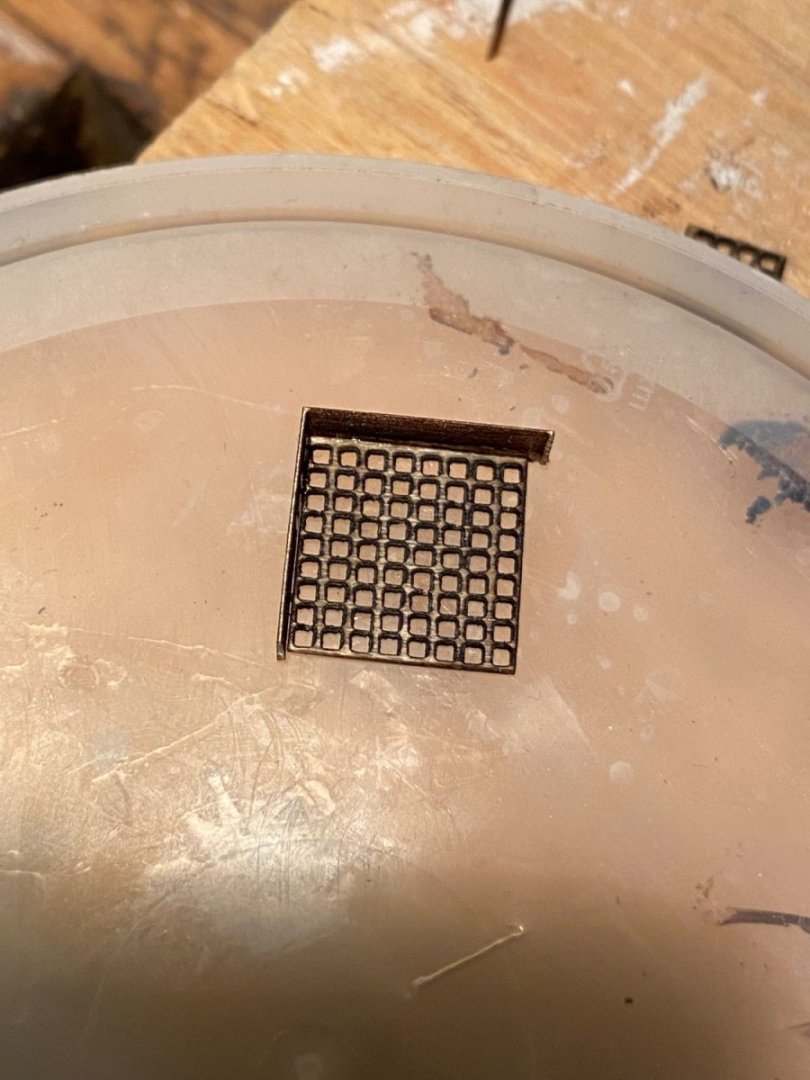
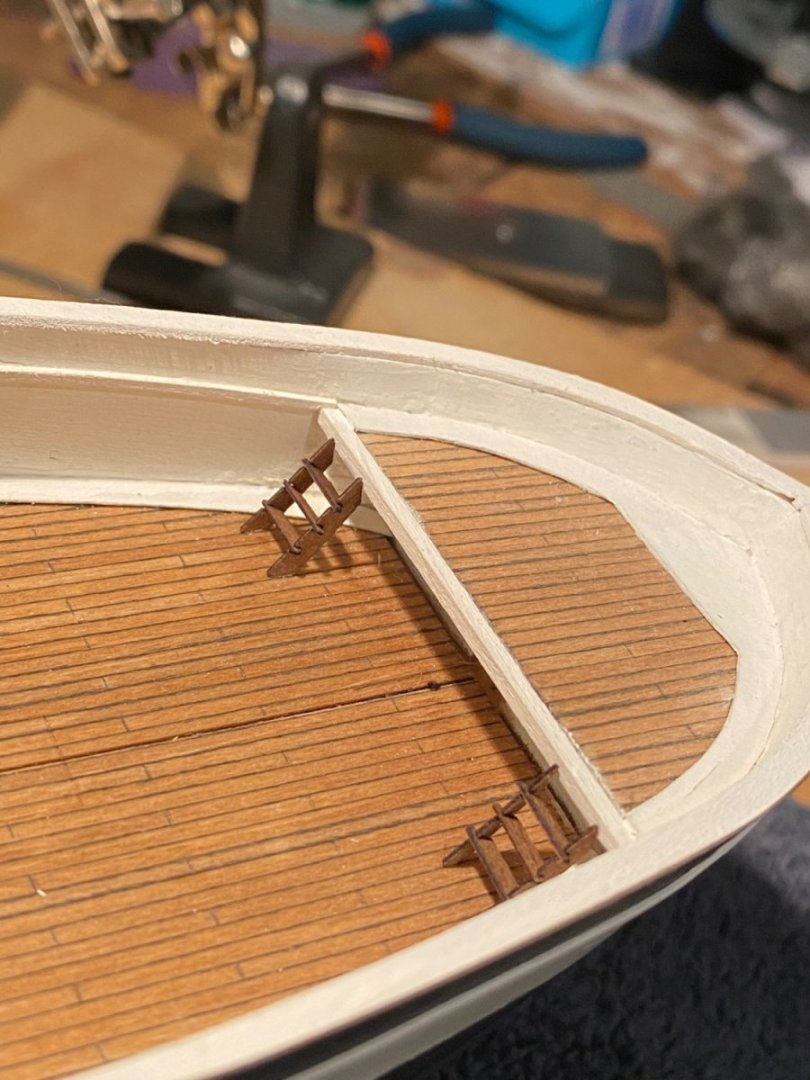
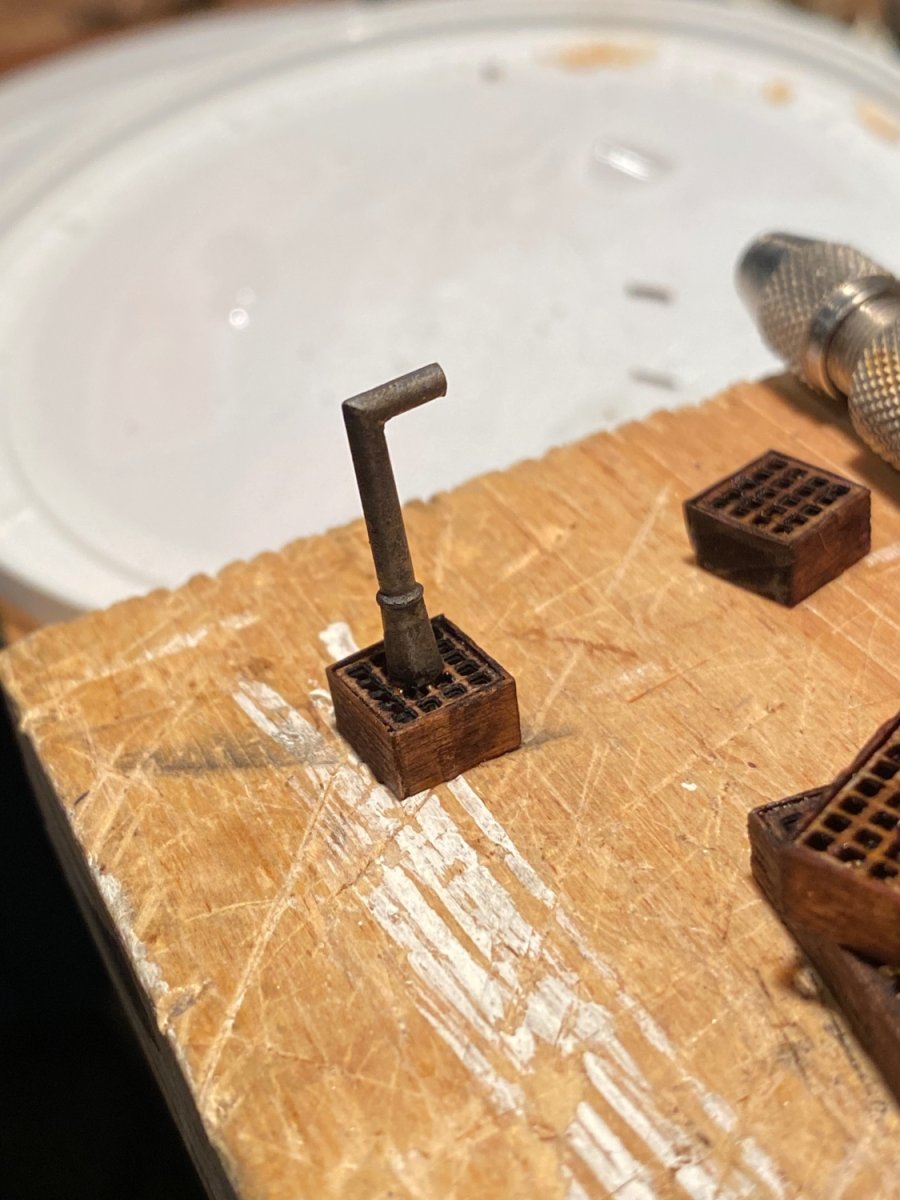
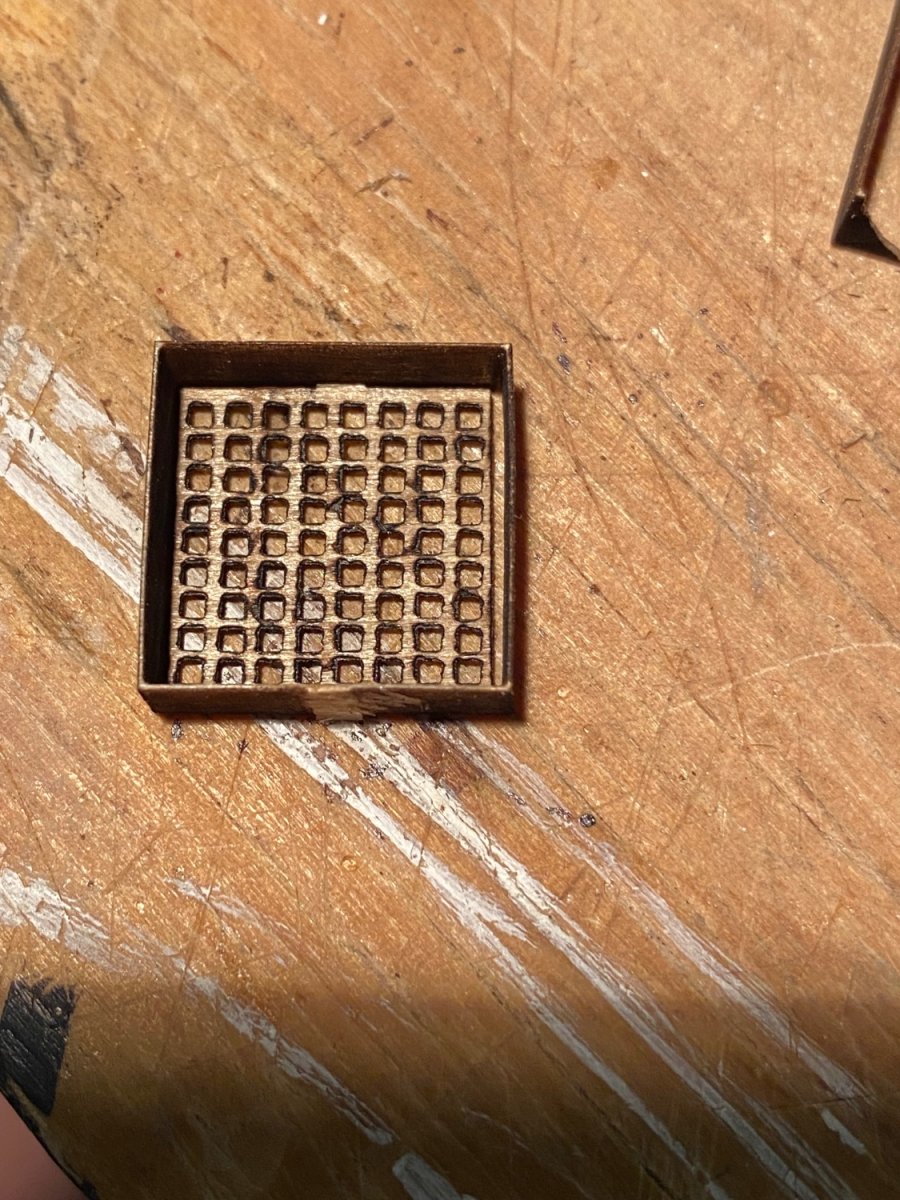
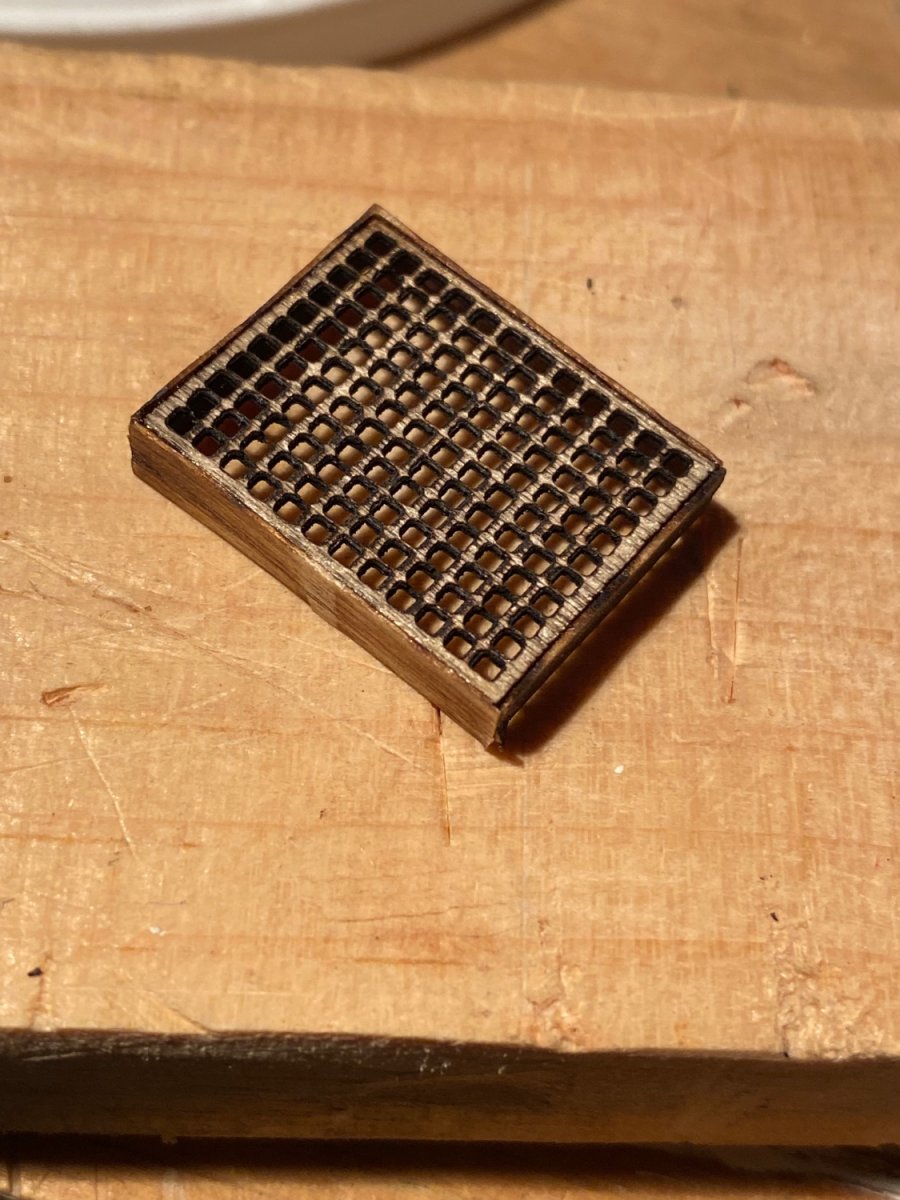
The kit comes with the most delicate boxes to support the delicate laser-cut gratings. Unfortunately, the laser cut gratings are a different size than the supporting boxes. My solution (eventually) was to cut the boxes at the corners (on the short-grain side, due to ease) leaving me with two “L” shaped pieces. I then could glue each piece separately and then trim allowing for a tight fit around each grating. In retrospect, I could have also built an interior “lining” for each box for the grating to rest on, but it didn’t occur to me until writing this.
")


- wtimlen, KenW, Jeff preisler and 3 others
-
6
-
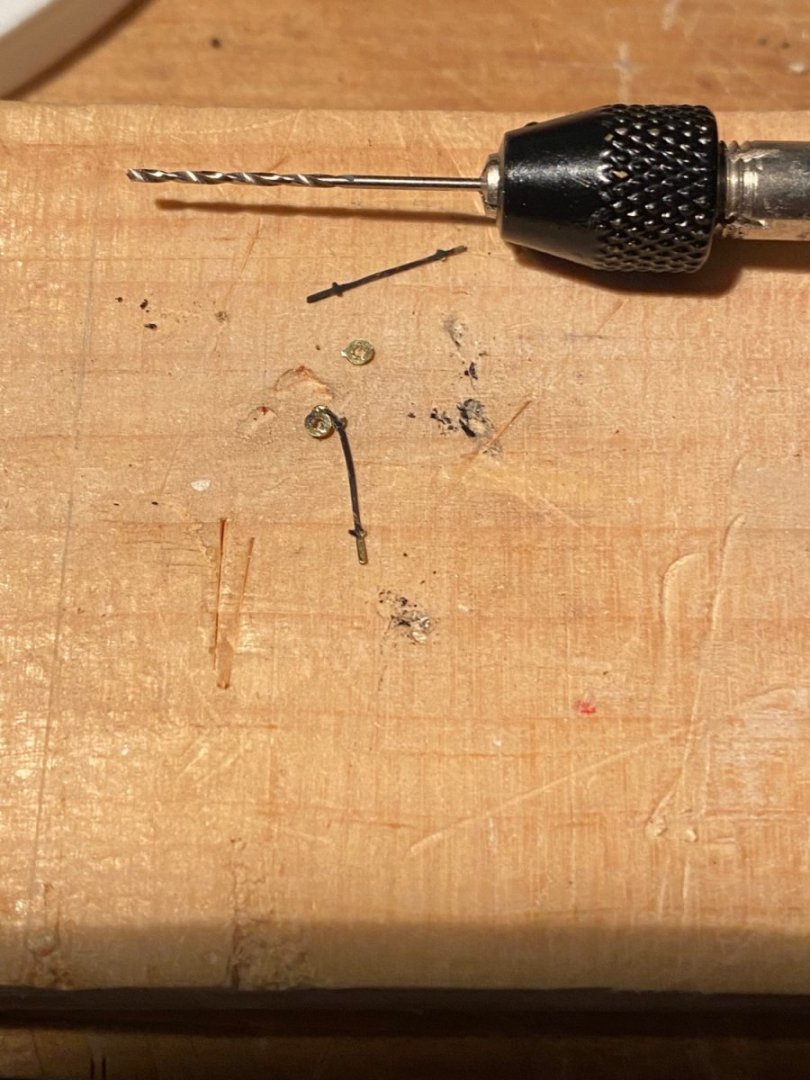
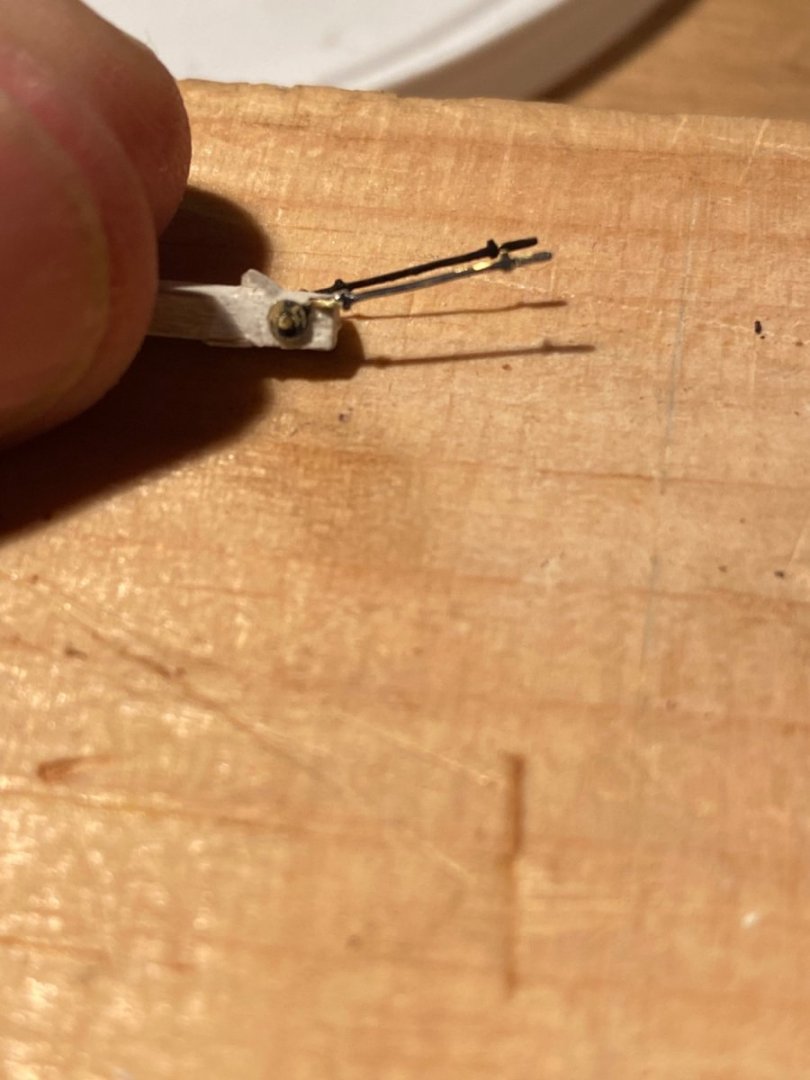
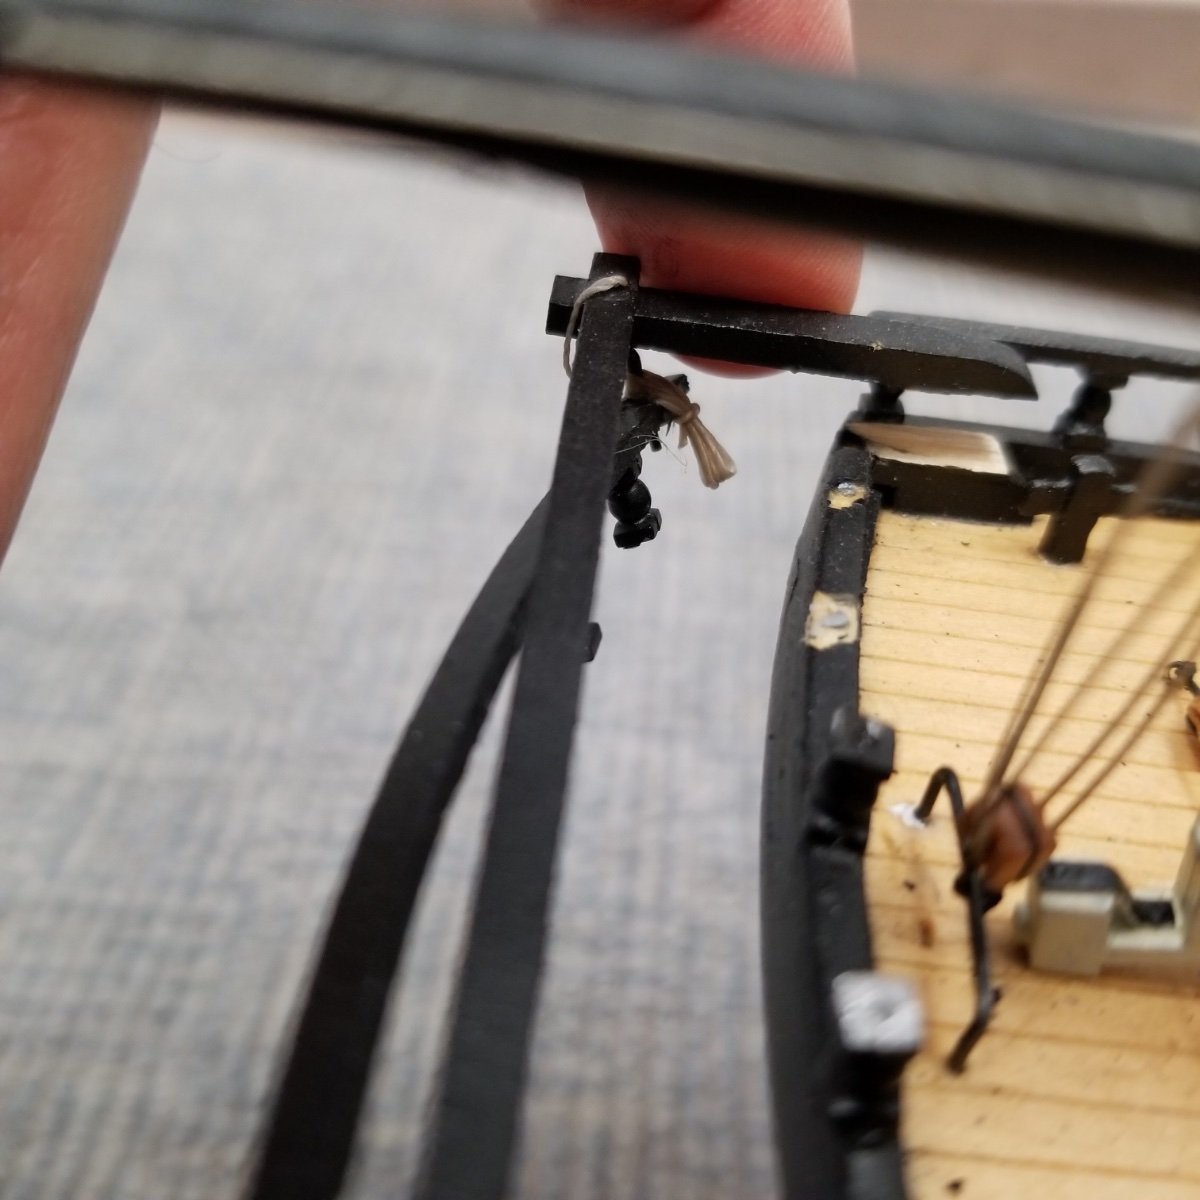
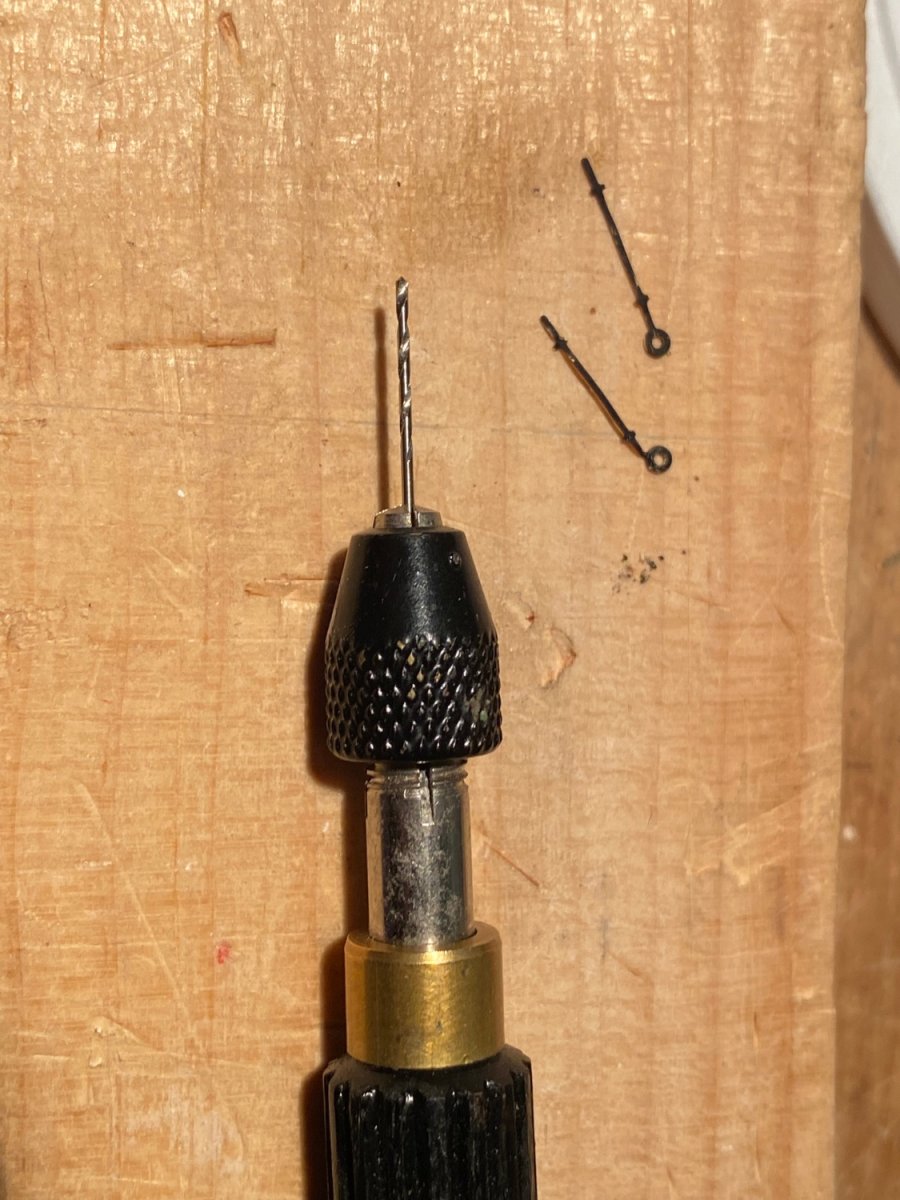
I mis-stepped in working on the windlass. The instructions state one should use 1/32” wire. I didn’t see it in mix and grabbed what appeared to be the smallest wire which was 1/16” I broke the photo-etch while trying to expand the holes before realizing the error.

-
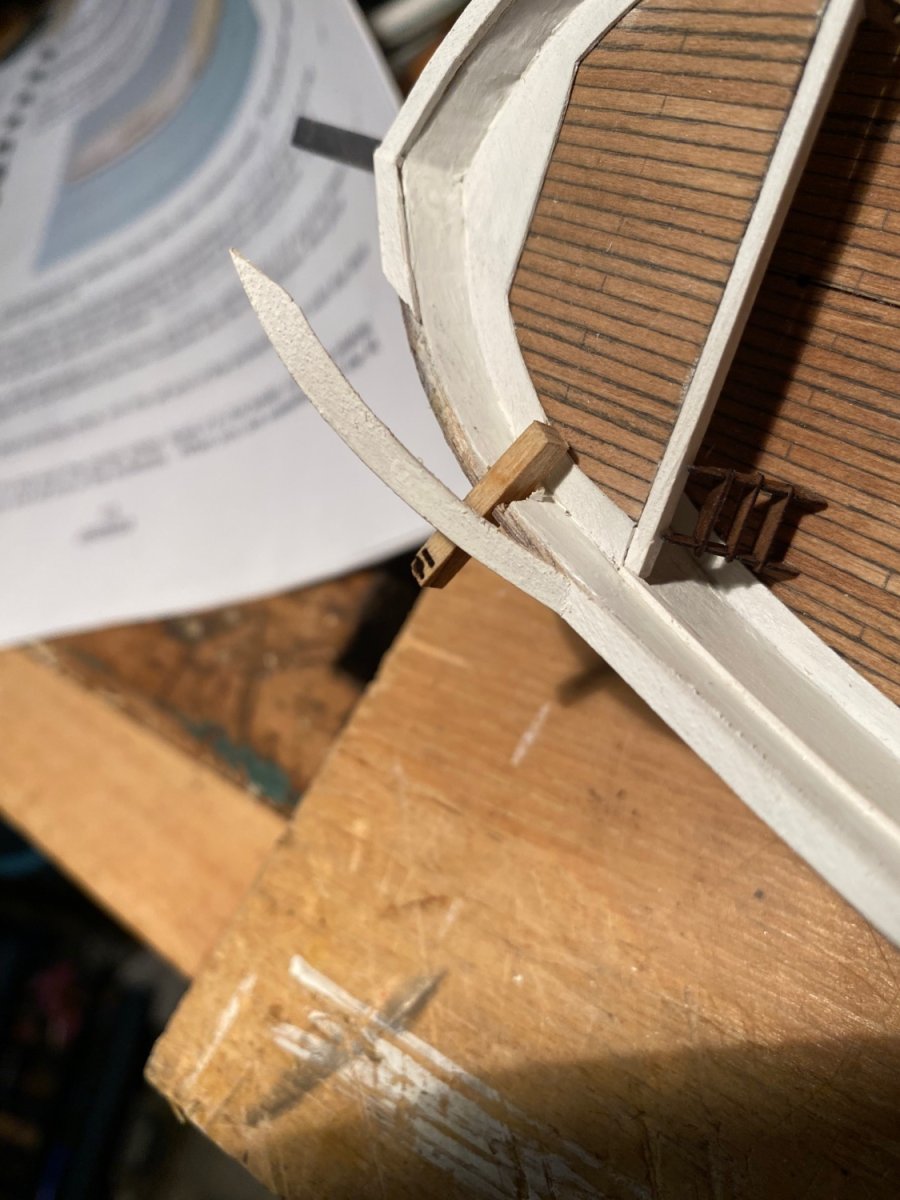
For those working on this kit, the catheads should be fitted in earlier then the instructions state. I suggest doing that work after attaching the bulwarks but before adding the rails. Otherwise, if you’re like me you will find it difficult to cleanly cut the correct angles without damaging the delicate curved bulwarks and breaking the rails. Note: the instructions state to paint the catheads black but everyone (including the writer of the instructions) has painted them white.

-
I was lucky enough to finally travel to Europe with the family in tow this year. I was able to stop by the wonderful National Maritime Museum in Amsterdam. It Is well worth a visit! I will also add that Amsterdam is a very very English language friendly place, so don't let language stop you from a visit. I dumped a bunch of snapshots here:
-
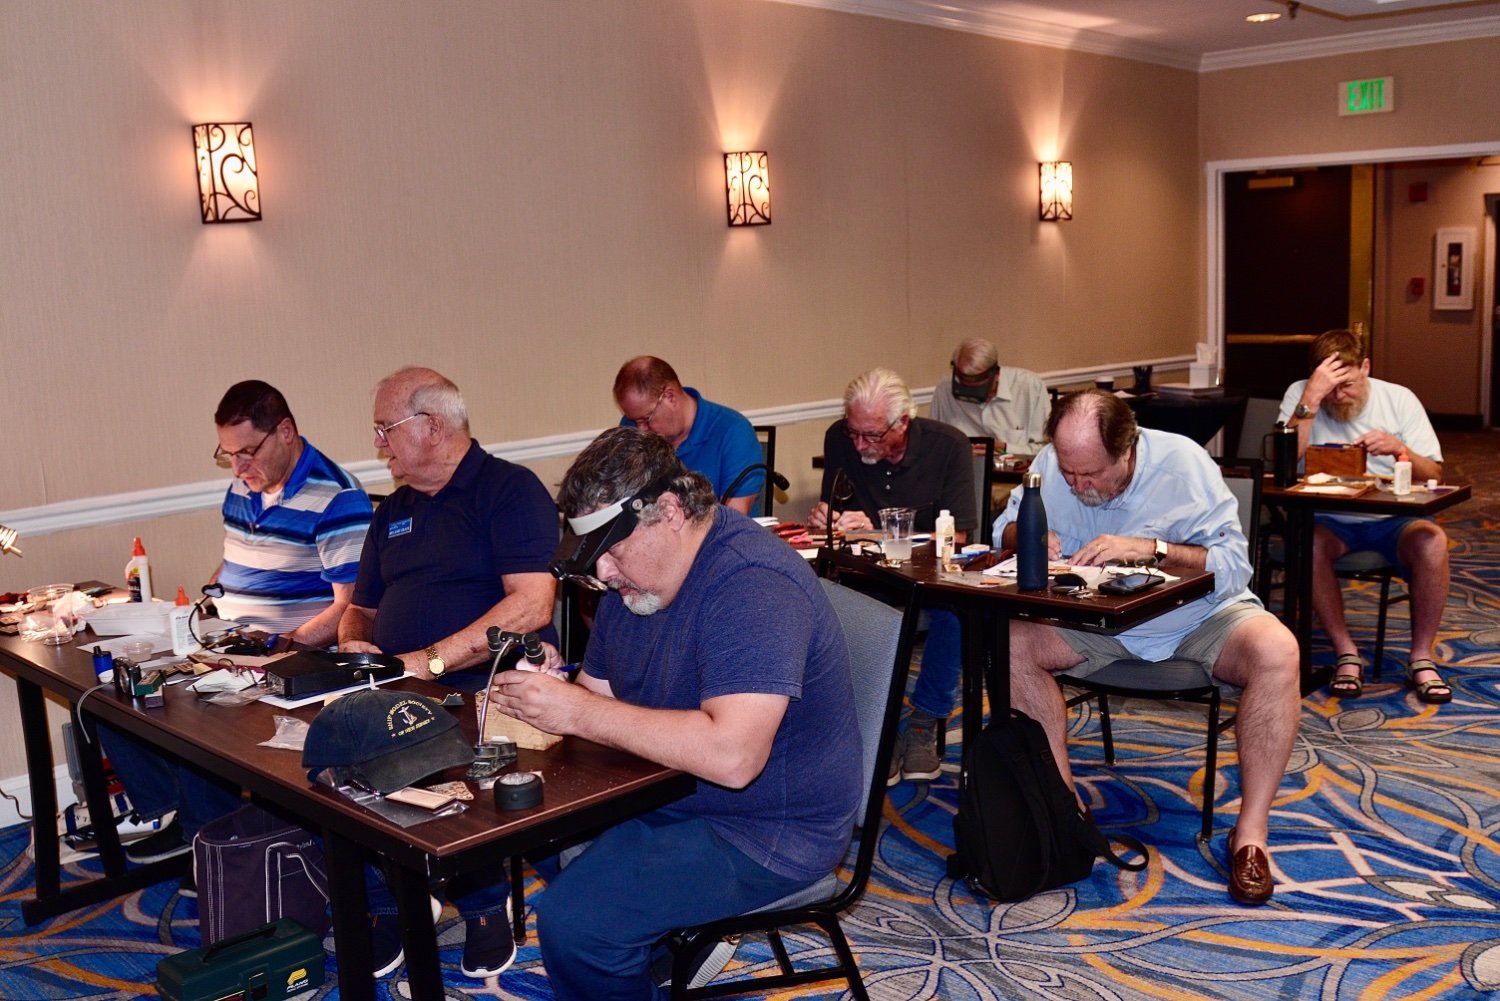
Jousha Mark was kind enough to record a presentation I gave on chisel sharpening at this Spring's joint-clubs get-together:
- Snug Harbor Johnny, Canute and mtaylor
-
2
-
1
-
Joshua Mark was kind enough to record my presentation on sharpening chisels (from this year's Joint Clubs get-together) and post it on Youtube:
- Ryland Craze, Chuck, mtaylor and 1 other
-
4
-
-
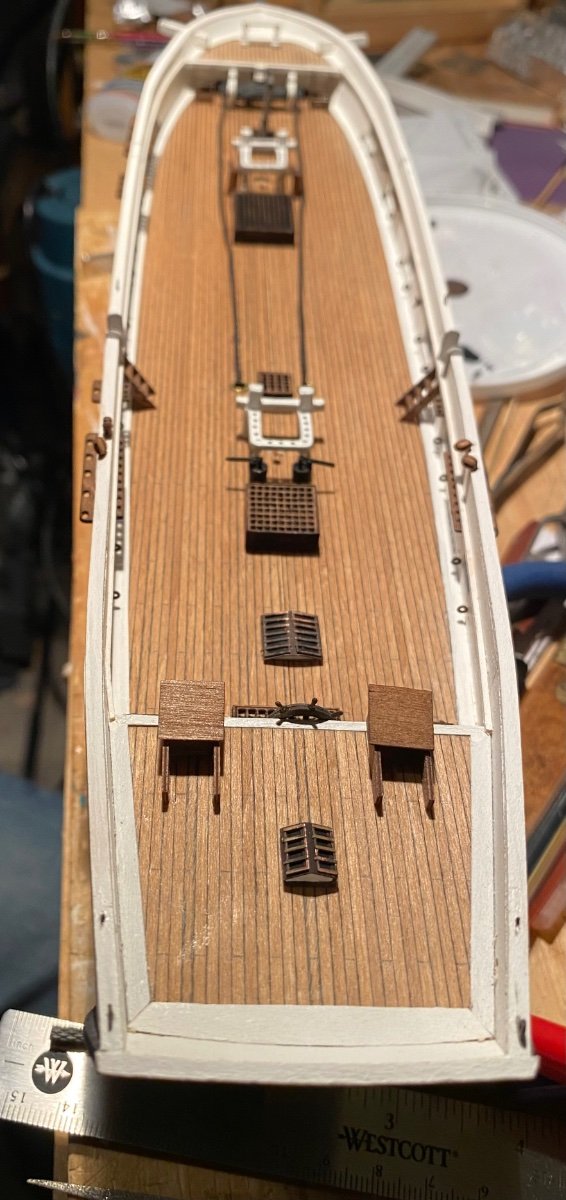
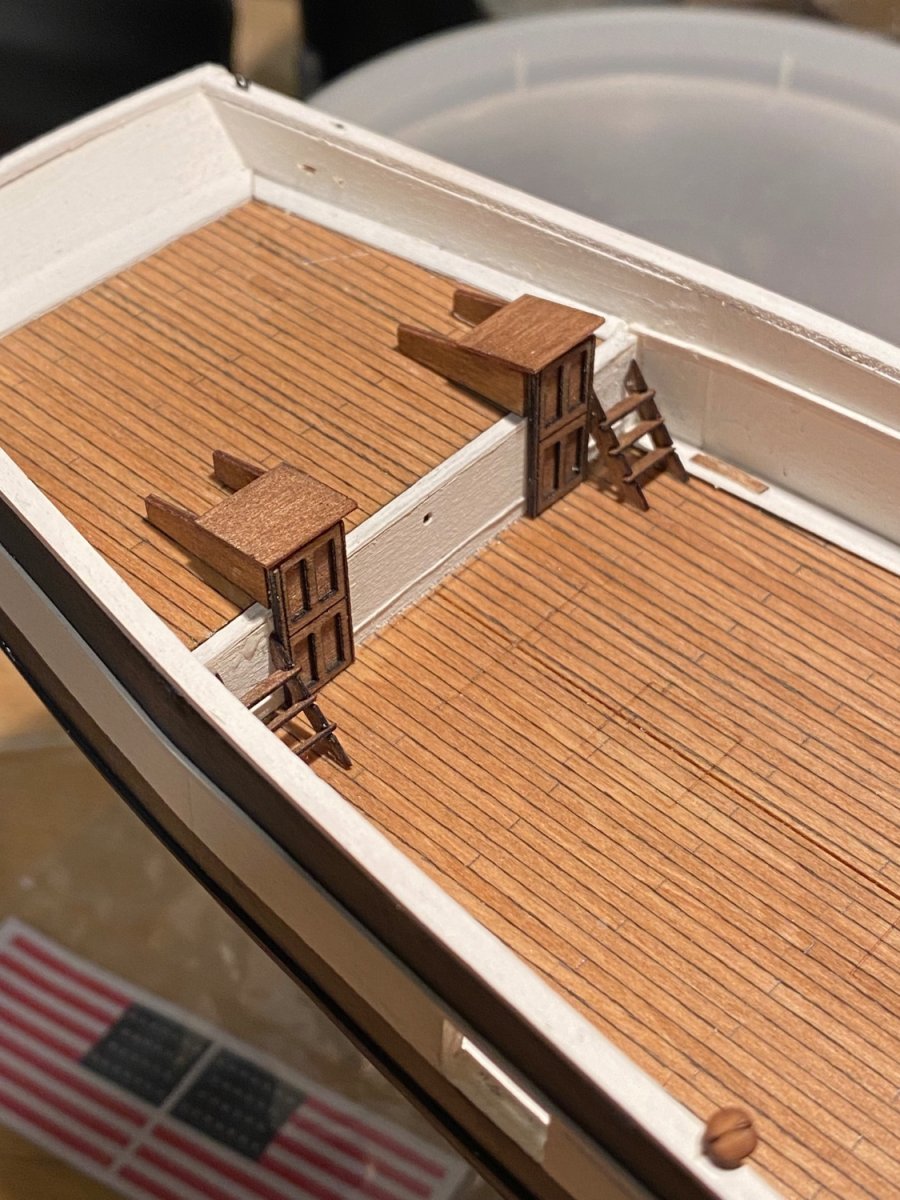
After a few other wanderings and adventures, I back at the bench. I have finally started to add some of the deck furniture to the deck!

- ccoyle, Keith Black, Jeff preisler and 9 others
-
12
-
@Jeff preisler Thank you for the kind words and glad to hear the blog has been of some use to you on yours!
-
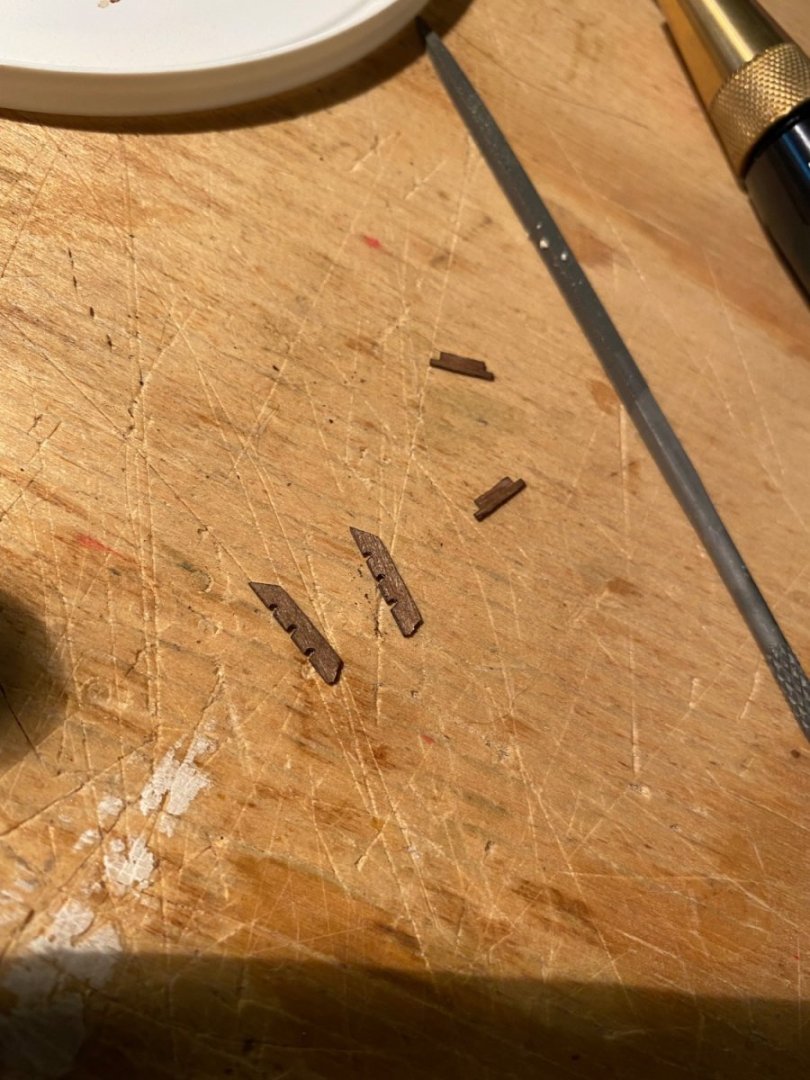
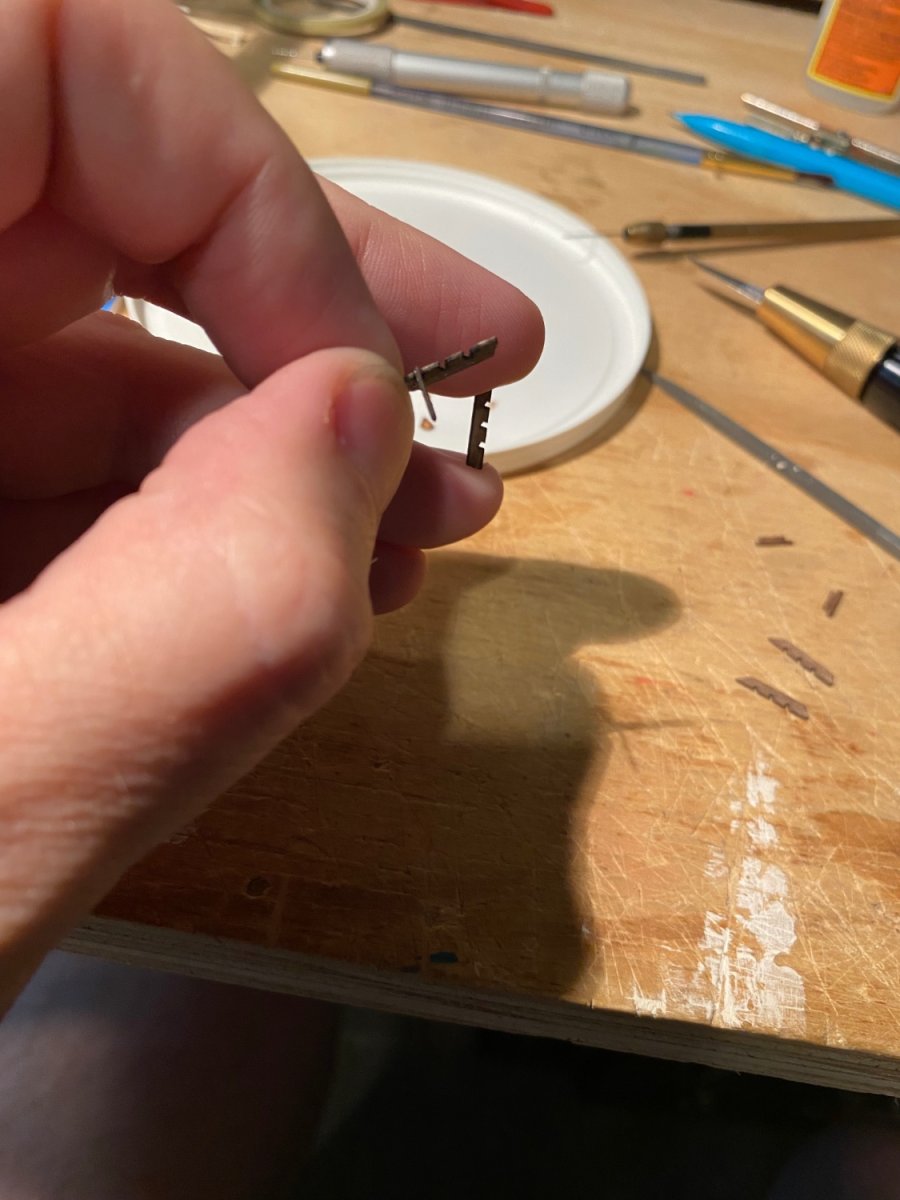
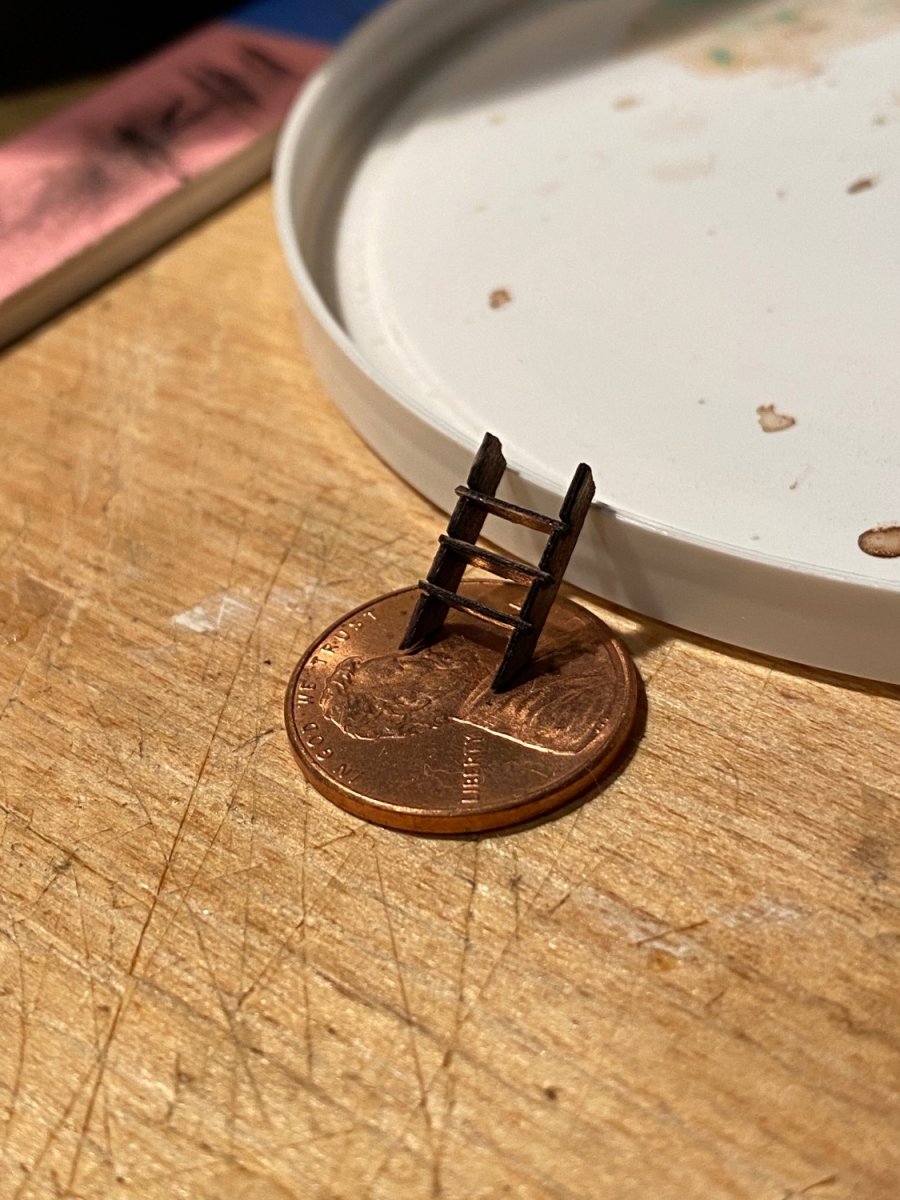
9 hours ago, hollowneck said:
That's some crazy small
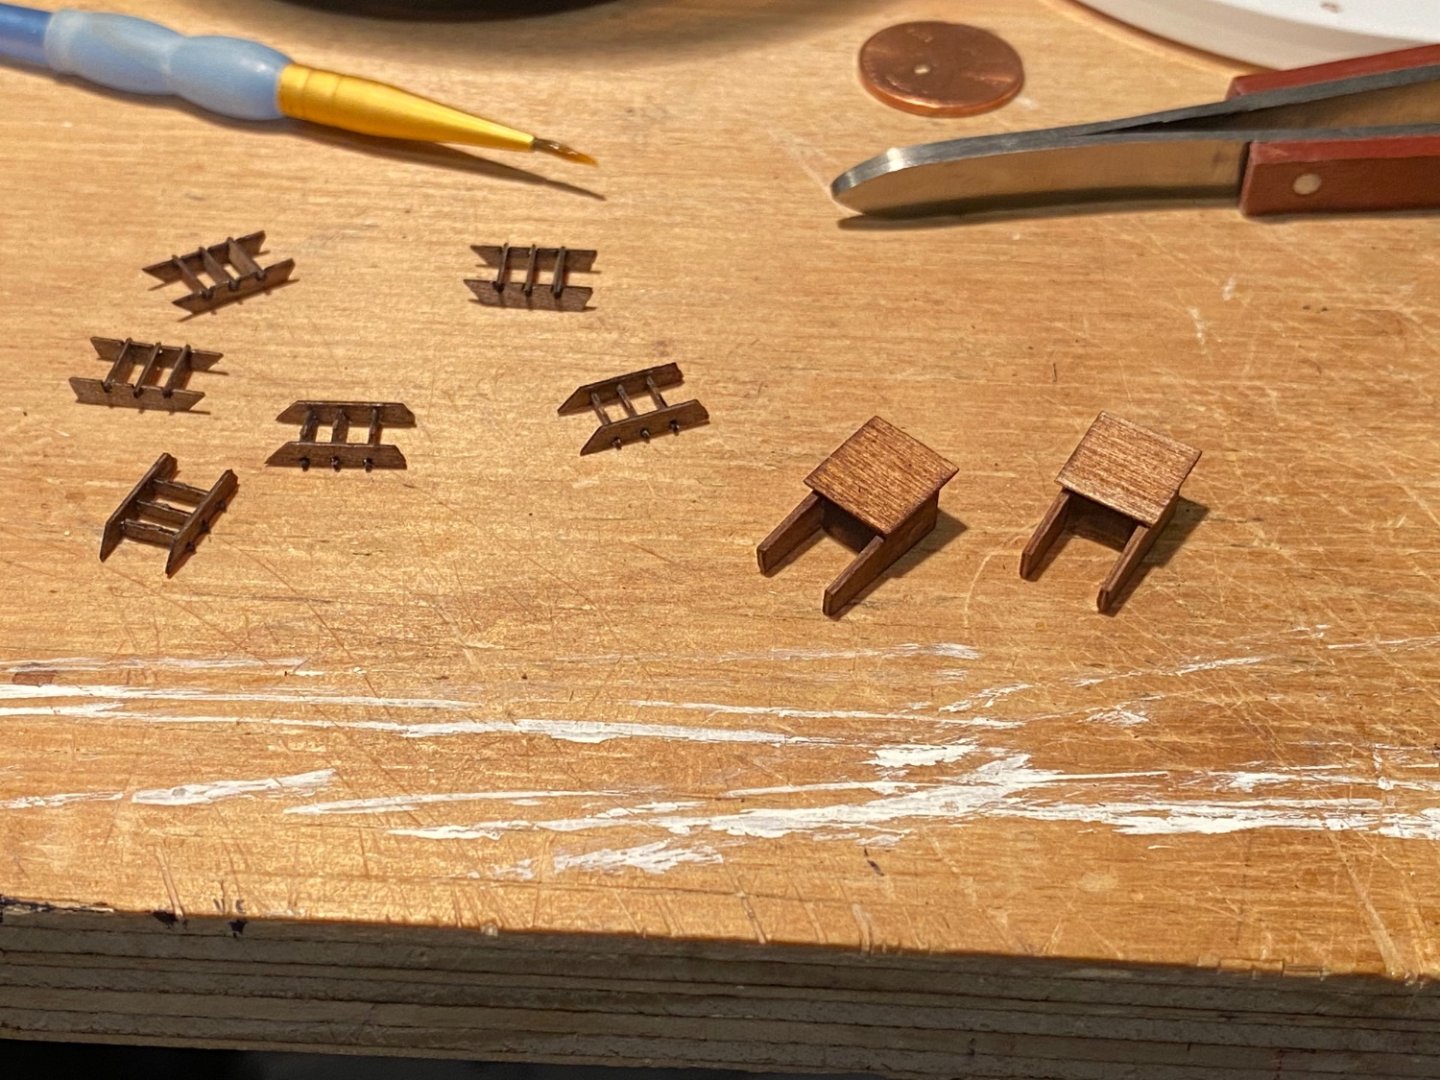
Agreed! It was easy to ensure the first joint was correct (90 degrees, etc.) Then it got ‘fiddlely”. In the end, I would glue two rungs to a side, eyeballing the angles and glue the other side on and then the last rung, holding the assembly in my hand the whole time. It would only take a minute or two, once I got rolling.
Thanks again to everyone for the kind words and likes!
-
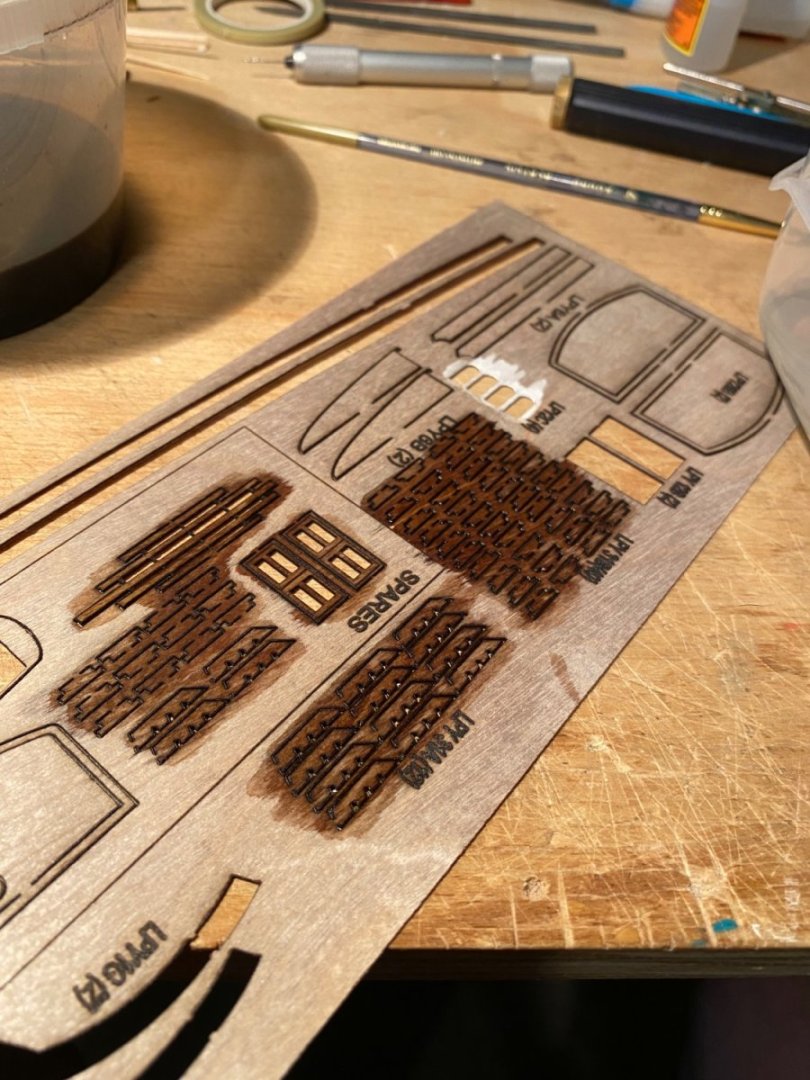
A little work towards the deck fixtures. I stained the wood before sanding the char off. A couple touchups and then CA glue applied with a needle.


-
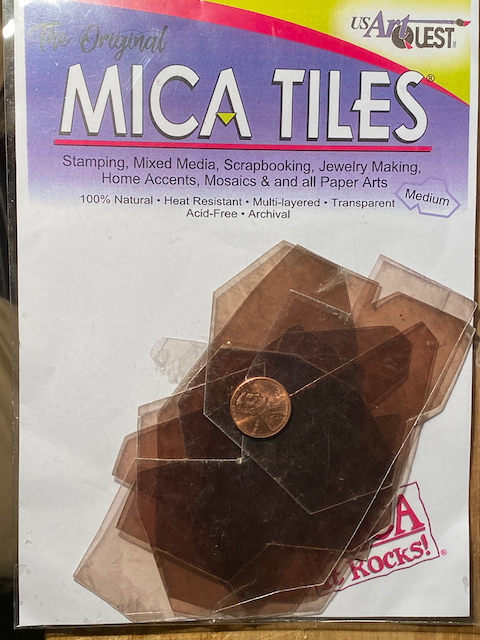
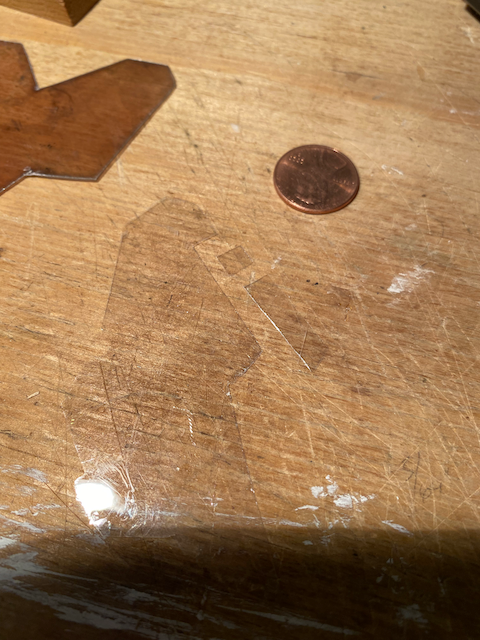
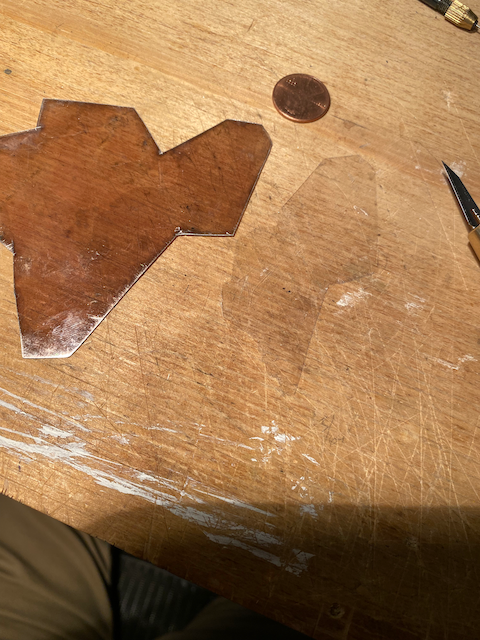
Regarding experiments with mica, as suggested by @TomShipModel, (thanks again for help!) that is the way to go!! Easy to flake/peel easy to cut with an x-acto blade and it can flex to some degree without cracking! Much less fuss and mess! In the photos, you can see the product I bought via Amazon, my first attempt to peel off a single 'sheet' (using my fingers and an x-acto blade) and my first attempt to cut the same. I can't express the easy in comparison to using glass. There is a very slight tint to the mica but that is tiny price for ease of use.
-


USS Perry by EricWilliamMarshall - BlueJacket Shipcrafters - Scale 1/96
in - Kit build logs for subjects built from 1801 - 1850
Posted
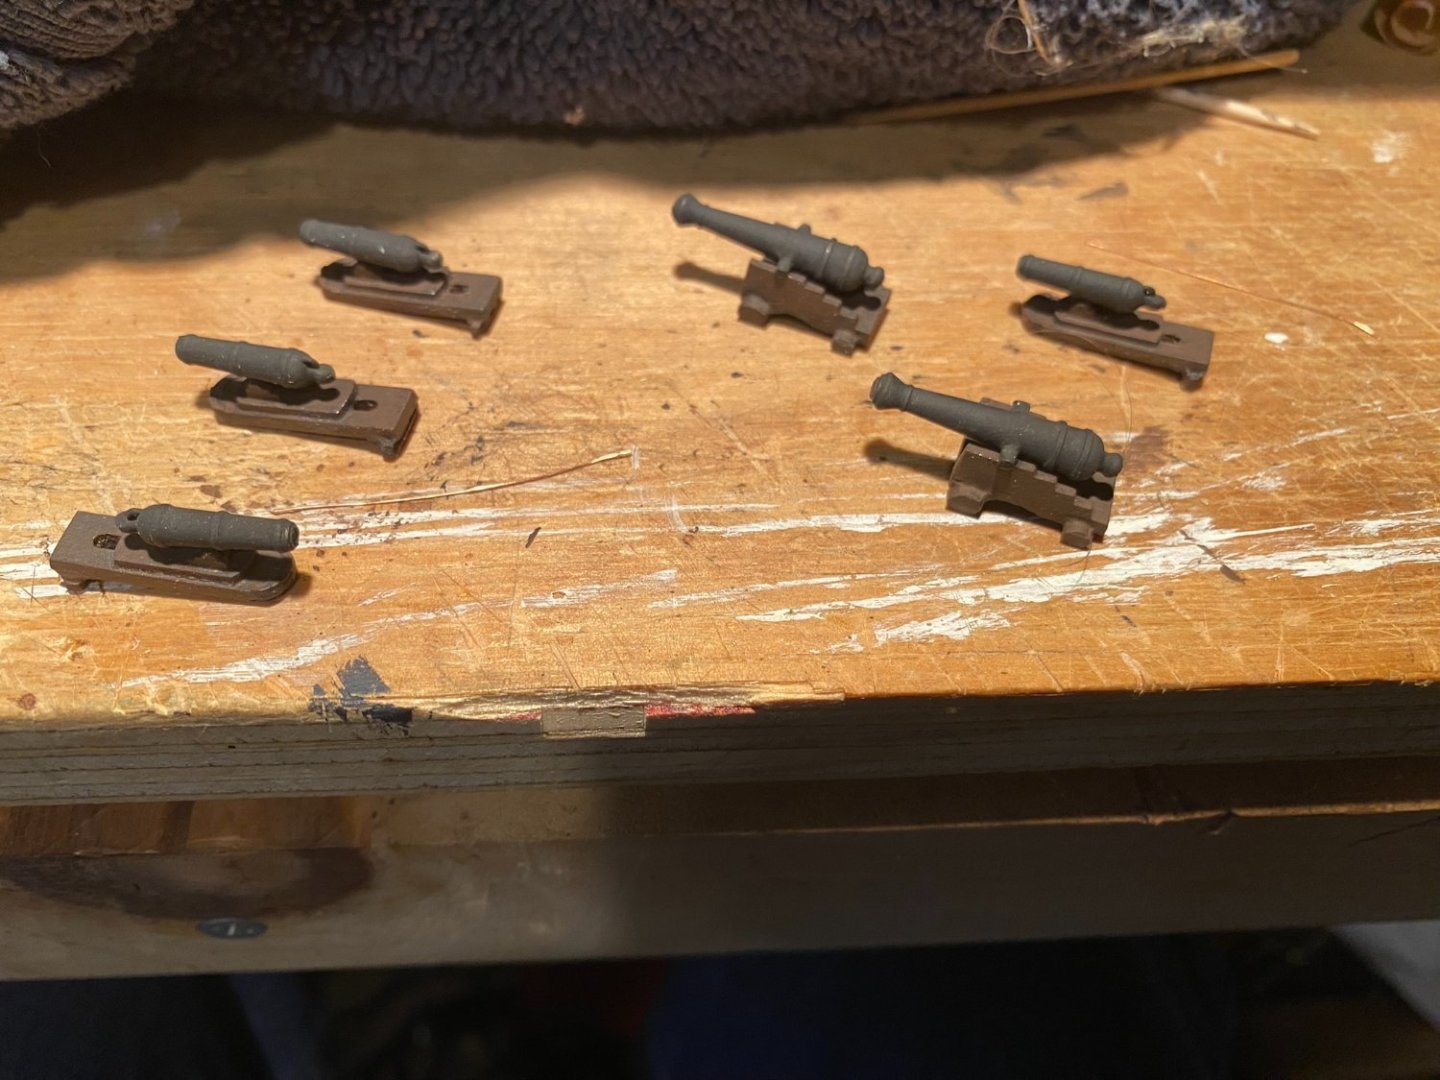
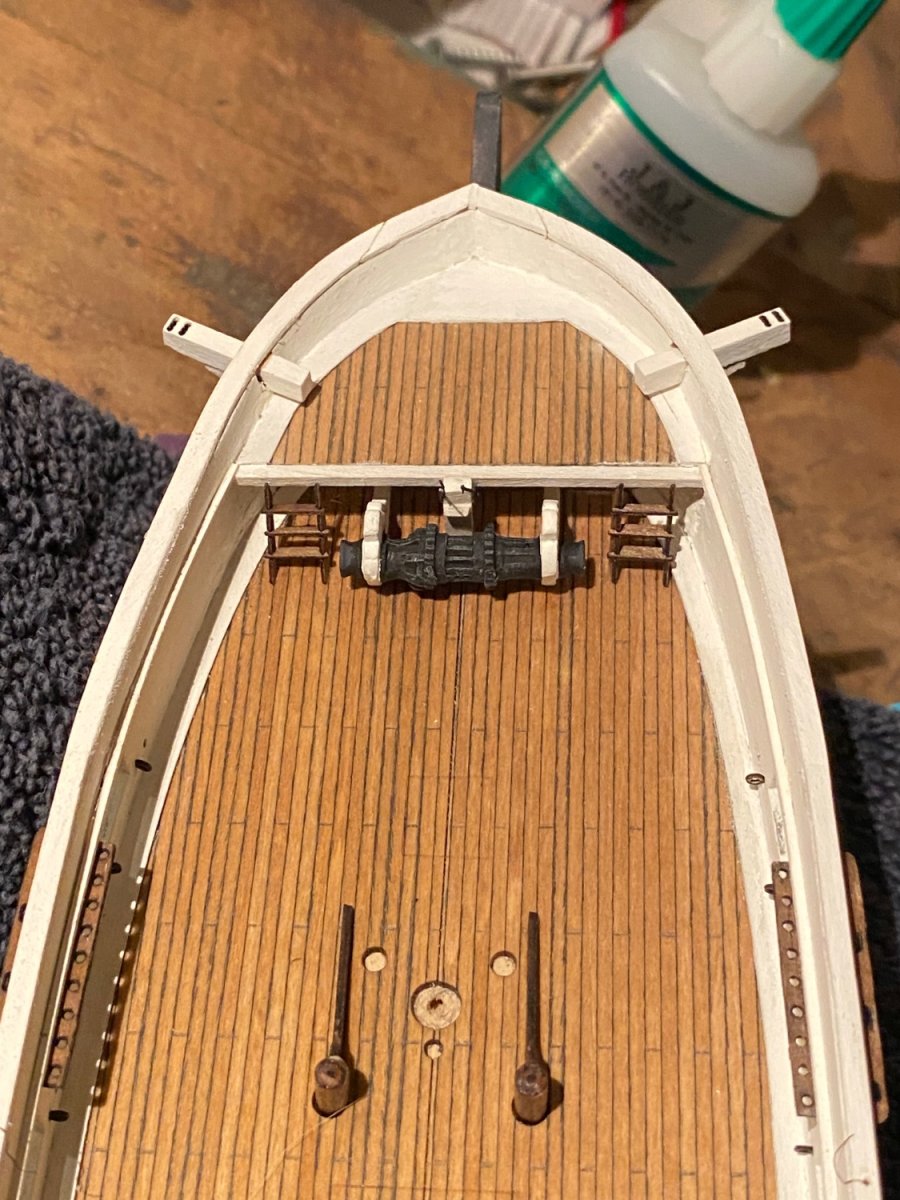
Starting on the armaments.