HOLIDAY DONATION DRIVE - SUPPORT MSW - DO YOUR PART TO KEEP THIS GREAT FORUM GOING!
×

.jpeg.7d7eba14c97a2e1d9f79cd2c97f6424a.jpeg)
EricWilliamMarshall
-
Posts
986 -
Joined
-
Last visited
Content Type
Profiles
Forums
Gallery
Events
Everything posted by EricWilliamMarshall
-
.thumb.jpeg.fc5d633a7b34428fcf19419a73d56d55.jpeg) And there is now a power train retrofit. At some point, I would like to get or make some index plates. But I still need to learn the basic operations for metal work. In a few years, I would like to do work in the shadow of @michael mott or @wefalck ( I couldn’t type ‘similar’). It strikes me as an essential of the modelers pallet. And I like to think slightly less dangerous than similar full scale work.
And there is now a power train retrofit. At some point, I would like to get or make some index plates. But I still need to learn the basic operations for metal work. In a few years, I would like to do work in the shadow of @michael mott or @wefalck ( I couldn’t type ‘similar’). It strikes me as an essential of the modelers pallet. And I like to think slightly less dangerous than similar full scale work.- 123 replies
-
- 2
-

-
- Model Shipways
- Pinnace
- (and 1 more)
-
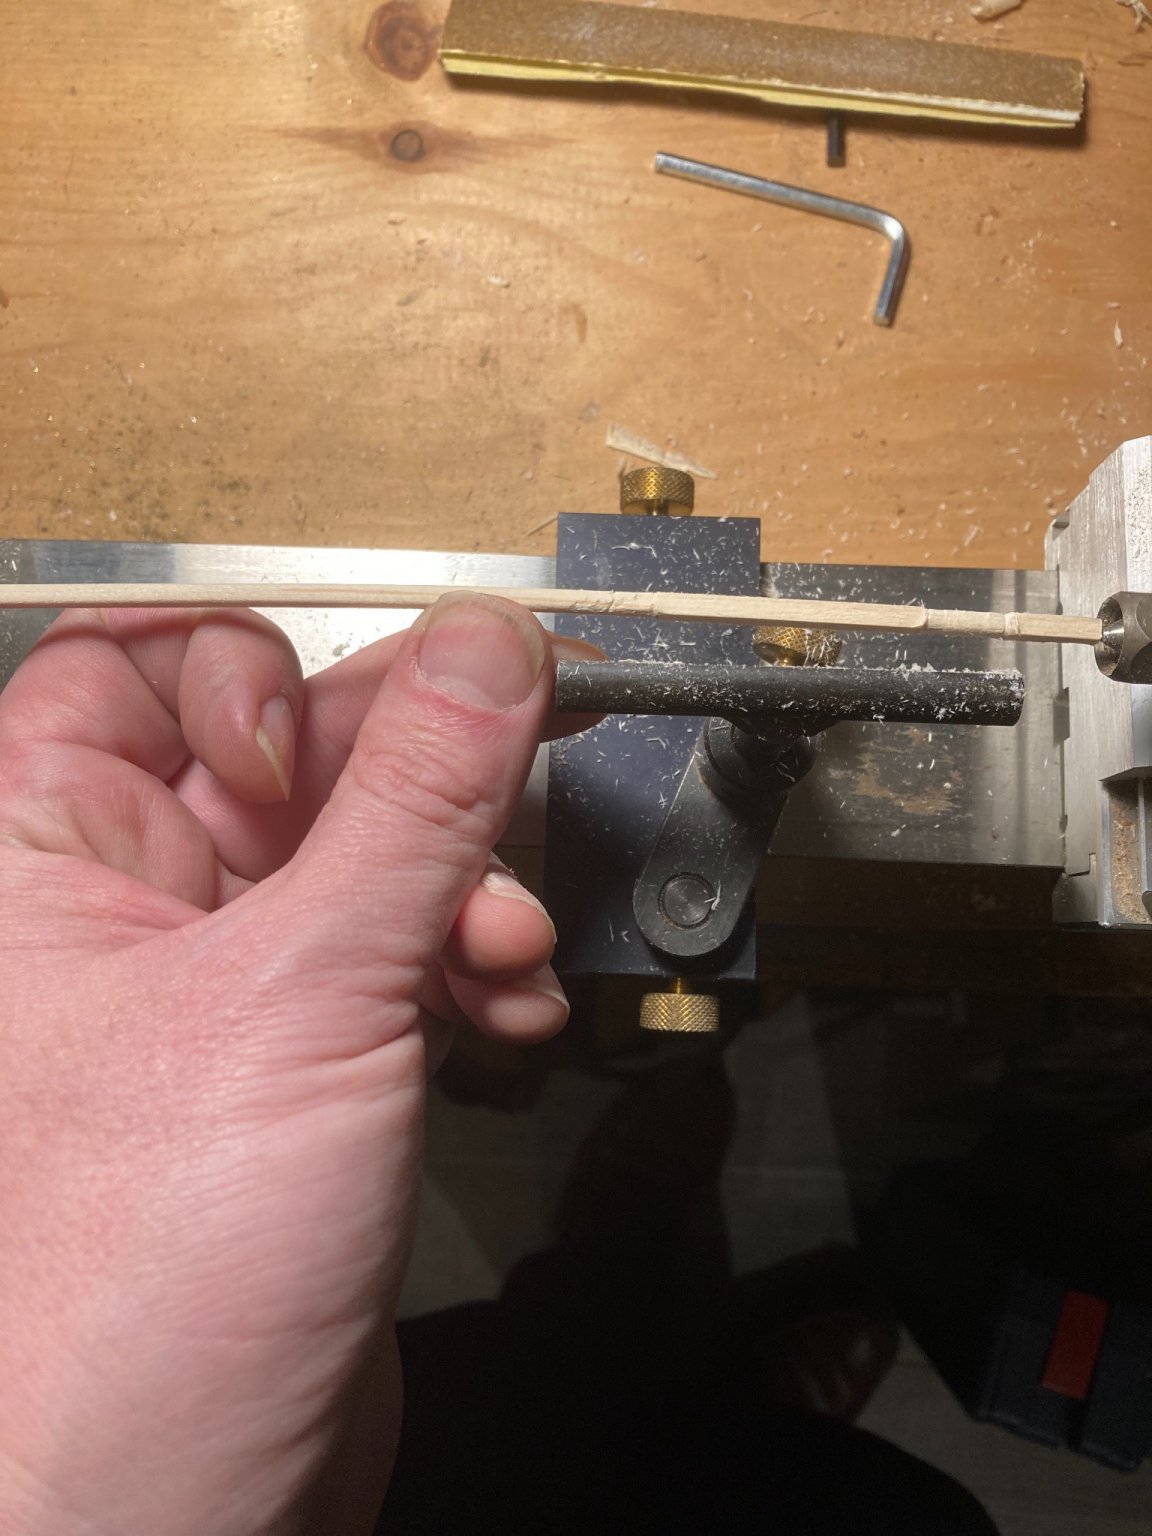
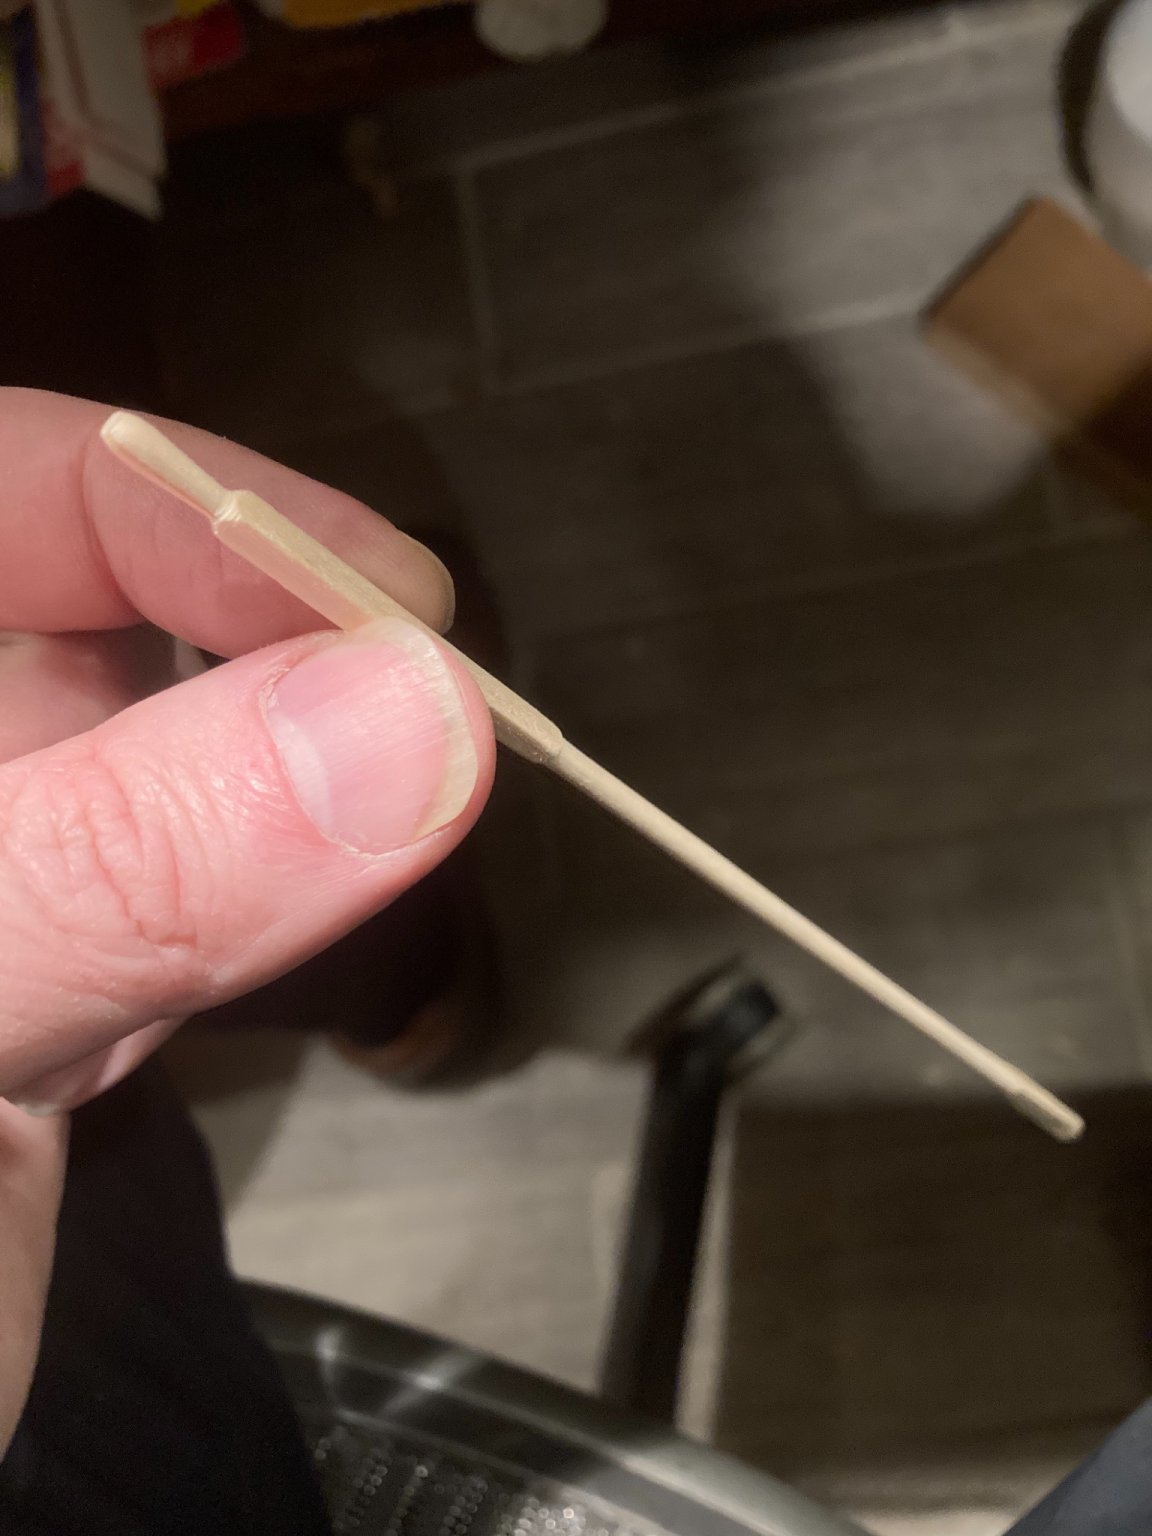
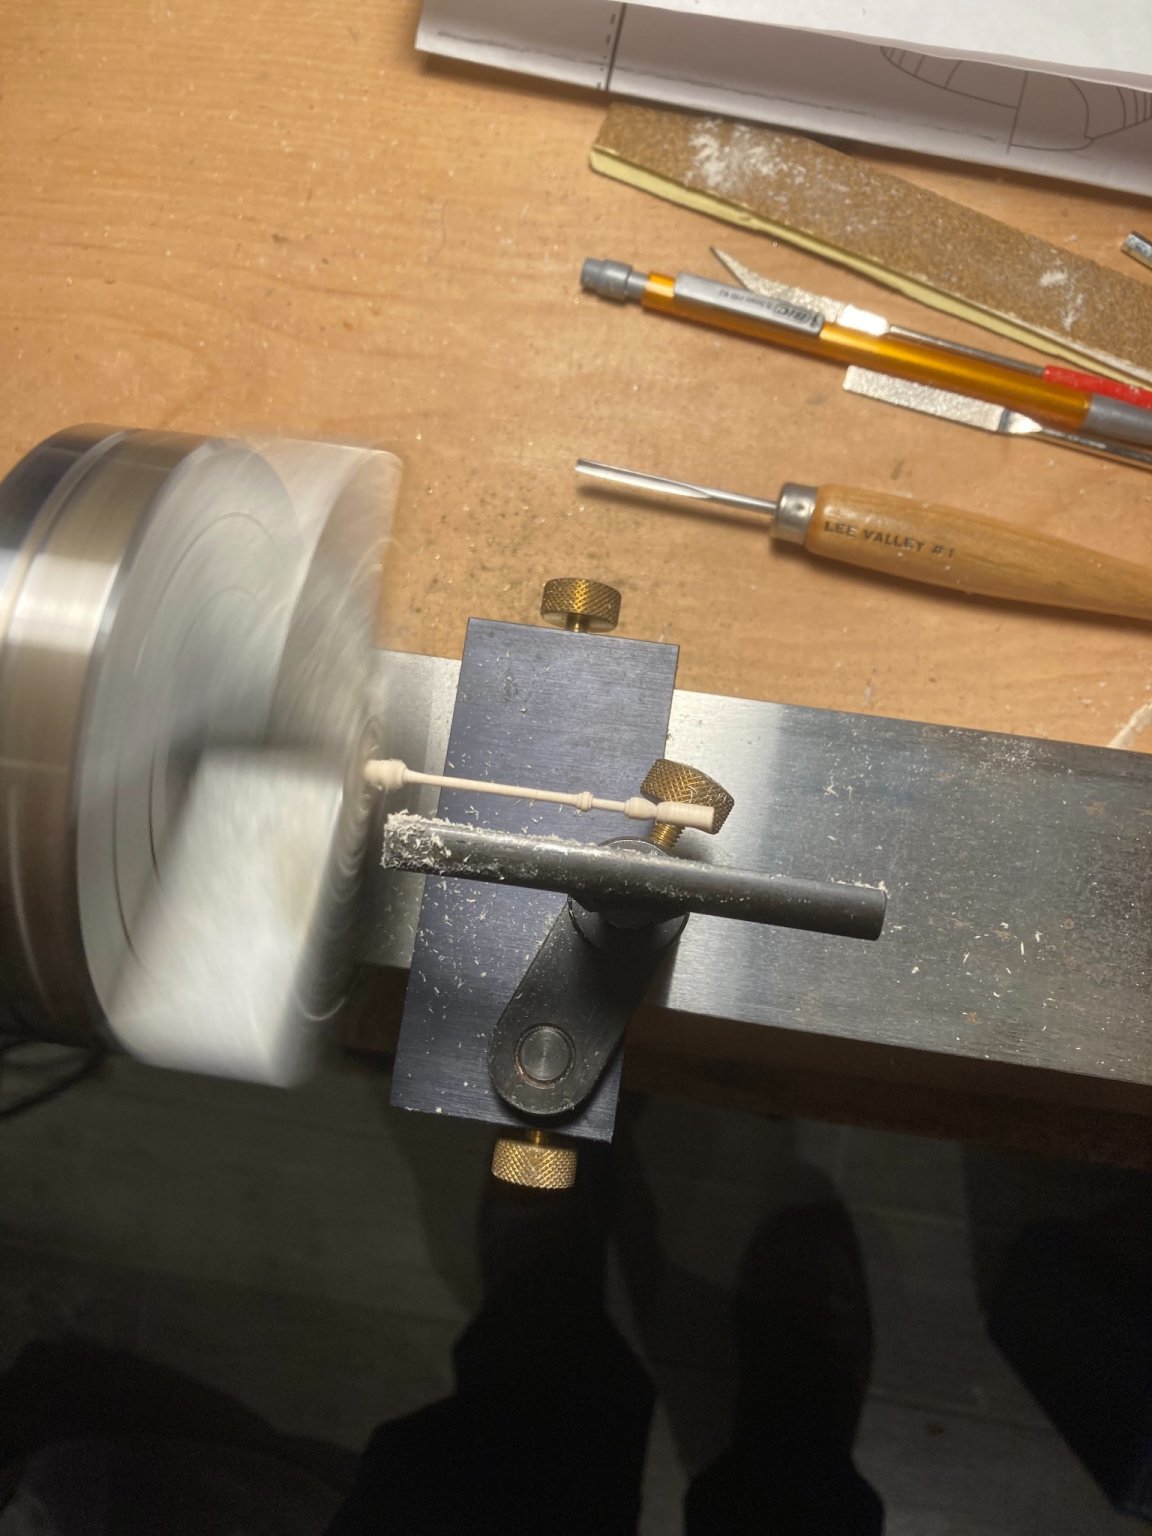
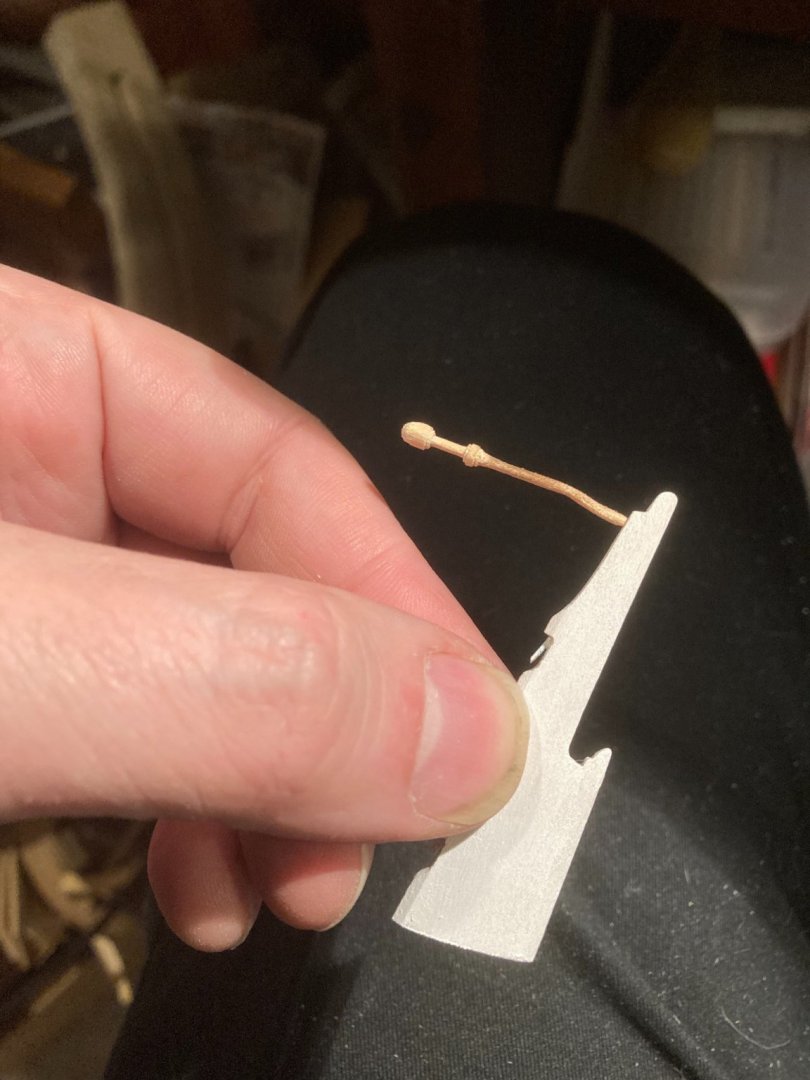
Today’s adventure : turning! I was briefly taught the rudiments of turning a zillion years ago in the last century and have only turned once or so since then and it was terrifying (for the curious, there were internal cracks in the piece I was working on and it started to come apart violently!) Also at the turn of the century I picked a mini Taig lathe from Lee Valley, but never made good use of it. Some day, I hope to try basic machining on it. Fast forward to today - I worked on an oar and the tiller. A few thoughts: the oar’s length and width are such that it flexes wickedly. The chisels could scape but not really cut. But files and sand paper worked. I tried a few different speeds and made sure the tools were sharp but files seemed to work best. I tried a cordless drill and the results were similar but a bit more wobbly. For the tiller, I used the dowel that came with the kit was a harder wood than the bass wood. The hardness and shorter length meant I could turn it as well as scape. I chickened out and it is thicker than it should be. I tried to bend the wood with heat gun and a jig with very limited success and a bit of burnt wood. (I’m still working on whole wood bending.)


- 123 replies
-
- 8
-
-
- Model Shipways
- Pinnace
- (and 1 more)
-
How’s it going?
-
The experts have spoken! No trunnels! Thank you @Tigersteve and @DelF! @DelF, as for the chisels & carving, give it a shot. I only spent a few hour on both aspects. While I didn’t do this myself, I would suggest carving something soft like clay or soap to get feel for roughing out something and then moving to details. Also keep a thought where a tool may slip and make sure you and your fingers aren’t there. Both prototyping and tool safety are old hat for most who are reading this, but I feel obliged to mention them. In any case, give it try since the only cost is really time, patience and perhaps pride. But given the range of impossible tasks to learn here, what’s one more... I will say I avoided carving humans since I know they notoriously tricky to get right, as are perfect symmetries. Also for me, drawing the rough shapes a few times helps me ‘internalize’ the shapes to carve. And lastly, keep the tools sharp! If you are fighting the grain of the wood, it’s time to sharpen your tool.
- 123 replies
-
- 3
-
-

-
- Model Shipways
- Pinnace
- (and 1 more)
-
I tried an different design, which turned out well enough.
- 123 replies
-
- 9
-
-
- Model Shipways
- Pinnace
- (and 1 more)
-
chisels
EricWilliamMarshall replied to Anthony Hearne's topic in Modeling tools and Workshop Equipment
If you follow Sullivan’s recipe in the video, he suggested you buy the metal already annealed. To anneal it to some folks use sand as @grsjax quickly(!) suggested or a type clay associated with kitty litter, vermiculite. (Note - it has to be dry! No need for dangerous steam! Bake the sand in your oven if you’re not sure.) There are cheap ceramic fiber blankets or if you have friend who does glass work, see if they have kiln. Most glassworks have to anneal or they shatter. All that said, you can work the metal when hard. (Technically, sharpening a chisel is just such a process.) -
His post is here: and the video can be found here:
- 123 replies
-
- 5
-
-
-
- Model Shipways
- Pinnace
- (and 1 more)
-
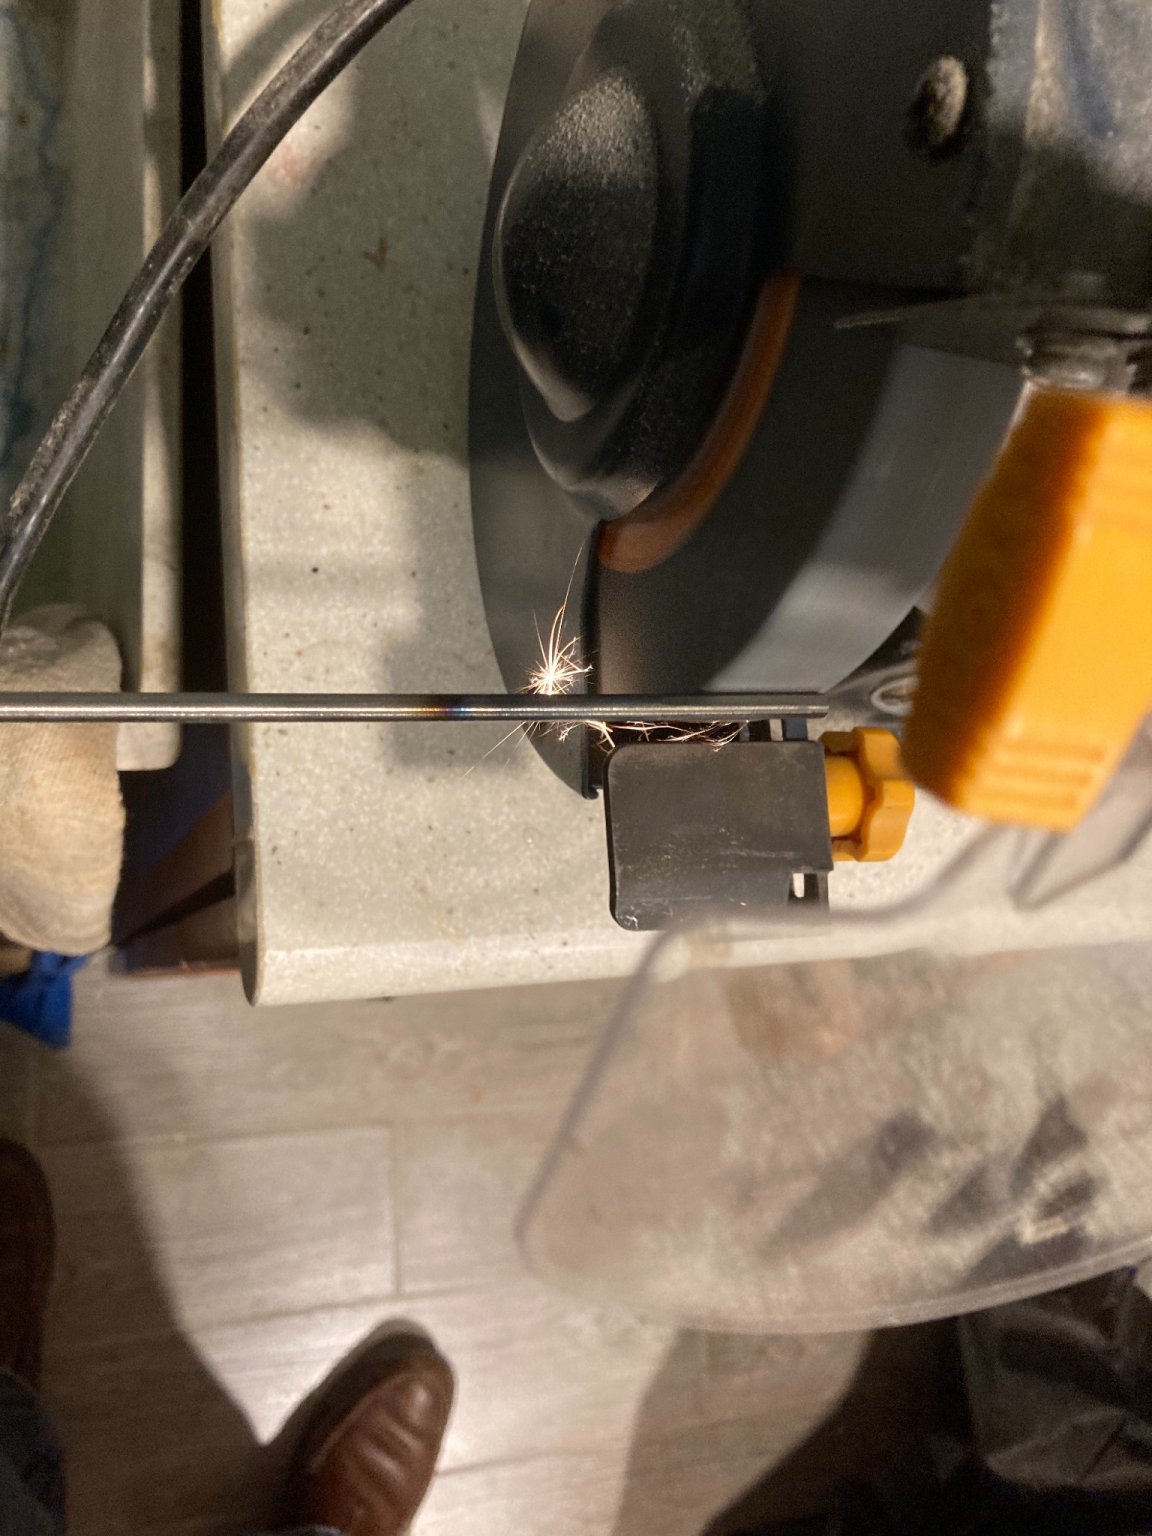
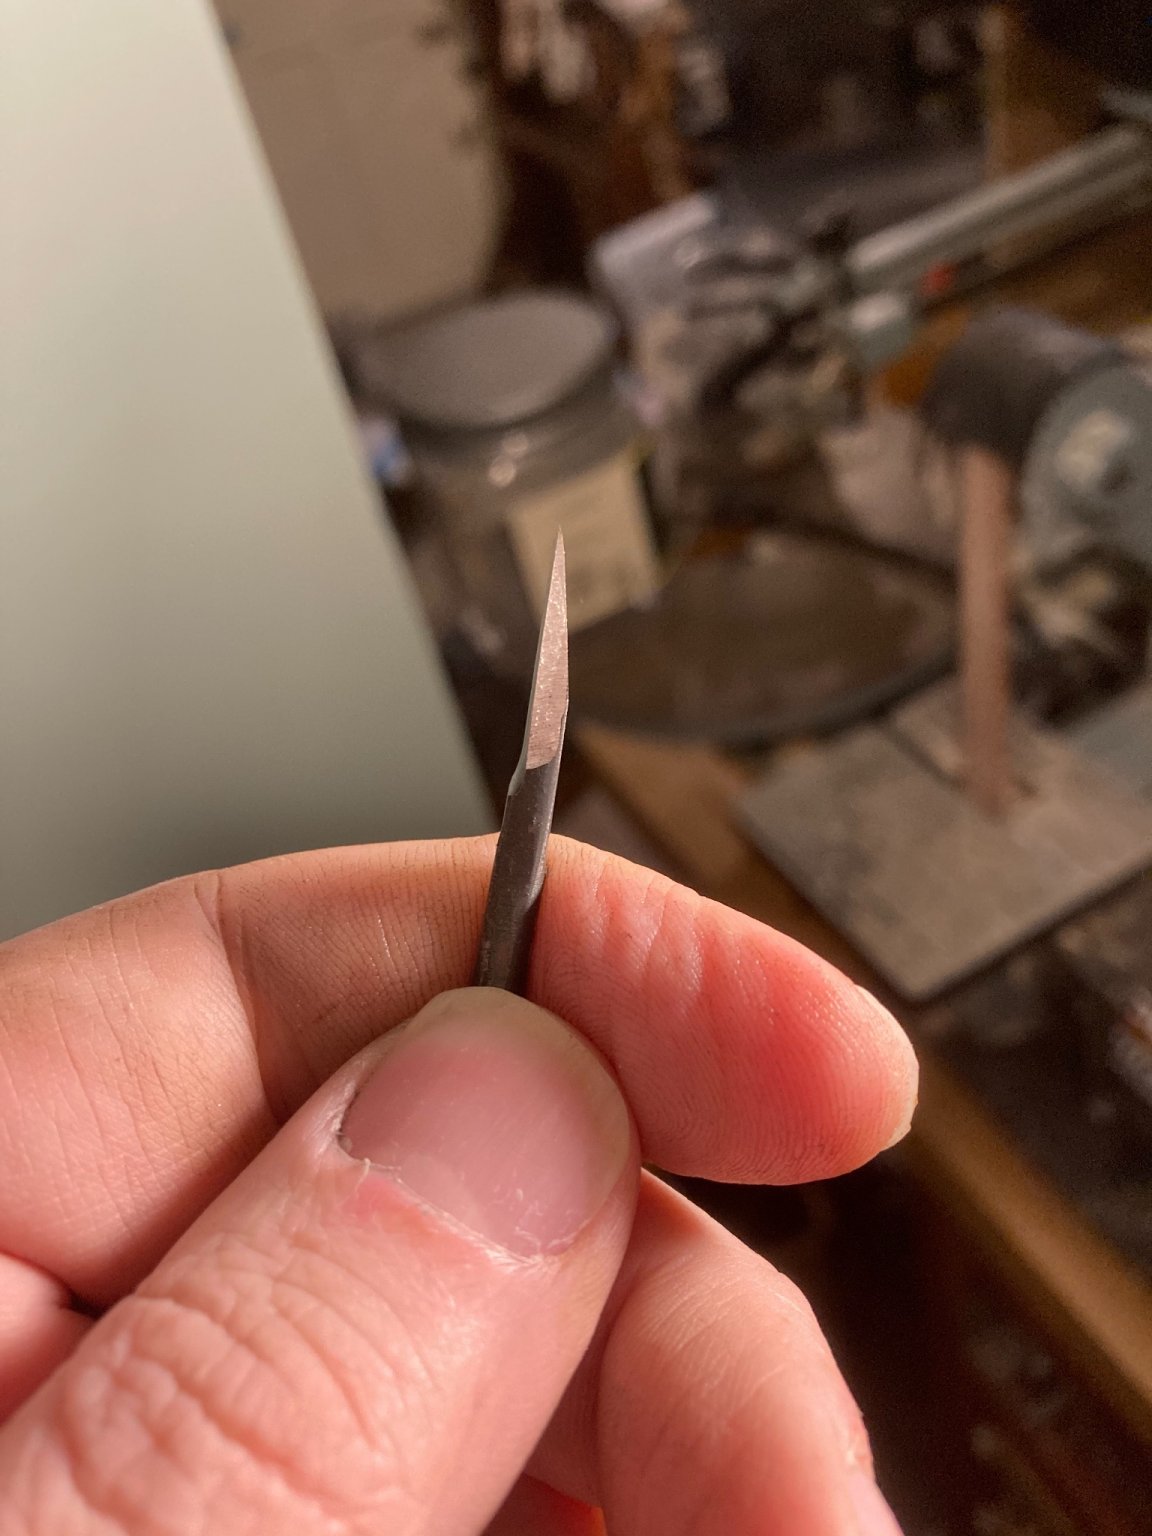
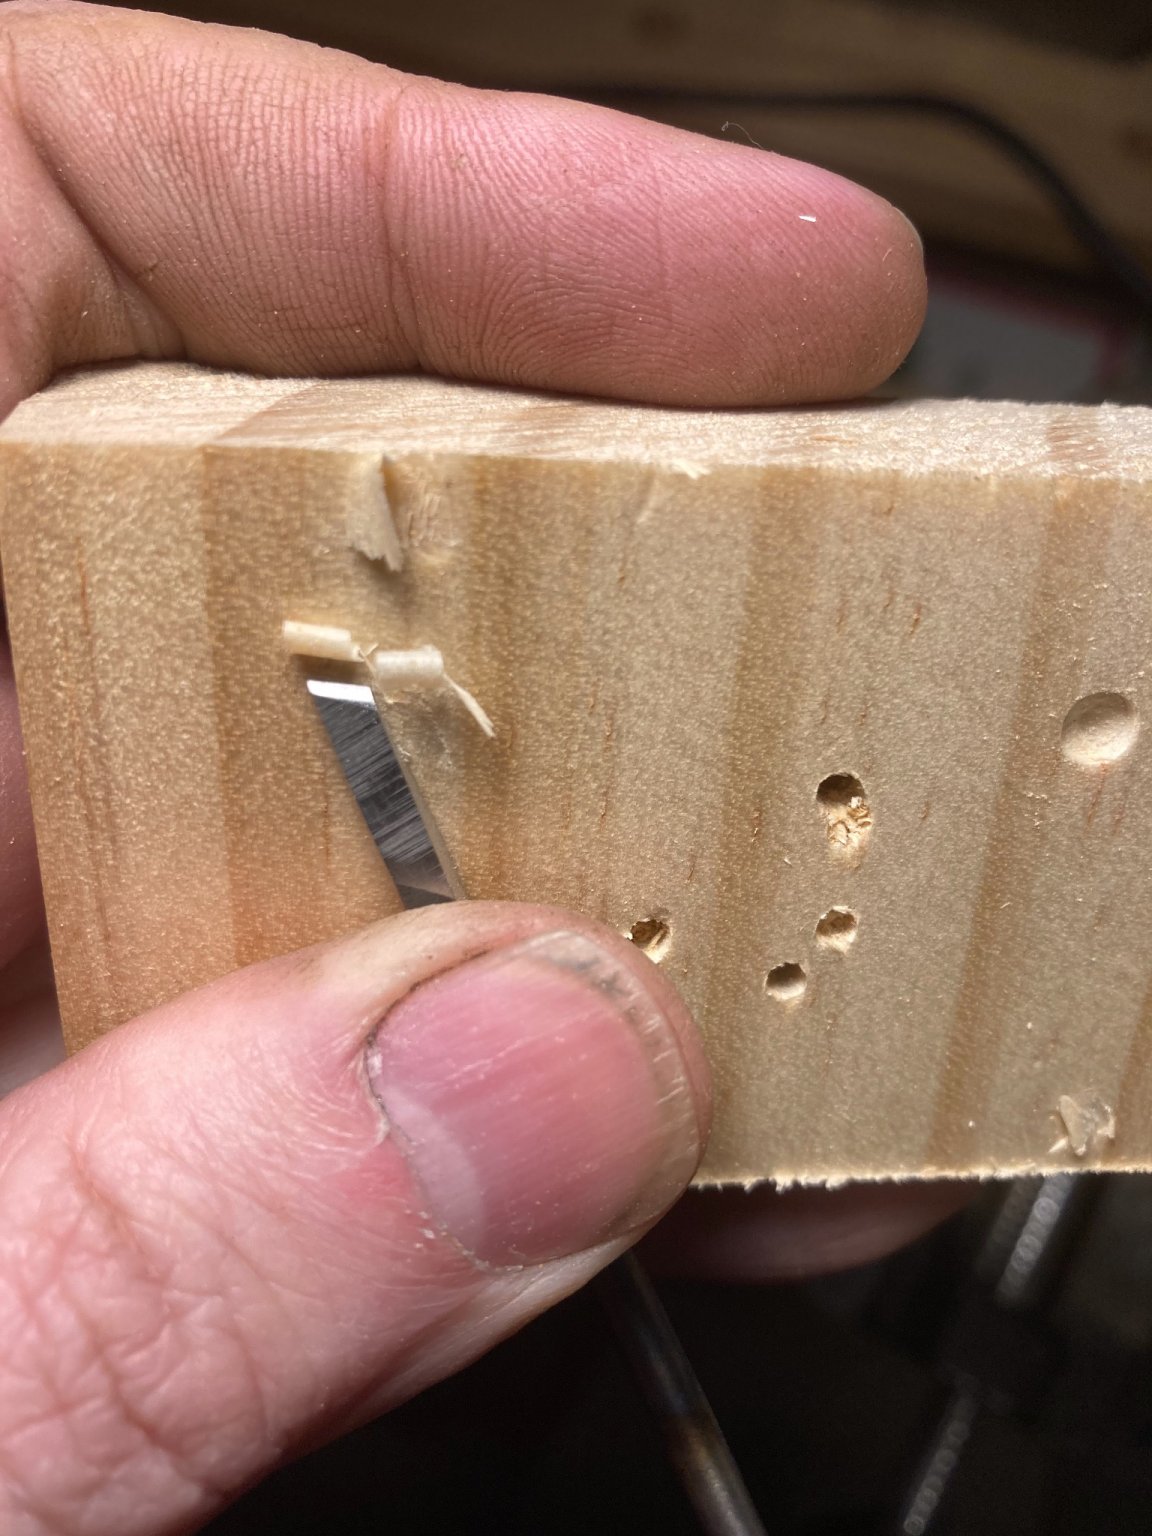
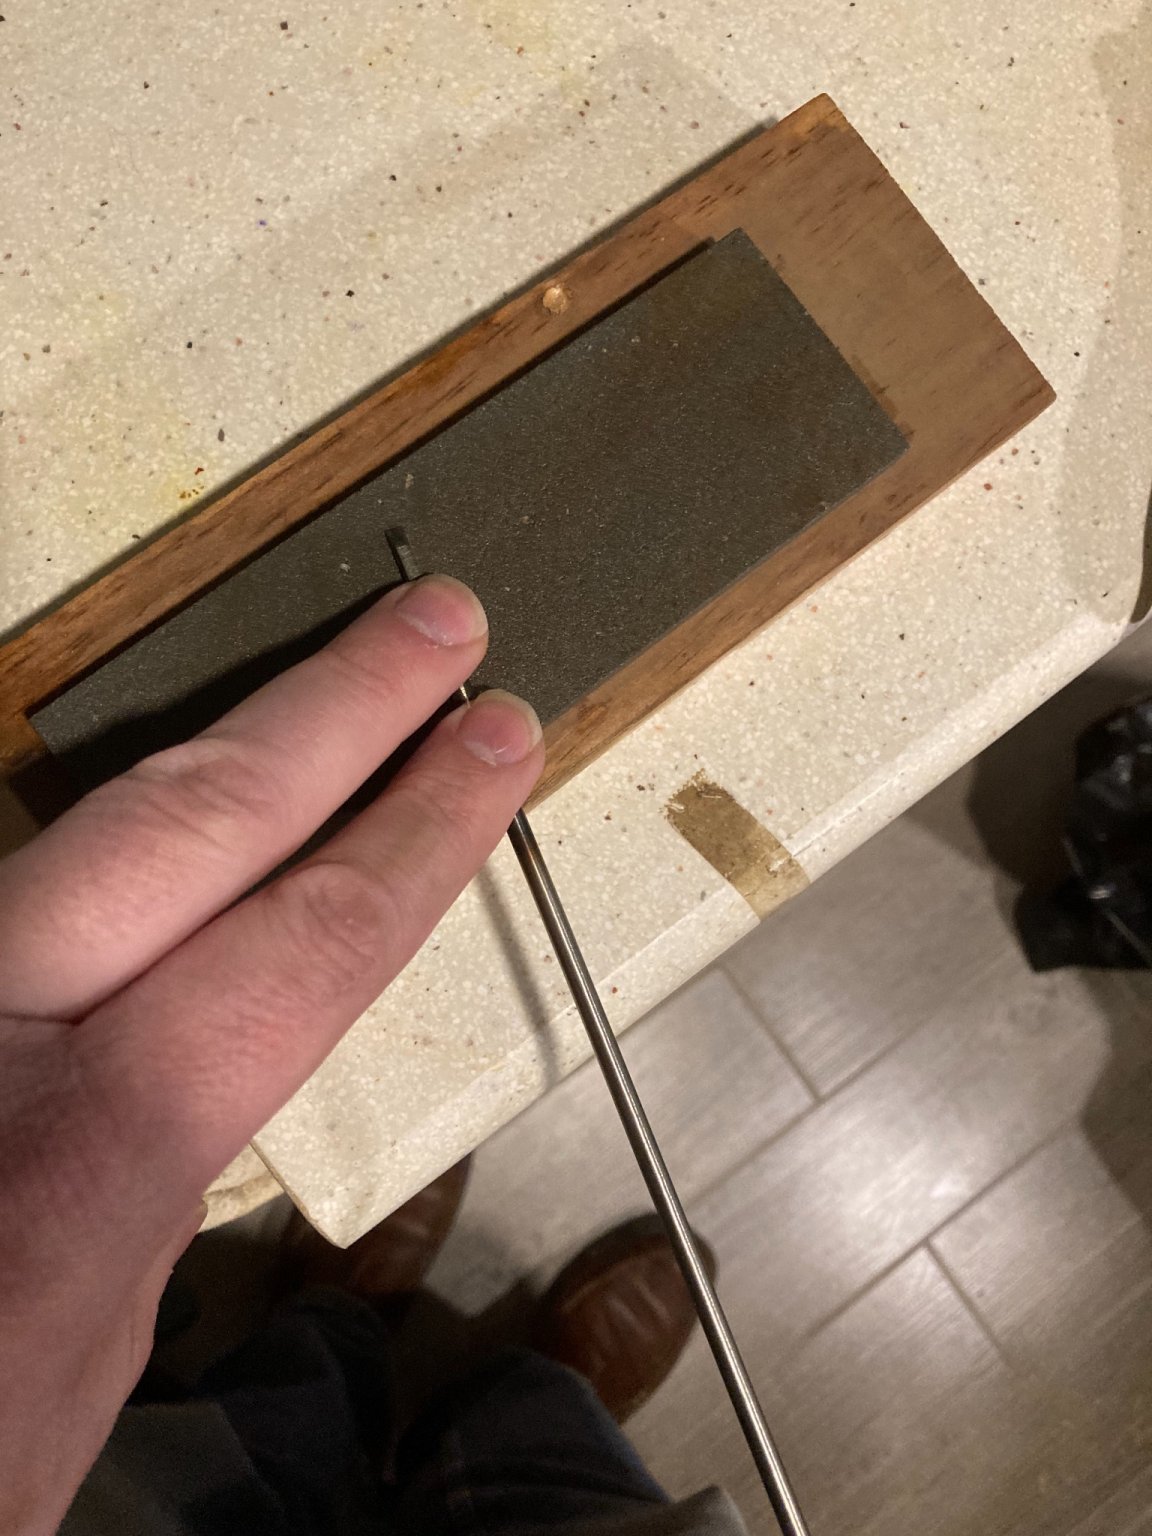
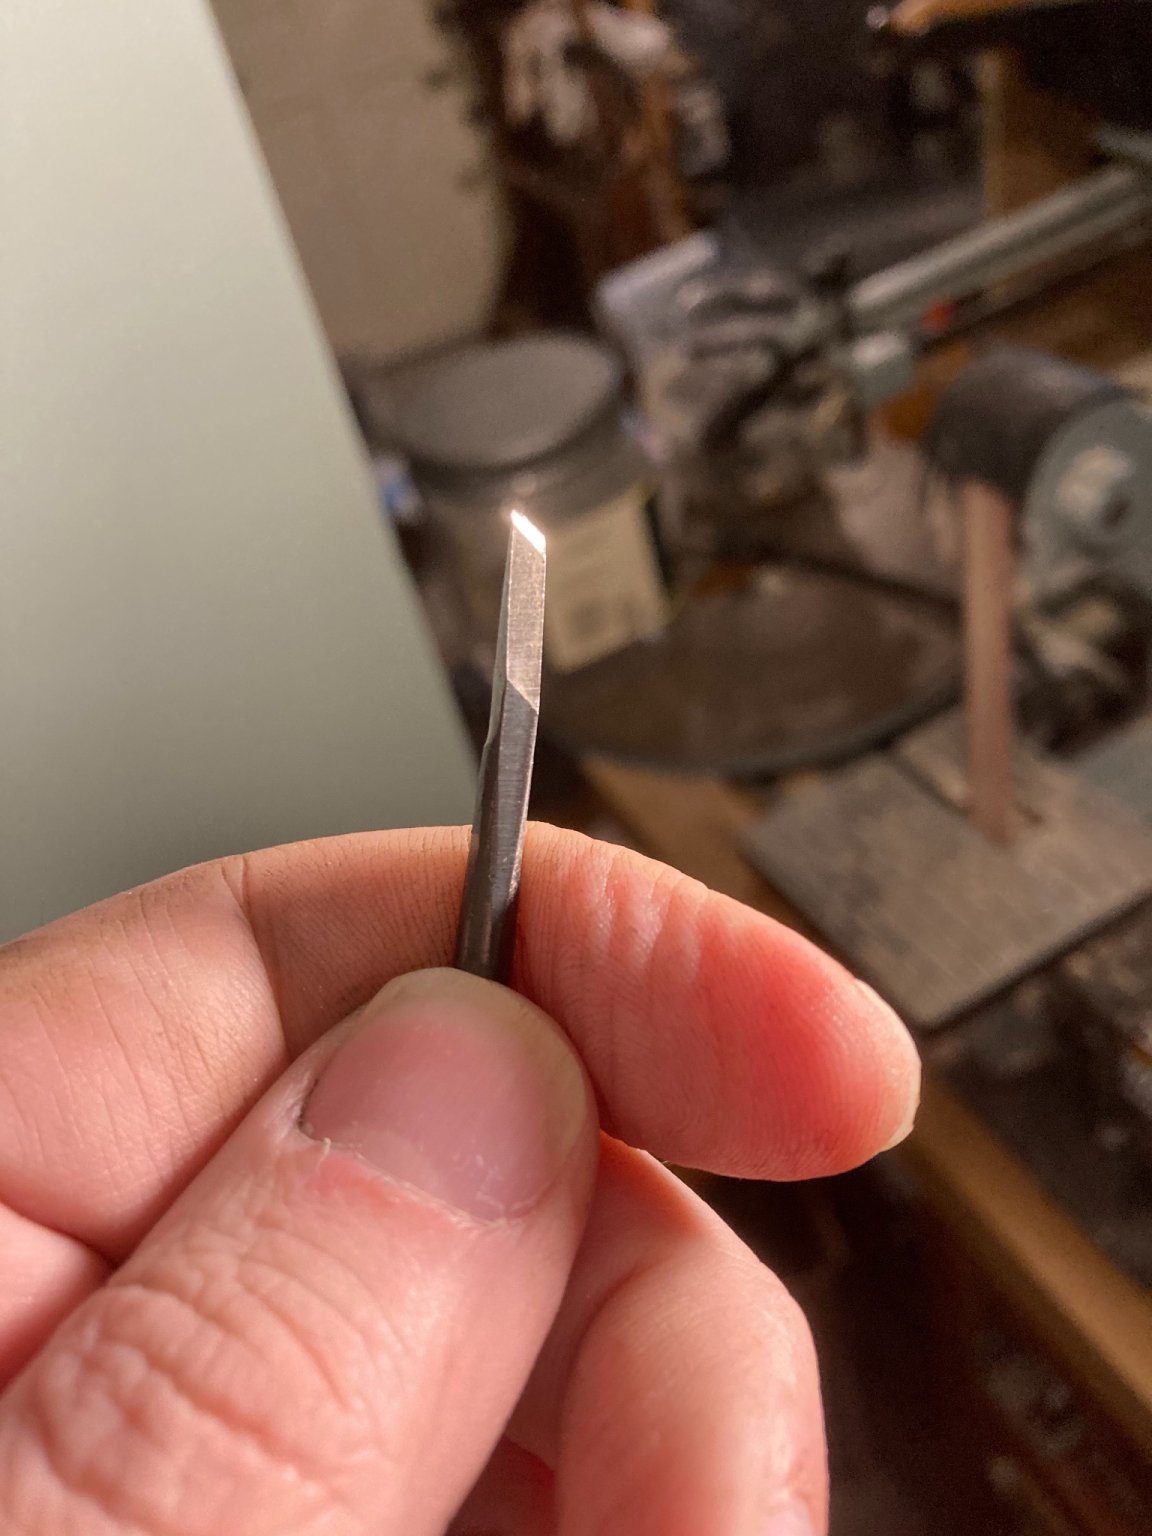
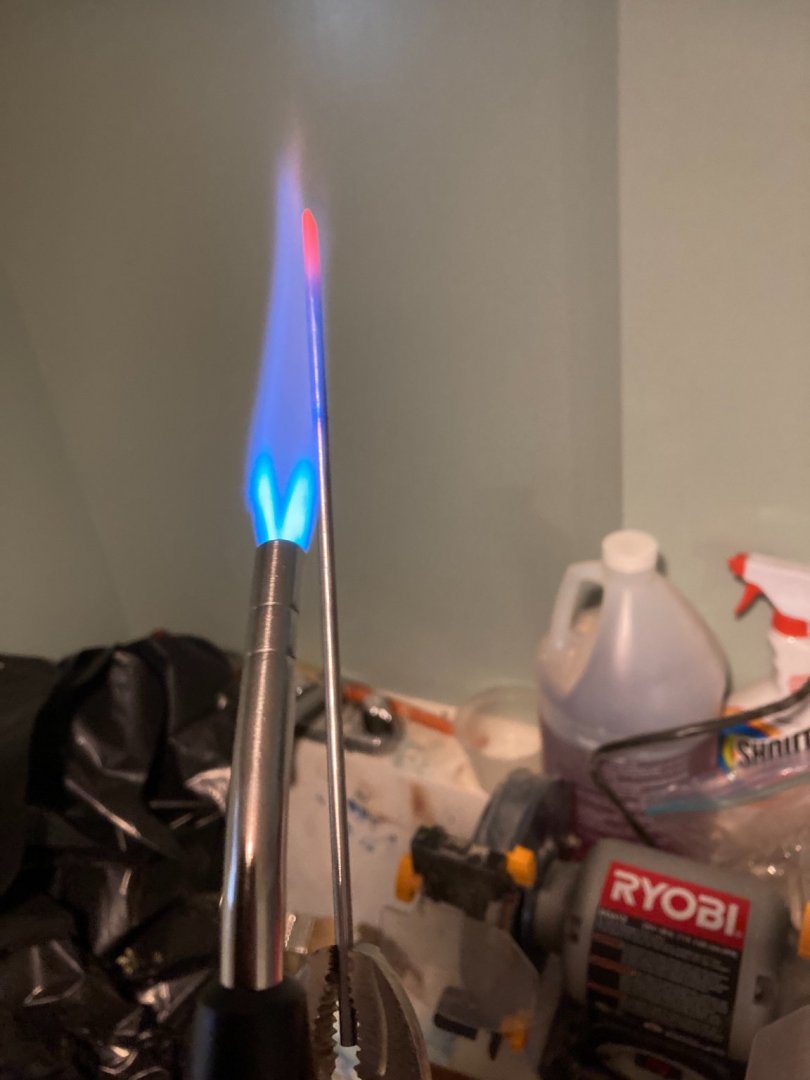
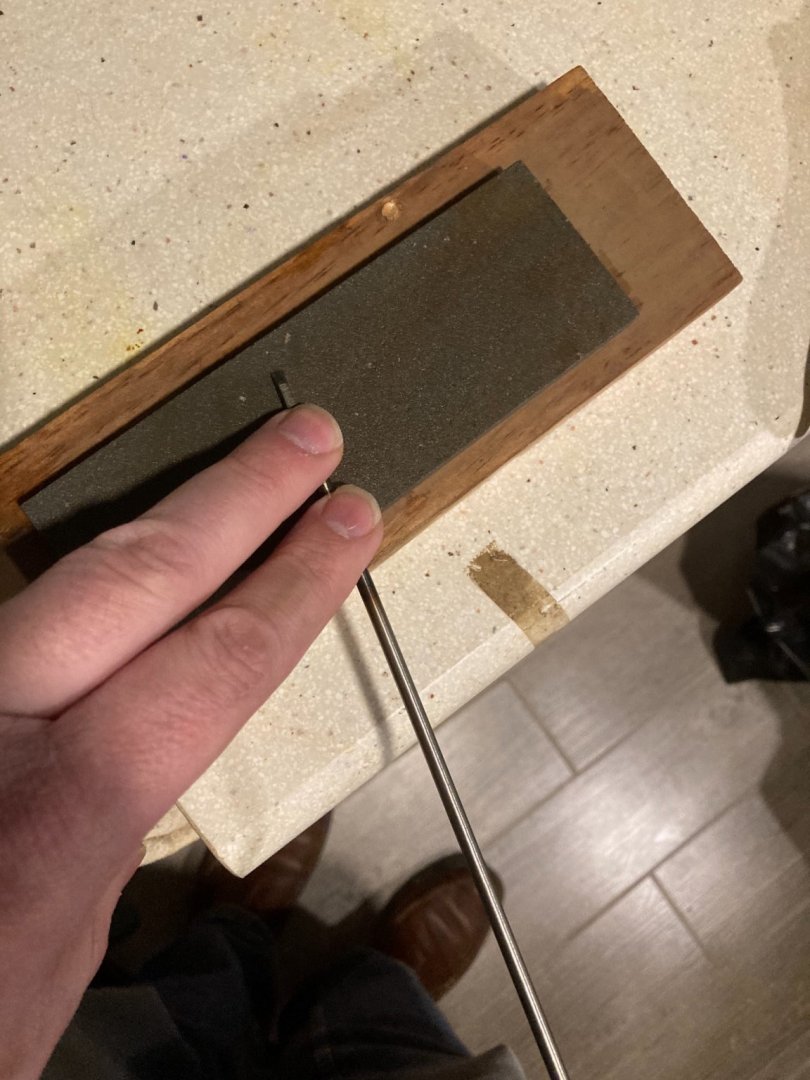
@grsjax posted a link to a video on how to make your own chisels. I watched the video and gave a try. I used a propane torch, a bench grinder (not necessary but speeds up the shaping) and my regular water stones I use to sharpen my chisels plus a pair of vise grips for holding (as well as eye and ear protection). Instead of O1 steel used in the video, I bought HSS rods from Amazon (uxcell Round Steel Rod, 4mm HSS Lathe Bar Stock Tool 200mm Long) for 9 bucks. I untempered the steel, ground it on the grinder free hand then shaped it a bit more with my rough water stone. Then I heated and quenched with water and sharpened normally (with rough and fine water stones). I did this twice with in an hour and a half (not including cooling)! I didn’t make handles (yet). Observations: 1. Vise grips are key to working with a round rod. 2. Free hand grinding is tricky - first pass, I kept regrinding all the sides and not getting the right shape. Second time, took 15 minutes to get the shape. A lighter touch and holding the same position longer helped a great deal. 3. If I do several in the future, I’ll make some jigs for the correct angles. 4. This worked! The blade sharpened and cut cleanly across the grain of pine and cleanly cut cherry end grain. 5. I’m not a metal worker or a machinist and I could pull this off first try, so the process is forgiving and can be repeated until good enough!


- 123 replies
-
- 7
-
-
- Model Shipways
- Pinnace
- (and 1 more)
-
chisels
EricWilliamMarshall replied to Anthony Hearne's topic in Modeling tools and Workshop Equipment
Thanks to @grsjax! I watched the video and gave a try. I used a propane torch, a bench grinder (not necessary but speeds up the shaping) and my regular water stones I use to sharpen my chisels plus a pair of vise grips for holding (as well as eye and ear protection). Instead of O1 steel, I bought HSS rods from Amazon (uxcell Round Steel Rod, 4mm HSS Lathe Bar Stock Tool 200mm Long) for 9 bucks. I untempered the steel, ground it on the grinder free hand then shaped it a bit more with my rough water stone. Then I heated and quenched with water and sharpened normally (with rough and fine water stones). I did this twice with in an hour and a half (not including cooling)! I didn’t make handles (yet). Observations: 1. Vise grips are key to working with a round rod. 2. Free hand grinding is tricky - first pass, I kept regrinding all the sides and not getting the right shape. Second time, took 15 minutes to get the shape. A lighter touch and holding the same position longer helped a great deal. 3. If I do several in the future, I’ll make some jigs for the correct angles. 4. This worked! The blade sharpened and cut cleanly across the grain of pine and cleanly cut cherry end grain. 5. I’m not a metal worker or a machinist and I could pull this off first try, so the process is forgiving and can be repeated until success!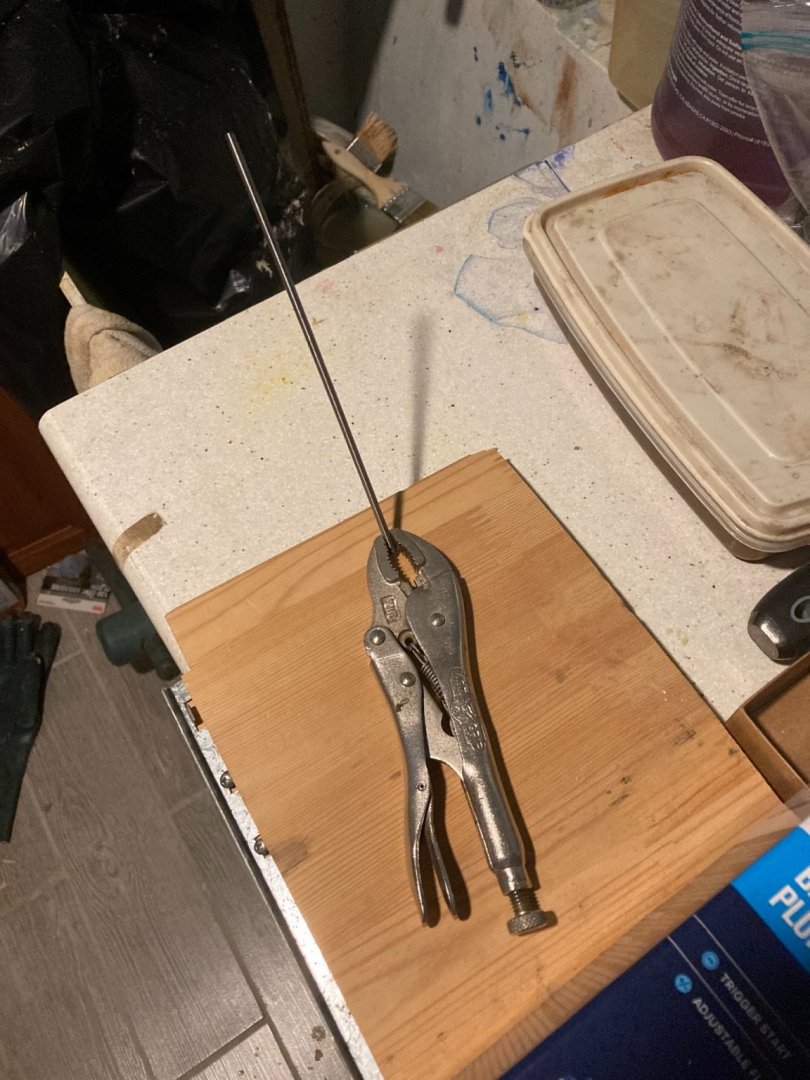


-
@Bill Brown and @Edwardkenway, thank you! I always appreciate a vote of confidence and support as I stumble along.
- 123 replies
-
- 1
-
-
- Model Shipways
- Pinnace
- (and 1 more)
-
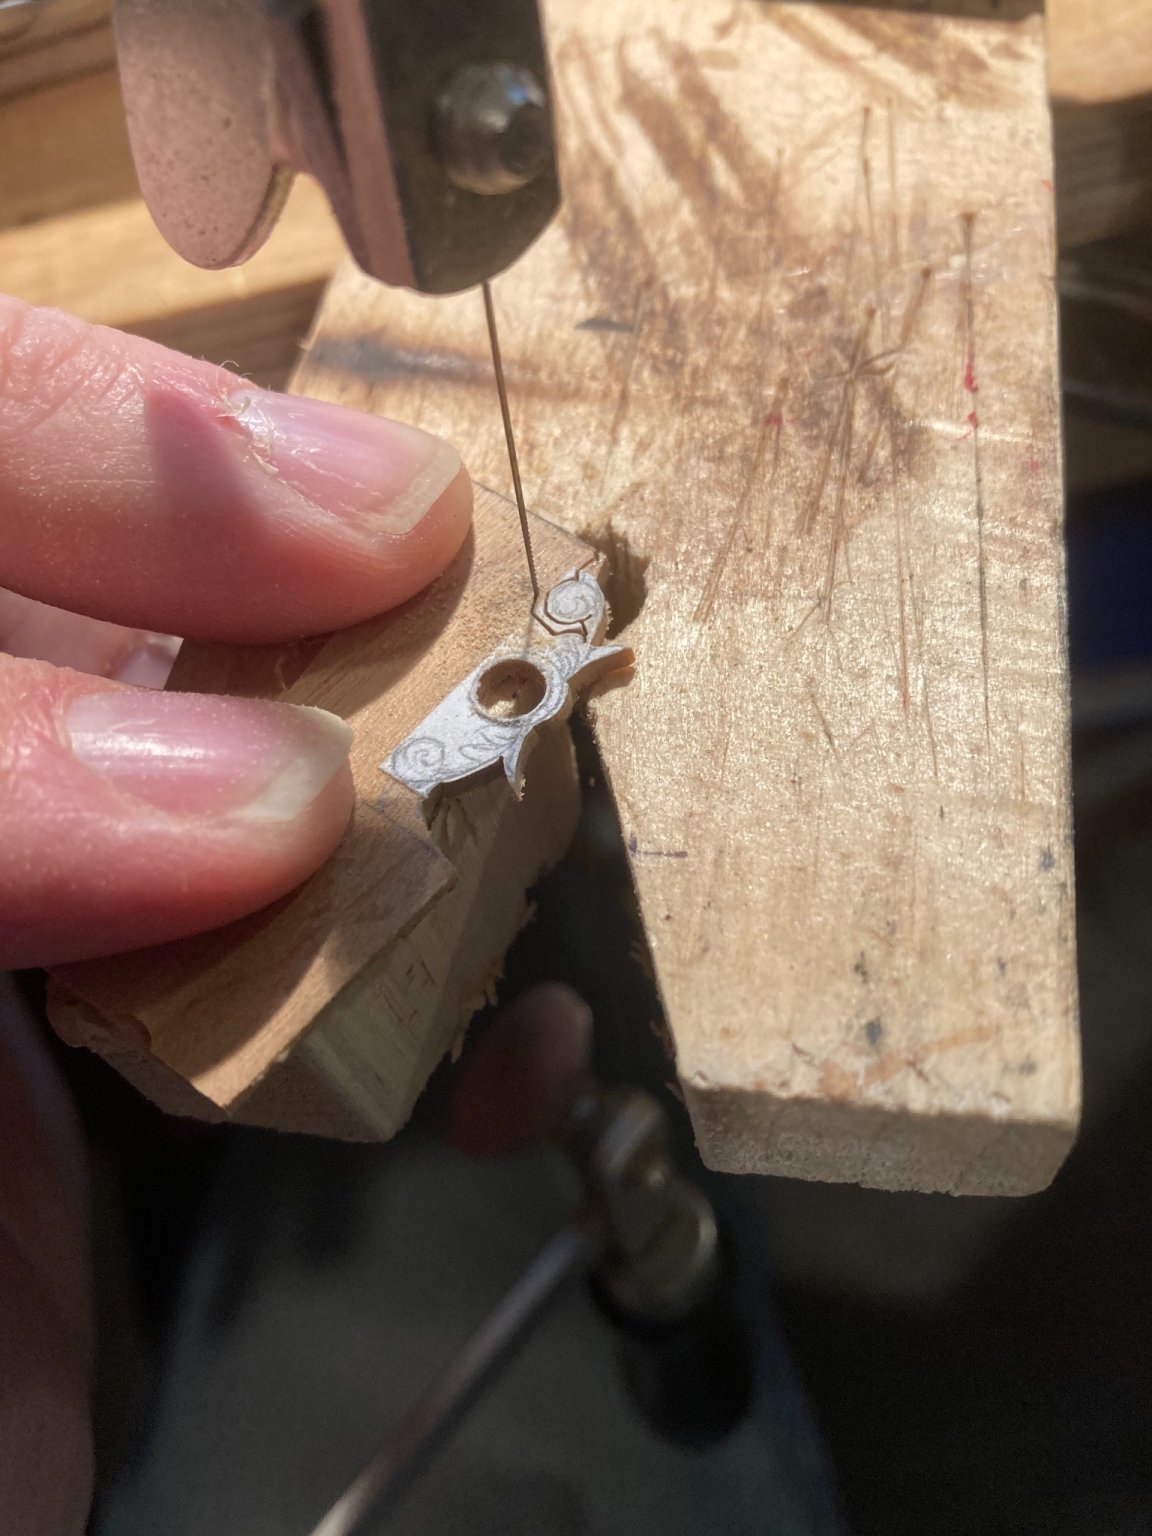
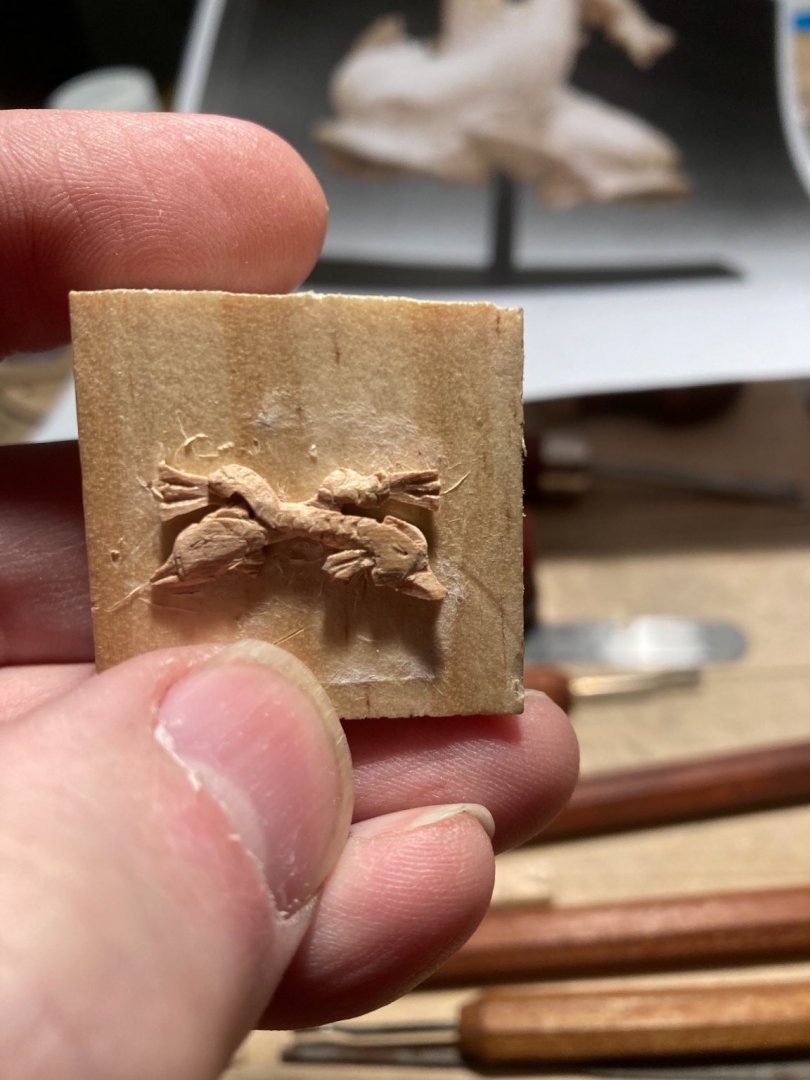
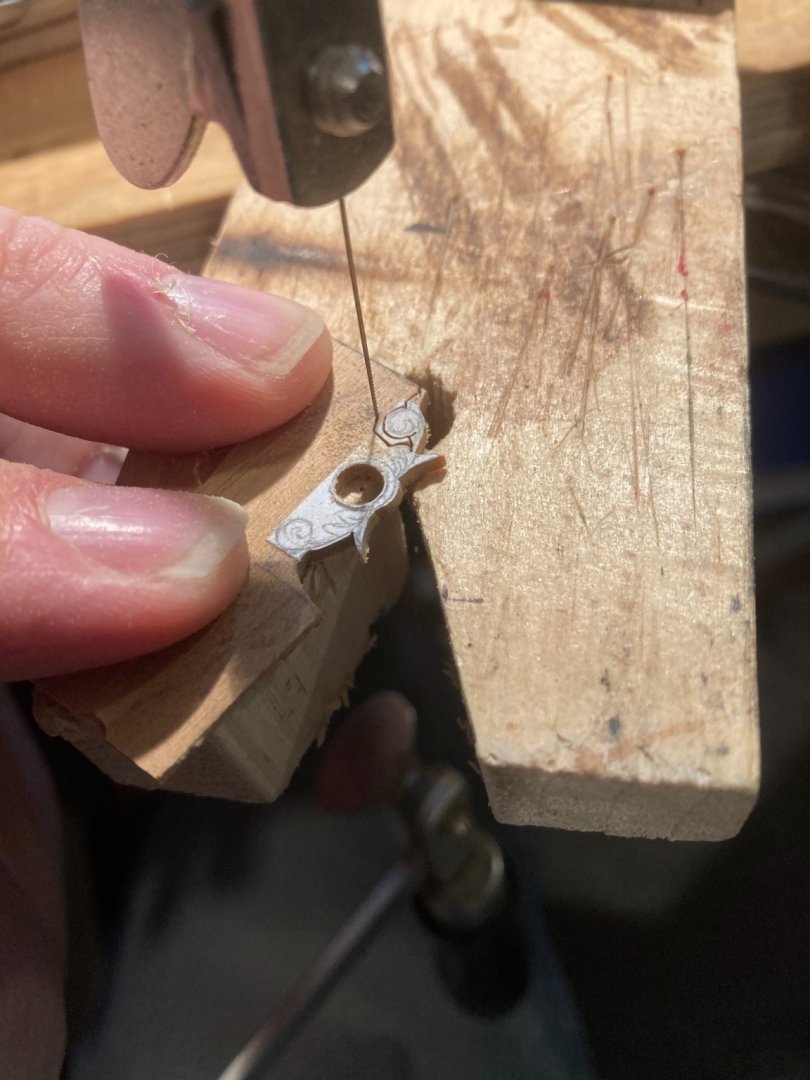
The carving broke and I tried to save it with a coating of glue. I have to say these images are more magnified then what i work with, which usually means I see the imperfections as soon as I post the pictures.

- 123 replies
-
- 10
-
-

-
- Model Shipways
- Pinnace
- (and 1 more)
-
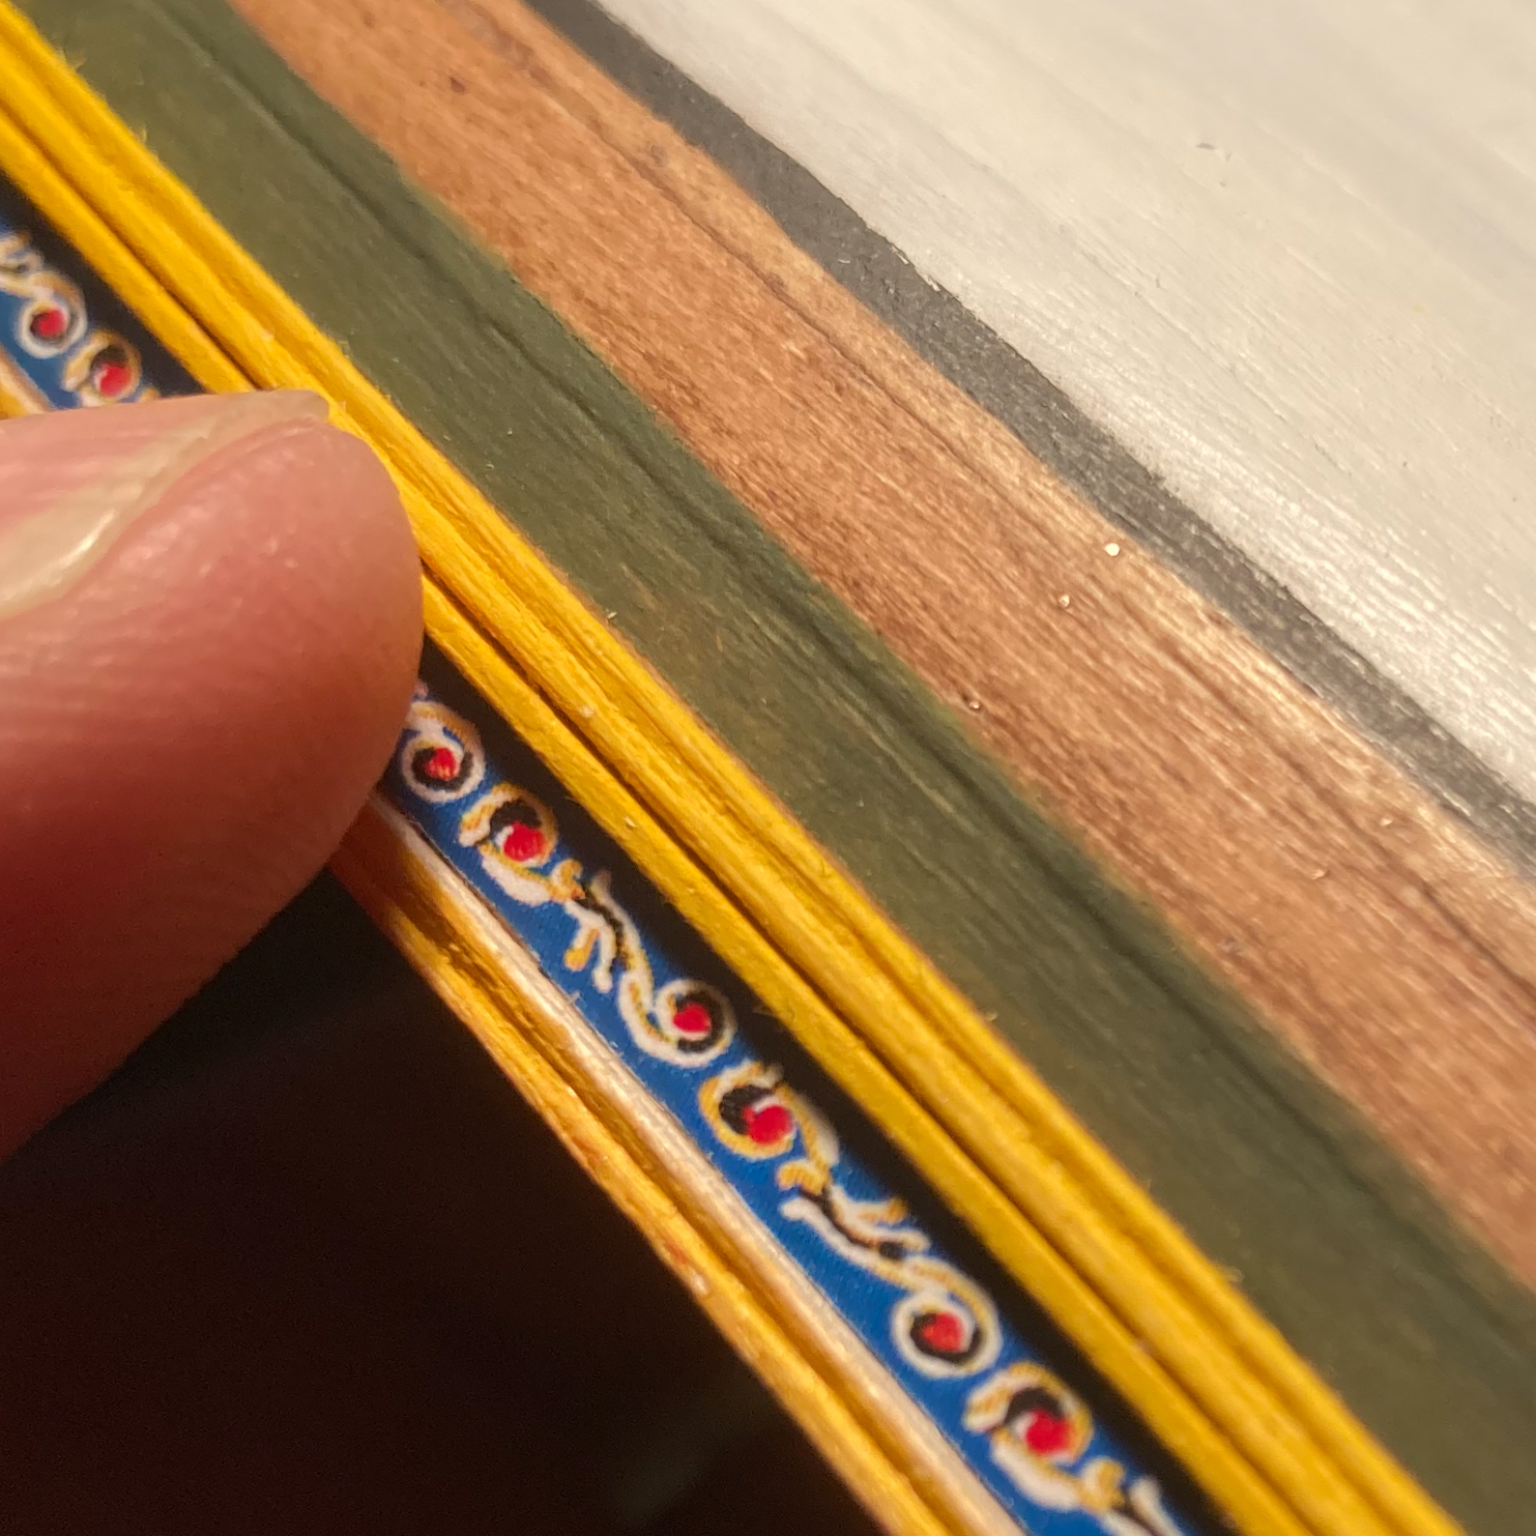
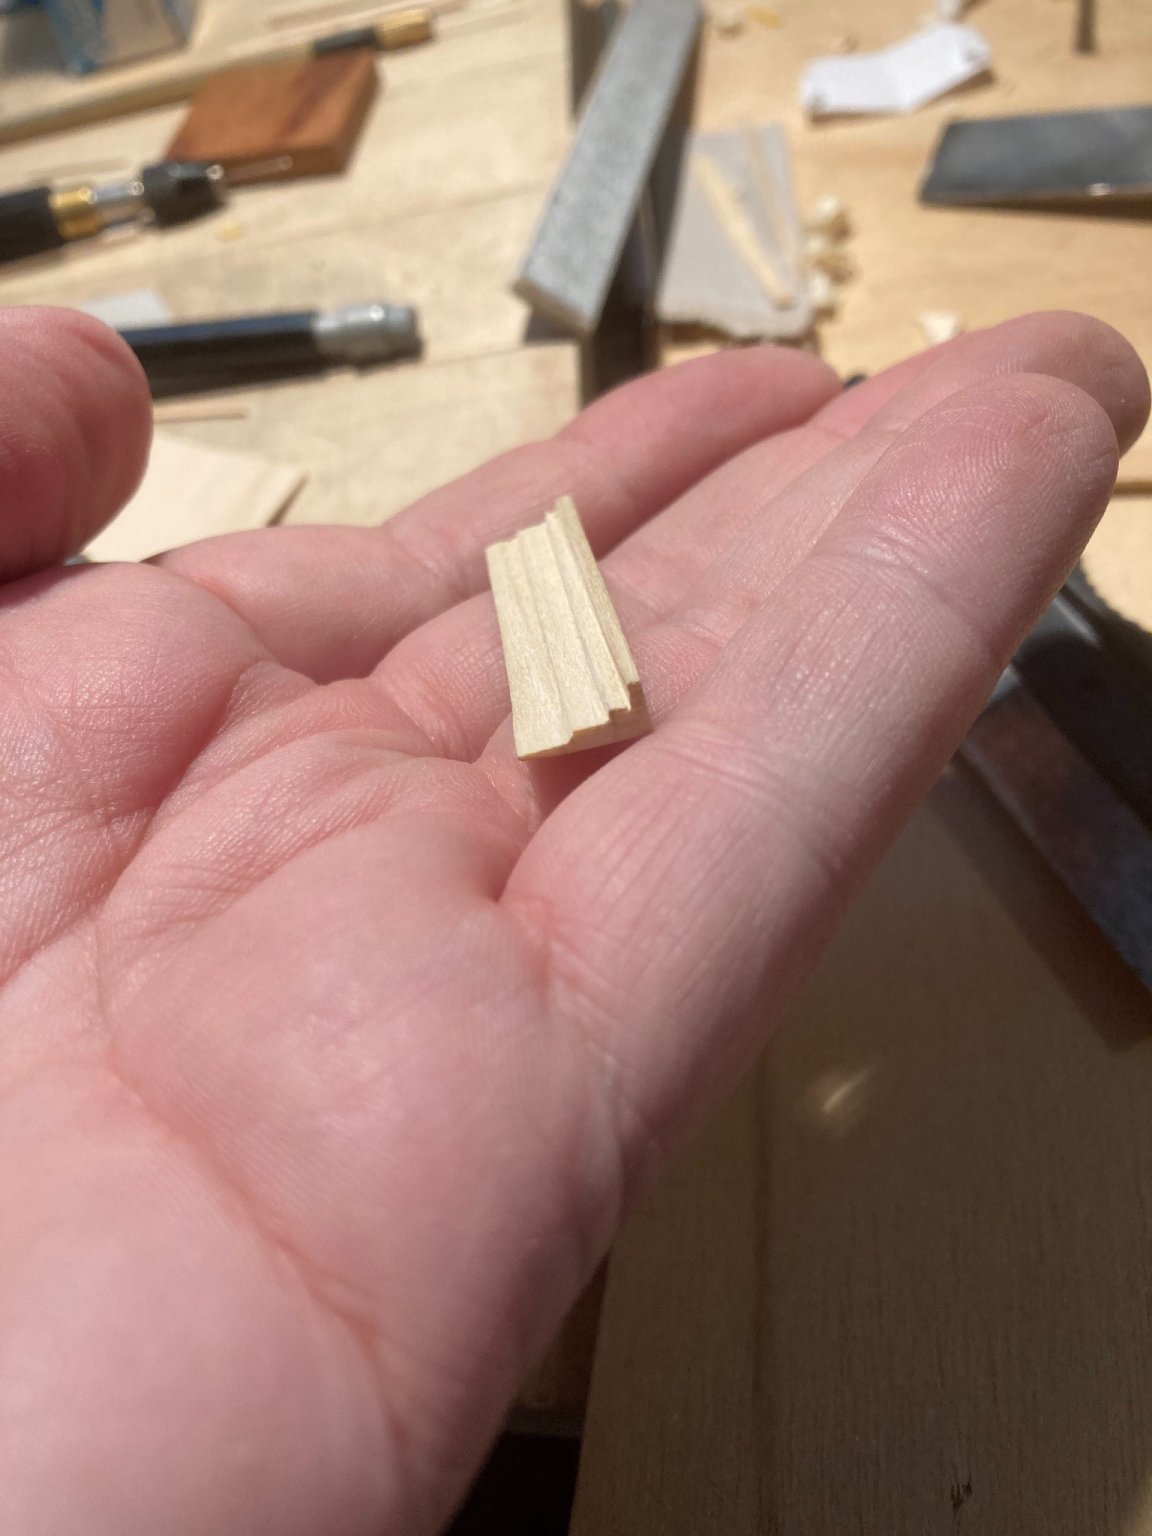
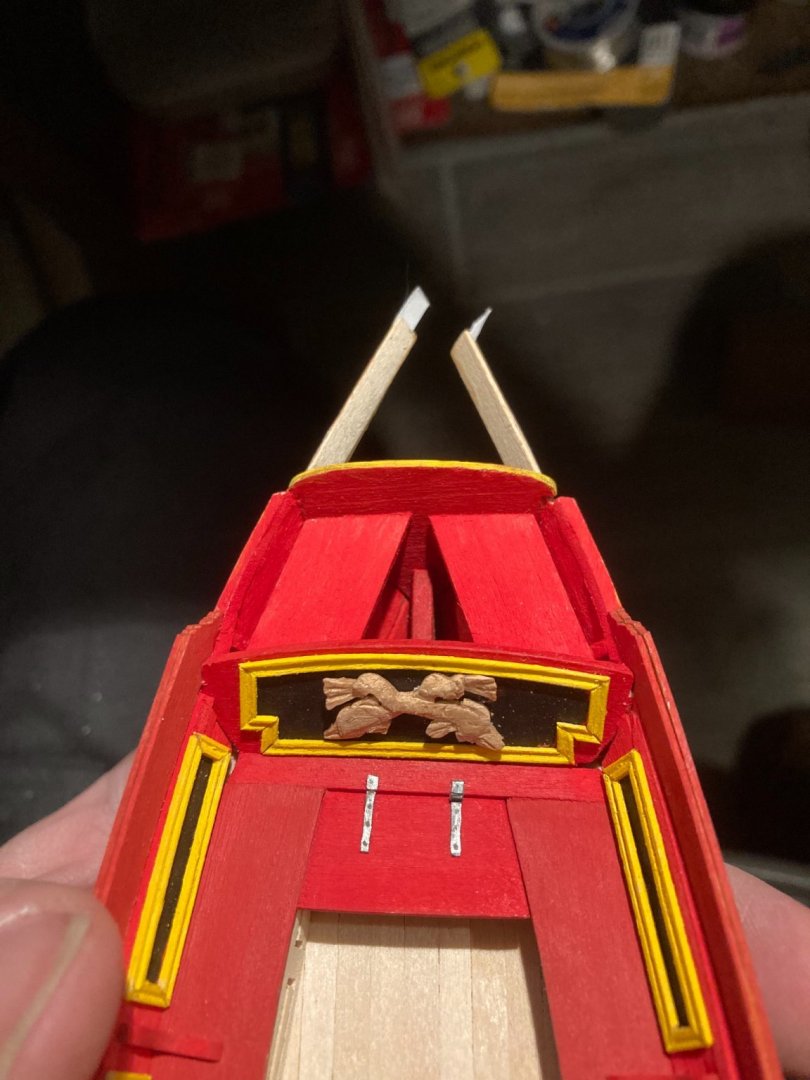
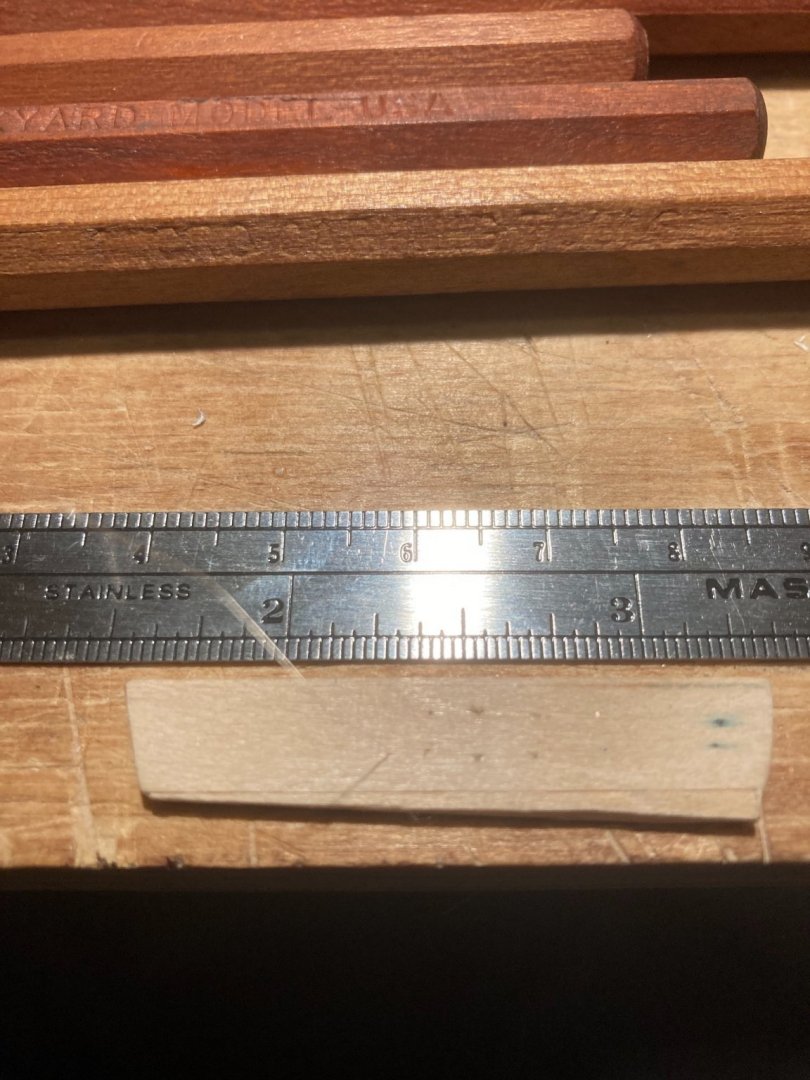
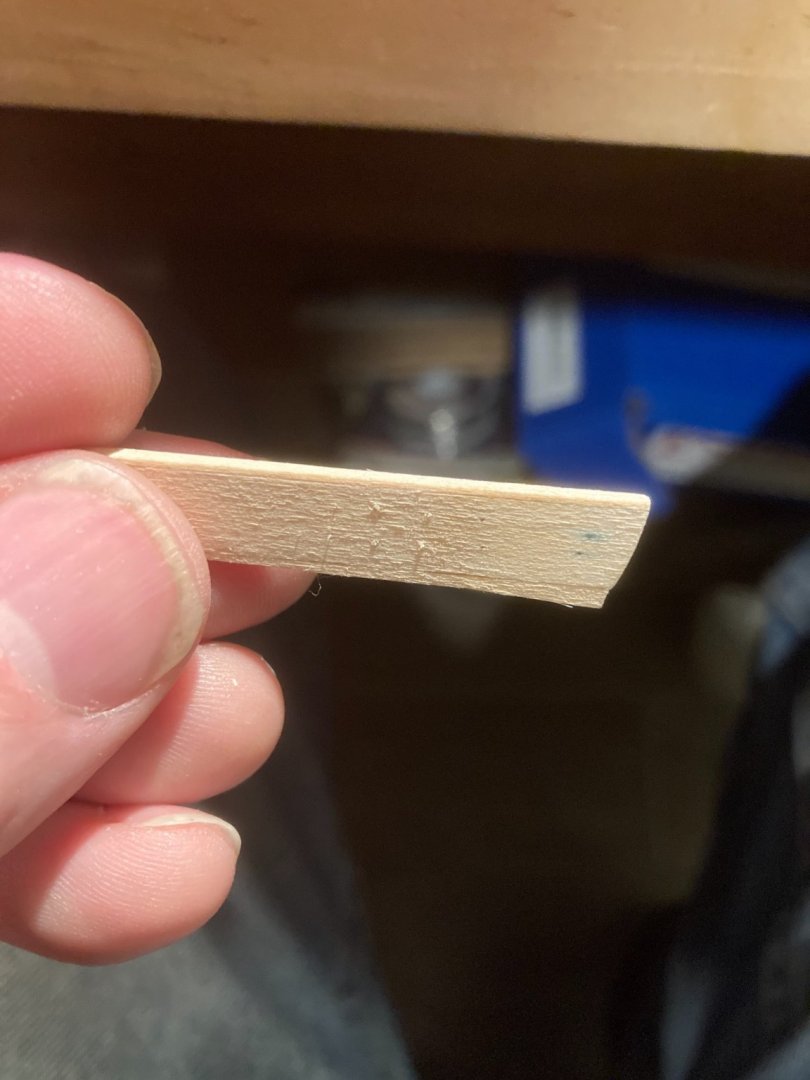
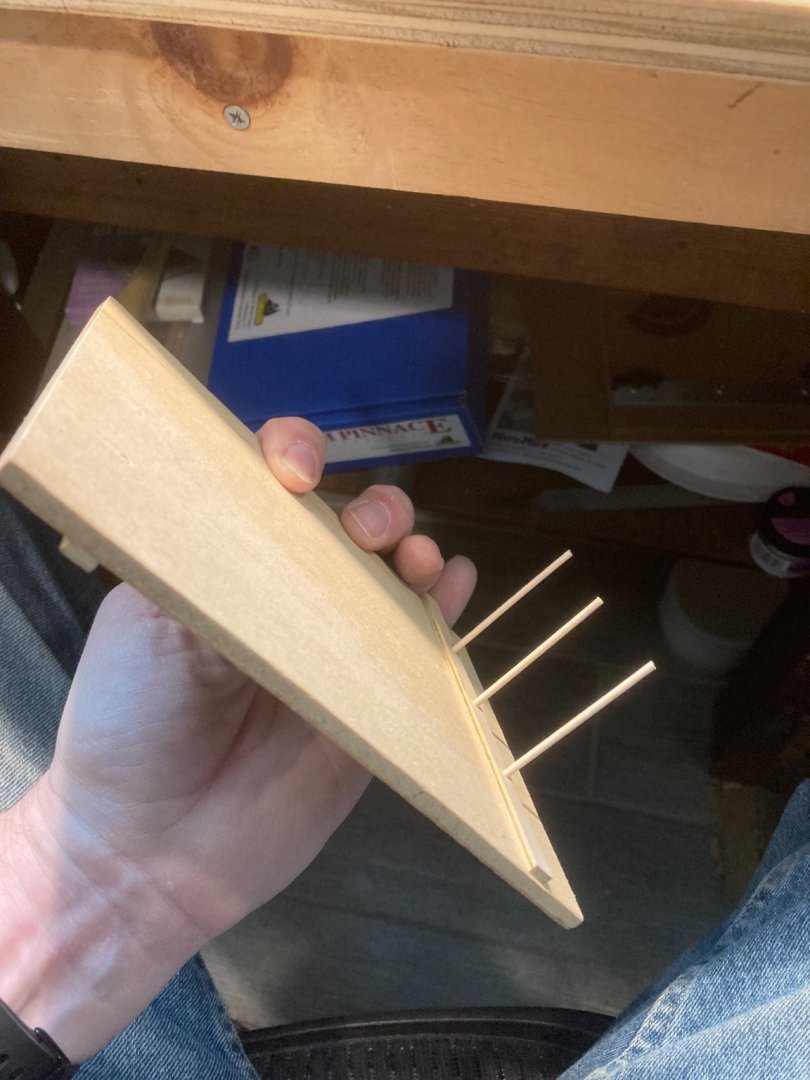
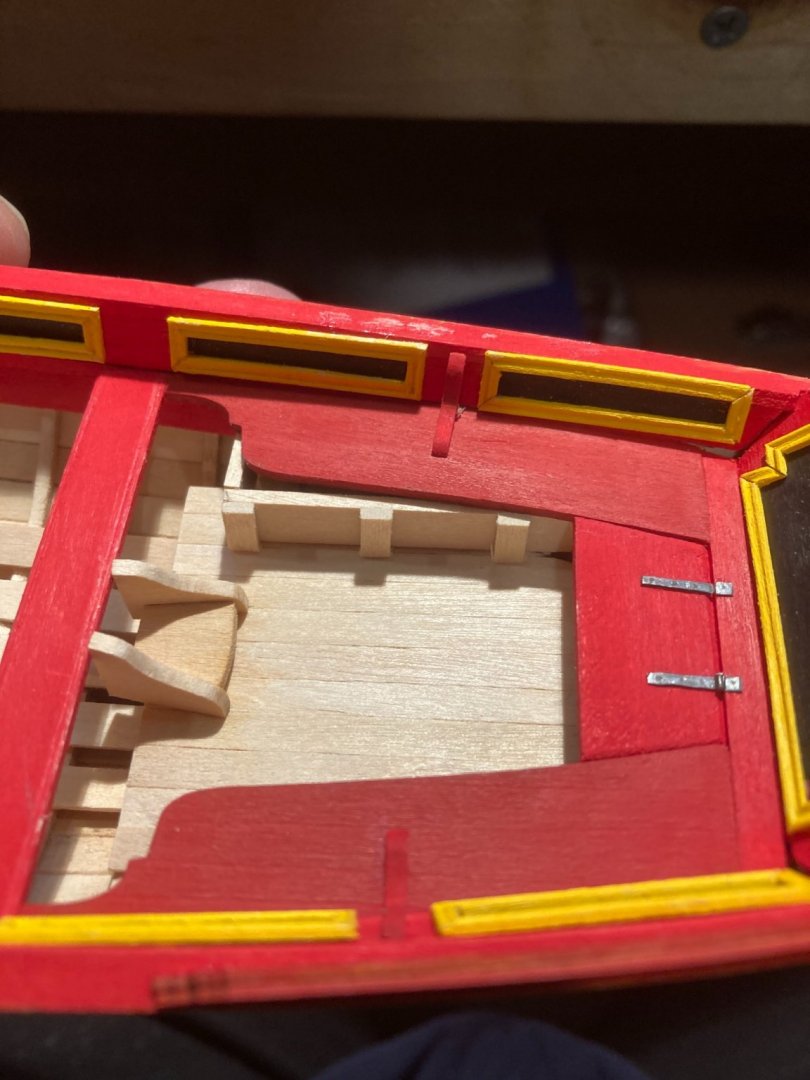
@Blue Ensign and @DelF thank you for the kind remarks! I tried files as suggested and that is the way to go but it he piece is too flimsy and it just ripped a part. I will have to find a different wood (or something) to work with. I also found I can make truly invisible tree nails using hair or fly tying line. Yup, you cannot see them. In the piece I’m holding there are five pairs of tree nails.
- 123 replies
-
- 5
-
-
- Model Shipways
- Pinnace
- (and 1 more)
-
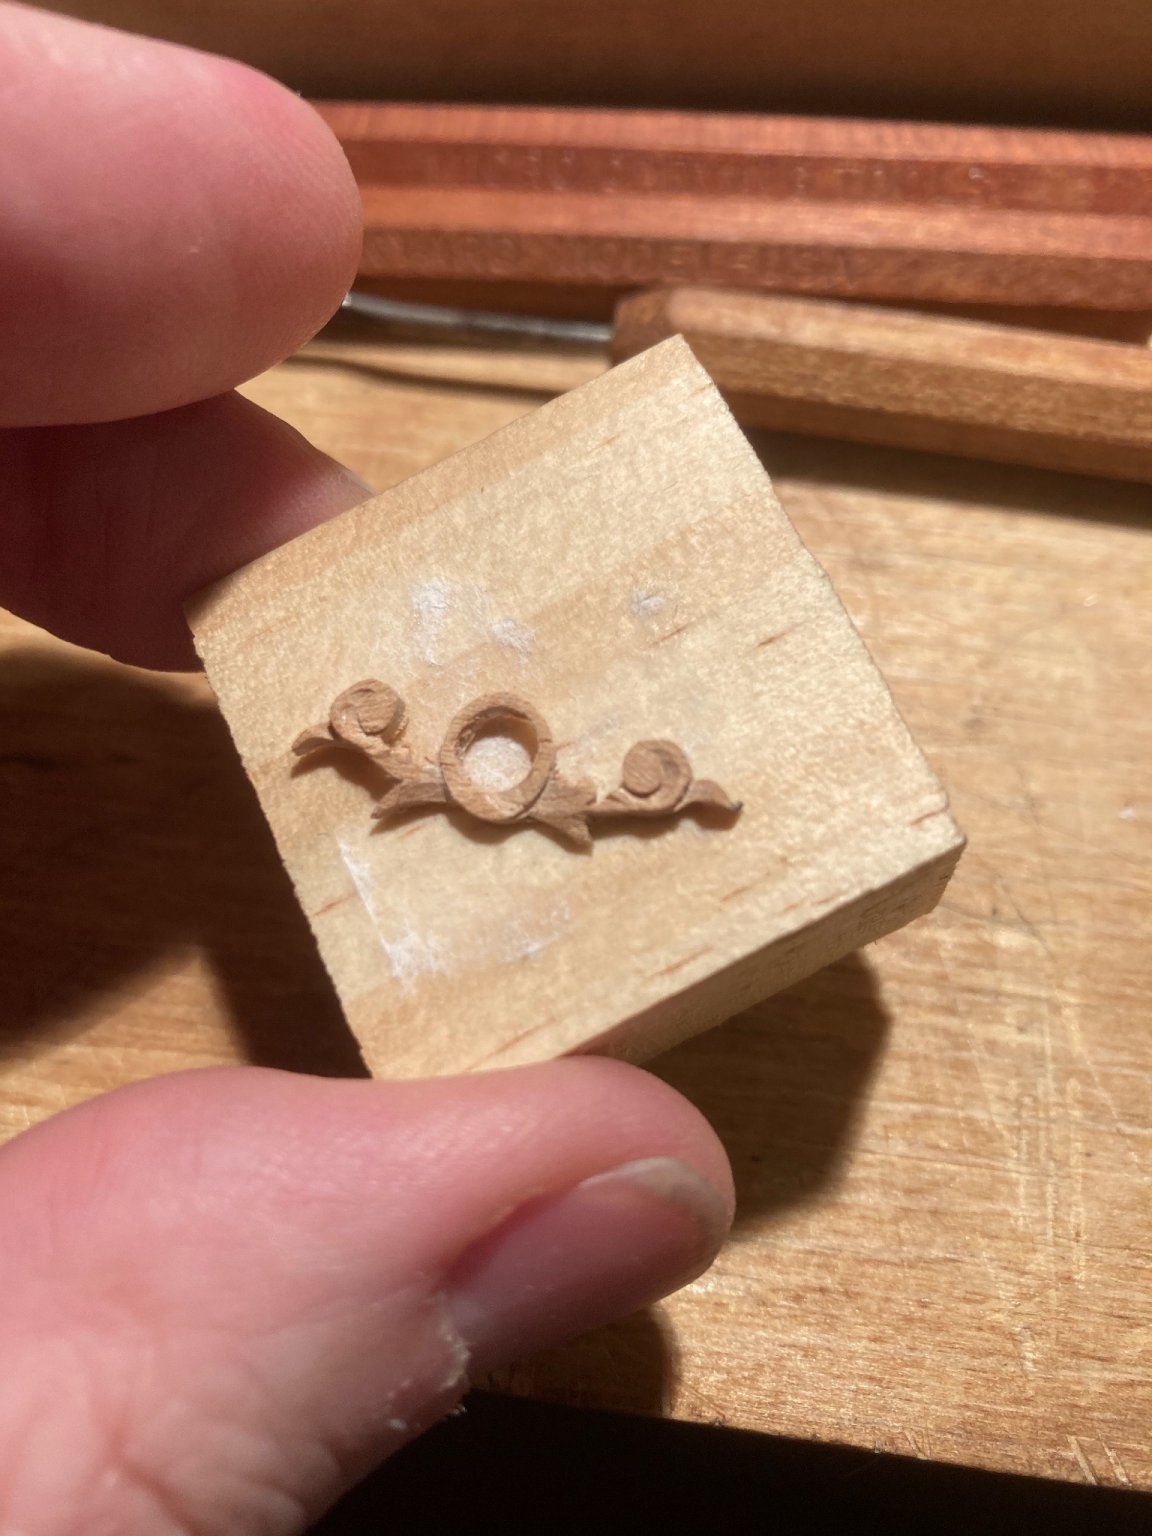
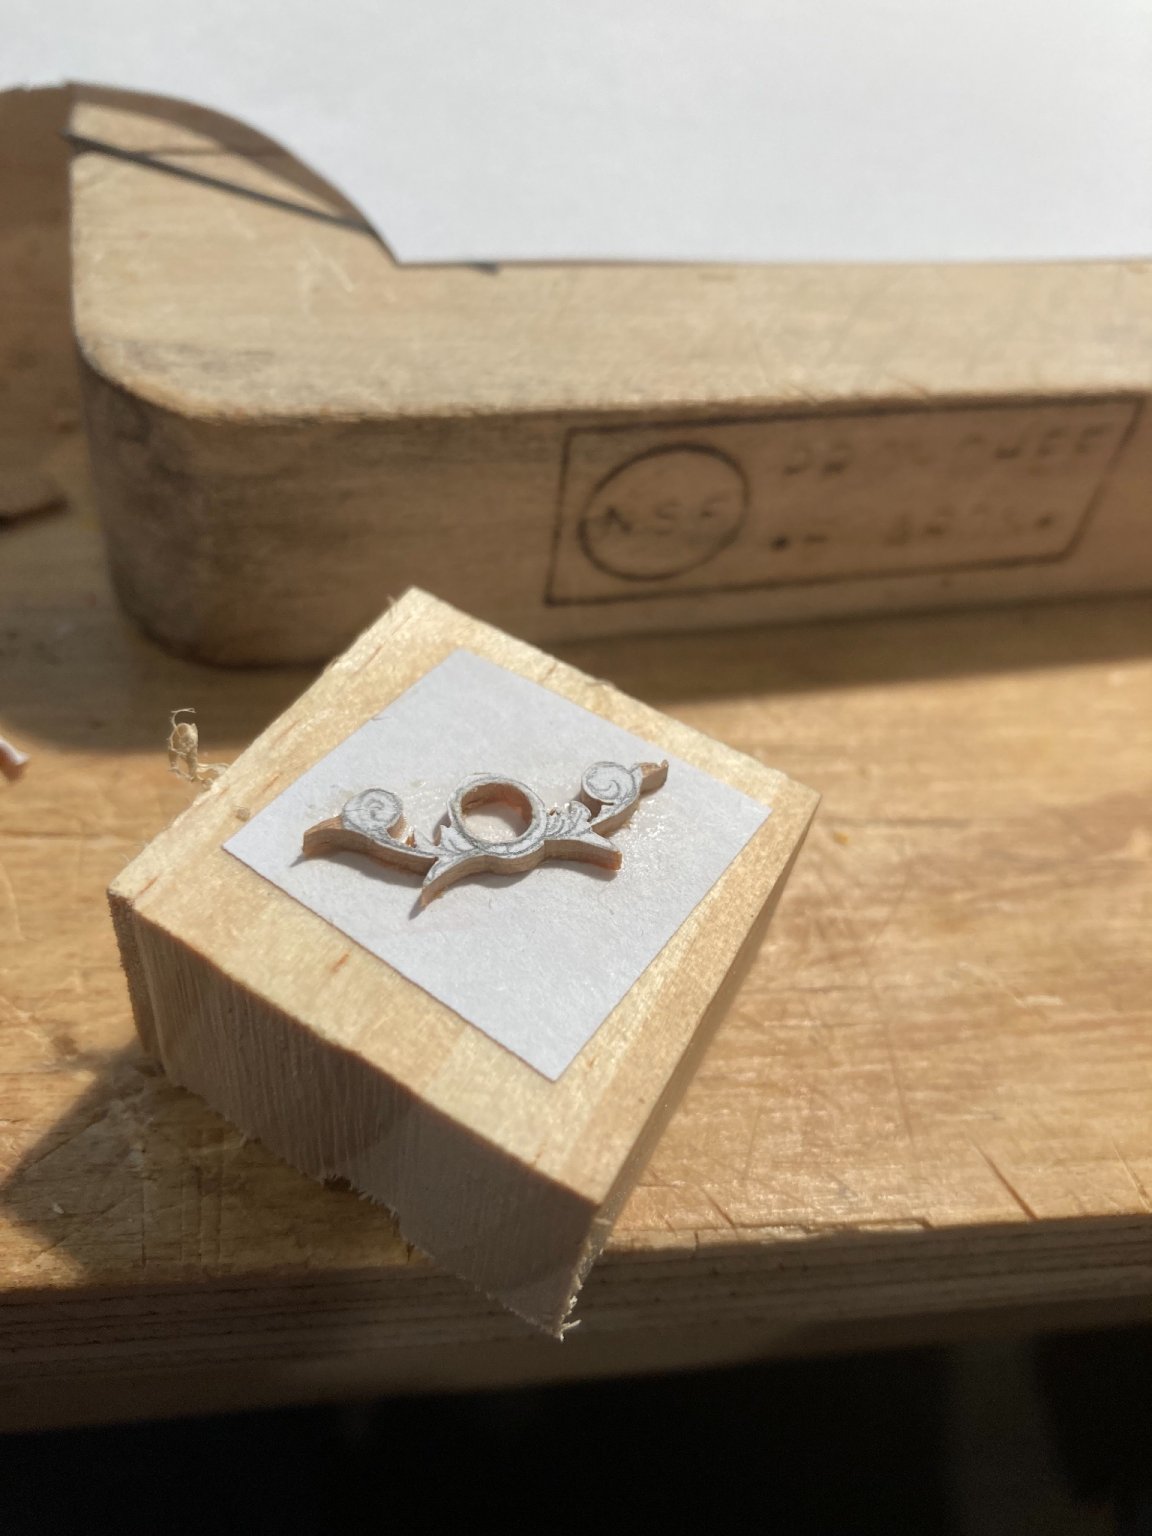
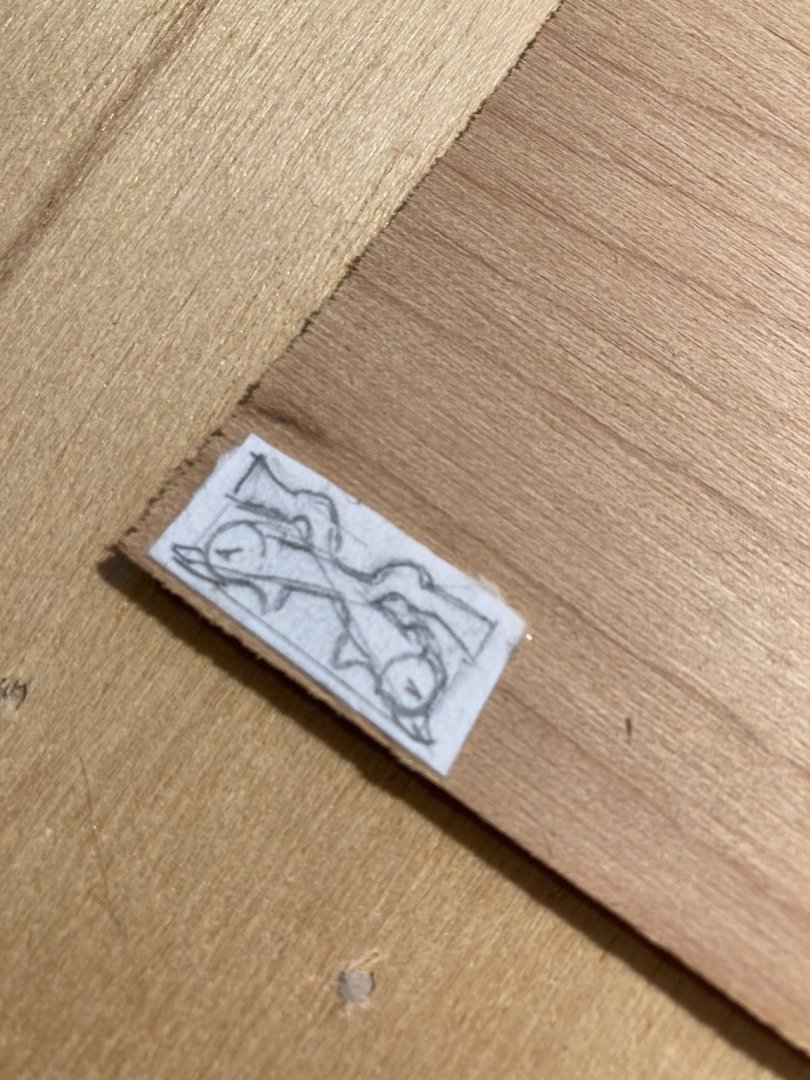
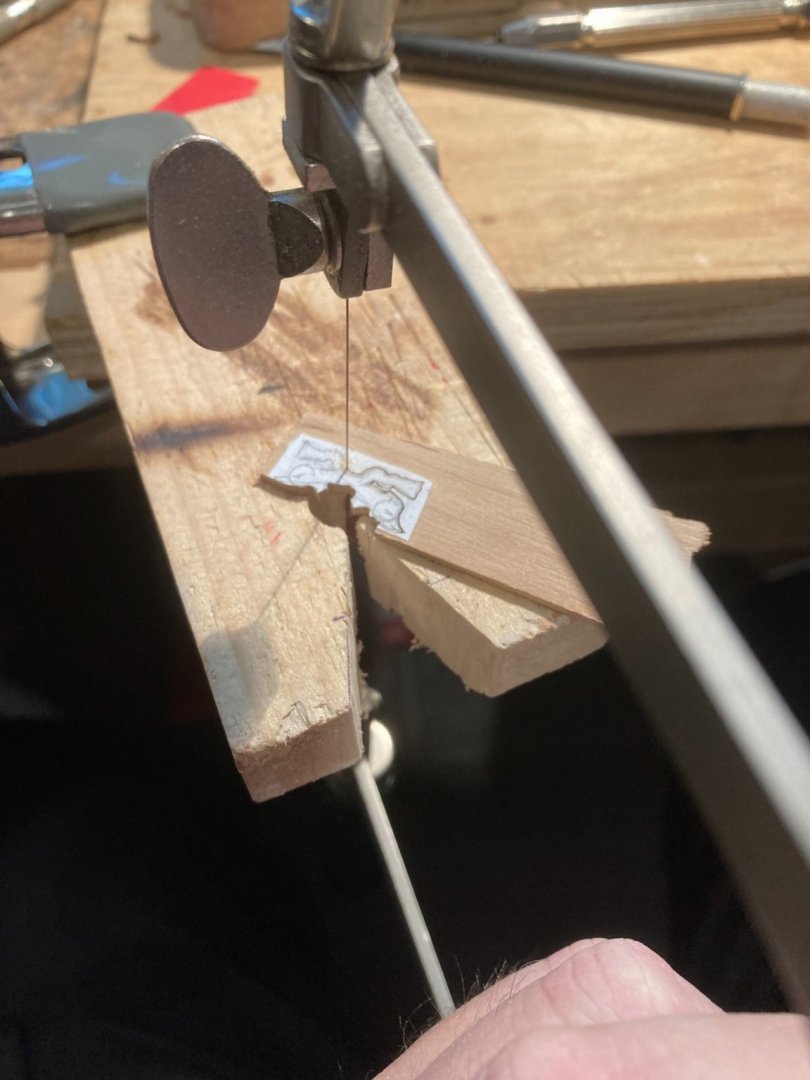
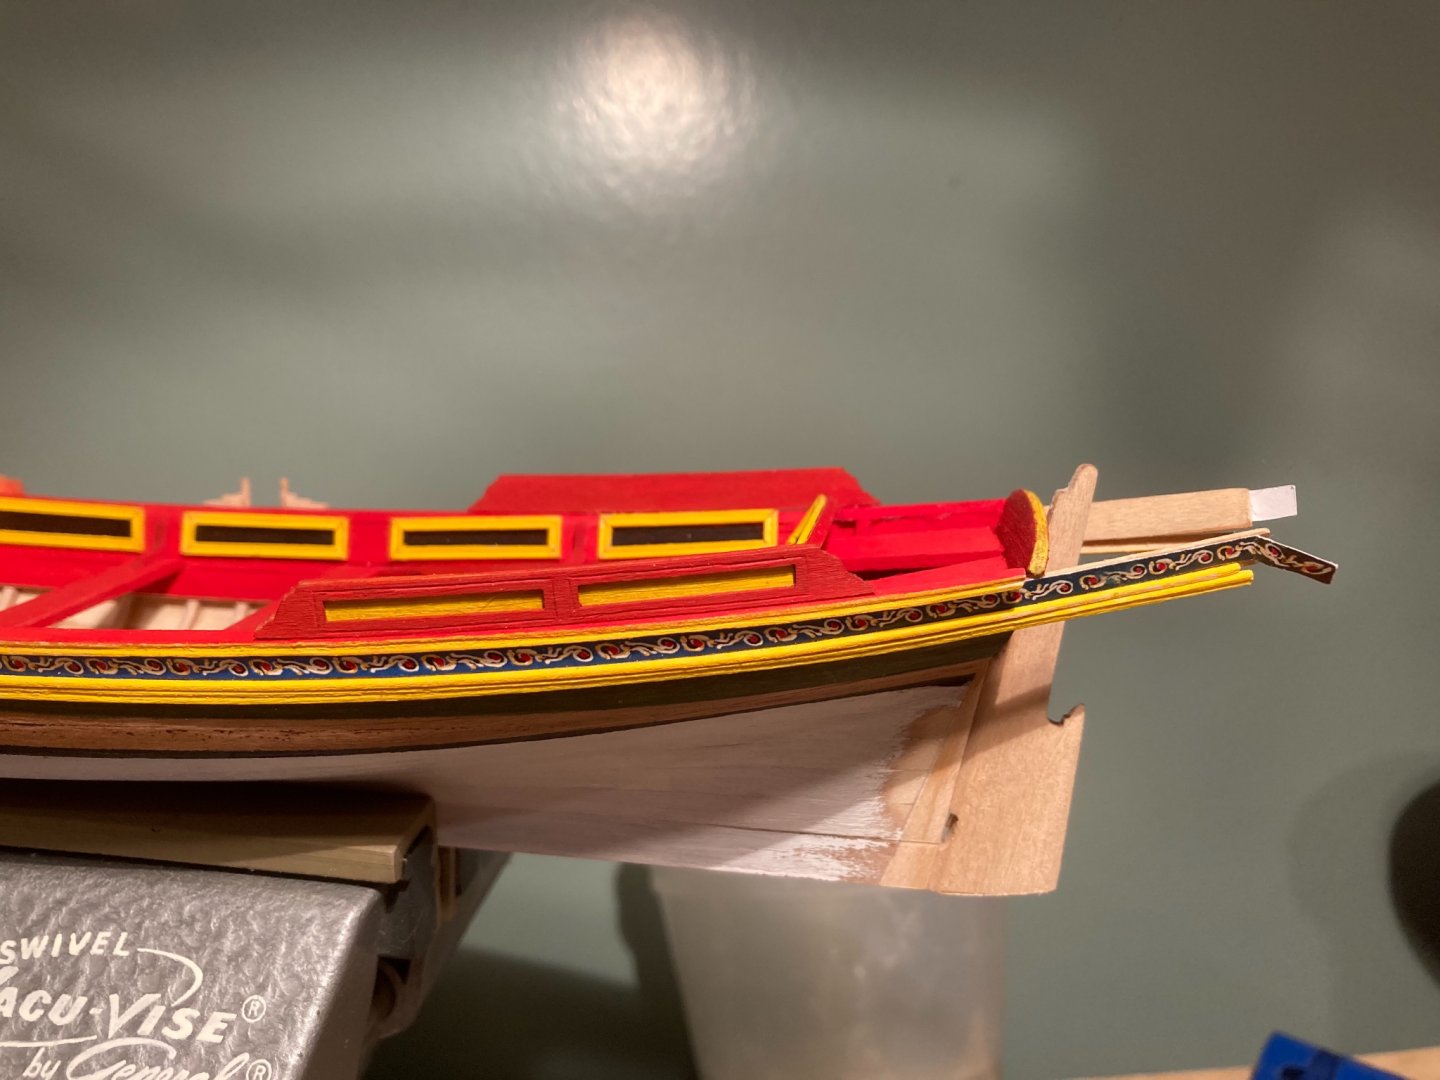
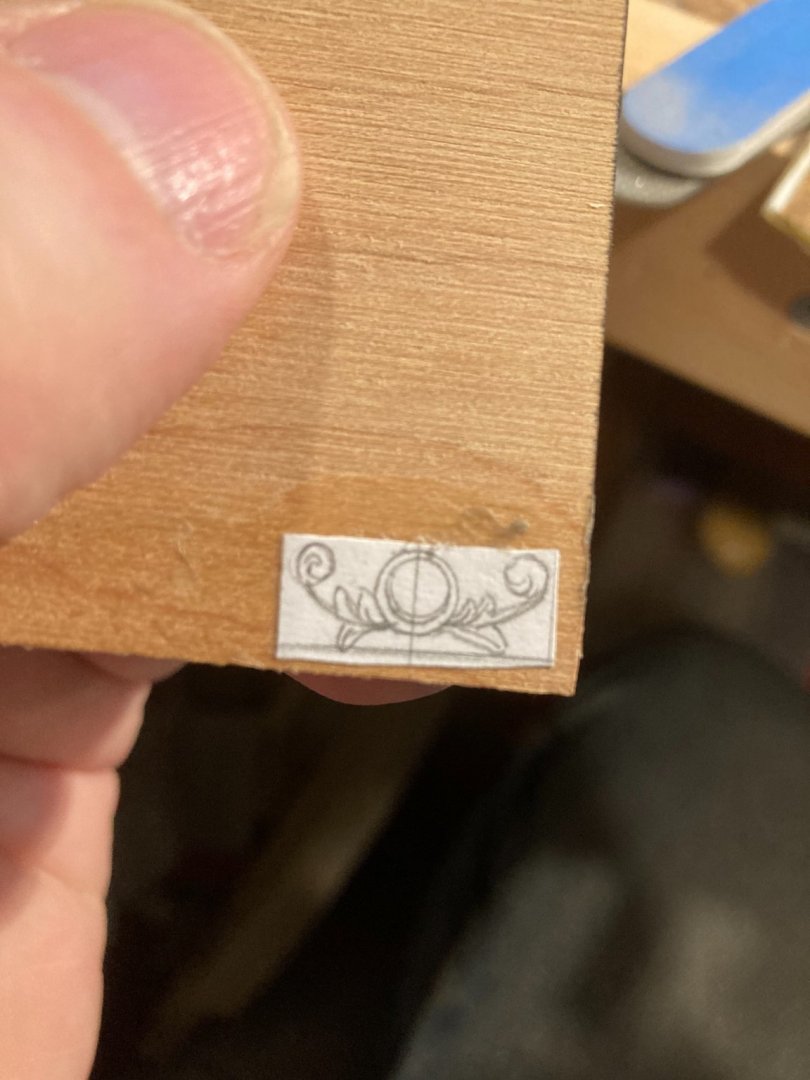
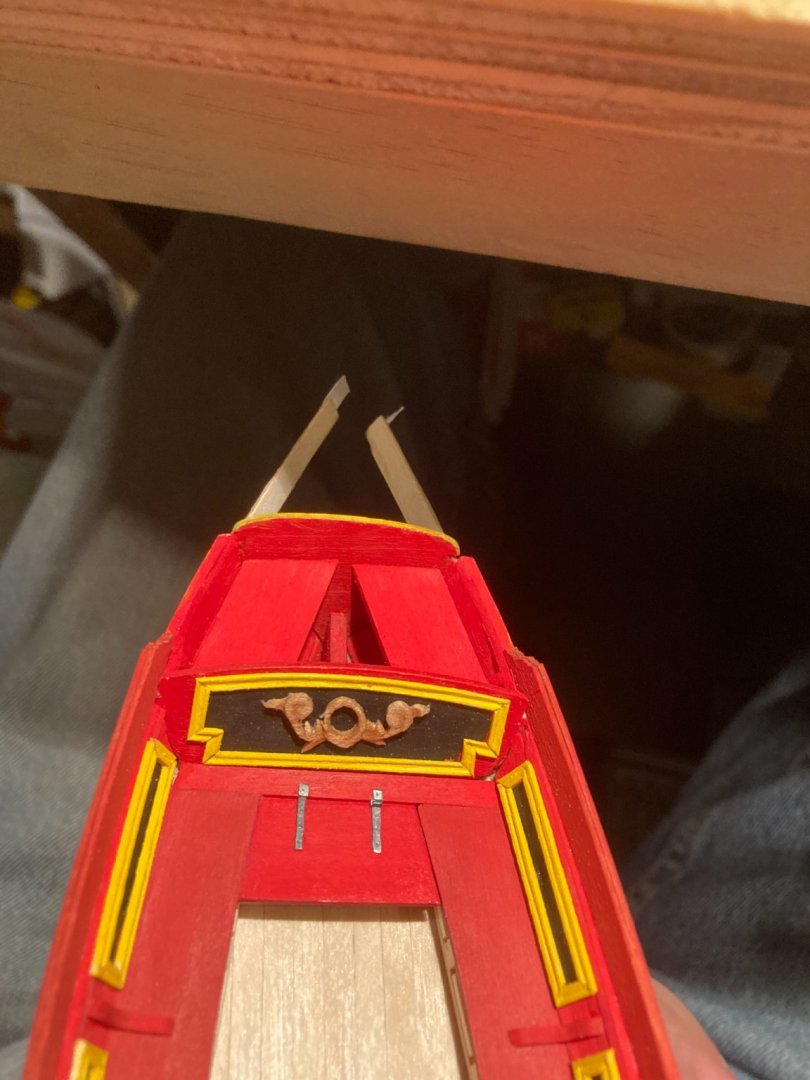
I missed a bit and added it as part of the rudder work. I also tried my hand at some more decoration. I sketched an image which I glued to a thin bit of wood. I attempted to carve it but it keep falling a part. I’m not thrilled with it. I’m curious what the panel of experts think: I should I keep it or toss it?

- 123 replies
-
- 11
-
-
- Model Shipways
- Pinnace
- (and 1 more)
-
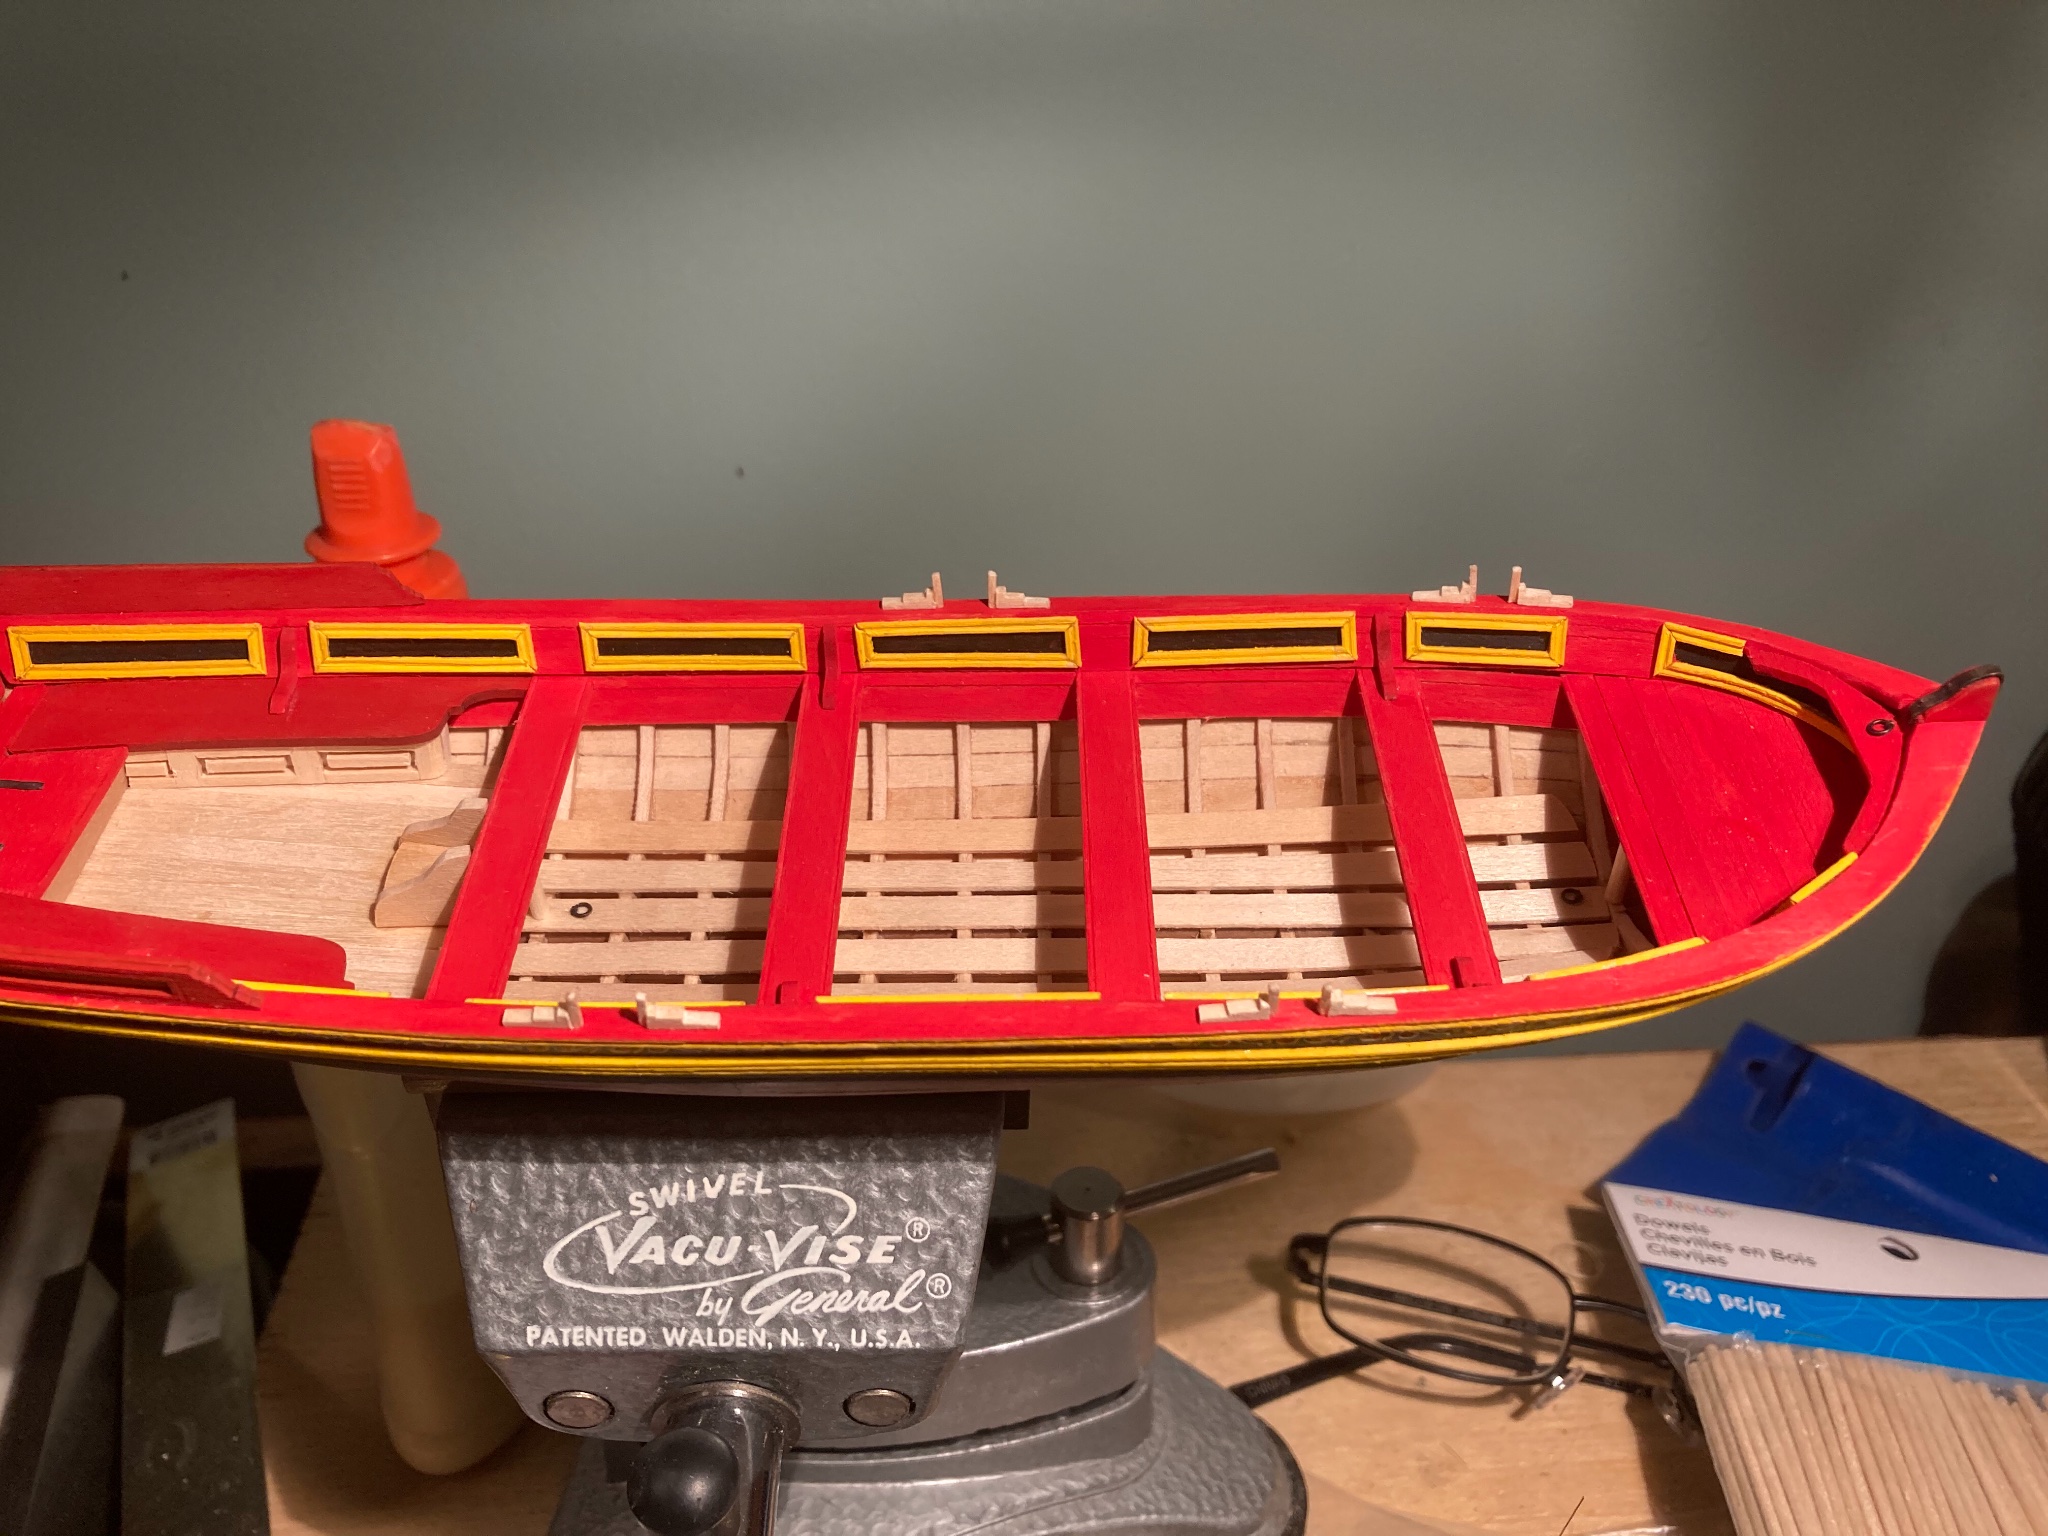
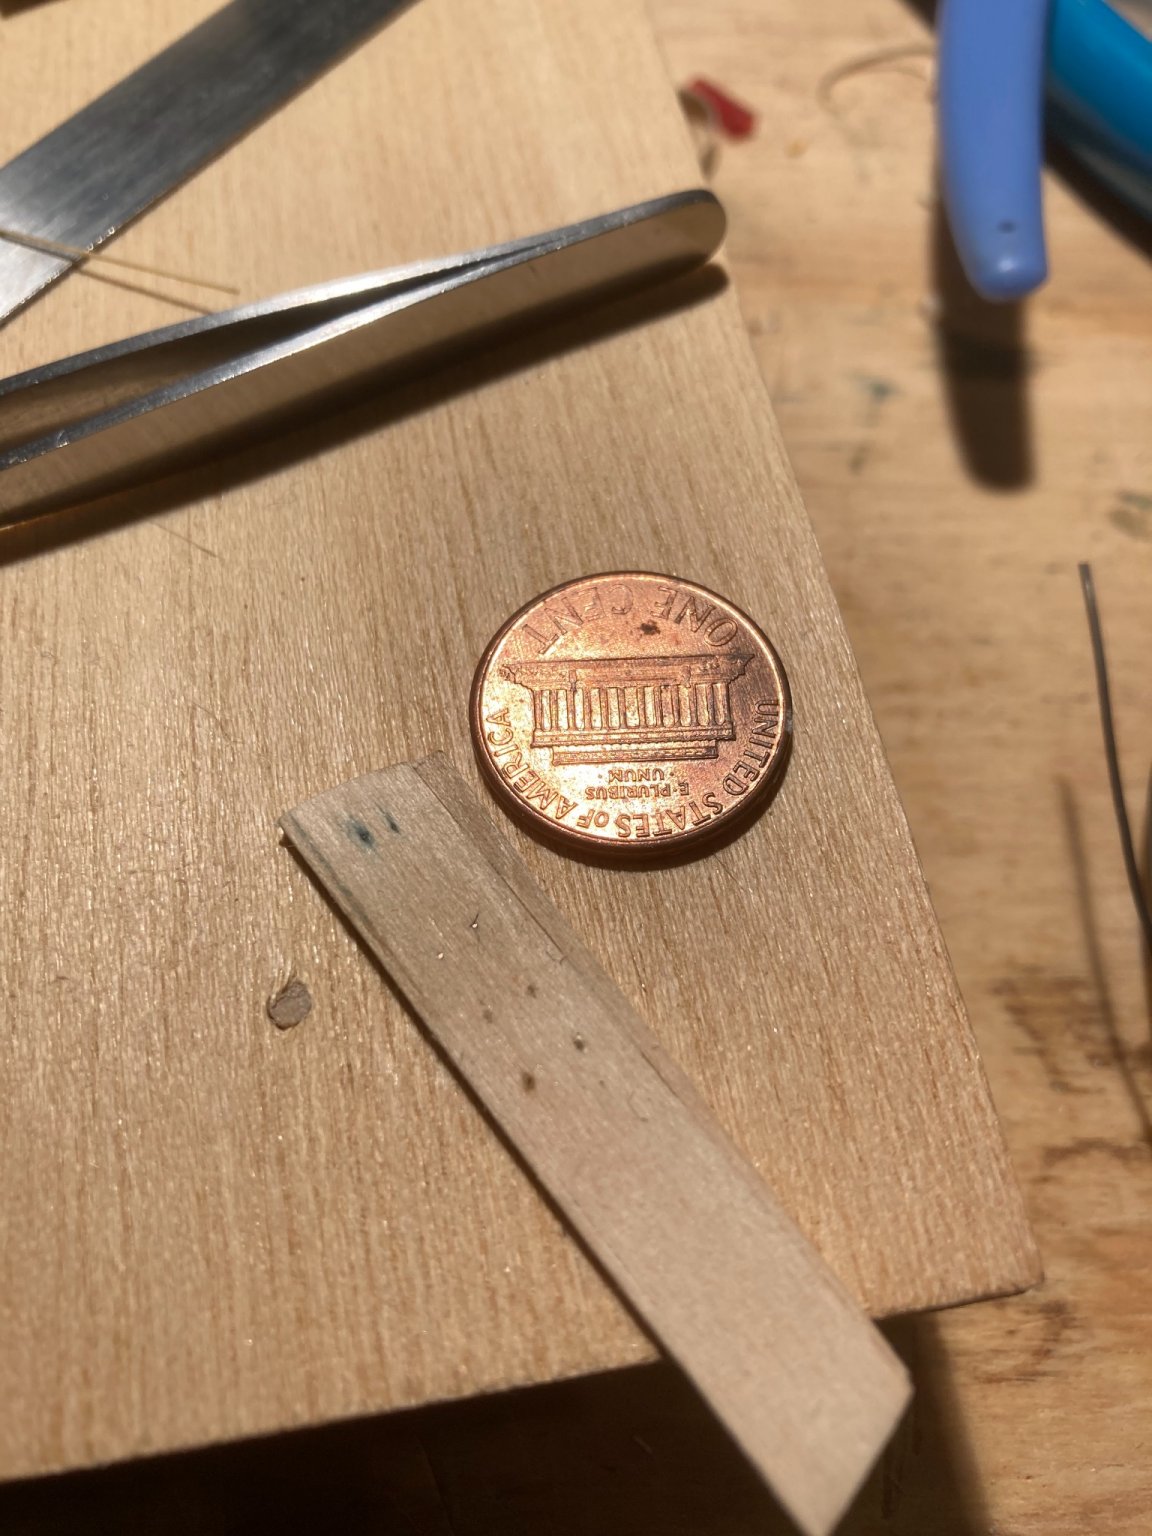
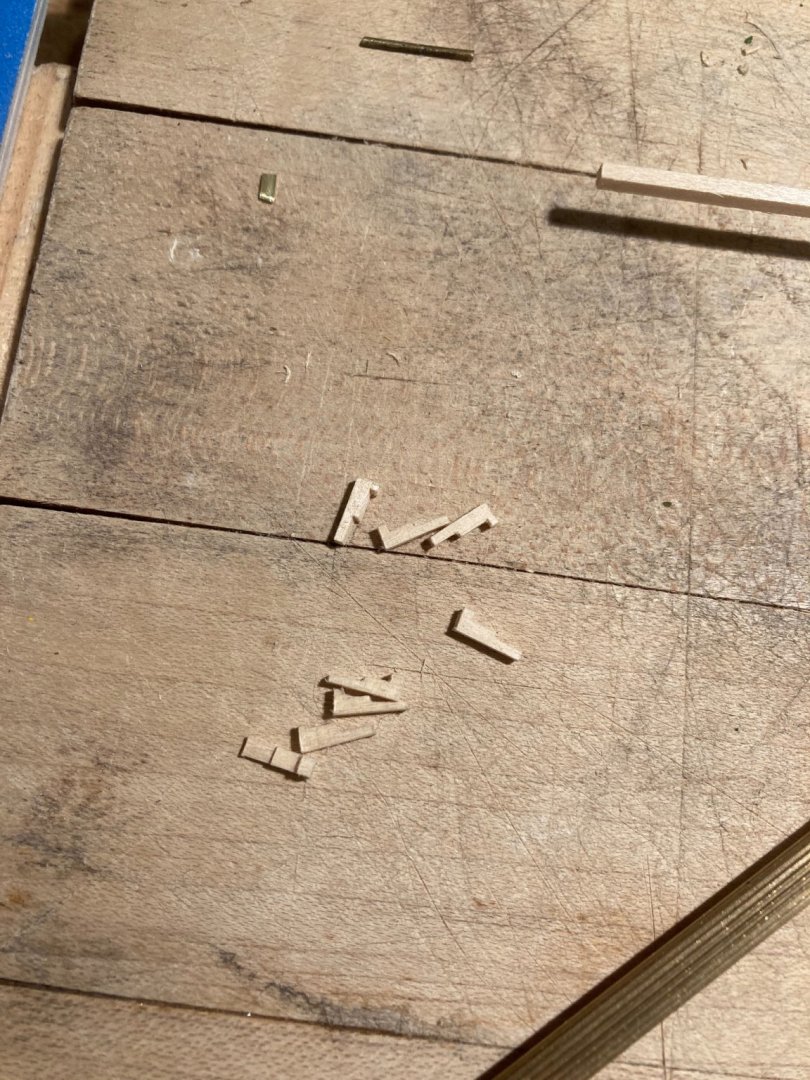
I experimented with how to represent nails or tree nails with varying success. I can make them very small, as I’m not crazy about the larger size attempts I’ve seen using toothpicks. I found bamboo splinters, small gauge wire, guitar strings and synthetic line all work and give a good size. However it is too subtle to be seen on the hull! As you can see in the forth photo down, the tree nails are almost impossible to see! I added the oar locks as well and started on the rudder.


- 123 replies
-
- 7
-
-
- Model Shipways
- Pinnace
- (and 1 more)
-
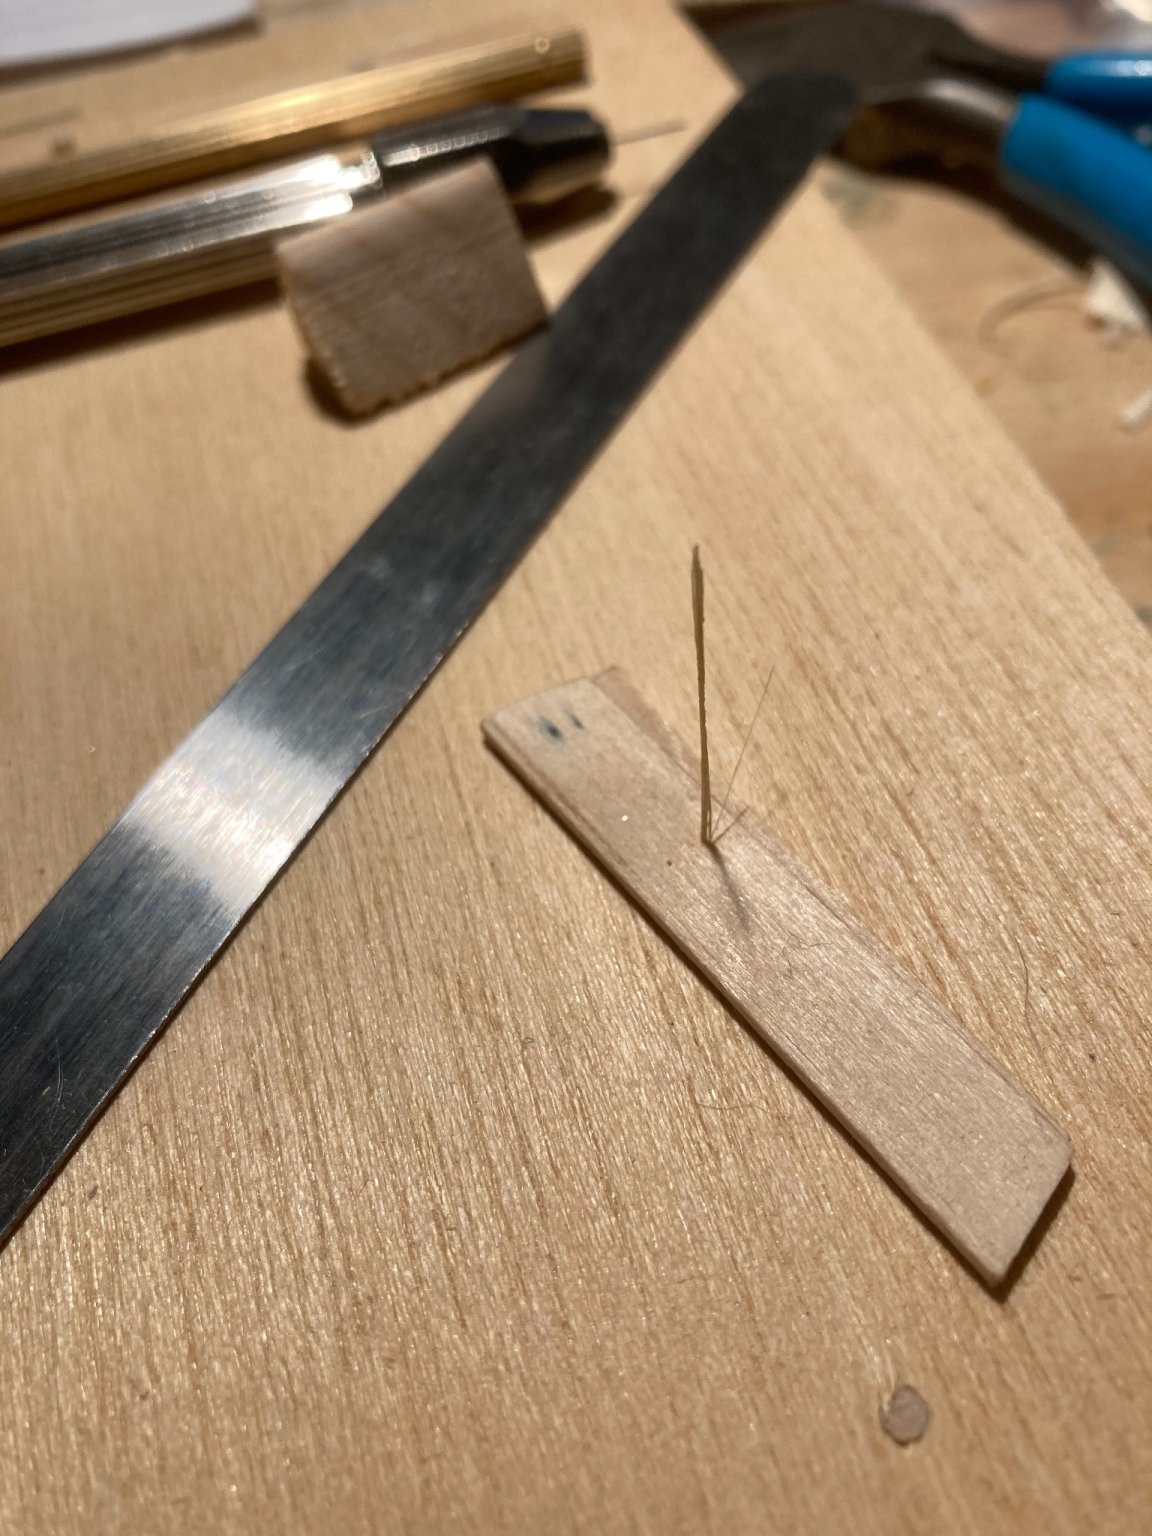
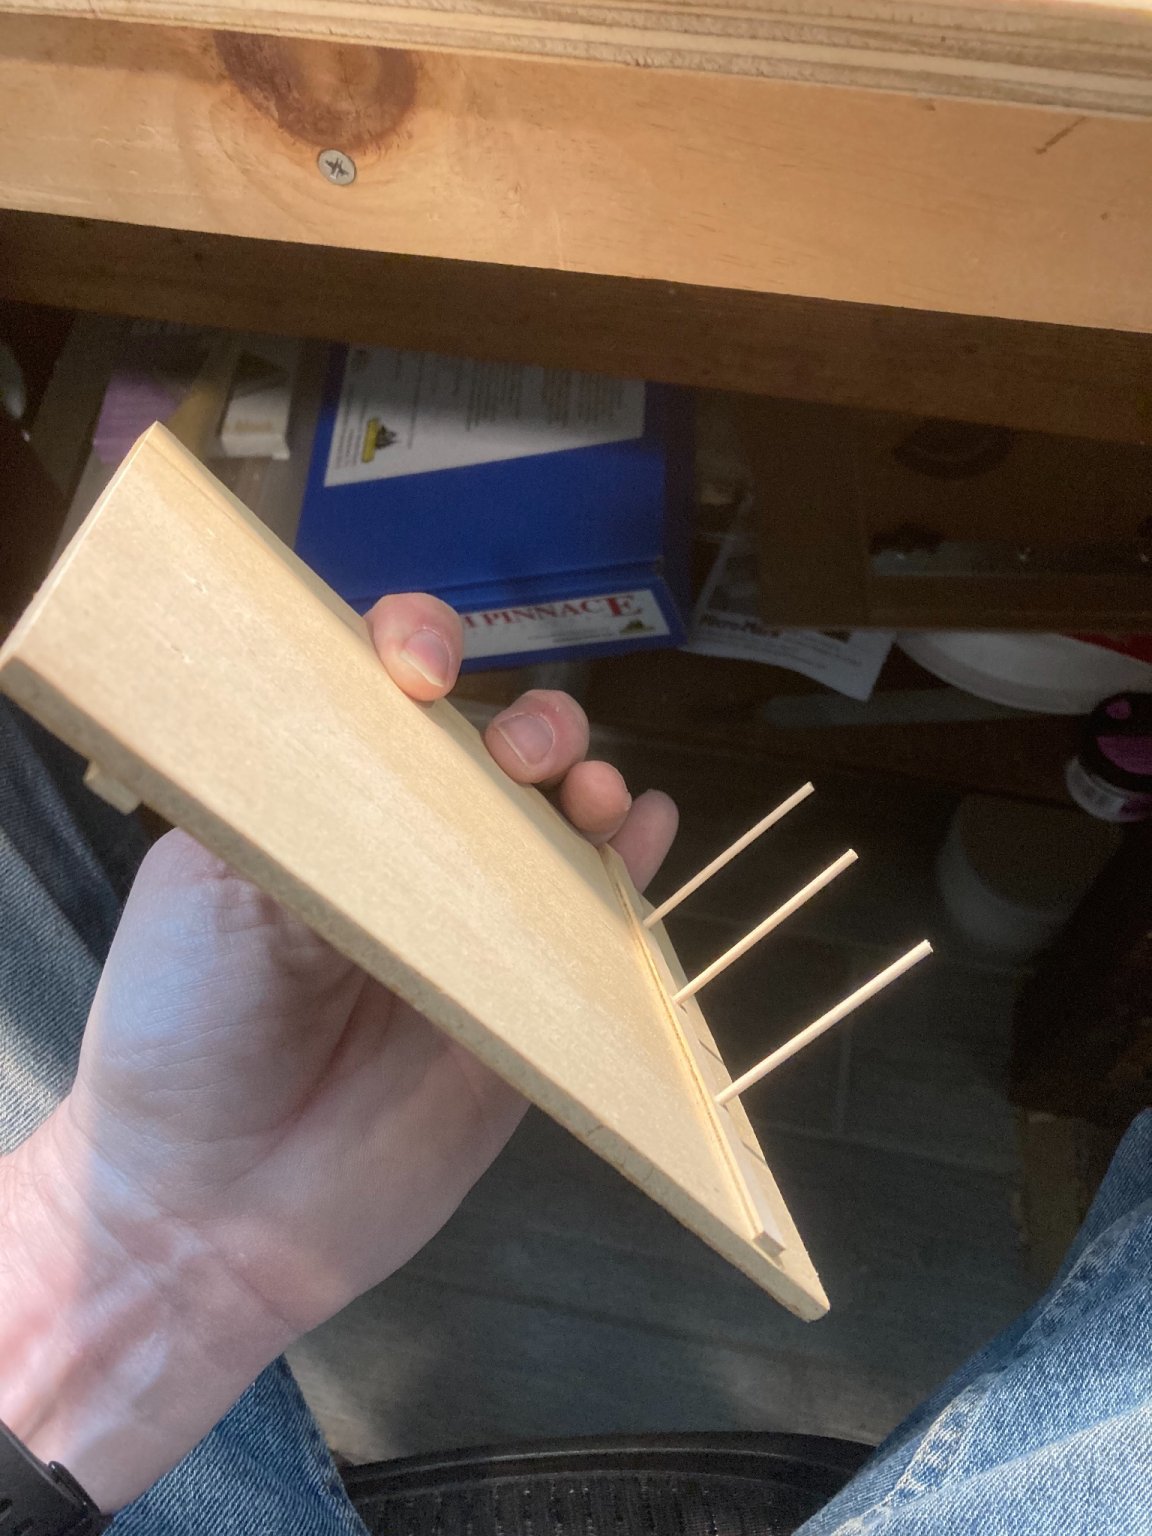
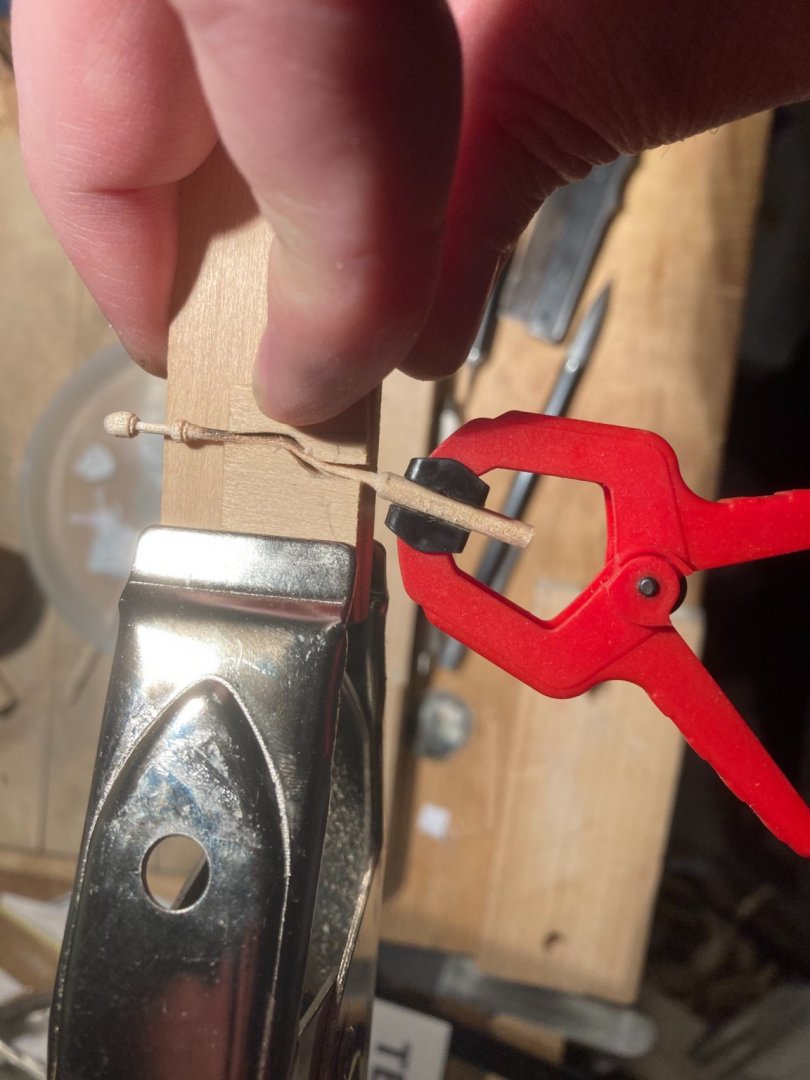
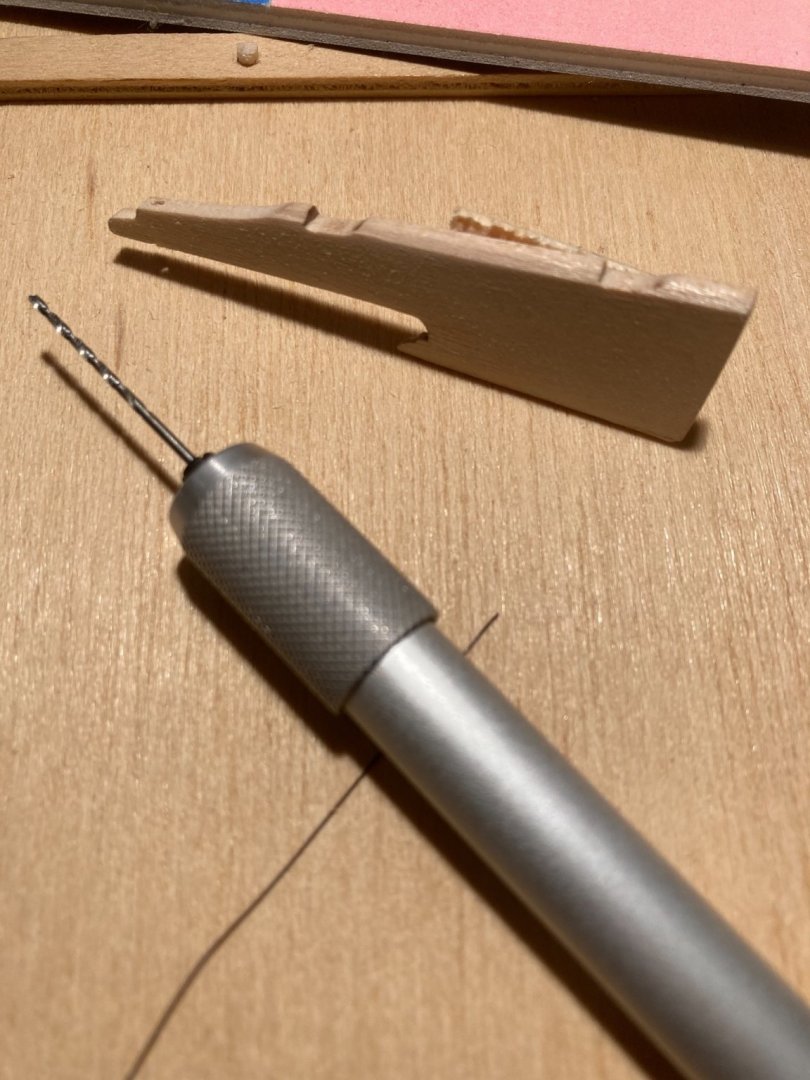
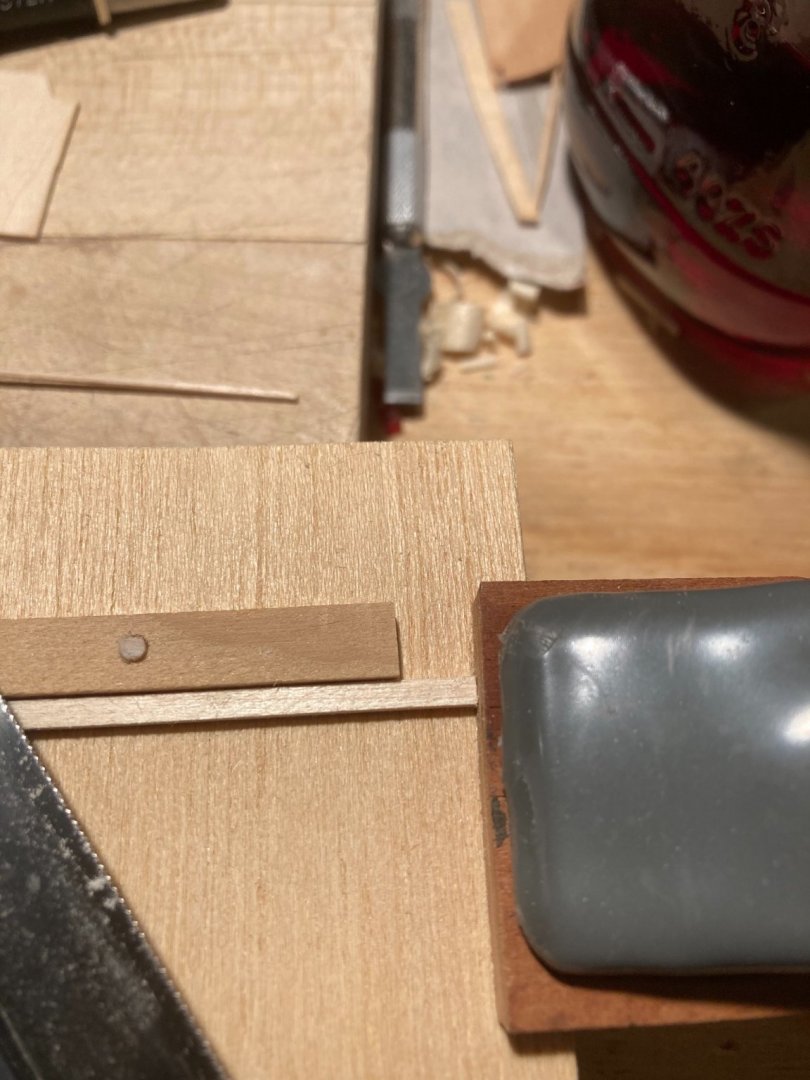
Thank you Derek; I’m trying to work up to challenges like your HMS Speedy. I built a shooting board to help with small cuts for the oar locks. I tried to be clever and section a chunk of wood which I could slice off the pieces as needed. That failed so I sawed, chiseled and sanded lightly. I used the clamped scrap as a stop to ensure I cut at the same depth.

- 123 replies
-
- 7
-
-
- Model Shipways
- Pinnace
- (and 1 more)
-
I should mention Wood Structure and Identification by H. A. Core is an excellent resource, but it is in black and white, and out of print.
-
Same but for me, it’s just means I play worse.
-
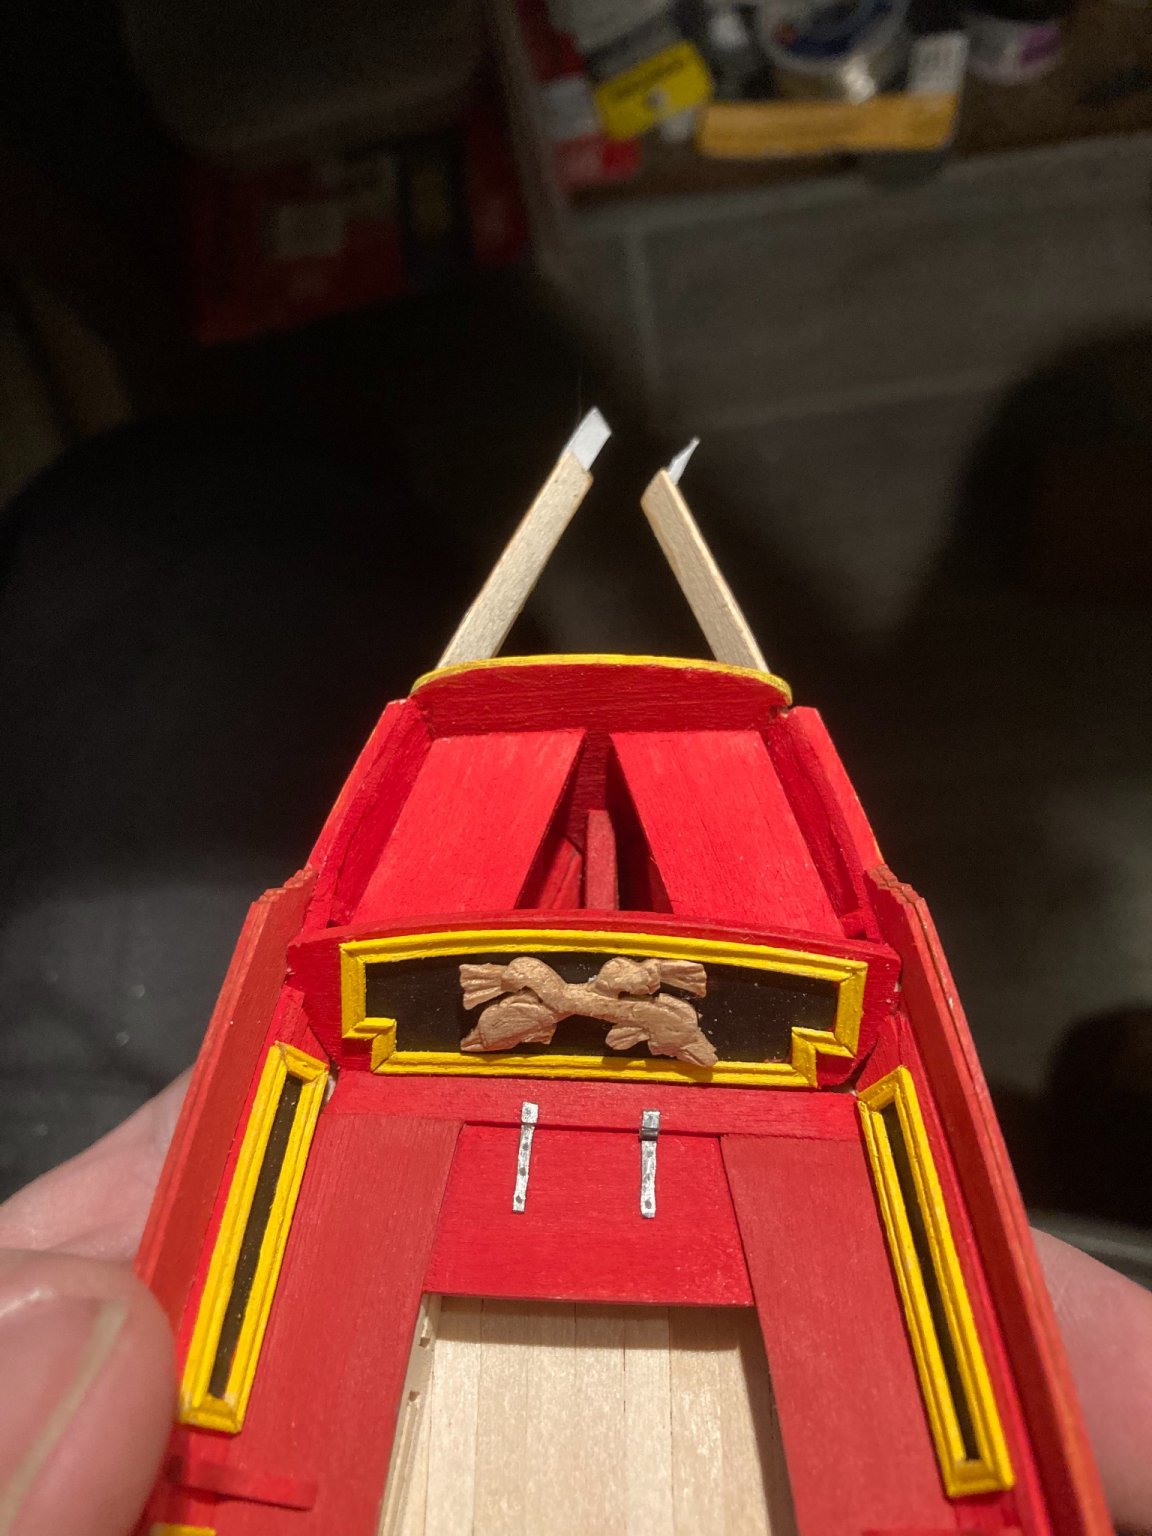
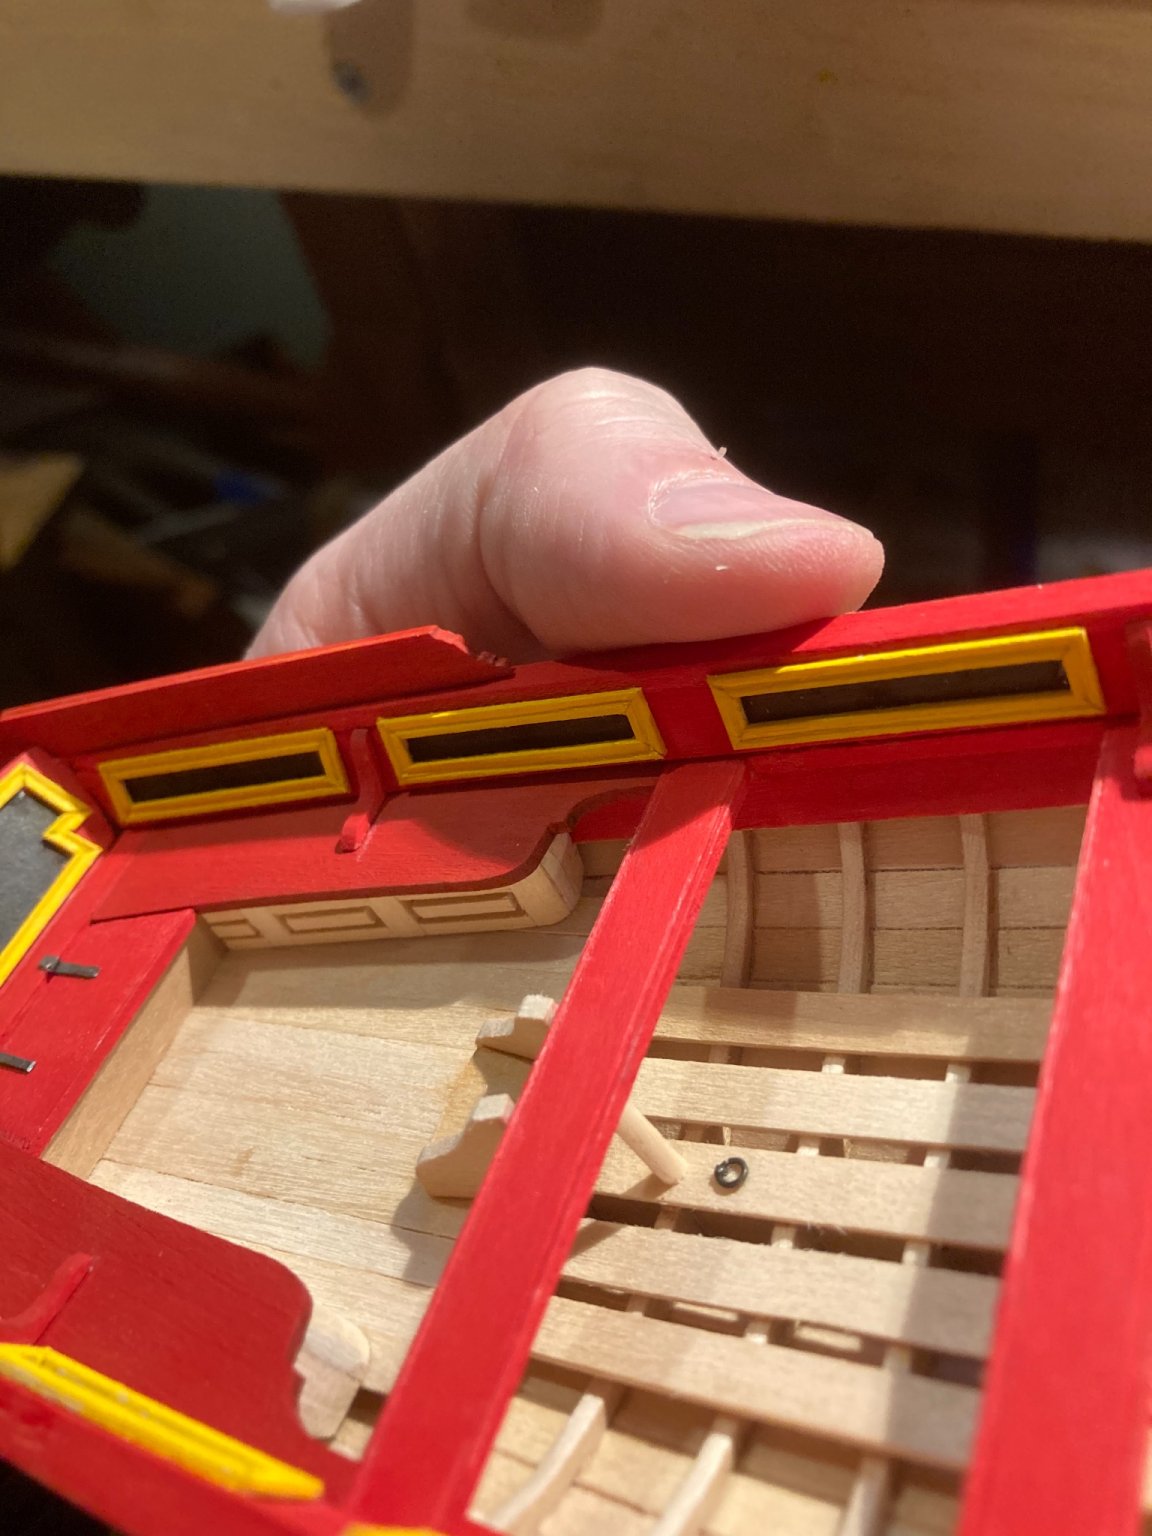
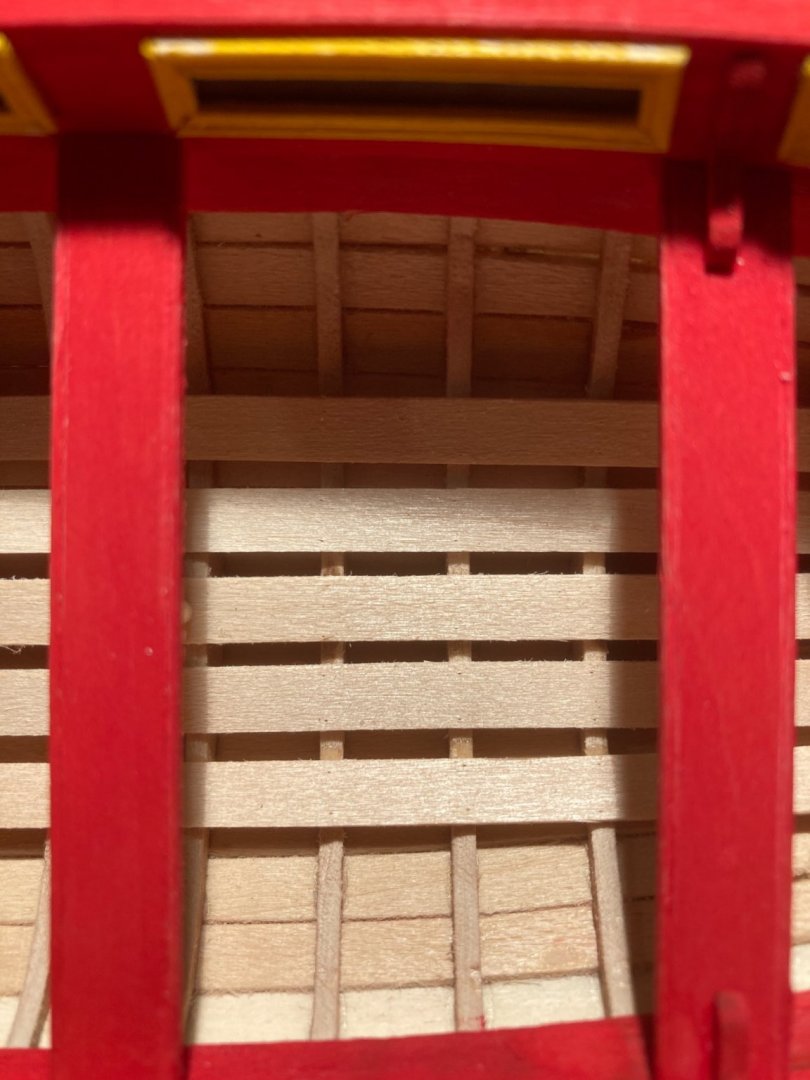
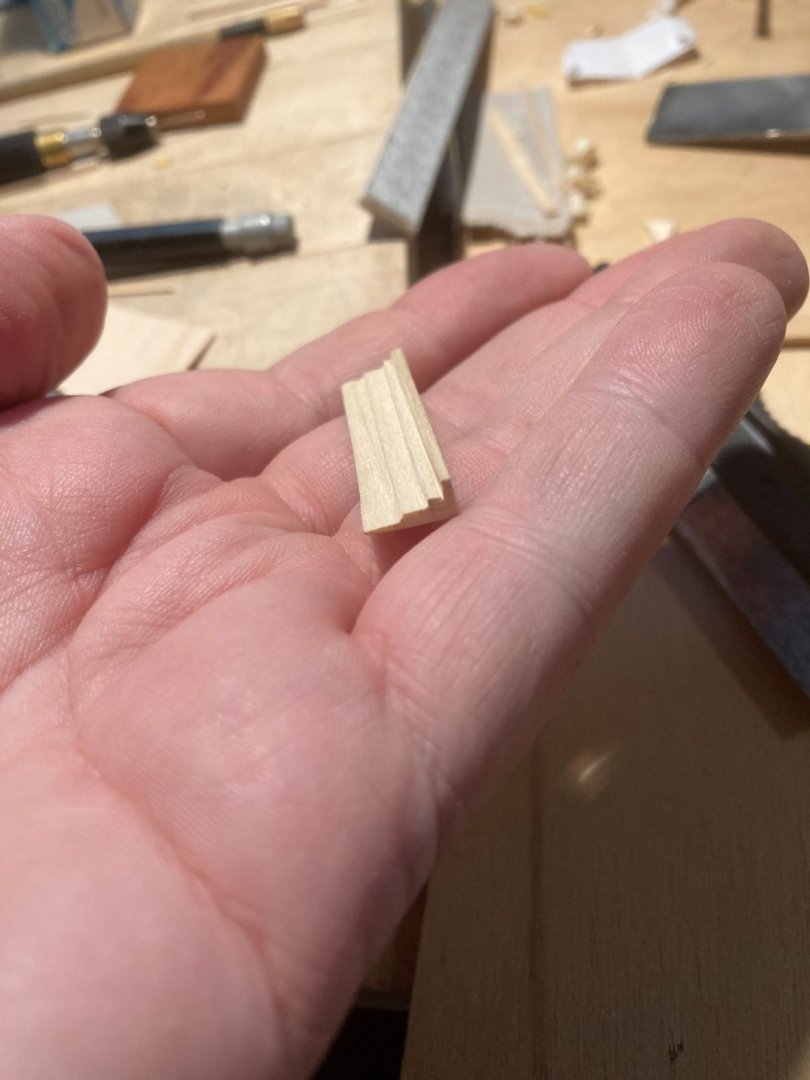
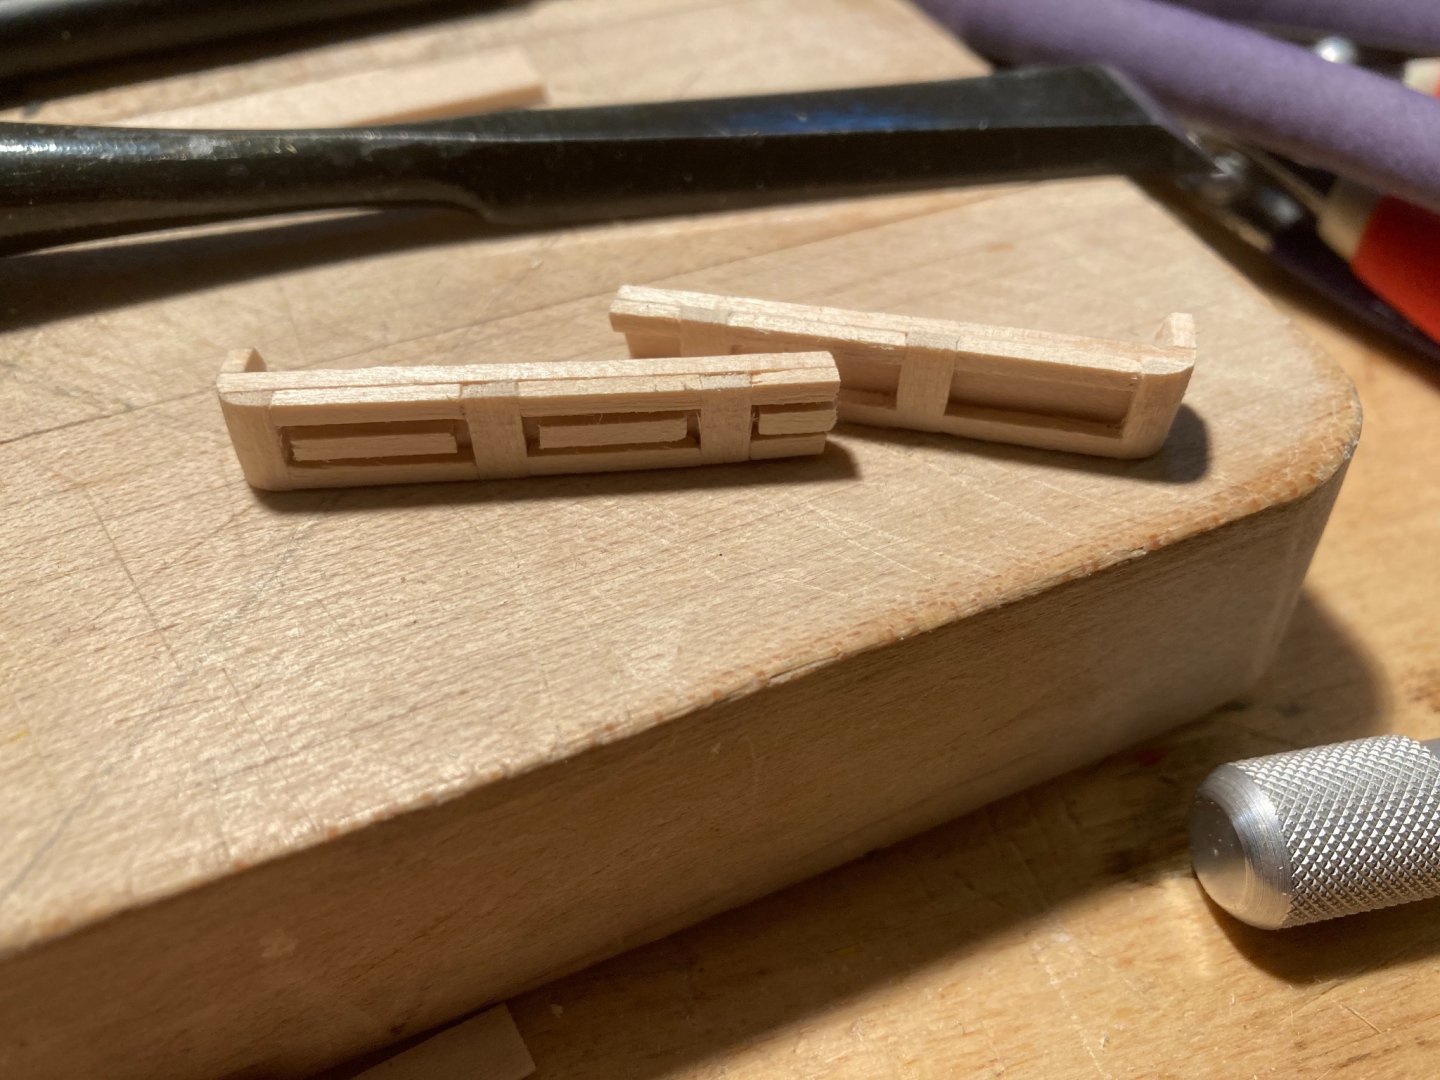
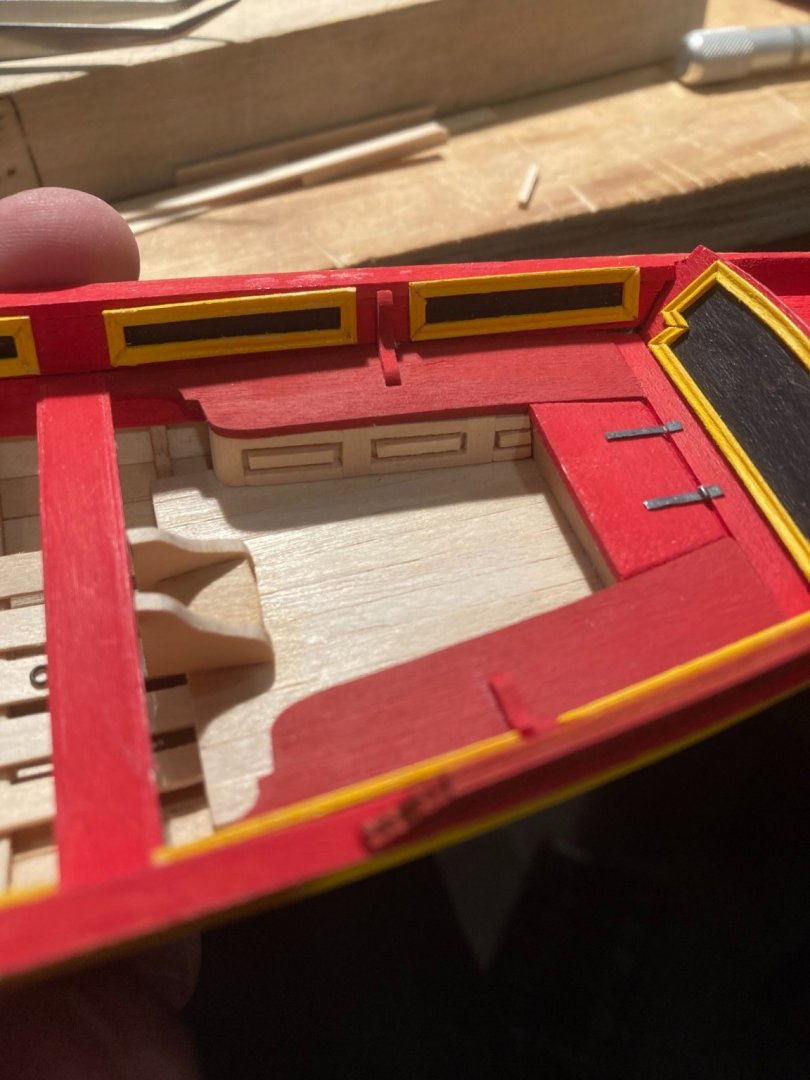
I also finished the faux cabinet work under the rear benches. I didn’t bevel the insets, but I should have though.

- 123 replies
-
- 6
-
-
- Model Shipways
- Pinnace
- (and 1 more)
-
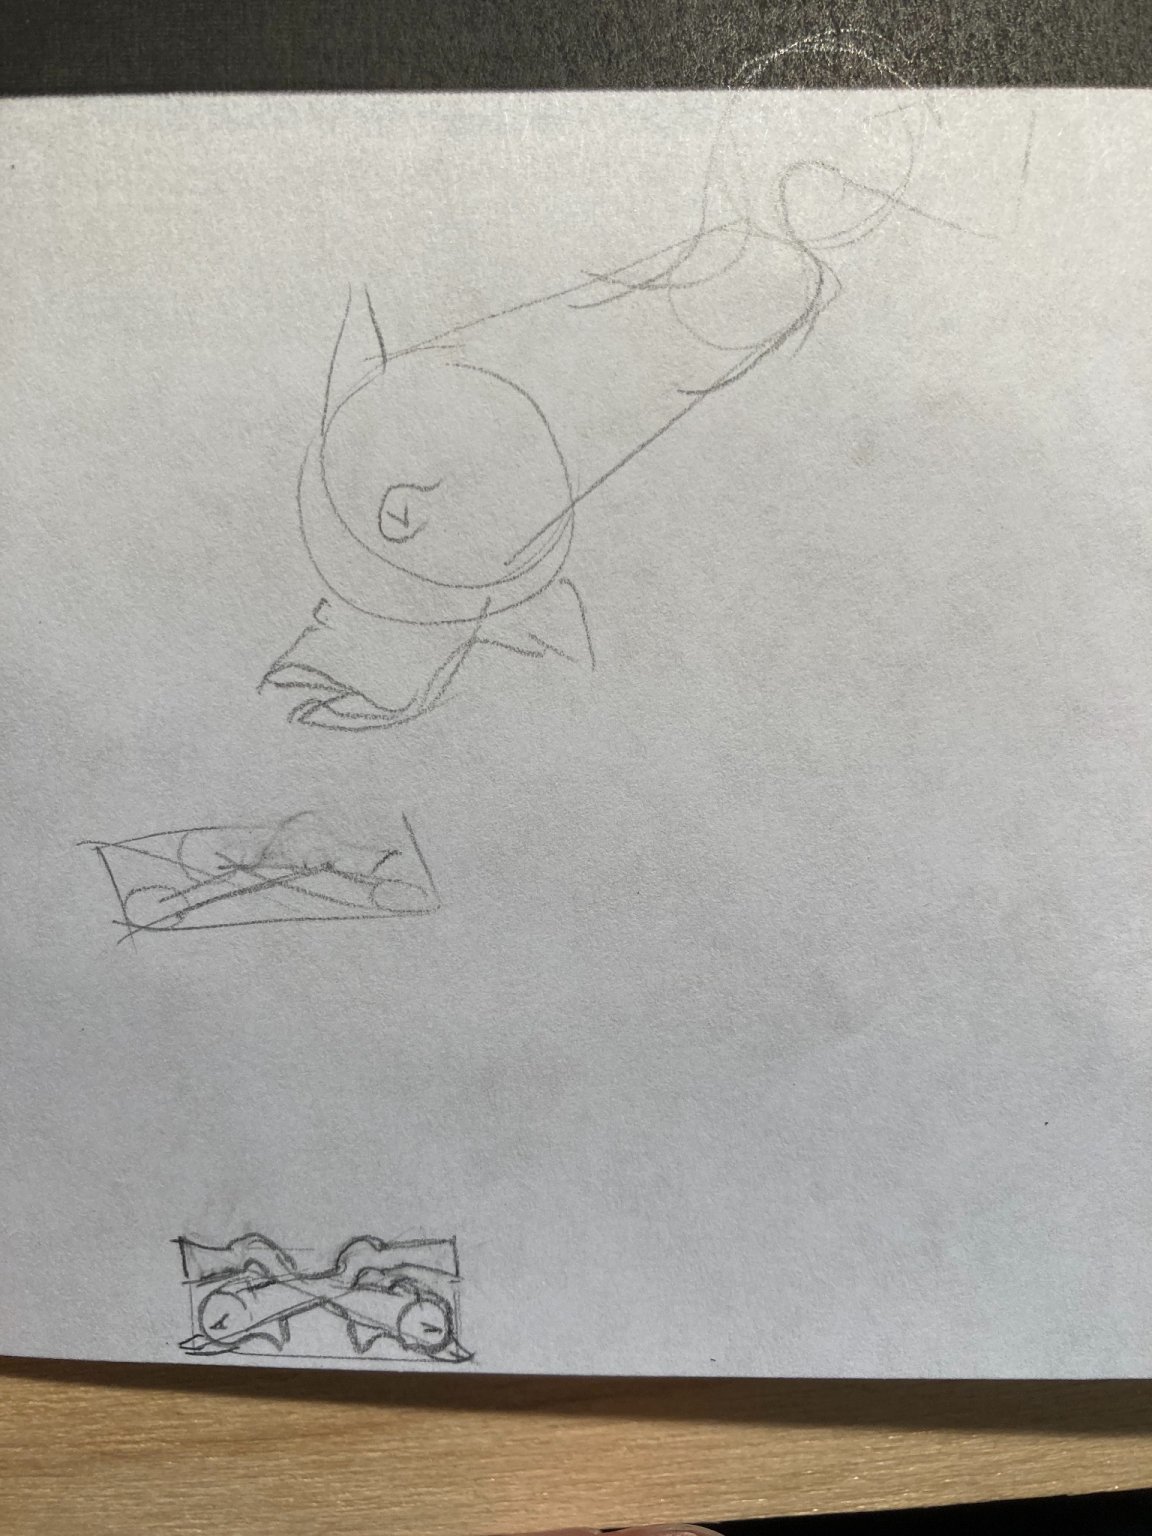
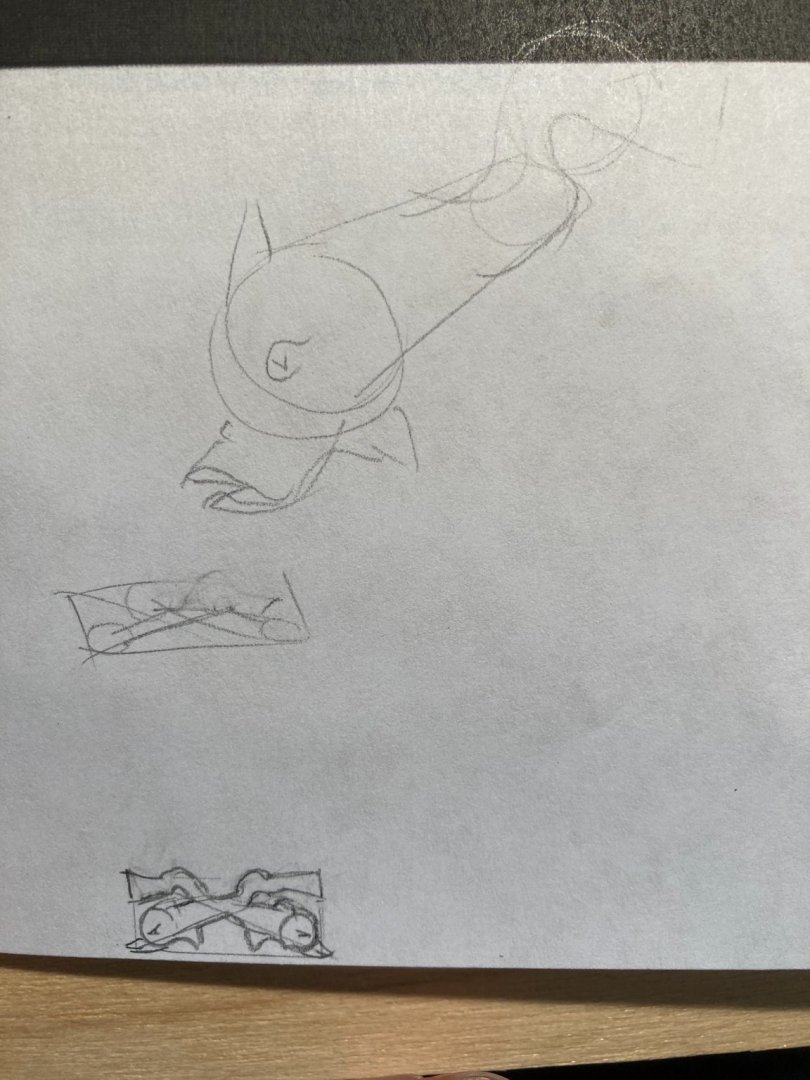
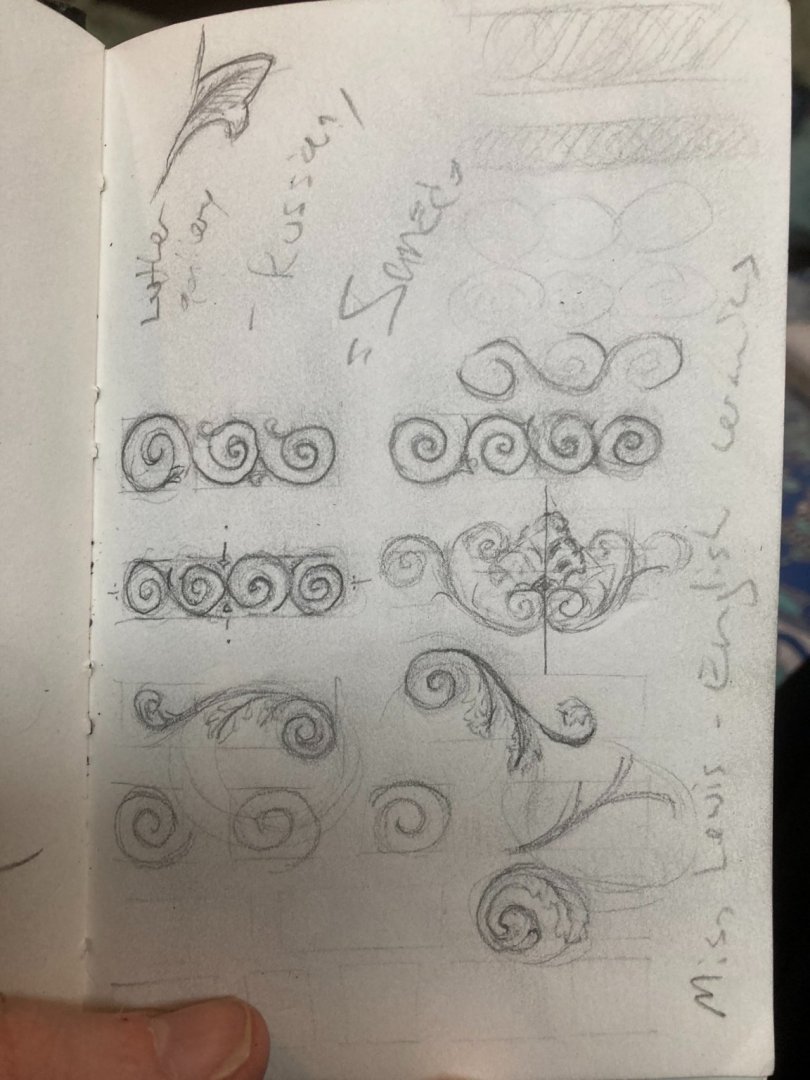
I was thinking about some the blank spaces that might be decorated. There is a lot acanthus leaf scrollwork! I haven’t truly wrapped my mind around how these ‘decorative systems’ work. Here is page of my pokes and nudges in that direction.
- 123 replies
-
- 3
-
-
- Model Shipways
- Pinnace
- (and 1 more)
-
If you are still curious, the best way to Identify wood is via a clean sectioning of the end grain and then taking a look with a 10x loupe. The bible for this sort of thing is: Hoadley, R. Bruce (1990). Identifying Wood A google search for ‘end grain wood identification’ will get you started. I can’t tell from the photo exactly but similar white flecks are found in numerous tropical species of wood.
-
Another detail to consider: the moisture content of fleshly-cut lumber is much higher then the wood you find for sale in a big box store or via online. That lumber is, for the most part, kiln-dried in order to stabilize it and prevent checking. If handled correctly, lumber can be air-dried but that takes a long time. Other niches for such wood are furniture makers (but longer lumber), bowl turners (but wider) and wood carvers.
-
Folks might be interested in this book: Wellington's Smallest Victory : The Duke, the Model Maker and the Secret of Waterloo It can be had cheap used and speaks to the desire to ‘do the whole of it’!
-
You are too kind! I think this will be a fun build; I’m looking forward to it!