.jpeg.7d7eba14c97a2e1d9f79cd2c97f6424a.jpeg)
EricWilliamMarshall
-
Posts
986 -
Joined
-
Last visited
Content Type
Profiles
Forums
Gallery
Events
Everything posted by EricWilliamMarshall
-
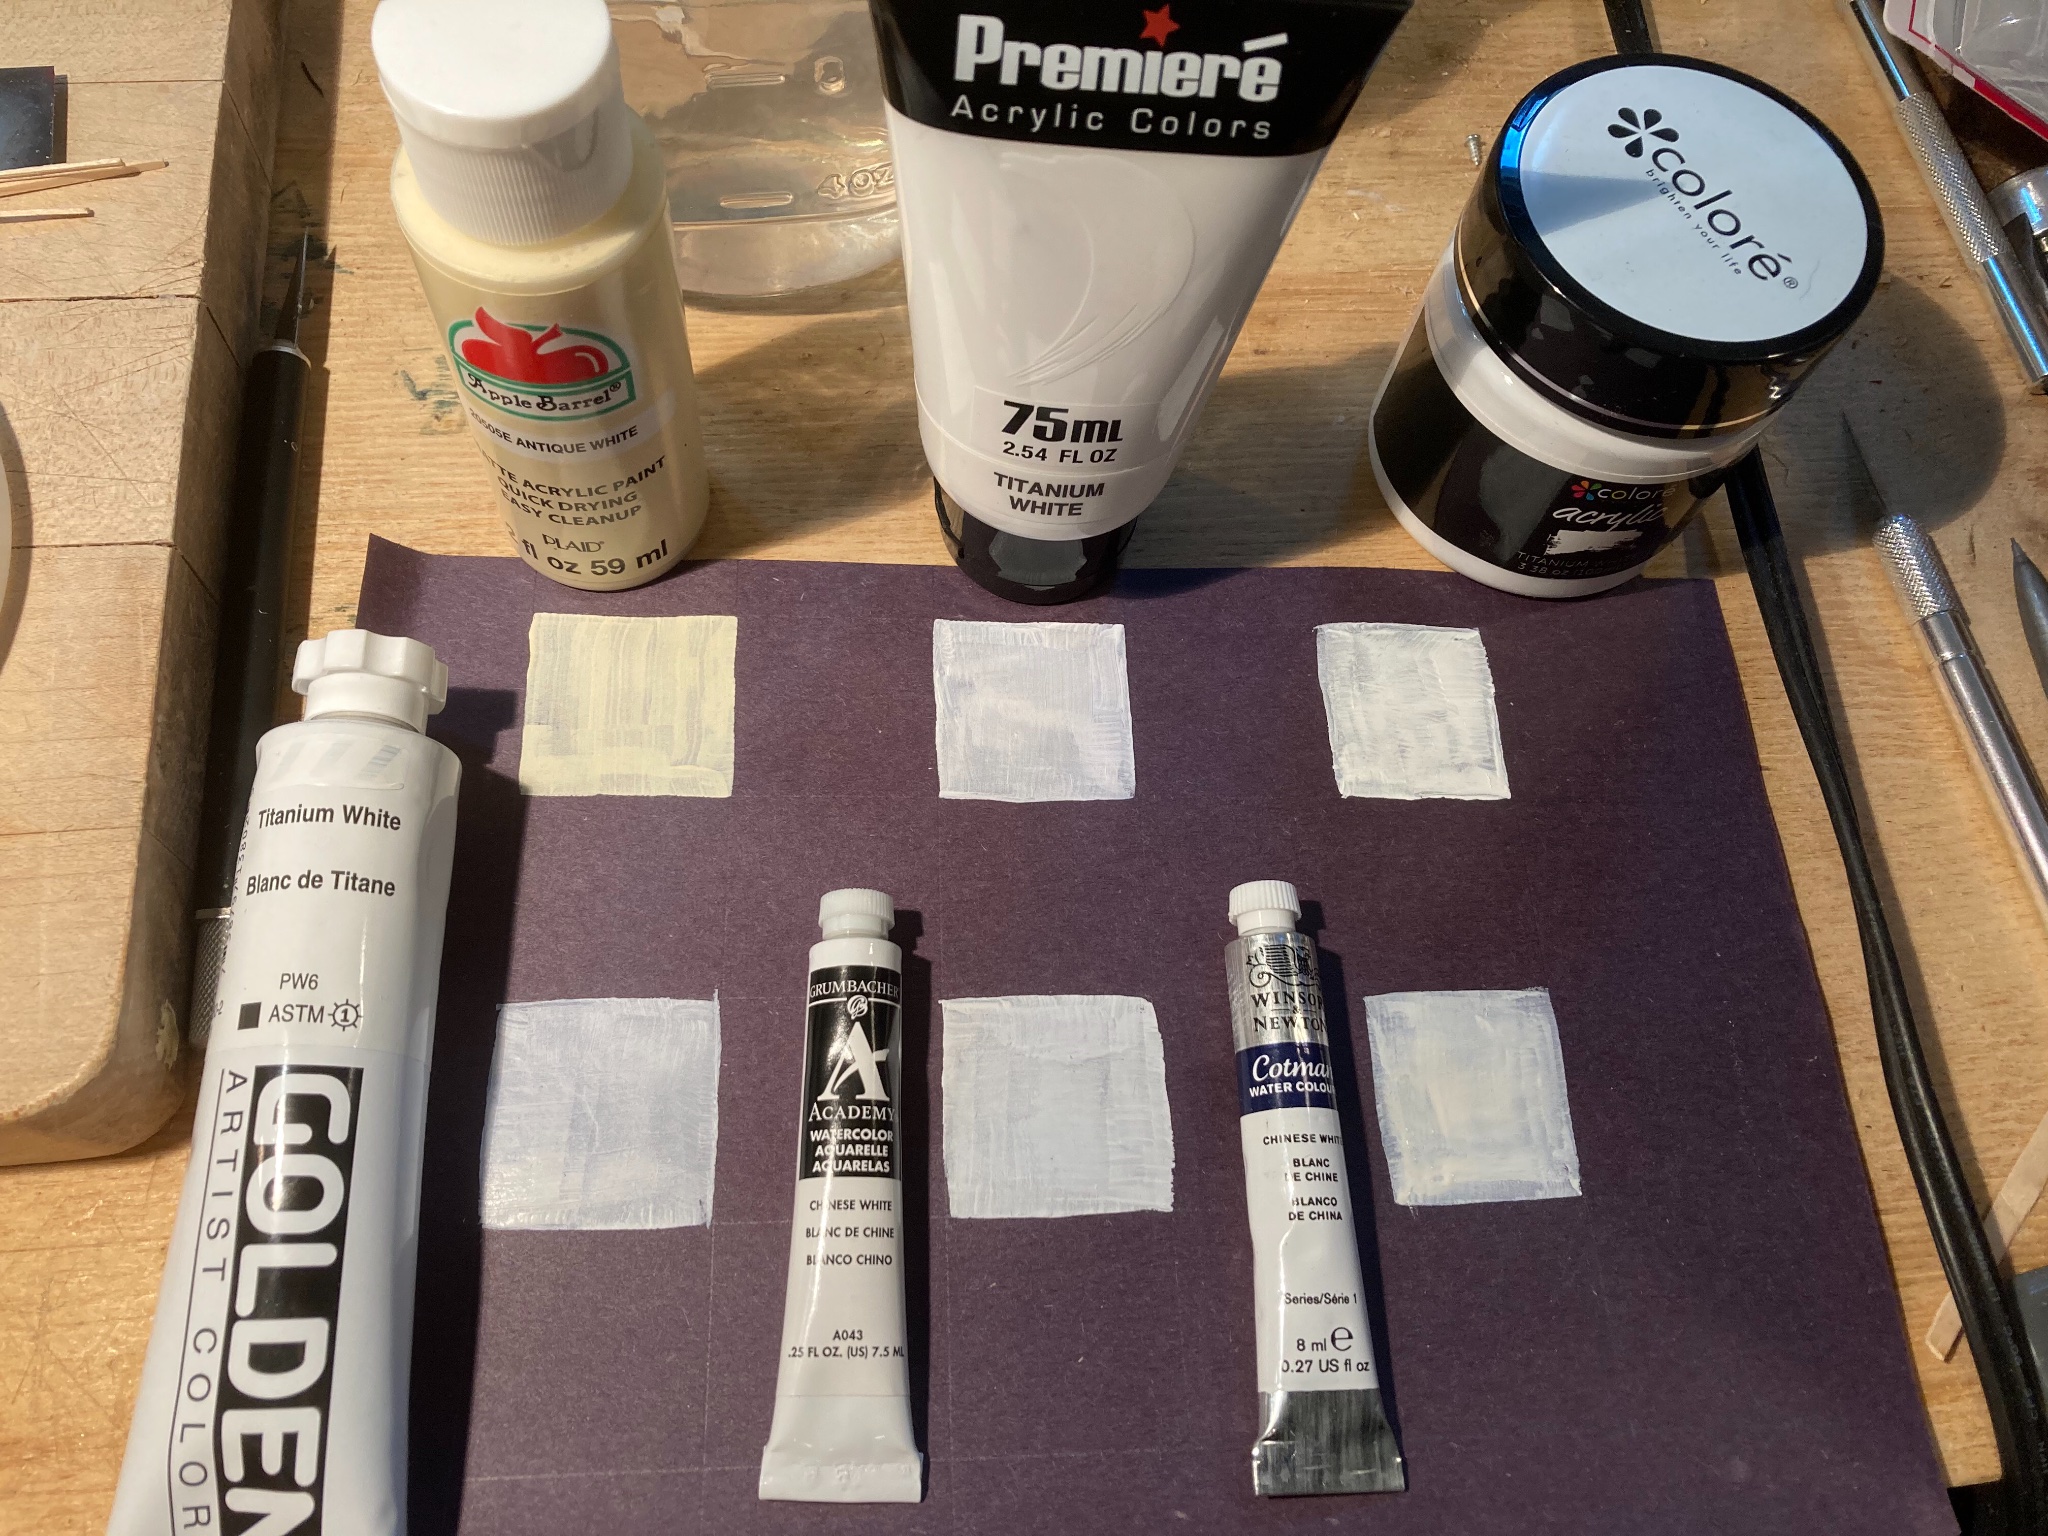
.thumb.jpeg.fc5d633a7b34428fcf19419a73d56d55.jpeg) I decided I will paint part of the hull and my concern is the having white cover my somewhat dark wood. I was surprised how well the red covered - previously I used cheap craft paint, which worked fine. So I was curious how much the quality of the paint mattered. So I tested the coverage of some easily available paint. To test, I took a piece of dark construction paper and painted white squares with one coat. I used a cheap synthetic 1/2 inch-wide flat brush. Loosely speaking the top row is cheaper. The top left is not a pure white but a cream color. To my surprise, there isn’t that much difference in opaque coverage, but there is a difference in drying time and the time one can ‘work’ the paint, which leads to a little more control over where the paint goes. So long story short, the more expensive the paint, the long the working time.
I decided I will paint part of the hull and my concern is the having white cover my somewhat dark wood. I was surprised how well the red covered - previously I used cheap craft paint, which worked fine. So I was curious how much the quality of the paint mattered. So I tested the coverage of some easily available paint. To test, I took a piece of dark construction paper and painted white squares with one coat. I used a cheap synthetic 1/2 inch-wide flat brush. Loosely speaking the top row is cheaper. The top left is not a pure white but a cream color. To my surprise, there isn’t that much difference in opaque coverage, but there is a difference in drying time and the time one can ‘work’ the paint, which leads to a little more control over where the paint goes. So long story short, the more expensive the paint, the long the working time.
- 123 replies
-
- 4
-

-
- Model Shipways
- Pinnace
- (and 1 more)
-
@Edwardkenway thanks for kind words. Dark side indeed! I like to think all this yields to practice. The trick, is to keep it fun. If it is just work, well, I already a have day job...
- 123 replies
-
- 1
-
-
- Model Shipways
- Pinnace
- (and 1 more)
-
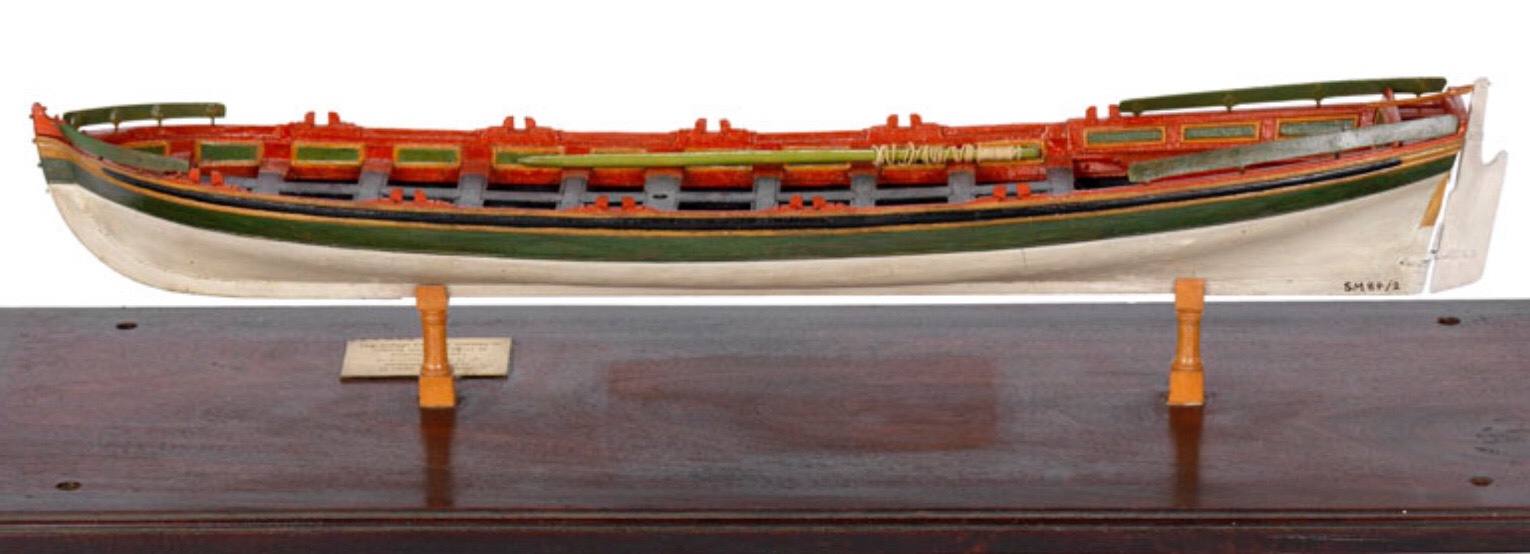
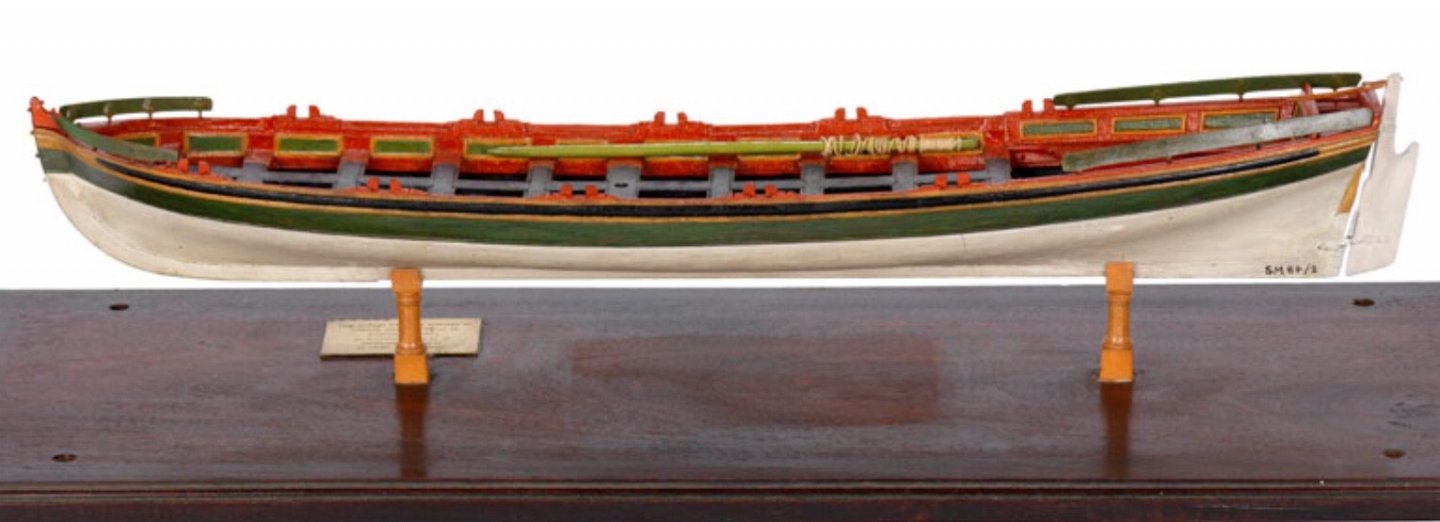
I found a model of a ship’s boat from the ‘Arrogant’ (1761) on the NMM website, which has a rather wild color scheme. https://collections.rmg.co.uk/collections/objects/66539.html . Since this model kit is hypothetical construction, I can take some liberties. As a new-ish ship builder, I’m hesitant to go ‘off-road’ but at this point in the build it seems unlikely that I’ll shoot myself in the foot. So I might tweak the paint job, the oar locks and possibly the panels. Given the image, my molding looks a bit large or out of scale (Not to second guess the constraints placed on the designer @Chuck) compared to the pictured model. I didn’t find a ship’s plan with similar moldings but my search wasn’t exhaustive. I most likely will not change the molding too much, given the wood in the kit. Here is screen a shot of the link above. Obviously, all rights are retained by the NMM regarding the image.
- 123 replies
-
- 4
-
-
- Model Shipways
- Pinnace
- (and 1 more)
-
Always a tough call; in the end, this kind of work is for you and you alone. Just like money, there is no sense wasting good time after bad. Best luck on the next project, whatever it is!
-
Very clever idea!
-
I'm dazzled by the speed of your build! It looks great, I hope you are having fun!
- 48 replies
-
- 1
-
-
- Cutty Sark
- Artesania Latina
- (and 1 more)
-
You move quick! (Or you save up your work to post)! It looks fun. How do you like the kit?
-
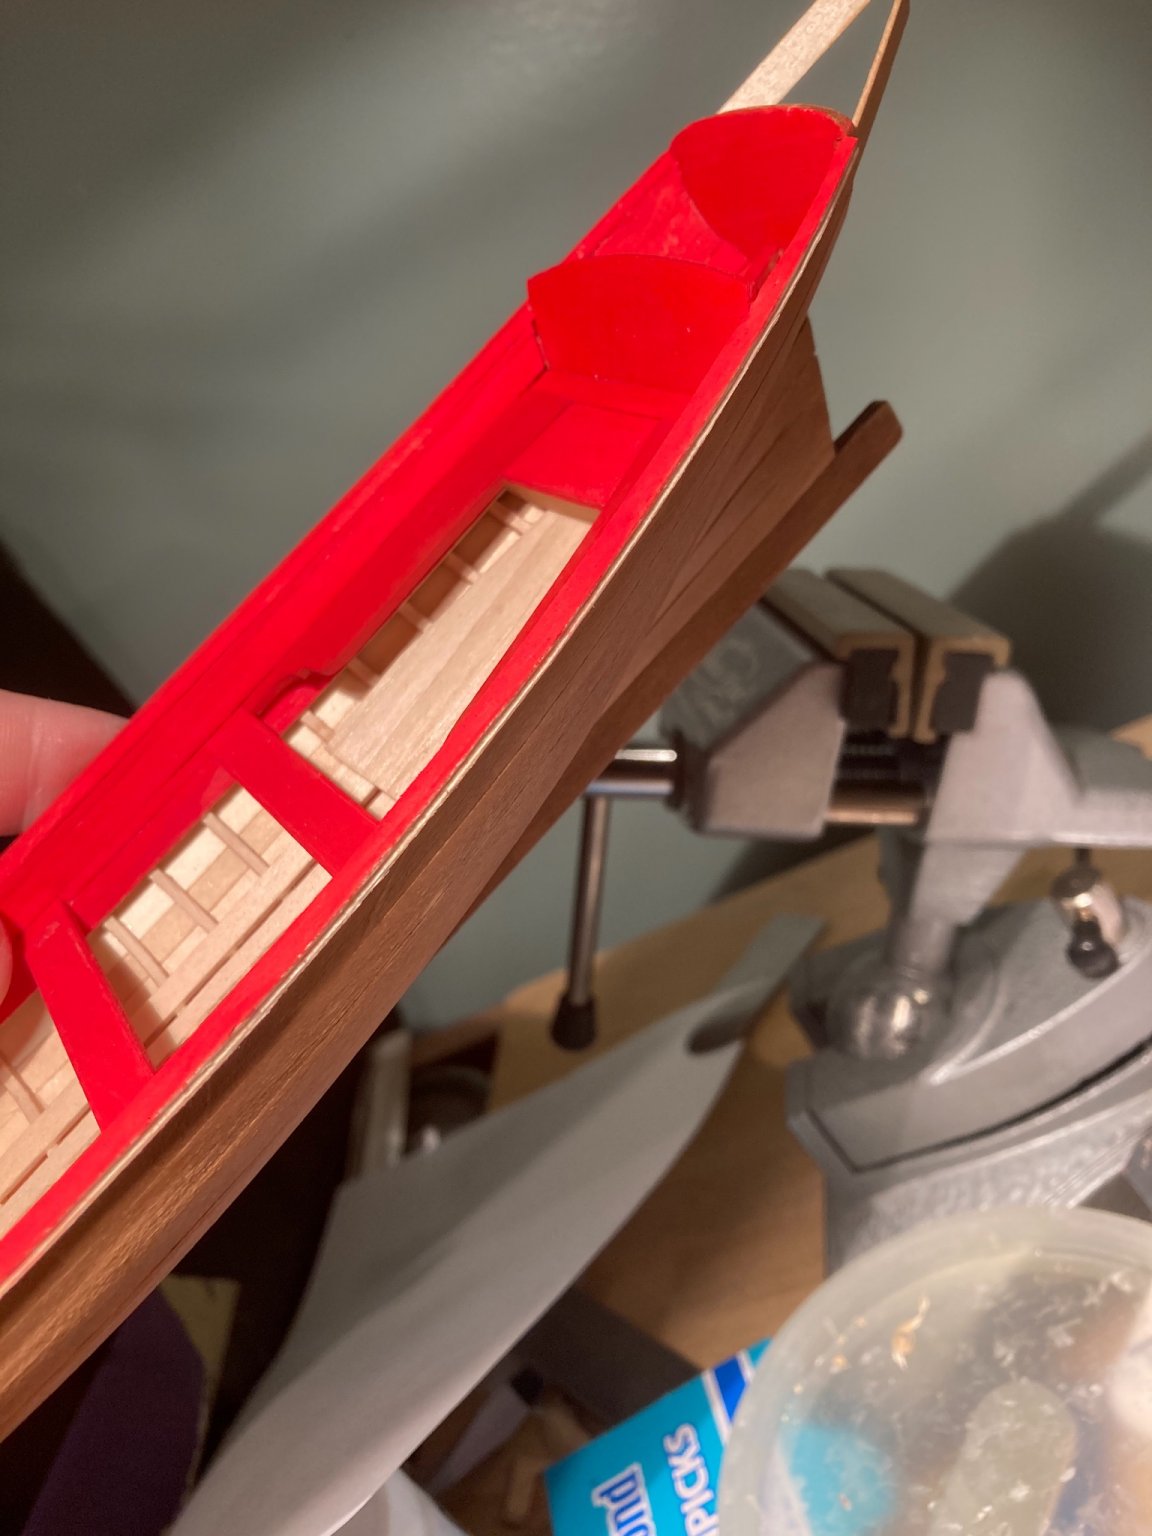
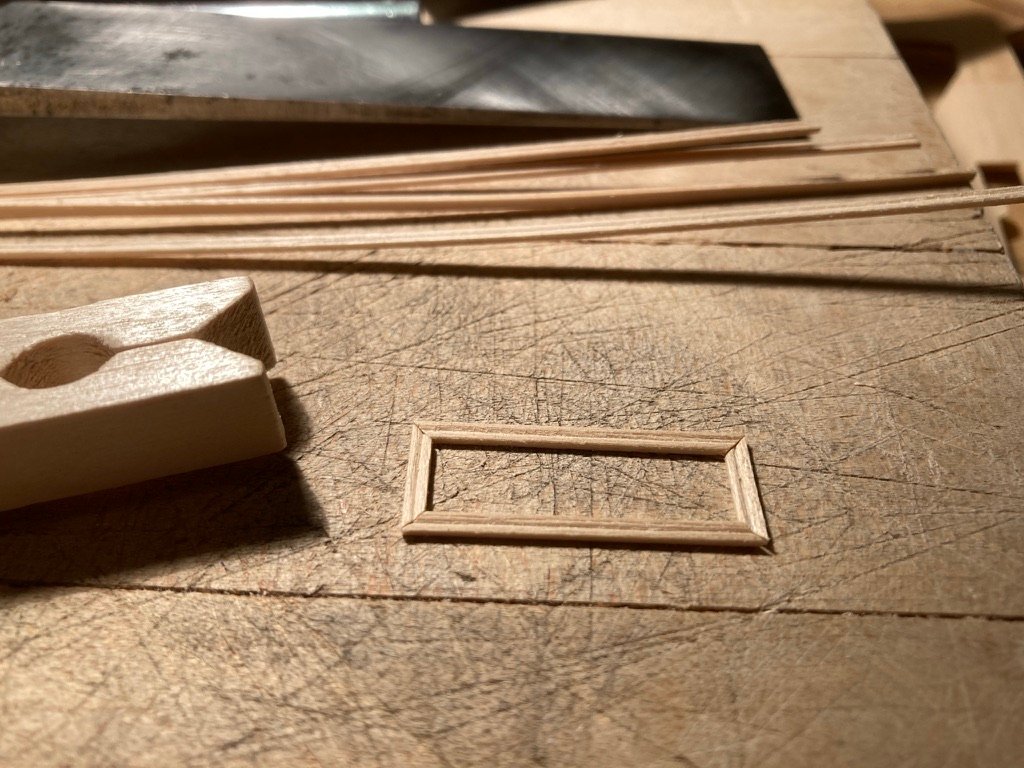
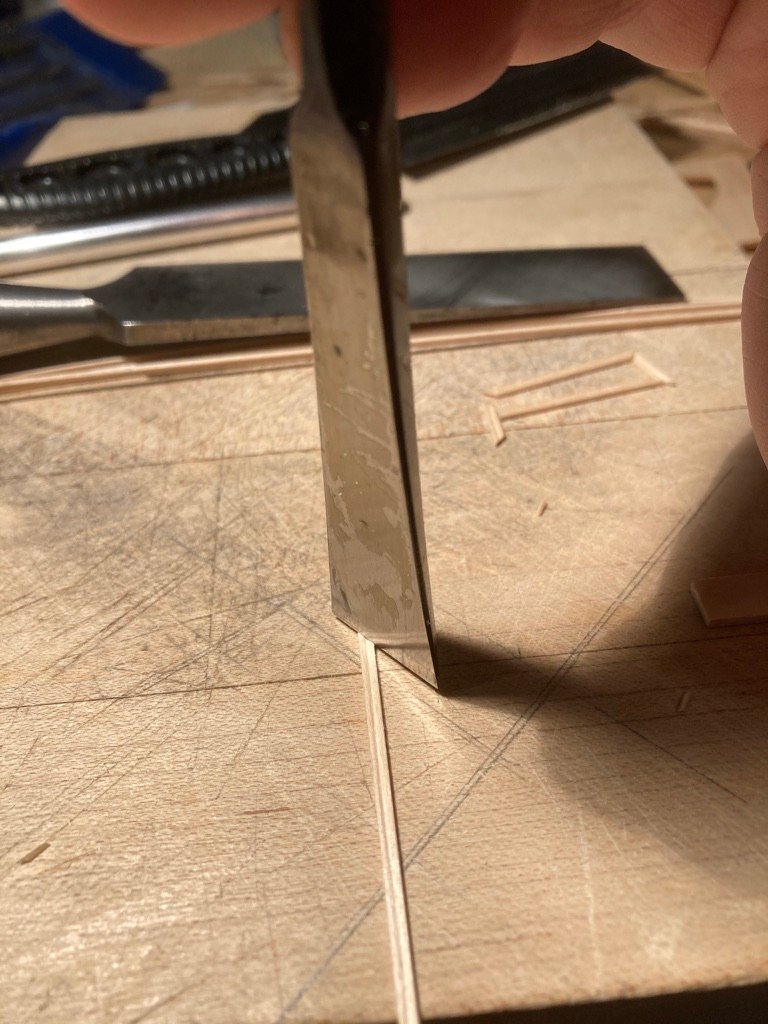
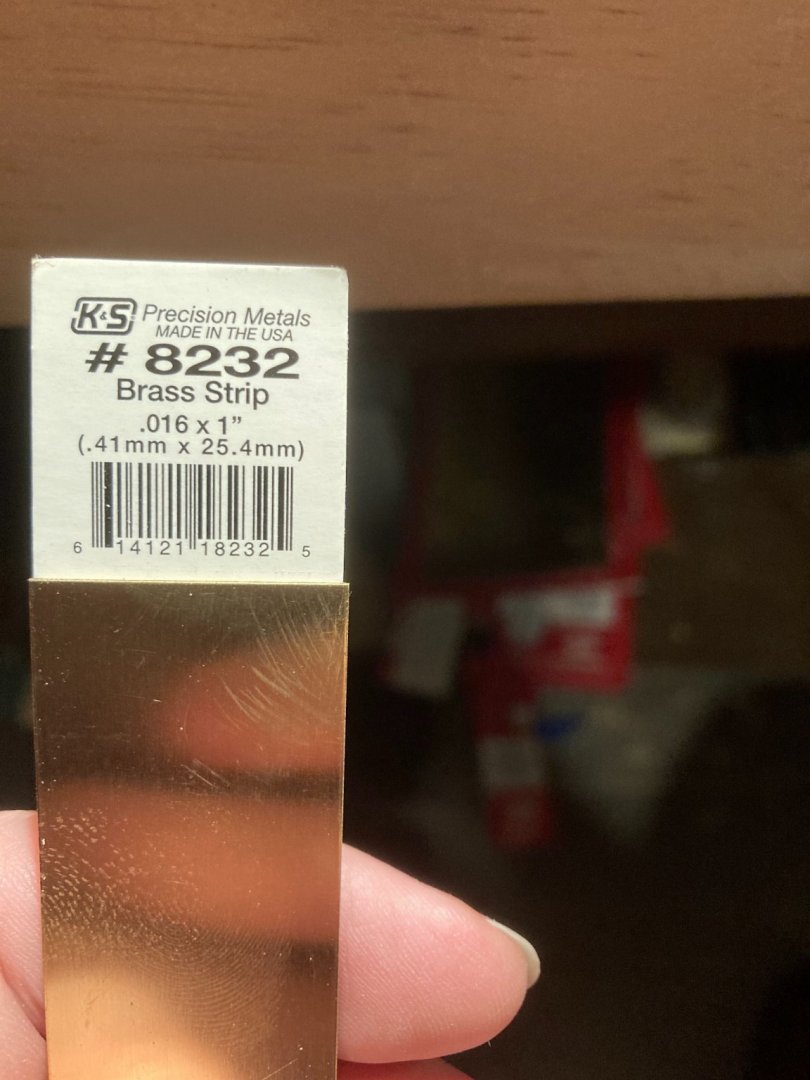
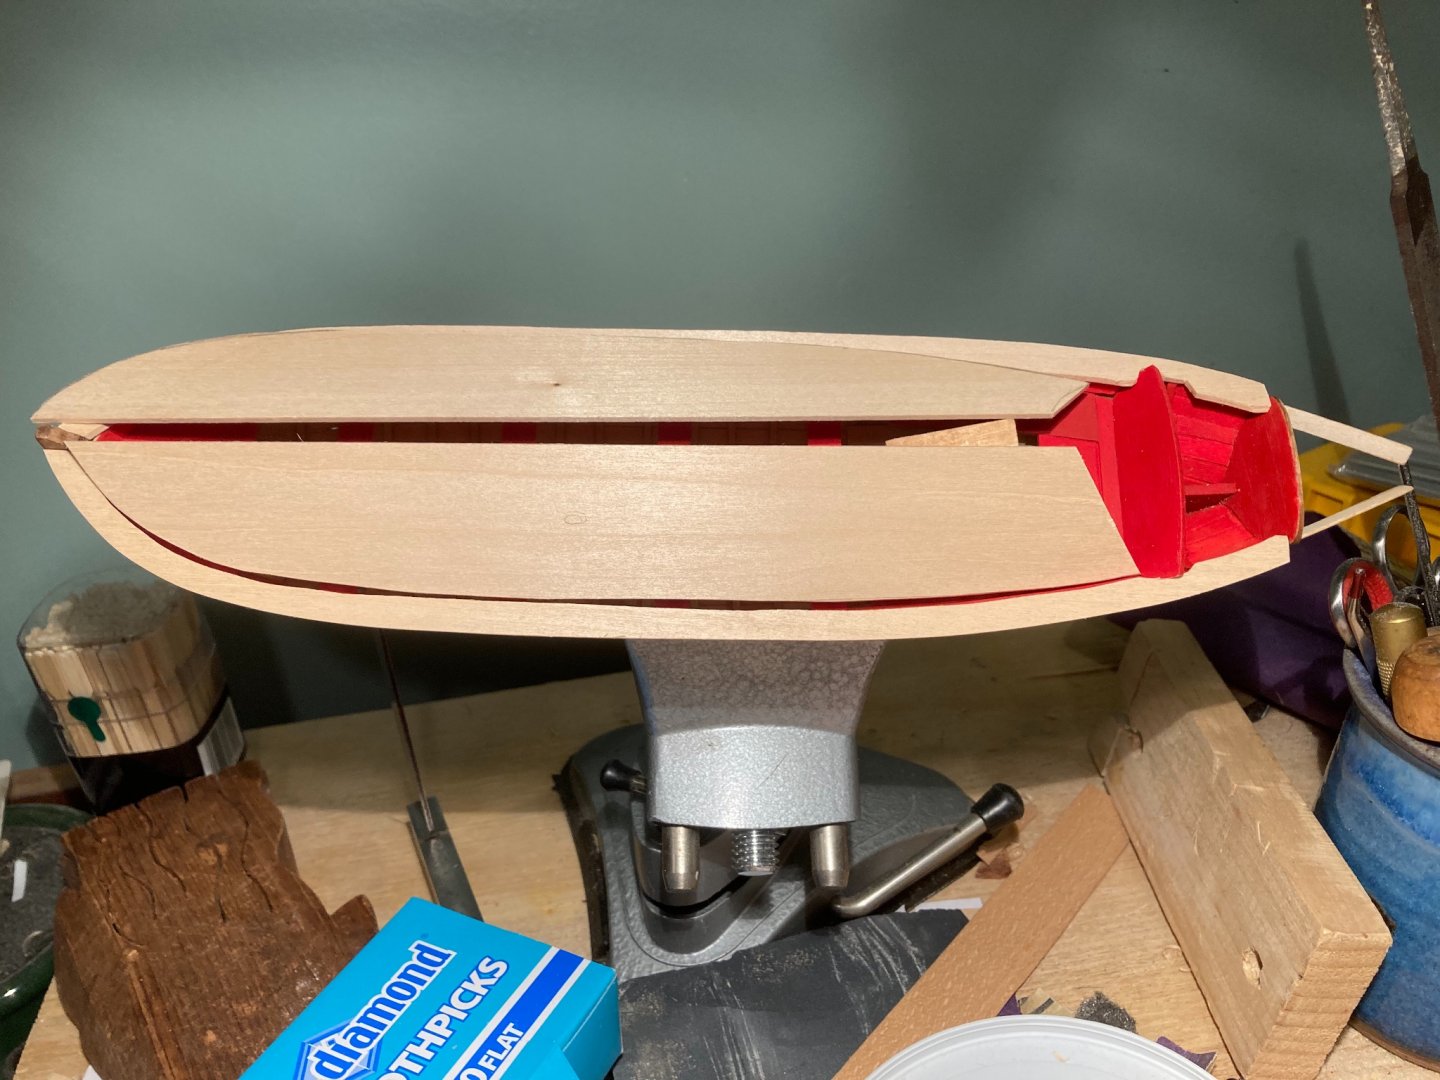
@bruce d thanks for the encouragement. I spent a bit of time making a few feet of the moldings for the panels to be. I had to be careful not to speed up and get careless otherwise the bit of brass would jump the rails. Other was no issues; I used a chisel to cut the strips. The frame below is just a dry fit laying on my cutting board. Cute trick - you can see the reflection in the chisel blade, and use it to cut the miter by eye. (Once you see a 90 degree angle reflected, you have the blade at 45 degrees.) In the photo, I think it is easy to see that I don't have 90 degrees lined up exactly. (It shifted while I fiddled with the phone to engage the camera.) As per @VTHokiEE's suggestion, I skipped adding filler to the interior. If one wished to find faults with the model, they are there but none of them seem to bother the 'civilians' home-side.
- 123 replies
-
- 5
-
-
- Model Shipways
- Pinnace
- (and 1 more)
-
Is there a resin you prefer?
-
I love this! Some days easier said than done, still a great truth! I also wanted to mention how much your skills have grown is you started this project. Having taken a bit of a break due COVID, coming back to see such jump is impressive! I wish you and your wife a great 2021!!
-
A beaut indeed!! I trust your daughter is doing well.
- 87 replies
-
- 1
-
-
- medway longboat
- Syren Ship Model Company
- (and 1 more)
-
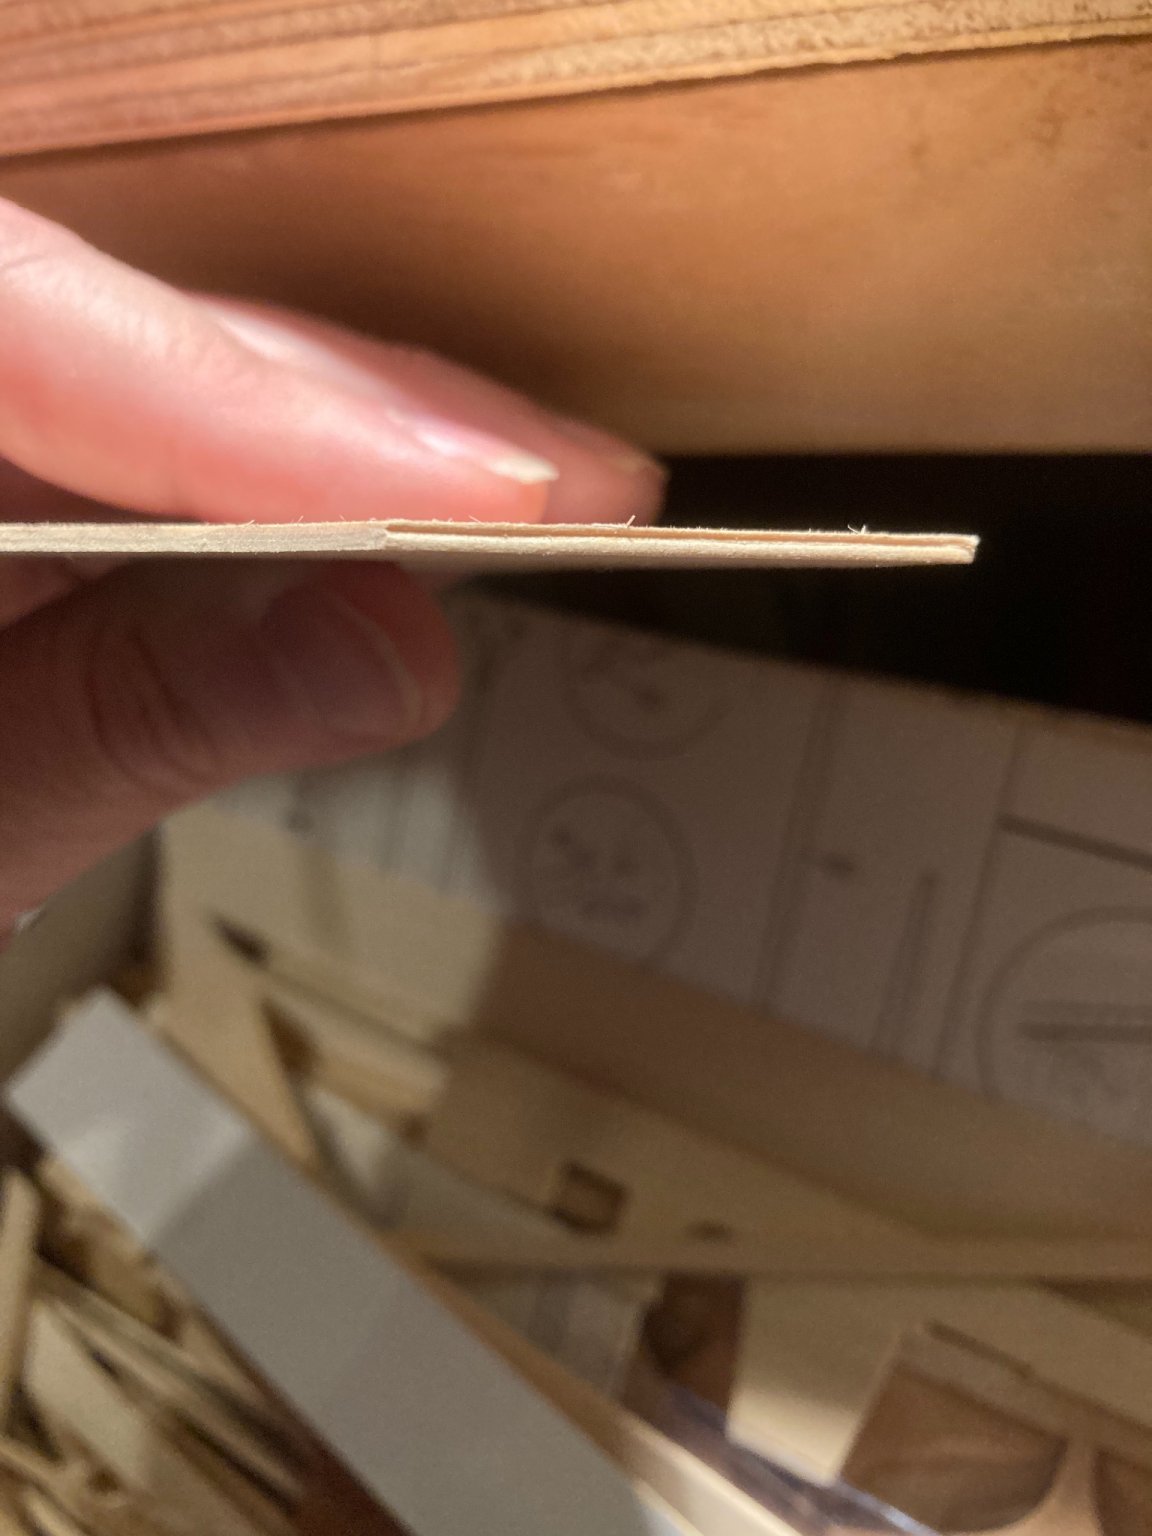
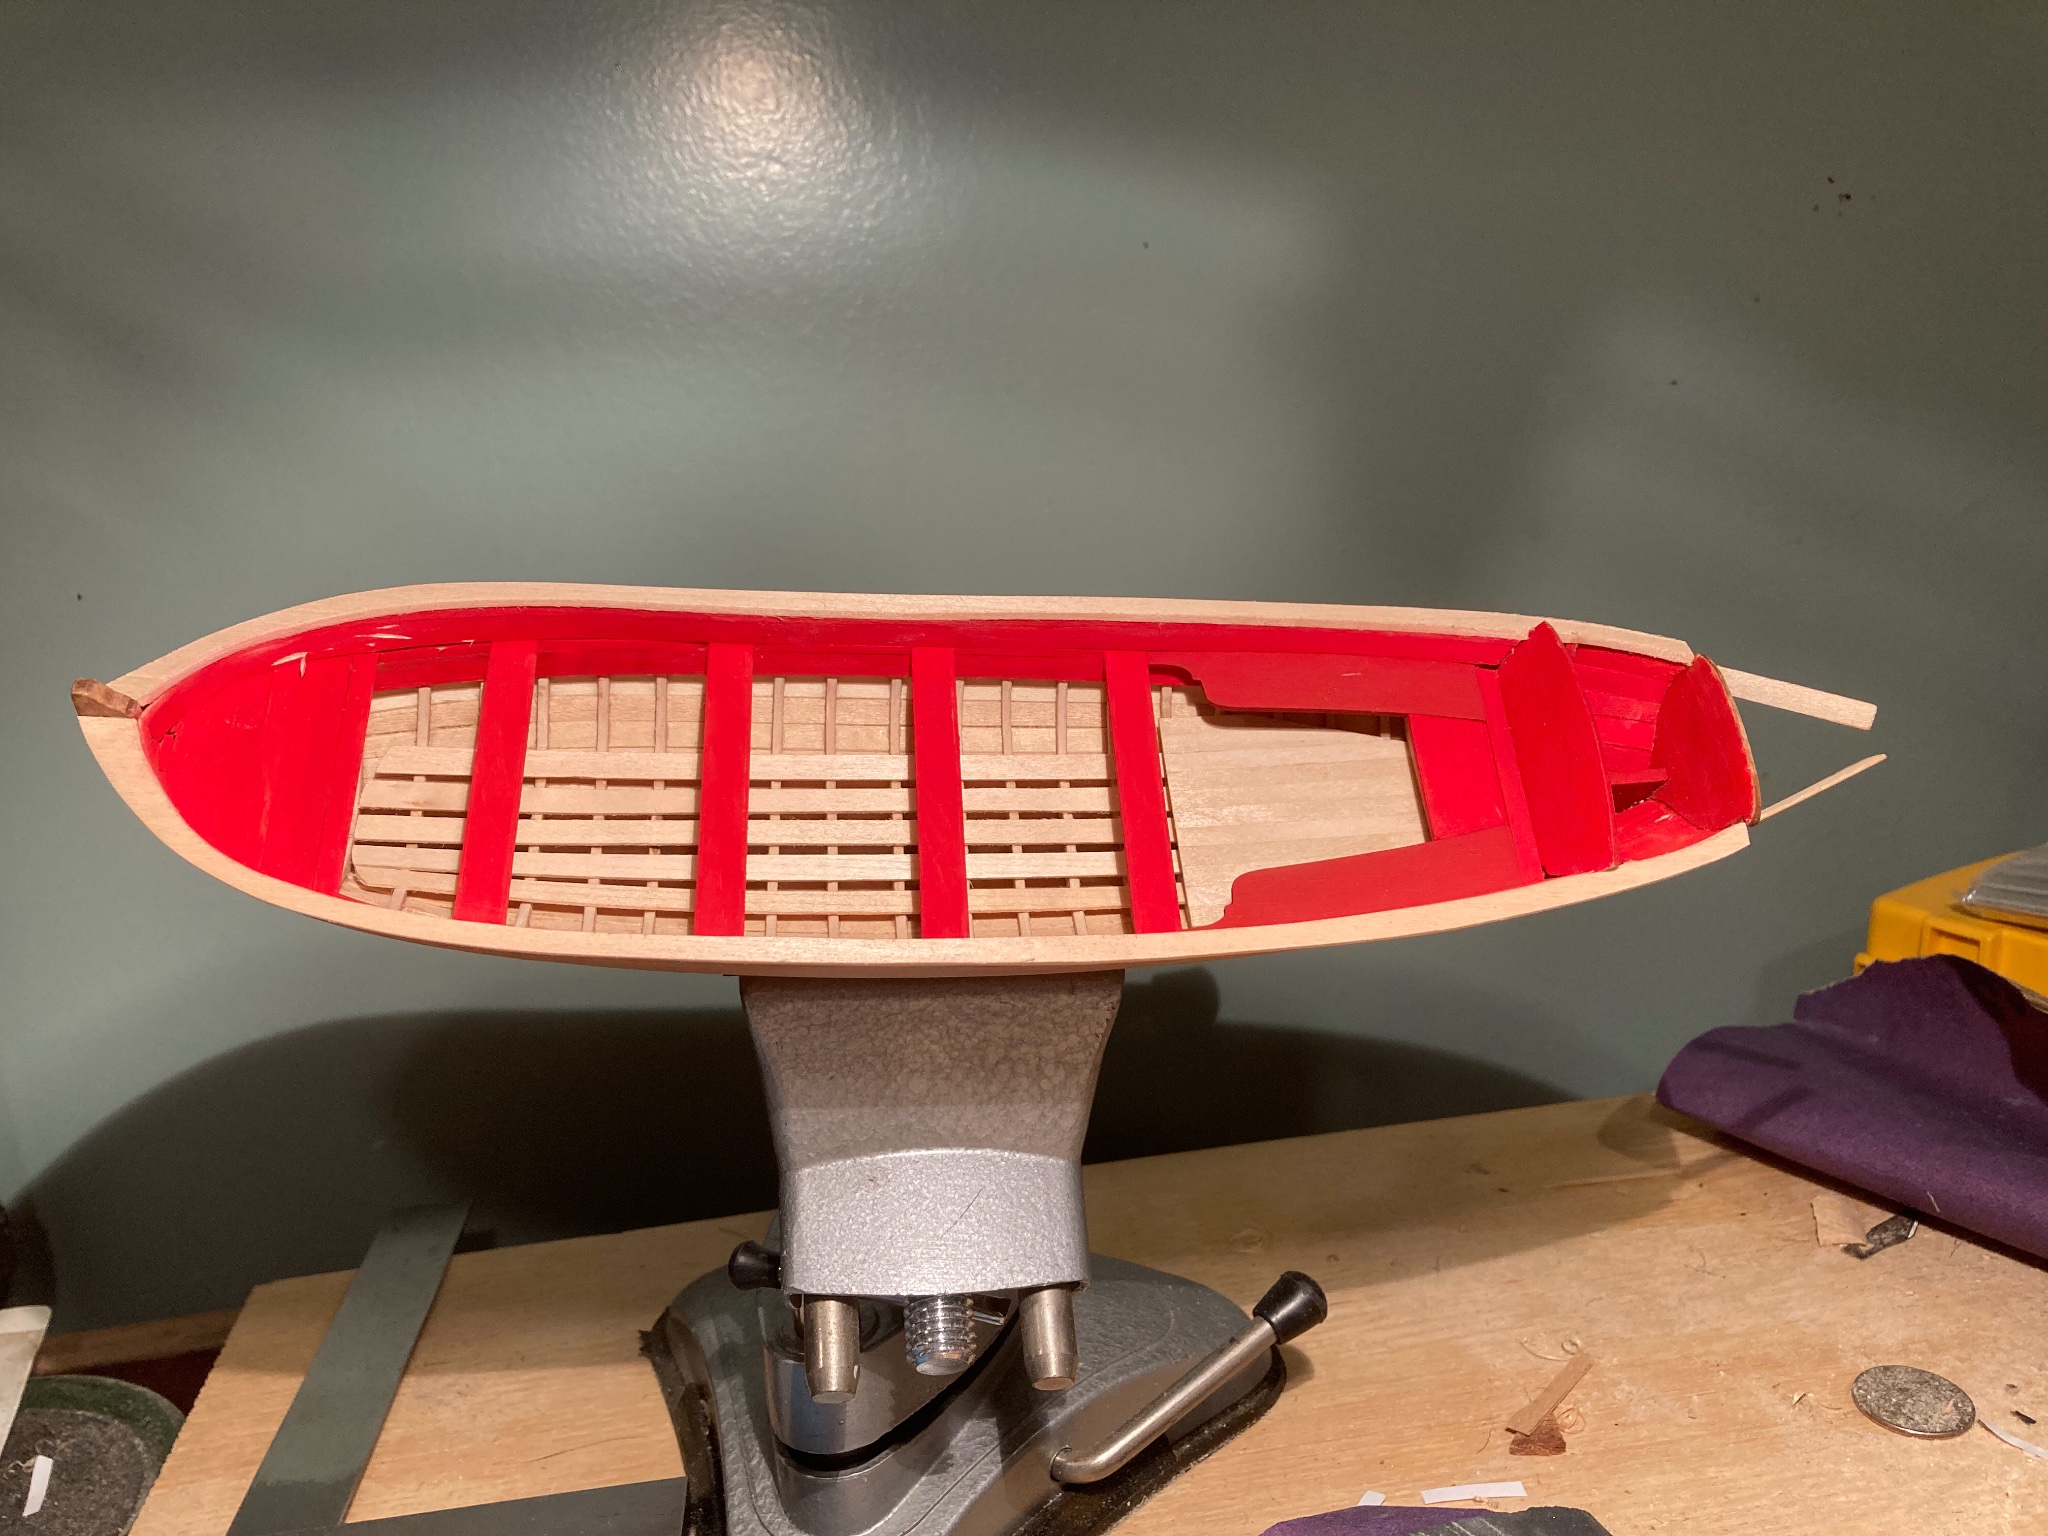
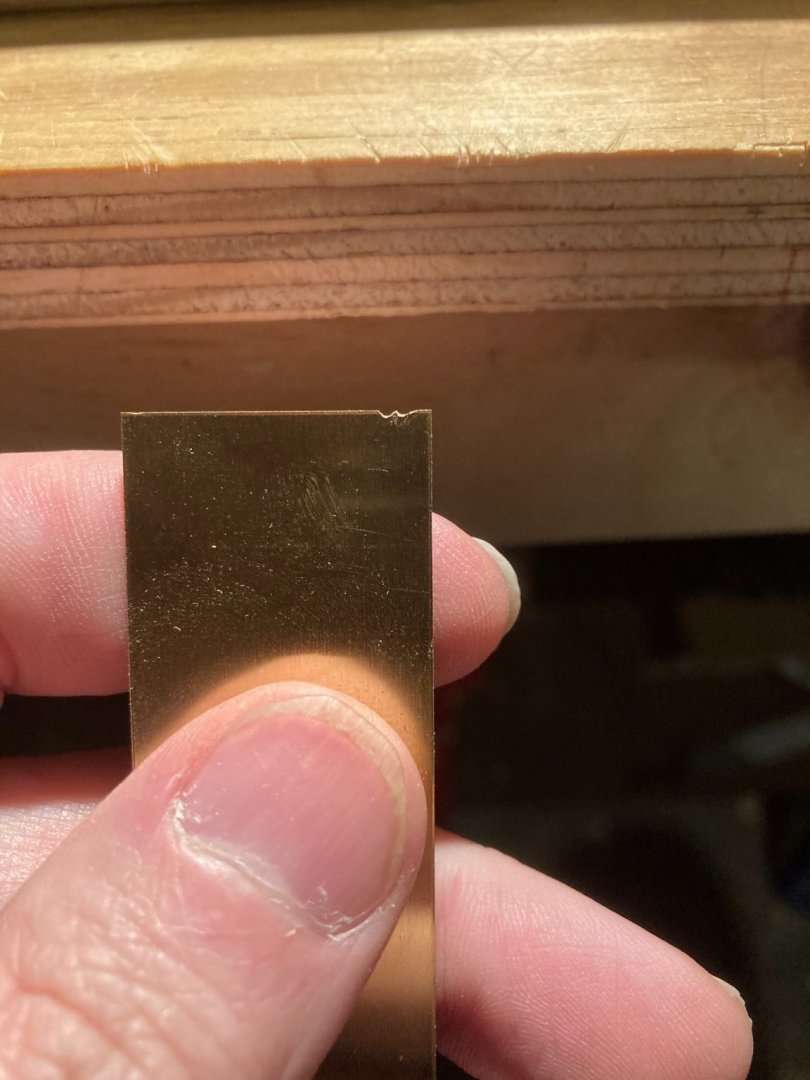
And here are images of the flat molding, soon to be fames.


- 123 replies
-
- 8
-
-
- Model Shipways
- Pinnace
- (and 1 more)
-
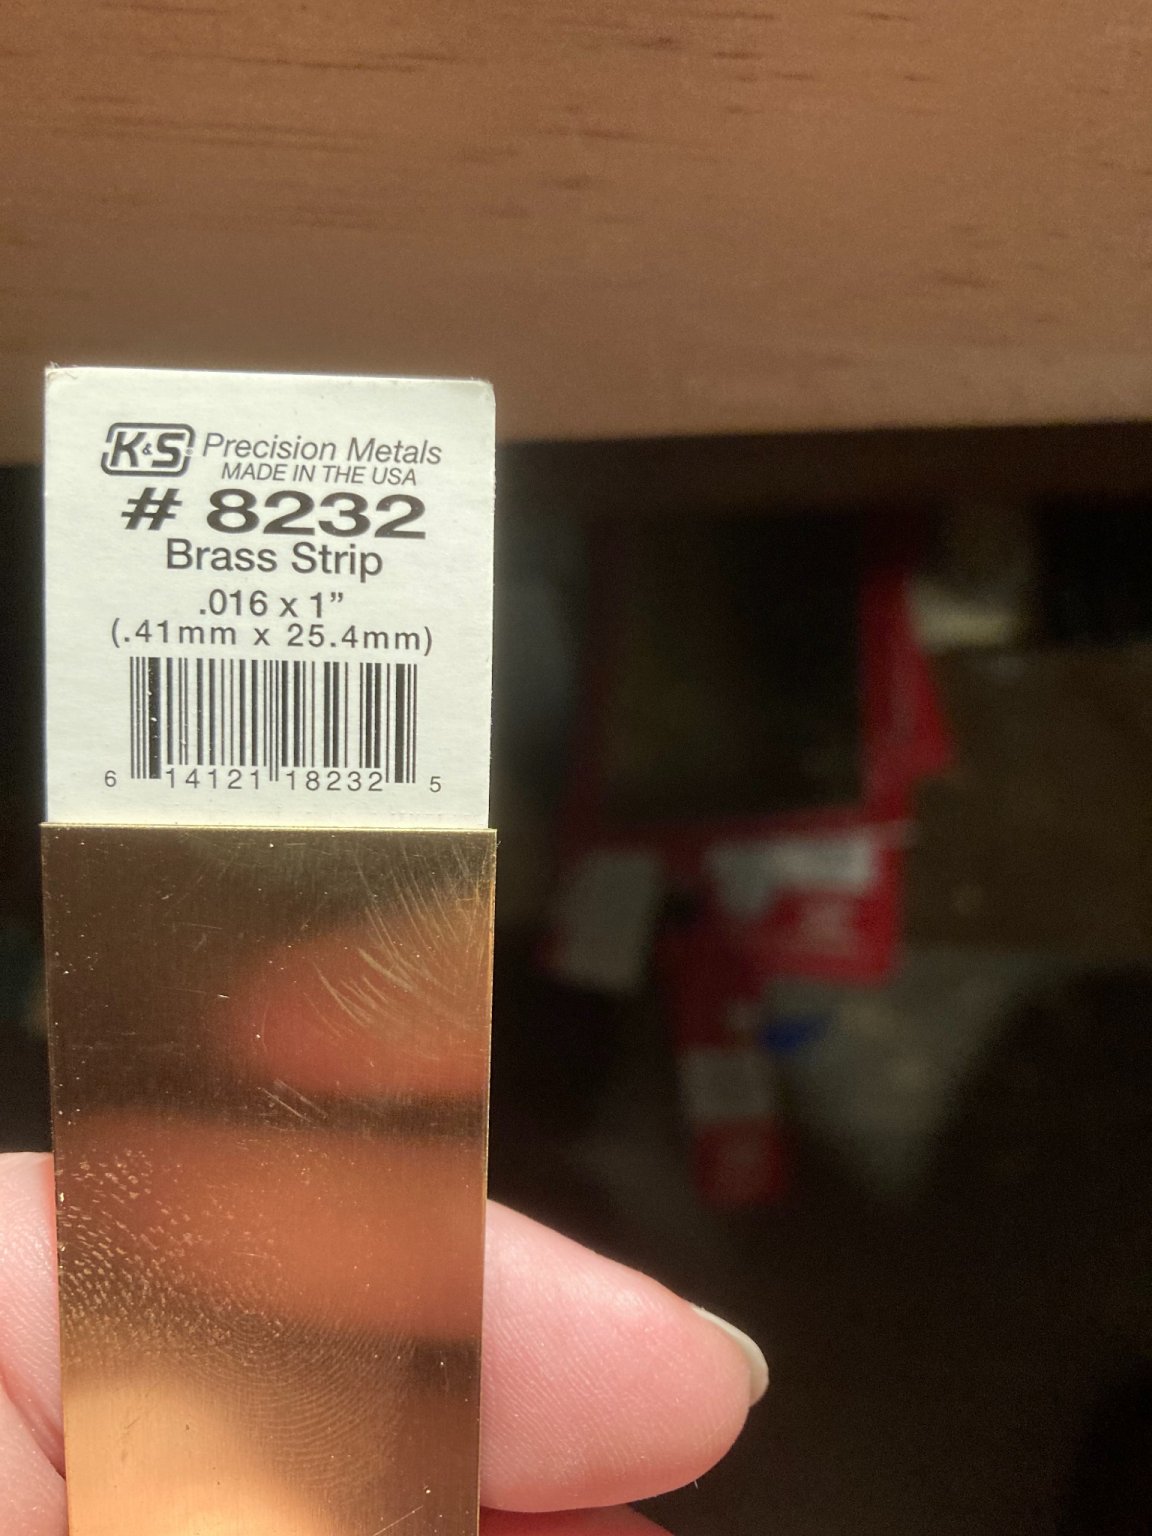
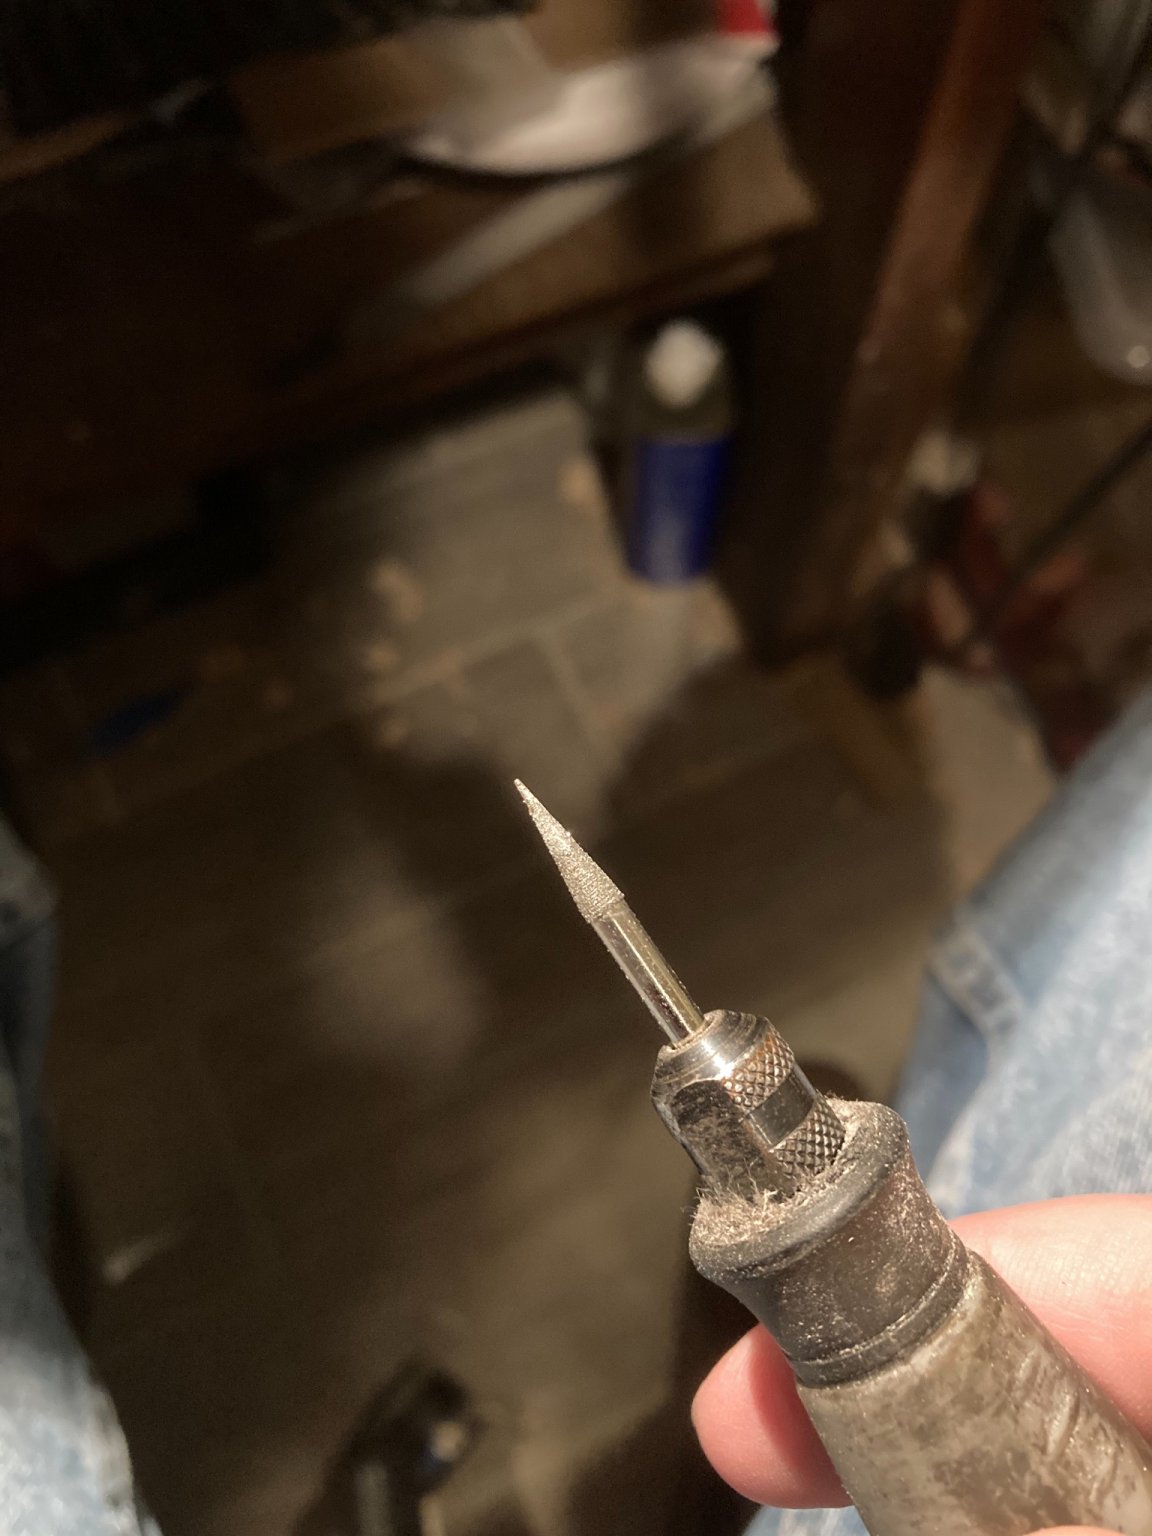
I took another shot at scraping the molding contour on the rail. I have set of ‘commercial’ scrapers, which I tried first. The profile was cut too deep for this task. The principle side-effect was leaving marks on the top of the rail. It was a bit tricky to guide in a straight line since the scraper wished to follow the grain of the wood. My work around was to slow down and also run my marking gauge along the rail to create small groove to follow. This helped. I then tried @Chuck’s method. I took thin sheet brass and used a rotary Dremal tool bit to cut a profile. That took about a minute. The cut piece had a pronounced burr when done and that is ideal. The burr is the cutting edge. By dragging it with a light pressure, with the grain, it works wonderfully. It works against the wood grain as well, but there is a tendency to jump. Dragging the scraper at a 45 degree angle had the best cutting action in this case. I found that tilting the scraper to one side, it would track the edge of the rail while cutting lightly in the center. Once there was an enough of a groove in th center, then I could use even pressure on the center. I was careful to use the profile in one orientation, in respect to the rail and only use one edge of the rail to follow. Otherwise the grooves cut would be slightly different, leading to a ‘blurred’ effect. I will also say that raking light is your friend. By positioning the light so you can see just a touch of shadow makes it much easier to see the progress of each cut. The whole process took less time then it took to write this. It was even easier on straight flat wood.

- 123 replies
-
- 6
-
-
- Model Shipways
- Pinnace
- (and 1 more)
-
I keep my cut-offs and other waste in a scrap box. I have over twice the number bent scrap vs the number of planks on the hull from this adventure! Mostly my fault for rushing in, instead of over-prepping. That is very good to know! Thanks for the advice. By the way, your ship building has jumped leaps and bounds since last year! (Not that there was anything to complain about, mind you!)
- 123 replies
-
- 3
-
-
- Model Shipways
- Pinnace
- (and 1 more)
-
Thanks ever so much for overview ; most useful! I think I have to take the plunge now!
- 179 replies
-
- 7
-
-
- hatsuzakura
- pit road
- (and 2 more)
-
B.E., thanks for the encouragement - this kit was one of my first purchases in the land of wood models. It was on sale at Amazon listed as a beginner’s kit. Given the head scratching (for me) on this kit, I’m daunted at the thought of planking a ship-sized model!
-
Stunning!! I didn’t know there was etched bits for such small scale and size! It seems insane, so my hat’s off to you. What is the basic tool kit for you work with PE?
- 179 replies
-
- 8
-
-
- hatsuzakura
- pit road
- (and 2 more)
-
Brian, thanks for the kind words!
-
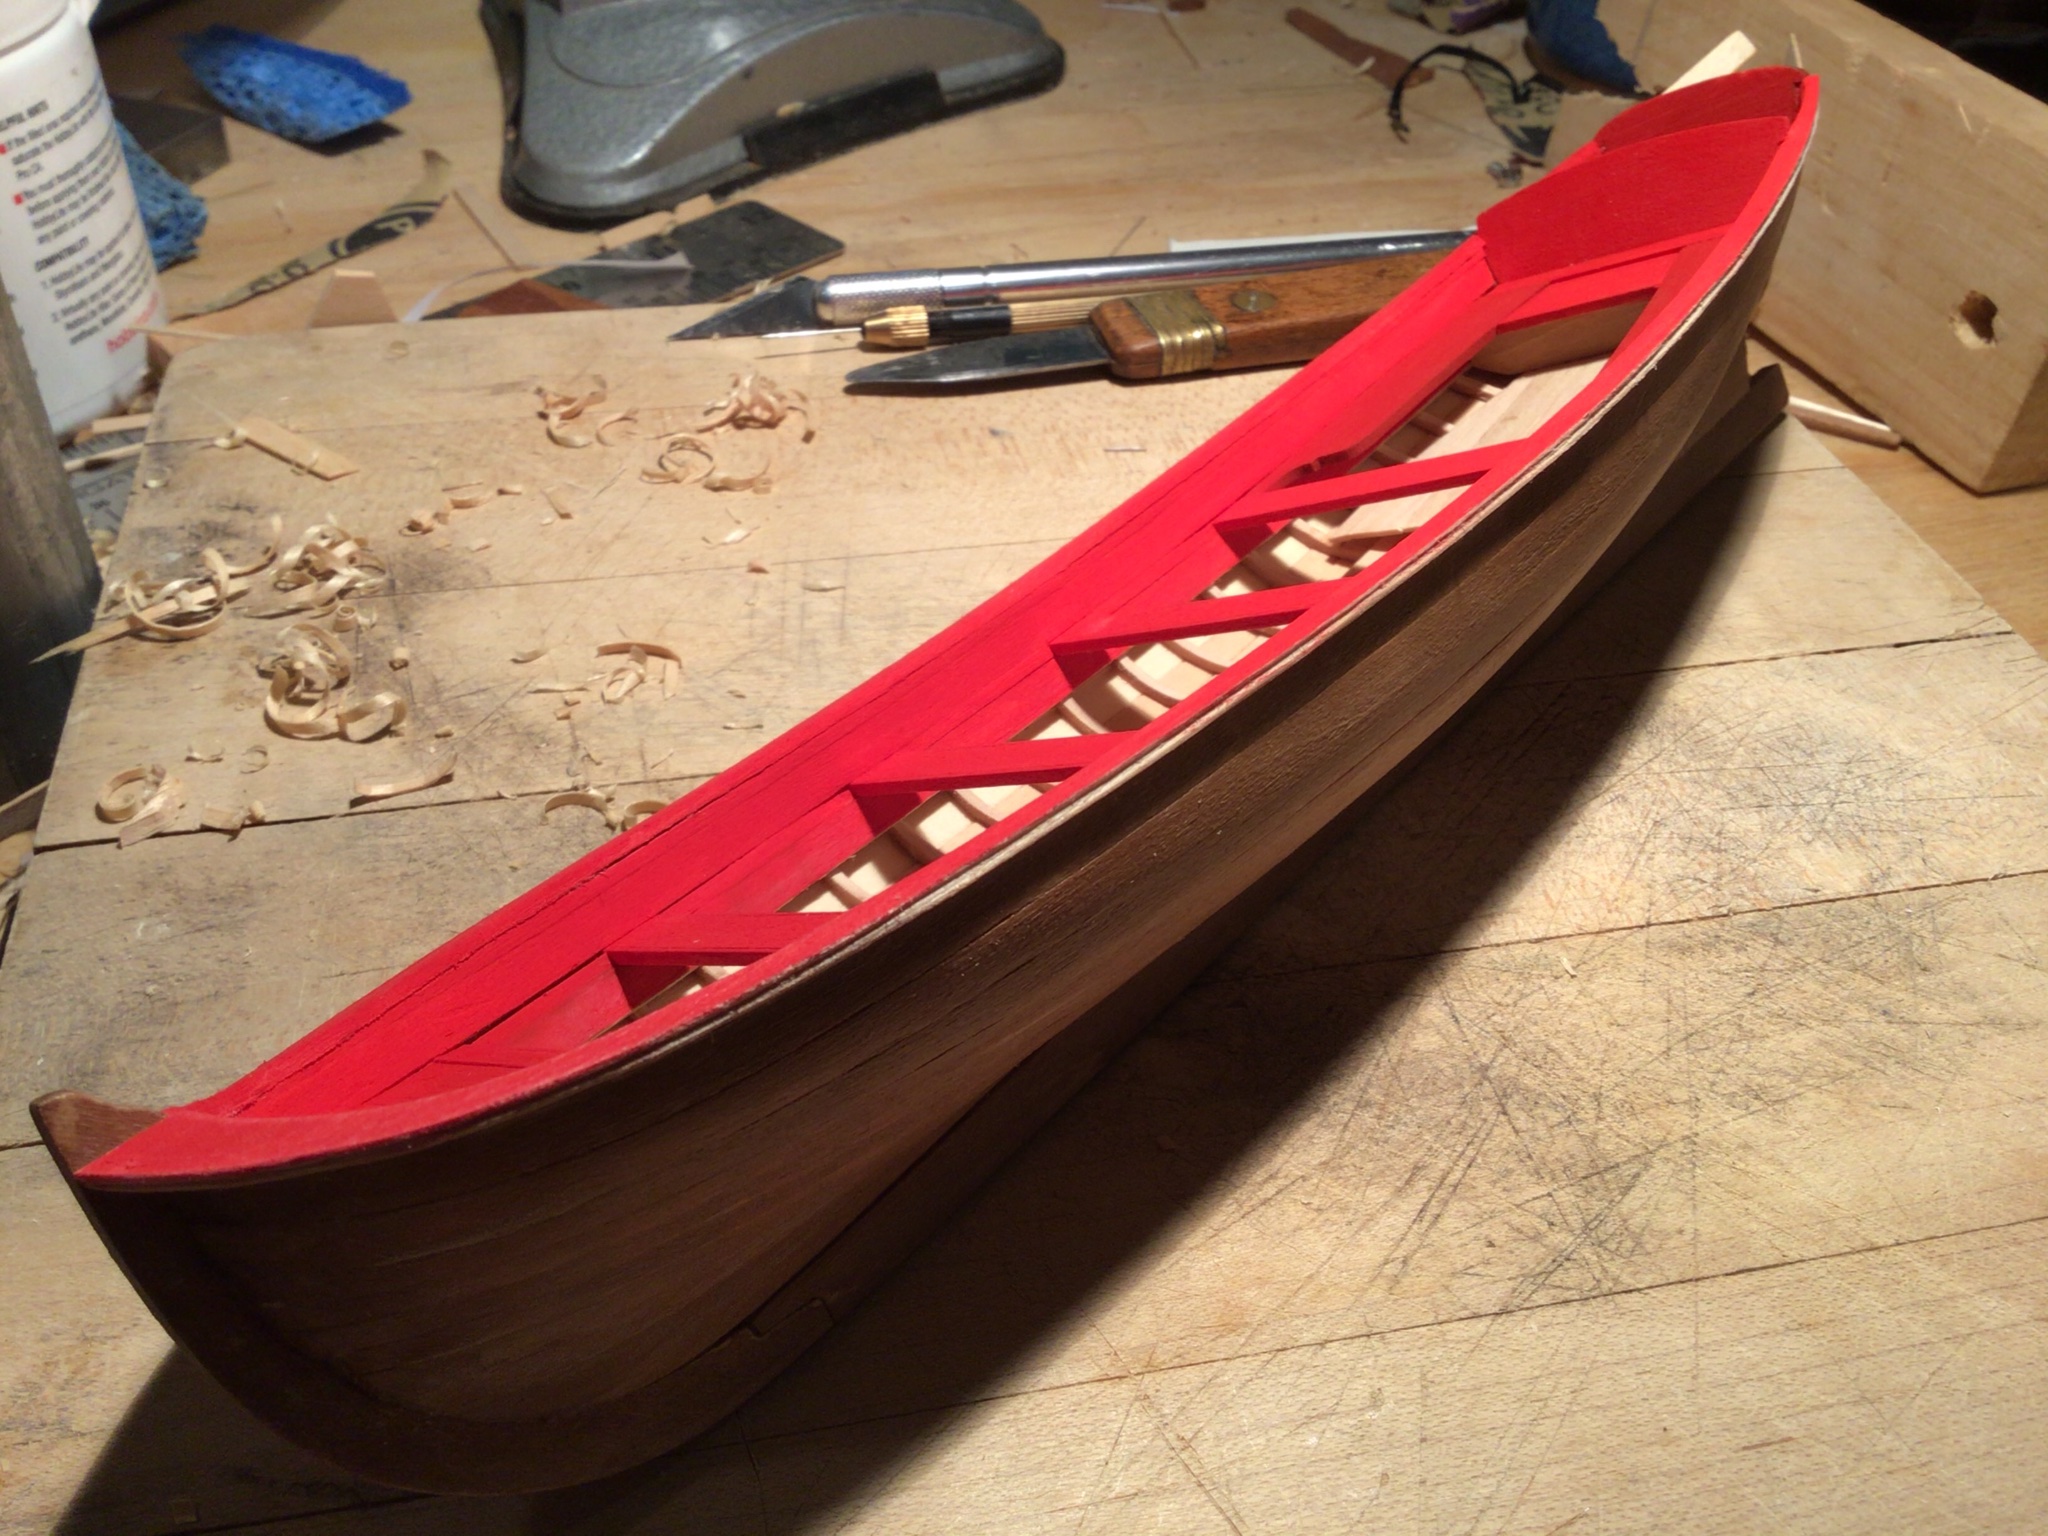
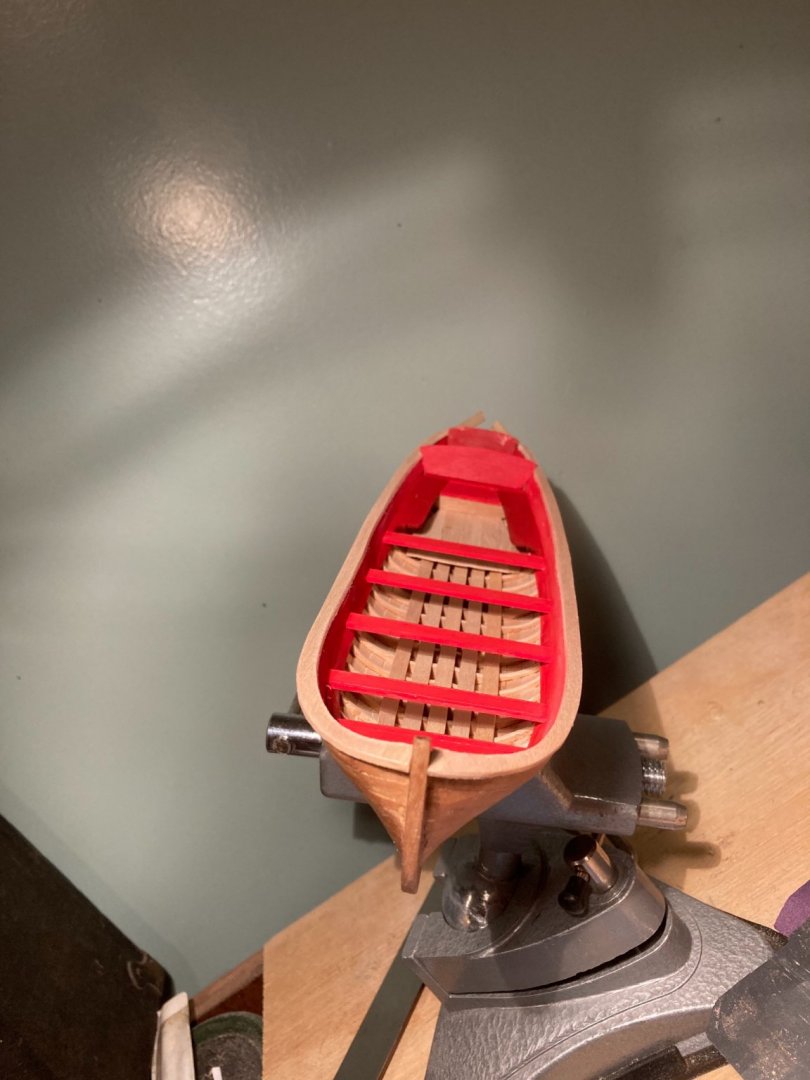
I have to decide if I’m going to add filler to the interior. You can see the gaps in the shot above. While not perfect, I’m quite delighted that it’s looking boat-like!
- 123 replies
-
- 1
-
-
- Model Shipways
- Pinnace
- (and 1 more)
-
As per the instructions, I cut the traced lines with an x-acto blade. I cut the pieces wide and glued them to the pinnace. I then used a chisel to cut the inside curve and then a bit of sanding. I then could mark the outside line and trim with a block plane and sand paper. I then attempted to use a scraper on the edge of the rail with mixed success.

- 123 replies
-
- 5
-
-
- Model Shipways
- Pinnace
- (and 1 more)
-
A great log full of interesting tidbits! Your version looks amazing!
-
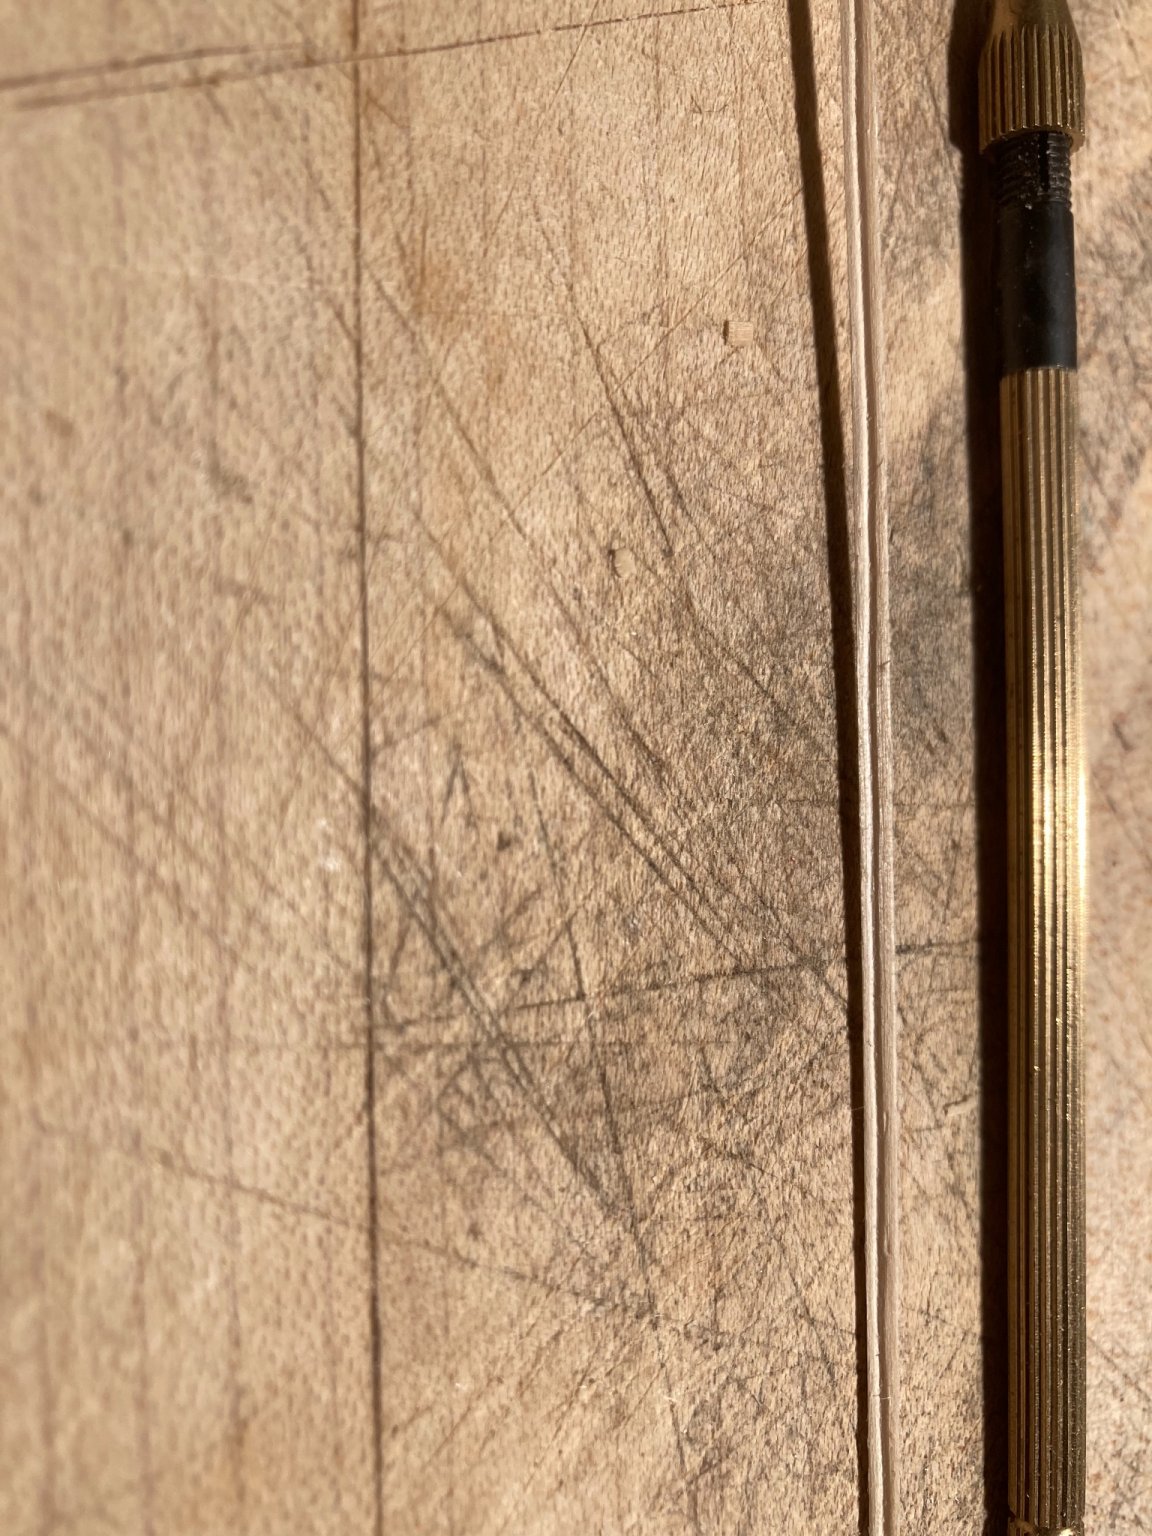
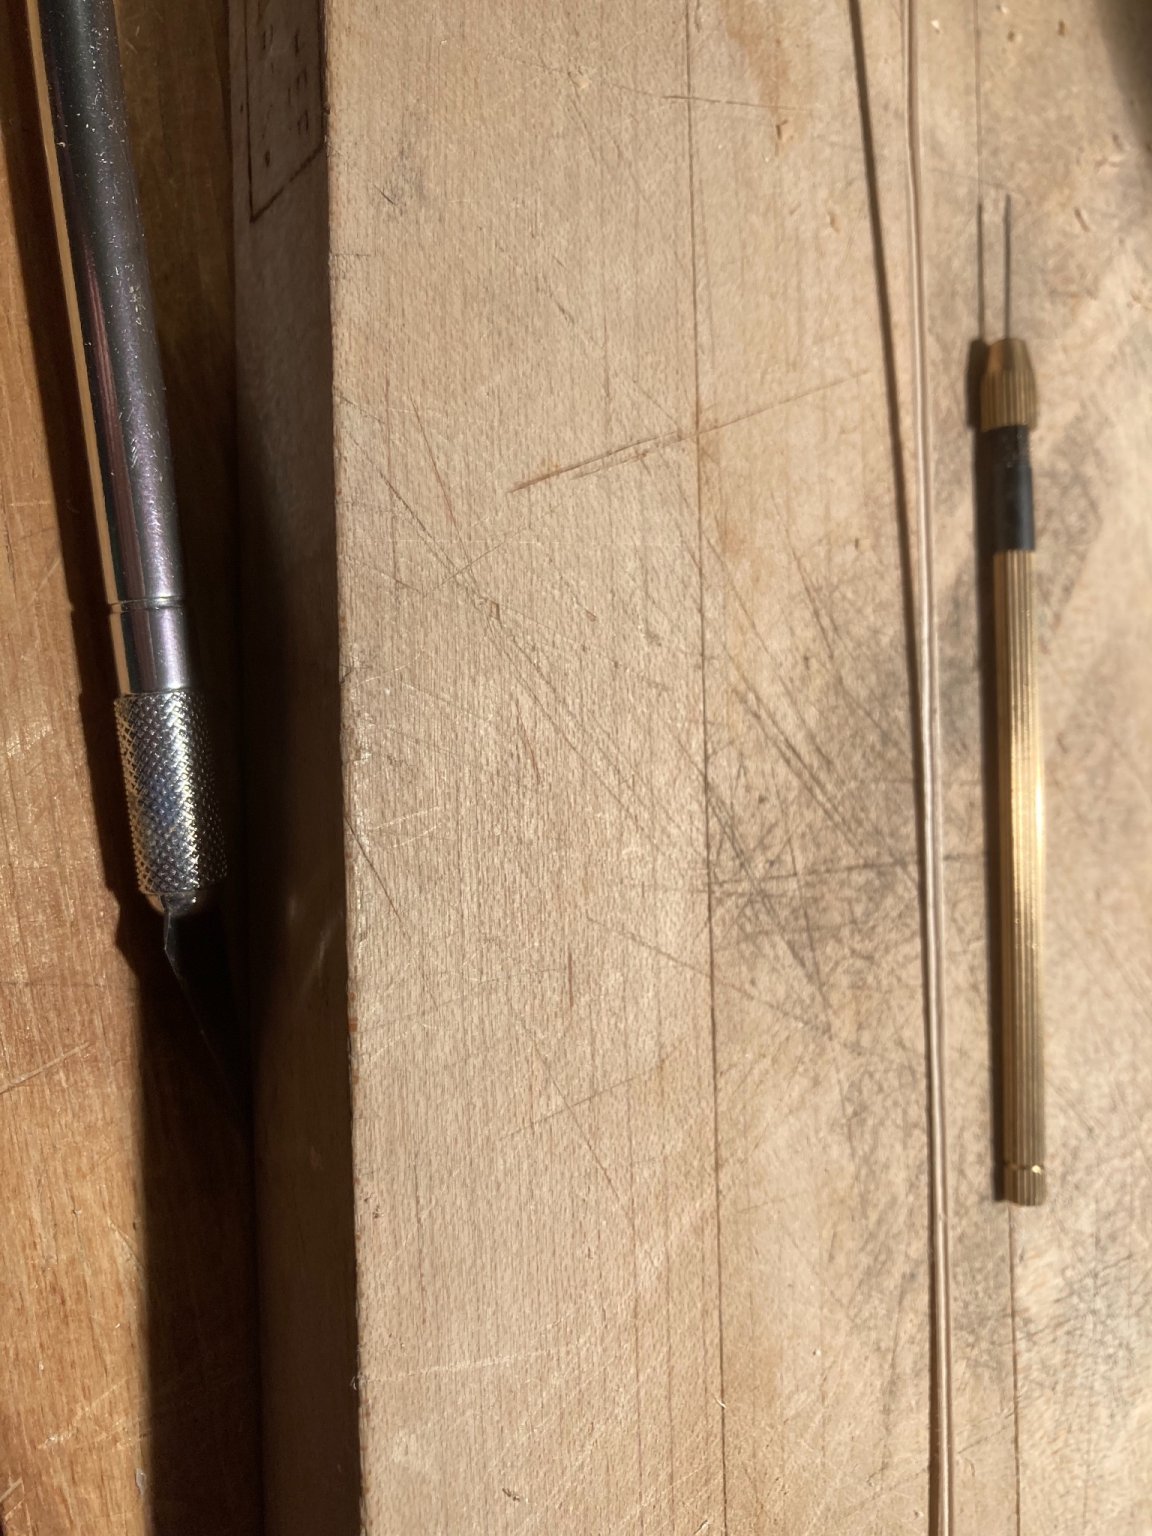
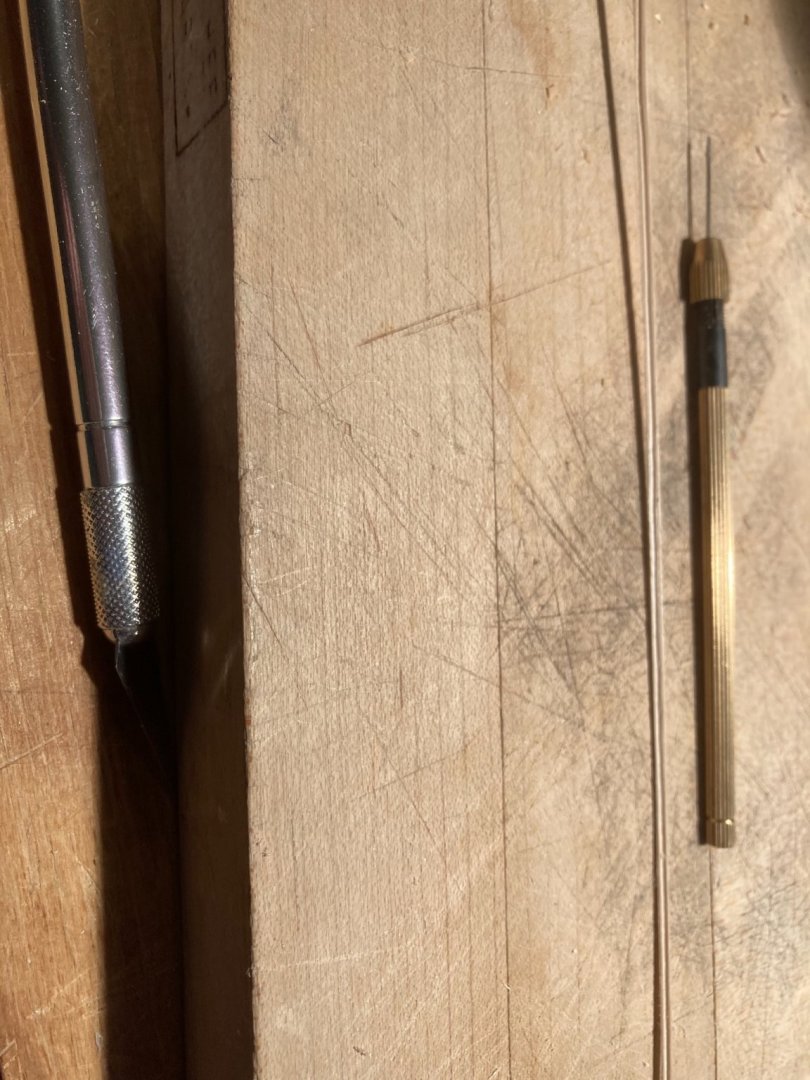
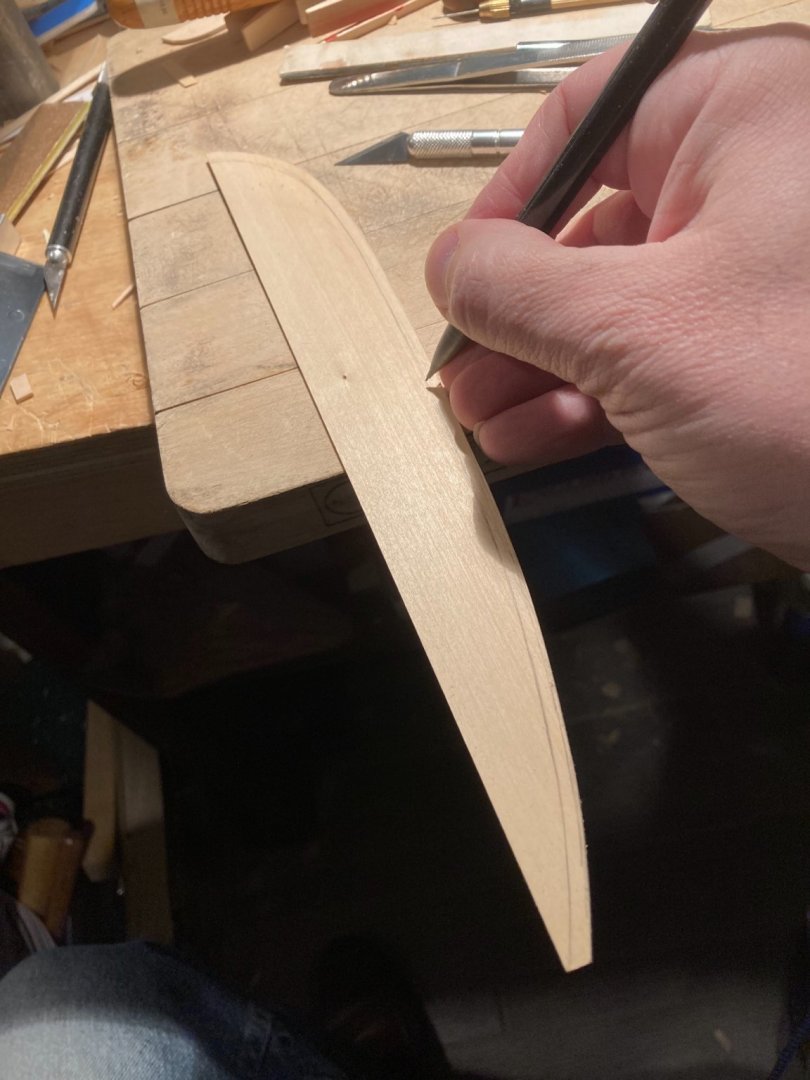
In the last photo, I’m using my finger nail to run against the edge of the wood, while holding an even distance with the pencil. This trick/technique is very useful for quick but accurate offsets and I use it all the time!
- 123 replies
-
- 2
-
-
- Model Shipways
- Pinnace
- (and 1 more)
-
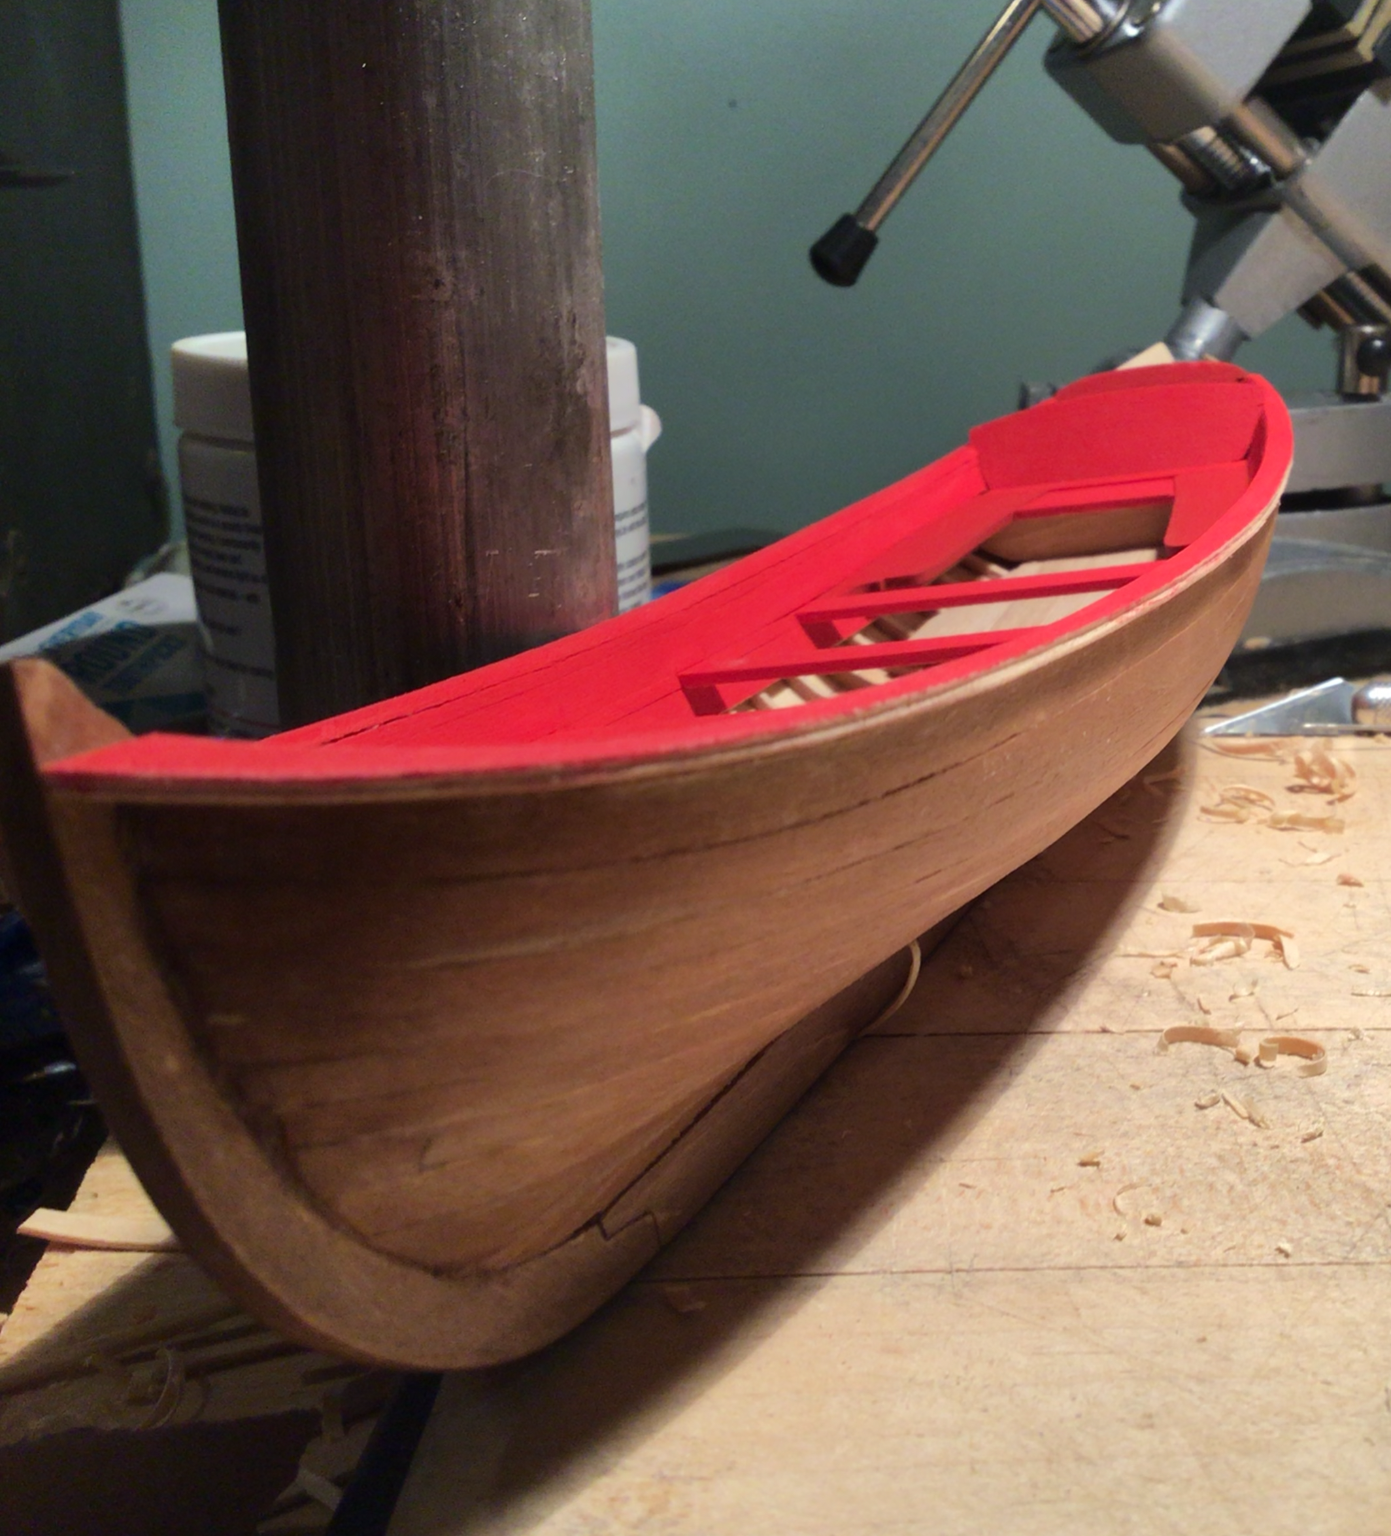
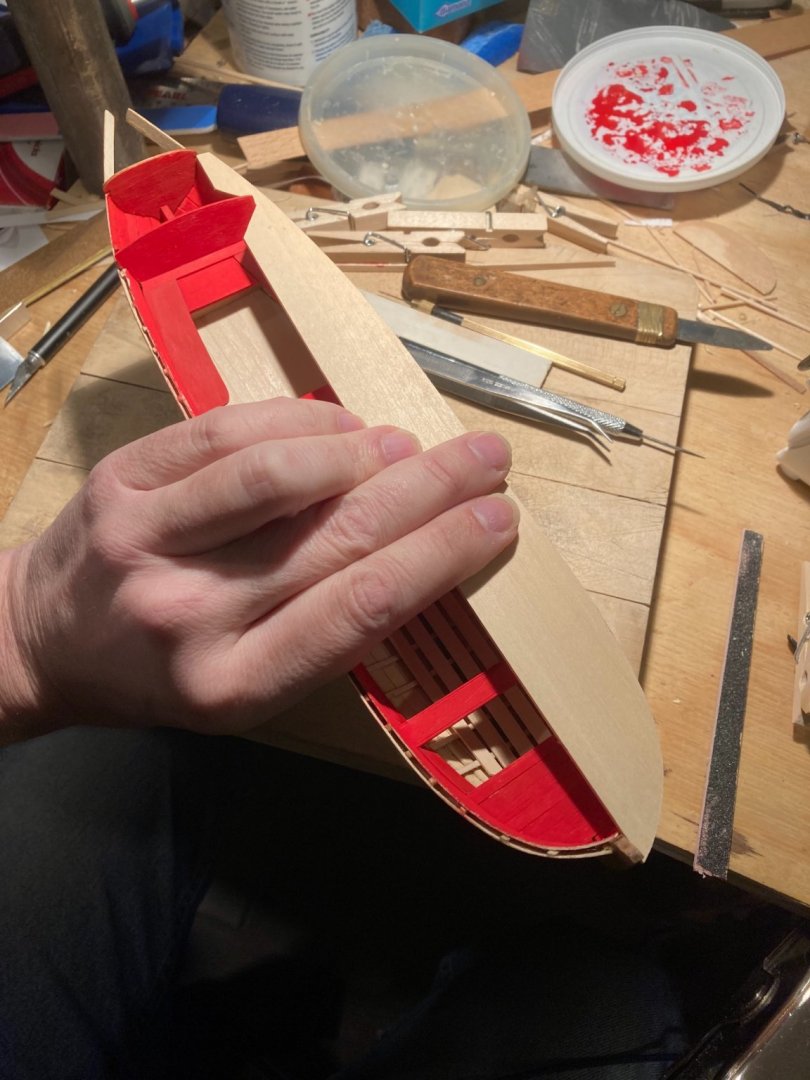
I have stared to rough out what will be the top rail after taking a pencil to outline the hull. I also trimmed the rear seat, so as not to interrupt the rail - an easy detail to miss.
- 123 replies
-
- 4
-
-
- Model Shipways
- Pinnace
- (and 1 more)