.jpeg.7d7eba14c97a2e1d9f79cd2c97f6424a.jpeg)
EricWilliamMarshall
-
Posts
986 -
Joined
-
Last visited
Content Type
Profiles
Forums
Gallery
Events
Everything posted by EricWilliamMarshall
-
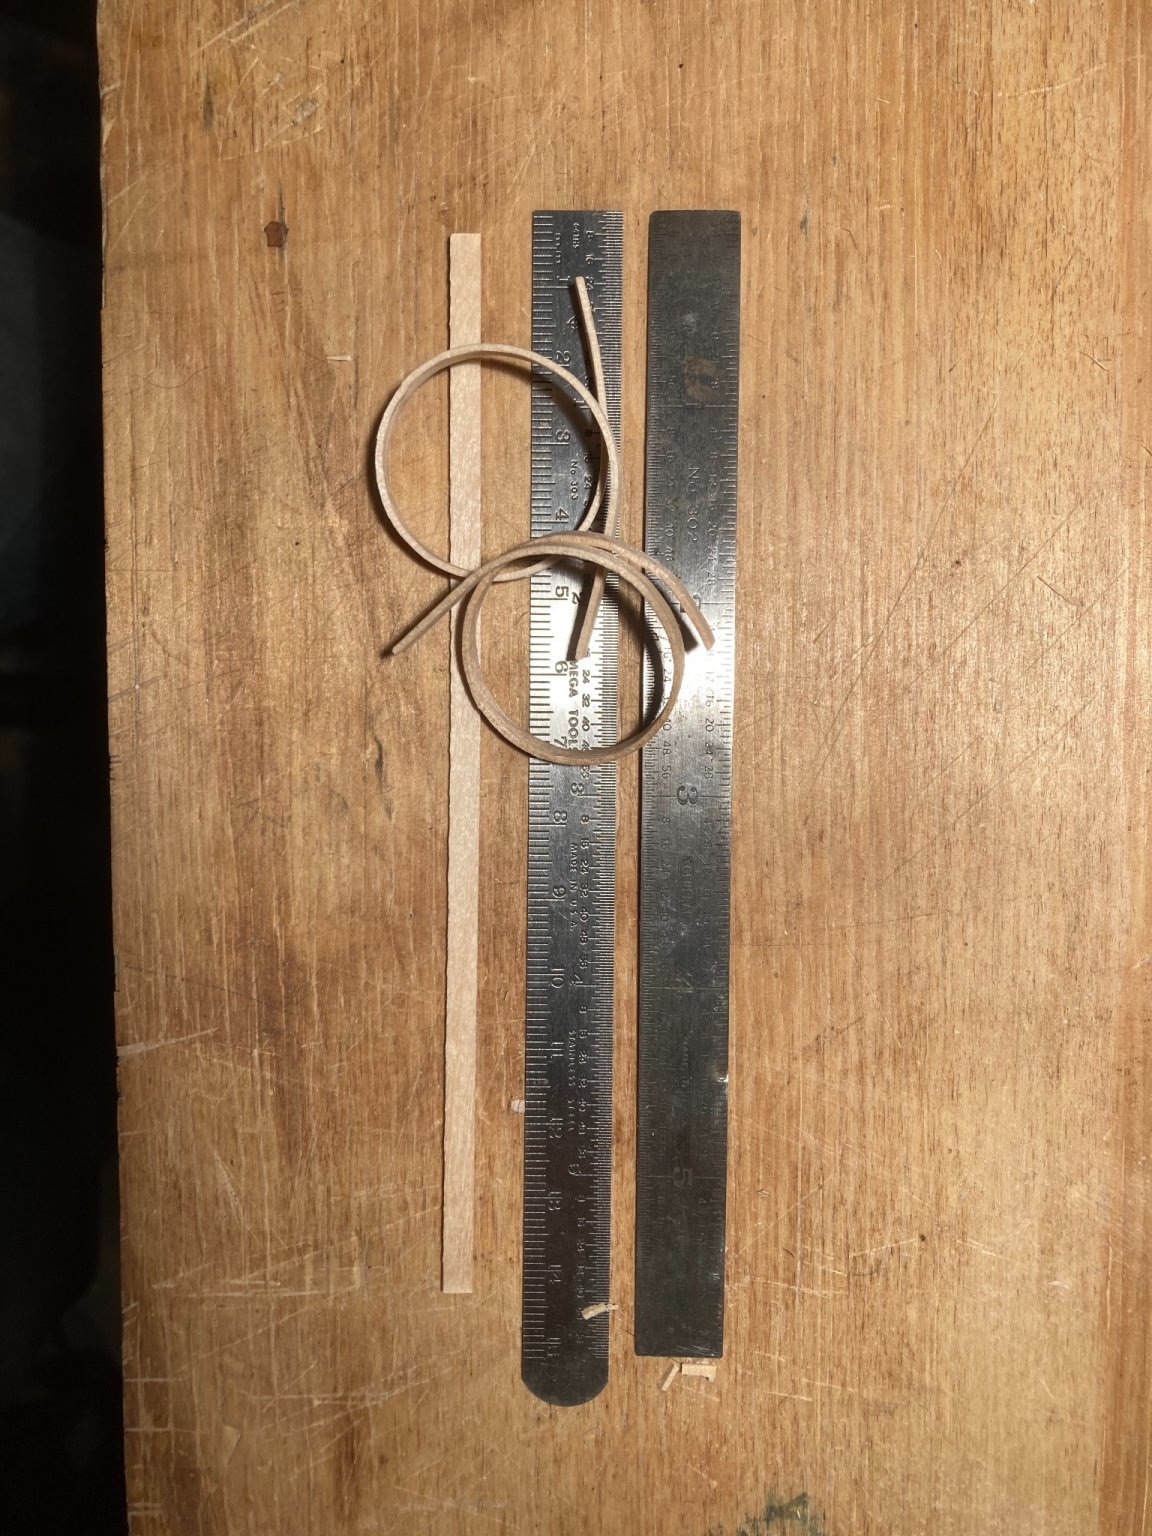
.thumb.jpeg.fc5d633a7b34428fcf19419a73d56d55.jpeg) I mentioned before experimenting with wooden coffee stirrers. Here is an image of some of that silliness.
I mentioned before experimenting with wooden coffee stirrers. Here is an image of some of that silliness.
- 123 replies
-
- 3
-

-
- Model Shipways
- Pinnace
- (and 1 more)
-
I just crossed the hump on my first tiny planked hull in the last few weeks. It is doable. I have direct messaged you a few ideas (so as not to hijack @liteflight 's log). The one that was most useful for me, was bending a number of flat wooden coffee stirrers using a number of the techniques found here at MSW to get my 'sea legs'.
-
Not as much as you might think! A couple of points: The reason dendrochronology works is due to the variations in tree growth. There is great differences in growth and shape within the same species. The species can be identified but most of the species in question would cover a wide area and some species can't be easily differated. Red Oak can't be distinguished between the New World and the Old World origins, for example. Oxidation plays a great role in color as does finish and weathering. I also assume the average ship builder would be less picky about species than functional use and proximity to the build. All that aside, as a model builder, oak isn't a friend. The gain is pronounced, the pores are huge and has rays. Also the colors of oak are so many, depending on finish, use, compression, weathering, etc. Long story short, as long as you can match the look and feel you want, most of the usual woods will work. I suggest trying different stains or similar on scrap wood to find your approach.
-
Any thoughts on possible next projects?
-
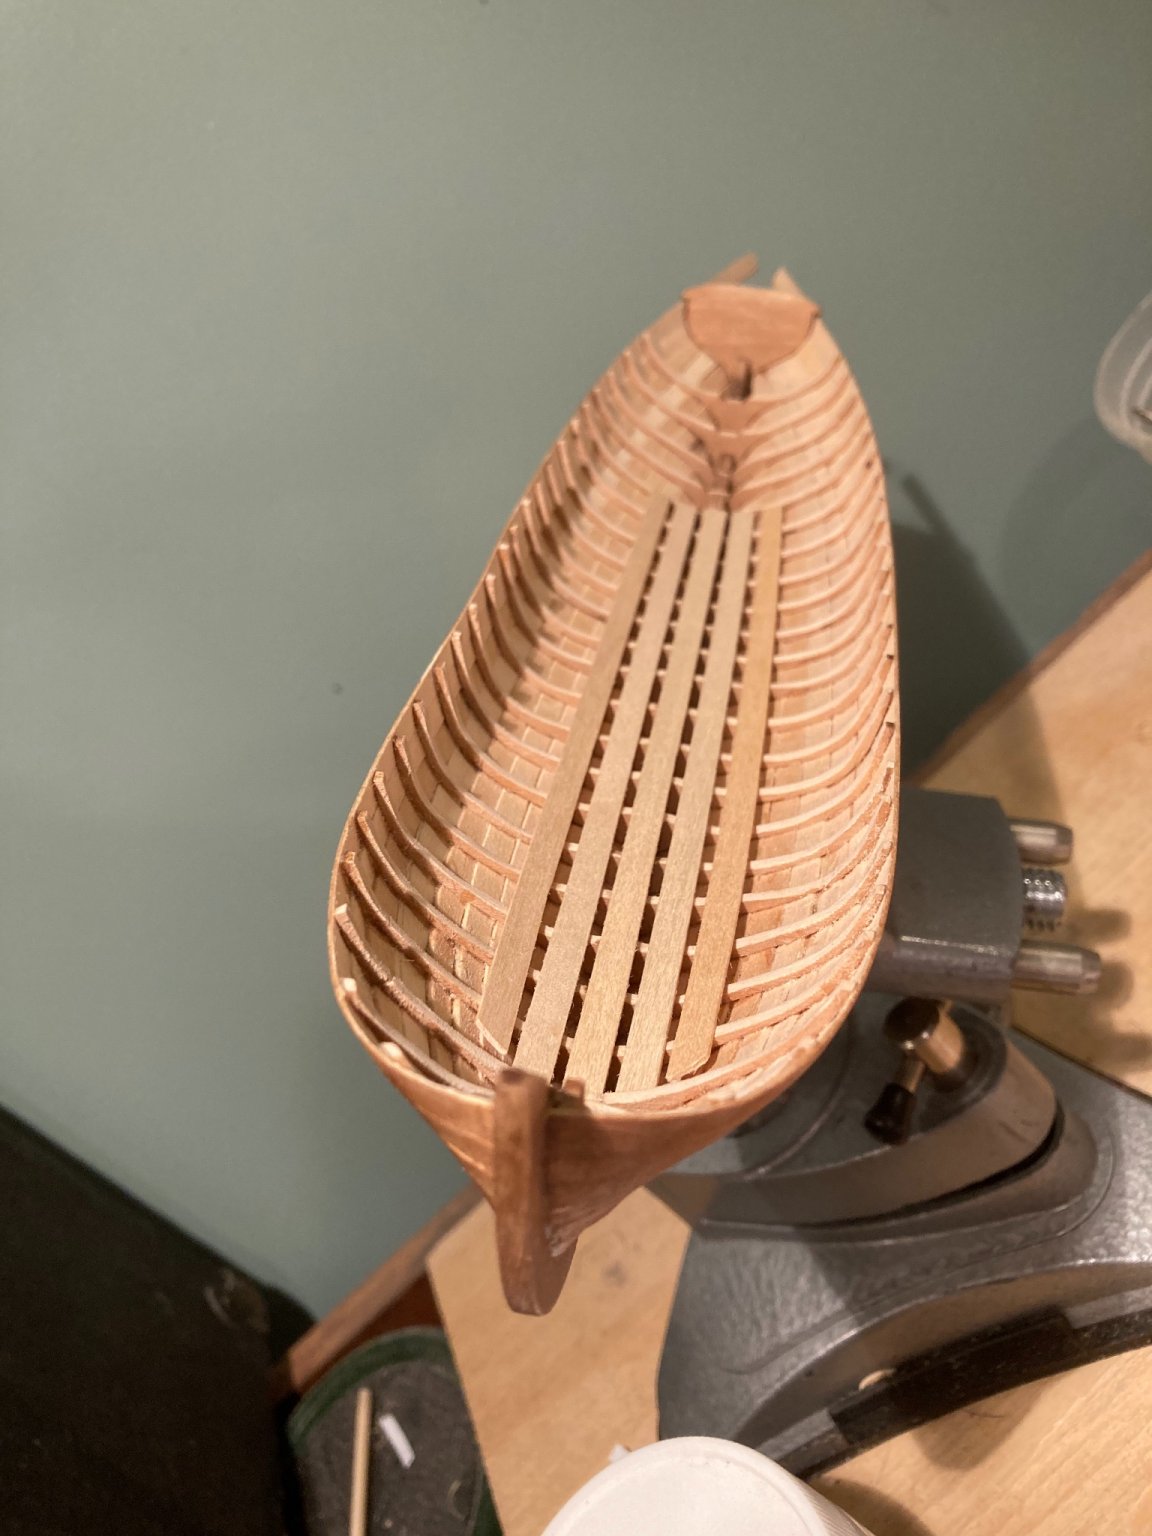
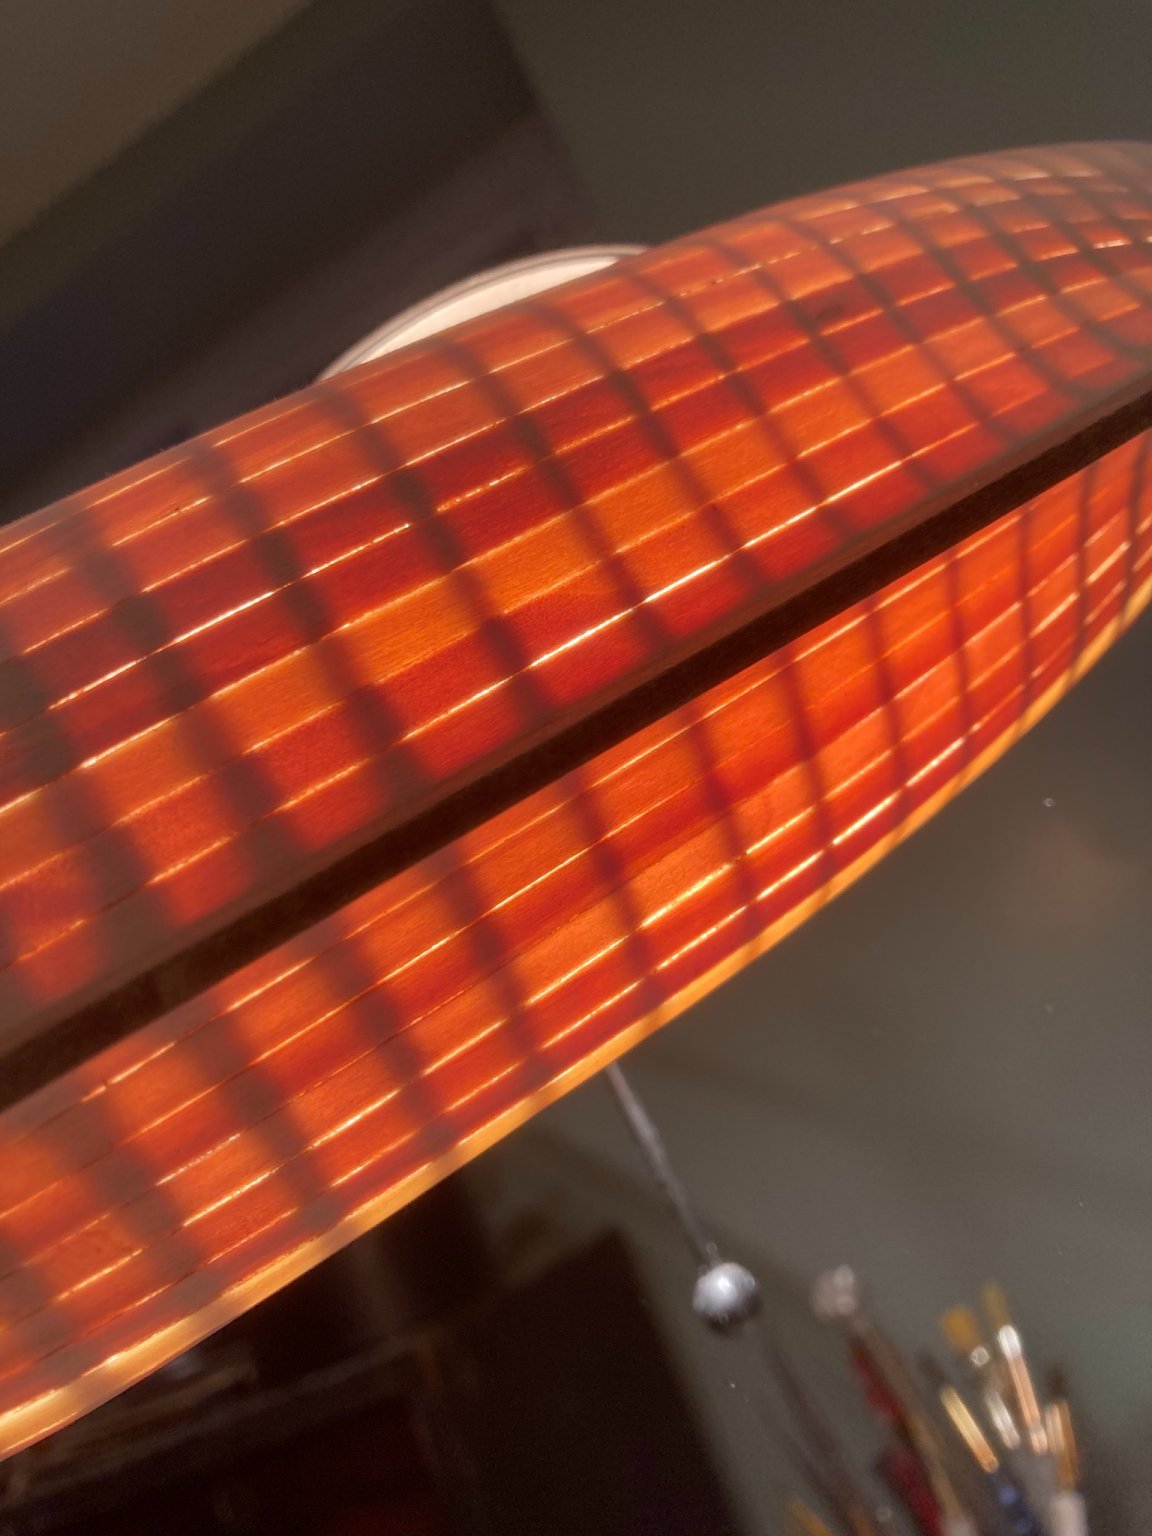
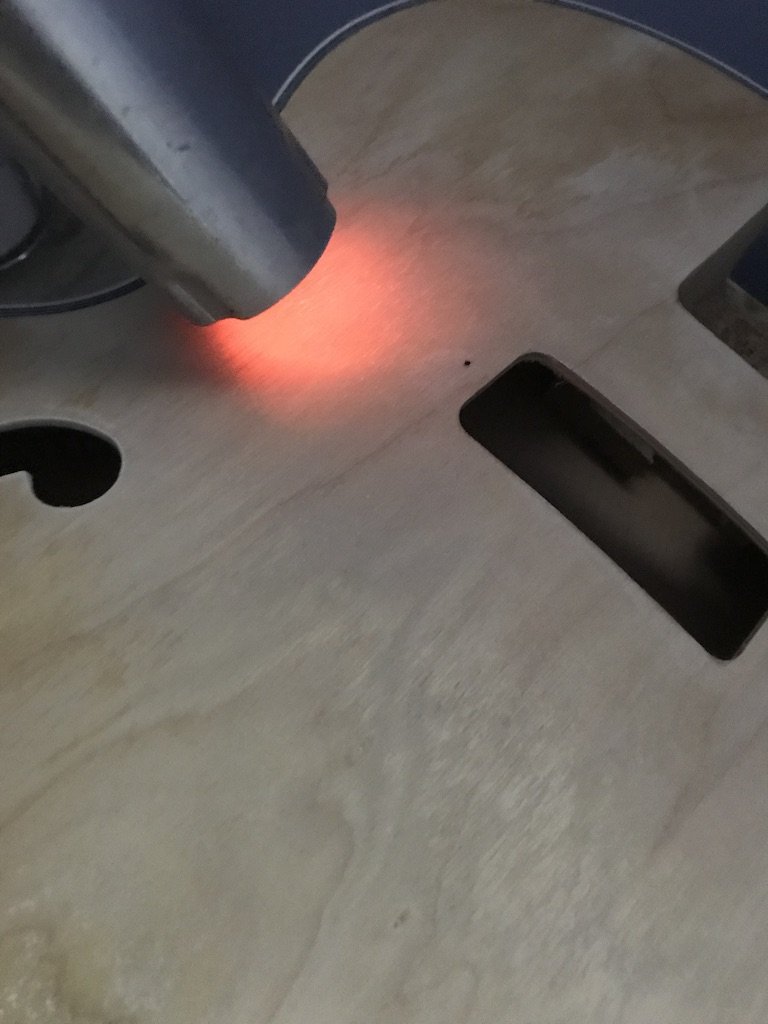
Thanks to @bruce d @Ryland Craze and @druxey for the kind words and everyone for the likes! I know there is plenty of fine reading matter here at MSW competing for your time and I appreciate you stopping by. To my surprise, I find myself thinking a lot about the planking process. I’m looking forward to trying the whole process again, as weird as that sounds. I won’t for this model but I thinking about some experiments and possible next projects. I rushed the process a bit while spending a lot time in the wrong areas (and a bit of just ‘wrong’ as well ). I love the beautiful, crisp planking of @Chuck (which is even more astonishing in person) and @druxey. And I would like to move in that direction, so the long term goal is to make the process more manageable and precise. And ideally, easier. I put a space heater in my workshop, which solved the problem of CA glue not settling. I had assumed the problem was due to gluing wood under tension. I did poke around the NNM website and found quite range of color schemes and details in contemporary/period models - very interesting. I’m fighting the urge to use paint to hide my sins. More seriously, the range of material opens the range of options for this a ‘hypothetical’ model and its embellishment. But the first task is to work towards finishing this model! To the work at hand, I cleaned up the interior, attempted to bring all the ribs to a similar shape and thickness, fixed an over sanded plank and some other small items. Mostly via sand paper and some via wood chisel. I’m a huge fan of wood chisels. I mostly use English-style wood chisels and use the set my father bought for me in the ‘90s. I also found myself using a raking light to reveal imperfections in the ribs and in the hull. It makes it much easier to compare areas, shapes and even surface textures (I.e did I miss an area with fine sand paper?) quickly and over distances.

- 123 replies
-
- 7
-
-
- Model Shipways
- Pinnace
- (and 1 more)
-
There are not words. We are here for you and will see you when the time is right. You are in our thoughts.
-
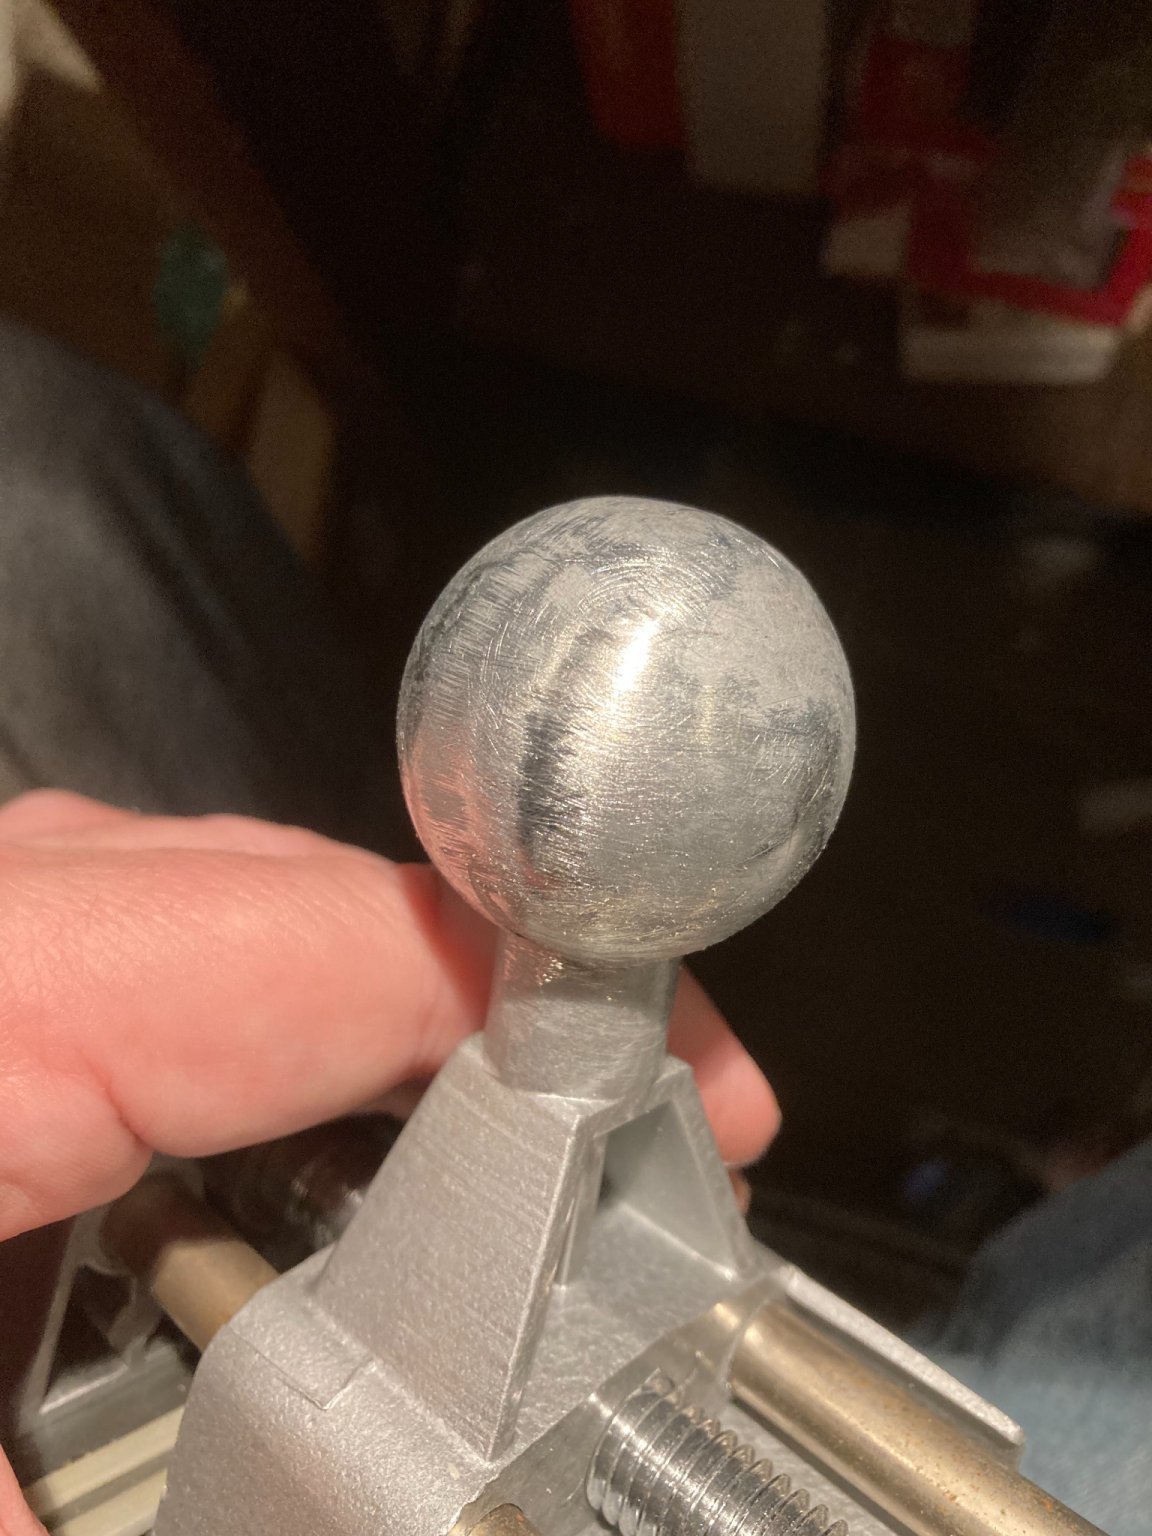
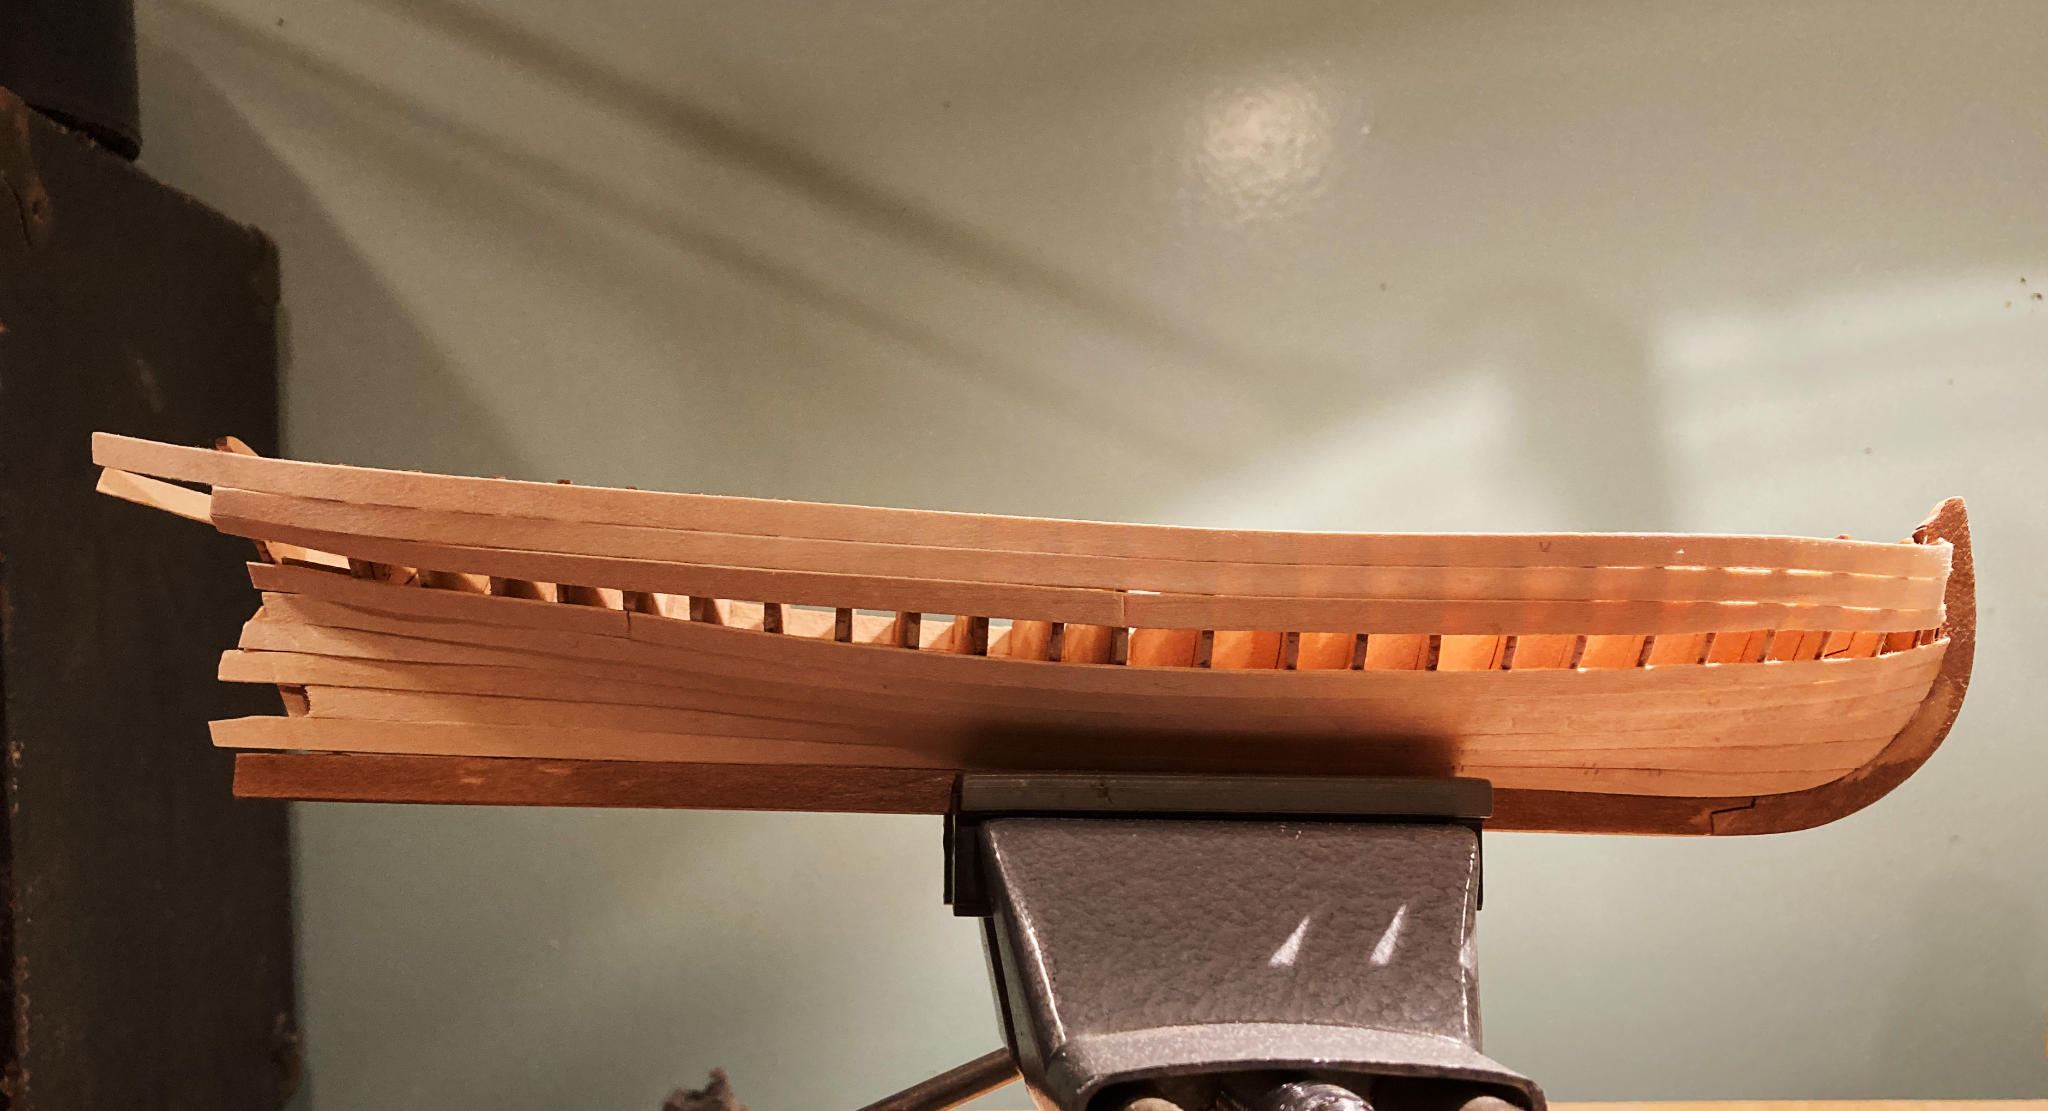
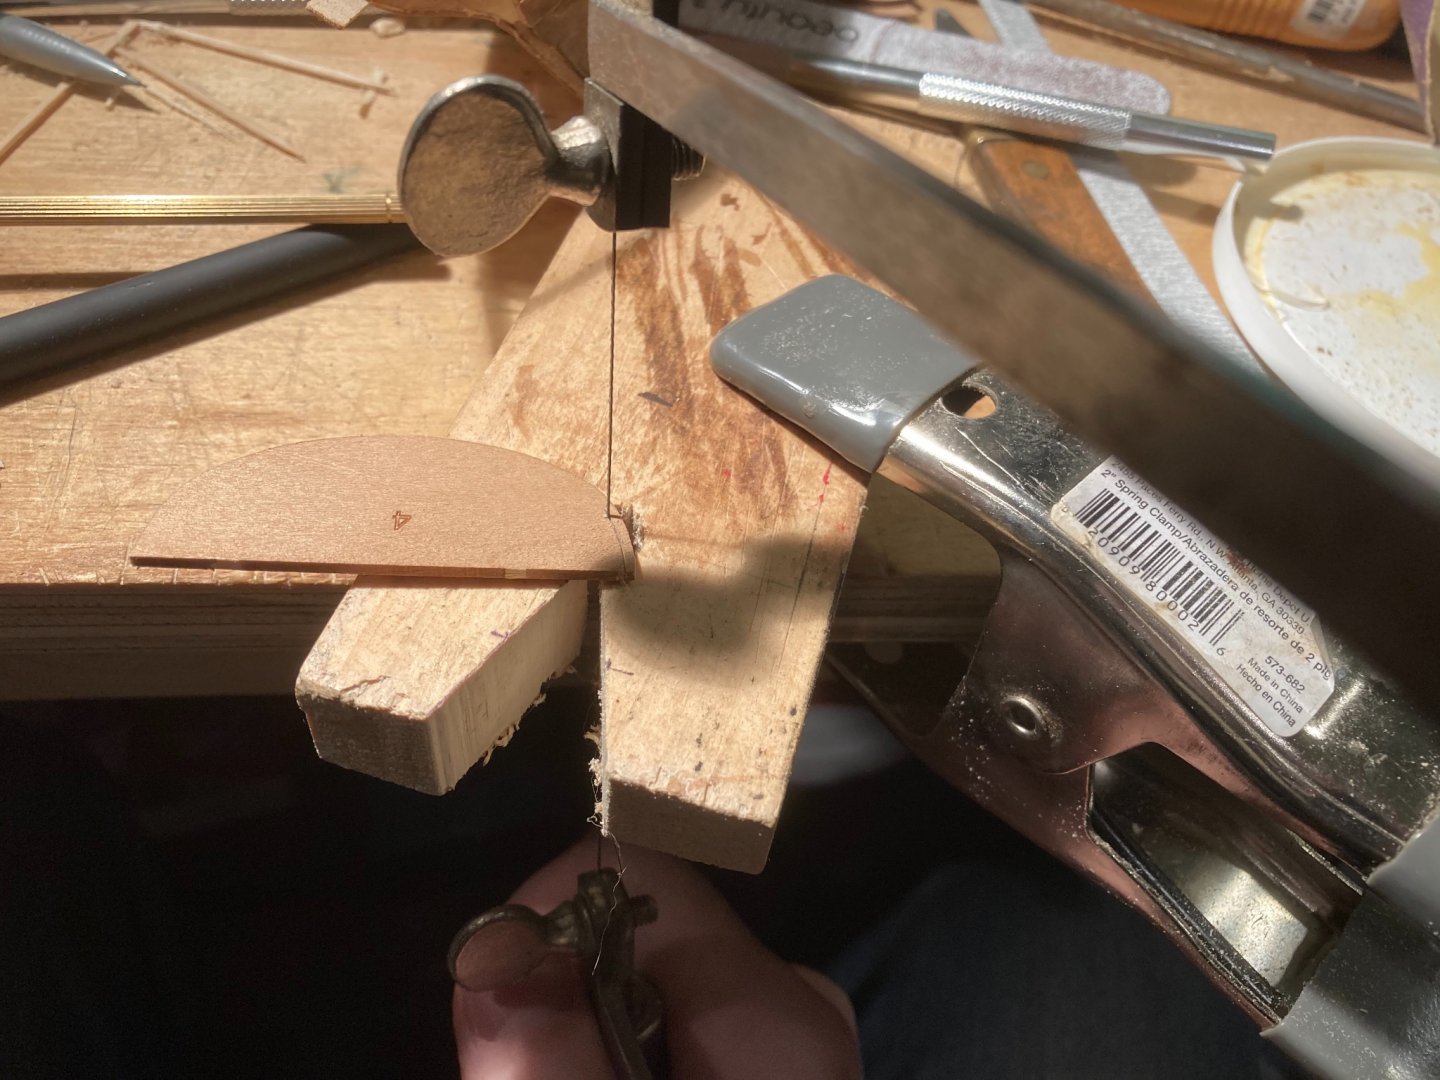
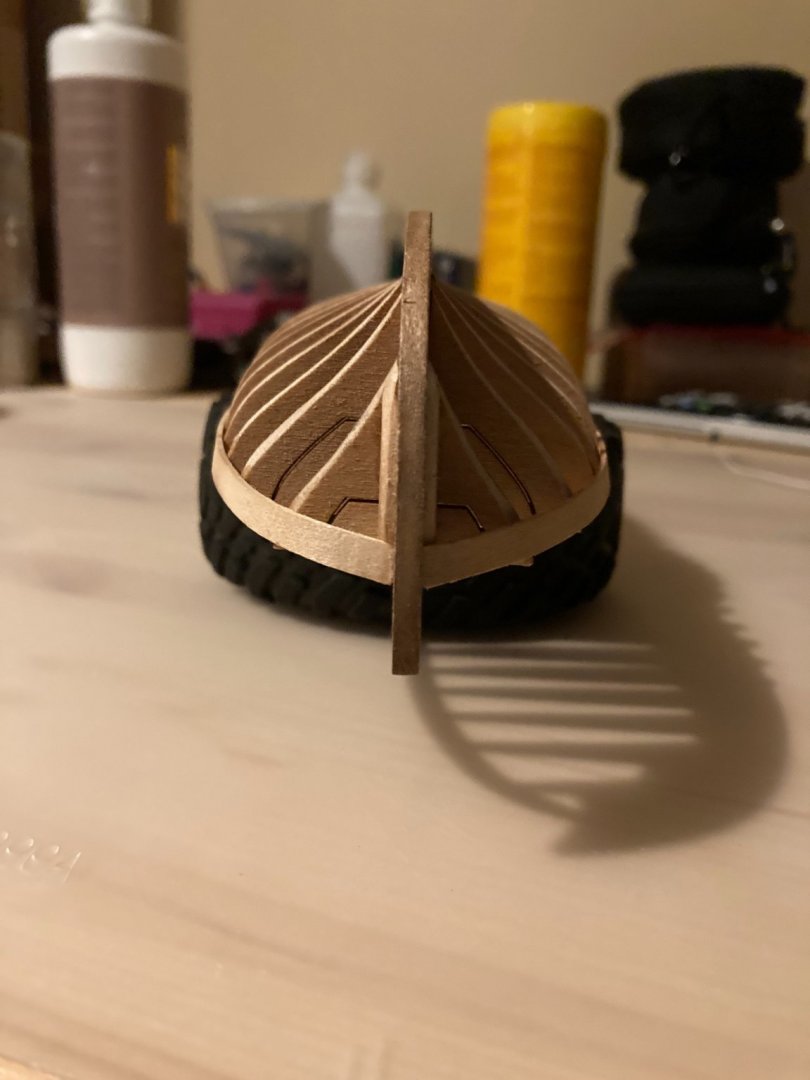
I found the source of some of my error in attempting to layout the shape of the planks (I didn’t include the rabbit on one side and didn’t measure past the rib on the other end of the pinnace. I also took time to file the ‘ball’ of the ball joint of my vice. It was poorly formed, but I’m not complaining since it was so poor I received the vise for free! There also is a picture of scrap I use to support my use of the jeweler’s saw.

- 123 replies
-
- 4
-
-
- Model Shipways
- Pinnace
- (and 1 more)
-
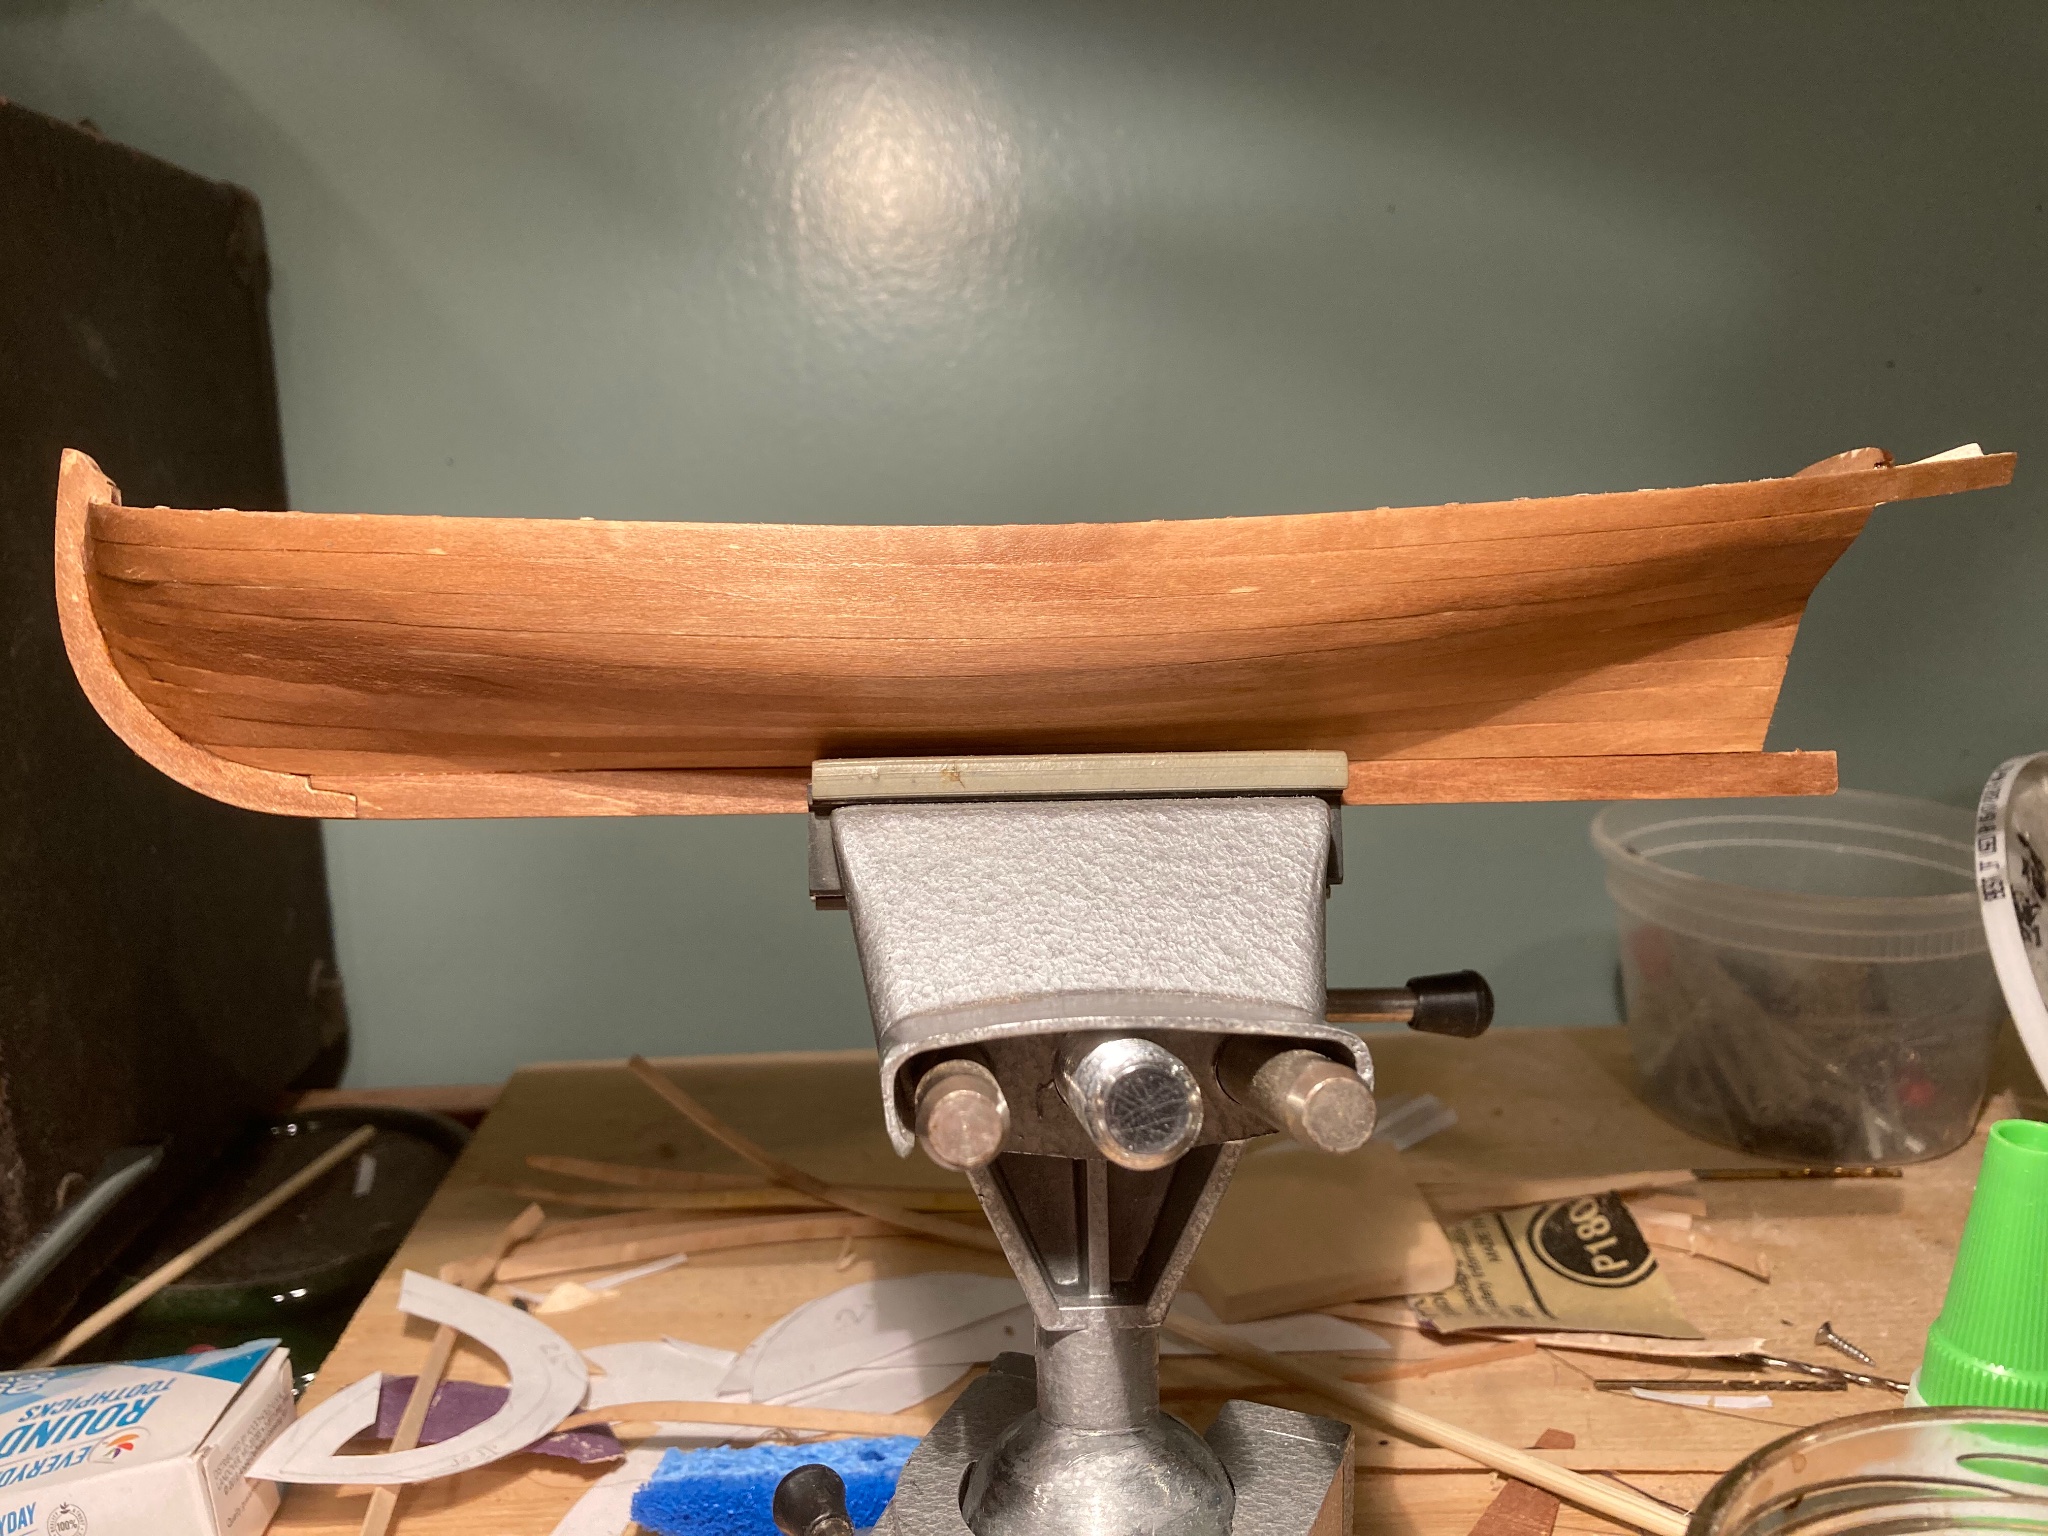
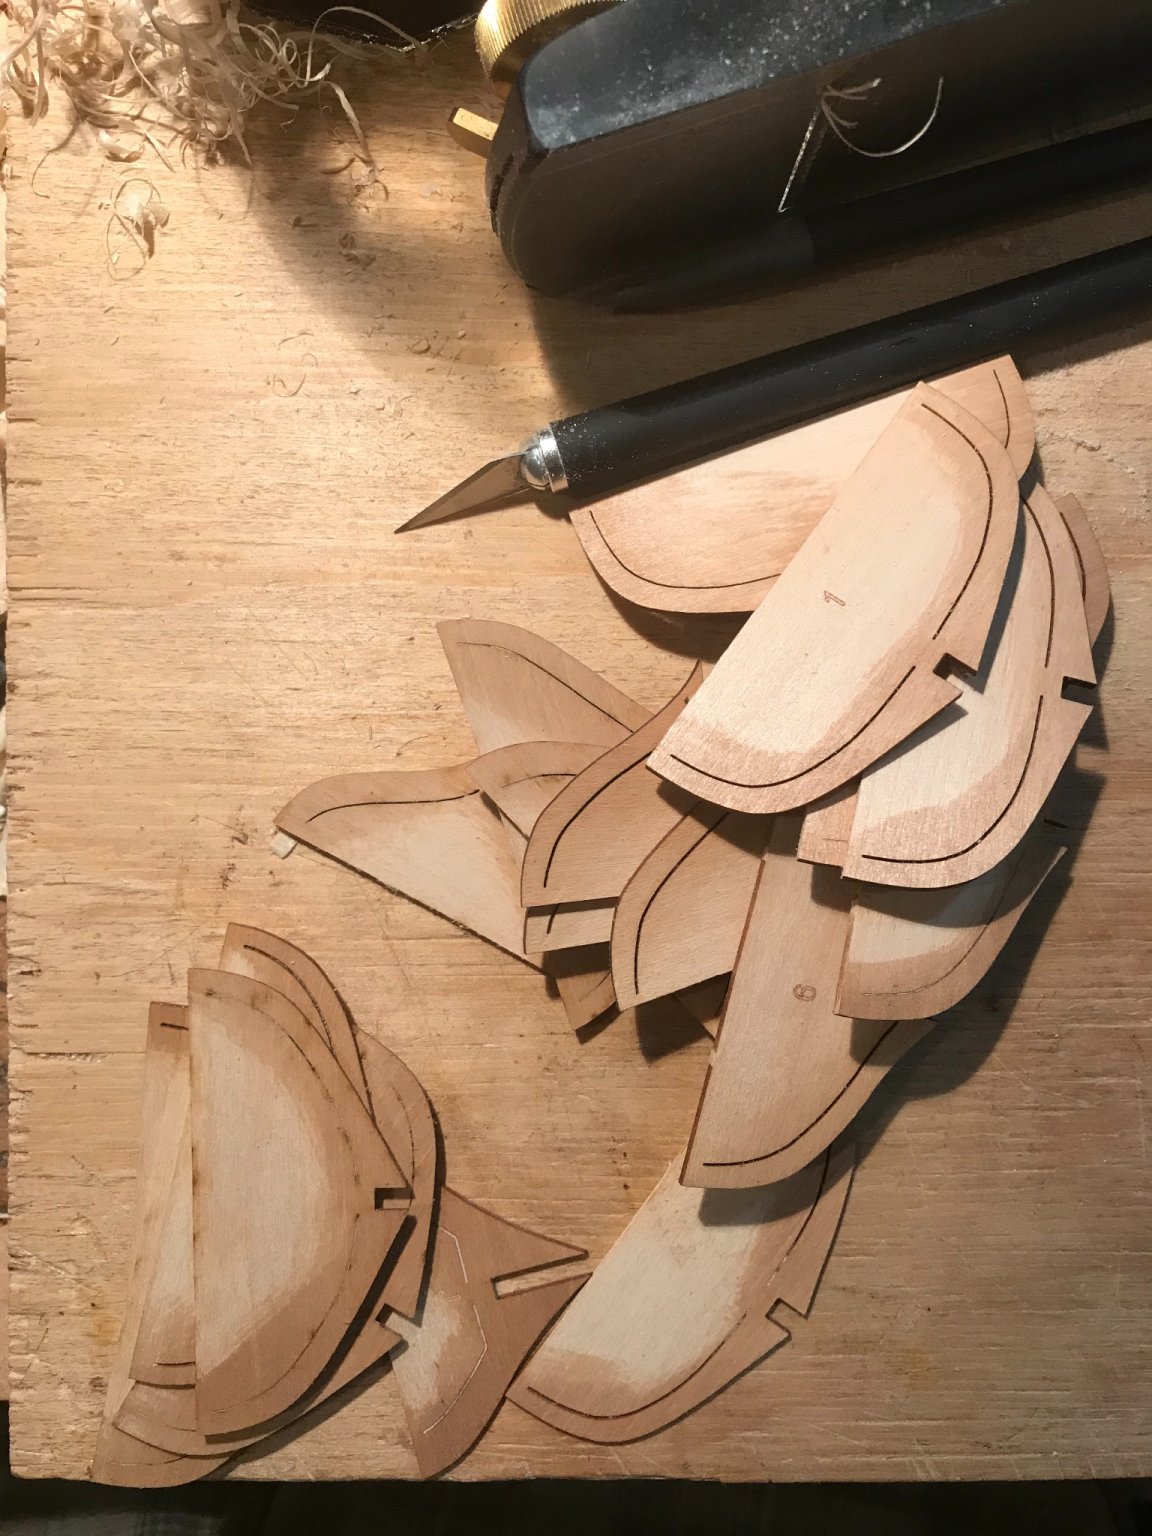
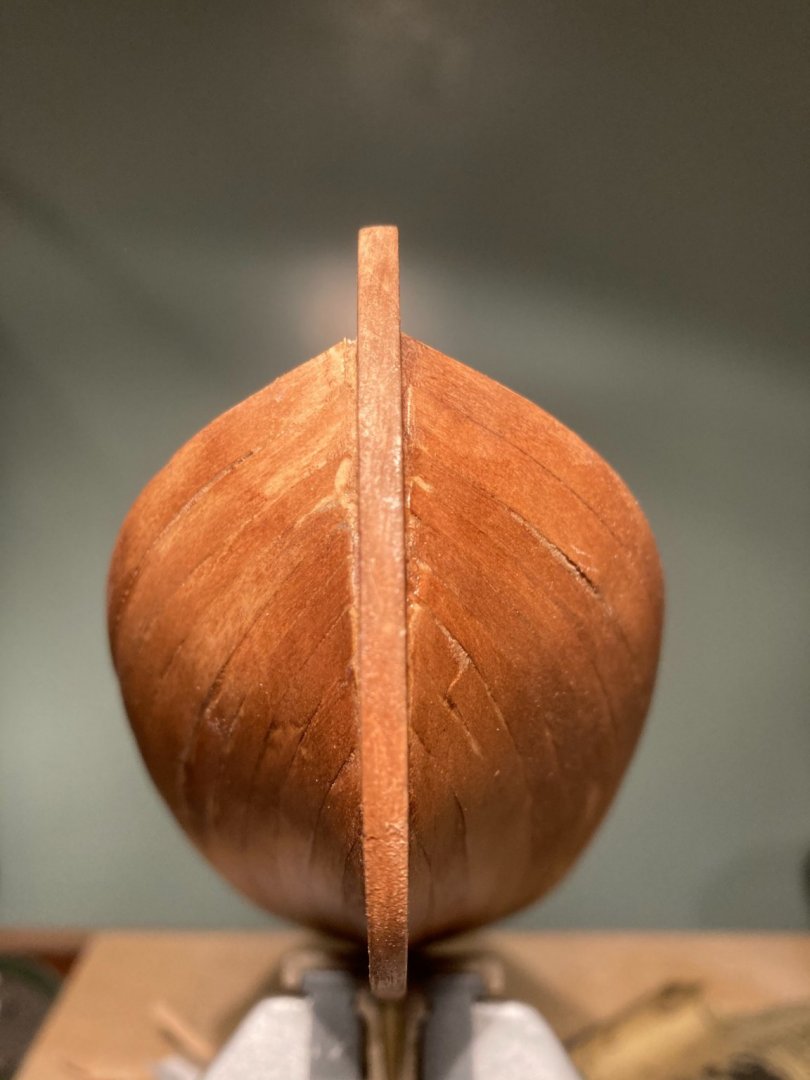
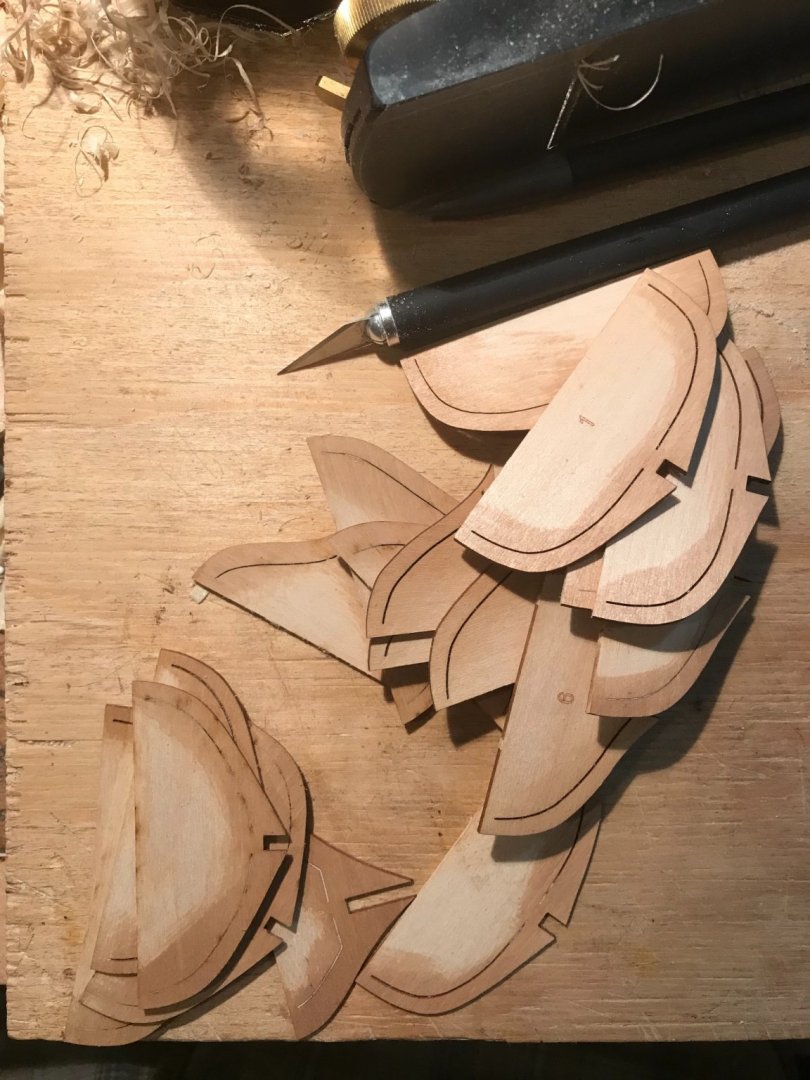
I have repaired the broken ribs. The replacements were cut with jeweler’s saw from the no-longer-needed tabs. I simply pick a tab with a matching curve and cut ‘inside’ of that curve. The original thinning of the ribs were with sand paper, chisel and Demel tool using a sanding drum. I used a mini saw to cut the tabs from the ribs and didn’t have any issues similar to those noted by Chuck in his instructions. Originally I add a bit stain, which I wouldn’t repeat in hindsight. I did add stain to match the keel on the outside. I also used a pinch of filler on the bow where I misjudged the rabbet. Since I believe the use of these logs are to inform our fellow travelers more than protect my ego, I have a straight shot of the bow. I used HobbyLite Balsa Filler, since I didn’t have enough saw dust to mix with glue. I used a bit of water-solvable walnut stain and clear matte water-based Varathane polyurethane to coat the outside of the hull.

- 123 replies
-
- 4
-
-
- Model Shipways
- Pinnace
- (and 1 more)
-
Great work! And it looks like you have found the audience you were hoping for in your earlier work log (at MSW)! I love that you show the tools you used for each stage and the clear descriptions, which make the log a delight to read! Thanks!
- 778 replies
-
- 2
-
-
- cheerful
- Syren Ship Model Company
- (and 1 more)
-
Thanks for the effort of porting your build log! It was a delight to read, informative and prompted a bit of tool envy.
-
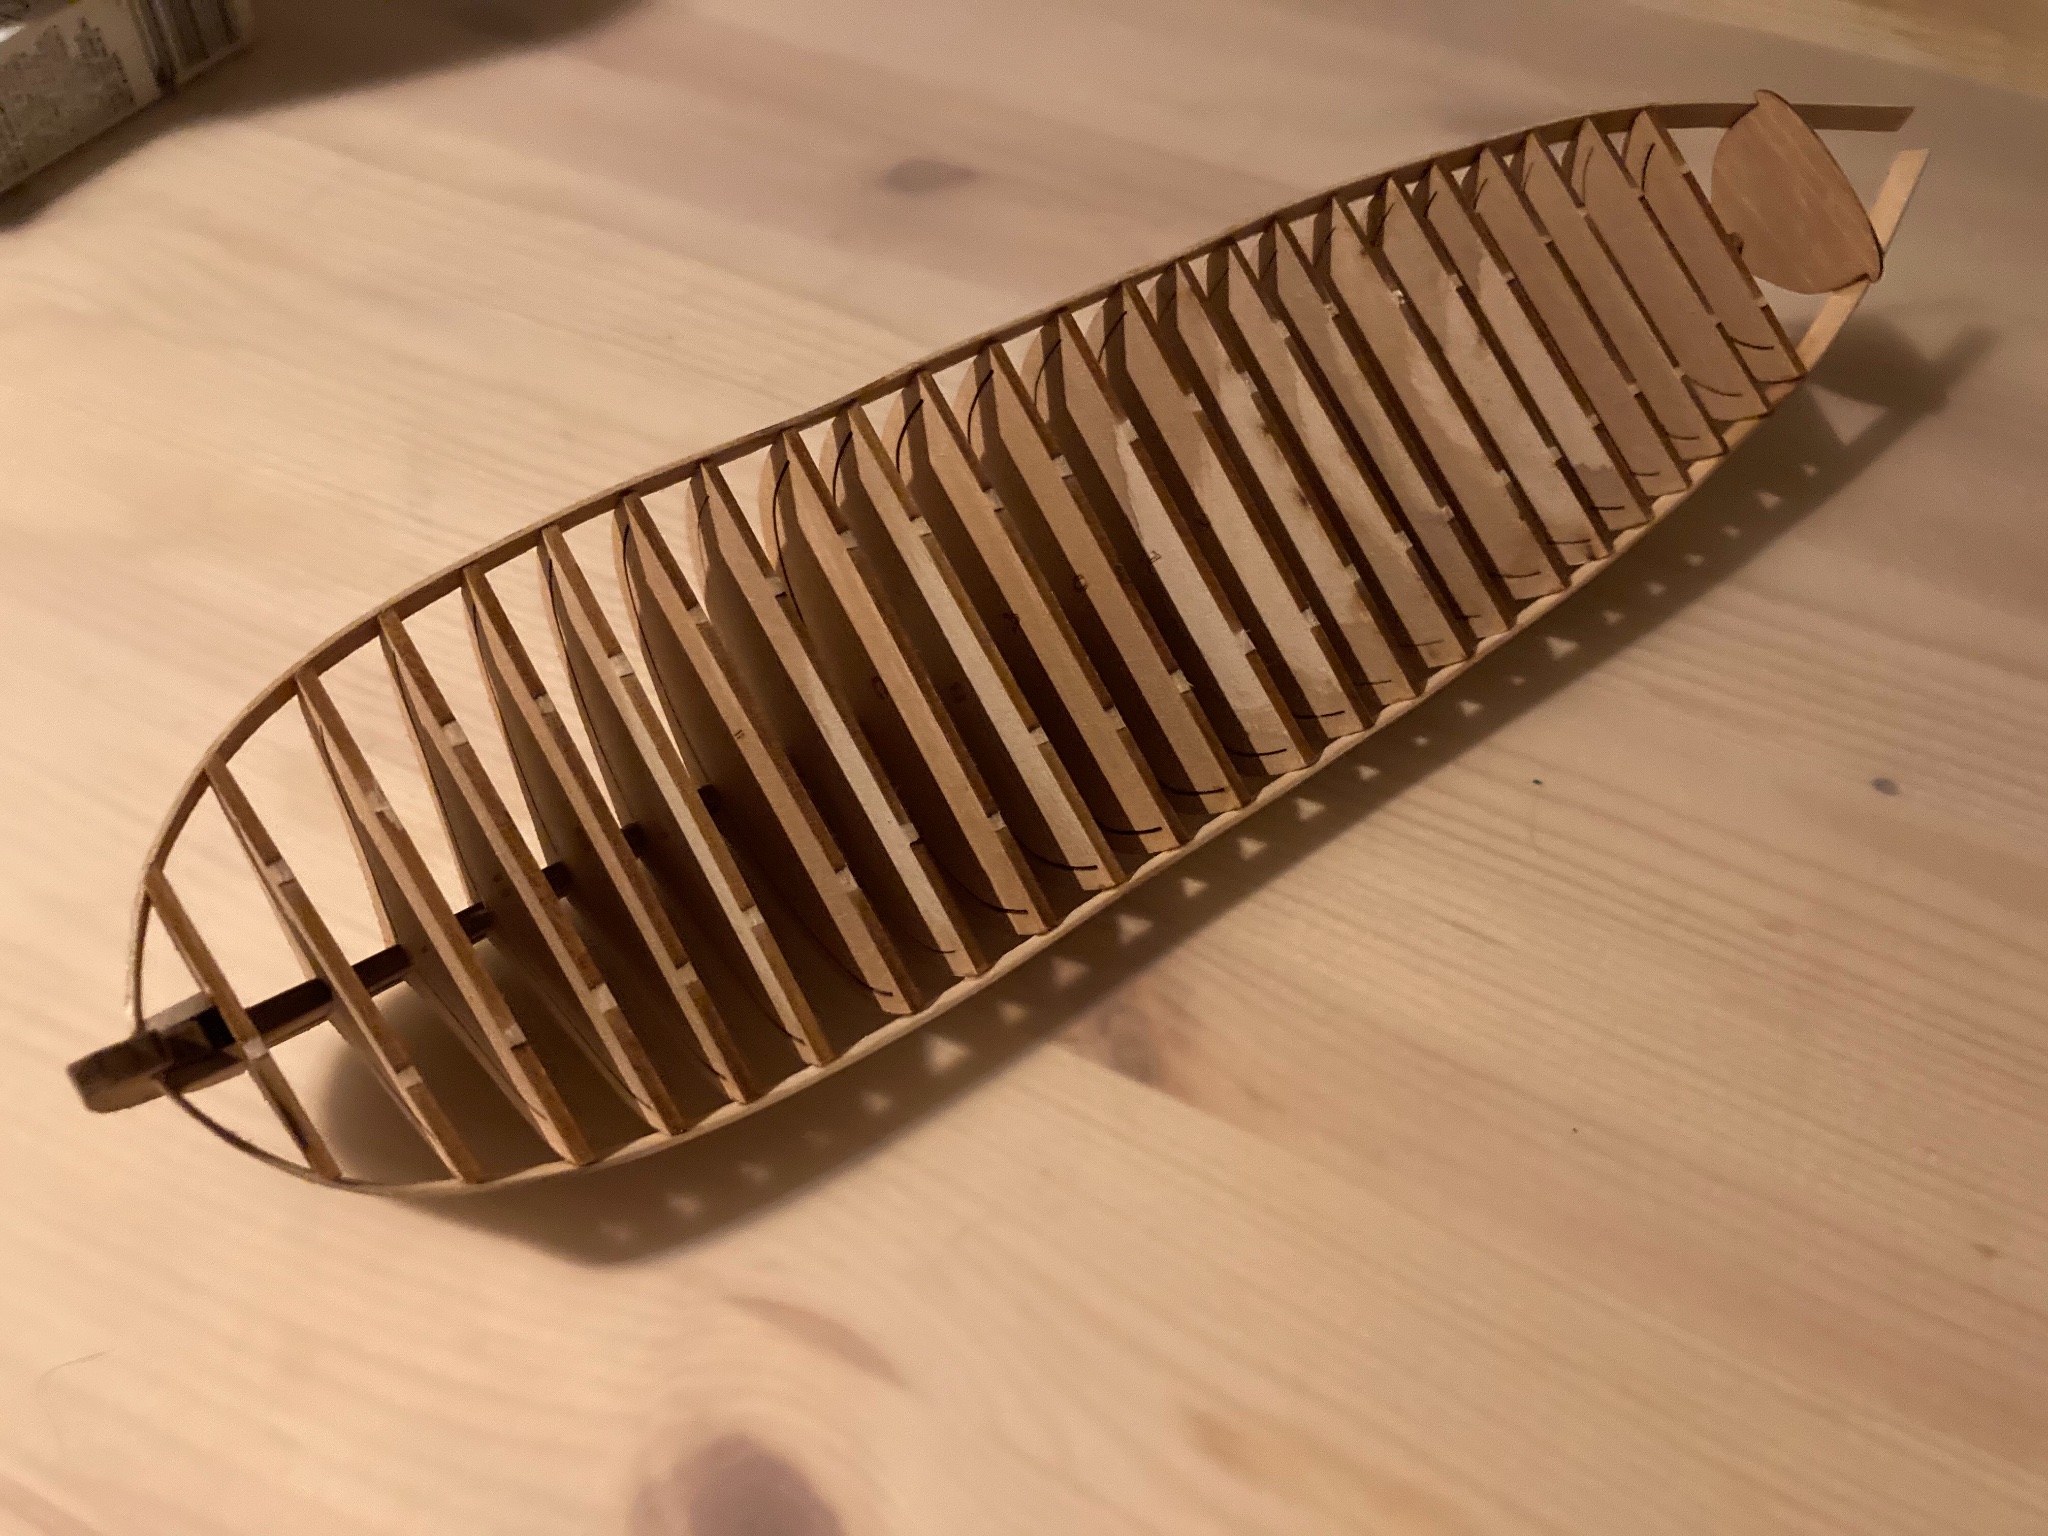
I have to decide if I will use some wood filler and I have a few ribs to repair. When held to a bright light, so can see the variation in the thicknesses of my planking (as well as other sins).

- 123 replies
-
- 8
-
-
- Model Shipways
- Pinnace
- (and 1 more)
-
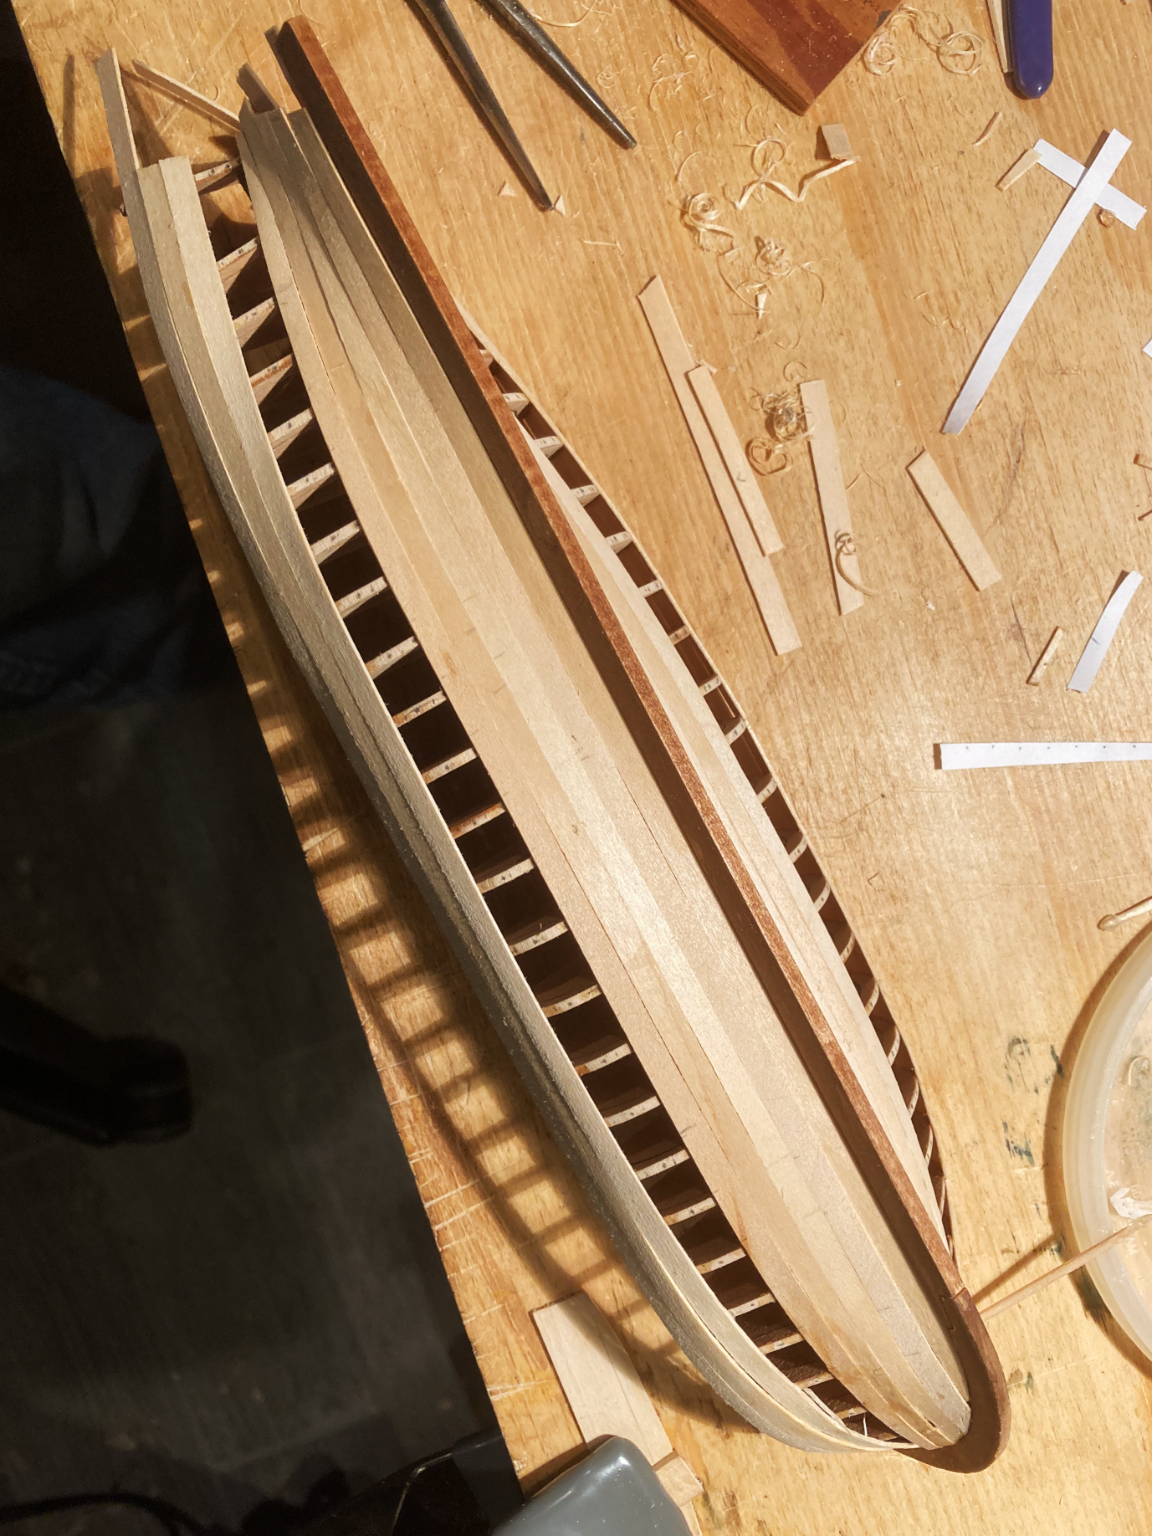
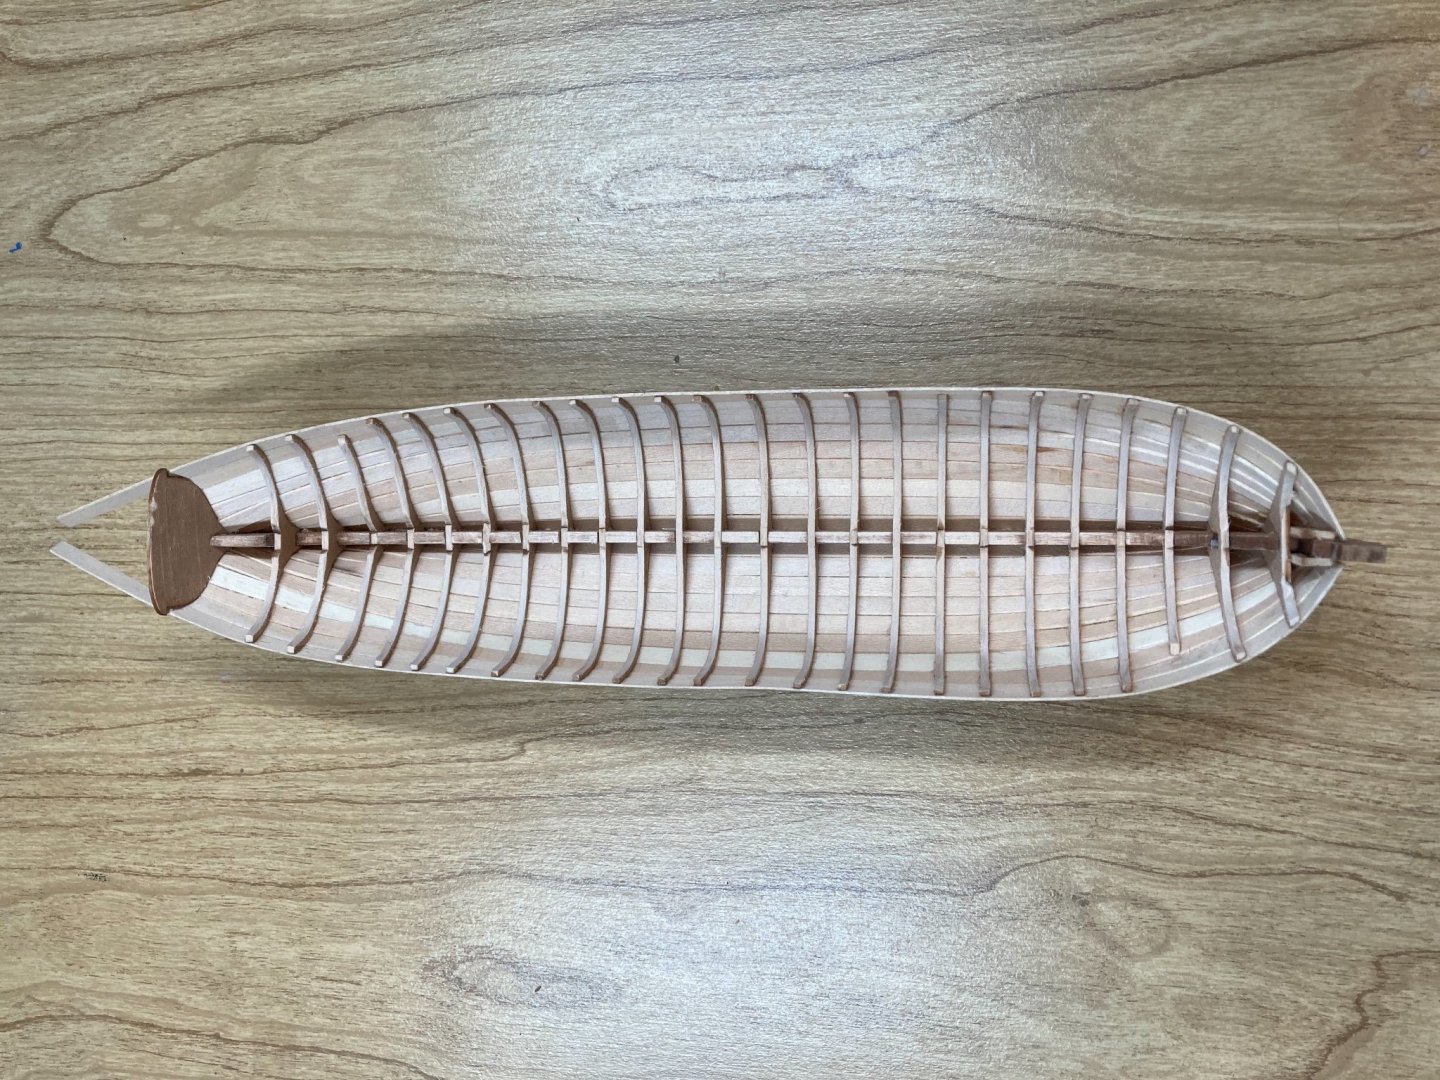
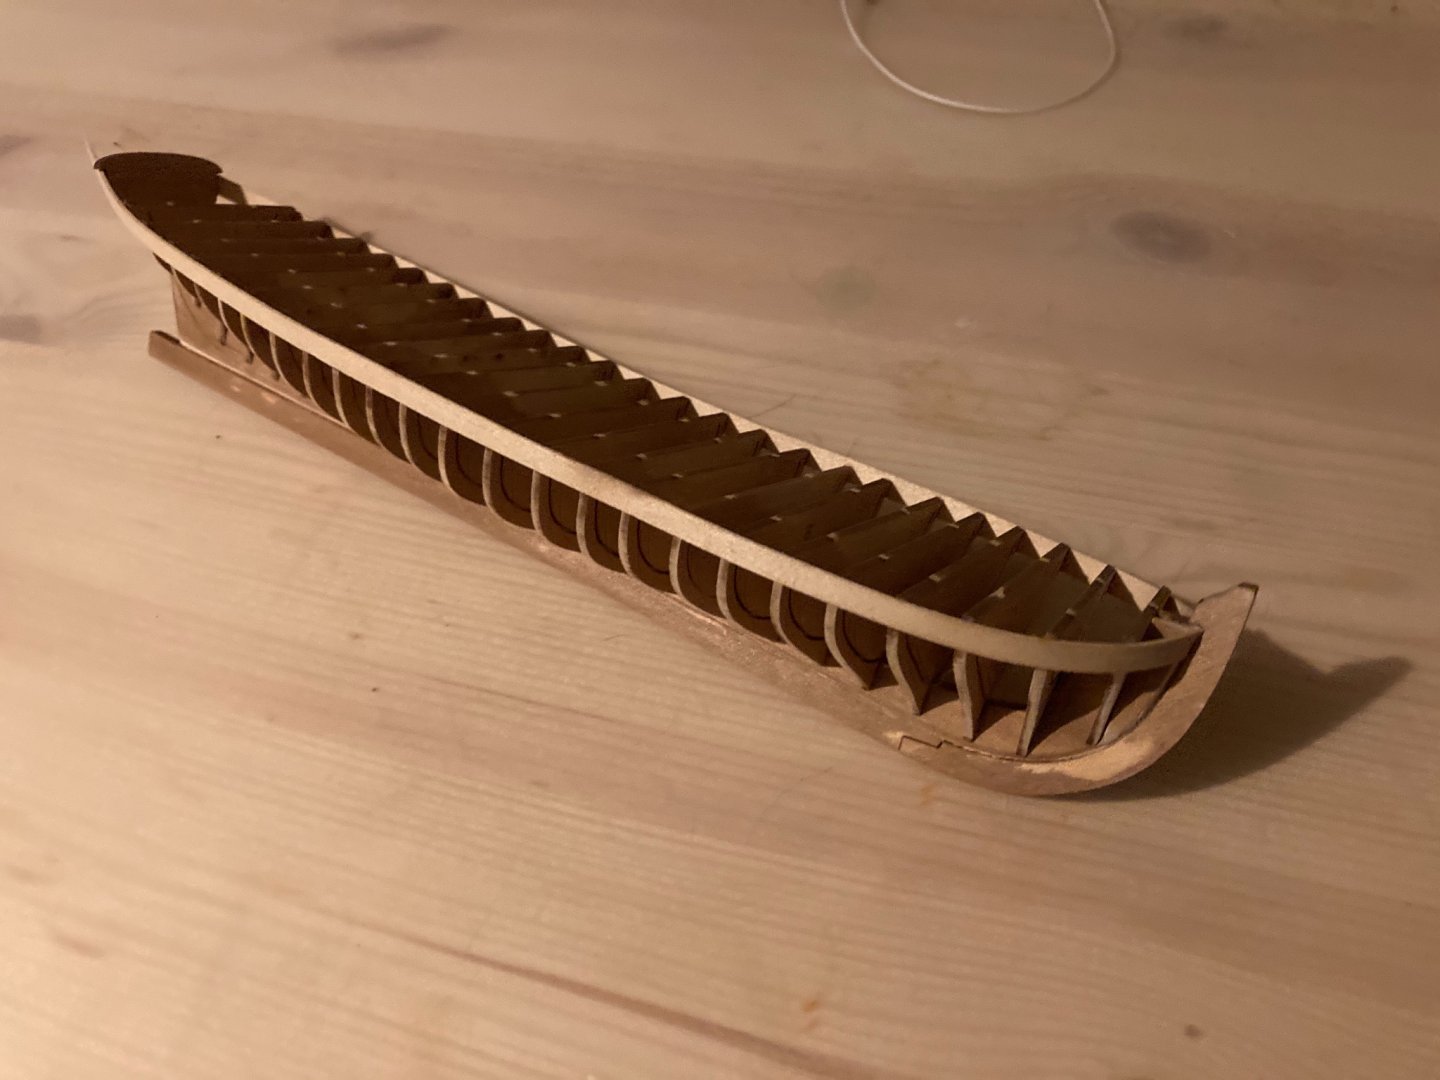
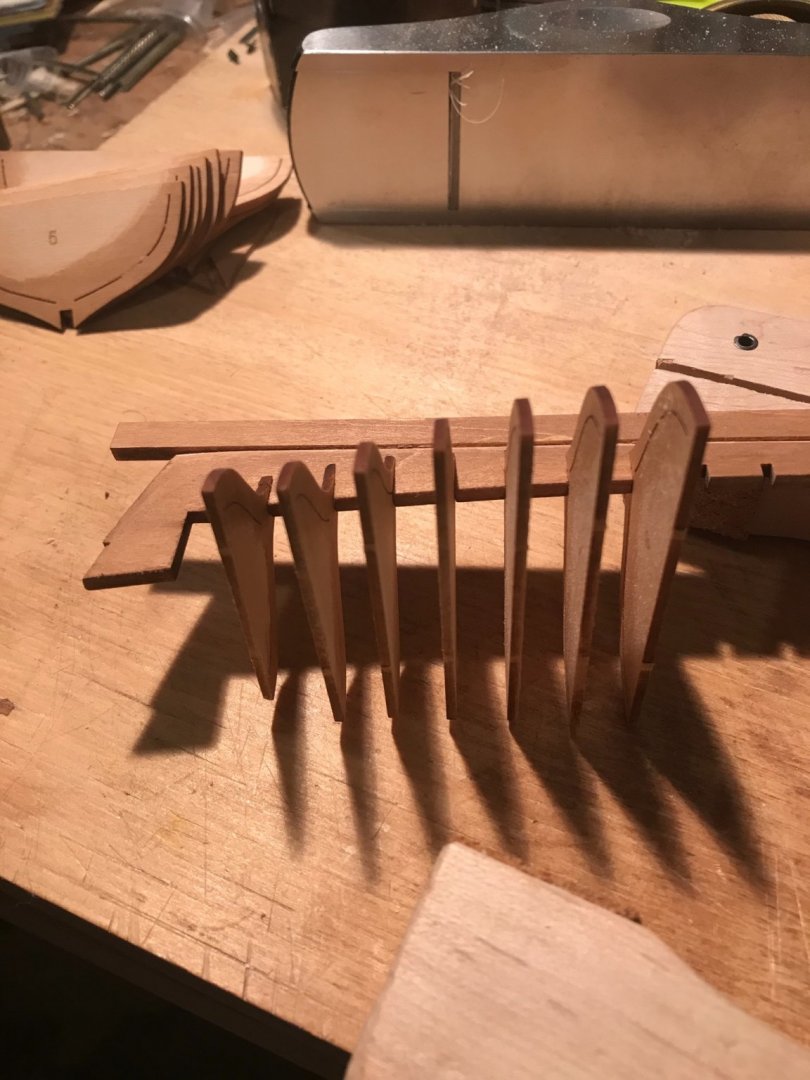
I’ve sanded the hull and I’ve removed the inner ‘tabs’ from the the ribs and trimmed the ribs.
- 123 replies
-
- 6
-
-
- Model Shipways
- Pinnace
- (and 1 more)
-
Thanks for the encouragement and forgive the grousing! I appreciate you taking the time to support folks like myself; it’s an honor!
-
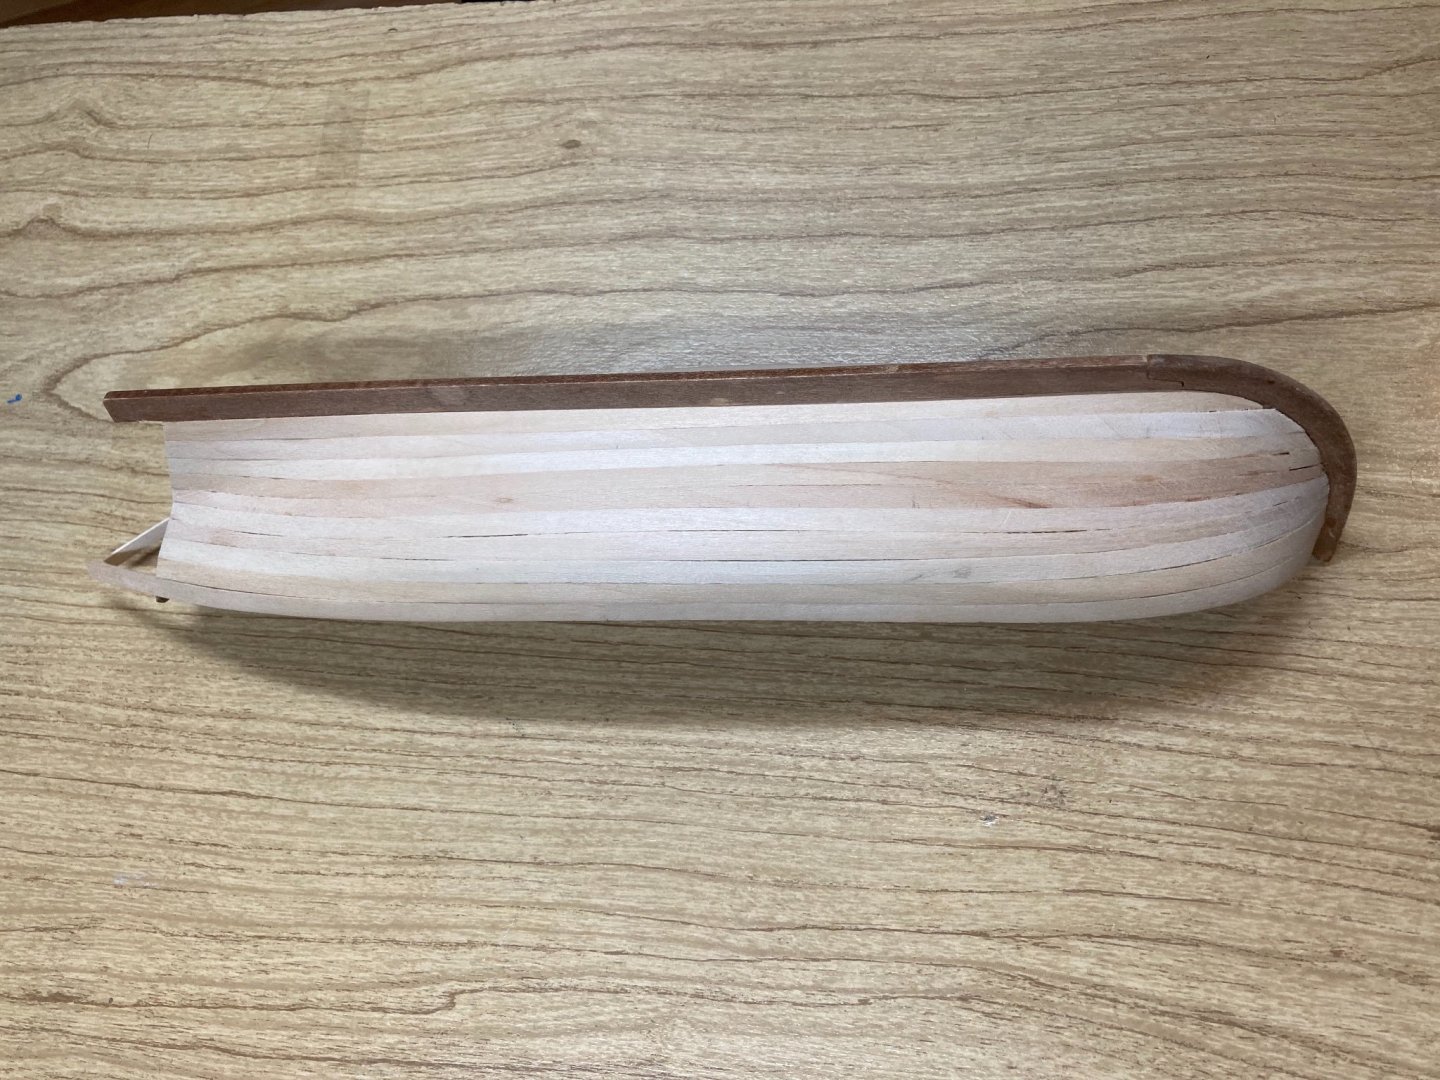
Chuck’s instructions were clear and helpful. They guided me correctly in shaving the keel so the planks meet the false keel beautifully. I mis-gauged the rabbet on the front of the pinnace and consequently could not place the planks correctly in the rabbet at the front although the Garboards went perfectly.. I also mis-interpreted how to gauge the trimming of the planks as they reach the ends of the hull, so that is off as well. Now that there are some planks on the hull, the model feels very sturdy.
- 123 replies
-
- 4
-
-
- Model Shipways
- Pinnace
- (and 1 more)
-
I’ve wrestled with the process of planking. I’ll share a couple novice’s insights. 1) CA glue doesn’t set so well at temperatures below 55 degrees F! 2) Also at that temperature, a “set” bond may shift. 3) bending wood is not as hard as I thought. Very high temperature does the trick - with or without soaking. I experimented on wooden coffee stirrers. Boiling water with molds works. The high setting on a fabric iron works and a heat gun works. In all cases, bring the wood up to temperature, setting a shape and holding the shape while the wood cools are the chief steps. 4) Fairing is critical - the better your fairing, the more surface area you can glue to. 5) A fair number of instructions only made sense in hindsight!! Early on, I could remove planks easily but as I corrected my fairing and became a little better at bending the planks, it became harder to remove mistakes. I guess that is a form of improvement, if not success. There are a number of cumulative mistakes I’ve made, which will diminish the final product. This is the process of learning and I will try to see this as investing in a better future instead of the more obvious ‘wrecked kit’ motif that jumps to mind. Next time, I’ll glue in extra wood between the frames to stop flexing. That flexing made fairing tricking, since the wood would bend. I had the same issue with clamping and gluing as well. I still don’t have a strong intuition on what shapes to bend the strips of wood to match exactly the shape needed to minimize forcing the plank into the desired shape. I have to say this process wasn’t as pleasant as I hoped. I assume it will yield to practice. Little by little.


- 123 replies
-
- 8
-
-
- Model Shipways
- Pinnace
- (and 1 more)
-
I hope you are mending quickly! The ship looks wonderful!
-
I’m pulling up a chair also, to watch the festivities! Looks great so far!
-
As per the instructions, I wet the wood and used a heat gun (not having a hair dryer) on the clamped wood. I was able burn the wood easily, and found my spring clamps dented the wood easily. But the wood did, indeed, bend! I’m not sure how best to create the correct curves to match the lines of the hull but I’m hoping that yields to practice. I found gluing my first pieces to the ribs harrowing, giving how much the thin ribs flex. I used CA, which I could clamp the whole assembly with just my hands and just wait a few seconds for it to dry. And then circle back, if a bit more glue was needed. I found it tricky to apply enough to the correct area without dabbing the adjacent areas. I now have a much deeper appreciation for the careful work done by others on this site.


- 123 replies
-
- 8
-
-
- Model Shipways
- Pinnace
- (and 1 more)
-
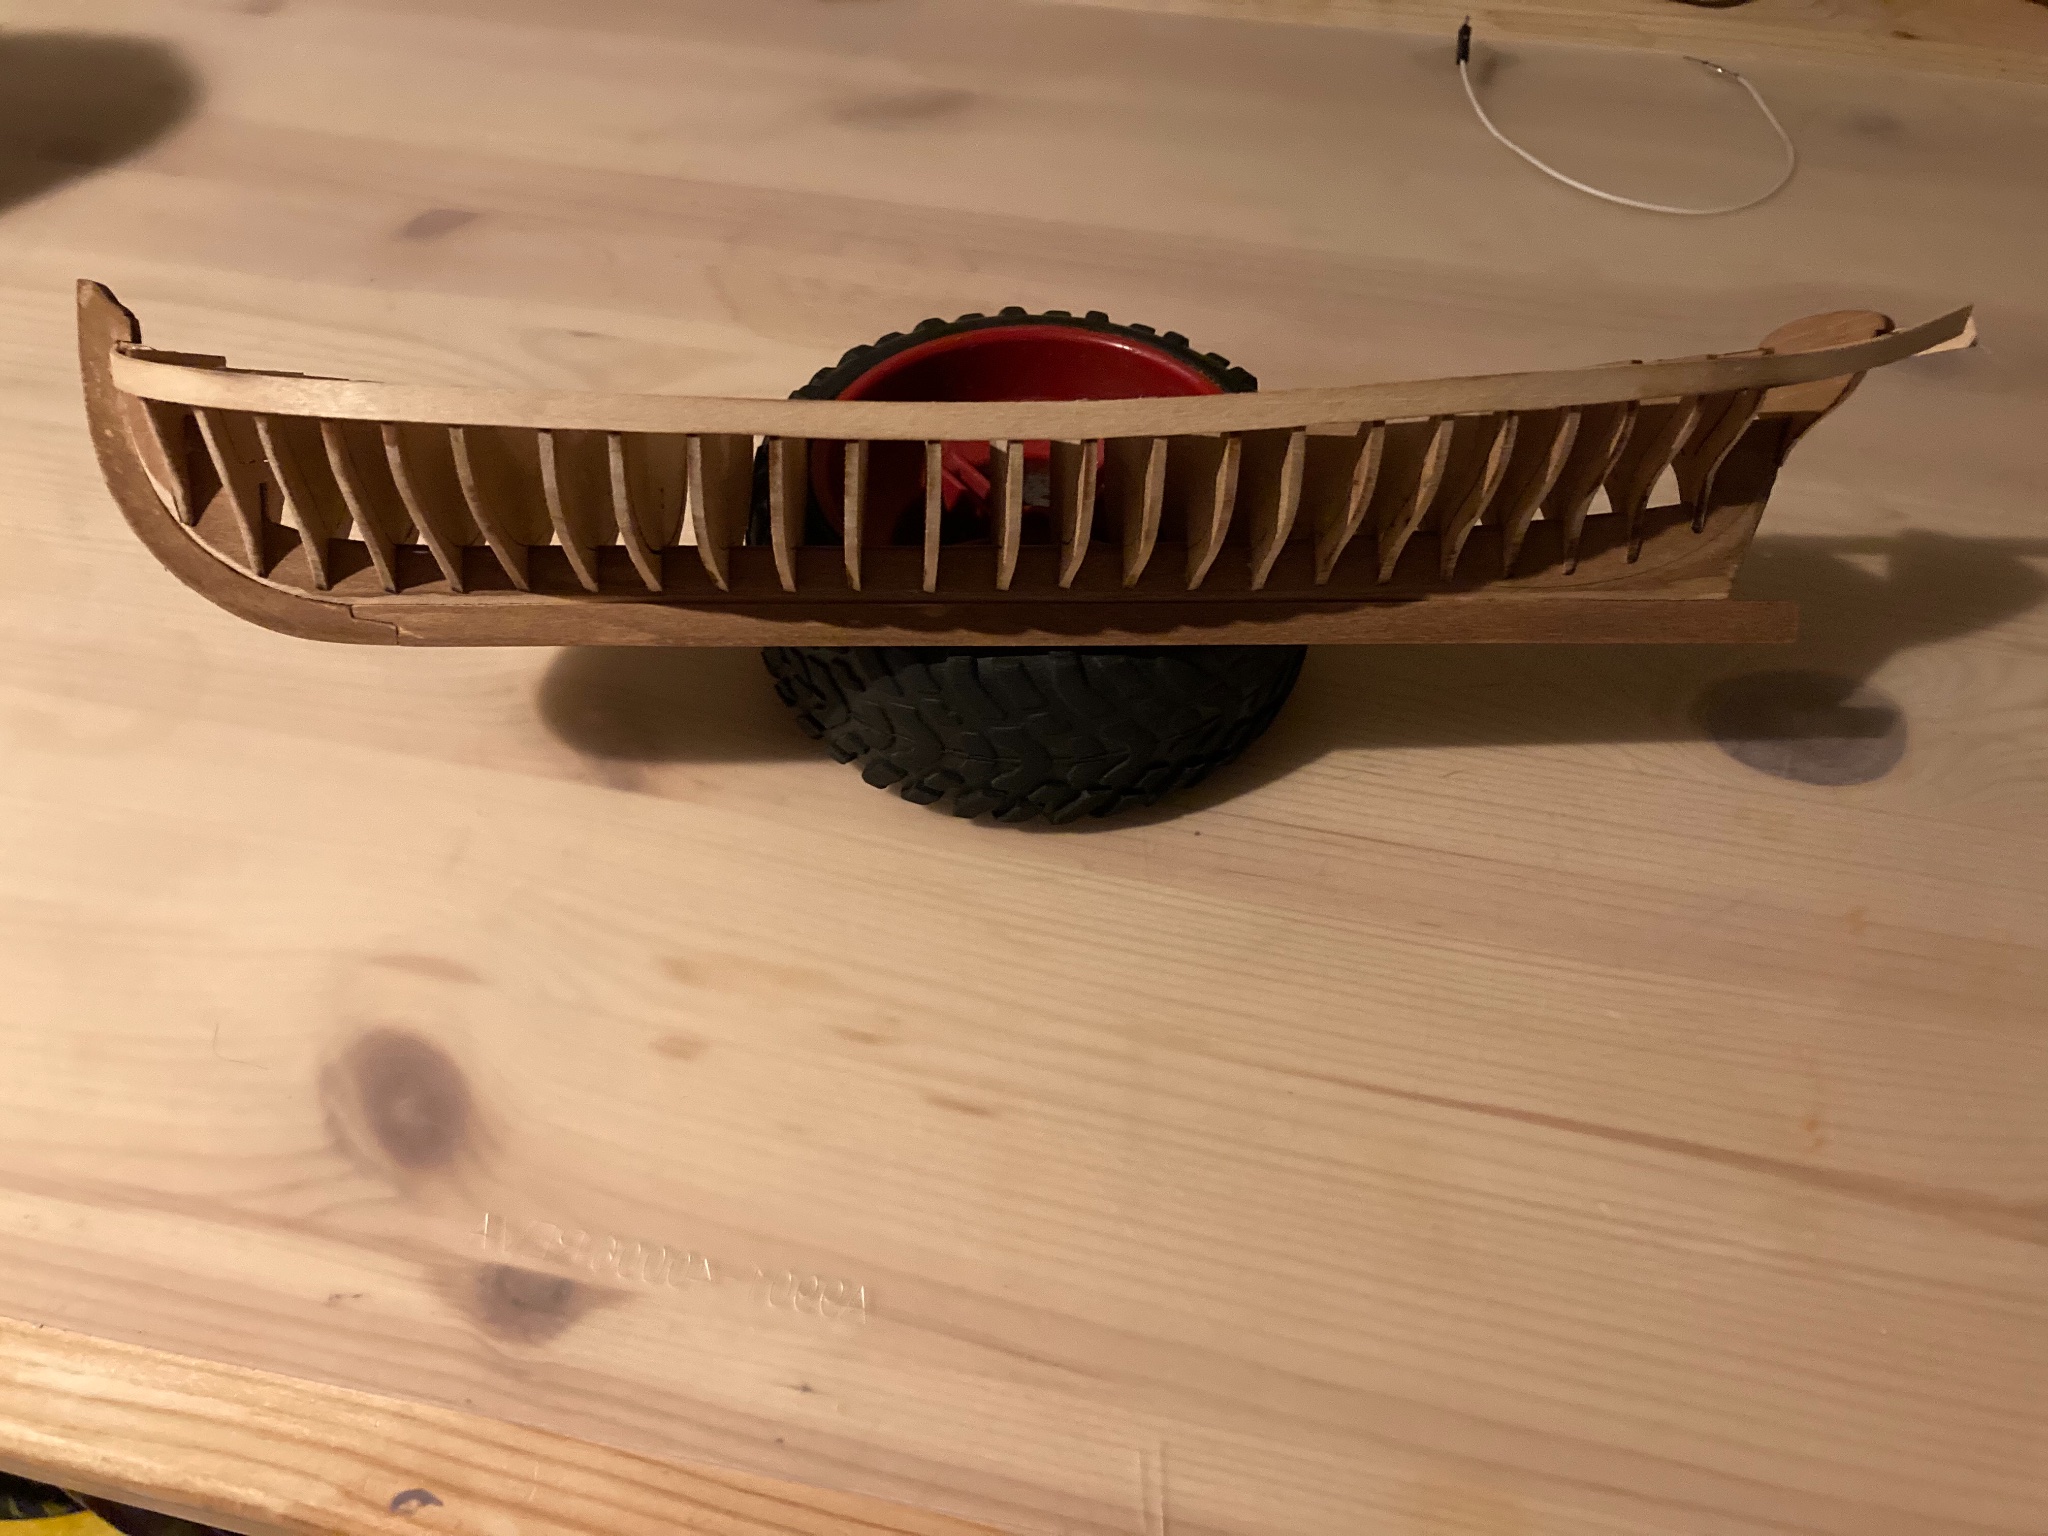
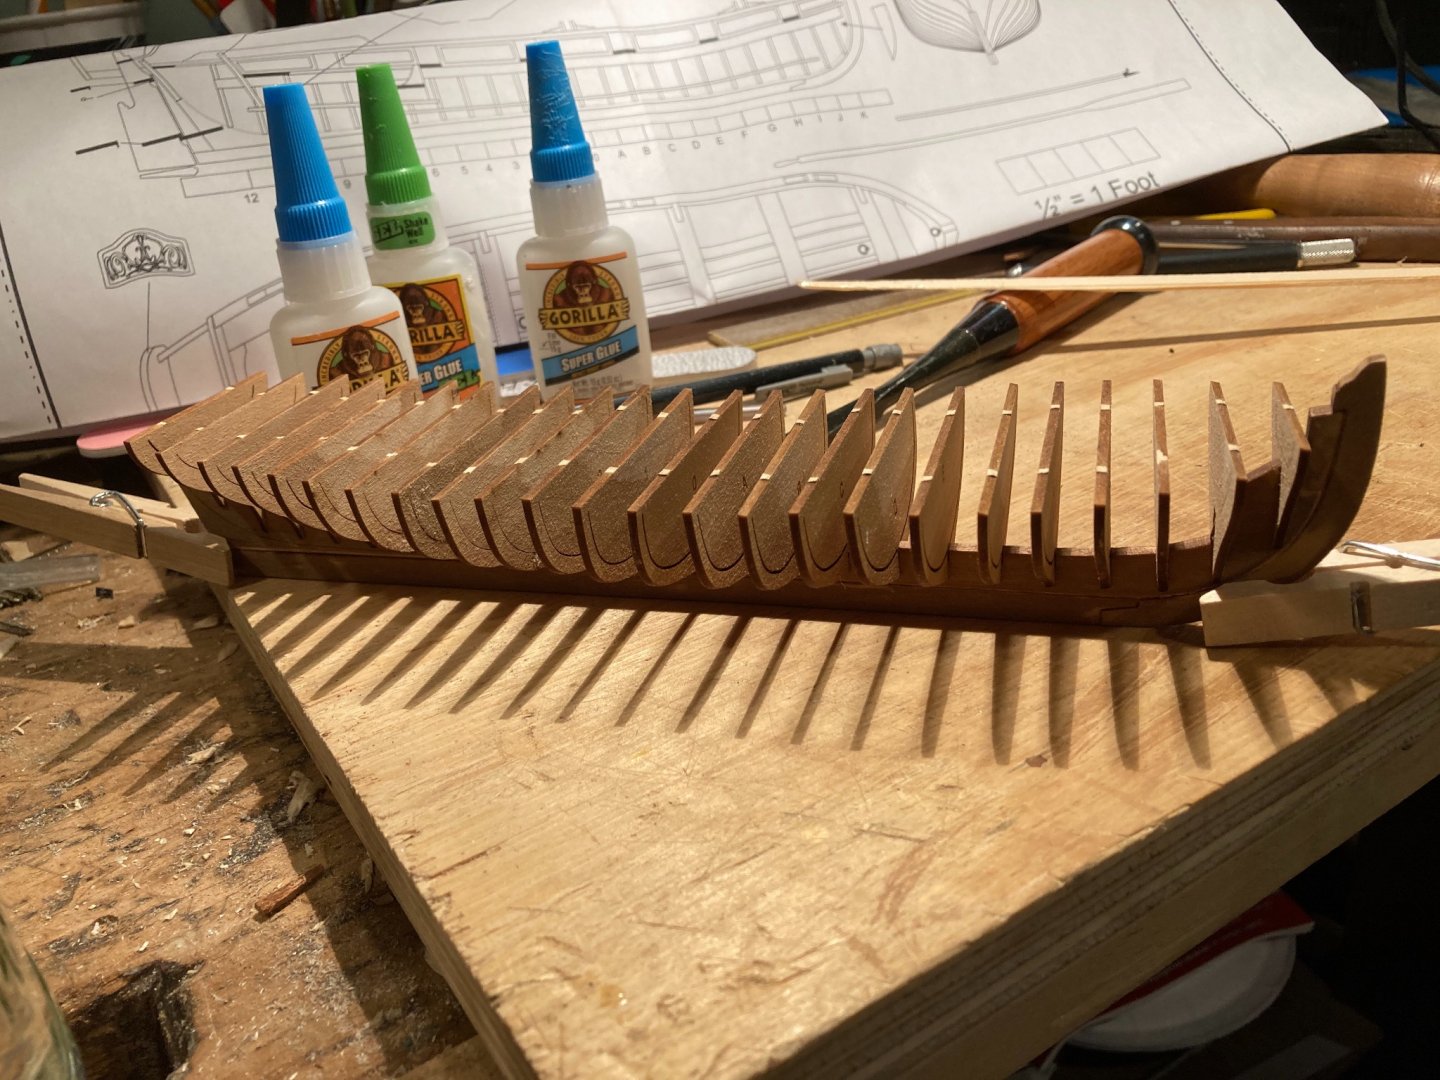
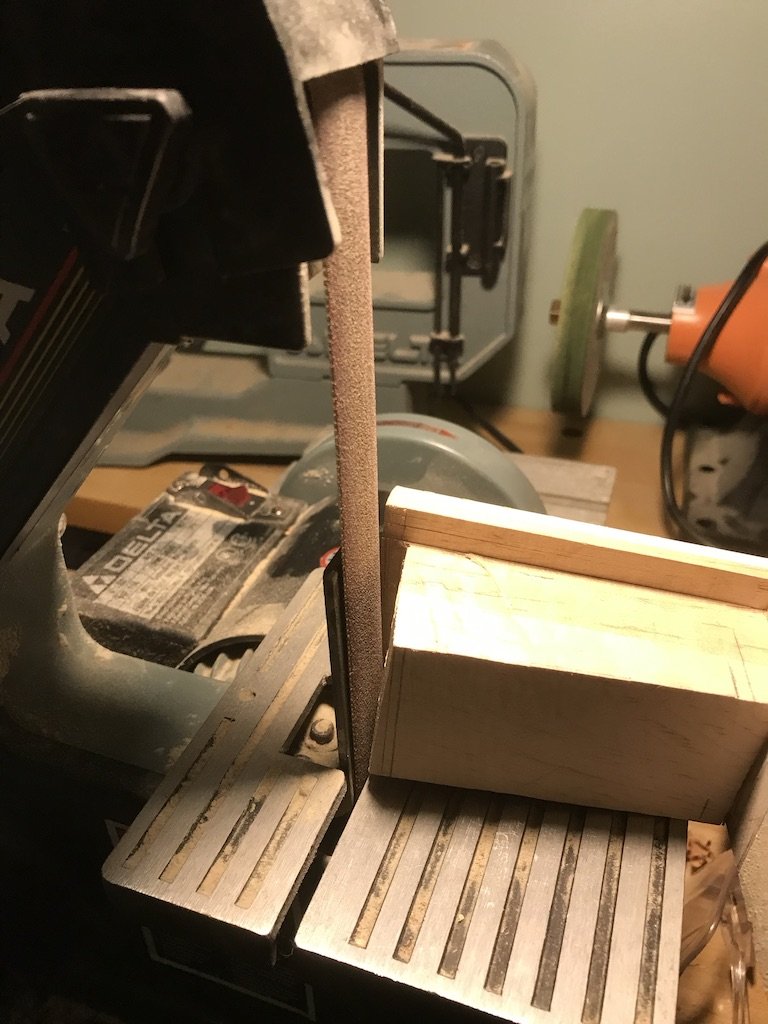
I broke a number of ribs by making the fit of the rib to the keel to tight. So yet again Model Expo was kind enough to send a replacement. The replacement set was also had less variation in thickness, which was nice. I used a squared block to ensure 90 degree angles. I found fairing the ribs challenging due to the flimsy nature of the ribs. I used packing foam to ‘brace’ the top of the ribs while sanding (though next time I’ll glue supporting timber to the top).

- 123 replies
-
- 5
-
-
- Model Shipways
- Pinnace
- (and 1 more)
-
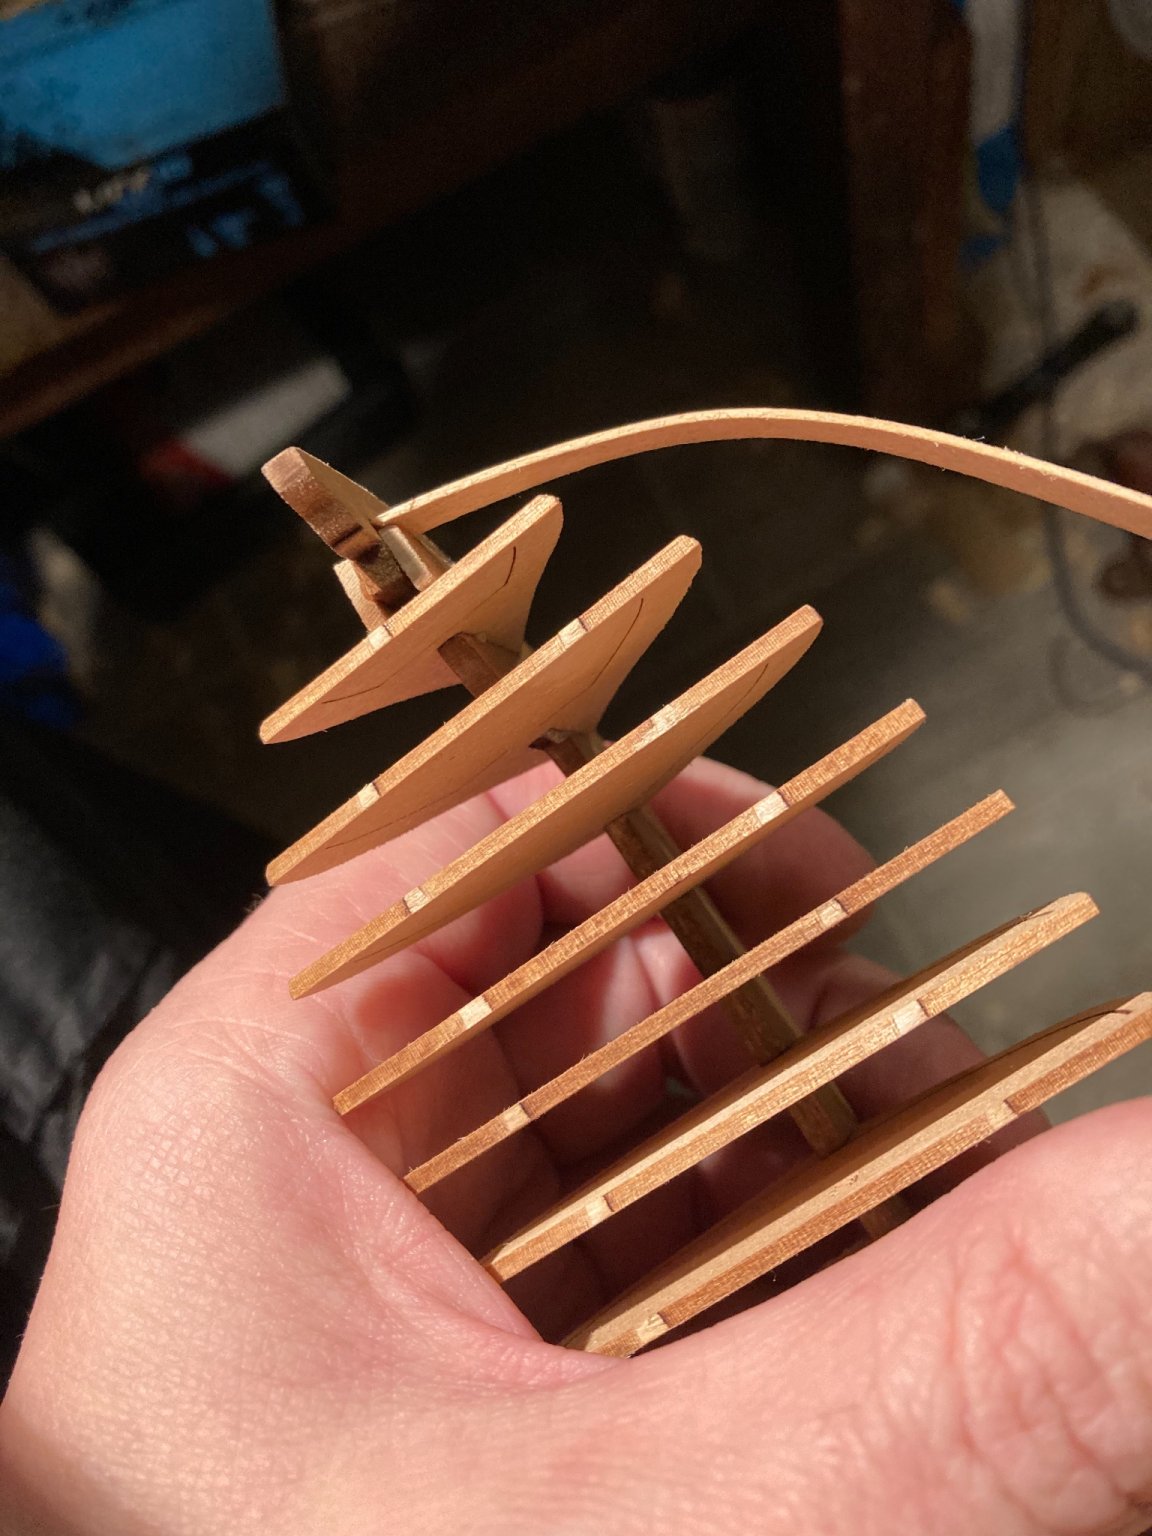
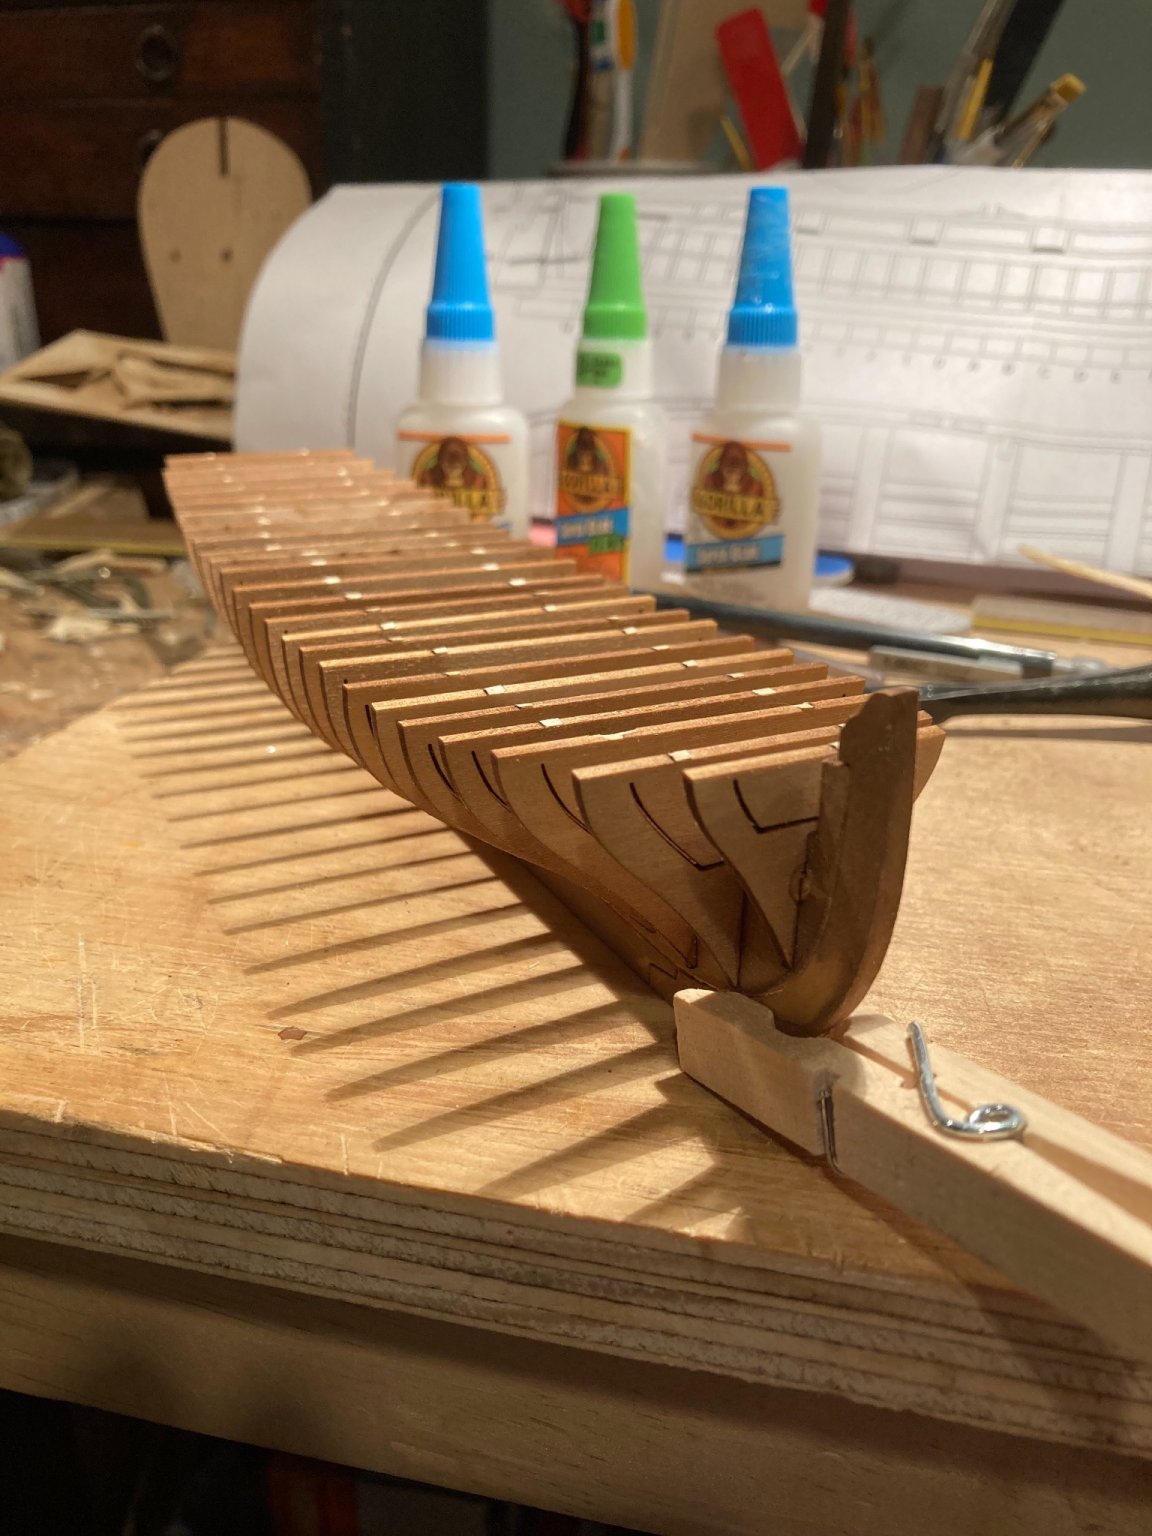
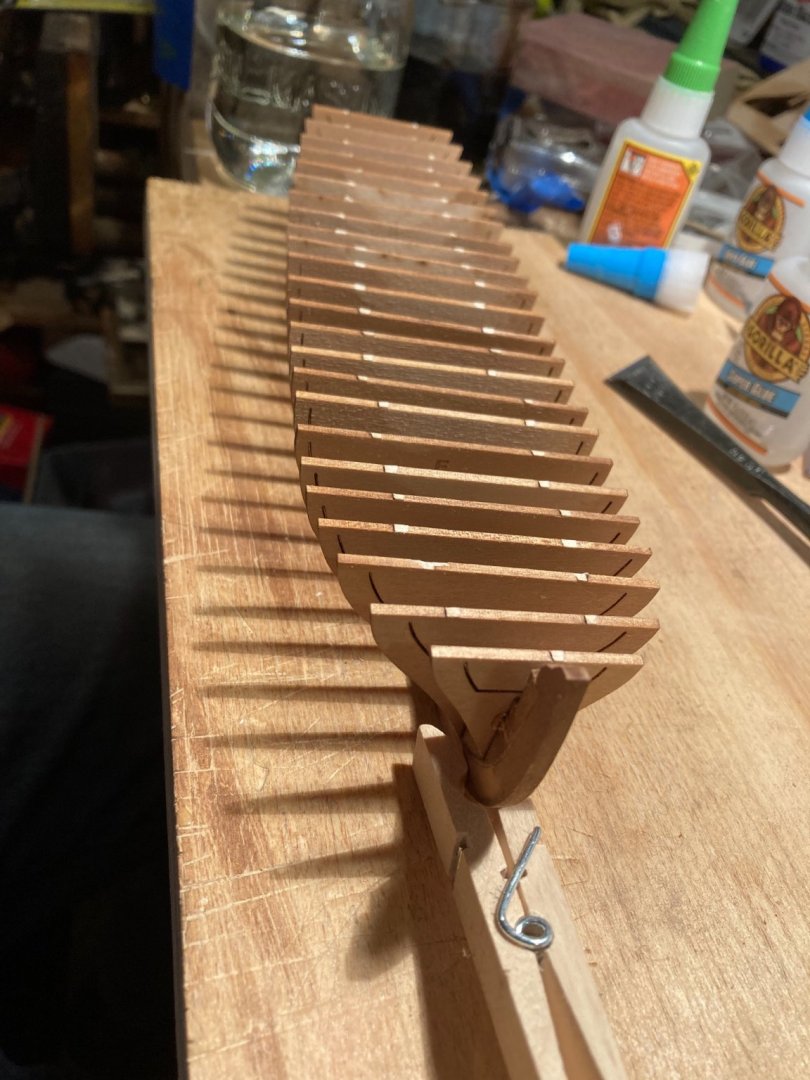
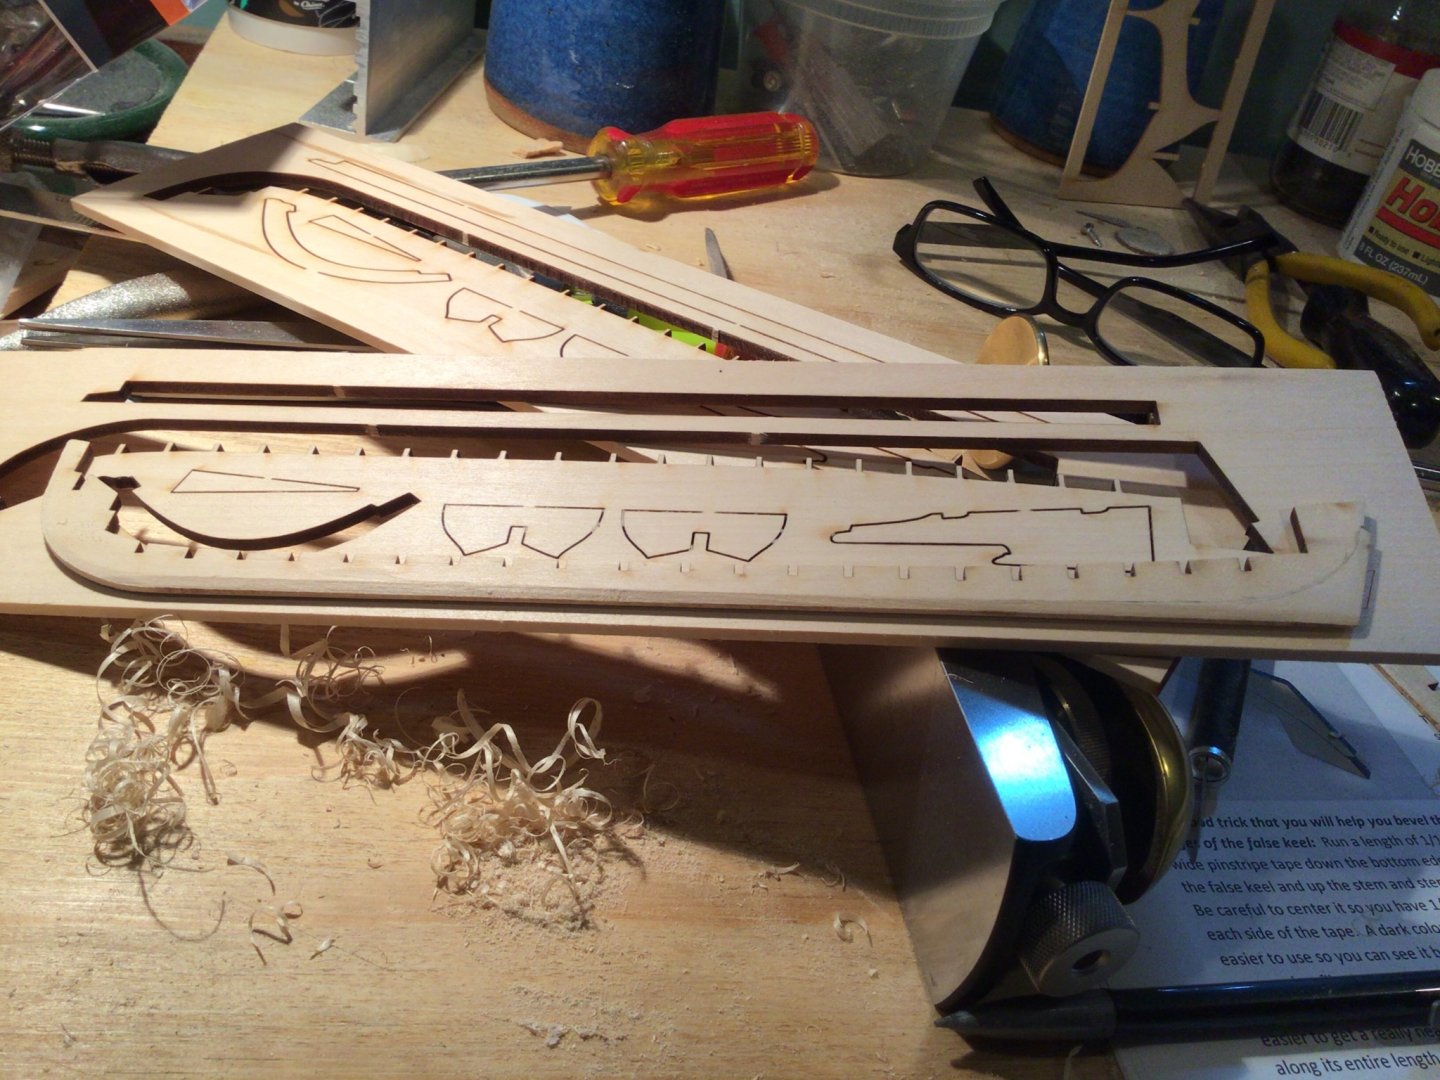
This kit has a clever feature: the ribs start out as full pieces that are partially cut out to begin with. After the hull is planked, the cutting is completed to create a rib. Nifty. While the directions had an abundance of detail, I misunderstood the correct profile of the keel and shaved too deep making all the rib too loose. A rookie move, which led to Model Expo sending me another keel.
- 123 replies
-
- 7
-
-
- Model Shipways
- Pinnace
- (and 1 more)
-
I’ll be attempting, without the use of a safety net, for your amusement, a build of the Model Shipway’s English Pinnace. It seems to me that a junior shipwright should try to tackle all the skills and tasks that model ship building has to offer. This model presents a direct assault on a principle task new to me: the dreaded planked hull. This kit is one of Chuck @Chuck Passaro’s designs and is my first kit with humane instructions (kudos to Chuck!).
- 123 replies
-
- 7
-
-
- Model Shipways
- Pinnace
- (and 1 more)
-
This is a Frankenstein build of parts from different parts of the world. It is roughly similar to a Gibson ES-125.
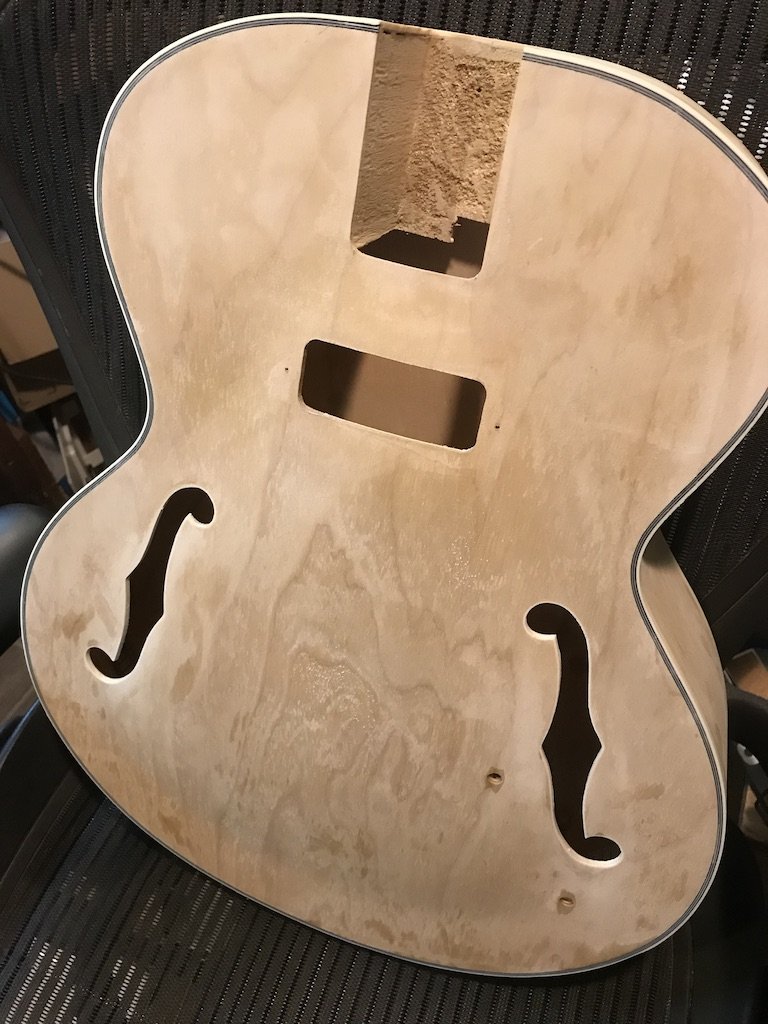

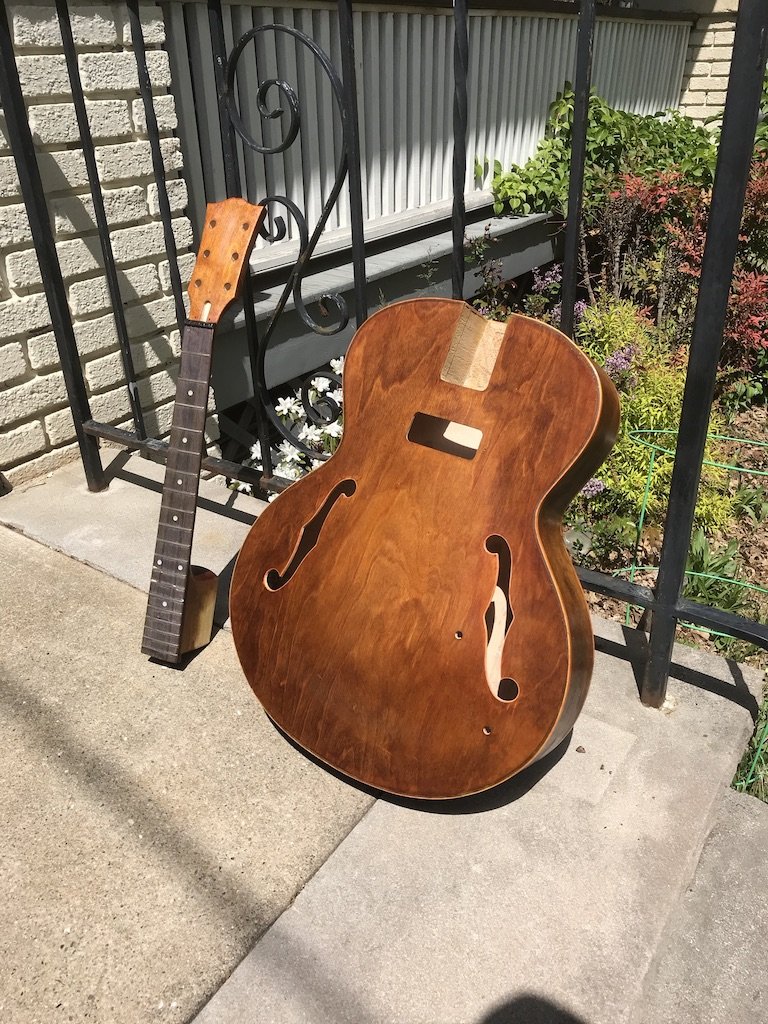
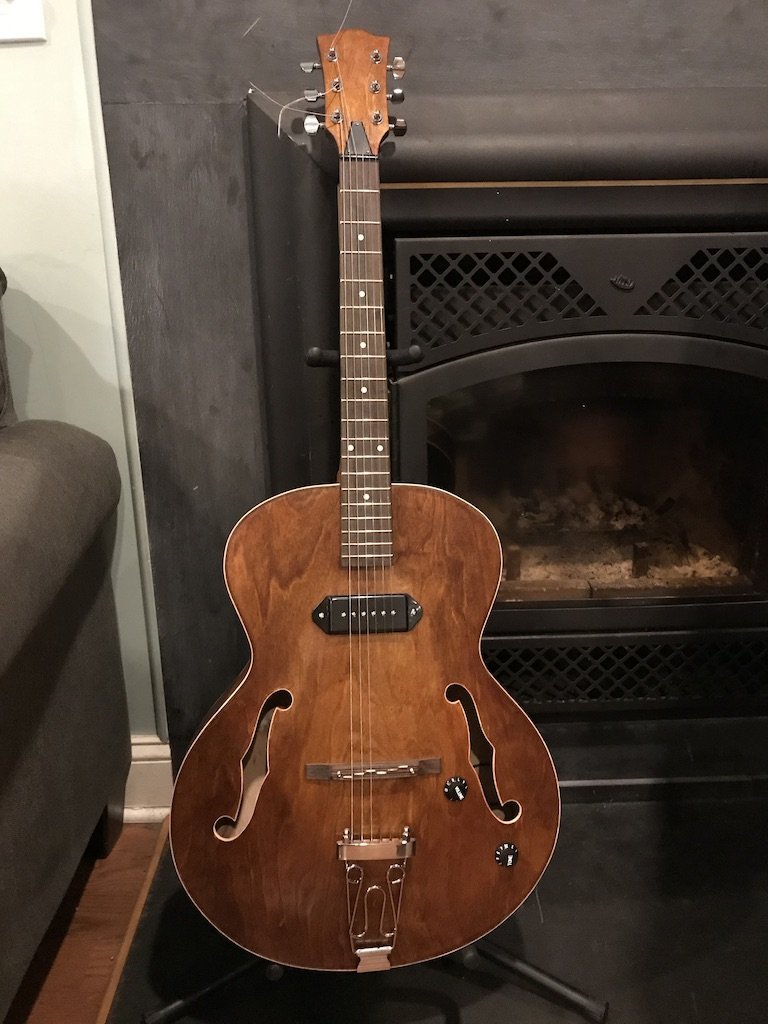
-
- 9
-
-
How goes the build?