HOLIDAY DONATION DRIVE - SUPPORT MSW - DO YOUR PART TO KEEP THIS GREAT FORUM GOING! (Only 24 donations so far out of 49,000 members - C'mon guys!)
×

.jpeg.7d7eba14c97a2e1d9f79cd2c97f6424a.jpeg)
EricWilliamMarshall
-
Posts
986 -
Joined
-
Last visited
Content Type
Profiles
Forums
Gallery
Events
Everything posted by EricWilliamMarshall
-
.thumb.jpeg.fc5d633a7b34428fcf19419a73d56d55.jpeg) Chuck made some sage suggestions regarding my wayward attempts, so I am replanking yet again. He suggested wider planks then what I was using and he noted that my garboard ran too far forward.
Chuck made some sage suggestions regarding my wayward attempts, so I am replanking yet again. He suggested wider planks then what I was using and he noted that my garboard ran too far forward.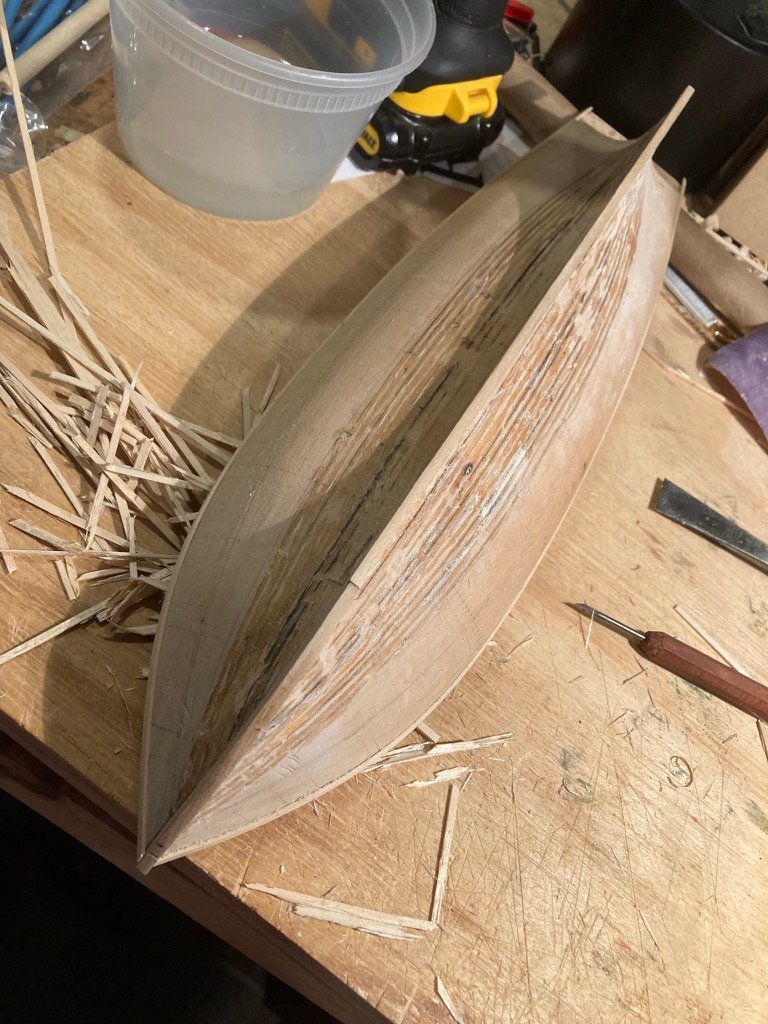
-
@Edwardkenway I often feel like I’m getting nothing done! Thanks for the kind words! I’m excited about the Medway Longboat as well. I belong to the Ship Model Society of New Jersey and most of those folks have built the Medway - its beautiful the see and hold in the real world. It seems like a step up from other kits. I’ve also have worked on trying to cut strips from brass sheet and keep it flat, ugh and I’m still wrestling with the best way to use my merger library on ship modeling topics to best advantage. Little by little.
-
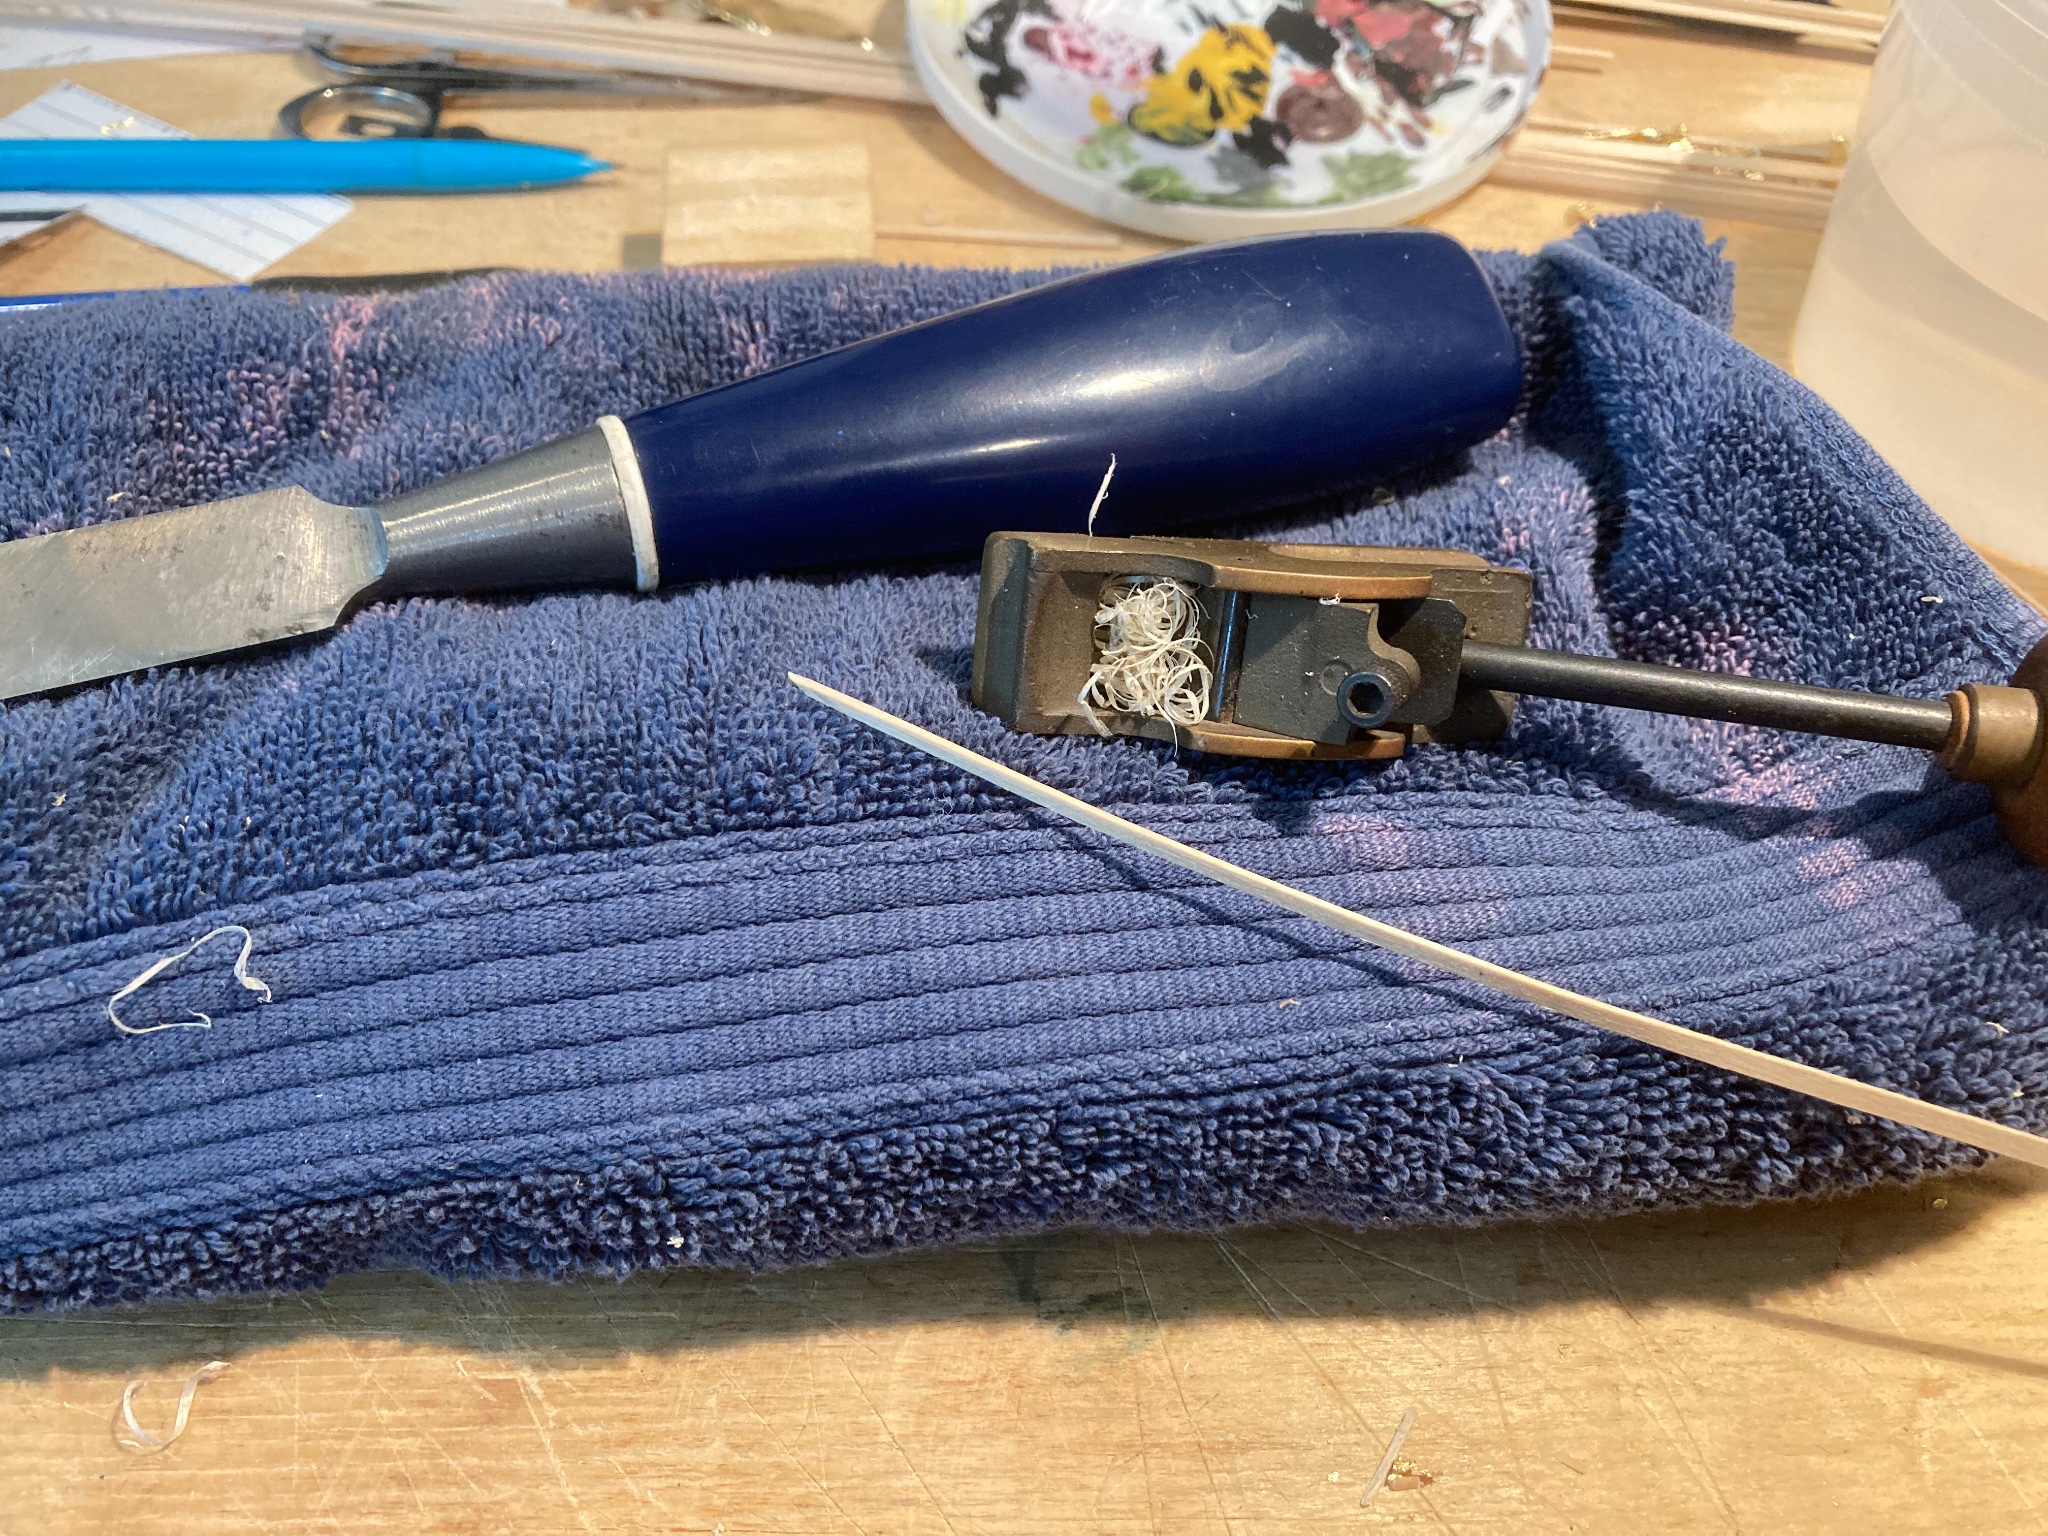
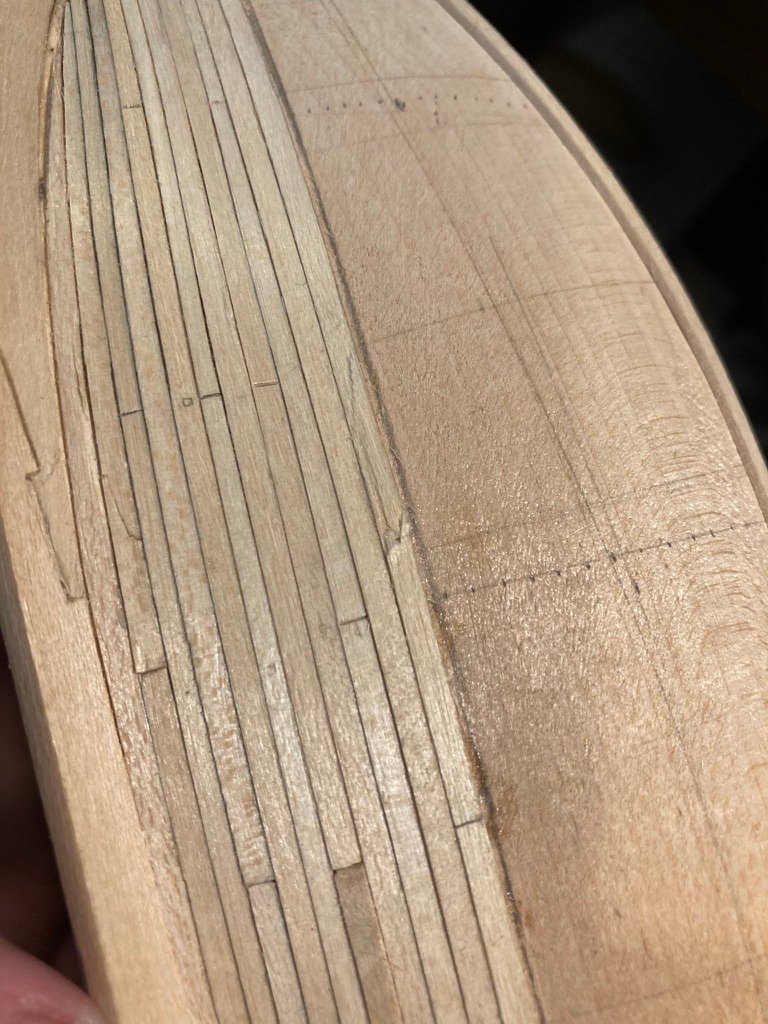
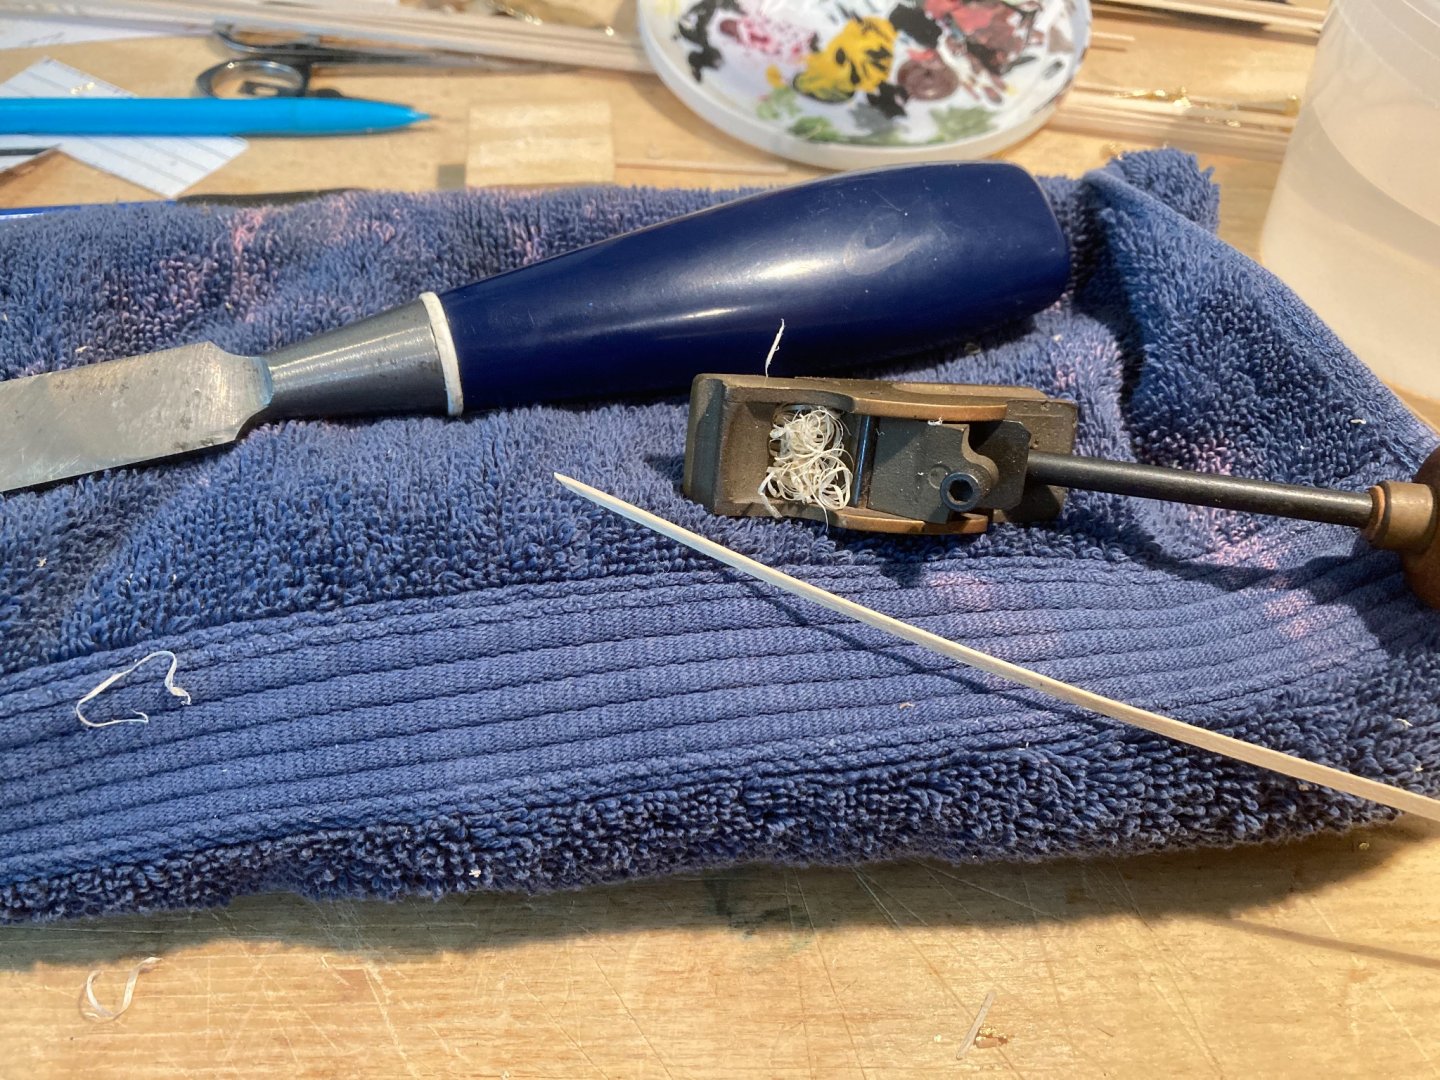
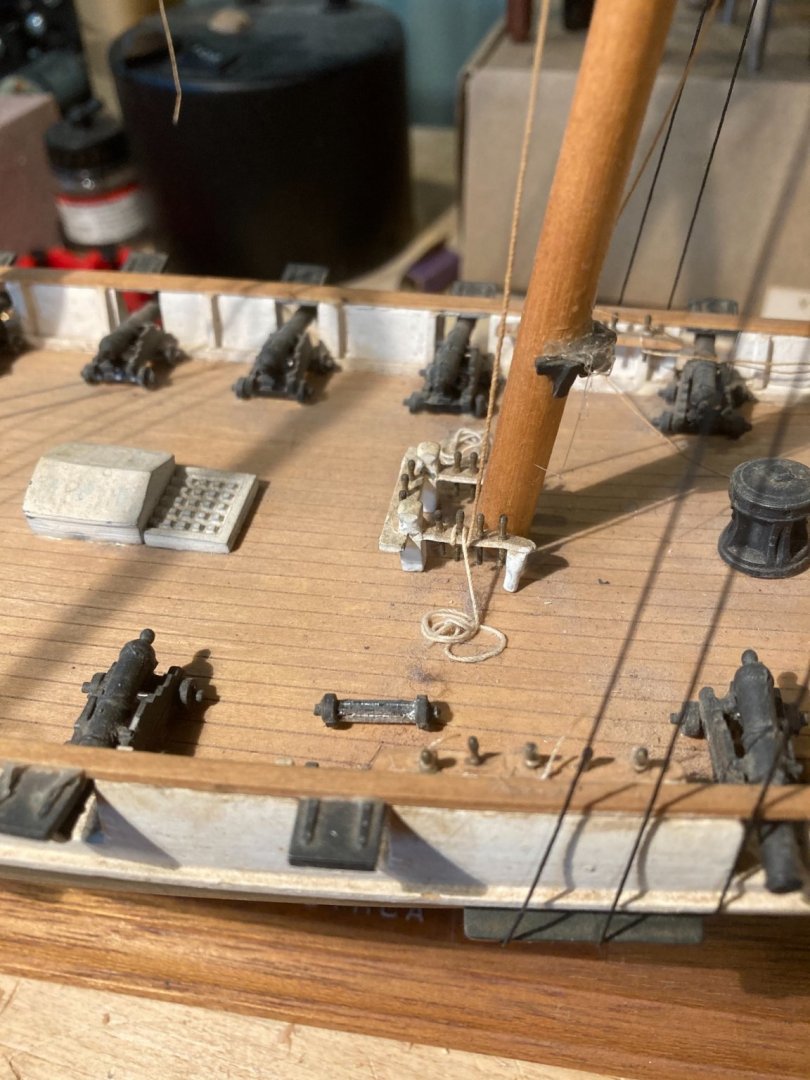
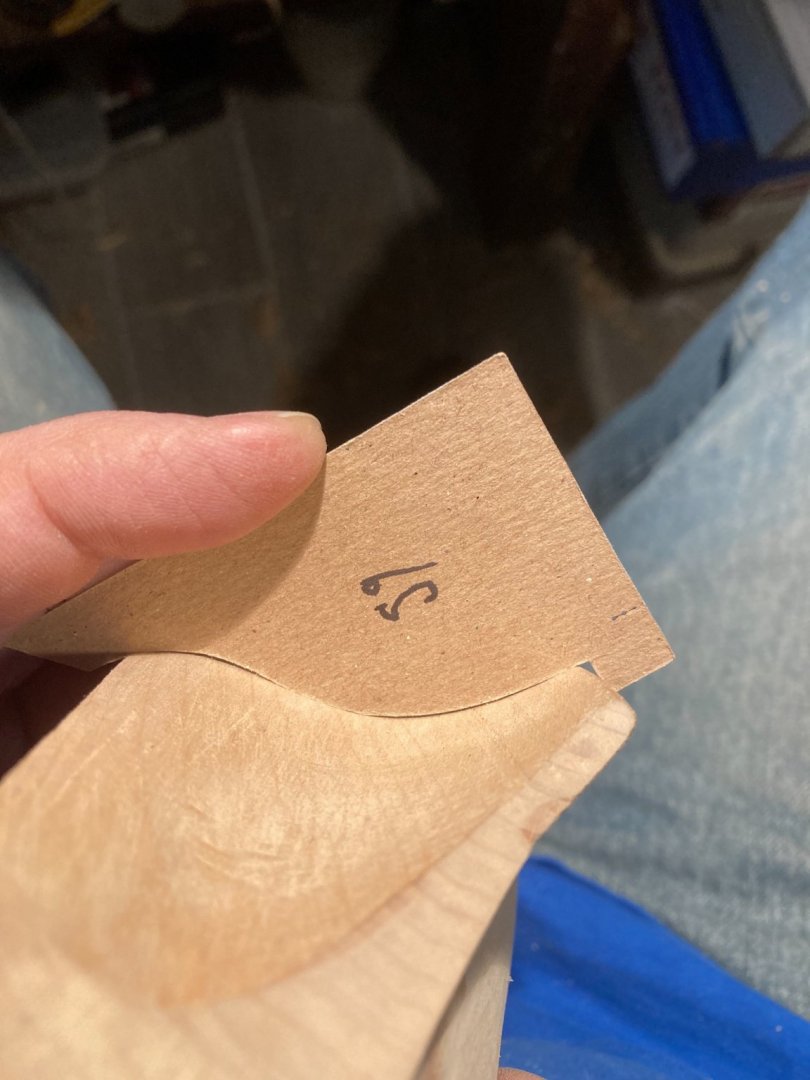
I’ve ended my experiments with rope and threads (at least for now). For me the simpler Rope Rocket gives great results repeatedly of great quality; less so for my other rig. While I like the ‘set and forget’ aspect, the rope isn’t as nice. I’m tempted to mess around with tweaking gear ratios and ways to adjust tension, but I’d rather build ship models with my limited time. After a number of false starts and dearth of precise information I have a few planks down that I haven’t removed immediately. I was troubled by how to measure plank width to a spot in air, since I’ll need the planks to be a bit proud to attach the inside planks that go under the rails. Eventually, it occurred to me to use an bit of scrap on the deck to make measurements to. When planking, I tried both full length strips and short segments. I found the short segments tough to bend after being cut but easy to position. I found handling the full length strip hard to handle to ensure accurate cutting. So my comprise is to cut the plank in two and add ‘false’ cuts to look like more segments. I have an old rescued heat gun, able to sit on its own, to which I have attached a on-off foot pedal. With a tap of the foot, it will start to wease and huff. This way I can use two hands to find the twist or bend of the plank and simply tap the pedal and heat the wood and tap again to end the heat.. By holding the shape of the wood as it cools, there is less ‘bend back’. Originally I wet the wood, but recently I have skipped that step with no I’ll effects. The whole process take a minute per bend. The downside is I use longer pieces than strictly needed, but I now think one needs slightly longer pieces (than the final length) to get nice curves. While this is all fine and good so far, we will see how things will go as the planks go up the side. I have found it rather labor intense and yes, the rabbet was too large. I found sand paper and chisels aren’t the best for trimmed the planks; I’ve been using a little palm plane so far. So having accepted I can’t yet manage the quality I would like, I will continue on to see what else I can learn from the whole process. On the plus side, the planking isn’t half as bad as the last project!!
-
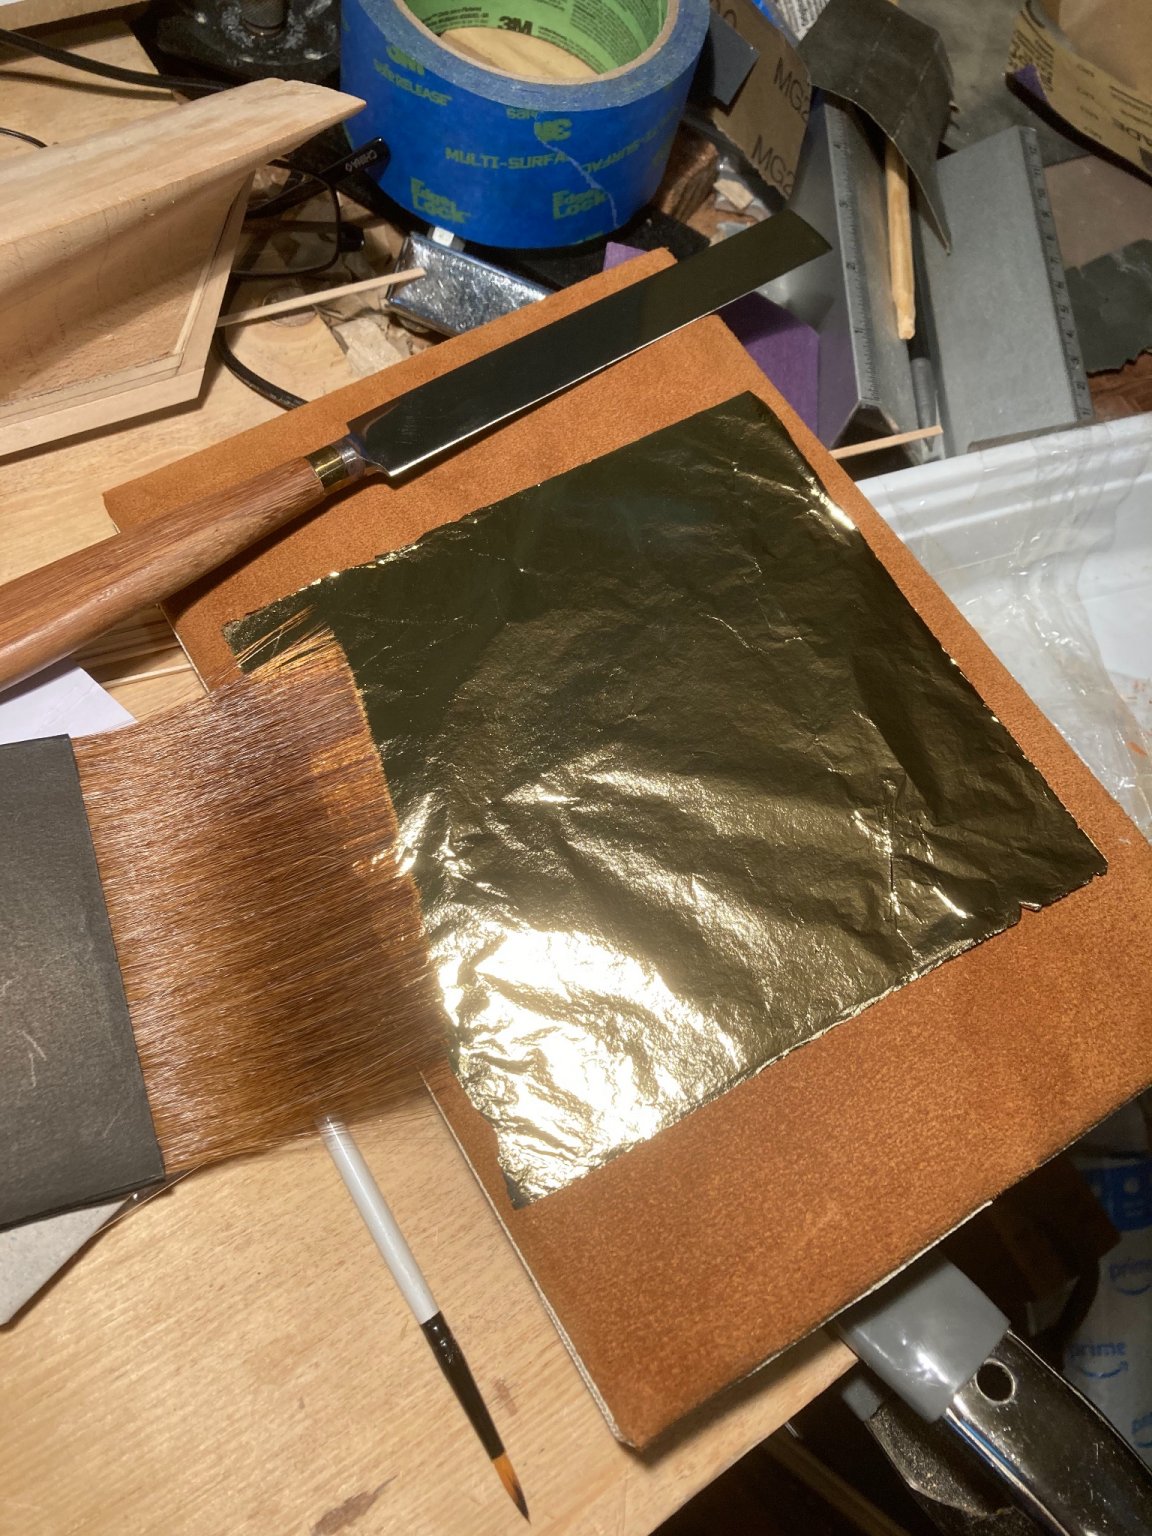
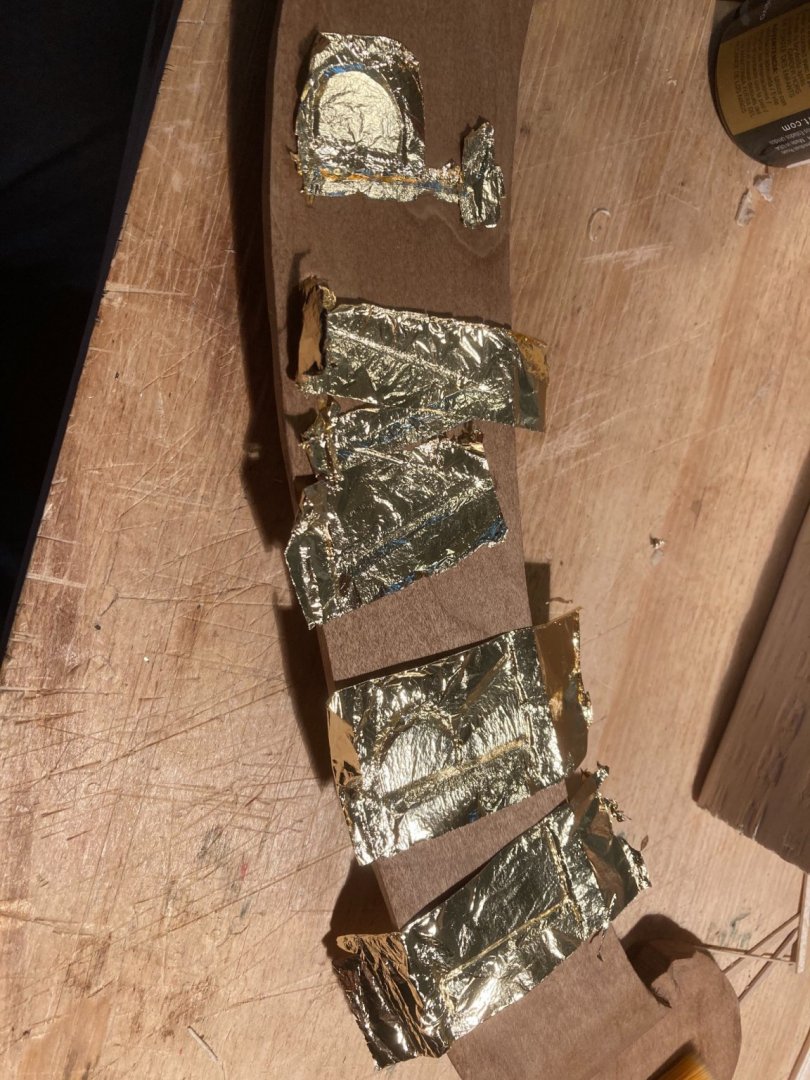
I tried my hand at faux-gold leaf gliding of the carving. Not award winning but I learned a great deal from the attempt.


-
@Landlubber Mike, thanks for the kind words. I've been working through how I'm going to plank the hull, looking for pictures, and examples. So not much to show but lots of dots on hull and lots of strips of paper on the workbench. I'm trying to get this part right, since it went off a bit last time. @Dr PR has put a bit of fear into me regarding reference material, so I've been hunting around on that front. And, Mike, I received a bit of PE finally (for a 1:700 battleship I have sitting in the stash), inspired by your work on the Shimakaze!
-
How is it going?
-
No small achievement! I wrestle with that continuously (mainly due to hoarding/many projects - the two overlap in my world.)
-
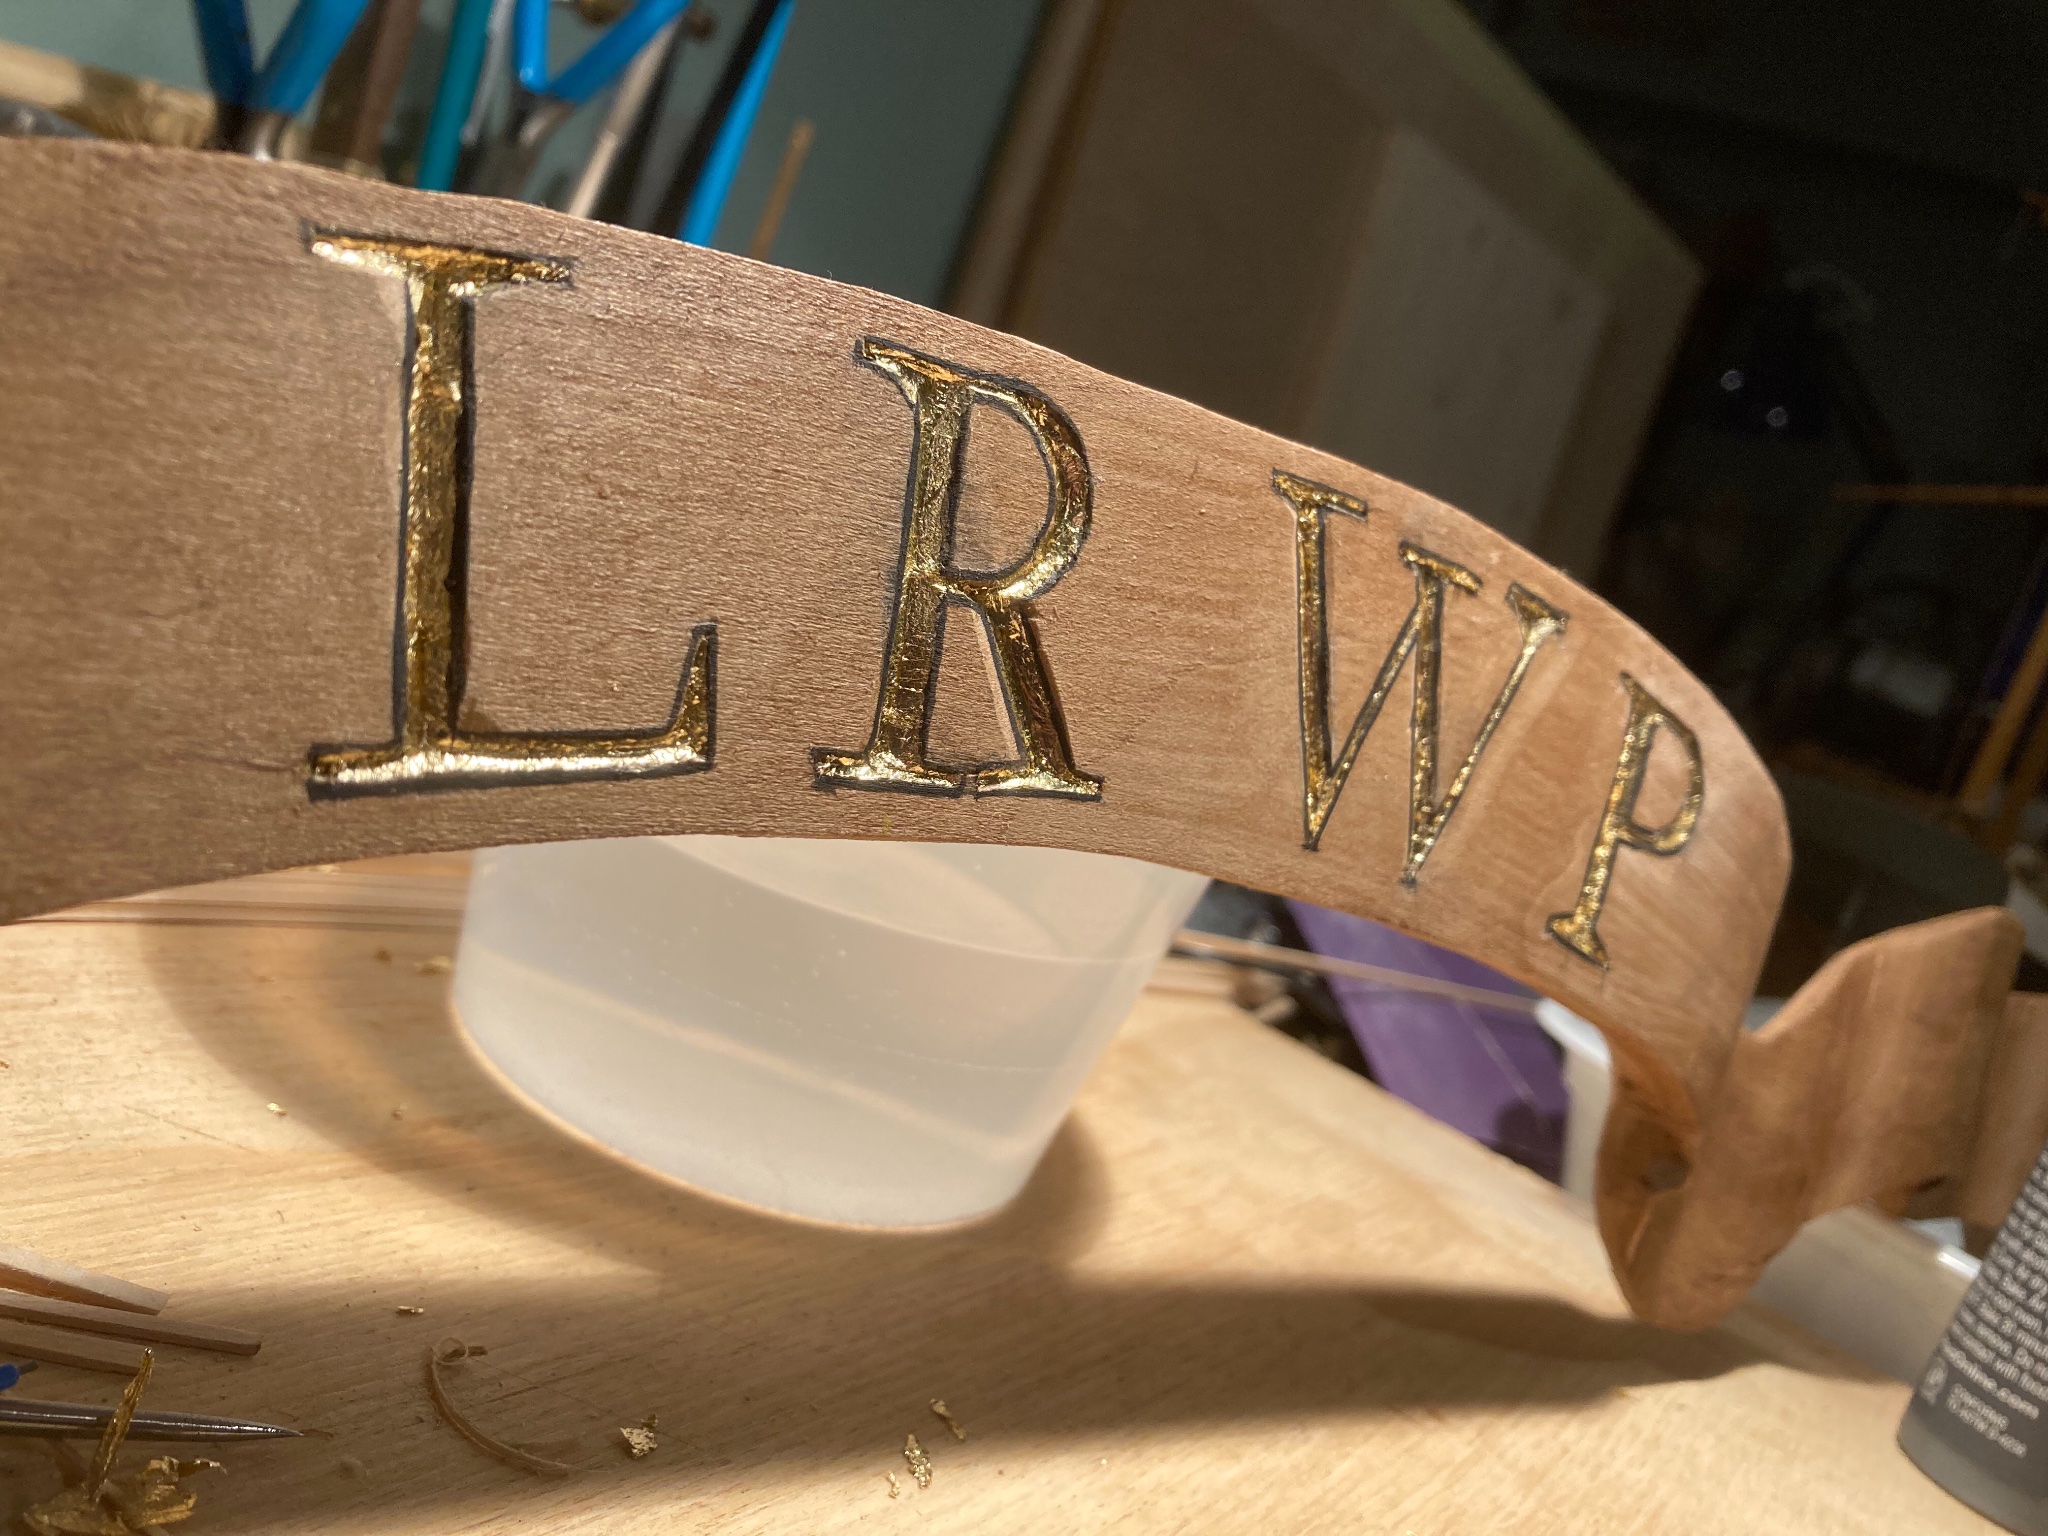
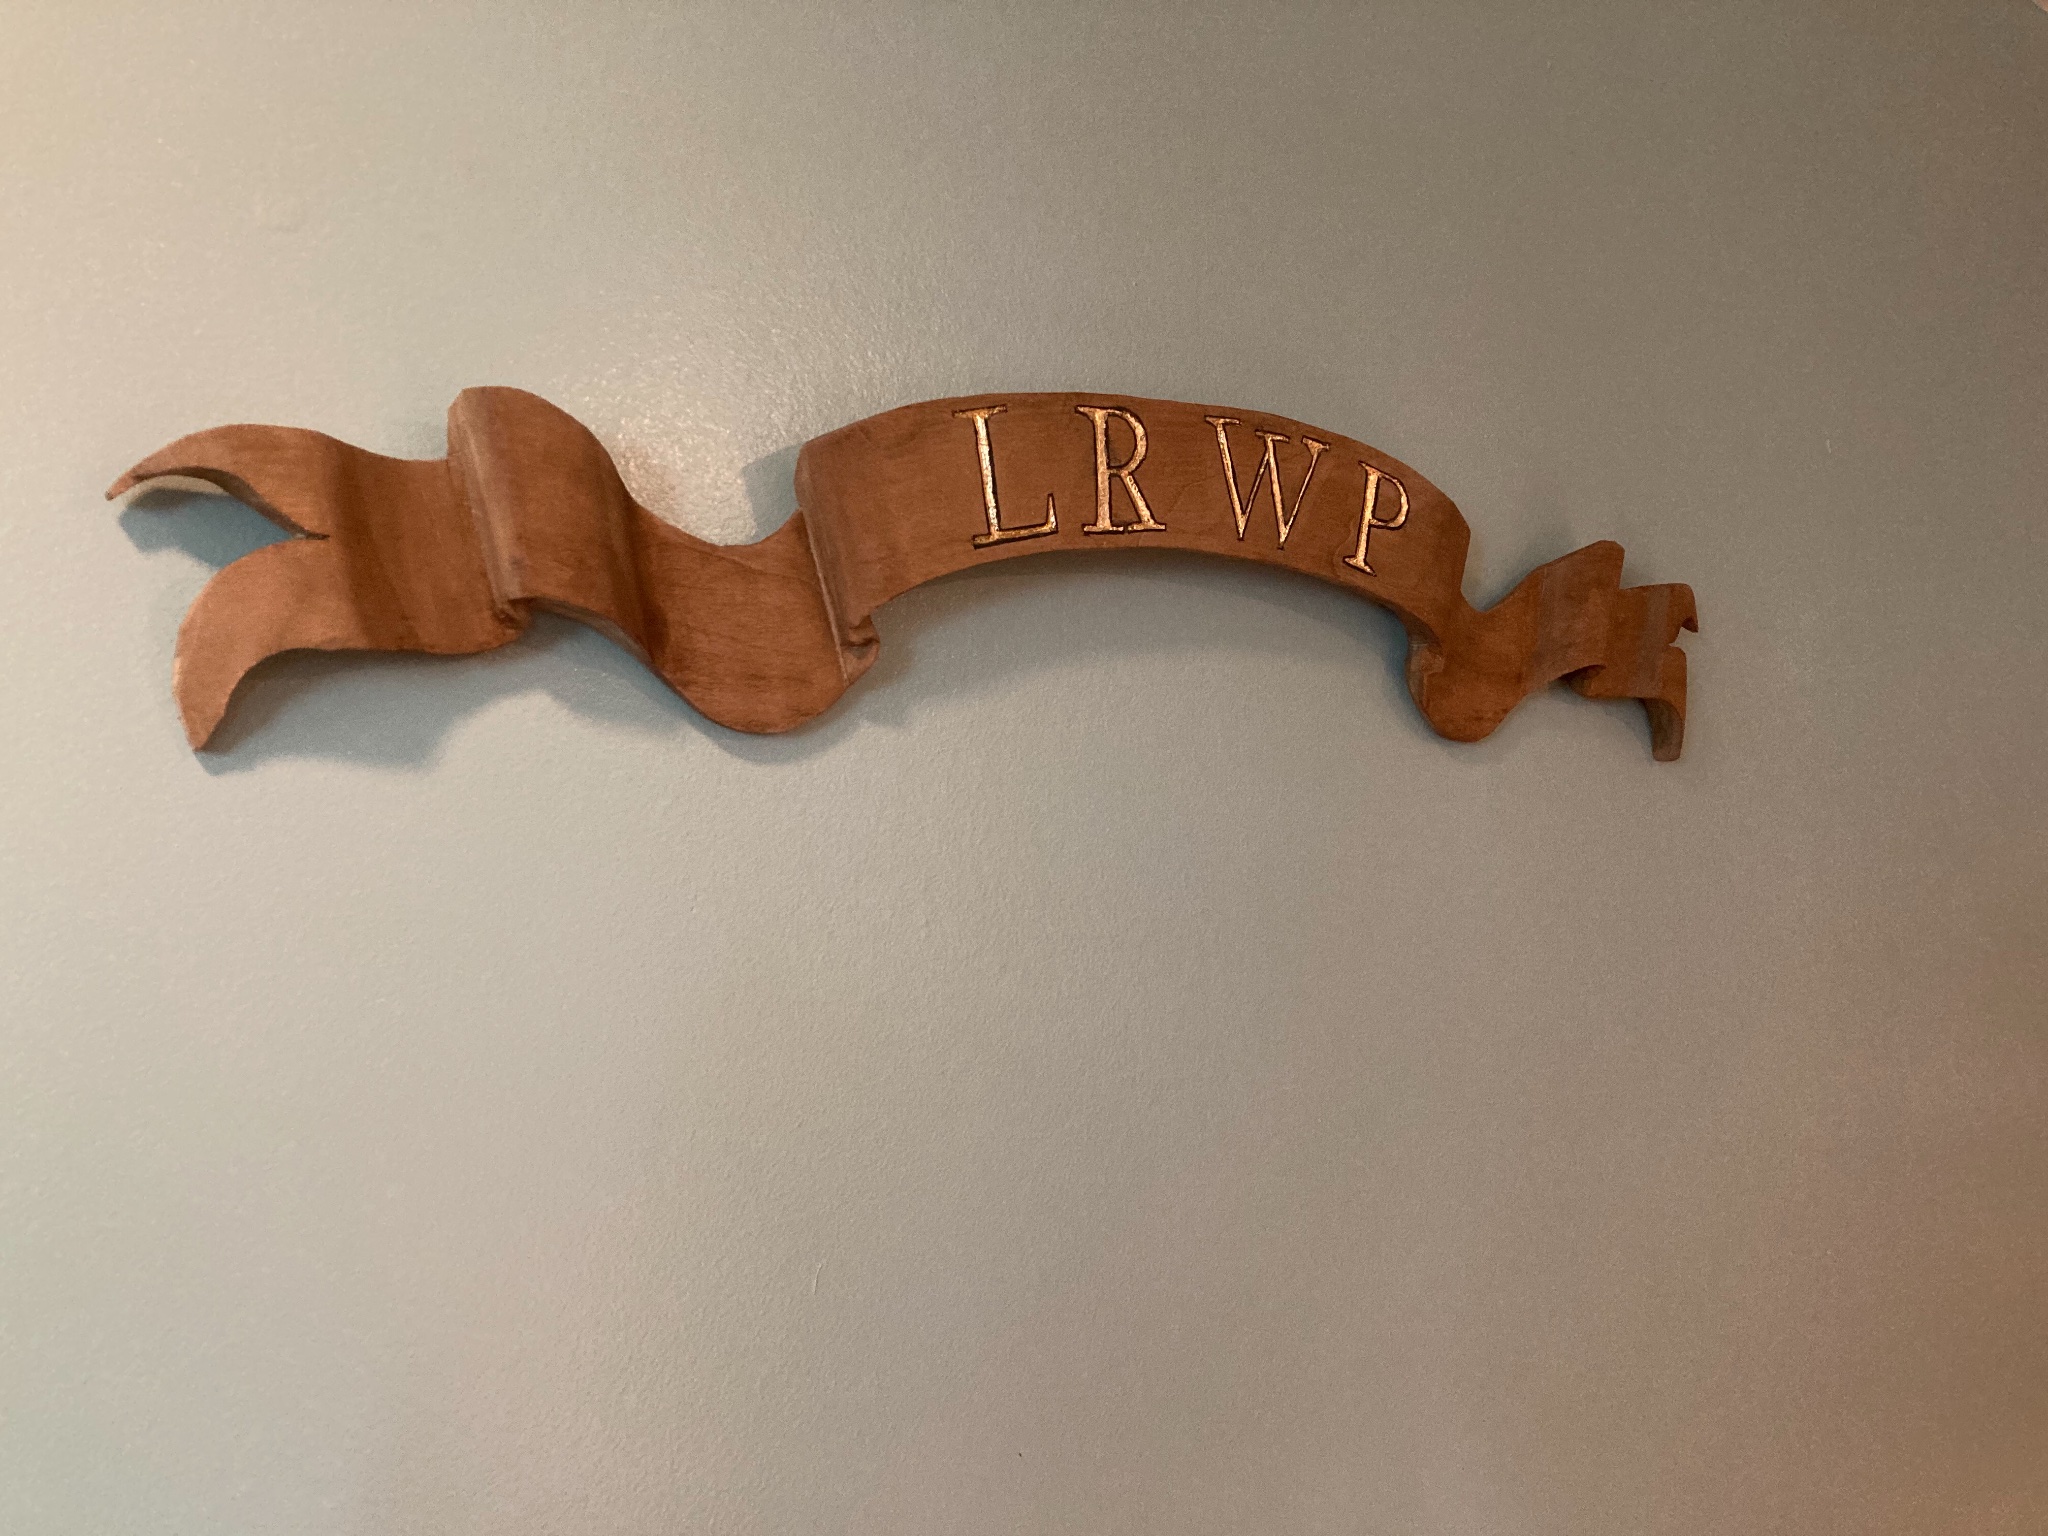
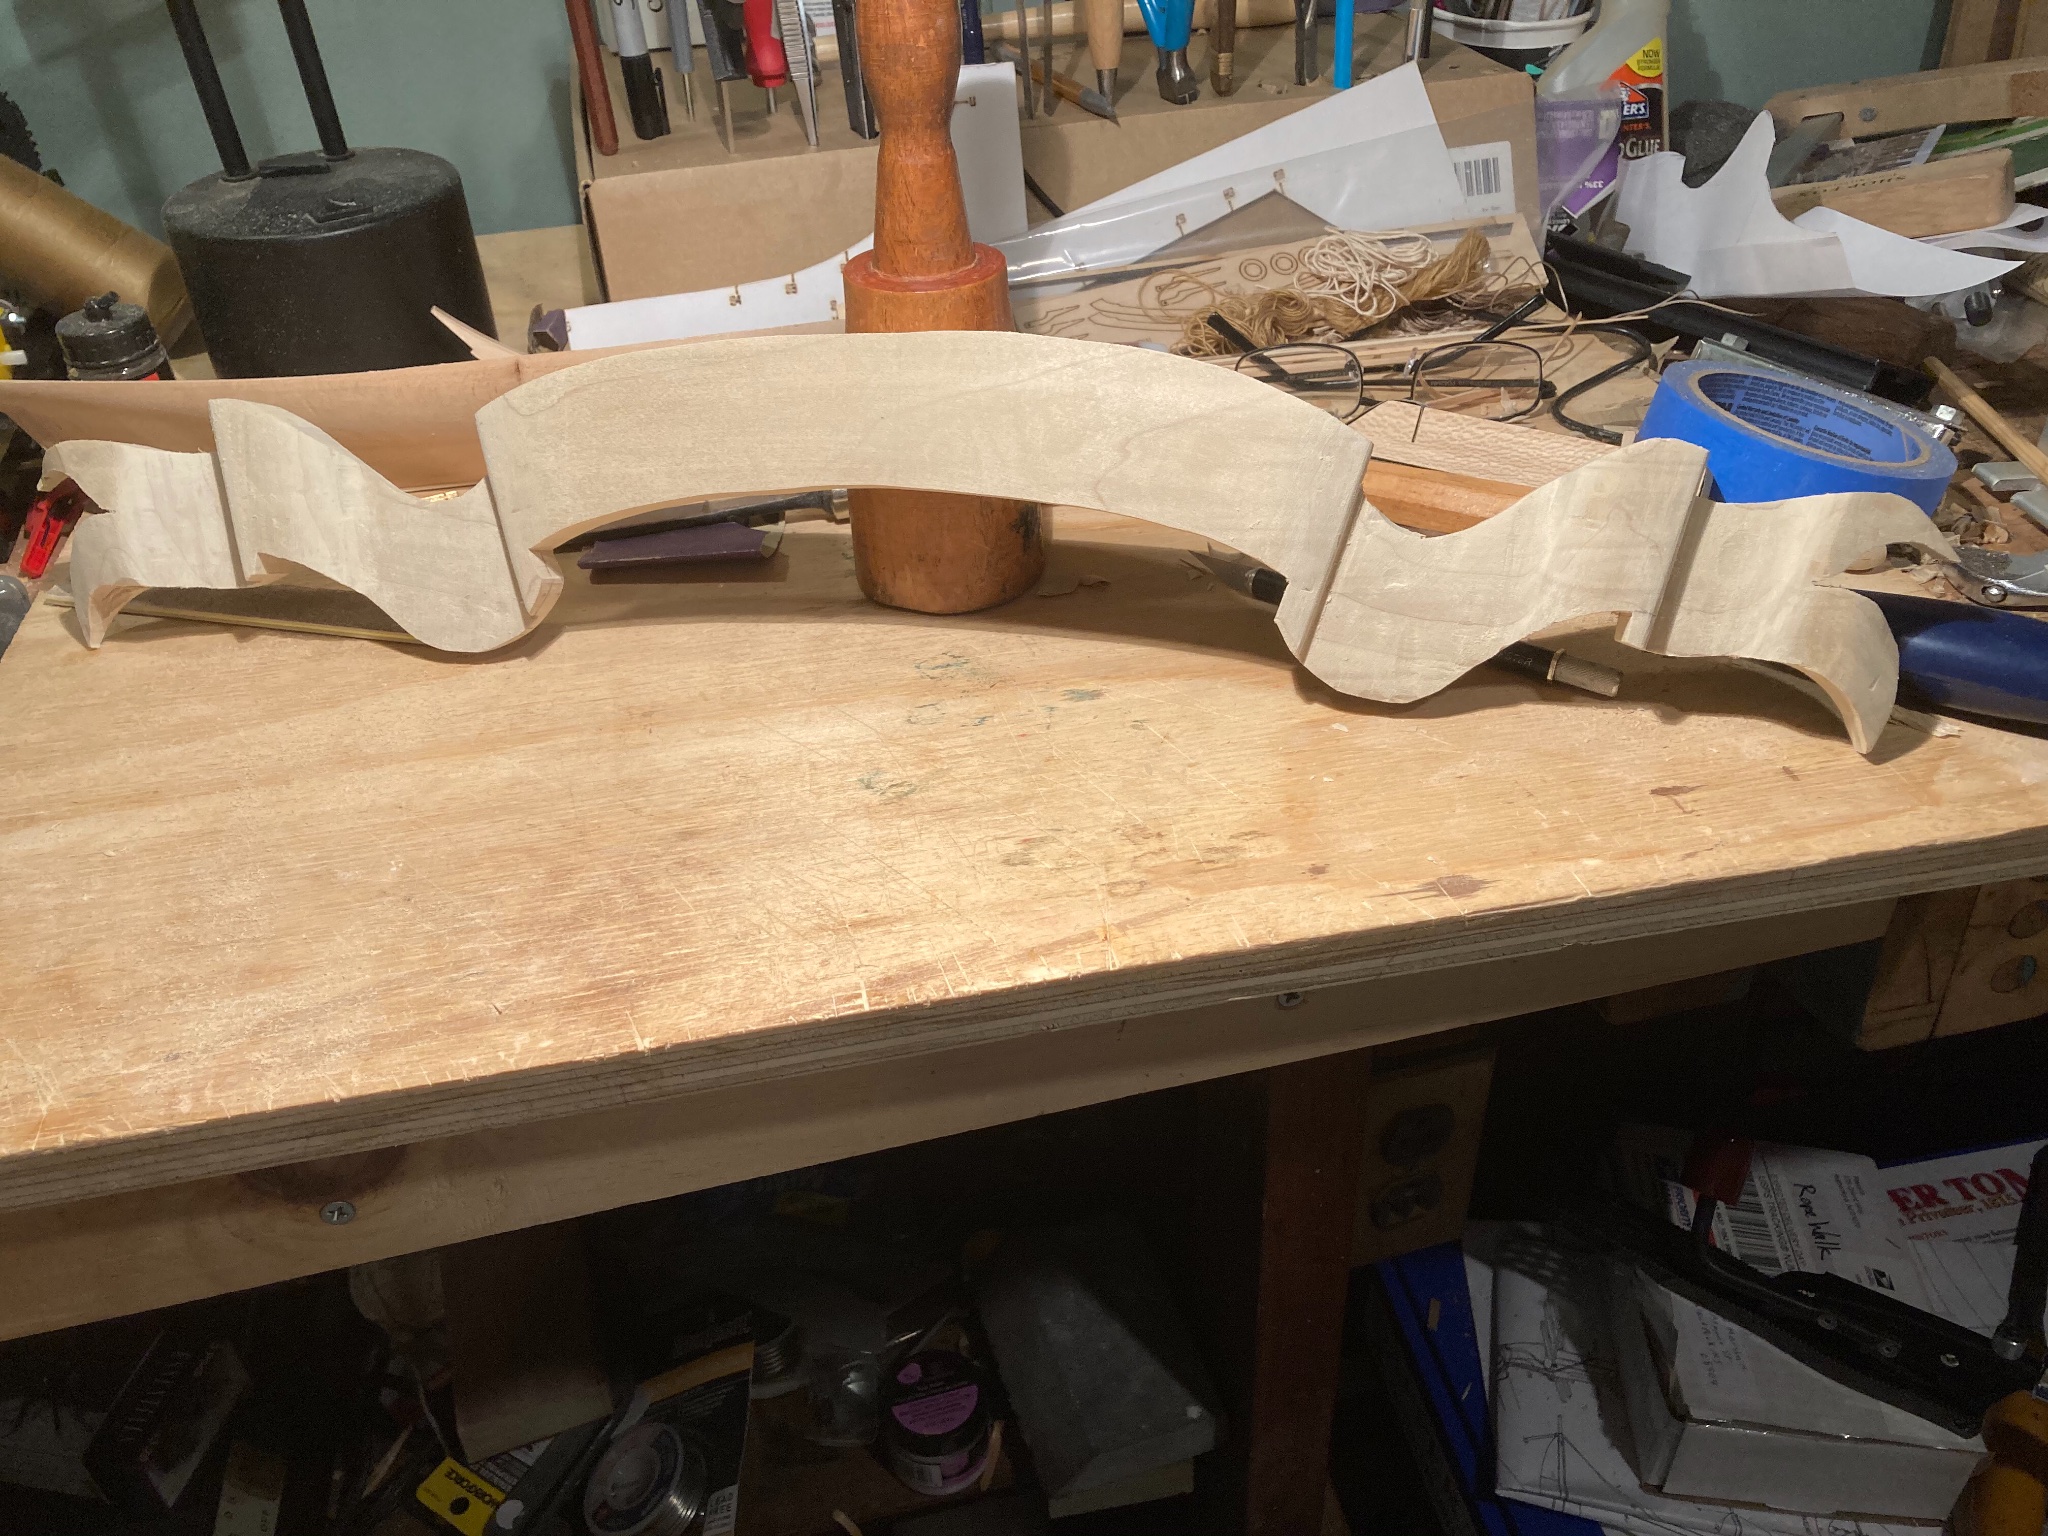
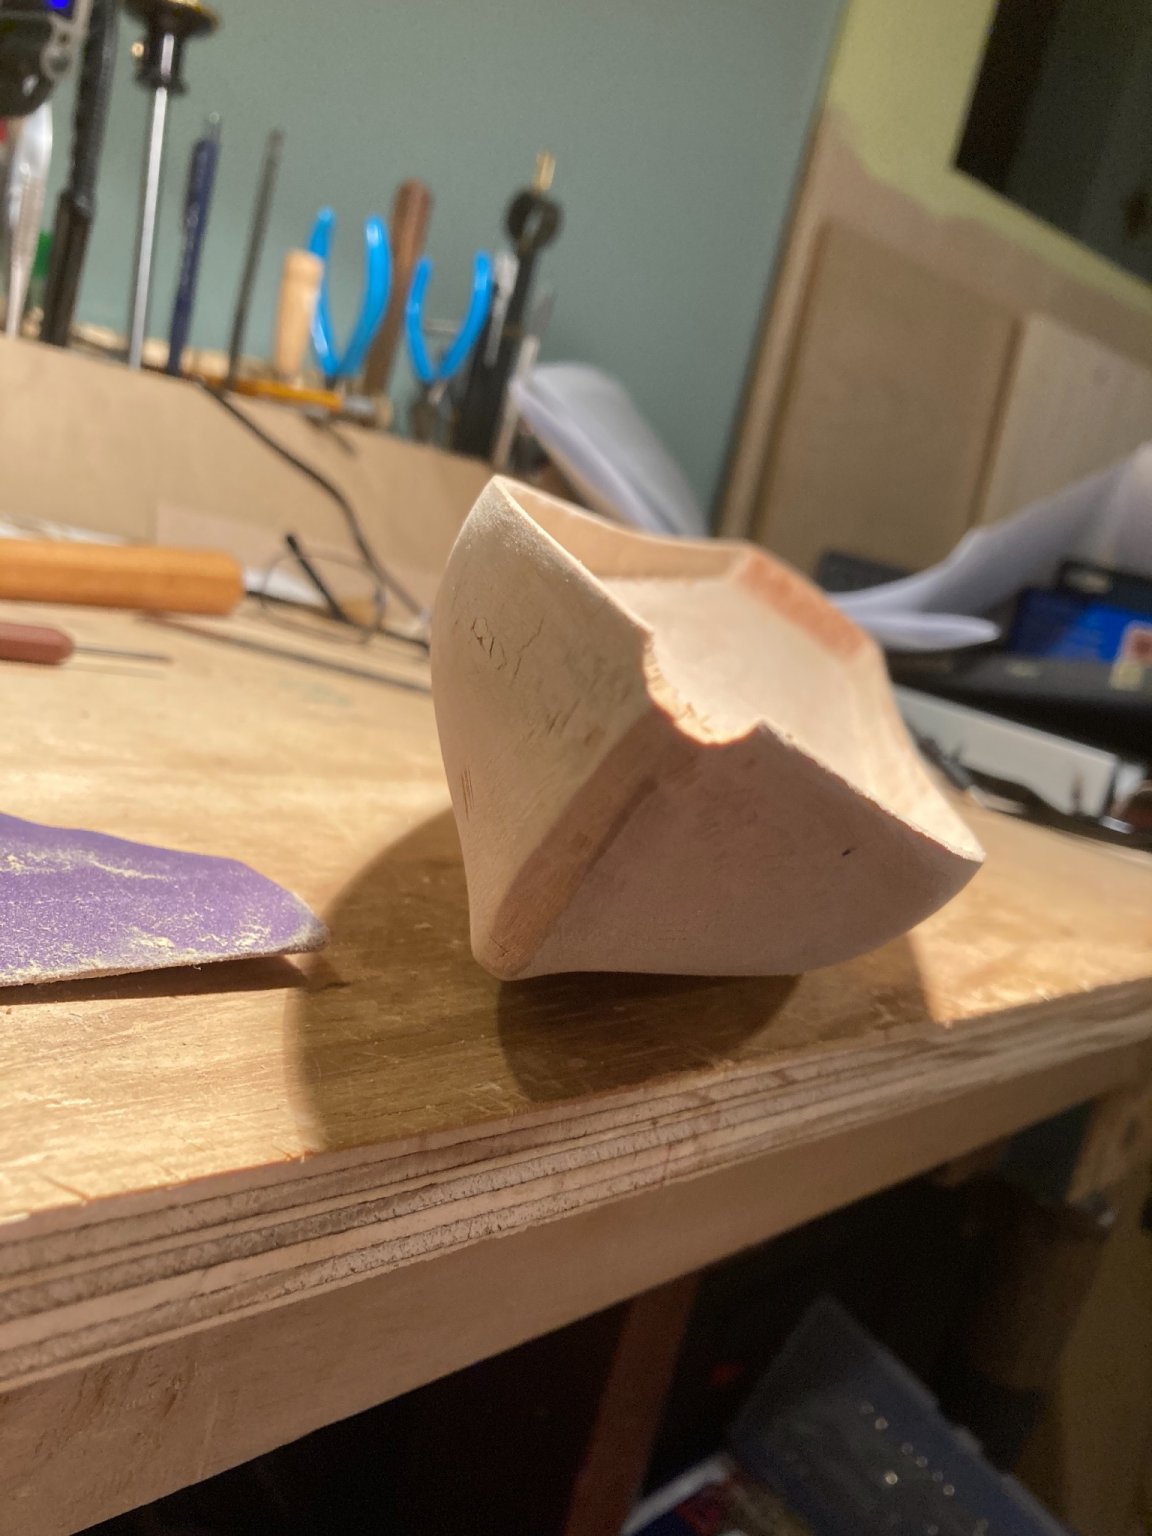
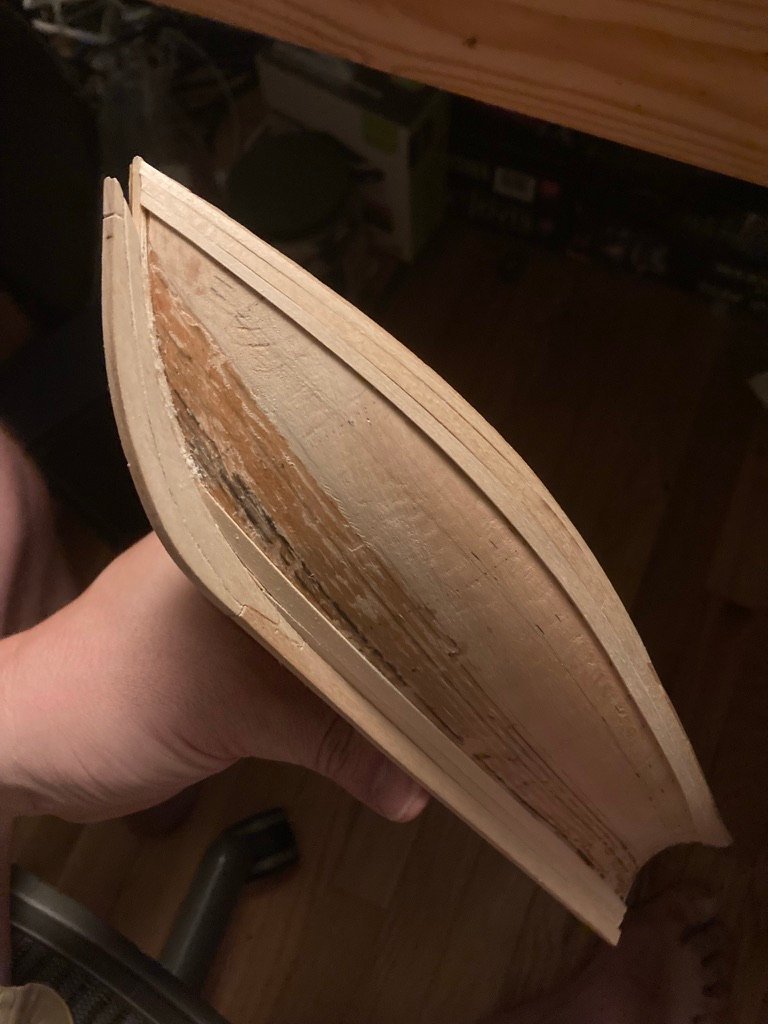
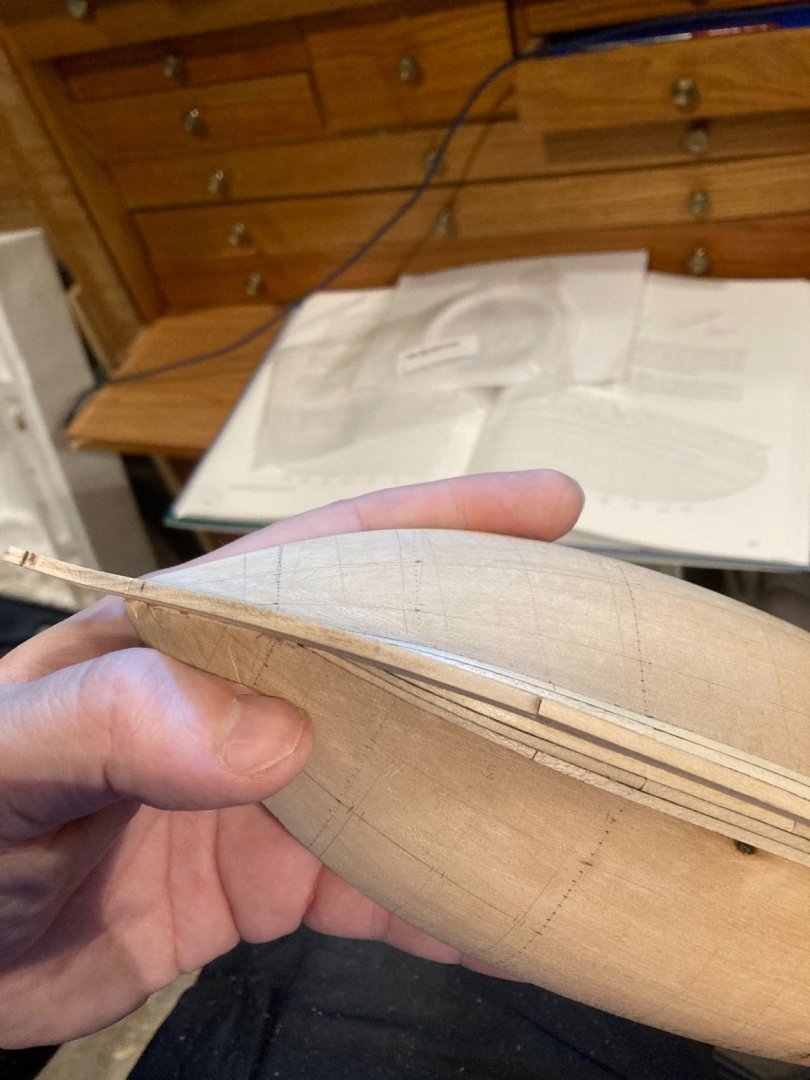
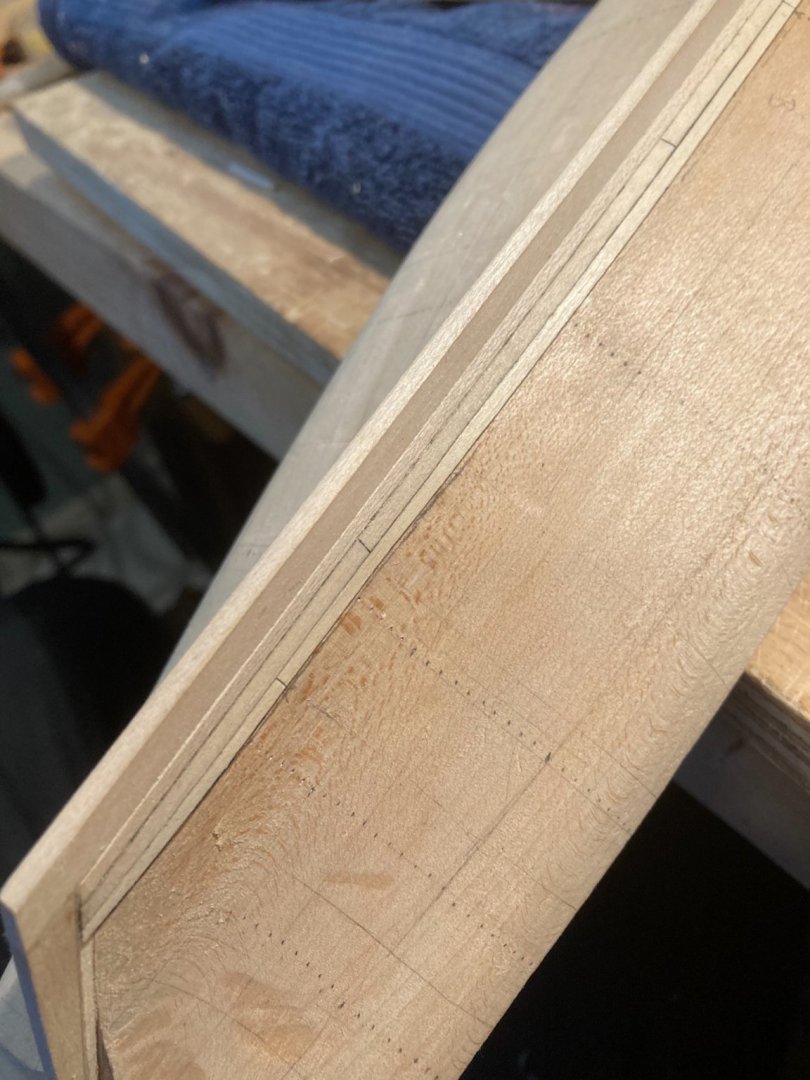
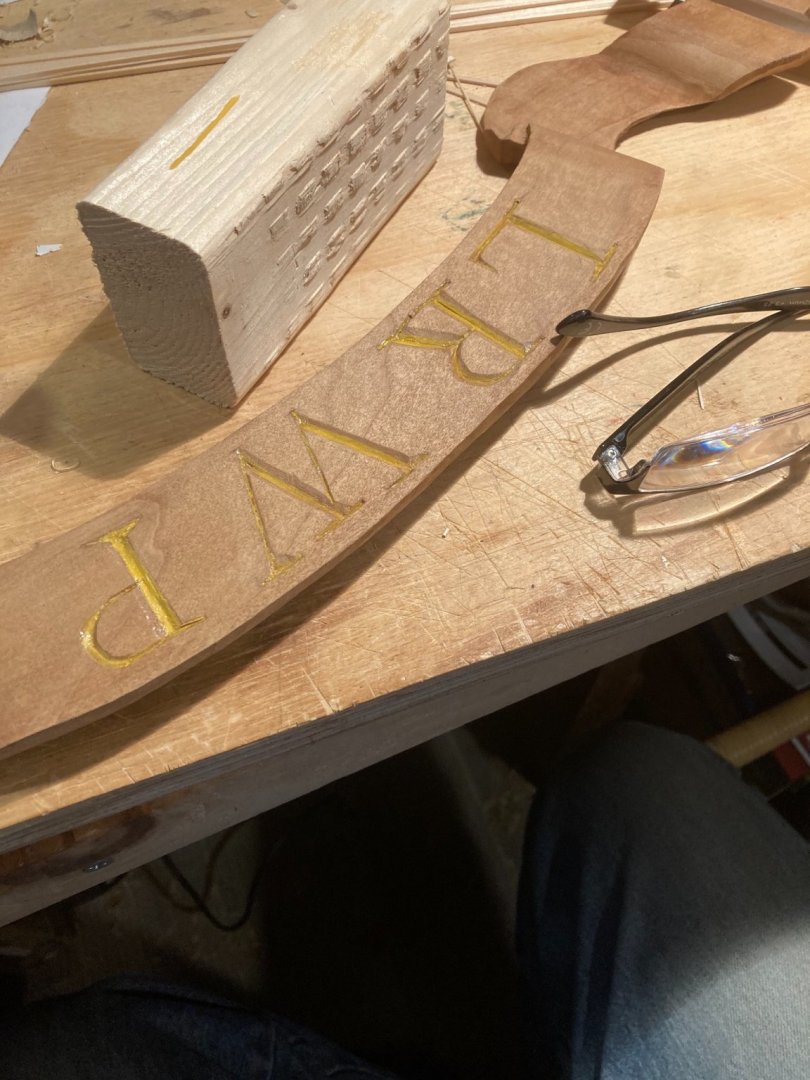
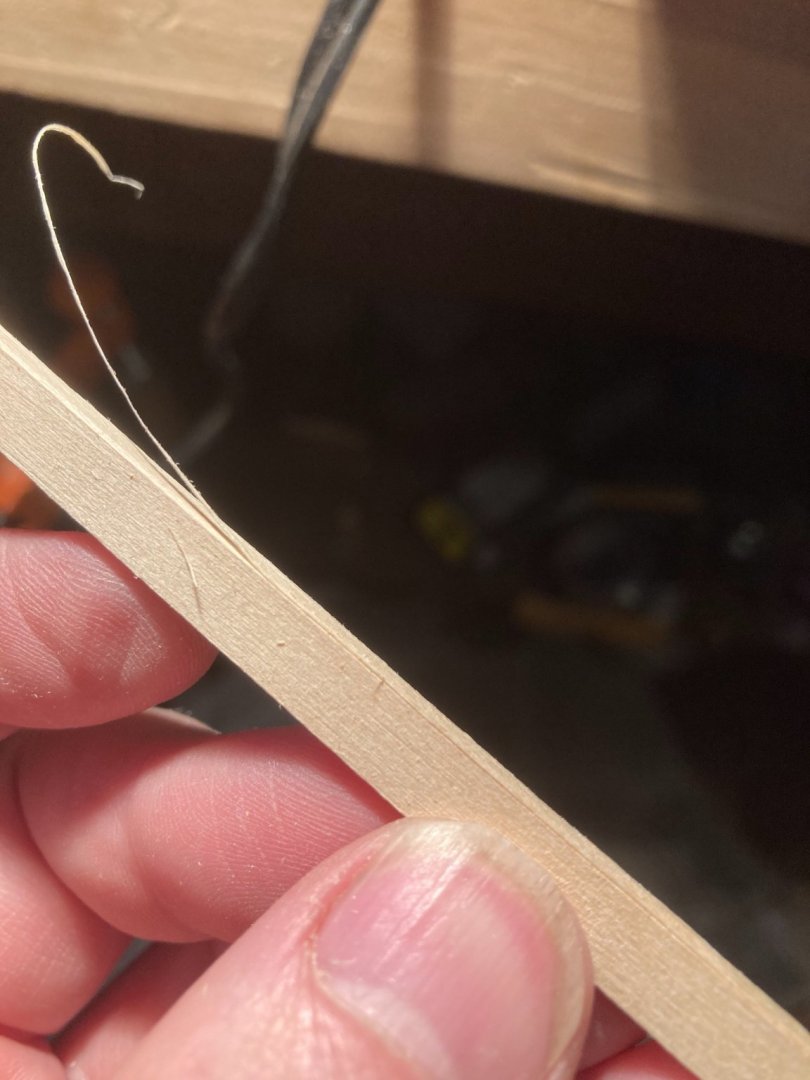
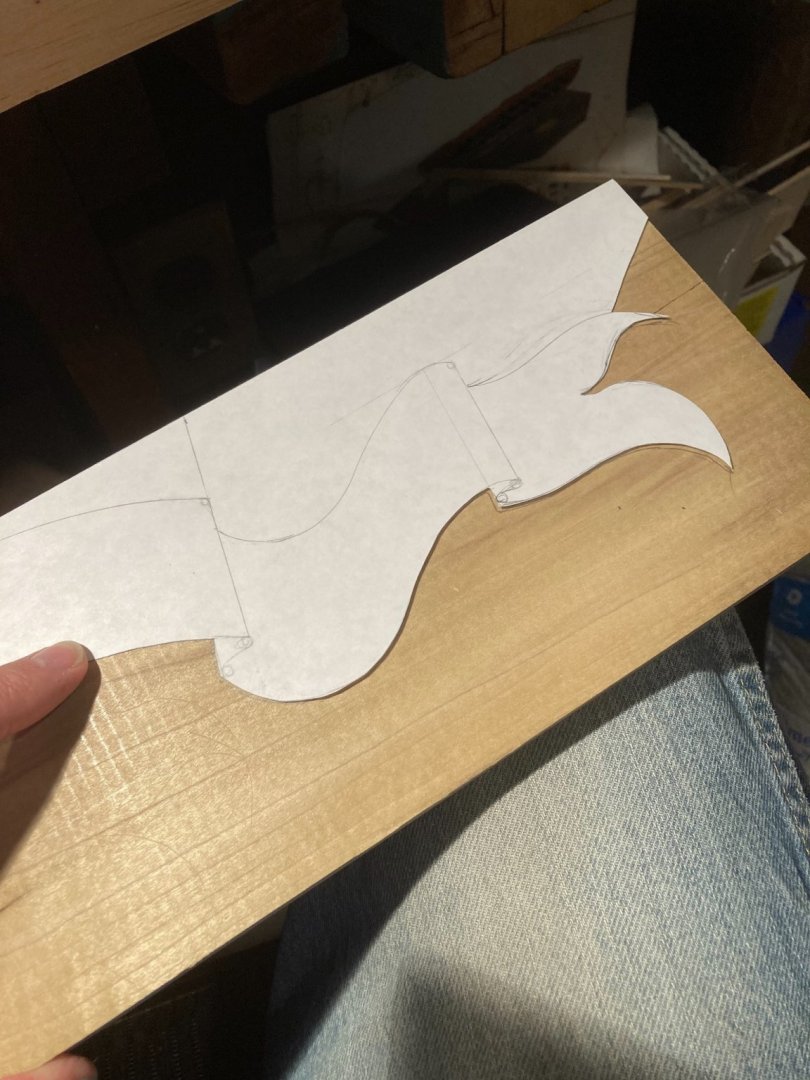
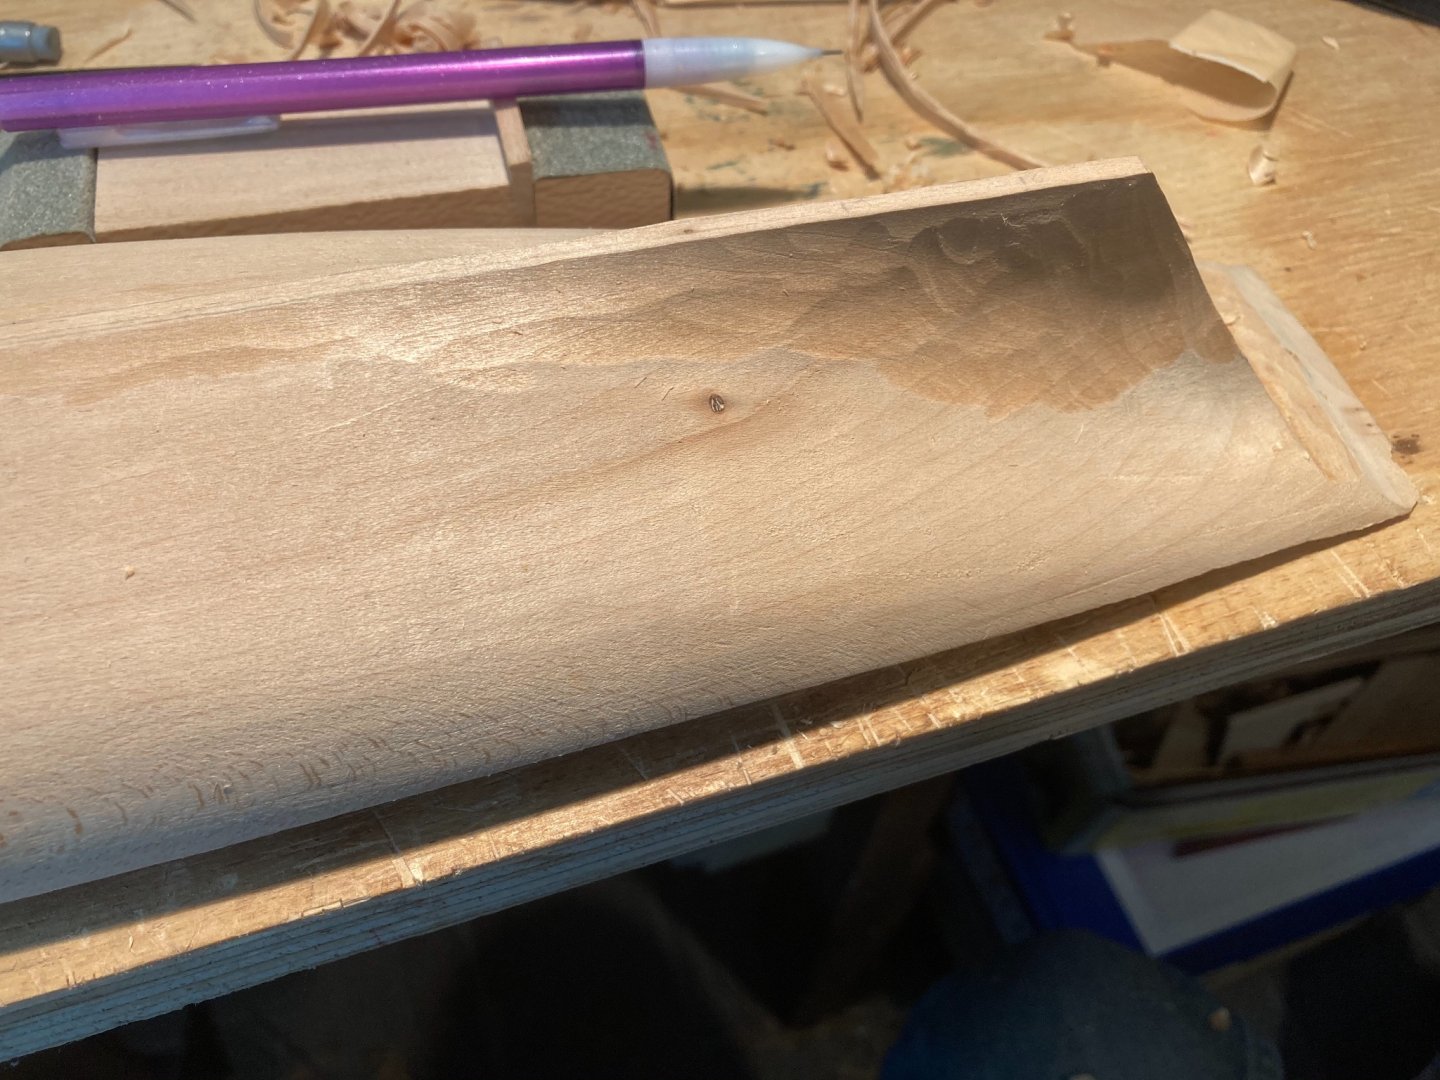
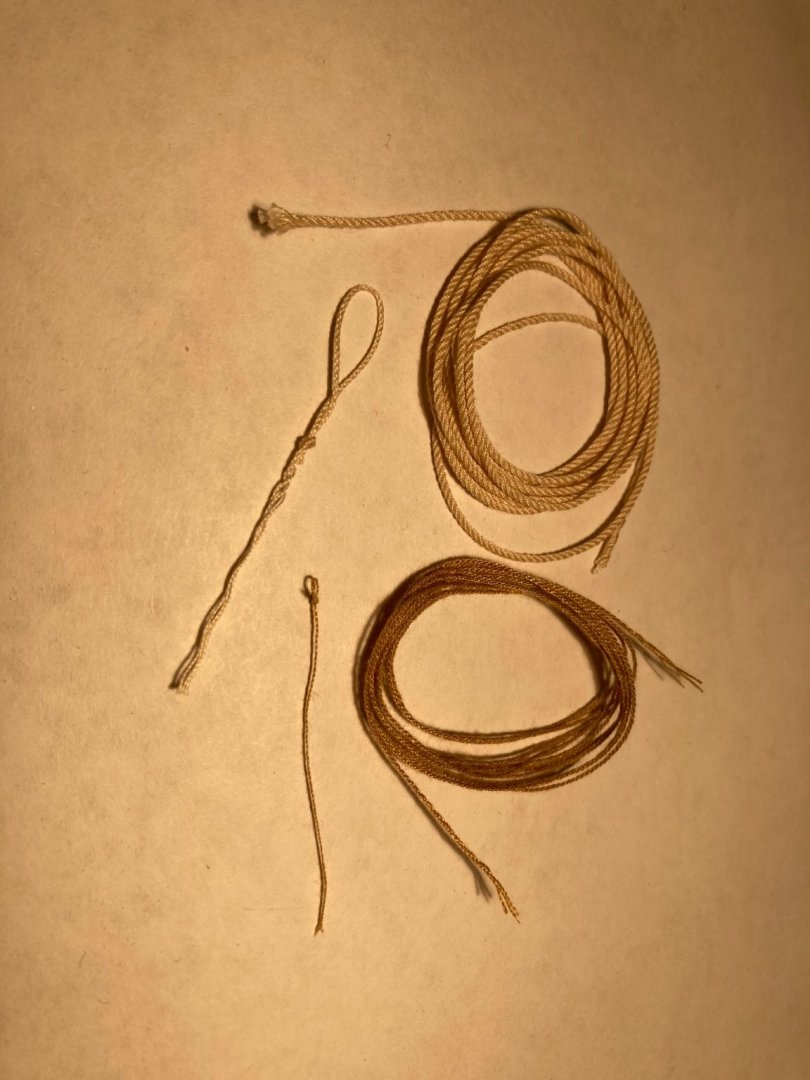
A bit of progress on all fronts. I tweaked or replaced the kit parts for the keel. You can see a long thin peel of wood in one of the photos. That means I hit exactly the inscribed line from my marking gauge. It always gives me a brief sense that I know what I’m doing until the feeling is replaced with the usual swirl of uncertainty and problem solving. You can see I have a tiny sliver to remove as well. Last model the rabbet was too small, this time it might be too big. We will see. I also shaped the banner carving for the LRWP. And made yet more rope. I have noticed that spending a lot of time on the rope experiments bits into the other project’s time. I figured out a way to make thicker cotton rope without using or adding any glue or size as a fixative.


-
Another path may be contact Dr. Merwin directly. According to LinkedIn, she now works in NY. Here is a link to her contact info: http://www.nysm.nysed.gov/research-collections/archaeology/crsp/contact I also vote for your scale version of a working Bramah lock with a set of keys to leave on counter in the galley. The early version only has 12 springs internally!
-
I hope you are doing well!
-
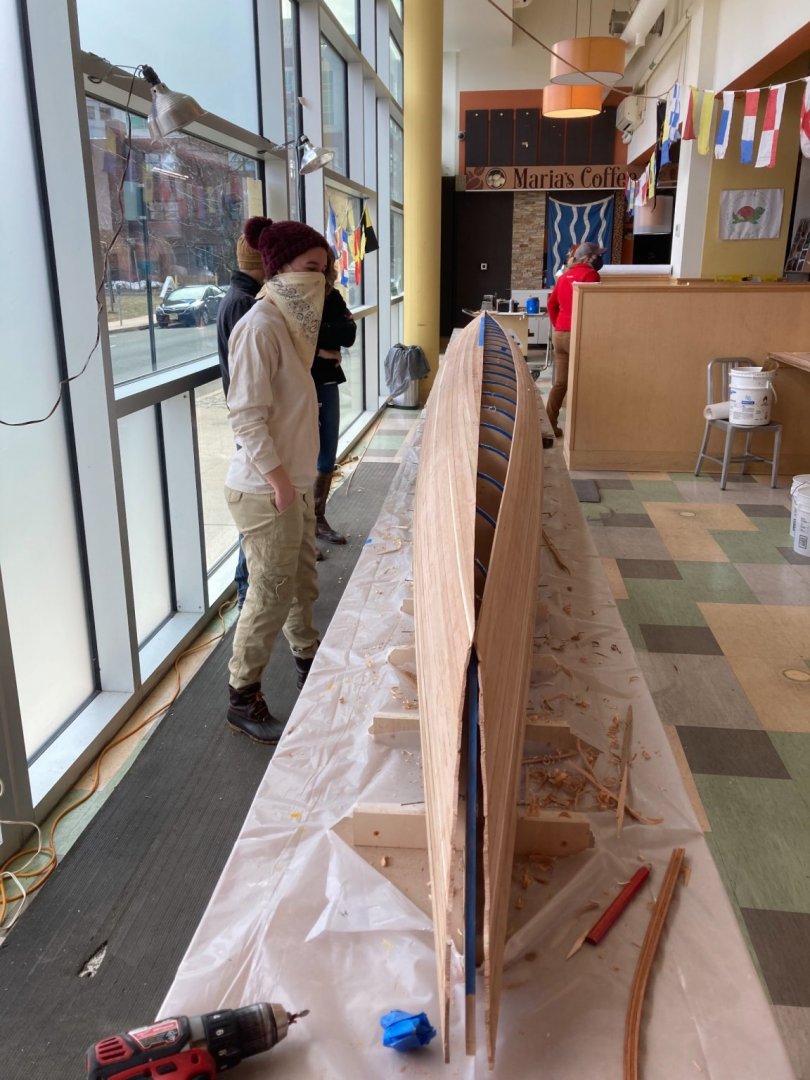
I also got to work a bit on a 1:1 scale boat and carving for the Lower Raritan Watershed Partnership here in New Jersey.

-
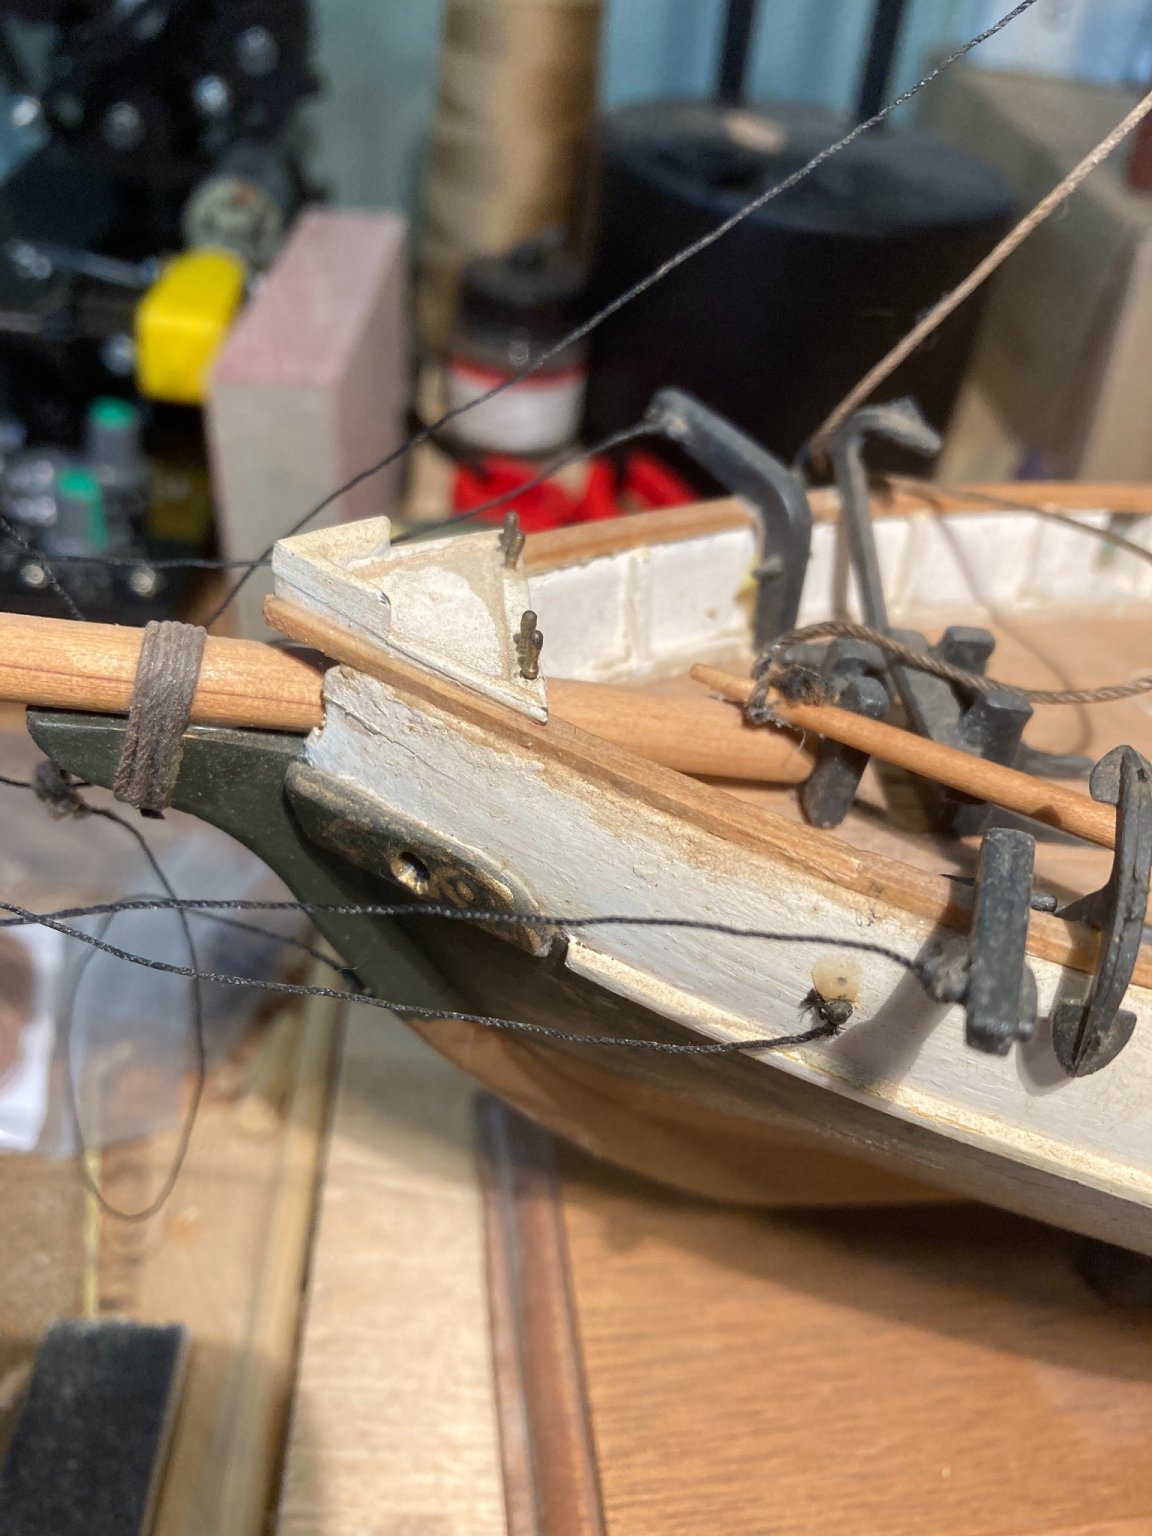
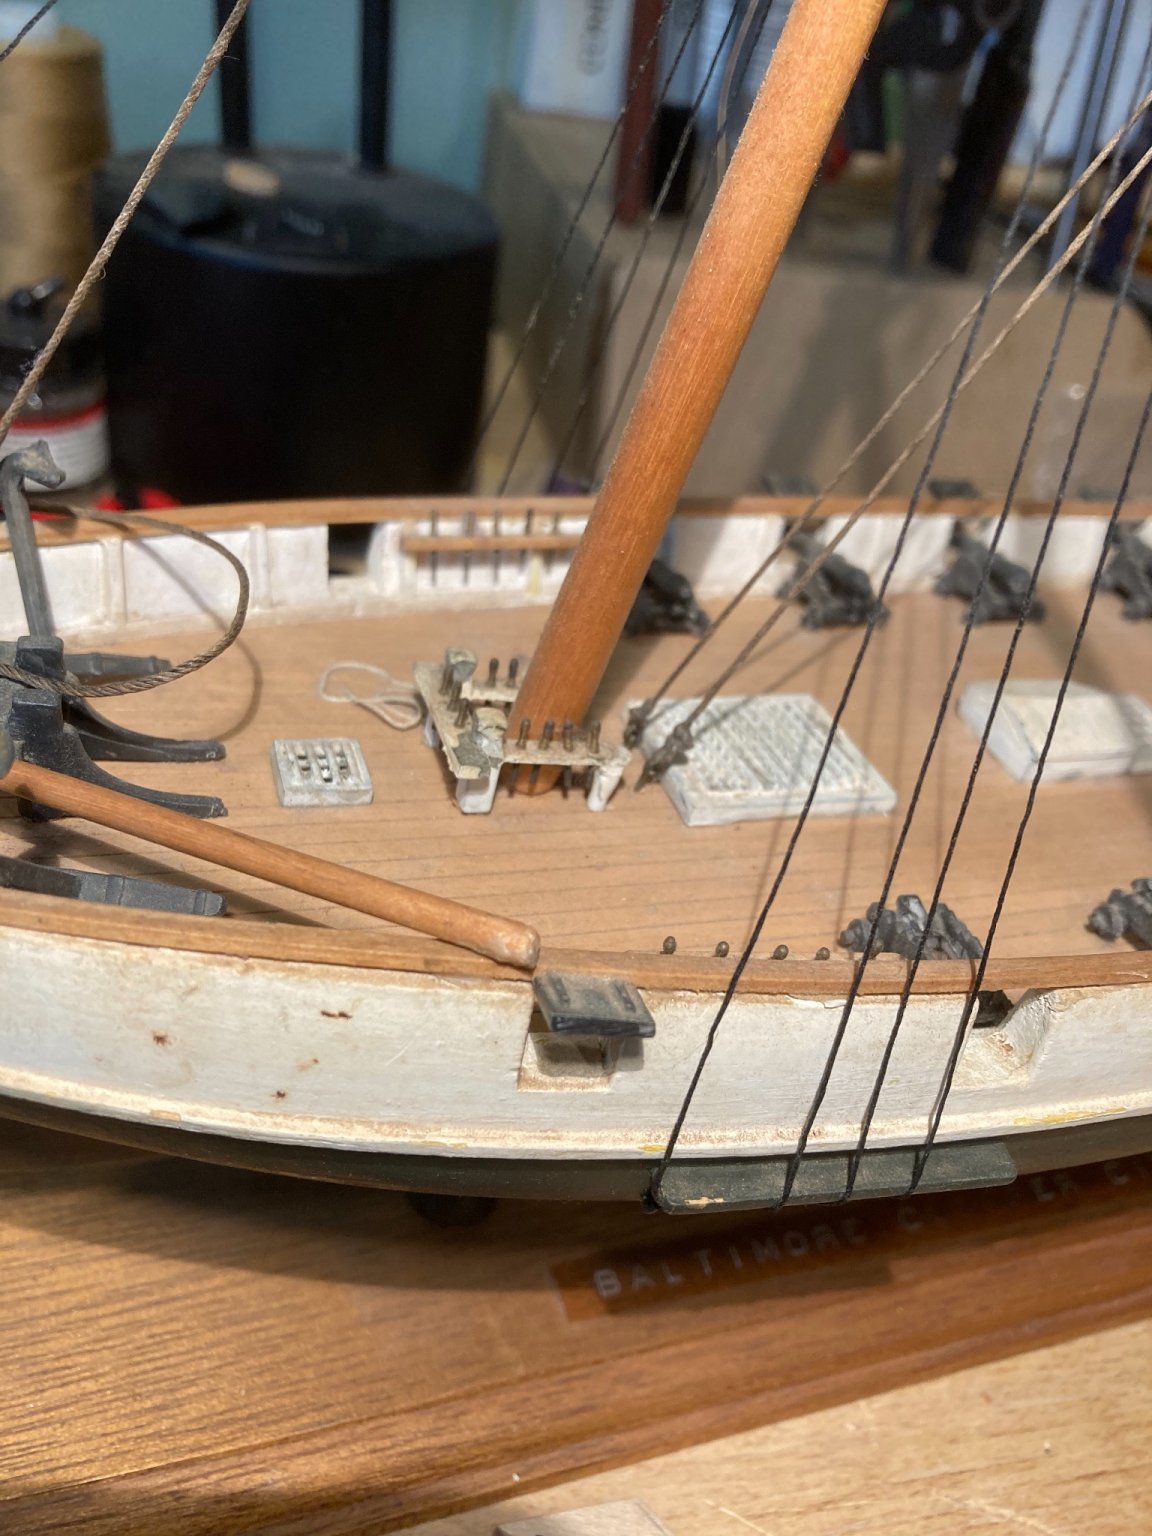
Here are a few shots of the ship to be restored.


-
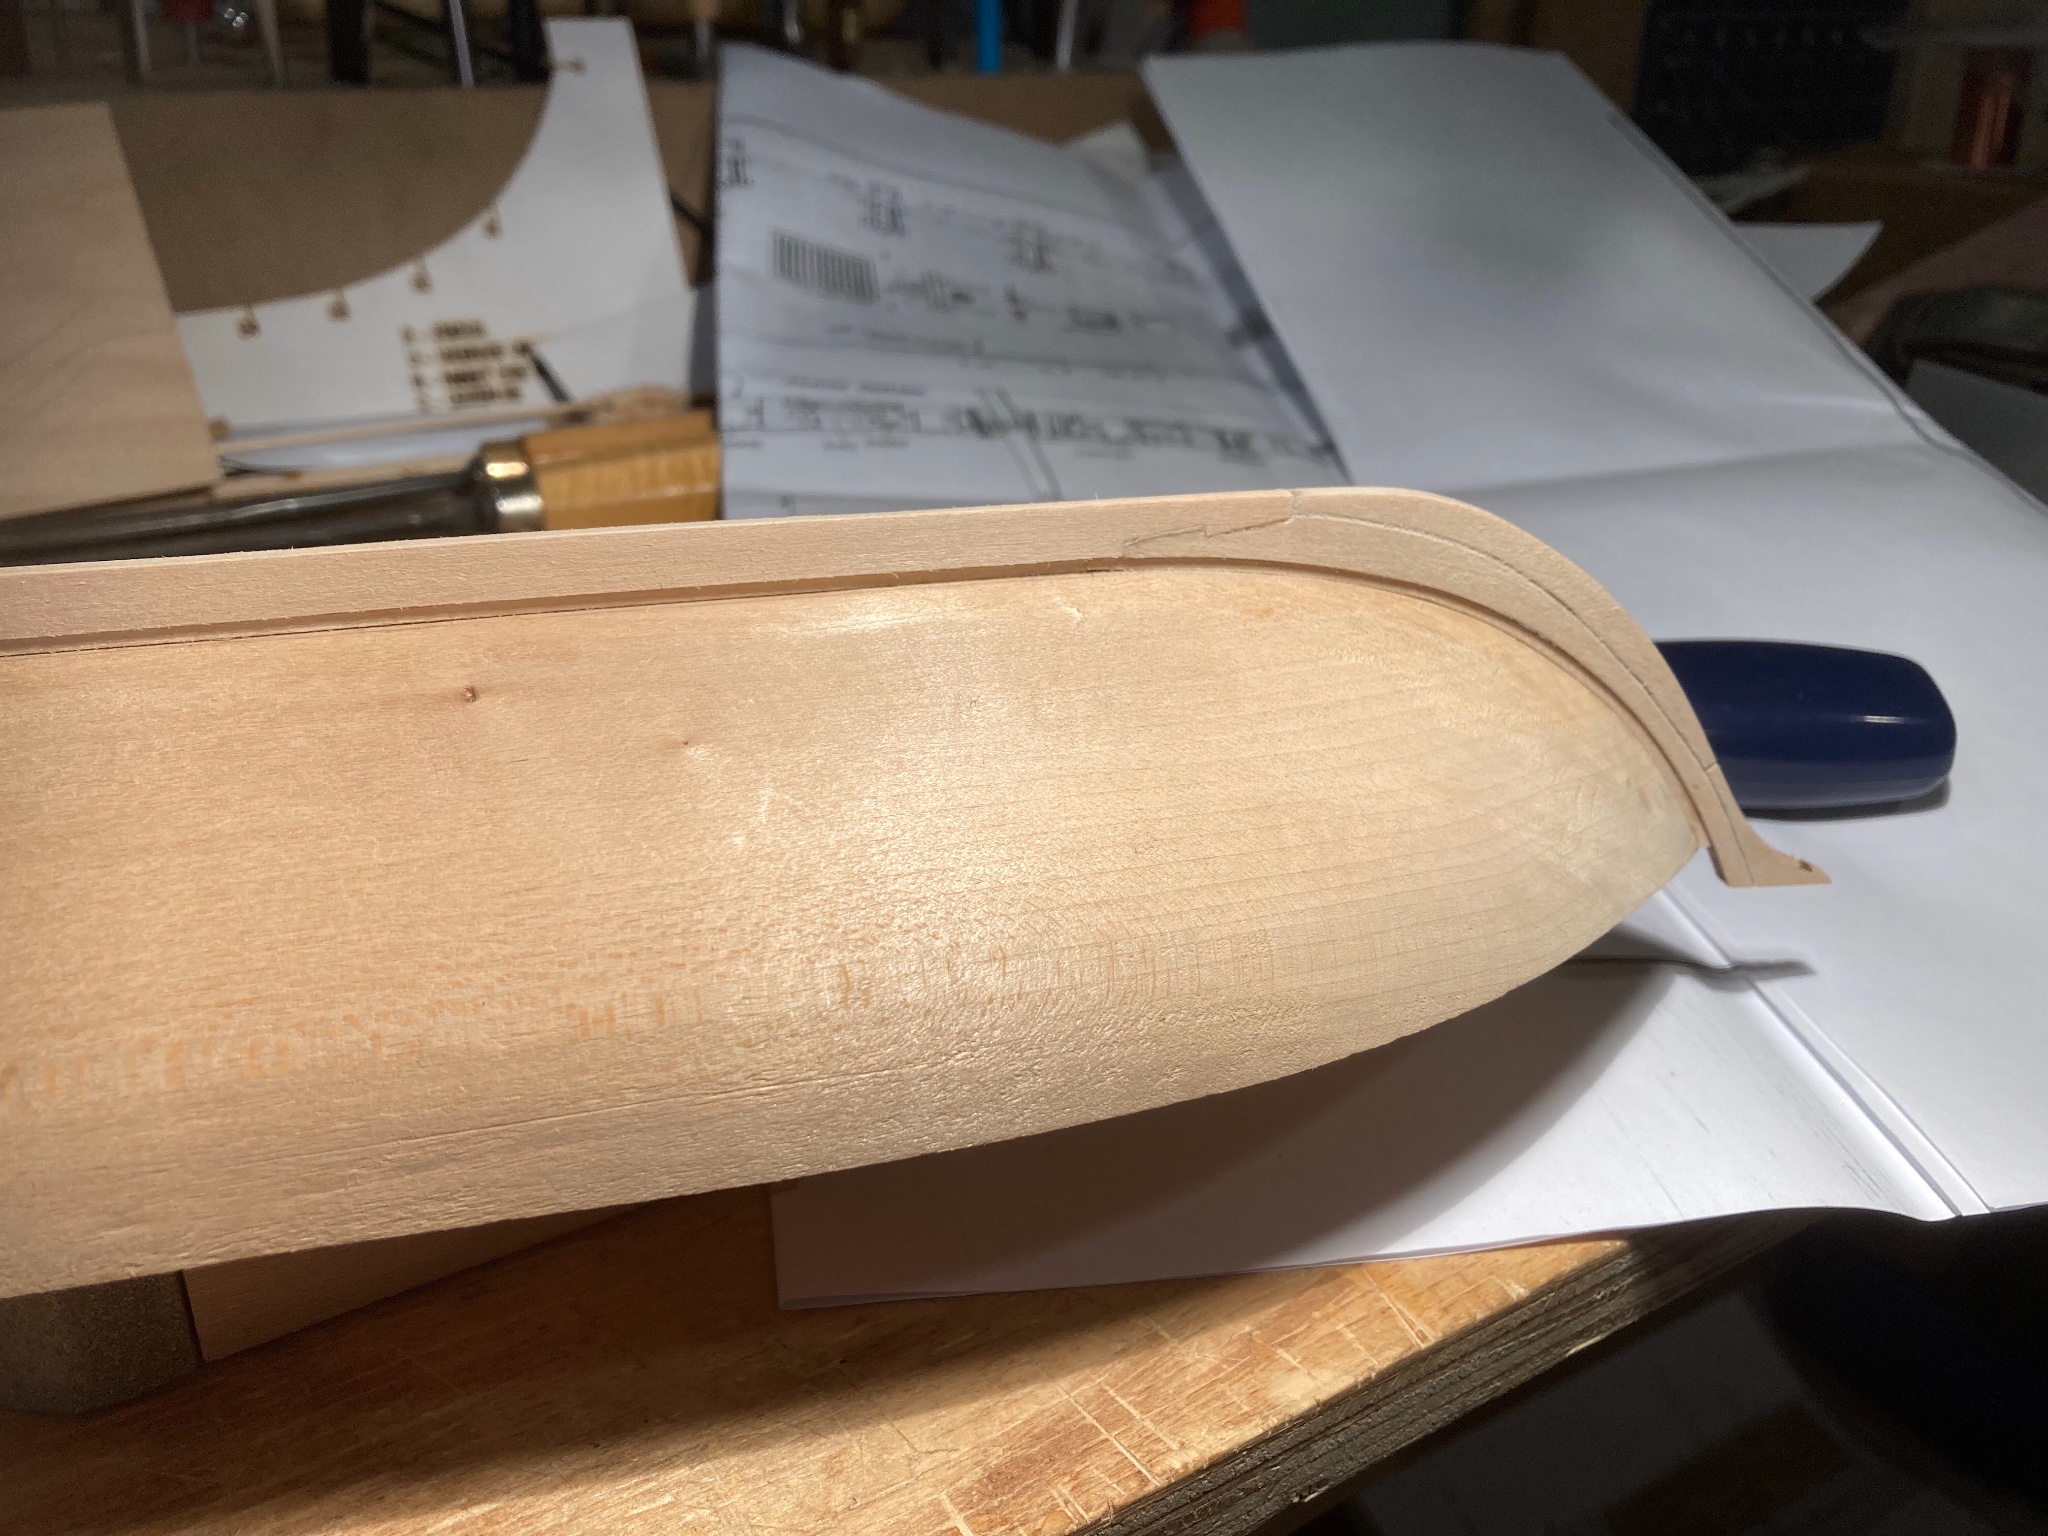
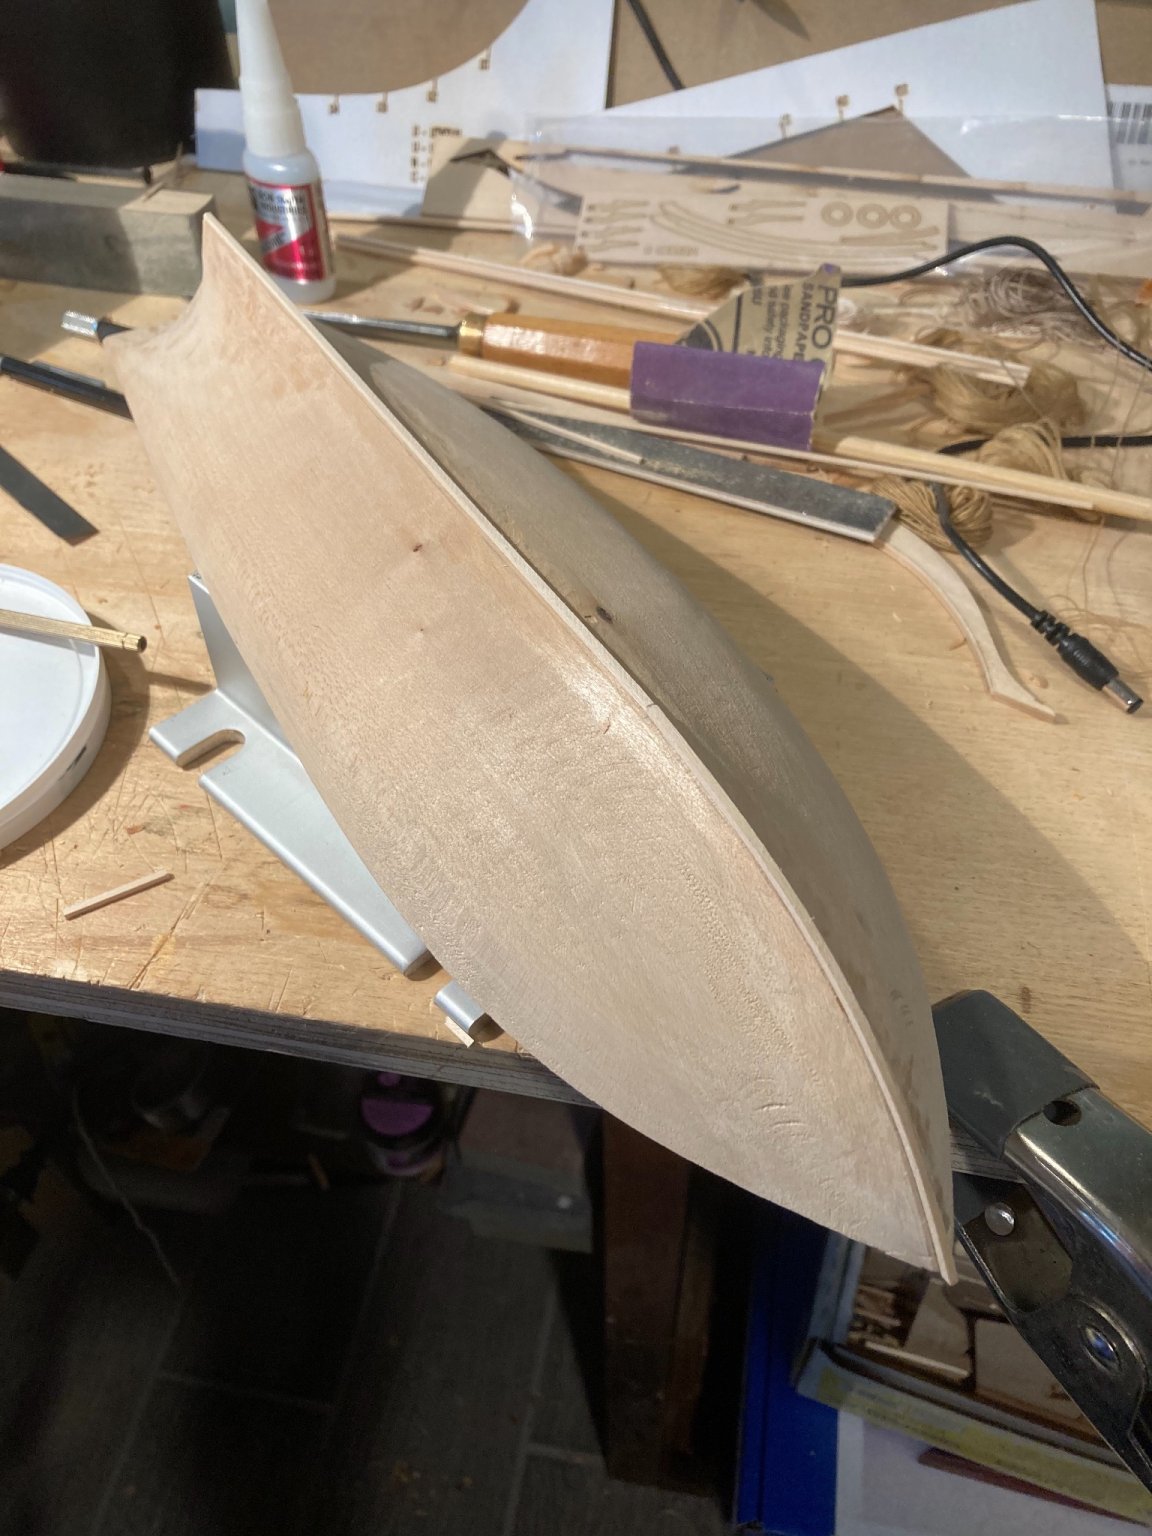
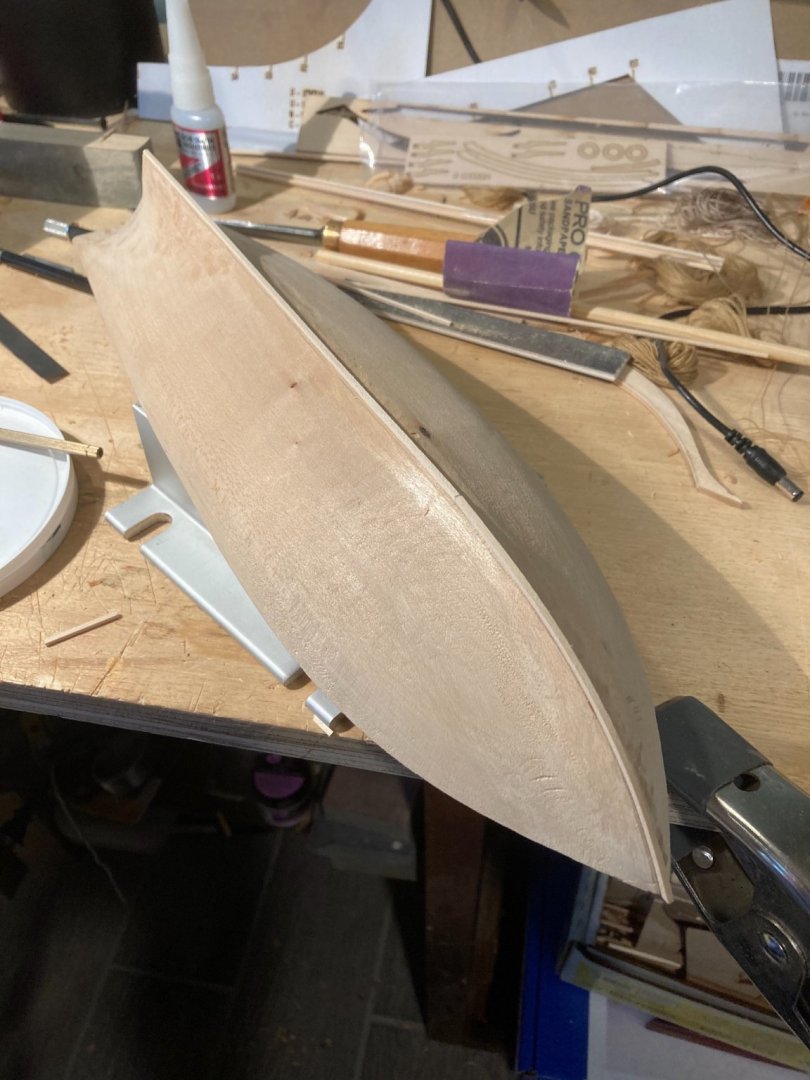
I shaved off the bulwarks! We will see if I regret that decision. I tweaked the rear of the hull and added a bit of strip which will become the rabbet for the hull planking. (Yes, I made some more rope, but I won’t bore you with the details!)
-
Thanks - enjoy the Emma C. Berry!!
-
Topsail schooner sail plans and rigging
EricWilliamMarshall replied to Dr PR's topic in Masting, rigging and sails
Off topic question - what do you create your images and diagrams with? I would also second the vote that you track down a copy of The Global Schooner by Marquardt. Lots of detail and useful images. It has become pricey used but with patience you will find a reasonable copy. Regarding being a 'student', this is the how students become masters. Plus the more you share this, the more vetting and details will accumulate. So write an article for Nautical Research Journal. You will get feedback and possible validation.- 104 replies
-
- 1
-

-
- schooner rigging
- Topsail schooner
- (and 1 more)
-
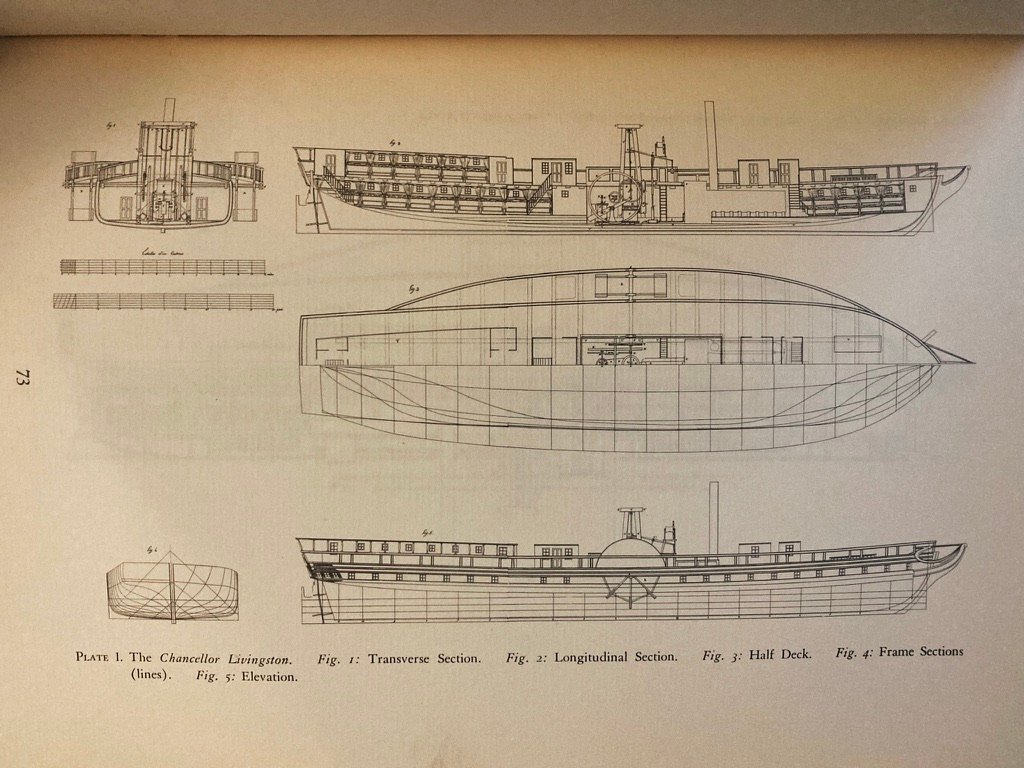
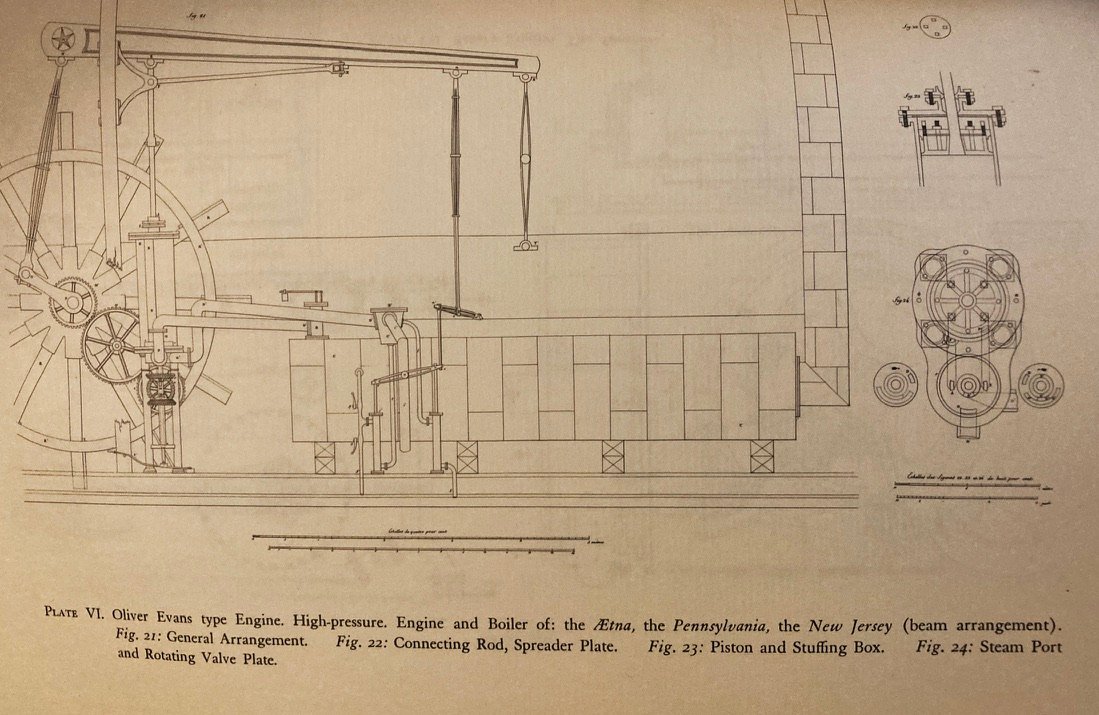
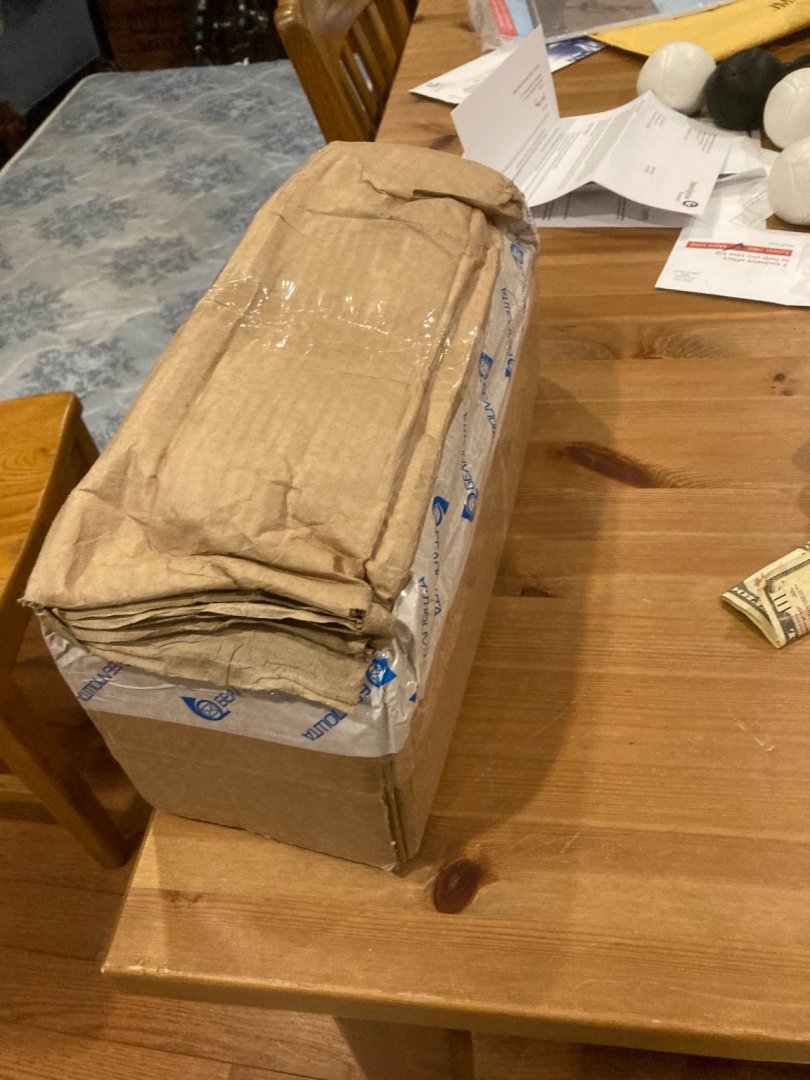
I also received a cheap battered copy of the English translation of the Marestier's book Chapelle sites for the plate used by John Shedd (of Model Shipway) to make is plans. Memoir on the steamboats of the United States of America (Mémoire sur les bateaux à vapeur des États-Unis d'Amérique avec un appendice sur diverses machines relatives à la Marine) was published in English translation by the Marine Historical Association in 1957 and was available for the princely sum of $2.50. It is Marestier's 1824 snapshot of America's use of steam ships. He describes ships, engines, infrastructure and the like. The plate I was looking for was not included - the focus of this edition is solely on steam. It is quite readable in the parts I dipped into but I have not read the book from cover to cover. The plates are crisp and beautifully drafted - there 7 plates of ships and 9 plates of engines. (The rights to the images are of course are retained by the Marine Historical Association or those who hold those rights today.) So long story short, this was a dead end for the Dapper Tom.
-
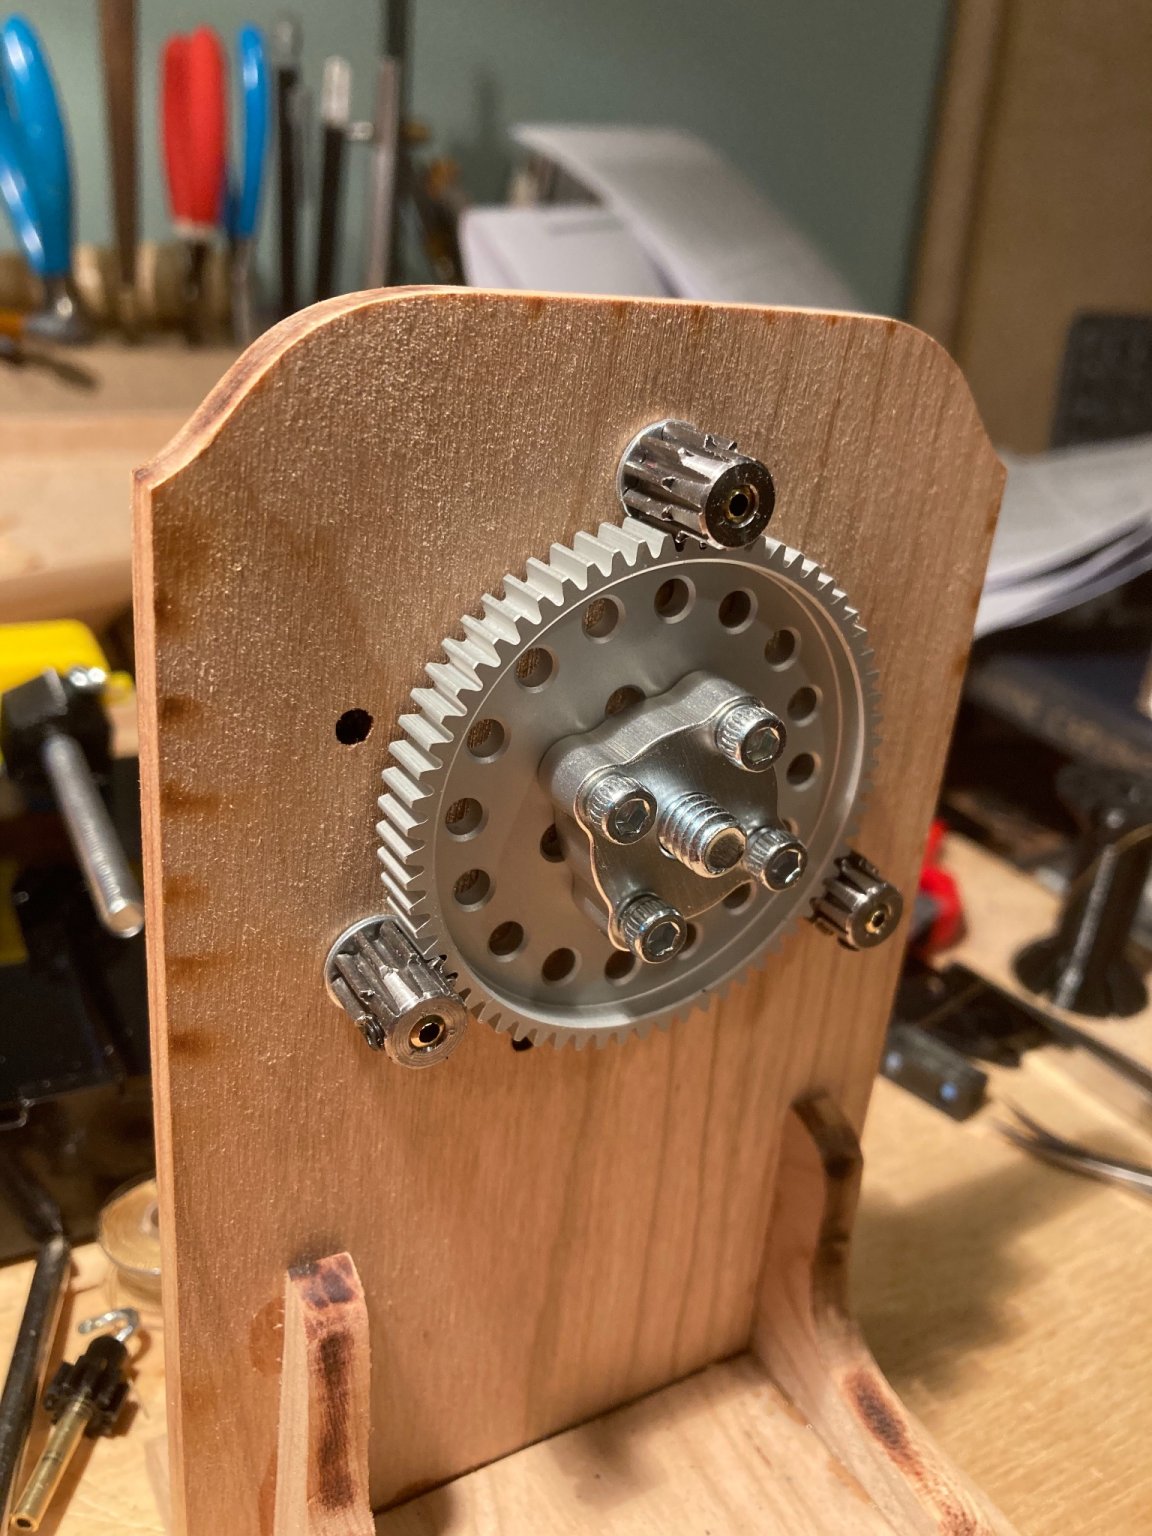
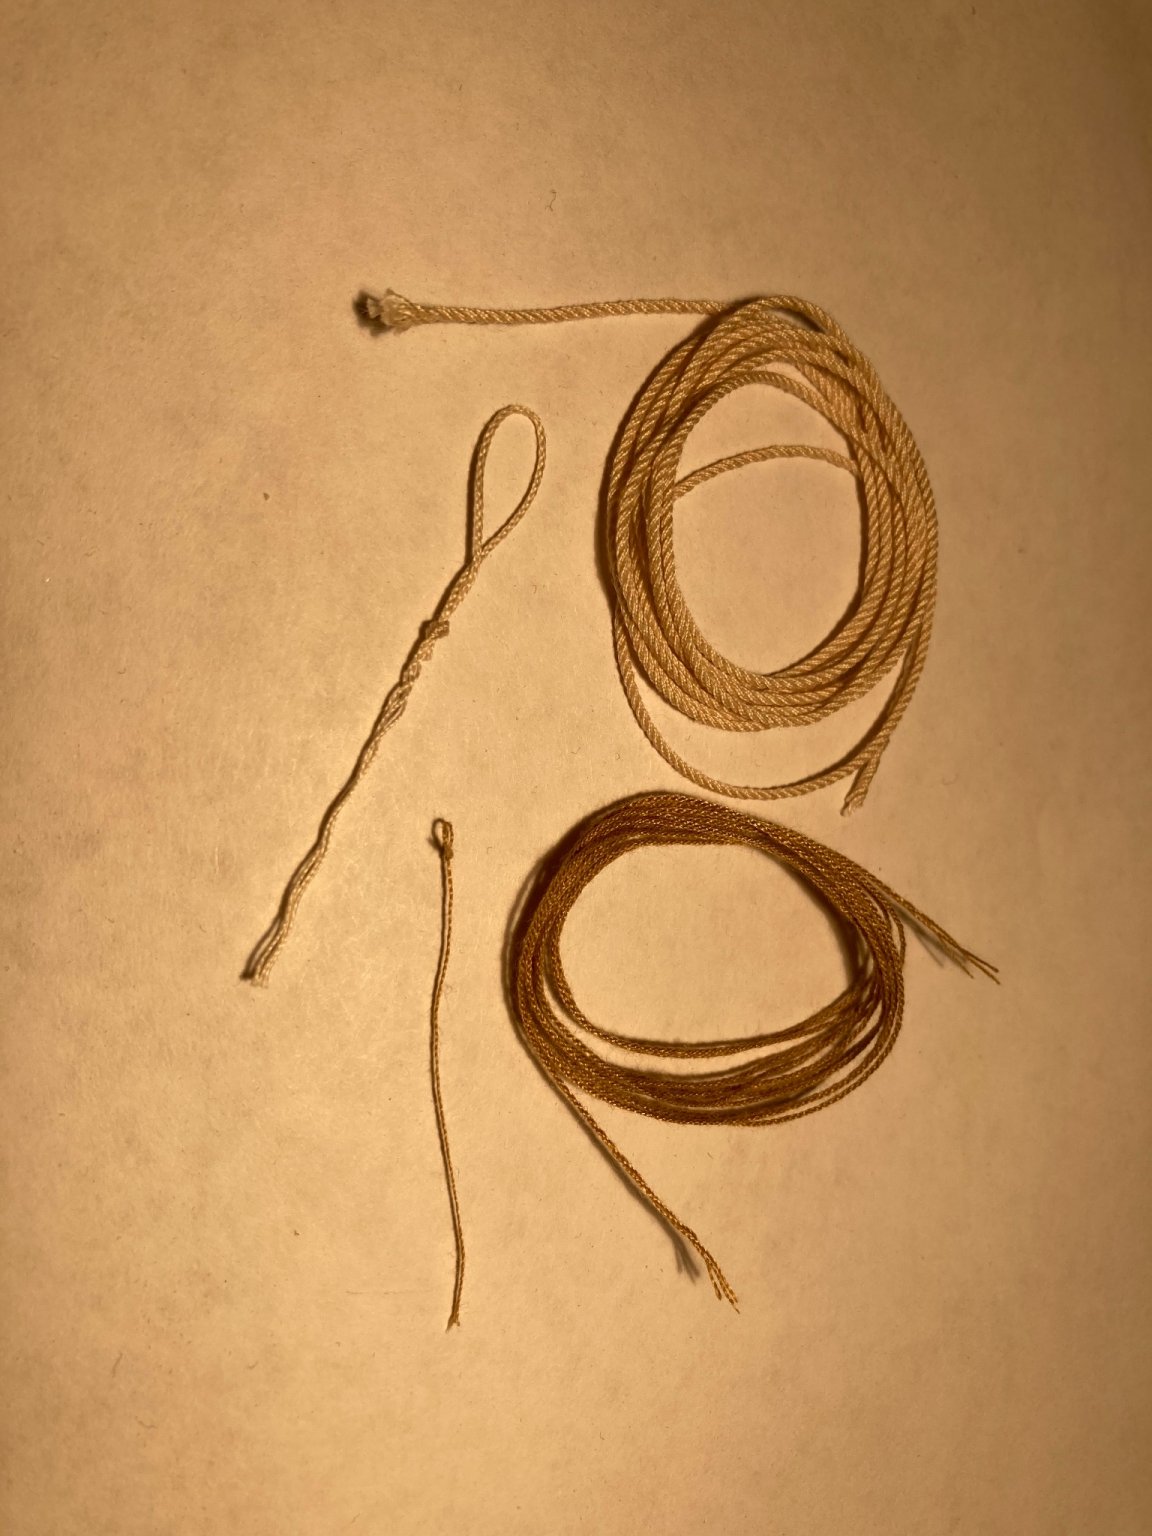
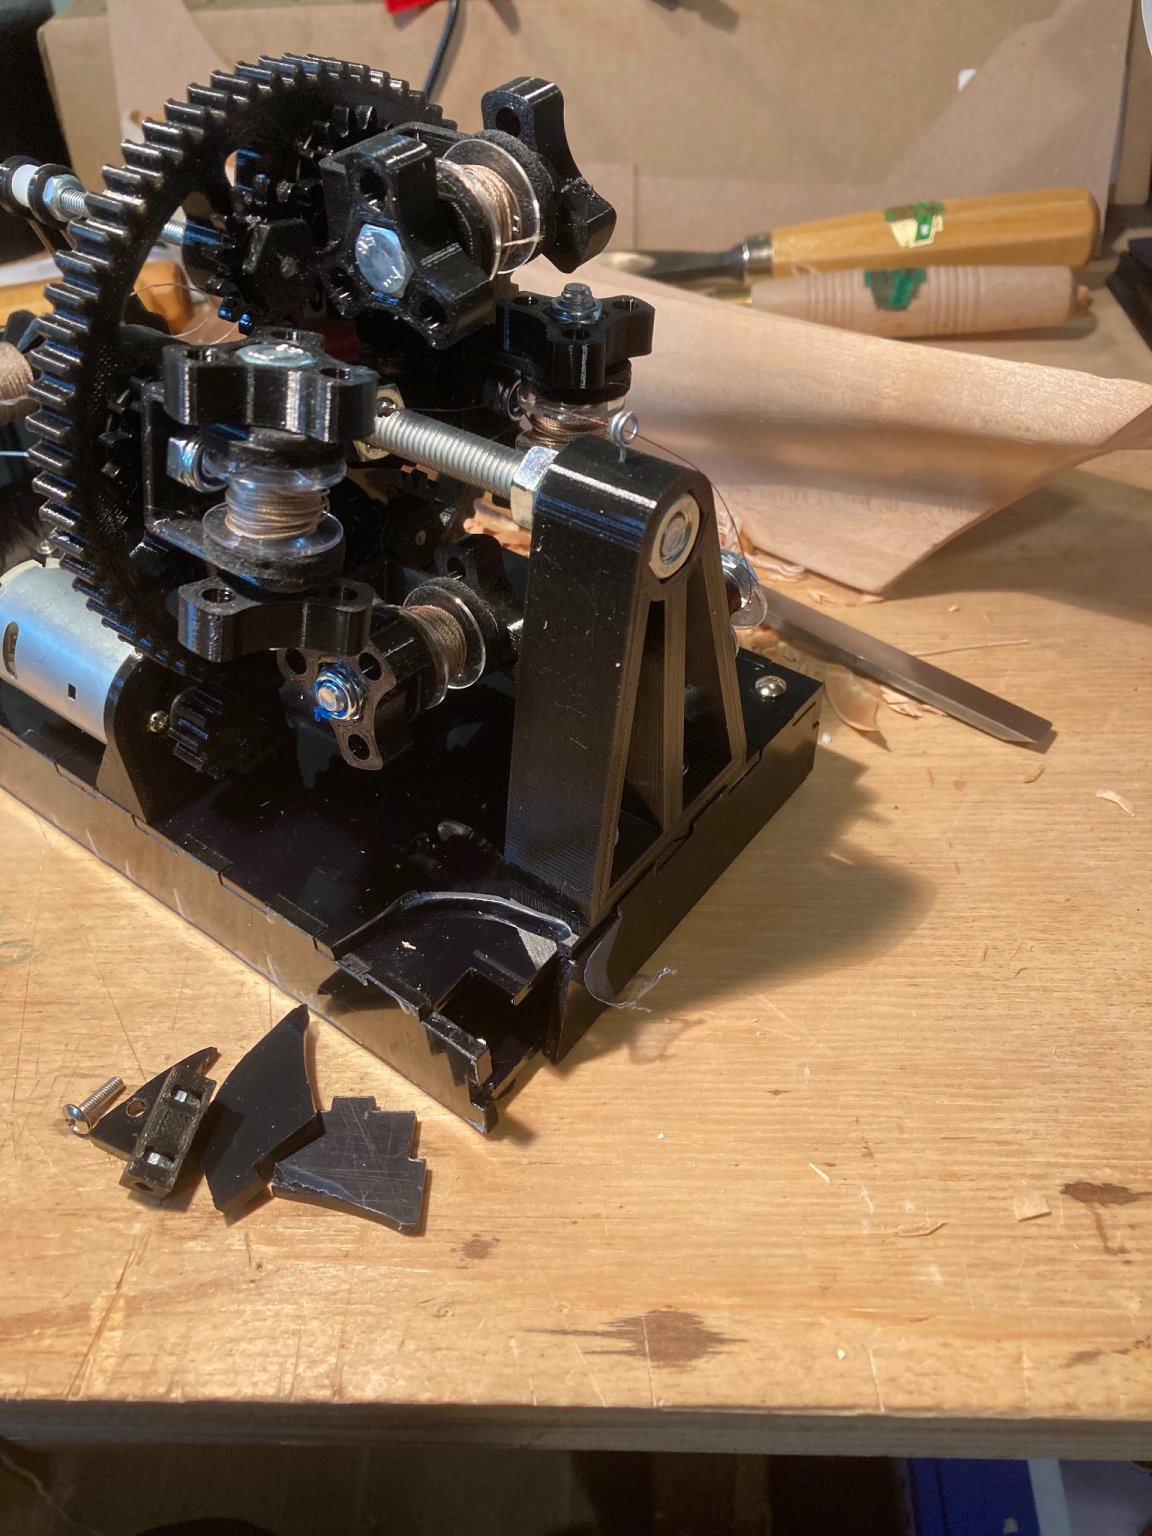
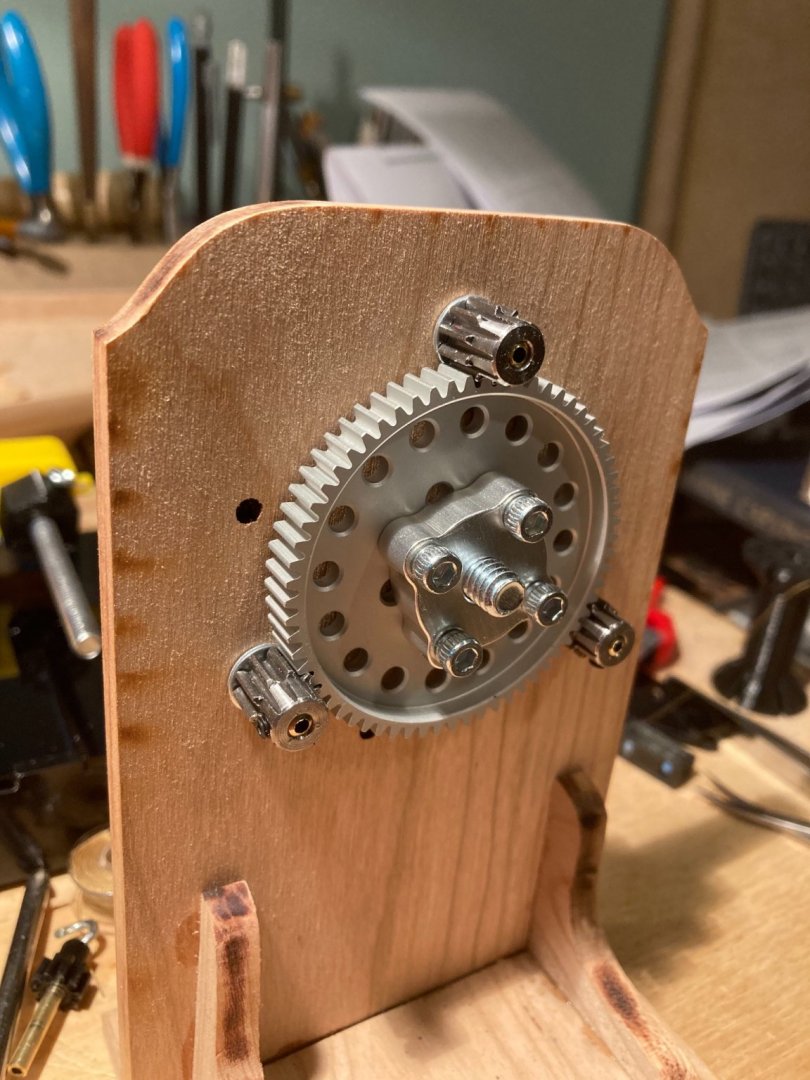
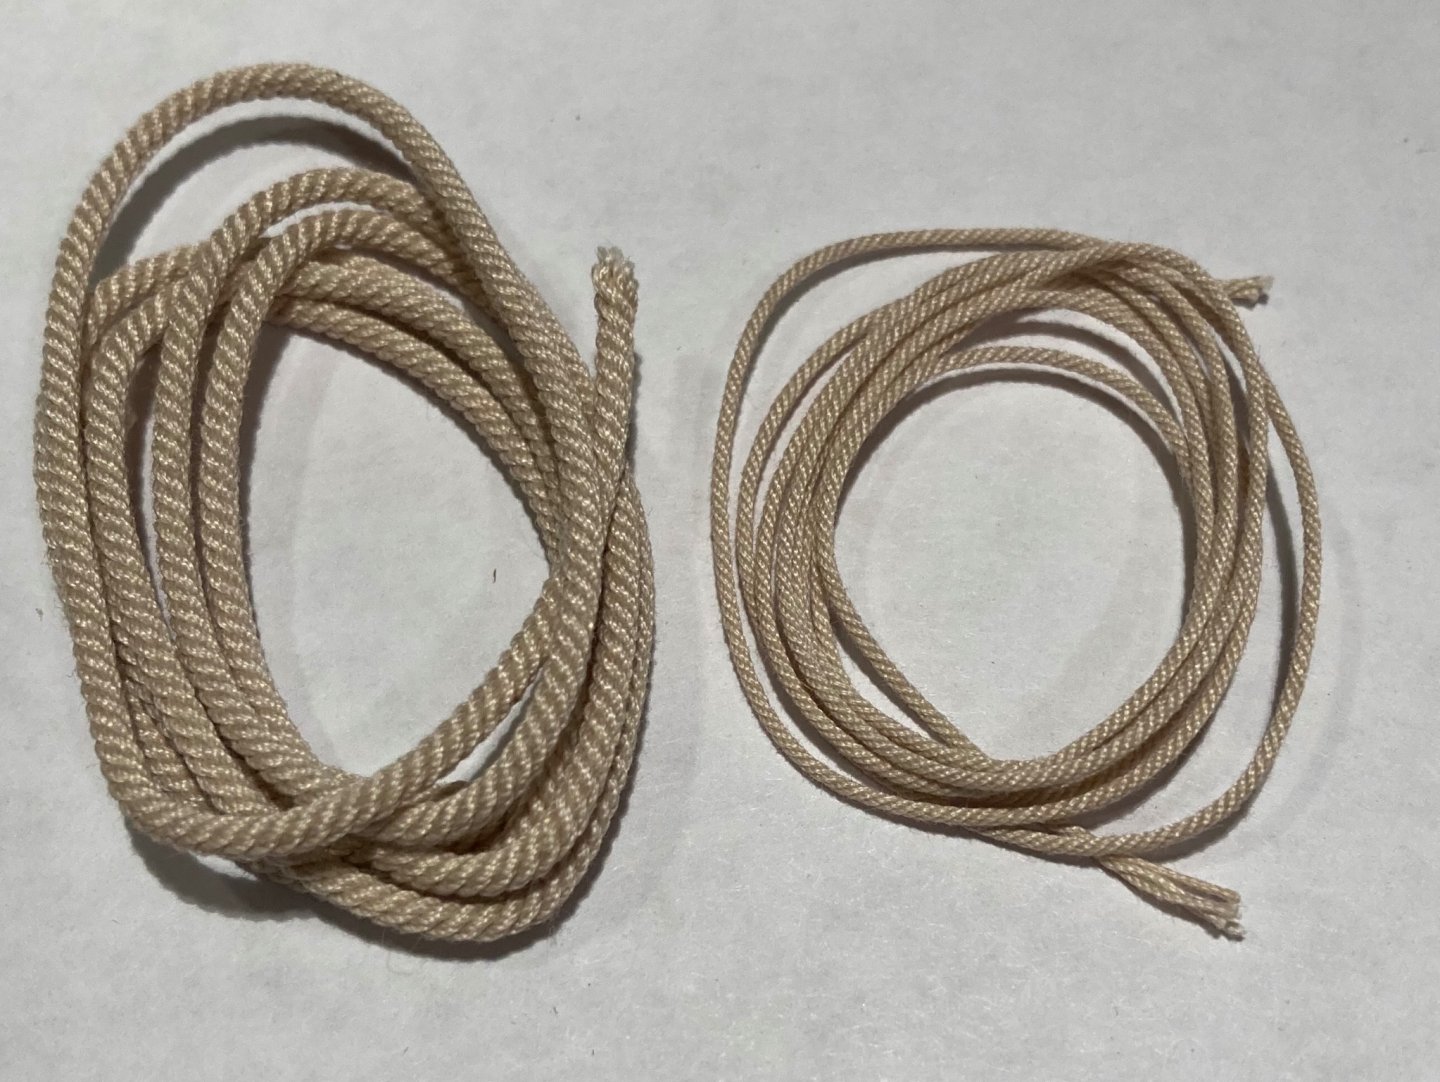
@Alexey Domanoff was kind enough to offer to replace the unit or give me a partial refund. He also made a quick video of how to adjust the gears the drive to the largest gear in the rig, which was so jostled it no longer even made con tact. So hats off to Alexey! Once dry and I had recovered my wits (such as they are), I was able to fix the the machine and give it a try. The PL4 came with thread already loaded and with rope on the spool. This is a nice extra, since you can literally turn on the power and it makes rope and also you can examine how the machine should be threaded and see how much nicer Alexey’s rope looks then yours! Which he made on the same machine you are using!?! Speaking of power, the power supply arrived separately and well before the PL4. It wasn’t marked in any way that it was for the PL4. So it sat with the mail for a few days as I tried to figure out why it was here! Now, I can make ‘ok’ rope with the unit by the bucket but I’m still trying to learn how to get it closer to excellent rope. The intuitions I have regarding rope making the Syren rig don’t apply to the PL4 directly since tension doesn’t seem to be used the same way. On the Syren front, @Chuck, was so kind to take time from his day (I.e. i interrupted his earning his keep) to walk me through his process. Hats off the Chuck! It was great! It is hard to describe things like tension or pull, so to experience that first hand was fantastic! Among other things, I left his shop with some rope samples, a Medway kit (woo-woo! And yes, I have exceeded my hobby budget for quite a long while) and a bit of insight. I also, at Chuck’s suggestion, experimented with metal gears for the Syren Rocket. I found the metal gears could run a bit quicker and smoother than the original setup but the ability to make quality rope was the same as far as I can tell. Attached is yet another picture of rope. At this point in my adventure, the Syren Rocket is quick and easy to work with. As for the PL4, I’m still learning so I’m not in a position to compare yet. I did work on cleaning the inside of the bulwarks and thinning them. I did damage the front end, so there that to fix already. I’m thinking about just removing the bulwark and building it up as described by Chuck in his practicum for the Model Expo Sultana (as found here: https://modelexpo-online.com/Model-Shipways-SULTANA-SOLID-HULL-164-SCALE_p_1021.html#tab-6 under instructions or here: http://modelshipworldforum.com/ship-model-build-and-practicums.php at the bottom of the page.) since, if the bulwarks will be planked I have to get very thin indeed.

-
You are too kind! The Dremel is my next stop! I went down the rabbit hole of rope making and haven’t come up yet! So I have a ton of rope trying to master this skill set (or at least become capable). I have tried both the Syren Rocket rope walk, with another image here. I also got one of Domanoff’s PL4 rigs. I’m still a little uncomfortable with my mis-use of the communal funds. The PL4 took a while to walk/swim from Minsk to New Jersey and arrived in a crushed wet box. Not good! It was in fact damaged.

-
Kit recommendations based on a request.
EricWilliamMarshall replied to Guybrush's topic in Wood ship model kits
There was no need to go above and beyond, but you did, Thanks ever so much!! -
No worries - this is suppose to be fun, right. Enjoy!
-
In fact, I did! I after I tried a few positions winding up holding the ship in my lap and using both hands to limit the sweep of the gouge cut. (I have not interest in stabbing myself.). In that position, the cutting went quickly - may be ten minutes total.
-
Thanks for the insights and the link! As for shellac, if used straight it has two down sides: 1) natural shellac is an amber-orange color. You can find ‘white’ or bleached shellac, which has much less color to it. 2) shellac is glossy unless cut heavily with alcohol. If you mix some and let it sit, the waxes will separate and that shellac behaves a little bit different. I love shellac but it isn’t a silver bullet.
-
Thanks, I’ll try not to burn through the good luck too fast!