-
Posts
986 -
Joined
-
Last visited
Content Type
Profiles
Forums
Gallery
Events
Everything posted by EricWilliamMarshall
-
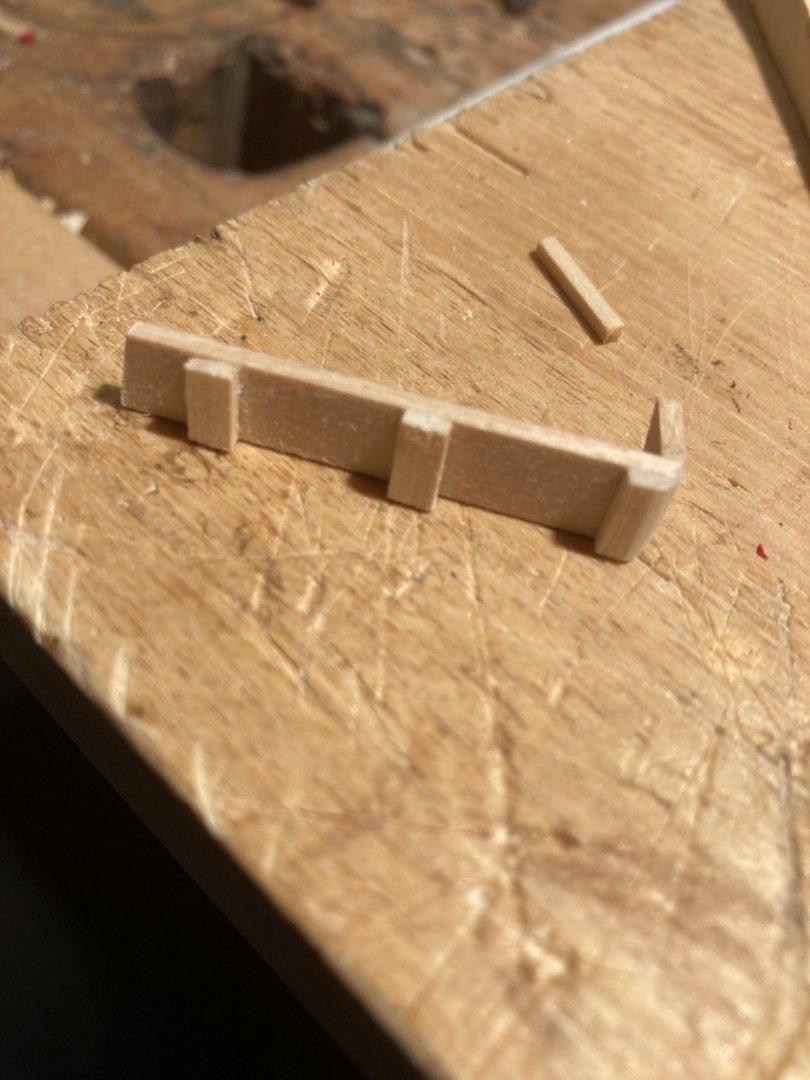
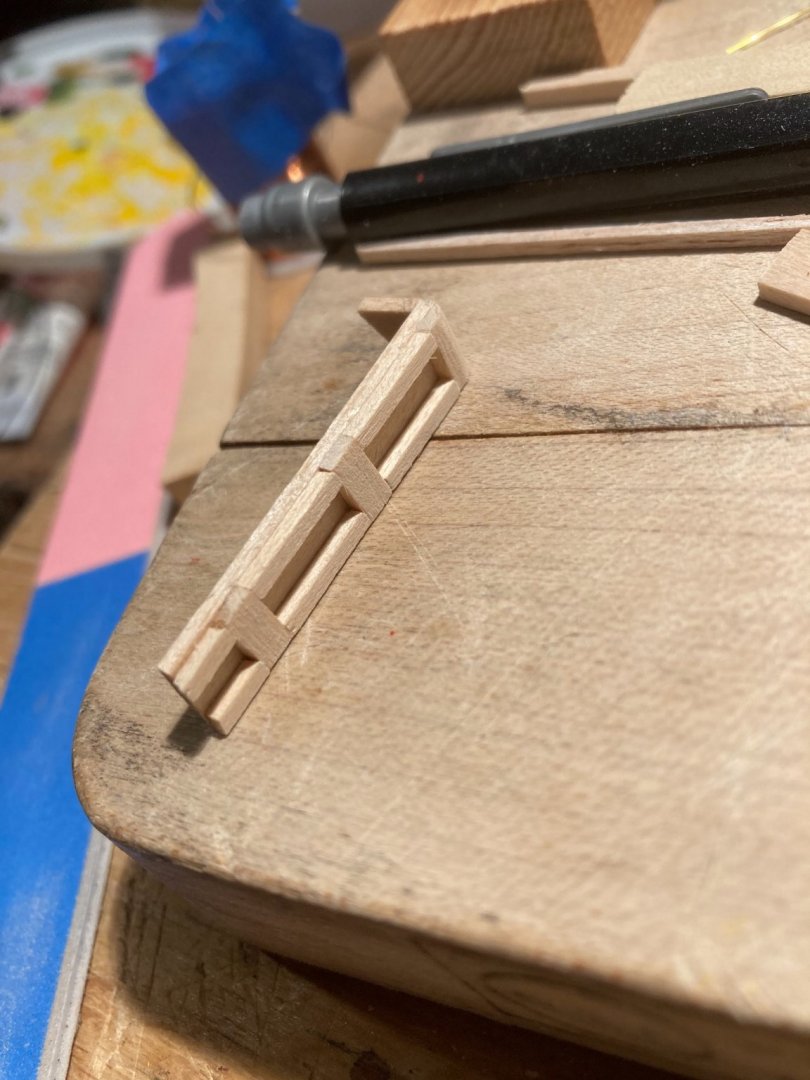
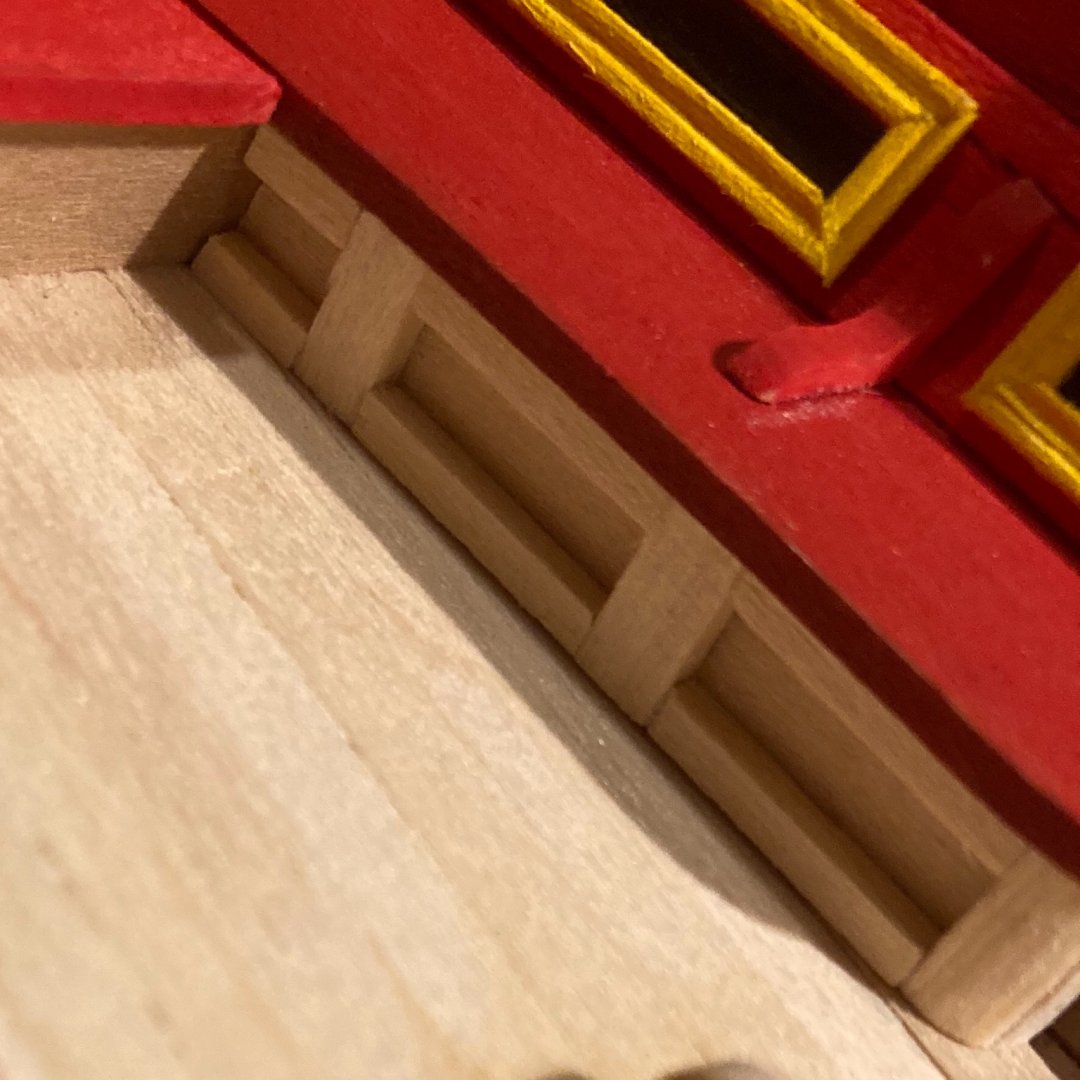
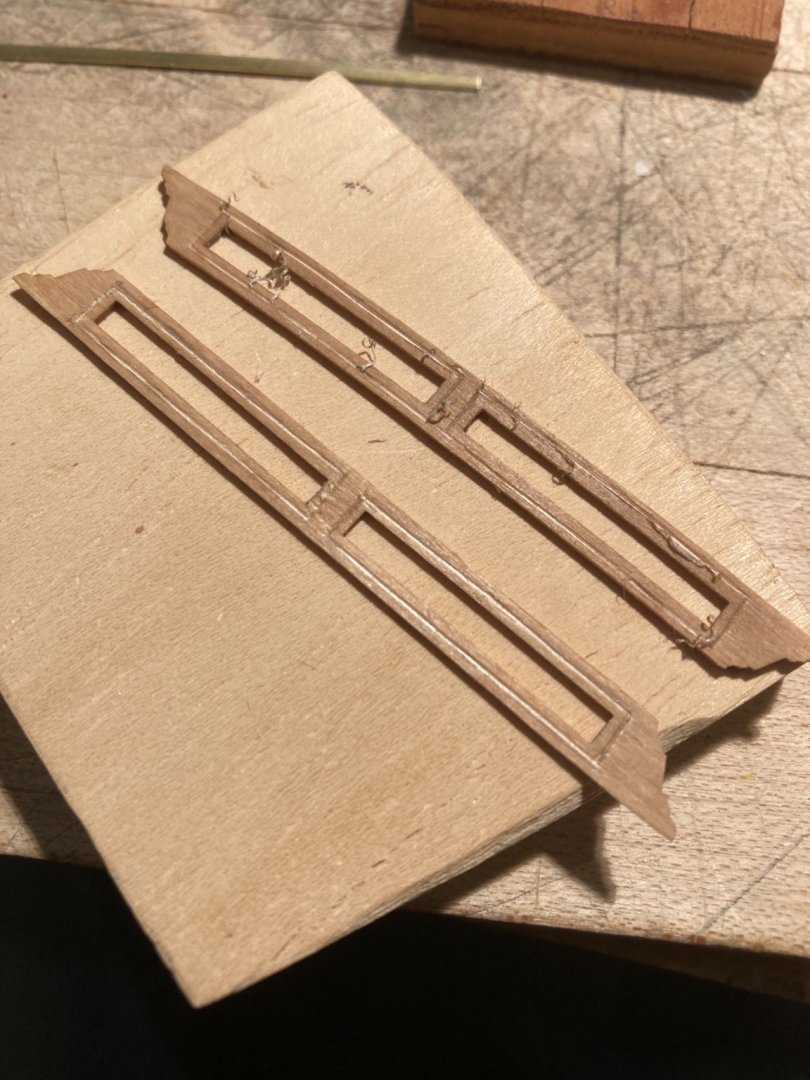
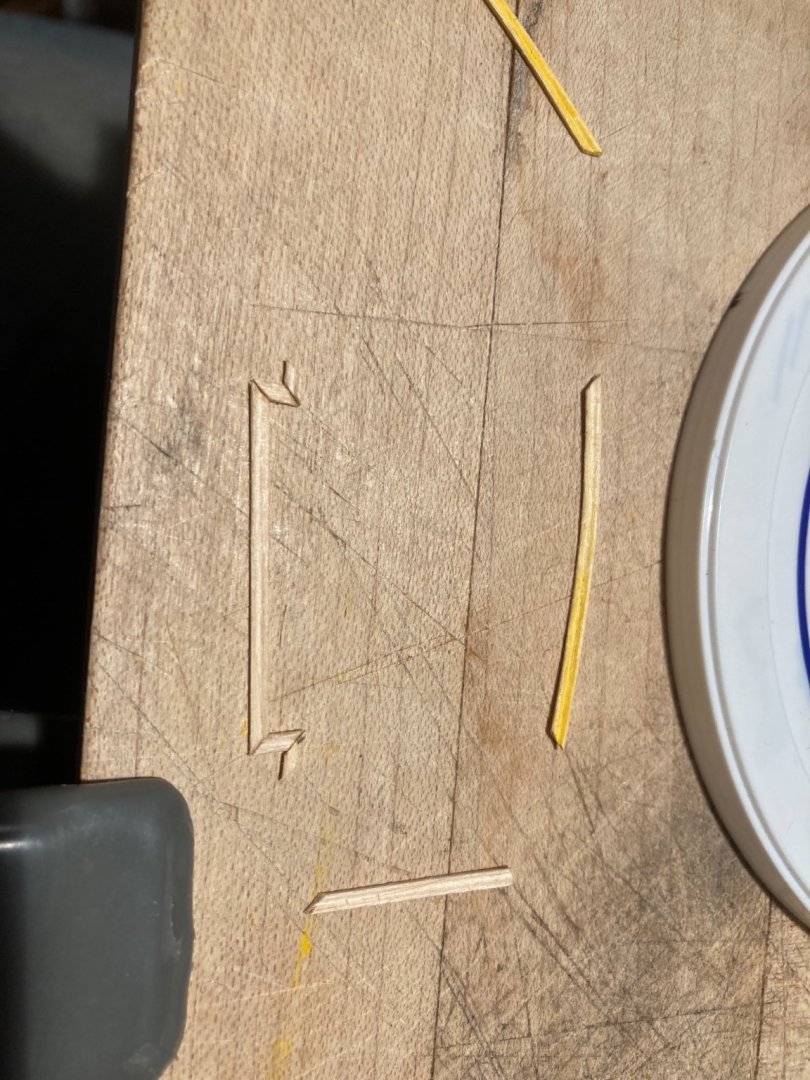
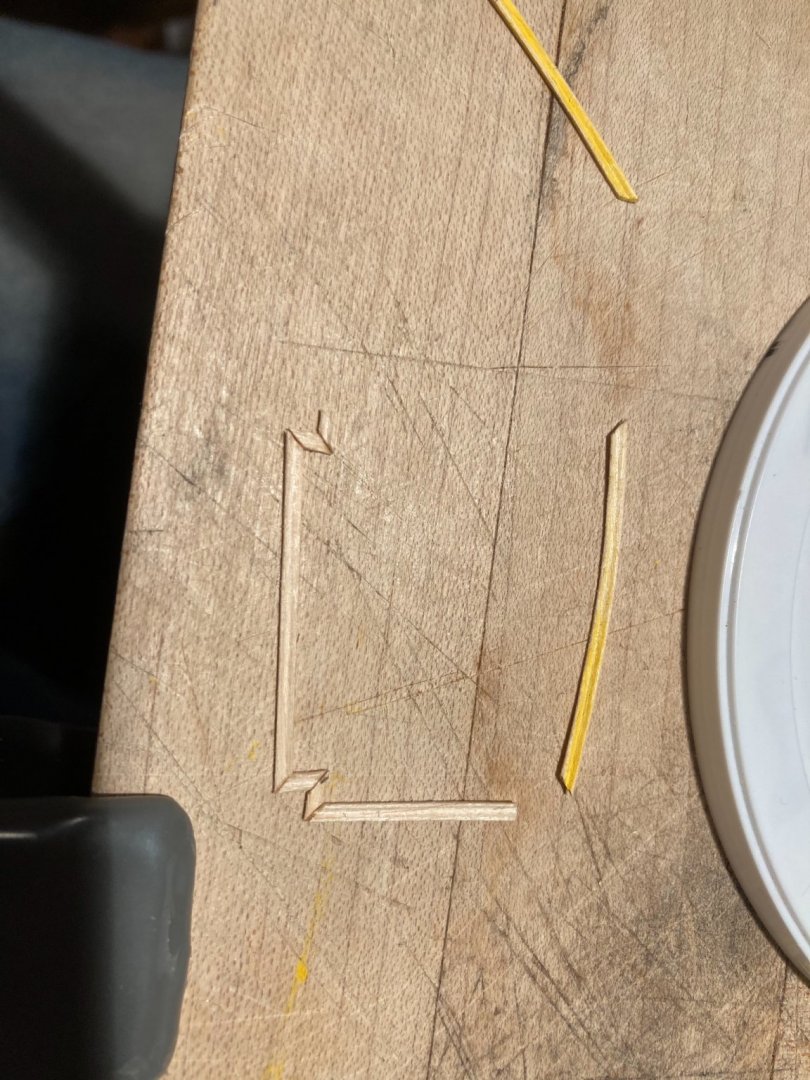
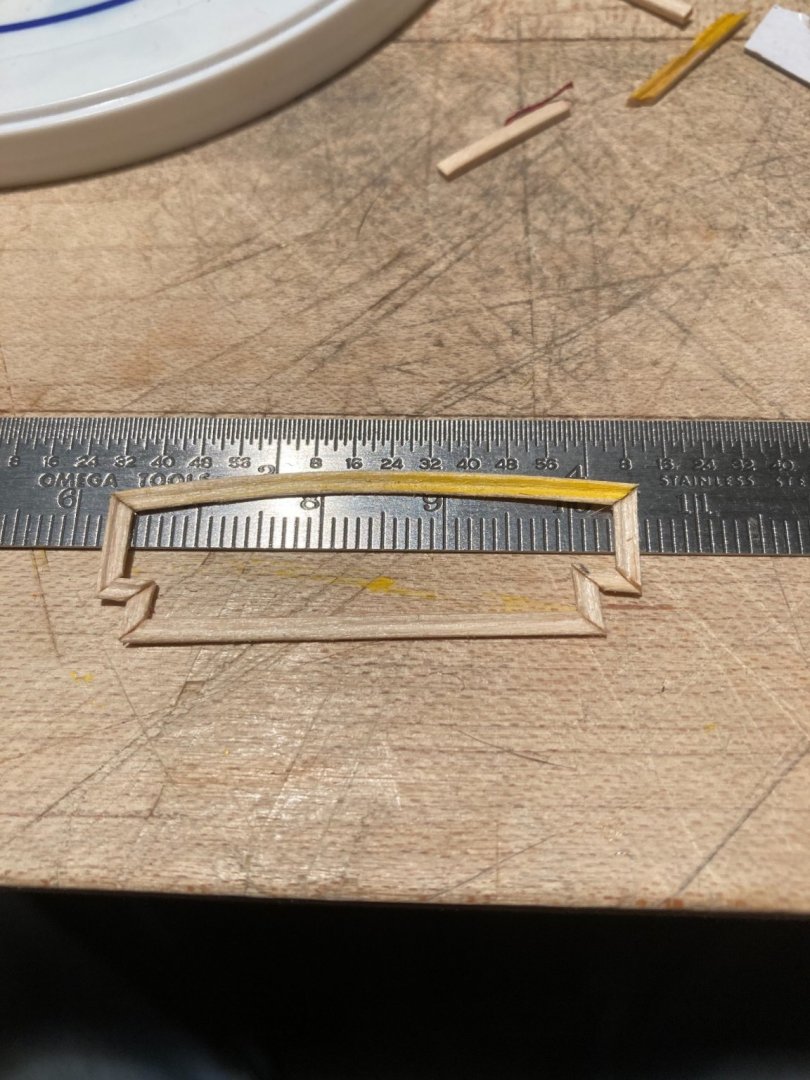
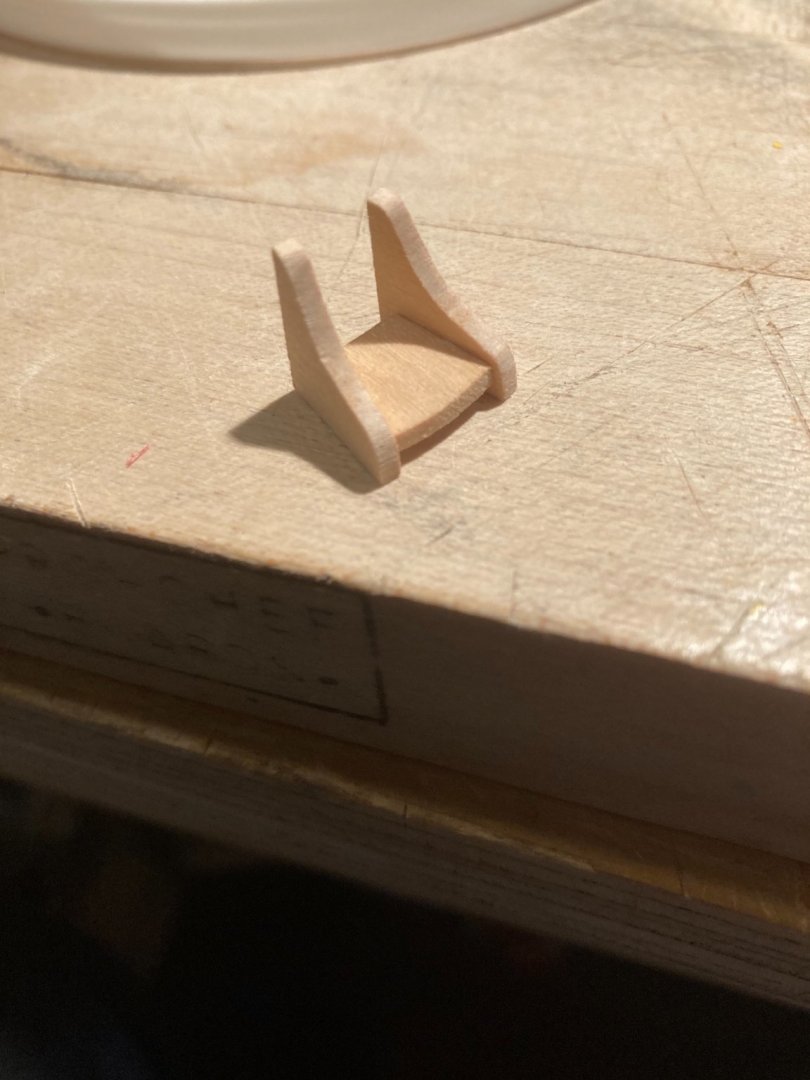
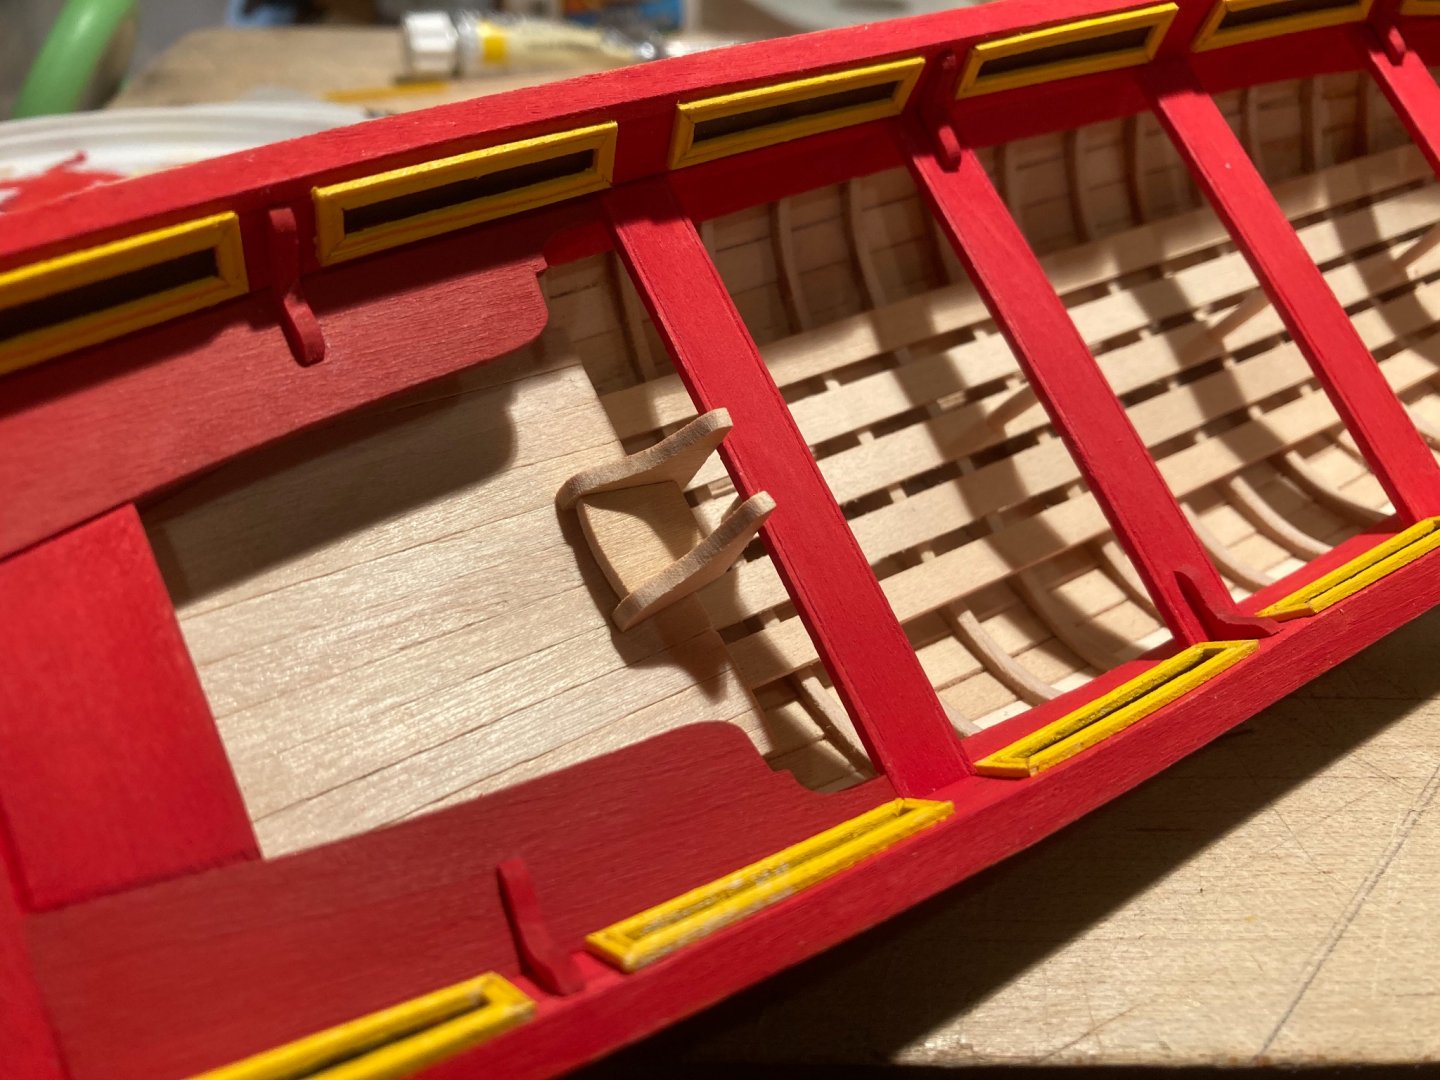
For my faux benches, I want to emulate panel and rail construction that would be correct to the period. There was a lot of test fitting, since I couldn’t measure any of the angles (and almost none are right angles), which required the use of tweezers to do! The last image is a test fit.
- 123 replies
-
- Model Shipways
- Pinnace
-
(and 1 more)
Tagged with:
-
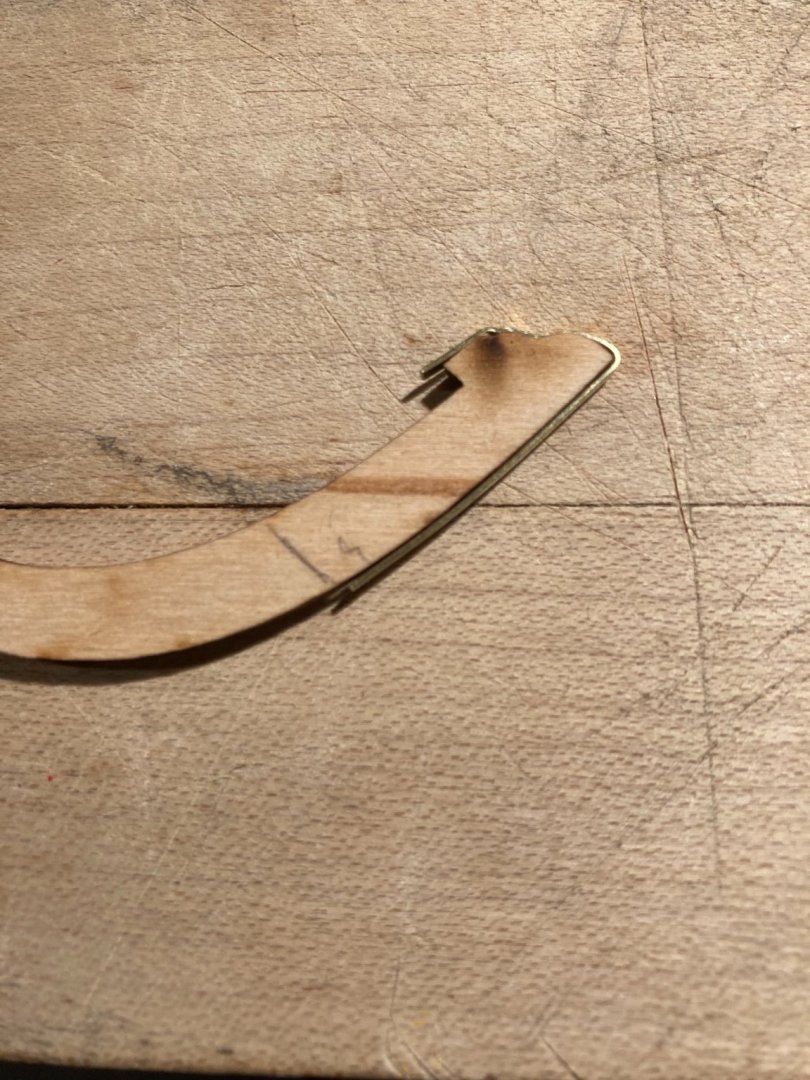
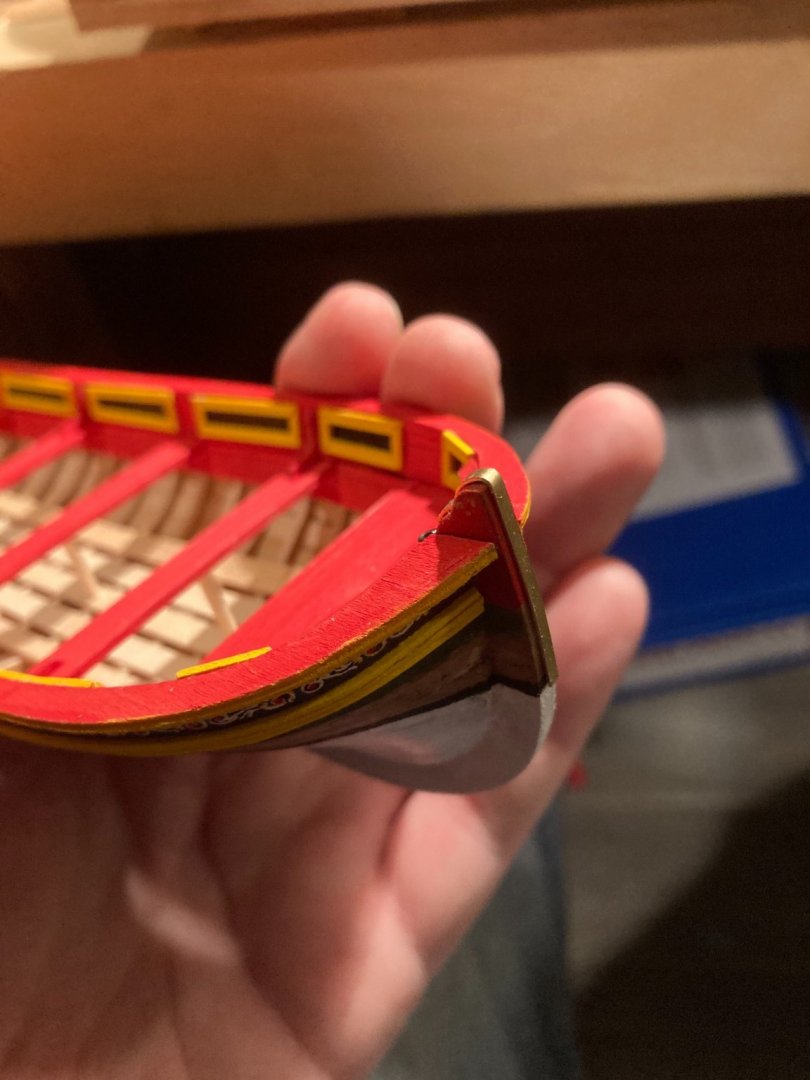
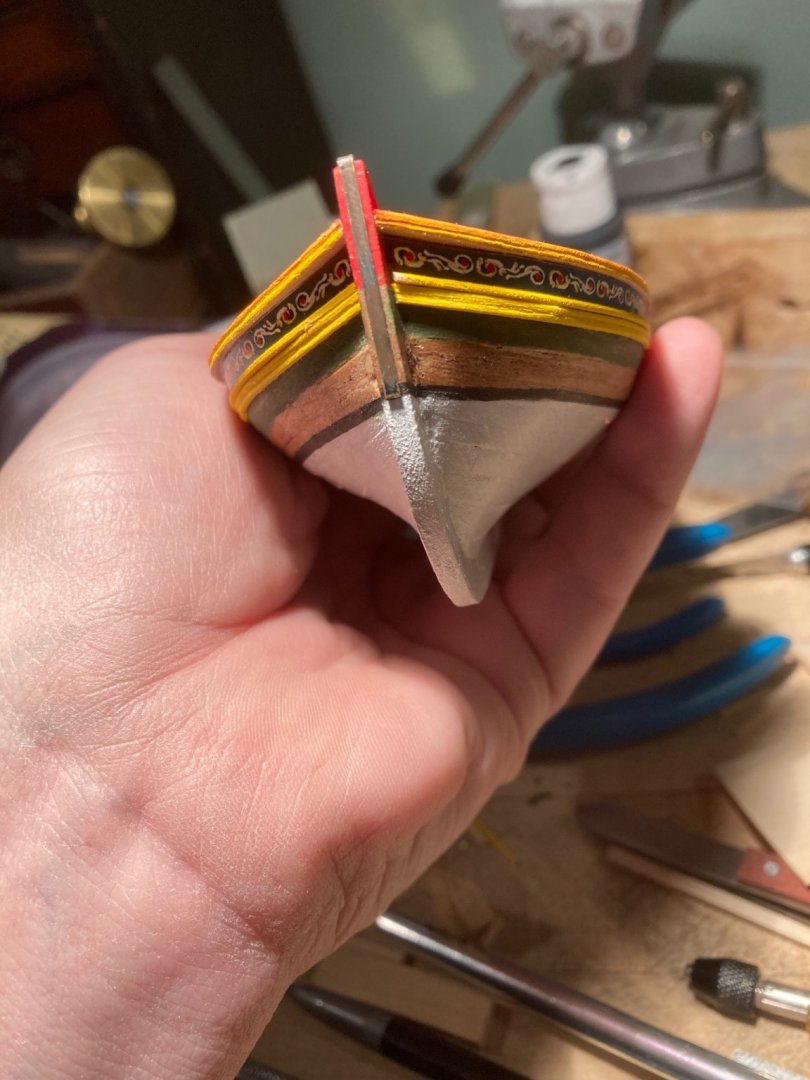
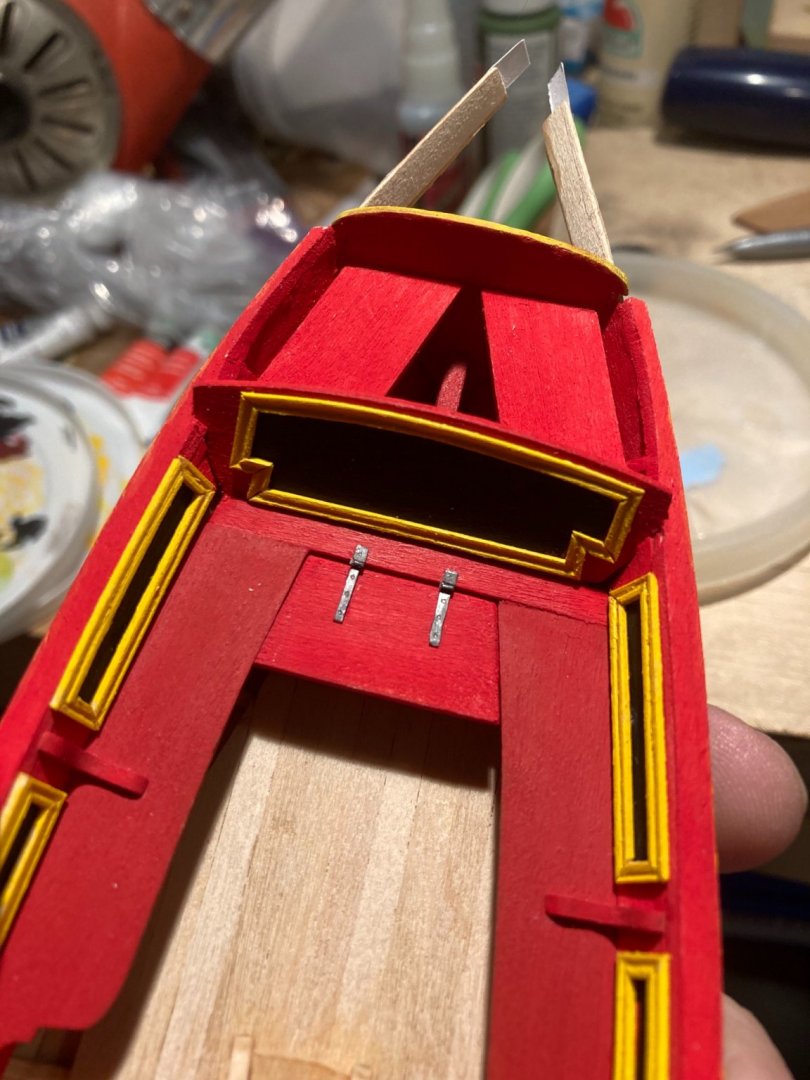
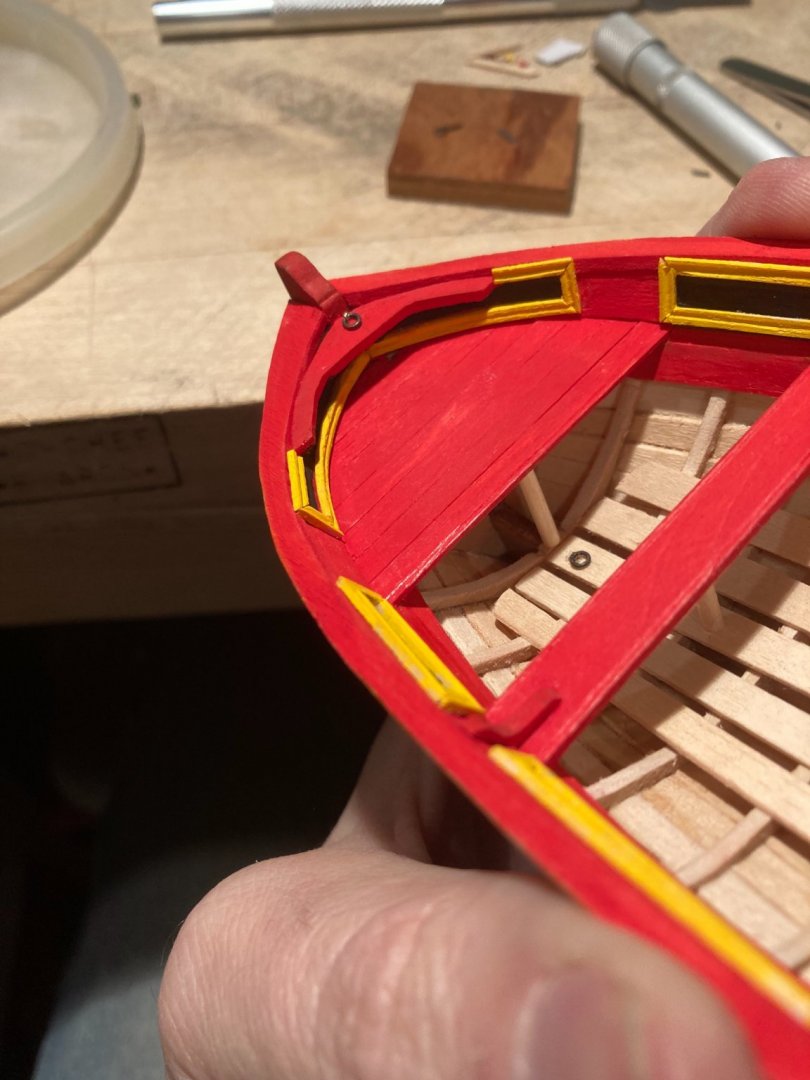
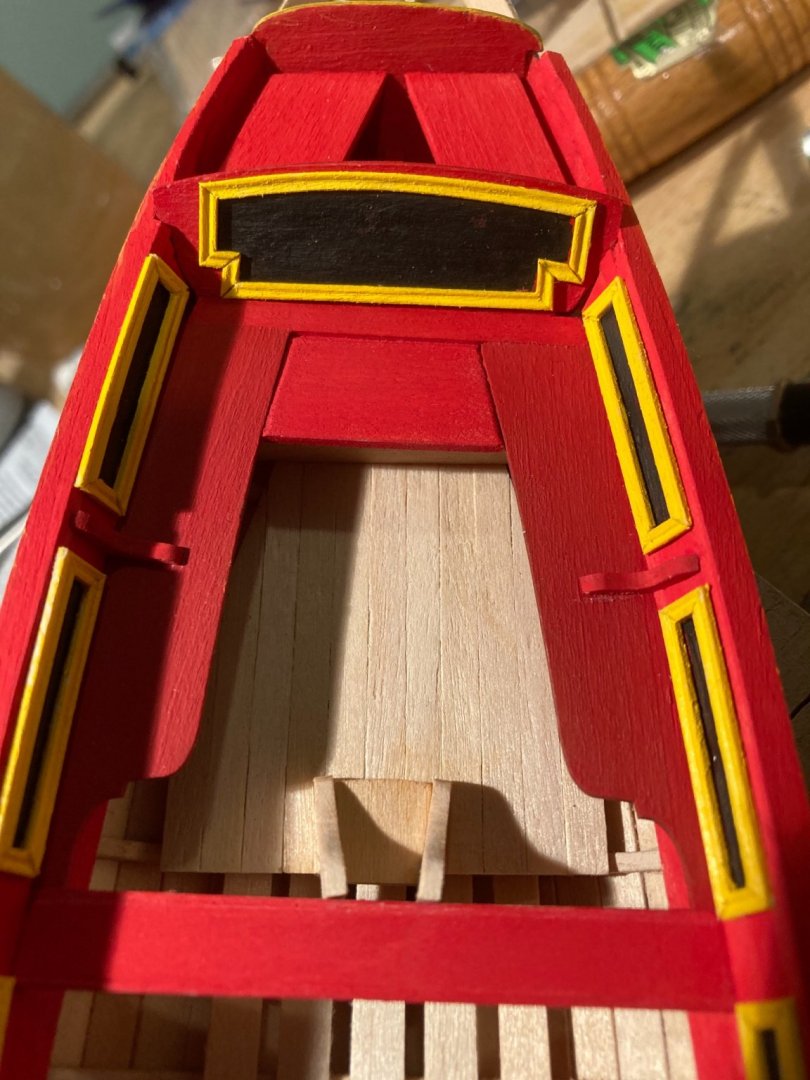
Thank you ever so much @Edwardkenway! Little by little! I worked on the metal strip that sits on the bow. I bent a piece of 1/64” brass scrap with a pair of small needle-nose pliers over an extra bit of keel (as you may remember, Model Expo sent me a replacement sheet due to my false start). I traced an outline around the cutouts for the splash rails to suggest an inset frame. While I sanded them, I forgot to sand them down as much as suggested in the manual. I saw Tom Ruggiero’s build and he installed vertical wood work under the seats. He argues that there would be benches there. He carved his panels but I didn’t think I could do that cleanly, so I built up mine. This would have been quicker if it occurred to me earlier.
- 123 replies
-
- Model Shipways
- Pinnace
-
(and 1 more)
Tagged with:
-
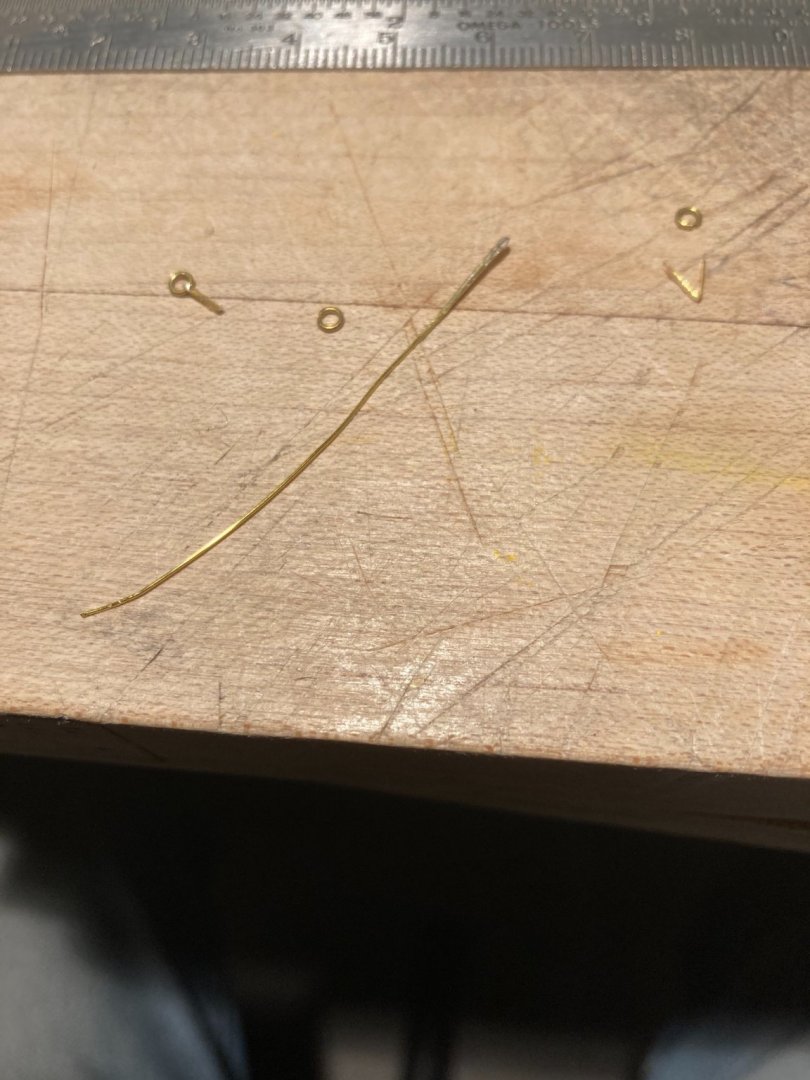
More fun with strips from hammered wire. I made hinges that match the plans, which differ from the prototype model. Two flat strips with a bit of wire and a passible hinge. The nail heads are just dots of cyanoacetate glue dabbed on.
- 123 replies
-
- Model Shipways
- Pinnace
-
(and 1 more)
Tagged with:
-
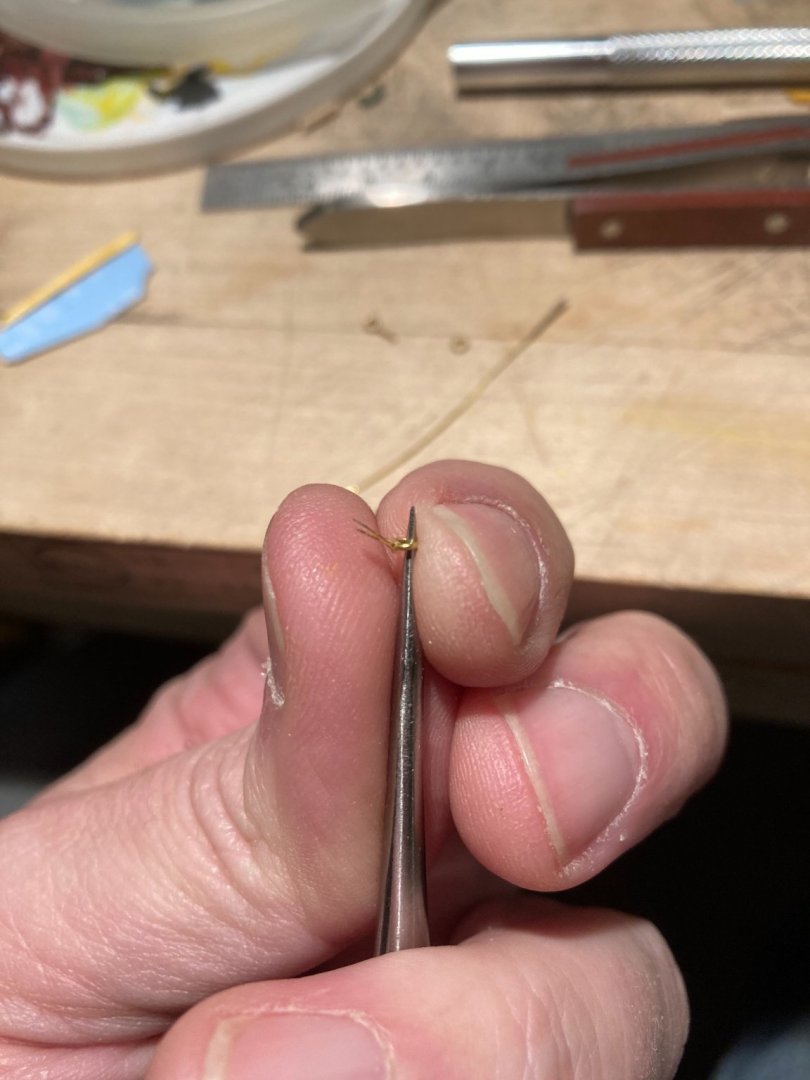
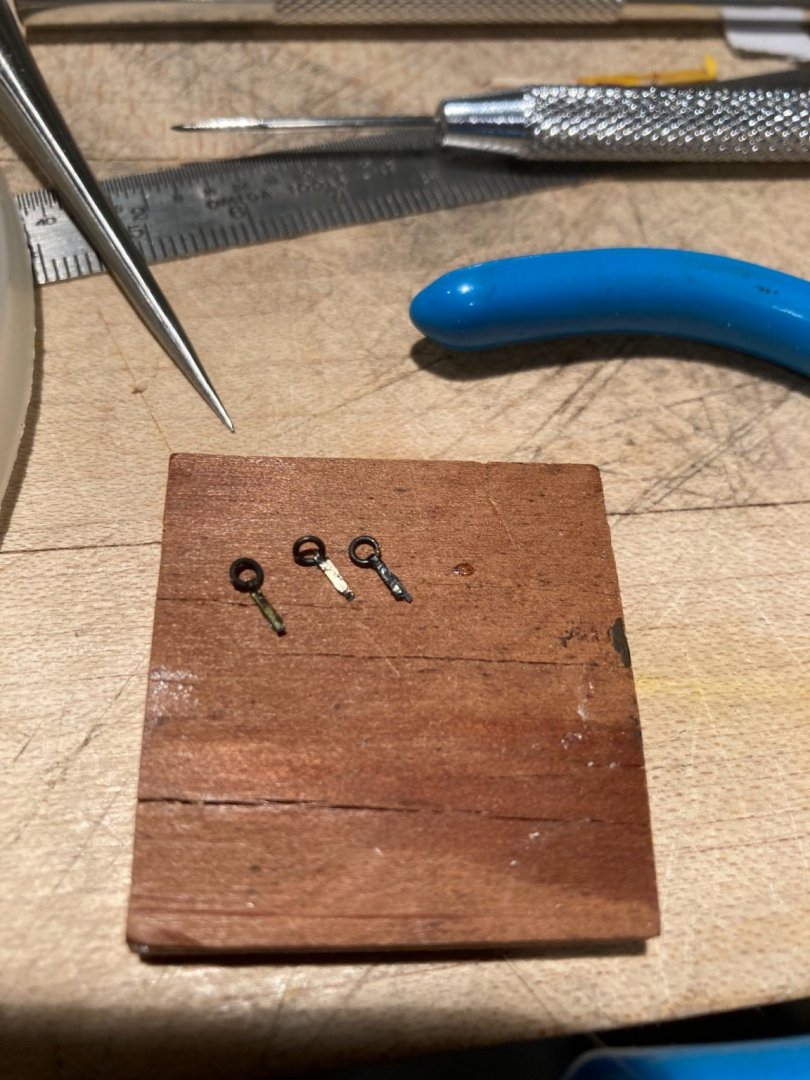
As always, thank you for your kind words. I found just bending my tiny strip over the ring wasn’t snug and the strip poked into the center of the ring. I’m not sure how others approach this, but used a slender awl inside the ring to force the strip to the edge of the ring and then used needle nose pliers to crimp the the strip. It gives a nice effect, even if my photography doesn’t display that. It is a quick operation. Thanks for noticing!
- 123 replies
-
- Model Shipways
- Pinnace
-
(and 1 more)
Tagged with:
-
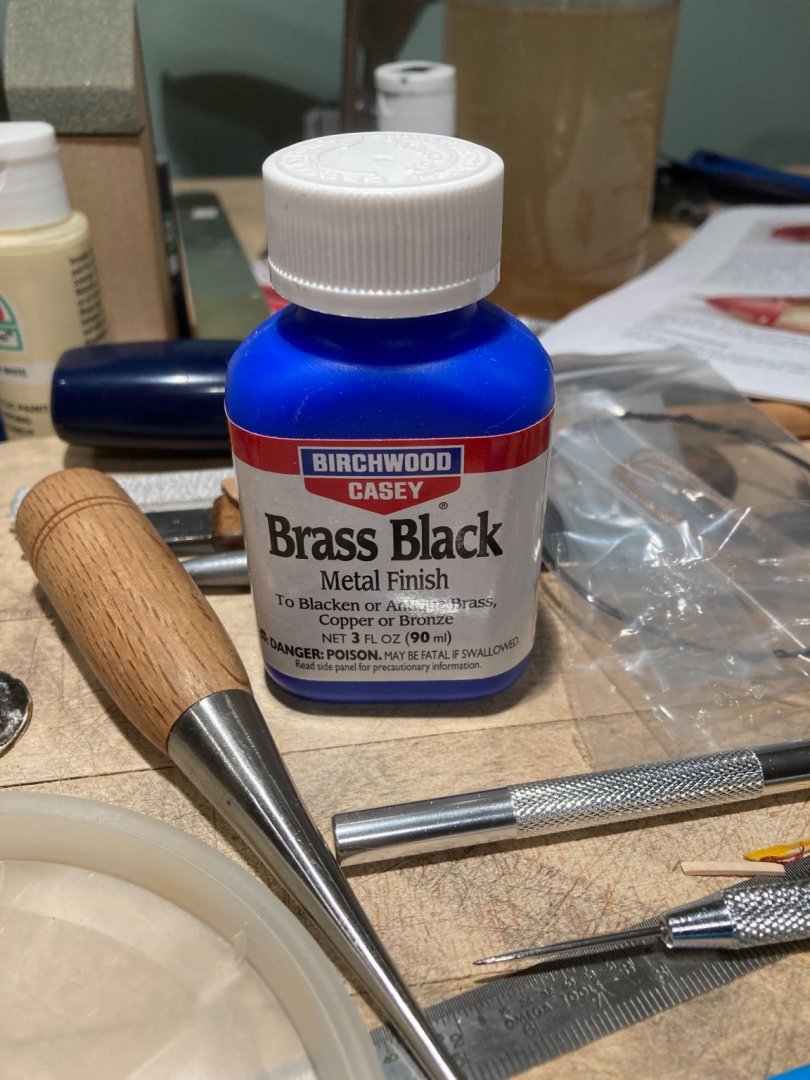
Thanks for the kind words! I flatten some brass wire and bent it around the supplied rings. I then chemically blacken them and when dry I attached them.
- 123 replies
-
- Model Shipways
- Pinnace
-
(and 1 more)
Tagged with:
-
- 123 replies
-
- Model Shipways
- Pinnace
-
(and 1 more)
Tagged with:
-
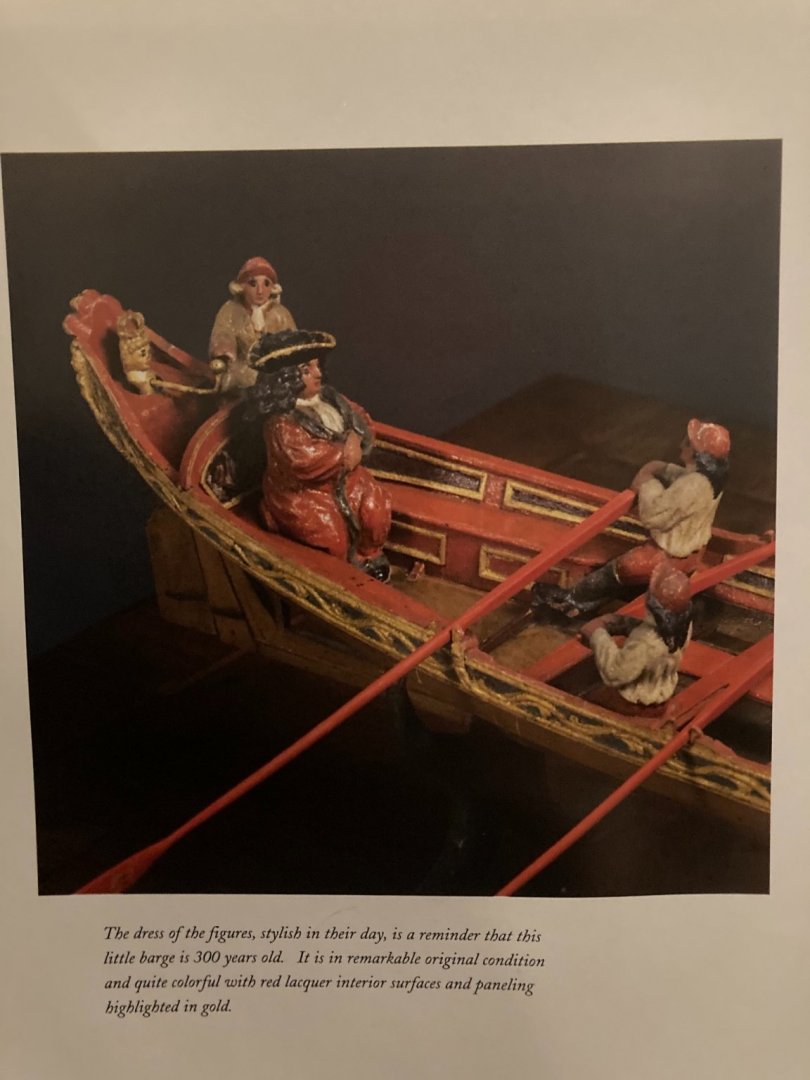
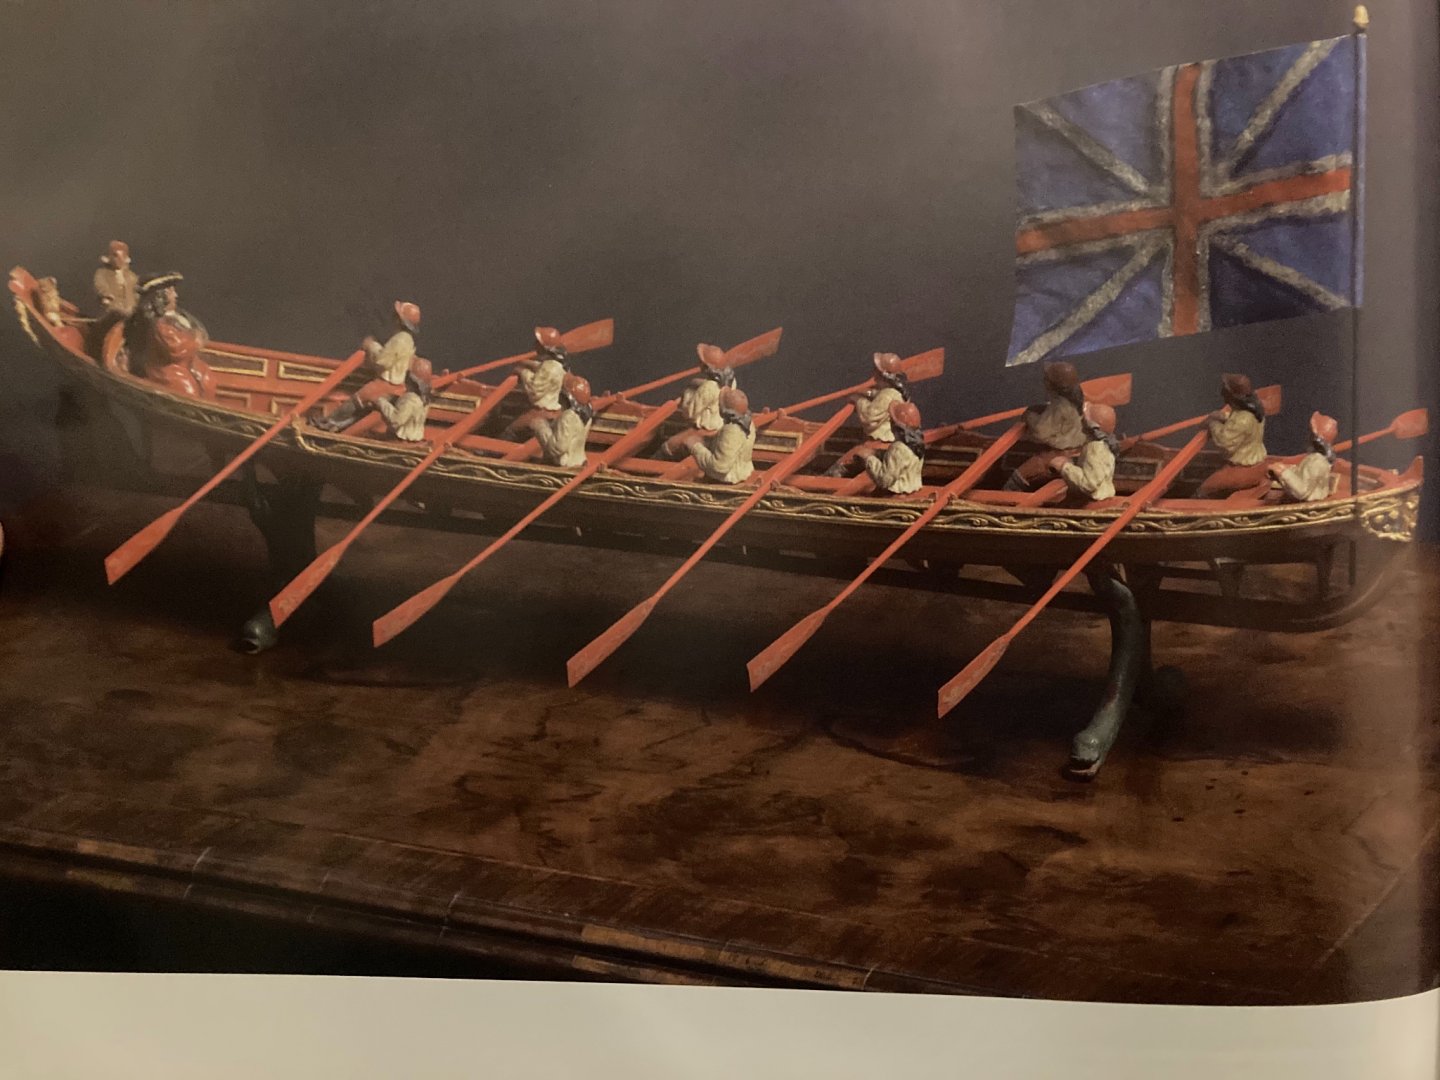
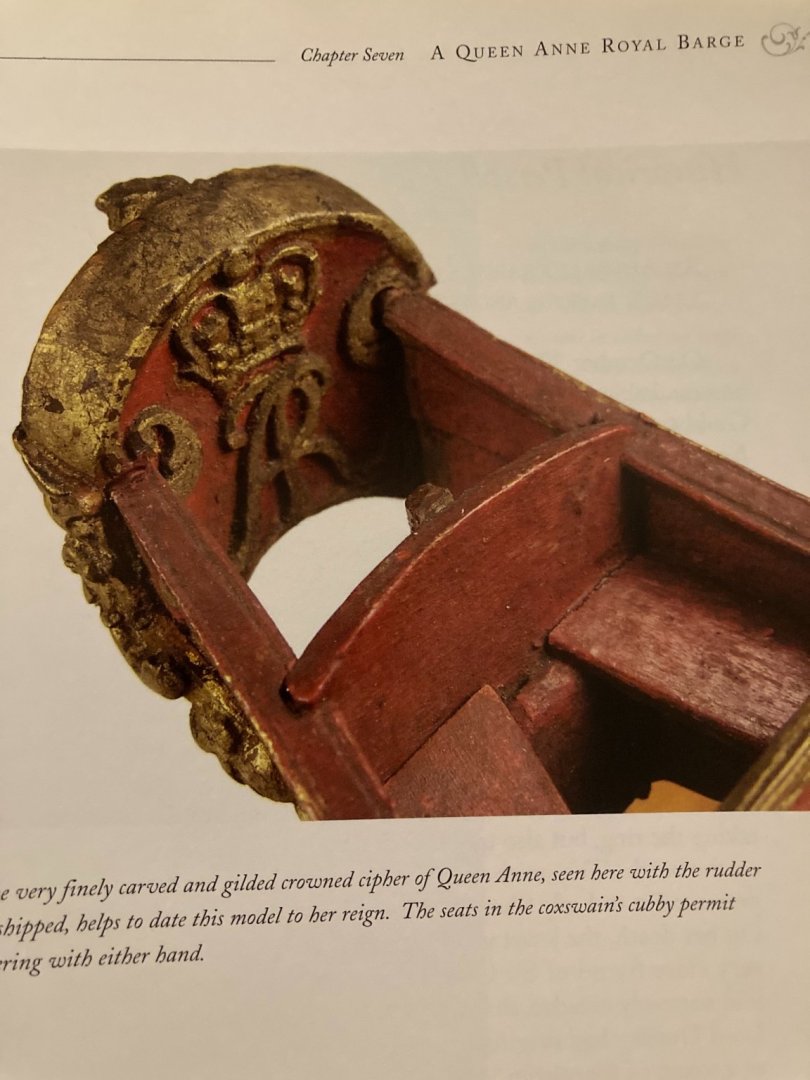
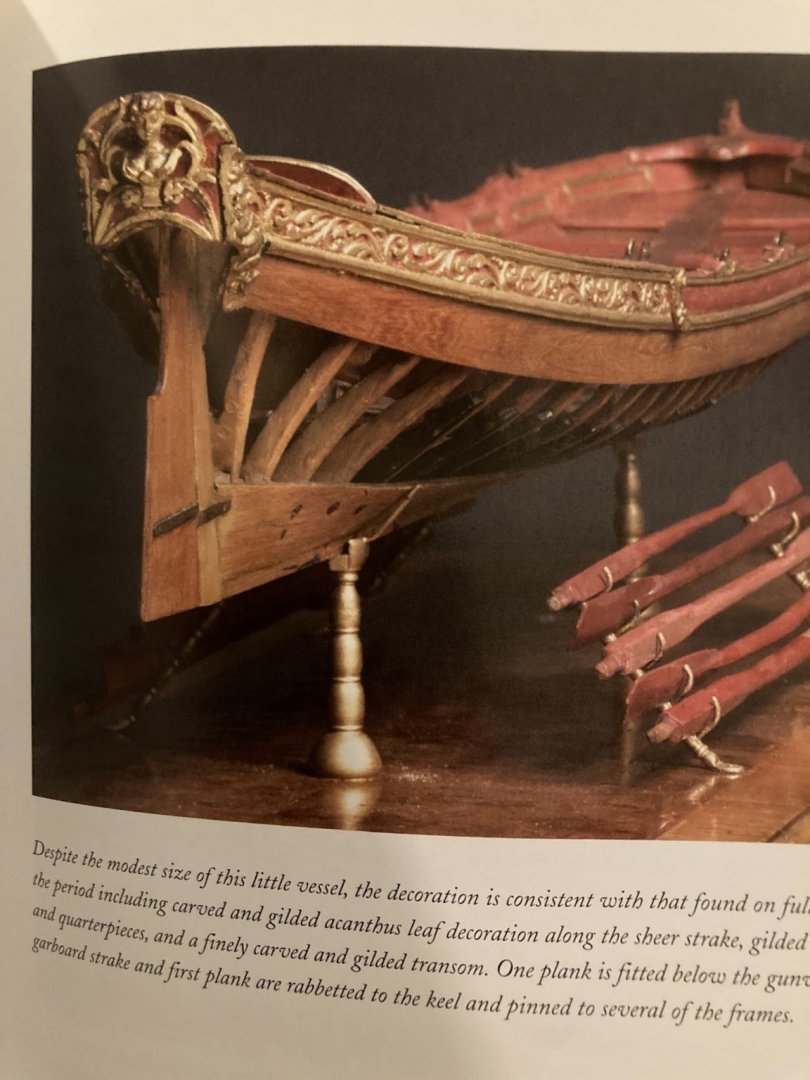
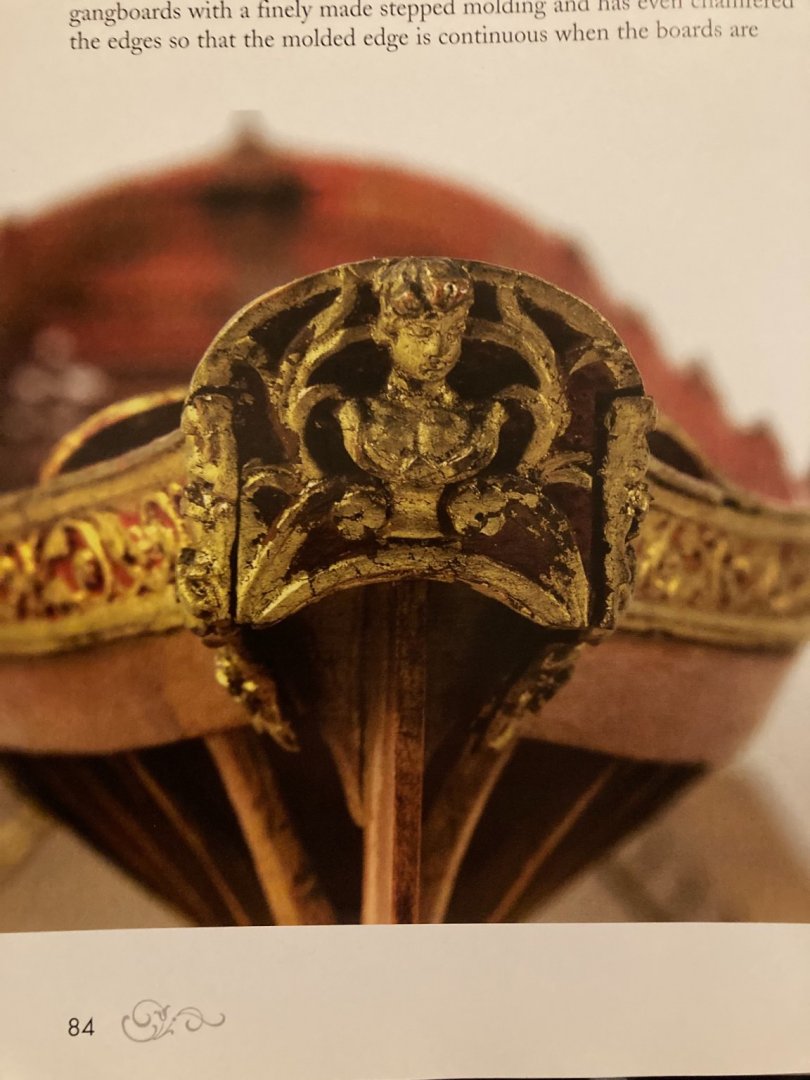
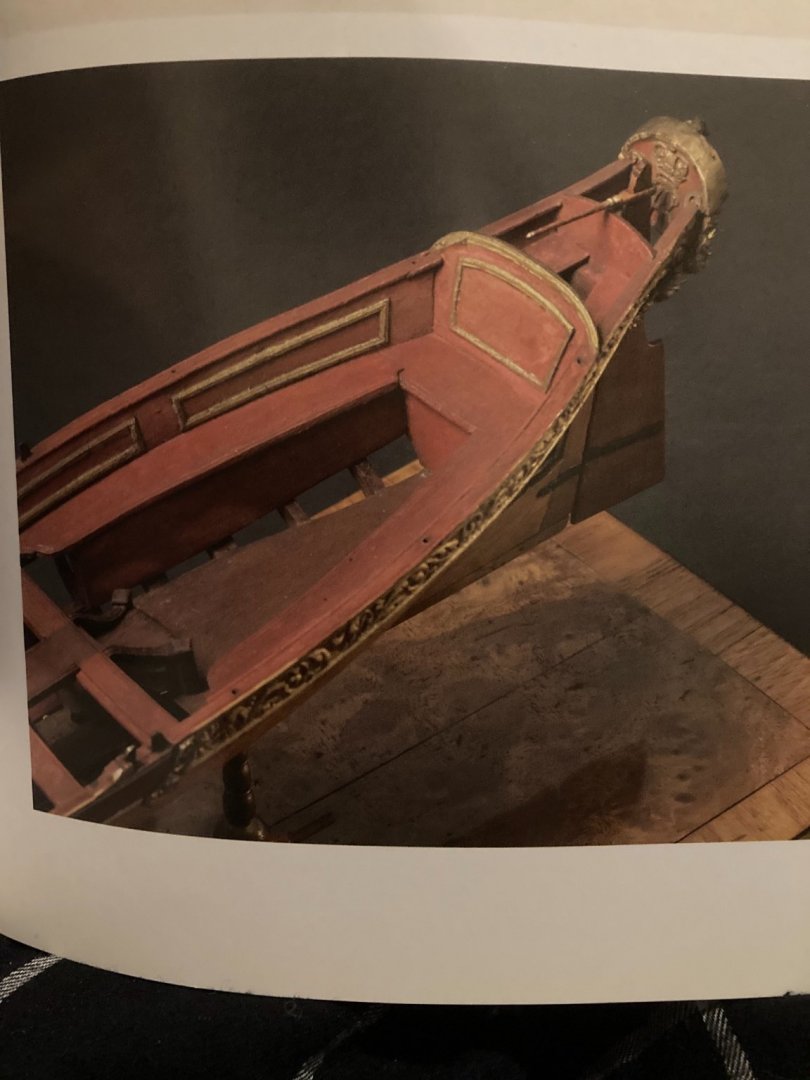
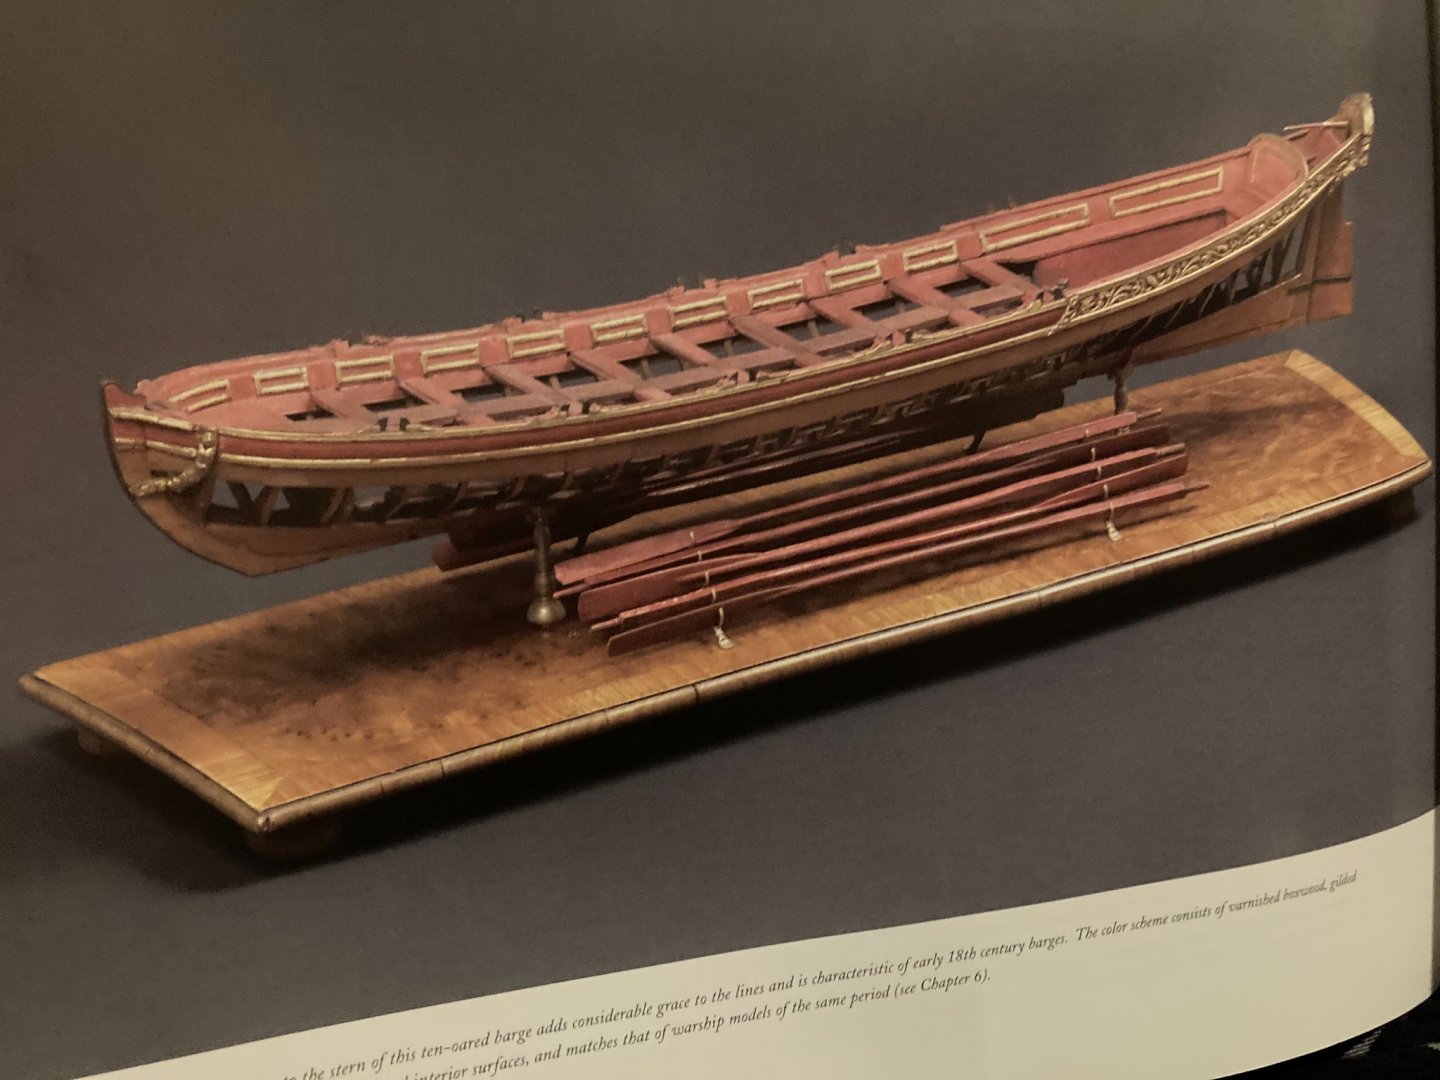
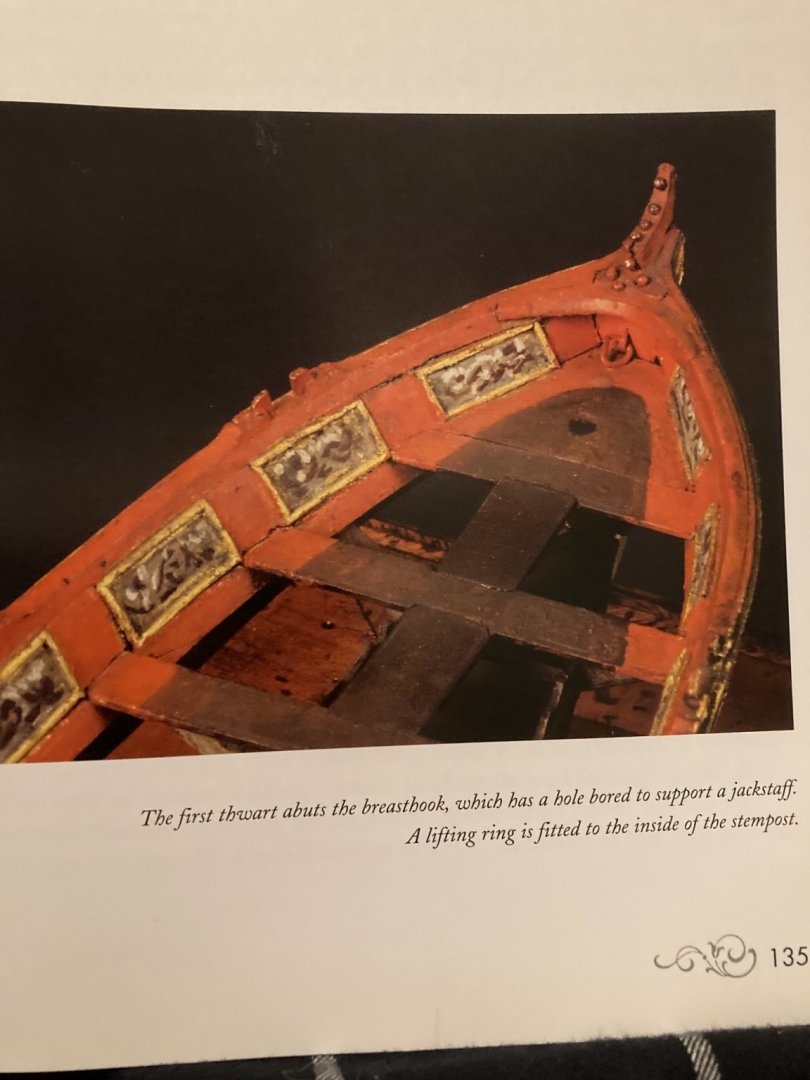
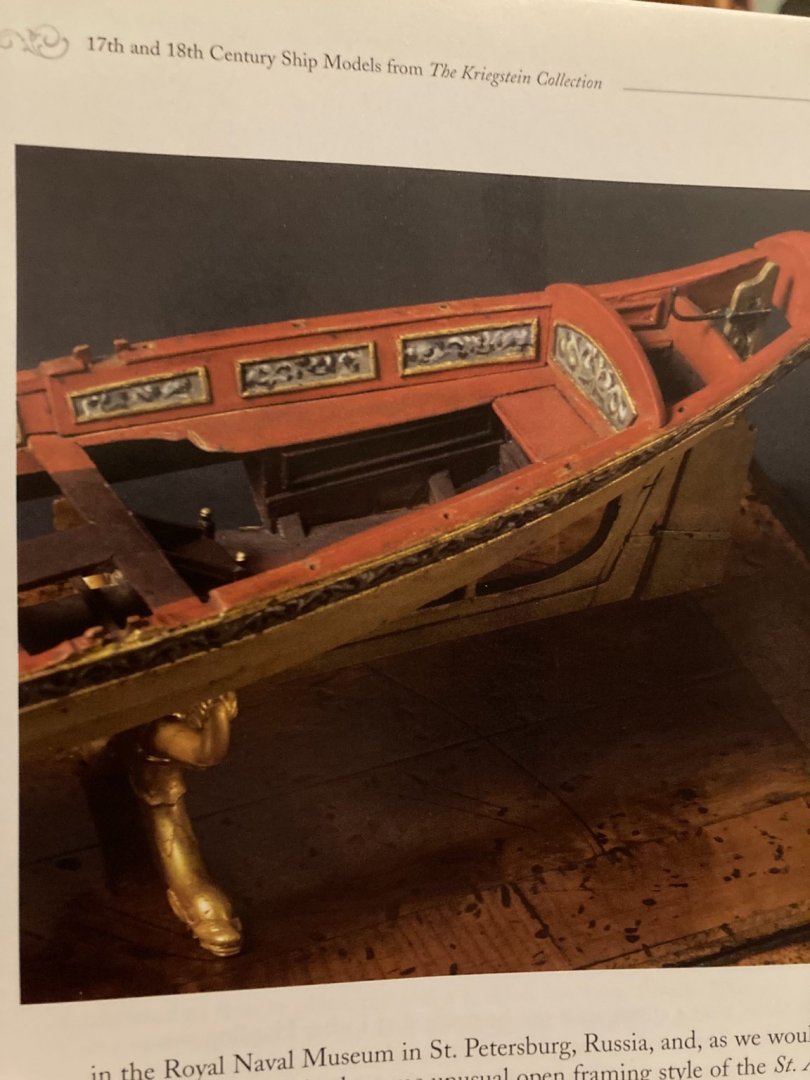
I came across this image of a model from the Kriegstein collection (their rights reserved), that support your insights.
- 156 replies
-
- pinnace
- model shipways
-
(and 1 more)
Tagged with:
-
The same fellow mentioned his pleasure with Grandpa’s Cabinets also mentioned that they are in Florida. Someone else suggested getting anti-glare glass/plexi/etc.
- 436 replies
-
- vanguard models
- alert
-
(and 1 more)
Tagged with:
-
.thumb.jpeg.fc5d633a7b34428fcf19419a73d56d55.jpeg)
chisels
EricWilliamMarshall replied to Anthony Hearne's topic in Modeling tools and Workshop Equipment
I would add to the list: -use Some activities have slightly different needs - furniture mortises are hard on a chisel (due to prying and hammering) vs. model building vs. recessed carving (where limited access and rotating motion are primary). If one wishes, these three use are best served by different setups (i.e. thickness of blade, angle of sharpening, handles, etc.) but most folks will do fine with just one setup. Similar to model building, there are many paths and they all work well enough. Most of the folks here won't use these tools enough to worry about these details generally (and the first system that gets the tool sharp will be deemed the winner, since using a sharp tool is delightful!). I also have found personally, once I found a set up I liked, I adjusted my work to match. For example, I drill out mortises and then pare them instead of hammering away on my rather thin setup. -
I found a few interesting images of similar period/contemporary models in Kriegstein Collection’s book by the Kriegstein brothers. Obviously all rights reserved regarding their book and images.
- 123 replies
-
- Model Shipways
- Pinnace
-
(and 1 more)
Tagged with:
-
.thumb.jpeg.fc5d633a7b34428fcf19419a73d56d55.jpeg)
What glue is this ?
EricWilliamMarshall replied to wefalck's topic in Modeling tools and Workshop Equipment
I see that one of the comments in the video is also a request regarding the question of glue type. Perhaps an answer will arrive in a year or two... -
.thumb.jpeg.fc5d633a7b34428fcf19419a73d56d55.jpeg)
What glue is this ?
EricWilliamMarshall replied to wefalck's topic in Modeling tools and Workshop Equipment
I would vote against shellac. The color is in the ballpark of white/colorless/bleached shellac (dewaxed as well) but stickiness seems incorrect for the color. Not that it isn’t possible, just I vote against. -
.thumb.jpeg.fc5d633a7b34428fcf19419a73d56d55.jpeg)
Introduction - New Jersey
EricWilliamMarshall replied to MichaelW's topic in New member Introductions
FYI from another Jersey modeler. There is a NJ ship model club: http://www.shipmodelsocietyofnewjersey.org/ . Also one in Philly: https://www.philadelphiashipmodelsociety.com/ Welcome aboard! -
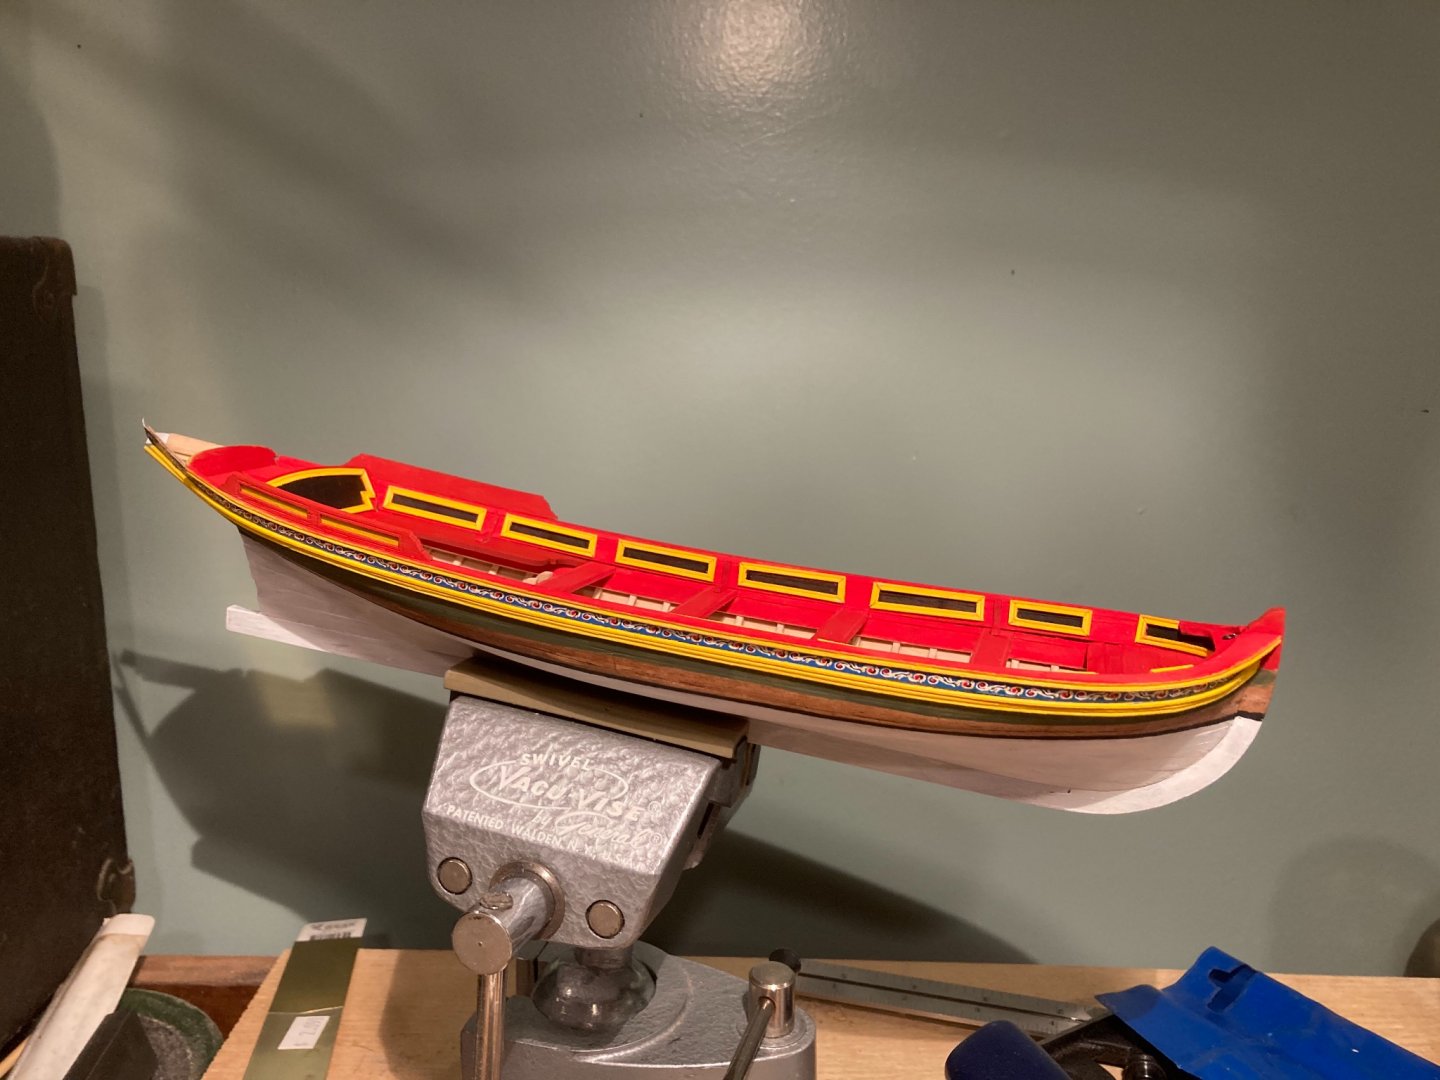
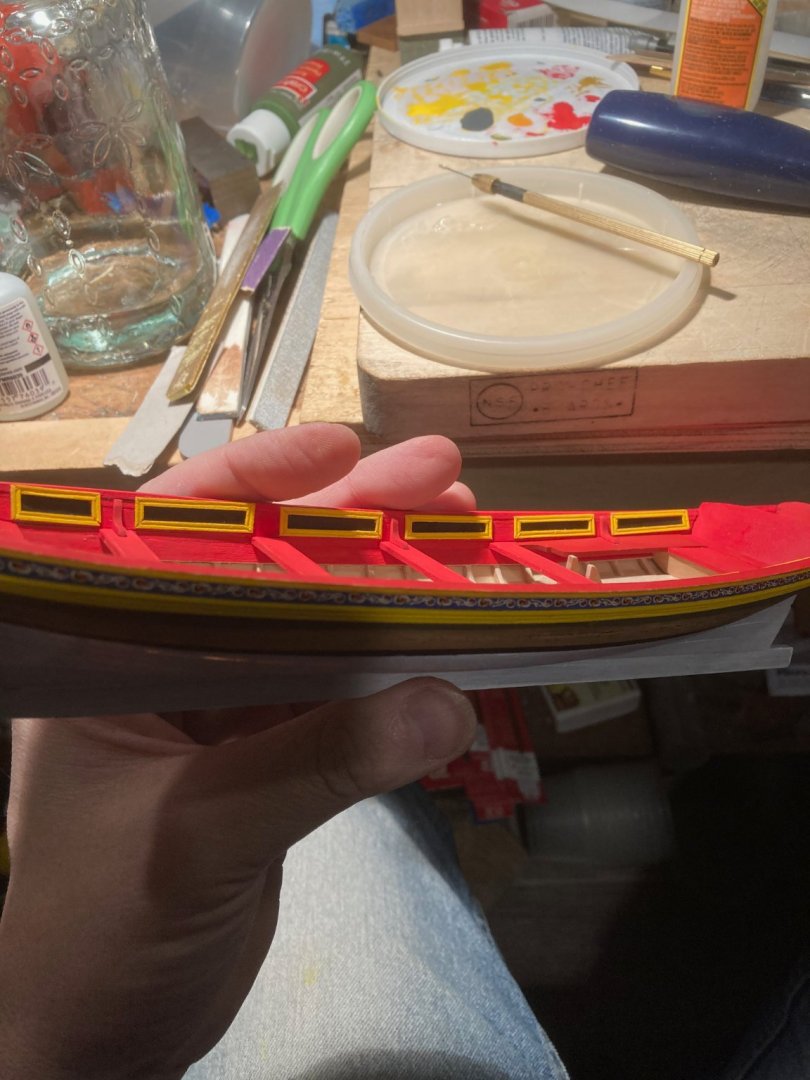
I made some more moldings and I think I have the hang of it finally. But have to work very slow to get reasonable results. My brass scraper is a tad wider than some of strips of wood and that is 'dangerous' to the out come unless I'm slow. I painted the moldings and applied them. I used a different pattern than suggested in the kit for the lower molding but in keeping with molding of the 18th century. (It is a poor rip-off from Chippendale's design book.) My heat bending wasn't as smooth as before for the moldings and I broke one trying to sand it. I simply applied them as two parts with extra care to knit together the ripped fibers. You can see my expensive palettes in the first shot as well as my glue applicator - a pin mounted in a long pin vise.
- 123 replies
-
- Model Shipways
- Pinnace
-
(and 1 more)
Tagged with:
-
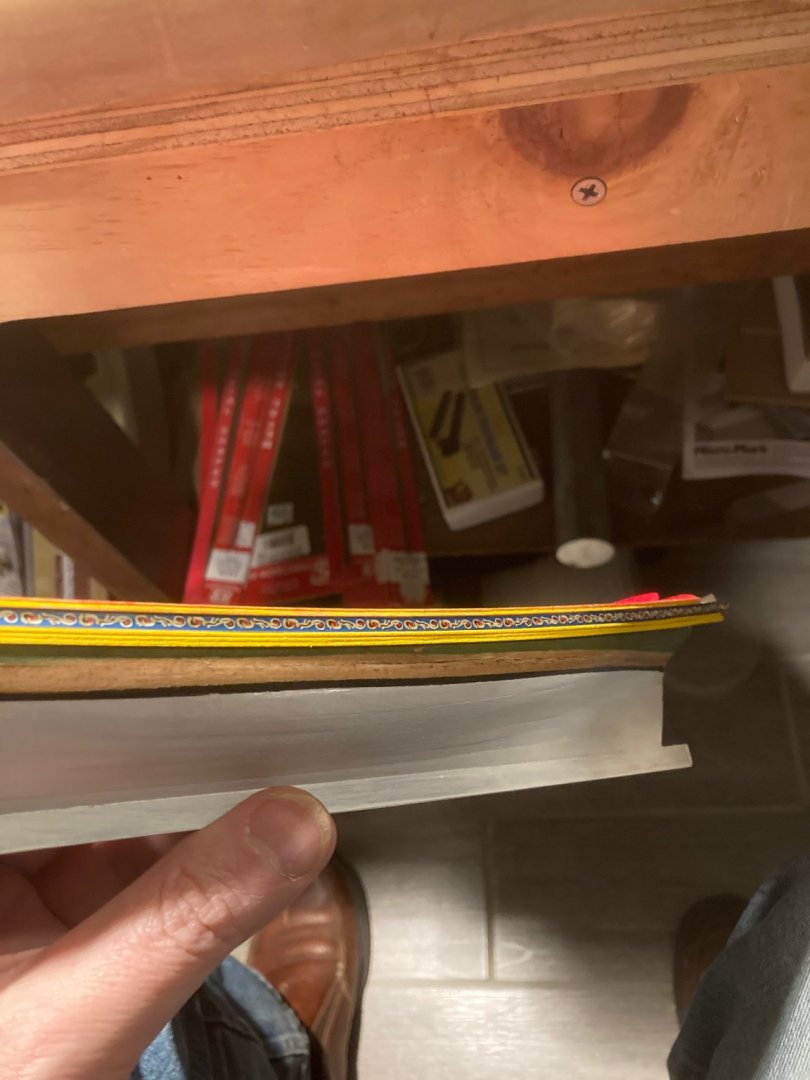
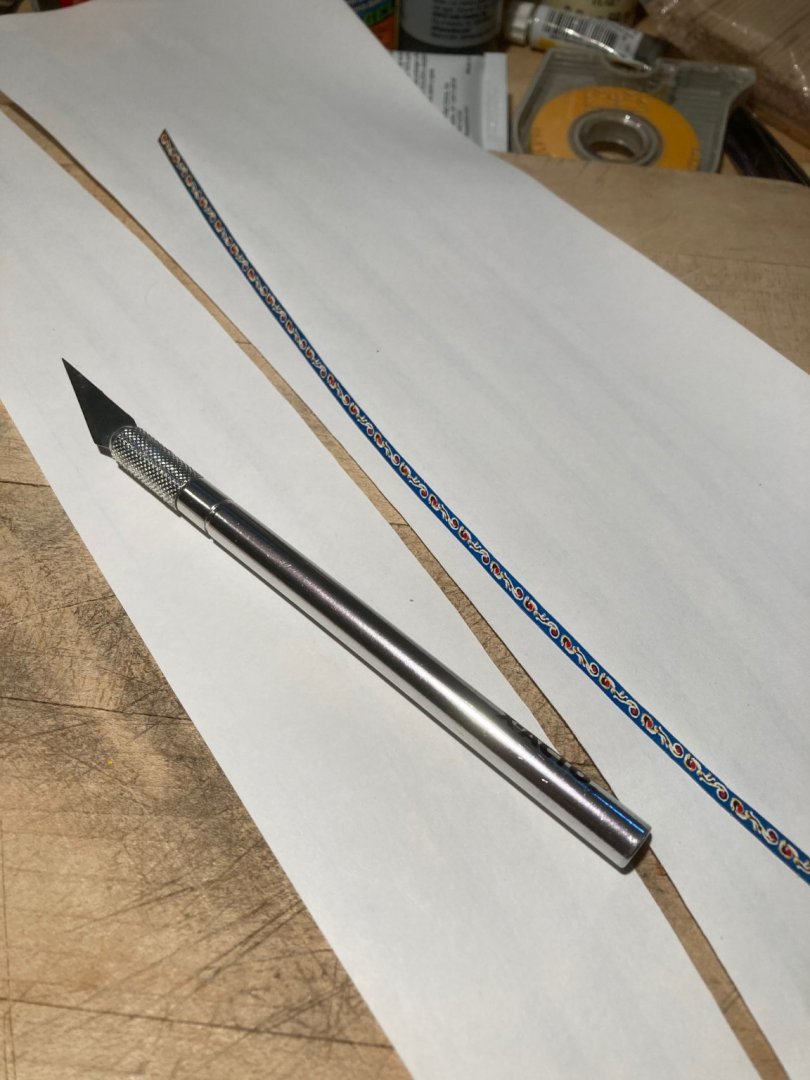
I also spent time with the printed frieze. I sprayed it with hair spray since I didn't have the recommended varnish. I used an #11 blade to cut the shape out. I used some white glue - I poured it on to my 'pallet' - a plastic yogurt lid and added a little water so it was thinner but still tacky. I used a watercolor brush to apply the glue to the boat's surface and then applied the paper starting at the bow and working to the rear, ensuring there were no wrinkles.
- 123 replies
-
- Model Shipways
- Pinnace
-
(and 1 more)
Tagged with:
-
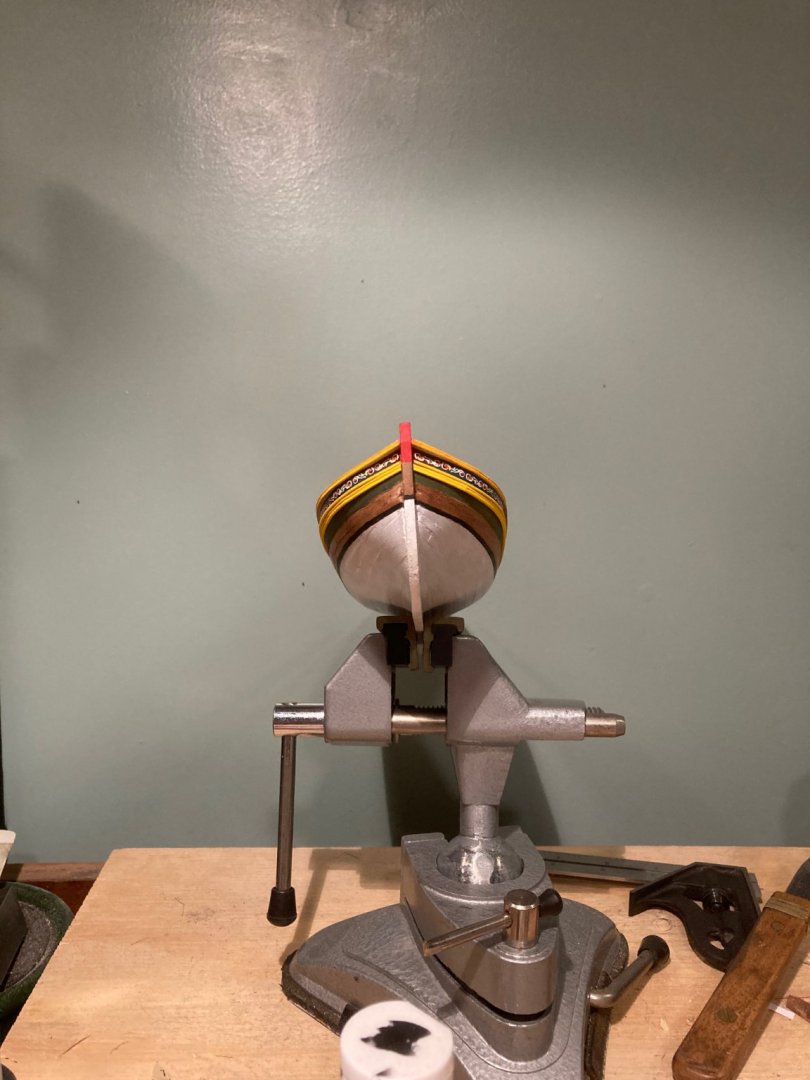
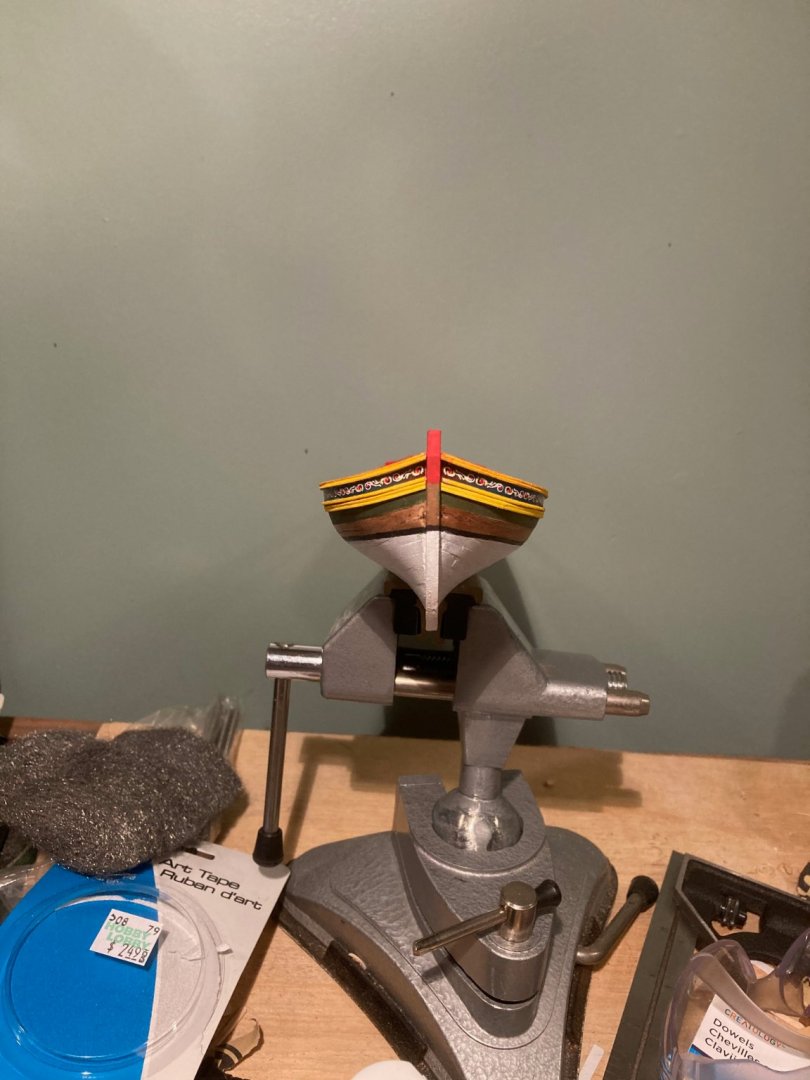
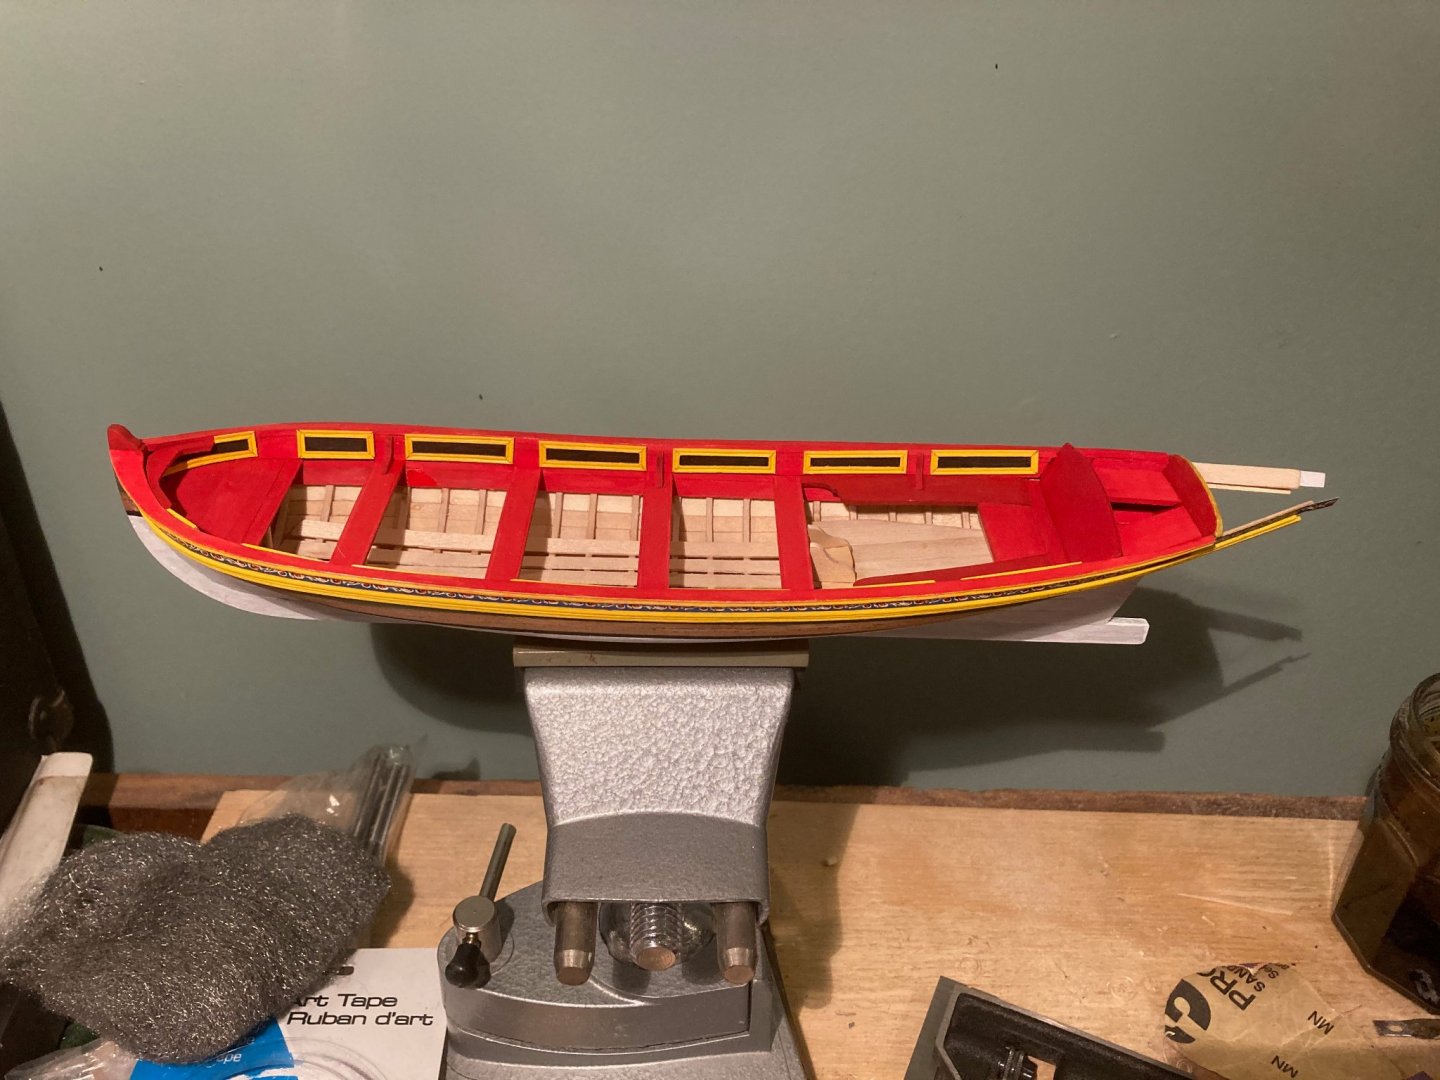
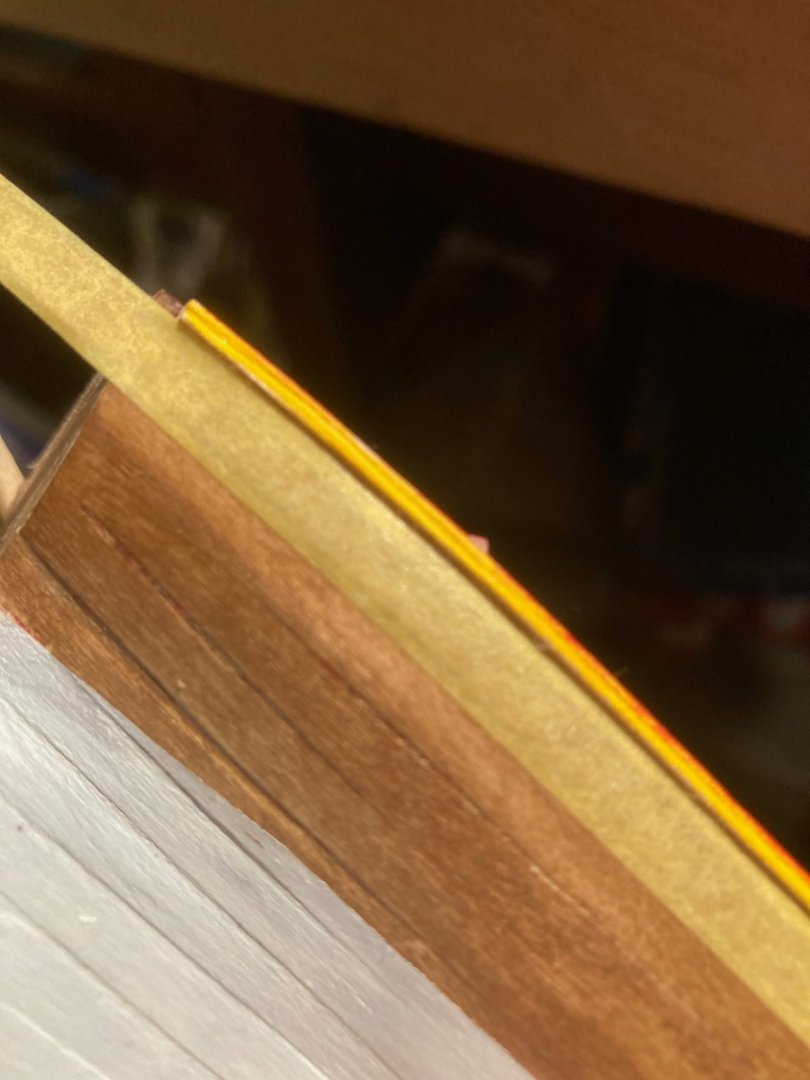
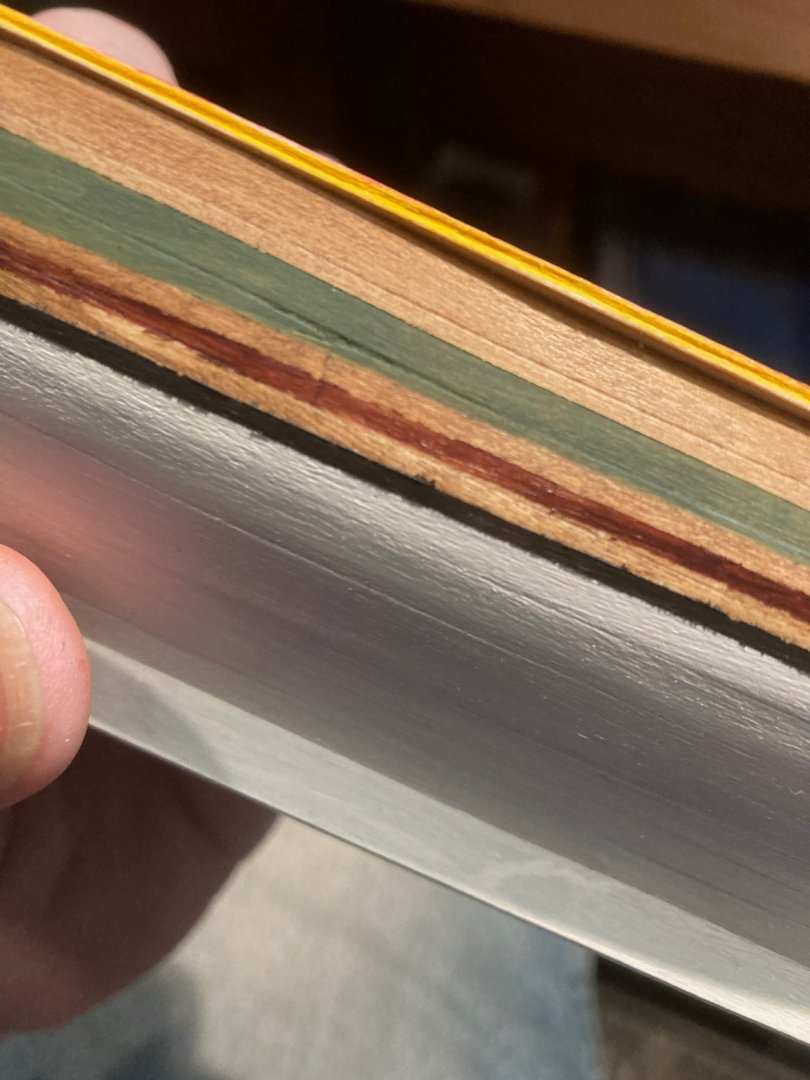
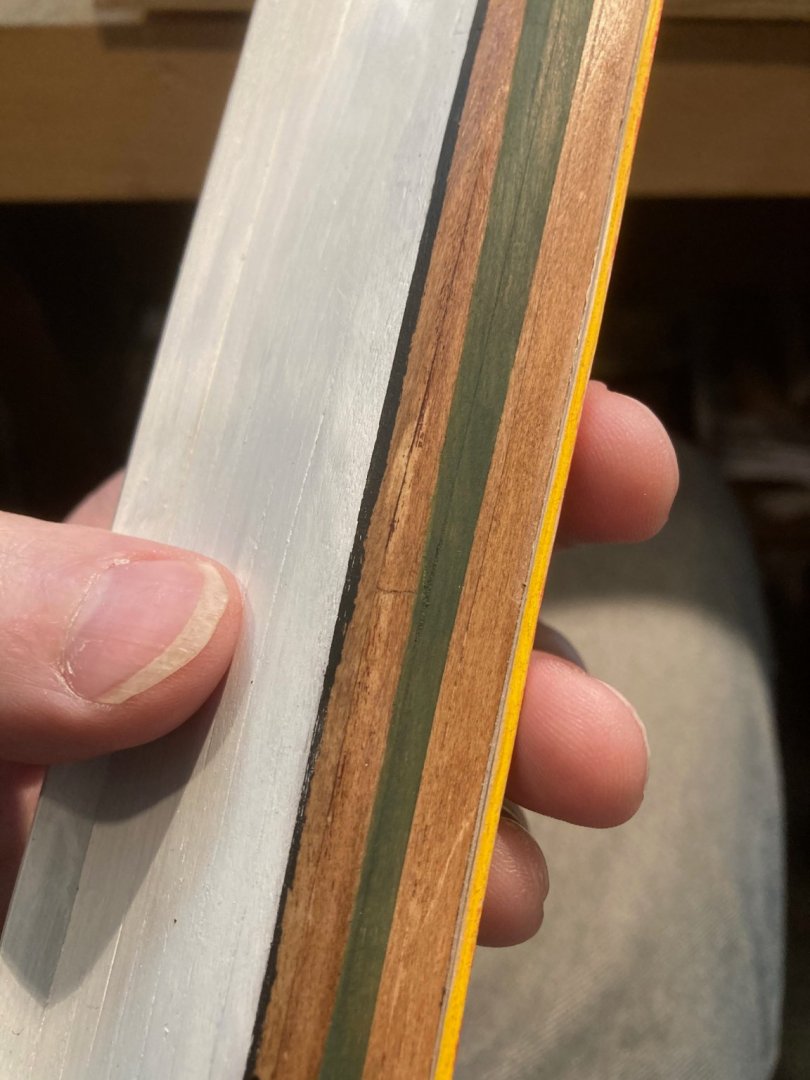
I spent some time working on the 'outside' while I dig up some of the recommended wire for the interior. I added tape for painting the stripes and picked some colors. I had a minor set back. I had some bleed through and I didn't like the stripping once viewed on the boat. I used an #11 blade to remove the bleeding and I used my finger nail and some rough cotton to remove the maroon/brown stripe. In removing the brown stripe, which removed a bit of the black. I repainted the black free hand.
- 123 replies
-
- Model Shipways
- Pinnace
-
(and 1 more)
Tagged with:
-
@Tigersteve Thanks for the heads up! I had tacked it in but it wouldn't release. So I'm still thinking about that.
- 123 replies
-
- Model Shipways
- Pinnace
-
(and 1 more)
Tagged with:
-
.thumb.jpeg.fc5d633a7b34428fcf19419a73d56d55.jpeg)
What glue is this ?
EricWilliamMarshall replied to wefalck's topic in Modeling tools and Workshop Equipment
It looks like the liquid hide glue previously mentioned to my eye in both viscosity, color and ‘stringiness’. -
.thumb.jpeg.fc5d633a7b34428fcf19419a73d56d55.jpeg)
chisels
EricWilliamMarshall replied to Anthony Hearne's topic in Modeling tools and Workshop Equipment
In my humble opinion, there isn’t much difference between either regarding cutting surface. Most important is being sharp. Sharp trumps most things! So what ever gets you to sharp easiest is the first goal. Then later, what gets you to sharp the quickest is the next goal. Personally, I use water stones free hand but it takes a while to become comfortable with that approach. -
.thumb.jpeg.fc5d633a7b34428fcf19419a73d56d55.jpeg)
chisels
EricWilliamMarshall replied to Anthony Hearne's topic in Modeling tools and Workshop Equipment
I don’t use the micro-bevel myself. I have nothing against and I believe might a tab more forgiving to sharpen (folks new to free-hand sharpening might roll a bit and create a curved surface instead of flat and a micro-bevel can be added to either just fine). I personally fine having both sides of the chisel flat most useful but this is also a side effect of how I have learned to use the chisel. Most folks coming from the x-acto world wouldn’t notice the difference. -
- 123 replies
-
- Model Shipways
- Pinnace
-
(and 1 more)
Tagged with:
About us
Modelshipworld - Advancing Ship Modeling through Research
SSL Secured
Your security is important for us so this Website is SSL-Secured
NRG Mailing Address
Nautical Research Guild
237 South Lincoln Street
Westmont IL, 60559-1917
Model Ship World ® and the MSW logo are Registered Trademarks, and belong to the Nautical Research Guild (United States Patent and Trademark Office: No. 6,929,264 & No. 6,929,274, registered Dec. 20, 2022)
Helpful Links
About the NRG
If you enjoy building ship models that are historically accurate as well as beautiful, then The Nautical Research Guild (NRG) is just right for you.
The Guild is a non-profit educational organization whose mission is to “Advance Ship Modeling Through Research”. We provide support to our members in their efforts to raise the quality of their model ships.
The Nautical Research Guild has published our world-renowned quarterly magazine, The Nautical Research Journal, since 1955. The pages of the Journal are full of articles by accomplished ship modelers who show you how they create those exquisite details on their models, and by maritime historians who show you the correct details to build. The Journal is available in both print and digital editions. Go to the NRG web site (www.thenrg.org) to download a complimentary digital copy of the Journal. The NRG also publishes plan sets, books and compilations of back issues of the Journal and the former Ships in Scale and Model Ship Builder magazines.


