

.jpeg.7d7eba14c97a2e1d9f79cd2c97f6424a.jpeg)
EricWilliamMarshall
-
Posts
986 -
Joined
-
Last visited
Content Type
Profiles
Forums
Gallery
Events
Posts posted by EricWilliamMarshall
-
-
-
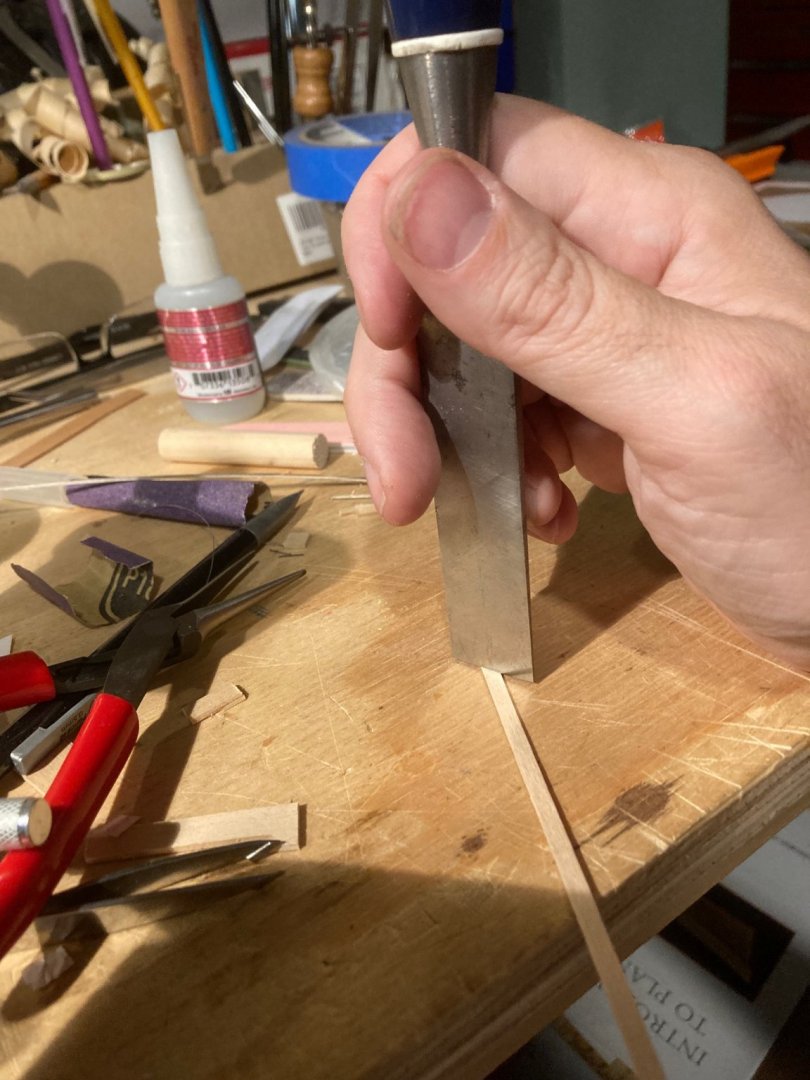
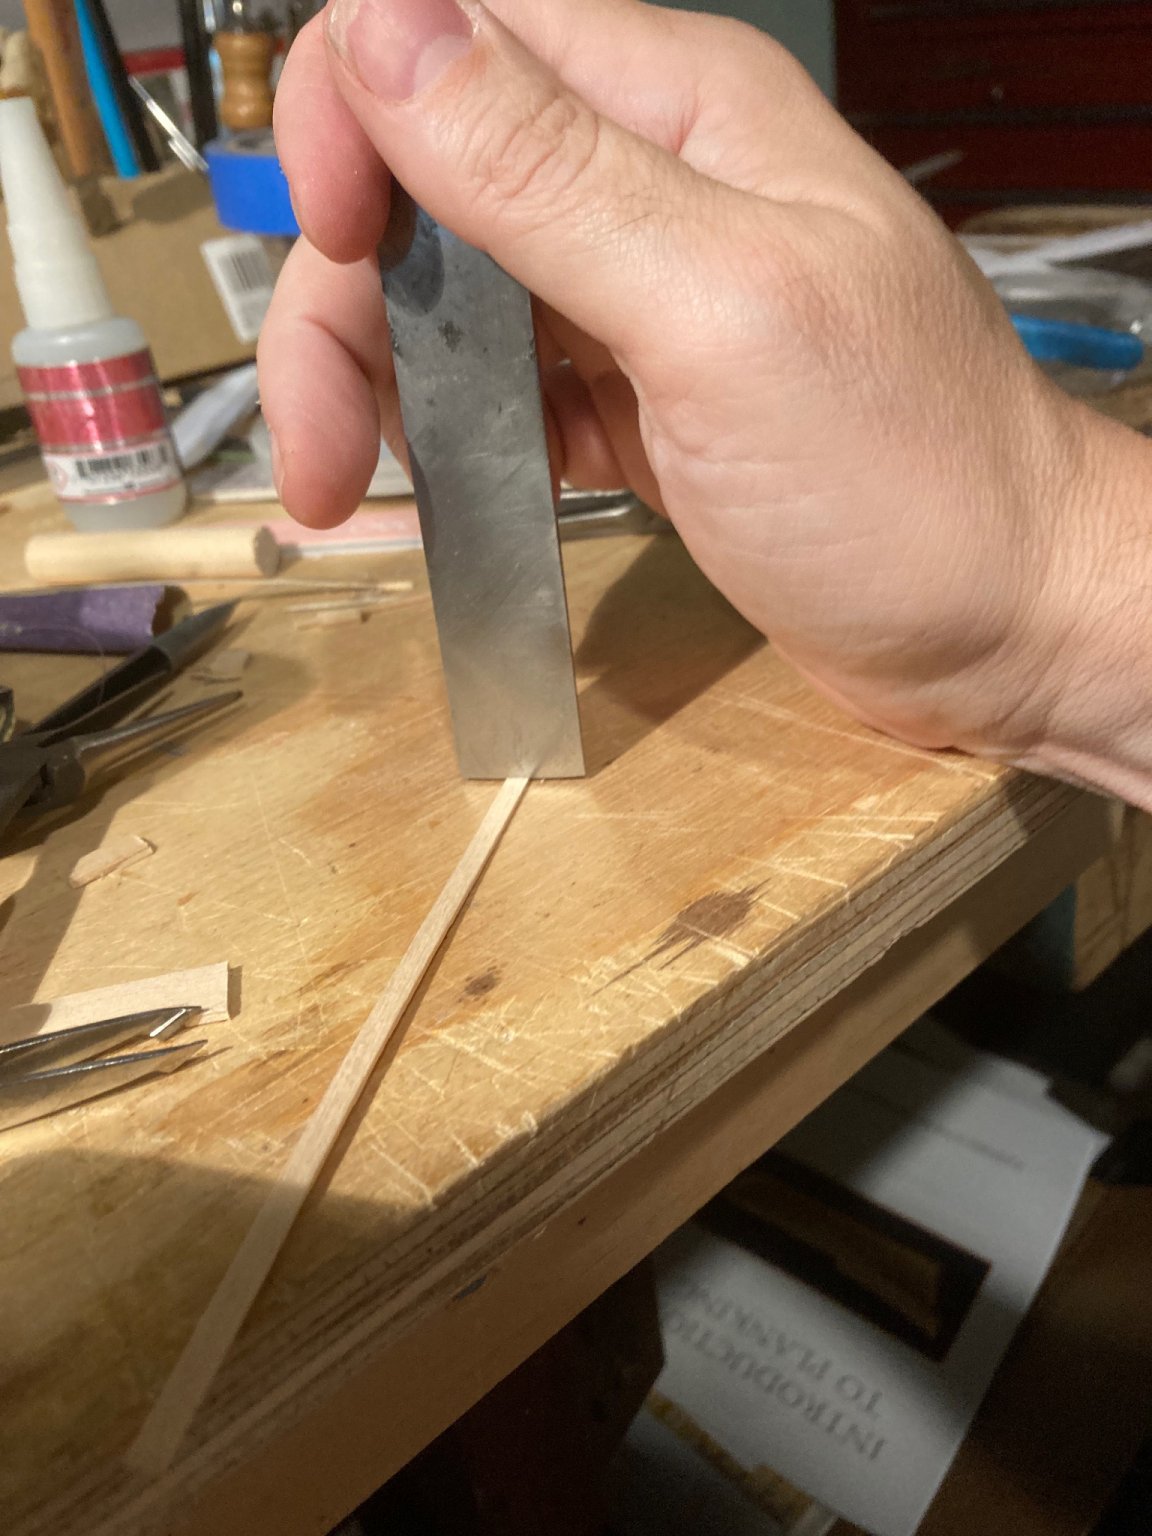
I should note the stupid saw trick also applies to other tools, most notably chisels.
A follow-up trick: generally folks can judge if a 90 degree angle is spot on or off by eye. So you can cut fairly accurate 45 degree miter cuts by judging the angle of the chisels reflection vs. the wood to be cut.
And it is very fast as well!

-
Damage done - I succumbed as well…
- Canute, mtaylor and thibaultron
-
 2
2
-
 1
1
-
14 hours ago, mtaylor said:
PM MrBlueJacket
@mtaylor MrBlueJacket stated: “I follow your build thread so I saw it. We'll get those corrected.” So not to worry. He has had nothing but kind words as I attempt to not mangle his fine kit.
") 2 hours ago, MrBlueJacket said:
2 hours ago, MrBlueJacket said:#1-Good judgement comes from experience. Experience comes from bad judgement.
#2- Experience is what you get right after you needed it.
On similar note:“In theory there is no difference between theory and practice. In practice, they are not.”
- Landlubber Mike and mtaylor
-
1
-
 1
1
-
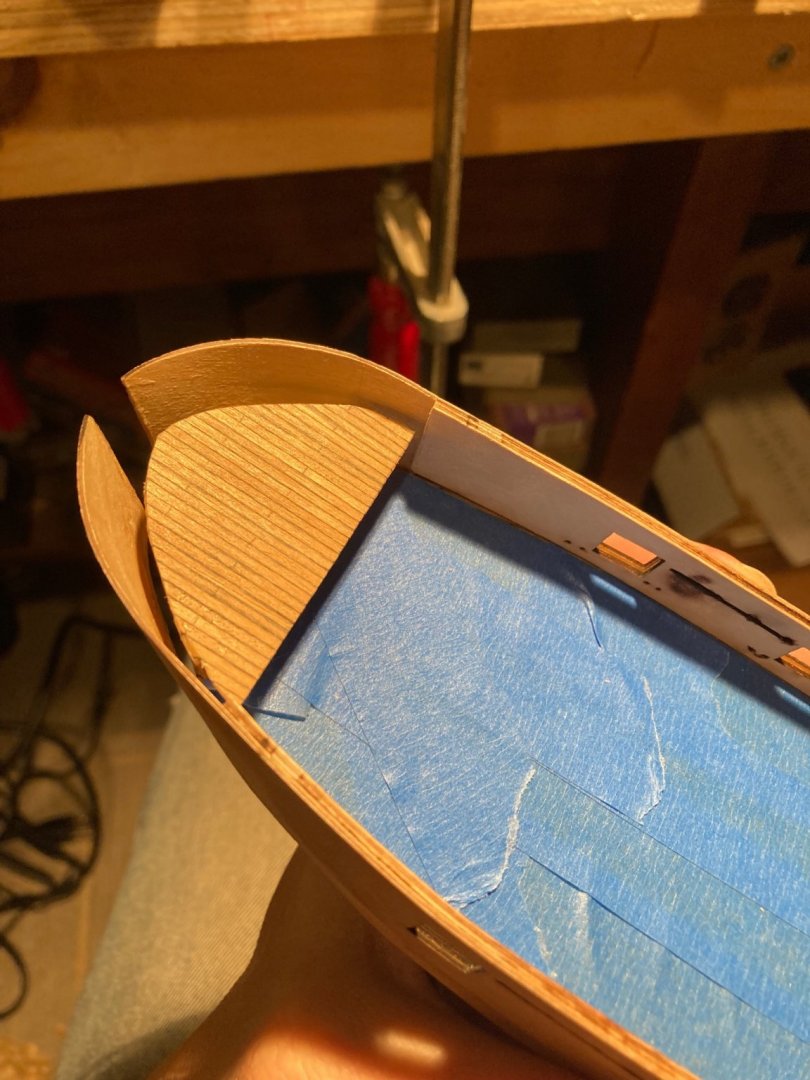
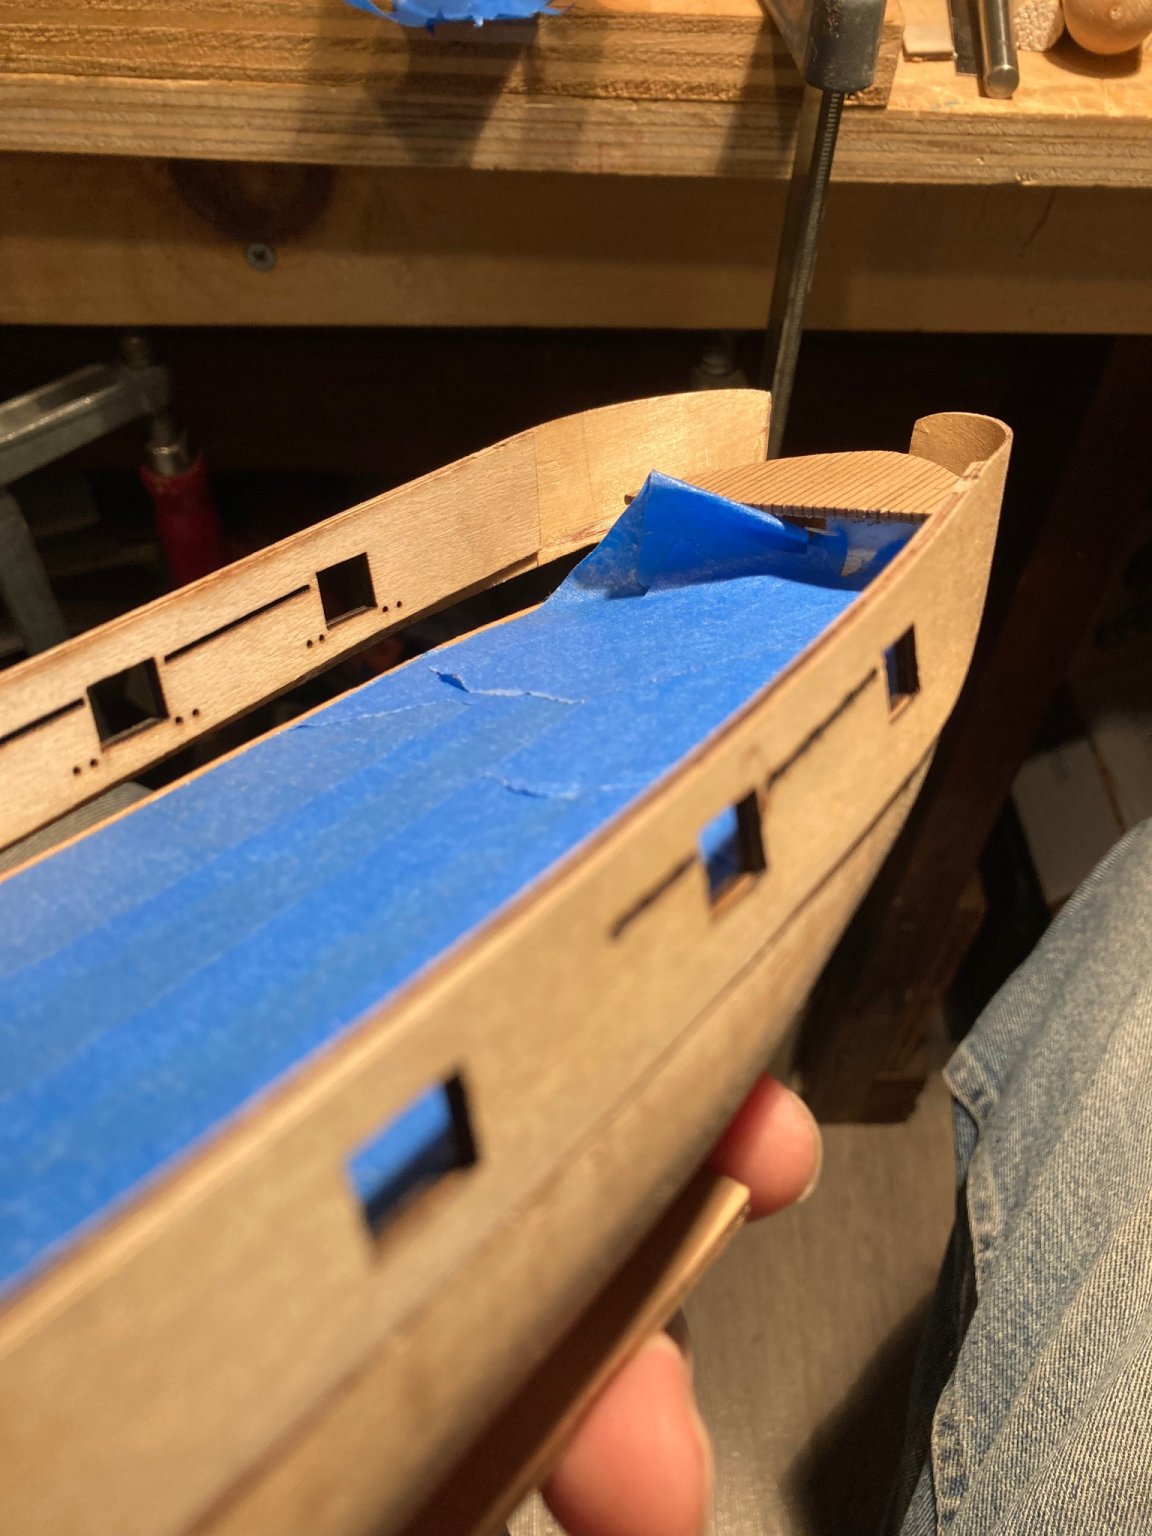
I wrestled with adding wood to the curved part of the bulwark in the bow. I tried bending a piece of solid wood which bent a bit and broke. Then I tried a bit of plywood and broke the bulwarks off the front of the boat! So I repaired the damage, not making any progress at all (other than experience and wisdom gained). The model is no worse for wear after the repair.
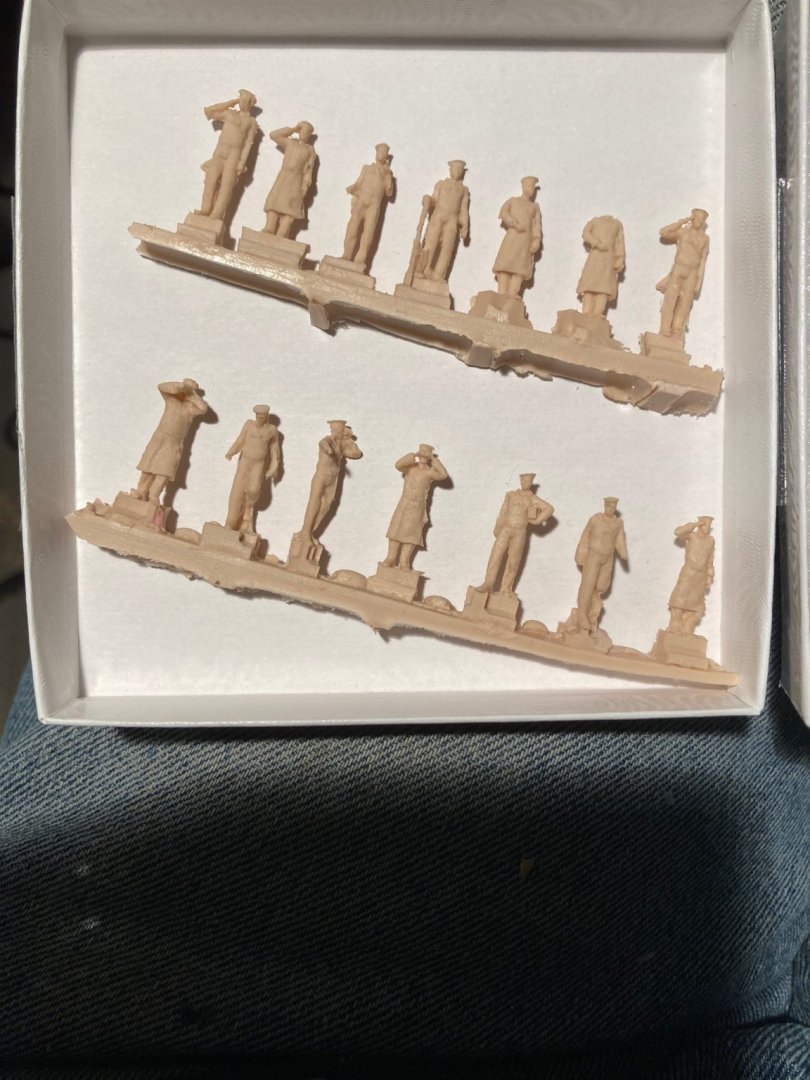
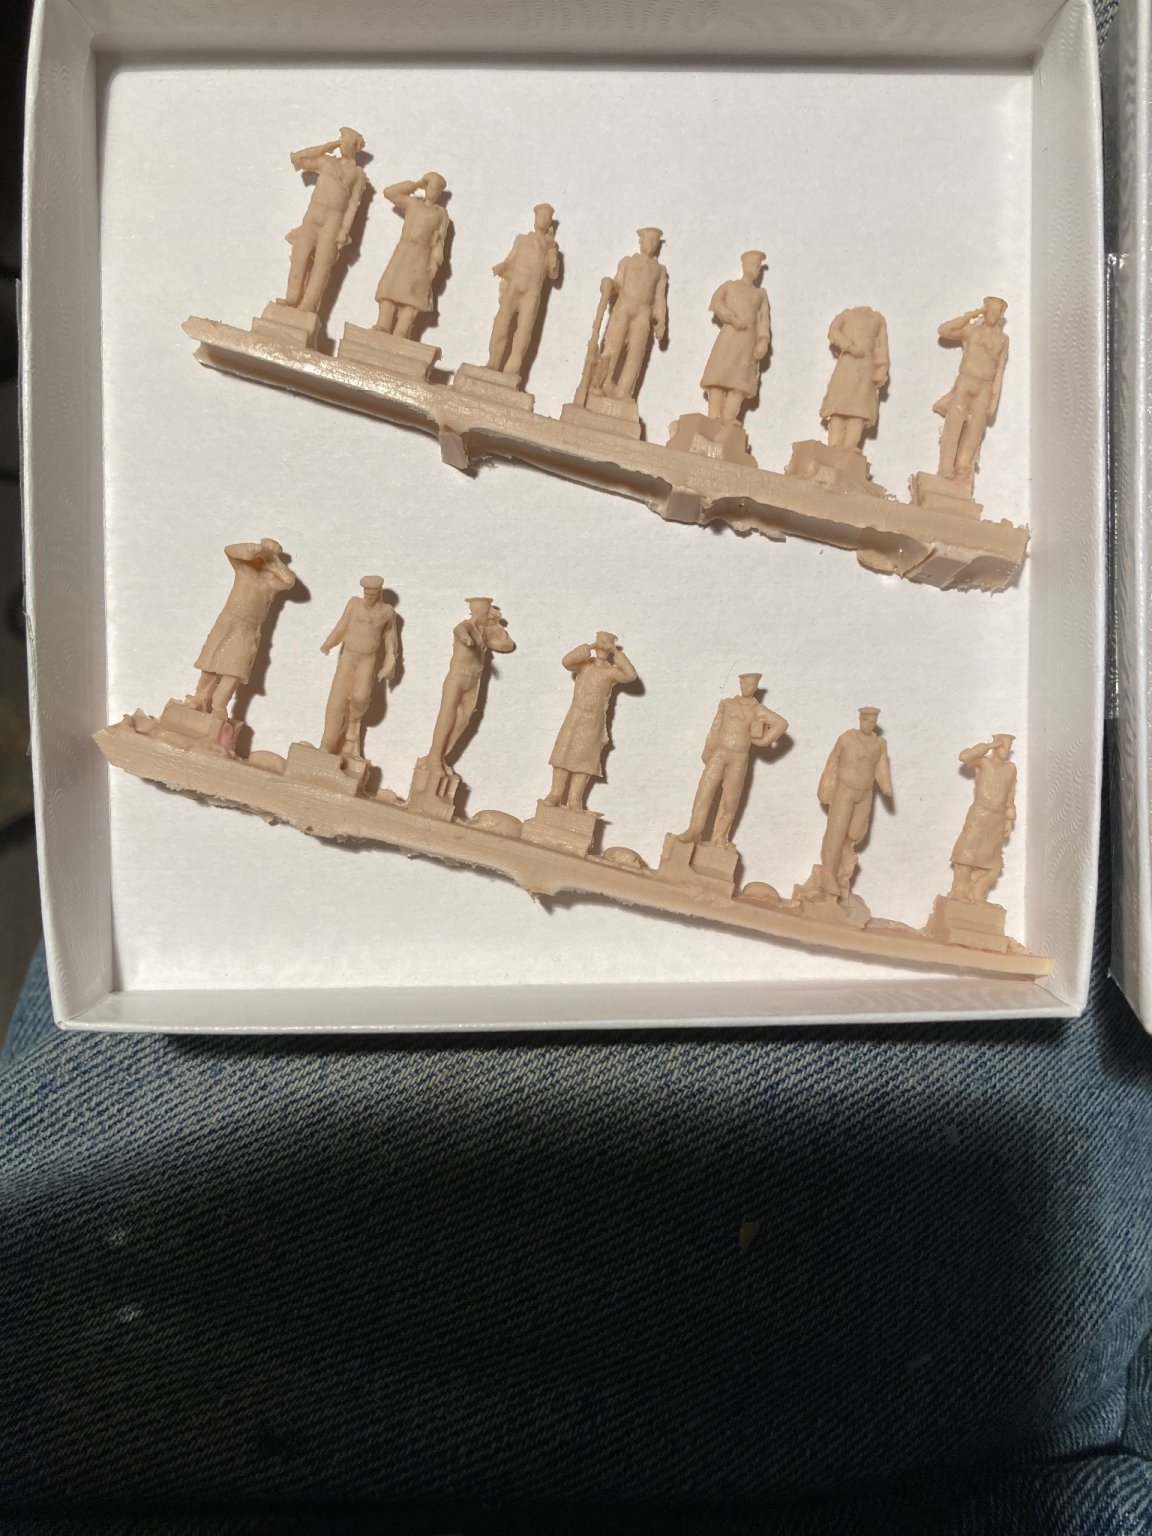
I also cleaned up the resin figures I received; the will need some reshaping as well.Following up on @TomShipModel’s suggestion, I have reached out to the Smithsonian regarding plans for the Perry. I also found a set of plans at http://www.taubmansonline.com/ and have inquired as well.


-
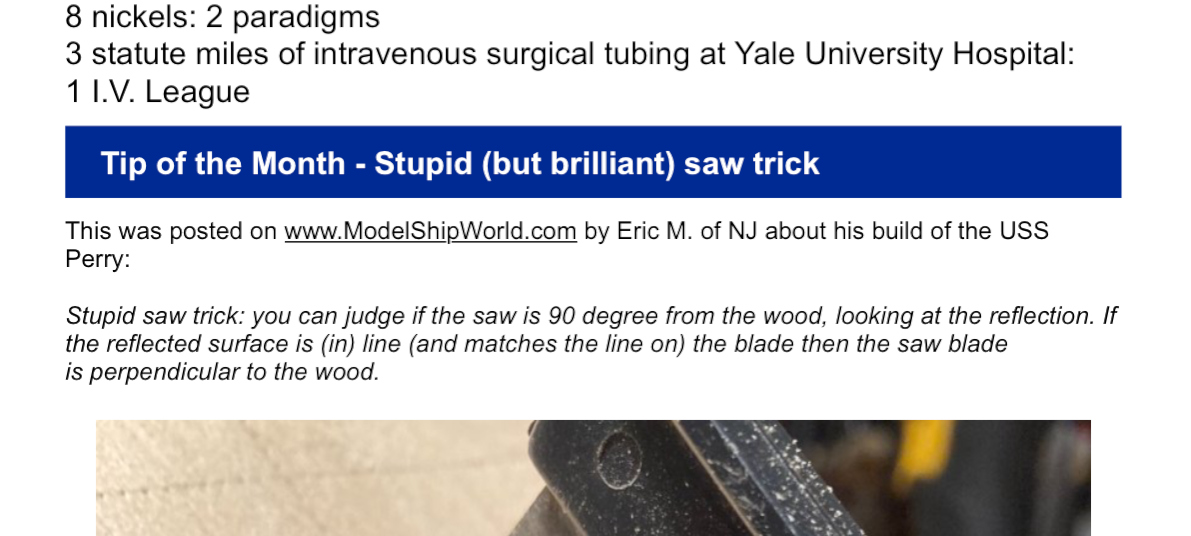
On a similar tangent, the stupid saw trick made the BlueJacket Shipcrafters’ newletter as the Tip of the Month! My kind thanks for a wee bit of fame and fun. And if it proves useful, so much the better!
- Edwardkenway, VTHokiEE, mtaylor and 1 other
-
4
-
5 hours ago, mtaylor said:
PM MrBlueJacket and let him know
Tis done!
- mtaylor and Keith Black
-
1
-
1
-
8 hours ago, Keith Black said:
Say what! And I thought building from photographs was bad

Haha! I get the impression that this is a new kit and is still being debugged/refined. None of them are show stoppers and unlike some other kits, they show where parts from the kit should be on the ship plans which is a plus. It’s not a bug, it is a feature!!
I also applaud having a date in the manual, allowing the tracking of different versions as well as updating of versions.
-
I’m curious - let us know when you get back to the shop!
- douglaspbrown, BobG and VTHokiEE
-
3
-
-
Errata for the Building Manual (for pages 1-17). For anyone else who is working with this set of the instructions, I have the found the following:
This is for the 05/05/20 version of the USS Perry (kit no. 1112) in 1/8 scale.
Typos:
p.8 near top of page - “Cut the hull and deck templates from sheet px-x” should be “from py5-5”
p.8 bottom of page - “mark the location of the hull templates (0-T)” should be “templates (0-8)”
p.10 top of page - “work slowly and check each hull station (0-T)” should be “hull station (0-8)”
p.12 top of page - “Remove the forecastle deck waterways (LPY01G)” should be “waterways (LPY1G)”
p.17 near top of page – “Remove the transom moulding (LPY02E)” should be “moulding (LPY2E)”Not typos but ambiguous.
p.11 middle of page – “Align the long edge of one of the main deck halves (LPY1AP or S)”. Neither LPY1AP or LPY1AS are shown on the ship plans, but as a single unit marked LPY1A
p.13 top of page - “CAUTION: The outer bulwarks (LPY2AP, LPY2AS)” are not on the ships plans. However, LPY2A is shown as a single item. There are two. Each one is combined with LPY2AP and LPY2AS. I believe the S and P stand for Starboard and Port.p.16 bottom of page - “Remove the fore cap rail caps (LPY2F)”. LPY2F isn’t shown on the plans.
p.17 near top of page – “Remove ladder rails (LPY31A) and treads (LPY31B)”. On the ship plans, these two parts are shown as a single unit LPY31.None will cause great heartache. But since there is enough head-scratching in ship modeling as is, I thought this might help.
-
-
-
3 hours ago, Hubac's Historian said:
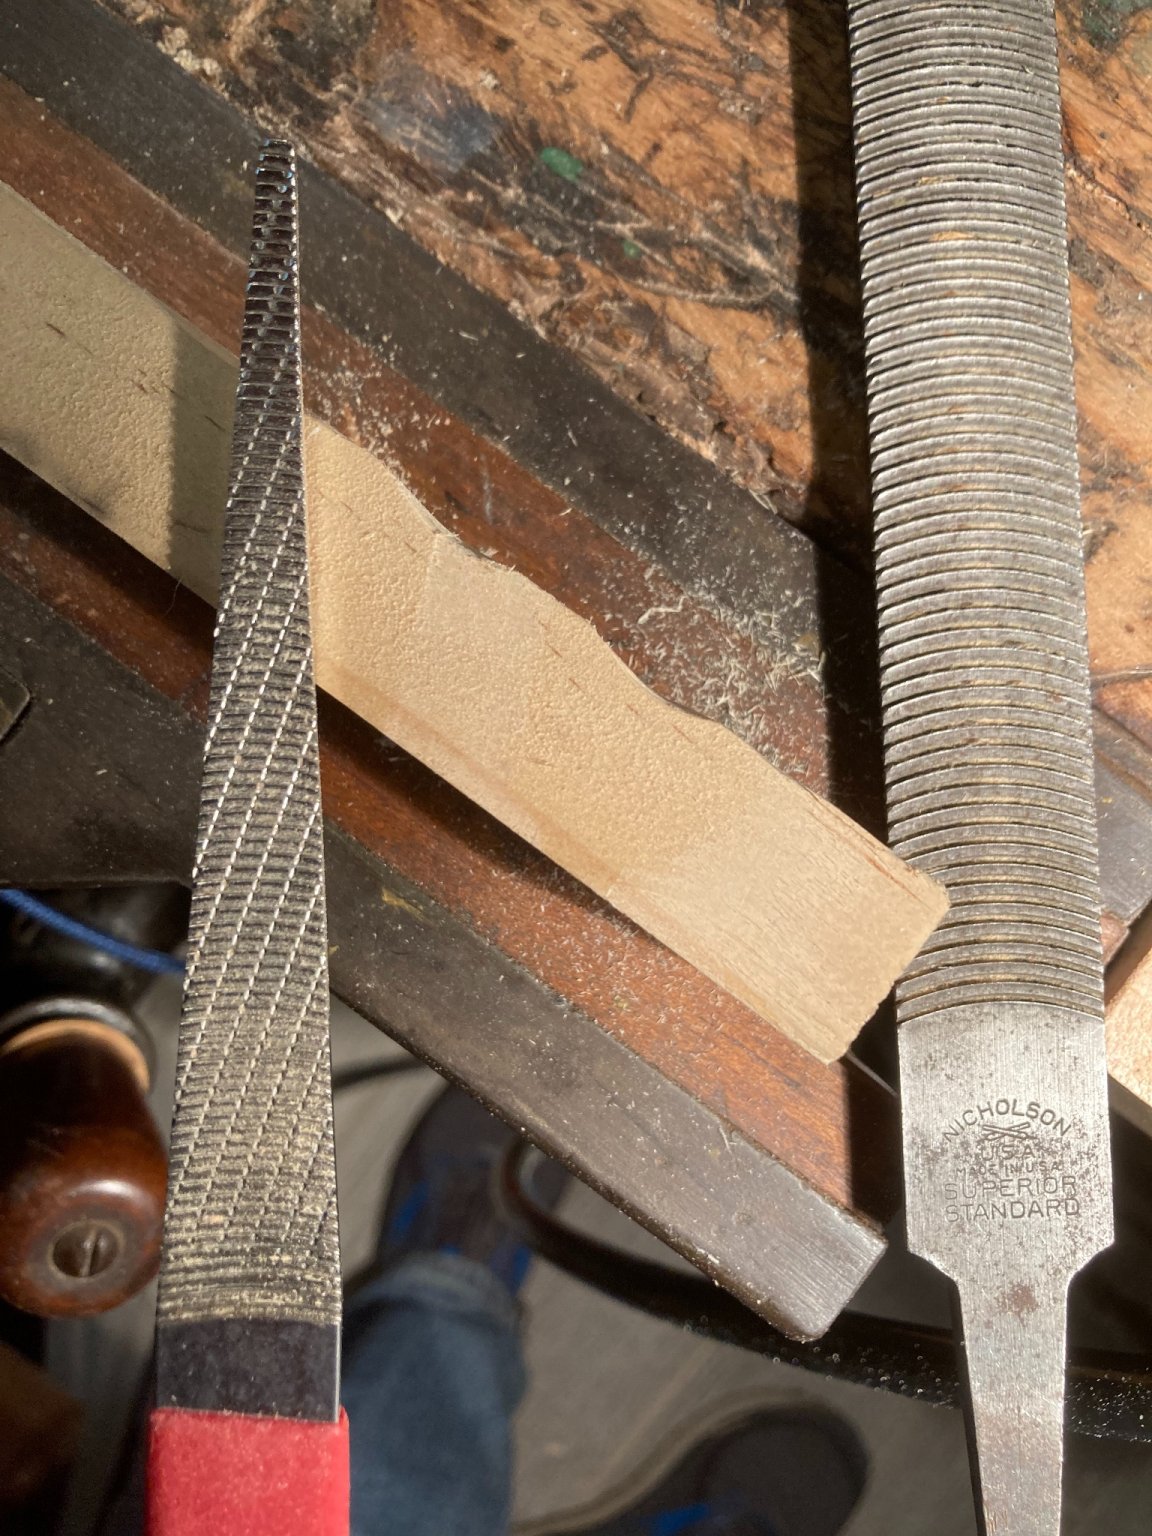
Is it the case that the teeth will produce a chattered cut, if you don’t file in the right direction?
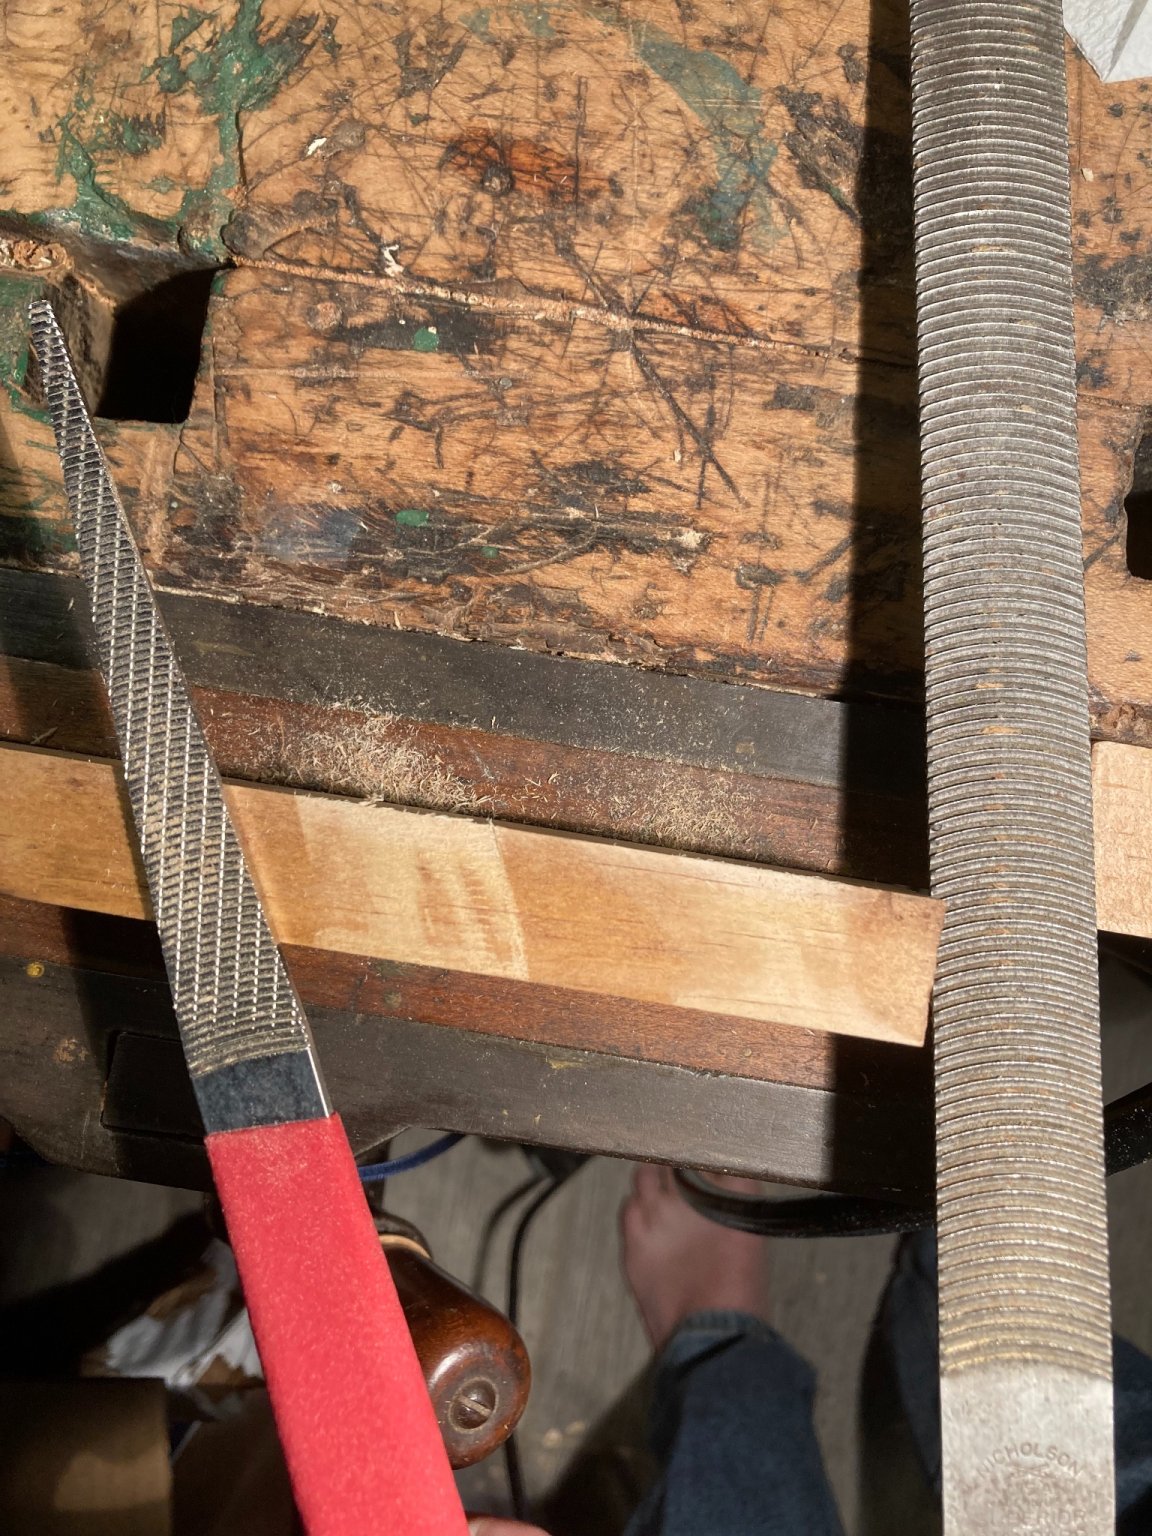
It is hard to get to cut the wood. If you don't have the right force it bounces away. While it can chatter, mostly if used incorrectly it doesn't do anything. Note: this may be a side effect of this unskilled/untrained/idiot user not knowing the proper technique.
I lightly stained the pine and then used the floats 'poorly' so you can see the effects yourself.
-
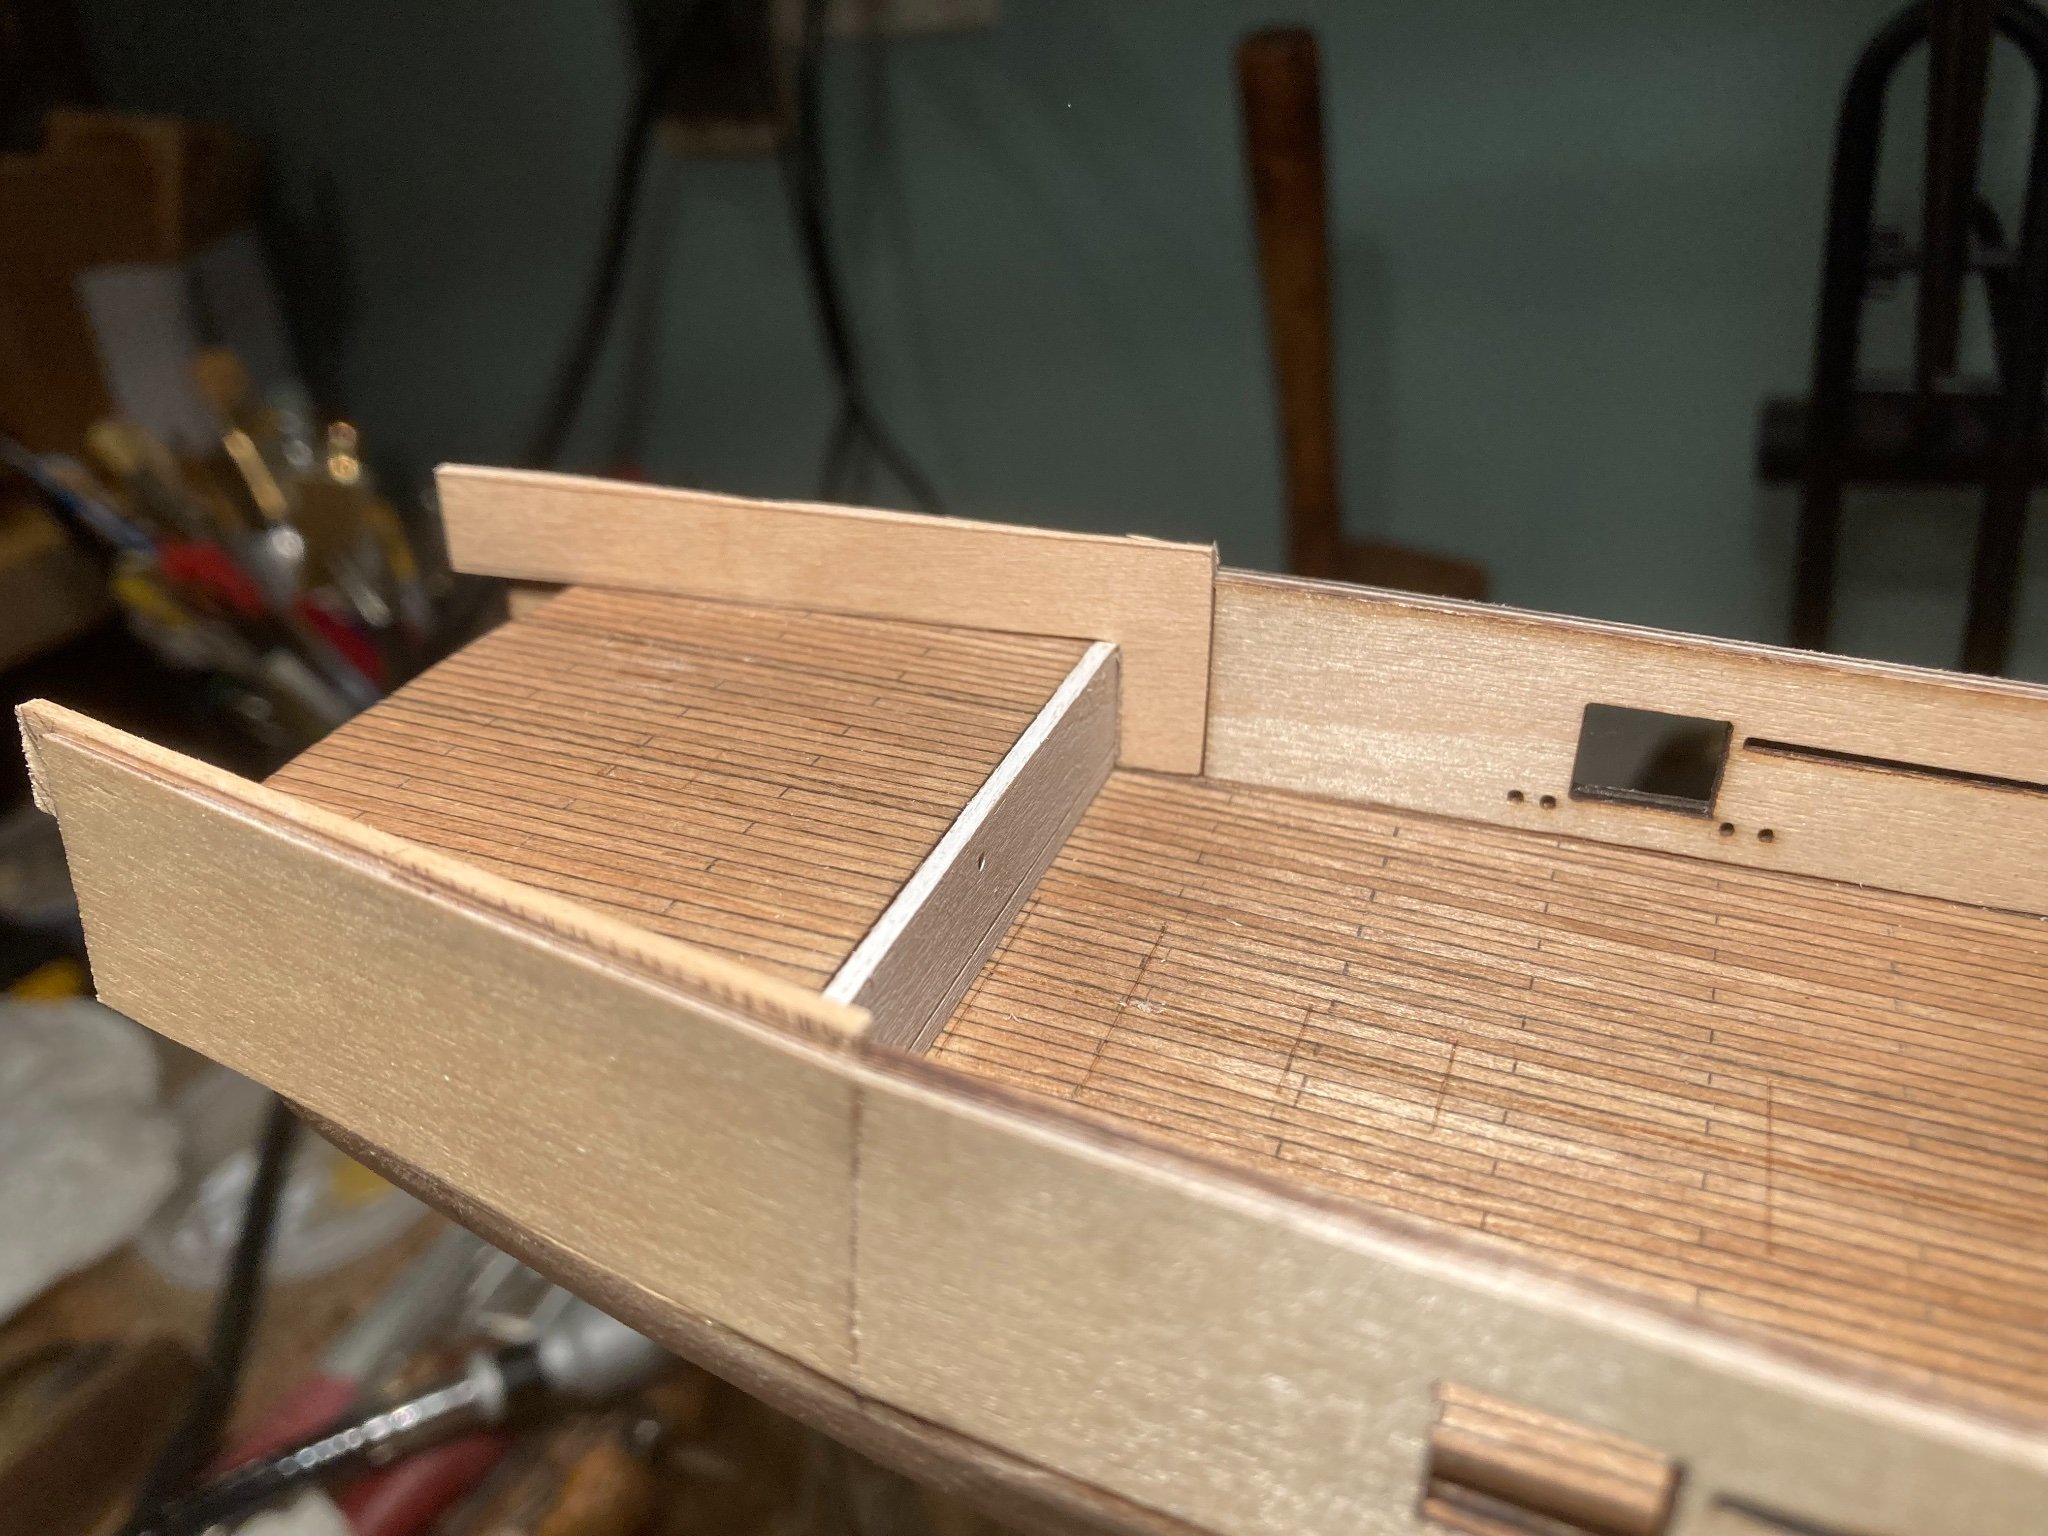
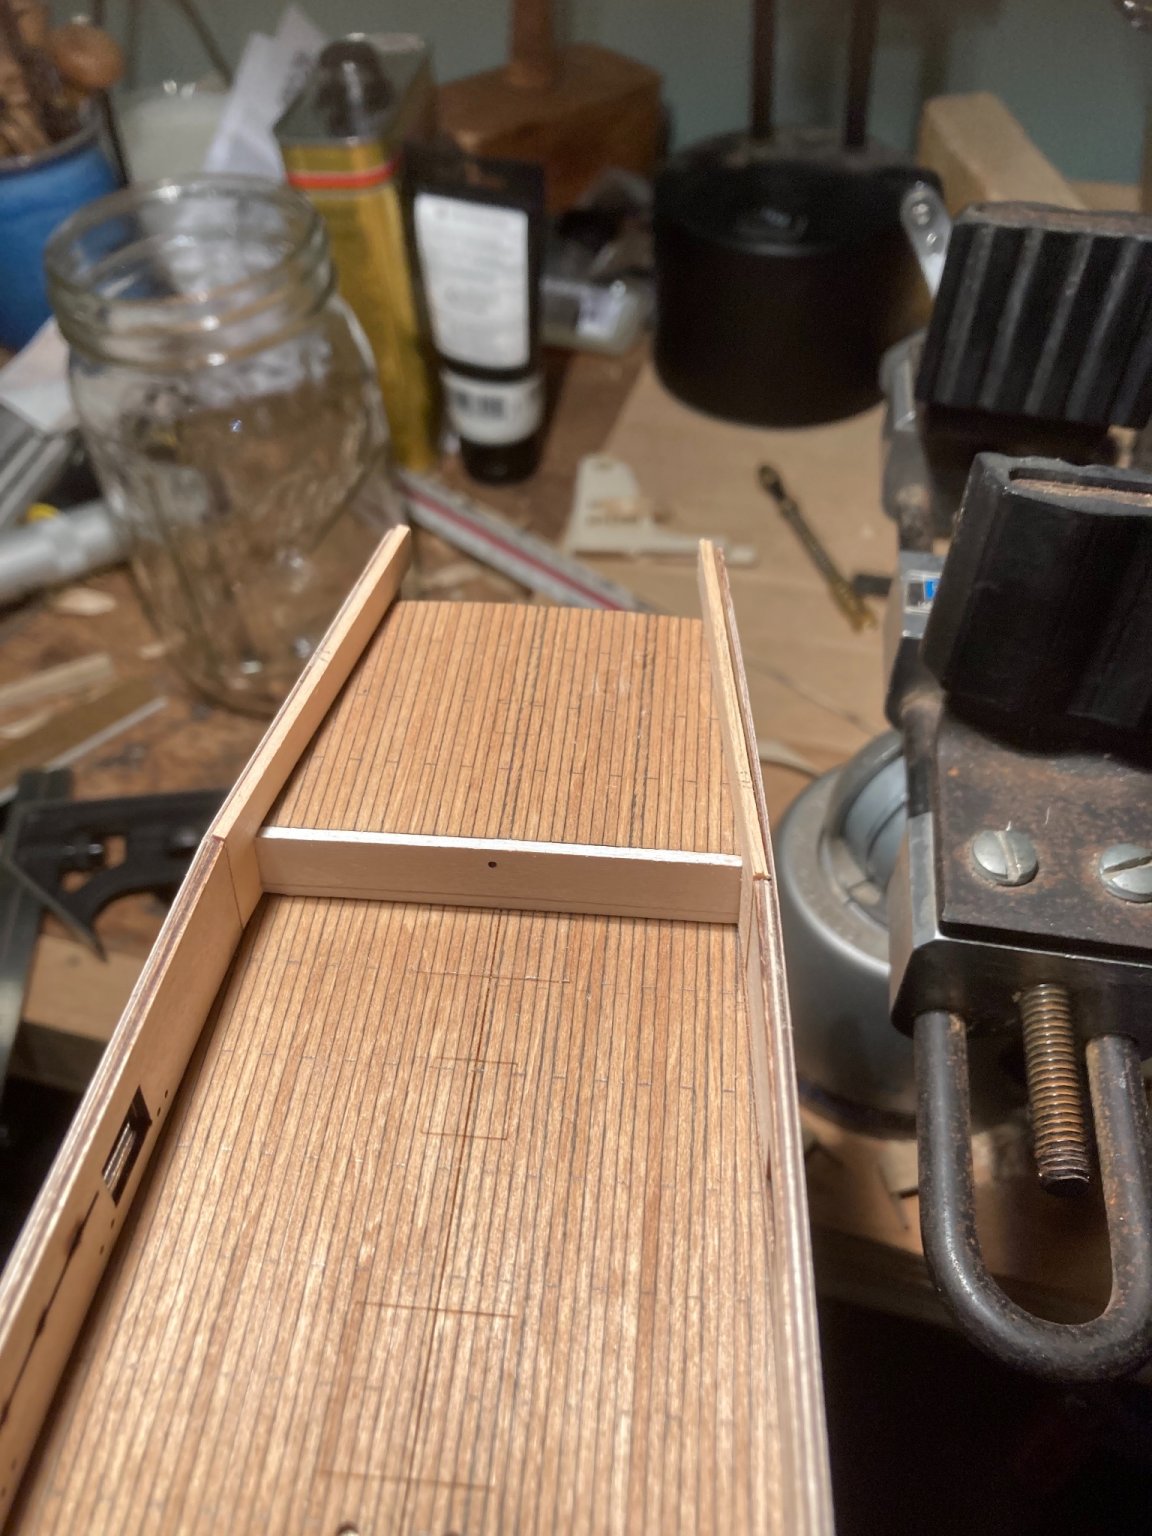
I did work on the model. In the photos of the finished model I see wood added to front and rear of the ship to create consistent thickness for the bulwarks. I didn’t find this listed in the manual but this seemed like good time to do that.


- G.L., Jeff preisler, ccoyle and 4 others
-
7
-
In the great rasp bake off, I missed chatting about planemaker's floats. In my opinion (i.e. take with a dose of salt) they are hard to use well but cut quickly and leave a smooth surface. They are designed to finish the throats (insides) of wooden hand planes. They are hard to find but Lee Valley and Lie-Nielsen still sell them.

-
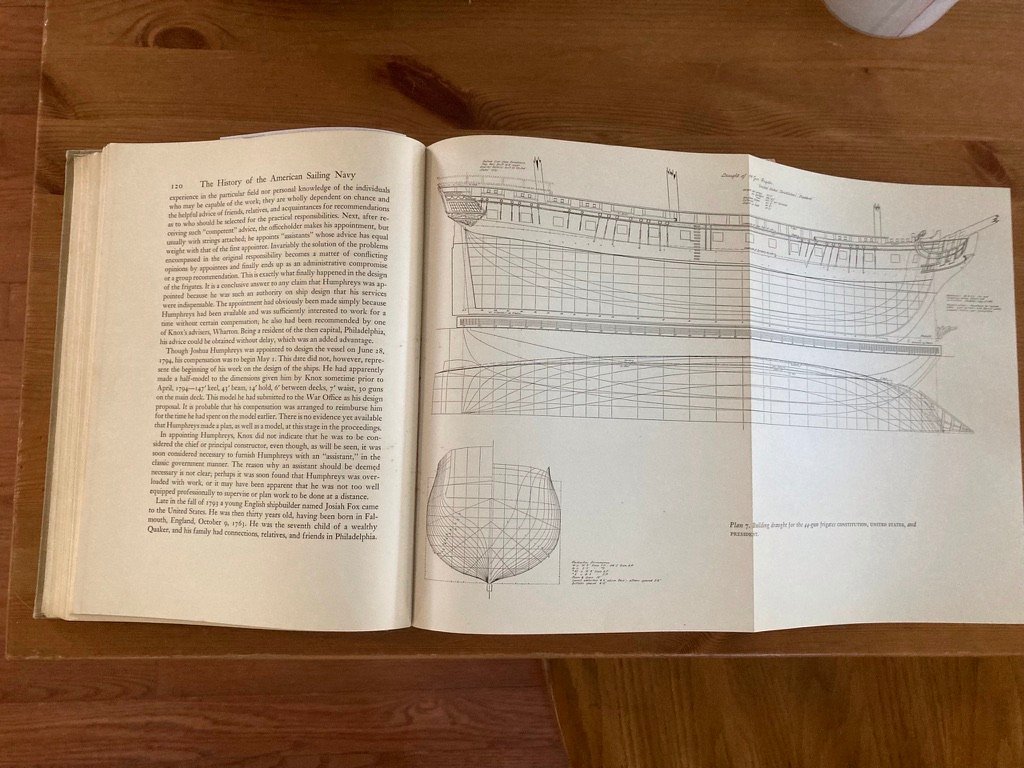
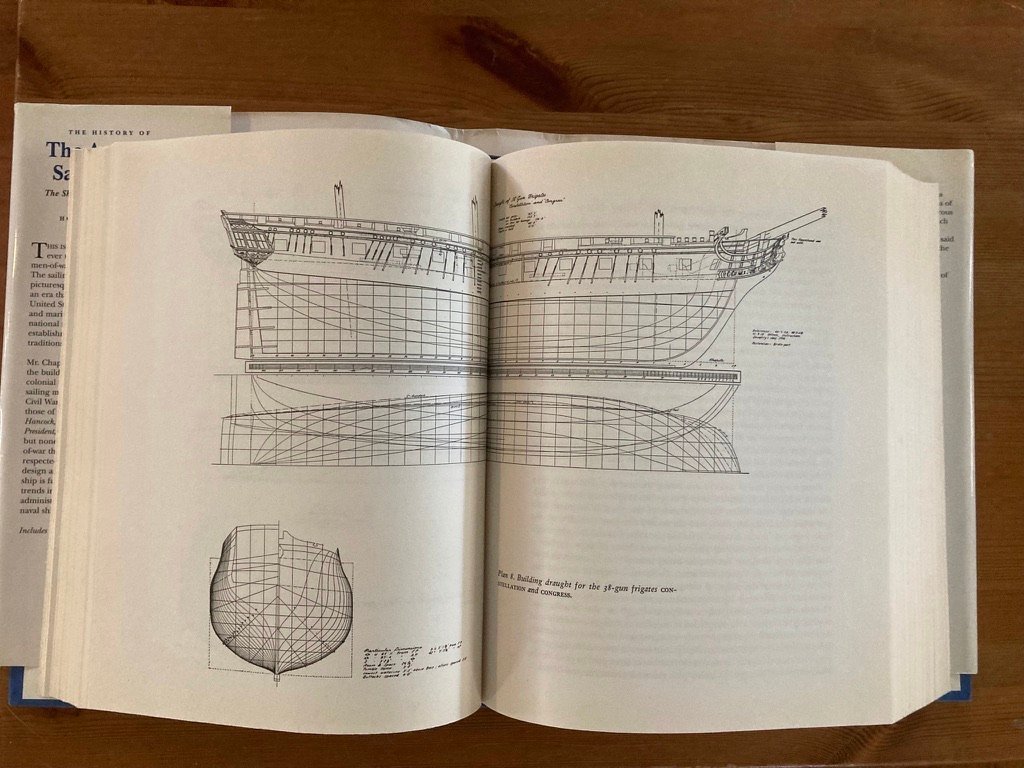
I 'upgraded' my copy of Capelle's The History of the American Sailing Navy. I noticed someone posted a picture of the book with a fold out - my version did have fold-outs. So for eleven bucks and shipping, I have a first edition with fold-out and nicer photos (on old-school coated paper)! I have shared the same part of the book for comparison. All rights reserved by Chapelle and W.W. Norton & Co.
- G.L., Ryland Craze, mtaylor and 5 others
-
8
-
I haven’t seen those spade drill bits in years! My father used to have one. Very easy to be very accurate.I used it all the time.
- Roger Pellett, mtaylor and Canute
-
3
-
-
2 hours ago, VTHokiEE said:
I had to laugh about the sanding tips, solely because so often someone else mentions an improvement on my technique and I can only go "Hmm, I can't believe I didn't think of that simple change that makes this so much easier/better/etc - I'm an [fill in the blank]."
To me that is the "value-add" of MSW literally! You are poster-child for the the growth that is possible with a bit support from the community here (at least to me). We both built Chesapeake Bay Flatties about the same time and now you're scratch building!! Boom! (Not all of us can be like Marc who hit the accelerator so hard as to leave a dent in the floorboards!)
2 hours ago, VTHokiEE said:At least your experience with 1:1 woodworking hopefully means you know how to use your tools unlike myself 😂.
Thanks, occasionally it works against me since the tools and responses of the wood don't always scale as well as I would like. But is does mean I have all the hand tools someone might use and I mean ALL! (I'm light on machine tools though!)
- Keith Black, mtaylor, BobG and 2 others
-
5
-
My personal experience with layered (regular commercial) veneers and PVA is that it sets hard but you can set it in curves (depending on grain direction) and then glue it. I would try a few samples with the grain in similar directions as well as part of your experiments. I'm very curious to see your findings!
-
I should also mention - I appreciate any and all advice and encouragement! As I said before, they are so may wondrous things and unbelievable craftfolk here to follow on this site, I’m frankly surprised any of you stop by!! So thank you!
- Keith Black, Edwardkenway, BobG and 2 others
-
5
-
It’s all good, my tongue is often planted in cheek. And I am new to the model ship game - I started in October of 2019 with small plastic sailing ship model and I’m working my way up to my 1/48 scale dream diorama of the HMS Victory towing the Wasa towing the Soleil Royal!! I did do a ton of 1:1 scale woodworking in my mis-spent youth but as you may know, it doesn’t quite transfer to the smaller scales!
-
3 hours ago, Keith Black said:
Eric, good tip but how do you keep the cap rails the same height from stem to stern when sanding the cap rails individually?
Sorry, this is the prep for the yet-to-come rails. I’m just removing char for the plywood. No cap rails were harmed!
3 hours ago, Keith Black said:Maybe another way would be to span the two cap rails with a smooth 10 inch flat file and work back and forth
A great idea - you are obviously a greater craftsman than I since your bulwarks are the same height from the deck, same angles,, etc. Mine less so.
The stupid sanding trick works in a number scenarios but perhaps this isn’t the best application. Did mention it was labeled ‘stupid’? Whereas your suggestion is clever!
Thanks!


Albatros 1912 by EricWilliamMarshall - FINISHED - HMV - 1/250 - CARD
in - Kit build logs for subjects built from 1901 - Present Day
Posted · Edited by EricWilliamMarshall
I can't recall if it was @VTHokiEE or @ccoyle, but someone mentioned that Amazon had a few of these paper models and at $12 dollars, I was game. I attended an event at the National Lighthouse Museum (https://lighthousemuseum.org/) yesterday as part of a demonstration of ship modeling by the SMSNJ (http://www.shipmodelsocietyofnewjersey.org/) (of which I'm a member despite their better judgment). And I thought, I can't lug all the stuff I need at this point my wooden model build, so I'll try a paper build. I figured I would share here. May the bridges I burn light the way for others!!