Mirabell61
-
Posts
7,418 -
Joined
-
Last visited
Content Type
Profiles
Forums
Gallery
Events
Everything posted by Mirabell61
-
 Thank you very much David and Michael, I think I`ll do some more ratlines the next days...... Nils
 -
Hi David, with the rigging its an ongoing question of "what must be done first" in order to still have access to the belaying points of all those running rigging lines. Thats also why I do the upfront scetches, to see early how many operating lines will go with the individual sail. The stay sails and spanker for instance are rigged for weather from port side. This means that all the square sails will have the weather from port to port-aft and must be braced accordingly Nils
-
HMS Alert 1777 by Jaekon Lee - 1/64
Mirabell61 replied to Jaekon Lee's topic in - Build logs for subjects built 1751 - 1800
Good work Lee, ist going to look beautiful when the portside planking is completed Nils -
Hi Burnside63, a very nice looking hull , you`ve been real busy with the planking. Are you going to plate the oldtimer hull, perhaps with rivet imitation ? Nils
- 50 replies
-
- 1
-

-
- mariefred
- nordic class boats
- (and 1 more)
-
Hi Bob, appreciate your comment thank you very much..... Why did you think that your schooner was bad ?, its a fantastic model Nils
-
Thank you very much Bob and Popeye, Your kind comments are much appreciated... because of all the extra and individual lines for rigging the sails there have to be quite a lot of belaying points that are not given by the plan, also the lines have to be placed, so they do`nt foul the braced square sails. It shall take more shroud cleats and lead thimbels than I thought it would Nils
-
Bob, the crowsfeet-rigging is beautifuly done, nice and taught... Nils
- 1,477 replies
-
- 1
-
-
- essex
- model shipways
- (and 1 more)
-
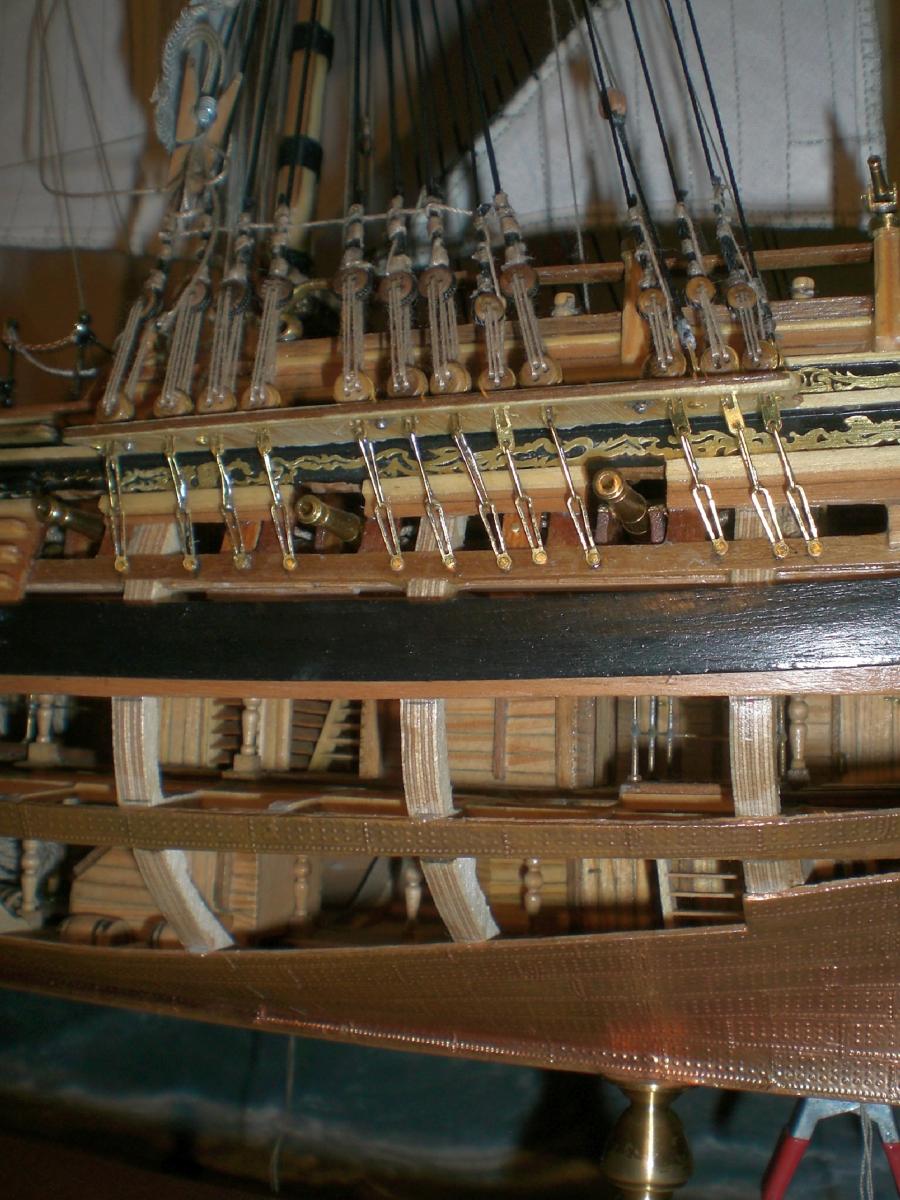
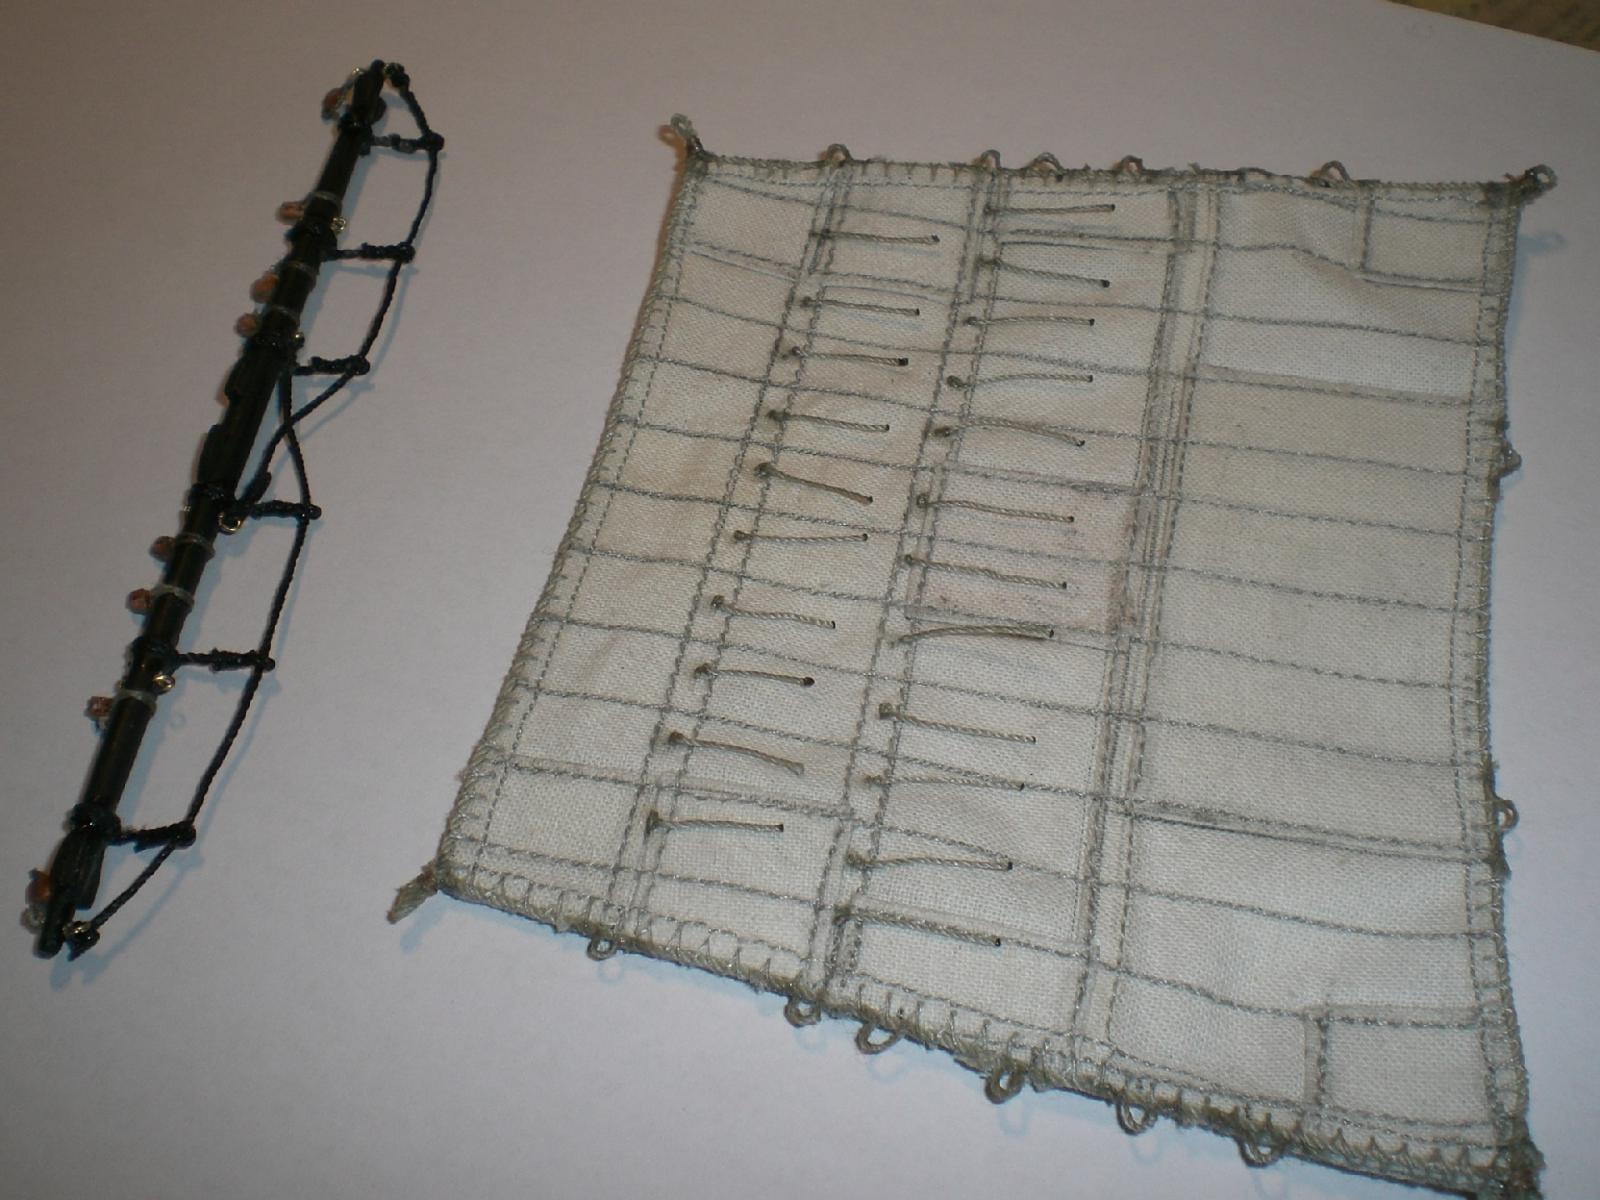
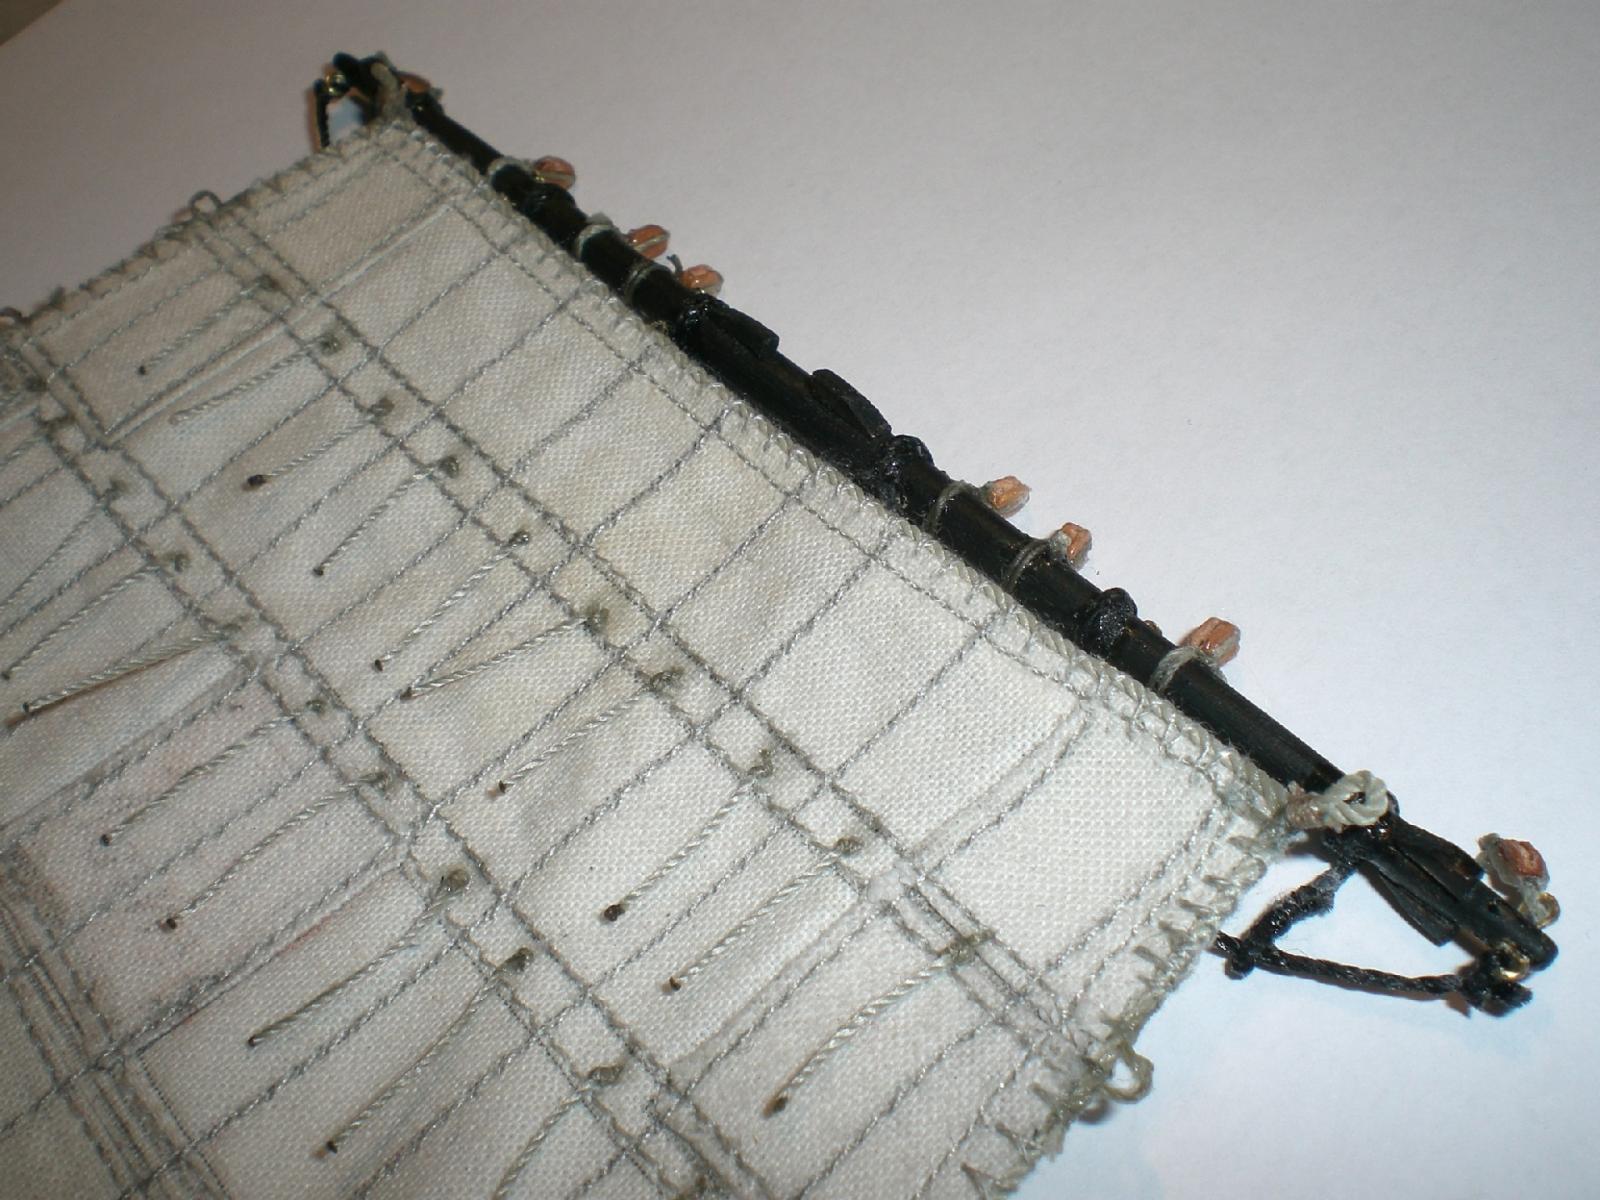
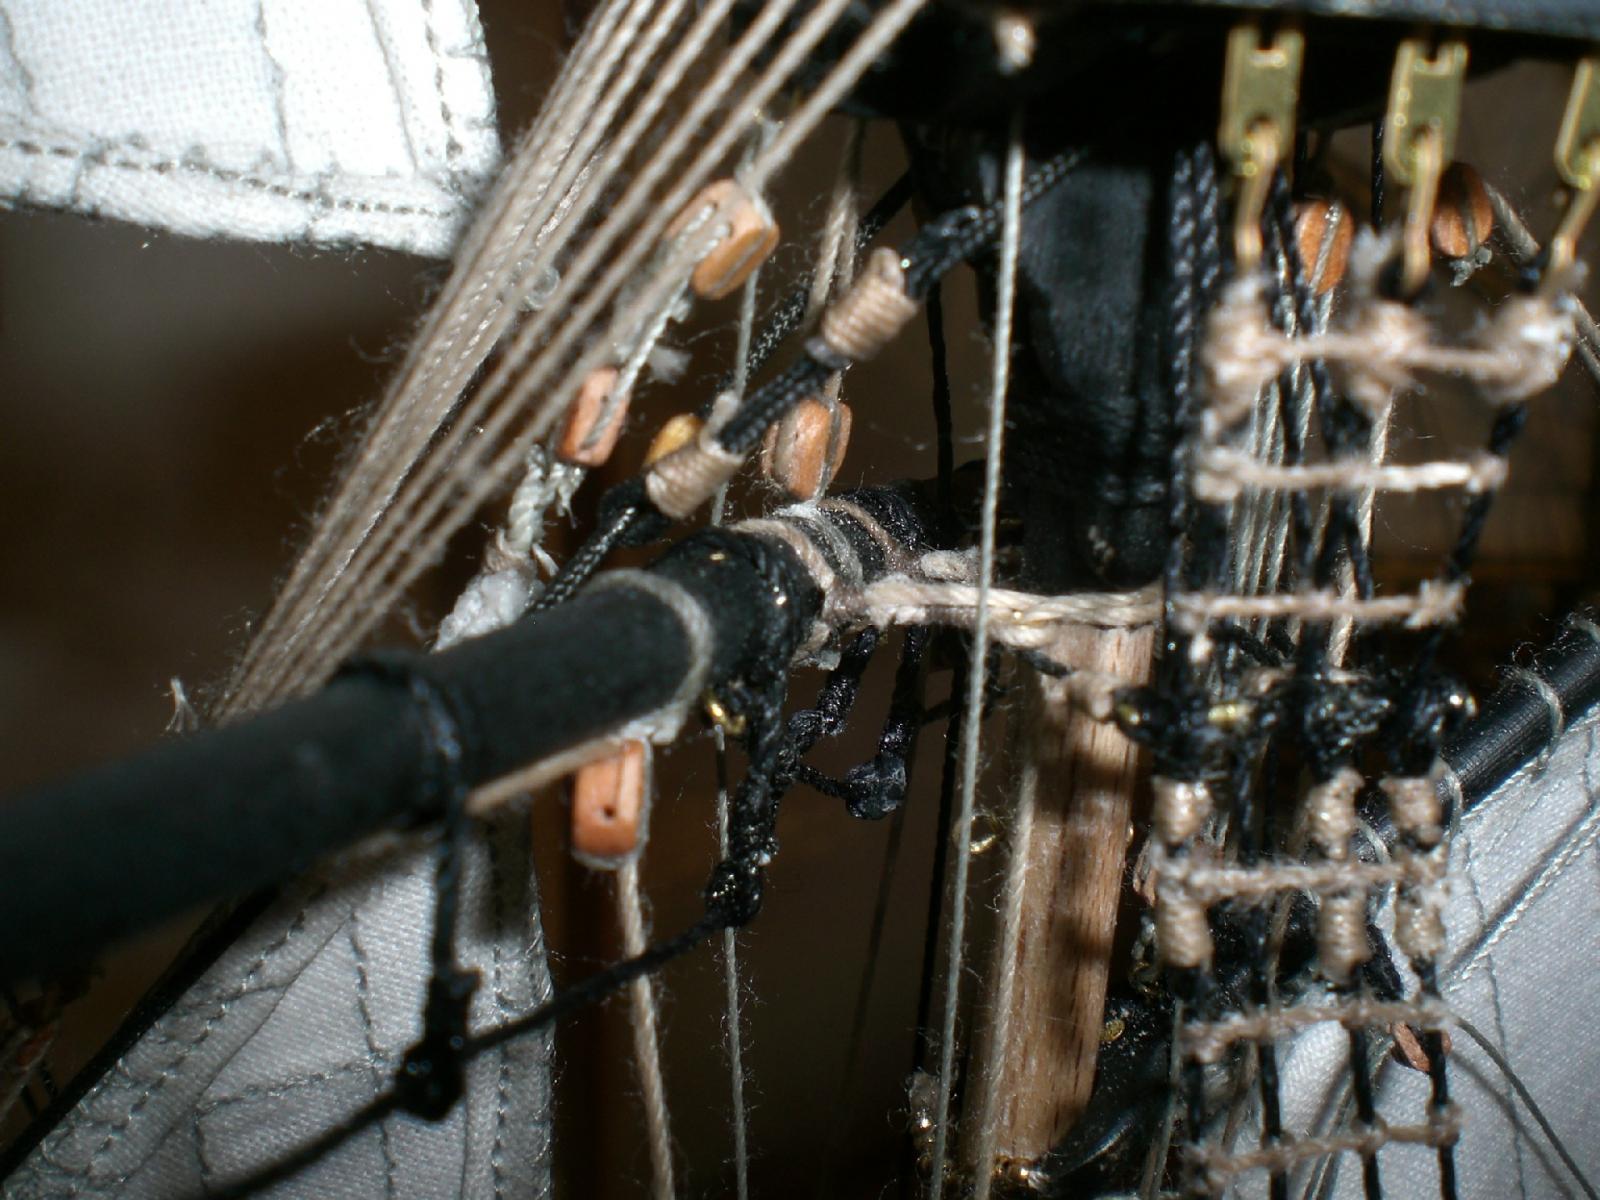
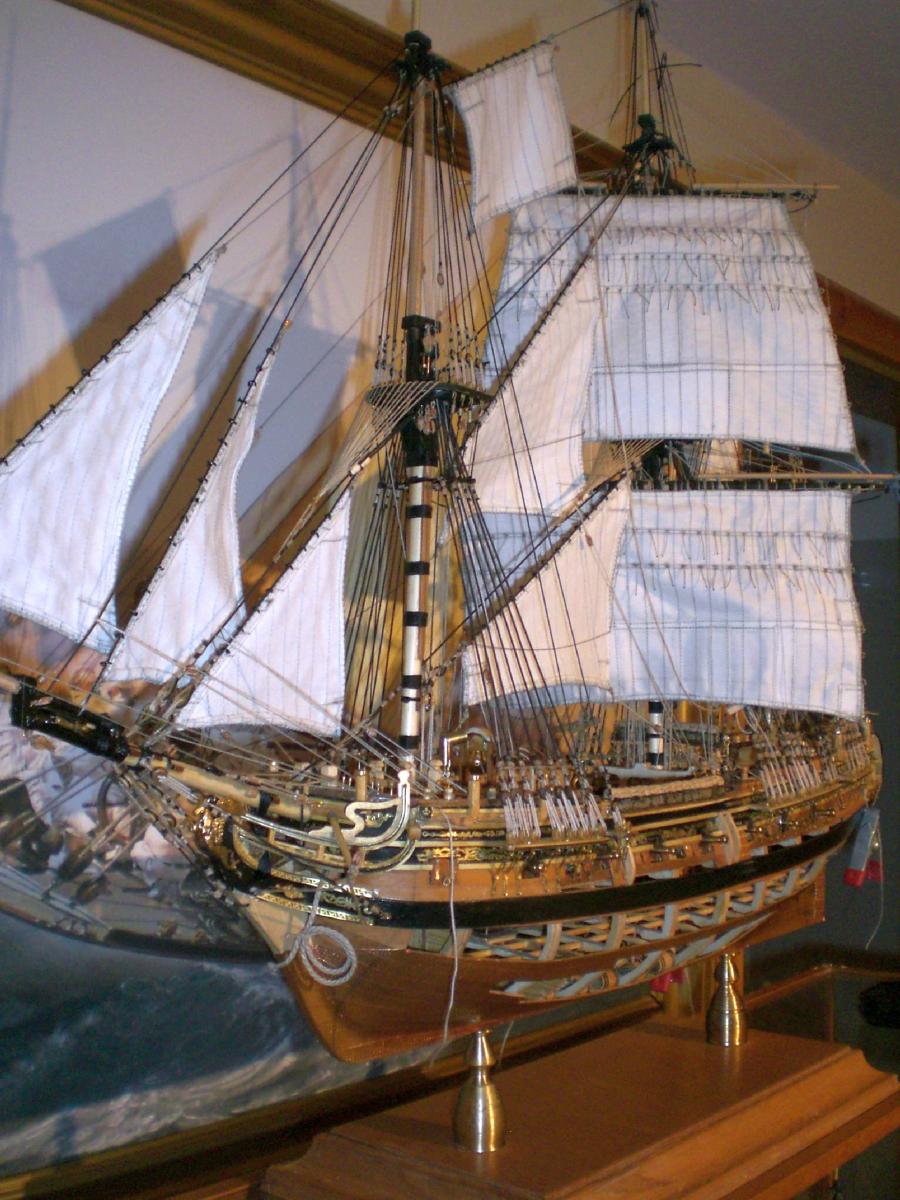
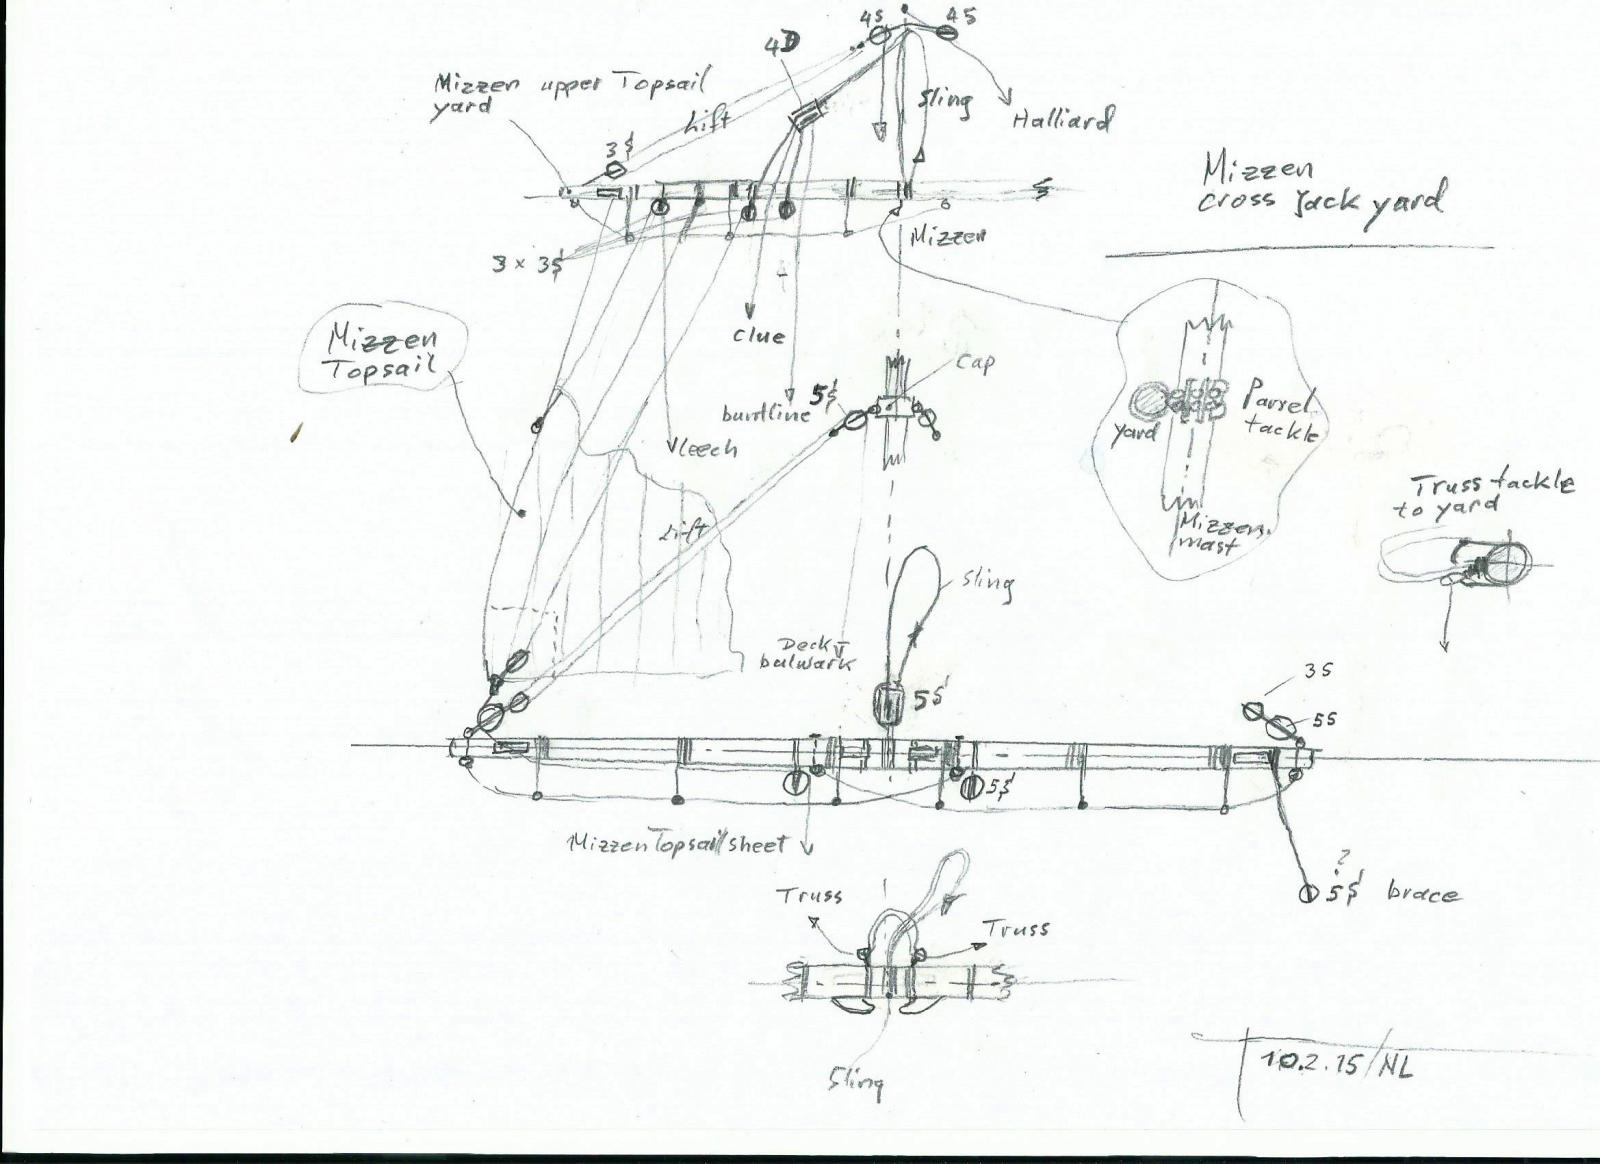
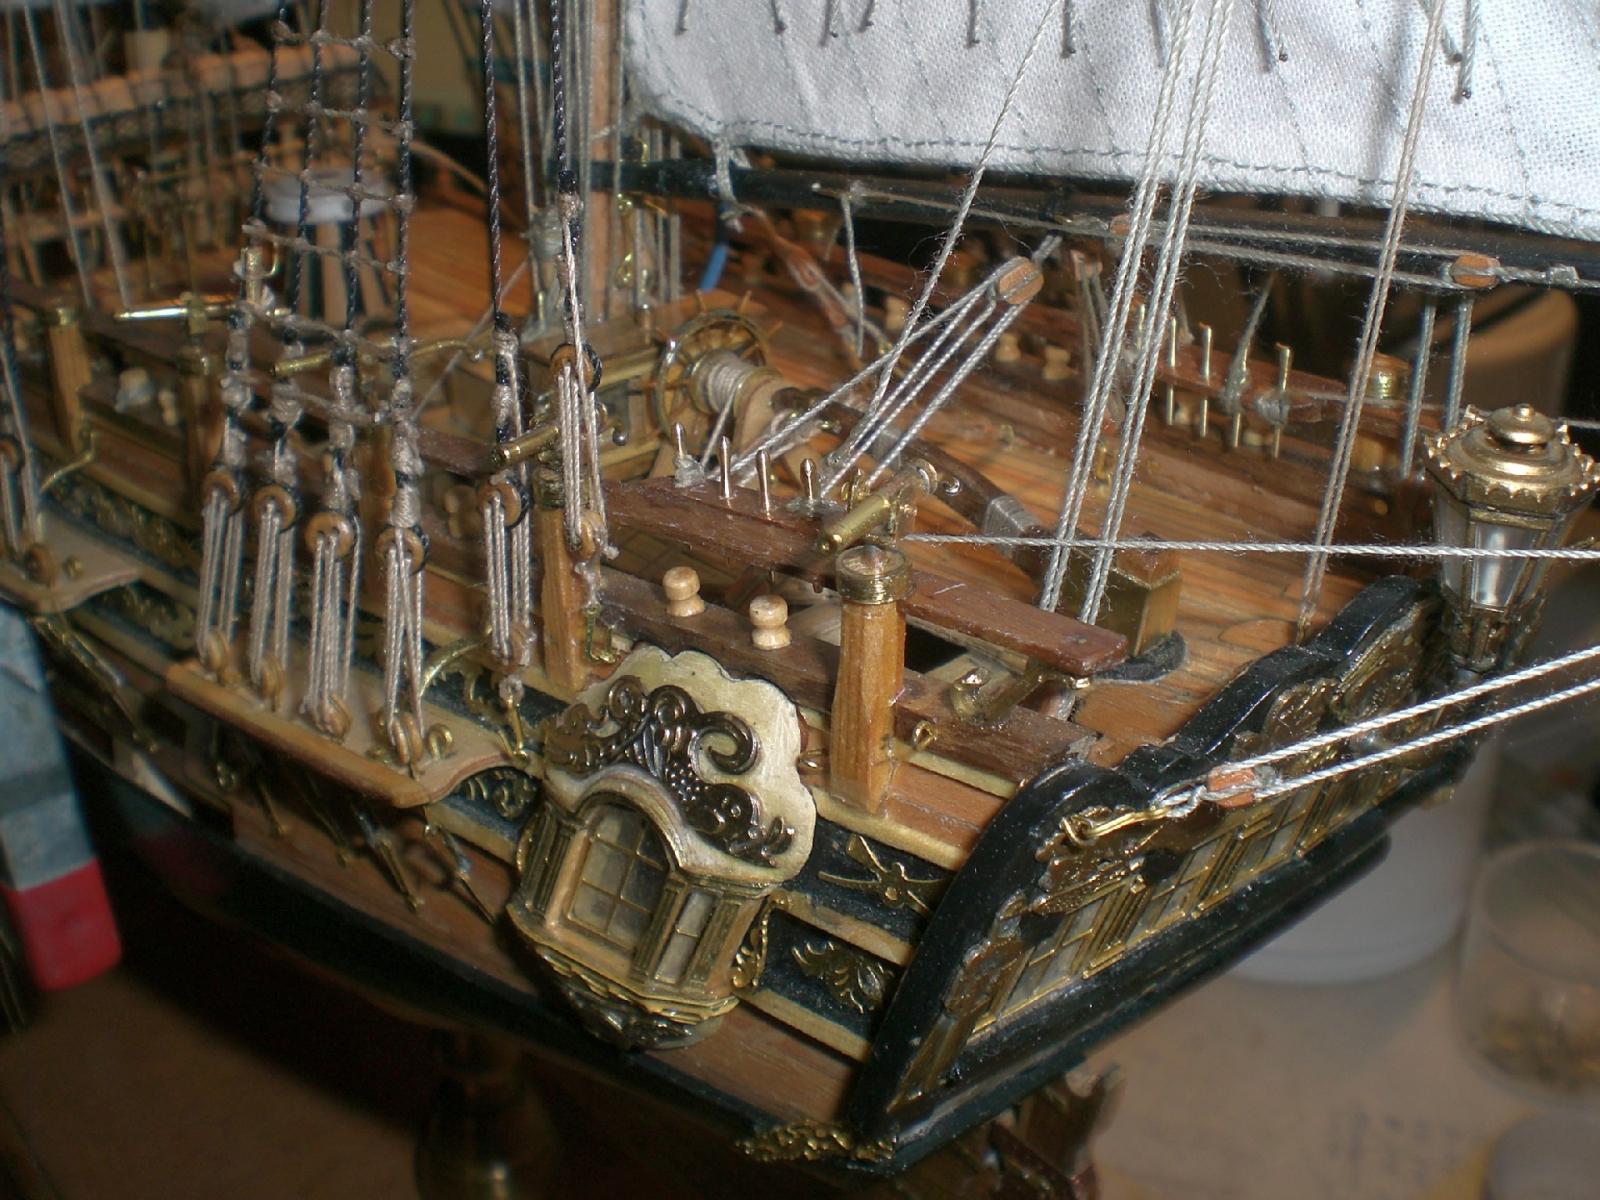
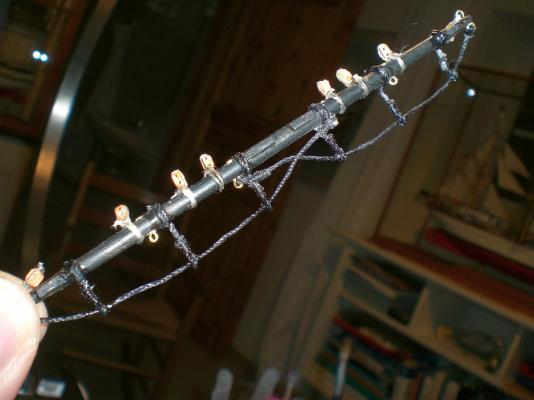
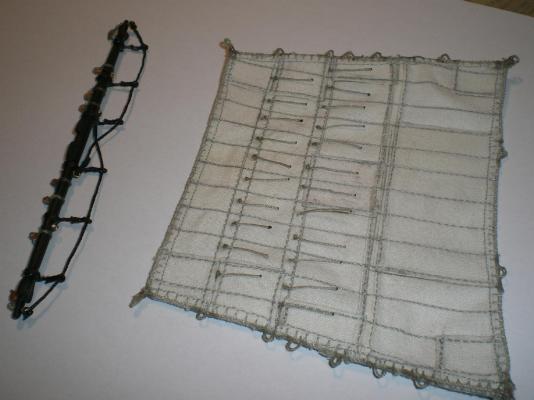
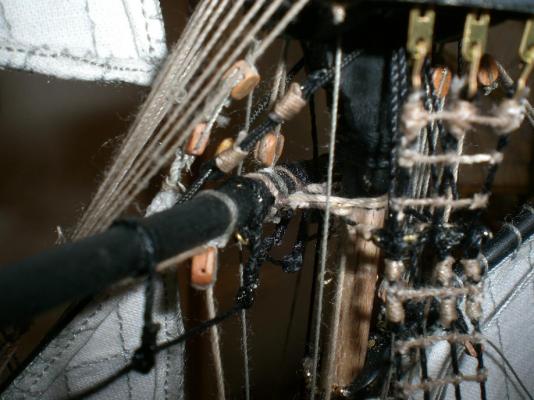
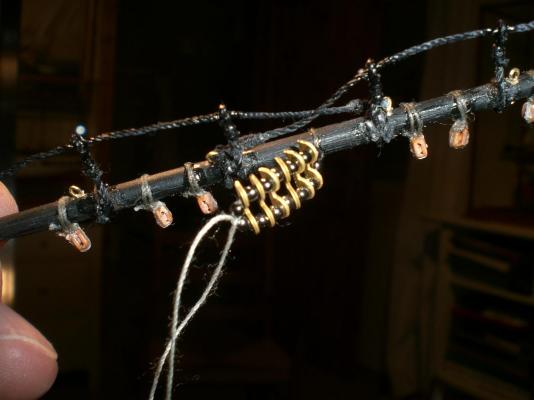
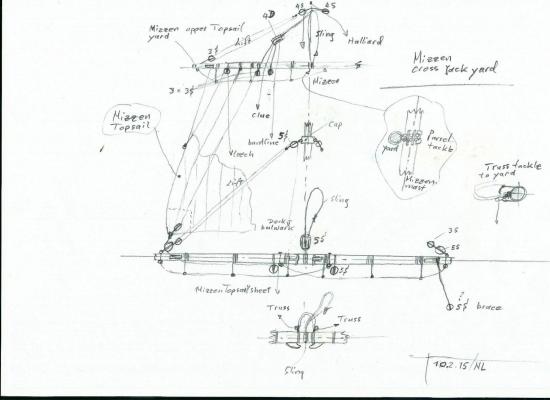
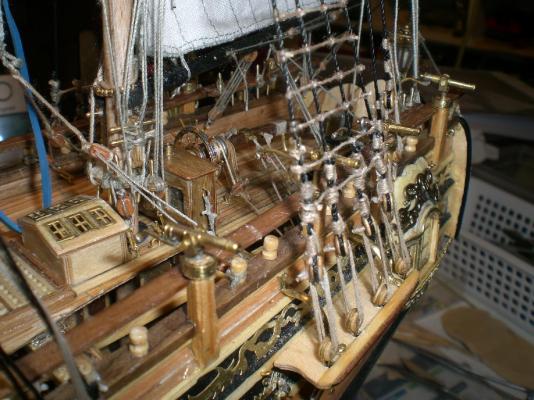
Little update I did`nt have so much time the last days, but now I`m continuing with the mizzen mast rigging. the lower cross jack yard is rigged and mounted, and the smaller, upper mizzen Topsail yard is ready for attaching the topsail. Nils again, first an overview scetch...... The topgallant main stay sail is also mounted I am surprised how much finest dust particles have settled on the lower interior decks in all those months, will need to find a solution to extract that dust through the "open" port side. Once the model is completed I will have the glass case for dust protection the upper mizzen topsail yard is one of the smallest, but requires a full rigging for operating the sail sail check with the upper mizzen yard the crossjack yard is already mounted and rigged the weather side -truss tackle, just above the catharpin-rigging level, is loosened a bit to allow adequate bracing one side of the parrel tackle is still open until the yard gets rigged to the ship


-
HMS Leopard by gobi71 - 1/300 scale
Mirabell61 replied to gobi71's topic in - Build logs for subjects built 1751 - 1800
Wonderful work Gobi, very accurate and clean framing in midget formate Nils -
very nice masting work Bob, Nils
-
Hi Max, congrats to the completion of your RC, a beautiful build indeed Nils
- 153 replies
-
- 1
-
-
- royal caroline
- panart
- (and 1 more)
-
congratulations Peter, you can with pride look upon a beautiful built ship and a wonderful and inspiring build log.... Very well done ! Looking Forward to the final pics and shots for the gallery Nils
- 431 replies
-
- 1
-
-
- pegasus
- victory models
- (and 1 more)
-
thank you Crackers, I do`nt mind tieing the ratlines, at least if there is enough Access to do so, what brings frust is when by mistake the wrong end of the line is snipped off David, my wife always says that I drink too Little, but I`m sure she means water Thank you Piet glad you like it Nils
-
innovative technique Bob, bringing the microwave into the game..... amazingly good result, I like Nils
-
Thank you Popeye, I know these knots from my two tallship ratlines.....,must have been hundreds of them B.E., nice comment, Thank you very much, I would have liked to have such a fantastic looking taraffel (eyecandy) as you have created on yours, so I gladly return the appreciation of your work Thank you for your answer Bob, I have`nt used PVA on the knots yet, but I`ll give it a try Nils
-
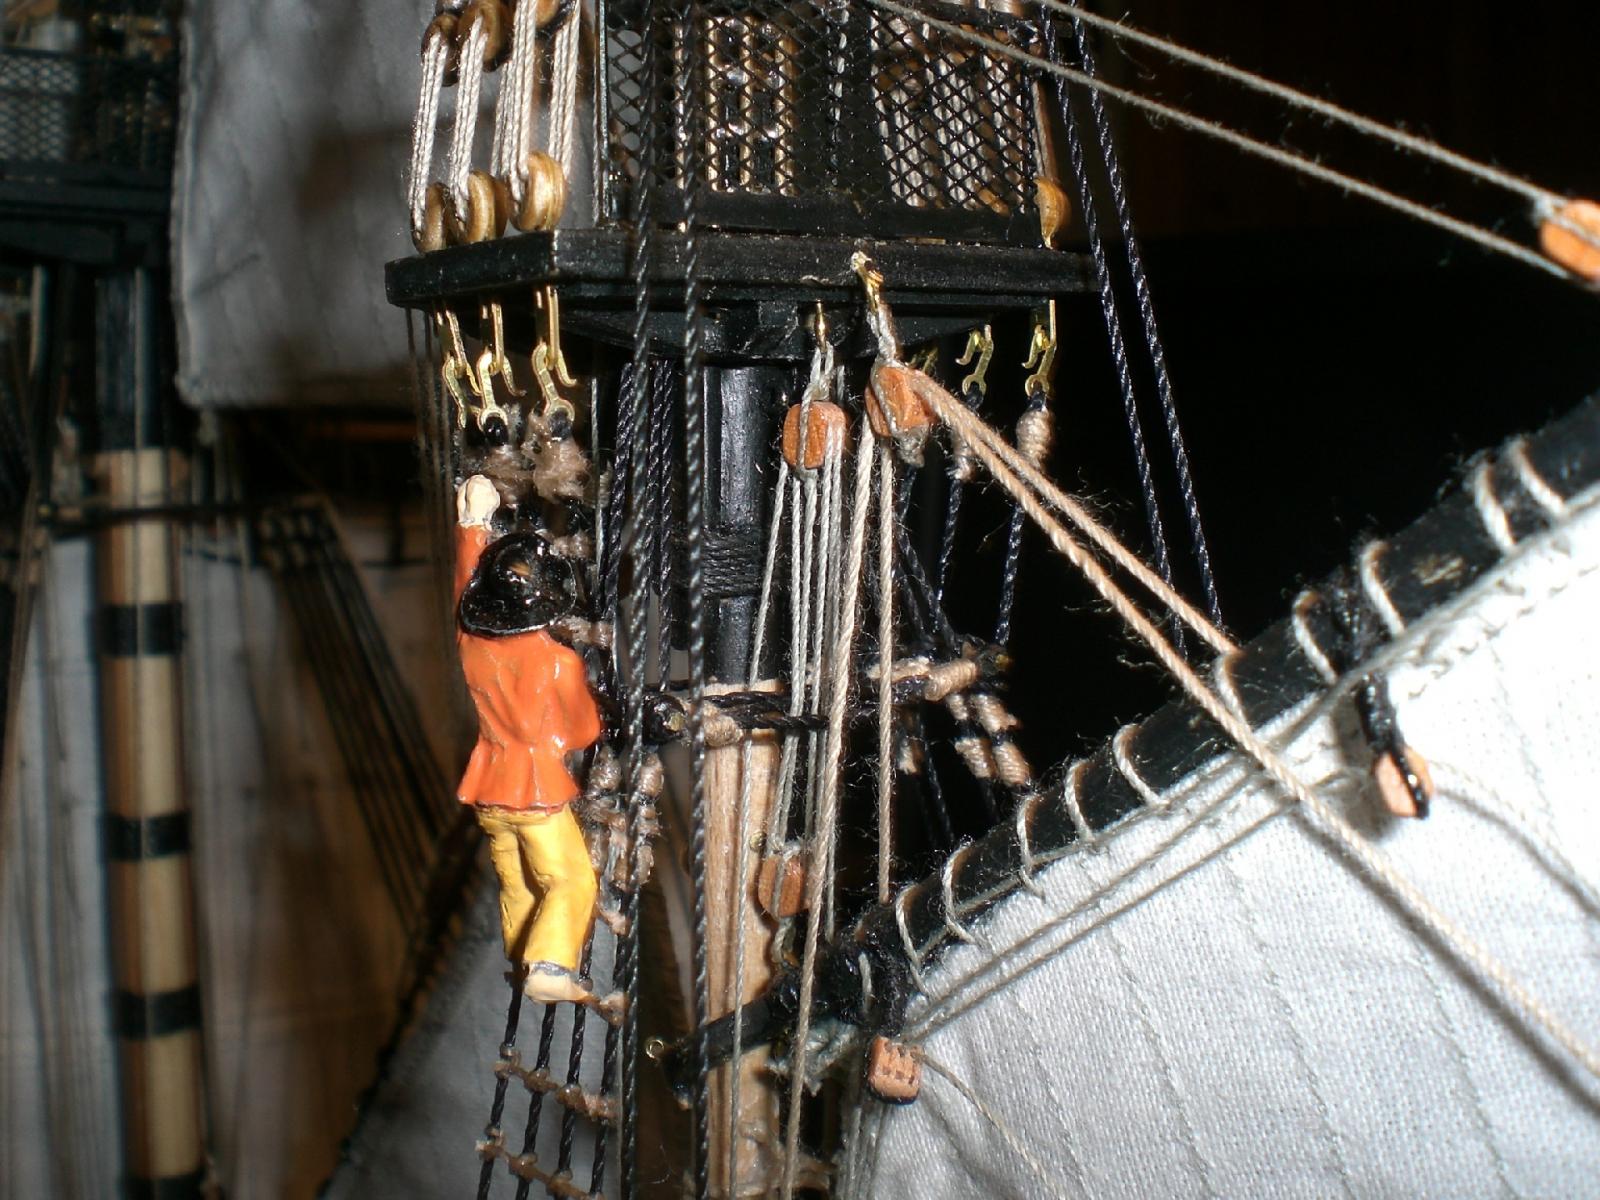
Martin, thank you very much, Yes you are right, the first tied lines came on a bit slack, but then the learning curve set in...... Nils Jason, thank you very much, here again the little sailors are of help to find the propper vertical ratline distances in 1:64 scale Nils
-
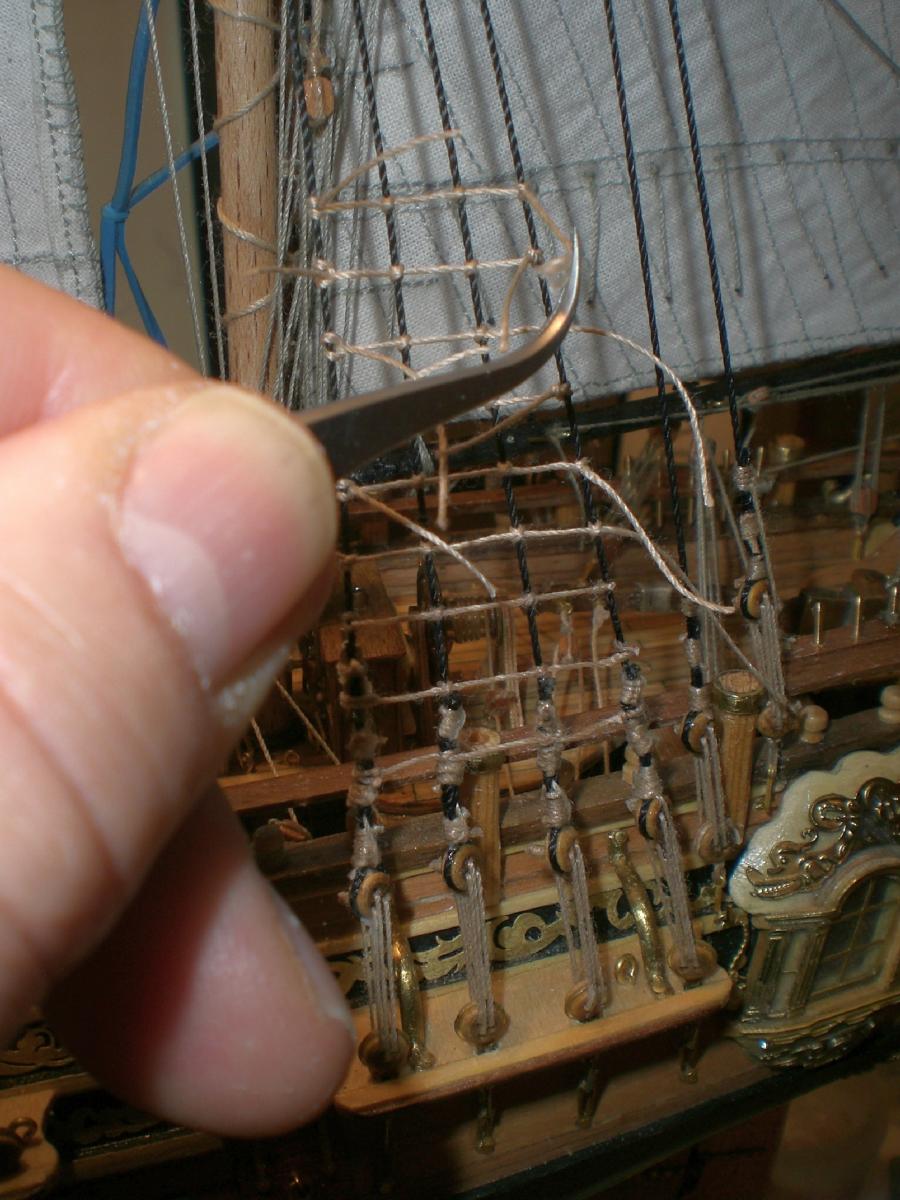
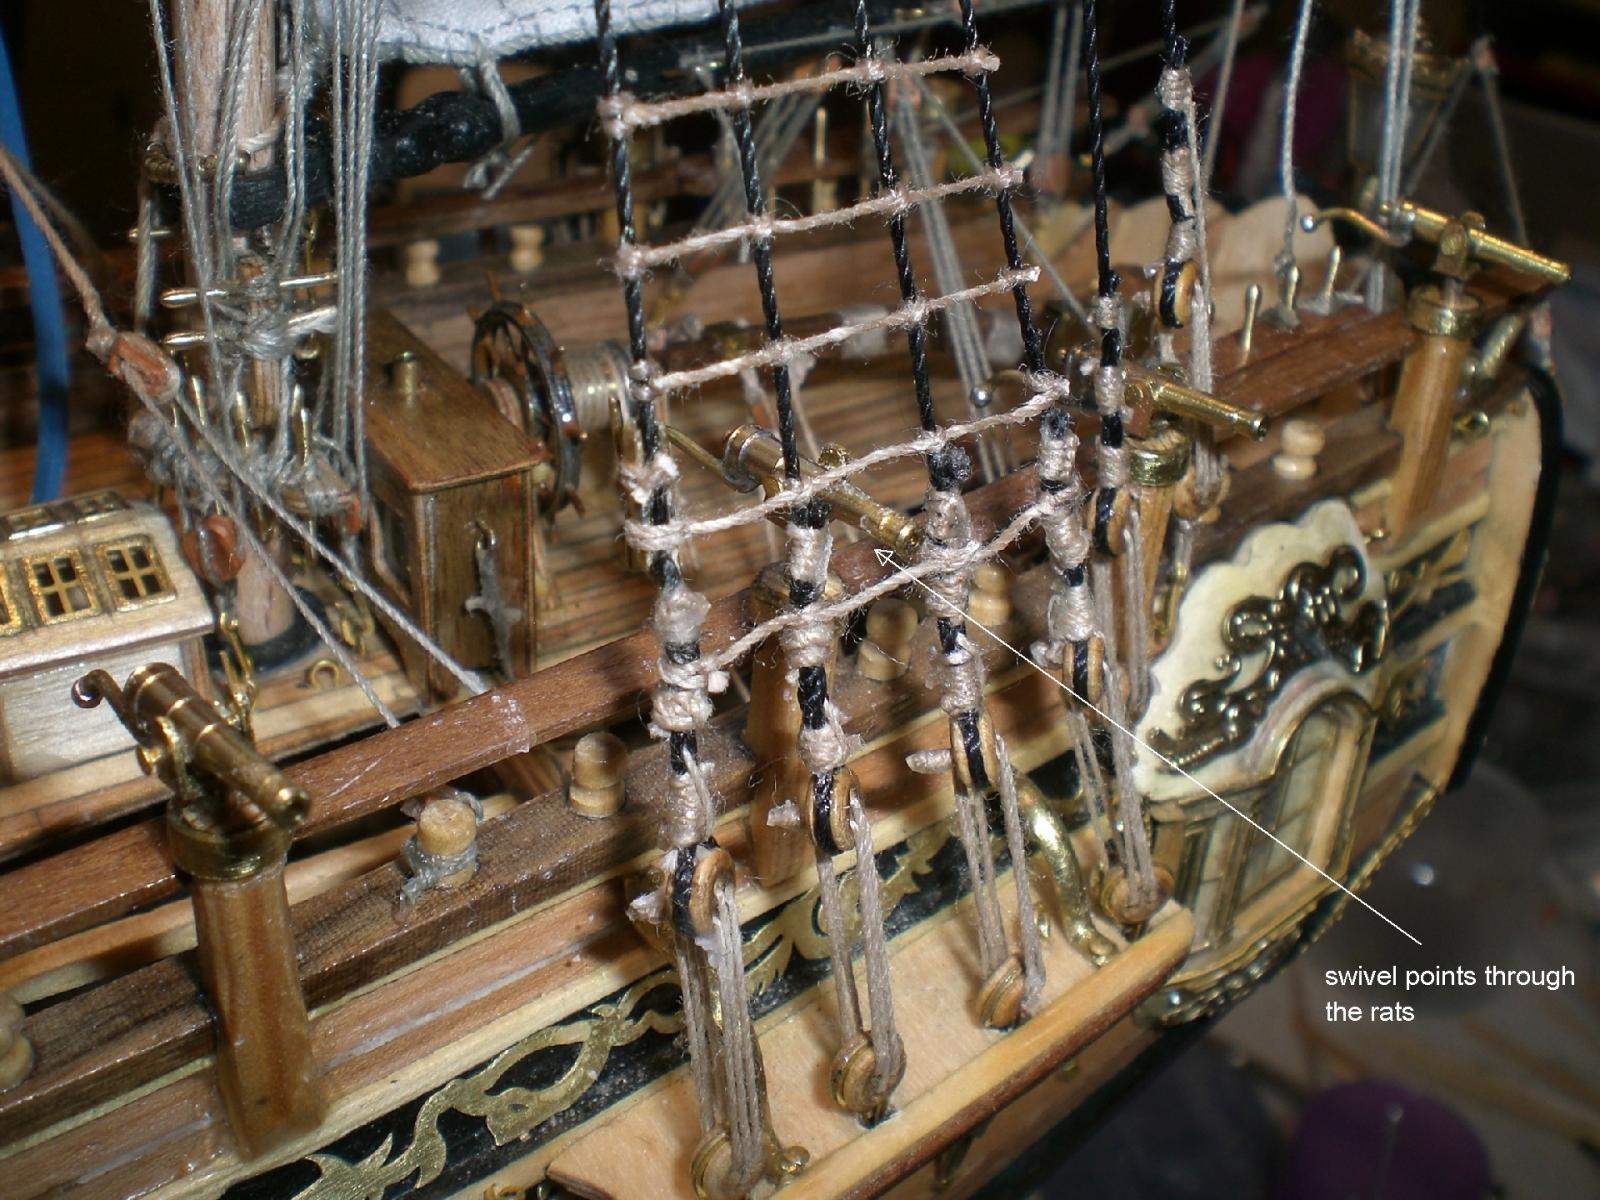
Update Build log part 74 today first ratlines put on (port side mizzen mast, lower shrouds.... left hand cowshitch, 2 x clove-hitch, righthand cowshitch can imagine what Bob (Rafine) just went through by doing it very well on his "Essex" one of the swivels points through the shroud-network first set done, the sailor is already practicing the overclimb of shrouds, futtock shrouds, mizzen platform Nils


-
Looks real good Bob, Nils