Mirabell61
-
Posts
7,410 -
Joined
-
Last visited
Content Type
Profiles
Forums
Gallery
Events
Everything posted by Mirabell61
-
 Very nice build Gary, you`ve chosen a great boot.... Nils
 -
very nice work Jon ! Nils
-
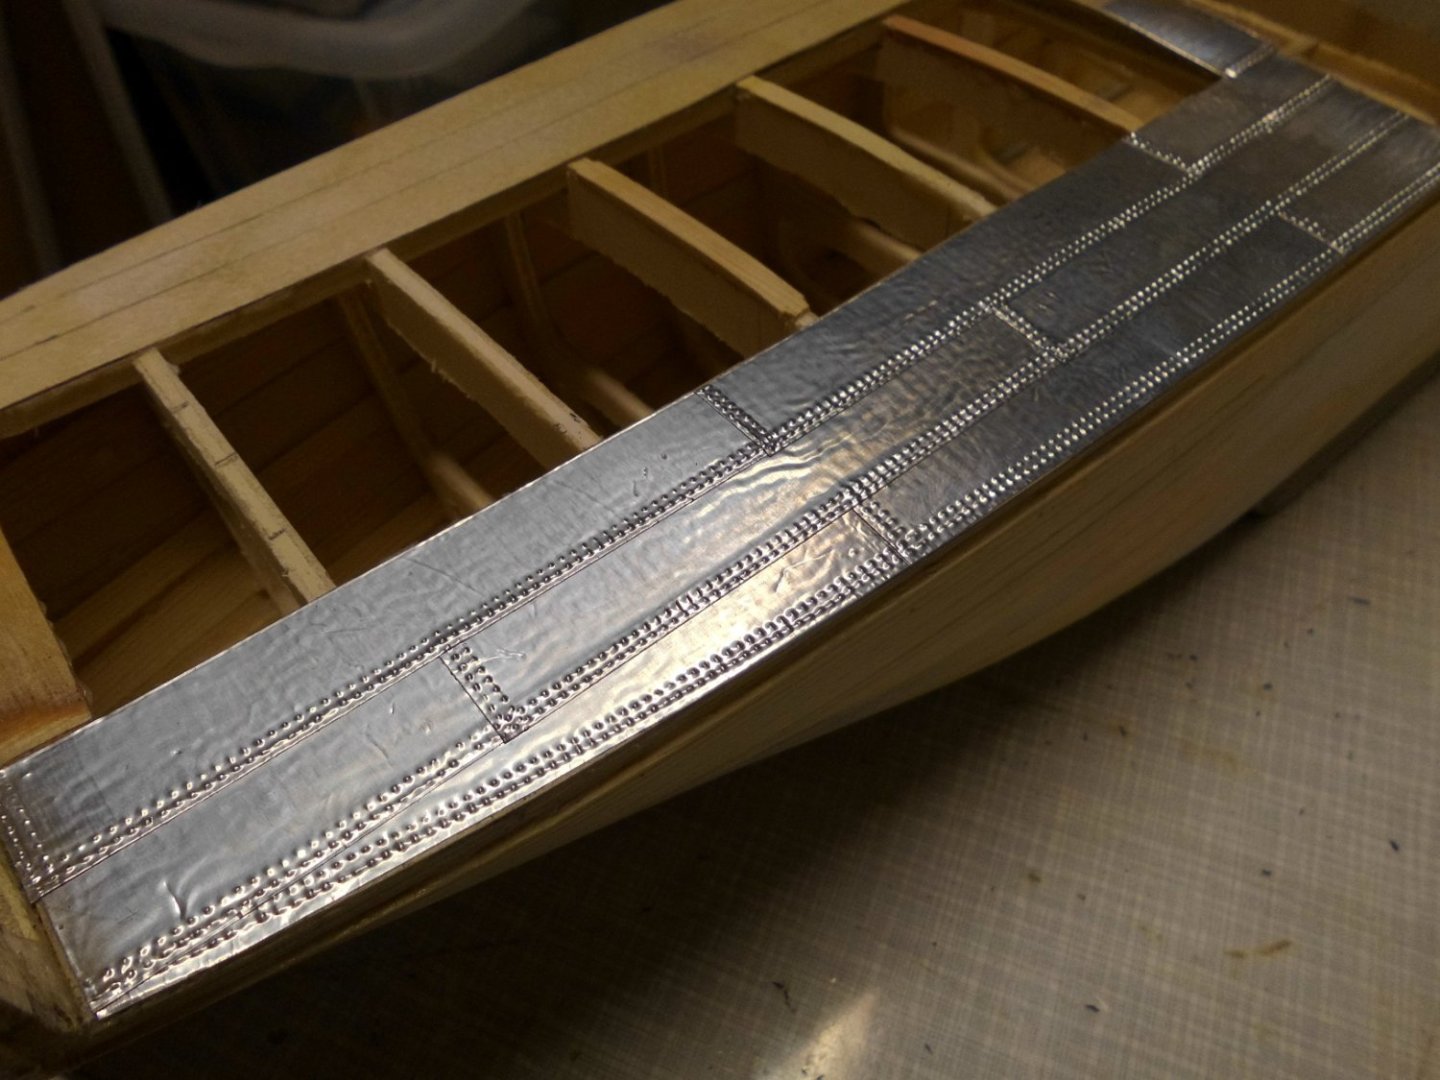
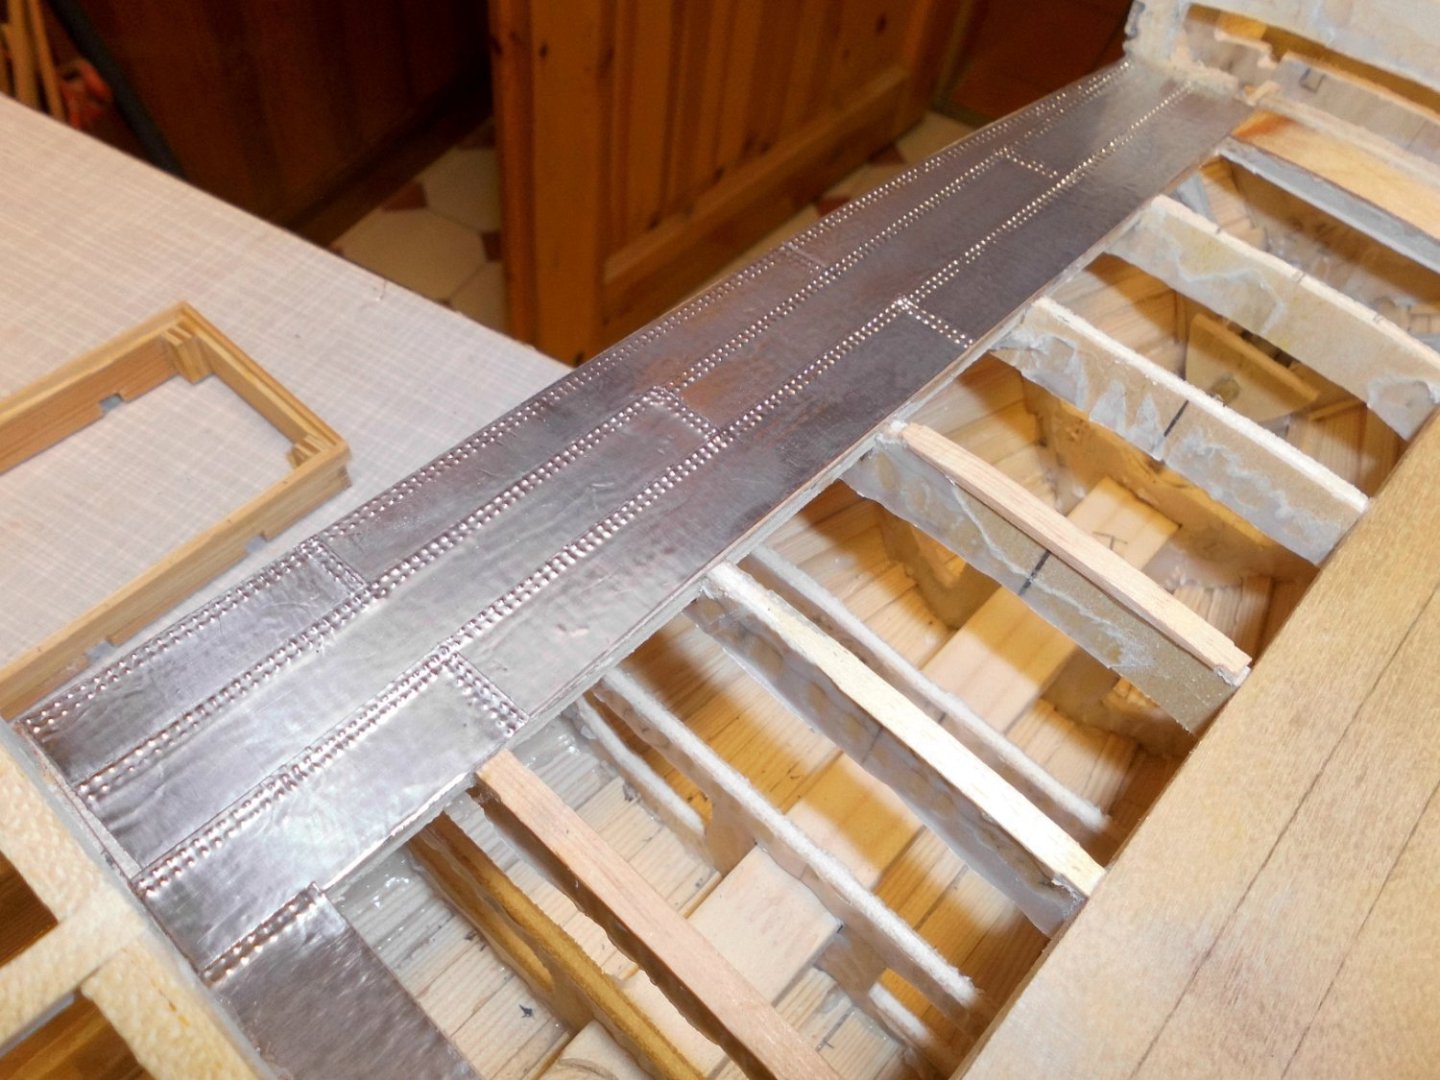
Hi John, I still have some of that self adhasiv aluminium foil 0,125 mm thick with acetat glue film and protective pull off cover foil rearsides, same as I used for my other models with riveted skin. The plates are cut from the roll wih a paper guillotin for straight edges. The wood surface has been primered with a nitro based primer (Einlassgrund) for a good contact surface. I hope that the remaining rest of this batch will last for the complete hull. It seems to be taken from the market lately, and an alternative wich is only unfortunately 0,1 mm thick will be available. I did`nt try it yet, but guess it would suit as well. The poncing tool I still have for 1, 2, and 3-fold riveting lines Nils
-
Update As a workship she is getting a a plain steel-metal deck on forecastle, poop and both welldecks instead of planking decks Nils
- 330 replies
-
- 20
-

-

-
Very nice accurate work Mike, Nils
-
Very nice build Per, I love to see scratch builds.... here at MSW Nils
-
beautiful boat Samson, well done restoration, will she sail on a pond again ? Nils
- 39 replies
-
- 1
-
-
- kdy 15 juniorbad
- yacht
- (and 2 more)
-
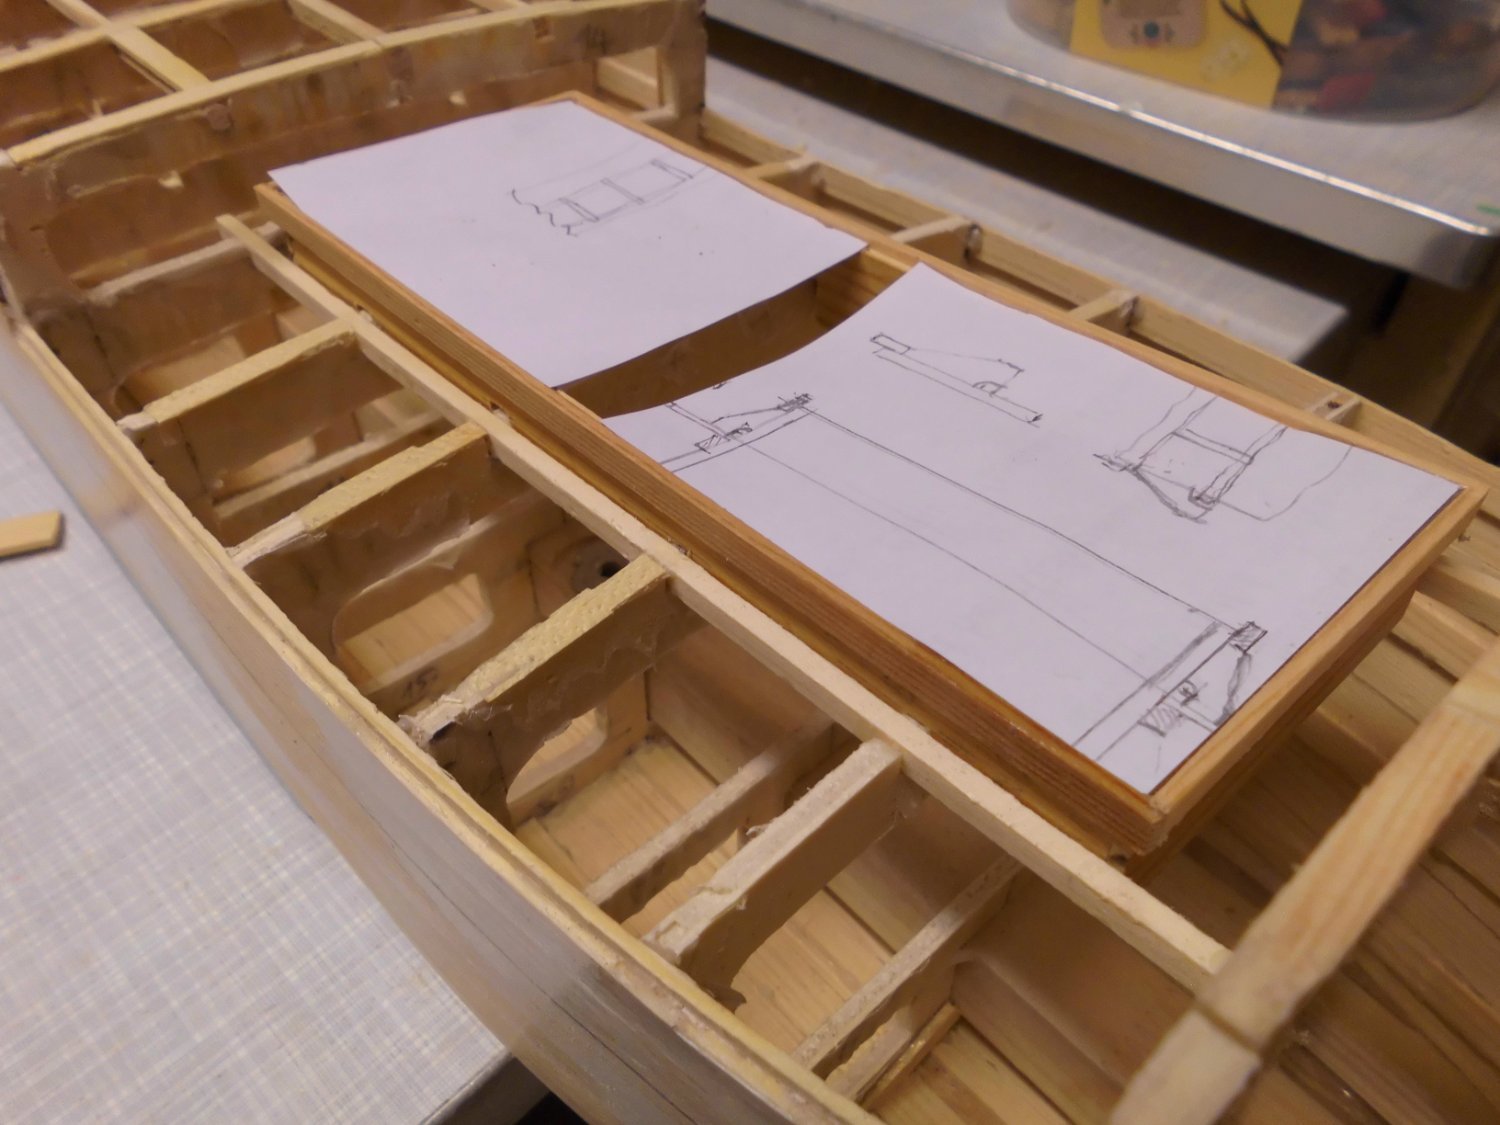
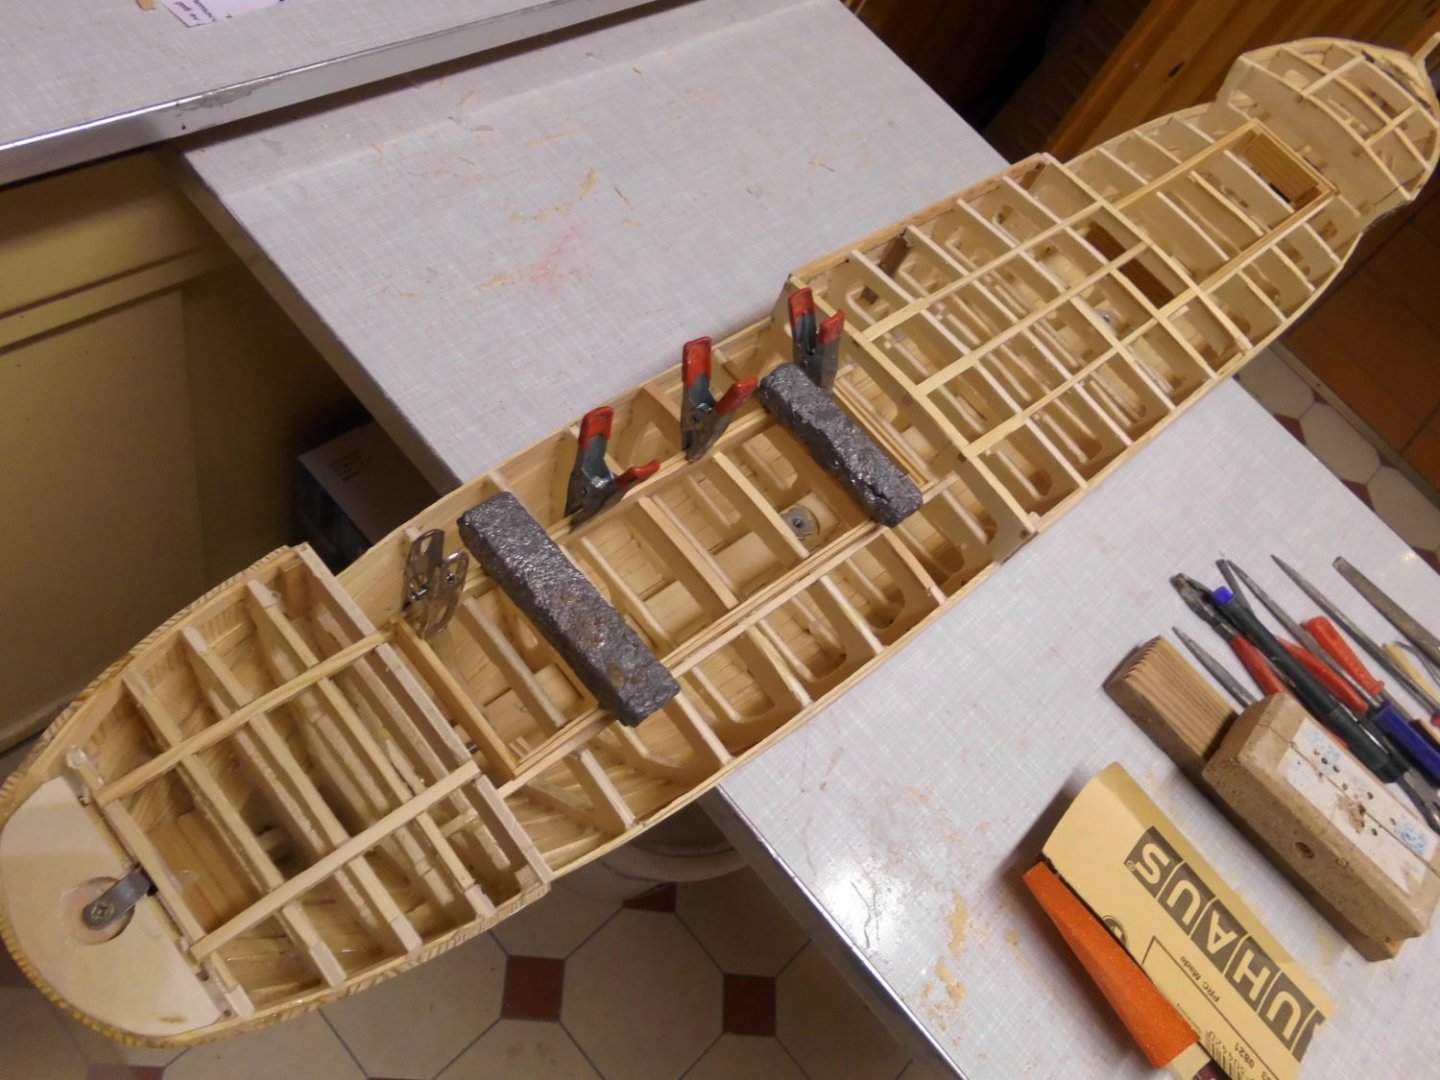
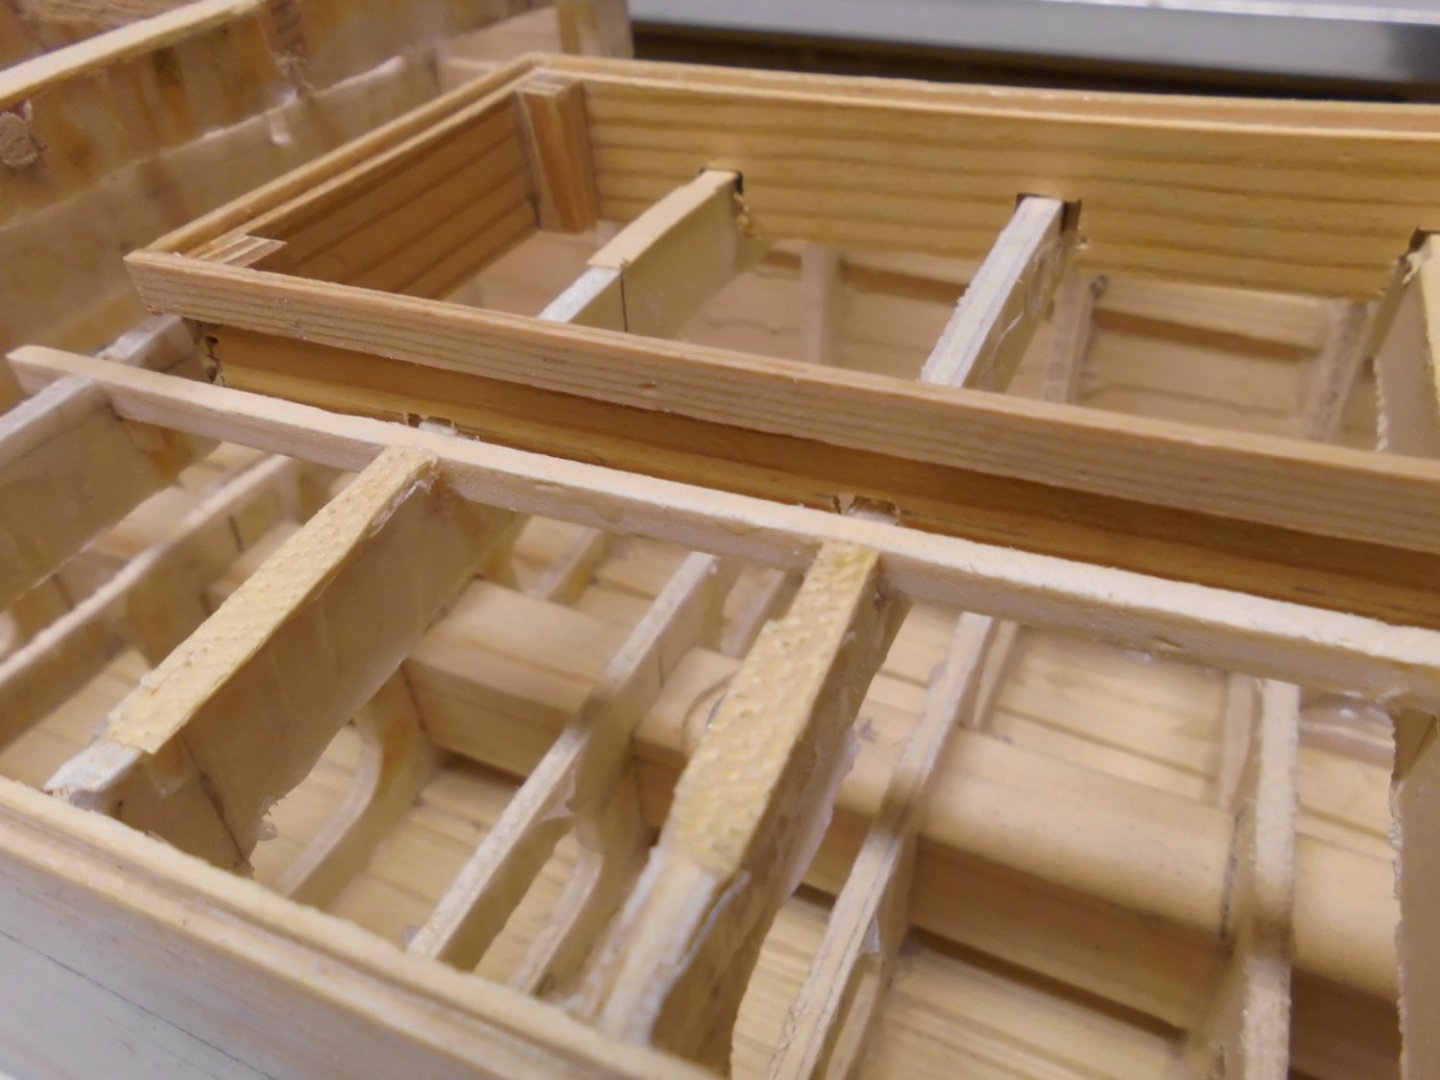
Phil and John, many thanks for your kind comments, much appreciated.... Update before doing the fore- and aft welldecks, I need to position the hatch-sides of the 4 holds. The bulwarks will be attached after these decks are on and trimmed to fit the inner bulwark sides Nils the waterline is marked...., the depth of the original is 23 foot, that makes 7 cm here on the 1:87 scale aft the waterline is at the same level as th top of the prop outcut the foremast will fit in downwards to the keel socket between the two front hatch covers


- 330 replies
-
- 19
-
-
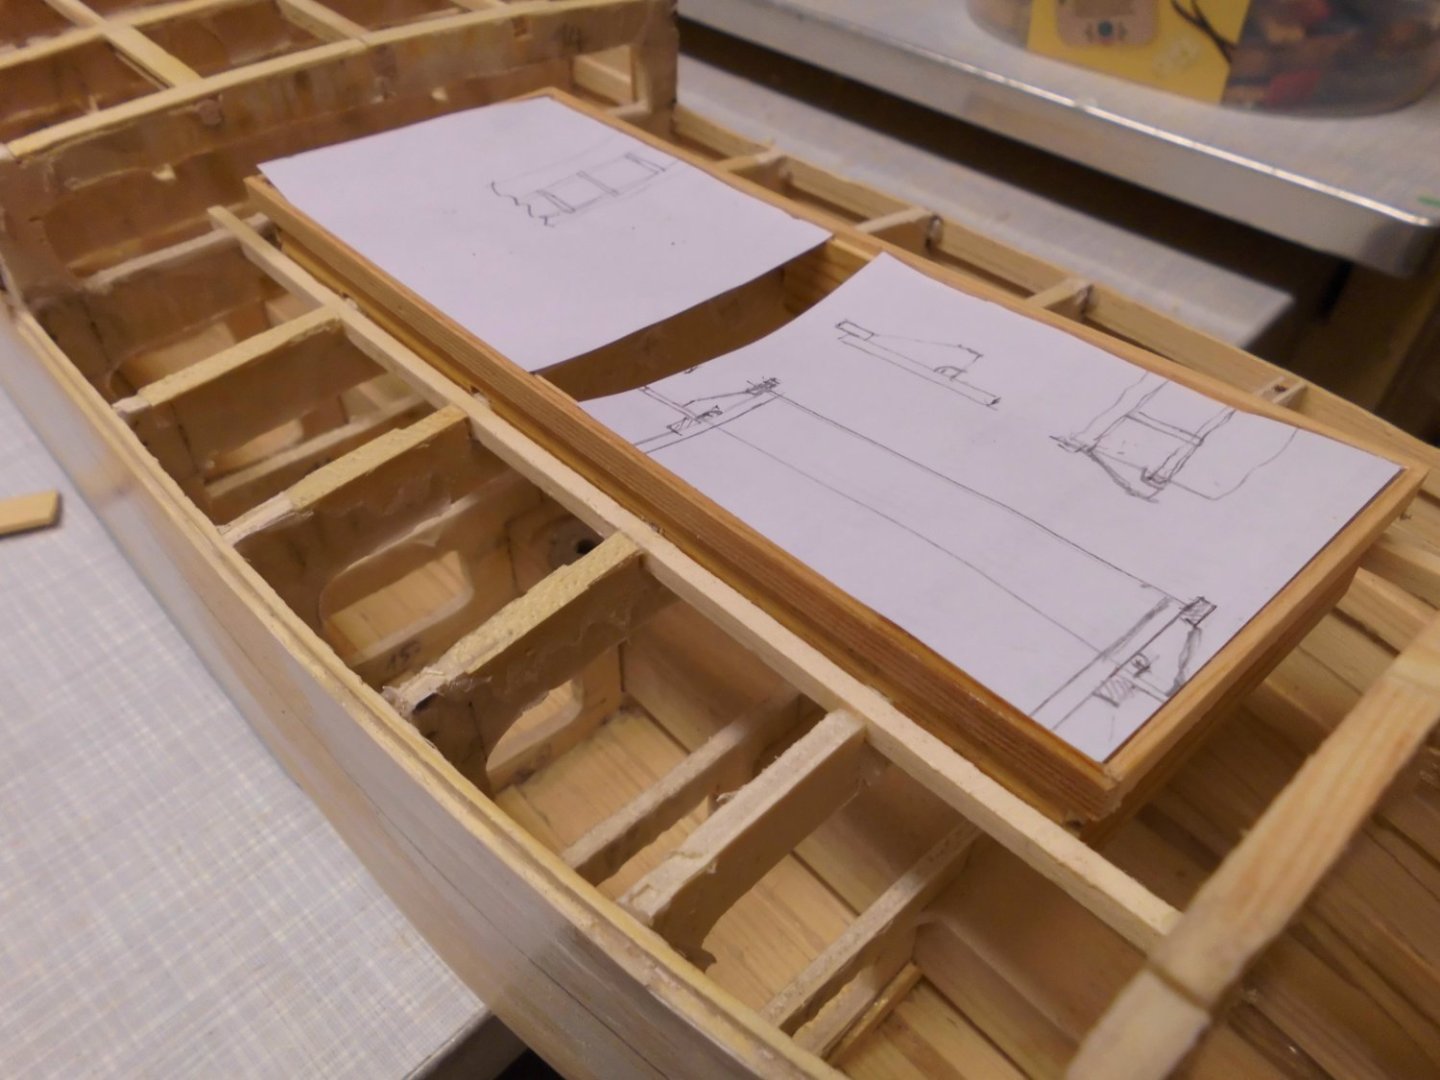
Update Started with the raw deck stringers and made a card template for the Stb. aft welldeck bulwark. the bulwarks will be made from 1,5 mm thick beechwood ply Nils


- 330 replies
-
- 19
-
-
excellent work Richard, its a pleasure to watch the progress Nils
- 454 replies
-
- 1
-
-
- Union Steamship Company
- Stepcraft 840
- (and 3 more)
-
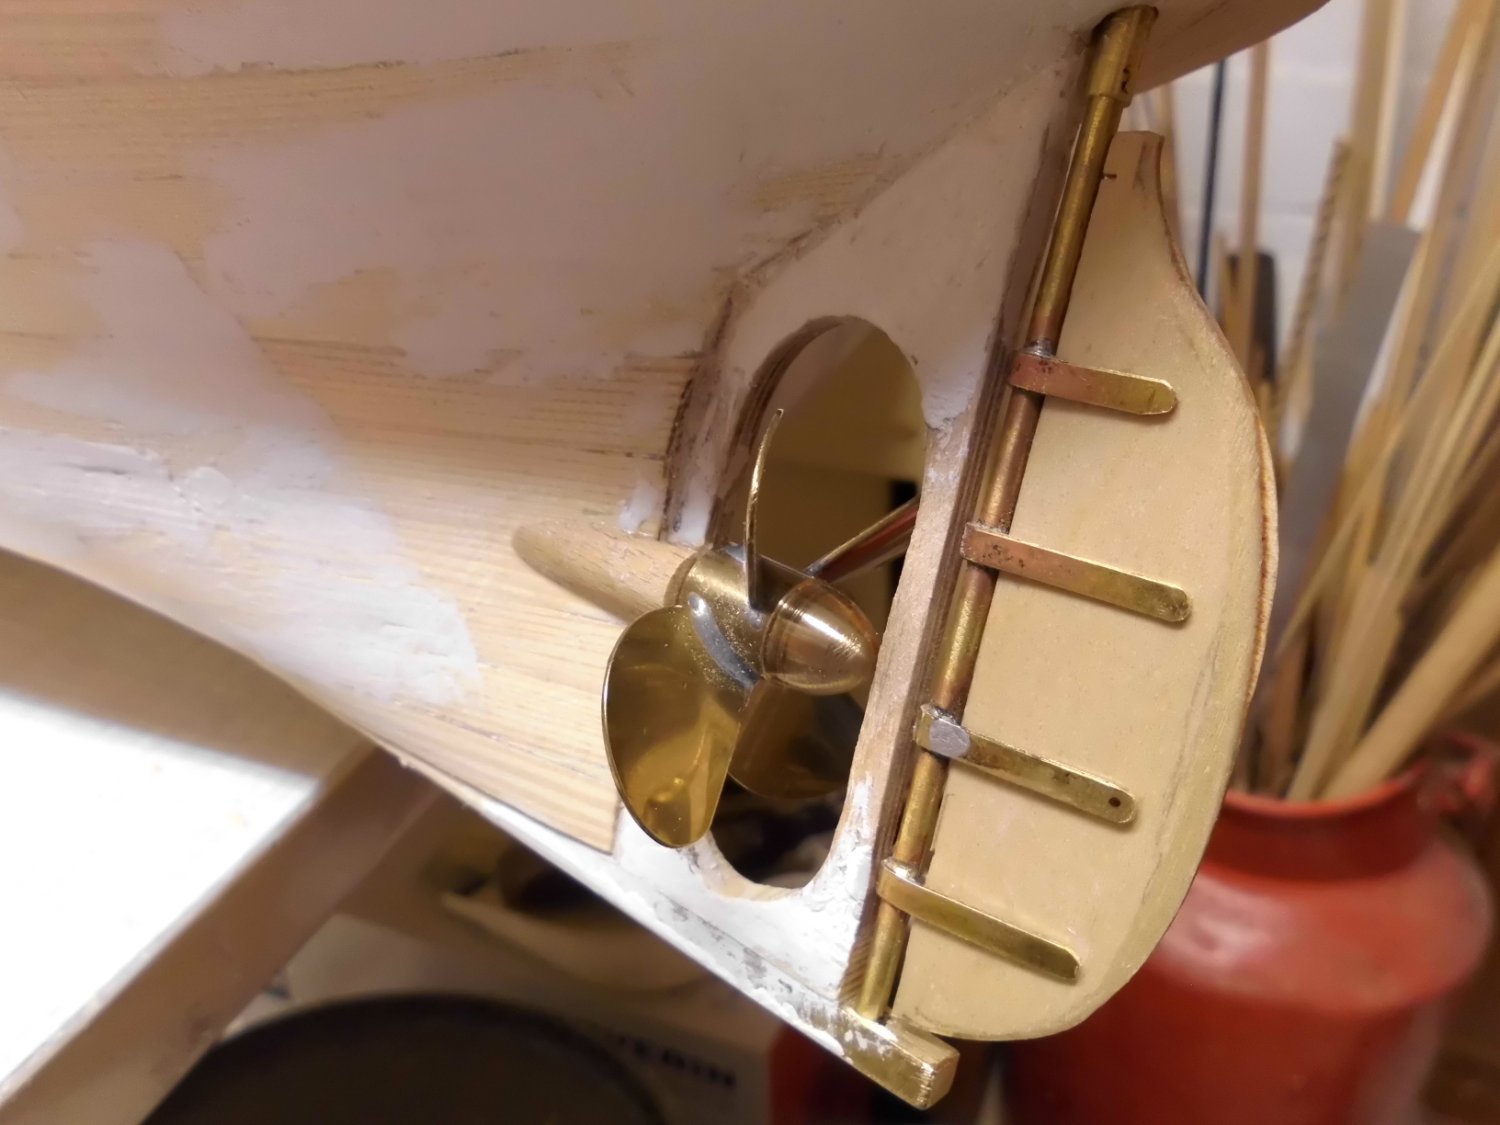
Andy, thanks very much for your comment, I also thought already that these truss-masts have no relevance with the ships function and shall leave them away on the model ... Here also a quick shot of the prop, the raw rudder, heel arrangement Nils a bit of brass square bar 5 x 5 mm takes the end of the rudder shaft and gives good reinforcement during further handling the upper downholder device prevents the shaft from slipping out of the socket in the heel

- 330 replies
-
- 17
-
-
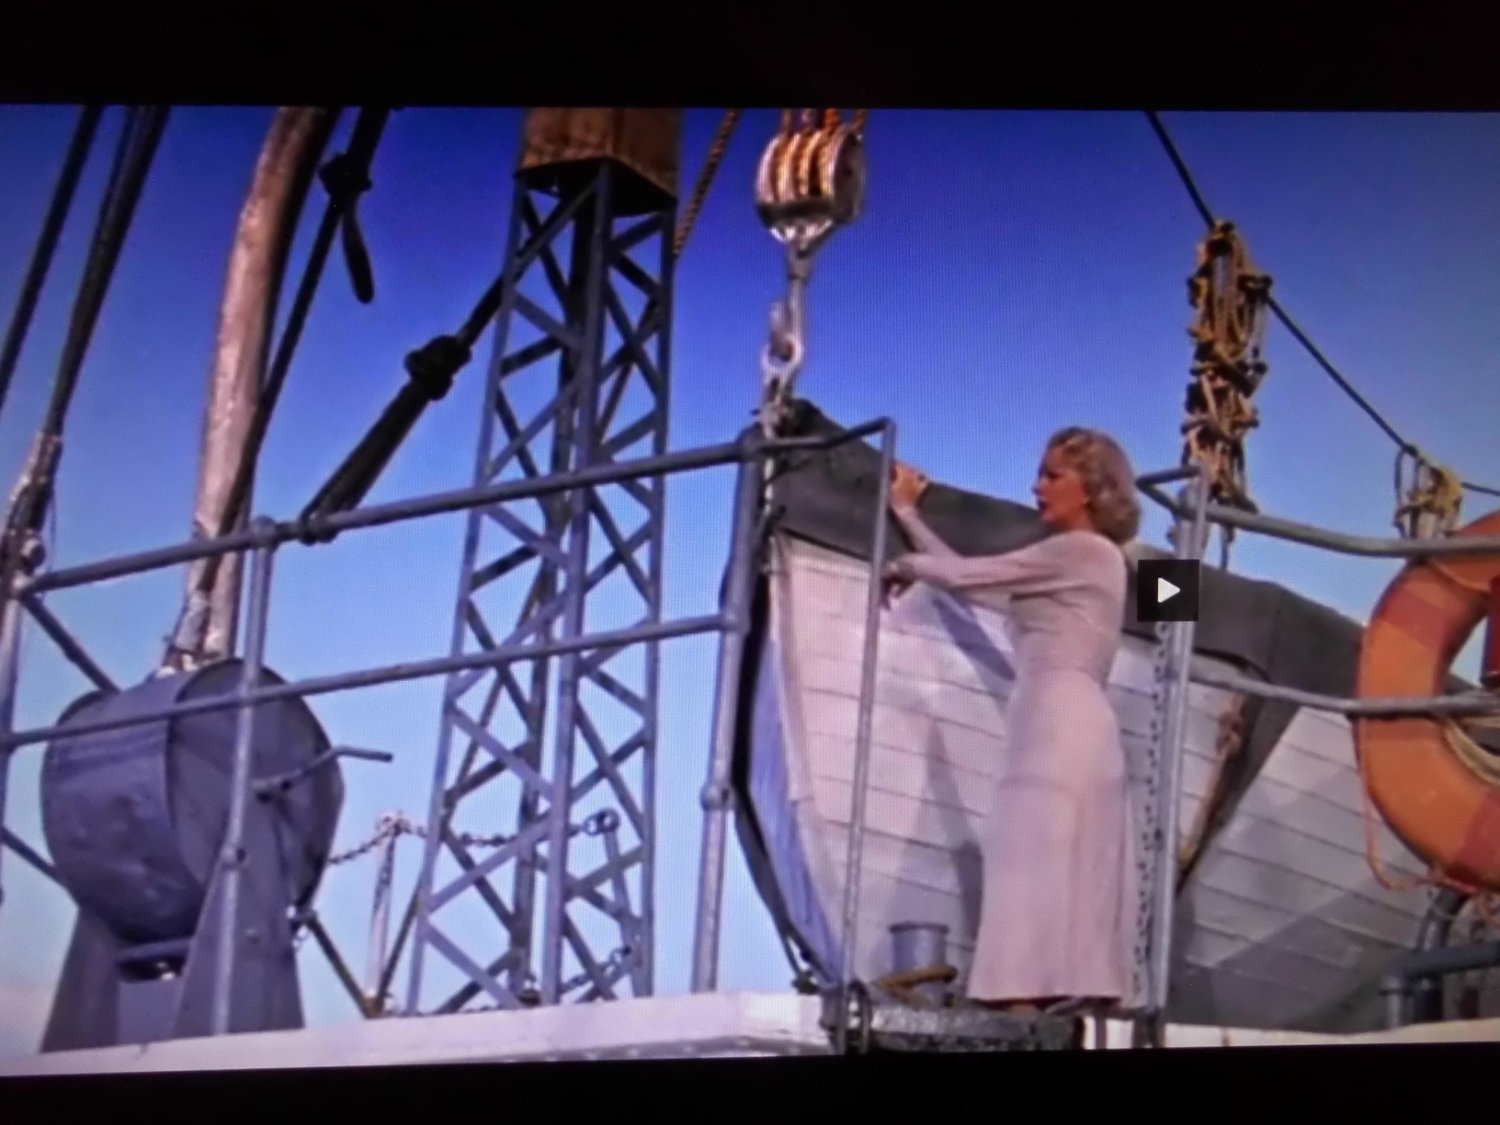
I have a question to my MSW fellow-builders..... does anyone know what these strange looking steel pillars (see pics) on the boats deck are meant to be for ? Perhaps its only a support for something when doing the movie Nils


-
OMG, I can feel with you B.E. after that crash, but now your putting in all your experience and skill to mend it well,head up.... Nils
- 648 replies
-
- 4
-
-
- Indefatigable
- Vanguard Models
- (and 1 more)
-
Hi NavyShooter, congrats to your fine Liberty Ship model. It is amazing what is possible with your 3D printing device, guess you have already good experience with that method. In all well done ! Nils
- 54 replies
-
- 3
-
-
- Liberty Ship
- Finished
- (and 2 more)
-
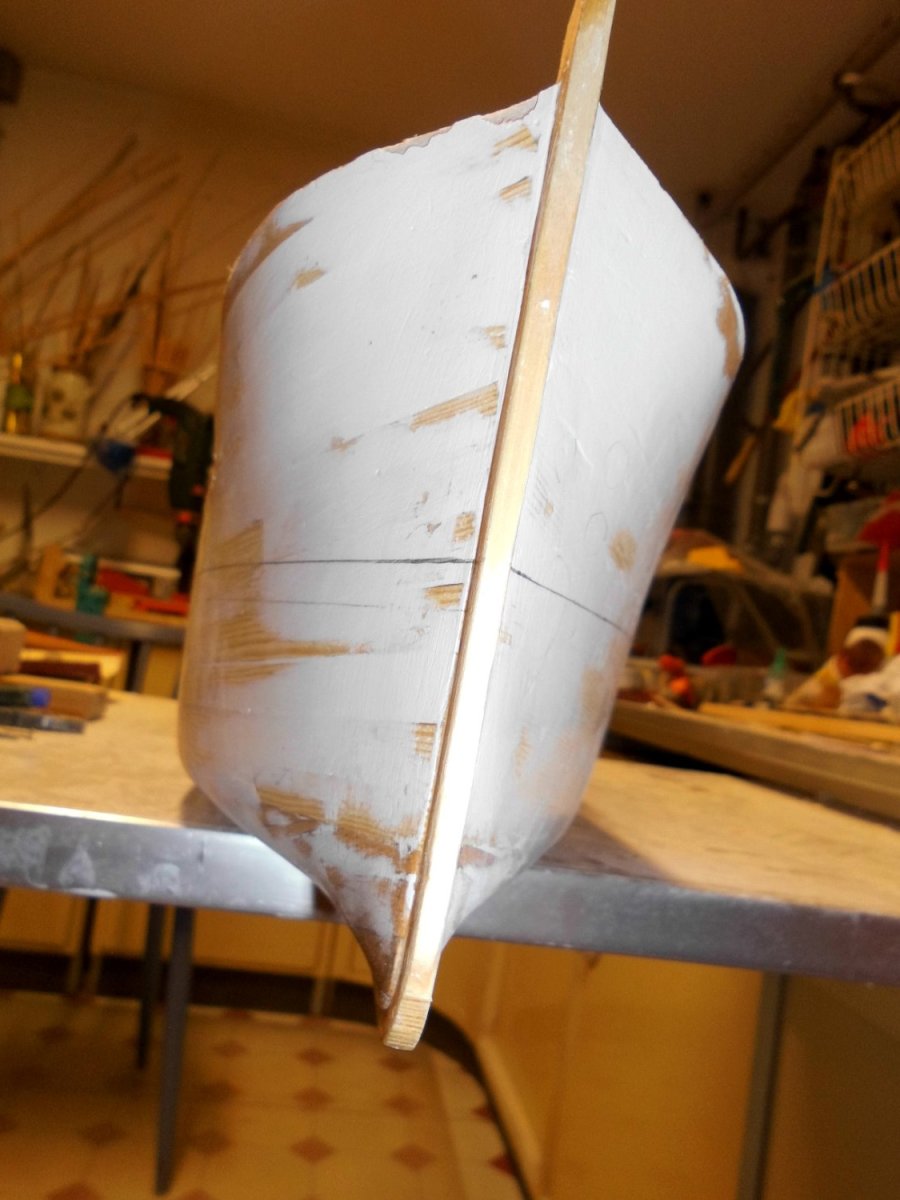
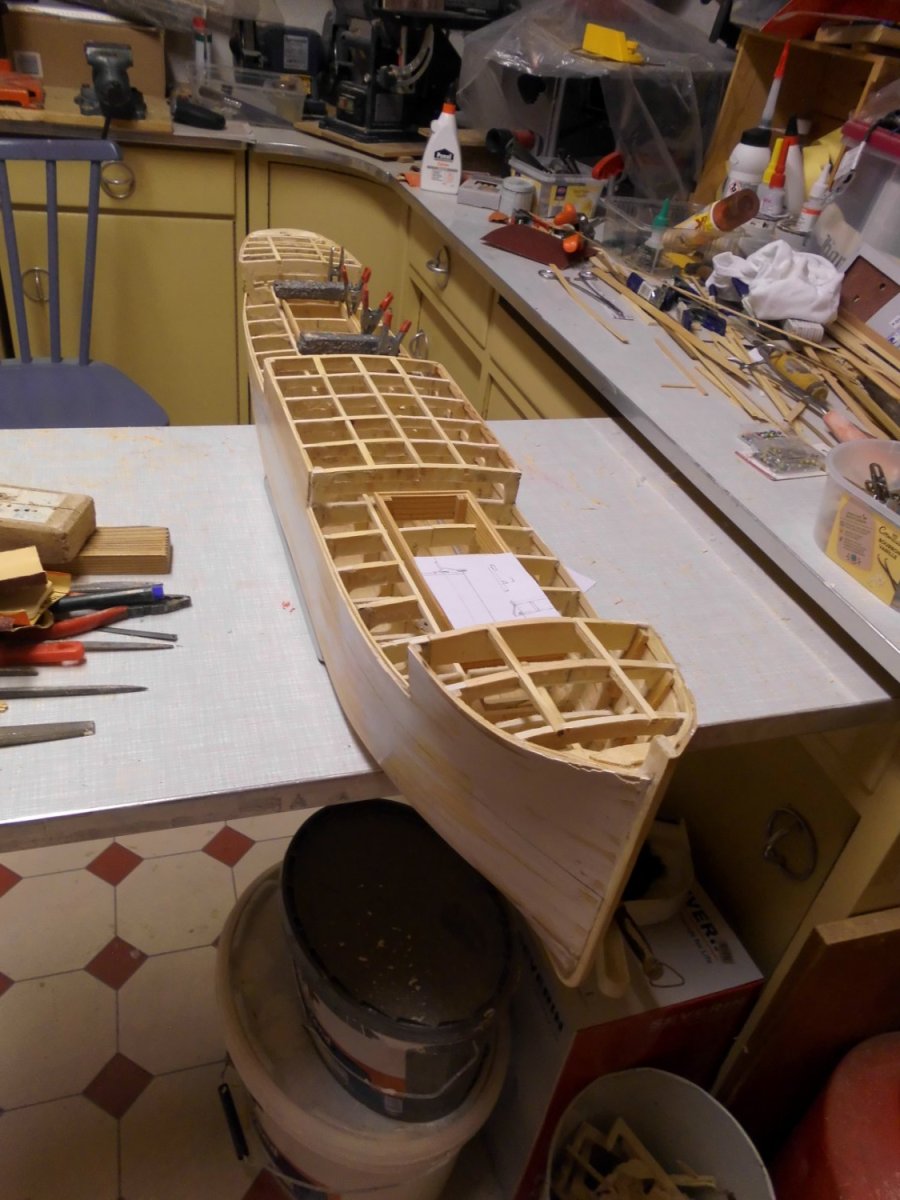
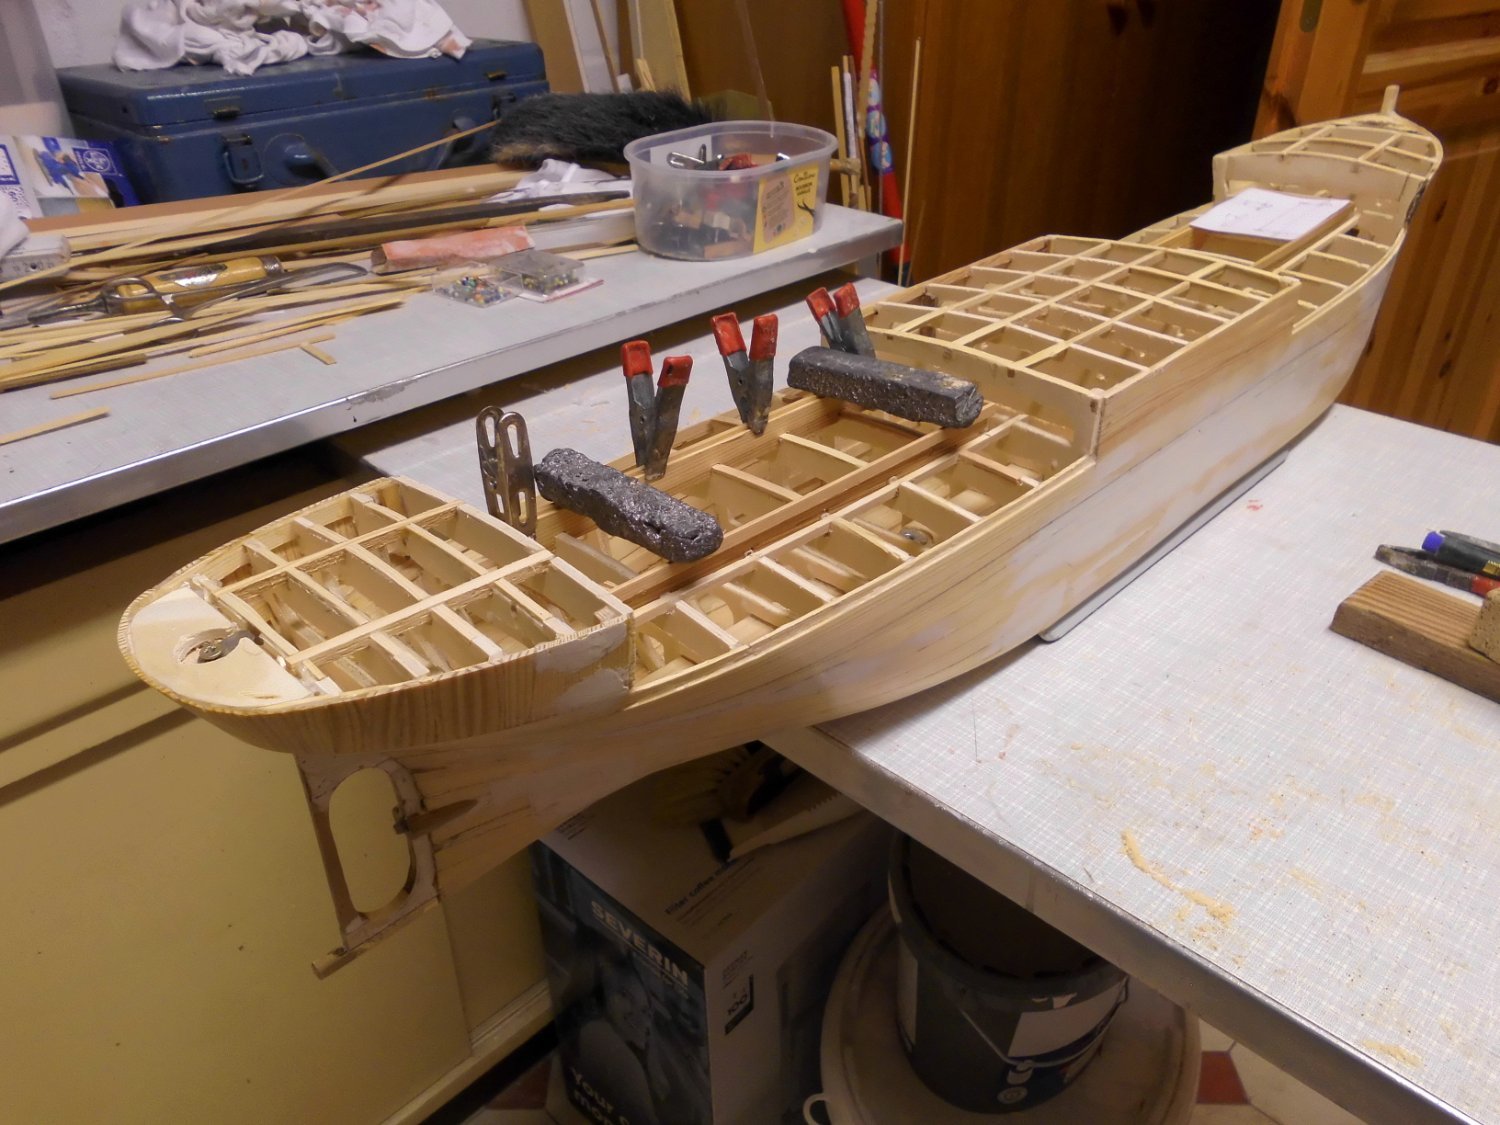
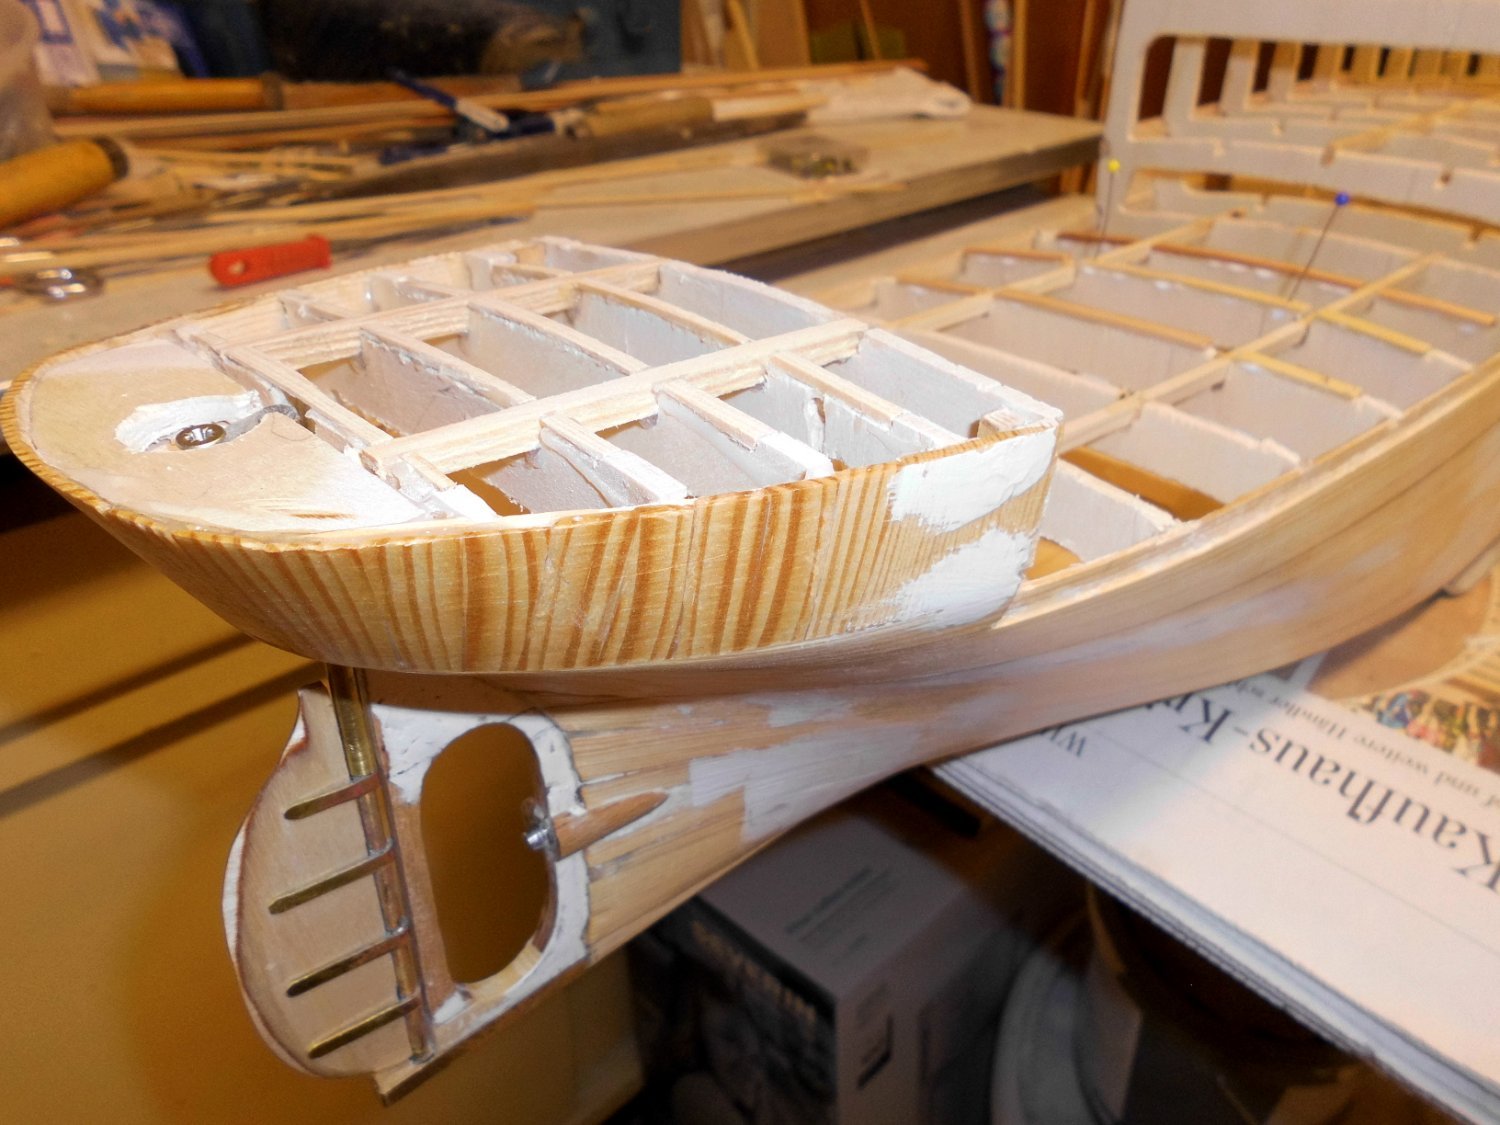
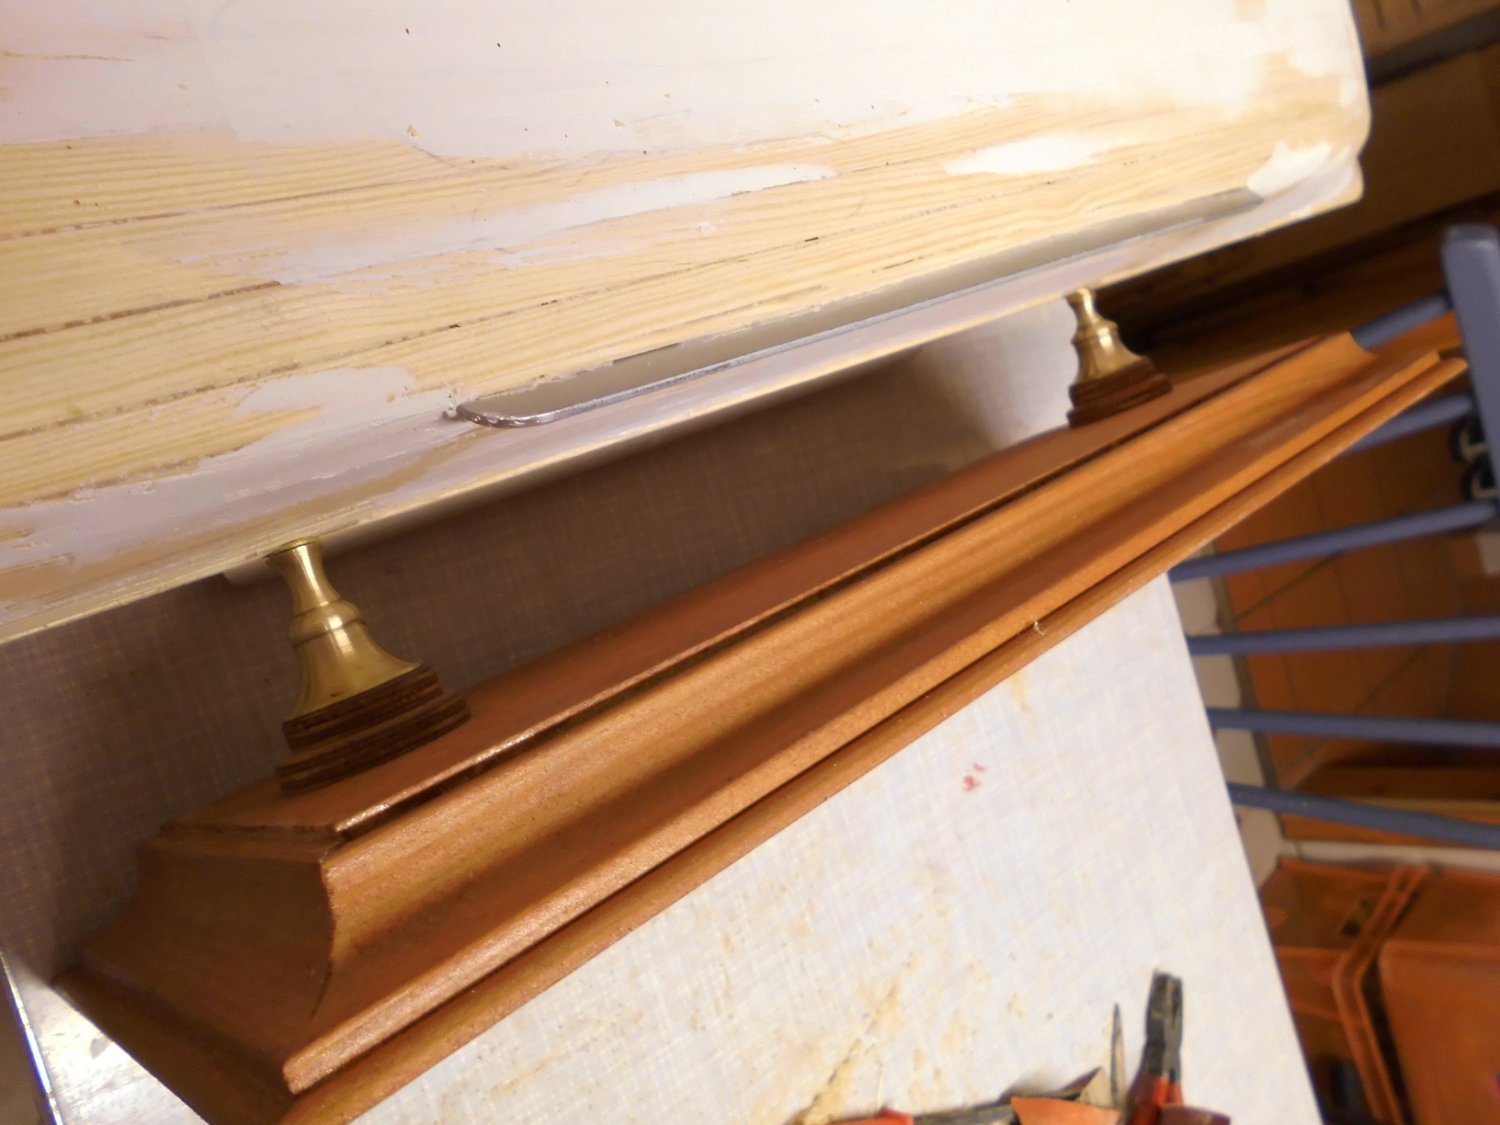
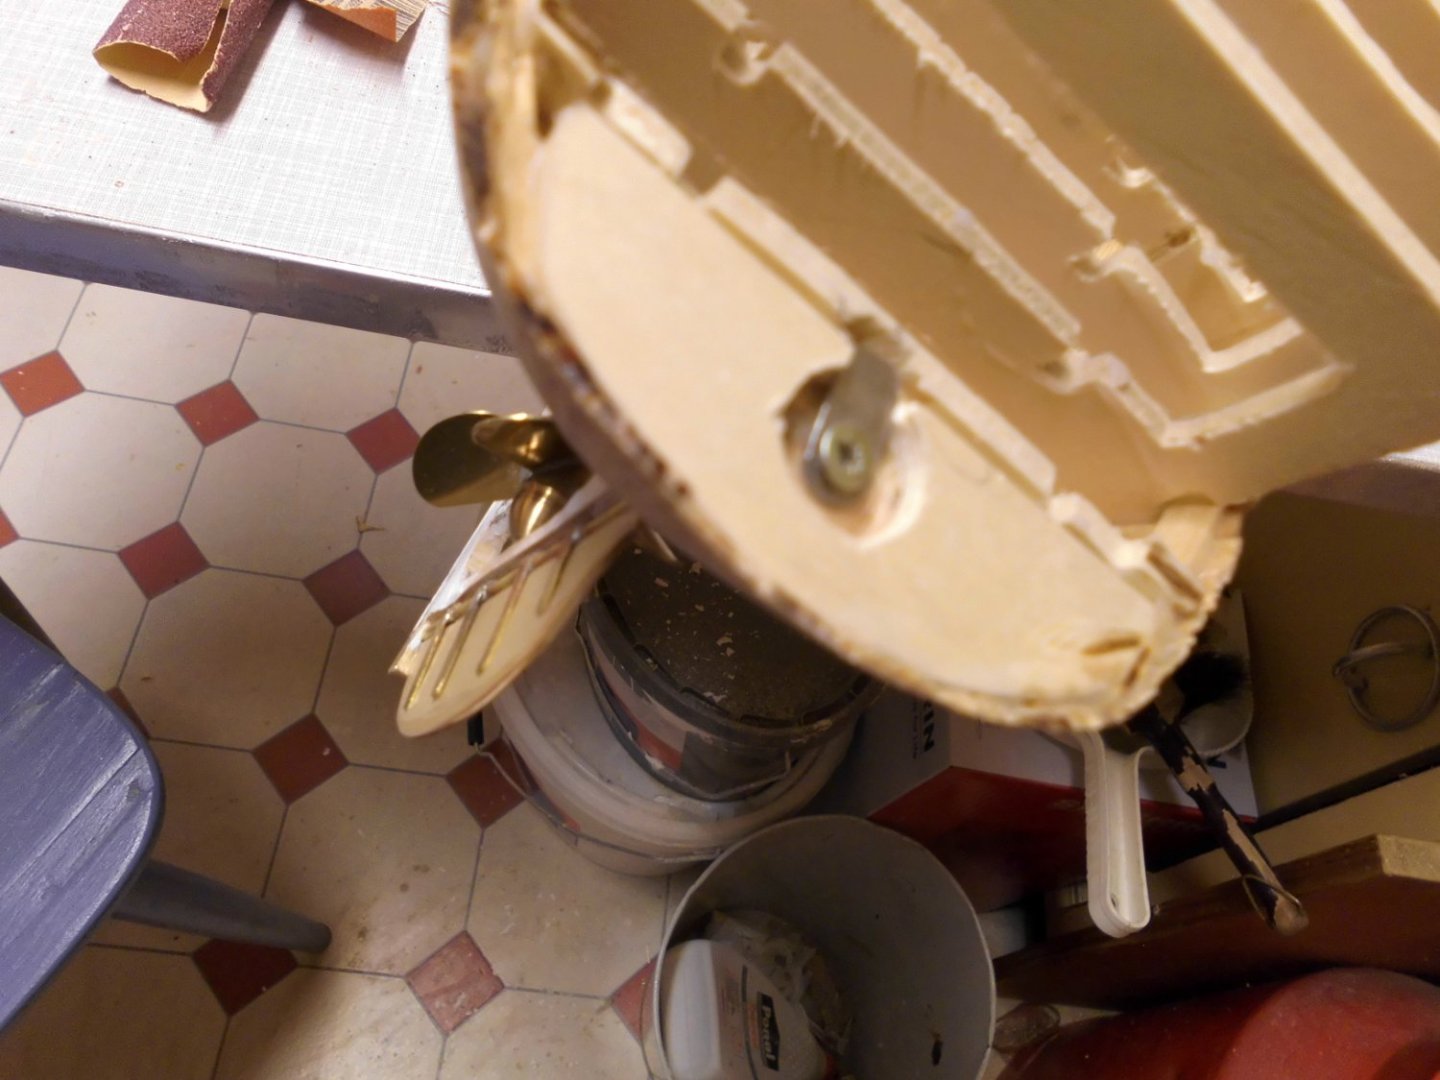
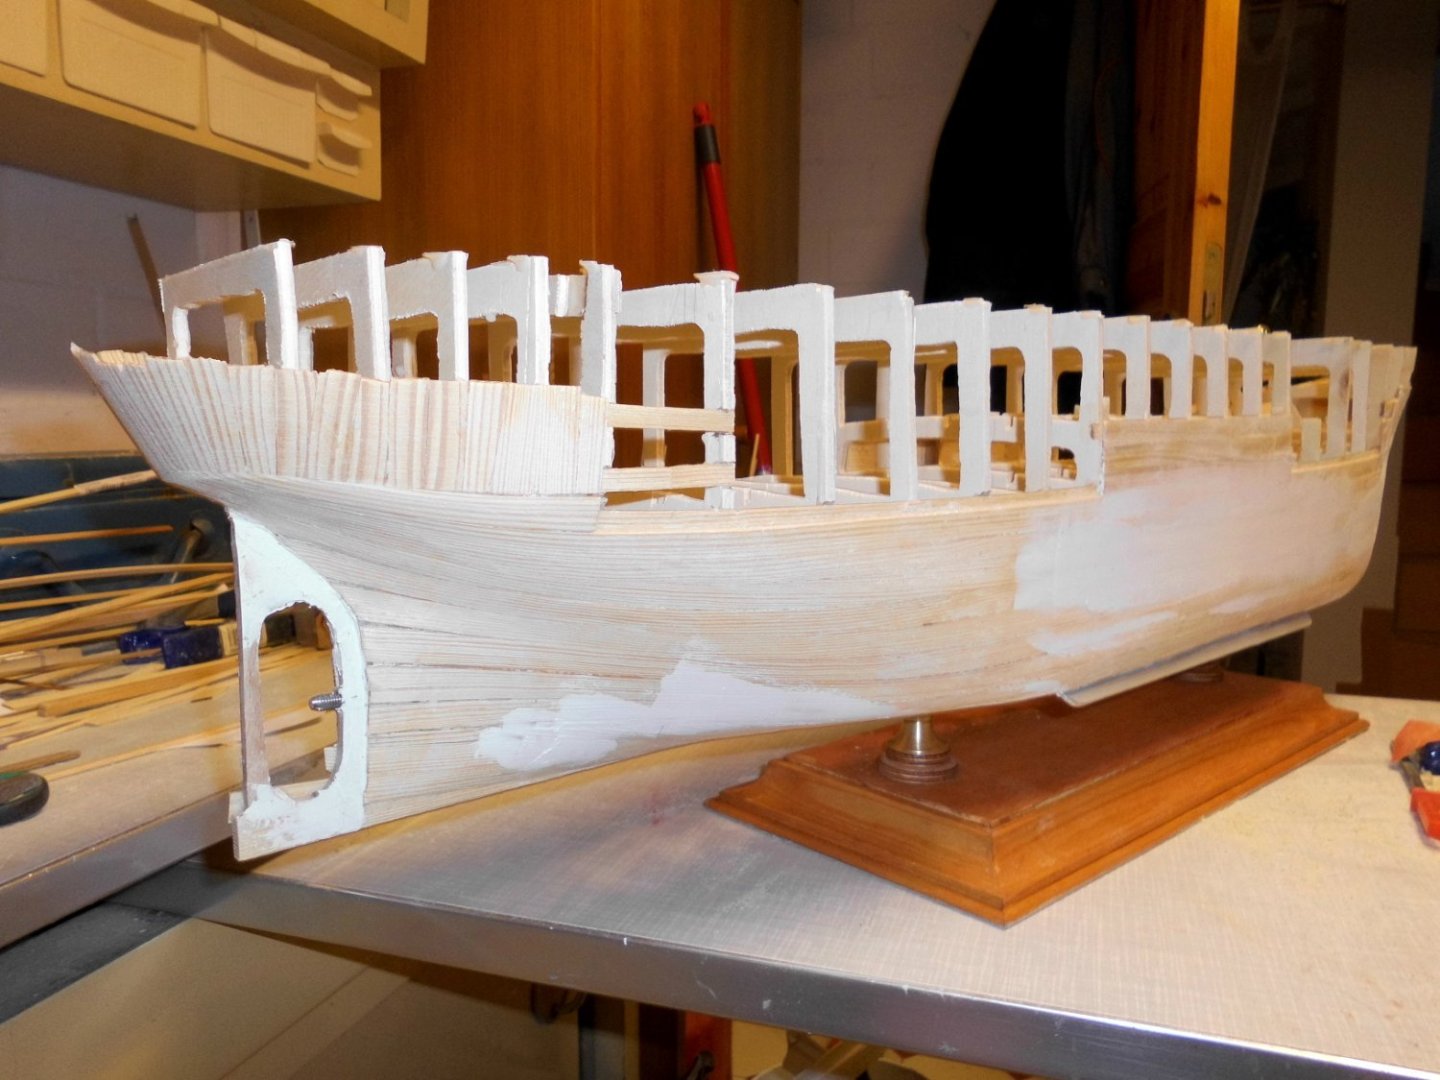
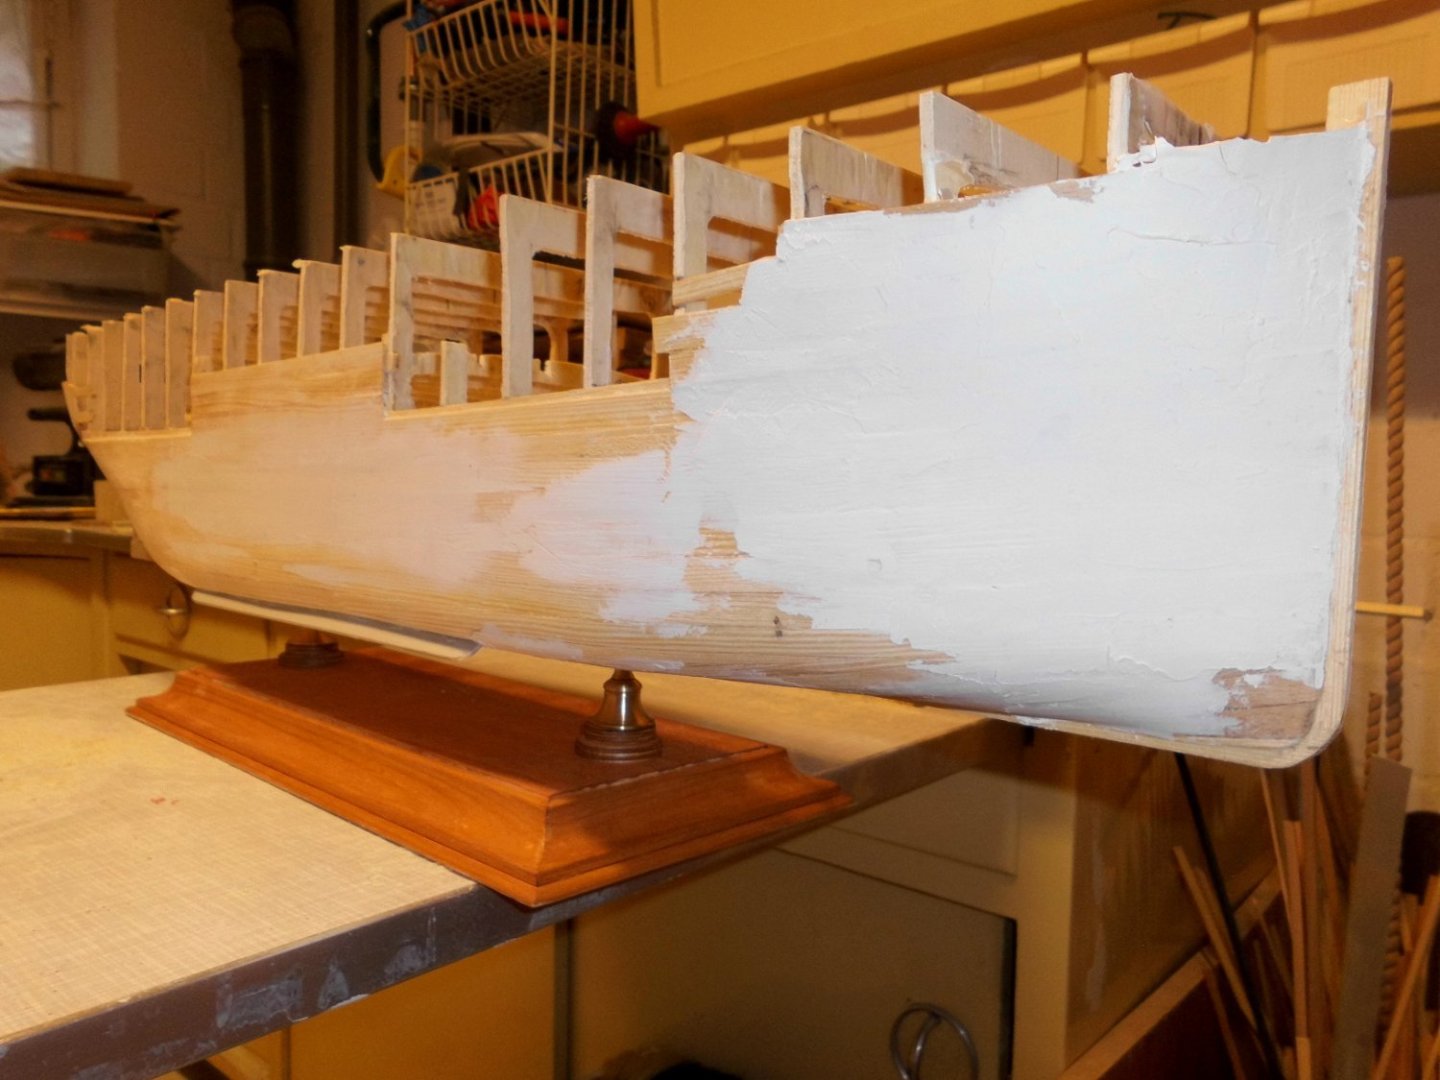
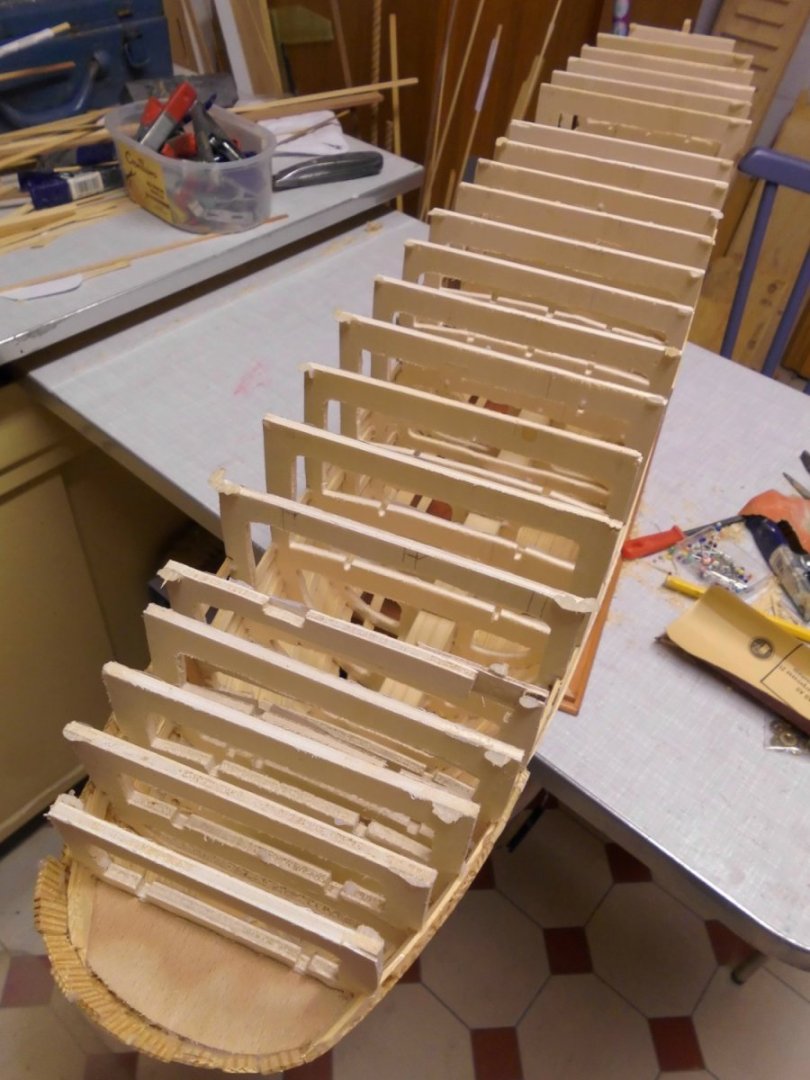
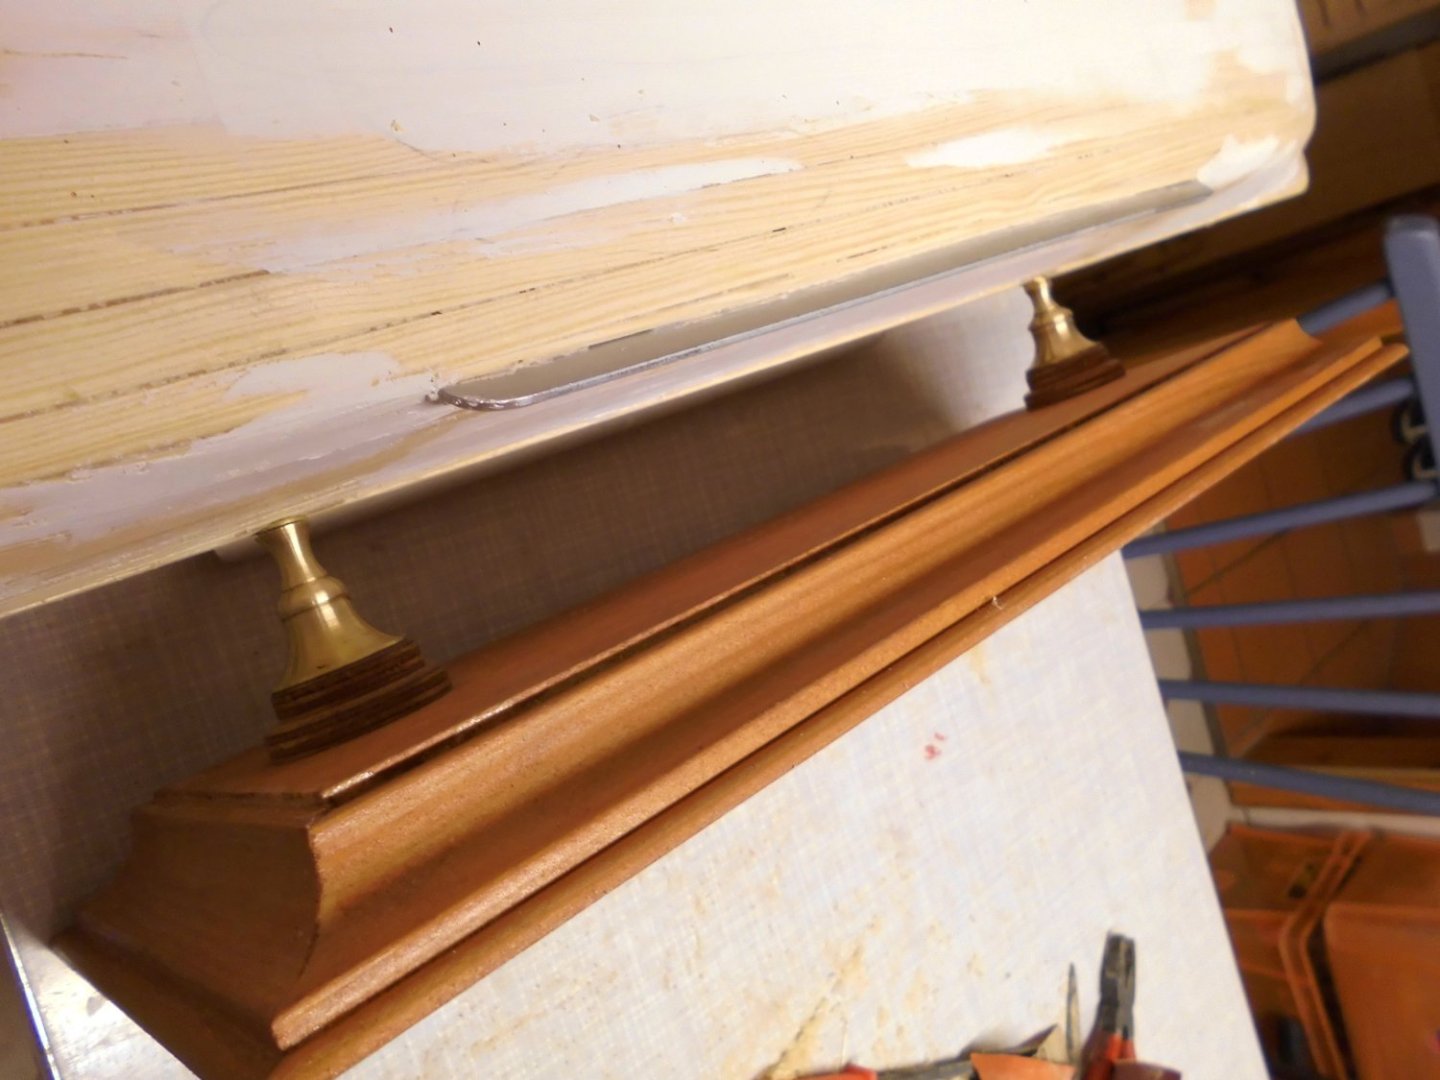
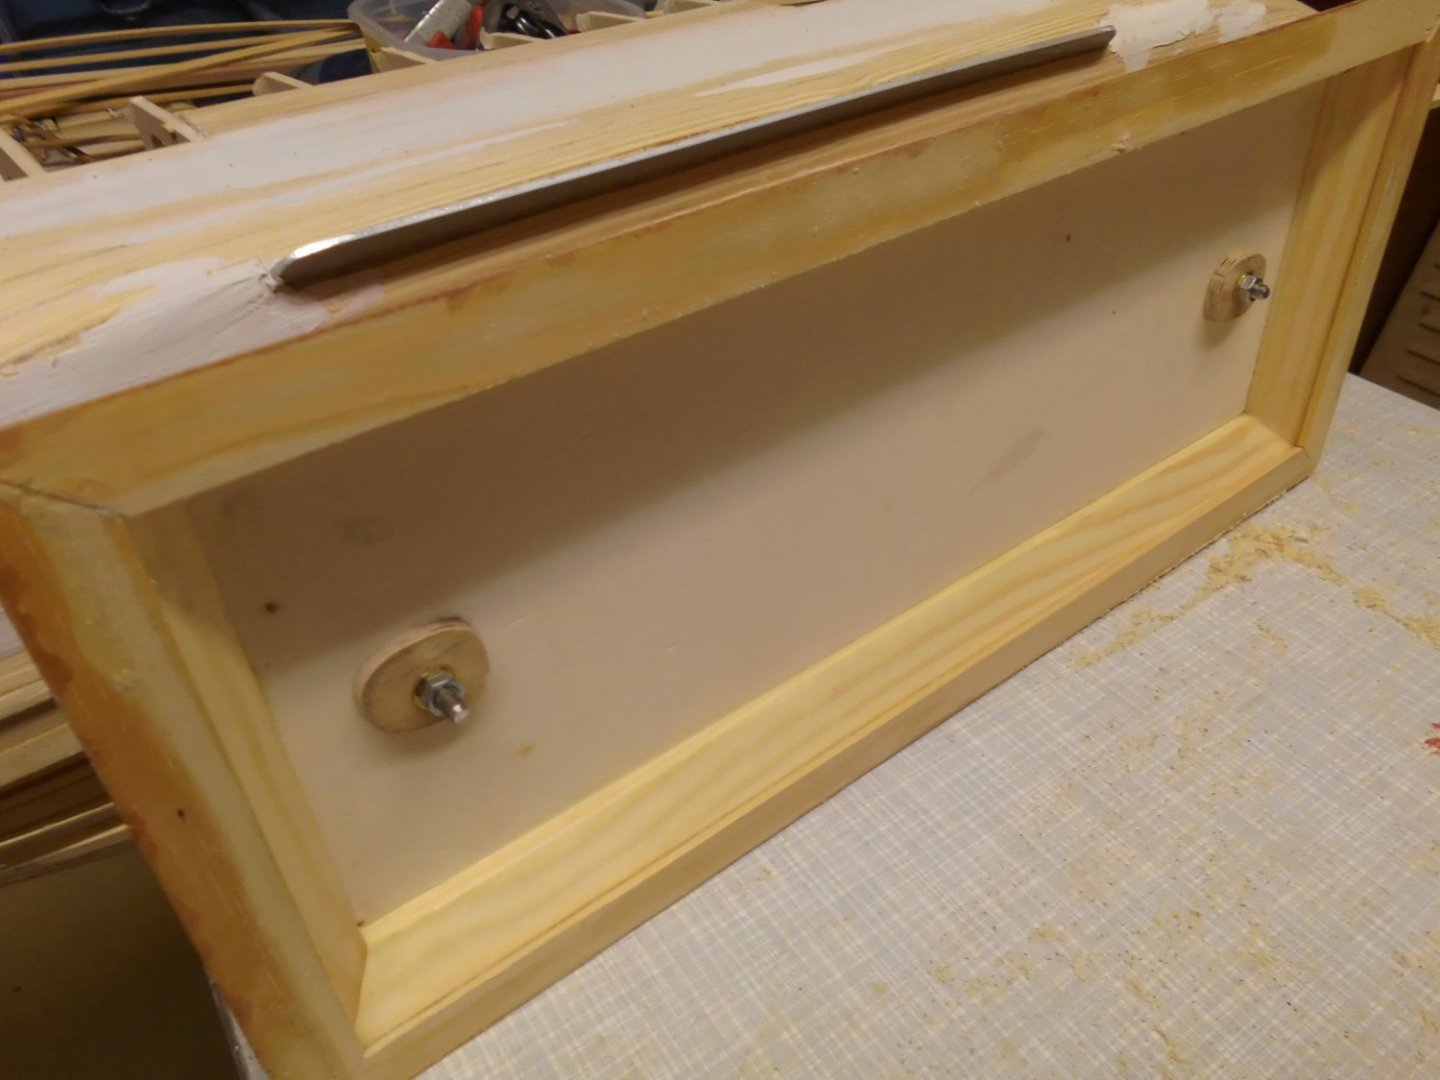
Update I`ve taken her off the building base today, to preliminary fit the stand, pedestals and spindles and have a first look at the inside. All looks OK so far. The raw hull is very light, and now easier to handle Nils the planking throughout is only 1,5 mm thick, here after scraping job for the bow section shape I do need some filler, here prior to sanding the fine tuning of the aft heel area is still to be done the first look at the inside shows all is properly in place the standplate and its fastening per M5 stainless steel spindles

- 330 replies
-
- 19
-
-
looking great Maurino, i like the sailor with the barrel, where did you find him ? what is the scale Nils
-
wonderful details and performance Patrick, all in the same spendid manor like your previous models .... Nils
-
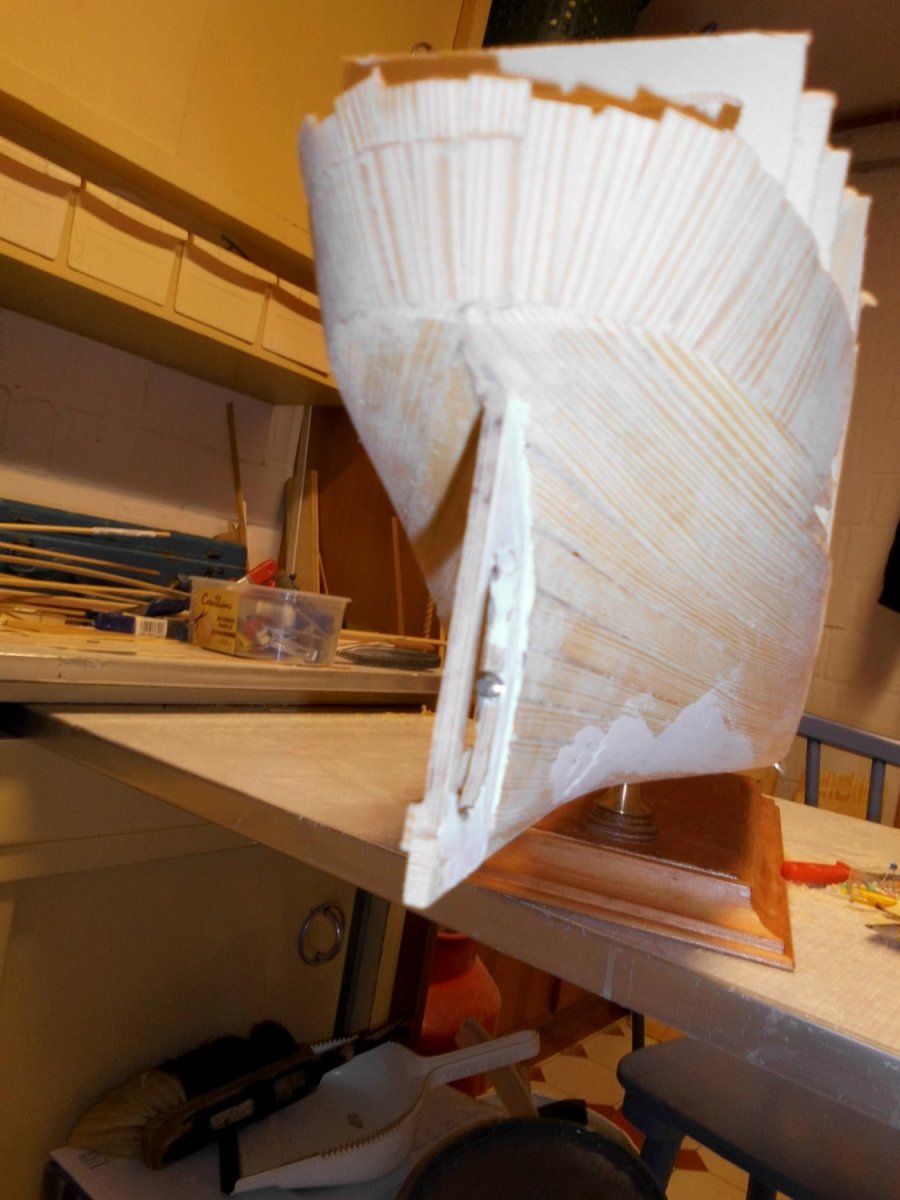
Update She is 87 cm long and the shape is that of an good old heritage steamer of 1918 The planking is going on quite well, I`m down to and already around the bilge bend on both sides .... My small model building room, for the more rough work, needs some tidying up afterwards Nils I started a bit of scraping job with hardened scraping plates, it works well when carefully taking off wee "flakes" of the thin planking, and still it may take a bit of one-component filler to smoothen out in certain places only
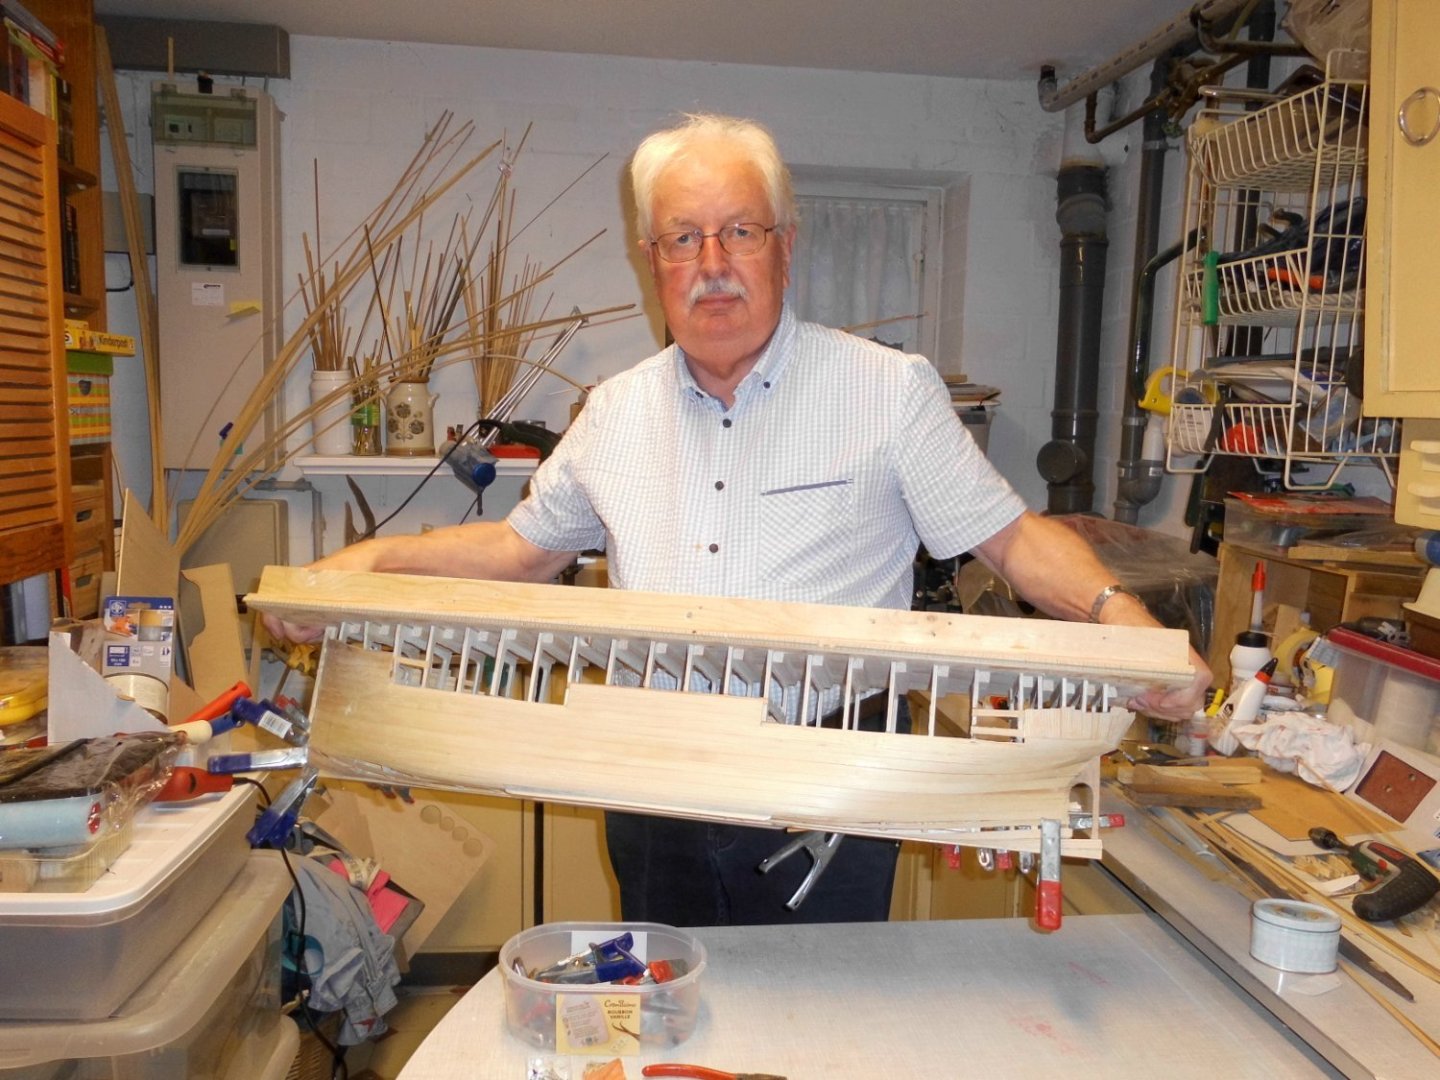
- 330 replies
-
- 20
-
-
-
Thank you Gary, its a long and weary deal with the rather thin planking, and I`m looking for a suitable light filler ...... Nils
-
Very impressing build Okesa Nils