HOLIDAY DONATION DRIVE - SUPPORT MSW - DO YOUR PART TO KEEP THIS GREAT FORUM GOING! (Only 24 donations so far out of 49,000 members - C'mon guys!)
×


Mirabell61
-
Posts
7,407 -
Joined
-
Last visited
Content Type
Profiles
Forums
Gallery
Events
Everything posted by Mirabell61
-
 Thank you very much Jason, I like your comments and thanks for following this build. I have`nt looked into the Amati plan for some time now, because I get so much Inspiration from builds of other members, and then there are so many ideas I would like to intigrate and that are not shown on the plan. I wish you much pleausure with your own HMS Snake model, it is a fine built vessel Nils
 -
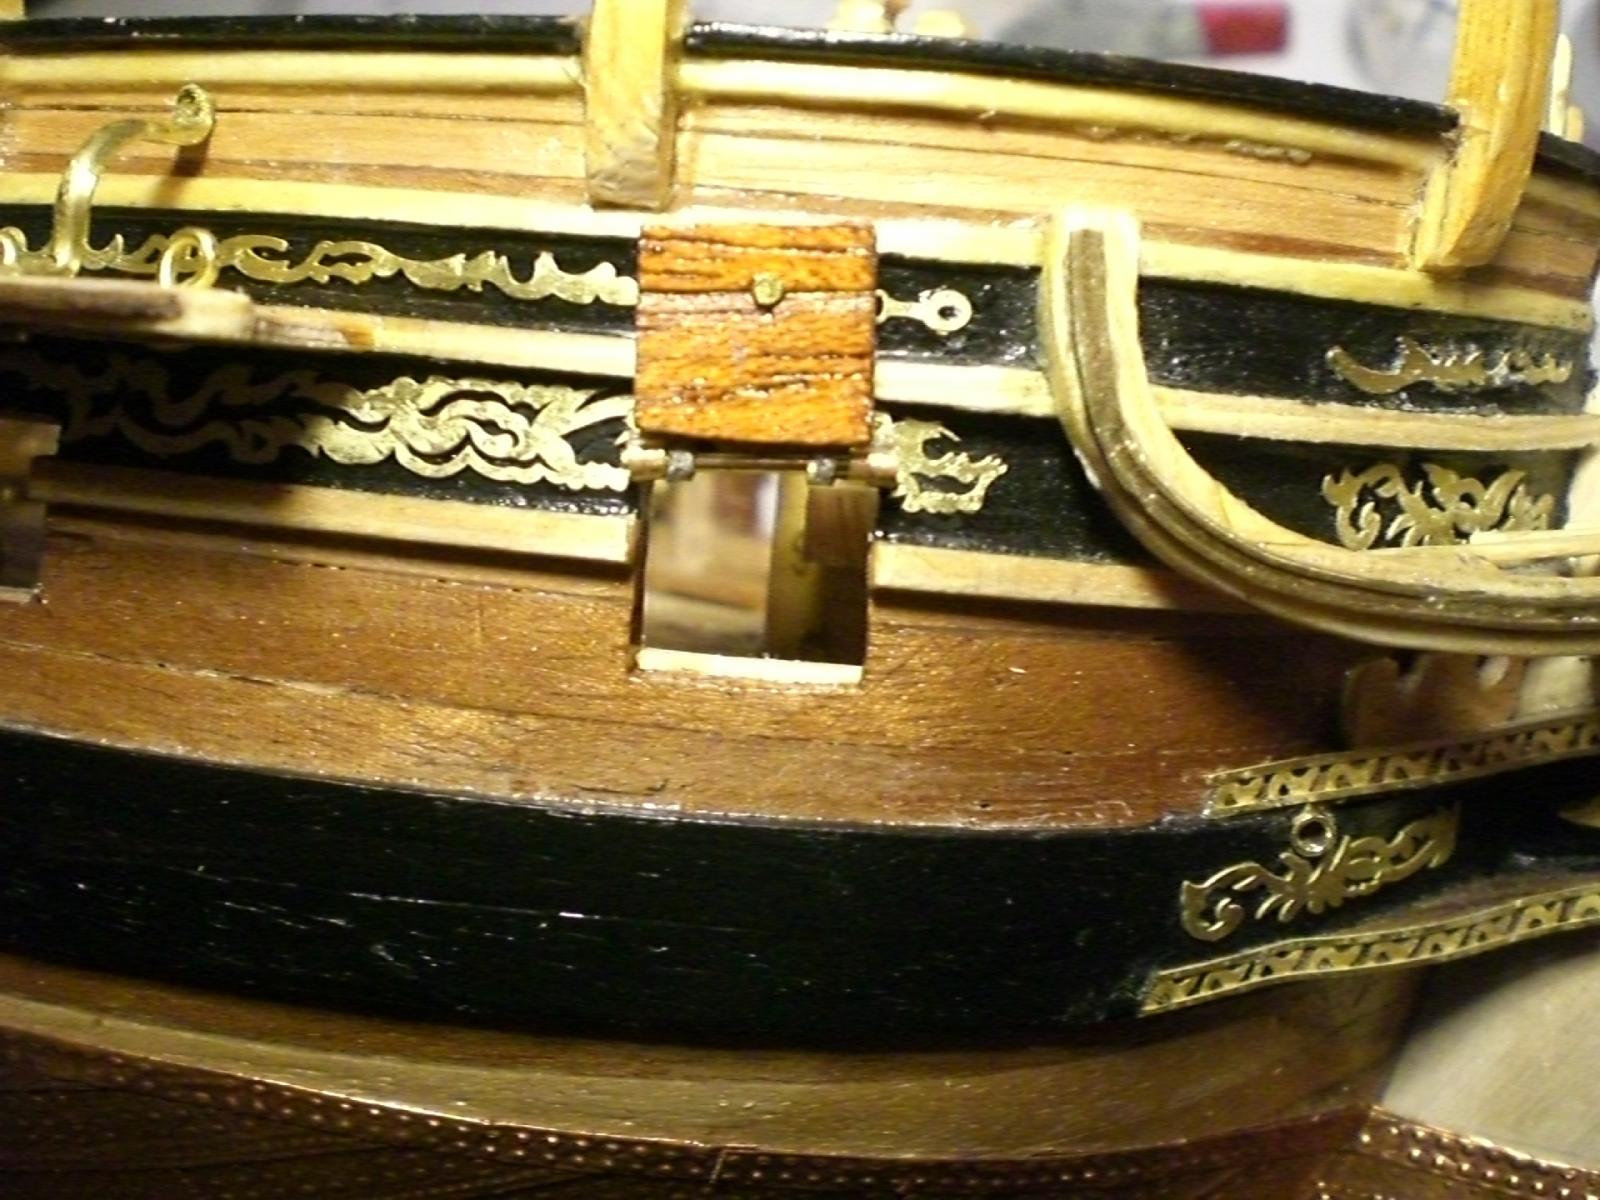
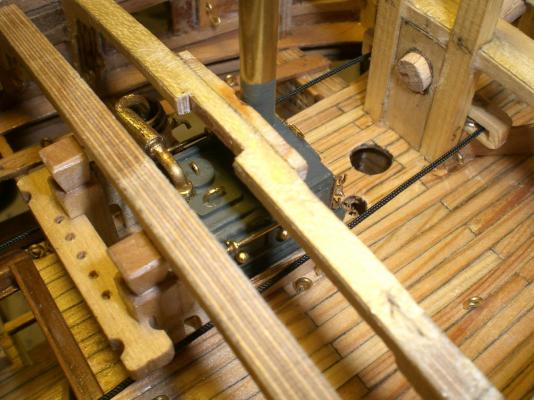
Build log part 33 here the Messenger cable (dummy Black) goes round the front Posts in the bow continuing with the functional gunport lids, here the last one on starboard Nils

-
Looking fine Augie, very nicely built, natural Wood Colors, in contrast to the metal Fittings, accurate clean planking, in all very well done ! Nils
- 2,191 replies
-
- 1
-

-
- confederacy
- Model Shipways
- (and 1 more)
-
Hi von Kossa, I just had a look into your viking boat... It Looks fantastic eapecially in Details like sail, clinker planking, bow decoration, all Framework, bow decoration, rudder, mastfoot, and , and.. It is amazing how much love and authentic Fitting out you are putting on top of what the kit provides, a real Little treasure, love it.. Nils
-
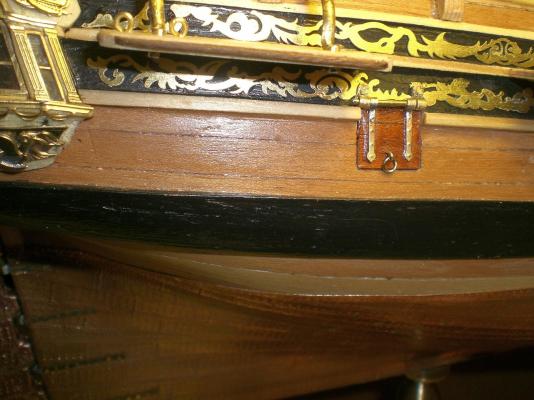
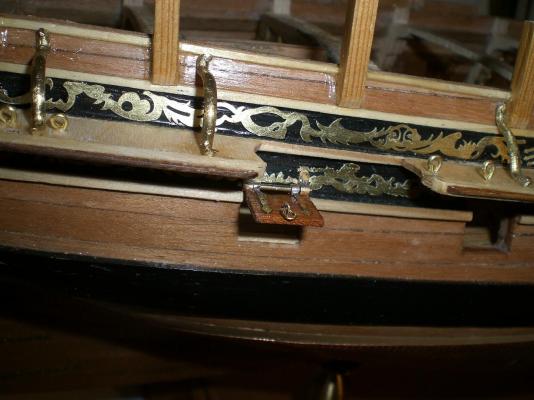
the first of the four gunport doors is attached, functional with hinges I let the Pivot rod go through both hinges, this gives more stability to the function, although I was intending to cutawy the rod in the middle space here open... In one of Danny`s last Posts (Vulture 1:48) he mentioned the scuppers for the Manager pit. I had not been Aware that there had to be some although it`s quite Logical to catch the dirt and mud on the anchor cable behind the hawse hole, and for rinsing reasons. I set the brass tube scuppers in about 5 degree declining downward from Managing pit (deck) to the upper Portion of the wale, above that Little decor Nils
-
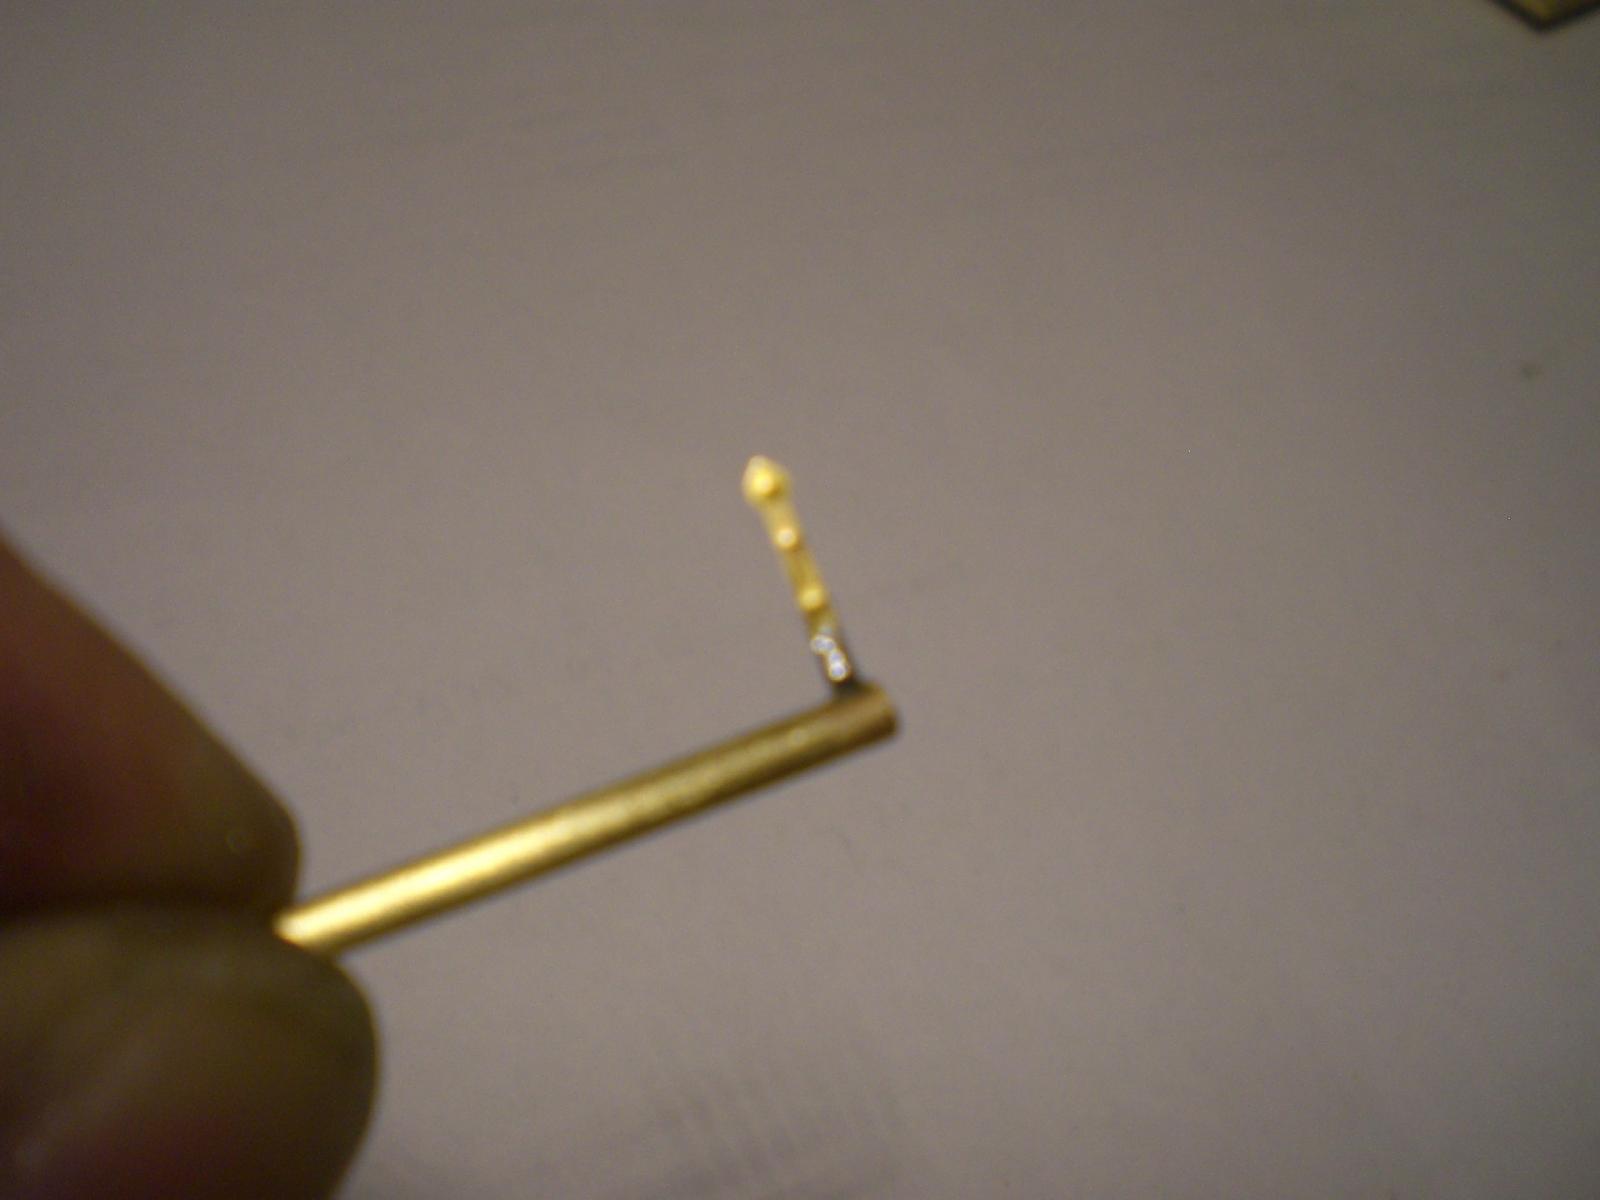
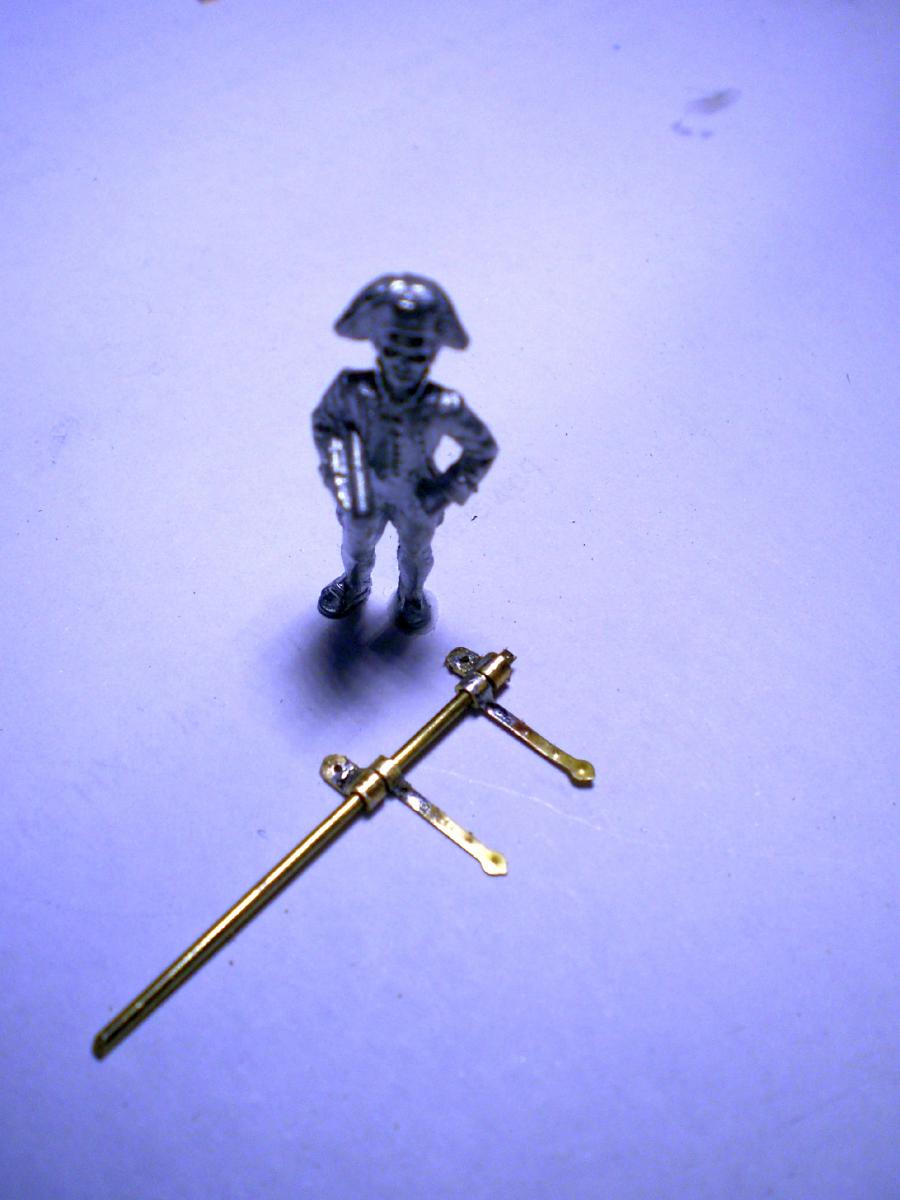
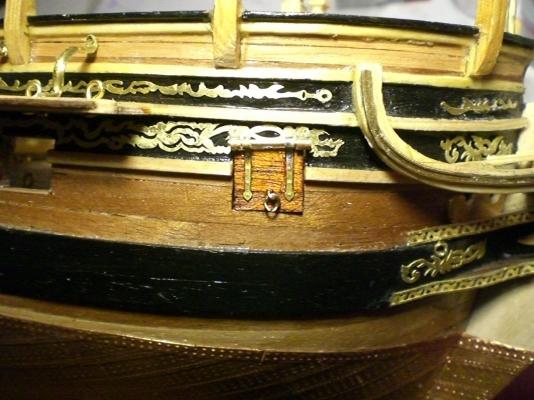
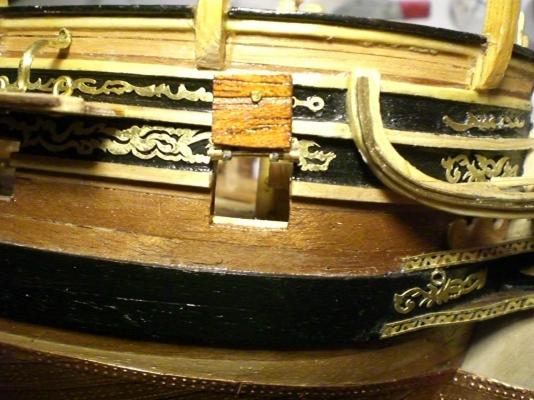
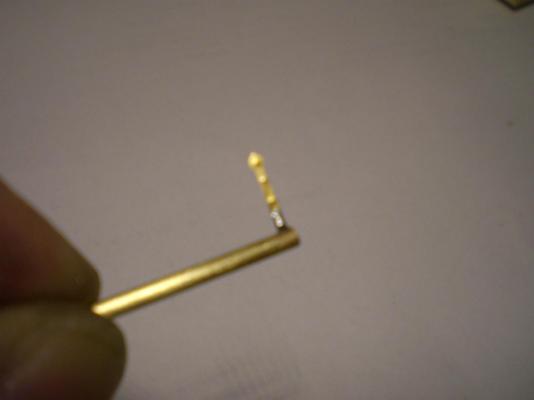
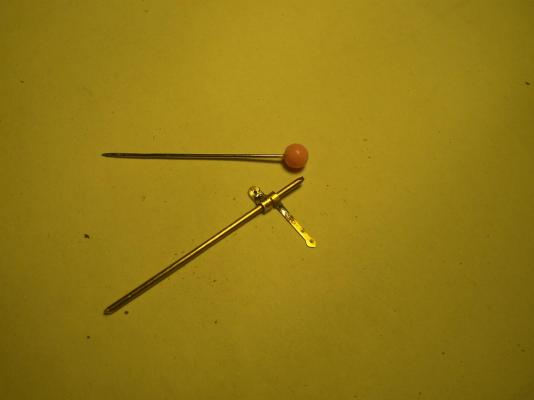
Have to do the first two and the last two gunport doors, will try to get the hinges functional working...., here first try (the 1 mm round bar shall be cut to fit later on) the small parts from the etched sheet are soldered to the 1 x 2 mm Tube, then cut off... here also the Counter hinge part that goes to the hull above the gunport, the small Pivot rod is 1 mm will AC glue the Long hinge parts to the gunport door (have to do the doors first and fit them in...) Nils

-
A very beautiful ship Pete, Hull, deckhousings, also the Yards with the yardracks look excellent, very clean precise build, makes ones heart beat faster while watching, thanks for sharing... Well done !! Nils
-
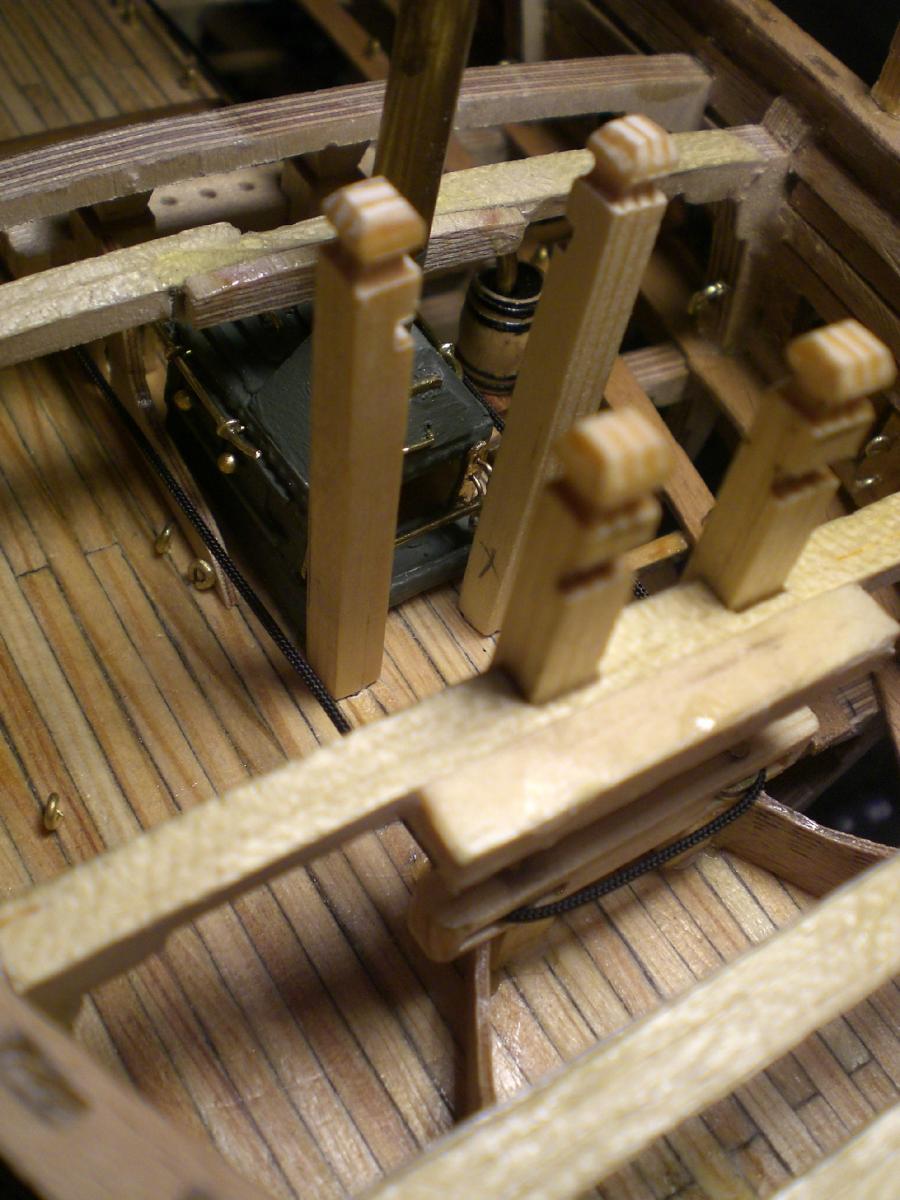
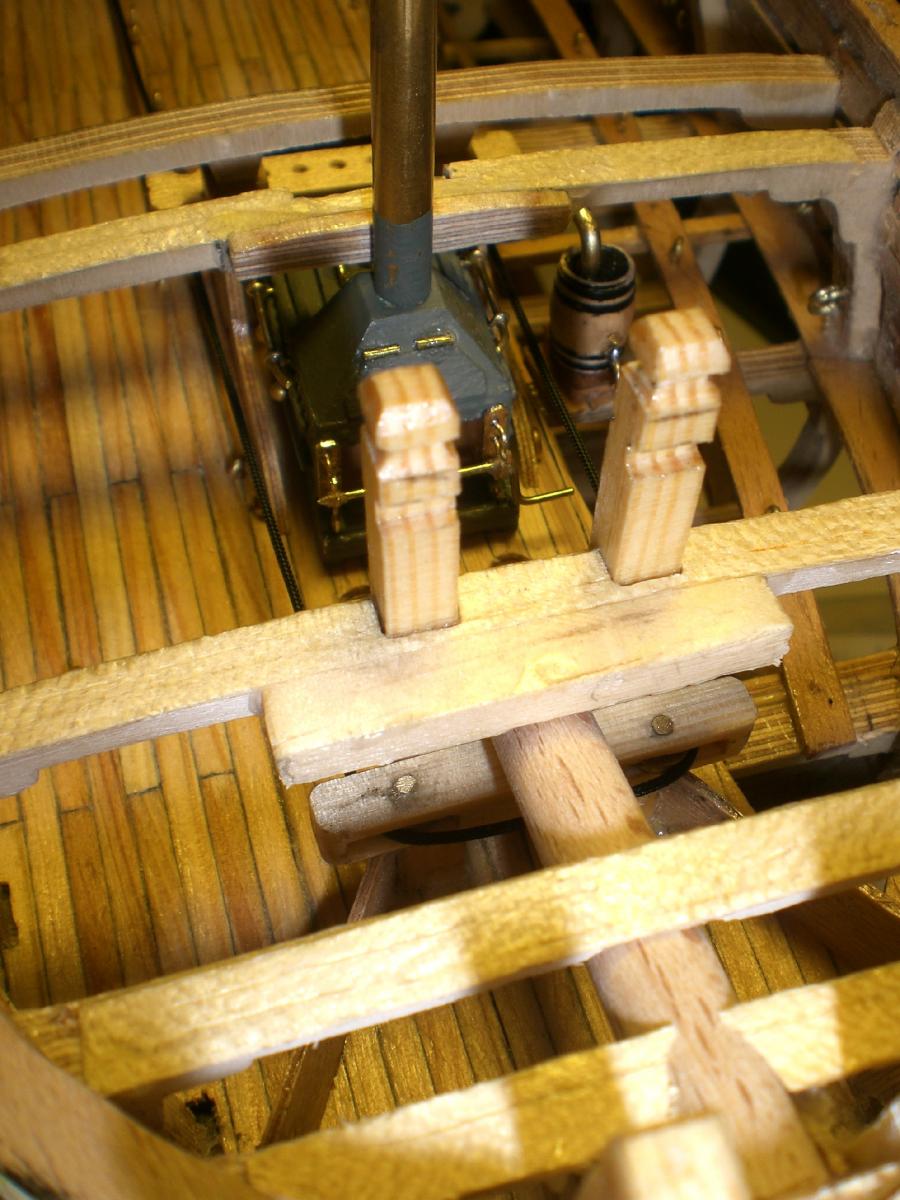
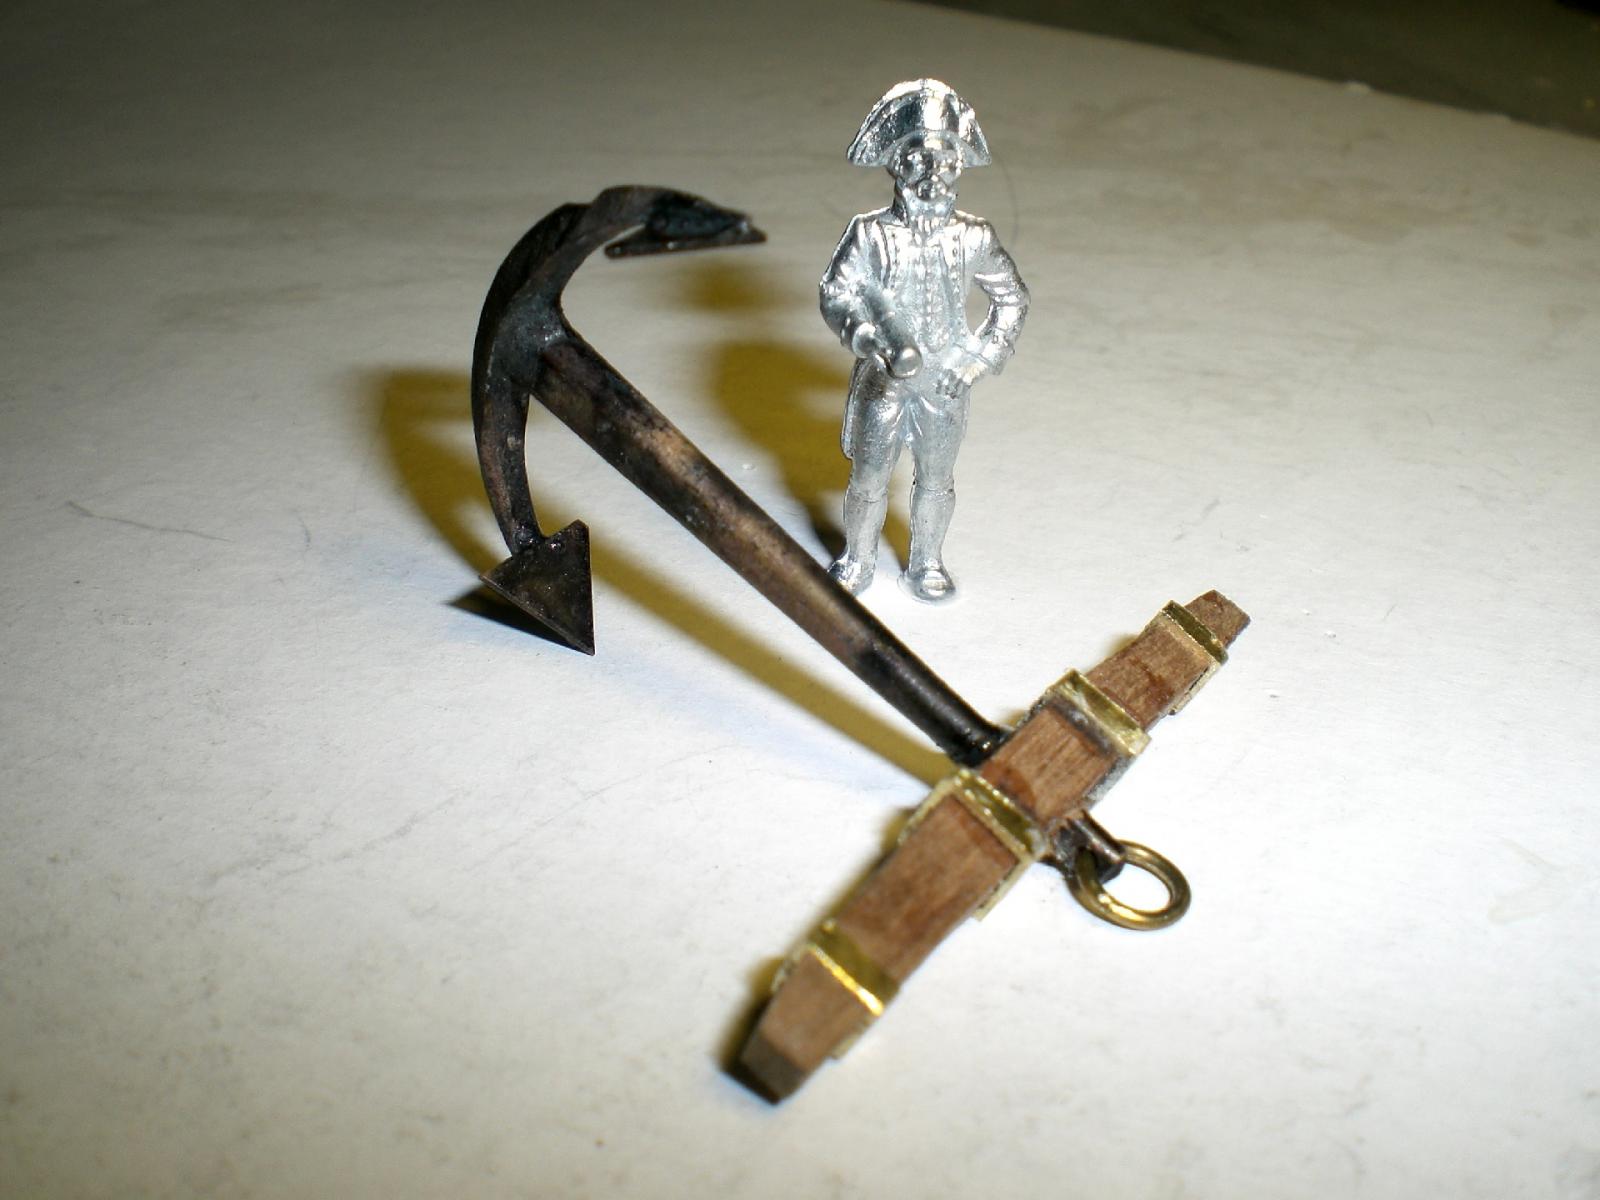
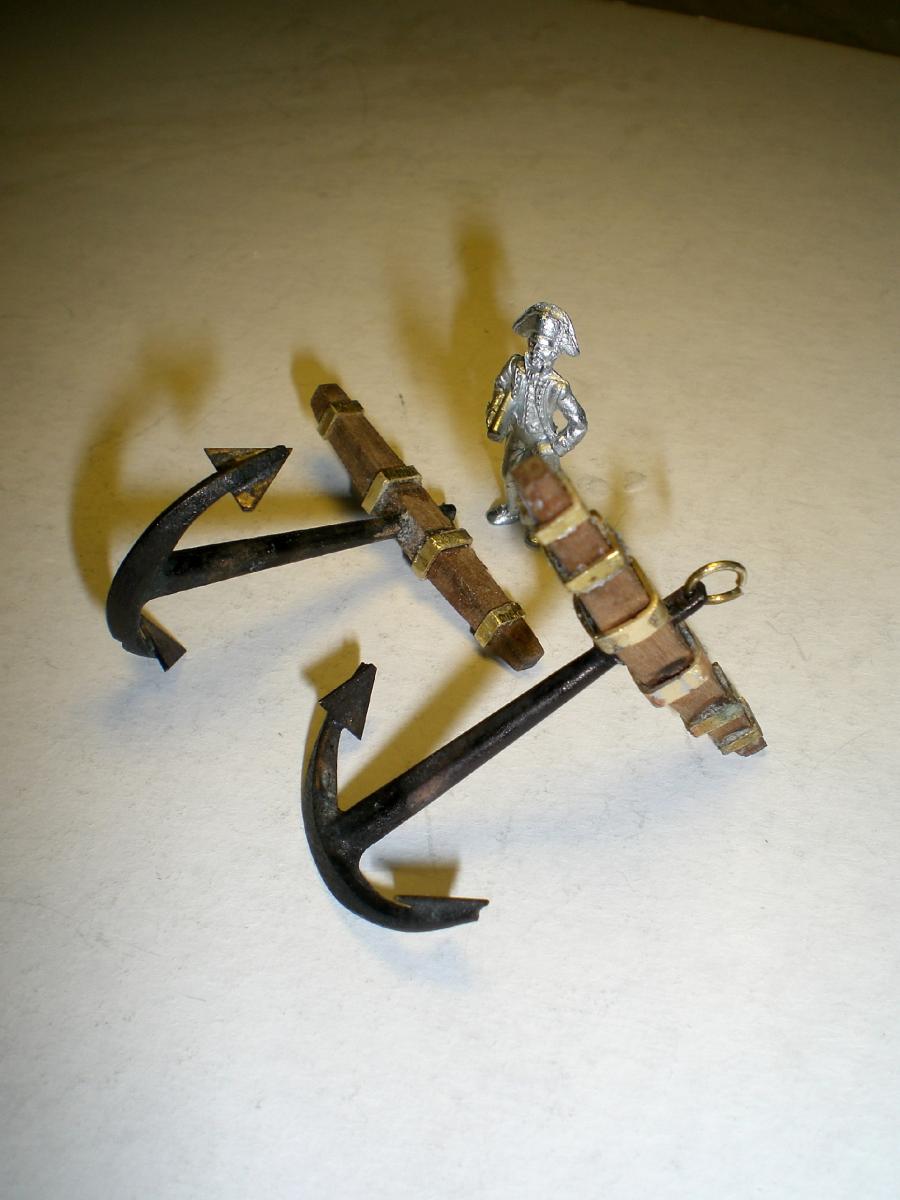
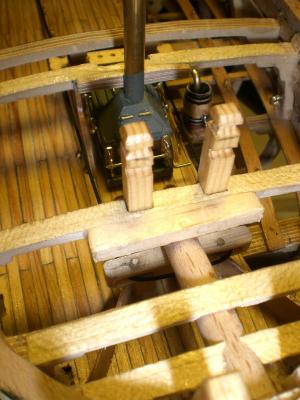
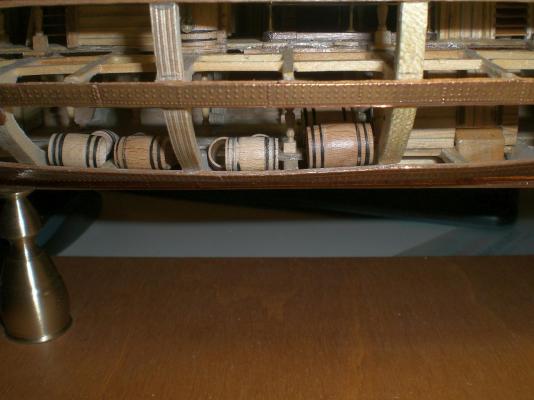
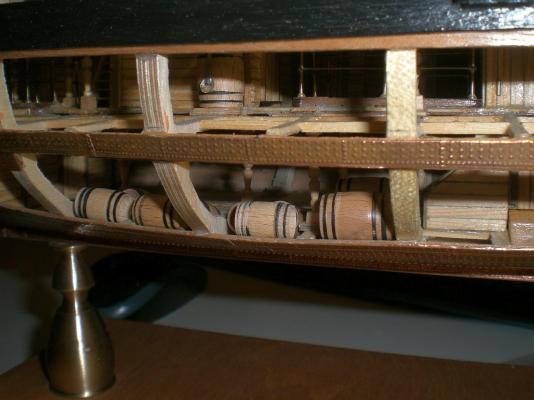
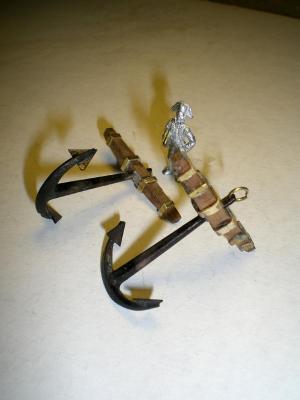
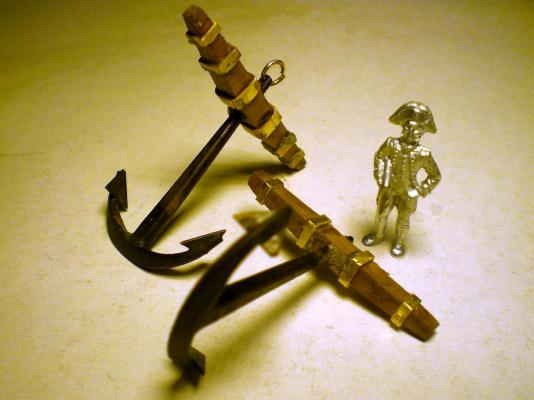
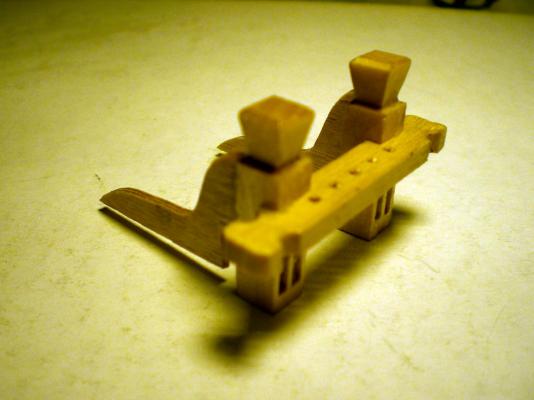
Build log part 32 Today I started a Little bit on the anchor System, fitted two rollers under the forecastle deck, to return the Messenger cable without much friction (will Show later on when the cables get rigged) I am planing for the anchor cables to go right down through the gundeck main hatch, and to the cargo floor, to be coiled and tied on top of the cargo Barrels. There is not much hight left but I think it will do for several rounds of coiled (tied) cable this is the smaller anchor behind the main one, in the foreground the larger anchor (6 raps around the stick) the gundeck capstan with 2 stopper clinks, (simple Version) the foreward riding bitts Build log part 33 to follow.... Nils


-
Hi Andy, a great build you are presenting, it Looks very well built and lots of Detail, the pride of a model builder Nils
-
You have a wise wife Sal, and you made a good and right decision.. Have fun with this Hobby, it keeps those old brain cells on challenge mode Nils
-
Thank you for your words Micheal, I have several ideas up the sleeve as well, but do`nt know yet if they can be realized in that way... since B.E. told me about the what all devices are involved in moving, stowing the anchor cables, I Keep on thinking how possibly this can be done best on my model Nils
-
Thank you Keith, I`ve learnt quite a lot in the last days for anchor cable rigging, for condenser devices, distilled water, etc all from fellow members, this is great Input... Nils
-
Thanks Jason and Popeye, was just thinking of a simple distill-device for nowadays survivors in a lifeboat or elsewhere in lack of freshwater, with ocean all around to the horizon.... Nils
-
Thank you Popeye, I wonder if the distilled seawater is realy drinkable as it Comes out of the condenser, or if it still contains a reasonable degree of salt ? Would have liked to taste it Nils
-
lovely built Pilot boat Sal, Nils
-
Thank you Bob, it all started with with a chunk of Wood, most of the ideas came by doing it, but now its complete Nils
-
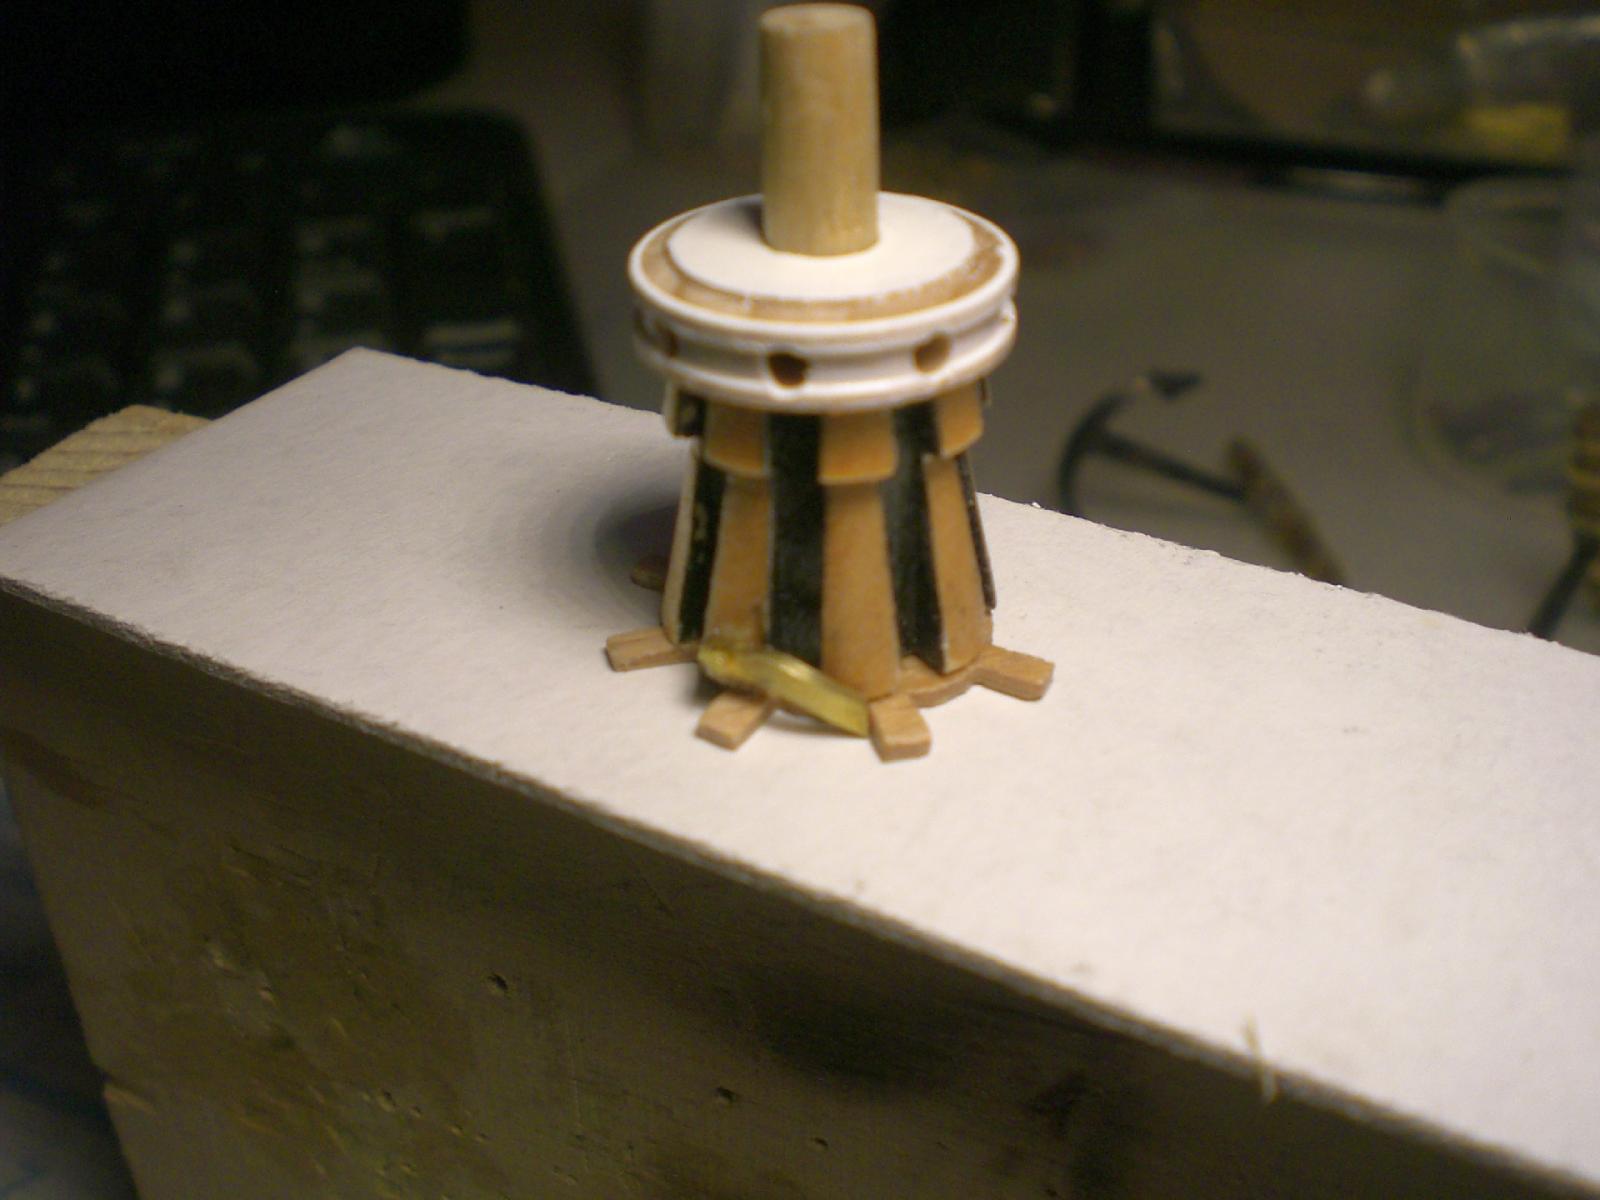
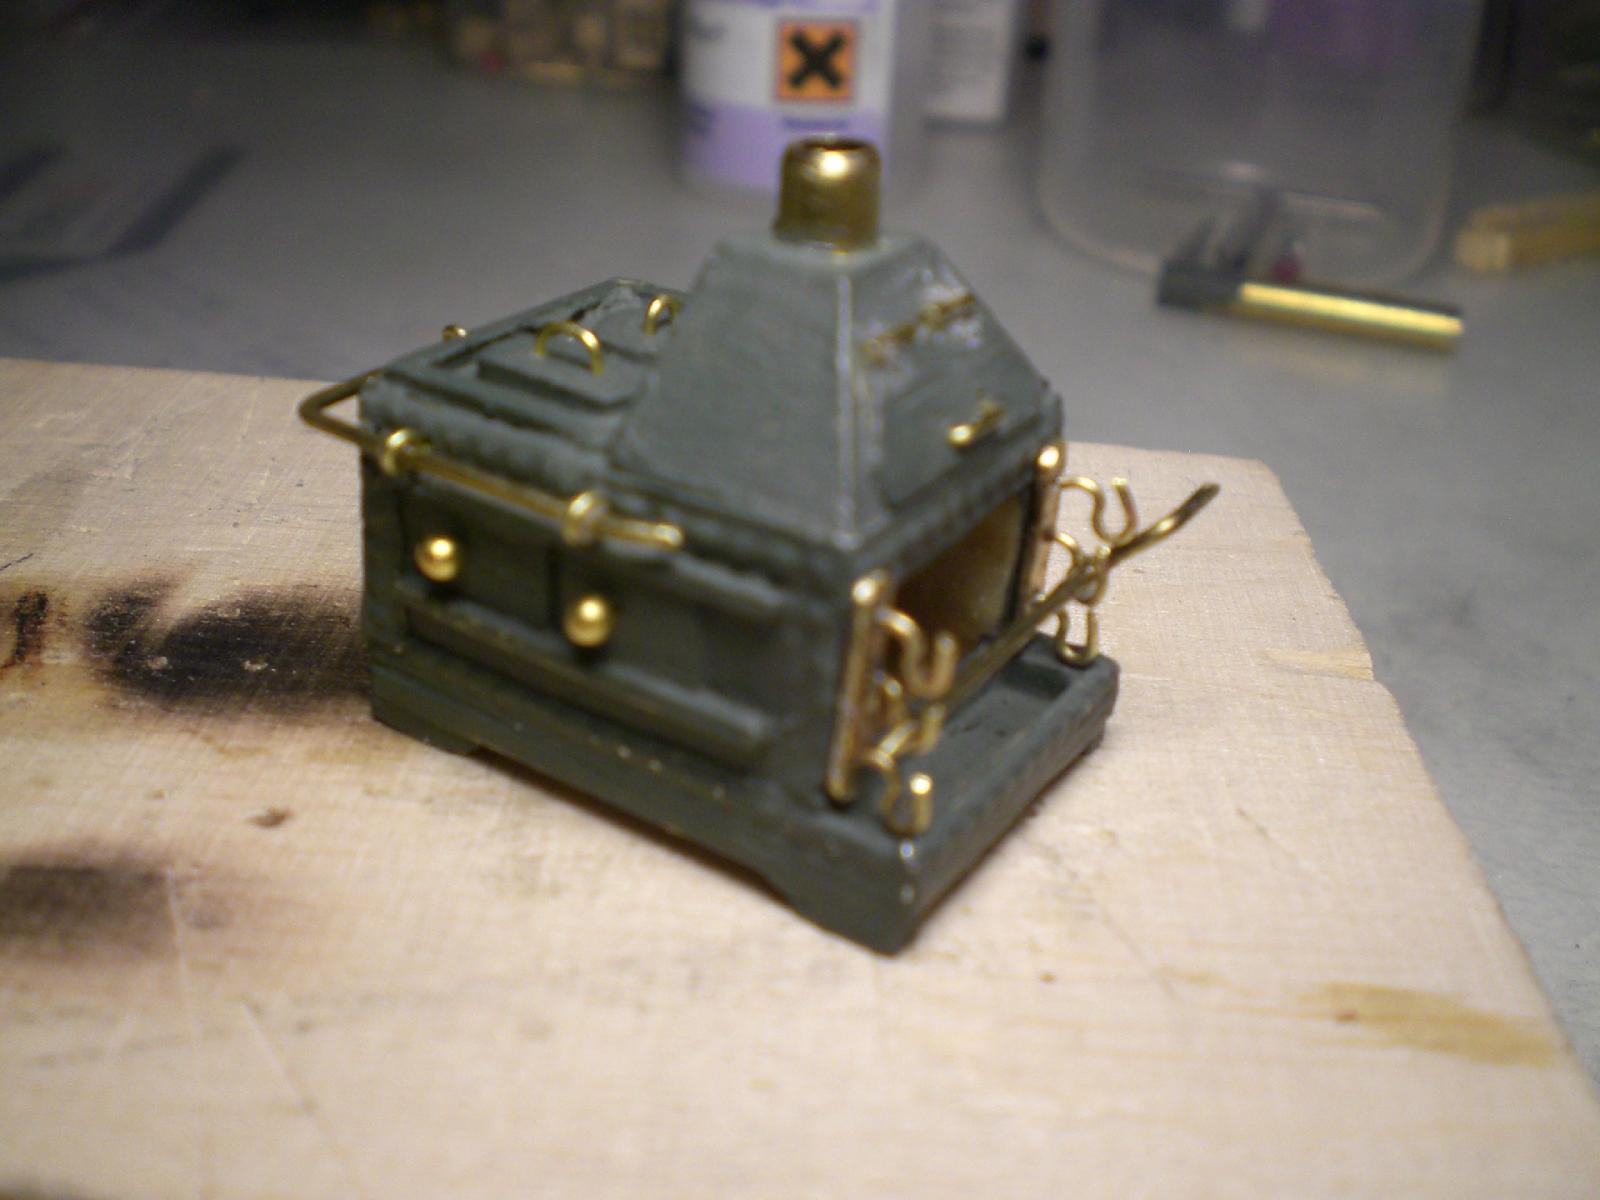
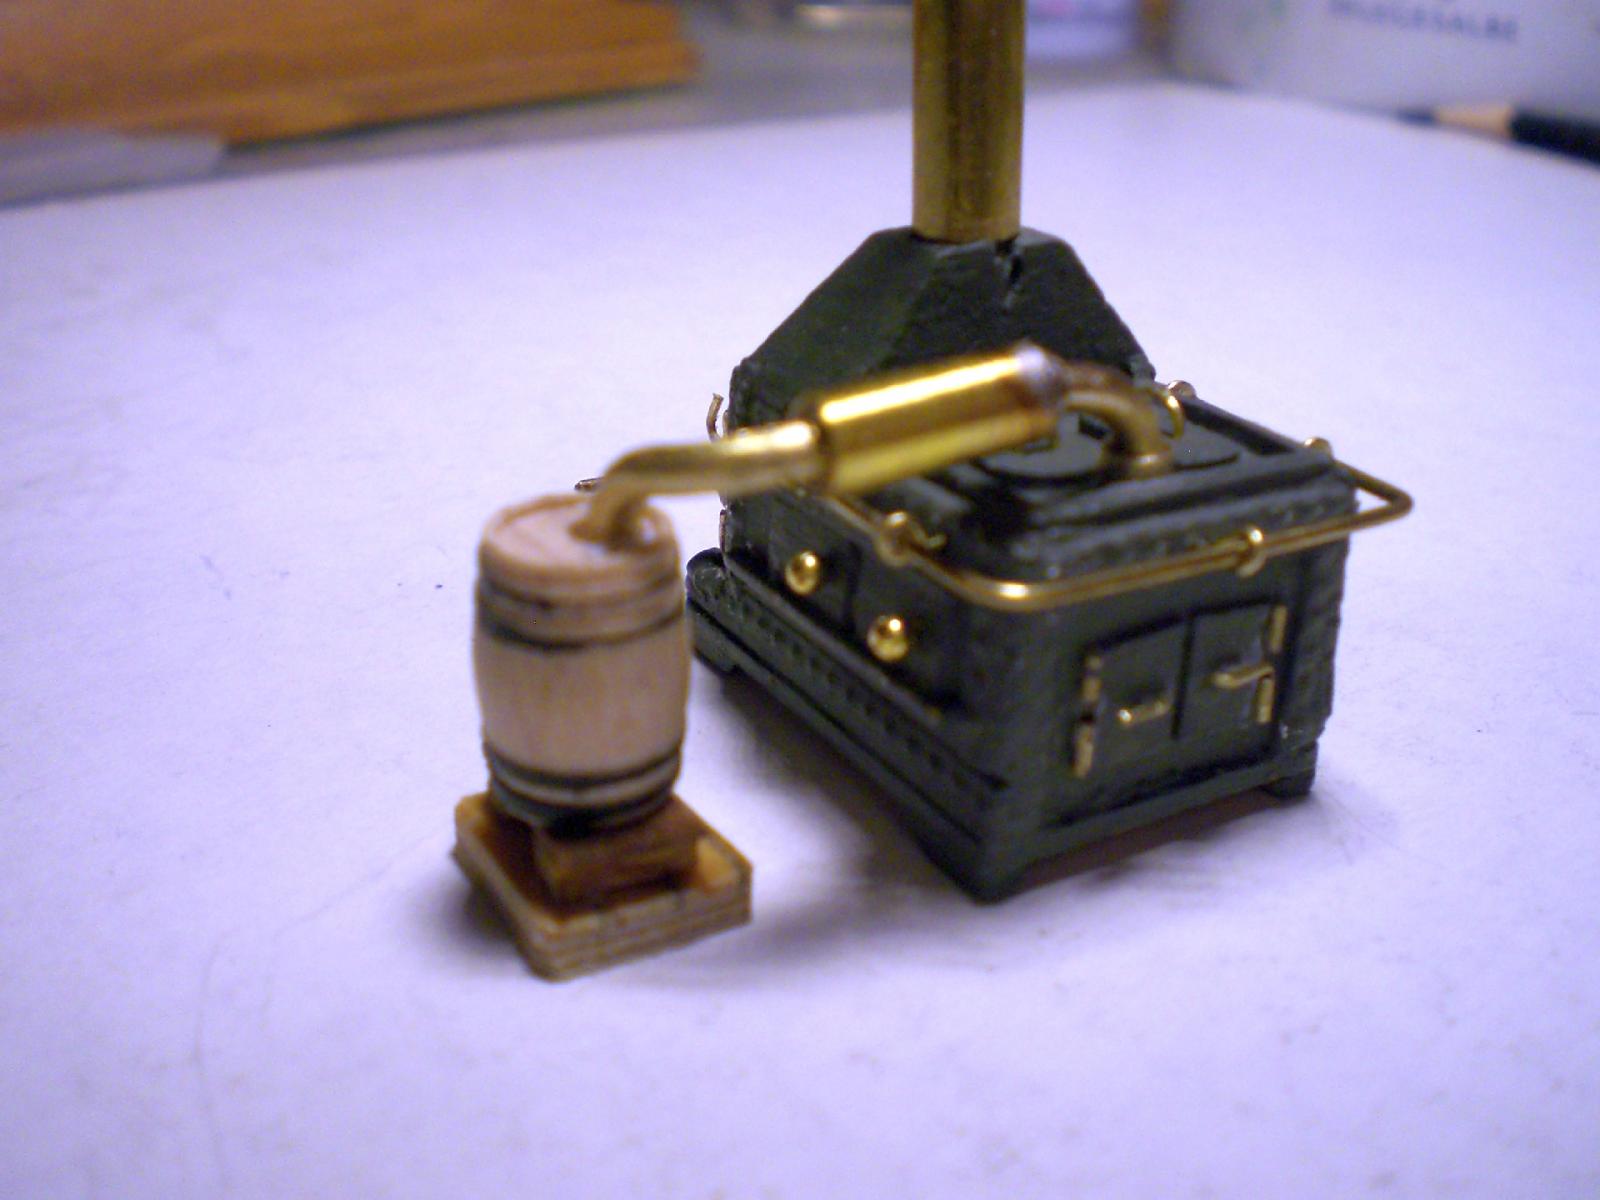
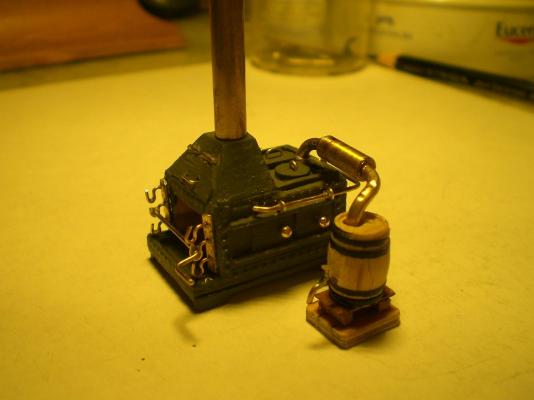
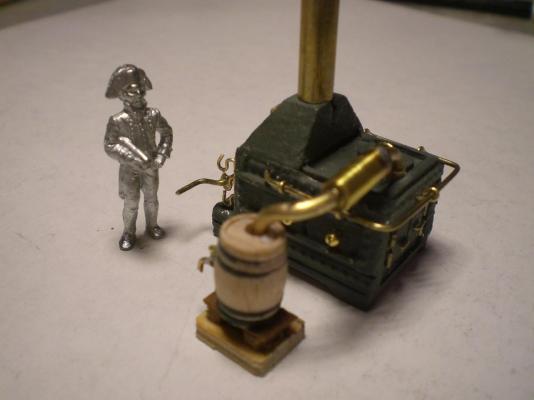
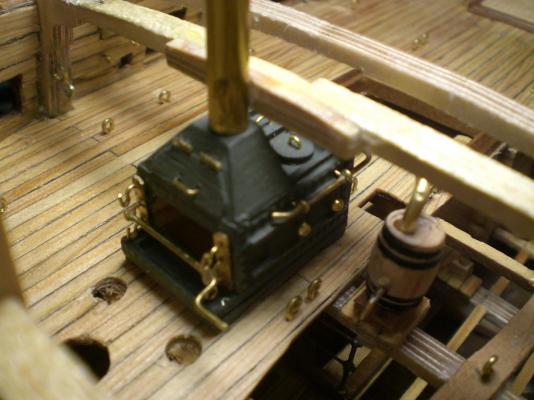
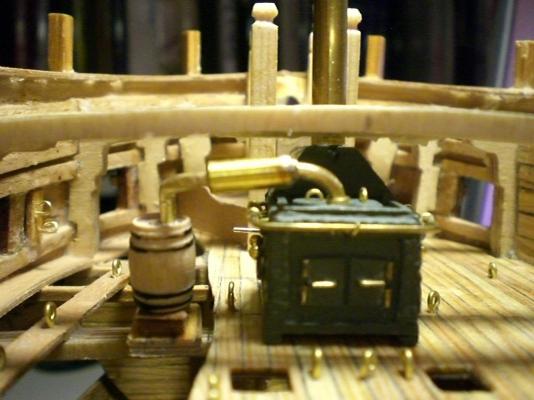
Galley stove continued.... and ending spit roast supports and crank handle here for Crackers and B.E. Making of drinking water for the Crew from distilled seawater condensate collector Barrel with drain tap also hinges to the stove doors and to the chimney flap The place between stove side and Barrel is for the cheeks of the riding bitt supports all at ist place on board for fit check Nils


-
Thank you Juergen, Nils
-
Thank you very much B.E. I´ll have a look at that distillation device you mentioned and see what I can do about it... Nils
-
Thank you Ben Nils
-
Thanks Crackers, again I learn something new,..... I saw that funny looking horizontal turret on stove Pictures before, and not knowing what it was for, I did`nt do it, guess they did`nt have cans of cooled Coke for the Crew on board, and the rum would`nt last for ever. In this case there would Need to be another collector-barrel for condensated water at best near the stove.. Nils
-
Hi Popeye, the Information given so far is great, and showed where this could be further tracked on.. Nils