DONATION DRIVE - SUPPORT MSW - DO YOUR PART TO KEEP THIS GREAT FORUM GOING!
×


Mirabell61
-
Posts
7,409 -
Joined
-
Last visited
Content Type
Profiles
Forums
Gallery
Events
Everything posted by Mirabell61
-
 Hi Peter, I`m glad you liked the updated Stern, and new the little stove, thank you. Some details I saw in other build logs and just put together what I found could be useful. The Lifting ringbolts at the four corners I left away (too much fiddle parts) Nils
 -
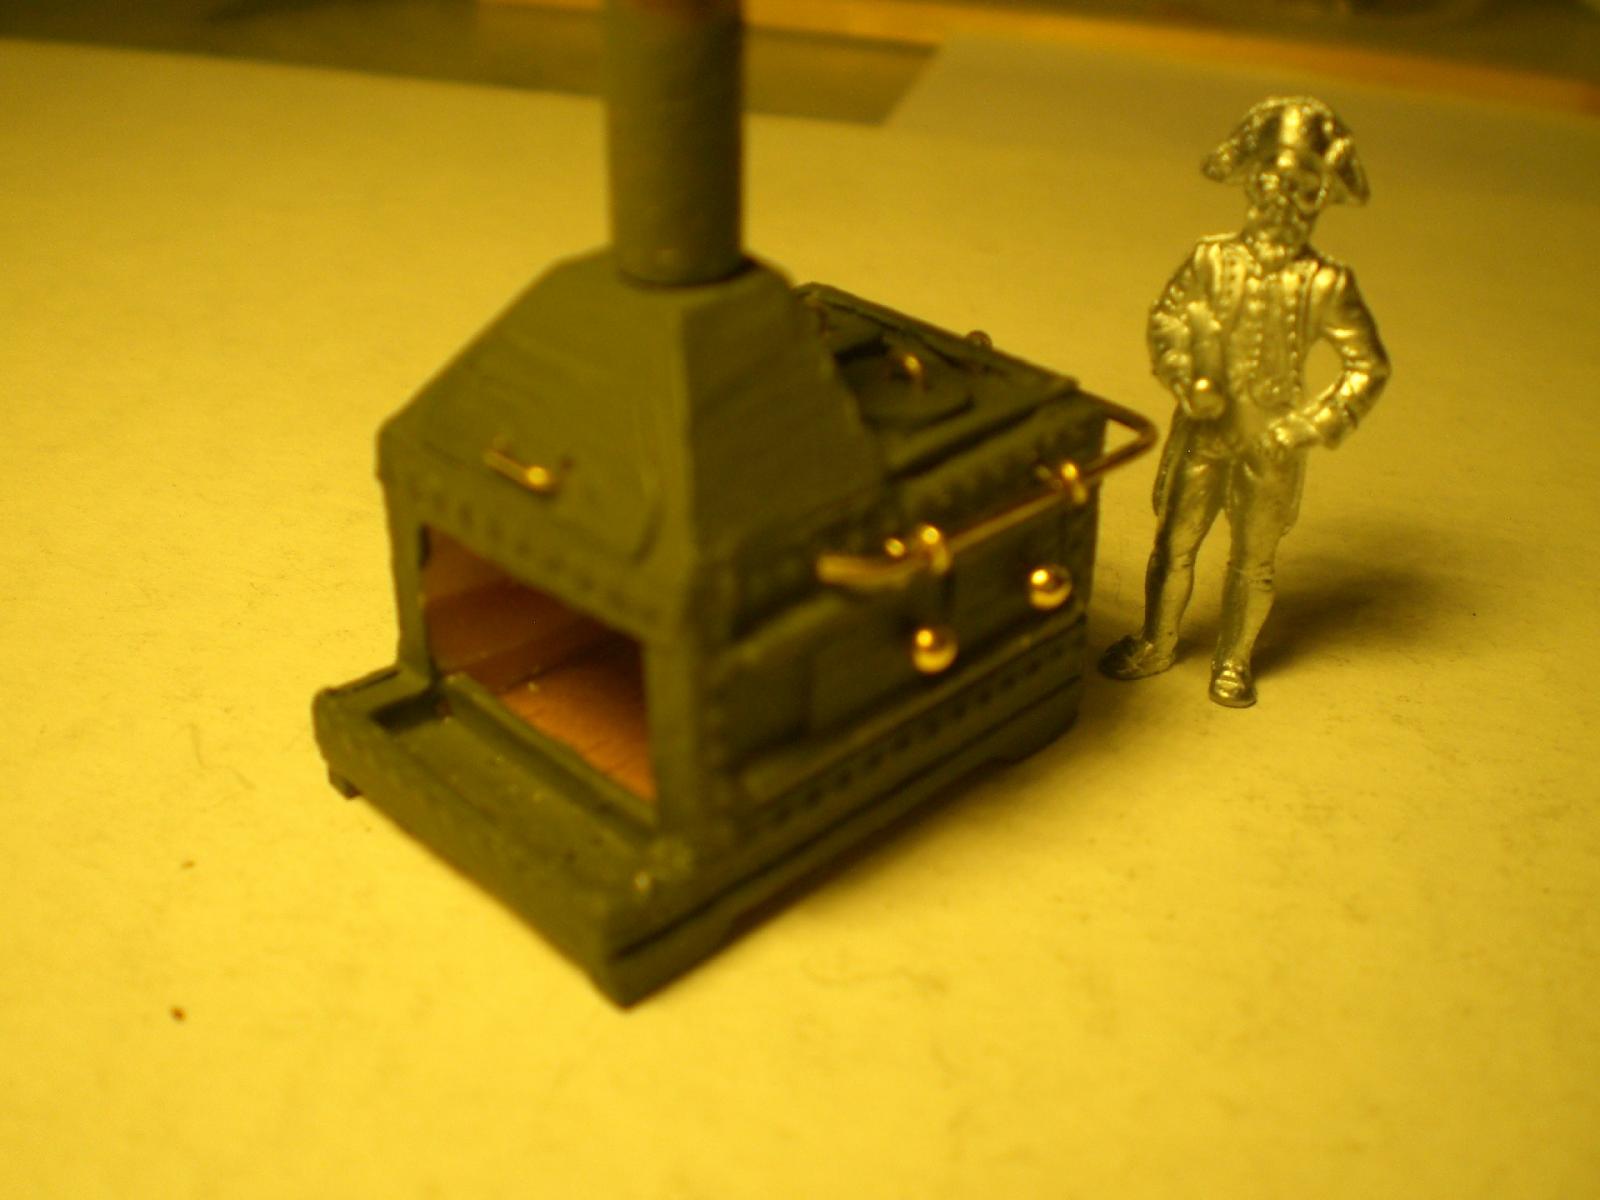
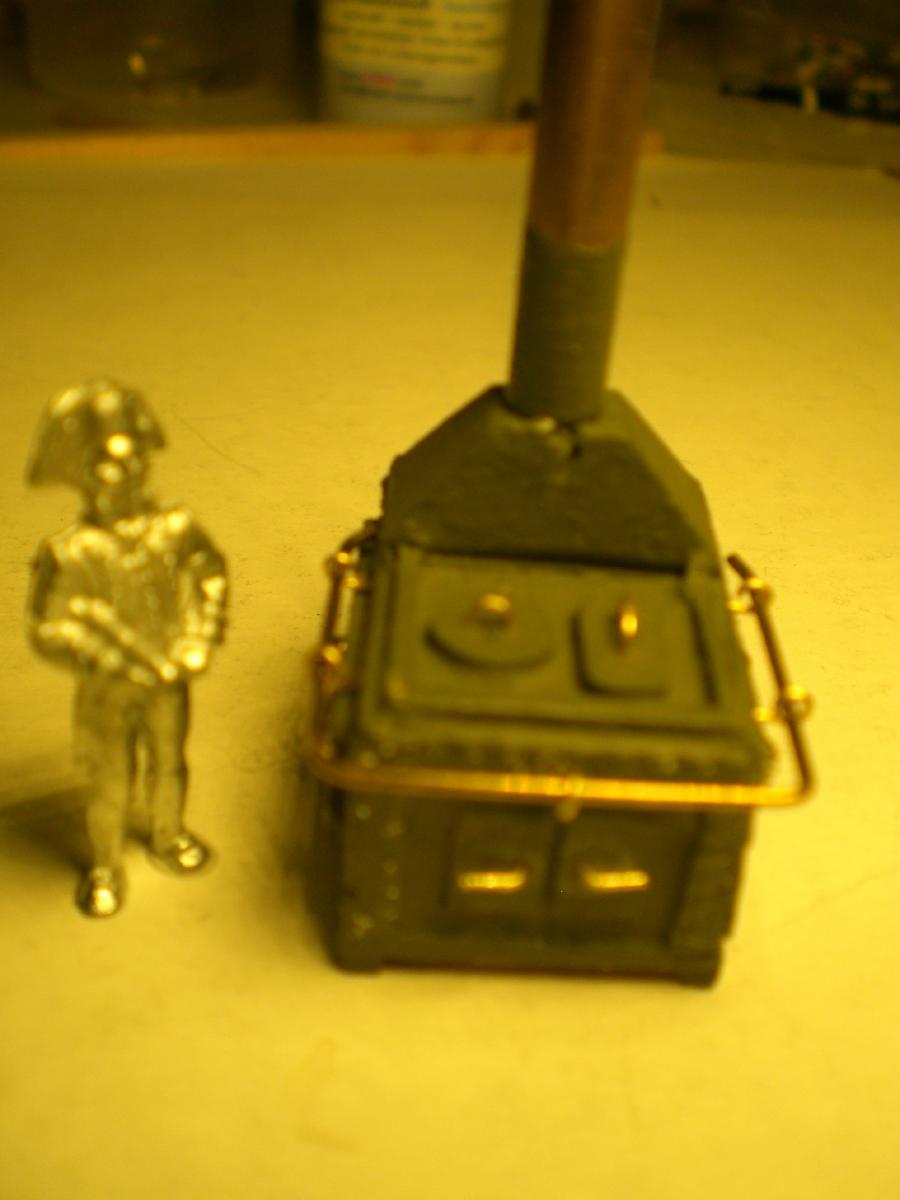
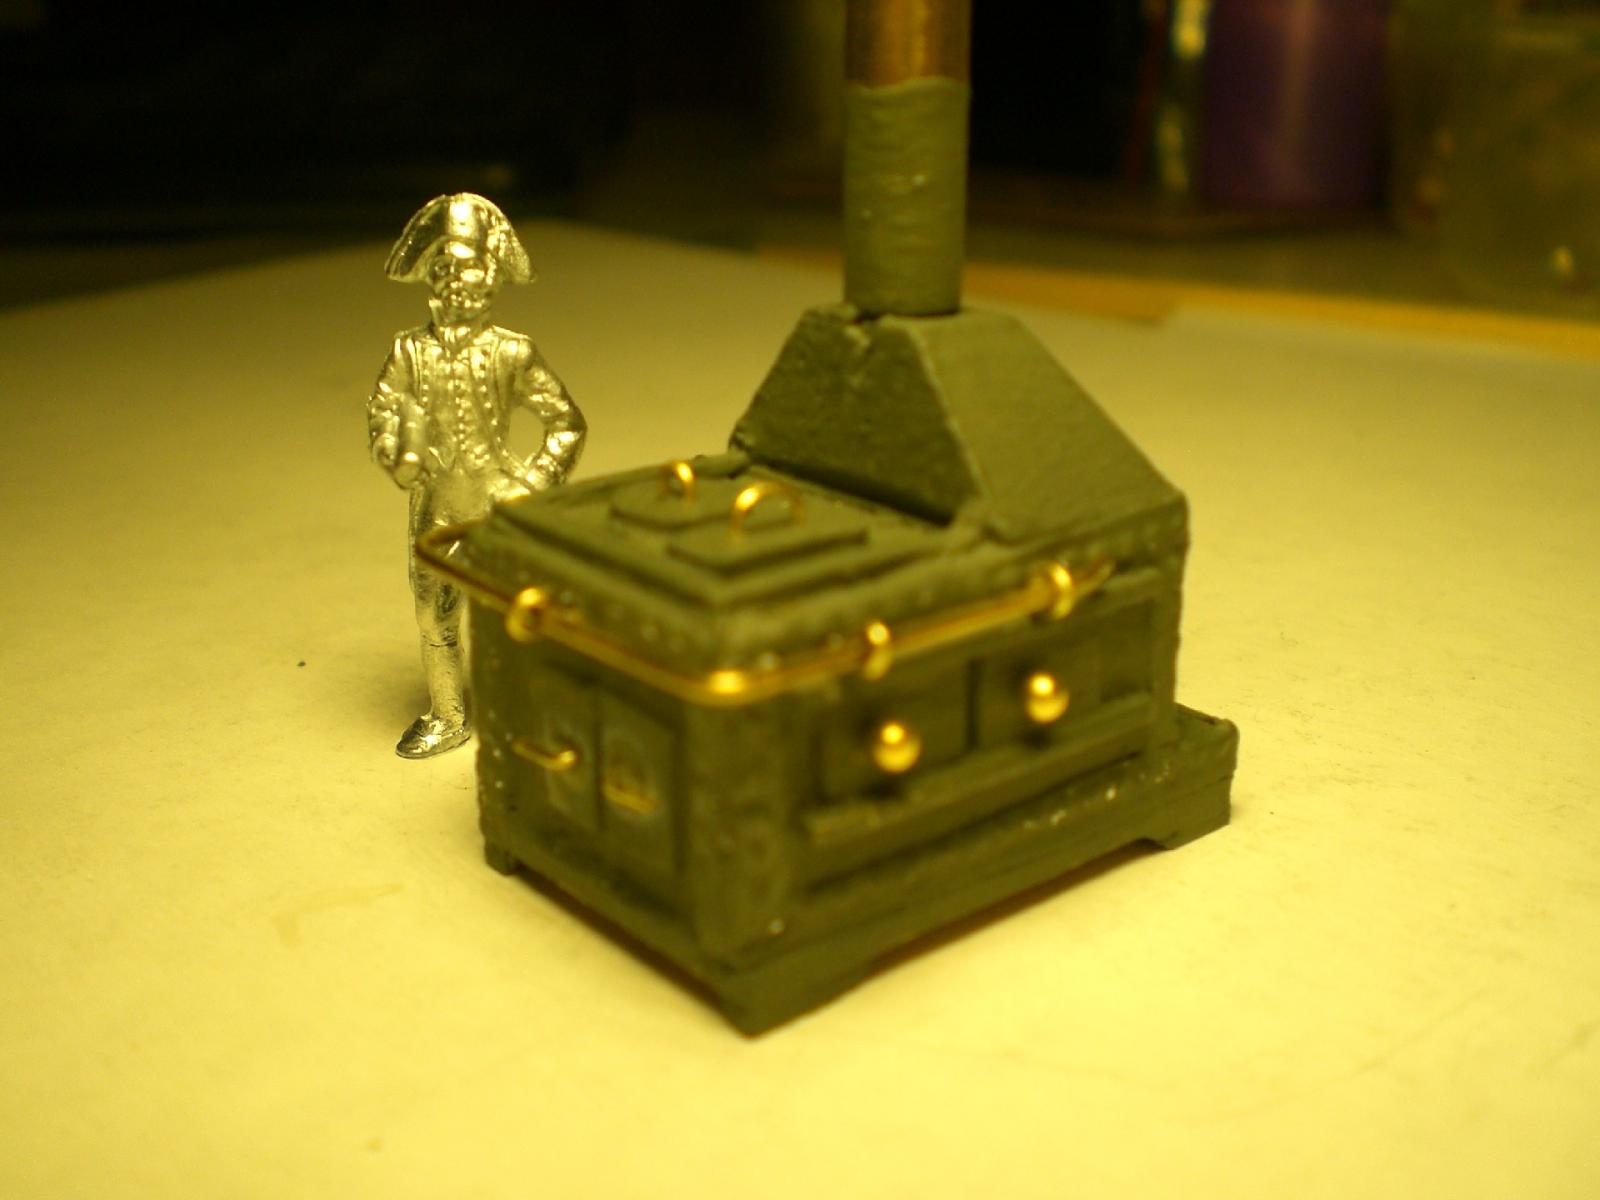
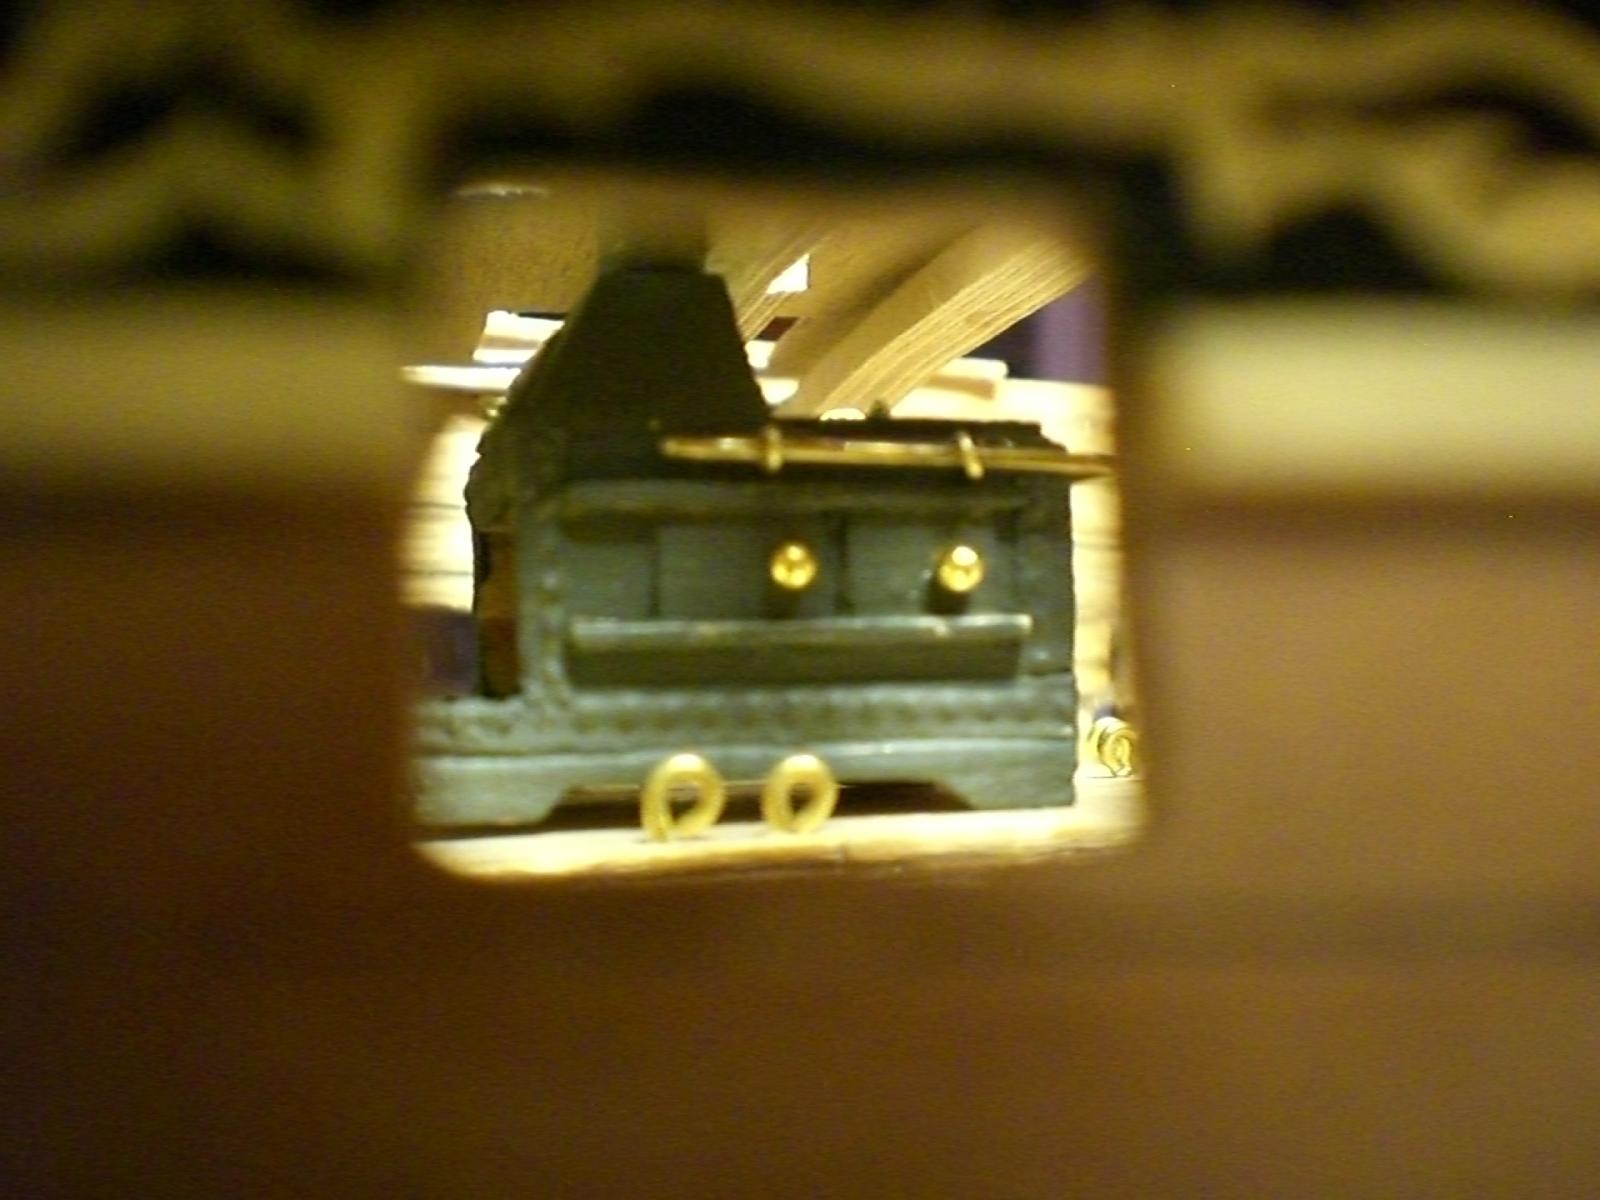
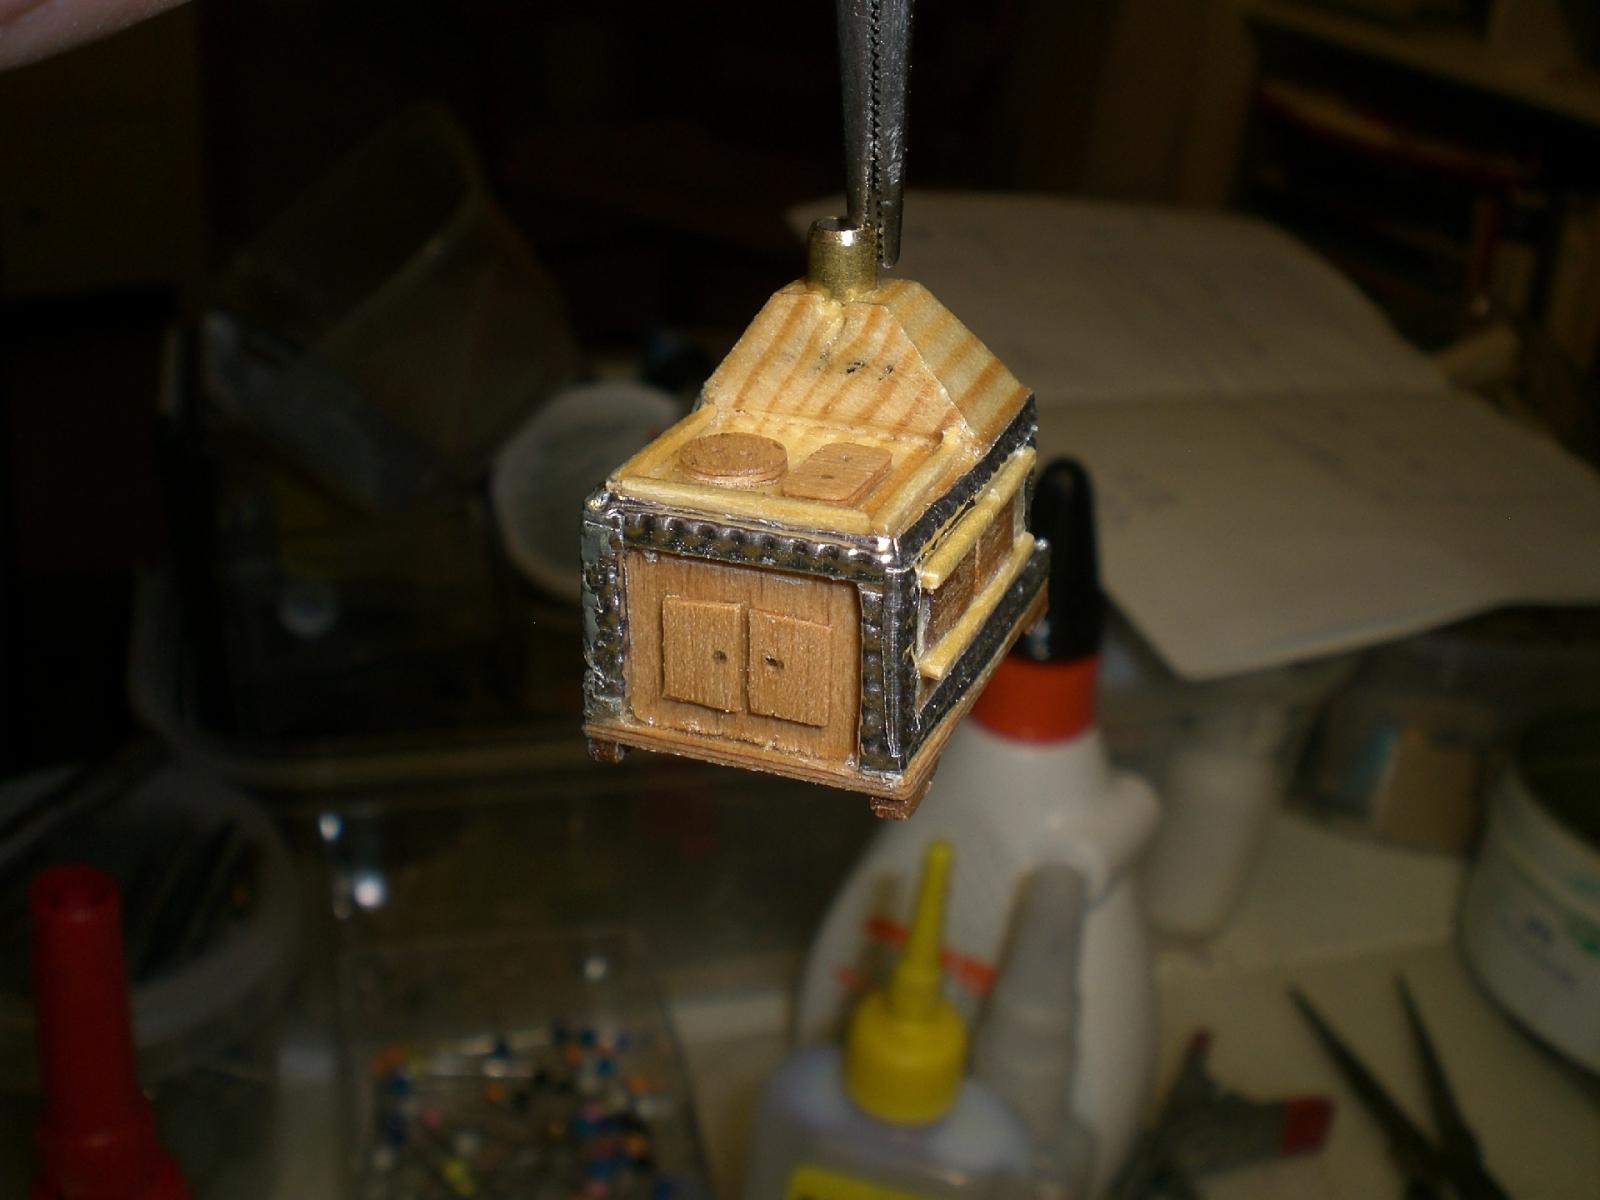
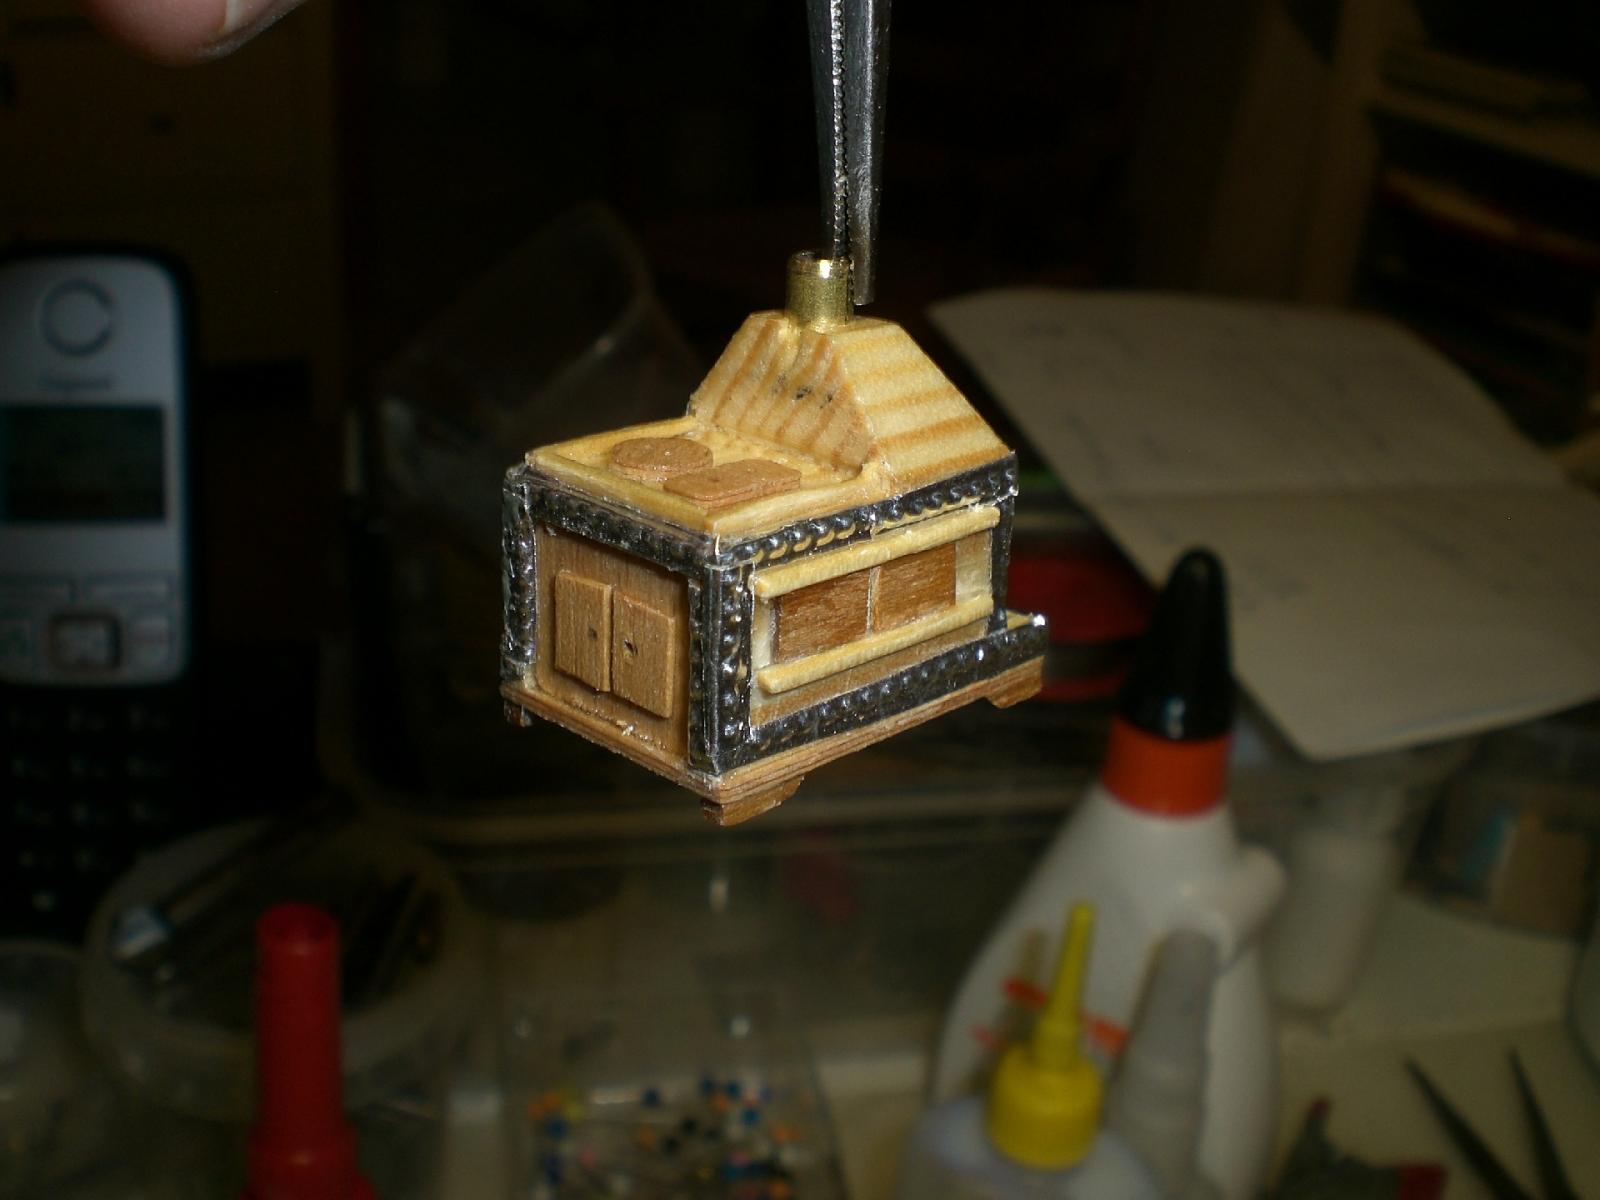
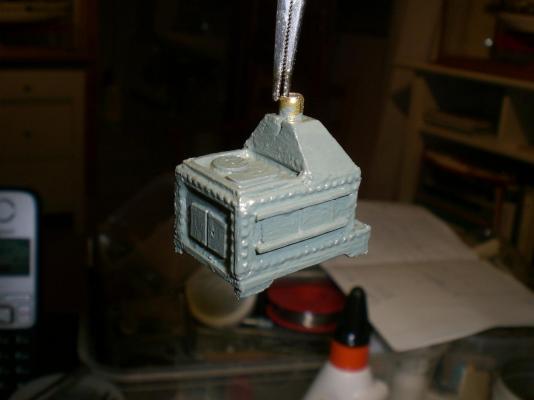
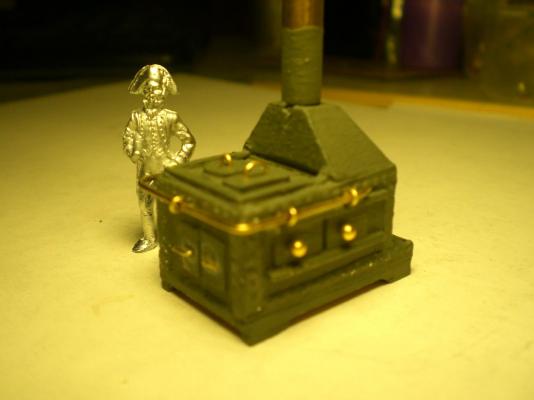
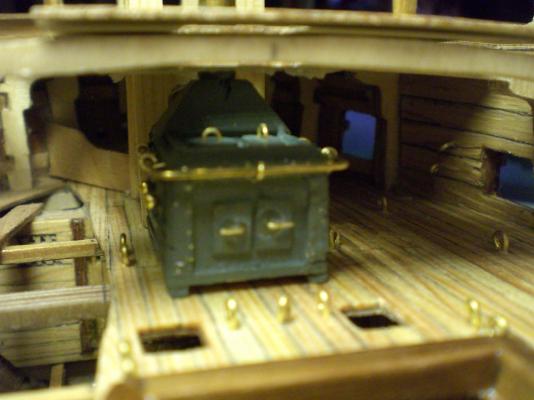
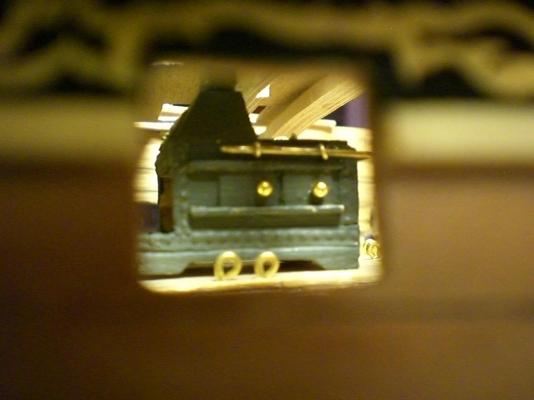
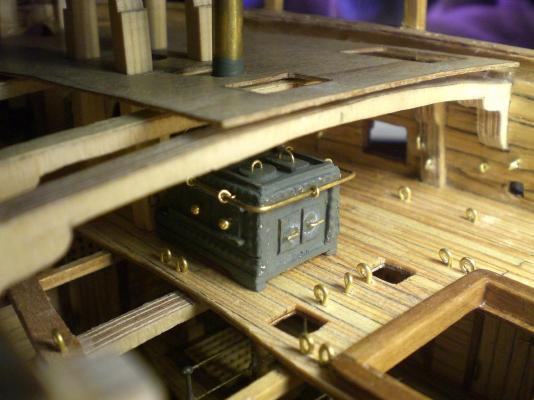
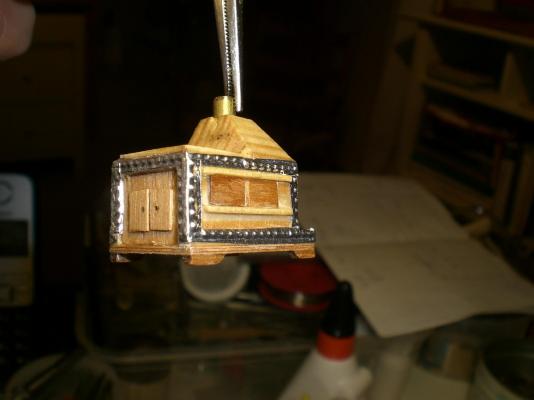
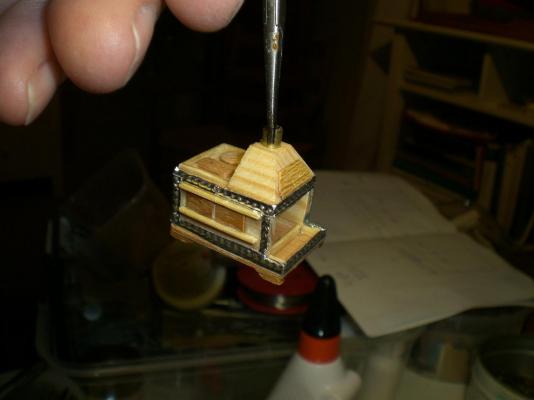
Galley stove , continued.... painted, cooking side spit roast side brass parts fitted stove heaved into ist place view through portside gunport Oh, oh, there is not going to be much place for the cook.... Build log part 32 to follow... Nils


-
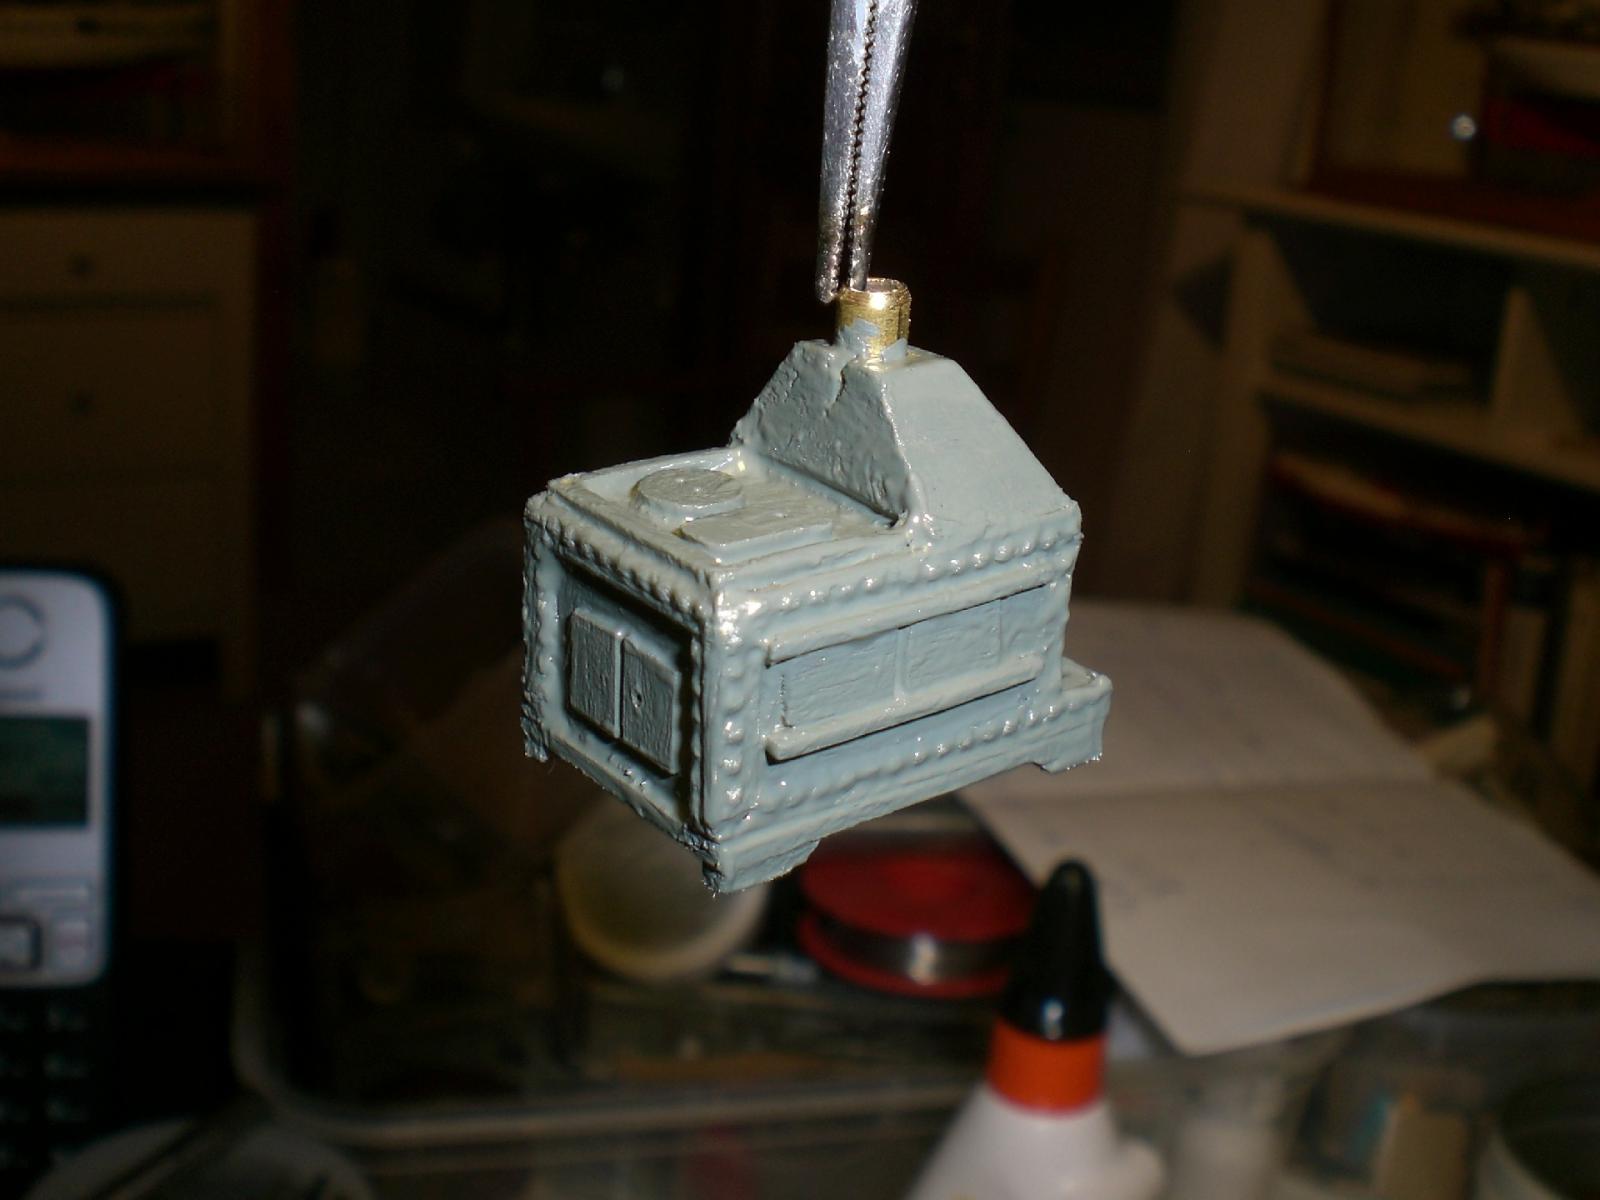
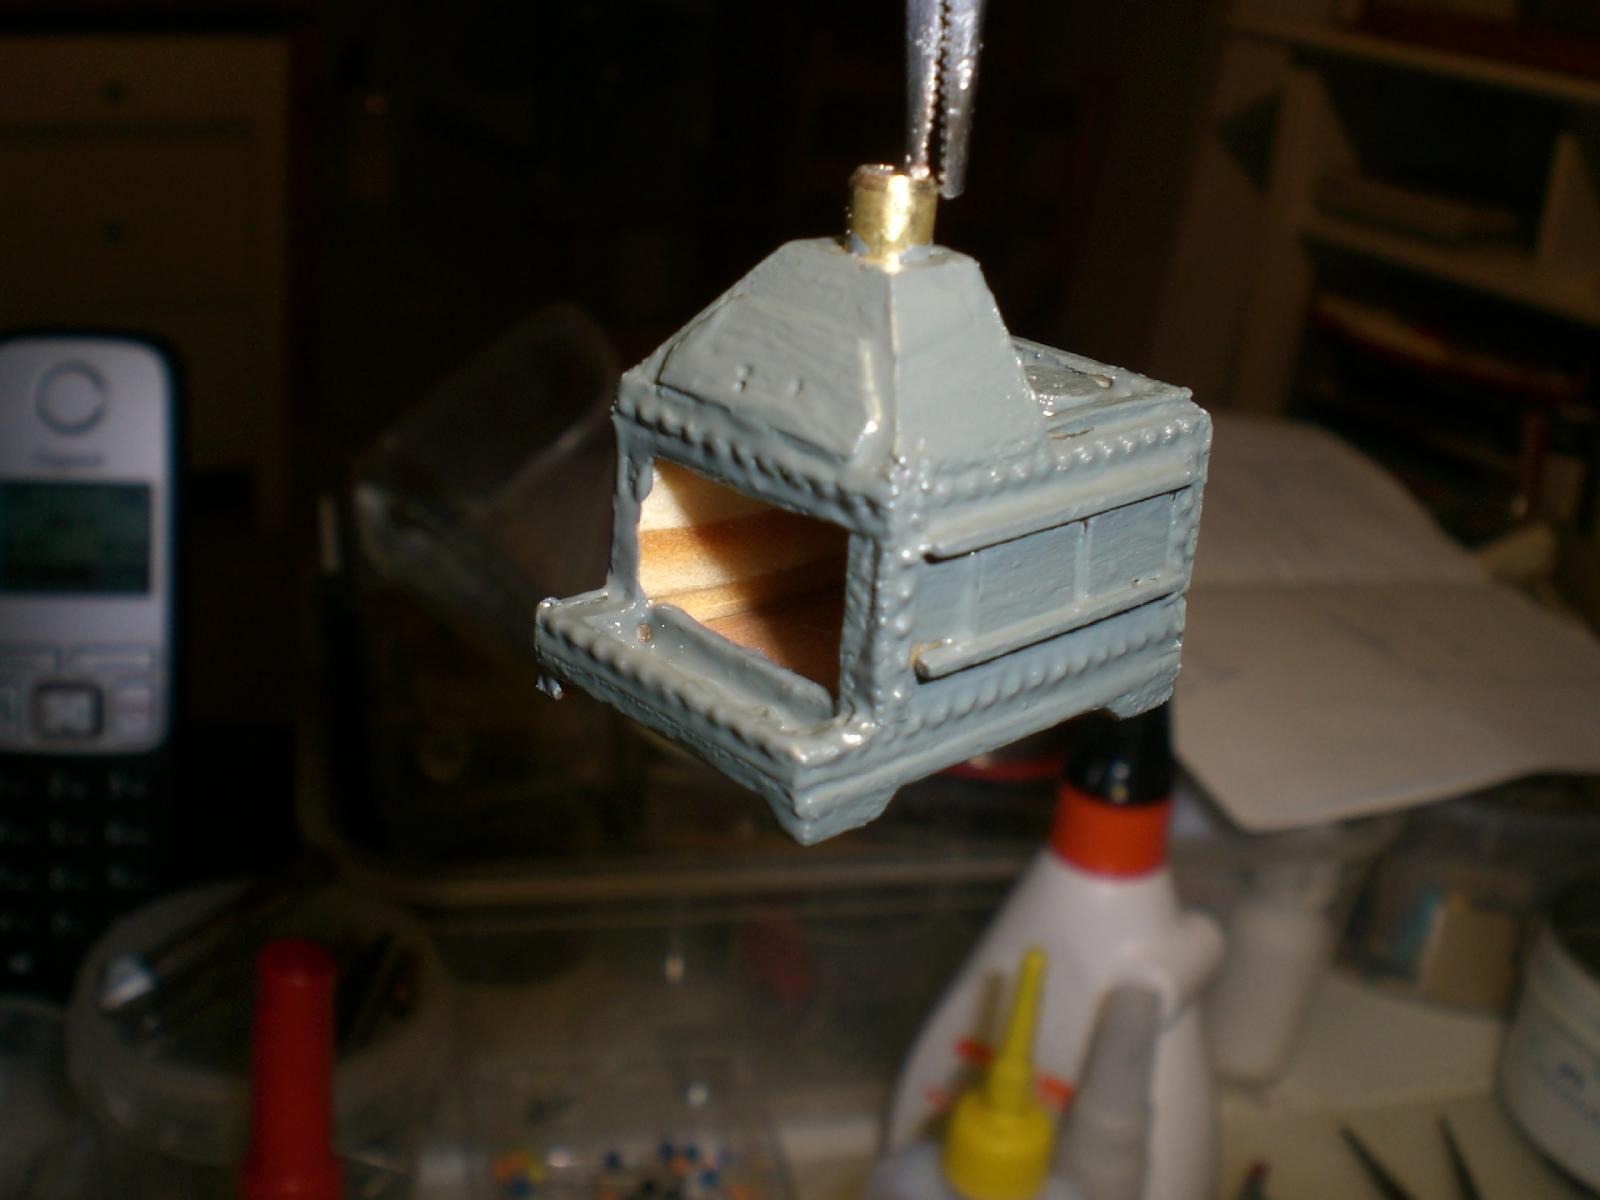
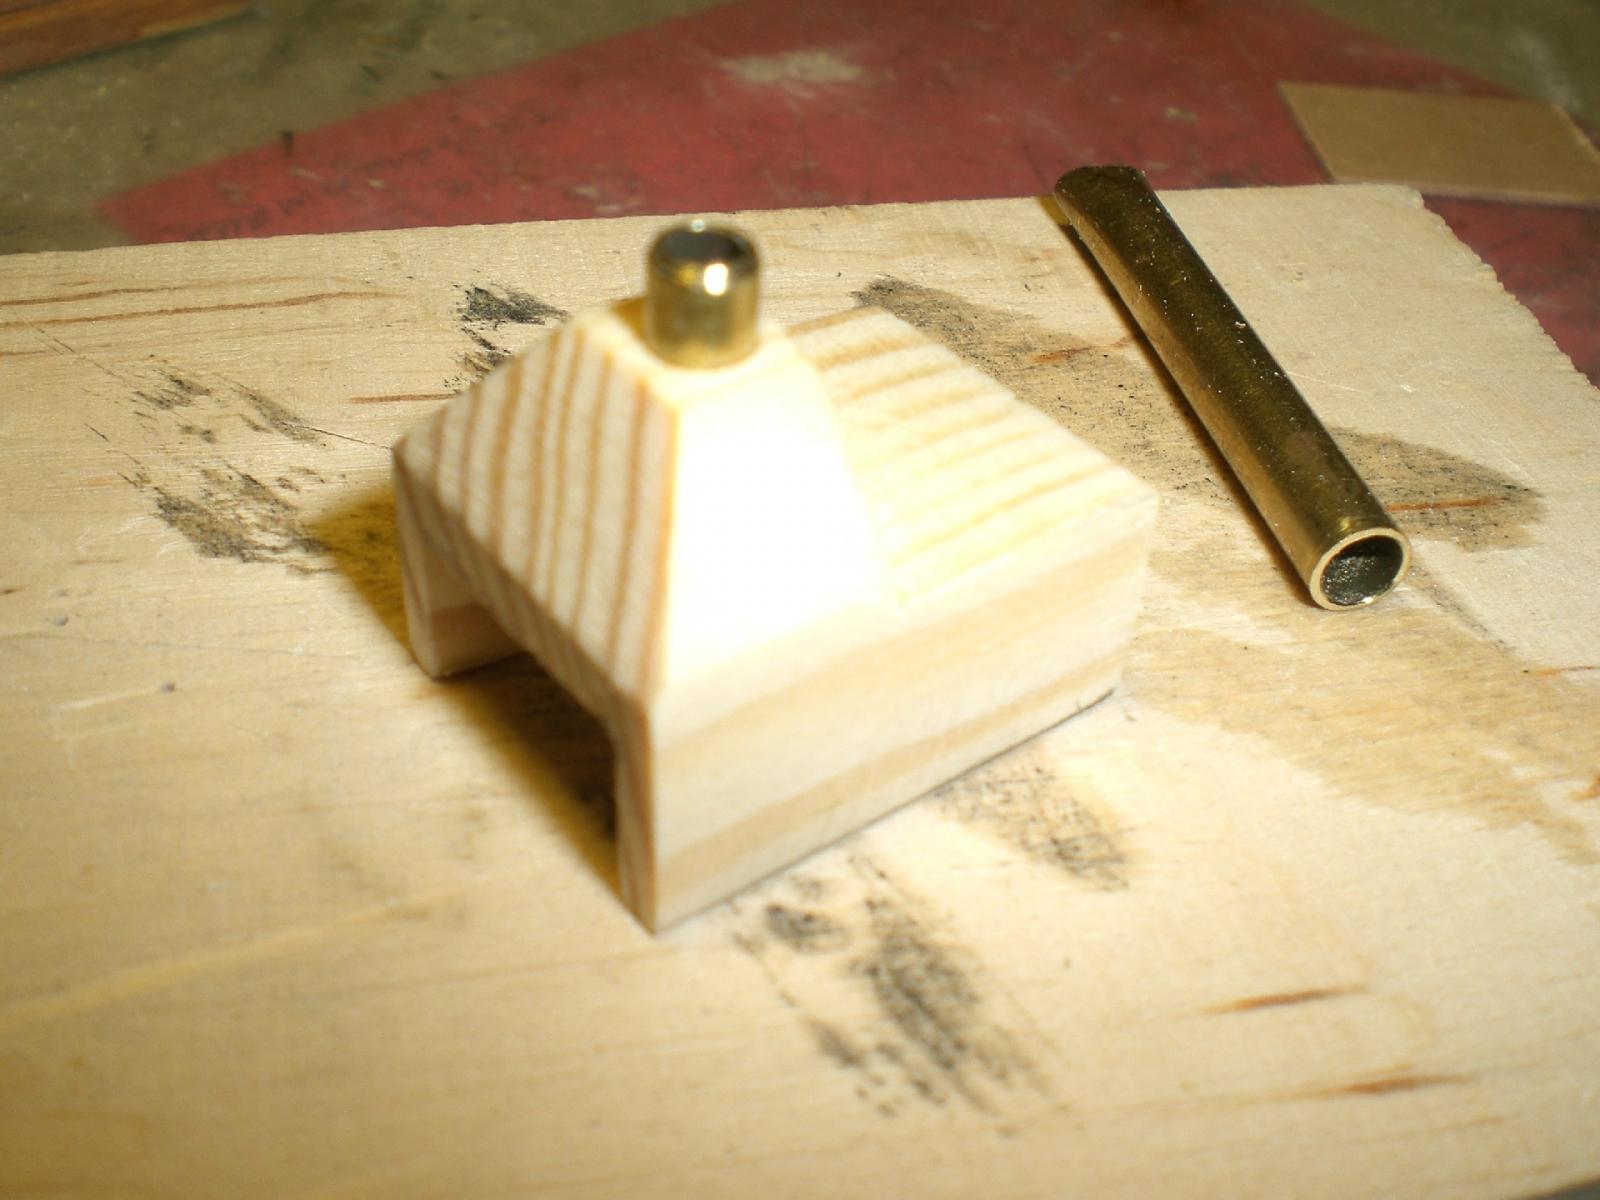
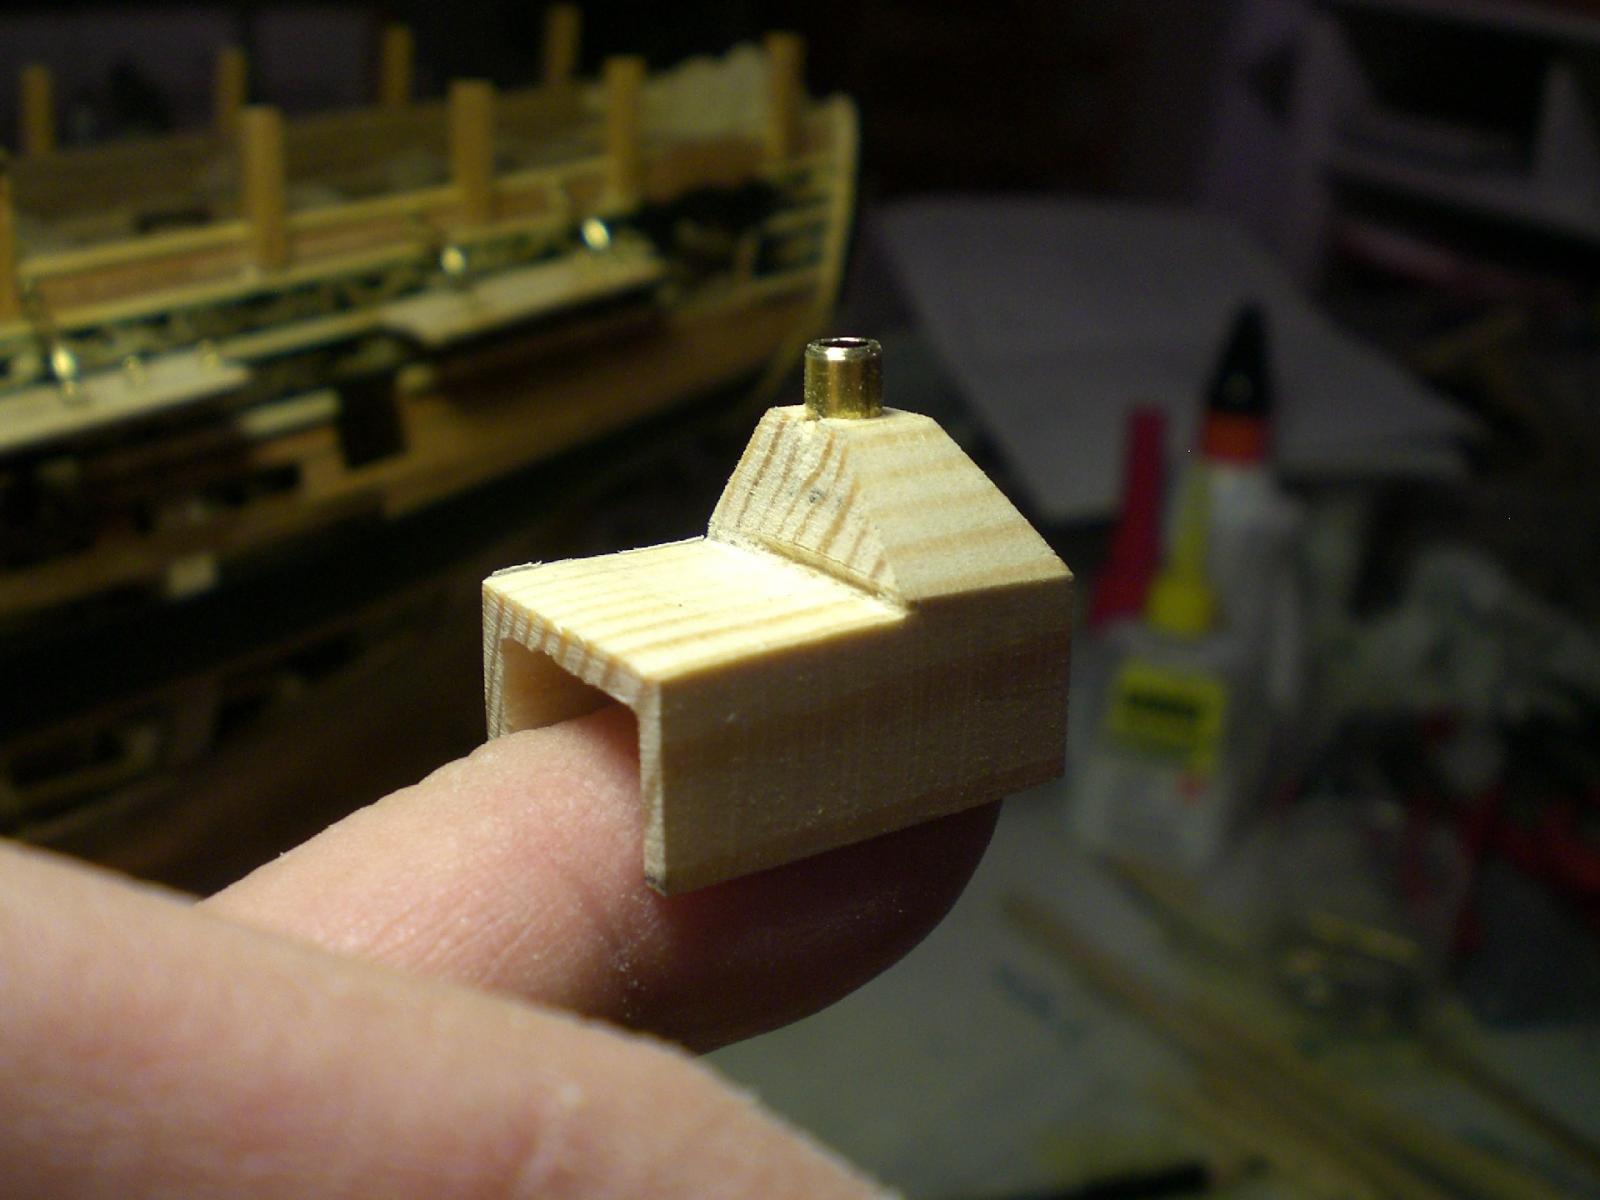
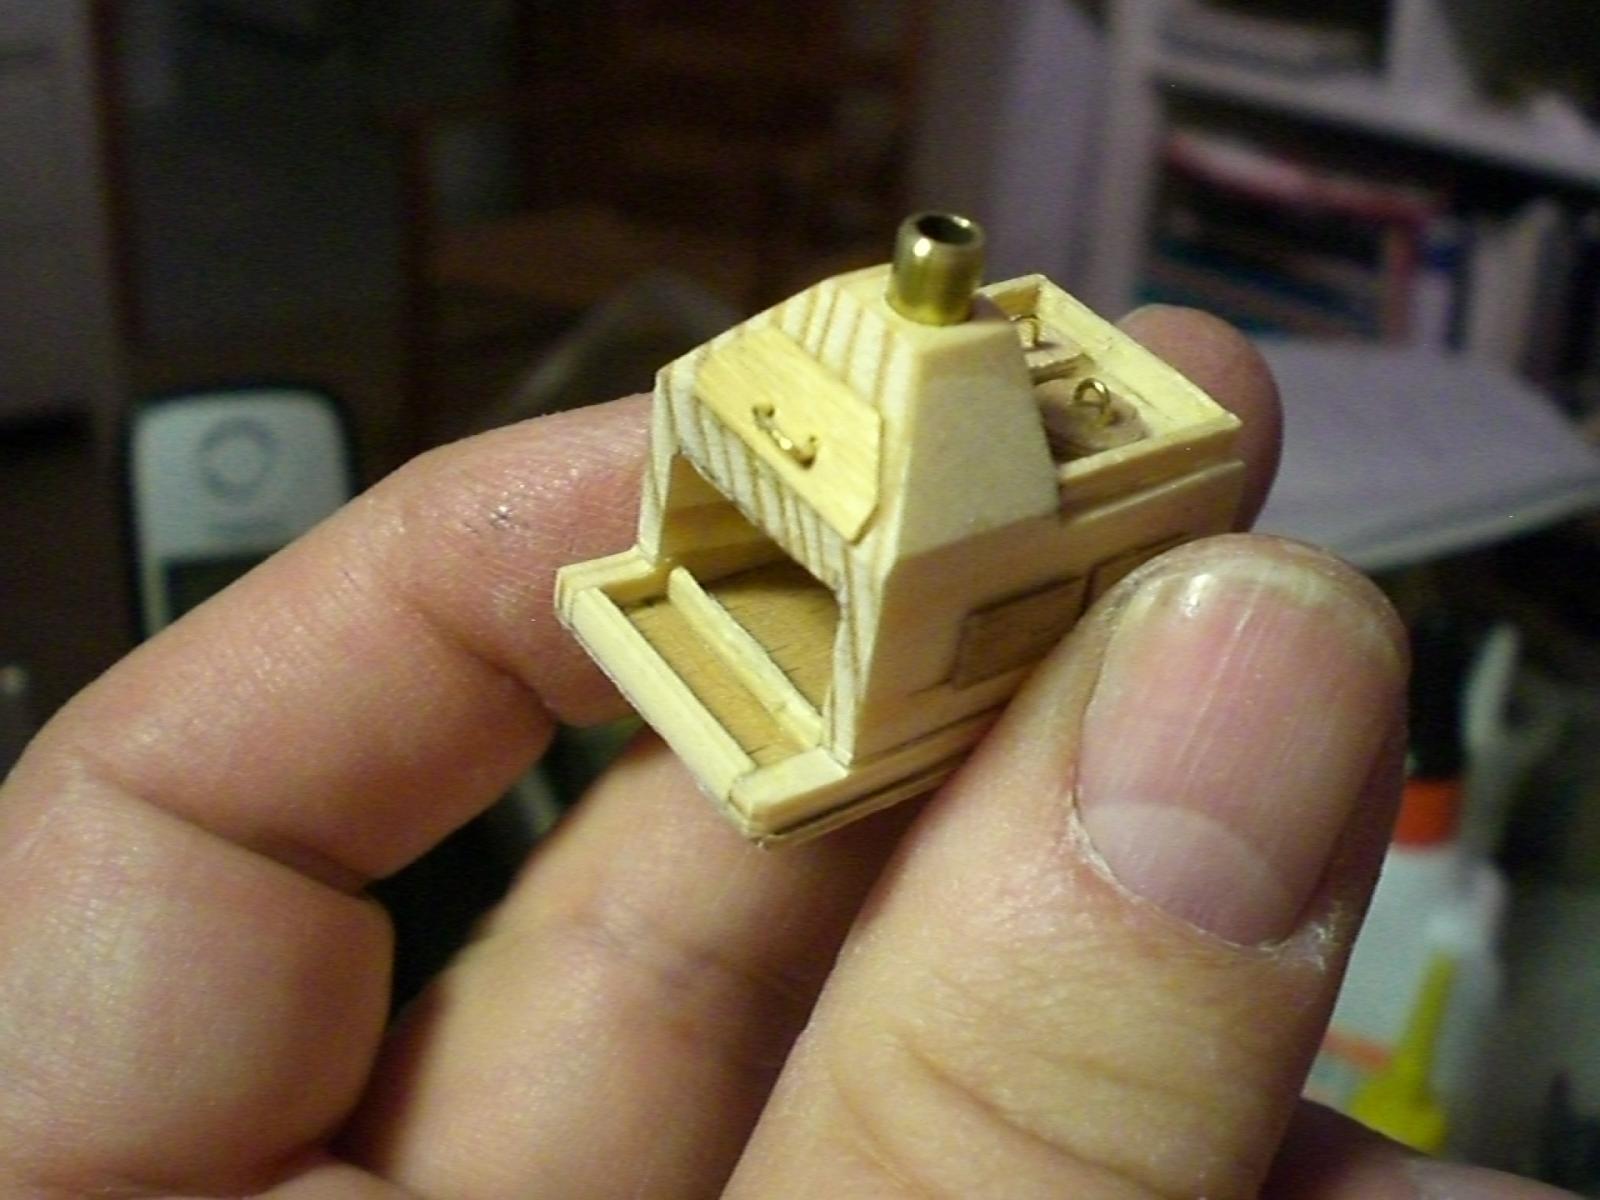
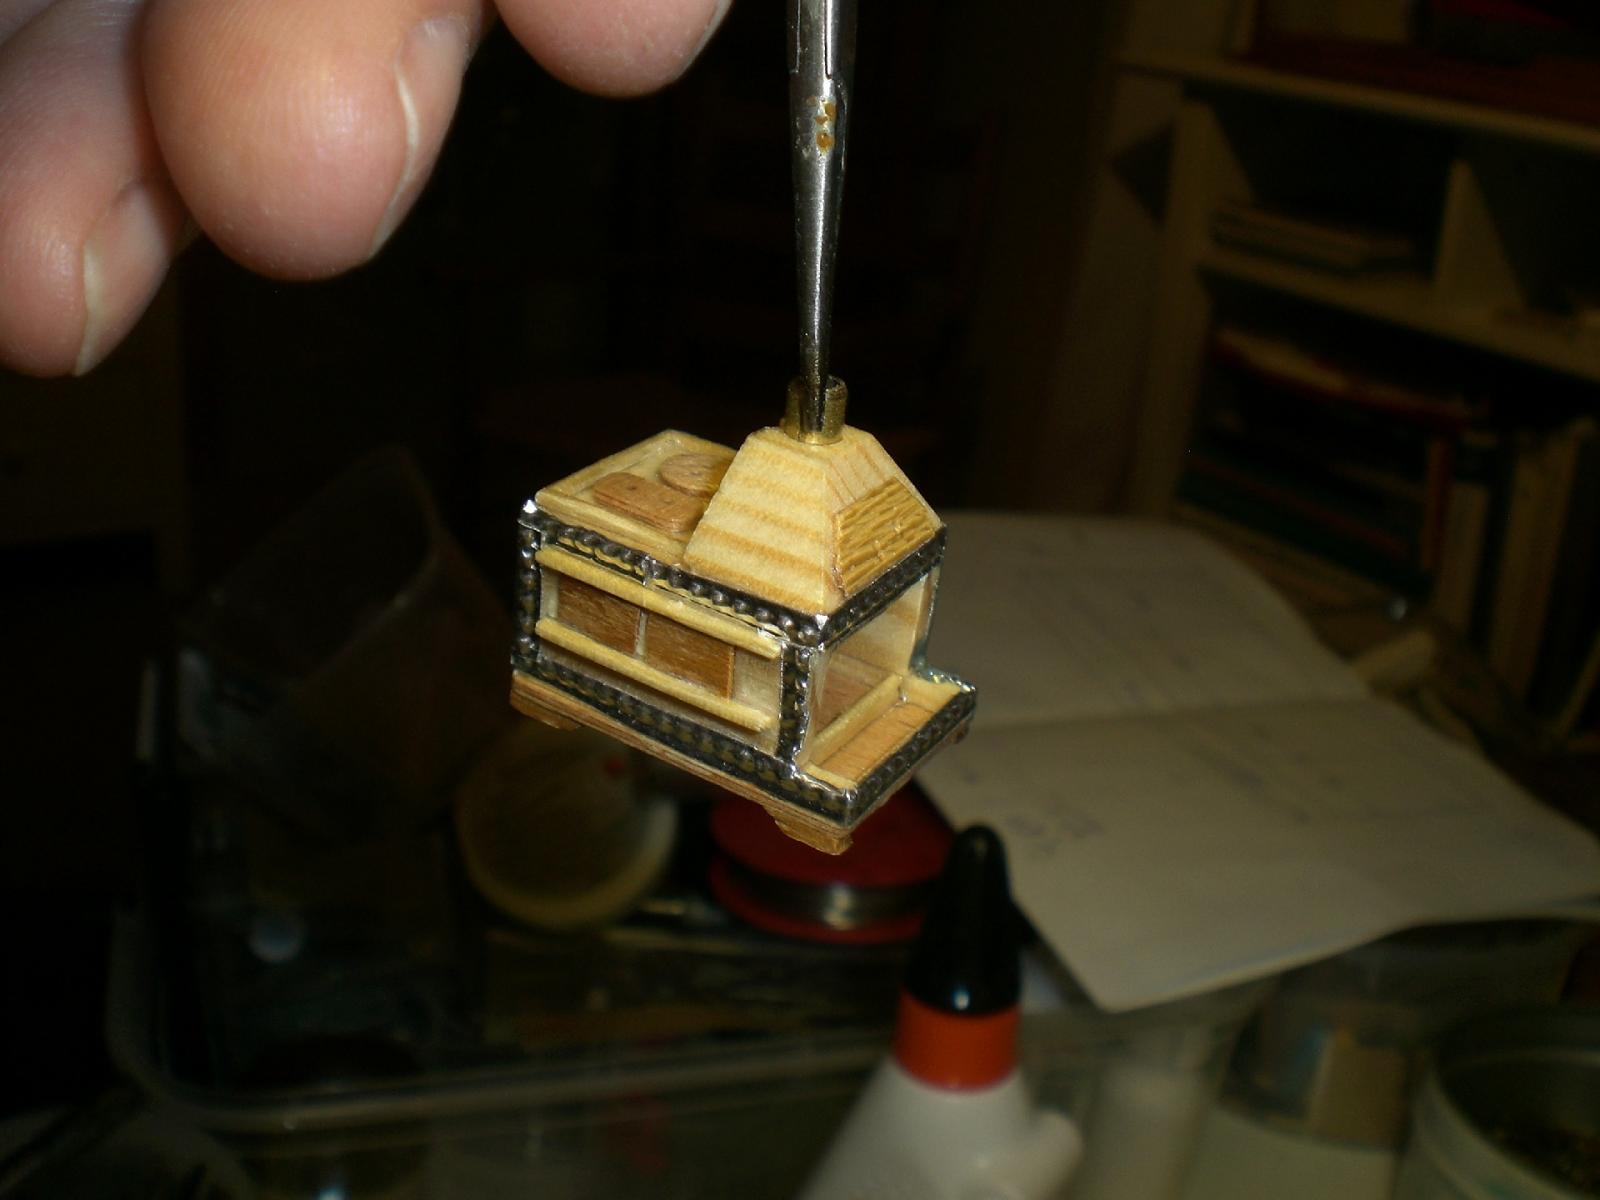
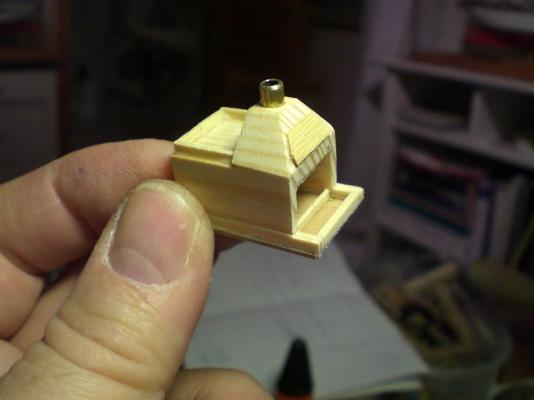
Build log part 30 next will be the galley stove I did yesterday, but I still Need to fit the spit roast with its Elevation devices this is the stove raw material, 20mm square bar cutting into shape, and an Adapter for the chimney pipe cutting out the fireing and baking space drip pan for the spit roast side, Support logs and baseplate further Fitting out.... riveting the corners to be continued.... Nils


-
Thank you so much B.E. for your Kind Response and that wonderful link to Dafi`s lovely log of the Victory concerning anchor cables, that is more than I had ever expected...., and also for your sentenses olut ouf Bruian Lavery`s literature. All very inspiring, and I find a very nice Detail (anchor cable rigging) on a 18th century model Nils
-
Thank you very much Jason, I now know what the riding bitts in that Position are mainly for, also nice explaining Picture of yours.. Nils
-
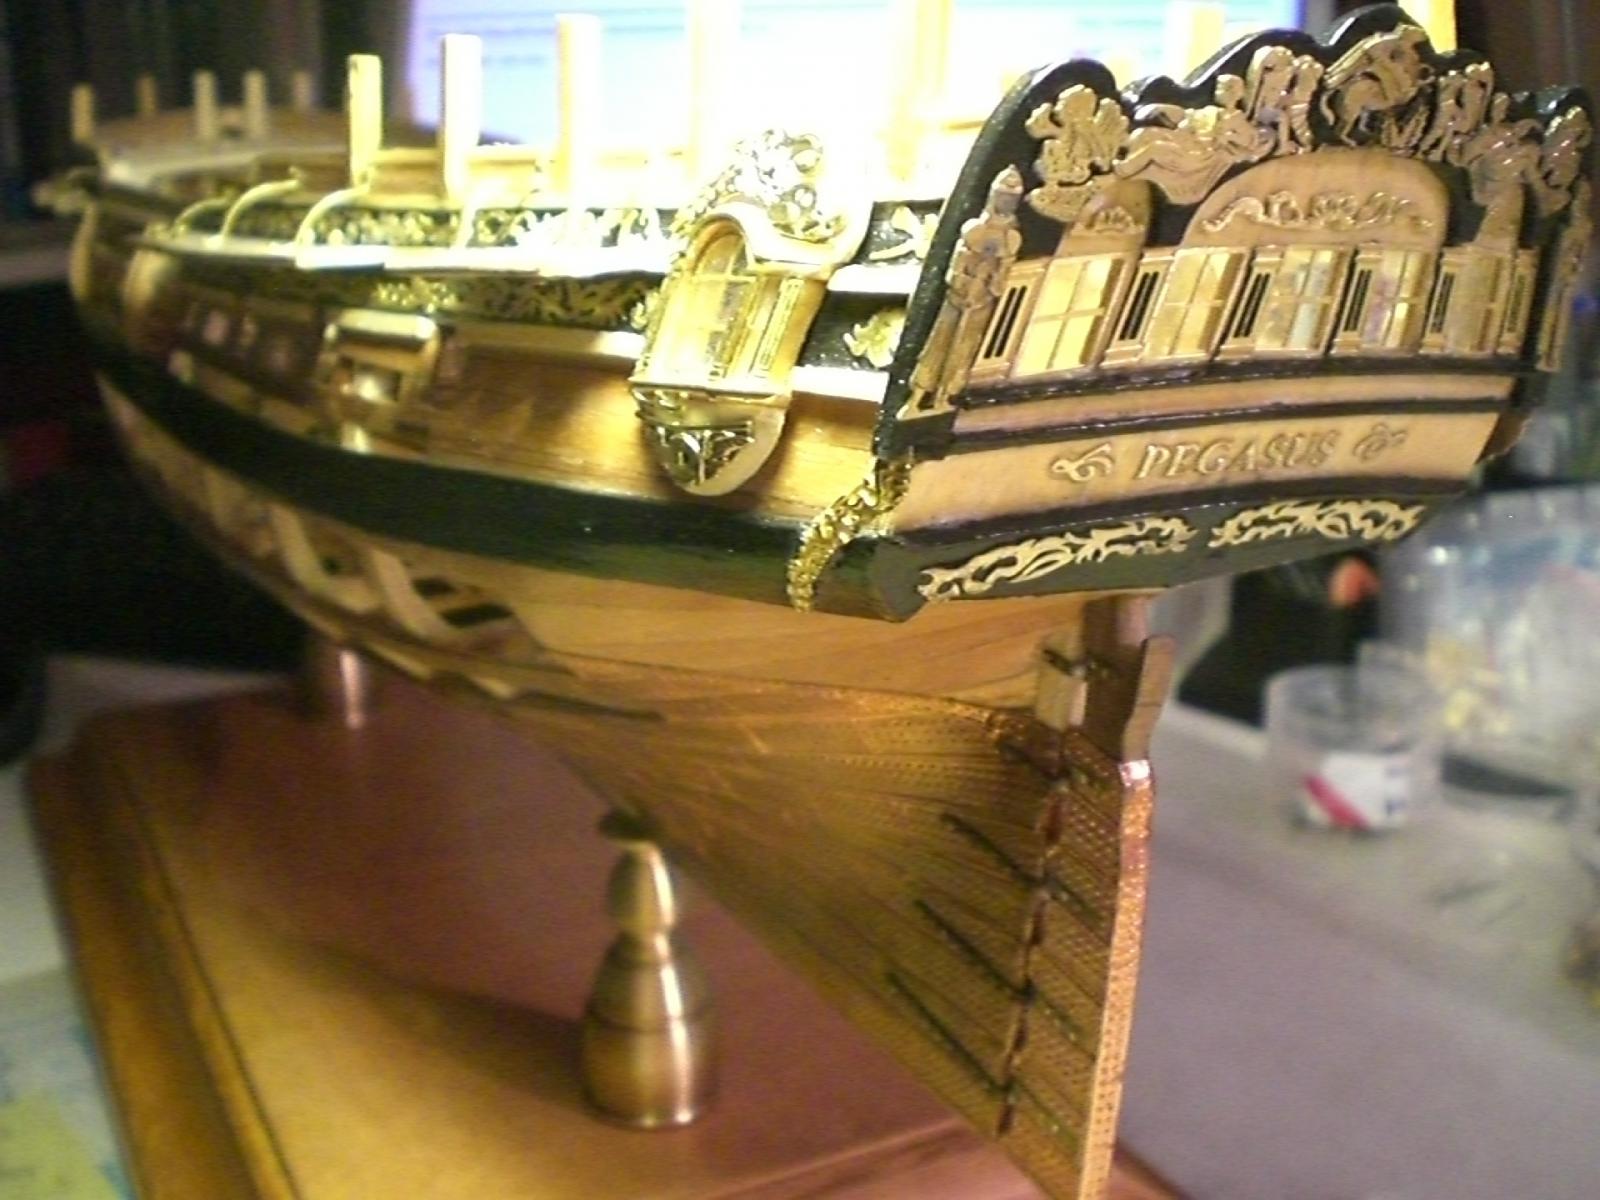
Nigel thank you, yes I think it was a good Suggestion and decision to work over the Stern Counter... I`m happy with the result Nils
-
Thank you B.E. it would be real great if you have any Information, is there perhaps an Illustration scetch or scheme in one of your good books that could perhaps be scaned in. "riding bitts and cable Tier" are complete new english naval words for me, would Need to look those up, probably a scetch would explain. I was just wondering where those thick and slippery anchor cables are left after the hawse holes, and if they should not be rigged. I asume that at least two of the four anchors are / were rigged during the voyage. Nils
-
Hi Juergen, thank you for looking in and for your words... Nils
-
Hi Popeye, thanks for your comment, the "Club rack" is a good one......, but did you know that in the 60 ties the commander (also a riding enthusiast) of the Gorch Fock, I think it was in New York harbour, was riding a horse on the deck... Nils
-
Thank you Mark, I see you are speaking out of experience...., and you`re so right I am constantly thinking it over twice, what is to be fitted on next, for exactly that reason. Am working on the galley stove at the Moment. I still need Information where the anchor ropes are guided to when they come in through the round anchor rope holes in the bow, and at which Point they are led into their coil rope locker (somewhere under the gun deck deck ?) Nils
-
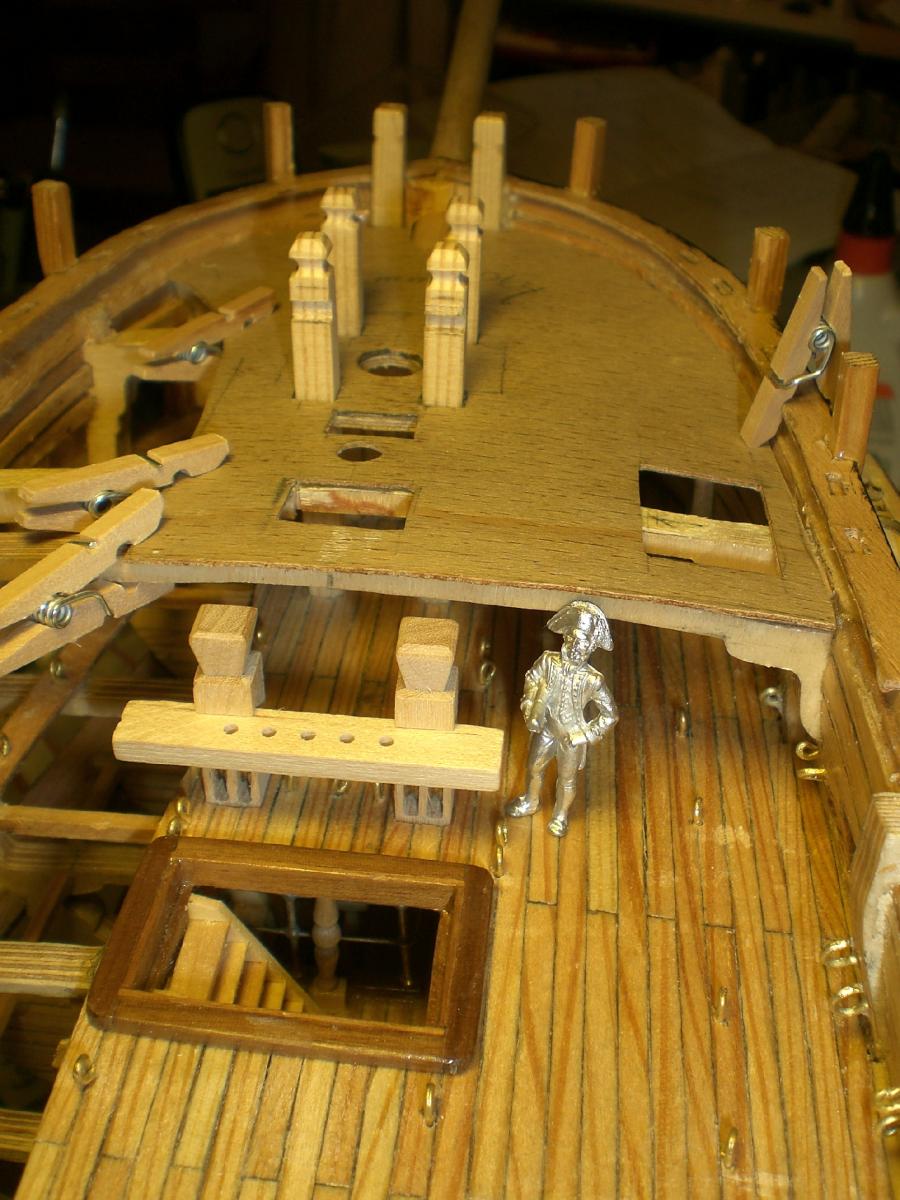
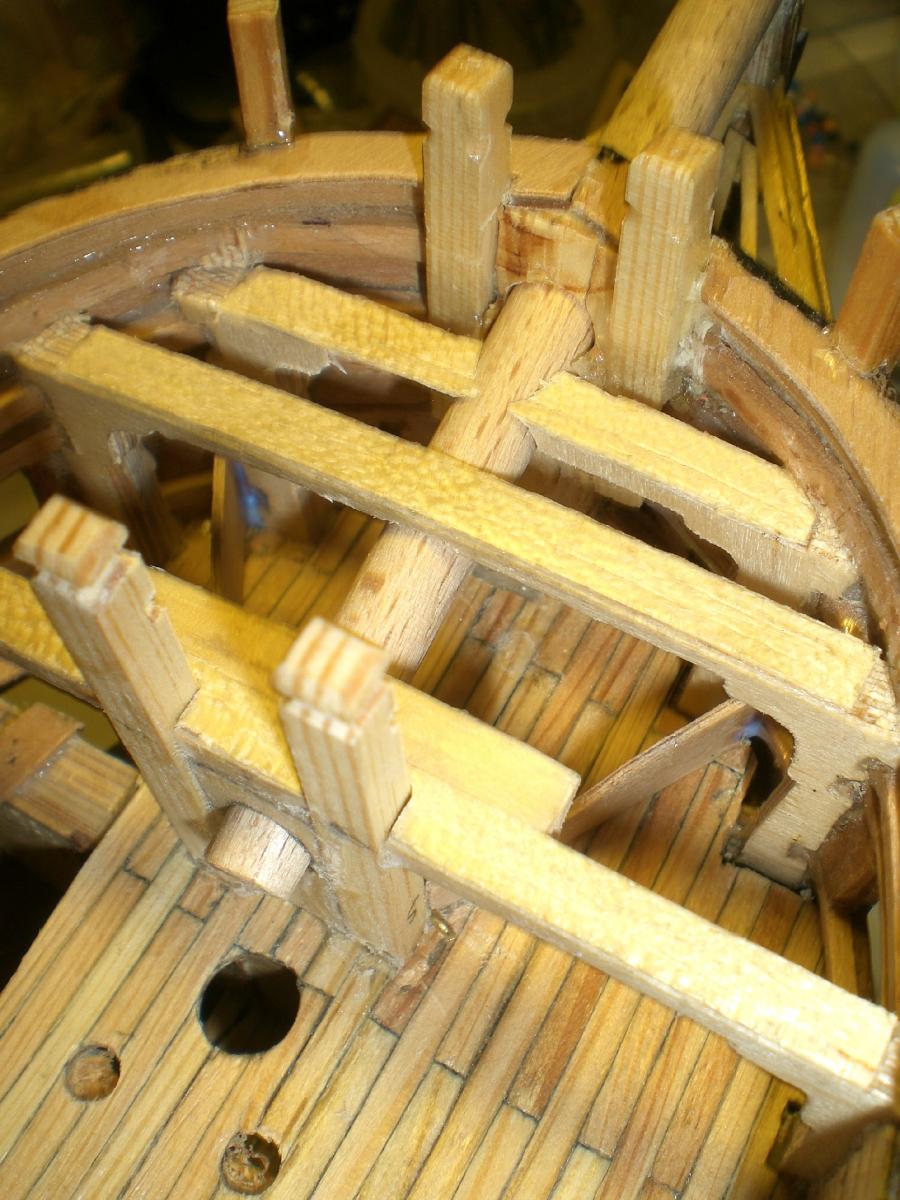
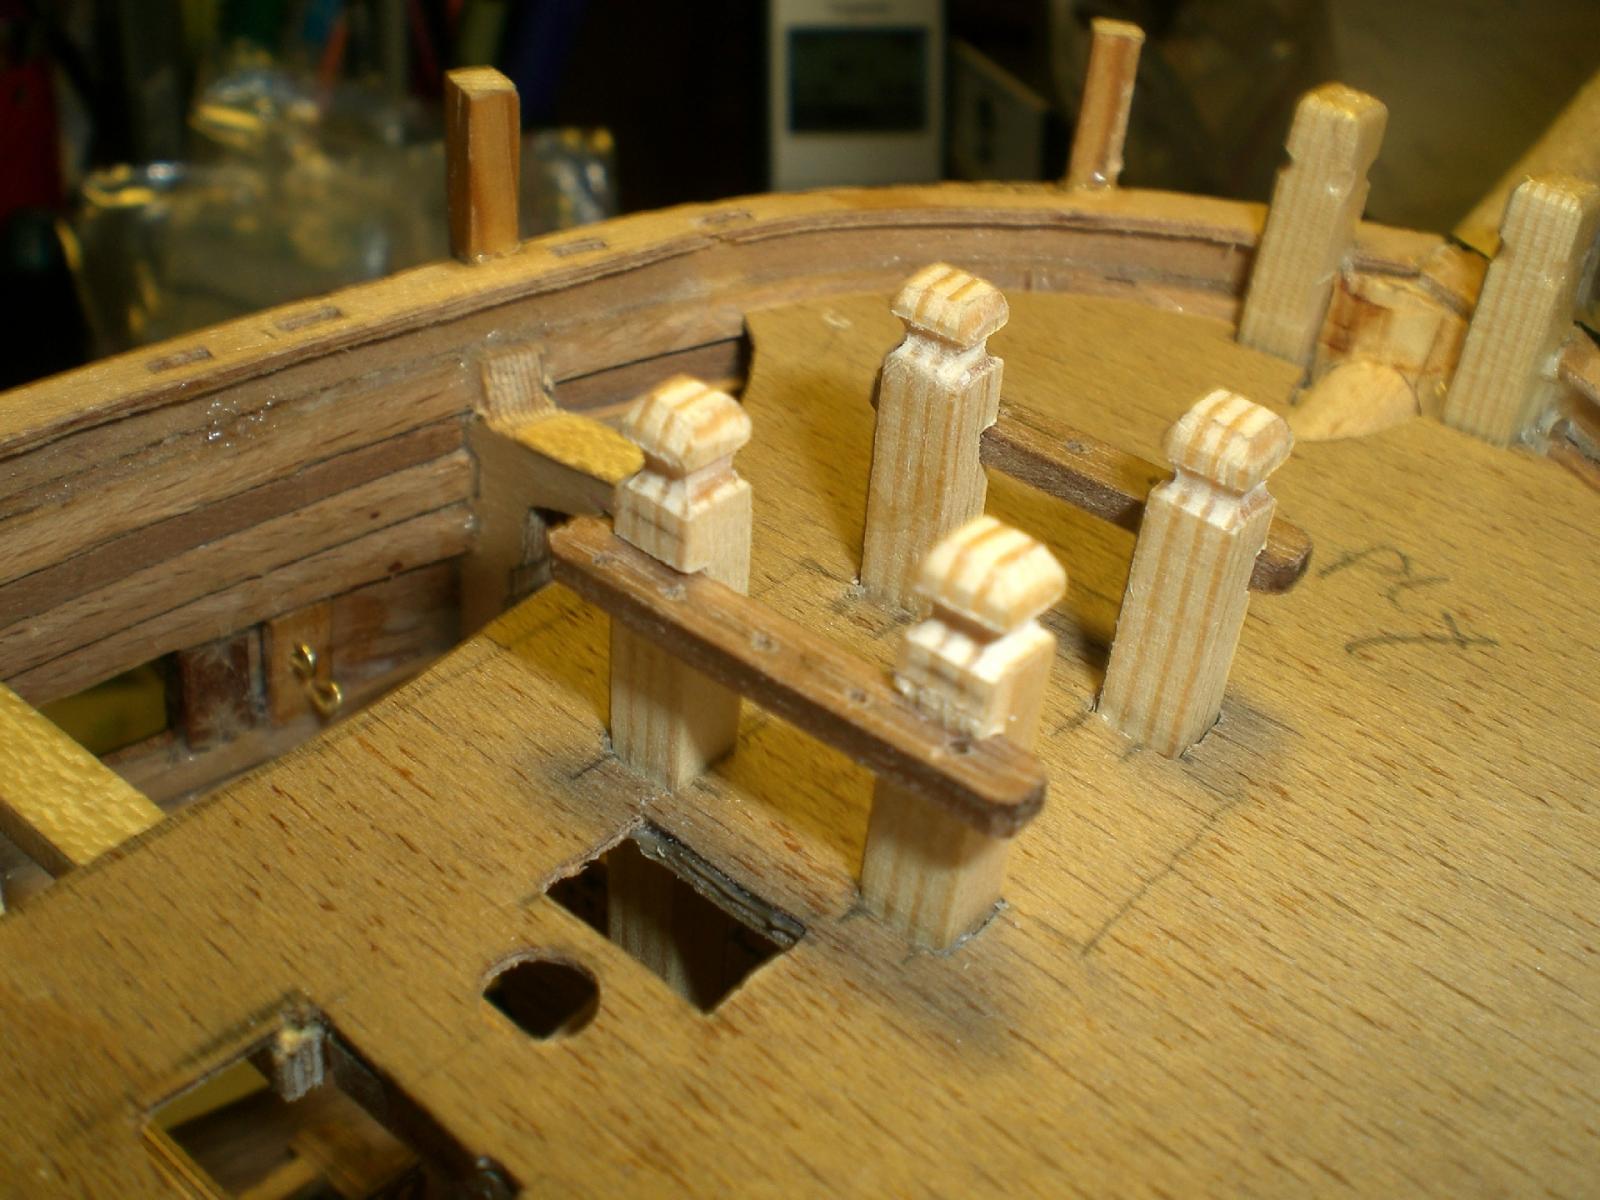
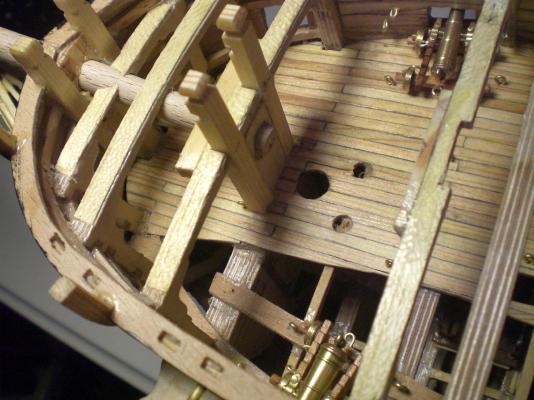
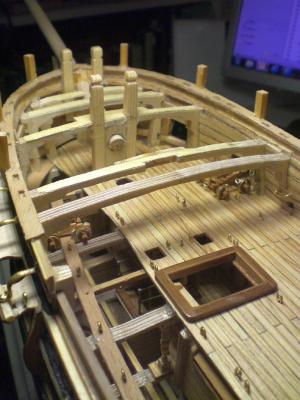
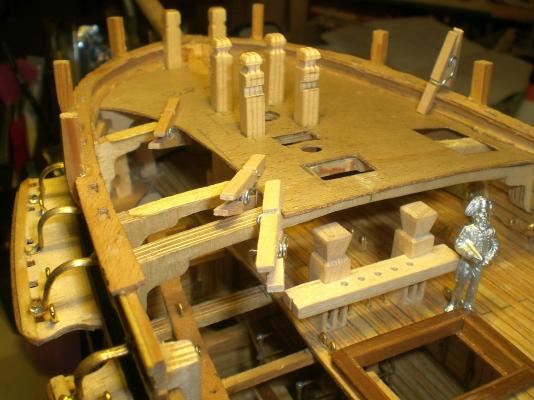
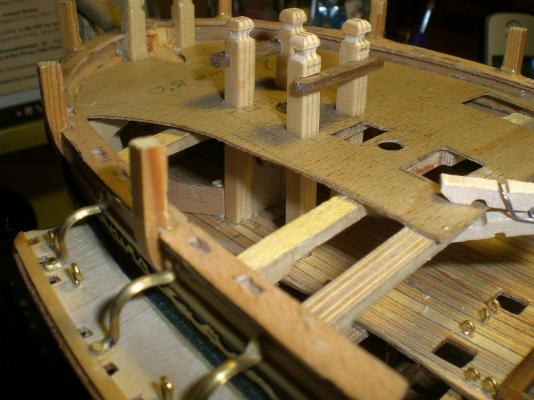
Build log part 29 Now starting with fitting out forecastle beneath and on top of that deck Fitting the first two Posts that also take up the bowsprit counterplate the gundeck is cut away, wide under the forecastle deck as well..., to allow view from above to lower decks tried to gain standhight for the Crew here as well (as good as possible) Access to the forecastle deck shall be over the hatch-opening on starboard deck side (per Stair, the deckbeam shall be cut away at that Position. The stair shall fit nicely in between the first two gun tackles the two masterboards fitted in place view underneath... deck openings for gratings, stovechimney the planking of the deck will be done later on Build log part 30 to follow.... Nils


-
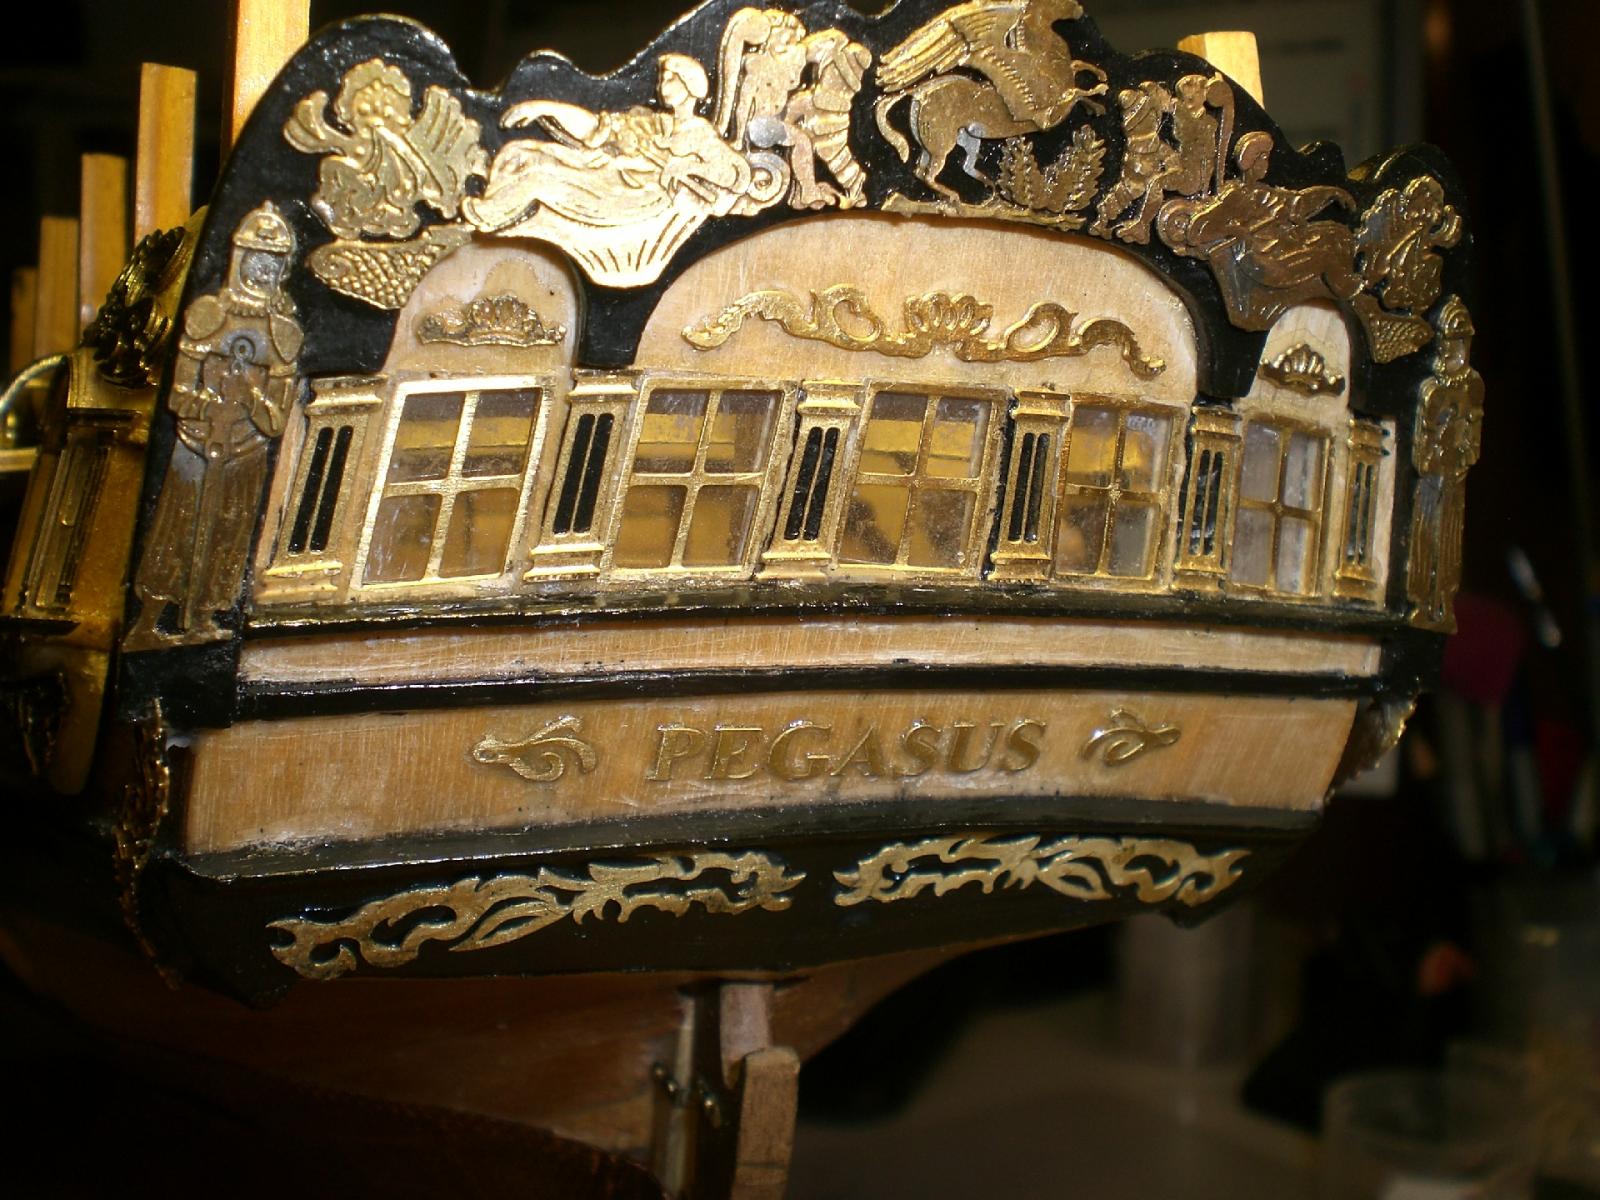
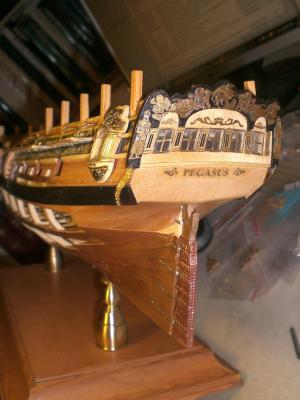
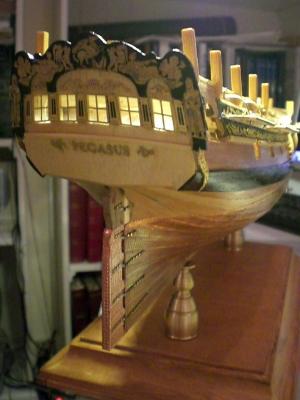
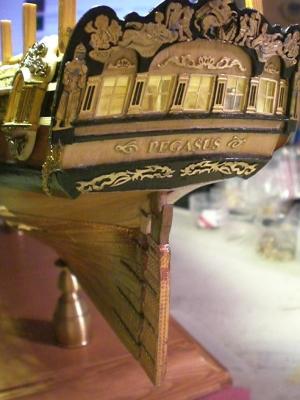
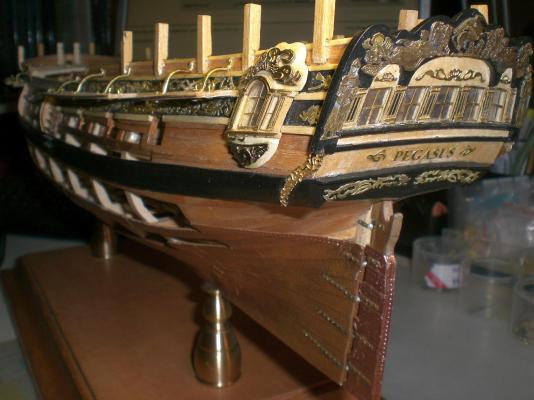
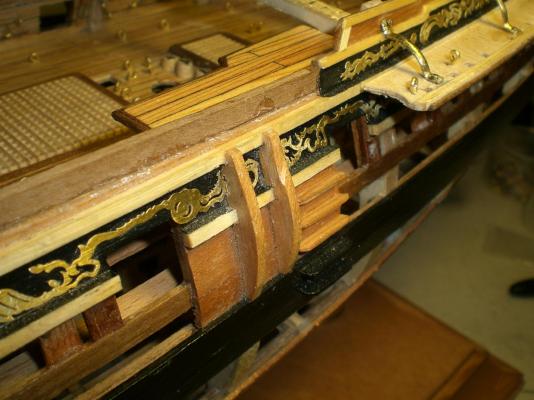
Build log part 28 here are some changes to the lower section to the Stern Appeal... (initiative born by fellow members) this was the look before... and here before... and here after the change Close ups are always risky, but I trust it`s OK to Show... the combinattion of partially cut away portside planking and actual outside bulwark decor above. That Stringer on portside just above the wales will have to take on the chainplate fastening bolts later on Build log part 29 to follow.... Nils


-
SS Vinal Haven by TBlack - FINISHED
Mirabell61 replied to TBlack's topic in - Build logs for subjects built 1851 - 1900
Thanks Tom, your Vinal Haven Steamer is a real nostalgic eyecatcher, very well done as I usualy do not build from kit there is always the question swiming up, how and from what shall I do it to suit the Chosen scale.... ? When roaming over flea-markets or simular market stands I always have eyes open for things that with a slight Change could look like or brought into final shape for Fitting I possibly would Need one day, especialy interesting would be a bin full of old brass and copper waste parts, for example like candle holder parts for stand plate pedestals, tooth wheels, plumbing elbows, and others, etc... Nils -
Very nice looking Sloop Yamsterman, I love that colorscheme, White, black, natural Wood... Nils
-
lovely work on the steering kinematic Danny Nils
-
beautiful timber-joining Mark, in all the HMS Druid is coming very well in Progress Nils
-
rigging and sails look great Peter also shrouds and ratlines well set.. Nils
- 431 replies
-
- 1
-

-
- pegasus
- victory models
- (and 1 more)
-
very impressive work Jamie !, a delight to to have the first time look into your build... Nils
-
Hello Peter, I`m realy happy with the stern-solution as on the mock up pic and with an additional thin rail to cap the black stripe Background. It was good that you had contacted me, otherwise B.E. could not bring out his good idea for some decoration in that "idle area", Thanks again Peter. Also thanks for the link to Amati and sharing your experience with them. I`ll give them a mail.. Nils
-
Perfect B.E. your advice is well appreciated, I`ll do it that way..., thanks again Nils
-
Hello B.E. here only a rough photomontage of the thought.... Nils as if it were to be..., These two decorations were srplus on the etched sheet anyhow

-
Danny, the quarterrail Looks very nicely, also the metal supporting in the front section, it rounds up the Quarterdeck sides perfectly together with the swivel gunposts. Nils
-
Good day B.E. Thanks for your words, I`ve also been thinking of something to be spaced in the rather wide empty space at Level of the wales and above before. Your thought and idea (as well as Peters comment) now gives me encouragement to look out for a suitable Kind of decoration to be added there, that would`nt overload the Stern too much. Perhaps a black stripe background in height of the wales will do, with a brass decoration in repeatable type of the side frieses decoration on it, to match with the System in Color and make. How would you think about that ? and based on the initiative of fellow members Flyer,and B.E.(great idea!) Nils
-
Lovely lobster smack Bob, I love your Framework on it, and very well done indeed Nils
- 86 replies
-
- 3
-
-
- muscongus bay lobster smack
- Midwest Products
- (and 1 more)
-
sounds very interesting Nigel, would like to see how it works out.. Nils