Mirabell61
-
Posts
7,410 -
Joined
-
Last visited
Content Type
Profiles
Forums
Gallery
Events
Everything posted by Mirabell61
-
 Hello Geert, congrats, I know its an exiting moment, when the shell is removed from the mold, now you certainly will be starting with the framework..... Nils
 -
Hi Piet, All my build logs of the last years are linked to my signature..., the last was the Chebec "Eagle of Algier" Cheers, Nils
- 378 replies
-
- 4
-

-
- java
- pacific crossroads
- (and 2 more)
-
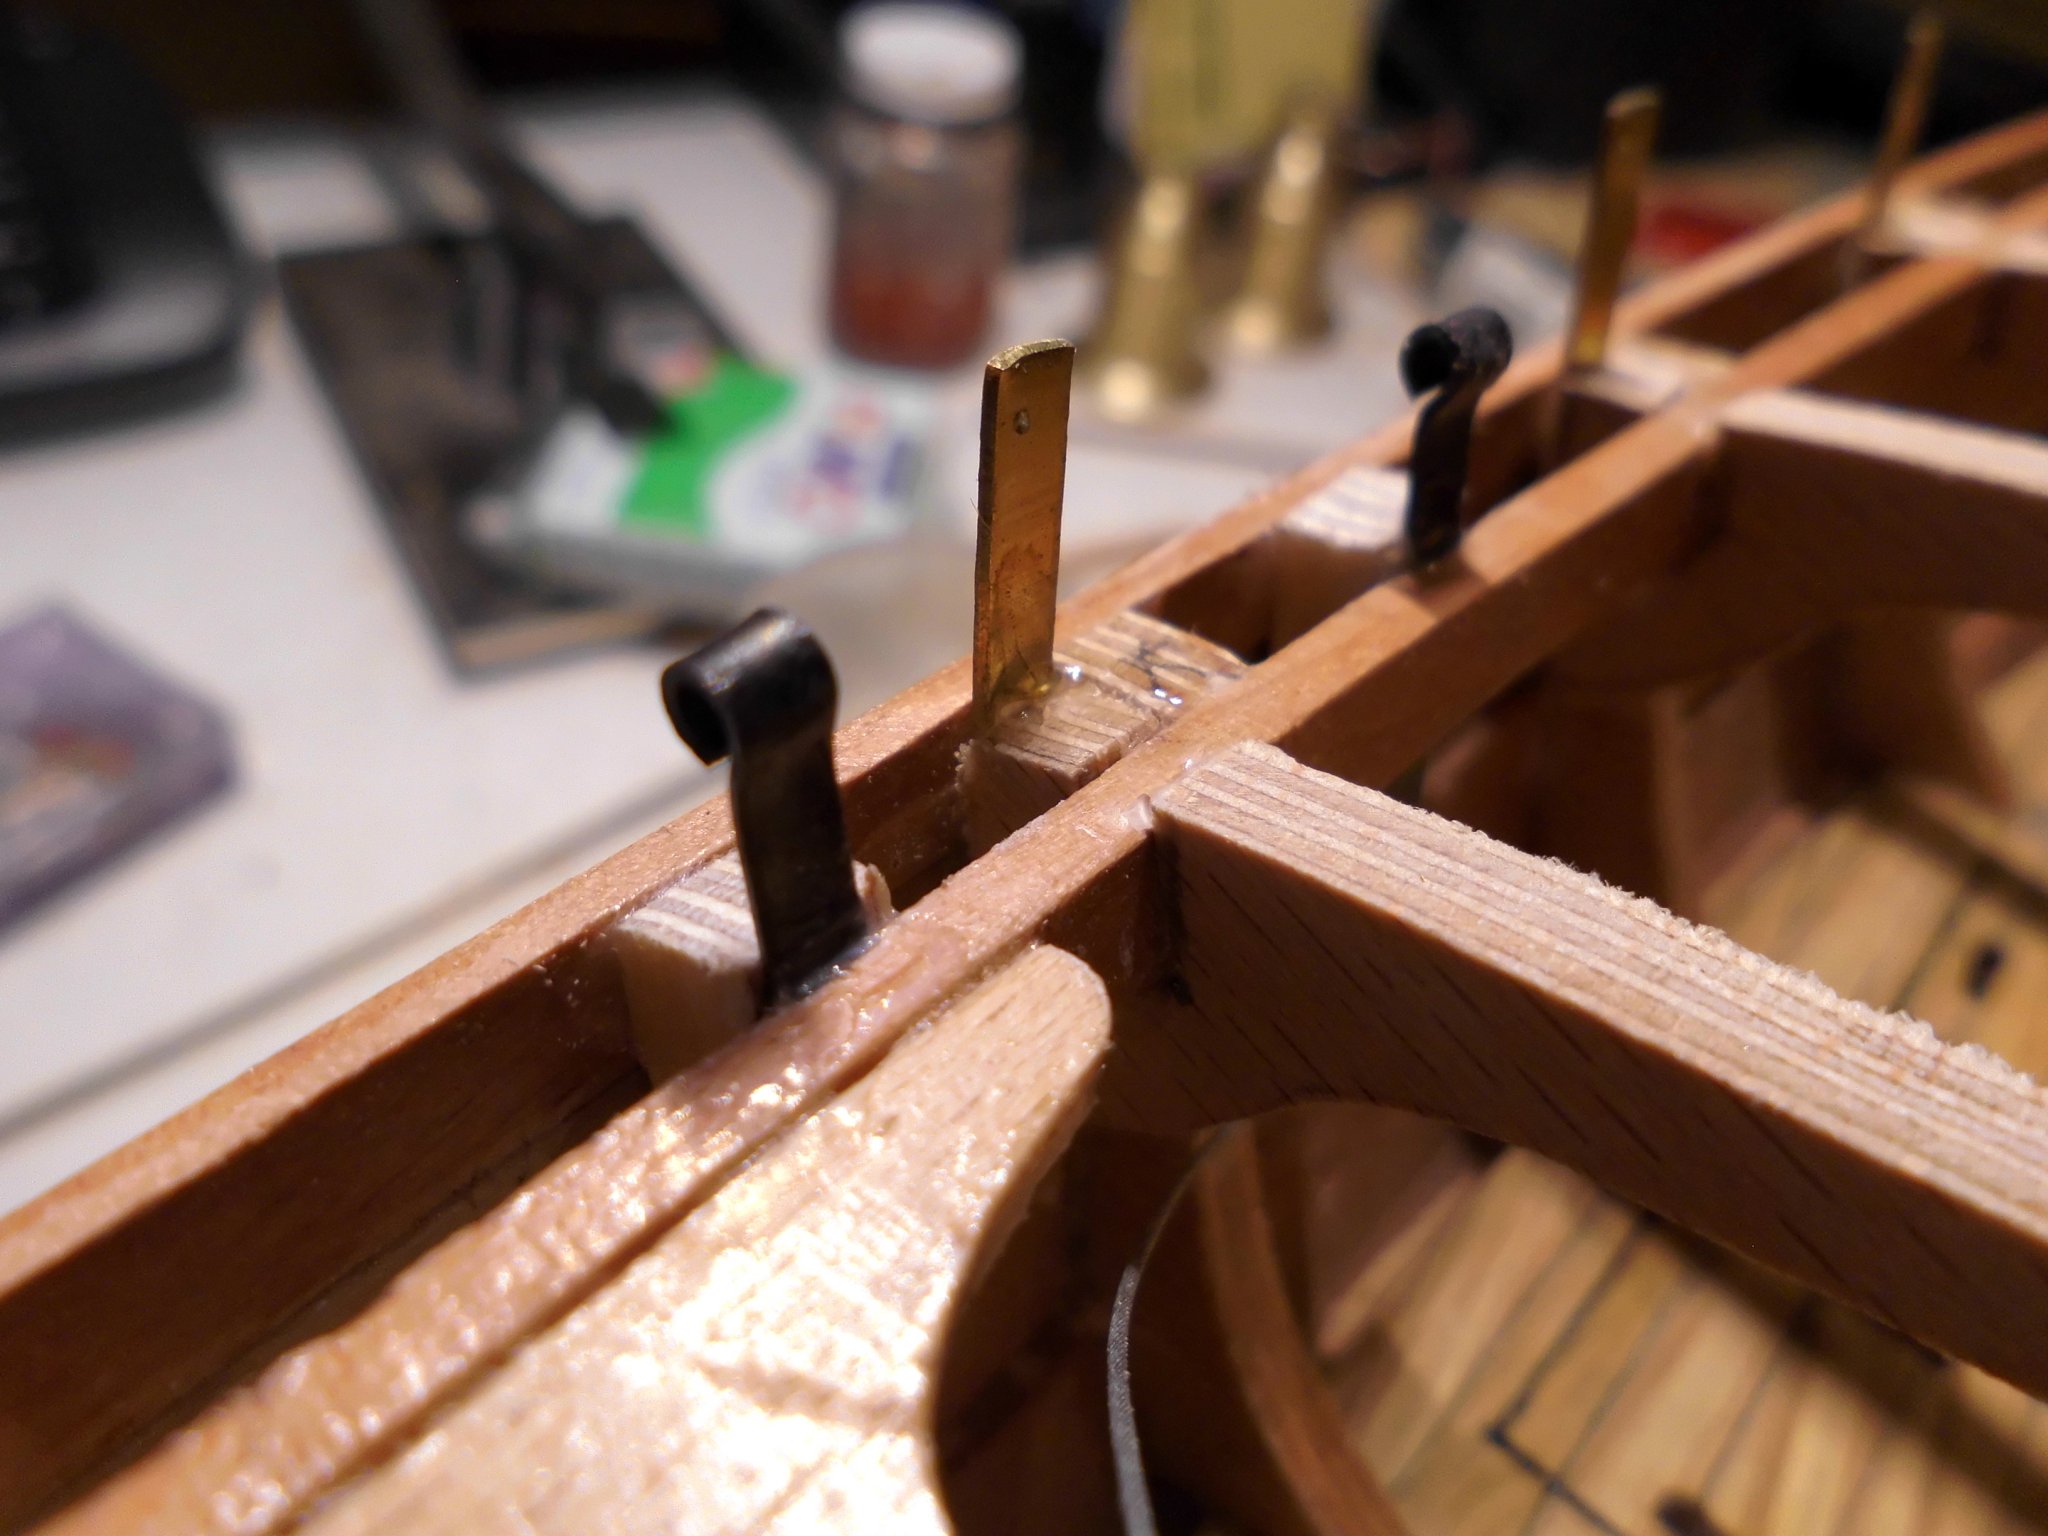
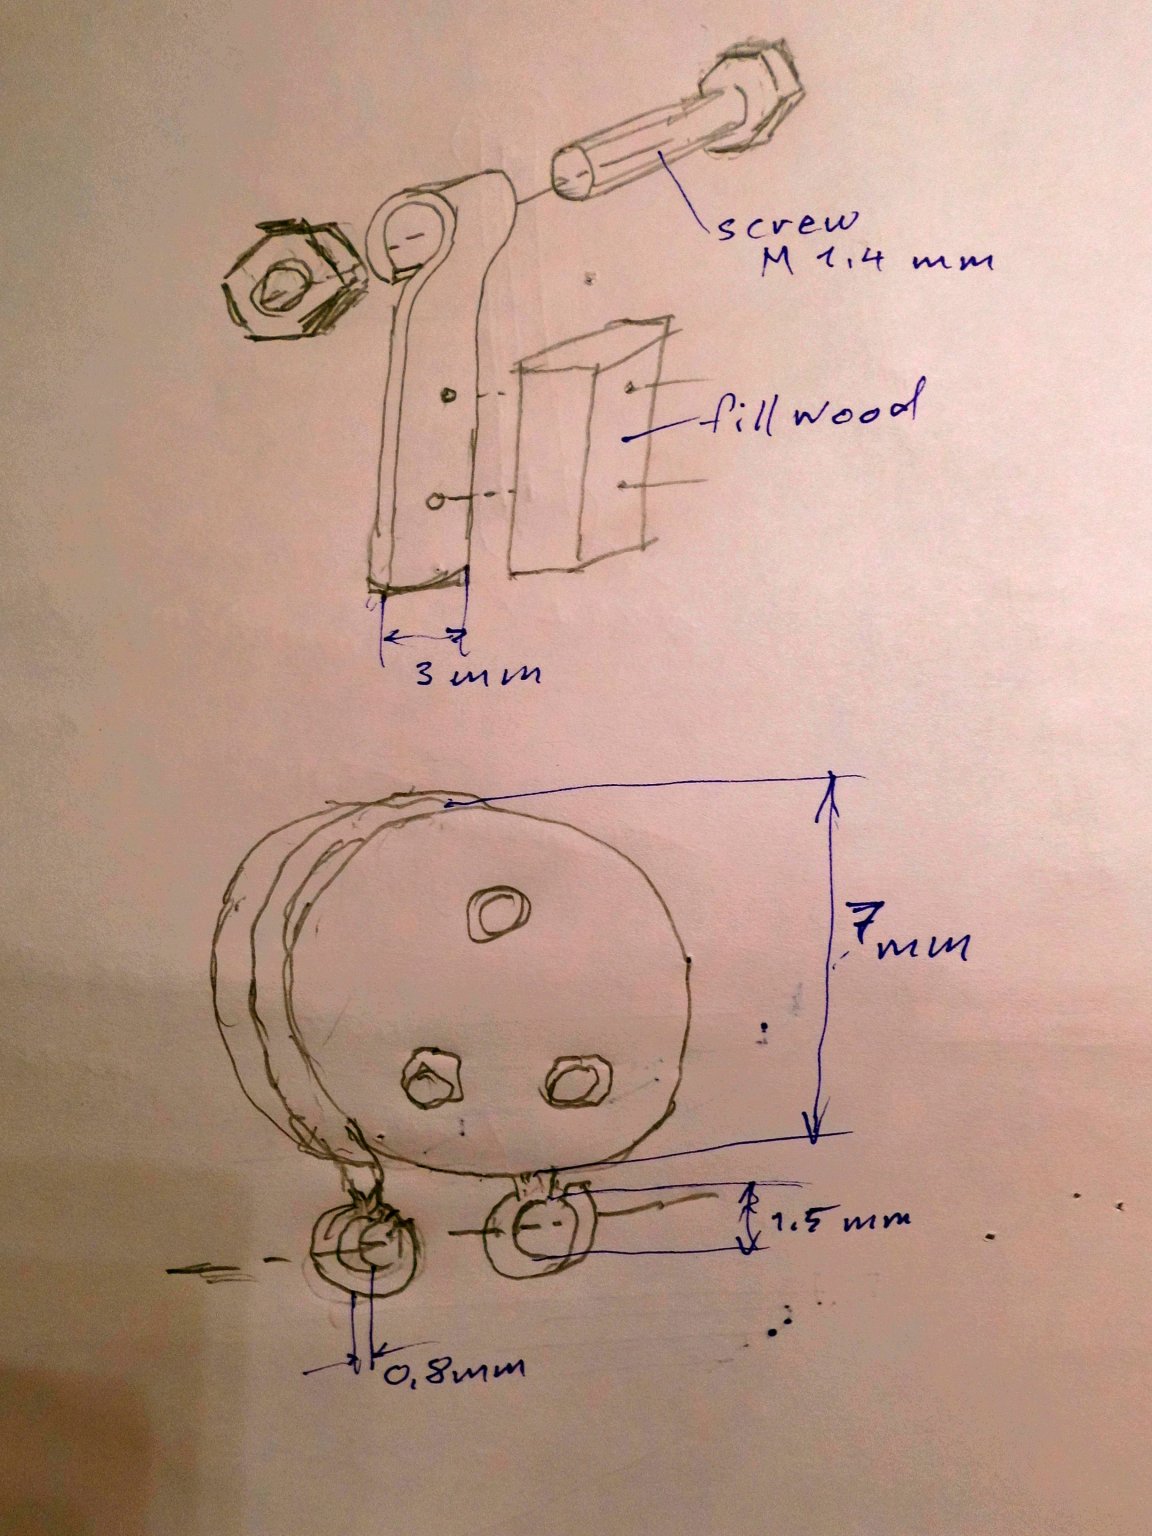
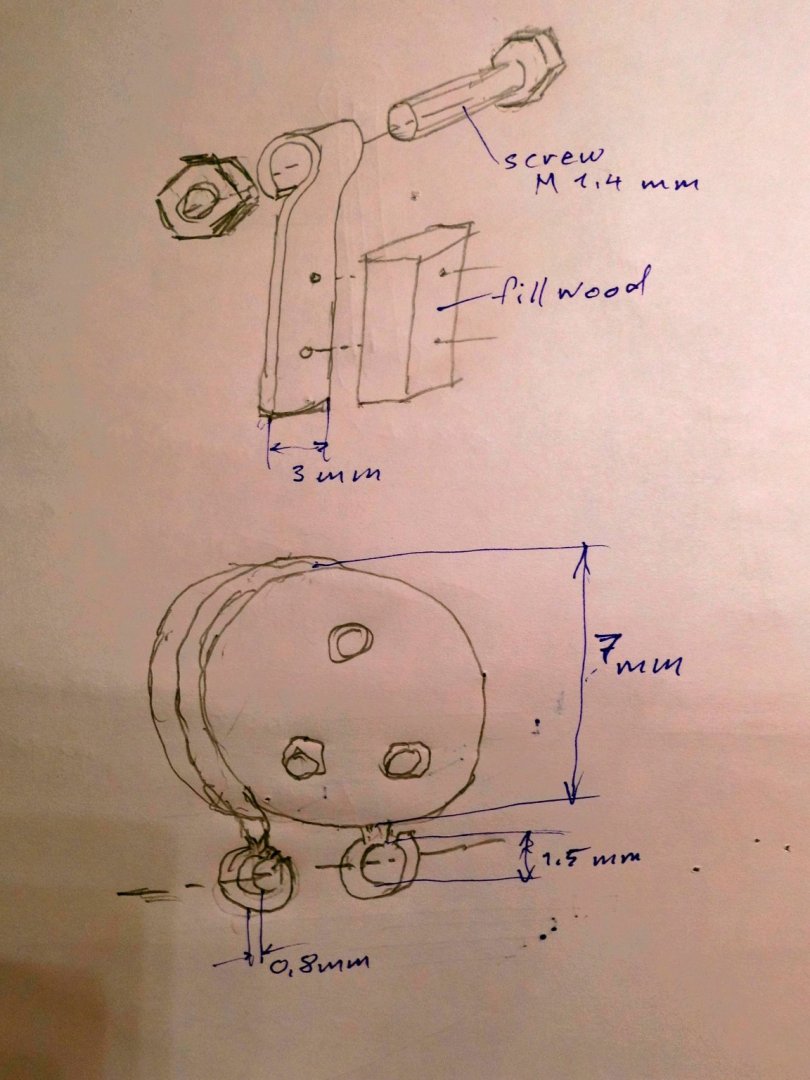
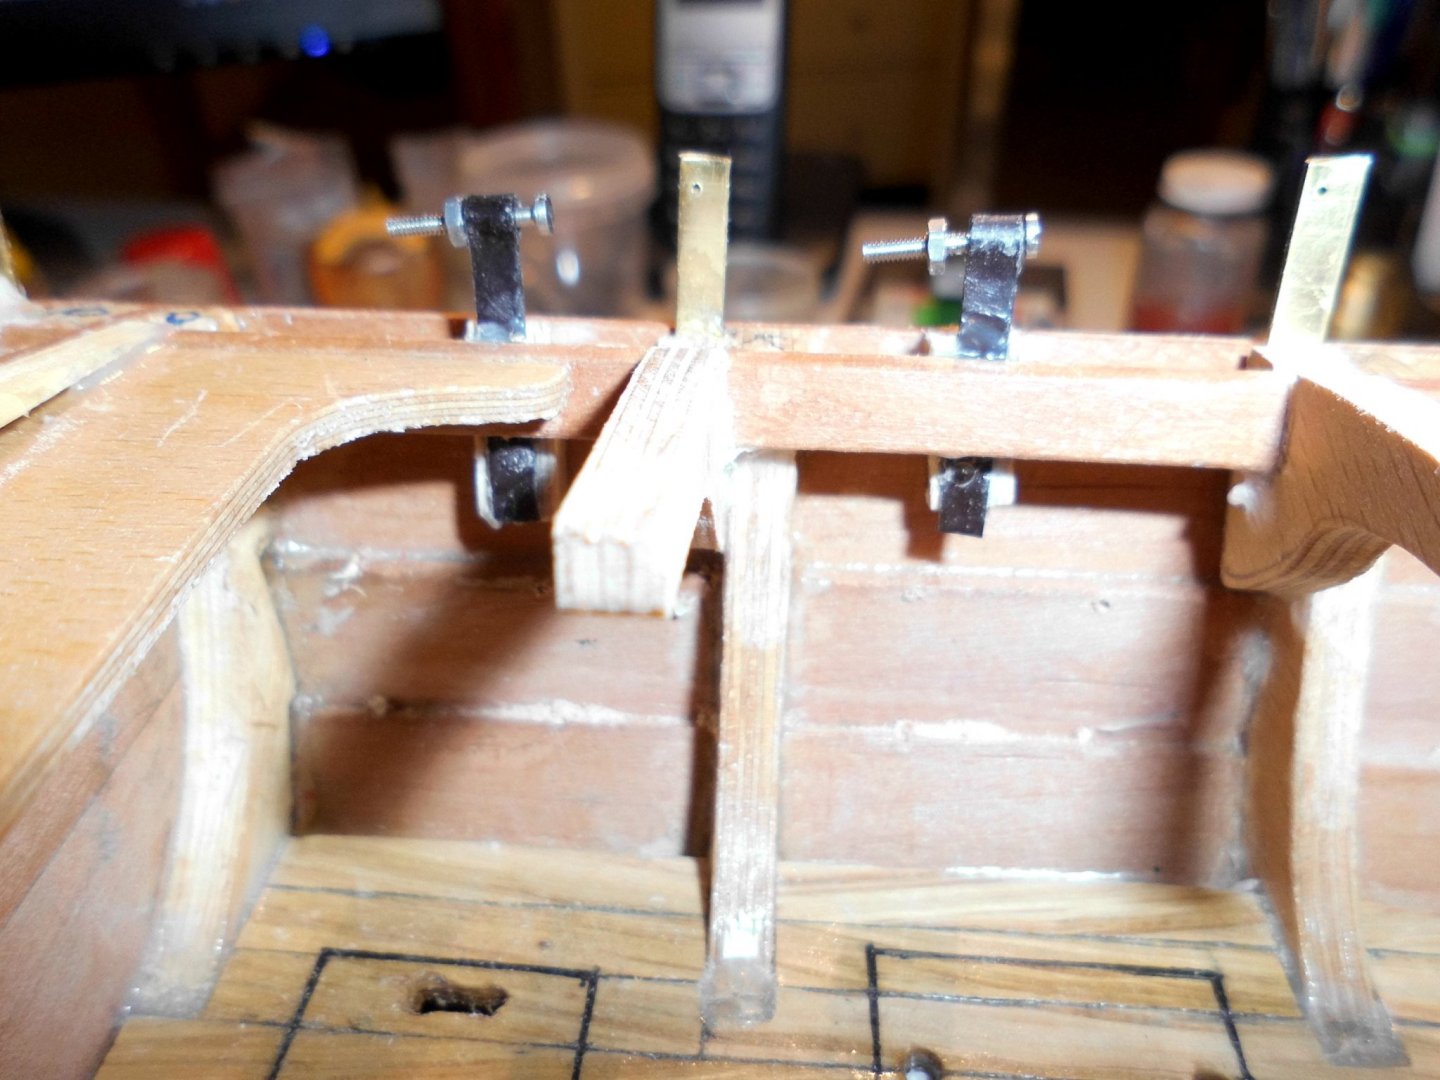
Fastening points for mainmast deadeyes : two shrouds at both sides are spaned with laced diam. 7 mm deadeye tackles near to the deck. The fastening points are made from 3 x 0,6 mm brass flatt (chem. blackened) with a loop for the screw that goes through the looped endes of the deadeye harness..... Nils Handscetch (not scaled ! )

- 401 replies
-
- 11
-
-
Good morning Piet, thanks for looking in, and much fun when exploring the build log.. Nils
-
Piet, your plexiglass display case looks great ! Nils
- 378 replies
-
- 5
-
-
- java
- pacific crossroads
- (and 2 more)
-
Pete, thanks for posting that video, its fun to watch the little boat on the lake... Nils
-
Cute lttle boats Pete ! realy something for inbetween.... BTW, I see those arrows standing on your desk, are they for a crossbow ? Nils
-
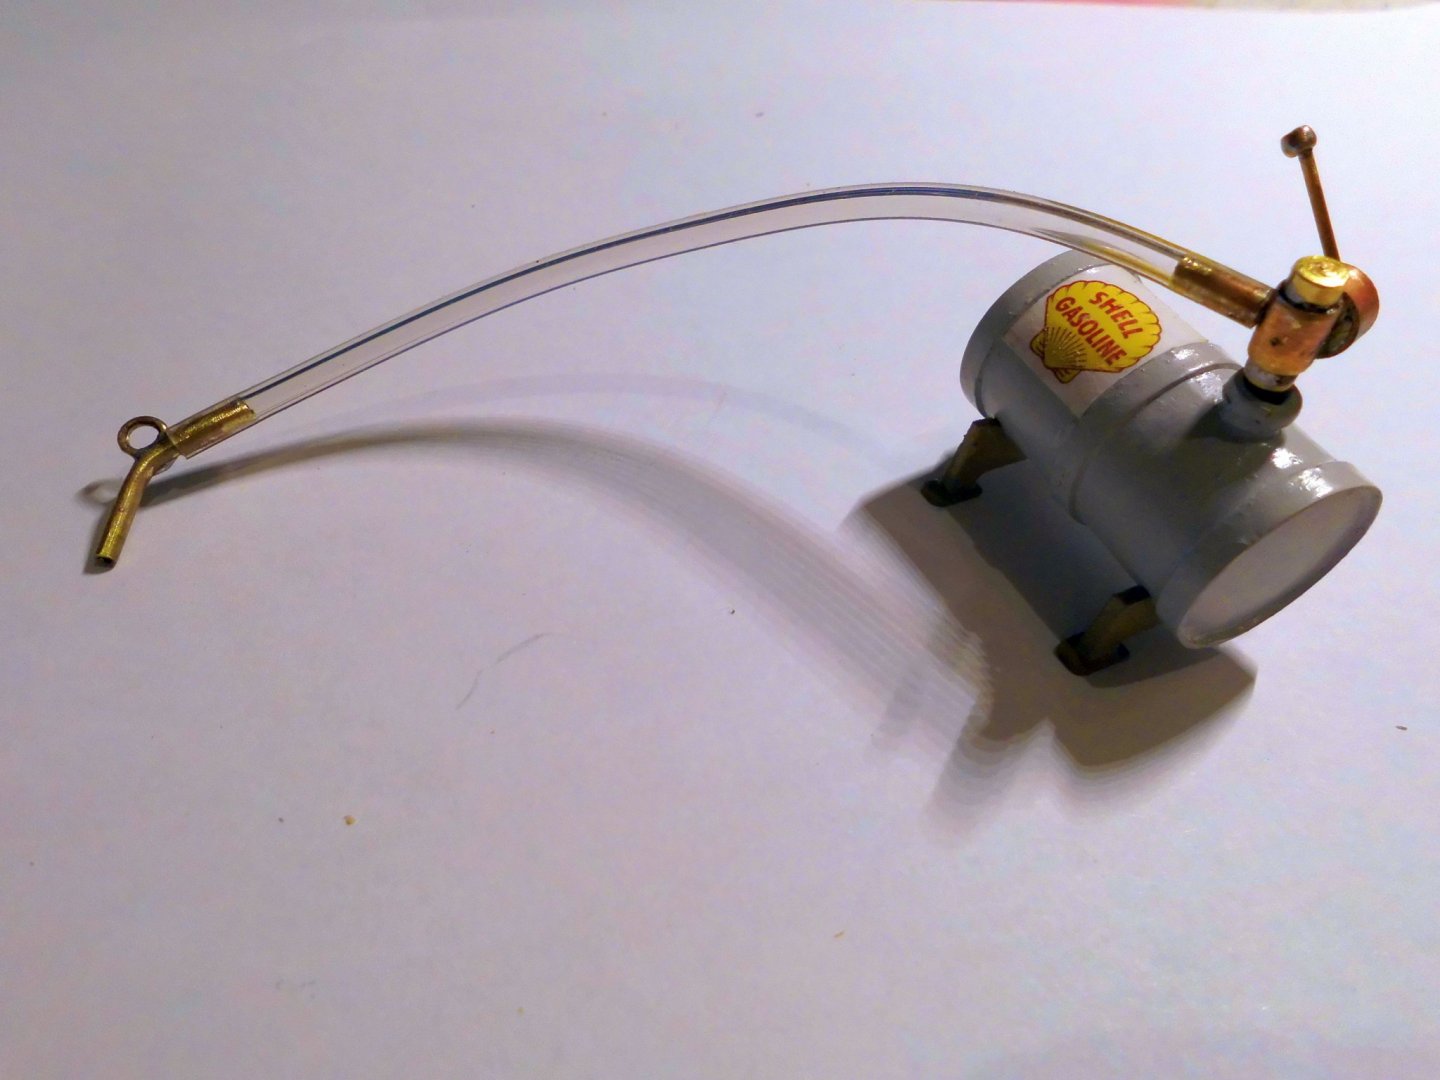
This is the outcome for for an utmost flexible and black rubber hose (received today), trust this will do much better than the PVC one.. Nils
- 401 replies
-
- 19
-
-
Unglaublich schöne Arbeit Johann, incredible work !!! Nils
-
Hello Geert, yes , they surely would also fit very well to the Zeesboot, I`ll evaluate that when it comes to the rigging.. Nils
-
Thank you very much Mustafa, and for looking into the build log... I had a look at your Santa Maria, coming very nicely.... Nils
-
Very nice block making Geert ! Nils
-
Both wonderful pictures Jim. they look splendid Nils
-
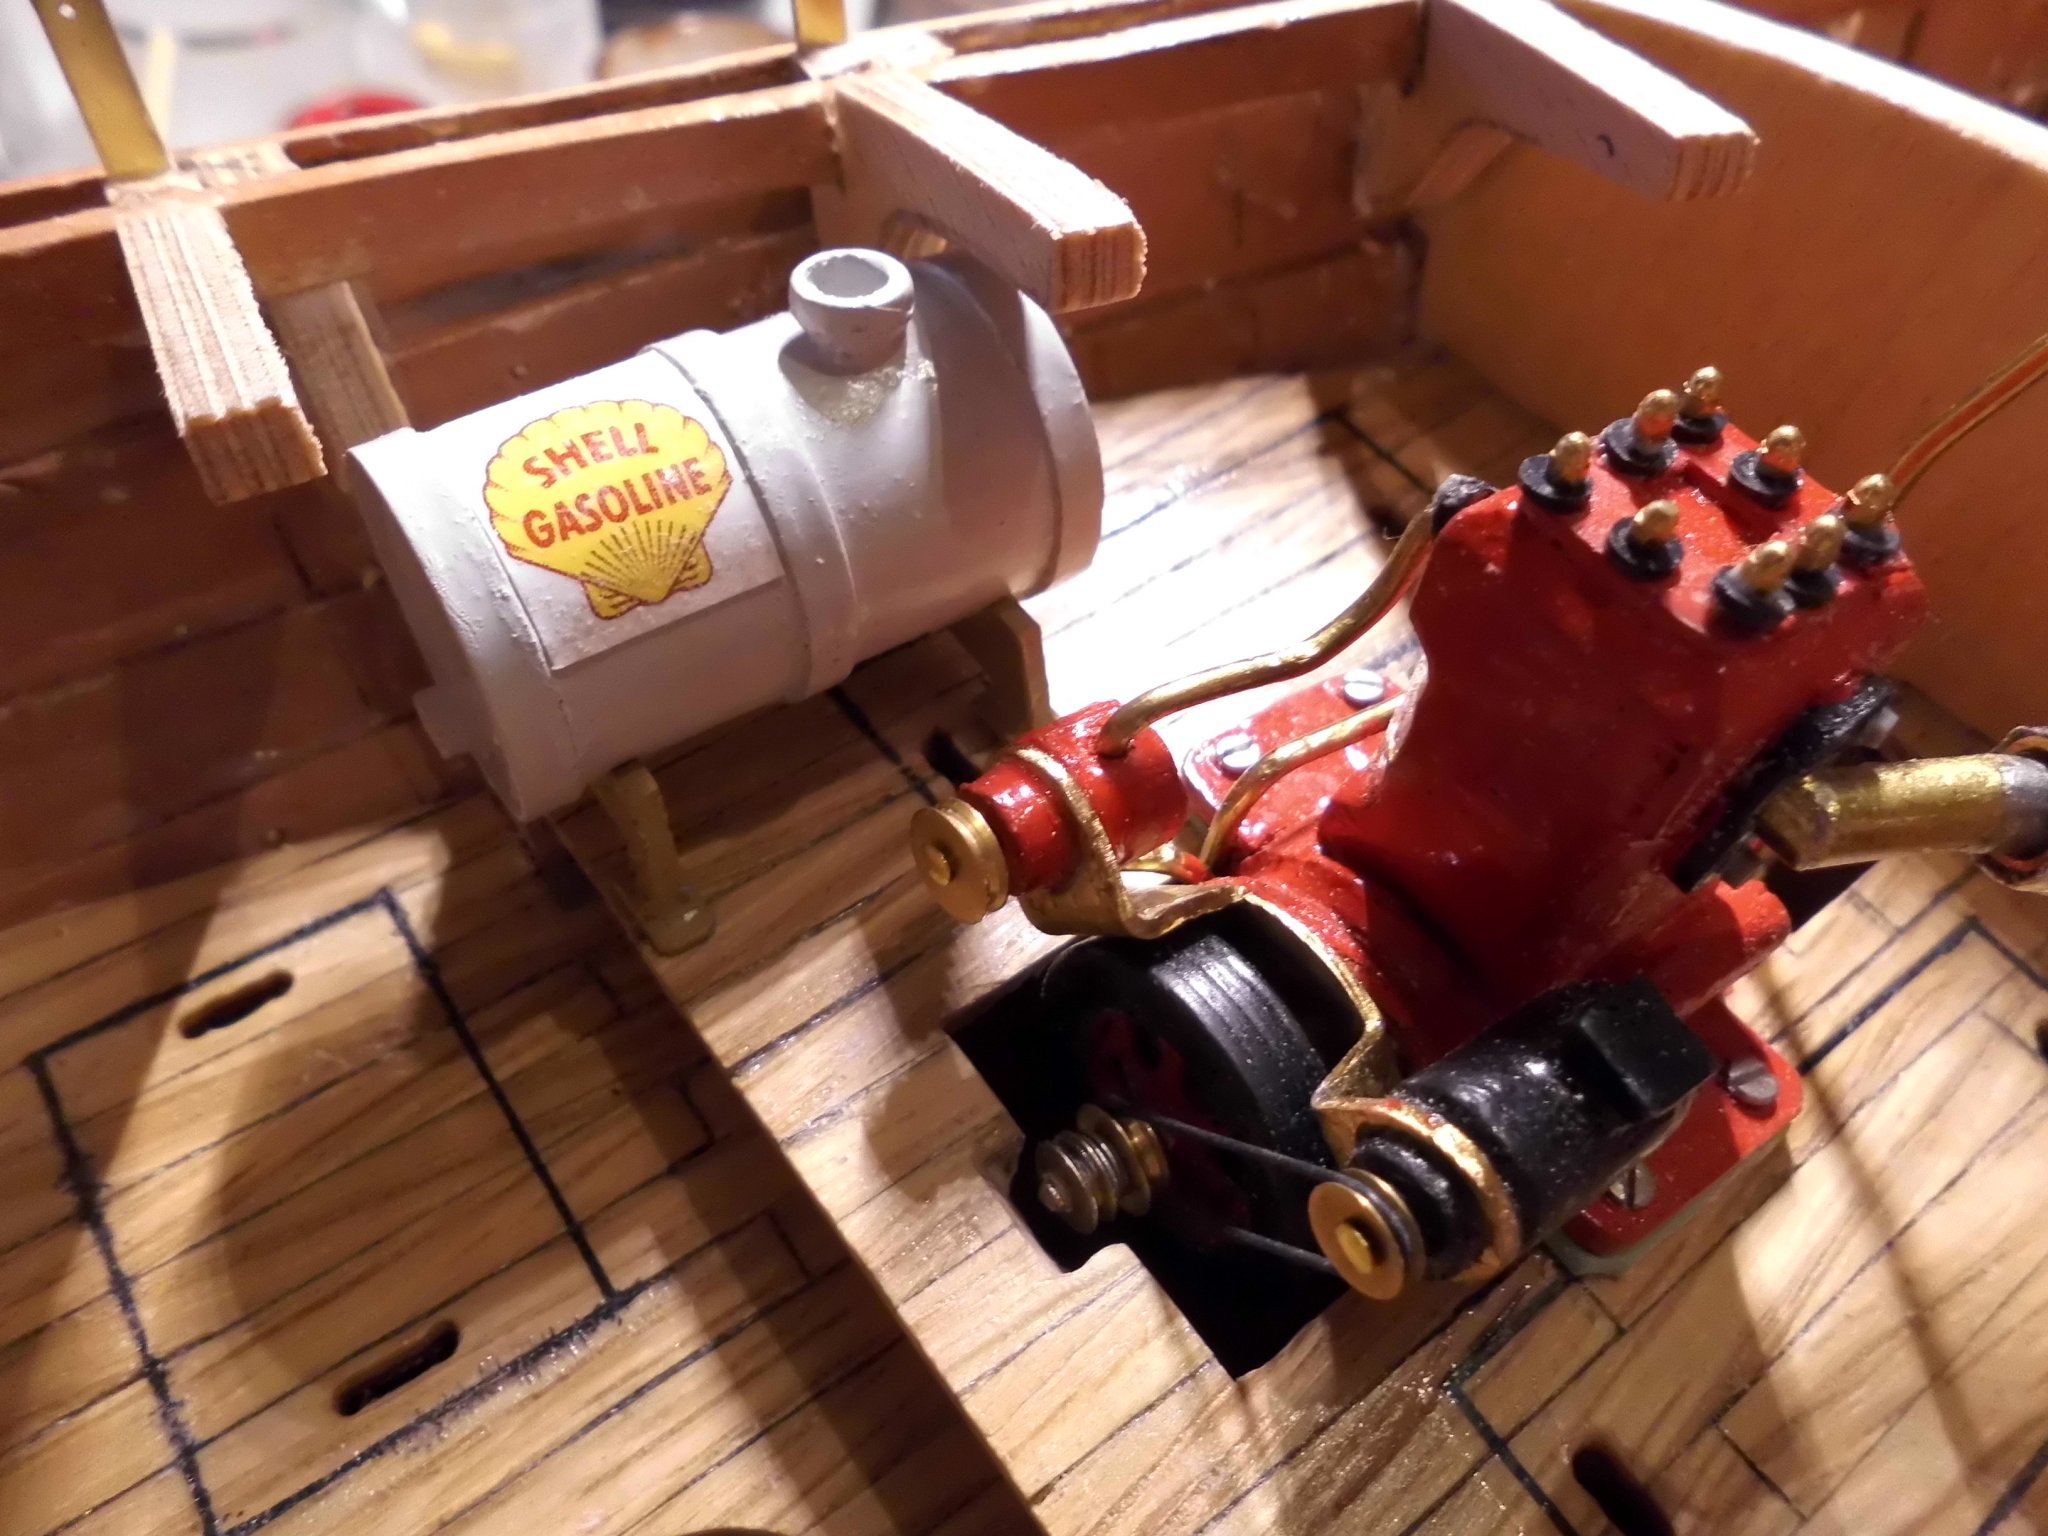
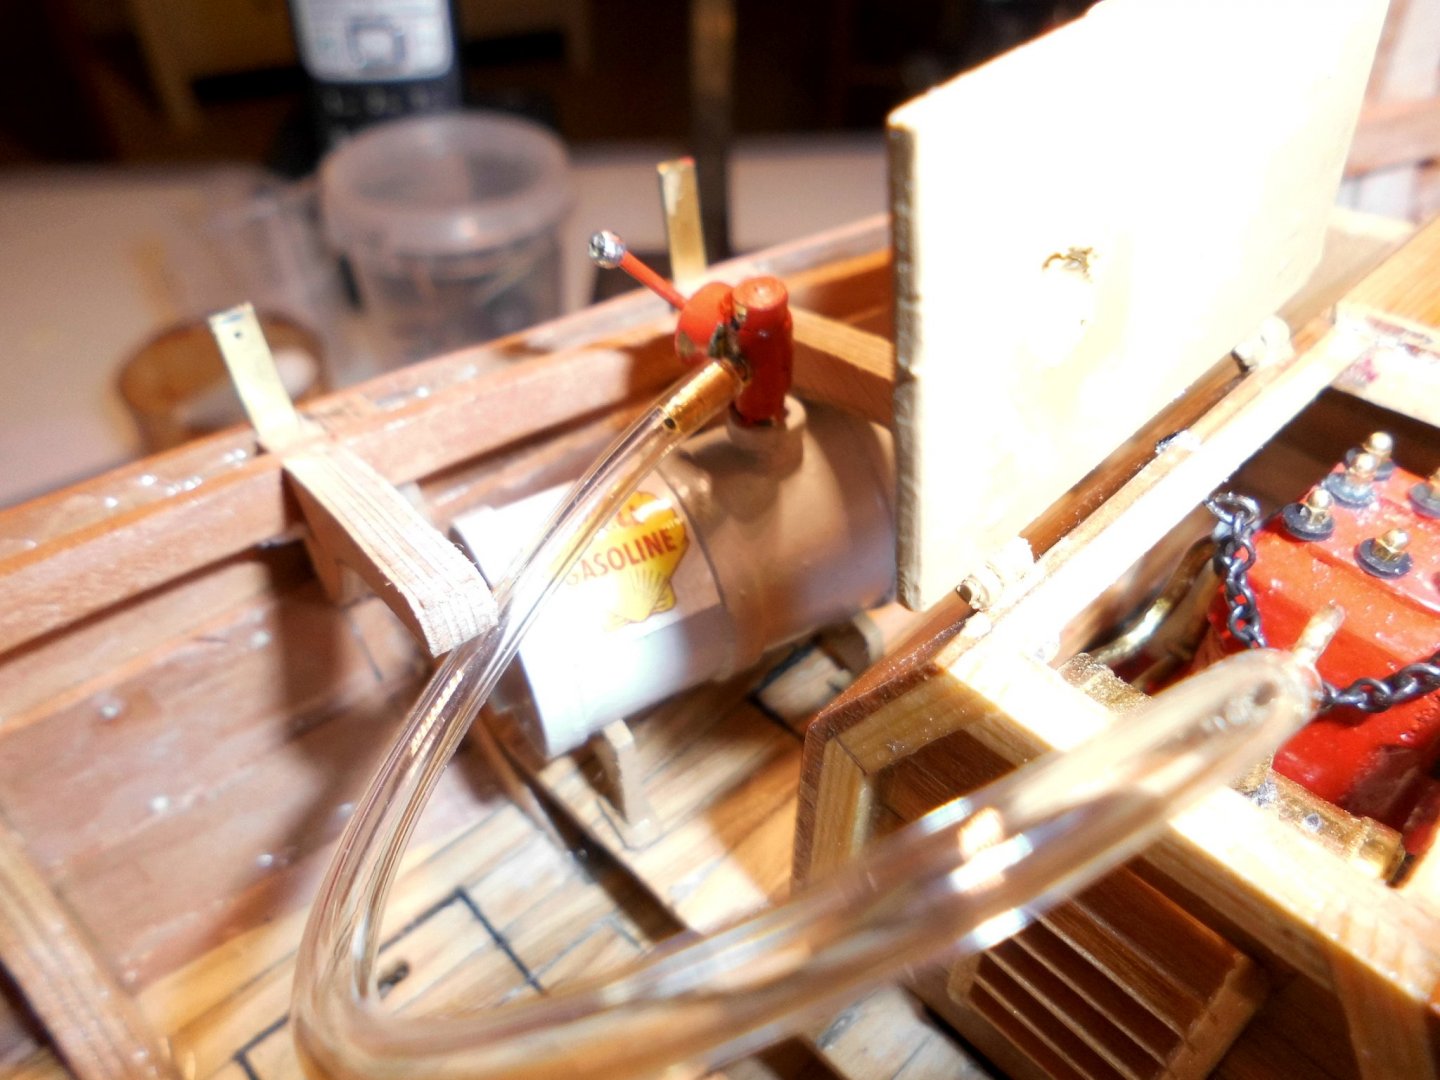
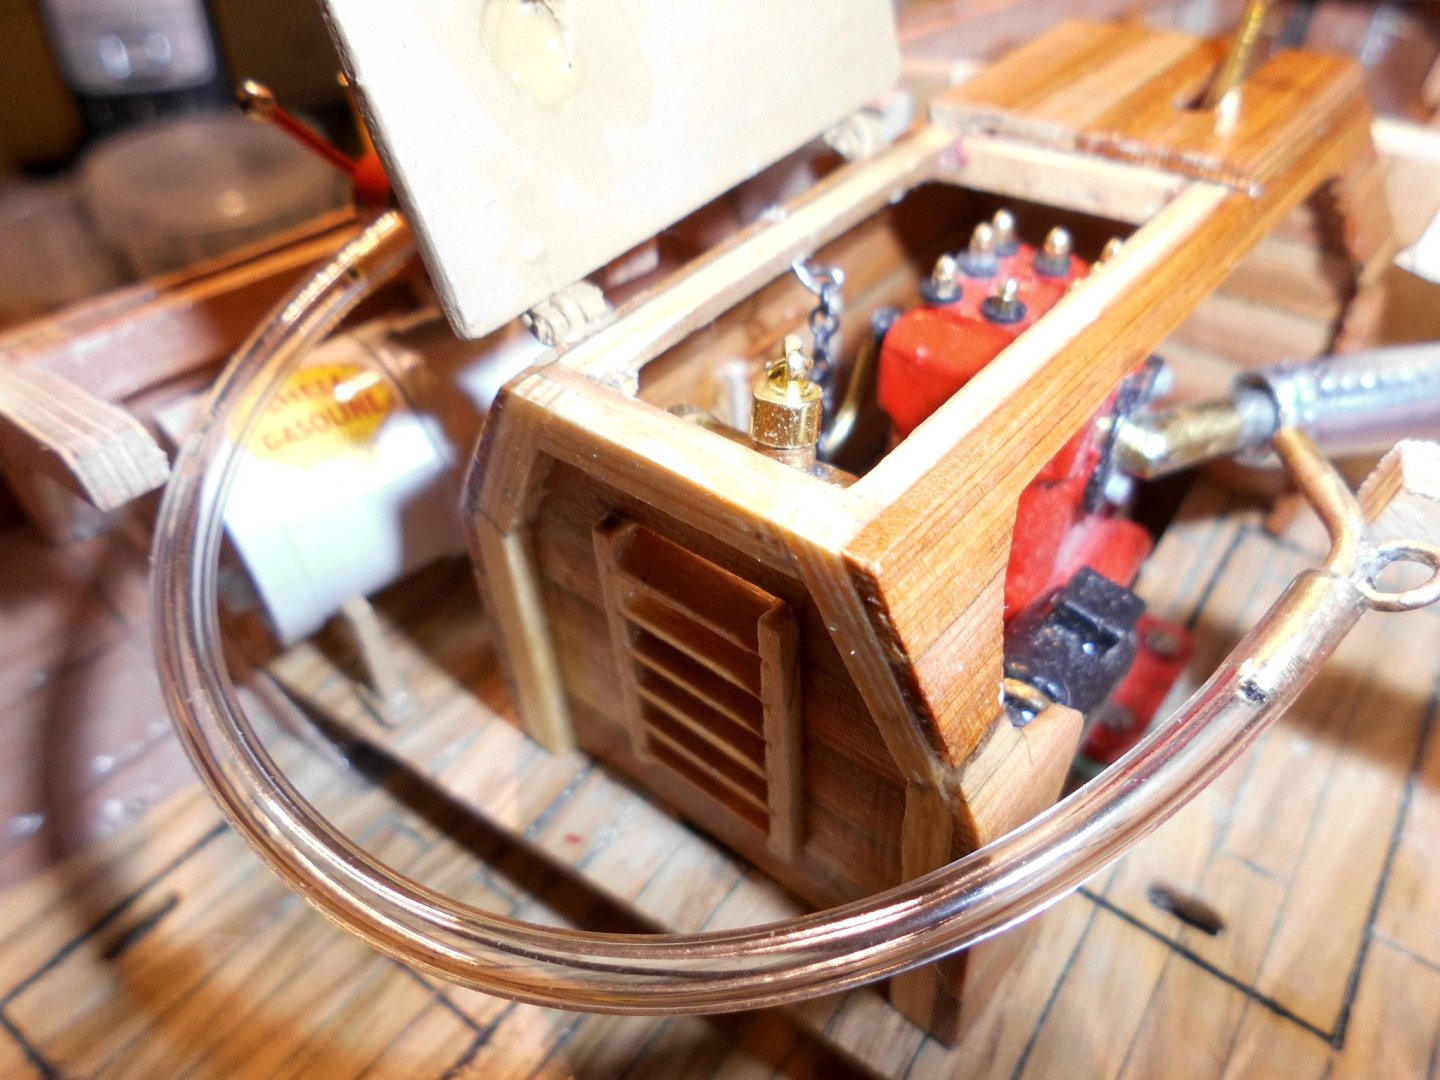
Thank you Pete, I`m pleased you like the fitting out so far. I think that in those days both hand cranked- and also battery starter were used. I have a starter unit attached to the engine housing, looks like I would need a battery also. The black round rubber (as hose) will fit into the hollow nozzles of pump discharge and hose end-nozzle. Oh yes, the oily rag, a good idea...., these small details bring life to the workboat ! Nils
-
Thanks again for the link Eberhard, I found and ordered some black rubber (Hutschnur) 1,2 mm round on Ebay, hope it will work , and report the outcome later this week Nils
-
Many thanks Eberhard, I agree, PVC is not suitable here, so eyes open for rubber or silicone, and the idea with the soldering tin-wire is a good alternative Nils
-
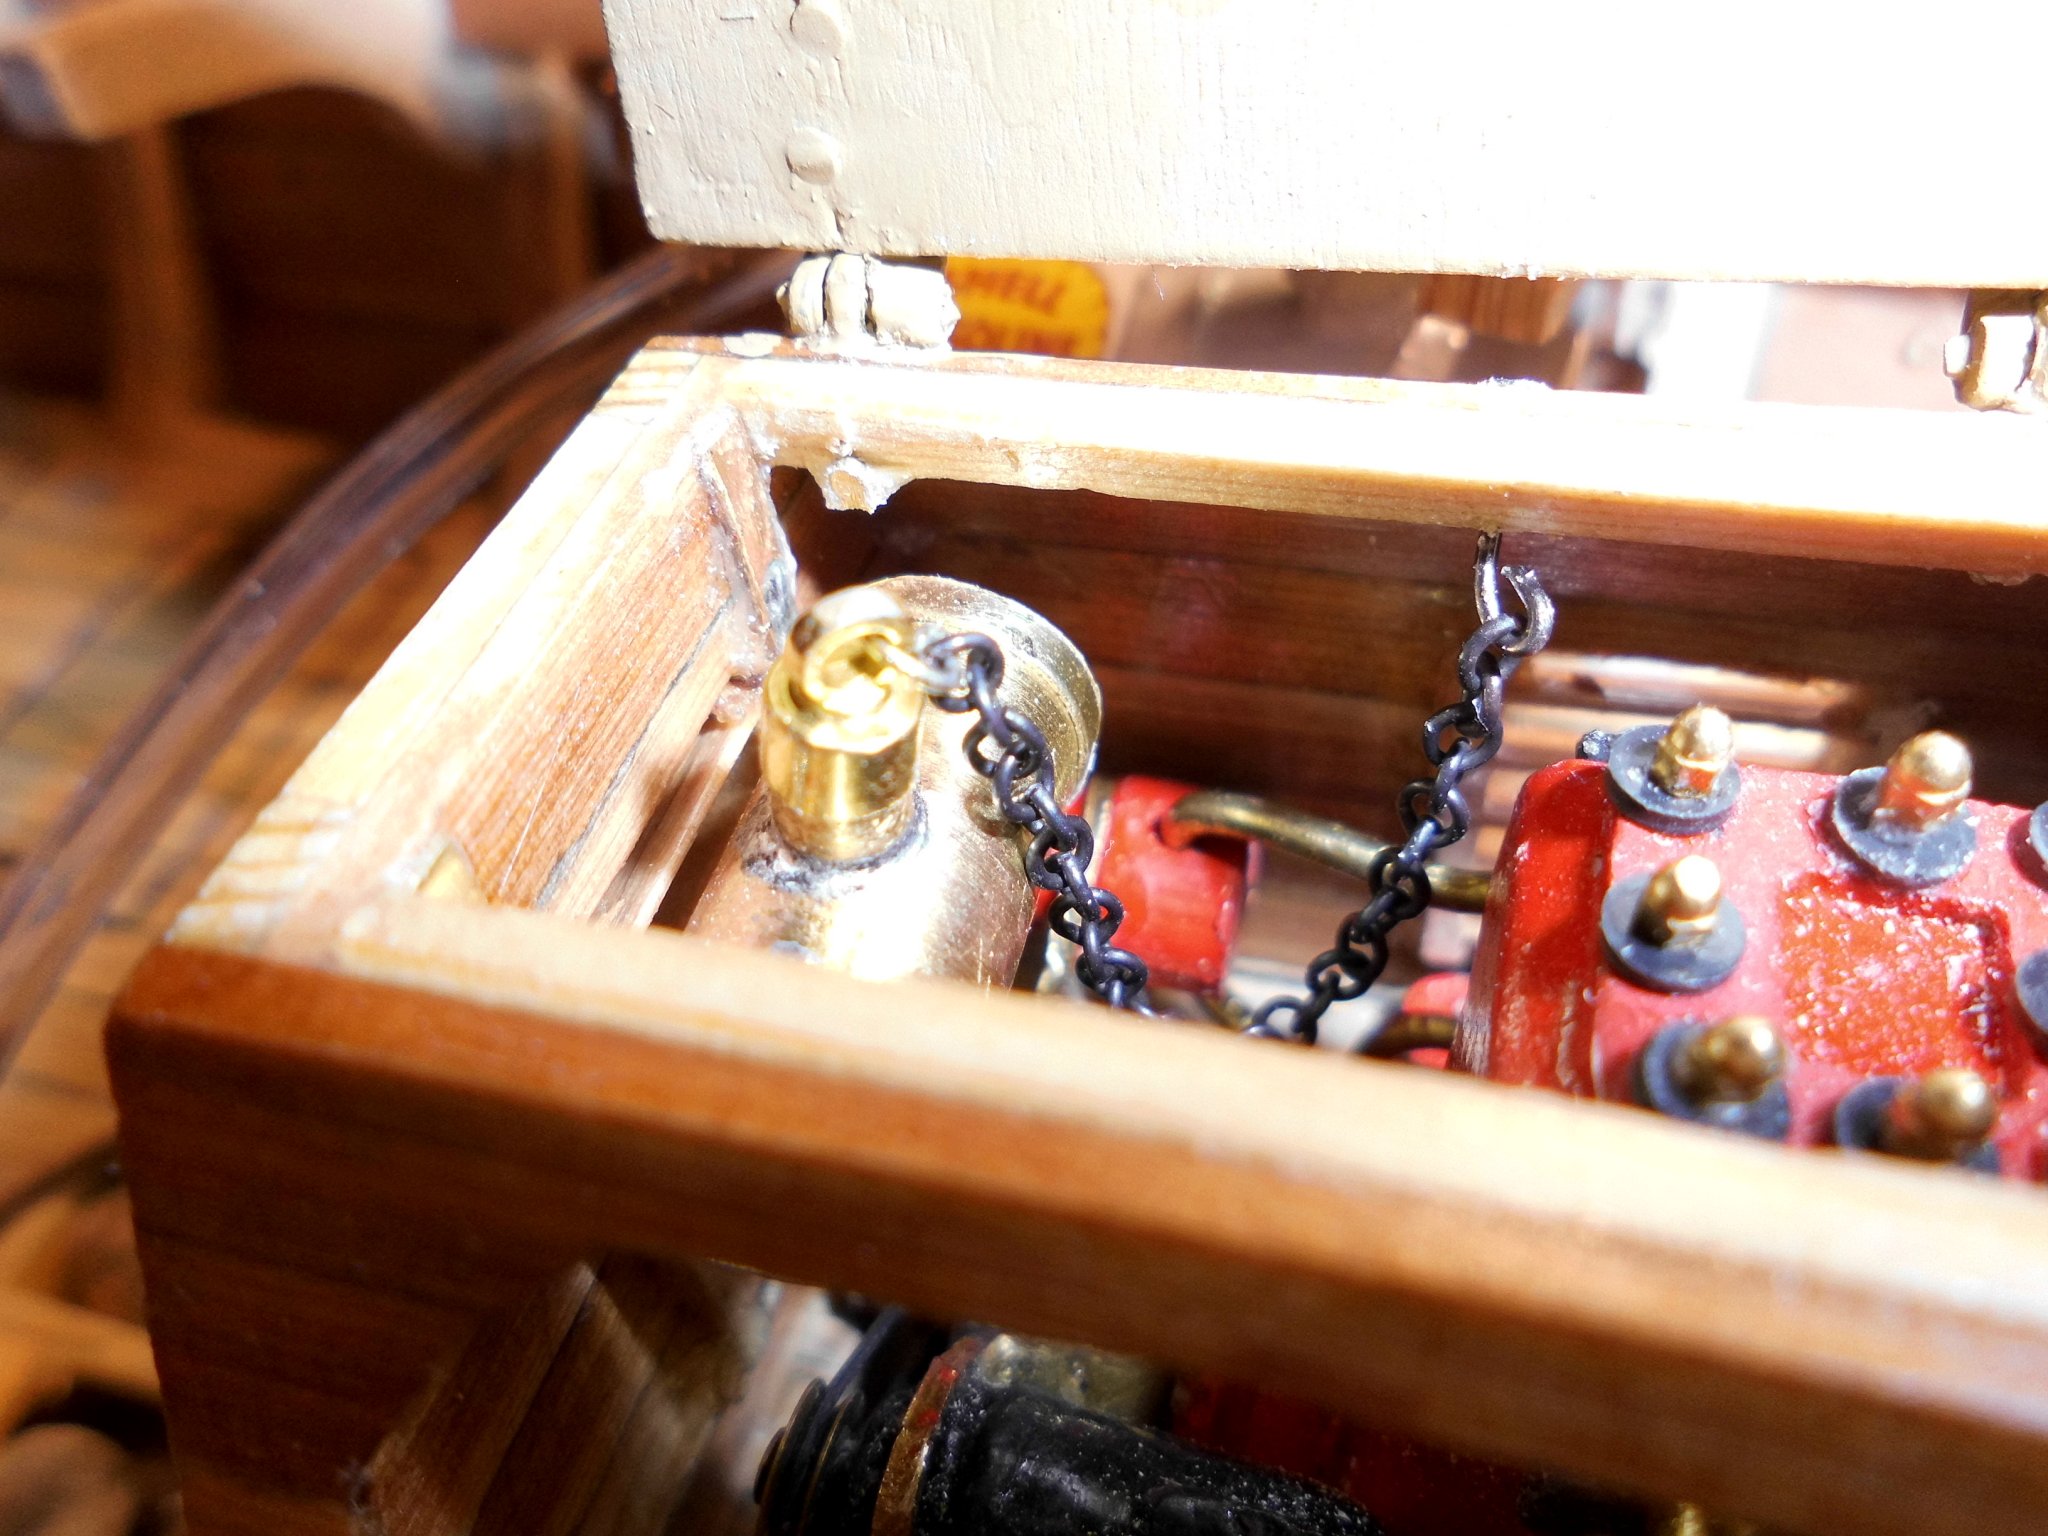
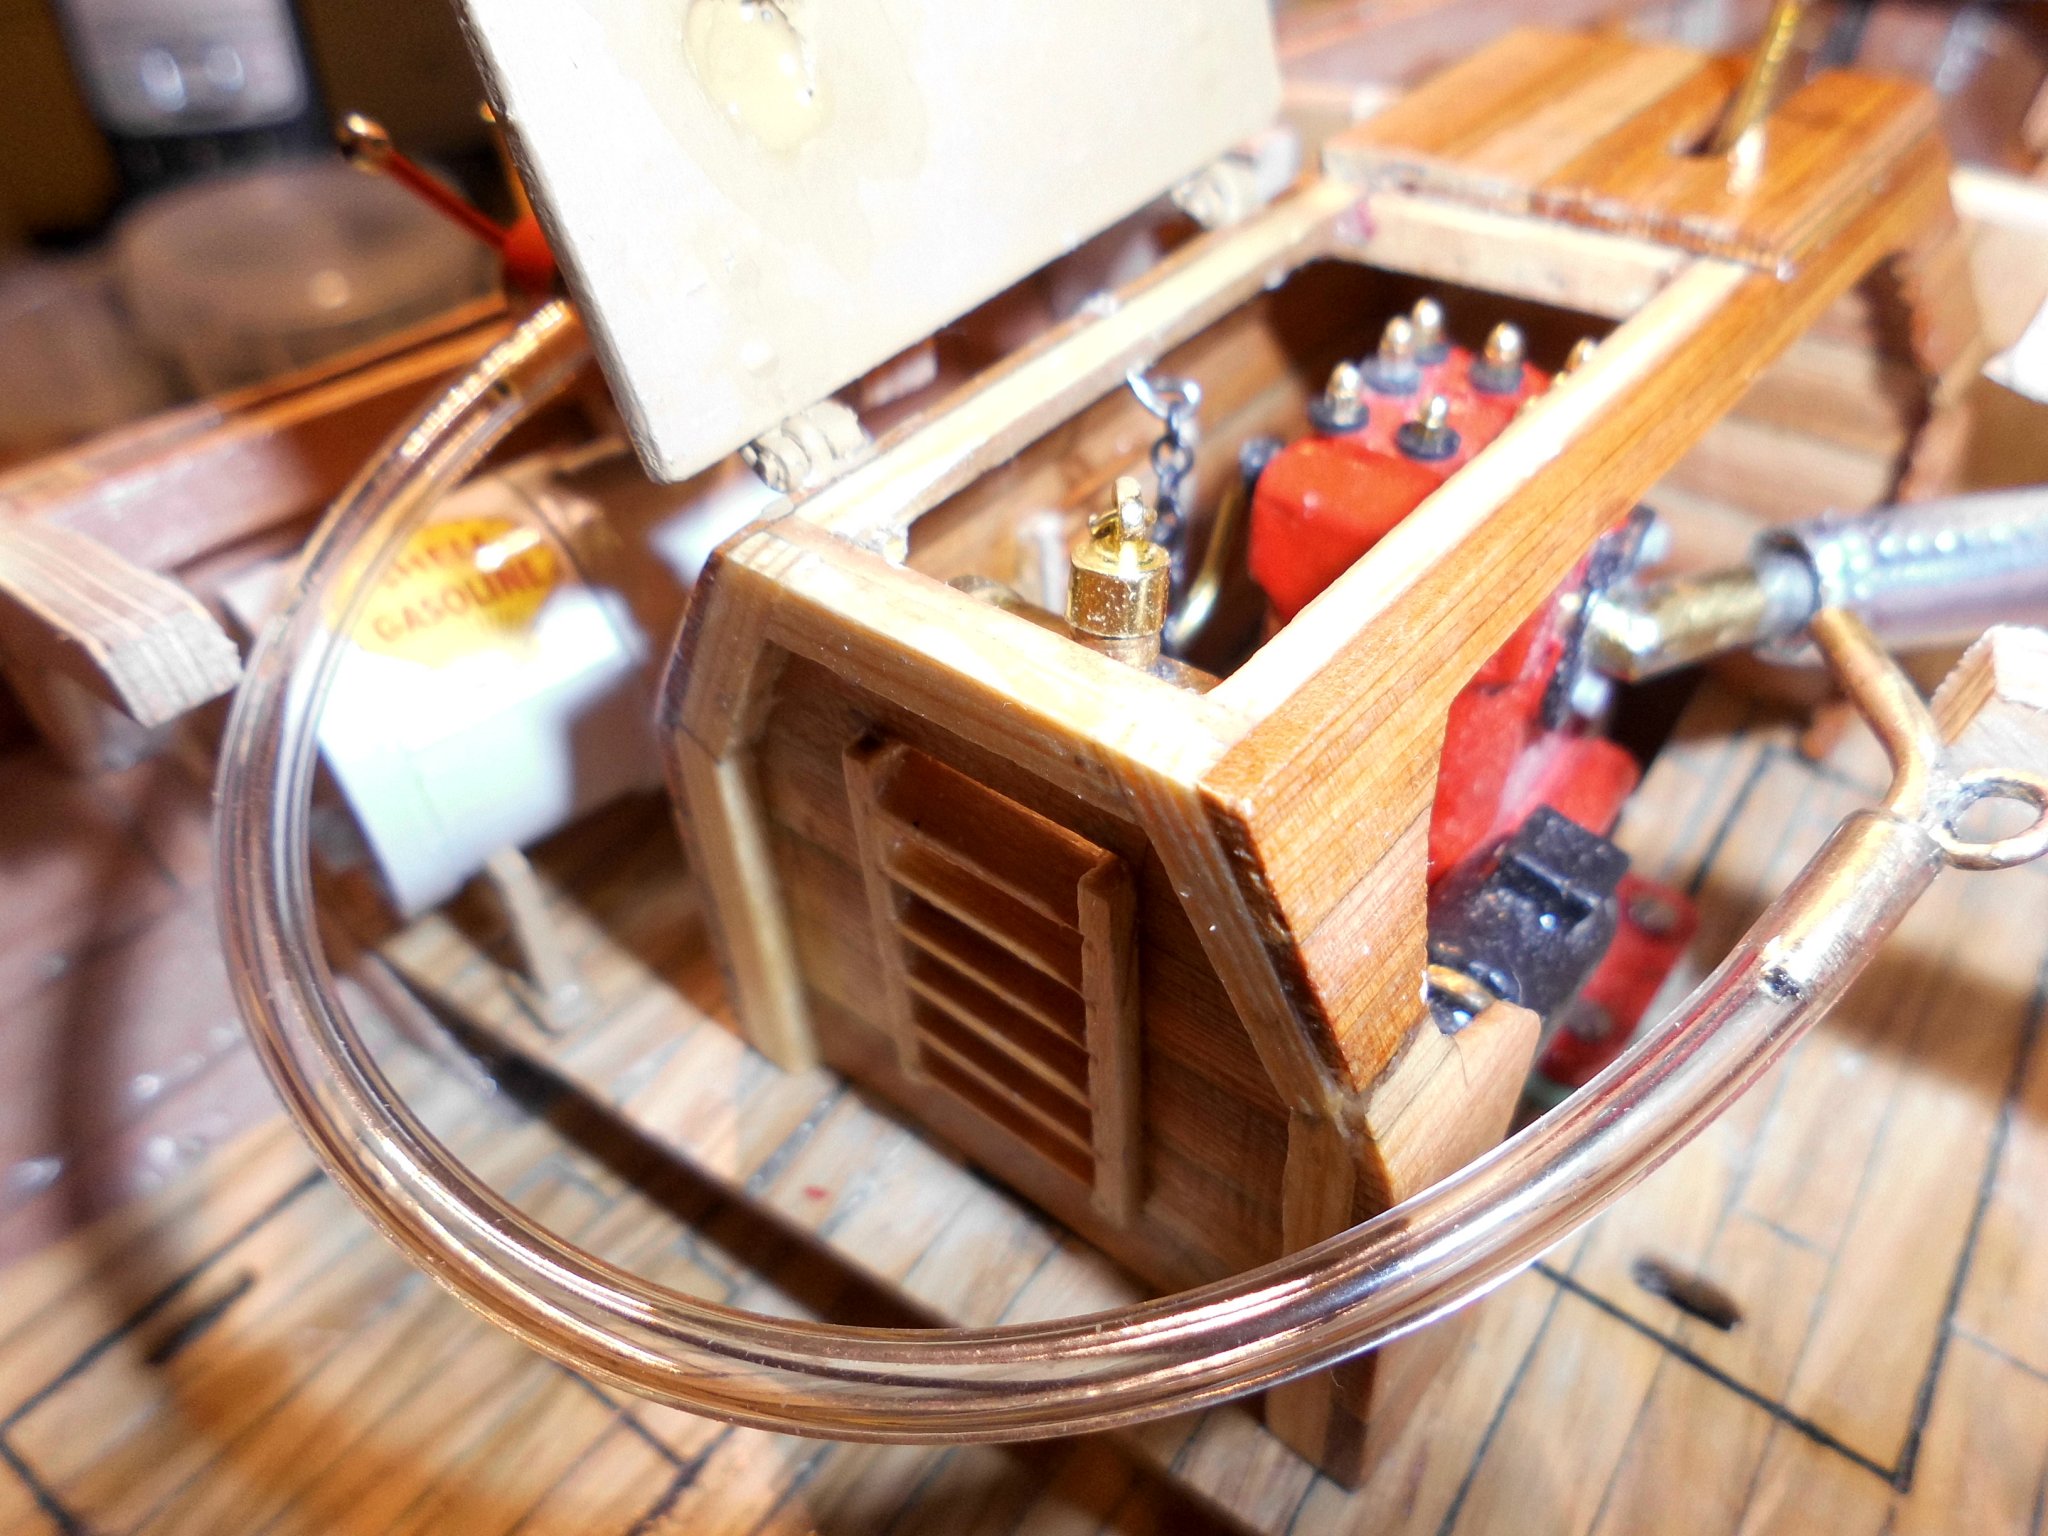
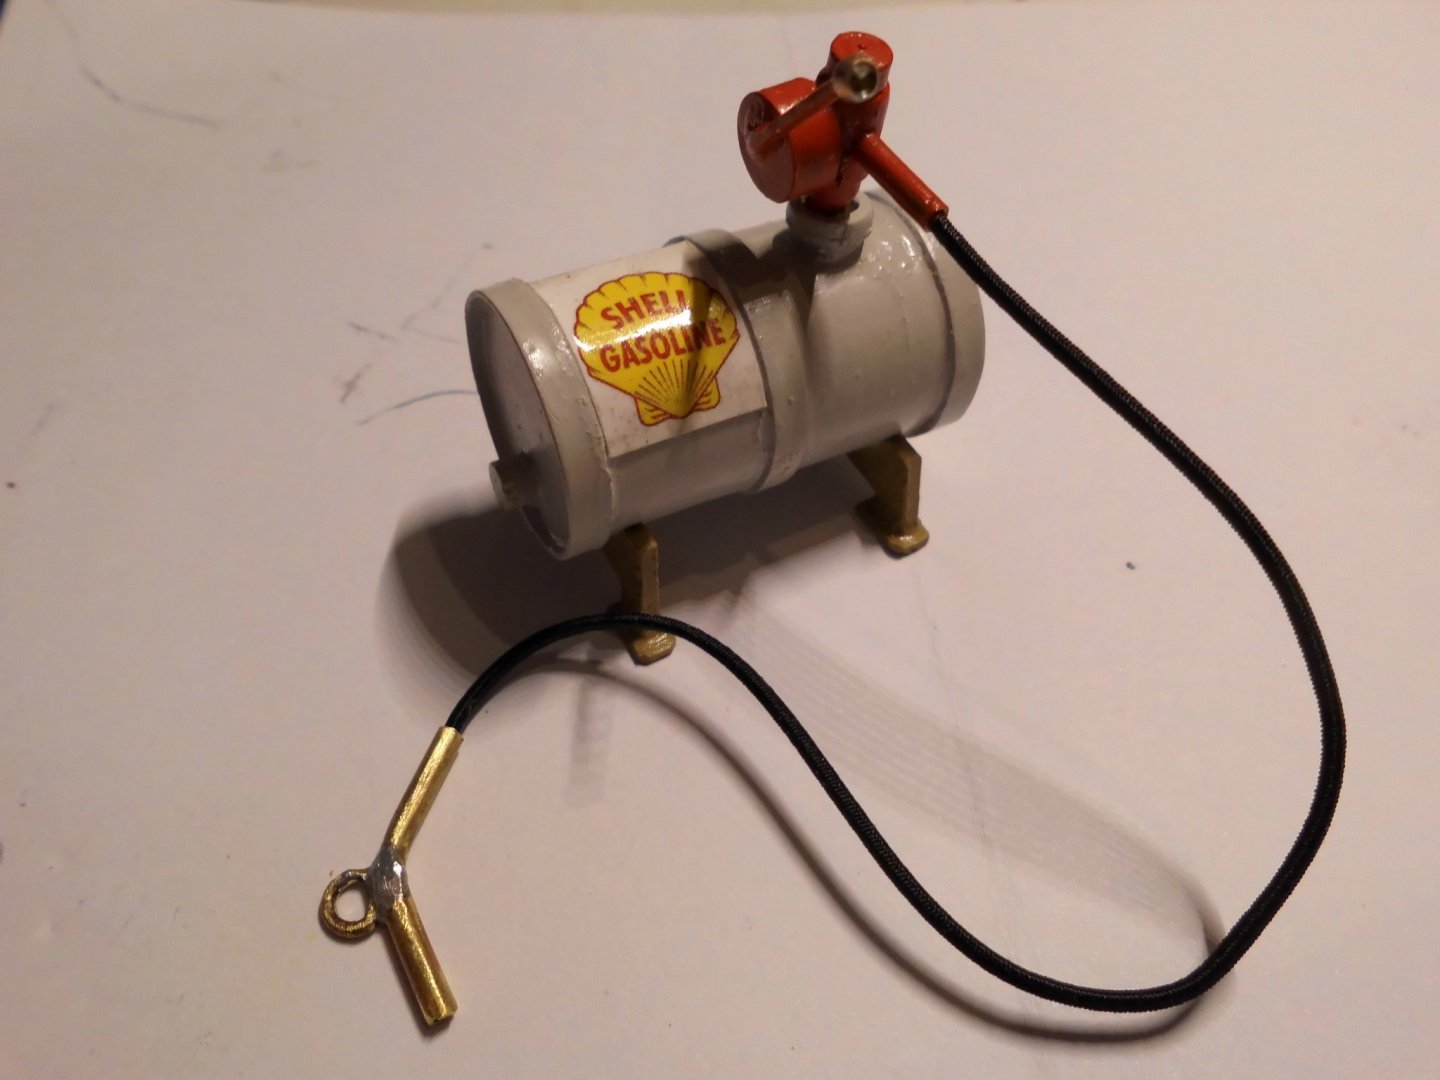
Thank you very much Jason, much appreciated, I built in the fuel day-tank with removable cap and chain under the engine bonnet. For the main storage tank, also installed on board, (drum) there is now a hand fuel pump, a hose and a discharge nozzle for filling the day tank Nils the hose is a bit stiff, see if I can get one more flexible day fuel tank fixed to the upper, inner front side of the bonnet

- 401 replies
-
- 15
-
-
Wunderbar Joachim ! I just came across your lovely buildand am very much impressed about your handcraft skills. Those sails are top notch, I`m wondering how you got the different colors in the reinforcement patched areas, A very nice model Nils
-
thank you Pete, this weekend my wife and I are attending the necessary garden works, which I have been postponing for far too long...., also I have been running out of excuses, too hot, too windy, too wet, aching back, etc. Now, that the weather is just right, I have done the basic cut to all the hedges in different hights and thereby saved o lot of money that would have gone to a gardener crew instead..., We have a large number of big green sacks filled with hedge cut and other garden greencut standing under our carport, waiting to be transported to the garden waste yard, see if someone would lend me his trailor in the coming week... Nils
-
Good morning Allan, Many thanks for looking in yes, I wanted to build a tallship, and was evaluating between "Gorch Fock" 3-mast bark, and "Pamir" 4-mast bark. In the end I built both, whereby my "Pamir" is representing the version in which she foundered, with only 6 young men surviving that tragic loss way back in 1957.... Greetings from Glinde, in Germany Nils
-
Allan, your ropes look great !! Nils
-
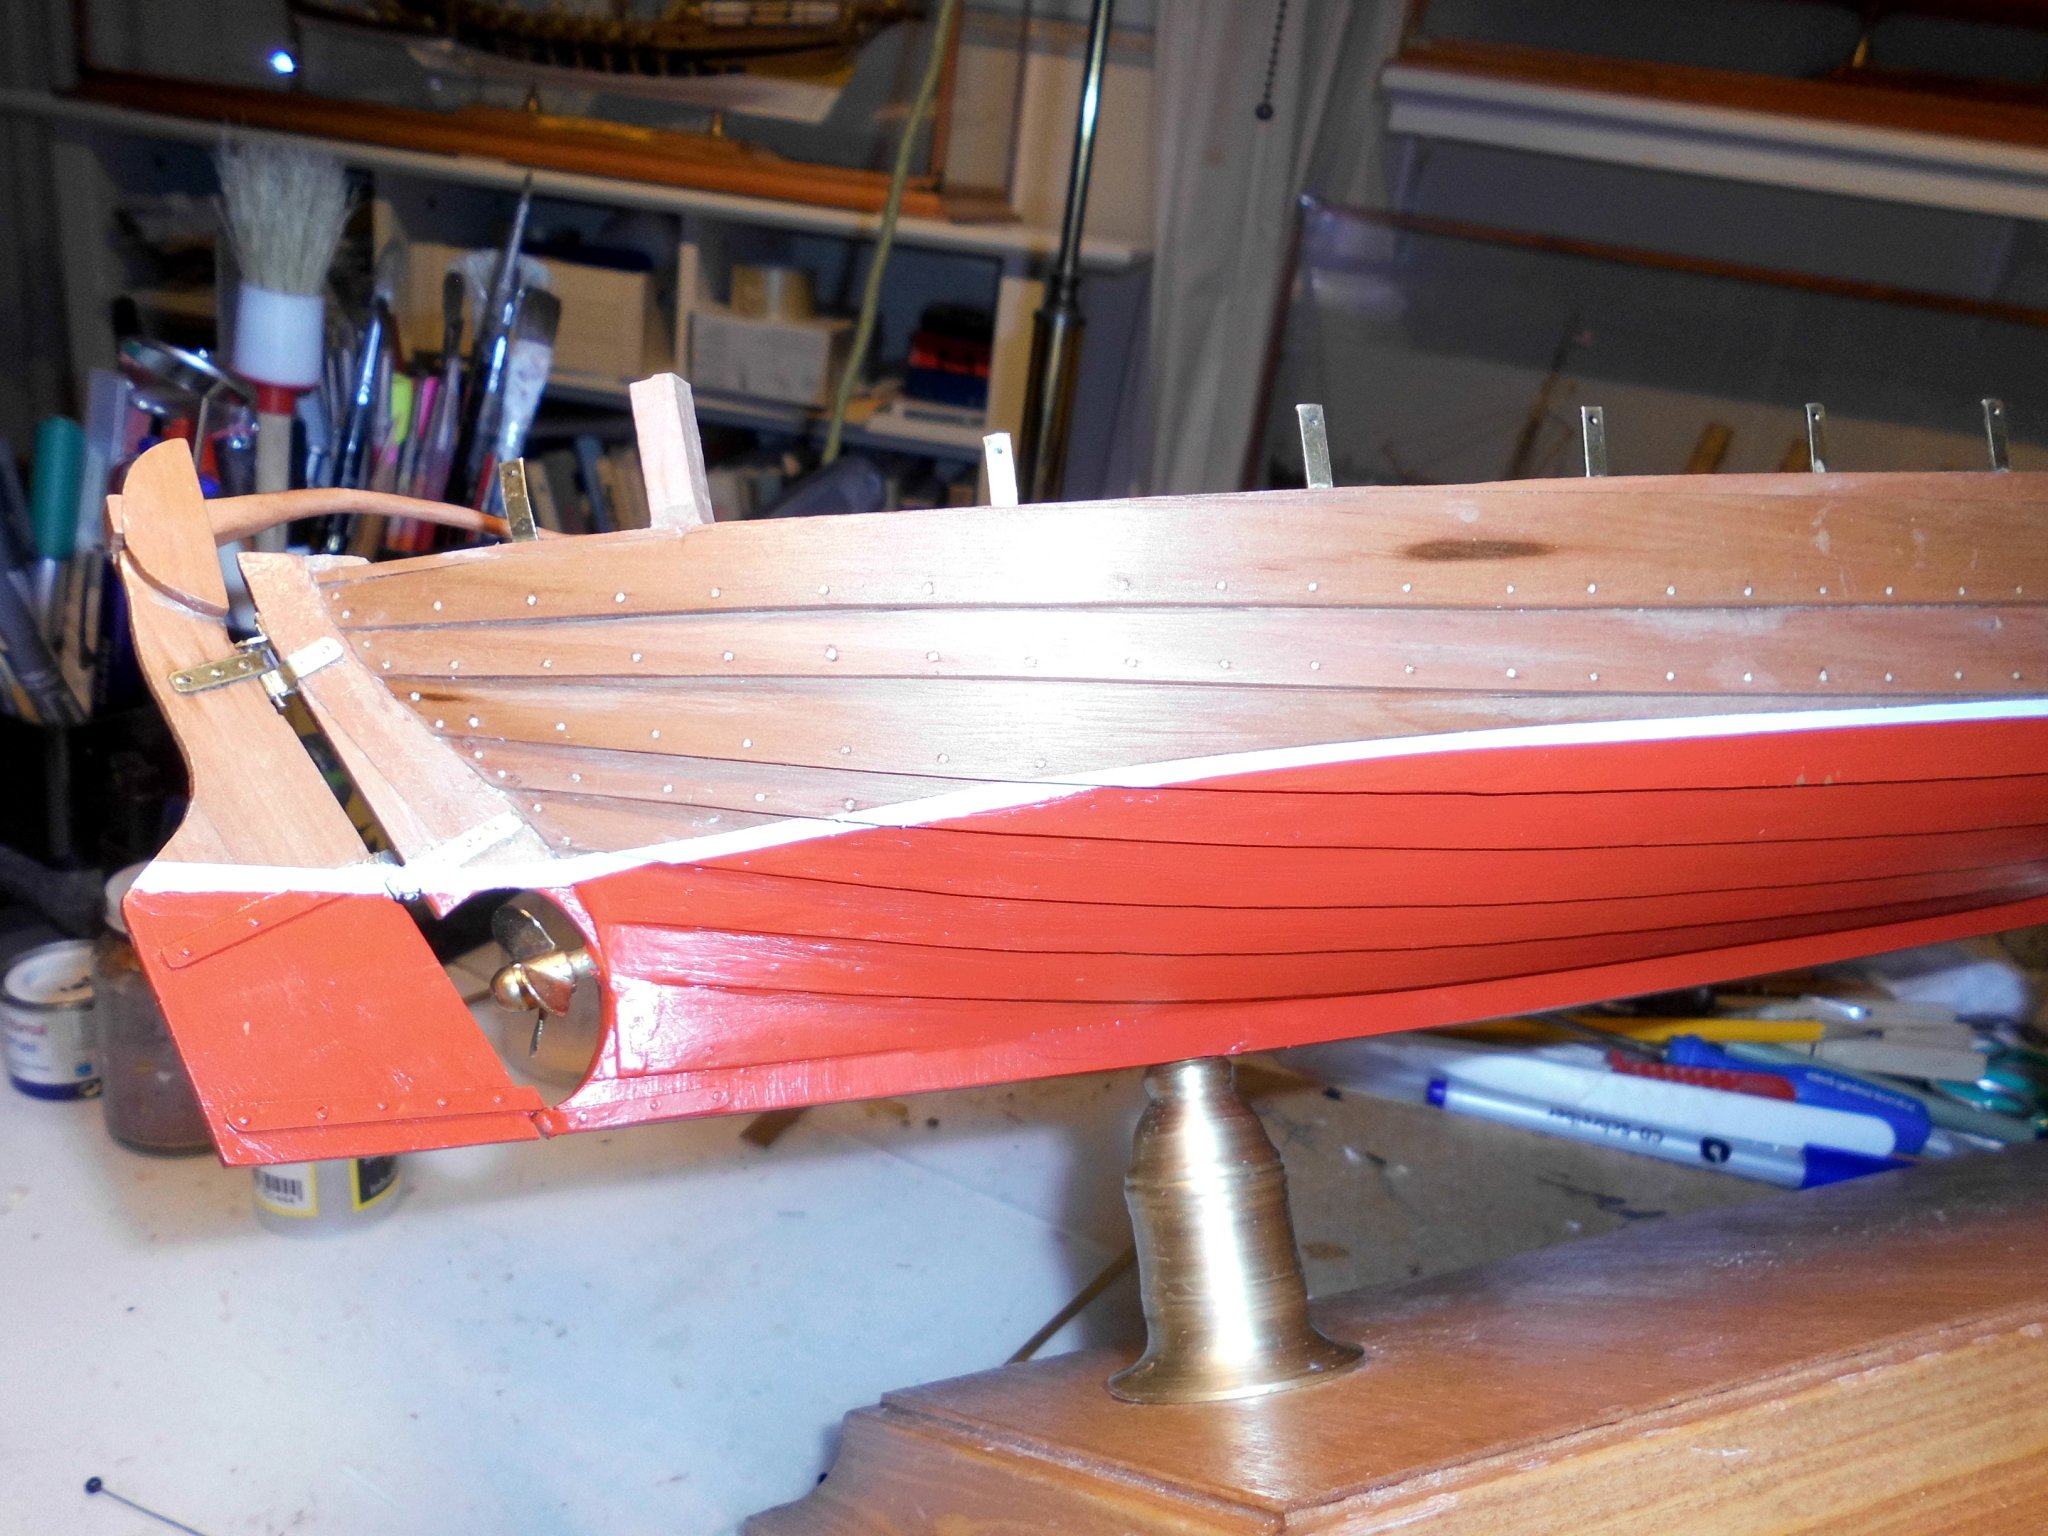
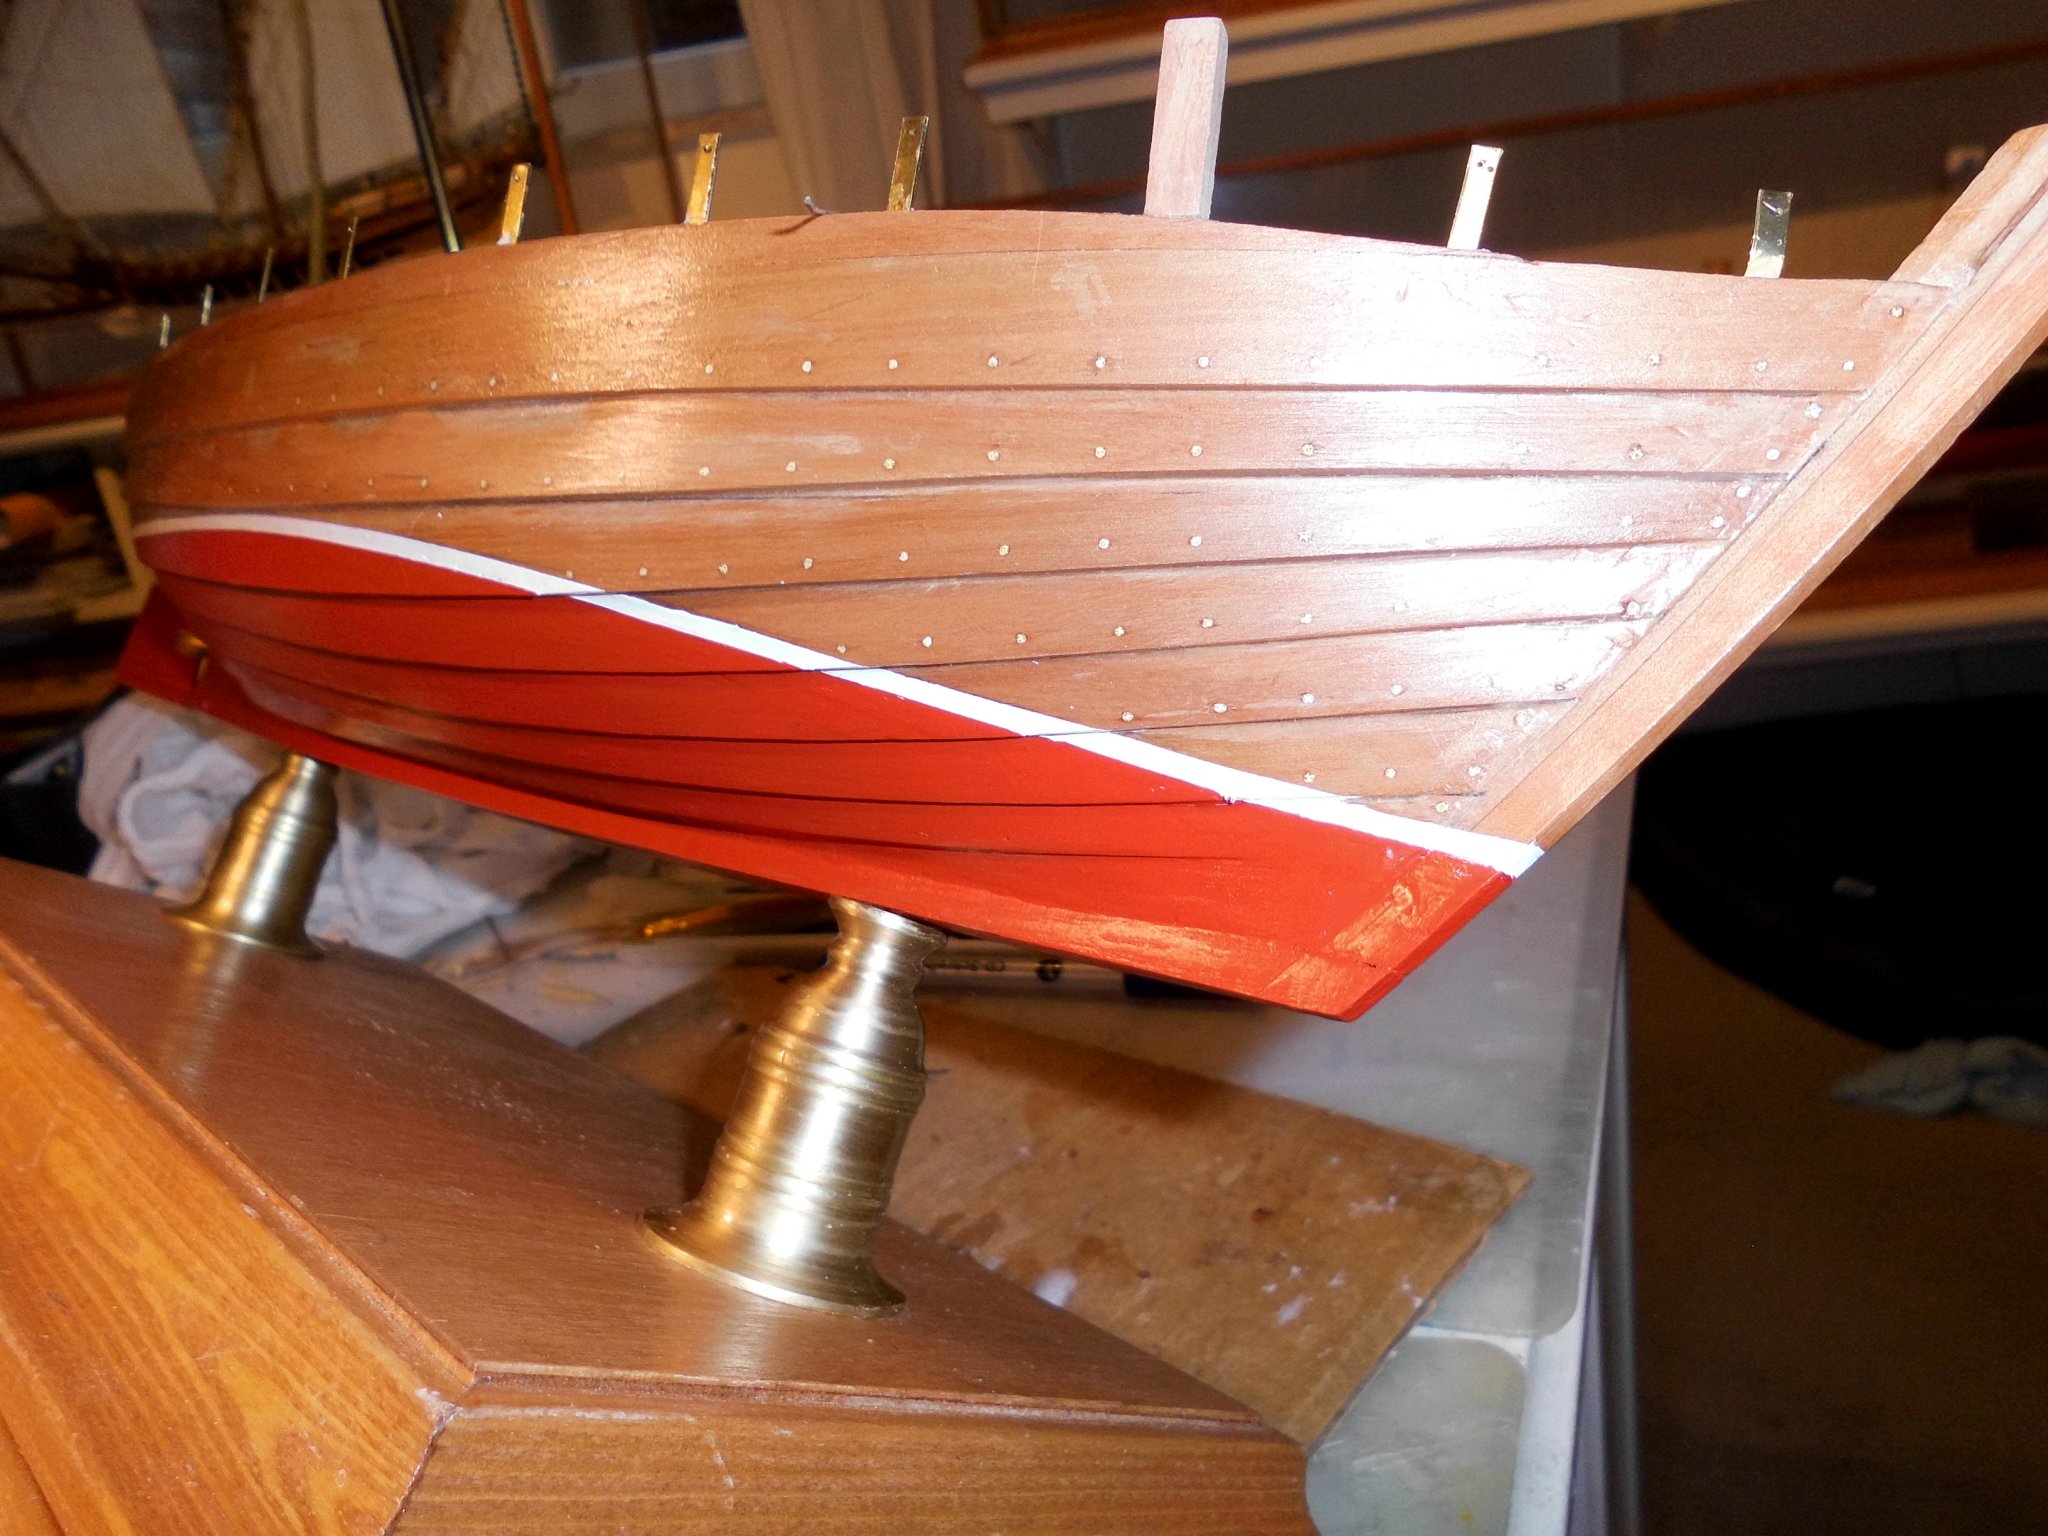
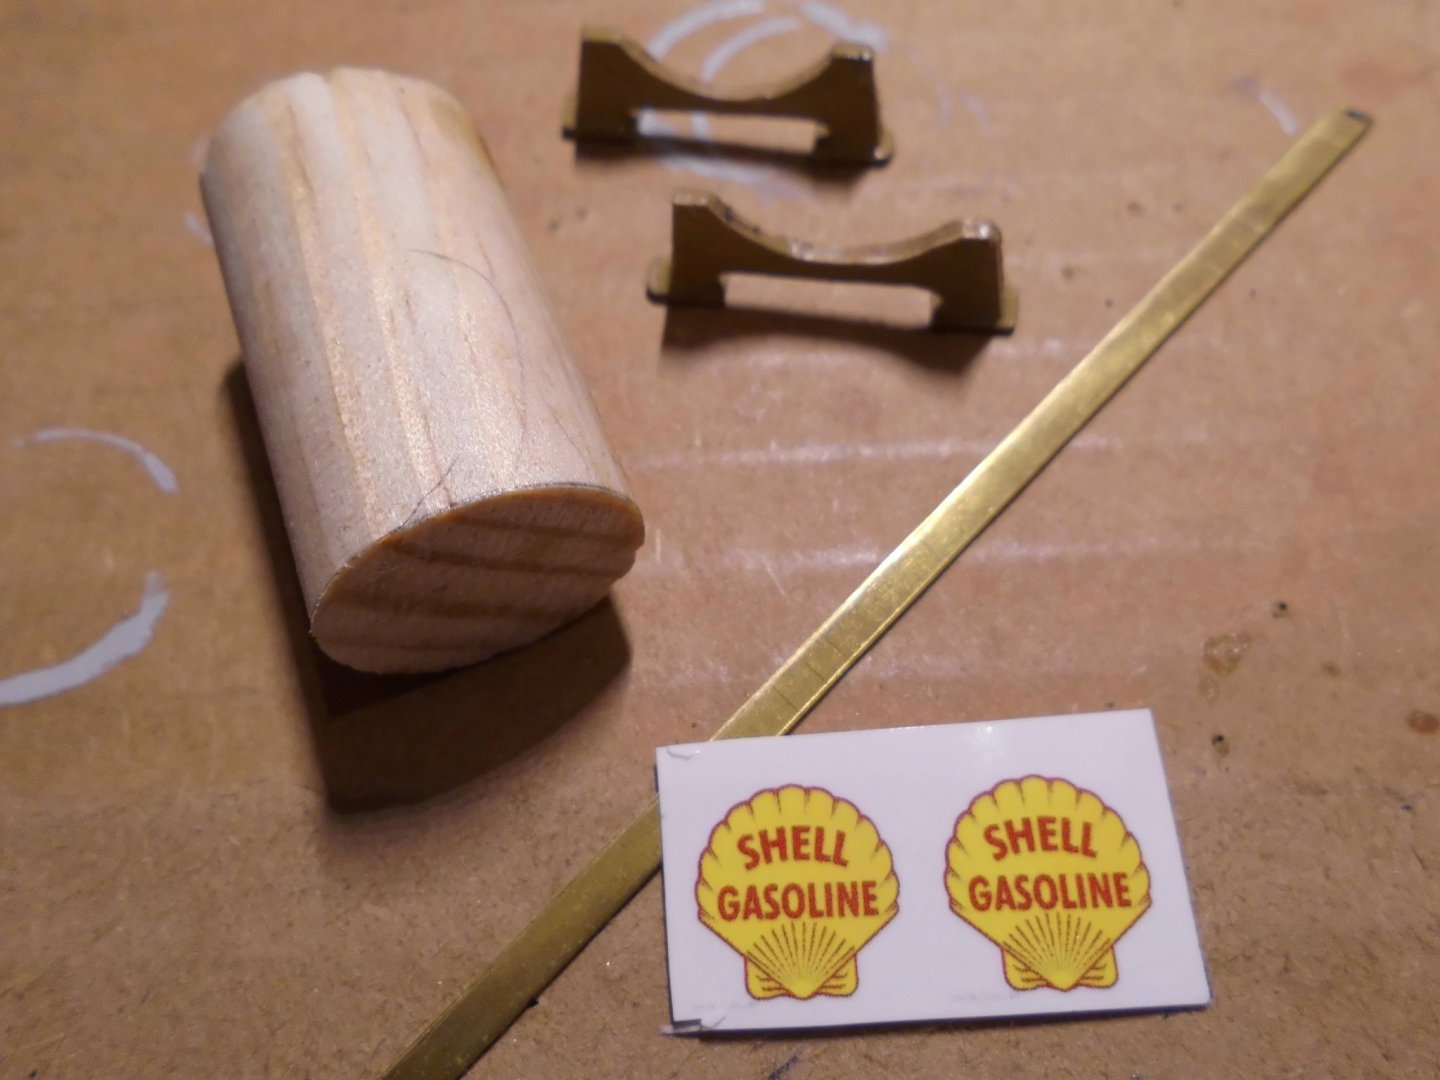
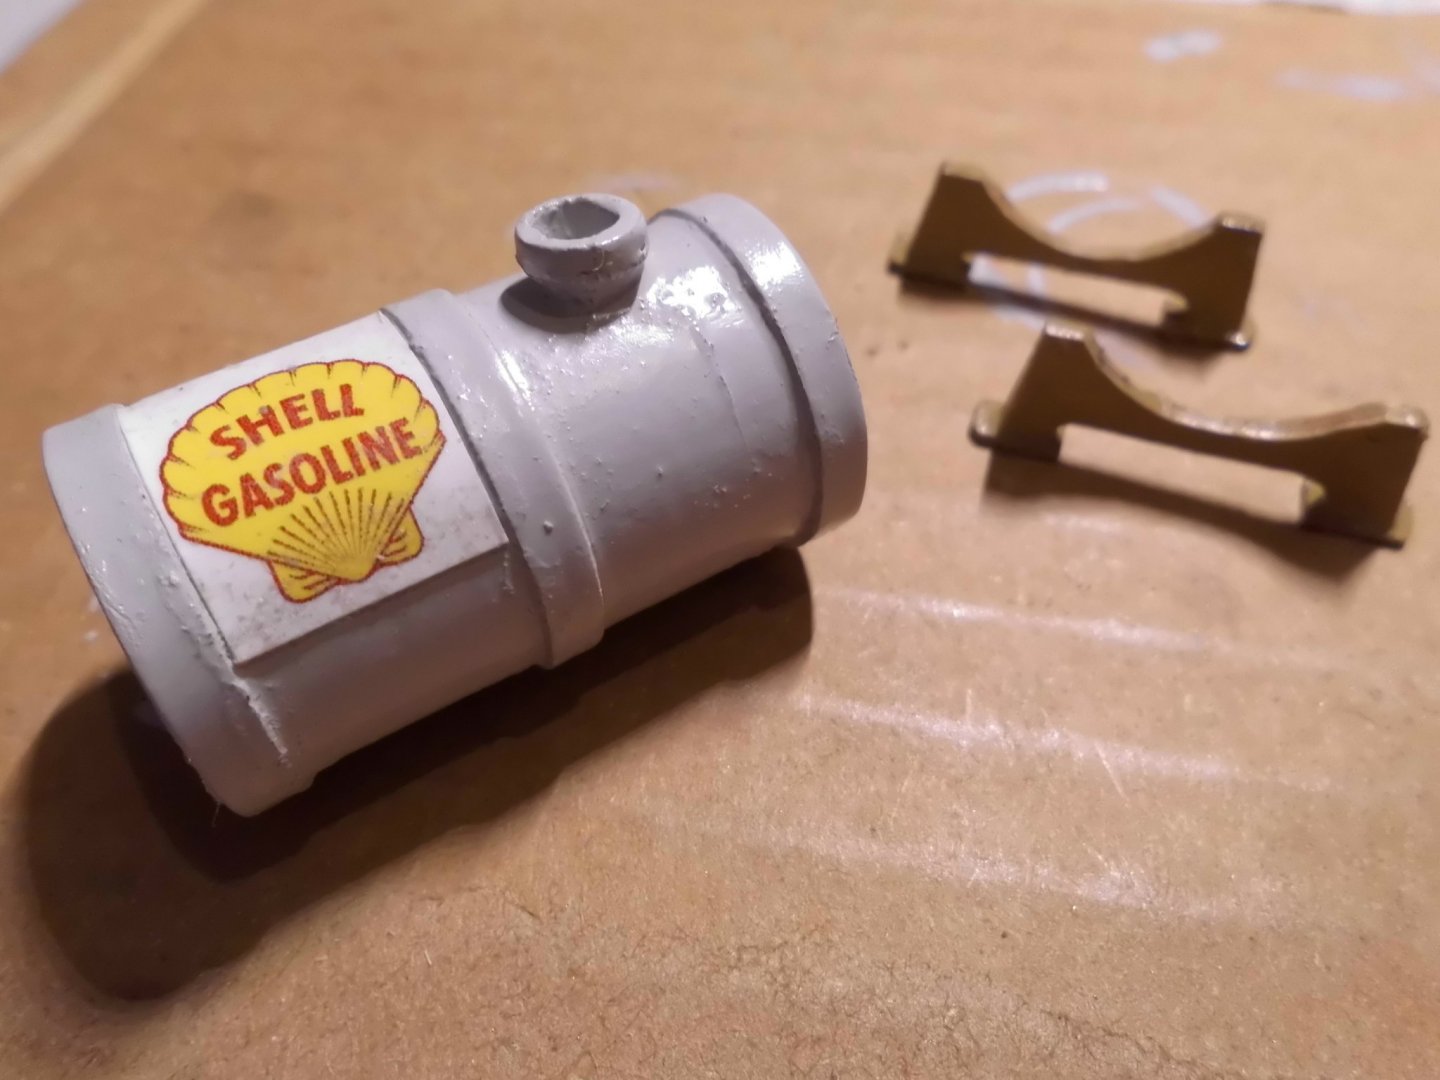
Status : gasoil storage drum (handpump still to come), and anti fouling coating.... Directly attached over the engine or at its side there will be smaller fuel day-tank, not yet shown here... Nils 20 mm round dowel, 3 mm brass bandages, two stand supports, enblem printed on photo paper I chose red antifouling, dull silk appearence


- 401 replies
-
- 16
-