
HOLIDAY DONATION DRIVE - SUPPORT MSW - DO YOUR PART TO KEEP THIS GREAT FORUM GOING! (Only 13 donations so far - C'mon guys!)
×


AnobiumPunctatum
-
Posts
1,280 -
Joined
-
Last visited
Content Type
Profiles
Forums
Gallery
Events
Everything posted by AnobiumPunctatum
-
Hi Chris, will you offer your gun crew also in scale 1/48? The 3D model of them is looking great. I am really intersted in them. Further sailors and officers of the period of the American Wars of Revolution will be a nice add on.
-
Reallohn nice collection of ships equipment
-
Hello Dave, I took my time this morning to read through your build log. Really nice and clean model.
-
Please let me know if you have the new shipping prices to Europe.
-
This week I got a "little" parcel with really nice milled boxwood from hobymill.eu. Vahur put also some extra sheets and wood samples to my order. The timber has real nice color and was excellent packed. Also the contact and information of Vahur was great. Hobbymill gets from me ⭐⭐⭐⭐⭐ of five possible. Highly recommended
-
Thank's very much. Let's answer your questions: In the moment, this is my plan but I don't know if I will change this with more experience in frame building. The advantage of the method are the different levels, which make the build much easier. By the testframe I did not have any problems, to get the frame out. I don't need much glue during the build. You can also use a colophane foil or a thin layer of clear varnish to avoid problems. Yes, I got one last year. The idea is a first result of my learning curve. I have a lot of other ideas, but for these I have to learn 3D construction. All my drawings are in the moment in 2D and for Triton I will not change this.
-
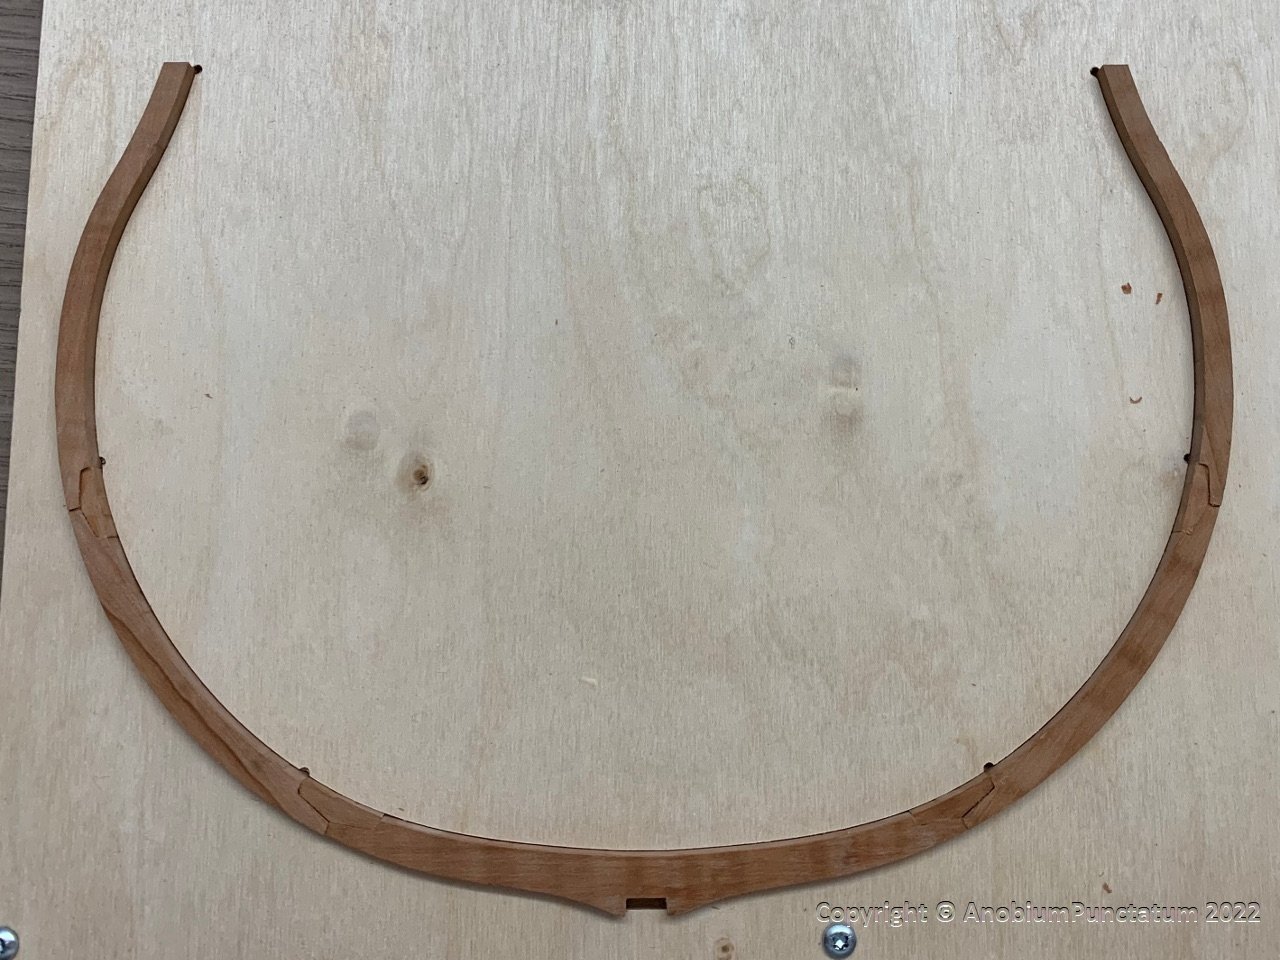
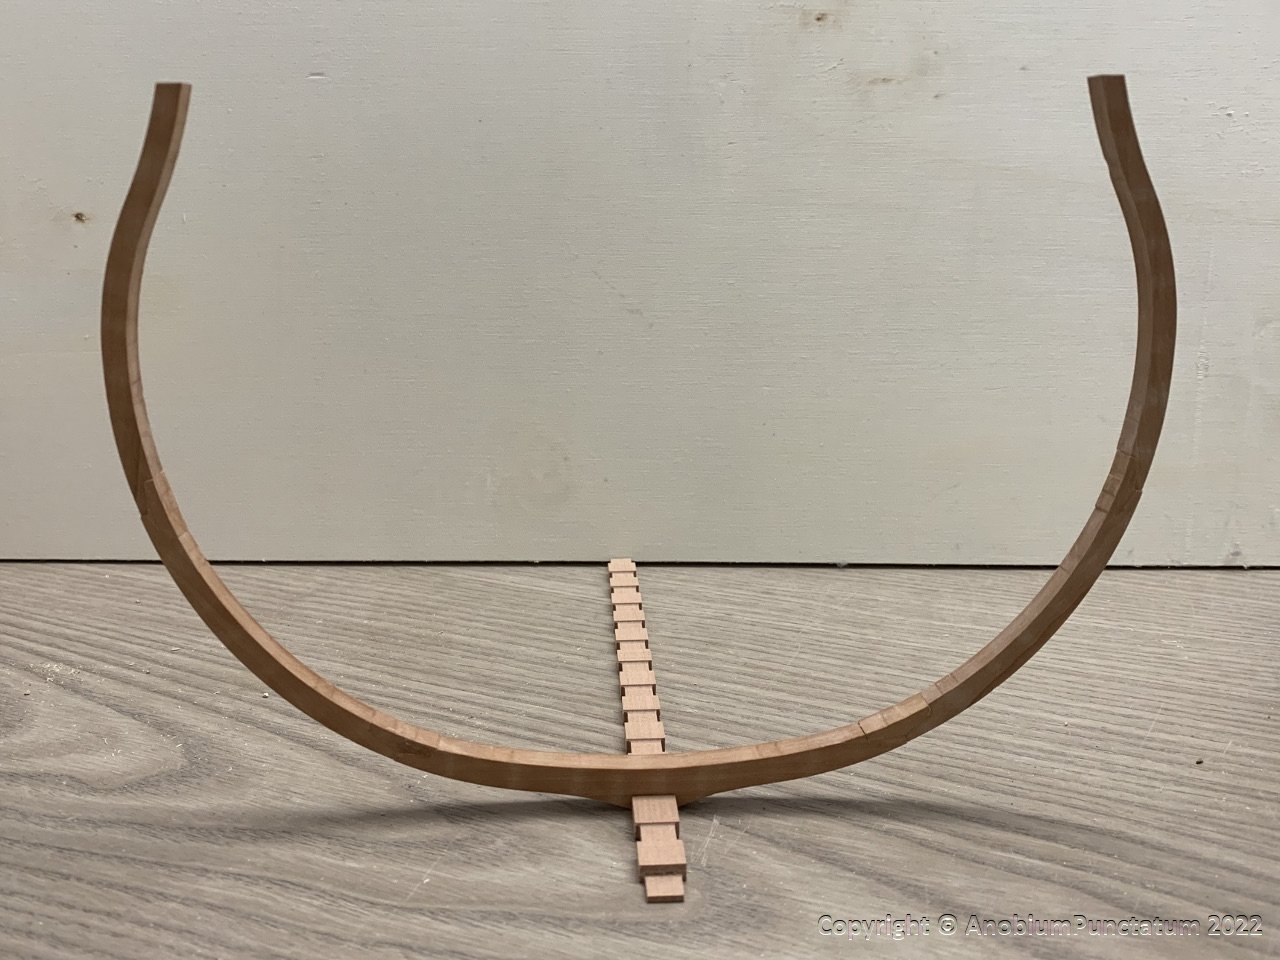
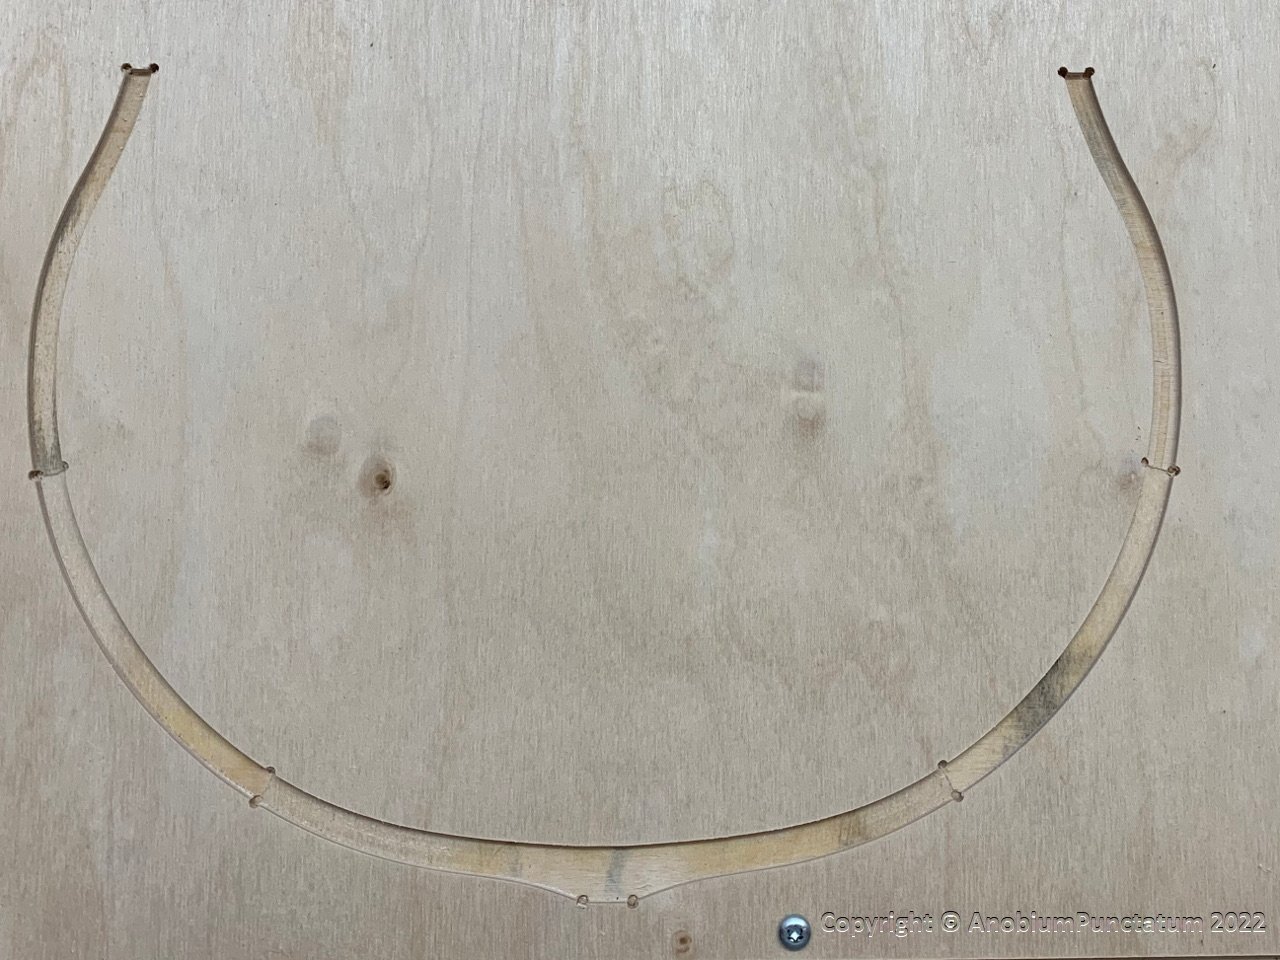
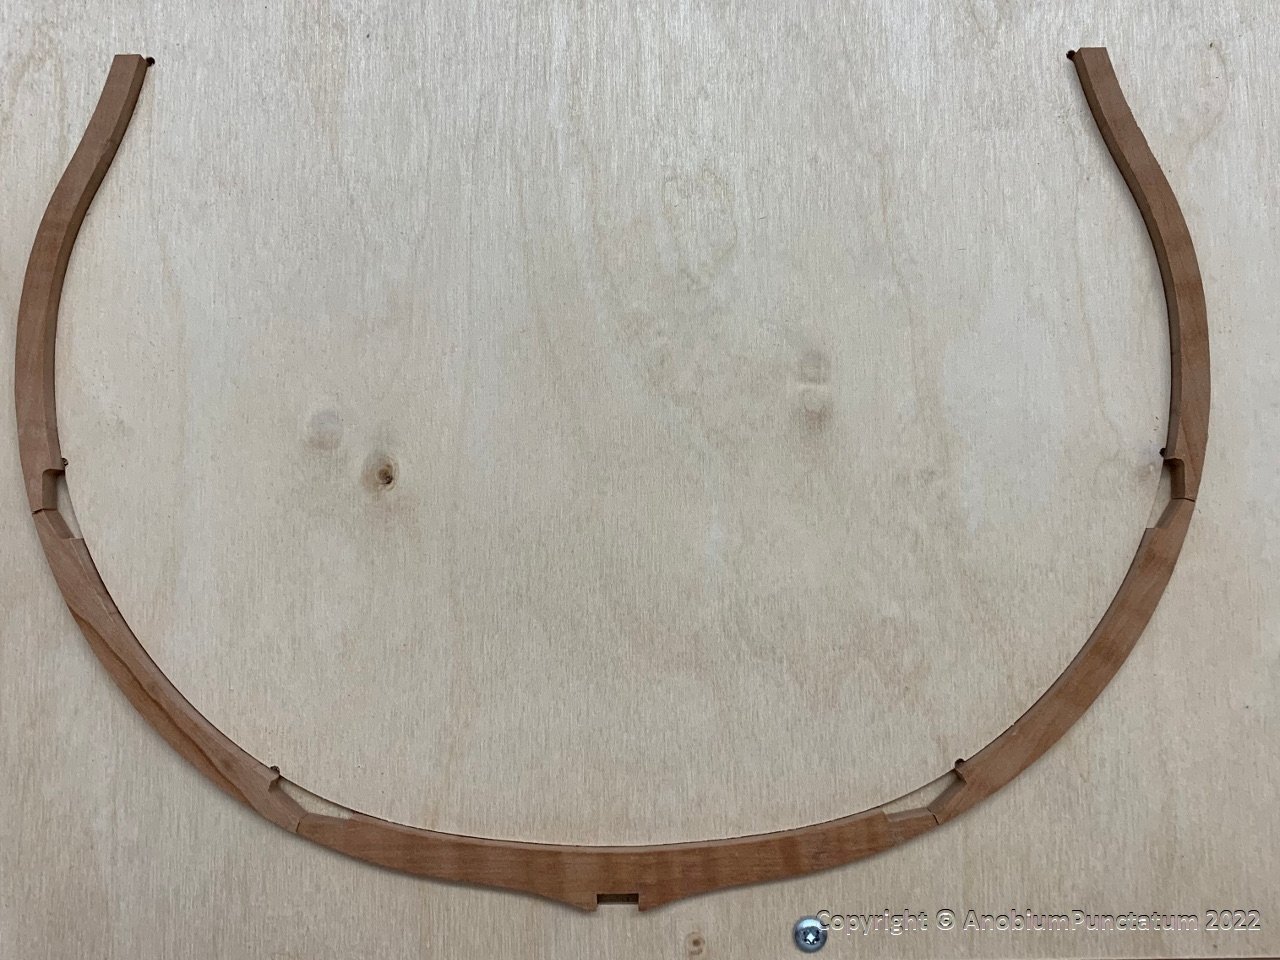
The last two years I needed my workshop as homeoffice. I started building Cheerful at the dining table, but this was also not a good idea. Now I am back in my office which gives me the possibility to use my workshop as shipyard again. To practice I build a test frame from an old piece of wood. Instead of a paper base, I milled a template from plywood, which already takes into account the different thicknesses of the futtocks. On this template, the futtocks were first glued together and then the chocks were added. Finally a photo of the finished test-frame. Now I can start with the serial production.
-
Wonderful progress. It's really nice to see, that people give this old group project a try or continue their build.
-
I took my time today to read through your log. Really wonderful and clean build.
-
Really wonderful progress
-
Really nice model.
-
In 1/48 I don't know an manufacturer of mediaeval figures. In 1/72 you can find lot of figures by Valdemar Miniatures. I planned to use them by a small cog diorama.
-
I will follow your log with great interest. I have in my collection also the old kit from BB. The scale of the model should ba 1/25 and not 1/20.
-
I didn't Preorder the book for that reason. Last week I got my copy from Amazon without any problems and I don't need to think about tax I have to pay if I order the book in the UK. It's a wonderful book and makes a lot of pleasure to read.
-
You're right. For the Bremer cog you can use one of the replica's for teh mast design. In my opinion the Kieler cog is the best. Do you know, that there is a wonderful book over the excavation with beautyful drawings of the IJssel cog? "De opgraving en lichting van de 15e- eeuwse IJsselkogge" onder redactie van W.B.Waldus.
-
I know the work which is in the reconstruction and drawing. Last month I did the frame design of my Triton a second time to become more satisfied with the results.
-
Kris, it is a qustion of the result you like to have, the scale and your skills. There is in my opinion nobody than you who can answer these questions. I know from my own experience hoe dfficult and sometimes really frustrating it is to find this out. If you like to buy some tools buy only good quality tools and check if the mones is an good investement. Take an small project like the MSW capstan project to practice. If you than think, that you need more experience take another small project. If you think it's enough start with your dream model. But be sure that you make in the beginning every part two of three times until the result satisfies you.
-
It looks really nice Tony, but I think that the extra toptimbers are not necessary. The boat was klinerbuild. So it is really stabil.

