-
Posts
1,283 -
Joined
-
Last visited
Content Type
Profiles
Forums
Gallery
Events
Everything posted by AnobiumPunctatum
-
Sorry to say, but this is definitly wrong. Suldelev I and III were found in the beginning of the sixtieth and the drawings of these ships were available. Also if you can not read the book, the drawings are very well researched.
-
Hi, there is a really nice book and planset about this kind of ships: Werner Zimmermann "Nef de Cinque Ports". Another good information is the drawing in Landström.
-
You only need to scan the body plan. Measure the length between the first and last station line in the sheer plan. Then measure the distance between the station lines to check and correct the first measurment. With this information you can draw the station lines in your cad-system. The offset between the station lines is the same. If you have scanned the body plan you can add it to your sheer plan and then the funny part can start. These are the steps I started my Triton drawing
-
Congrats for finishing this beautyful model. It's looking really wonderful.
- 433 replies
-
- open boat
- small boat
-
(and 1 more)
Tagged with:
-
As always, it's a pleasure to follow your progres.
- 433 replies
-
- open boat
- small boat
-
(and 1 more)
Tagged with:
-
I am a fan of the "Wappen von Hamburg", since I was a child. I read the book of Wolfgang Quinger in the 70th of the last century. I think the kit is a good representation of the ship, based on the older Höckel drawings.
-
It's looking really nice.
- 1,784 replies
-
- winchelsea
- Syren Ship Model Company
-
(and 1 more)
Tagged with:
-
Glenn, thanks for the really nice descriptions. This is very helpful for me.
- 778 replies
-
- cheerful
- Syren Ship Model Company
-
(and 1 more)
Tagged with:
-
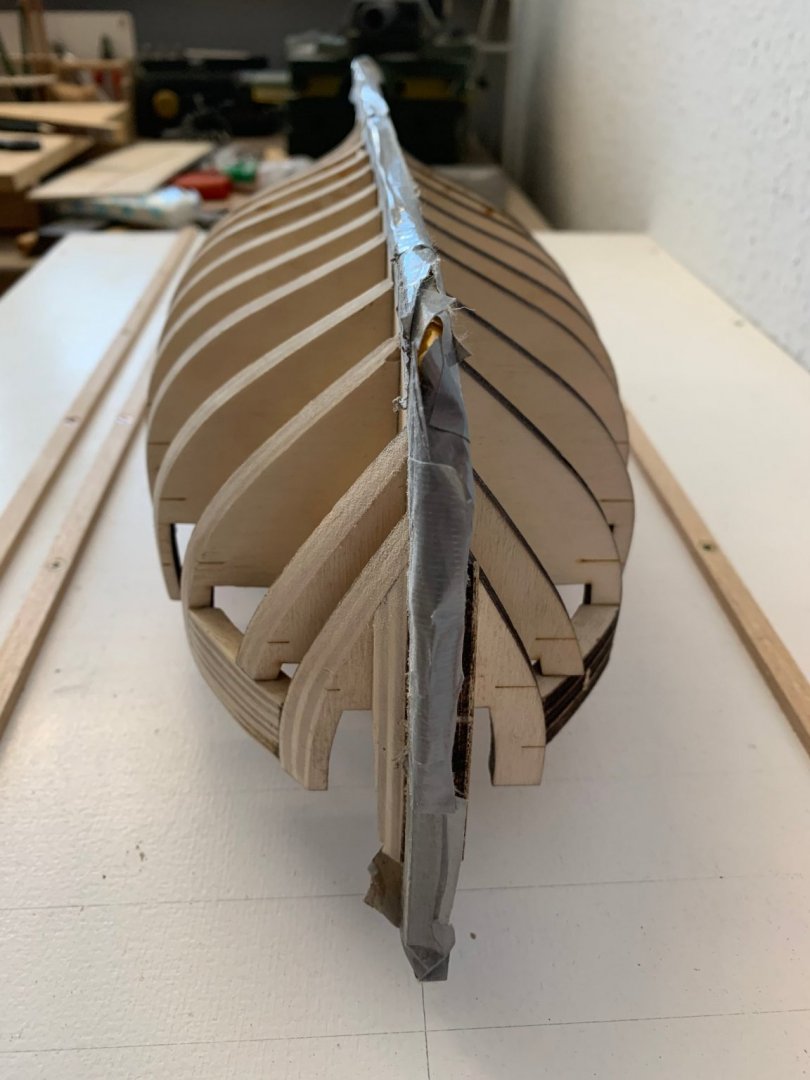
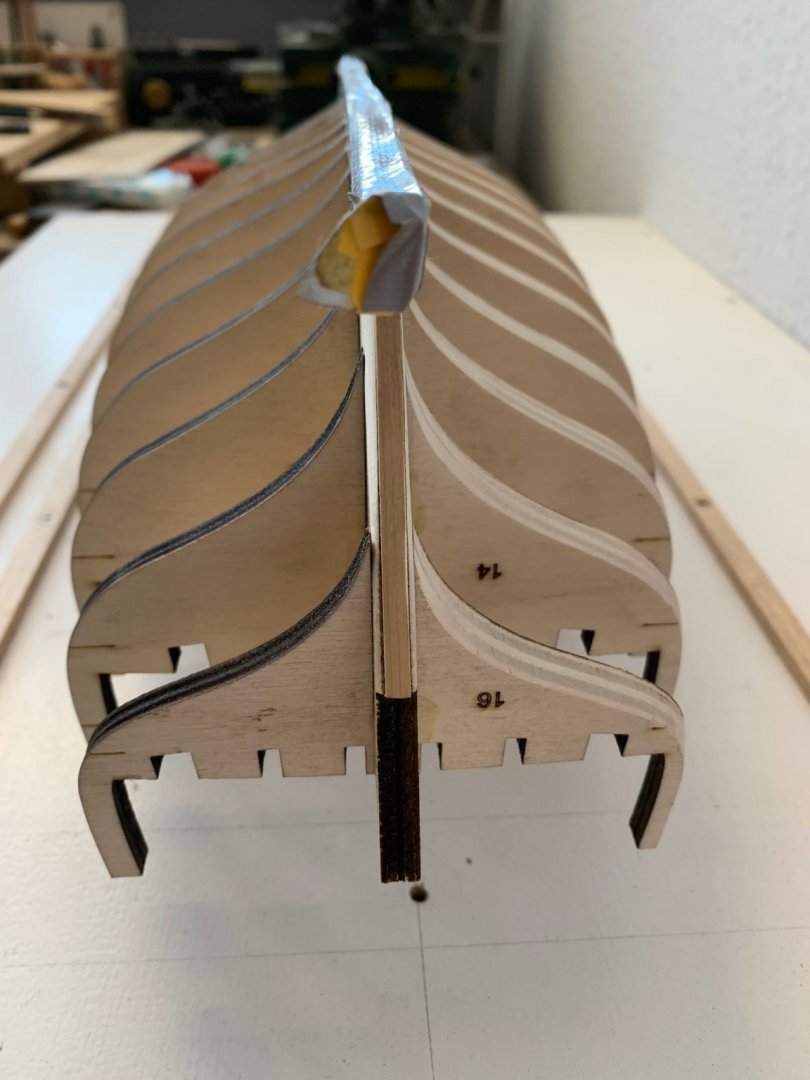
Today I found time to sand the first half of the hull. After removing the adhesive tape at the keel I have to sand a little bit at the stem. Those who can read have a clear advantage. 😉 If you see, I didn't follow Chucks advise, I simply overread this. So I copied the marks on the other side of the frames.
-
Wow, the cannons are looking great. I like the natural carriage. It will be a nice contrast to the hull color.
- 1,784 replies
-
- winchelsea
- Syren Ship Model Company
-
(and 1 more)
Tagged with:
-
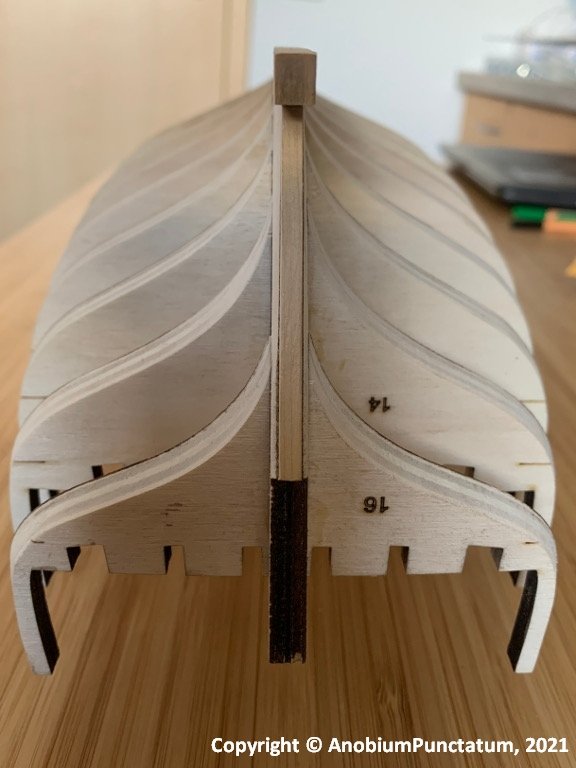
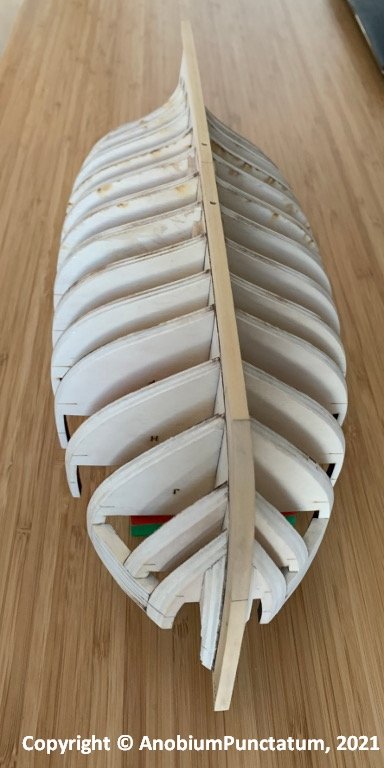
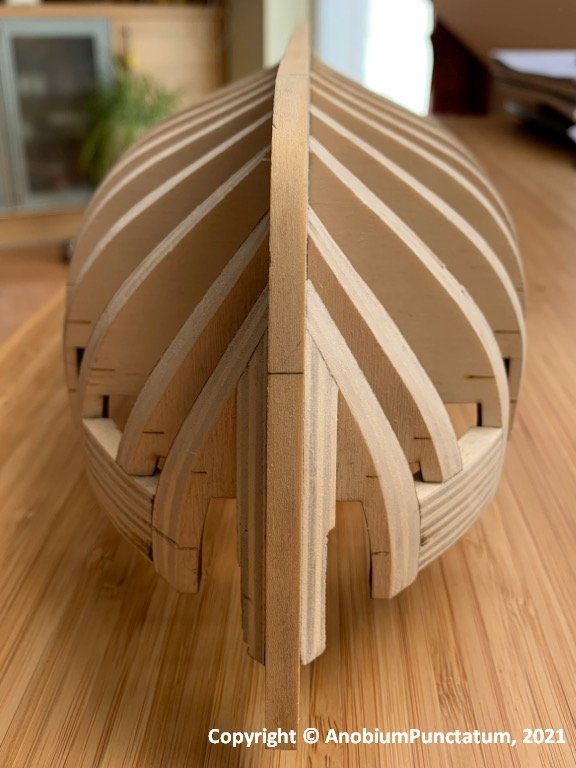
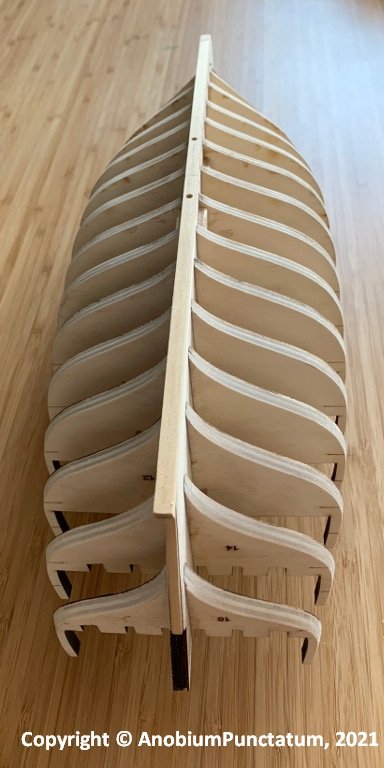
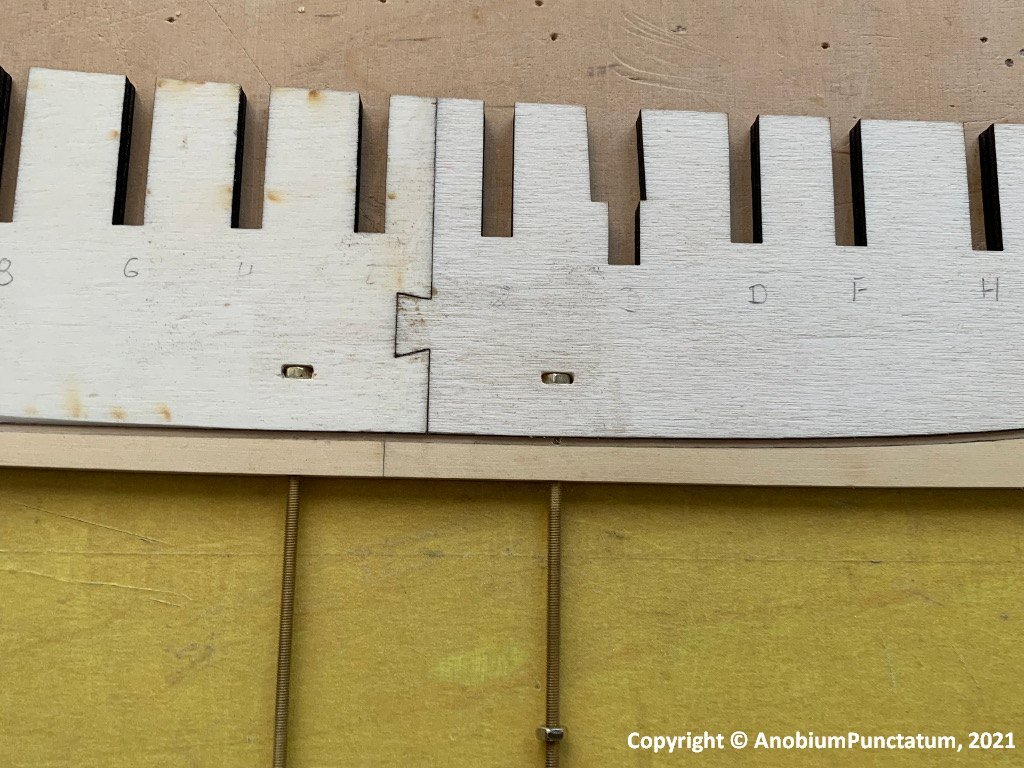
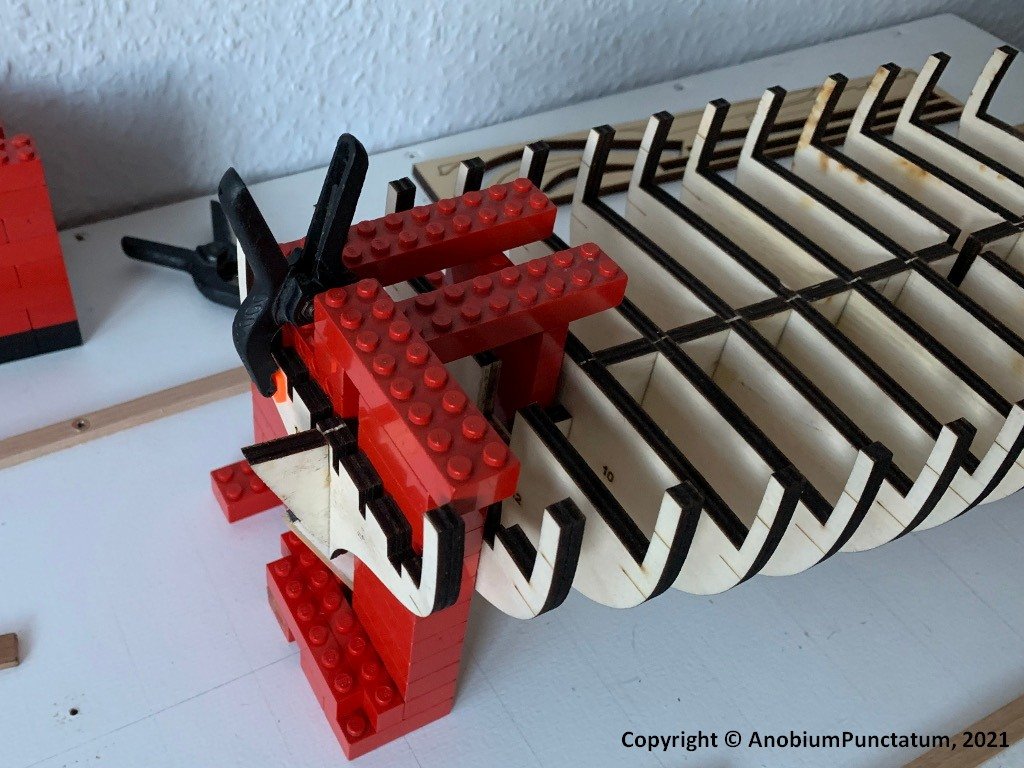
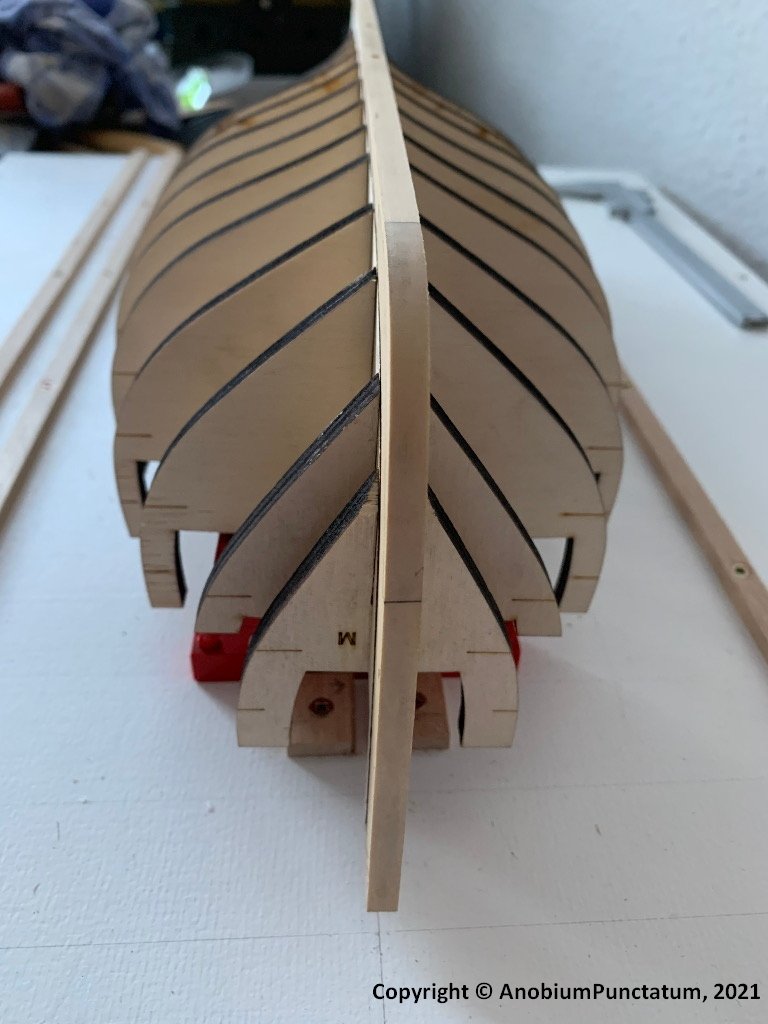
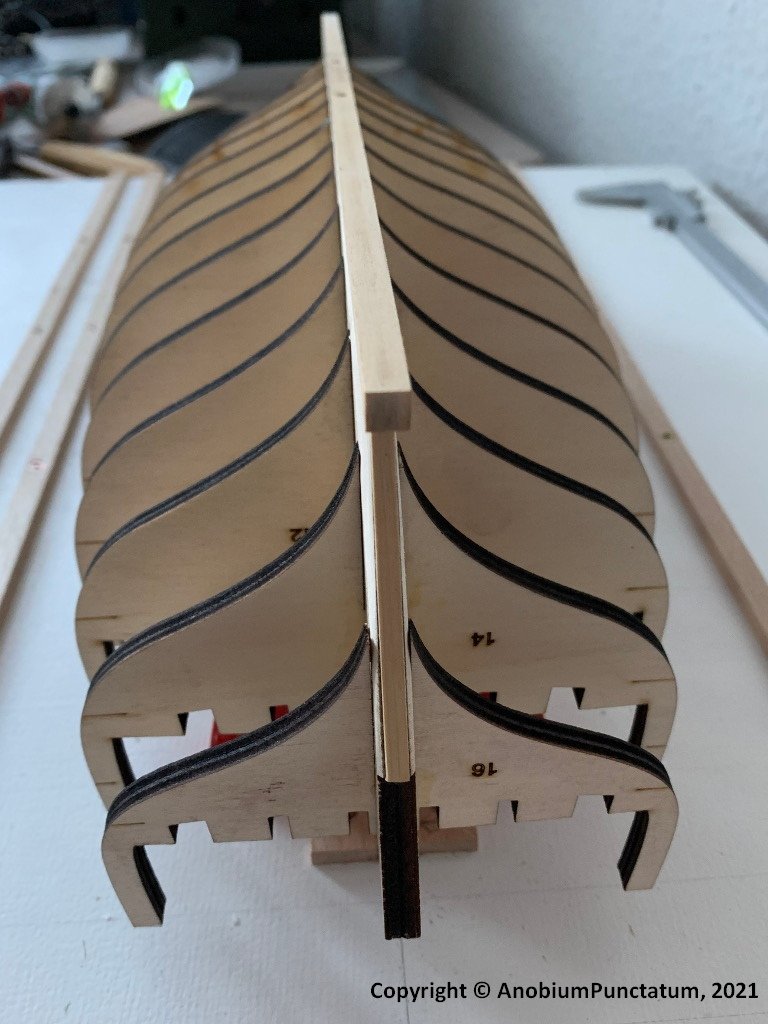
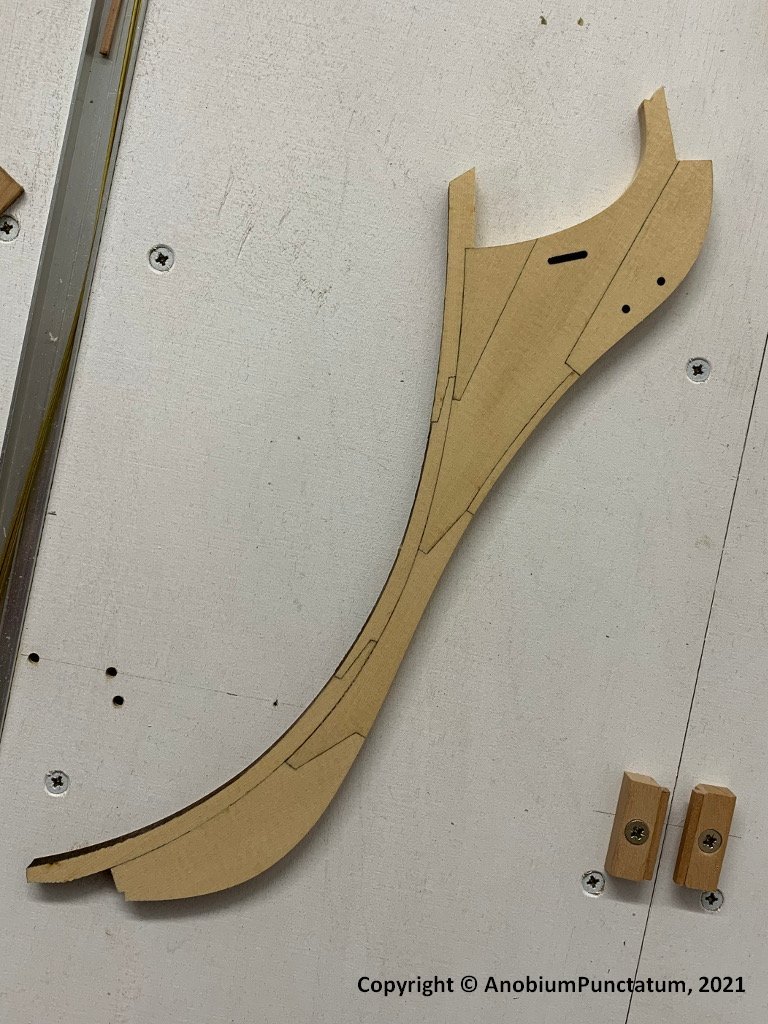
In order to be able to securely fasten the model to the stand, two recesses for nuts were milled into the keel board and two holes were drilled for M3 threaded rods. Today I glued the ribs into the prepared keel board. For the right-angled alignment I built small auxiliary constructions out of Lego bricks.
-

Die Kogge Von Bremen by kentyler
AnobiumPunctatum replied to kentyler's topic in - Subjects built Up to and including 1500 AD
The planks at the bottom of the hull are krawel planked. So I think it is a good idea, to add some real frames to your shell. -

Die Kogge Von Bremen by kentyler
AnobiumPunctatum replied to kentyler's topic in - Subjects built Up to and including 1500 AD
With the plans from Werner Lahm, you have the best source you can find for the Bremer cog. I Will follow your build with great interest. The plans are also the basis for the replica's in Germany. I've published a pert of the foto's I did from the original ship at Modellmarine.de.
About us
Modelshipworld - Advancing Ship Modeling through Research
SSL Secured
Your security is important for us so this Website is SSL-Secured
NRG Mailing Address
Nautical Research Guild
237 South Lincoln Street
Westmont IL, 60559-1917
Model Ship World ® and the MSW logo are Registered Trademarks, and belong to the Nautical Research Guild (United States Patent and Trademark Office: No. 6,929,264 & No. 6,929,274, registered Dec. 20, 2022)
Helpful Links
About the NRG
If you enjoy building ship models that are historically accurate as well as beautiful, then The Nautical Research Guild (NRG) is just right for you.
The Guild is a non-profit educational organization whose mission is to “Advance Ship Modeling Through Research”. We provide support to our members in their efforts to raise the quality of their model ships.
The Nautical Research Guild has published our world-renowned quarterly magazine, The Nautical Research Journal, since 1955. The pages of the Journal are full of articles by accomplished ship modelers who show you how they create those exquisite details on their models, and by maritime historians who show you the correct details to build. The Journal is available in both print and digital editions. Go to the NRG web site (www.thenrg.org) to download a complimentary digital copy of the Journal. The NRG also publishes plan sets, books and compilations of back issues of the Journal and the former Ships in Scale and Model Ship Builder magazines.


