MORE HANDBOOKS ARE ON THEIR WAY! We will let you know when they get here.
×

bobandlucy
-
Posts
511 -
Joined
-
Last visited
Content Type
Profiles
Forums
Gallery
Events
Everything posted by bobandlucy
-
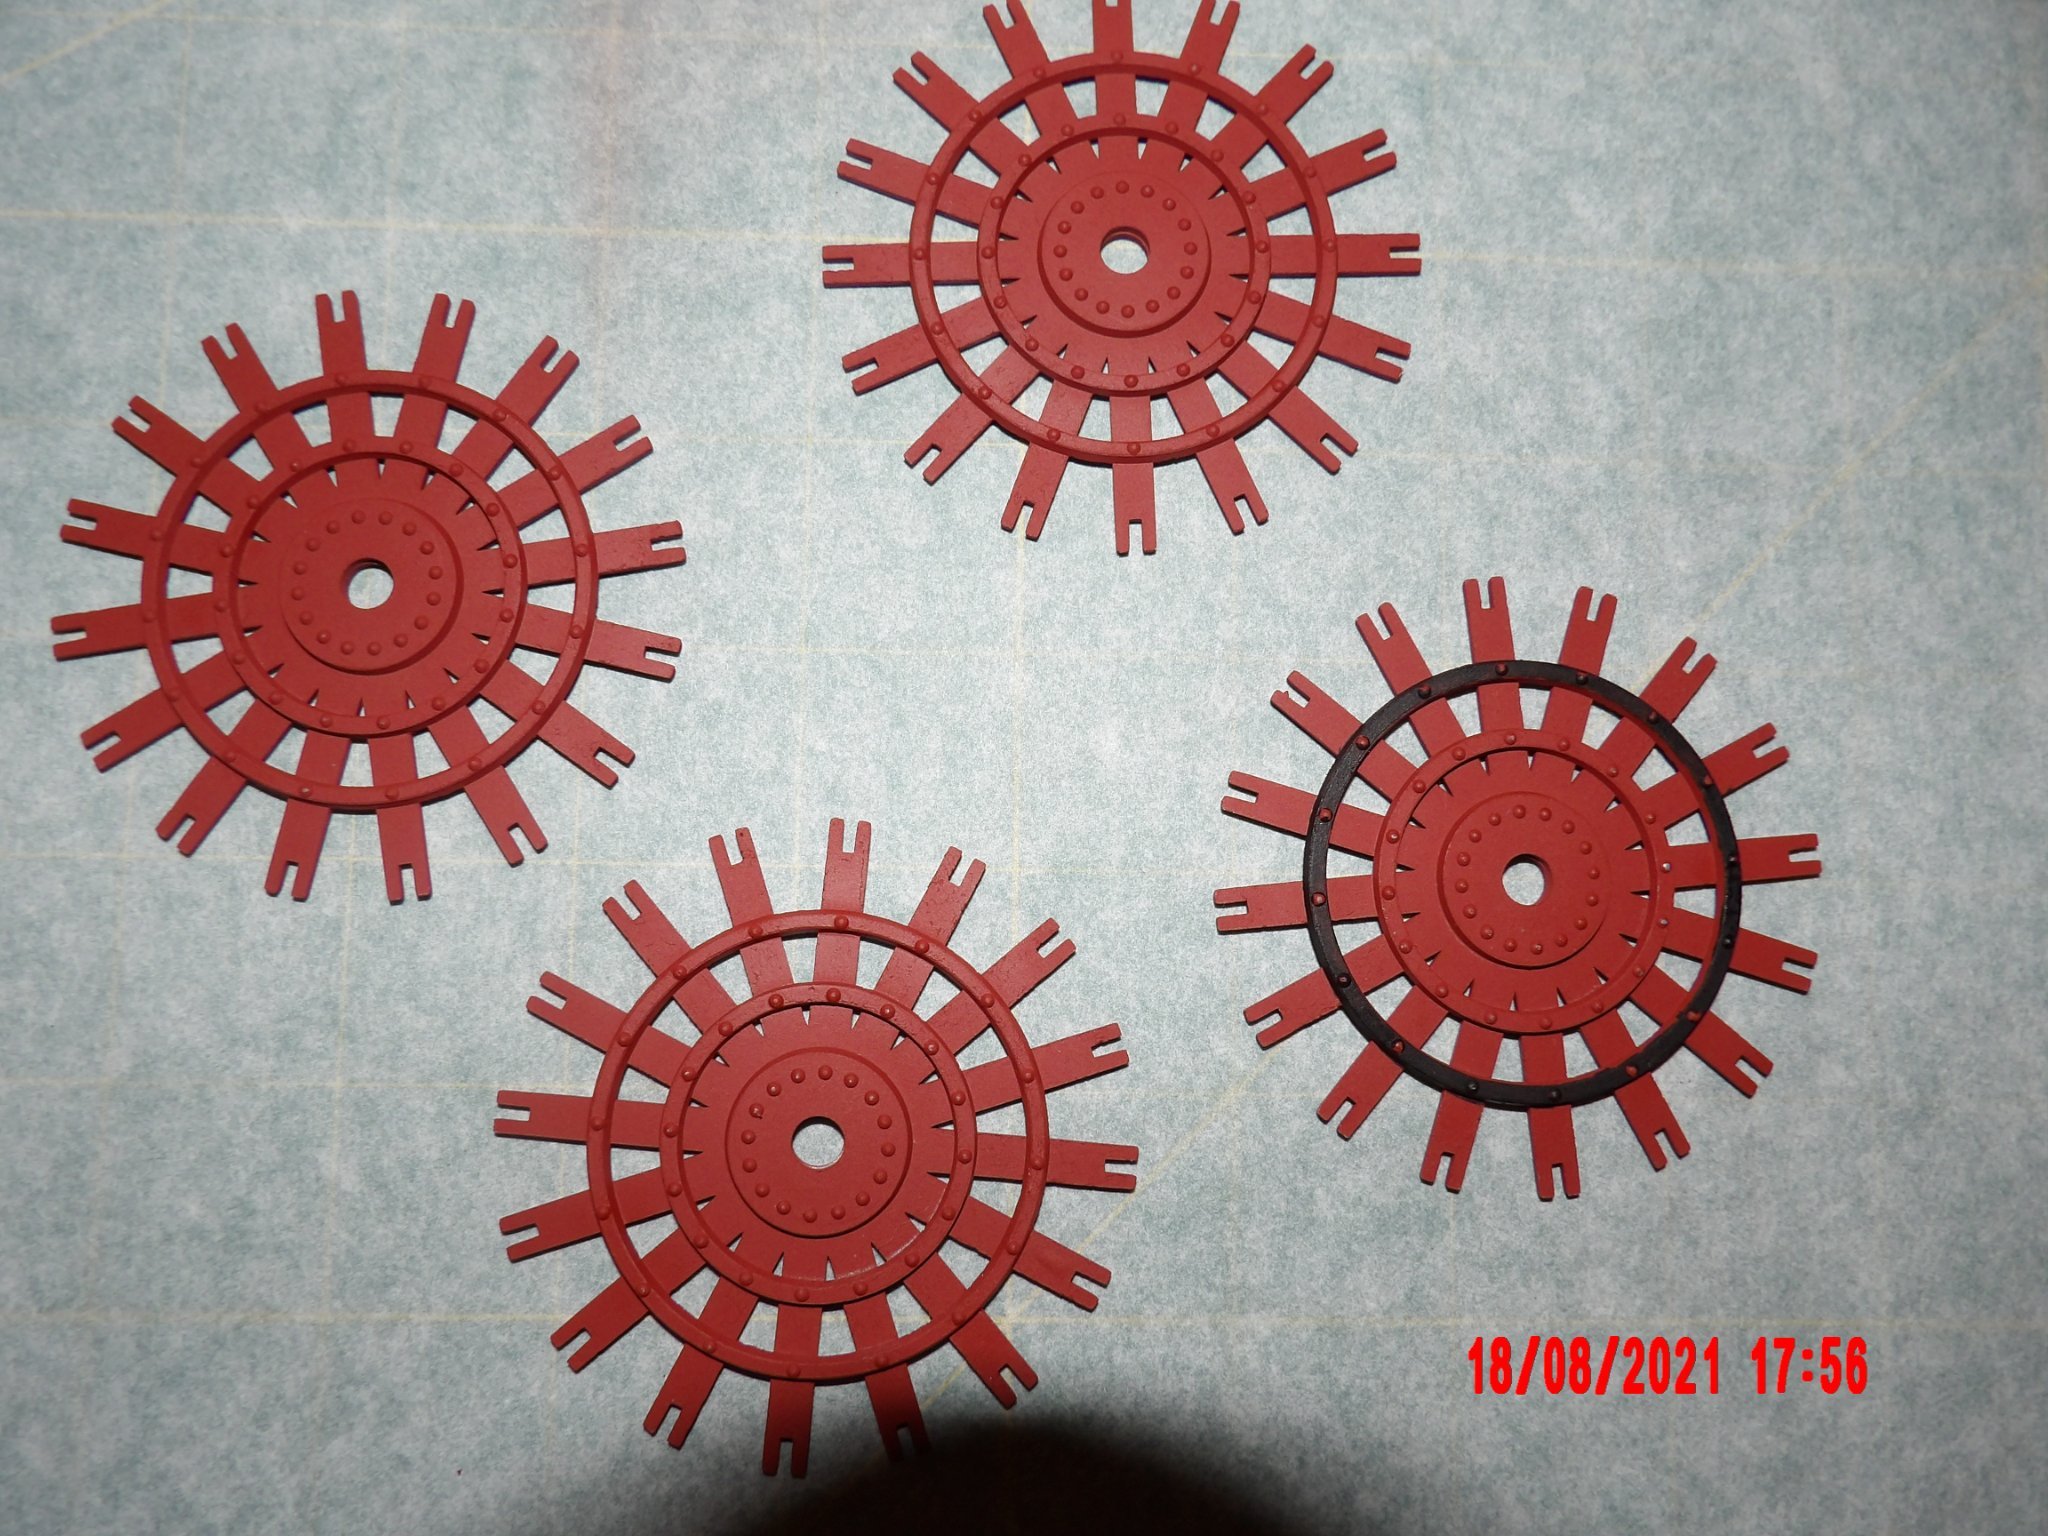
 Thanks, Bob. I do appreciate your time in answering. Regarding the top staterooms. One end has a single centered door, with one small window on each side of the door. The other end has a three-panel "wrap-around" window each side. The instruction photos clearly show the centered door towards the bow, which is how it it placed in my photo above. If I reverse the staterooms end-to-end, the overhangs are correct according to the large plan (photo below). I could install it this way, which is what I think you are saying you did, or relocate the notches, or remove the tabs. Anyway, this will give me the chance to infill the planking at the notches, as I for the second time cut when I should have left in. The chimneys I was referring to are the smoke stacks (large stacks in the manual) coming from the boiler room, not the steam vents towards the stern, although I see your point about those. In any case, the plan shows both sets as vertical. As I have already planked all the decks, I will have to deal with the angled holes for the hog chains (thanks, Cathead) and try not to mess up the planking too much. On the plus side, I did my first airbrushing today, red on the metal paddlewheels. . . I'm painting the black by hand, slowly.
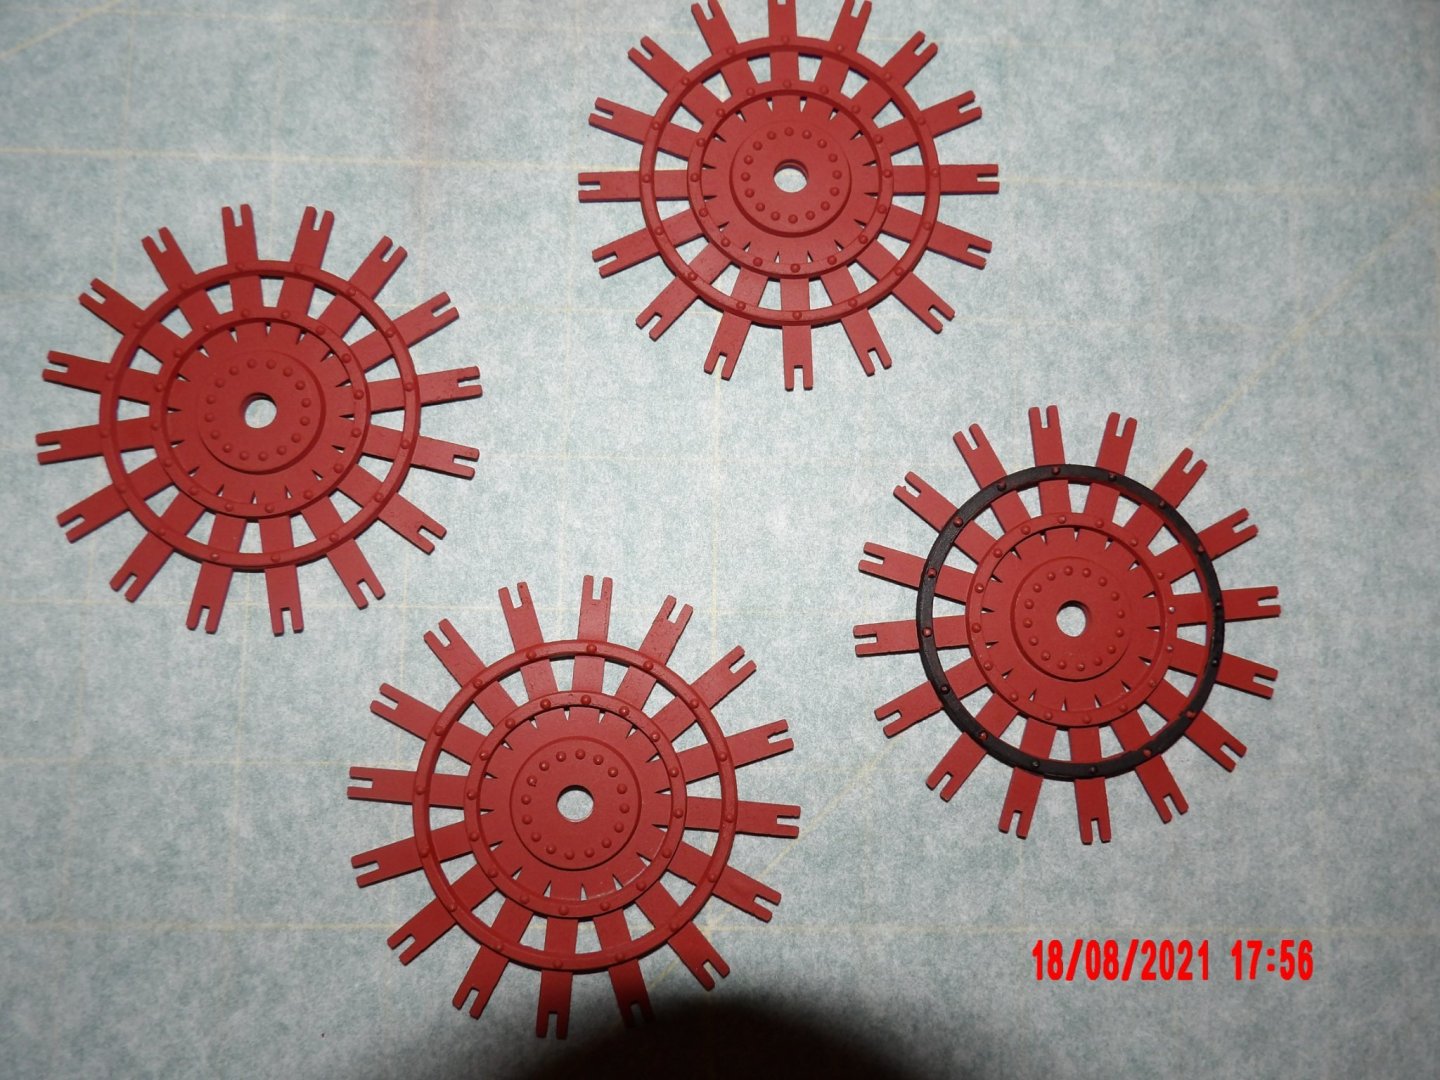
- 109 replies
-
- 2
-

-
- Finished
- Artesania Latina
- (and 1 more)
-
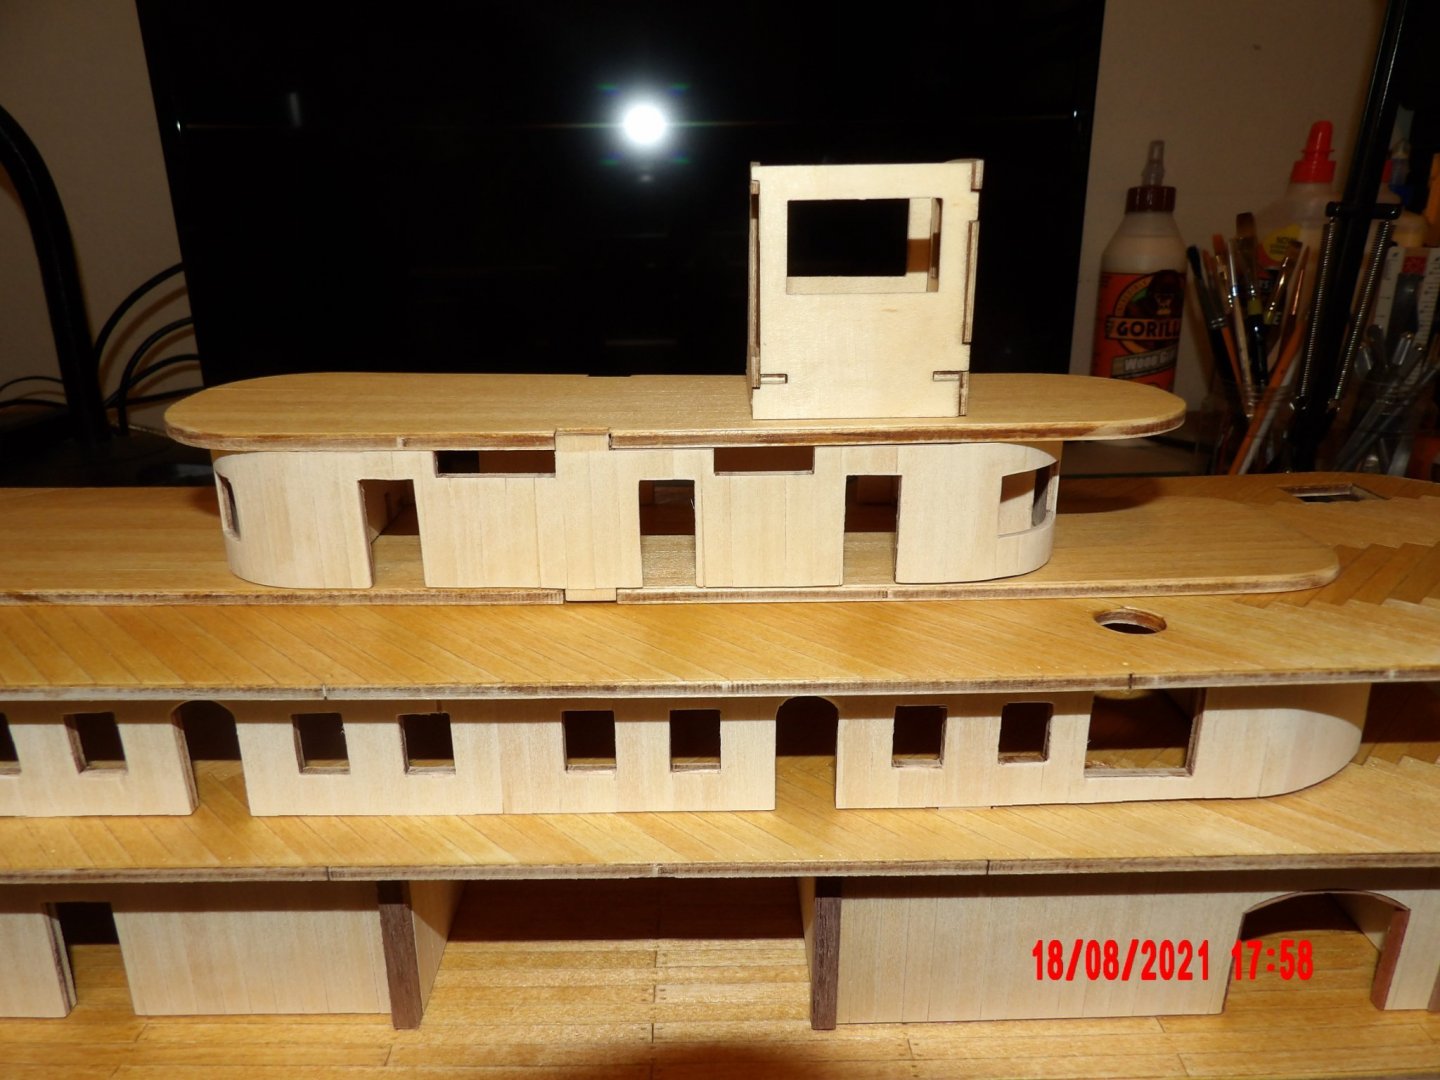
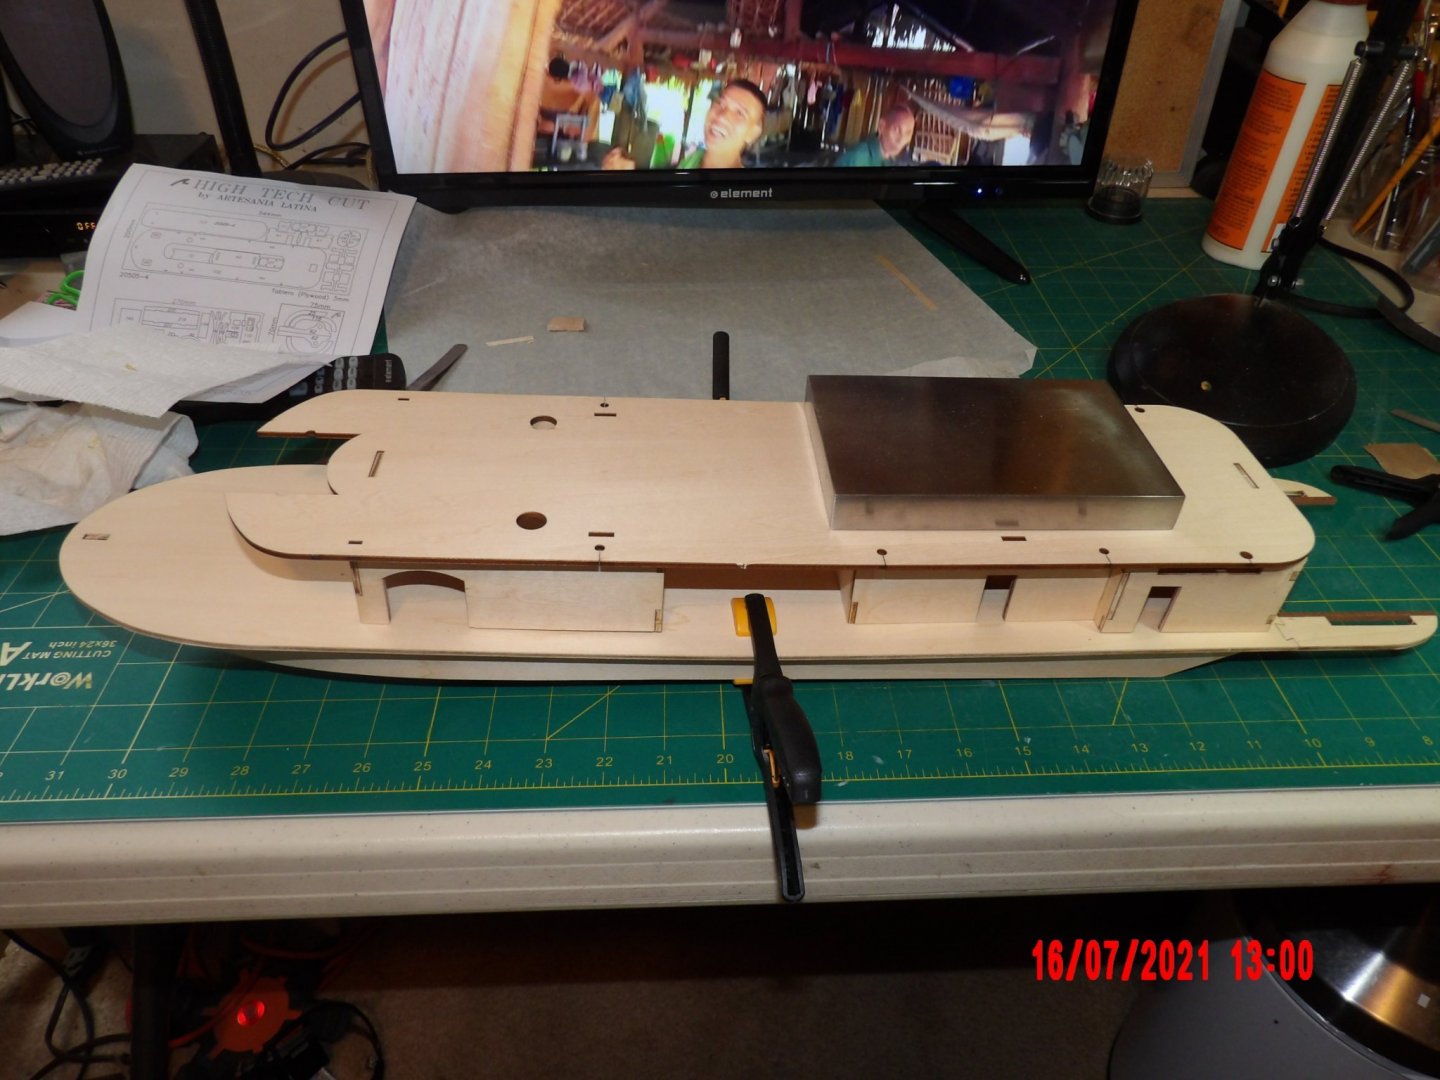
Dry-fitting the decks and structures. The topmost deck (roof of the top staterooms) is way out according to the plans. It is supposed to overhang the staterooms considerably on the bow end. The mounting notches on deck and staterooms are out by 1/2 inch or more- I'll have to figure it out. The holes for the chimney stacks are also incorrect and would result in the chimneys being at a severe slant. I had been impressed with the accuracy of the laser-cut parts. To me this kind of inaccuracy is inexcusable. I spent most of yesterday studying the plans and instructions and cannot attribute these problems to anything I may have done incorrectly. However, I will recover. I'll have to remove some finished planking. . . Likely to slow or stop progress for awhile as I prepare for possible evacuation due to the fire.
- 109 replies
-
- 2
-
-
- Finished
- Artesania Latina
- (and 1 more)
-
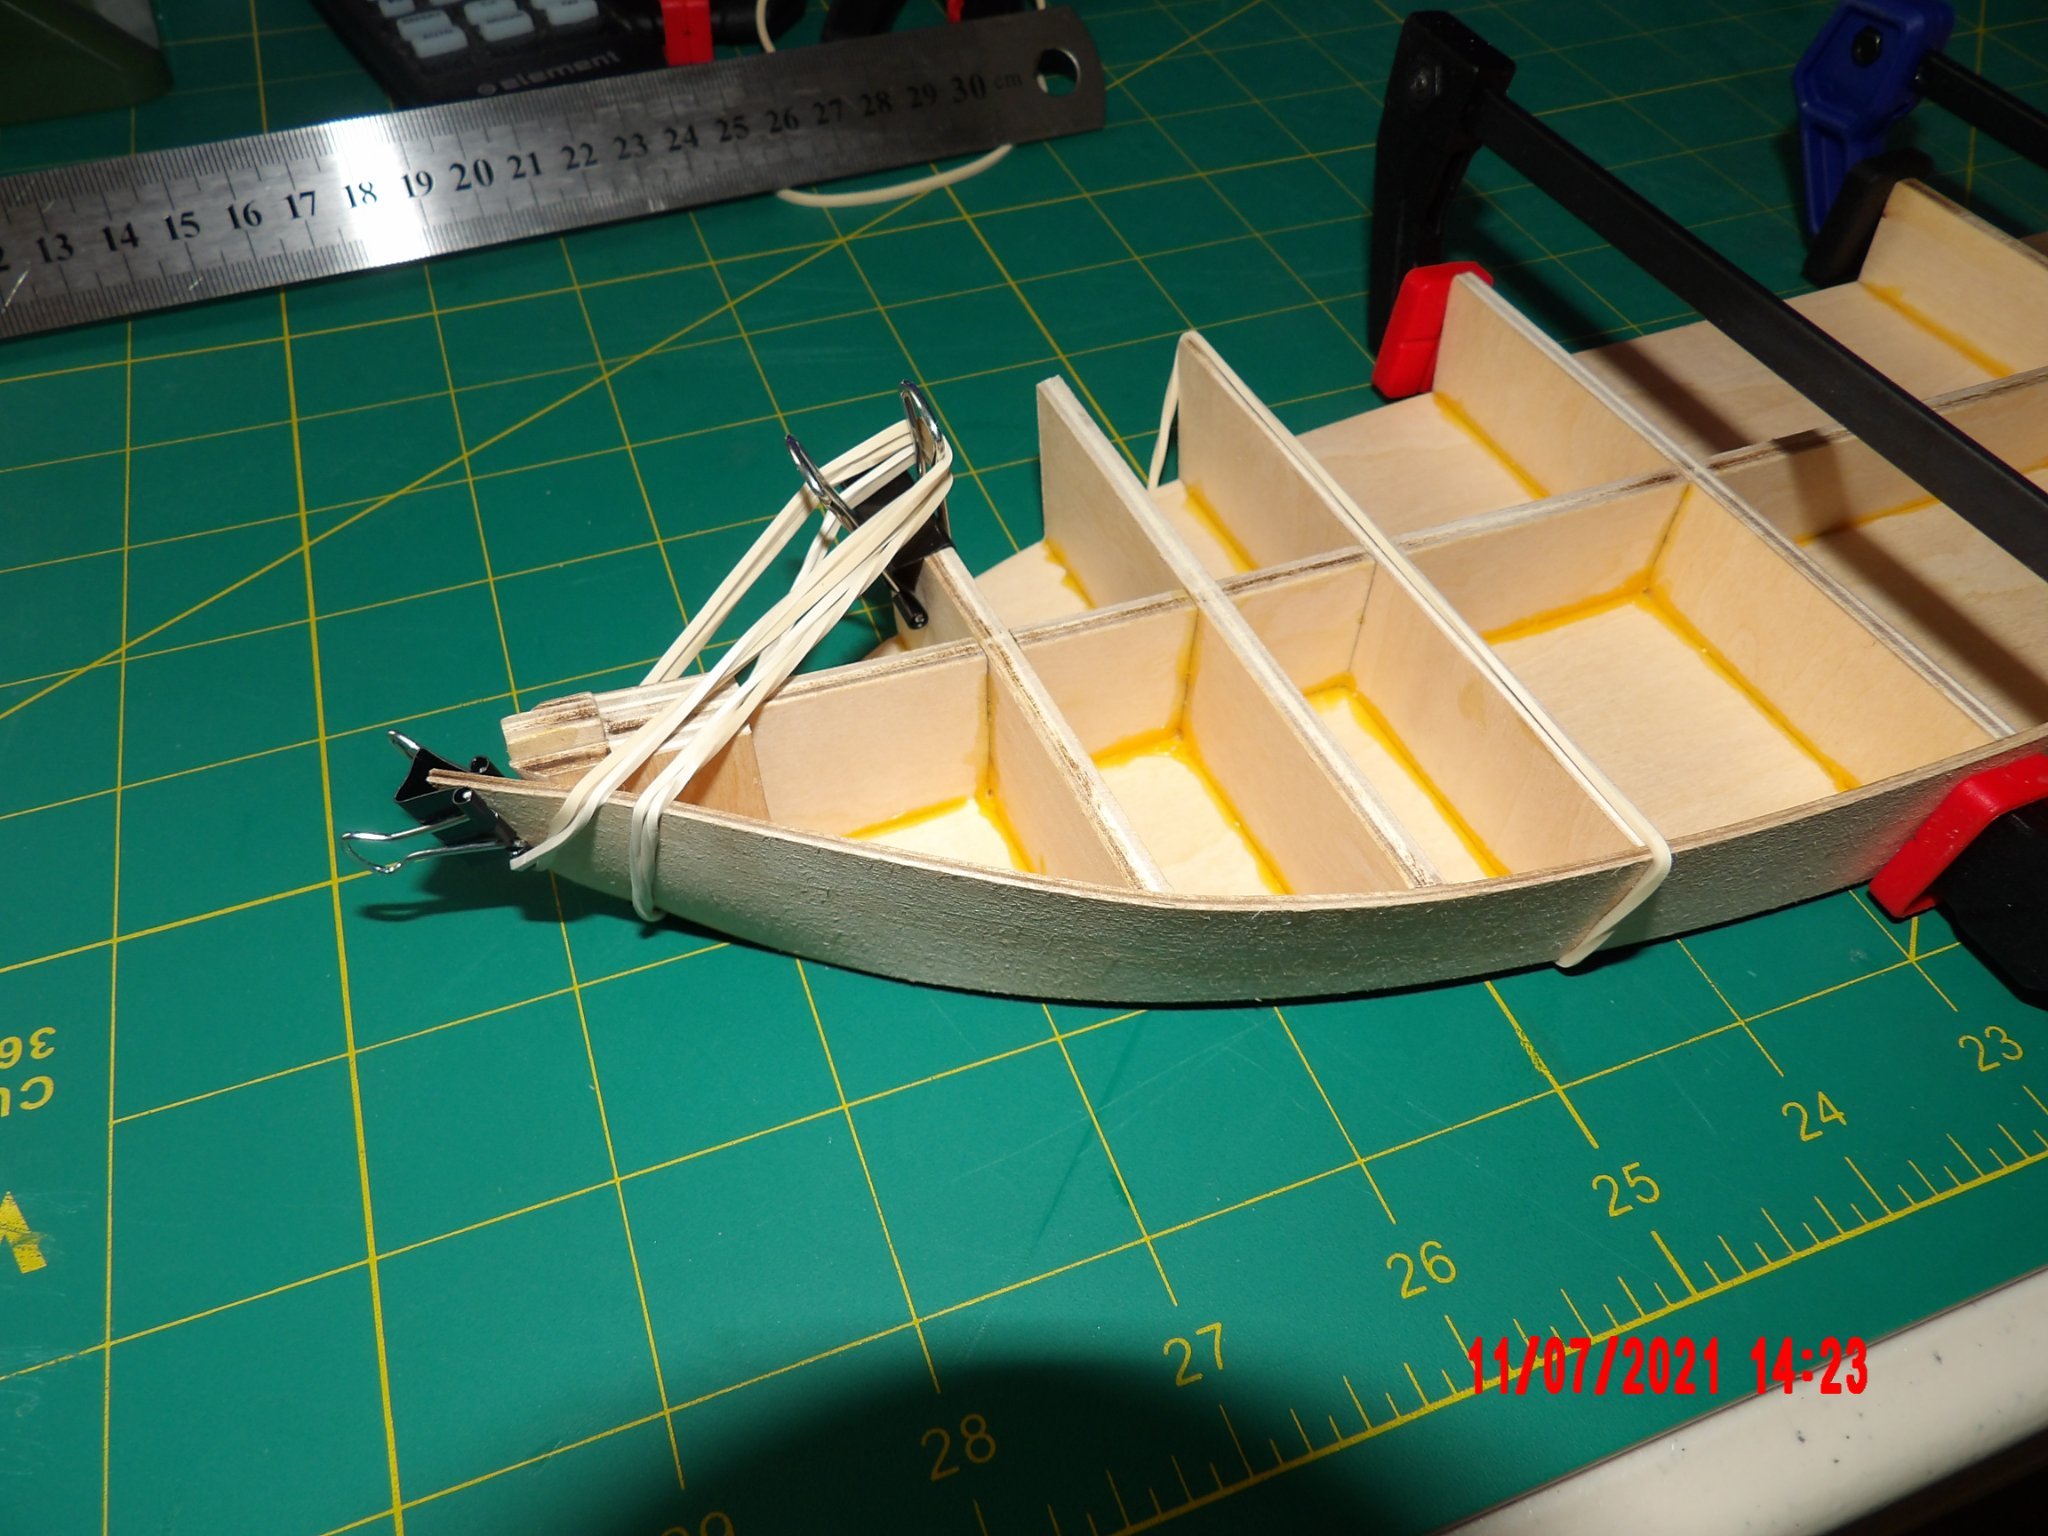
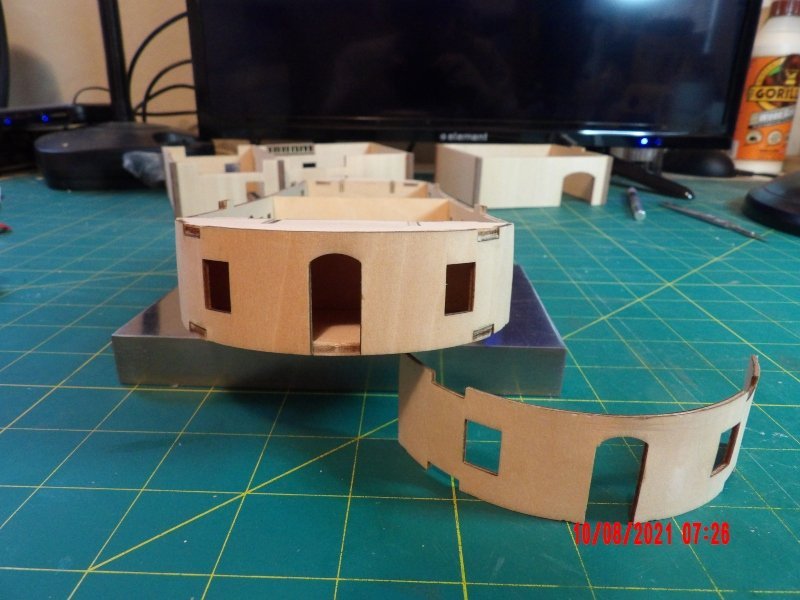
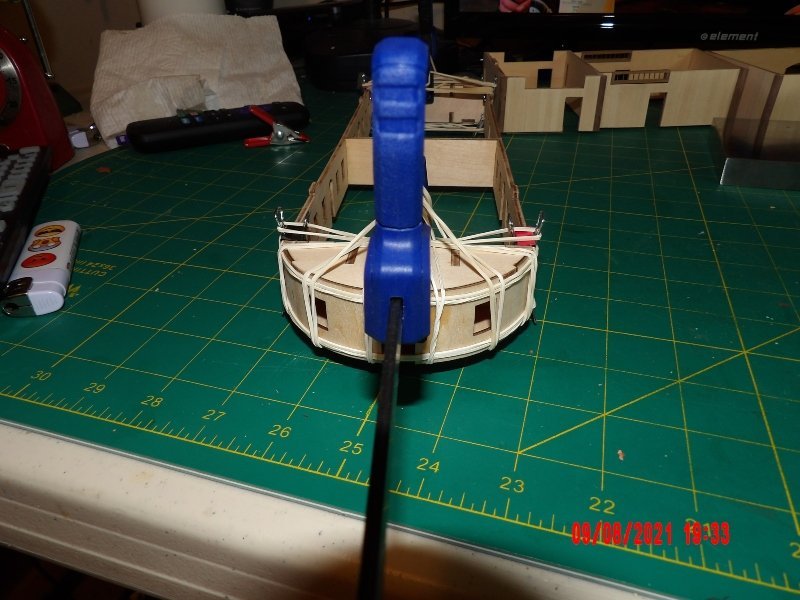
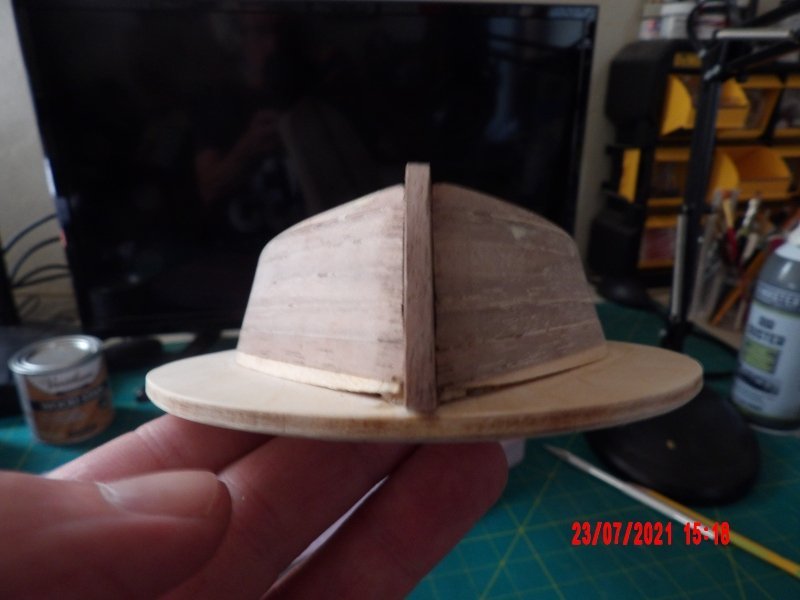
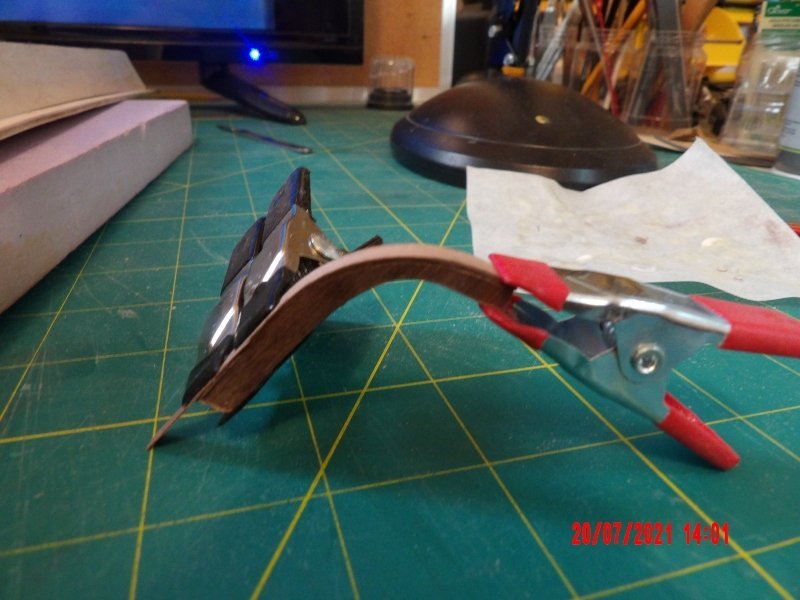
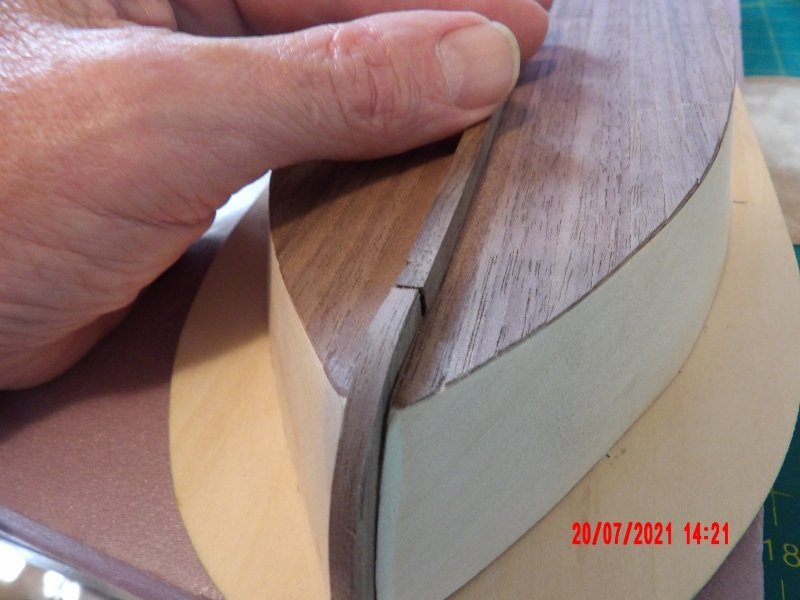
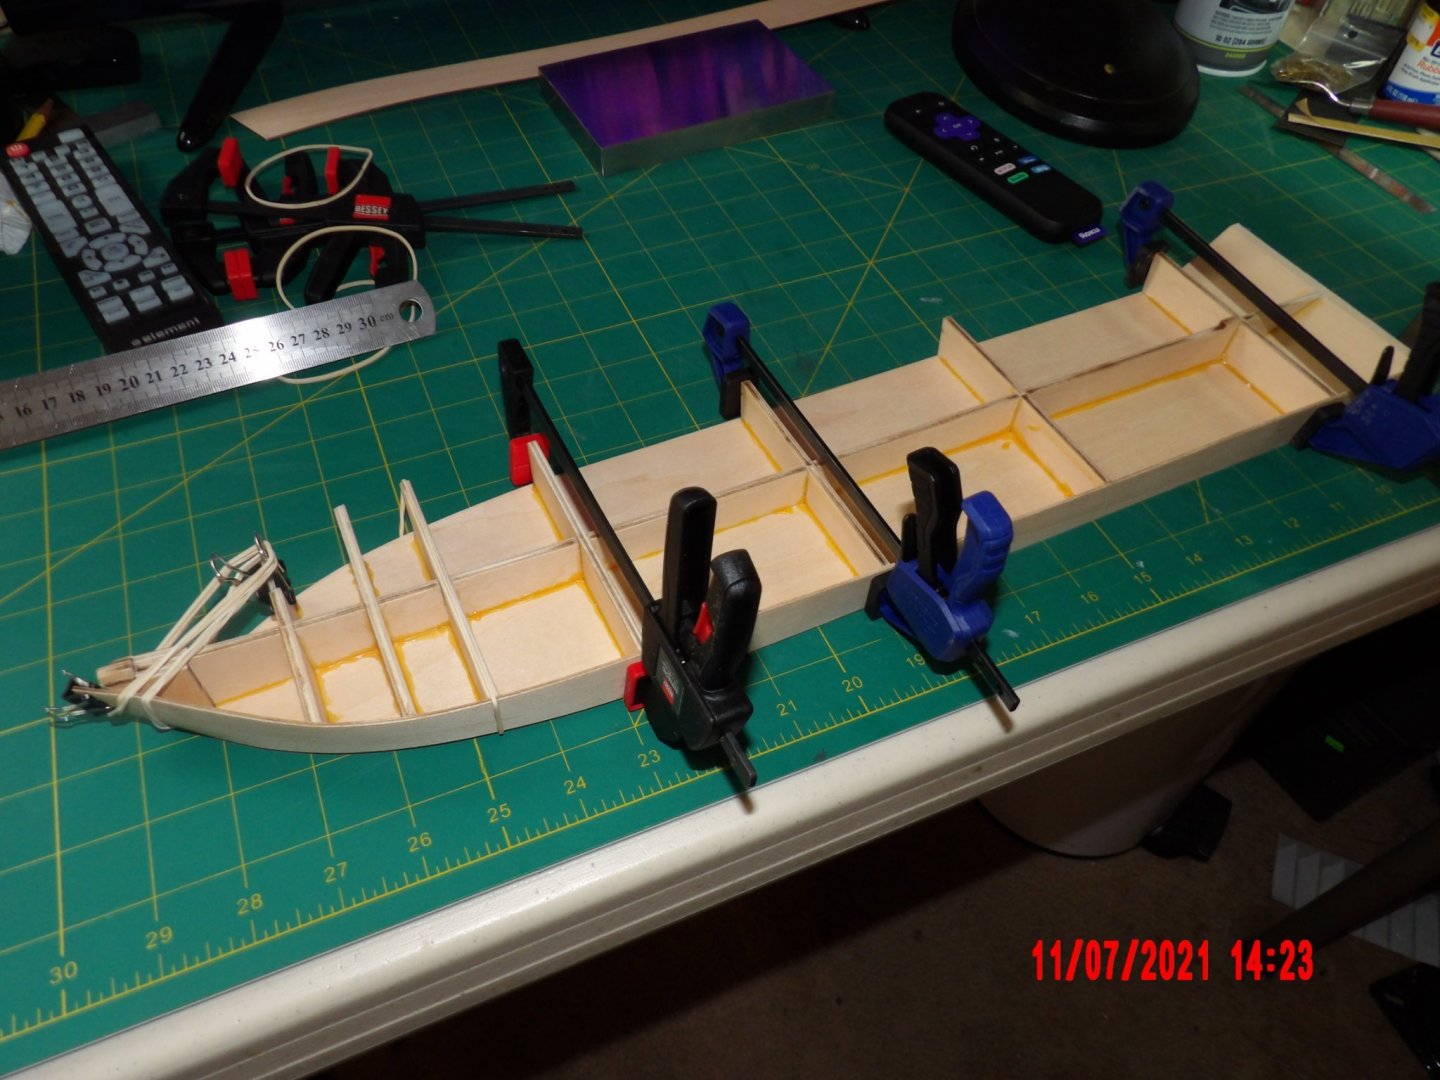
In the hope that this might be useful to someone also building this model: the bending shown above was very successful. I had boiled the end pieces for 20 minutes (one at a time) before clamping in place as shown. I let it sit until this morning, and glued on one end. The shaping was precise and I used only finger pressure until the glue set. One thing I have learned is to figure out the clamping arrangement before actually sitting down and doing. . . Also, I have found through experimentation that the results of a prolonged drying time are far better than shorter, or rushing even more by using a hair drier. When I released the piece this morning, there was no spring-back at all. It looked as if it was already glued in place.
- 109 replies
-
- 3
-
-
- Finished
- Artesania Latina
- (and 1 more)
-
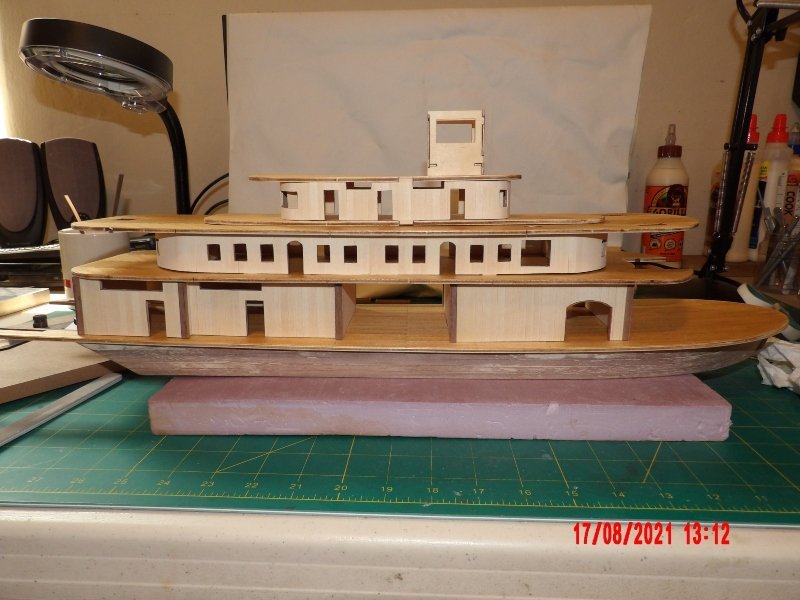
Still kind of jumping around here as I wait for paint. Today I did the rough assembly of the second deck staterooms. I managed to wet-bend the two plywood round end walls without breaking either one!
- 109 replies
-
- 3
-
-
- Finished
- Artesania Latina
- (and 1 more)
-
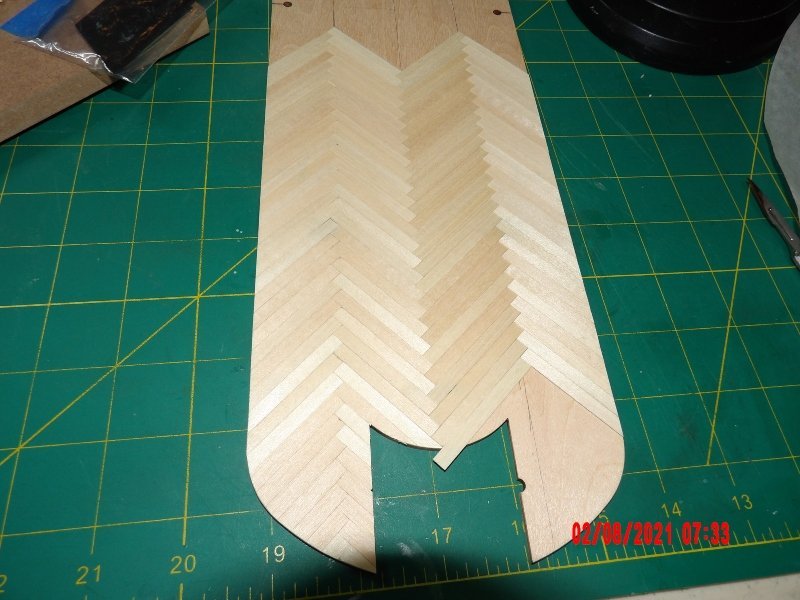
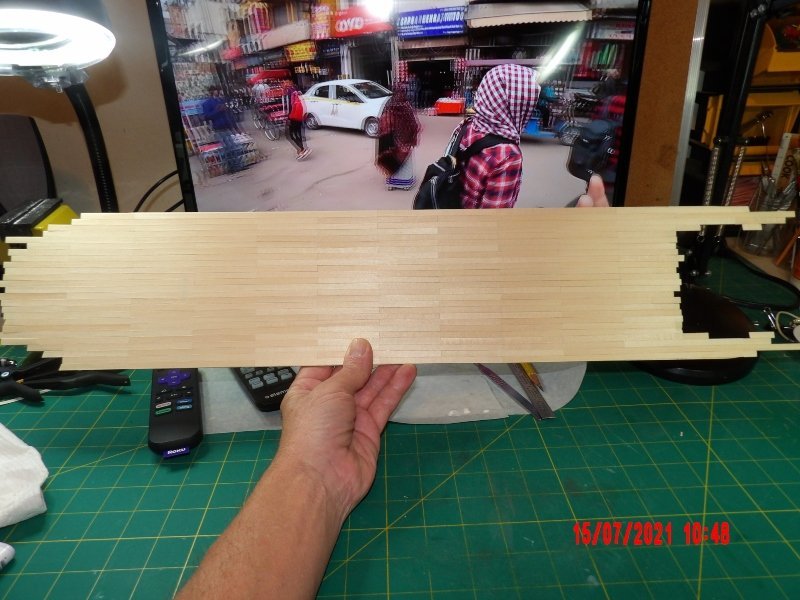
I've been kind of becalmed by indecision regarding painting. I have purchased an airbrush and compressor, plus some accessories. At the hobby shop I bought some Tamiya paints, but have read here since that these paints might not be suitable for wood. I do not want to obscure the lines of planking on the buildings. Today I ordered some marine colors of pre-thinned paint from USA Airbrush, as recommended by moderator Kurt in another log. I also have some Stynylrez primer in white and gray. I hope that product is suitable, as I read somewhere that it would not obscure details. What is your experience with these products? In order to keep on without causing too much extra masking, I started planking the second deck in the herringbone pattern.
- 109 replies
-
- 3
-
-
- Finished
- Artesania Latina
- (and 1 more)
-
The pictures of your land are just beautiful! What a paradise. Seems you care for it very well- thanks!
-
I'm interested! Using your own home-grown wood is a really appealing idea (one that I can't use, unfortunately). A picture or two or trees on your property would be a great addition to this log, in my opinion. Bob
-
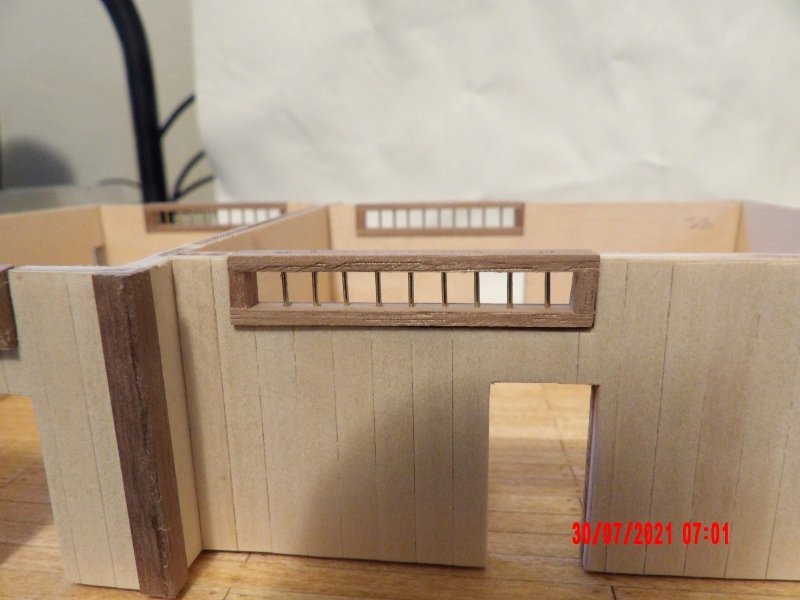
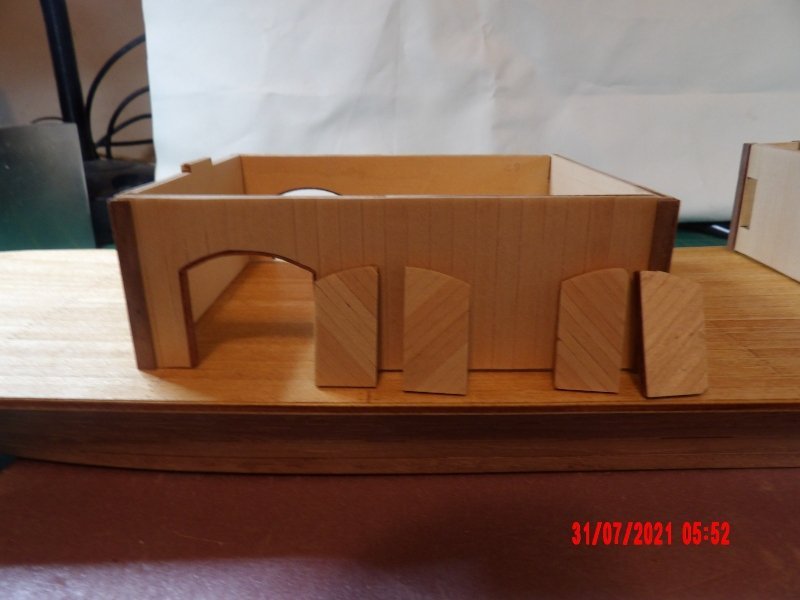
I made the ventilation grilles. I haven't attached them yet as I'm still thinking about painting scheme. The instructions called for drilling 1mm dia. holes for the bars, which results in a very loose fit. I instead drilled holes slightly smaller than the pins, using a drill press. I then used the first grille as a template for the rest. They came out pretty good, and are uniform in appearance. No glue required, because of the press fit, and because the grilles will be fully enclosed with the second deck installed. Started on the boiler room doors. The instructions call for planking the doors with the same basswood as for the deck and building walls, yet the pictures in the manual show much narrower plank width. I ending up cutting them in half lengthwise. I think it's going to be the same for the door framing, as the wood that is called out is so wide that half the planking is obscured. I made a mistake and cut out the deck planking at the two hull mounting tabs, should have done so only at the building mounting tabs. Scabbed in pieces of planking. Does not look great. The one towards the stern is within a building, so no biggie, but the one at the bow is kind of an eyesore. . . There are some deck features that go in that area, so I will wait to make a decision on more corrective work.
- 109 replies
-
- 4
-
-
- Finished
- Artesania Latina
- (and 1 more)
-
Looks like a nice kit! Good job with shaping the hull.
-
I love the rigging! I intend to construct this model next- and I will be looking to copy some of your details. . . Bob
-
Stunning model. You are very talented and from your notes I see a person with a big heart. Bob
-
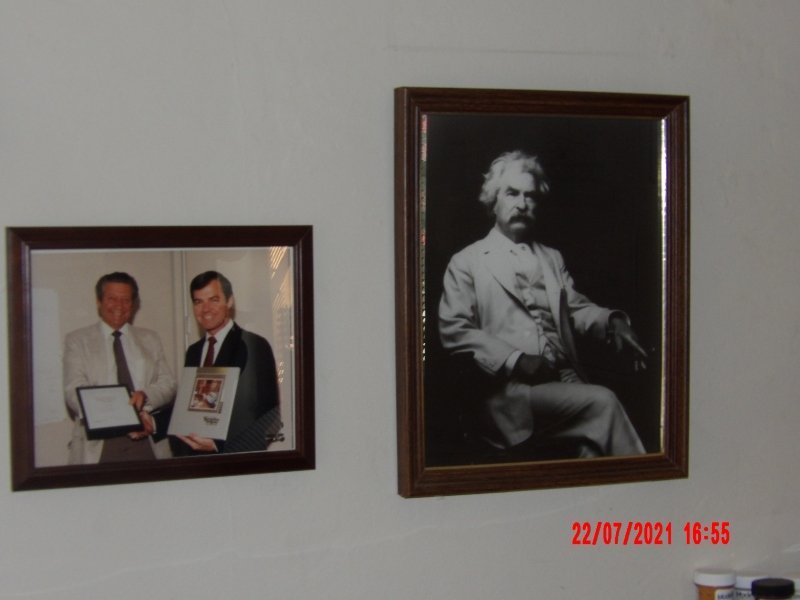
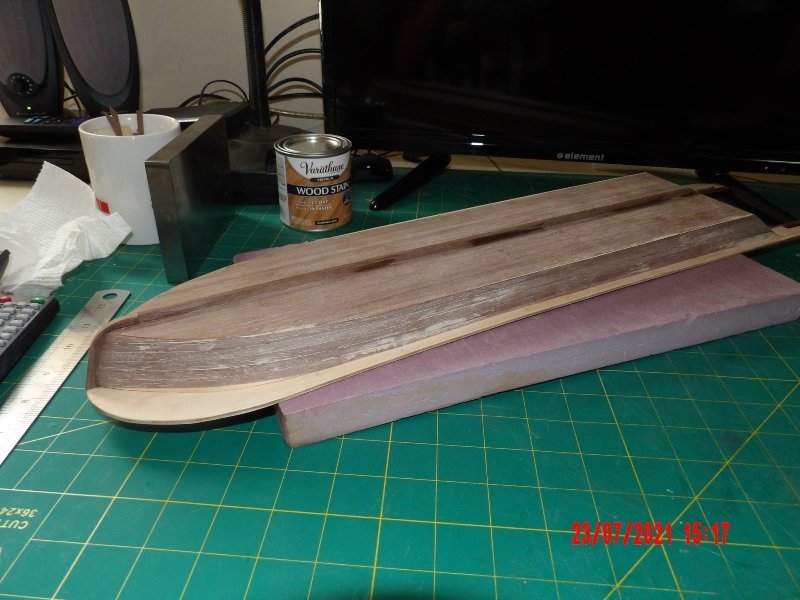
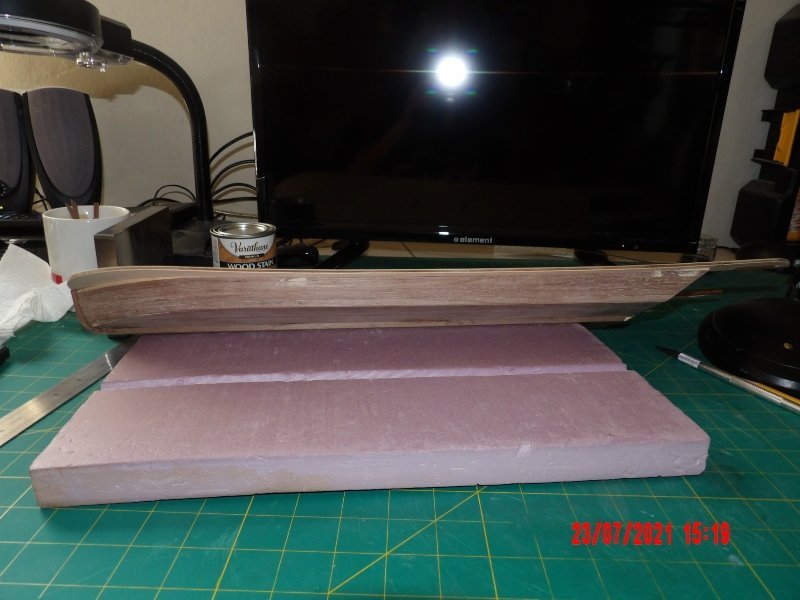
Mark Twain is watching as I build this model. The hull planking is almost complete. I need to spile (?) two pieces at the bow tomorrow. I have done some light sanding and applied some filler in a few areas. I'm going to paint the hull white. This thing feels as solid as a rock, I bet I could stand on it.
- 109 replies
-
- 5
-
-
- Finished
- Artesania Latina
- (and 1 more)
-
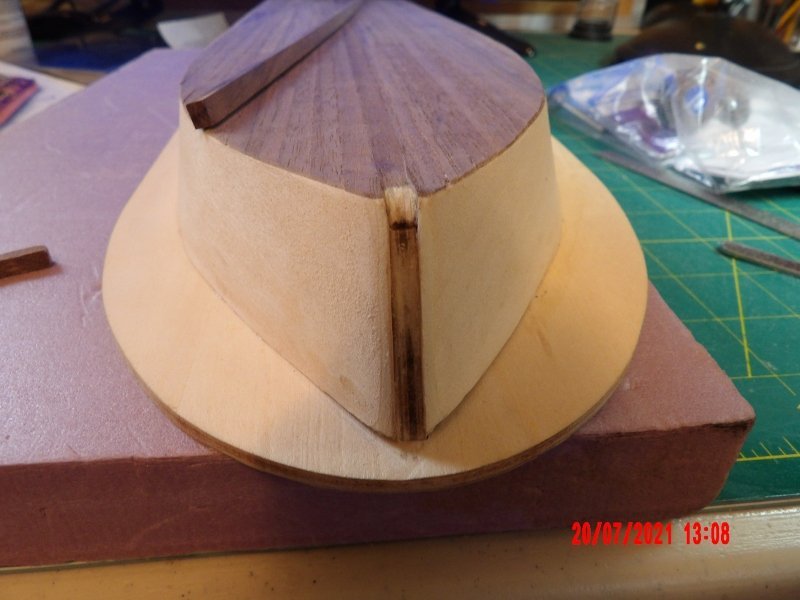
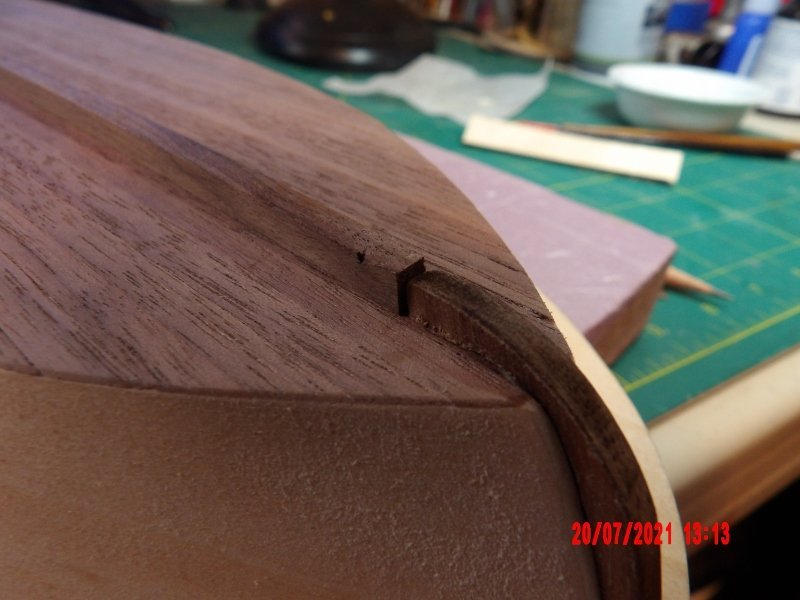
Like everyone building this model, I found that the stem post would not fit as supplied. I took a Dremel tool to it and reshaped the inside curve. I then refined the bow to provide a neat groove for the post. My reshaping resulted in a mismatch between the post and the keel piece. I glued two pieces of walnut planking scrap to the outside curve of the post, which corrected the mismatch. The stem post should really have rabbets cut to accept the side planking ends (I haven't seen that anyone has done this on other logs for this model). But this is a tough little piece of wood, and I don't think I can do it neatly. I think I will leave the side planks a little long, and then trim to the line of the bulkheads at the groove before installing the stem post.
- 109 replies
-
- 3
-
-
- Finished
- Artesania Latina
- (and 1 more)
-
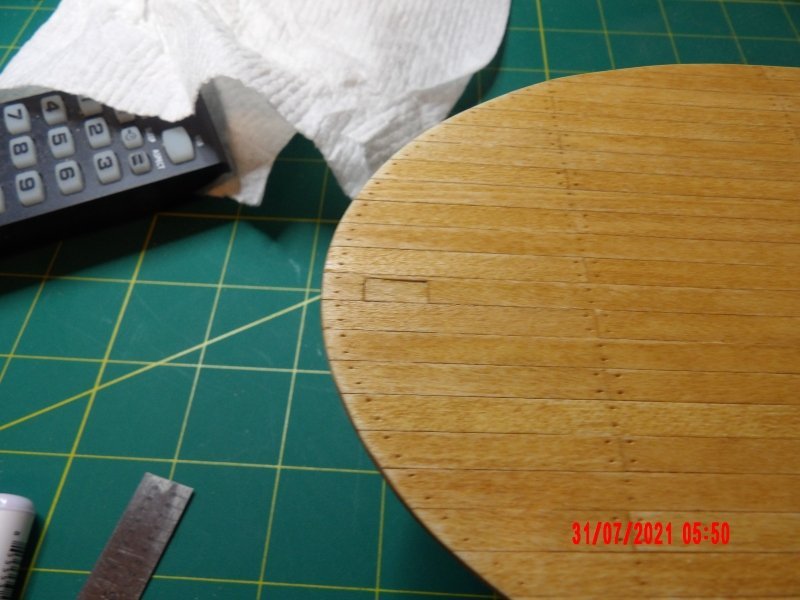
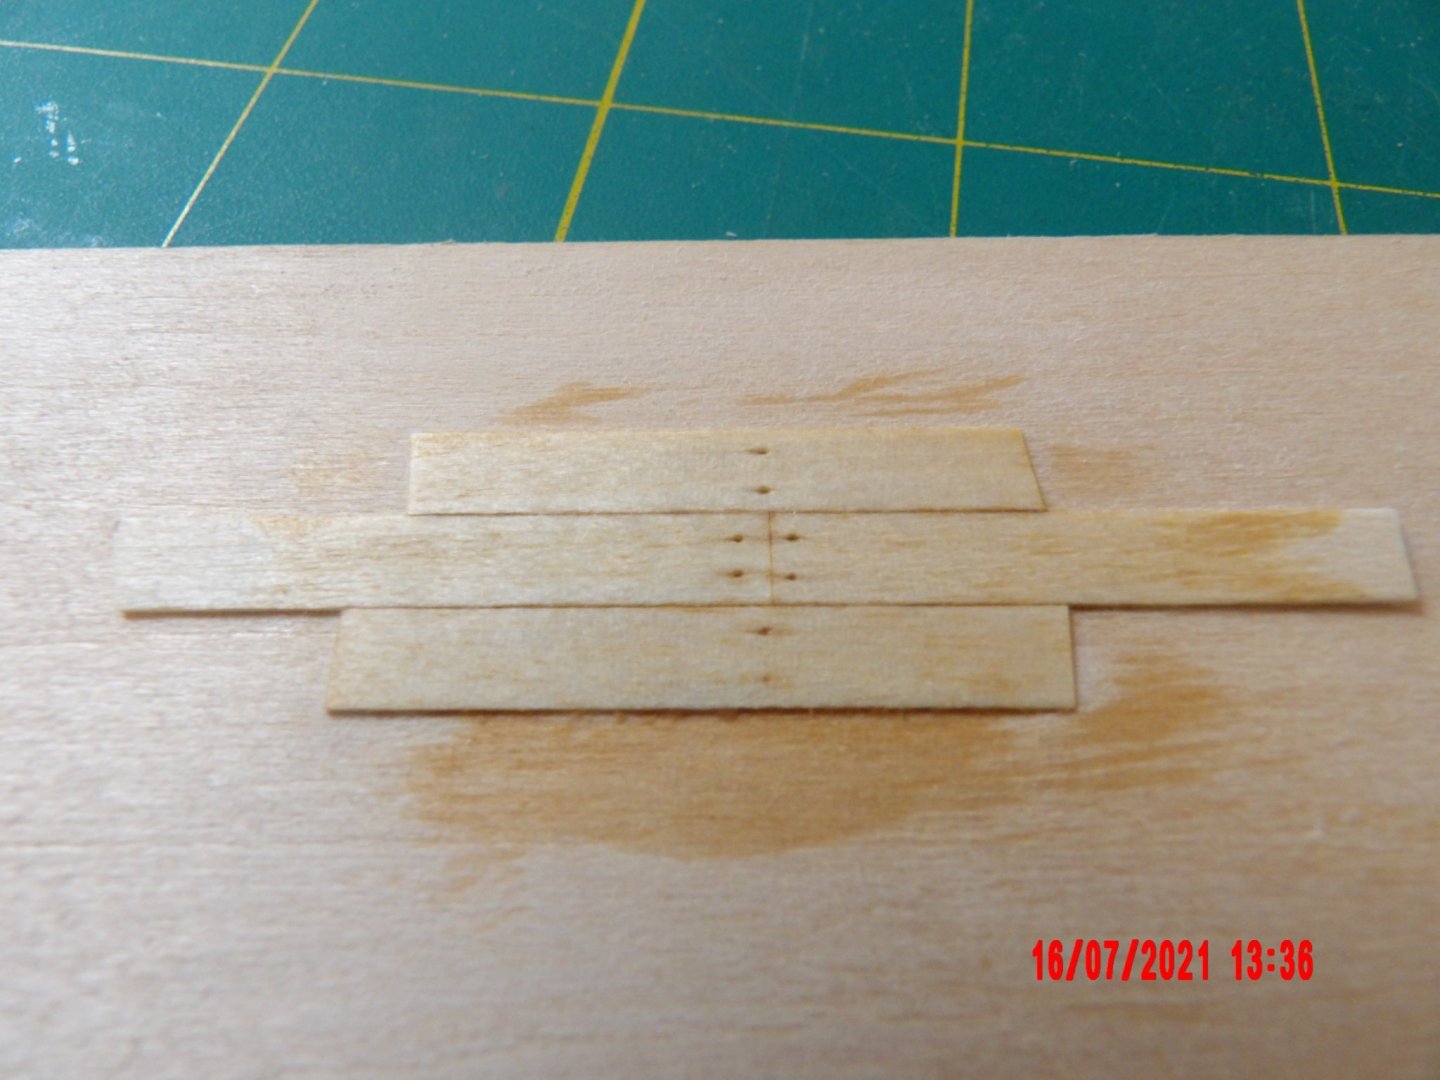
I did the dry-fitting of the buildings and the second deck. Only the foremost slot on the first deck is out of line. Then did a mock-up of planks with pinprick treenails and Summer Oak stain. I think it looks OK. The stain is very subtle, but kind of mutes the blond uniformity of the basswood planking.
- 109 replies
-
- 3
-
-
- Finished
- Artesania Latina
- (and 1 more)
-
Planking for the first deck is complete. I am doing the rough construction of the buildings and will dry-fit to the first and second decks before opening the slots on the first deck. It looks like the misalignment of the forward building noted in other logs is present. I will probably remove the problematic mounting tab and install with pins instead. Regarding the finishing of the deck, after doing a mock-up, I will varnish, trace the outlines of the building walls, then mask and sand to remove the stain and varnish on the wall footprints. Then glue the building on the deck. At least that's the plan as of now.
- 109 replies
-
- 5
-
-
- Finished
- Artesania Latina
- (and 1 more)
-
Thanks, Cathead. I will finish planking the first deck today. Can I throw out a question to any who might have an opinion? From reading the available logs I see that almost everyone applied a clear varnish (I have wipe-on poly) to the deck over stain or bare wood before adding the deck structures. I have so far avoided gluing to painted or varnished surfaces on my models, except for small parts, usually towards the end of the build, and there I would use CA glue. I could use this method, or wait and try to apply the varnish after adding the structures. I am concerned with doing this neatly after the buildings are added. Any advice? Thanks.
- 109 replies
-
- 1
-
-
- Finished
- Artesania Latina
- (and 1 more)
-
Druxey and Cathead, thanks to you both for weighing in. I should have absorbed this lesson from the Lobster Smack model, as we were instructed to wet the upper surfaces of the hatches and cabin roof. I will keep a damp sponge handy. On another note, I decided not to show caulking on the planking using either pencil or thread. This model is visually busy enough without, in my opinion. I've been asking myself what I am expecting to get out of this model, as it will take some time to assemble. I could be wrong, but reading ahead in the instructions, it may not rise to the level of art that the Smack did. It does not have the complex curves and pleasing lines of the hull, the delicate rigging, or much challenging shaping of parts. But I will be able to use most of the skills learned. What this kit does offer is possibilities for additional details, plenty of repetitive tasks (there is value in those, if in the right frame of mind), and indulging in some childhood fantasies. . .
- 109 replies
-
- 4
-
-
- Finished
- Artesania Latina
- (and 1 more)
-
Thanks, Cathead. I did start with the contact cement and did about 1/6 the area of the first deck. I don't like using it, very tedious and somewhat messy- as well as volatile and requiring mineral spirits for cleanup.. I'll finish with PVA white glue. . . I don't know why they called for this when white glue is used elsewhere. BTW, I am enjoying your excellently written and organized logs and admire your dedication to research. Thanks for your attention to my "floating wedding cake"! Your Arabia is actually much more to my liking, but I have this model, and I will enjoy building it. I've never been to your part of the country, except in my mind with MT and Huckleberry- but those books are very dear to me and have been part of my life since I was a boy. bob
- 109 replies
-
- 2
-
-
- Finished
- Artesania Latina
- (and 1 more)
-
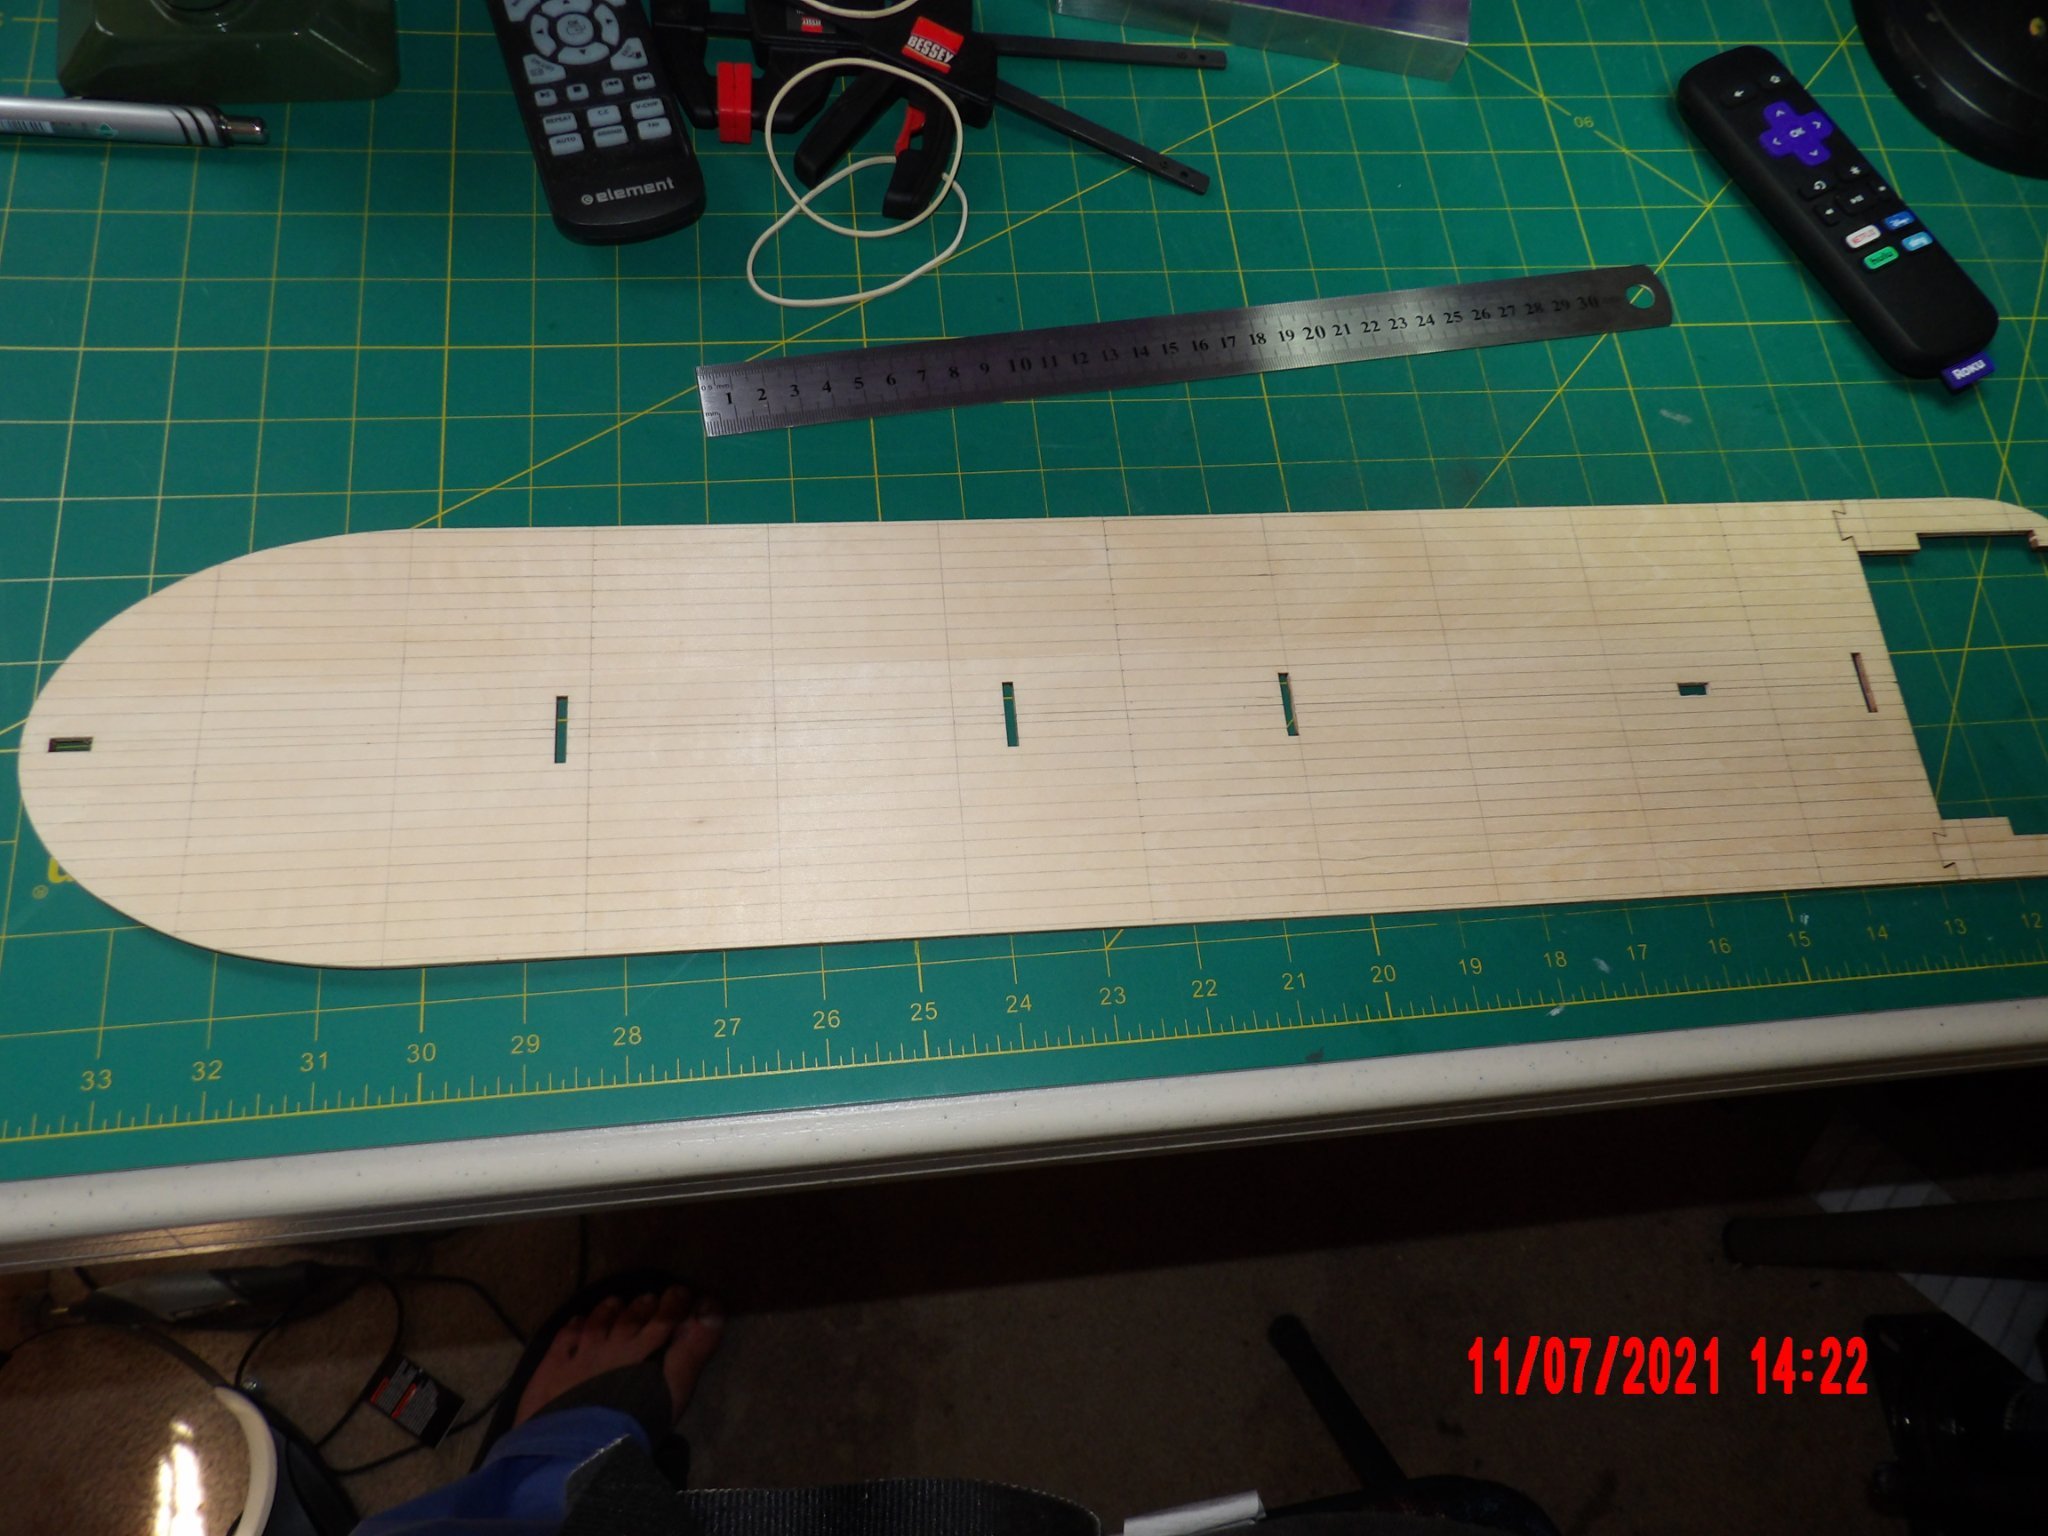
Gosh, this planking is thin! It's supposed to be 0.6 mm thick, but I measure 0.41. Instructions call for the use of contact cement to attach the planking, and I bought some. Pros and cons to this?
- 109 replies
-
- 1
-
-
- Finished
- Artesania Latina
- (and 1 more)
-
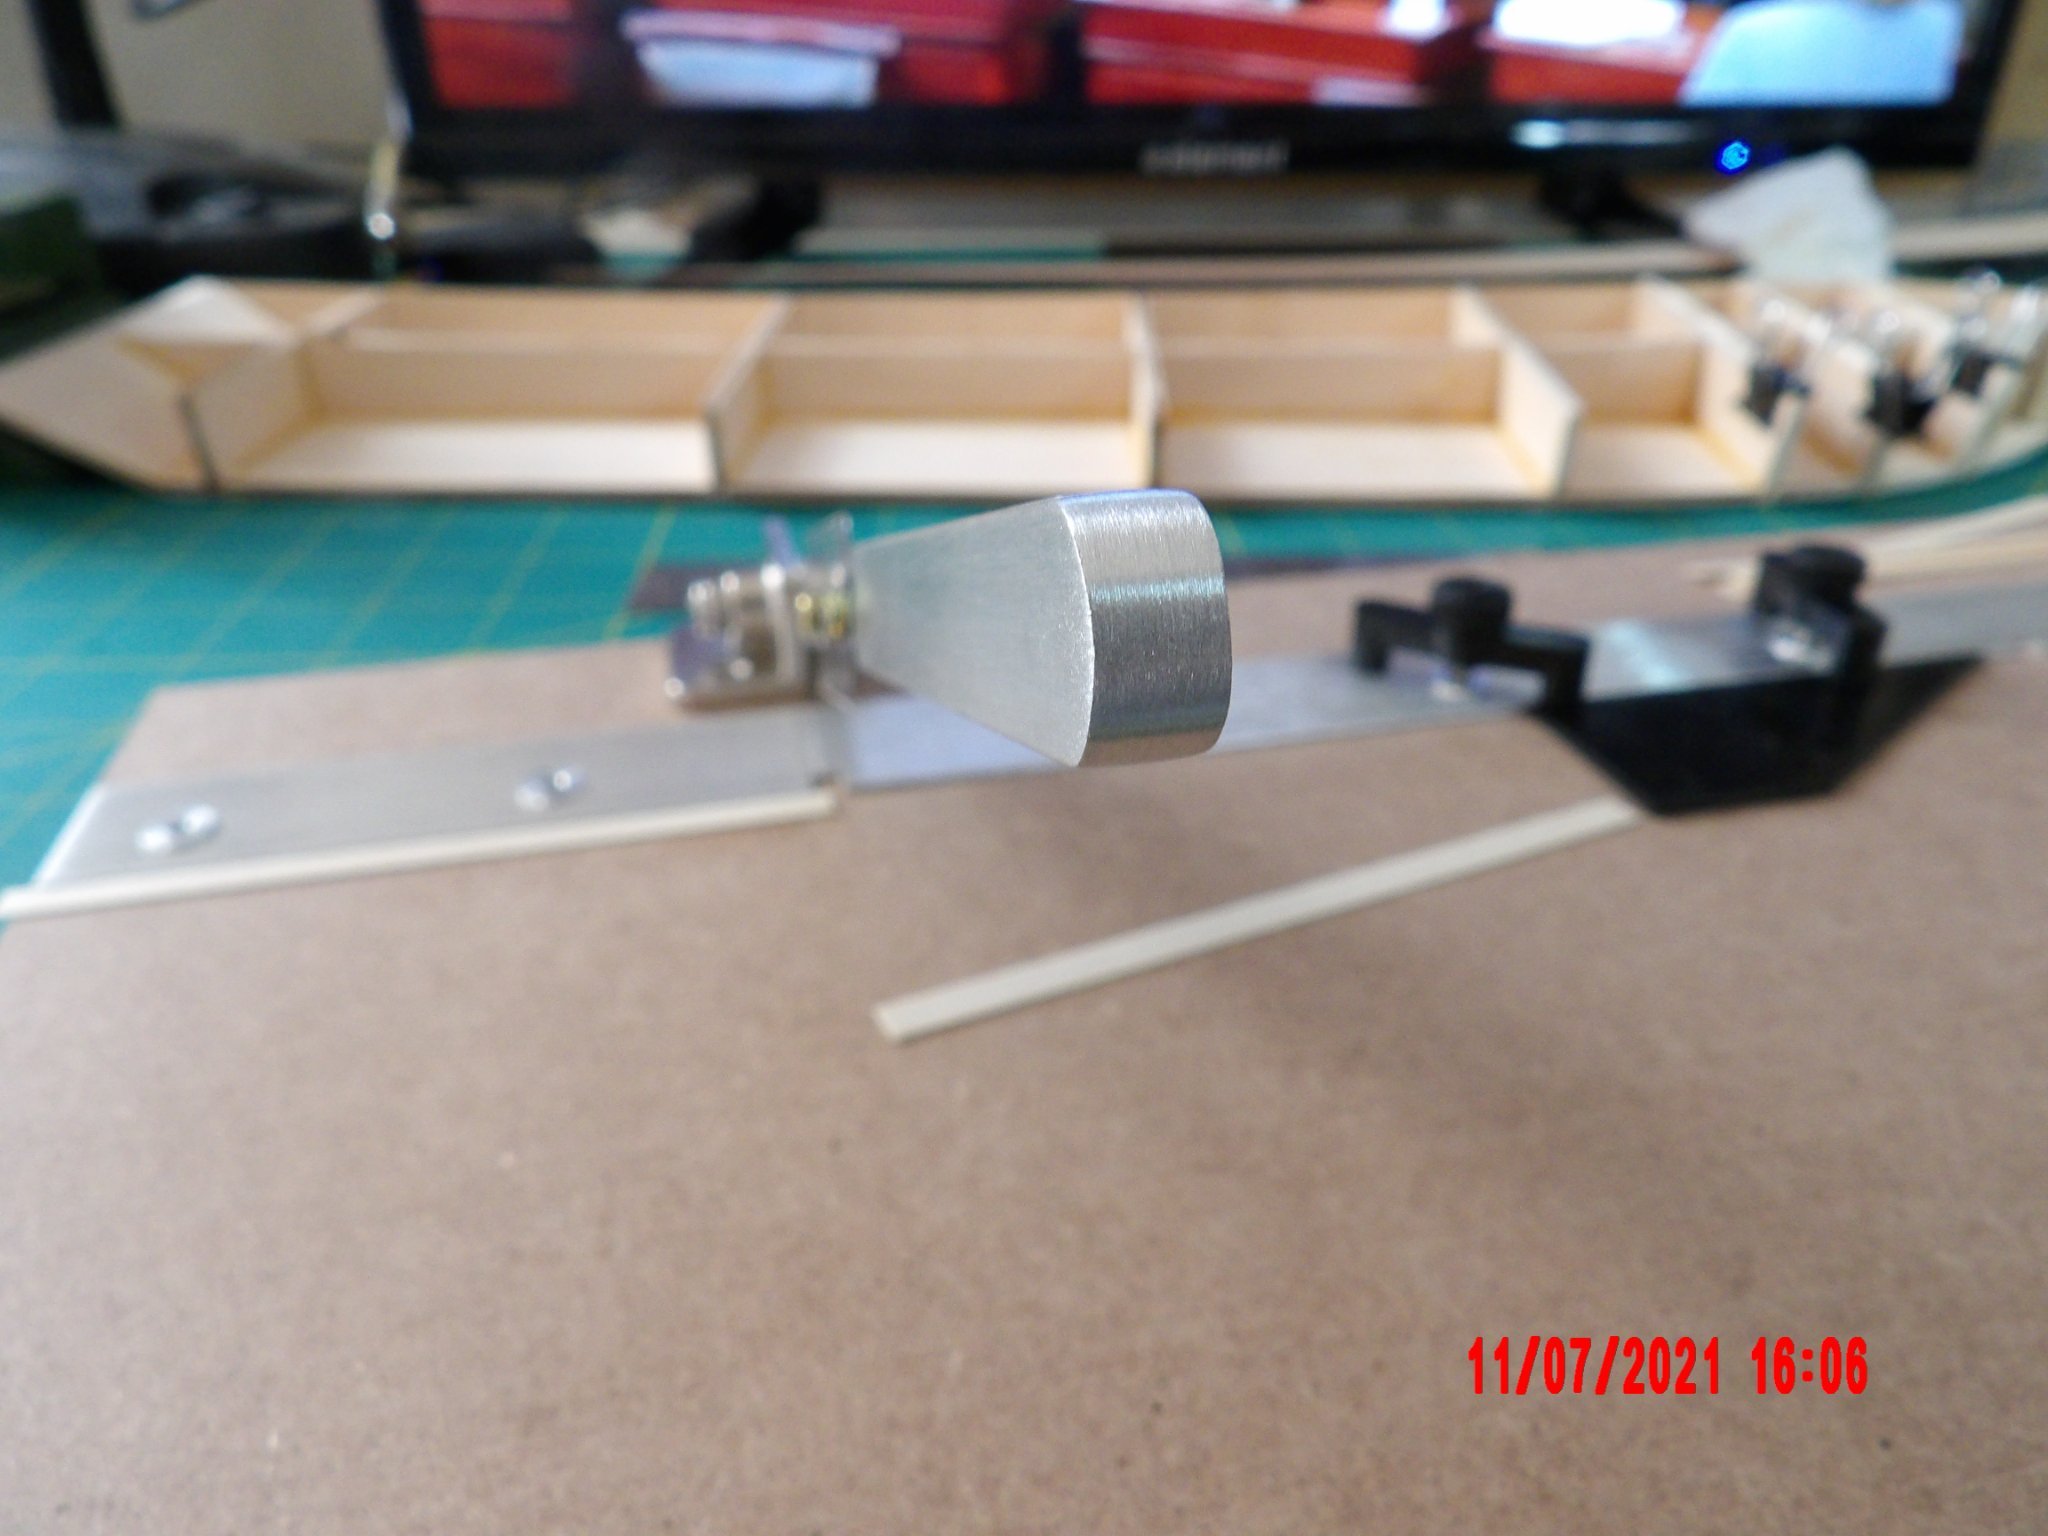
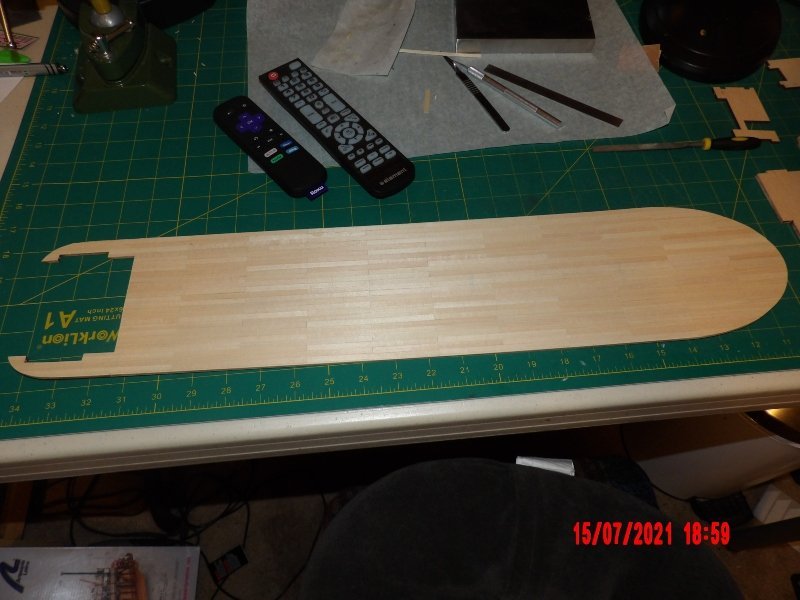
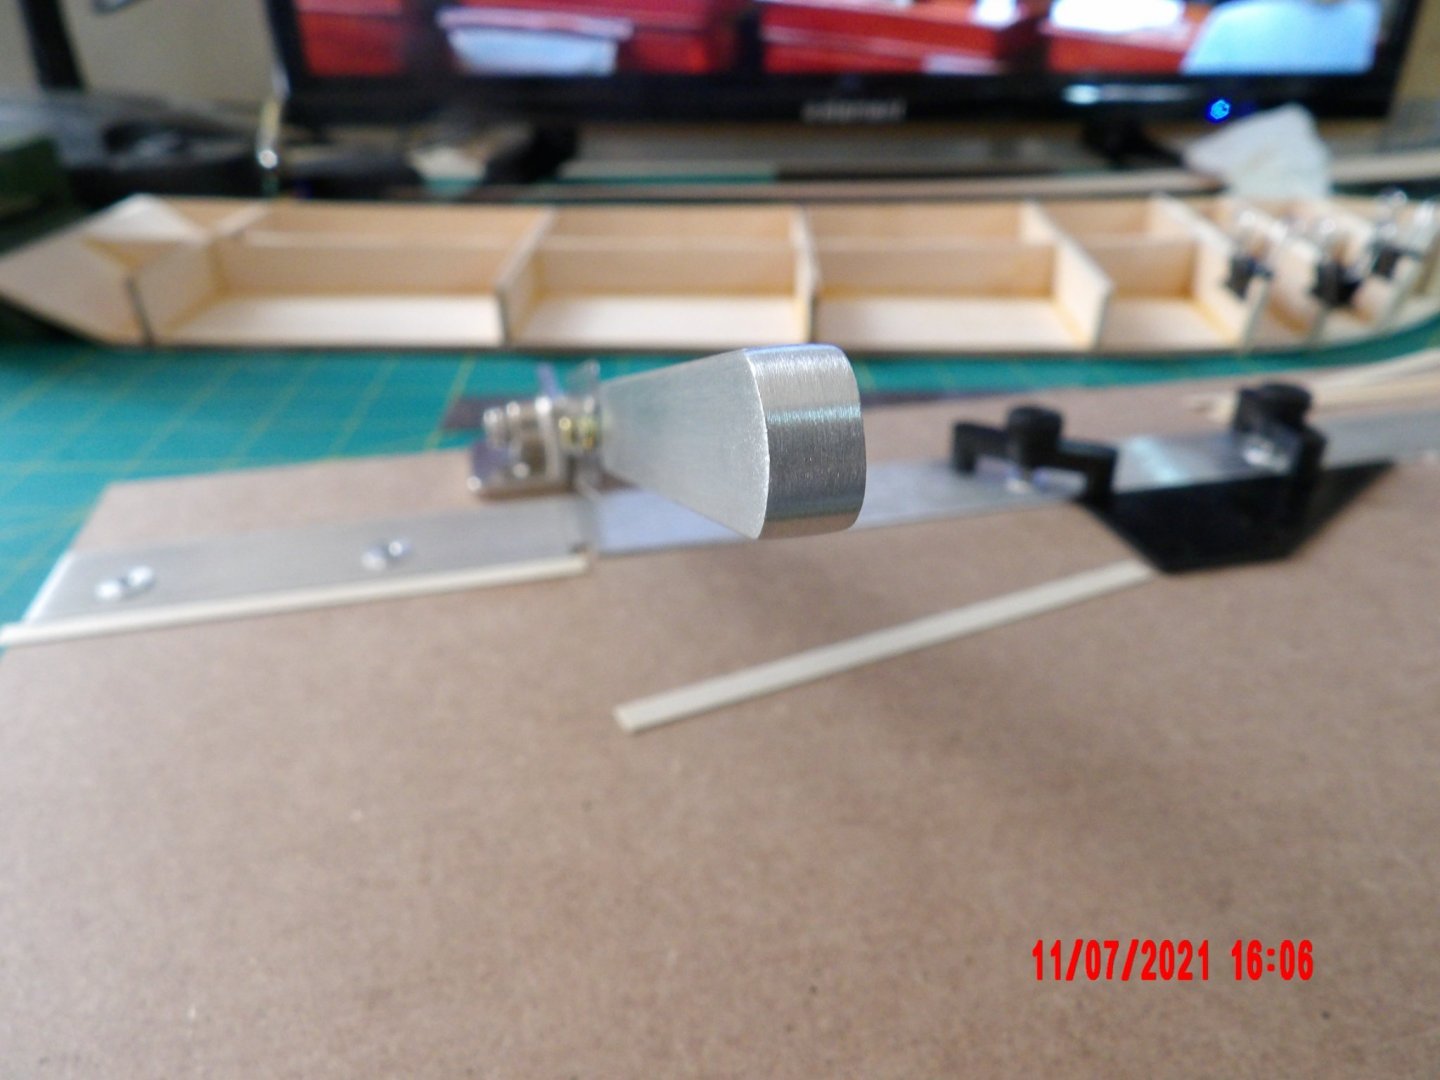
I attached one of the bulkheads to the frames after fairing. I soaked the curved end in hot water for 15 minutes. I did not use pins. Set out on the porch to dry in the 105 deg. F heat. Rubber-banding caused a little distortion at the bow, but filler will correct. I guess the pin method would have prevented this, but I doubted my ability to drill and set the pin fast enough before the glue began to dry. I am going to buy an electric drill motor that can accommodate these small pins. The bulkheads are oversized in length, and will require some trimming at the bow. I did not find that the angle of the upper stern was different that that of the false keel, as others have noted, so I placed the stern piece before the bulkhead as the instructions indicate. Wet-bending: I lined out the planking on the first deck. . . Began to cut the deck planking to length with my new Micro-Mark Chop-it tool. I like it.


- 109 replies
-
- 4
-
-
- Finished
- Artesania Latina
- (and 1 more)
-
Oops, I see the exhaust is not that high. . .
-
Thank you. Just take your time and it will be fine!