HOLIDAY DONATION DRIVE - SUPPORT MSW - DO YOUR PART TO KEEP THIS GREAT FORUM GOING!
×


DocBlake
-
Posts
1,811 -
Joined
-
Last visited
Content Type
Profiles
Forums
Gallery
Events
Everything posted by DocBlake
-
 John: I think the second lining off looks like it will work best. If your strakes are at least a half-plank wide at the stem and you don't have to twist the wood into a corkscrew to get it to lay right I think you're golden!
 -
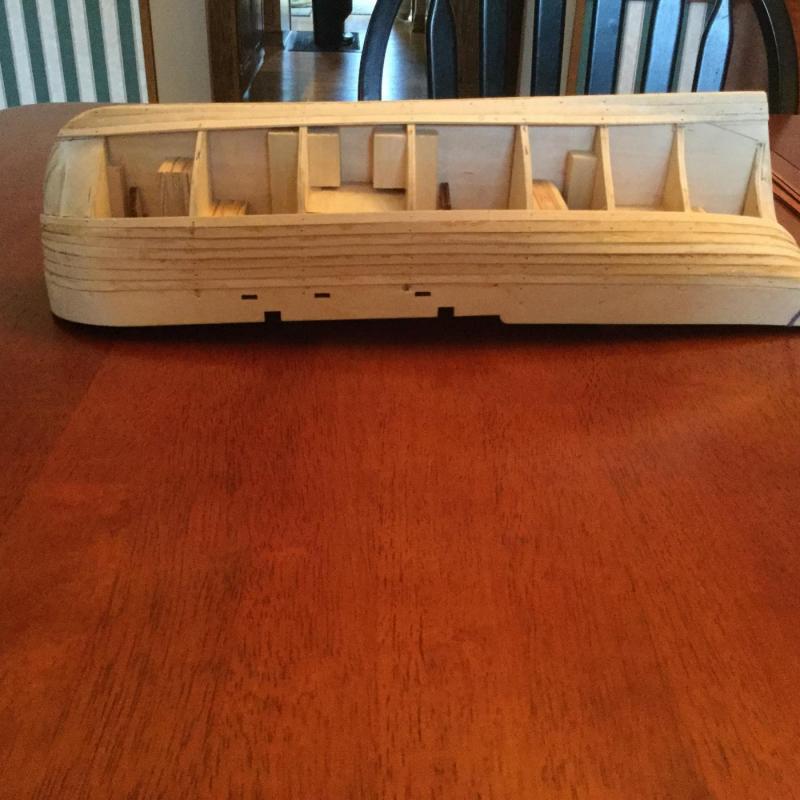
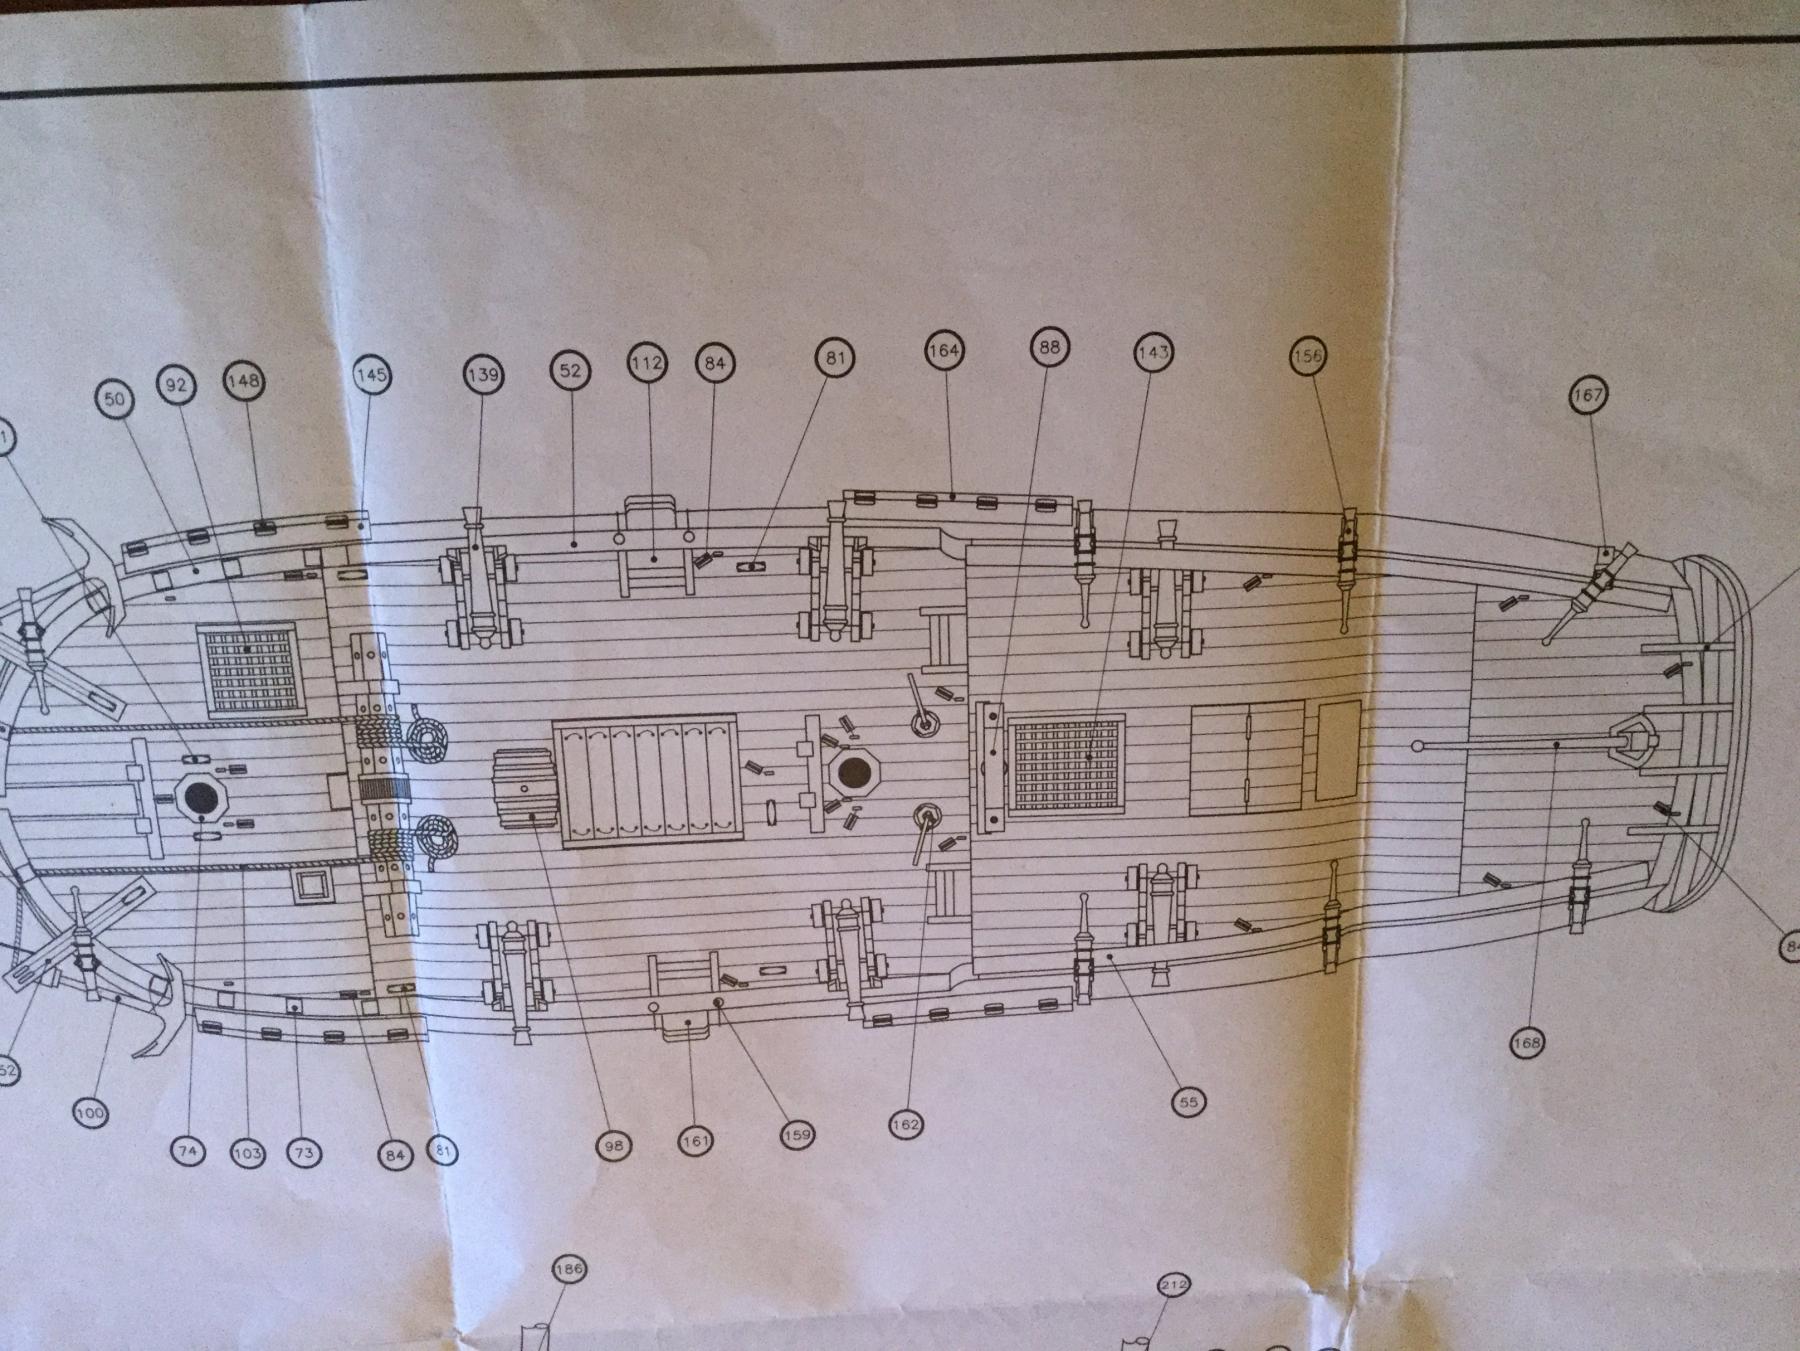
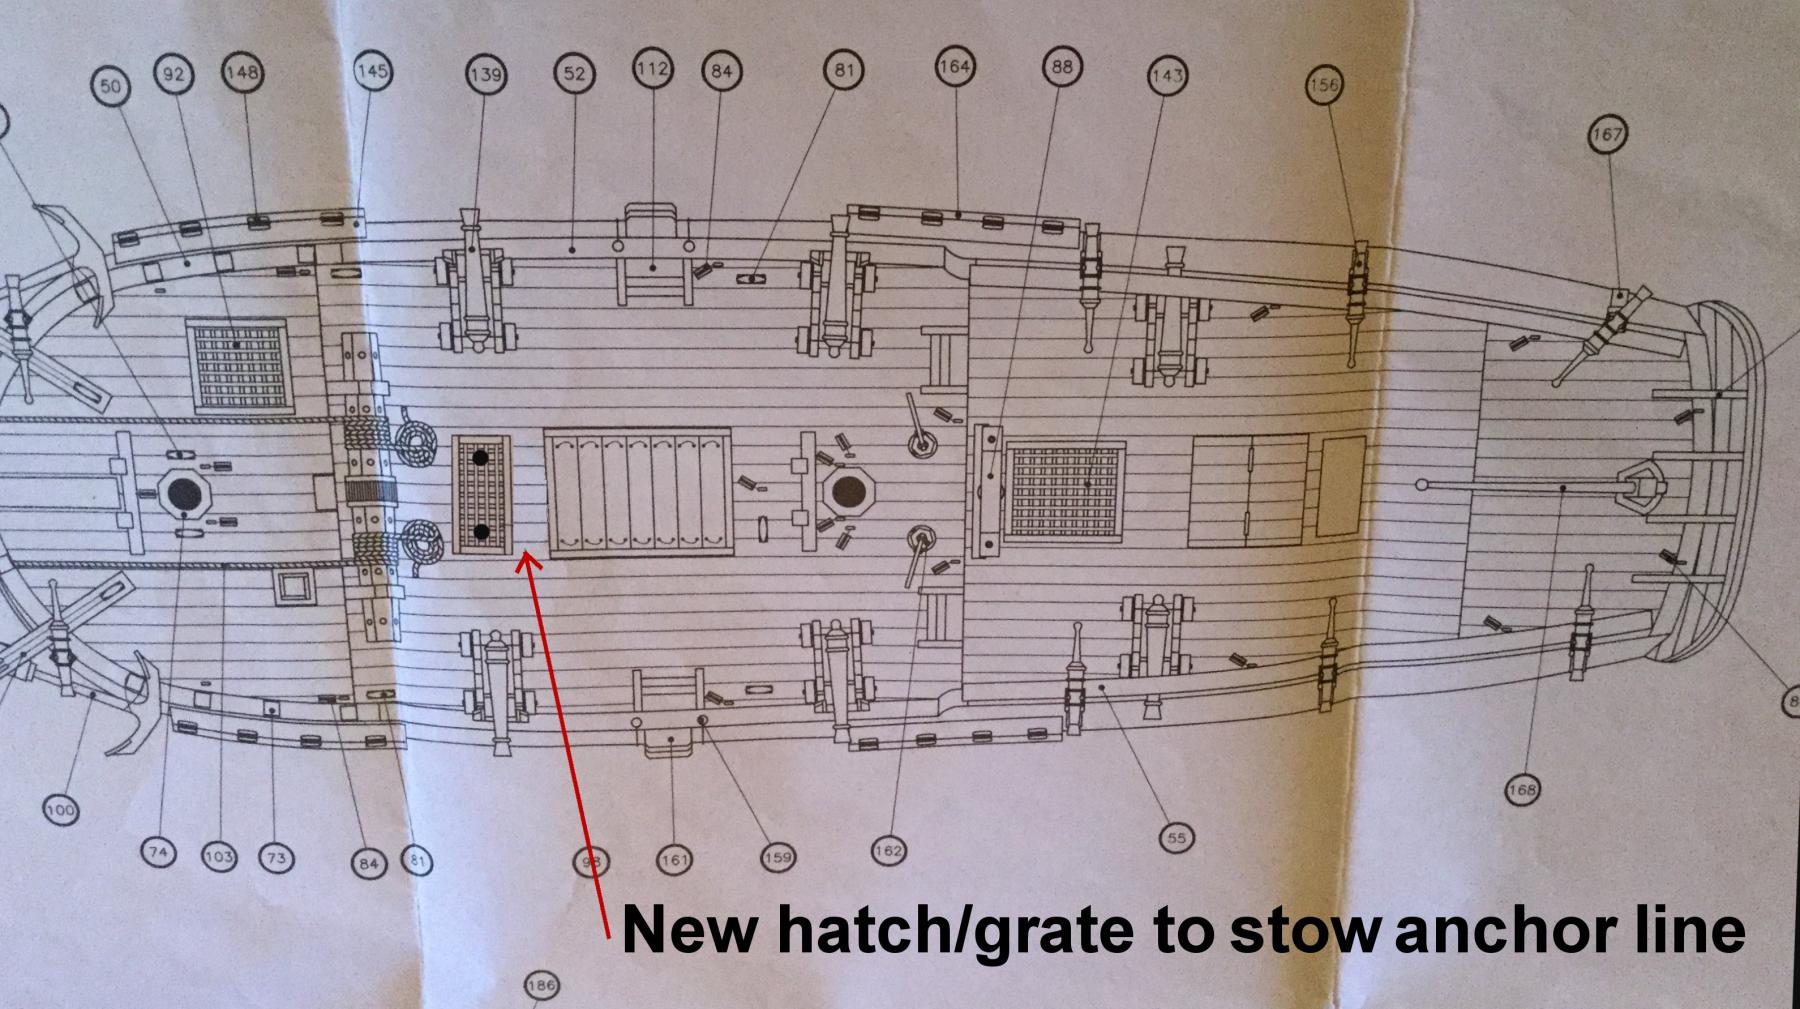
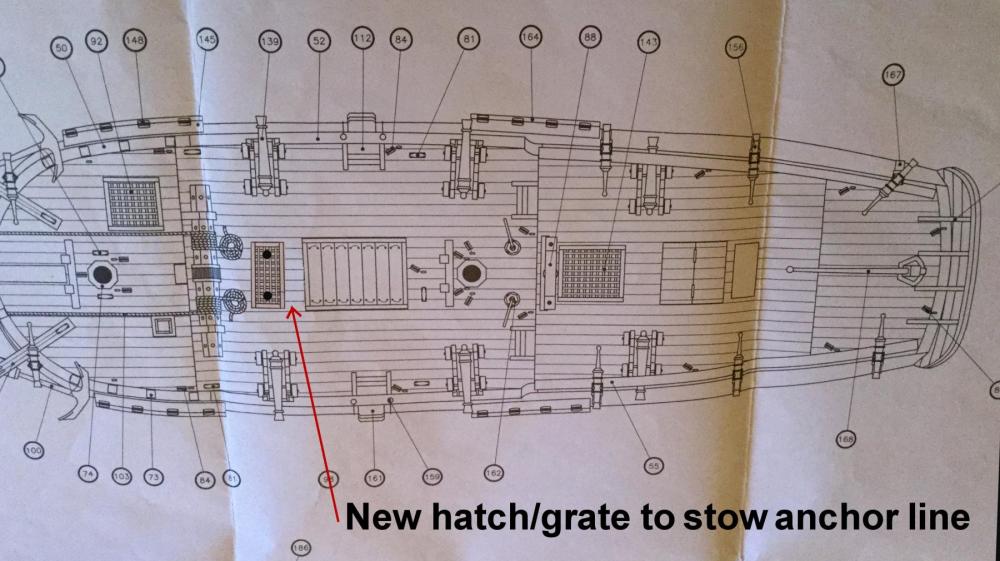
Thanks for the input, guys! Another problem is that this ship has a windlass, but the plans show the anchor lines coiled on the deck. Hahn's Hallifax plans also show no scuttle or hatch through which the lines could be led below deck. Given the very small size of this vessel, it would seem that reducing the clutter on deck would make sense and the anchor lines would be best below, out of the way. I'm proposing adding a hatch/grate just aft of the windlass for that purpose. I think it makes sense.
-
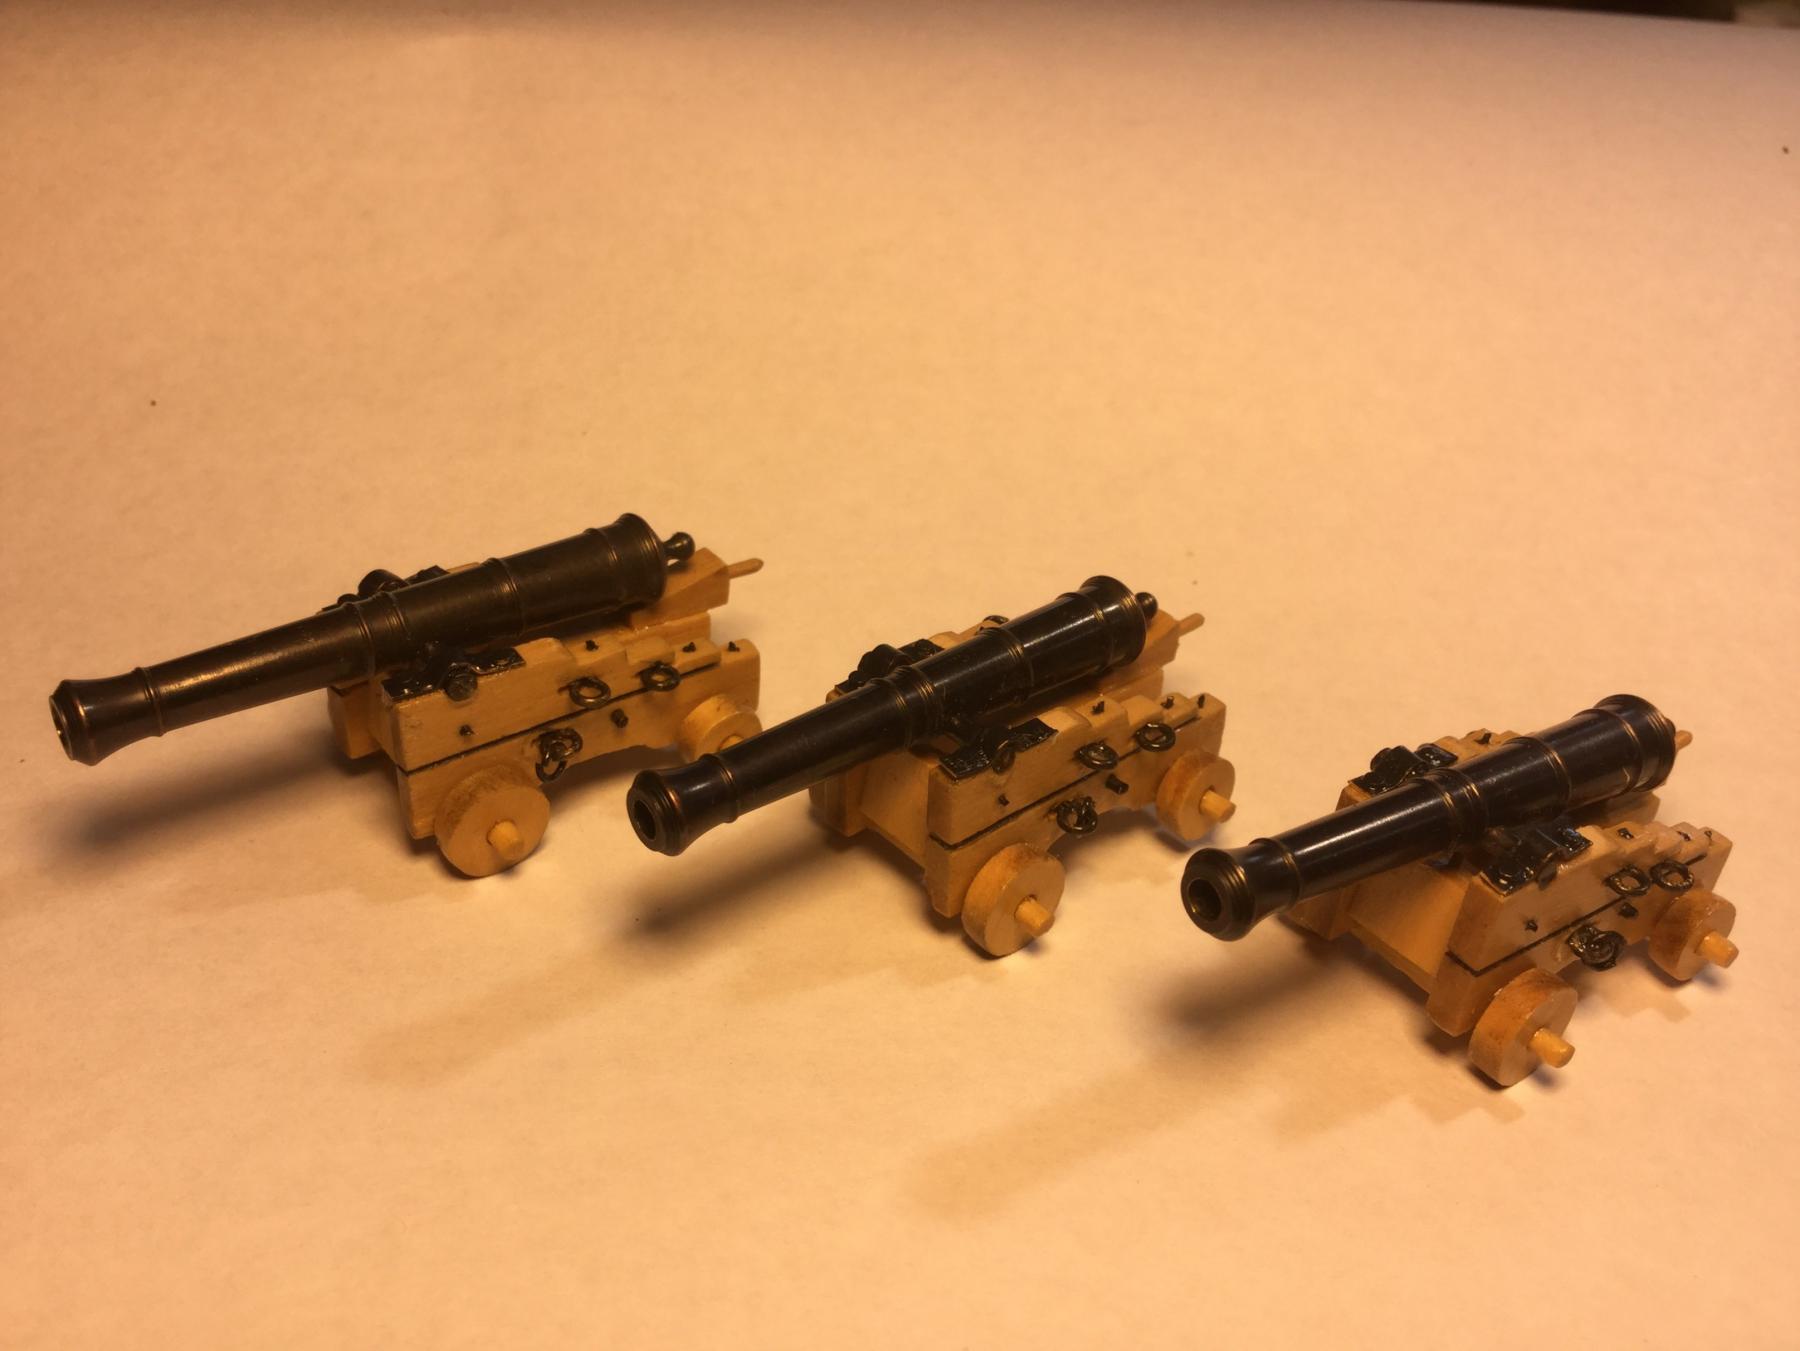
I've neglected the AVS long enough! It's time to finish this model. I really don't like metal work all that much, so what's left is basically all metalwork! I need to finish the yokes for the swivel guns and mount them, install the channels and make all the chain plates and mount them with the deadeyes. I finally attached the cap squares to the gun carriages, They are made of blackened brass.

- 306 replies
-
- 12
-

-
- armed virginia sloop
- Patrick Henry
- (and 2 more)
-
Yeah, that makes sense, Charlie. Yet you'd think they'd rig up some removable guard rail where the cargo holds were so that the crew didn't end up in the drink in rough seas. Can you imagine trying to make your way across the wet deck of Hallifax (or worse yet, Sultana) in a rolling sea without getting swept overboard?
-
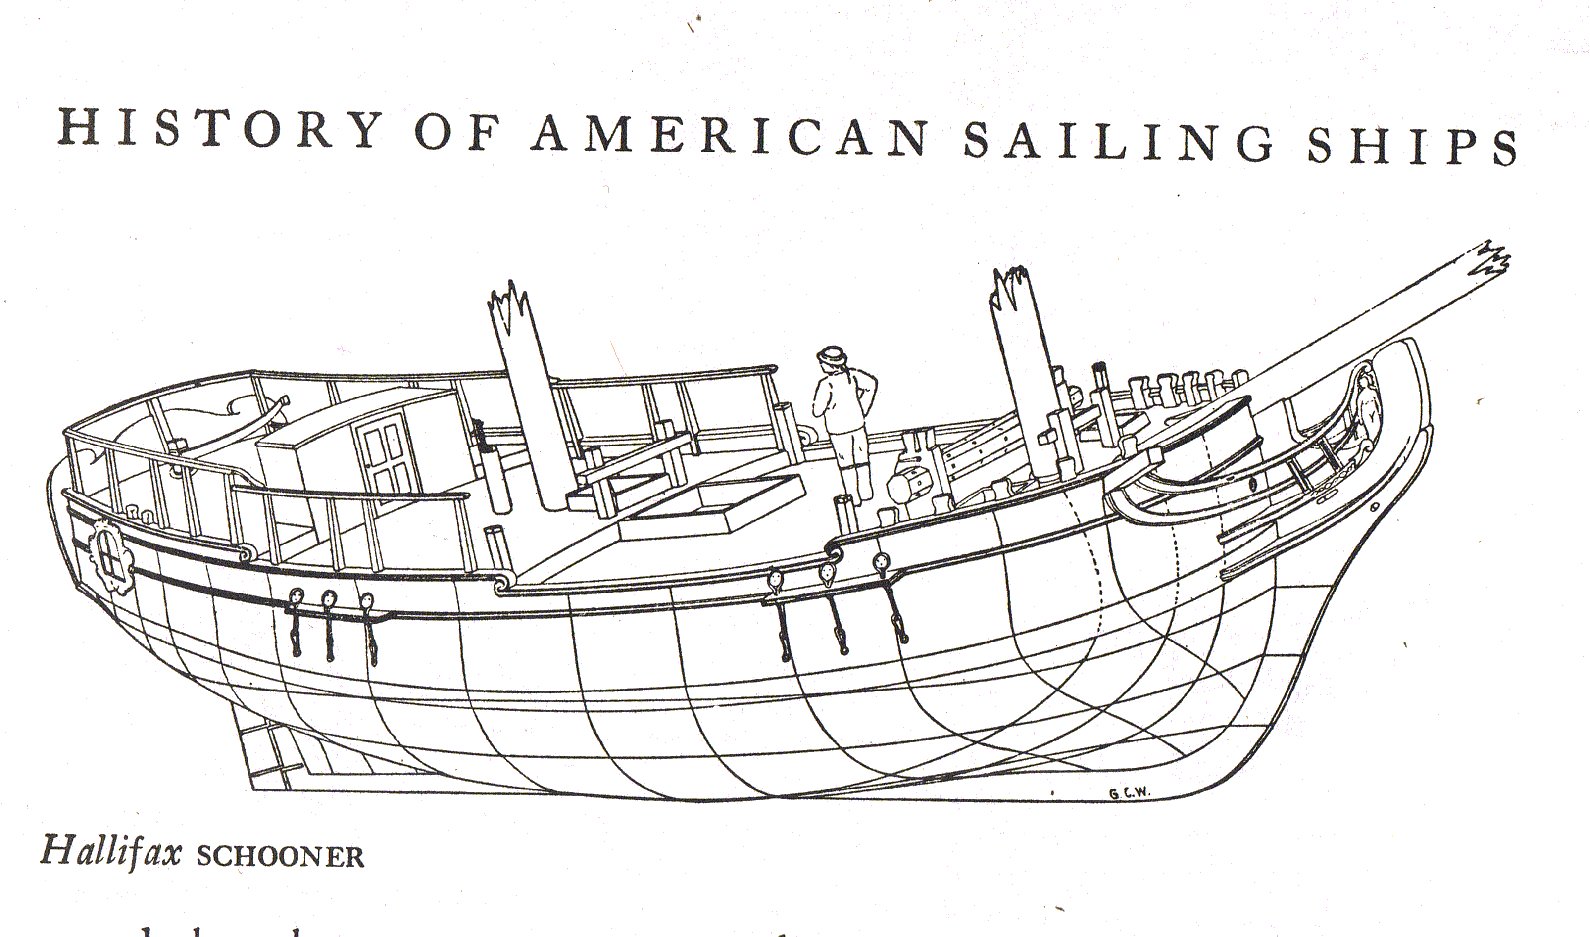
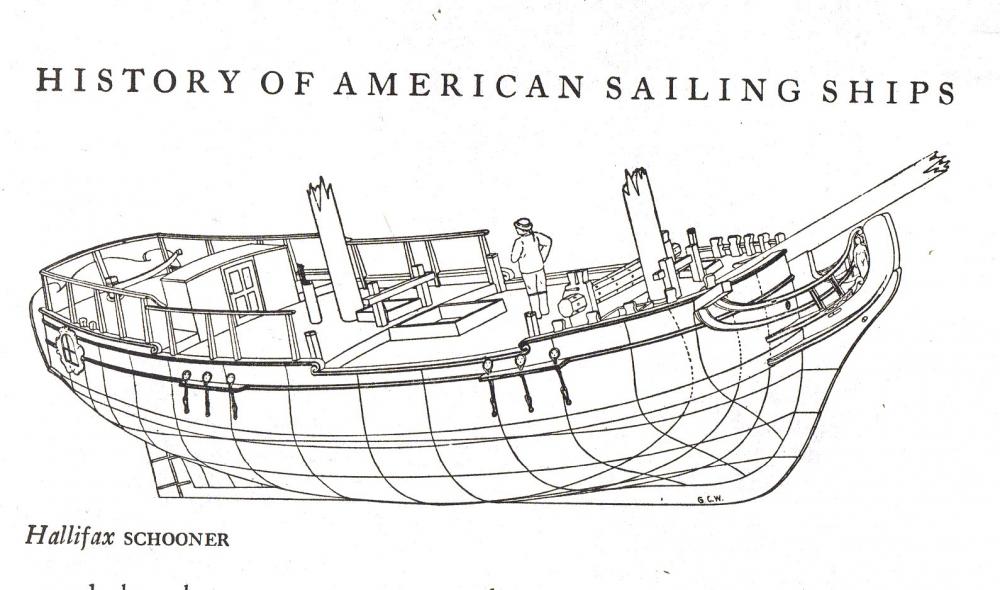
With the stem, Keel and stern post installed I'm ready to start planking. I thought a little about the deck. Why were the bulwarks so low on these colonial schooners? The quarter deck and the poop deck had railings to prevent men from falling overboard. the bulwarks on the main deck and fo'c'sle were only about 2 feet high! Here's a picture of "Hallifax" from Chapelle's book with a man drawn on deck. Not too safe!
-
Excellent job on the planking, Elijah! Sanding and a couple of coats of poly will really bring that wood to life. Good work!
- 701 replies
-
- 5
-
-
- phantom
- model shipways
- (and 1 more)
-
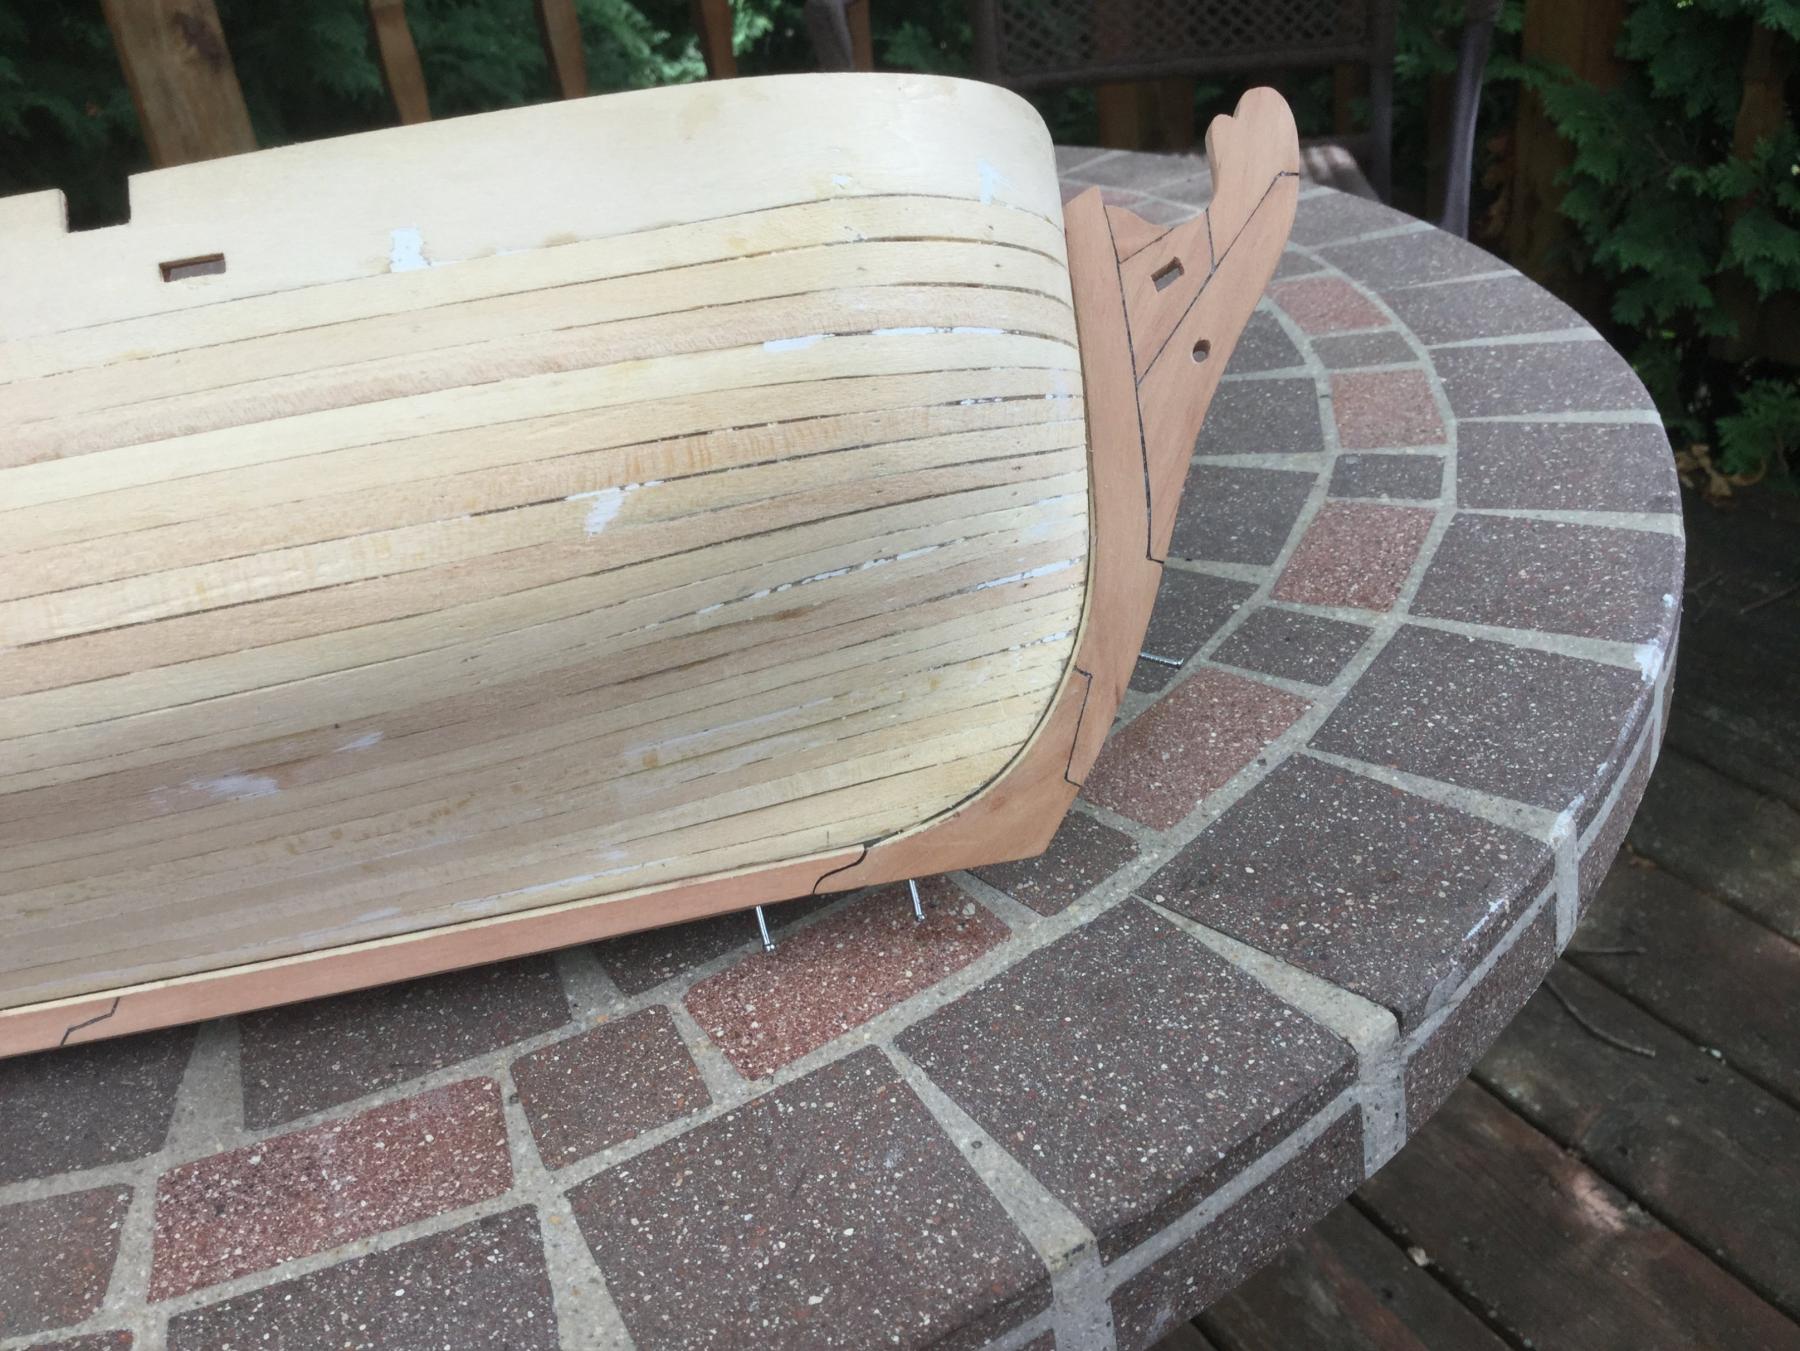
I fitted the stem, keel and stern post to the model. The problem with AL kits is that adding those parts at this point makes clamping them in place correctly impossible! I decided to use small brads to hold the parts in place when the glue-up happens. I pre-drilled holes for the brads, used double-sided scotch tape to hold the stem and other parts in place and tapped the brads into the plywood central keel/profile former. Since I plan to fit a false keel of rosewood all of the nail holes on the keel will be hidden. The rudder will hide the 2 on the stern post so the only hole to be worried about is the one in the forward surface of the stem. Some pear sawdust mixed with white glue should make a putty that will make the repair inconspicuous.

-
I installed the inboard bulwark planking and cut out the gun ports and scuppers. Next is to install the stem, keel and sternpost.

-
Welcome back, Elijah. Now knock off the loafing and get back to work on that model!
- 701 replies
-
- 4
-
-
- phantom
- model shipways
- (and 1 more)
-
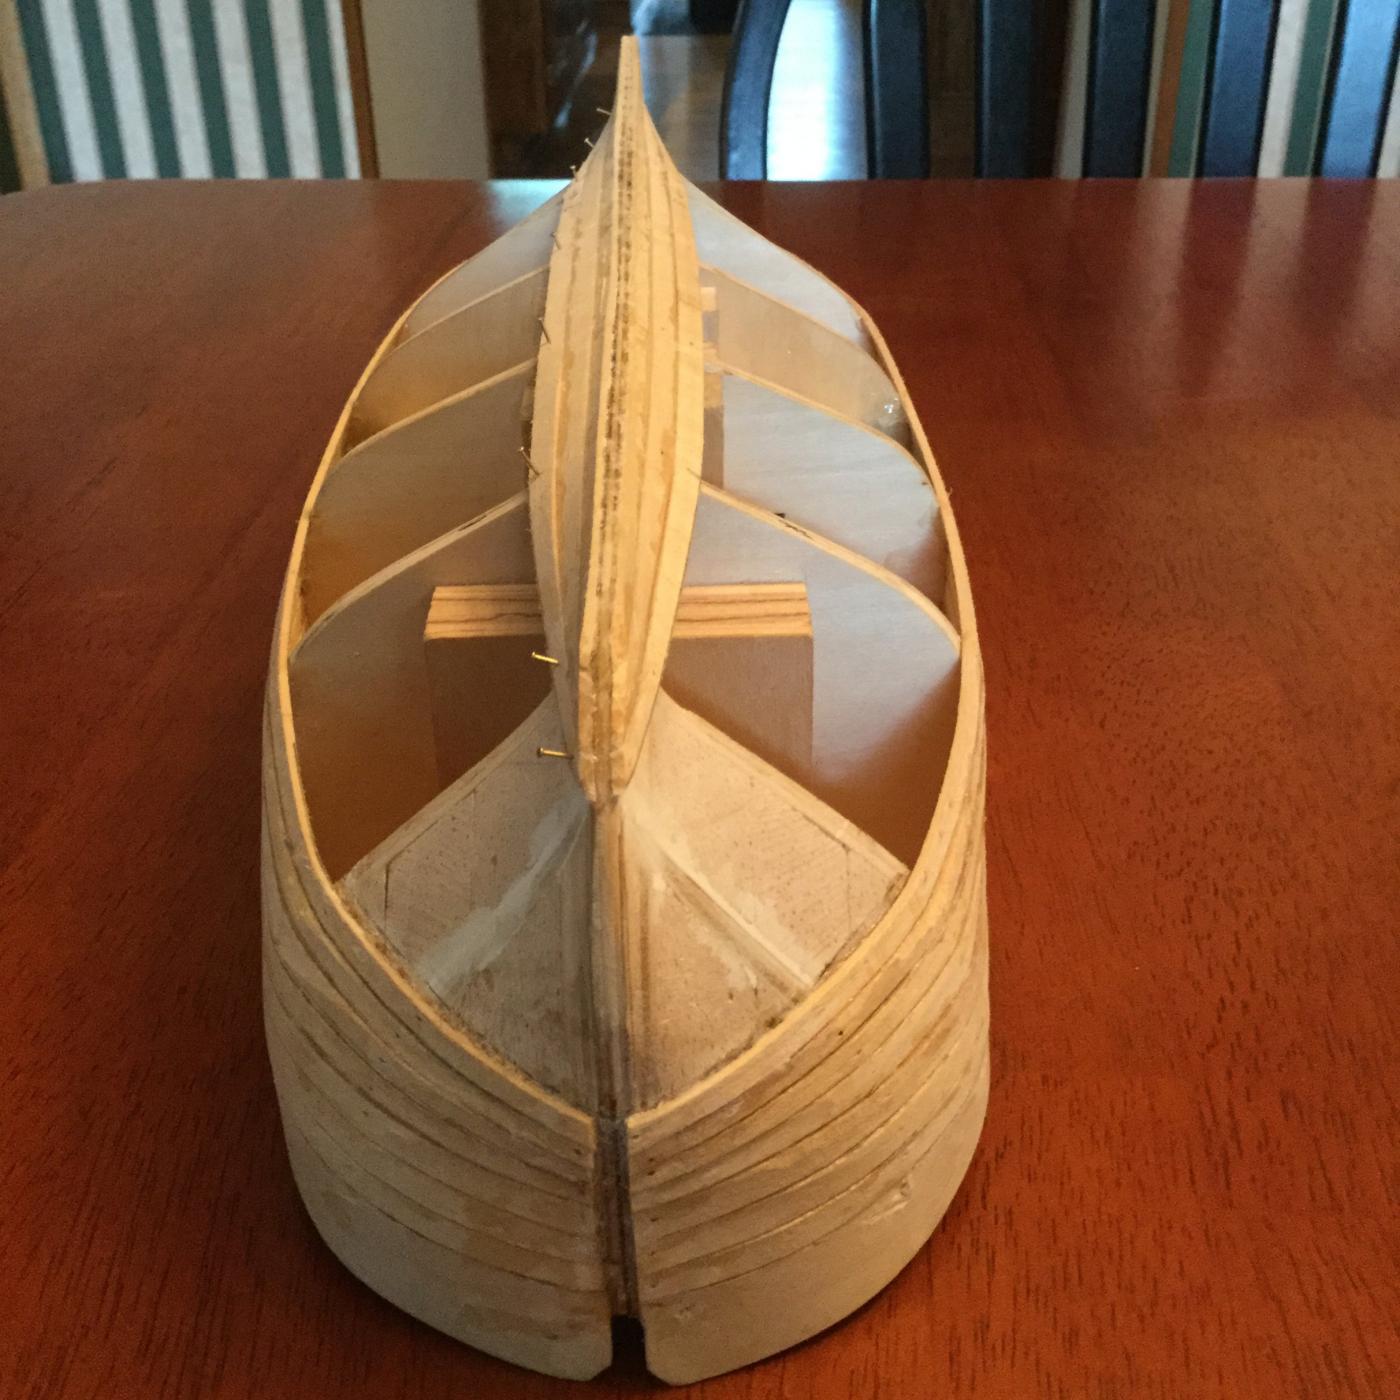
The bow of this boat is flat. There is no center keel sticking out to carve a rabbet into. I glued a piece of 1/8" wide stock, 1/32" thick (my hull planking will be 1/32" thick) to the inner curve of the built up stem to form a rabbet when it's glued in place. I will do the same for the keel and the stern post.
-
Naw, Brian. This is an AL kit. The plans are more "suggestions" than actual plans! I'll have to guess on the waterline. What do you think of the color scheme (holly with stem, keel, sternpost and rudder and planking below the wale to the waterline of pear)?
-
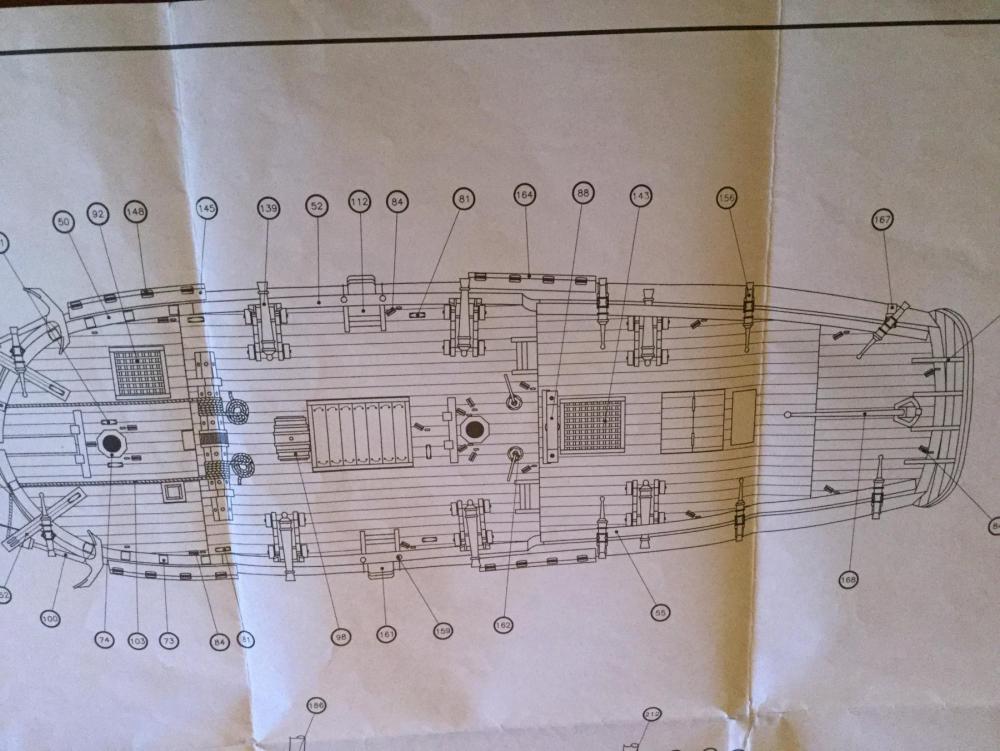
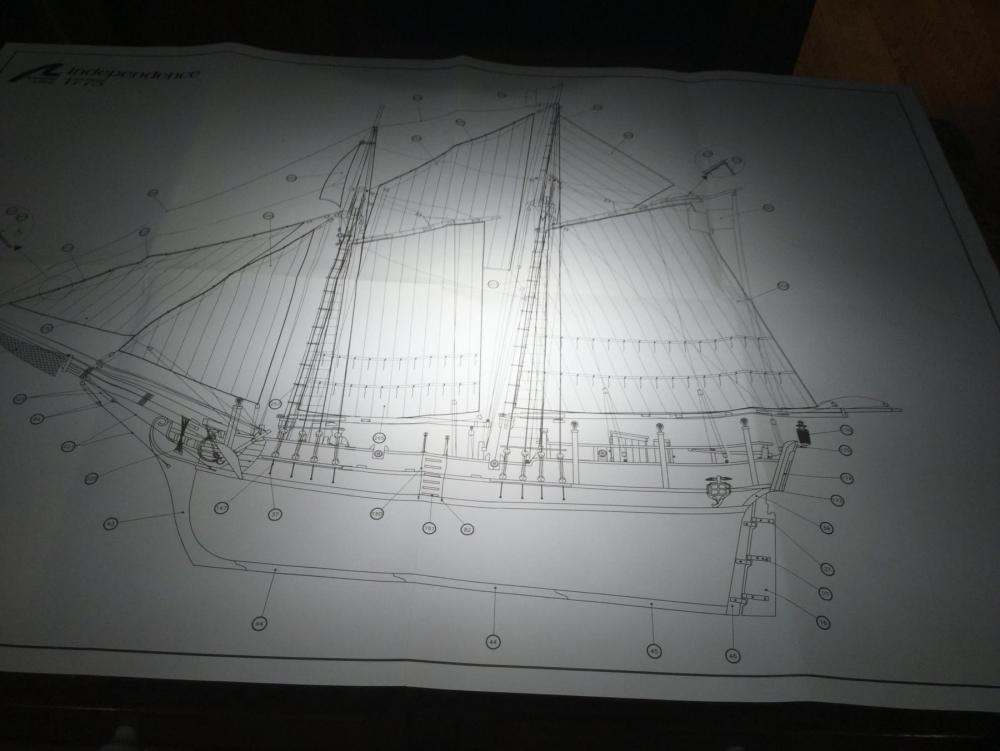
I'm starting to rethink what I want to do in terms of hull planking. Originally, planking above the top wale was to be pear, between the top and bottom wale was boxwood, and planning below the bottom wale as well as the stem, keel and stern post were to be pear also. This is what Clare Hess did, and it makes for a handsome model (photo 1). In his practicum for a kit-bashed "Rattlesnake", Bob hunt shows a planking technique that simulates the white anti-fouling coating below the water line on these ships. One builder (photo 2) used pear above and holly below the waterline (photo 2). That's what I would like to do. I don't plan to show the framing as in photo 2, but I would like to use the pear and holly combination. If I use the holly, can I still use pear for the stem, keel, sternpost and rudder, or do I need to switch to a more subdued wood like boxwood? I think the contrast between the holly and the pear would actually look cool, if not historically accurate. How do I determine where the waterline falls? I've added a photo of the plans, and as you can see the keel slopes downward as it moves aft. What do you all think?

-
John: What type of wood is the finished planking? Soft woods like pine require a conditioner to prevent "splotchiness". Even cherry sometimes. If the wood is walnut, just stain away! You'll be fine. Just be sure there is no glue residue on the planking. It will block the stain from penetrating.
-
I glued the stem together. I still need to drill the hole for the bobstay and the gammoning hole.

-
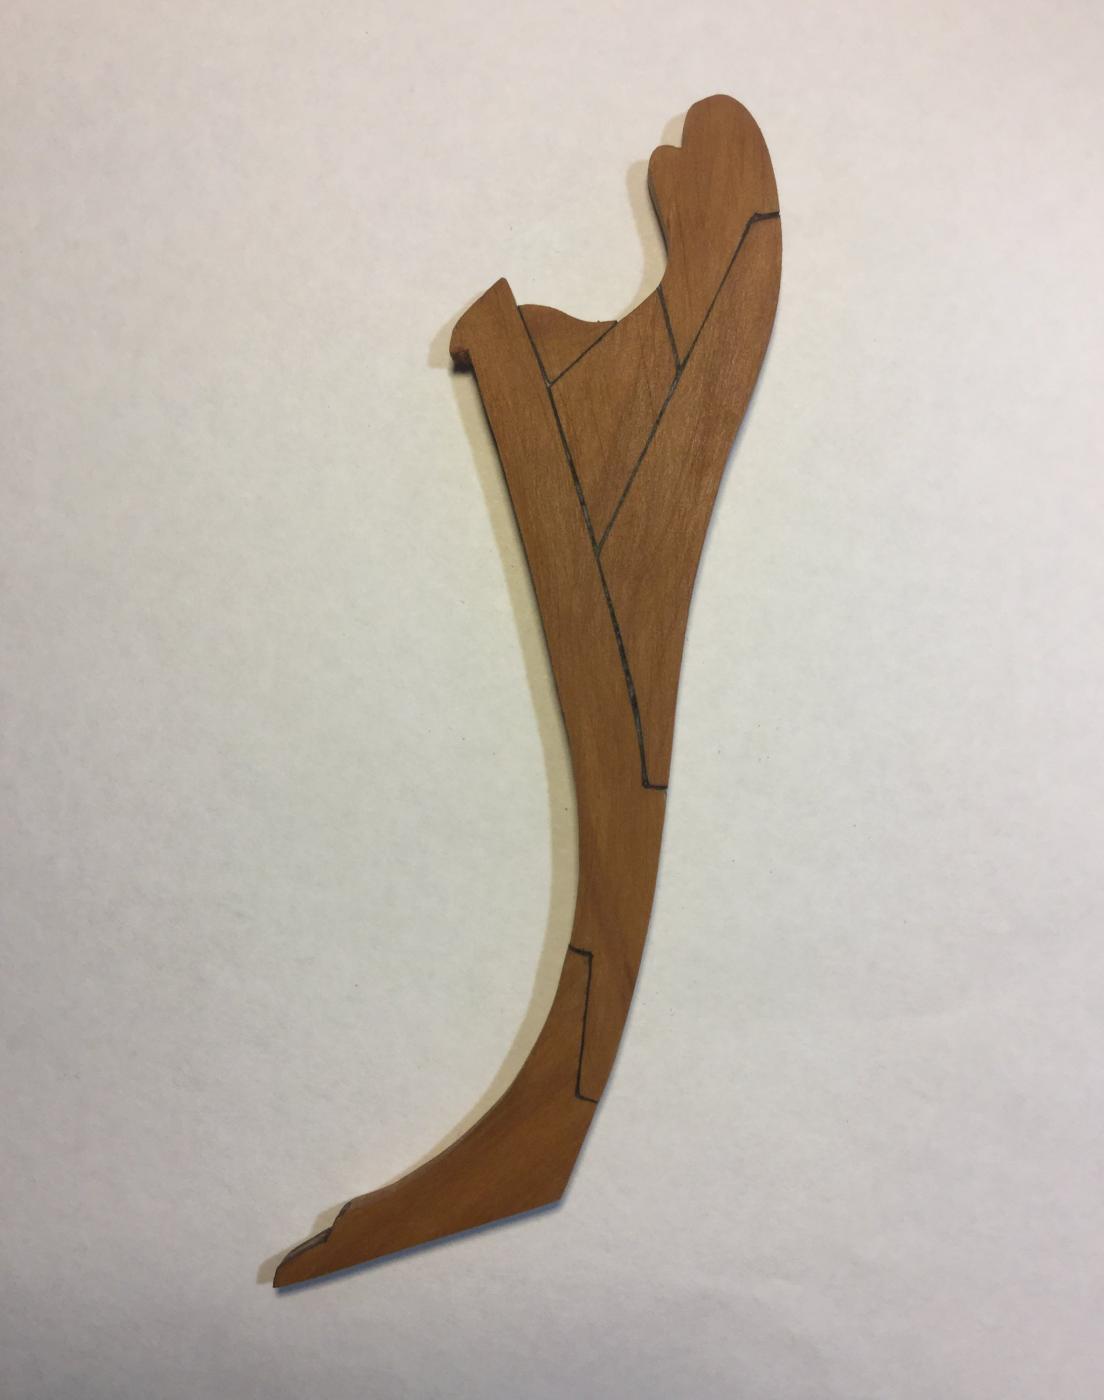
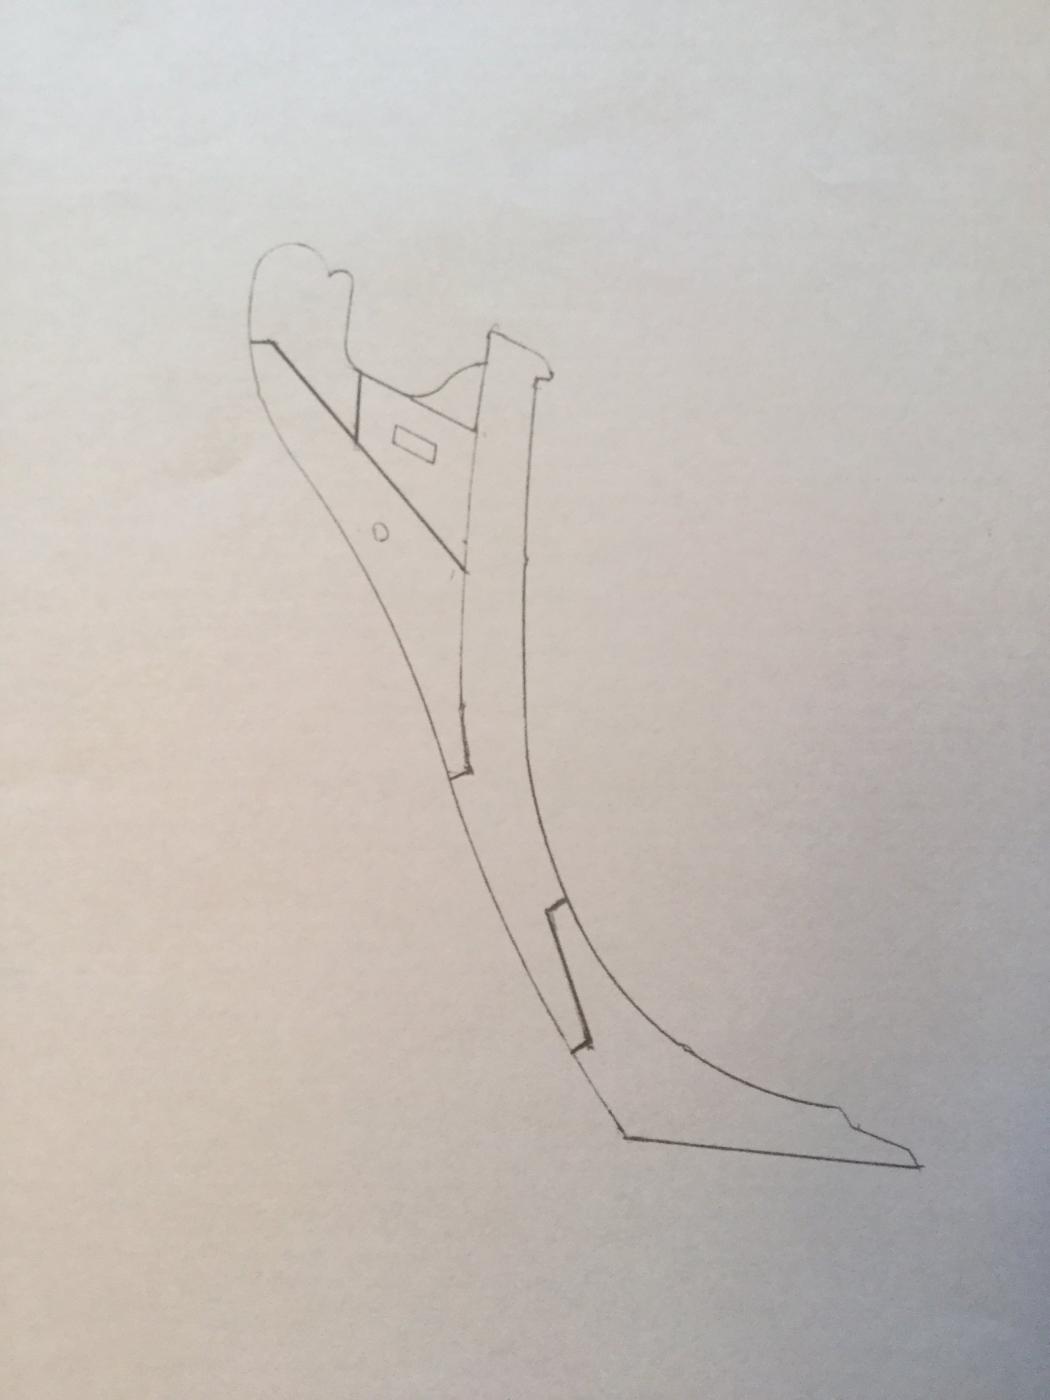
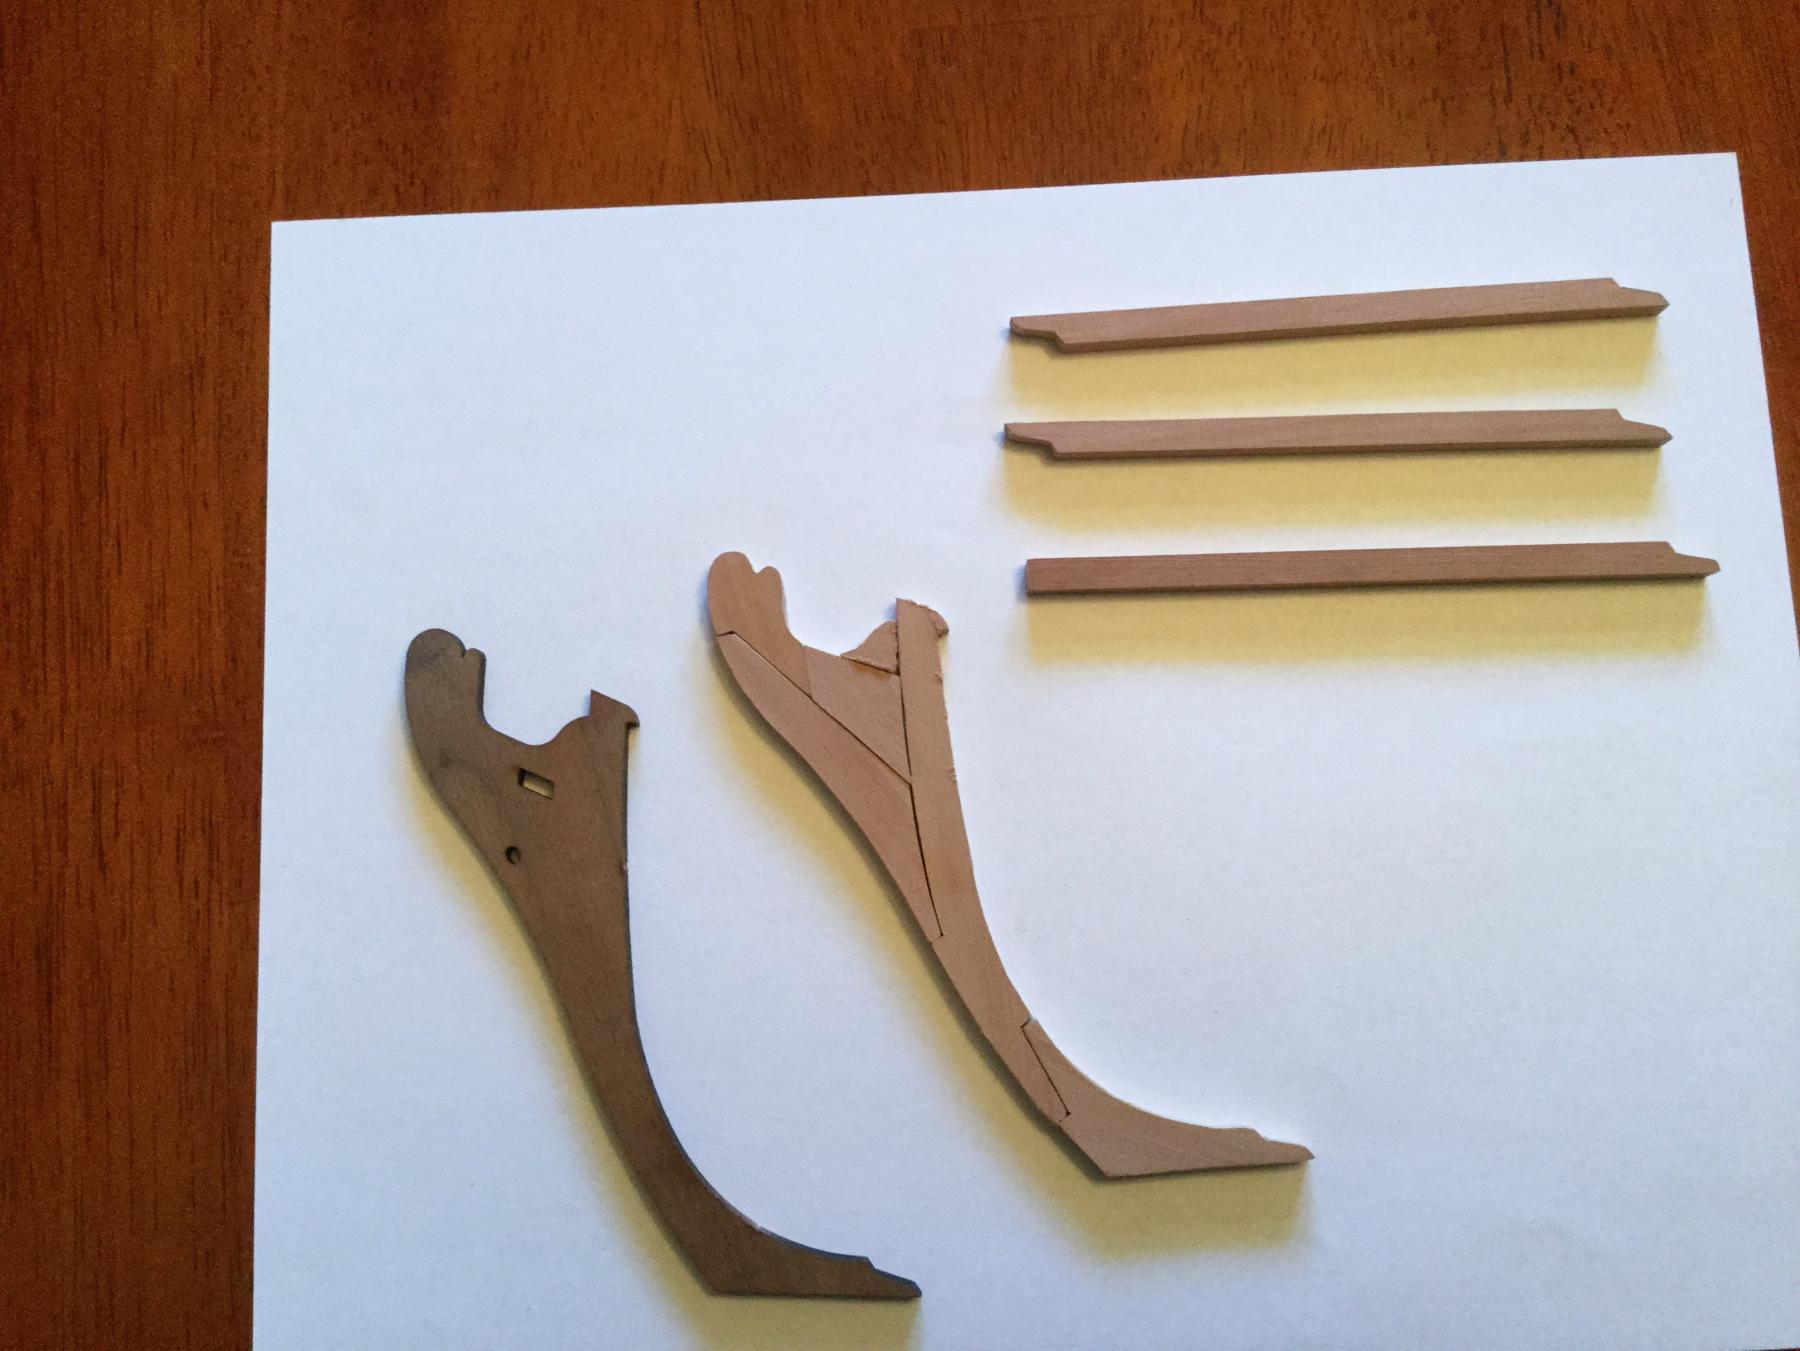
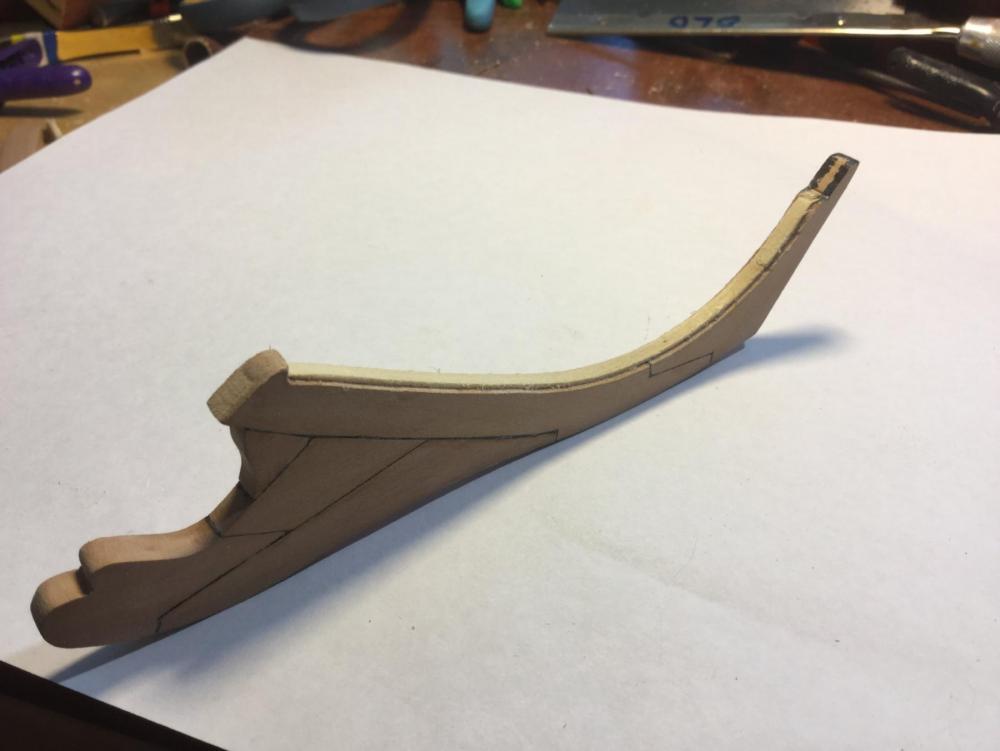
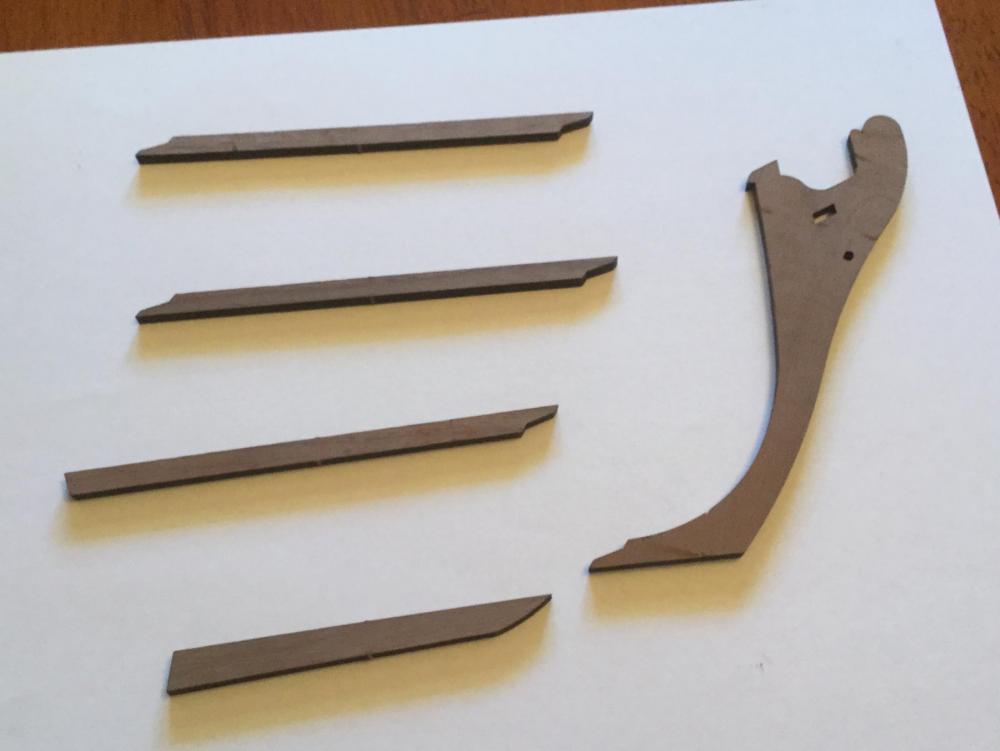
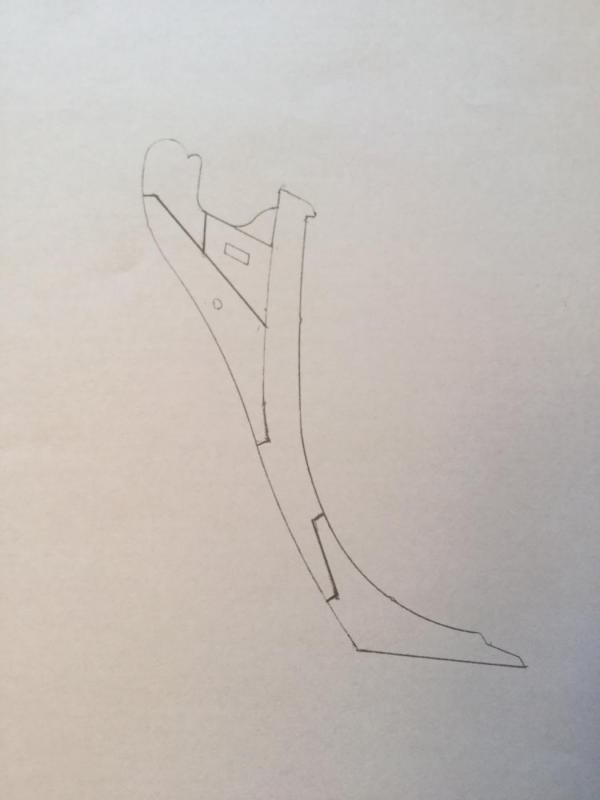
Thanks, guys! Mike: The hull is 17-1/4" long with a 5" beam. By contrast, the Lauck Street AVS Patrick Henry is 22" long with a 6-1/2" beam. This is a pretty big model of a pretty small boat! Next I started in on replacing the stock stem, keel and stern post. Those parts are made of walnut in the kit and are shown in the first photo. They are OK, but I wanted the hull planking and those parts made of pear, so they needed to be redone. The stem was a single piece, and the keel is three sections, scarfed together. I traced the stem on a piece of paper. I'm not a naval architect, but the second photo shows my proposed layout for a built up stem. I think it looks OK and makes logical sense. I cut out all the parts, shown in the the third photo. I need to fine-tune the fit, blacken the joints to simulate caulk, and glue the parts together. The kit has no false keel, but after thinking about it, I think I'll add one made of rosewood...just for the contrast in wood colors!

-
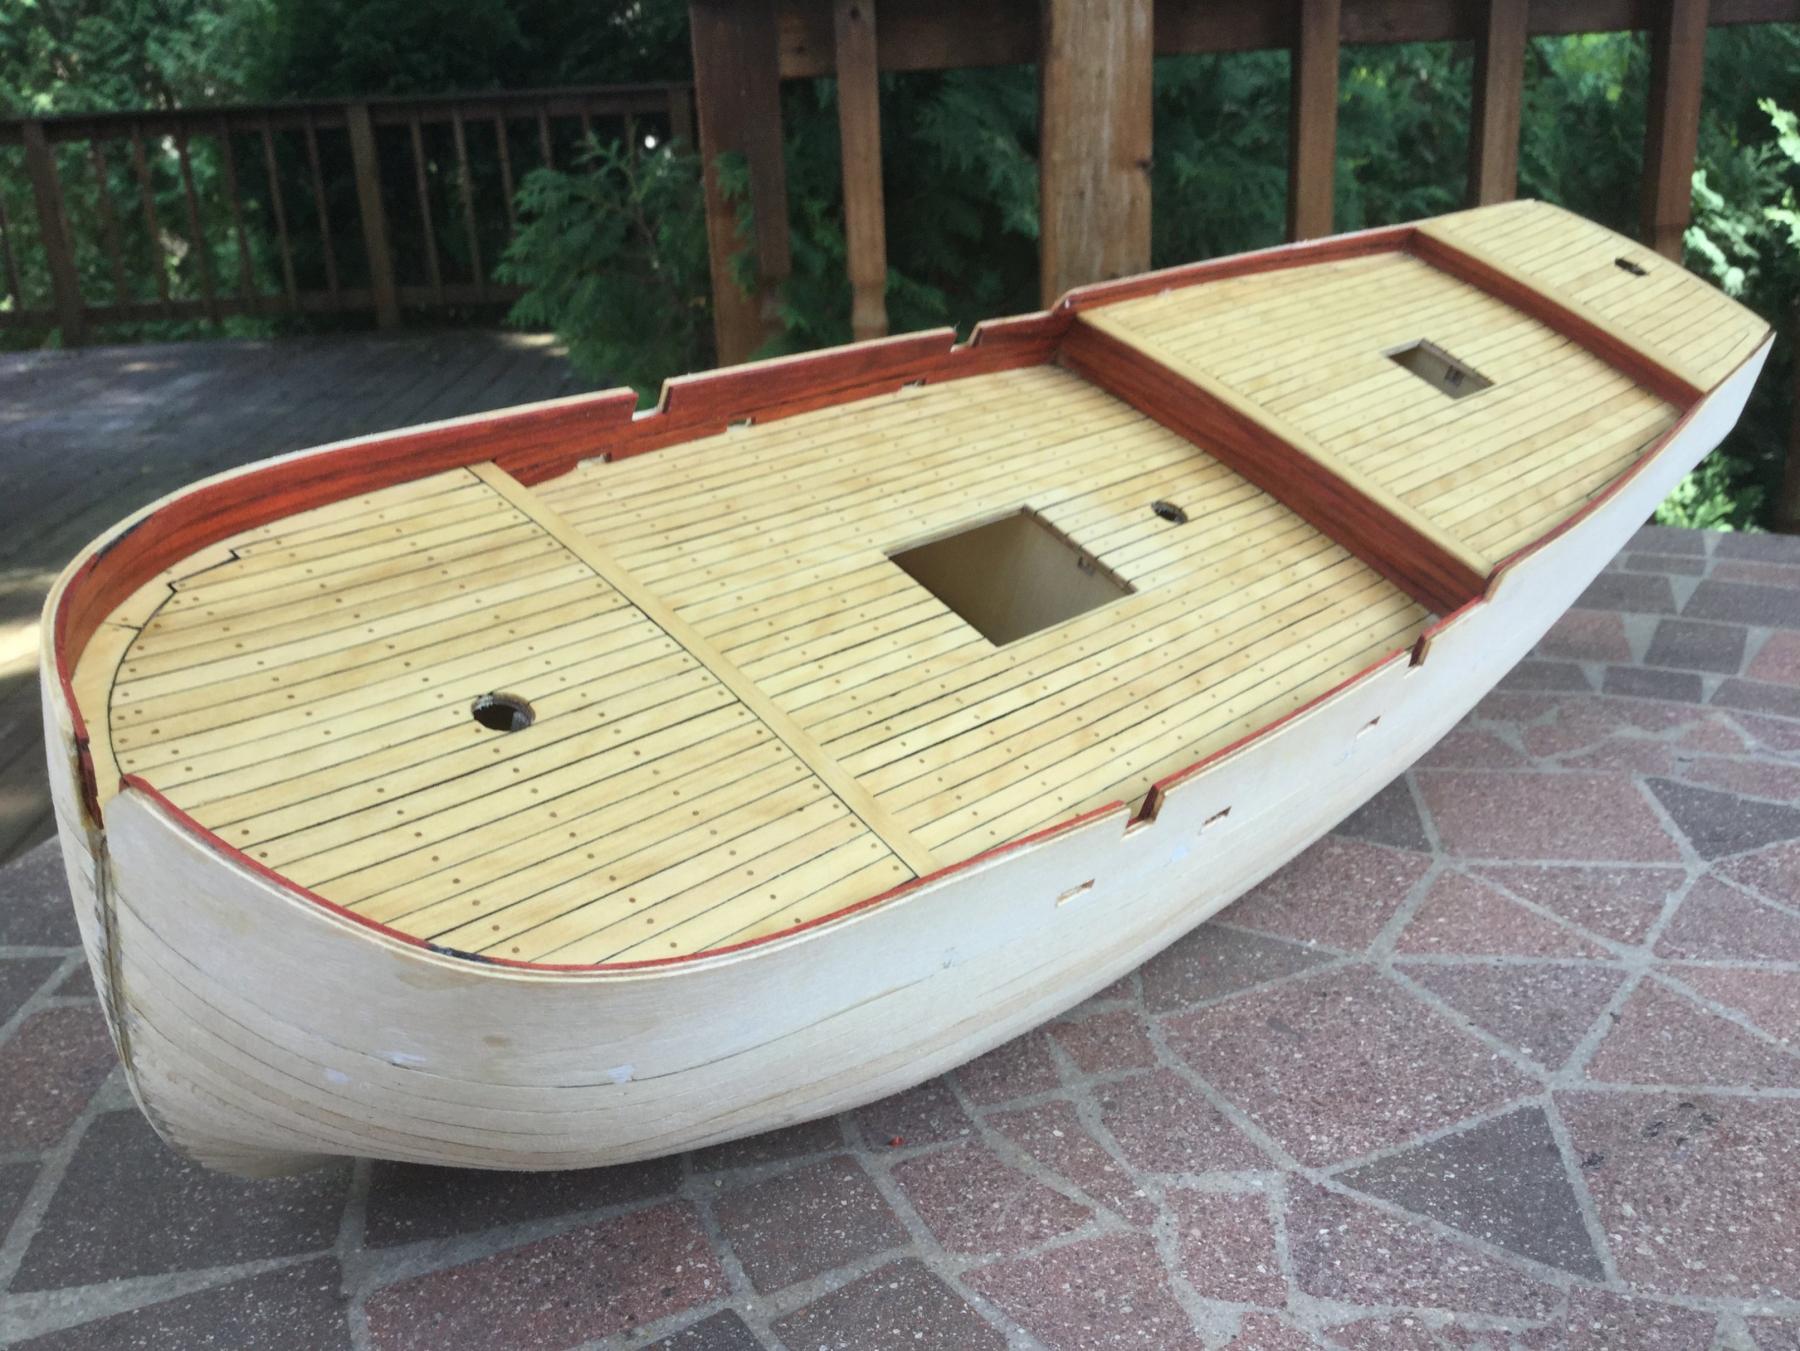
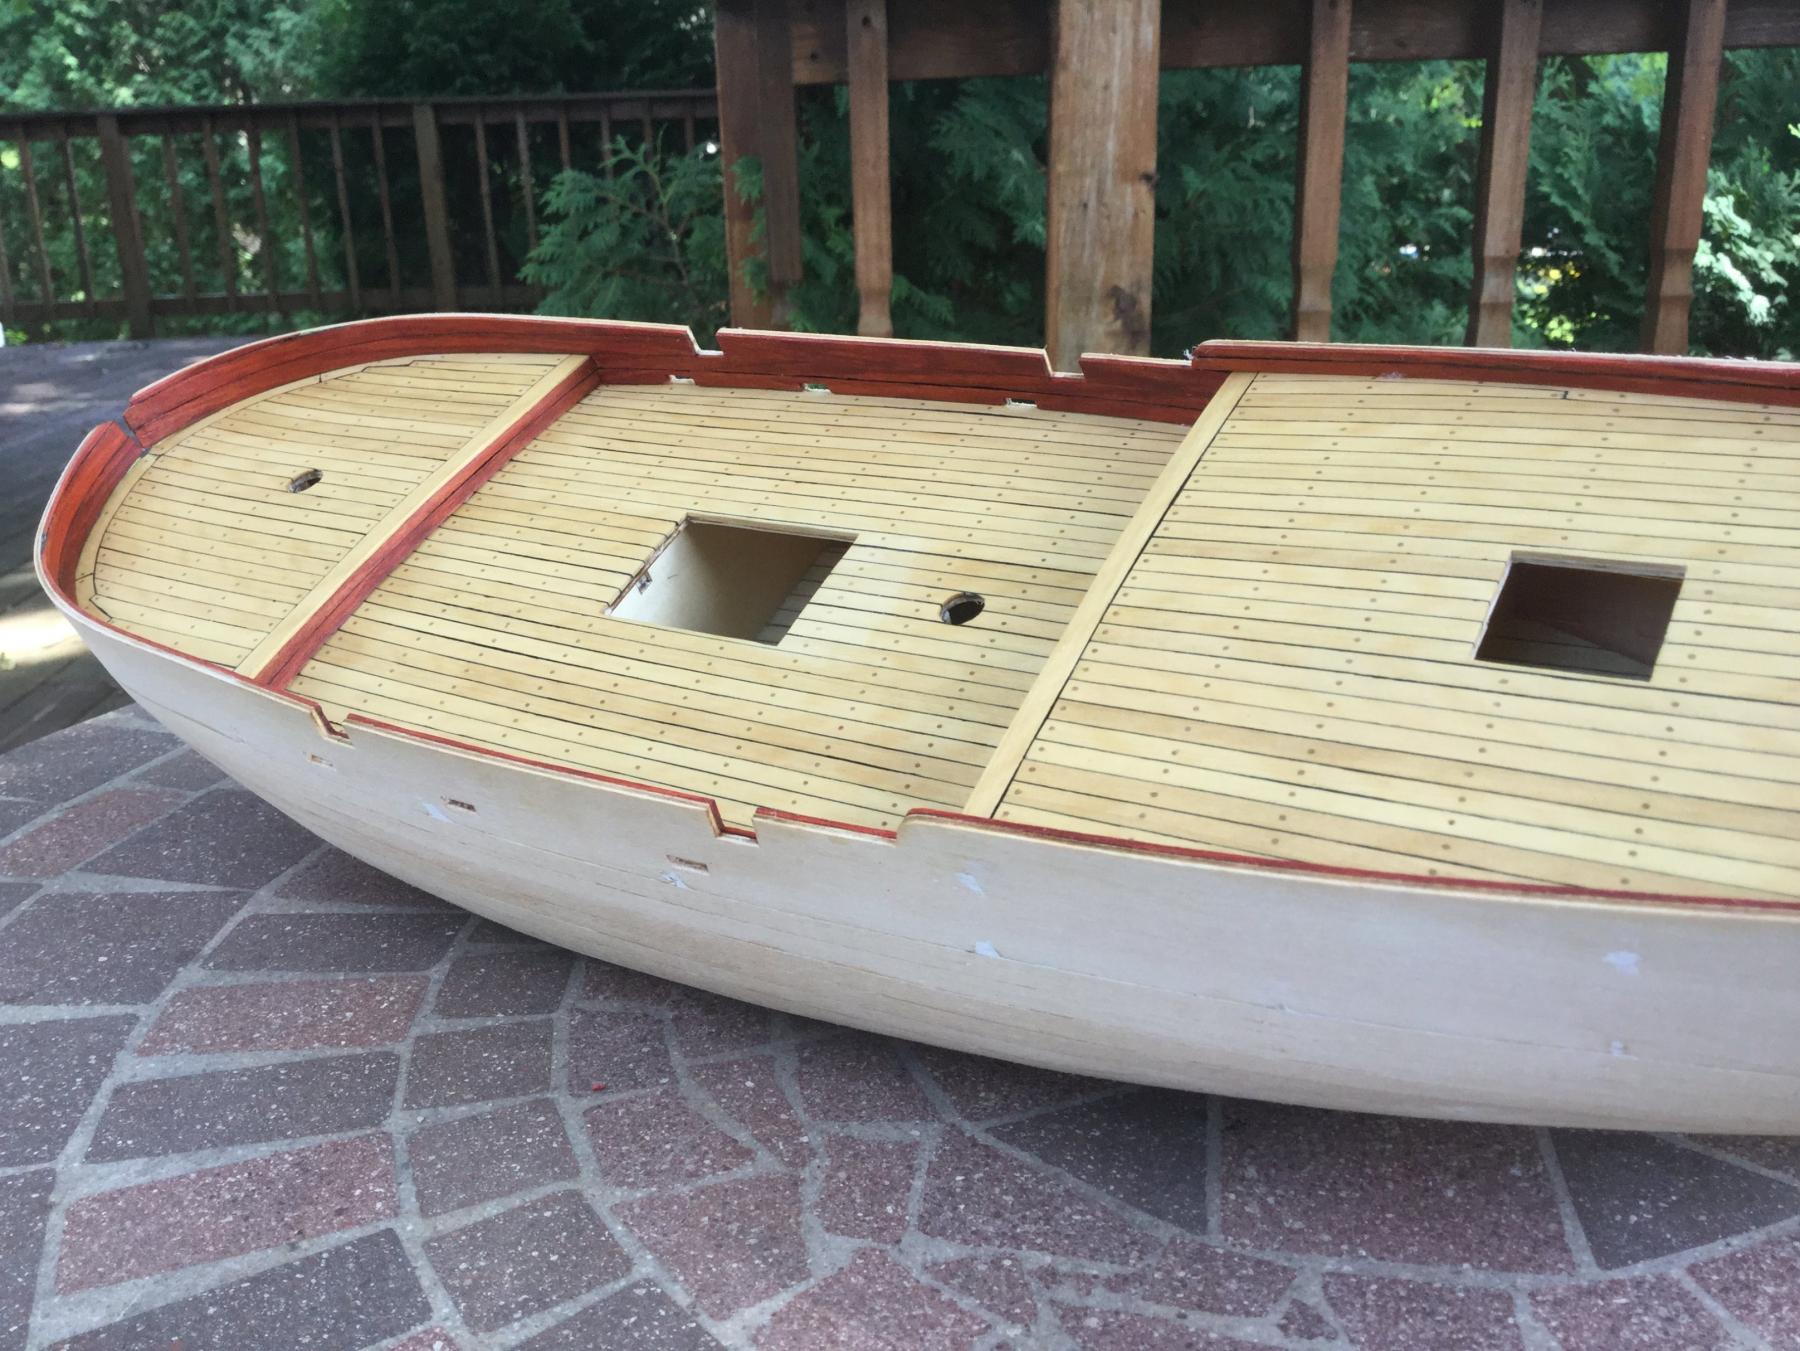
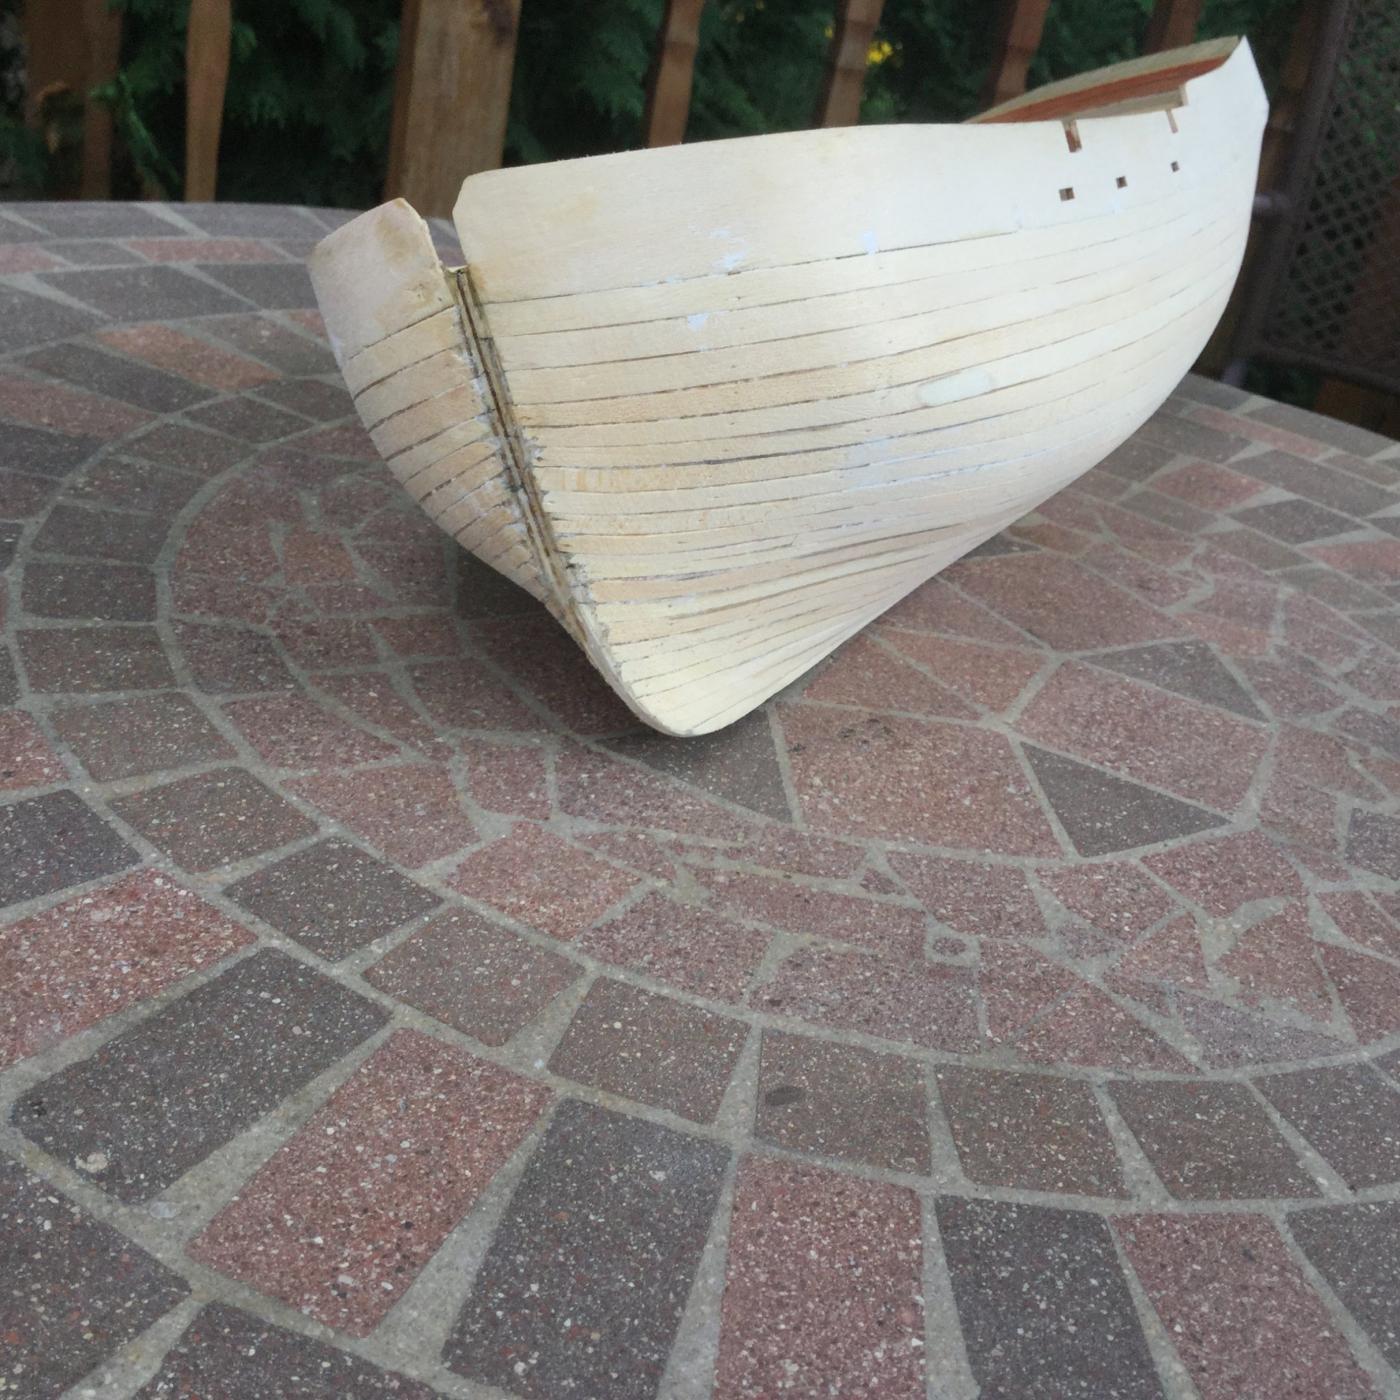
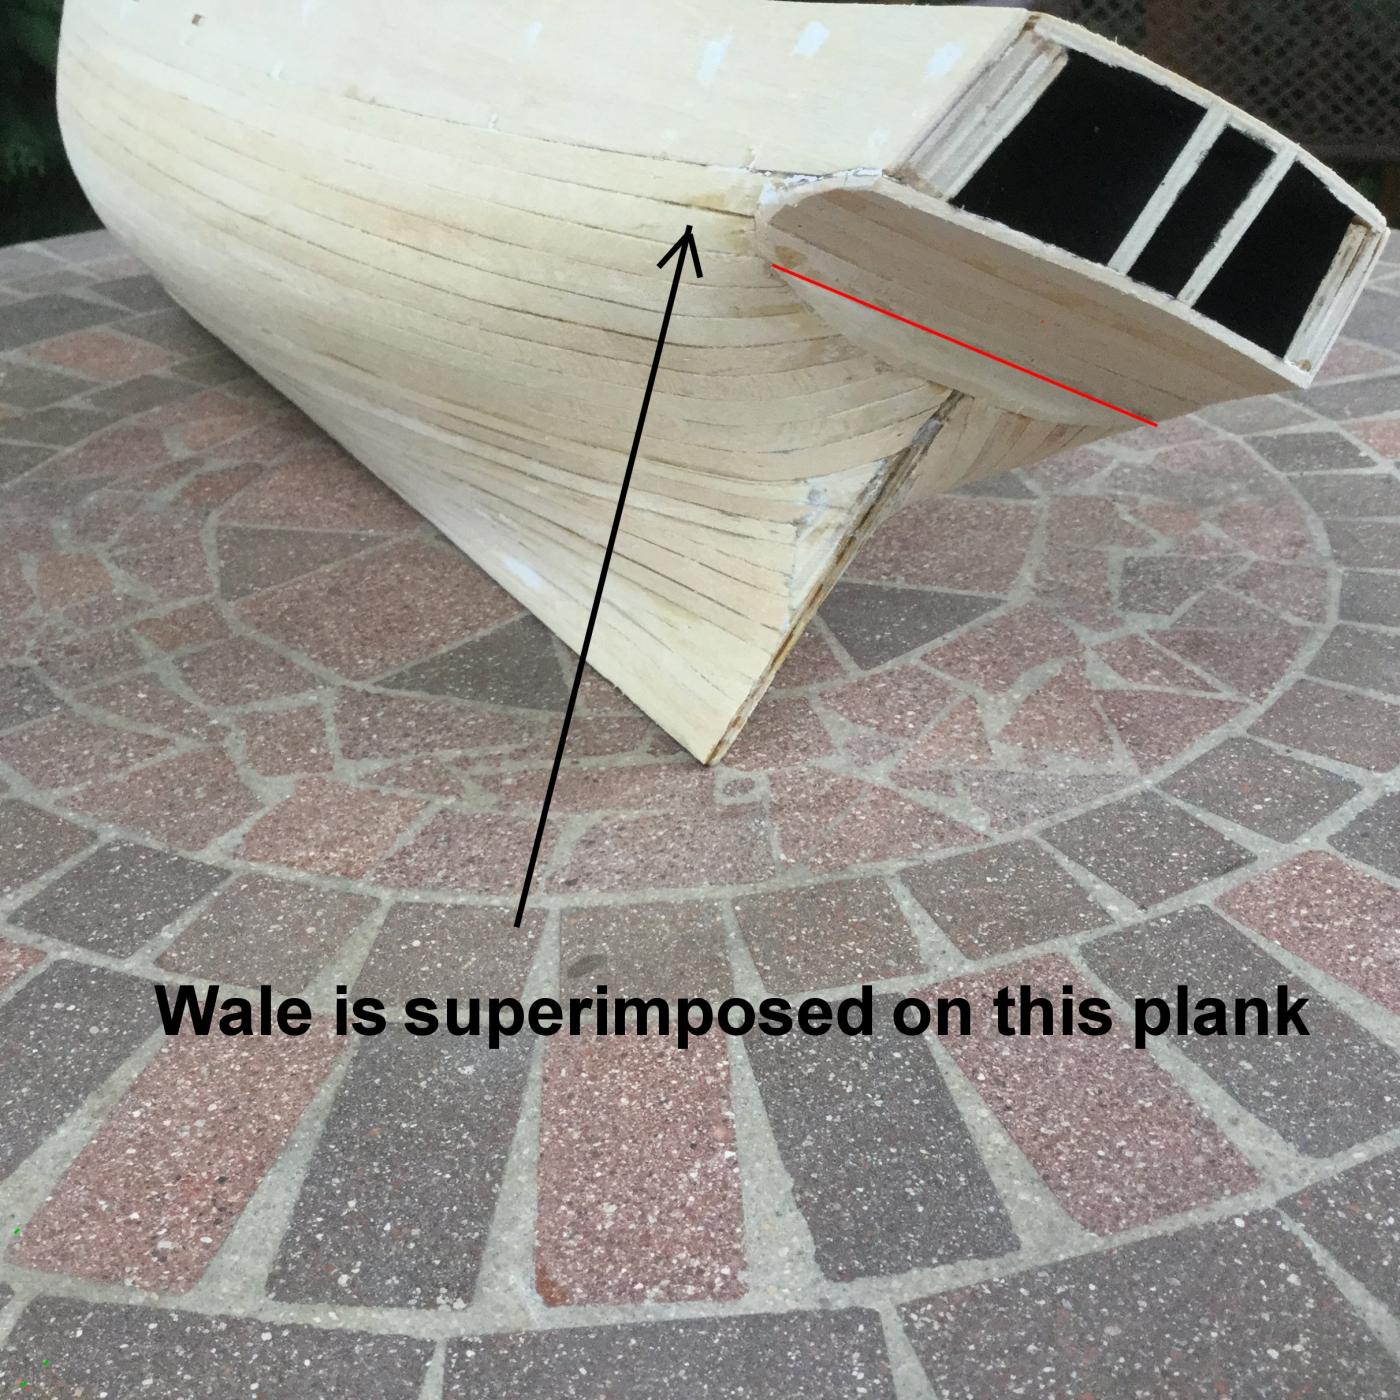
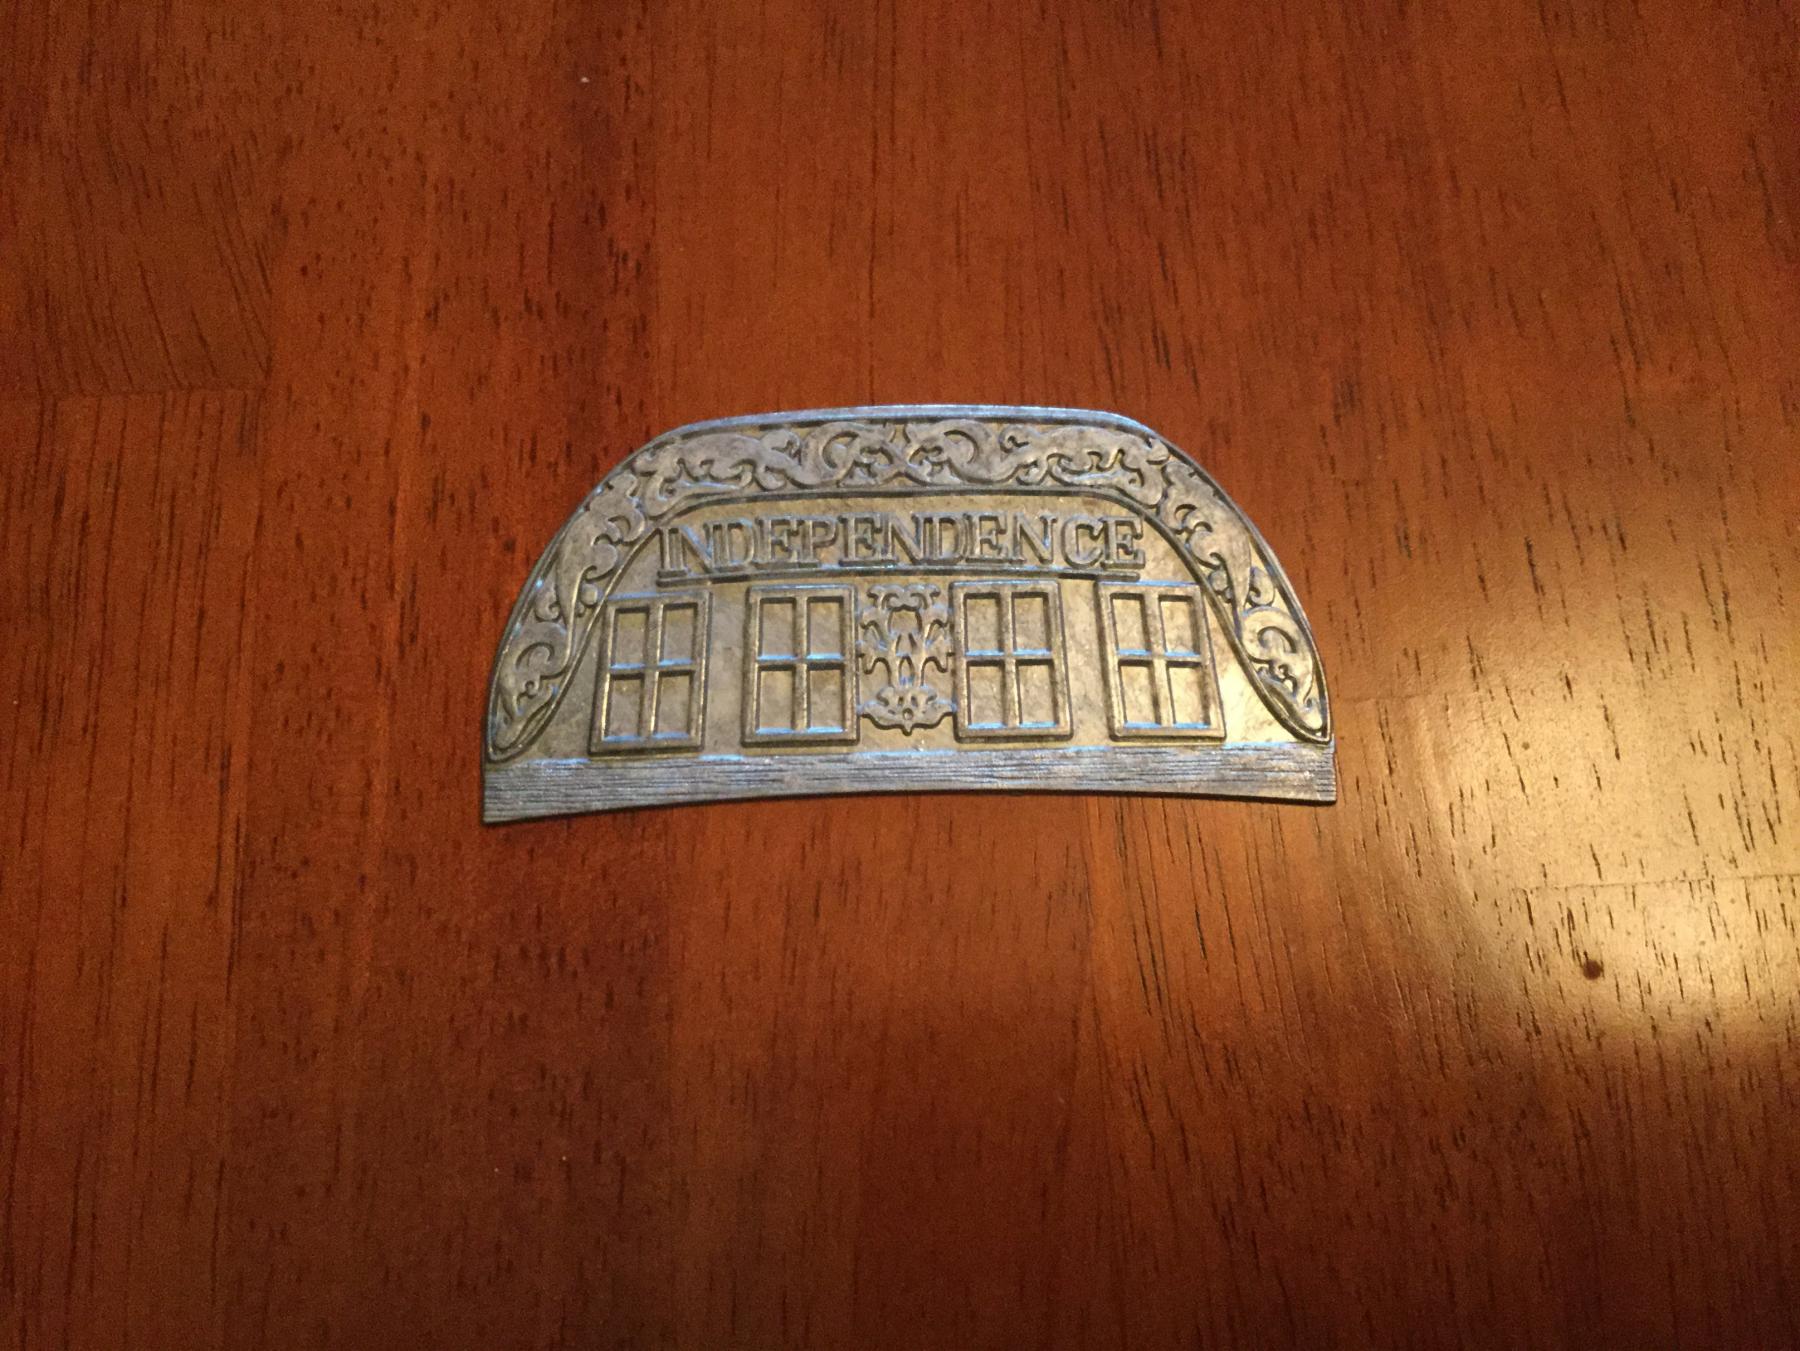
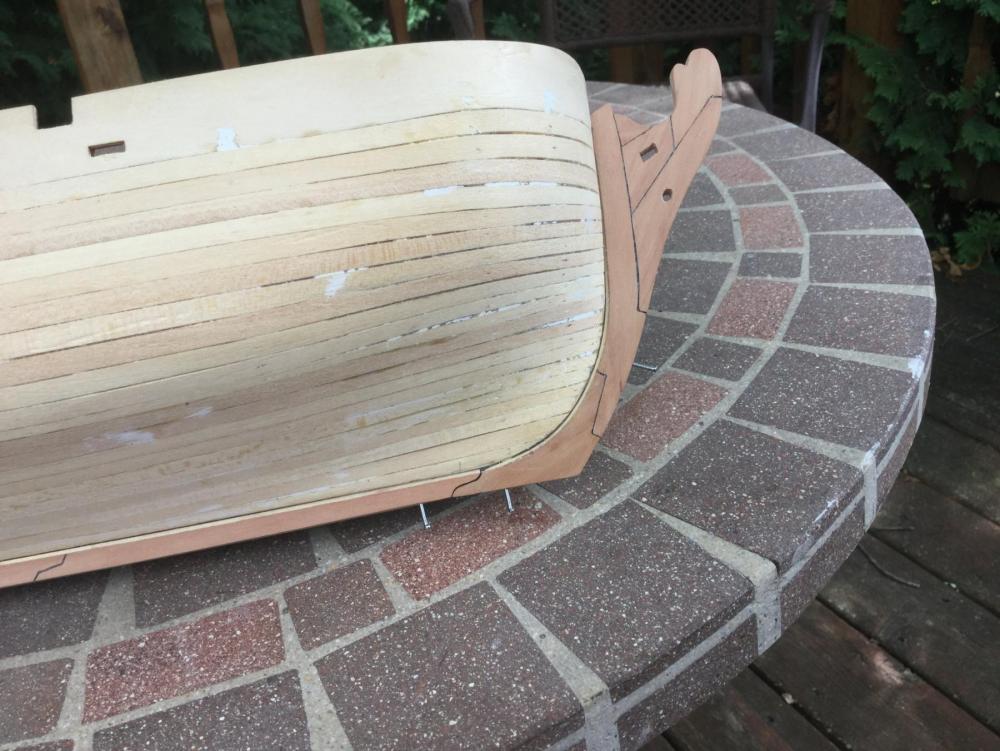
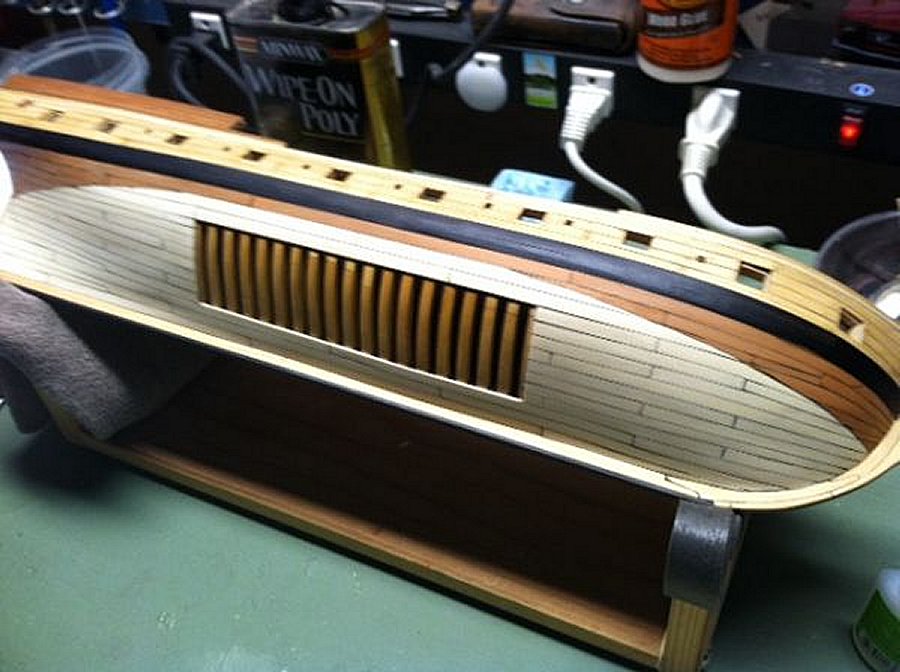
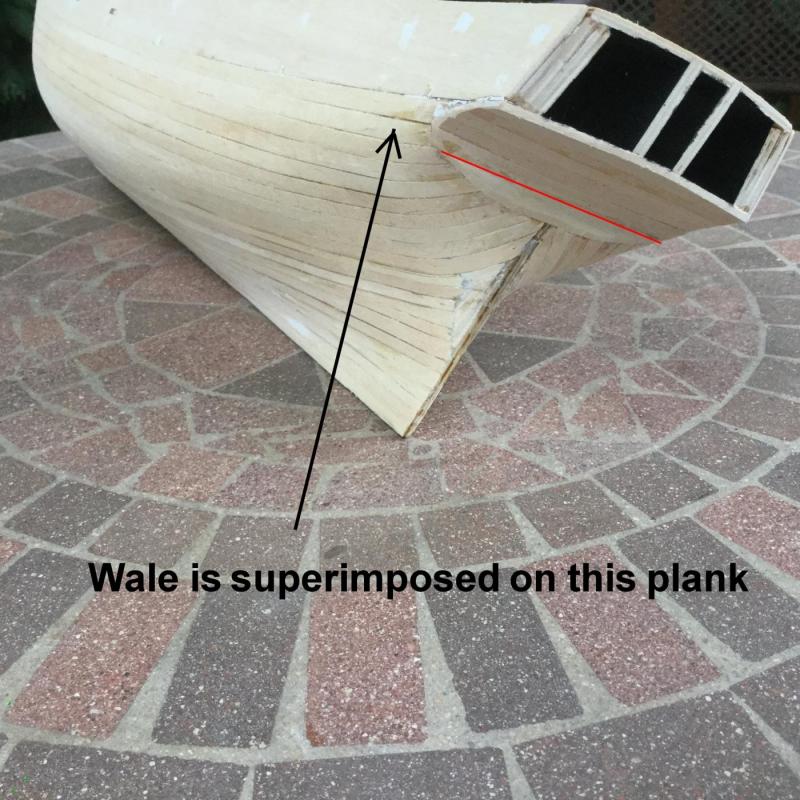
I finally finished the first planking and sanded the hull smooth. The hull came out pretty well. There were only a few places where I really needed the wood putty! In a bright light, though a few more showed up so I'll patch them tomorrow. I painted the great cabin interior black because I'm going to totally redo the transom and put some real wooden lights back there. The ridiculous stamped metal transom supplied with the kit goes into the garbage. The stem, Keel, sternpost and second planking are pear. The next task is to make a built-up stem piece and attach it to the model, along with the 3 part scarfed keel and the stern post. The planking at the counter is a little odd. I think the counter should really start where I drew the red line. That means I need to smooth the plank below the line and bring the second layer of planking up to the red line. I say that because the model has a fashion piece a that sits on the wale (like the MS AVS). The wale is superimposed on the second plank down in the photo


-
Having nearly completed a Lauck Street POF model of the AVS, I can tell you that I ran into similar problems in a couple of spots on the frames. I did have to remake some parts including two cant frames at the aft end of the hull. It's part of the challenge of building these POF kits. You have to realize that Bob Hunt created these models himself, and himself alone. He drew up the plans, did all the quality control, built the prototype and cut all the parts himself. There was no army of kit developers working with him. Considering this was a one-man operation, and the Hannah framing kit went from a concept to a finished kit in about 2 months is remarkable. A minor glitch or two is to be expected.
-
Old wood imitation
DocBlake replied to Engelard's topic in Building, Framing, Planking and plating a ships hull and deck
Age it Easy Gray works perfectly for weathering. Check the MicroMark link Richard posted. -
Good start on the planking. Your hull looks like it's faired nicely - it should be smooth sailing!
- 194 replies
-
- 5
-
-
- armed virginia sloop
- model shipways
- (and 1 more)
-
Thanks, Mike. You're making me hungry! Jaeger (Hunter's) Schnitzel - that's veal in that delicious sauce with vegetables, mushrooms bacon...yum! We have a lot of German restaurants around here - Milwaukee is VERY German. There is a place about 3 miles from our house that makes a fabulous Jaeger Schnitzel. It's called Weissgerber's Gast Haus and it's run by the 4th generation of the Weissgerber family. Sadly, it's closing this month. They're going to tear it down and replace it with...ready for this?...a PANDA EXPRESS! There is no logic or sense in this world.

-
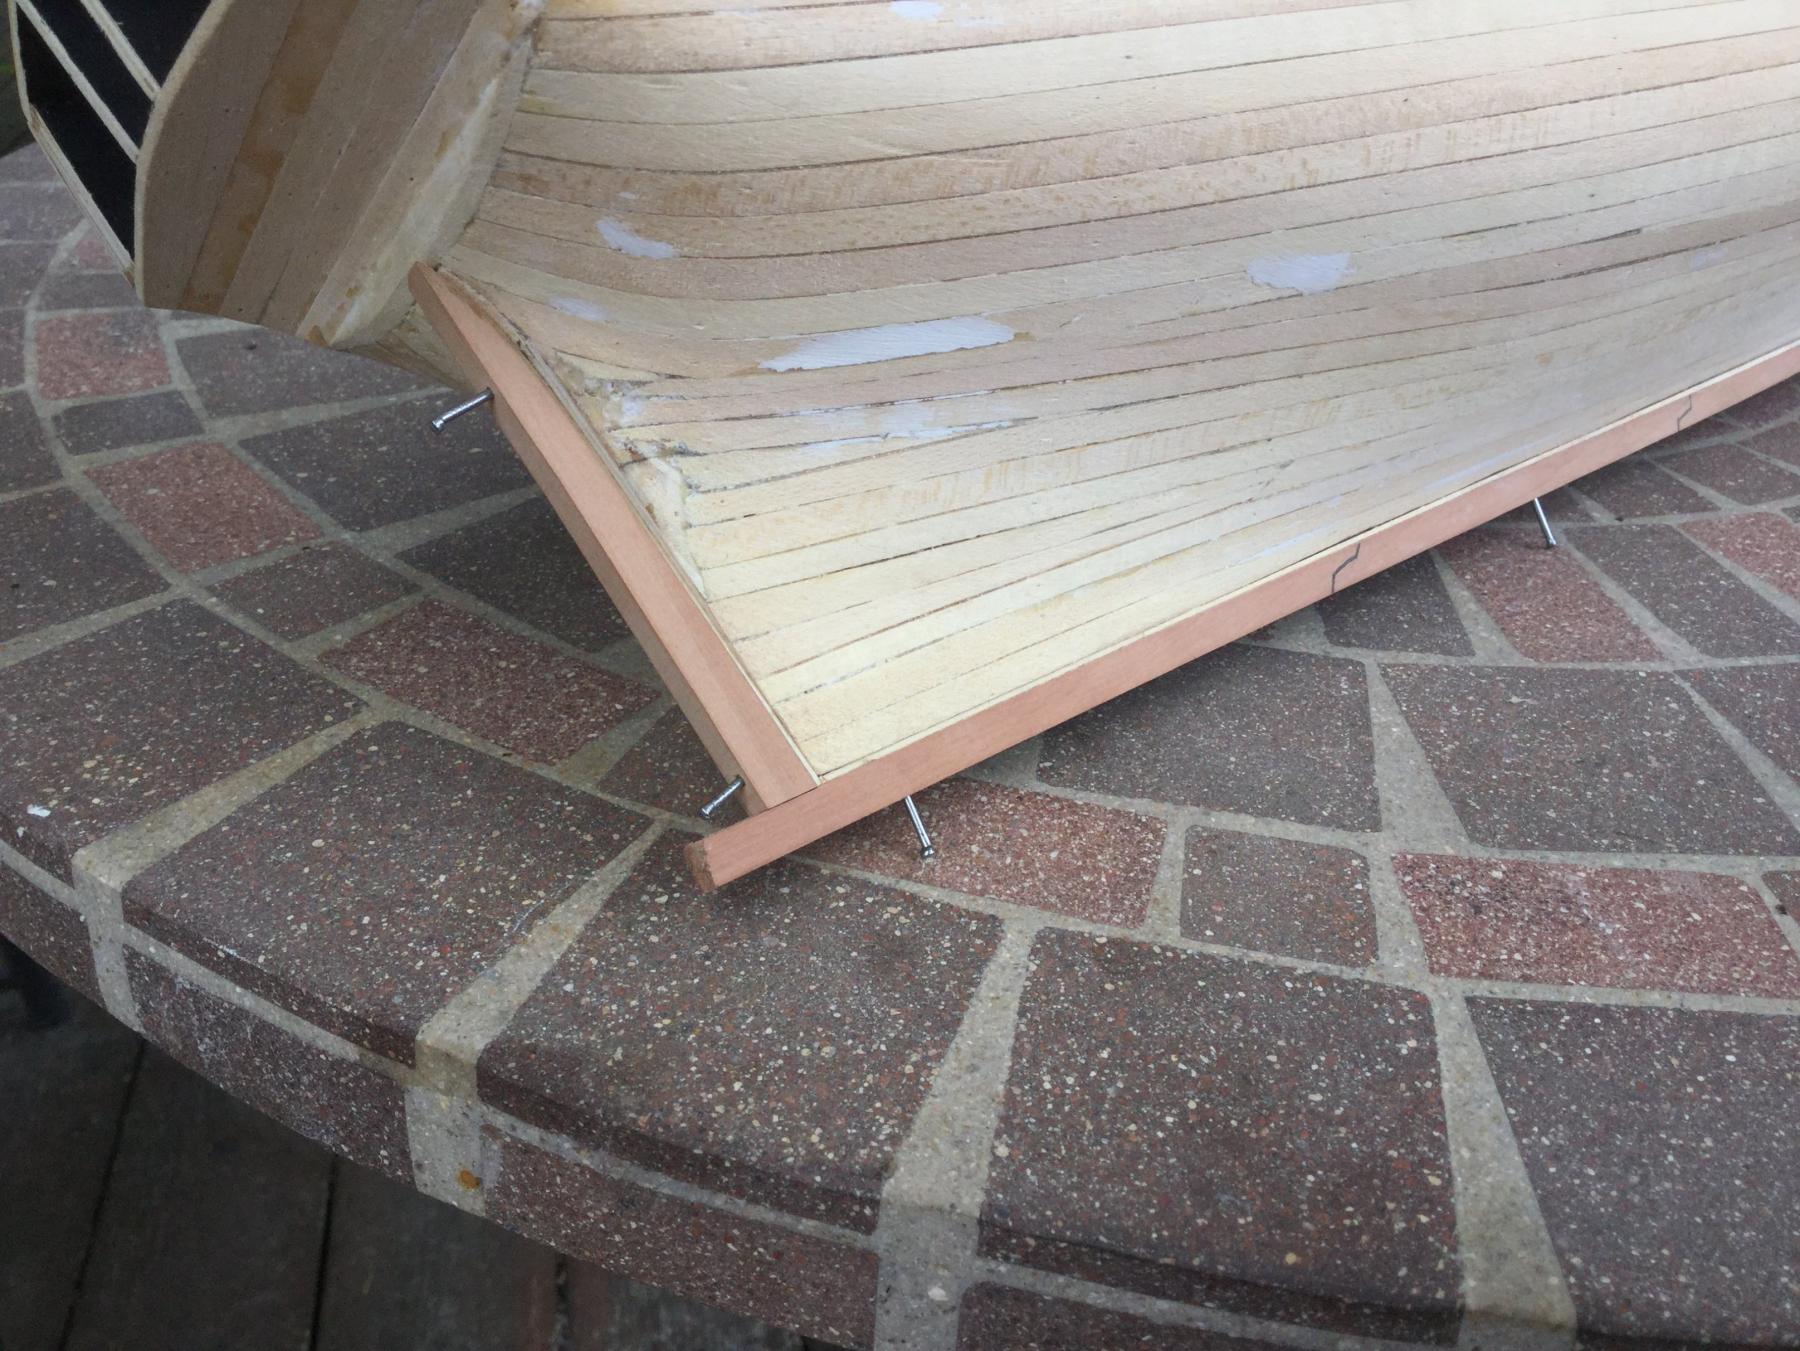
I decided to add stealers...and I may add a second pair. Not so much because I need them to fill more space on the hull back there, but rather to let the planks curve upward like they want to do. If the space gets too narrow, I'll just taper the aft part of the planks a little more. BTW: Picked our first produce from the garden today! I'm cooking chicken and Andouille etouffee tonight!

-
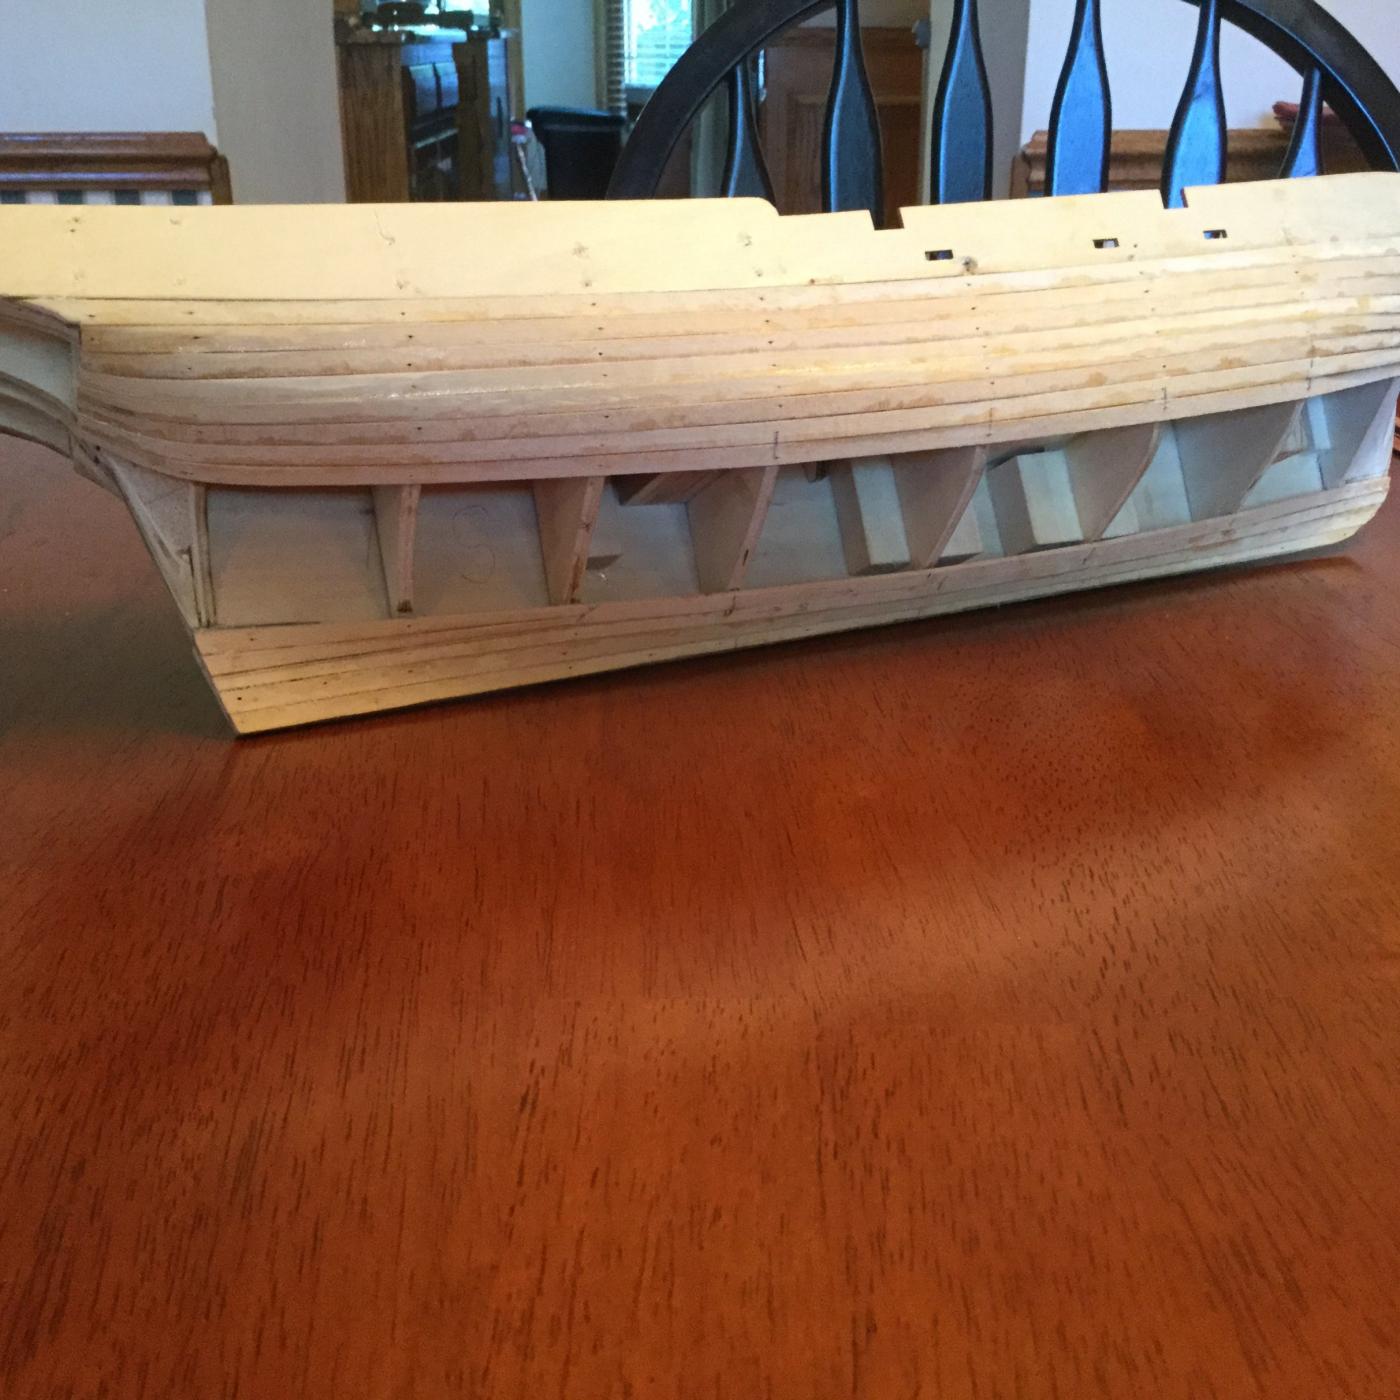
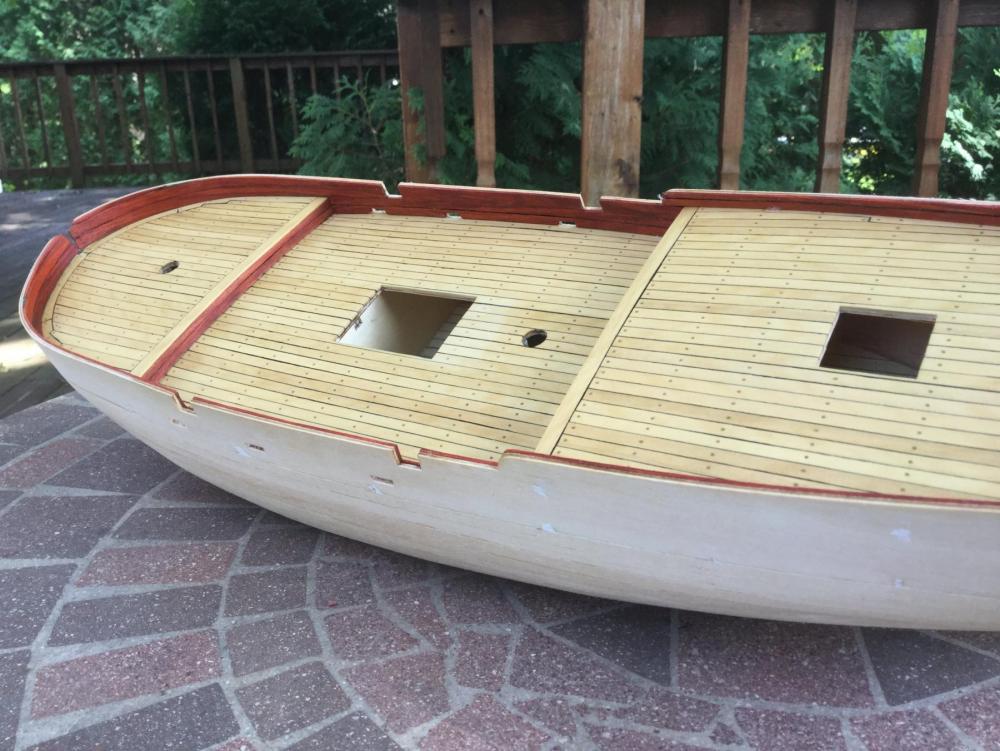
I'm making slow progress. We just returned from a couple of weeks out East and there are a lot of outside responsibilities this time of year. I've made some progress on the first hull planking. The hull shape is really weird. The hull is fairly uniform throughout most of it's length, with the typical narrowing at the bow, requiring tapered planks. The stern widens a bit, but not really that much, and only at the extreme aft end, around the last bulkhead. I still can't tell for sure if I'll need a stealer there. John the margin plank and the nibbing are inspired by Clare Hess' "Independence" build.