HOLIDAY DONATION DRIVE - SUPPORT MSW - DO YOUR PART TO KEEP THIS GREAT FORUM GOING! (Only 24 donations so far out of 49,000 members - C'mon guys!)
×


DocBlake
-
Posts
1,811 -
Joined
-
Last visited
Content Type
Profiles
Forums
Gallery
Events
Everything posted by DocBlake
-
 Joe: You mention "chapter one". Are you using Bob Hunt's Lauck Street practicum to build your AVS? If so, you can join his forum, where I posted my full build log for my AVS. My log, and several others are there that were never posted here at MSW. My MSW log is really the very end of the build and doesn't show very much.
 -
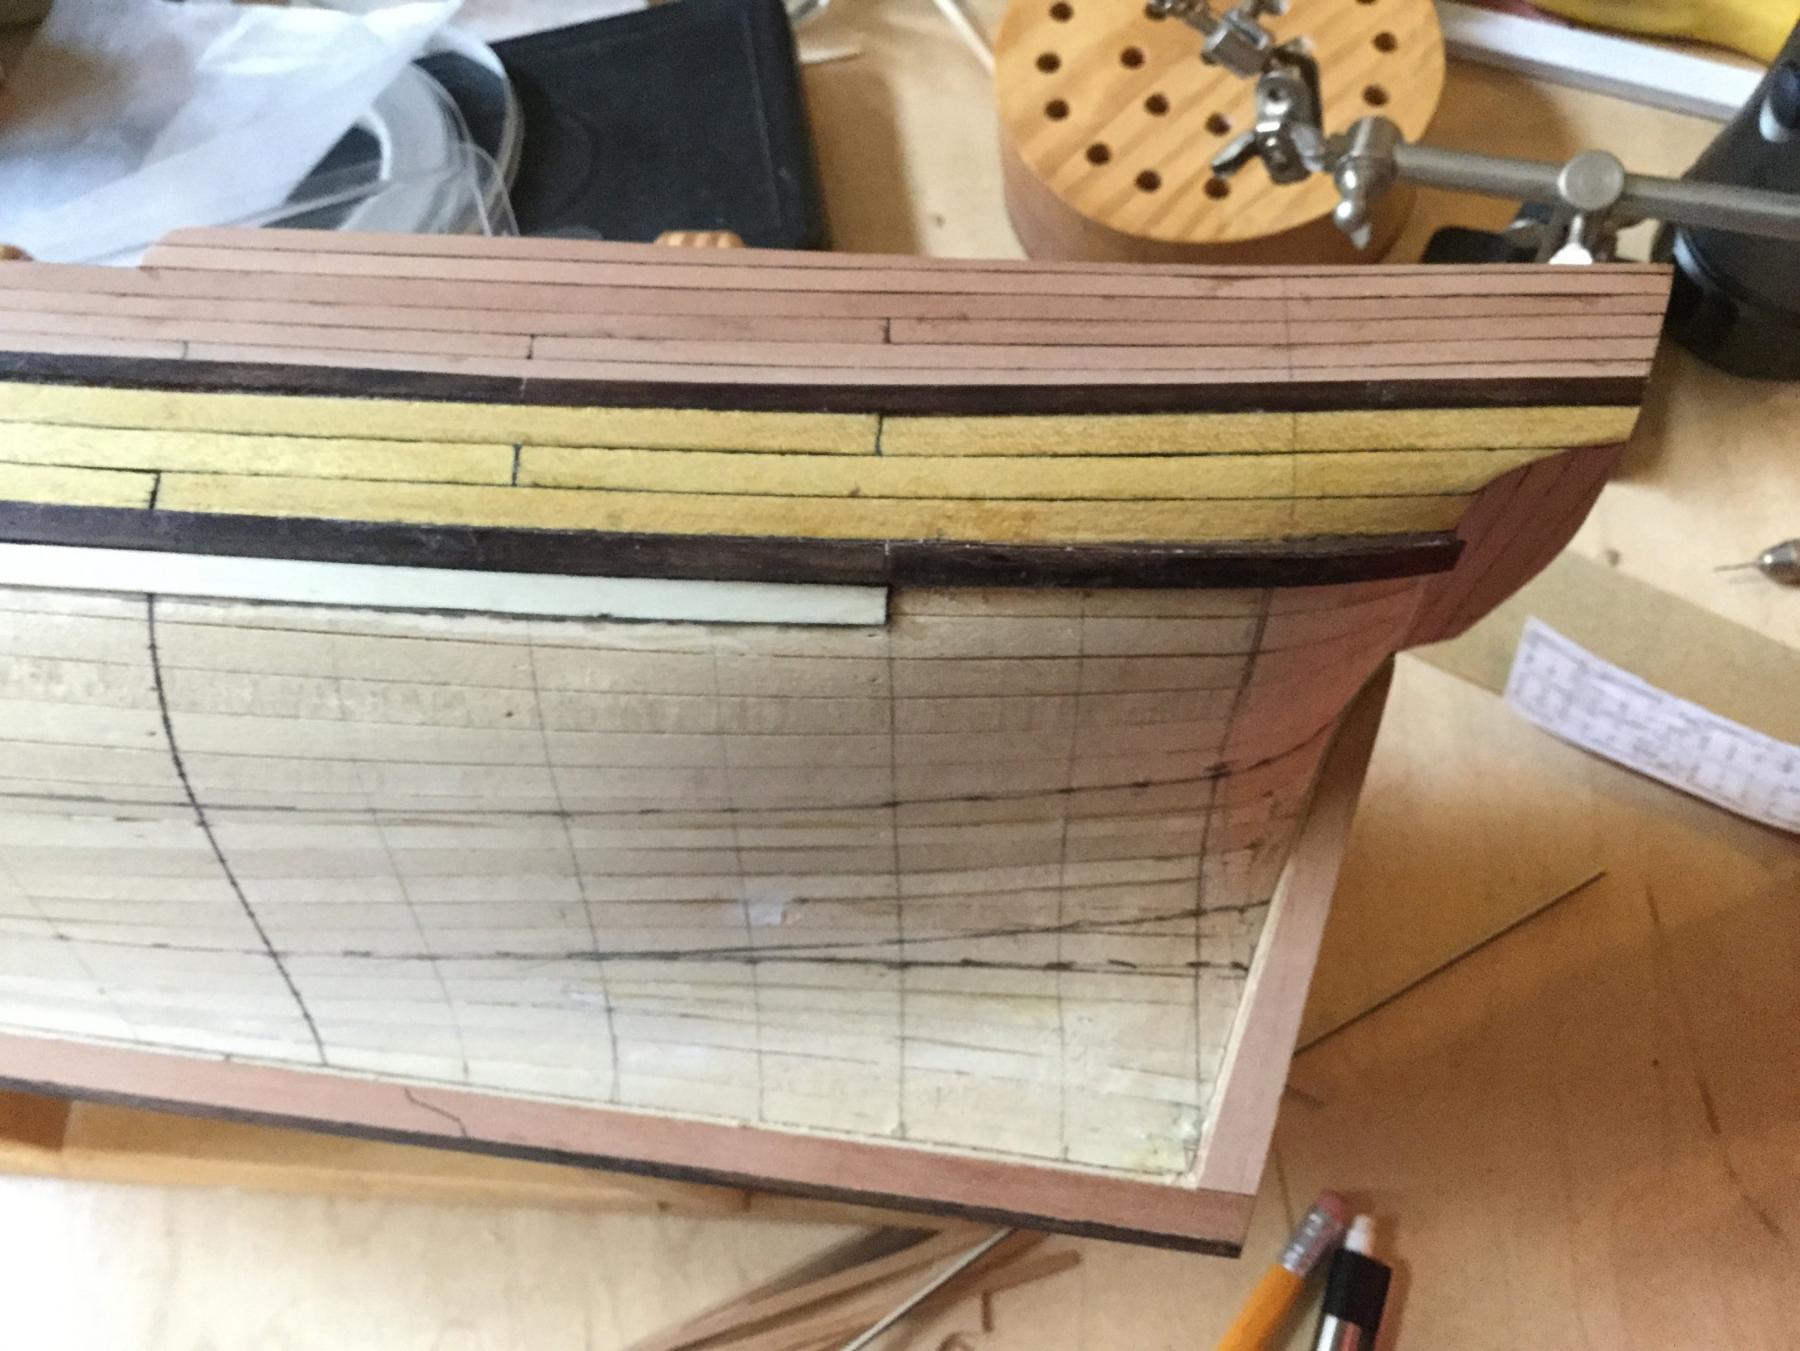
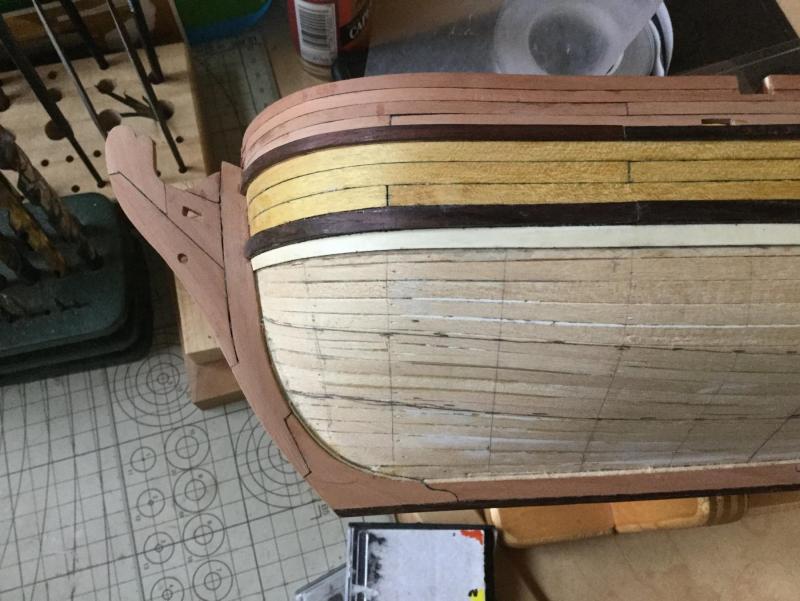
Thanks, guys, Mike: The yellowheart can be a bit splintery, but I think it can work for smaller parts. I think the color is perfect for the Morgan's bulwark planking! Don: I use East Indian rosewood, and select for pieces that are dark brown to purplish-black in color.. Even lighter pieces will age to a dark, dark brown. The pores are actually quite small and the grain pattern hardly noticeable if the color isn't terribly variegated. Scott: Yep! The planking "fans out" after the final bulkead. The hull measurement there is significantly smaller than at the absolute stern, hence the need for a couple of stealers. I have to decide where to put them, but I suspect they'll be in the lowest of the three planking belts.
-
Time for an update, Brian!
-
It looks like you got the wing transom and filler right, Joe! The stern is by far the most difficult part of this build. Once that's done, it's smooth sailing. The next area that sometimes causes problems is establishing the location of the wales and fashion pieces. Hang in there... you're doing great!
-
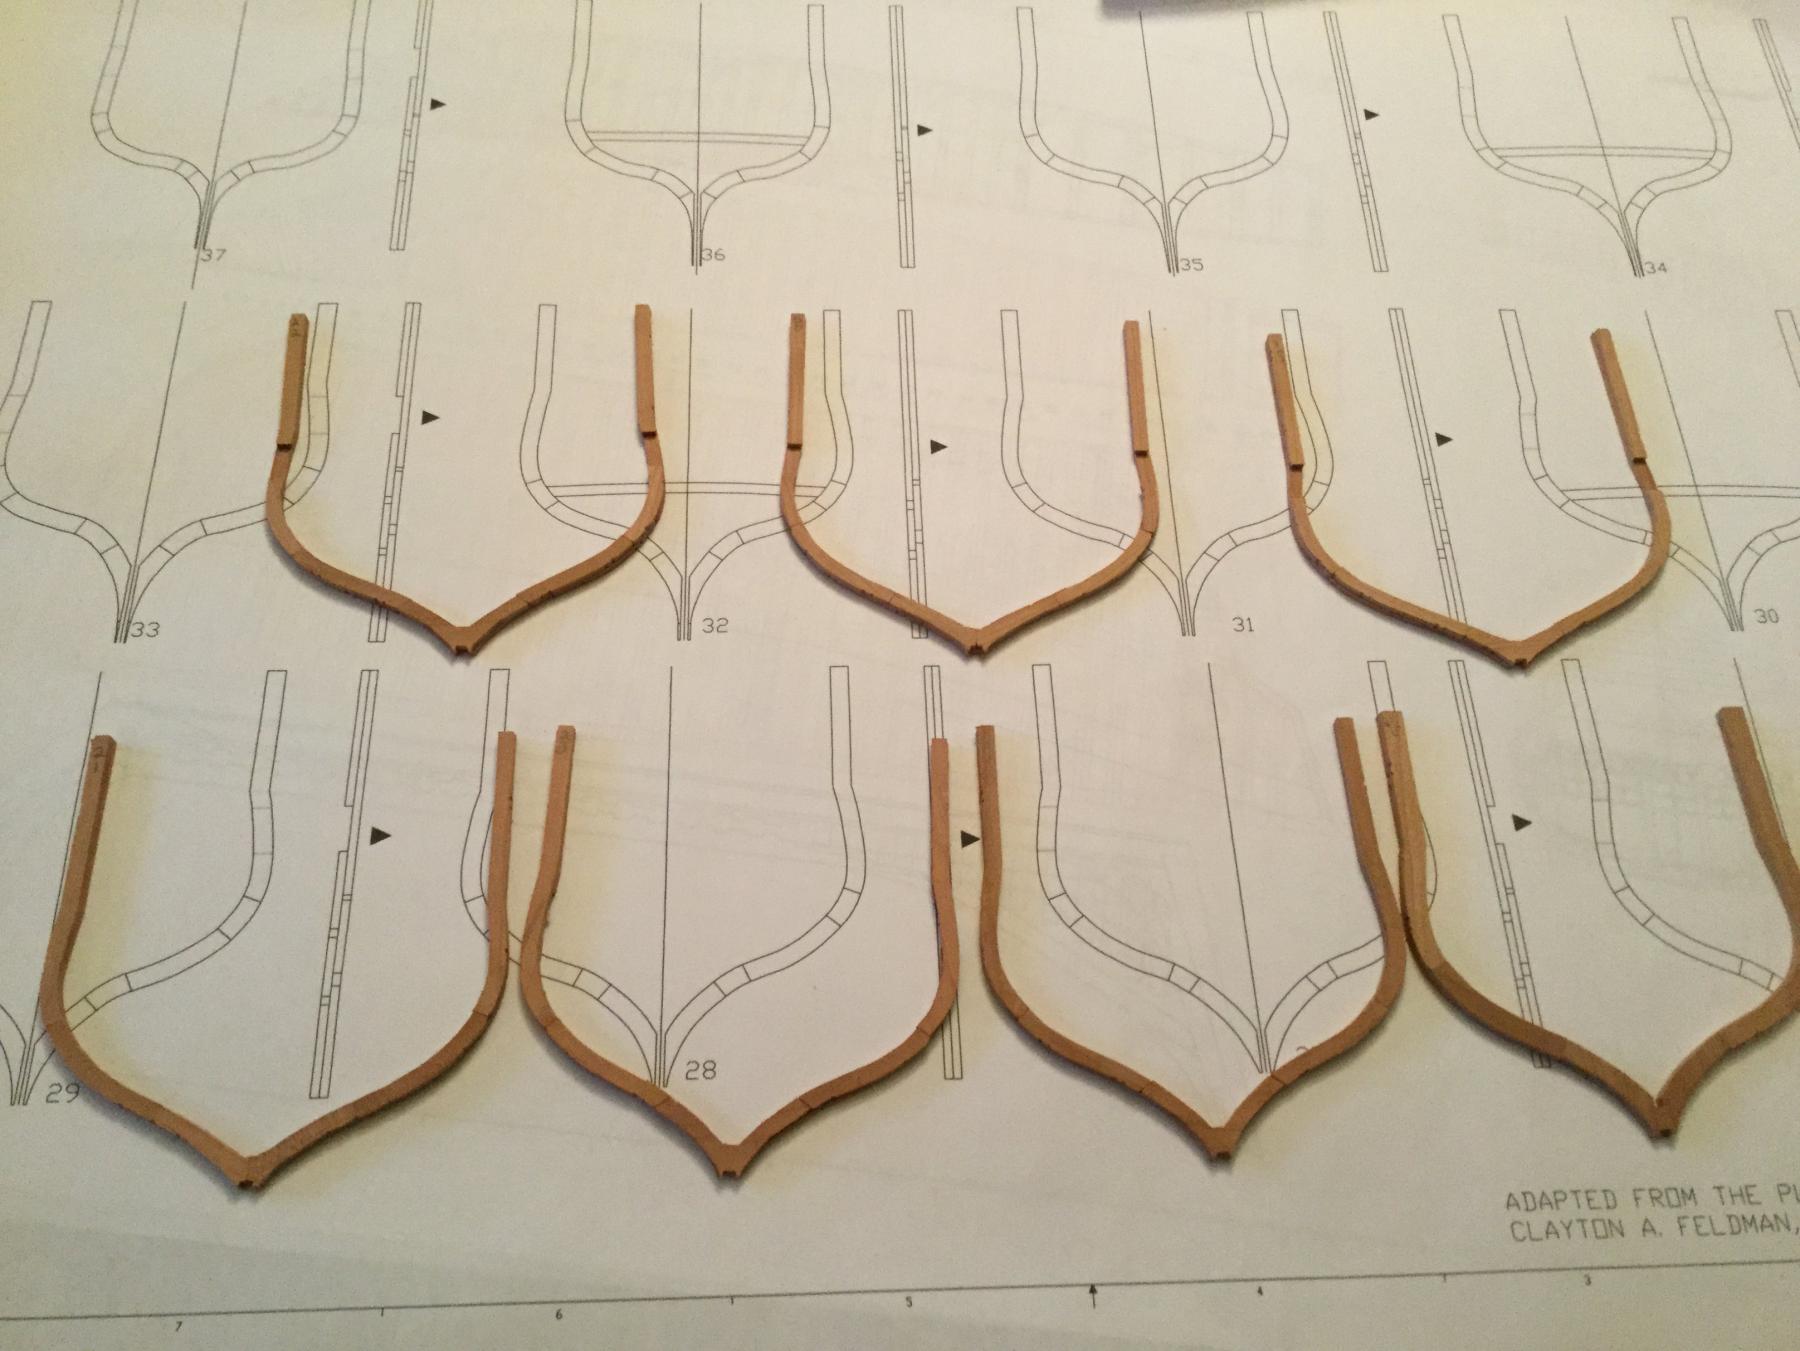
I purchased the Model Shipways CD that contains Dr. Feldman's original book on building the AVS (as well as "Fair American and another ship). Feldman's model is 3/8" scale, but I found it very useful in building my AVS in 1/48. It's worth the price for all the how-to's for scratch building this model. Here's a link: http://www.seaways.com/CAFCD.html
-
Hi Pamela! I love the idea of this model in the monstrous 1/24 scale! My Battle Station is 1/24 and the potential for detailing his huge. My ultimate plan is to scratch-build the "Hannah" in that scale. I'll be following along. As to wood, holly for decking, rosewood for hatch coamings and some deck furniture, boxwood or yellow heart and bloodwood for bulwark plankings all can work. Cherry is a nice wood to work with also. I can't wait to see how this one comes out. Good luck and have fun!
-
Joe: I agree with Brian. You may have created a little more work for yourself, but I don't think it's a fatal error!
-
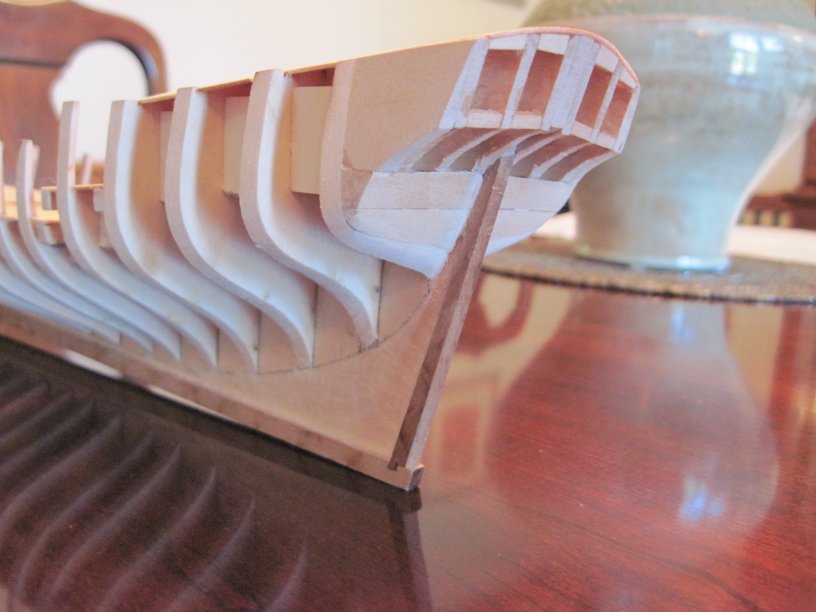
Bulkhead R looks fine to me. Don't forget that the wing transom fits right on "R". I'd do the final fairing there when it's installed. Here's a couple of photos of the area from my build, with yours there to compare. Pretty close!

-
The railings look great, Lou! Looking forward to the rigging!
-
It looks good to me but your opinion, looking at the real thing, is better than ours, looking at photos. Just make sure a plank lays flat on each bulkhead.
-
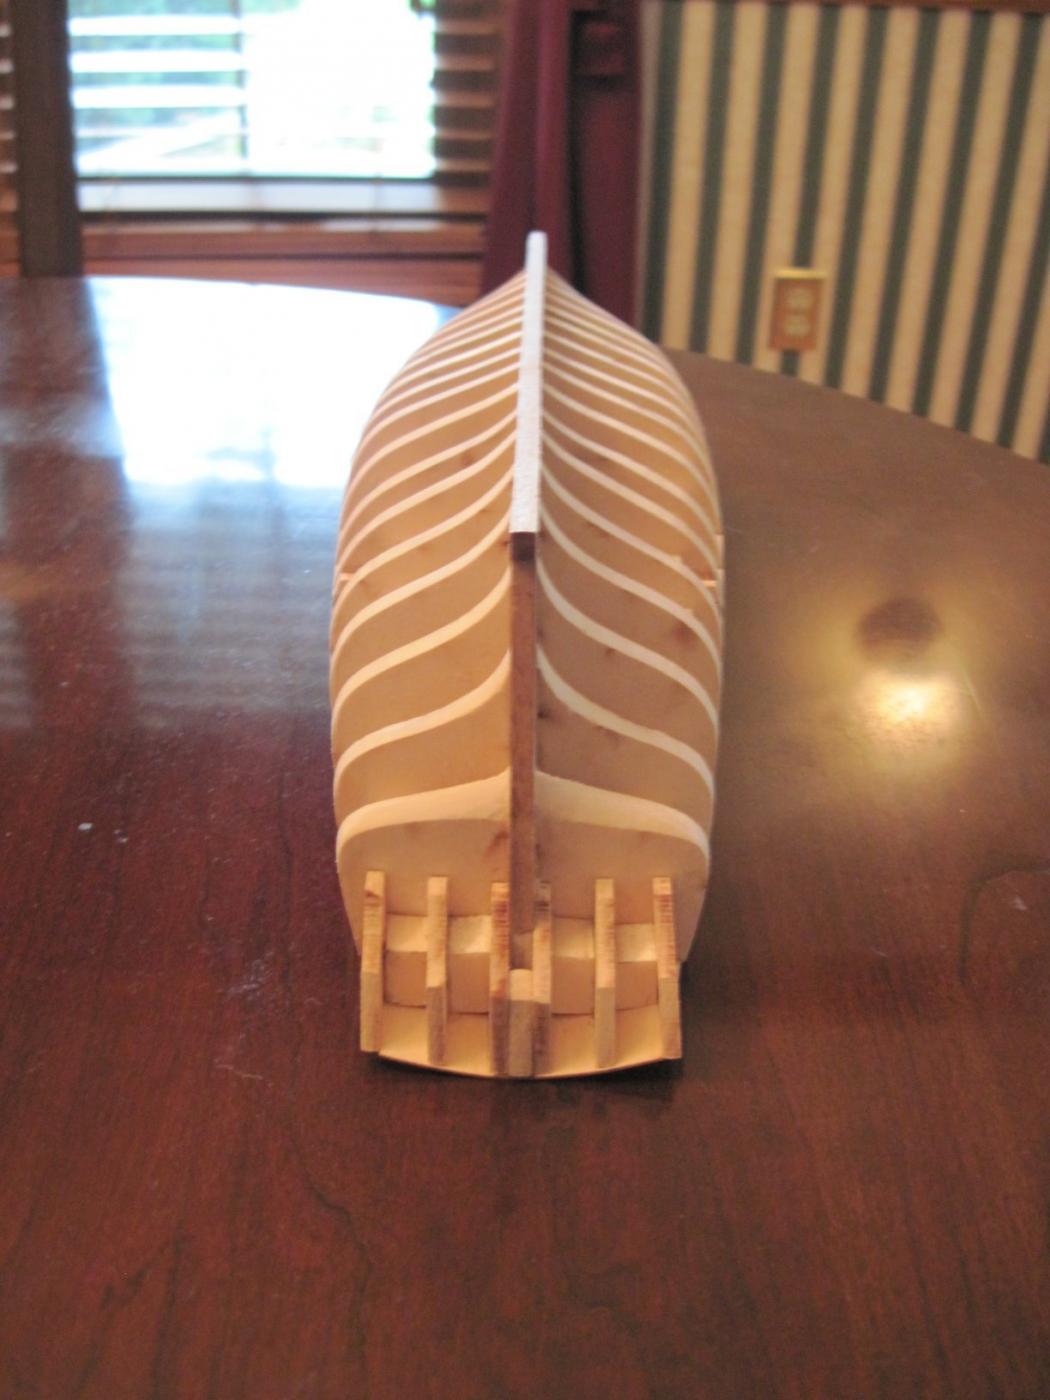
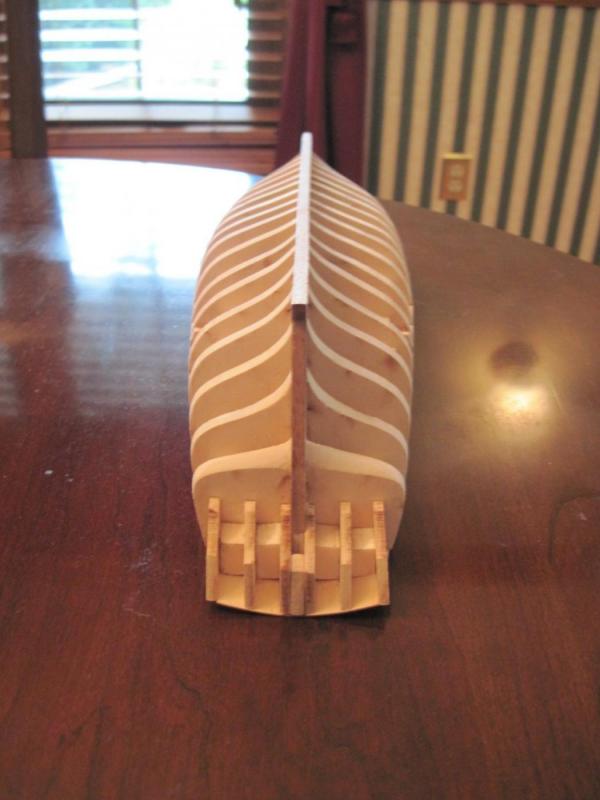
This ship has a very odd shaped hull. I drew lines for three bands of planking. At the bow, the hull measurement is significantly less than amidships. This is fairly typical. Using tapering and edge-bending with heat, I should be able to fit all the planks without any trop planks. The stern is different. At the level of the last bulkhead - right where the stern post is, the hull measurement is only slightly (about 1/4") longer than amidships! But from there to the stern, the hull "flares" quite a bit. It will take at least one and maybe two stealers to accommodate the widening, but they won't be very long! We'll see how it goes.

-
Your fairing looks great! The planking should go on without a hitch. A dirty little secret: Even if your fairing isn't perfect (no one's is), some sanding and wood filler will turn that first layer of planking into a good base for the second! Relax and enjoy your build. You are doing great!
-
Hi Joe! Take your time with the fairing of the bulkheads, and make sure every plank lies flat on each bulkhead it touches. It will make planking the hull much easier. I can see that the 4th bulkhead from the bow needs to be sanded down so the plank has a nice smooth lie across it's whole length.
-
I'm waiting for his return also!
-
Good work! About the sails: I decided not to add them because I think they are grossly out of scale. It's your choice! You're the captain!
- 114 replies
-
- 1
-

-
- swift
- artesania latina
- (and 2 more)
-
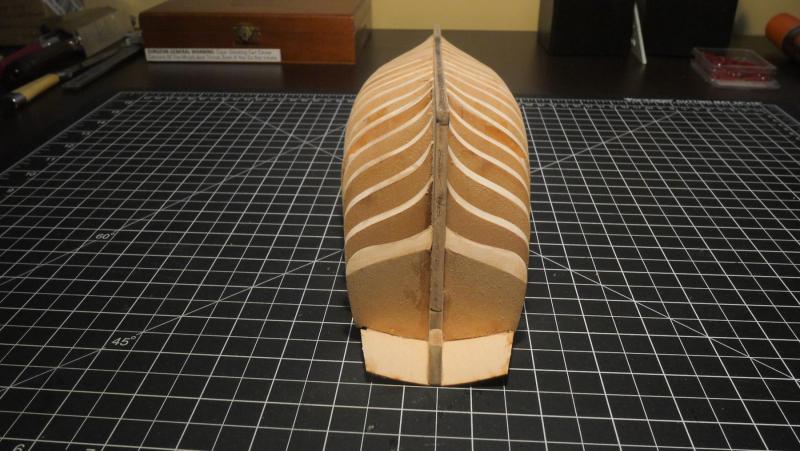
Nice job on the filler blocks, Joe. The final layer of planking is actually perpendicular to the keel amidships. At the stern the planking flattens out and is flush with the keel and sternpost.
-
Beautiful, Lou! Outstanding work. I'm very impressed with th marquetry on the great cabin floor. Looks fabulous! I'll be following your log.
-
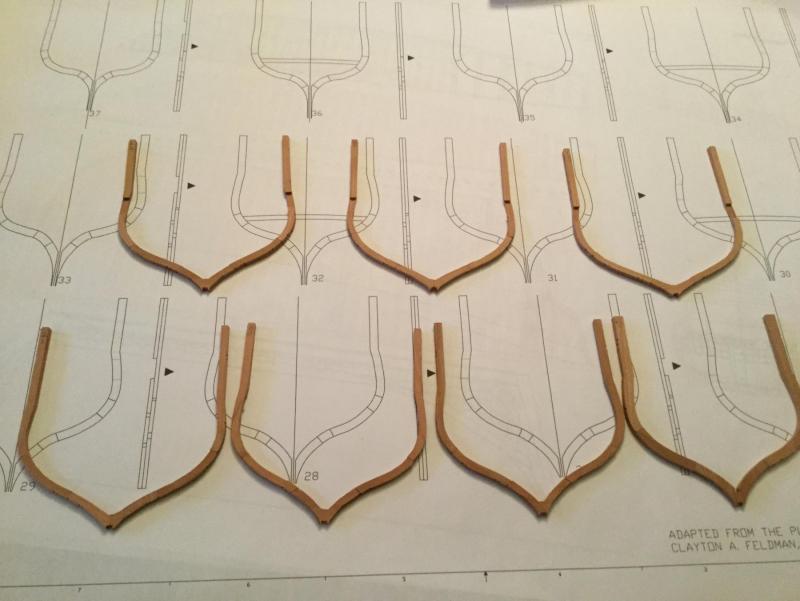
I finished seven of the full frames, including 2 pairs of gunport frames. They have a recess for framing the ports in. The frames on the Lauck Street AVS :Patrick Henry", which I just finished, had bevel lines on the frame drawing that you rubber cemented to the glued up frame. A Dremel tool made quick work of beveling the frames off the model. The final fairing of the hull was pretty easy, both inside and out. The Fair American has no bevel lines. My plan is to smooth the inner surface of the frames pretty well before installing them, while leaving the smoothing of the outside surface to happen as the outer hull is faired.
-
The paint looks good. You're making great progress!
- 194 replies
-
- 2
-
-
- armed virginia sloop
- model shipways
- (and 1 more)
-
Good work on the rigging so far. She is really coming along. Good job!
- 114 replies
-
- 1
-
-
- swift
- artesania latina
- (and 2 more)
-
Looking great, Don! The snow would have made me sick too, but I'm also retired and so it really represents an opportunity to spend more time in the shipyard. I spent the day yesterday dismantling our garden and doing other yard work. I'd rather be working on my models!
- 653 replies
-
- 5
-
-
- trabakul
- marisstella
- (and 1 more)