


DocBlake
-
Posts
1,811 -
Joined
-
Last visited
Content Type
Profiles
Forums
Gallery
Events
Posts posted by DocBlake
-
-
-
How about AL's HMS Surprise? It's a big model in 1/48 scale, with a lot of interesting features.
Dave
-
Frank: Thanks for the explanation. What brand of ink do you use?
Dave
-
Frank: Can you describe your process for mixing the dye and dying the lines? Also what brand of acrylic ink do you use. The table is incredibly useful!
Dave
-
-
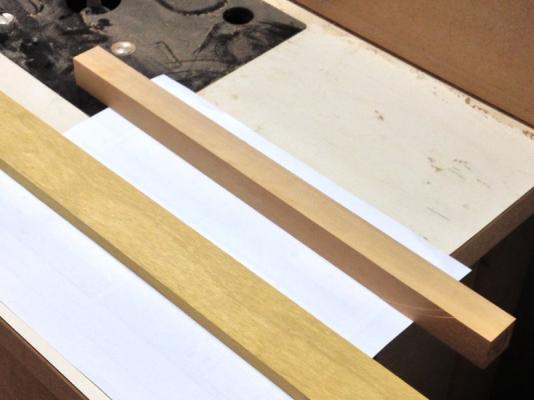
Fam: I'm not sure that both of the woods labelled "boxwood" are really boxwood. I suspect the uppermost piece is castello boxwood, virtually the only kind available readily these days. The lower piece appears to be a different species. From the looks of it, I would guess it is yellow heart (euxylophora paraensis).
Yellow heart is much yellower that boxwood. I used it to plank the outer hull above the wales on my Armed Virginia sloop. It would be a good choice for the yellow outer planking on HMS Victory also. Here is a comparison of samples of the two woods (boxwood northeast, yellow heart southwest)
Dave
-
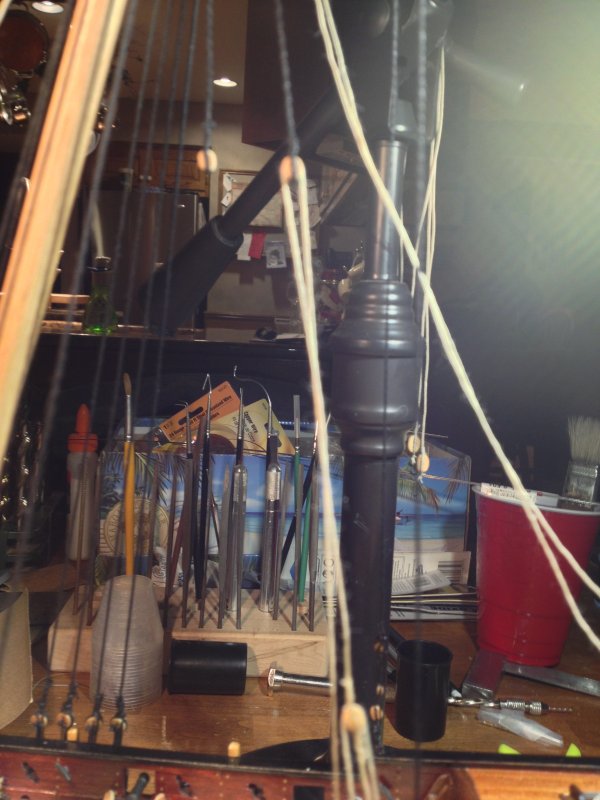
I'm rigging the back stay pendants. They end with a block and are rigged to tackle with blocks fastened to the rail and belayed on a cleat on the bulwark. When there is no tension on the rig, everything looks fine. Once I pull the rigging taut, the tan line of the tackle twists on itself. The first photo shows the twisting, the second shows how things should look. What I think is happening is that pulling the heavier black line of the pendant is causing the line to unwind. The line wants to return to it's twisted state so it pulls the lighter tan tackle rigging and twists it as it returns to the twisted state. Is there any way to fix this? I suspect I'll have to give the pendants a soak of diluted white glue to "fix" the twist in place, and prevent pulling the tan tackle rigging line. Any ideas? Sorry about the poor quality photos
Dave

-
-
My Byrnes saw arrived today. Early Christmas!
- flying_dutchman2, nobotch, GLakie and 1 other
-
 4
4
-
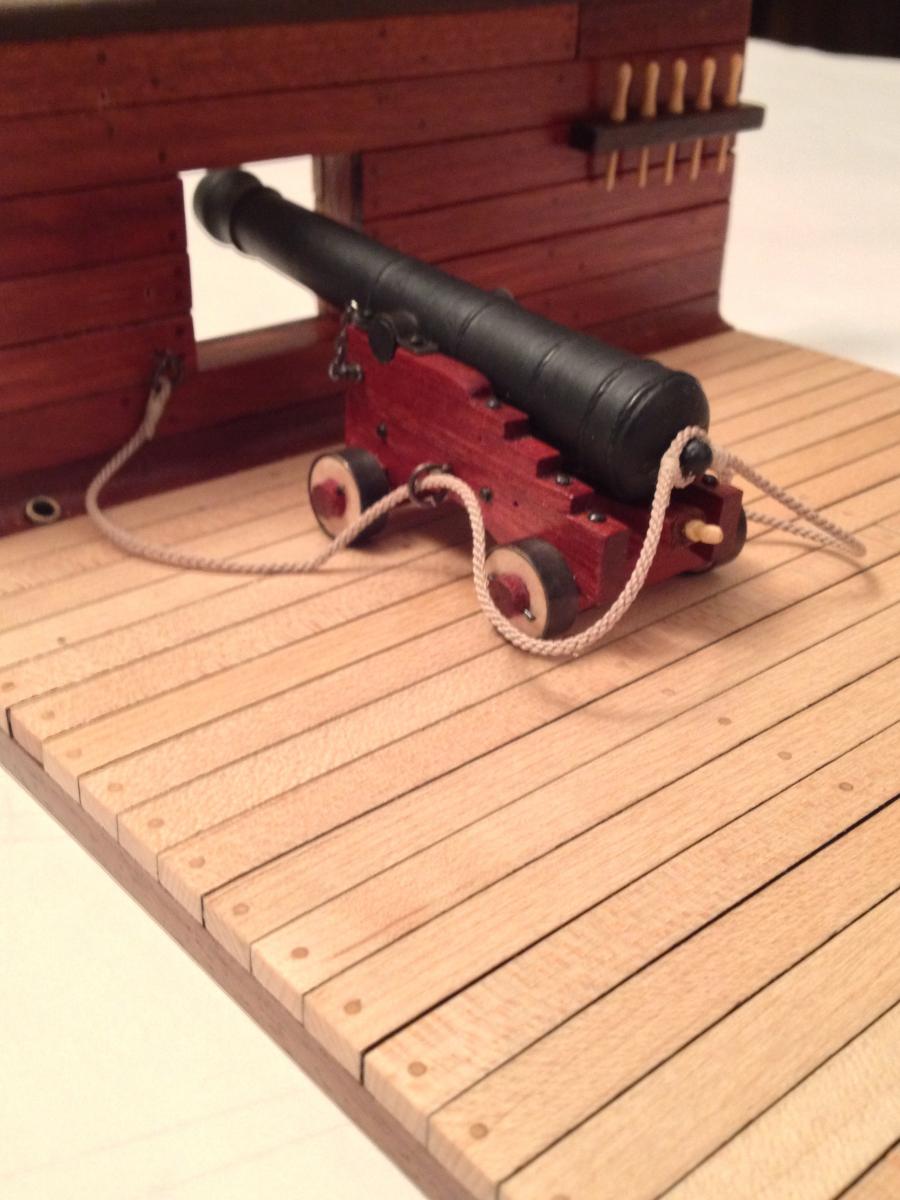
Just finished the breeching line. My research says it should be about 3 times as long as the barrel of the cannon. My cannon measure 4 inches and the breeching line is 12 inches. It think it may look a little sloppy. Should I shorten each side by 1" to 1-1/2" or leave it as-is?

- CaptainSteve, scratch, mtaylor and 2 others
-
5
-
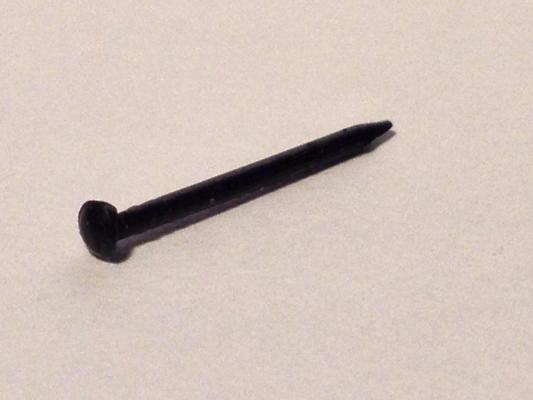
Hi Grant! I'm building a 1/24 scale battle station and used model railroad track spikes for the bolts on my cannon carriage. The size# 220 has a "head" of 1/16" and a bolt shaft diameter of 1/32". This is perfect for 1/24, but too large for 1/48. They come in a variety of sizes, so it might be worth checking out your local railroading hobby shop
Dave
-
Mark, you're right, of course. I wasn't happy with the stark, non-contrasting maple trucks. I toyed with radially arranged bolts to simulate a "built-up" truck, made of two slices, but opted for the brass tread, blackened before installing. i like the contrast. Let's pretend they are just painted, not metal!

Dave
-
-
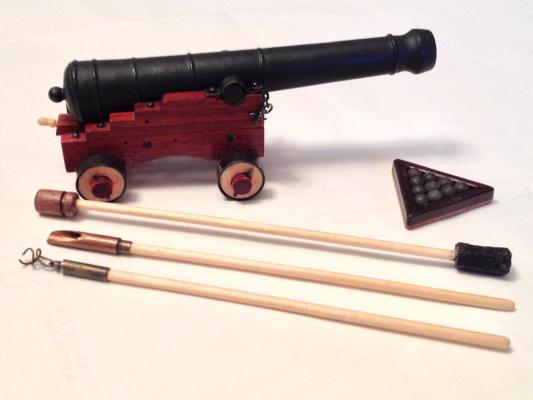
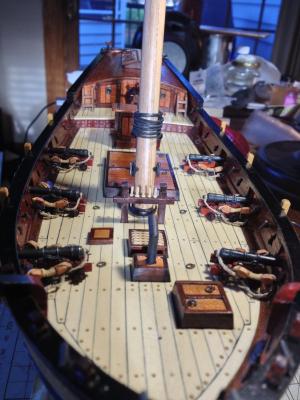
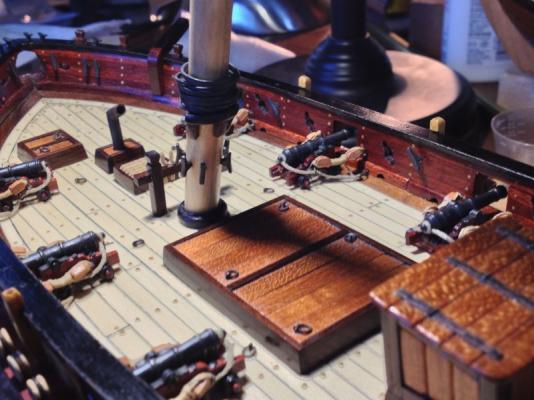
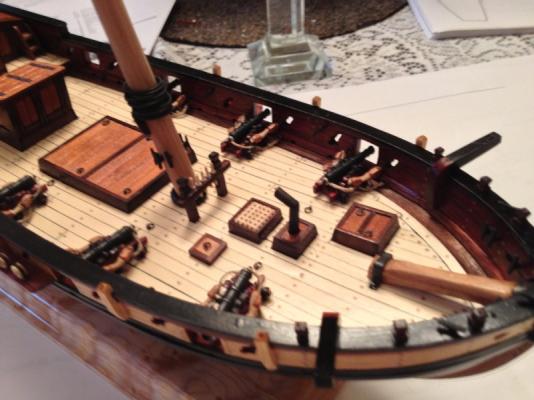
Getting ready to finish the model. All the rigging is complete, and I just applied the first of 2 coats of poly to the inboard boarding ladder. All that is left is to mount the hardware on the cannon, deck and bulwark, install the inboard ladder, rig the cannon and glue everything down! Here's a shot of the cannon with tools, including a copper powder ladle, a worm and combination sponge and rammer. Note that I added a metal "tread" to each of the cannon trucks. I also plan to scratch build a couple of kegs and a bucket to mount on the deck.
-
The AL is 1:48 scale.. a big model.
Dave
-
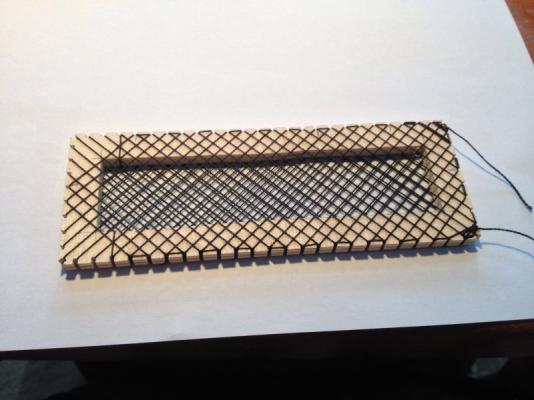
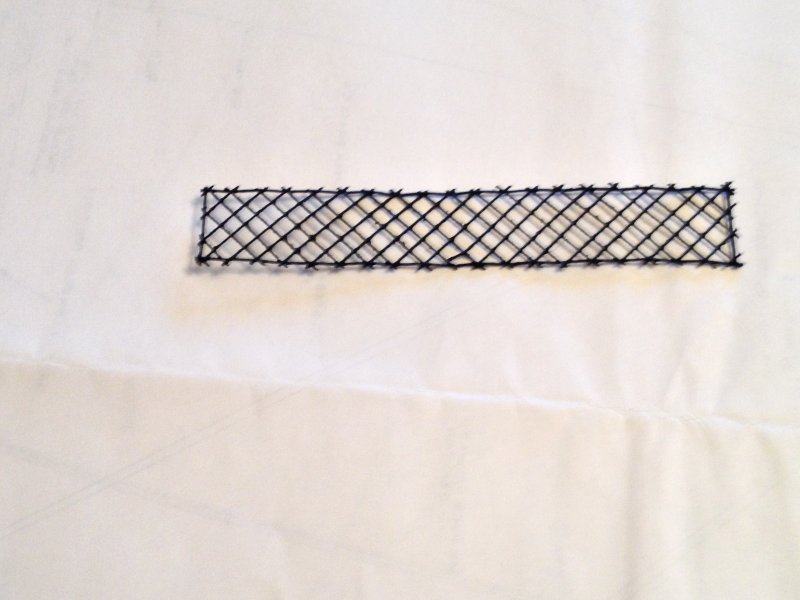
I couldn't find anything that worked in terms of scale for the hammock netting. I built this little "loom" and made my own! The setup makes two lengths of netting at the same time. Next is stiffening the netting with dilute Elmer's glue, fixing a line along each edge, then cutting the netting out.
 I found this technique http://modelshipworld.com/index.php/top ... k-netting/.
But weaving the line was work beyond the pale. I cut notches in the wood and used one continuous length of thread wrapped around both sides, and then onother continuous thred the opposite direction to give the diamond shape. Several coats of dilute PVA, then black acrylic paint and the whole thing was stiff enough to keep from falling apart. The loom: took 1/2 hr. to lay out and make. The thread was applied to the loom in another 1/2 hr. Gluing and painting were quick, but took longer due to drying time. Much less labor intensive than actually weaving the netting. I'll post photos of the finished product a little later. The loom is made of 1/4 plywood. Throw it away when done.Here is the netting after painting a couple of times with diluted PVA and 2 coats of flat black acrylic paint. It is plenty strong.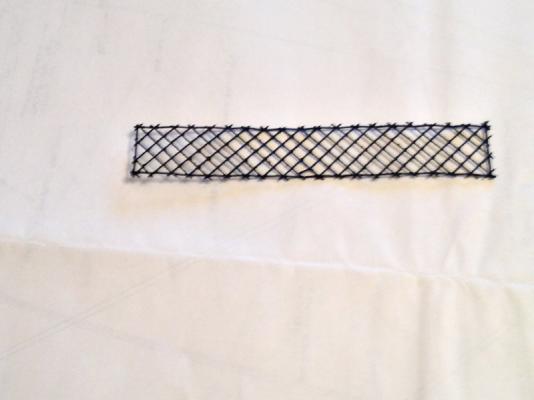 I installed the hammock cranes, drilled 4 holes in each and strung tan line between then. I then fixed the netting to the rope. There were many ways to rig hammock netting. i like this one because of the color contrast between the tan and the black, and the little "sag" in the tan line between each crane.
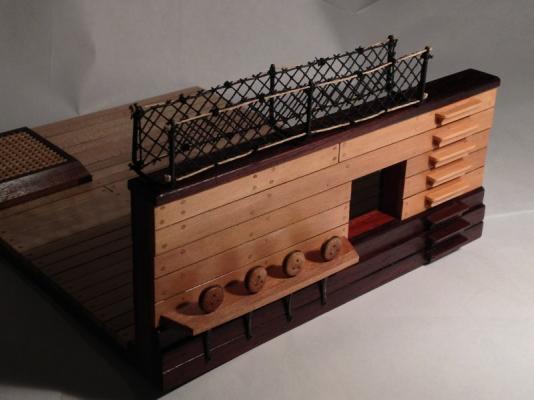
- Dubz, justsayrow, WackoWolf and 1 other
-
4
-
Hi Grant! I have the plans in 1/24 scale. Can you send me a copy of your spreadsheet also? I'll have to rescale it, but it will be a huge help in preparing the wood supply I'll need. Thanks.
Dave
-
-
Does anyone know of a table that gives the lengths and sizes of the three different lines used to rig a cannon (gun tackles, train tackle and breeching line)? It varies depending upon gun size, but I'm looking for the data on a typical 9 pounder.
Dave
-
-
I agree with Kurt. By far the most important thing is to keep air out of the can. When using wipe on poly for finishing furniture, I will use a propane torch to blow a little propane into the can, displacing the oxygen, before sealing. Never had any poly skin over when I do this. The marble idea will work also.
Dave
-
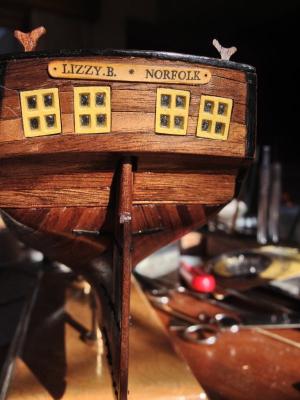
My modeling empire is rapidly consuming a larger and larger share of our home. In order to placate the Admiral, I named the AVS after her. I also added a nameplate that includes her Virginia home port. Her name is Elizabeth, but that wouldn't fit on the transom along with Norfolk!
Dave
- jdbradford, BareHook, GuntherMT and 5 others
-
8
-
That's right, Brian. The hoops are Britannia metal, which blackens easily. That's what I did.
Dave
-
Finally got the cannons rigged. Placed the bowsprit and it's hardware today. Ready to start rigging!
Dave
- Fright, WackoWolf, Ryland Craze and 6 others
-
9


Armed Virginia Sloop by DocBlake - FINISHED - Model Shipways - 1/48 Scale
in - Kit build logs for subjects built from 1751 - 1800
Posted
Nearing the end. Only two yards to rig and the anchors to finish! The stern shot is the only one with the rudder fitted.
Dave