
HOLIDAY DONATION DRIVE - SUPPORT MSW - DO YOUR PART TO KEEP THIS GREAT FORUM GOING! (89 donations so far out of 49,000 members - C'mon guys!)
×


AJohnson
-
Posts
2,045 -
Joined
-
Last visited
Content Type
Profiles
Forums
Gallery
Events
Everything posted by AJohnson
-
 You have been busy Dave, now I know why you had gone quiet! 😂 Looks good, the natural variations in the wood stand out for now, but as you mention once fittings, armament and rope hanks start cluttering the deck, your eyes will not be drawn to that. One of the joys of making wood models is seeing the natural colours and patterns in the timber, I can see why some don’t use paint or add copper to their hulls.
 -
Great progress Mike.
-
Also looks good to me as well, the views along the deck can be deceptive in a picture, but if all the frames and supports are fully seated home before gluing then the frame should be square. As Craig says the camber of the deck from left to right also look correct.
- 129 replies
-
- 3
-

-
- vanguard models
- Sherbourne
- (and 1 more)
-
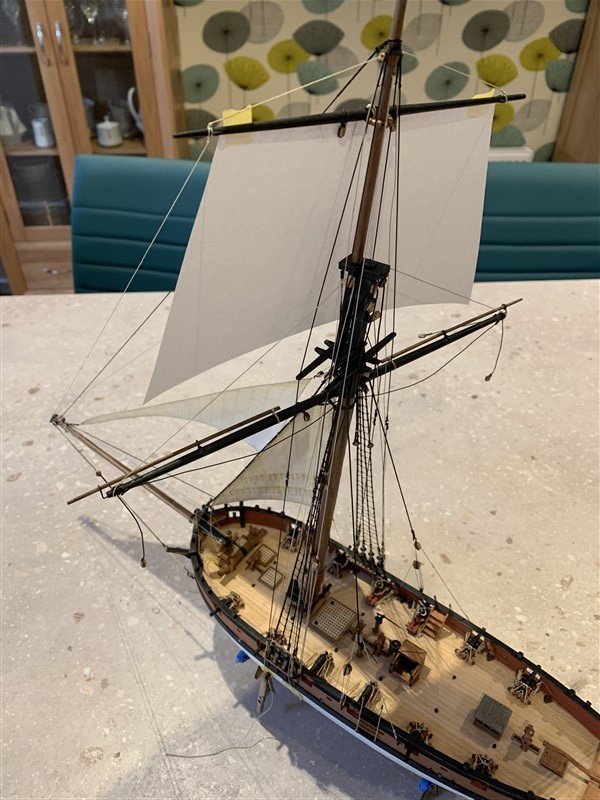
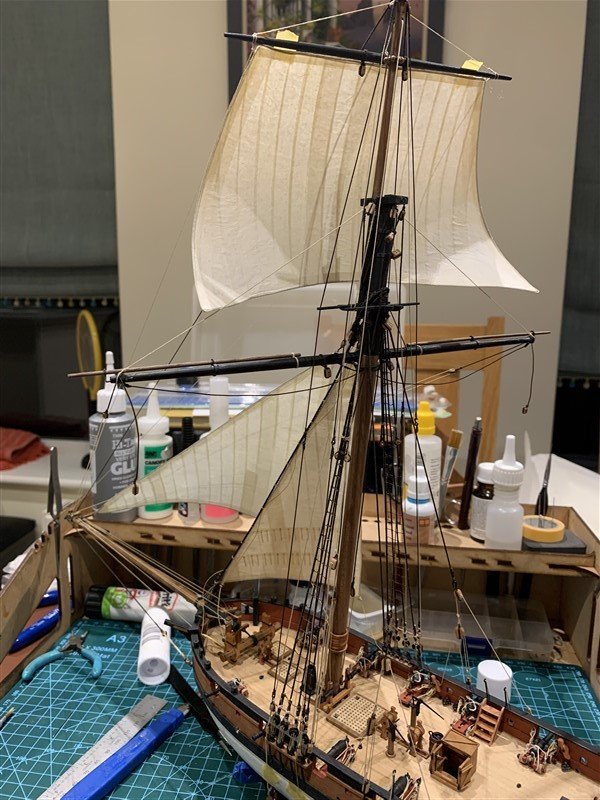
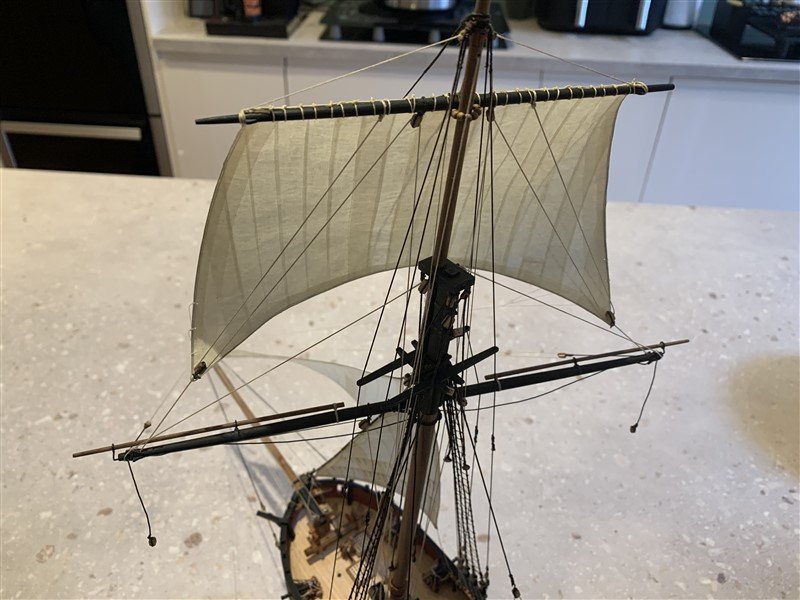
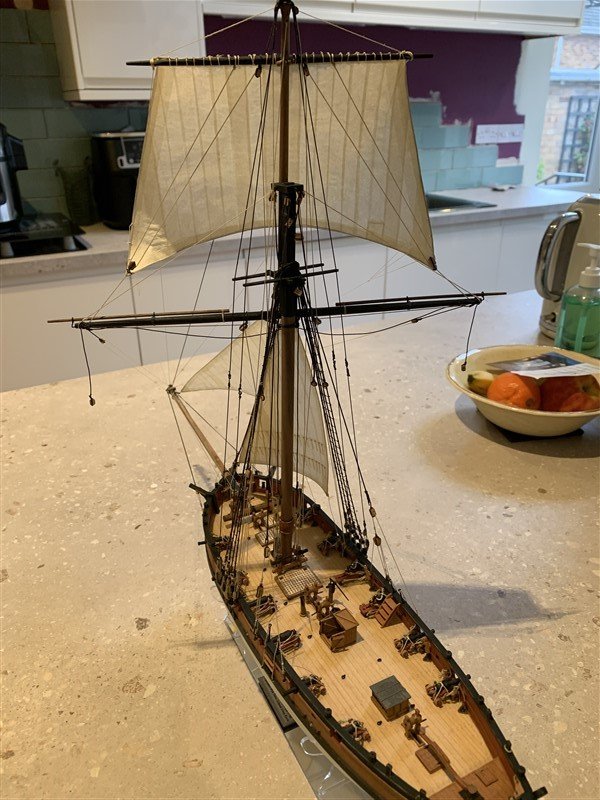
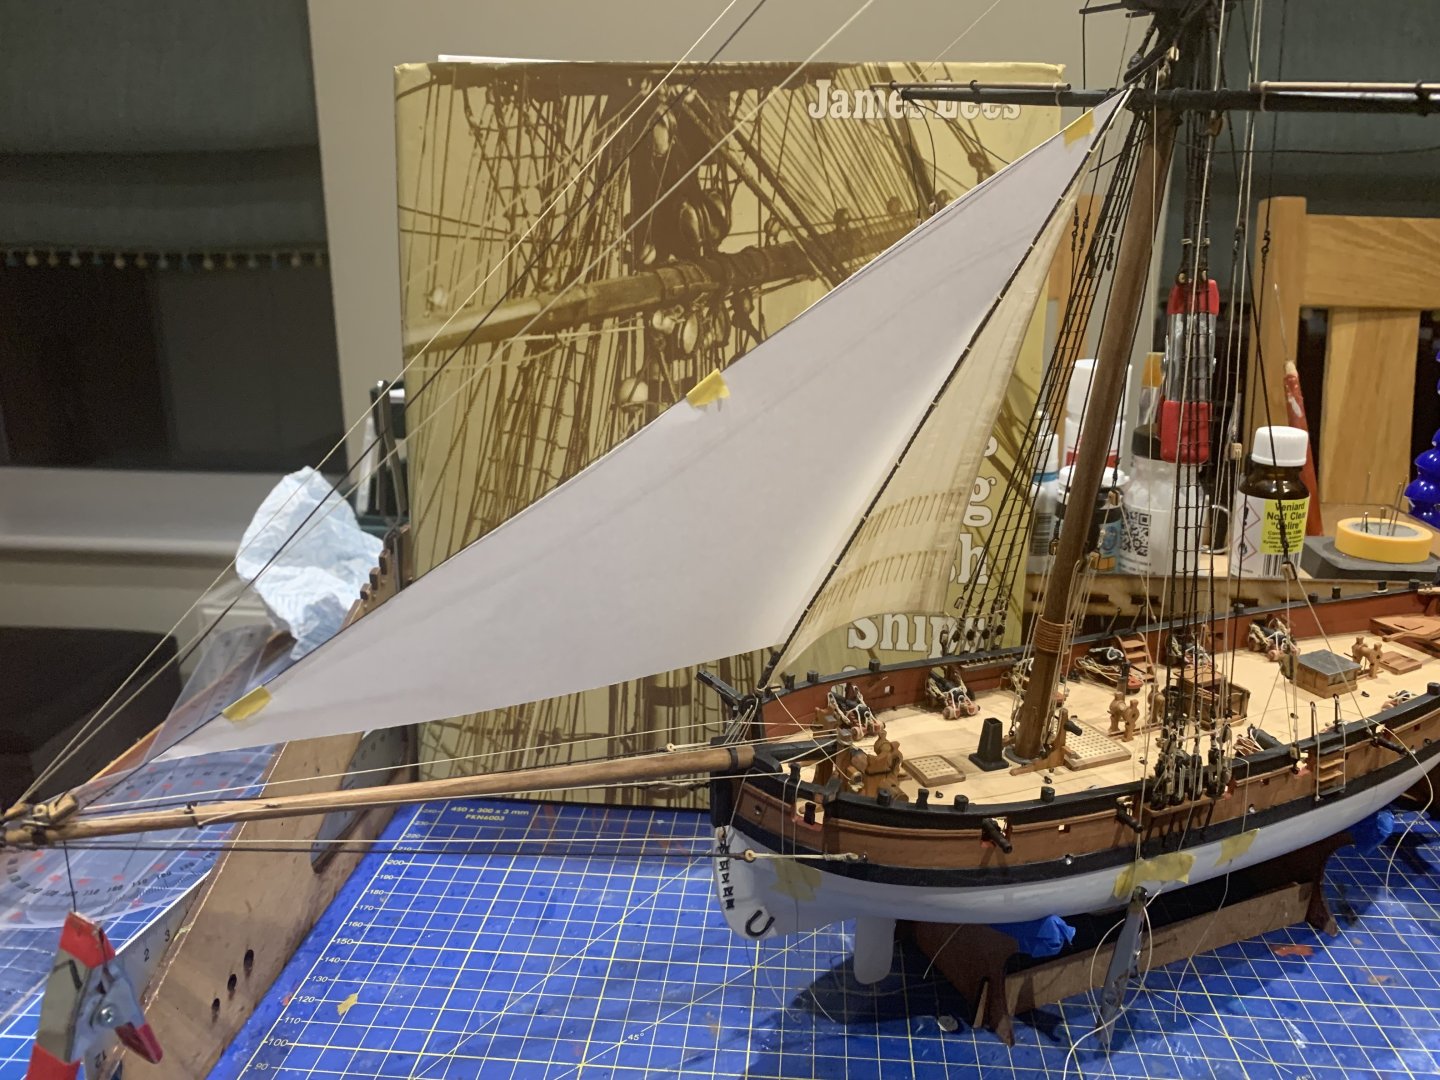
Update for this week's progress, adding the topsail. This involved the usual process of paper template for testing the shape and size then constructing the sail as before. Then adding the rigging prior to mounting on the yard, this involved tying-off the the two yards so they would not move when adding the sail. Think next up is sorting the anchors and crew before adding the driver/gaff and main sail. Thanks for looking in and the likes. 😁
- 207 replies
-
- 17
-
-

-
Well done Dan, your Adder looks fantastic! So what is next on your VM fleet!? ⛵
- 146 replies
-
- 1
-
-
- Adder
- Vanguard Models
- (and 1 more)
-
Welcome to MSW!
-
Looks very smart Doug. 👏
-
Spitfire Mk.Ia by davec - FINISHED - Kotare - 1/32 - PLASTIC
AJohnson replied to davec's topic in Non-ship/categorised builds
That is a lovely looking Spit. Really nice to see a “clean” one that has not been weathered too much. -
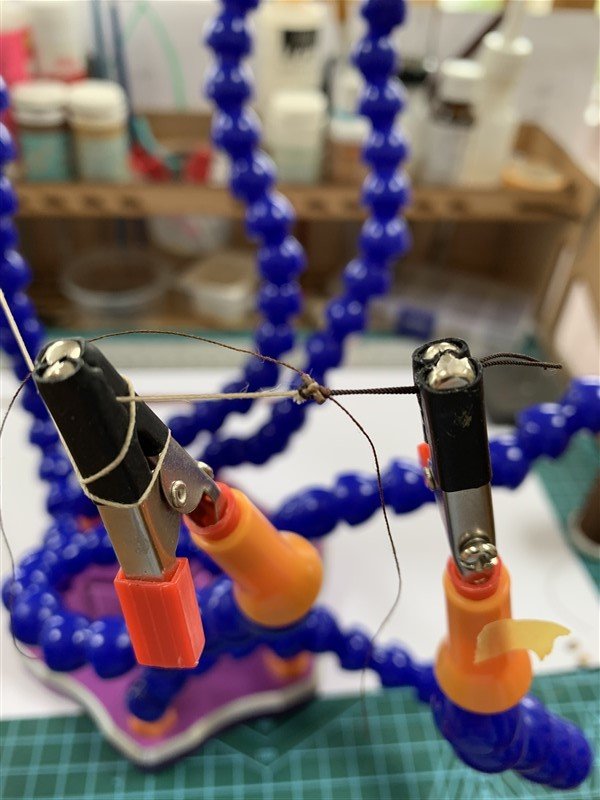
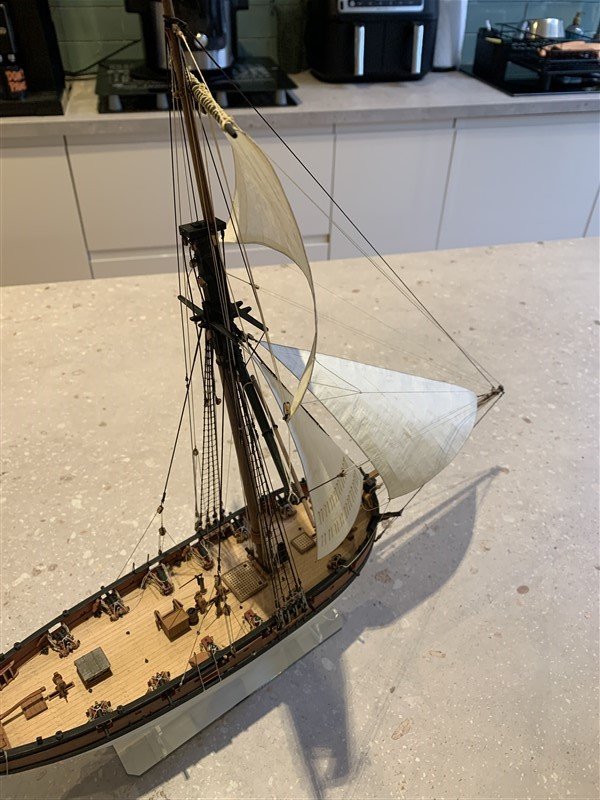
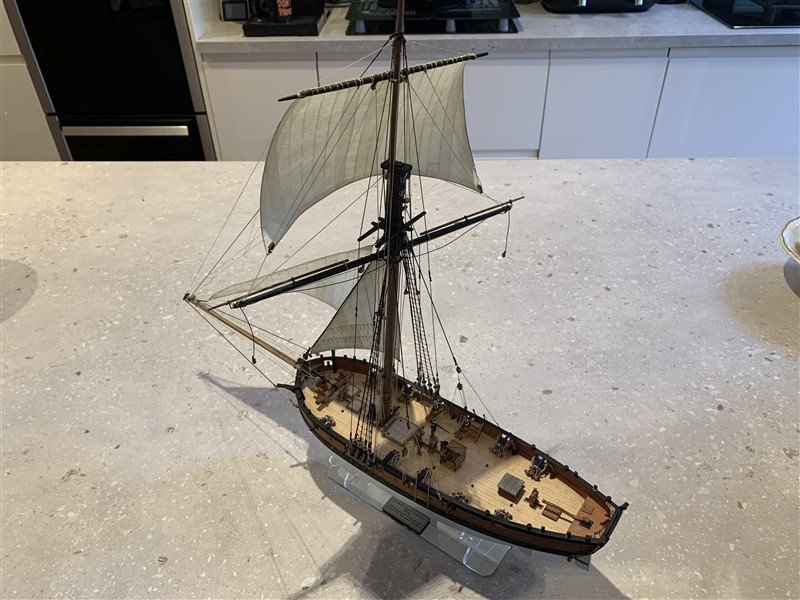
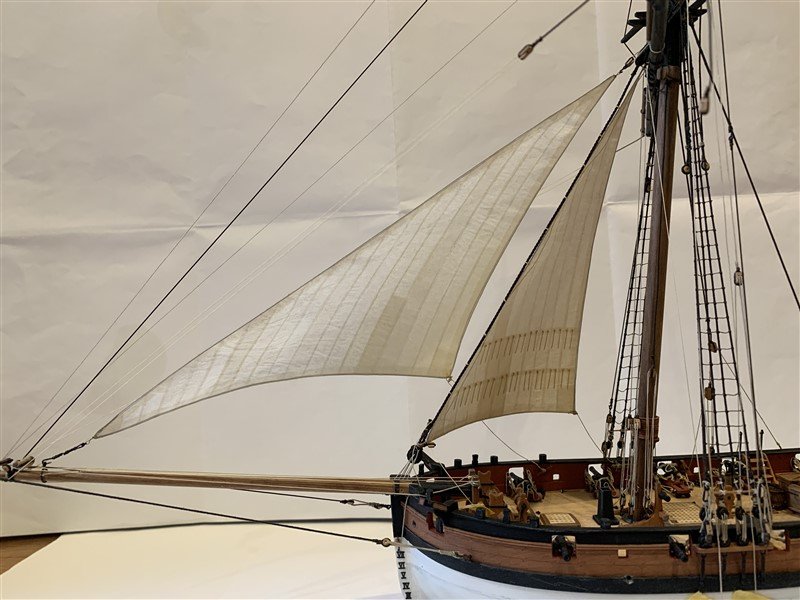
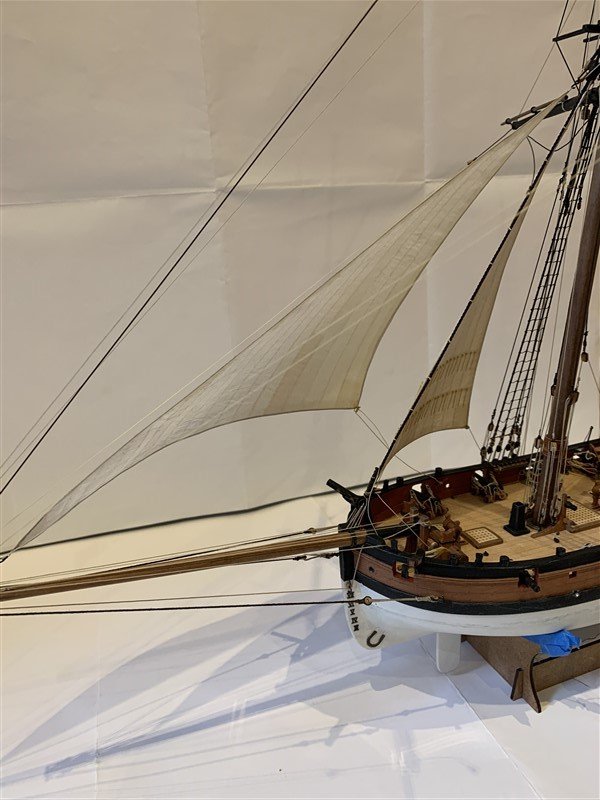
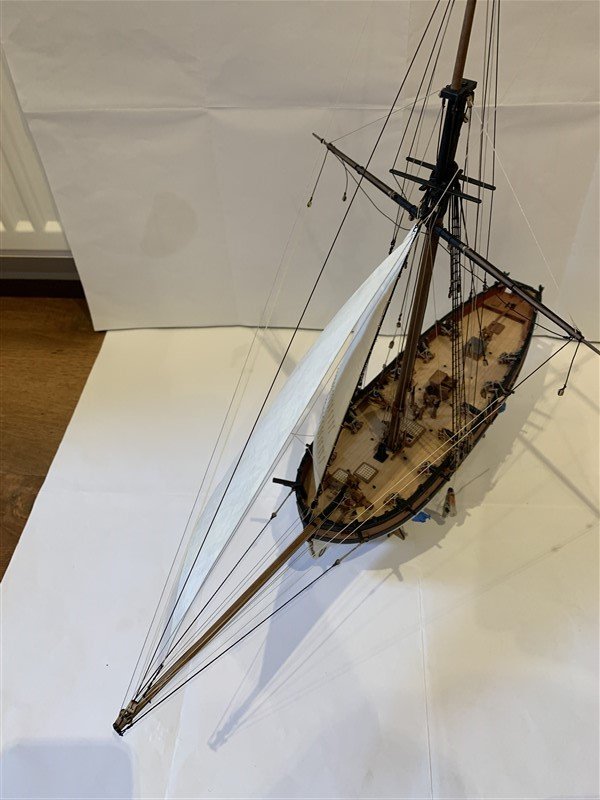
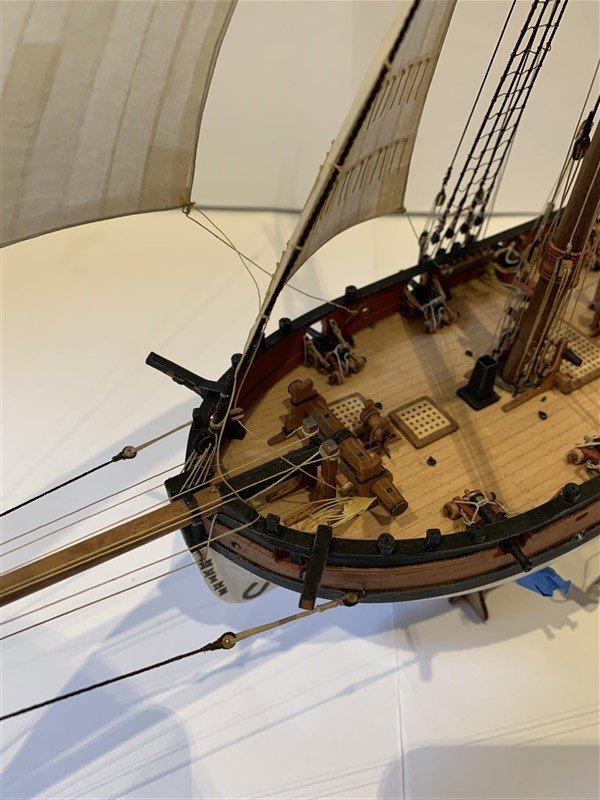
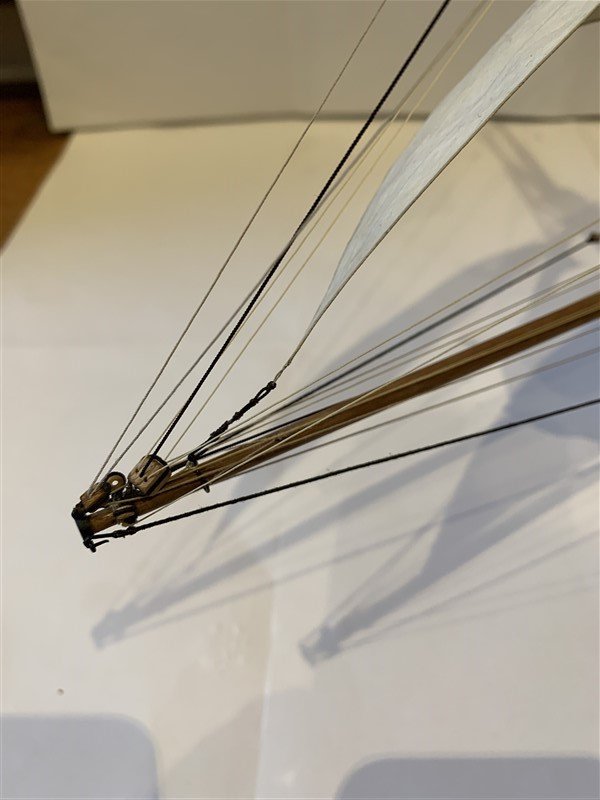
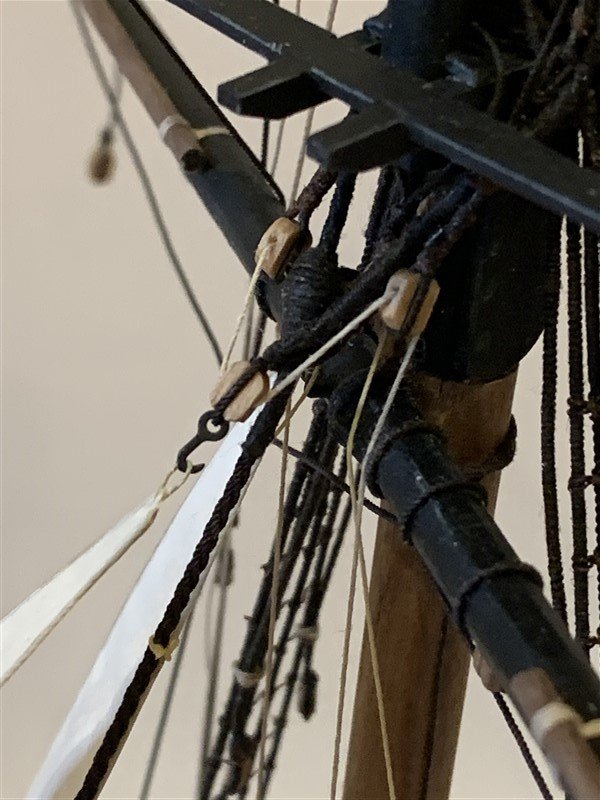
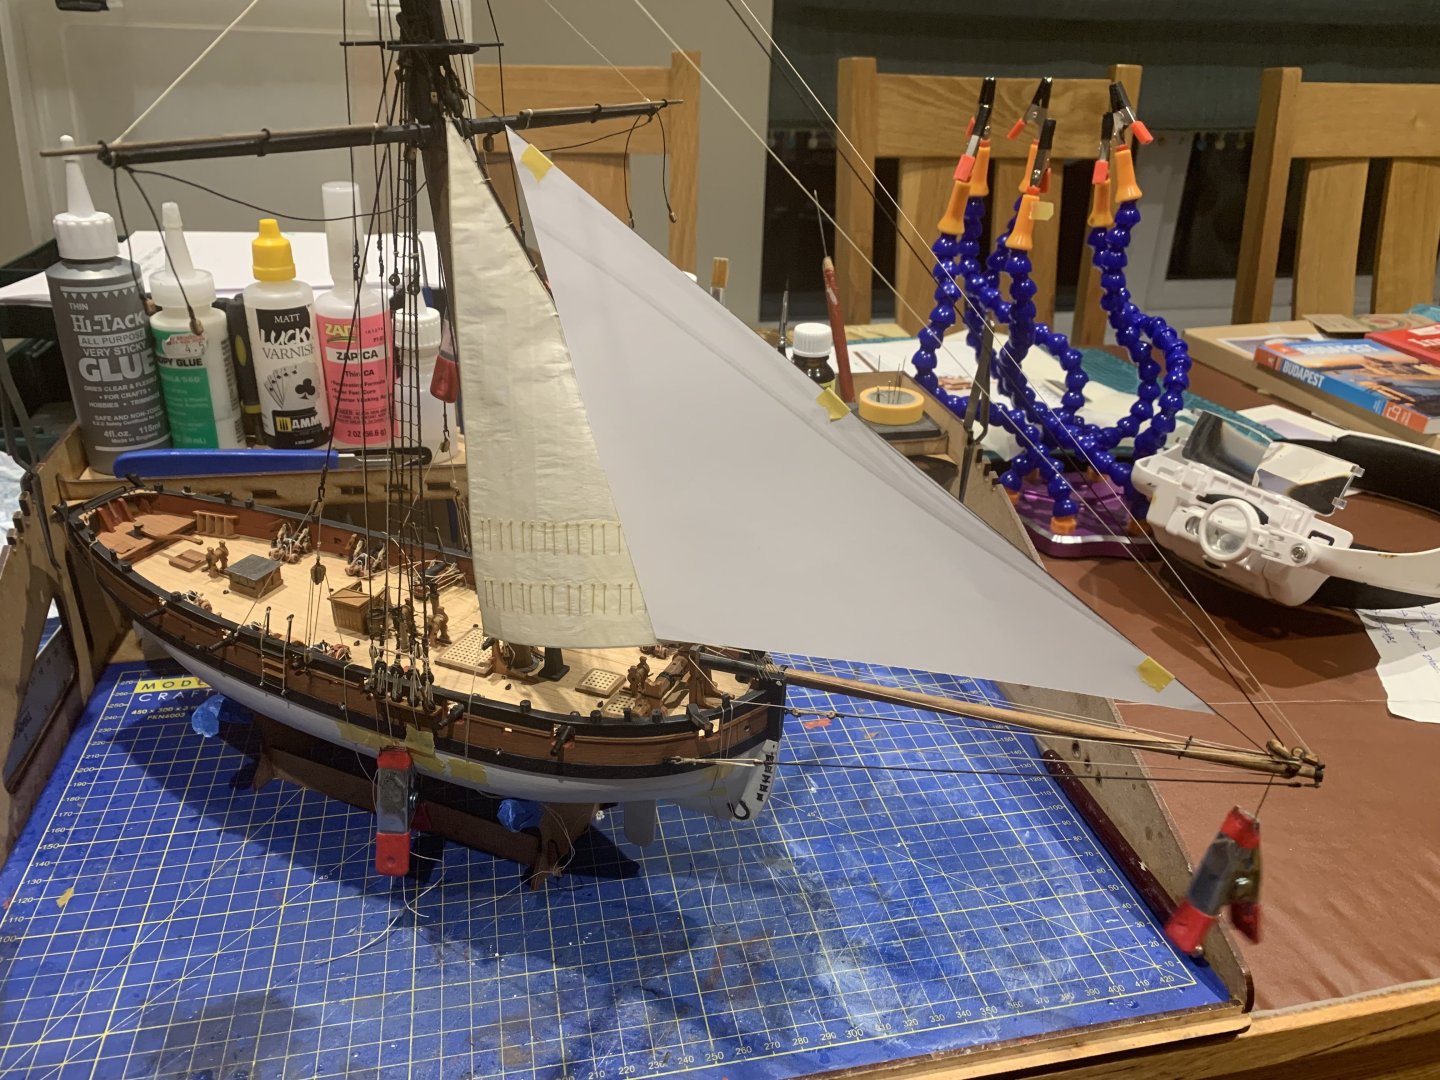
Thanks to everyone for the likes and feedback on the sails. This week I have added the Jib sail, by the same method as the foresail. The dawning realisation on how restrictive the sails will be for access means I am also having to tie-off some of the rigging sooner than anticipated, but I should have foreseen that - doh! The sails are held in place by using the same stainless steel wire used in the sails, but painted to match the rest of the running rigging and glued to the appropriate spot on the hull. The rigging is largely following Lennarth Petterson's Cutter in "Rigging period Fore and aft craft" and in so doing I am slowly realising this work somewhat simplifies the rigging compared the contemporary model Petterson based his drawings on. So I am finding this out as I go and adapting as best I can. Next up finish tying off the rigging forward of the mast, then add the topsail, I am thinking that I then will need to add the anchors and the gun crews before access becomes more confined by adding the booms and main sail. Thanks for looking in. 😁
- 207 replies
-
- 21
-
-
-
Those are fine scratch built replacements Johnathan, well done. 👏
-
The rudder enhancements look very neat David. Also the idea of using the plans as a template for the waterline numerals is great! 👍 As for losing one, well the Trial is missing one as well! 🤣
- 114 replies
-
- 1
-
-
- Vanguard Models
- Speedy
- (and 1 more)
-
And nice to see this unusual subject! 👏
-
Great finish on the painting Mike - metals and yellow as well 🫣
-
Love all the details coming together on deck, yours @DB789 and @ECK builds are great ‘lead’ examples for us to follow. A great looking and interesting vessel, hope it has sold well so far for VM.
-
That looks really smart Bill. And thanks for starting this thread, loads of great conversations and tips I am going to try on future builds.
-
Well done Dan, looking forward to seeing the finishing touches.
- 146 replies
-
- 2
-
-
- Adder
- Vanguard Models
- (and 1 more)
-
That copper looks very good David, really interesting to see you do that and the nice clean effect it provides. I agree it looks a lot better than the dimpled plates Caldercraft provides, I wish I hadn’t put them on my Bounty. But will try tape on Sparkler(Adder) when I have finished Trial.
- 114 replies
-
- 1
-
-
- Vanguard Models
- Speedy
- (and 1 more)
-
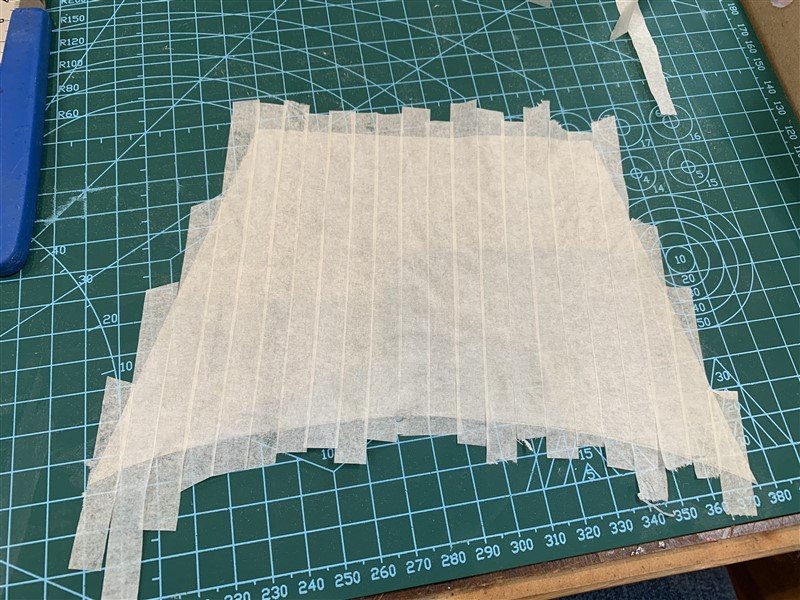
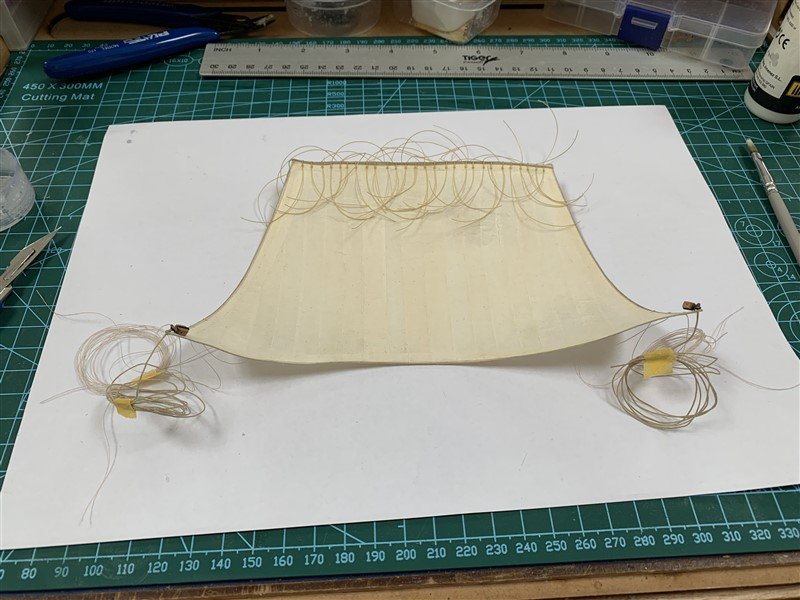
Hi Bill, the tissue paper is coloured with the acrylic wash first (the pictures show the sheets drying in the garage, before being cut up to use.). Sorry for not being clear. As to the thickness, even at the seems where it is five layers, or around the perimeter where it is seven, it is still as thin as copier paper; I am currently playing with a copier paper template for the jib sail, so the two are side by side and there is no difference between them. Picture attached. I’m using traditional tissue paper, I have not come across silkspan, assume something you have access to across the pond.
- 207 replies
-
- 11
-
-
Thank you for the kind words, sorry if not clear, yes the reinforcement strip is another one added at the perimeter to the already cut sail. As the tissue is so thin I didn't think it would matter to have one more layer. As they are, they are a bit fragile! 😬 I shall have to move with glacial speed around the build from now on..... 🤞
-
I love all these innovations on each new kit. Harpy has very nice lines, well done Chris and Jim!
- 76 replies
-
- 5
-
-
- Harpy
- Vanguard Models
- (and 1 more)


