


AJohnson
-
Posts
2,054 -
Joined
-
Last visited
Content Type
Profiles
Forums
Gallery
Events
Everything posted by AJohnson
-
Welcome to MSW Mark!
-
 For rigging of cannons I find this thread very helpful. https://modelshipworld.com/topic/21776-carriage-gun-rigging/ As for rope, one of our Sponsors and member of MSW do excellent rope look for sponsor banner for Ropes of Scale.
- 177 replies
-
- 1
-

-
- Sherbourne
- vanguard models
- (and 3 more)
-
Yes, I added the bulwark patterns on my Trial without water. Just took my time, working from bow to stern. But if you feel there is too much spring and a risk of snapping, pre shaping them with water and leaving to dry is also a route many use.
- 129 replies
-
- 3
-

-
-
- vanguard models
- Sherbourne
- (and 1 more)
-
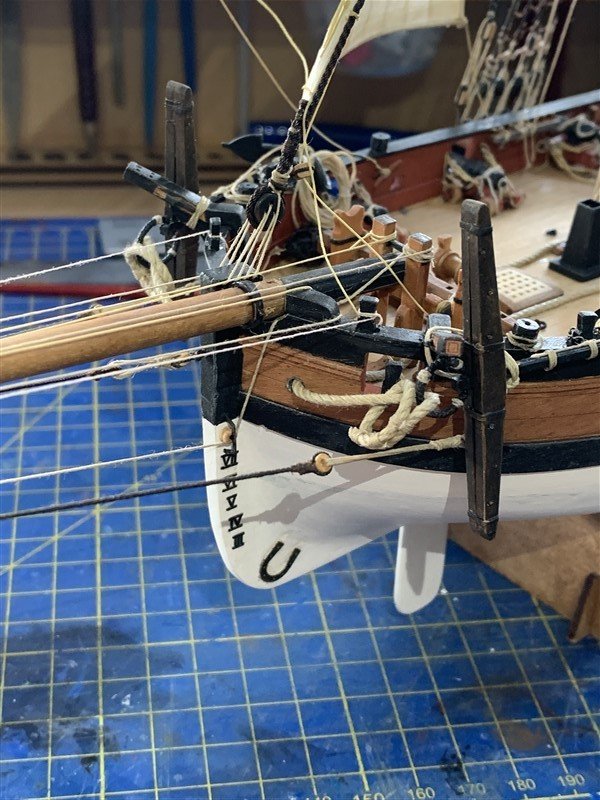
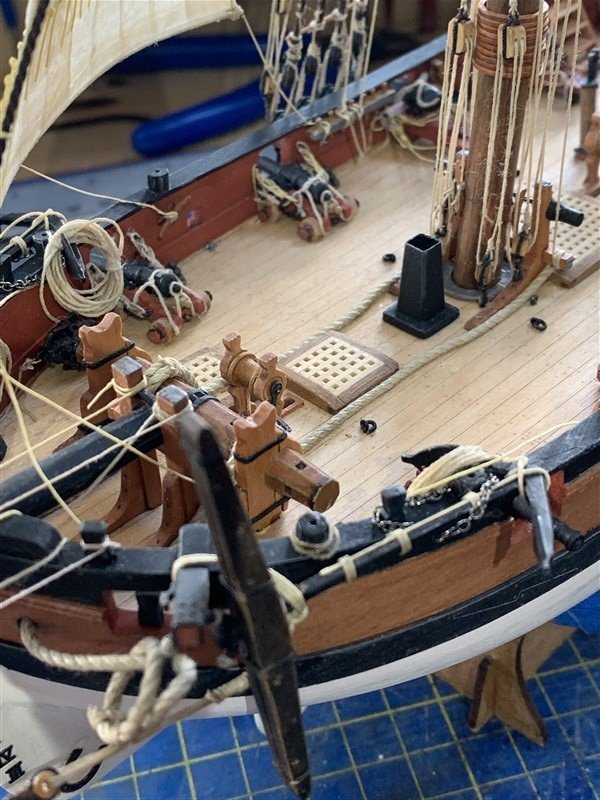
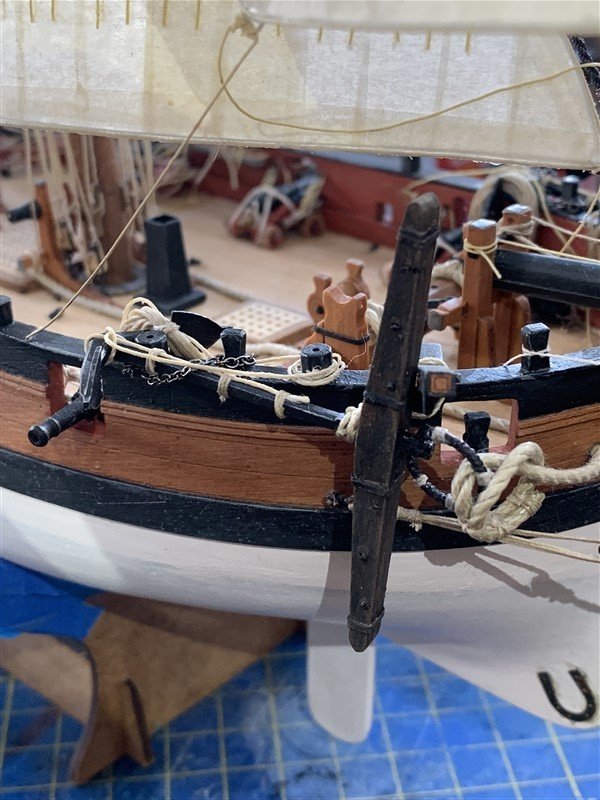
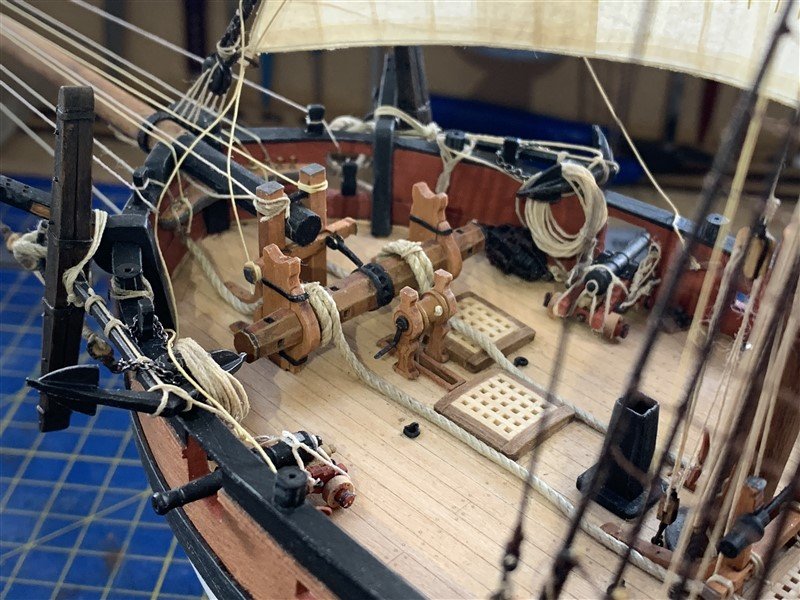
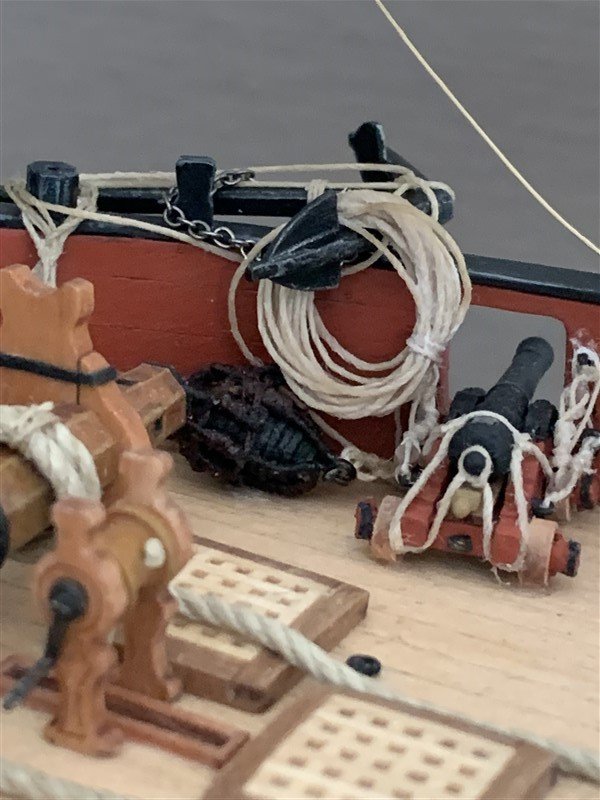
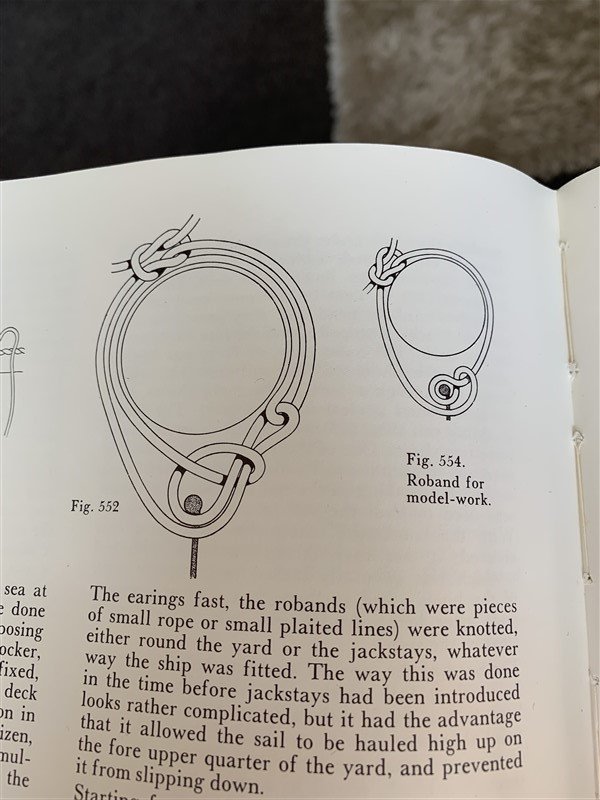
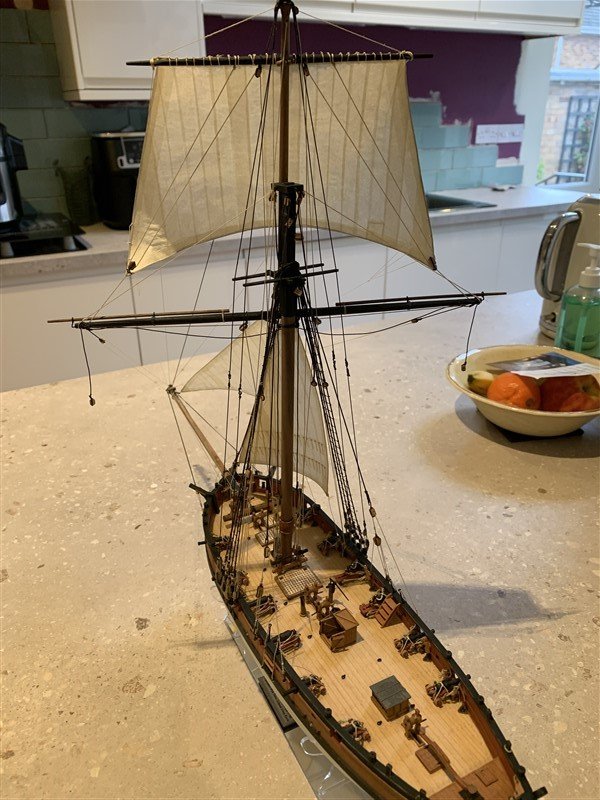
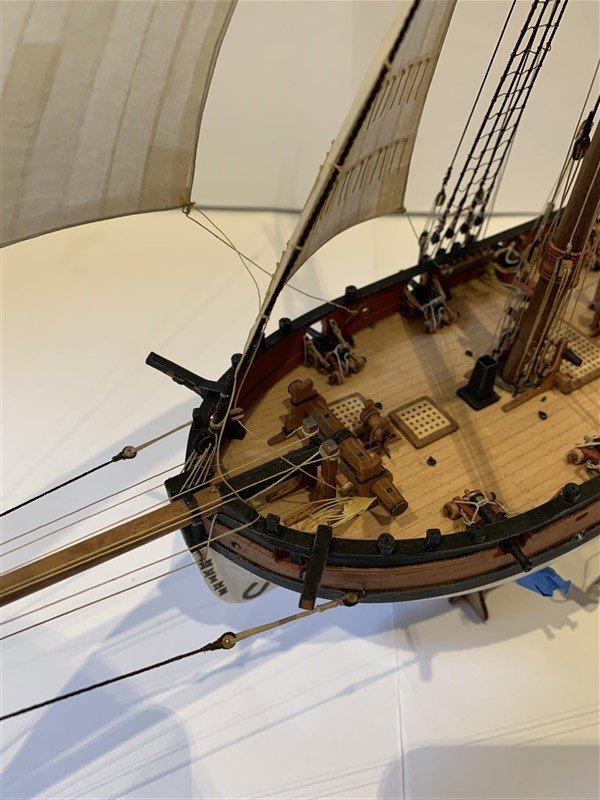
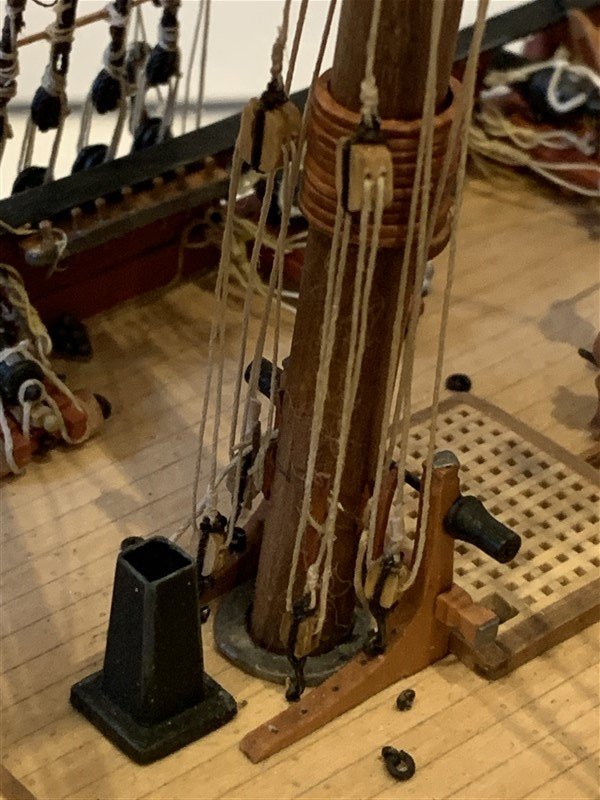
Thanks @Ronald-V, @Keith Black, @Craigie65 & @FriedClams for your kind comments, glad you like the sails so far, I'm chickening out 🐔 on the last one (and largest) for now, but my excuse is if I rig the booms for the main sail now they are going to impede access to the deck for adding the crew! So I've been tidying up a few other jobs first, done work on the anchors and mounted these. With reference to Peter Goodwins "Alert" book I added seizing and whipping to the cable and also added a buoy with attached ropes and lanyard. I did contemplate lashing these to the shrouds, as is often seen in build logs, but looking through some contemporary Cutter models the buoys seem to have been stowed just as often with the anchor, either just inboard of the anchor (as I settled on) or used as a fender of sorts between the anchor and the hull. Anyway the advantage of having them on deck is they help make the deck look cluttered which I like and it partially hides my naff buoys from view; there not a patch on @Thukydides miniature masterpieces. 🤭 Not wanting to end on a downer, but had a slight mishap, I somehow - (I say "somehow" because I don't remember doing it!) I have caught a cannon and snapped off the end (pinged off into the ether as per. usual! 🙄) and also damaged the tip of a boom cradle. I really don't recall doing it! - Must be old age creeping on me! 😆 - Clumsy so and so.... Also might be away for a bit; back in hospital again this Friday, but hopefully soon out and back at the workbench. Thanks for looking in! 👋
- 207 replies
-
- 18
-
-
You probably don't need to wet the bulwark pattern, but if you do allow it to dry in its new shape (there are plenty of build logs where people leave them to dry wrapped around a suitable round tin using rubber bands etc.) before gluing to the hull to allow it to shrink back to its original length. Your build will soon start looking like a ship! 😁
- 129 replies
-
- 4
-
-
- vanguard models
- Sherbourne
- (and 1 more)
-
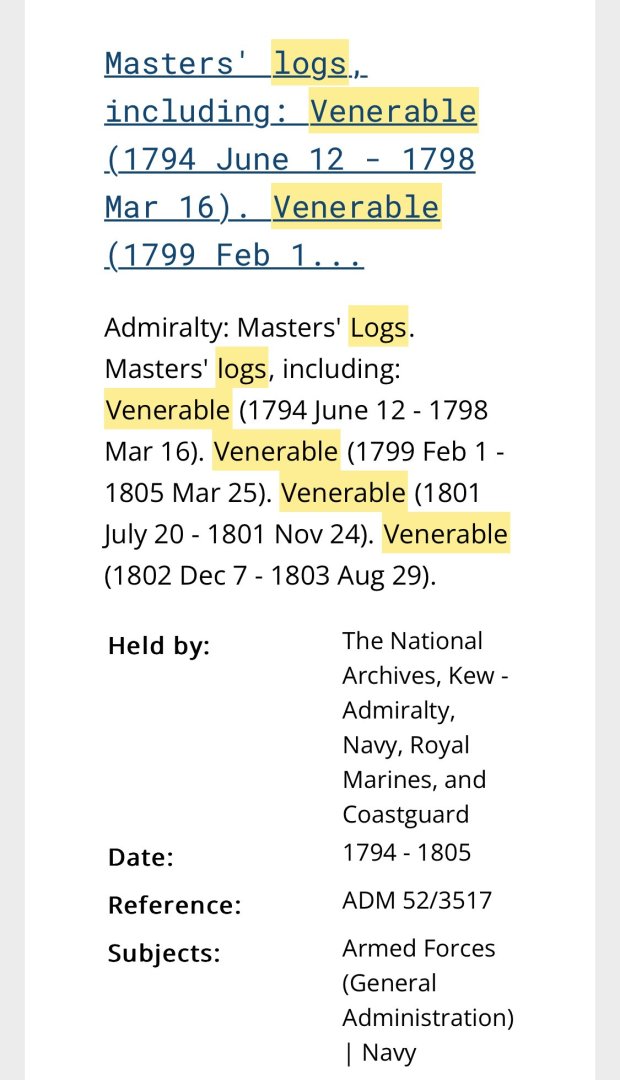
I just put in the terms “log” and “Venerable” and a date range 1750 a 1800 in the National Archive site and a few crop up. It will be quite the detective story to find out how Venerable looked at Camperdown. Just ask Gary about HMS Victory! One you would think would be well documented. Looking forward to his imminent book on the subject. Artist works though are not always completely inaccurate, so caveats aside, they are often all we have and the artist was sometimes guided by those who served in the battles depicted. An example being Richard Dodd who depicted Trafalgar and painted HMS Pickle under the guidance of Her commanding officer Lapenotiere. (about all we have to guide us on Pickle’s appearance as we have no plans). So another avenue might be to see if the artist of your reference painting had any connection with those who served and might have had some “guidance” on Venerable’s appearance. Good luck!
-
That’s brave surgery you have undertaken there Ron, but looks neat, will make the cabin look good.
-
Welcome to MSW Peter! from North Yorkshire Regarding your huge project - the Section for research in the link below might be the best place to ask. https://modelshipworld.com/forum/13-discussions-for-ships-plans-and-project-research-general-research-on-specific-vessels-and-ship-types/ I might have to come up and see that if people are allowed to visit
-
You have been busy Dave, now I know why you had gone quiet! 😂 Looks good, the natural variations in the wood stand out for now, but as you mention once fittings, armament and rope hanks start cluttering the deck, your eyes will not be drawn to that. One of the joys of making wood models is seeing the natural colours and patterns in the timber, I can see why some don’t use paint or add copper to their hulls.
-
Great progress Mike.
-
Also looks good to me as well, the views along the deck can be deceptive in a picture, but if all the frames and supports are fully seated home before gluing then the frame should be square. As Craig says the camber of the deck from left to right also look correct.
- 129 replies
-
- 3
-
-
- vanguard models
- Sherbourne
- (and 1 more)
-
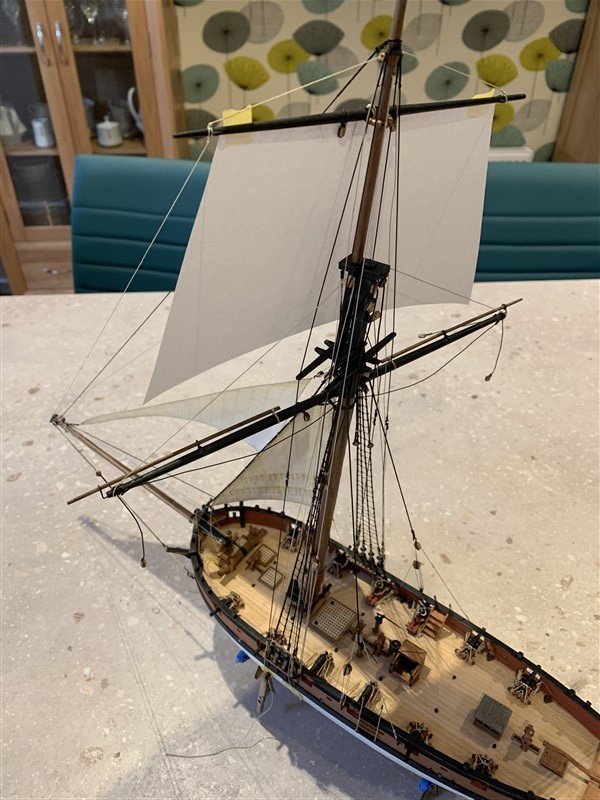
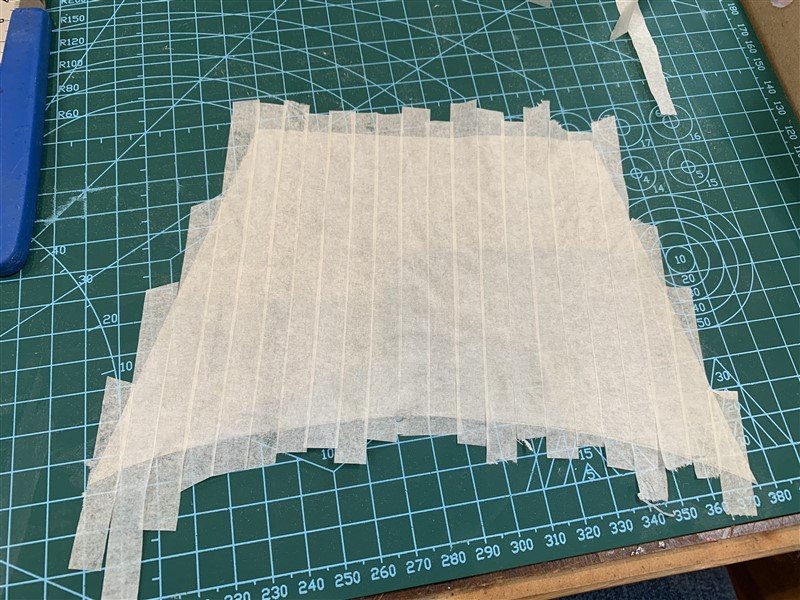
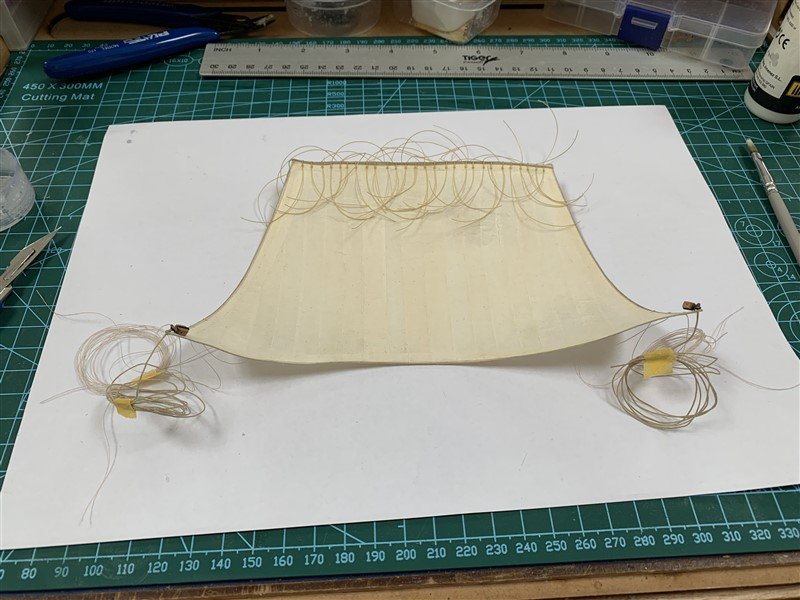
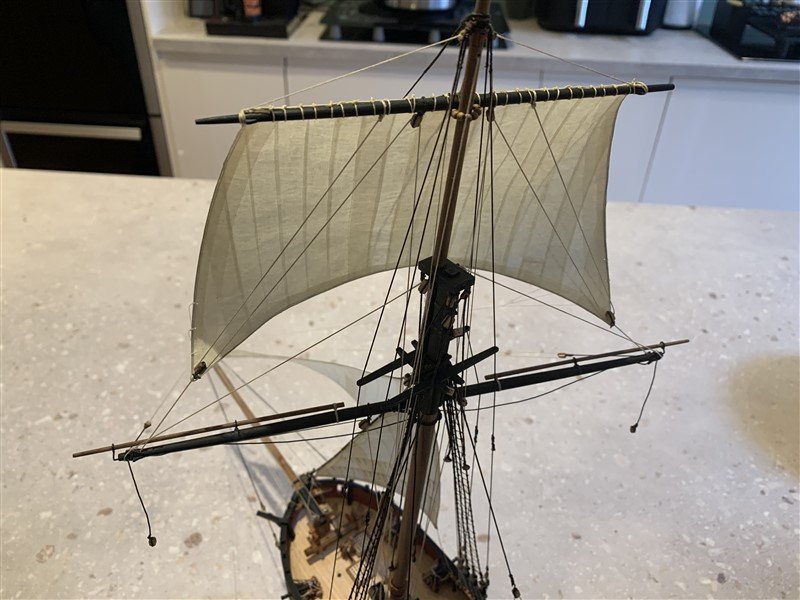
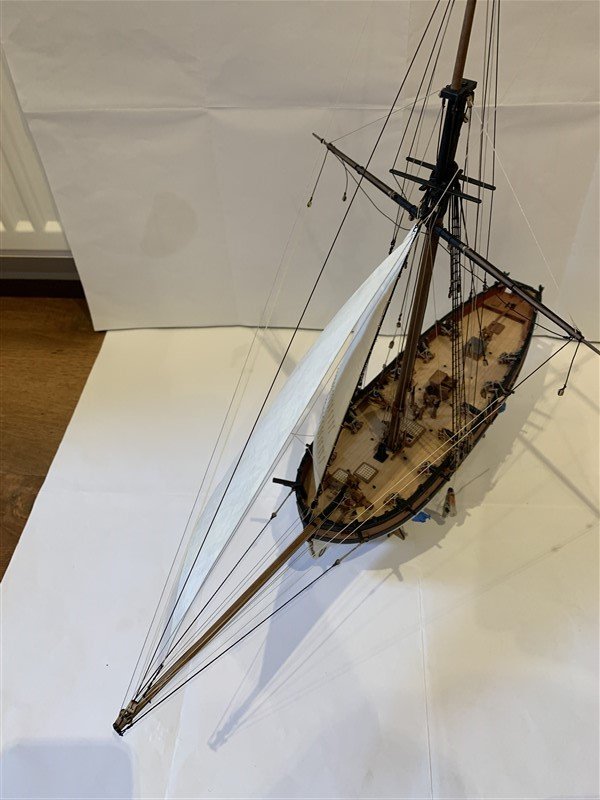
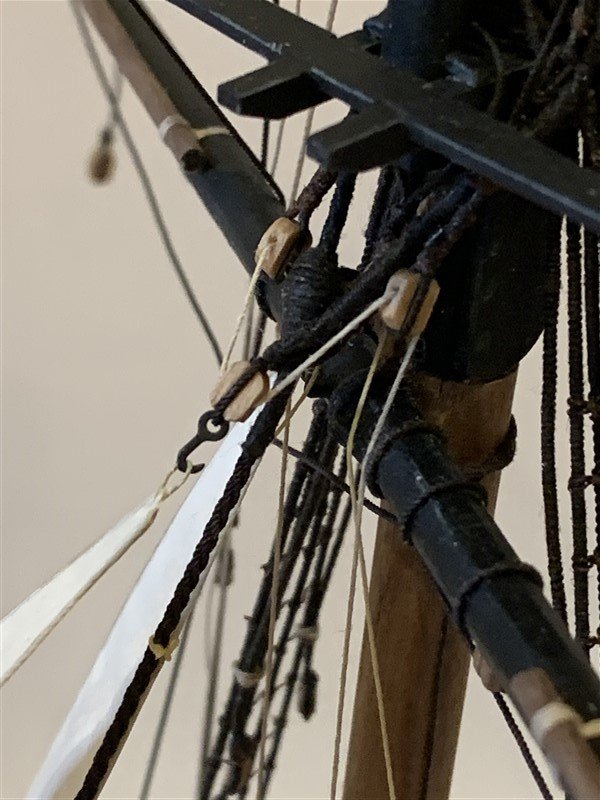
Update for this week's progress, adding the topsail. This involved the usual process of paper template for testing the shape and size then constructing the sail as before. Then adding the rigging prior to mounting on the yard, this involved tying-off the the two yards so they would not move when adding the sail. Think next up is sorting the anchors and crew before adding the driver/gaff and main sail. Thanks for looking in and the likes. 😁
- 207 replies
-
- 17
-
-

-
Well done Dan, your Adder looks fantastic! So what is next on your VM fleet!? ⛵
- 146 replies
-
- 1
-
-
- Adder
- Vanguard Models
- (and 1 more)
-
Welcome to MSW!
-
Looks very smart Doug. 👏
-
Spitfire Mk.Ia by davec - FINISHED - Kotare - 1/32 - PLASTIC
AJohnson replied to davec's topic in Non-ship/categorised builds
That is a lovely looking Spit. Really nice to see a “clean” one that has not been weathered too much. -
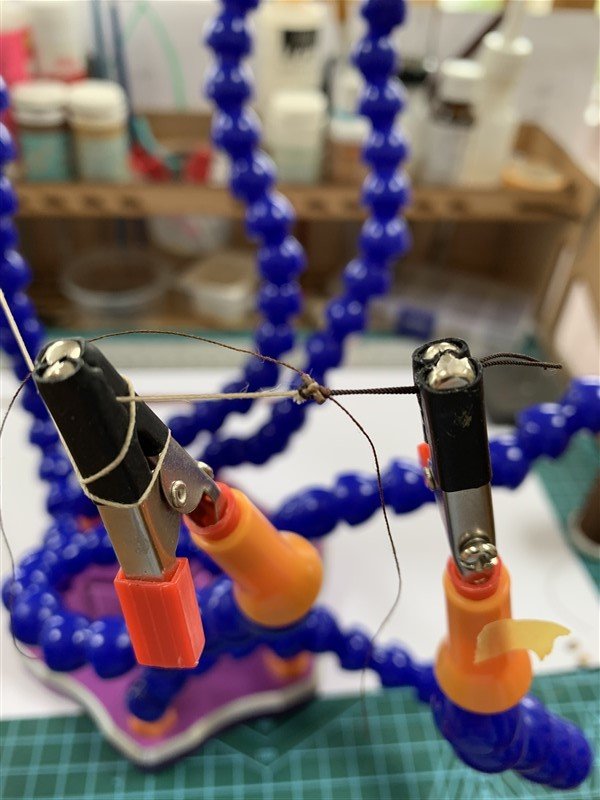
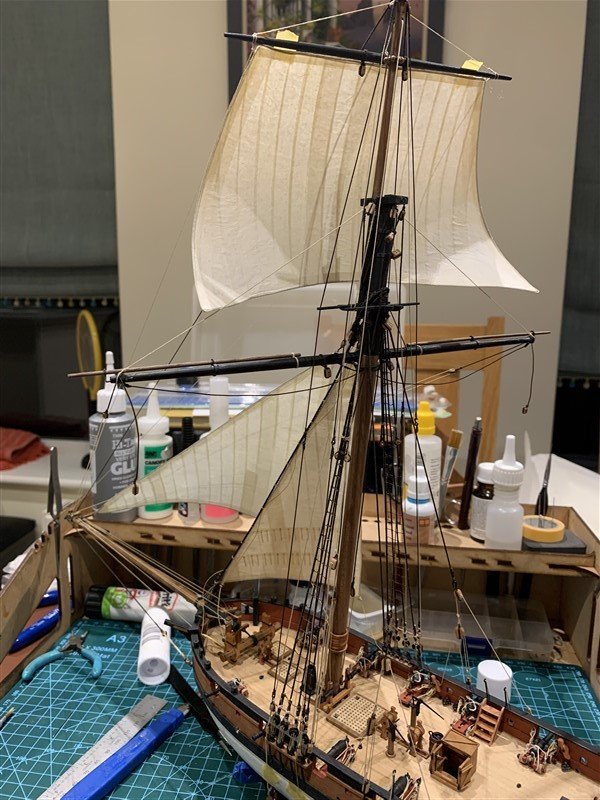
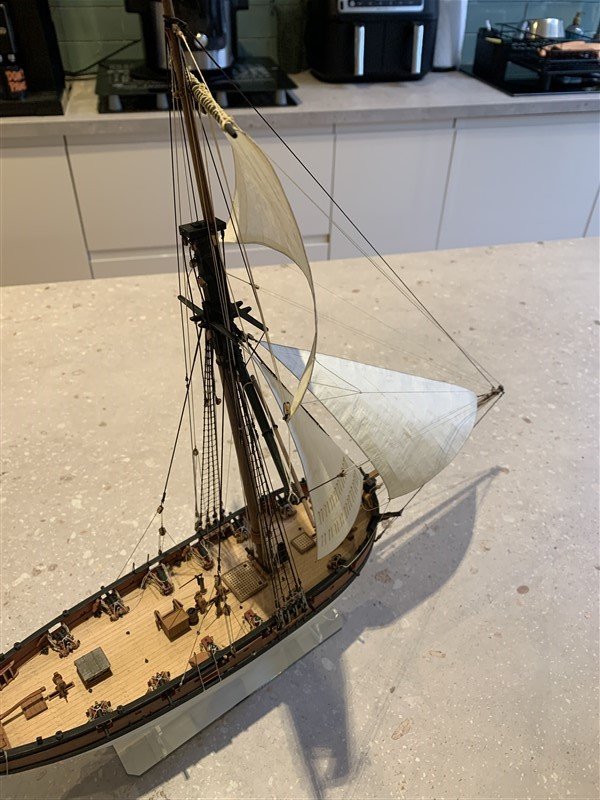
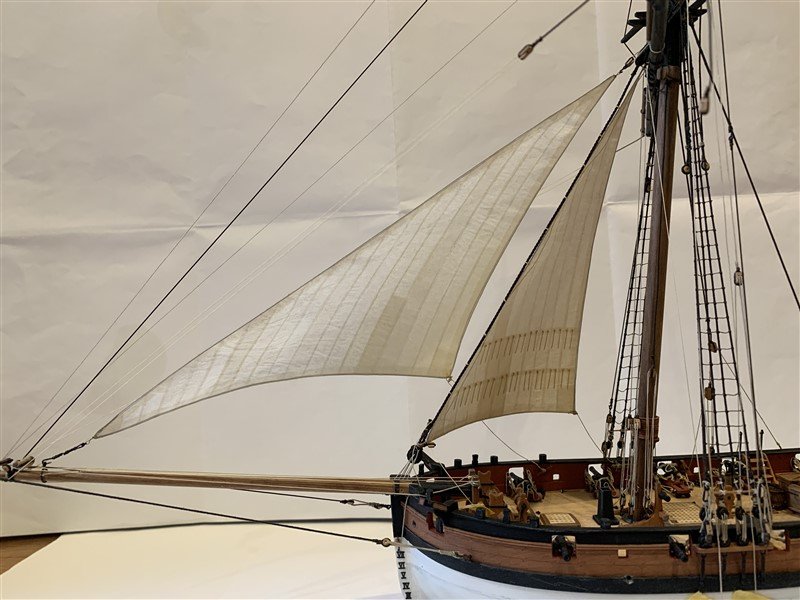
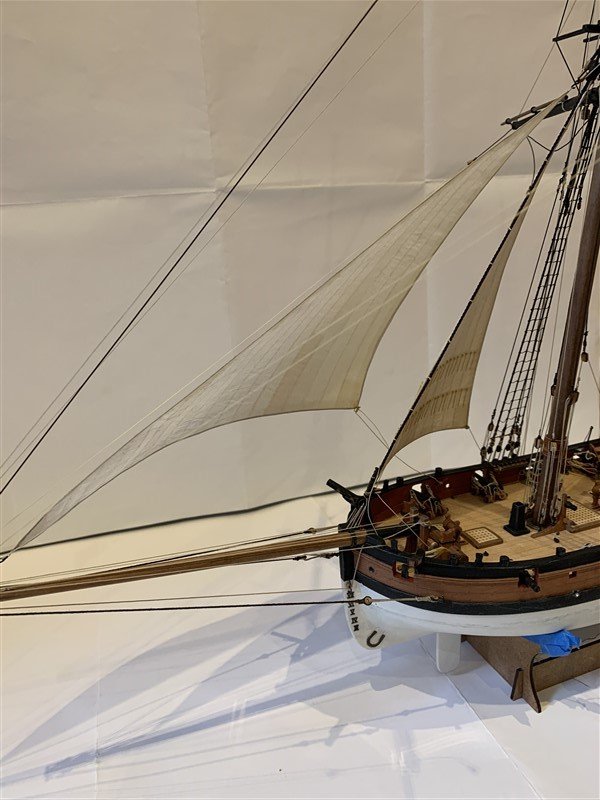
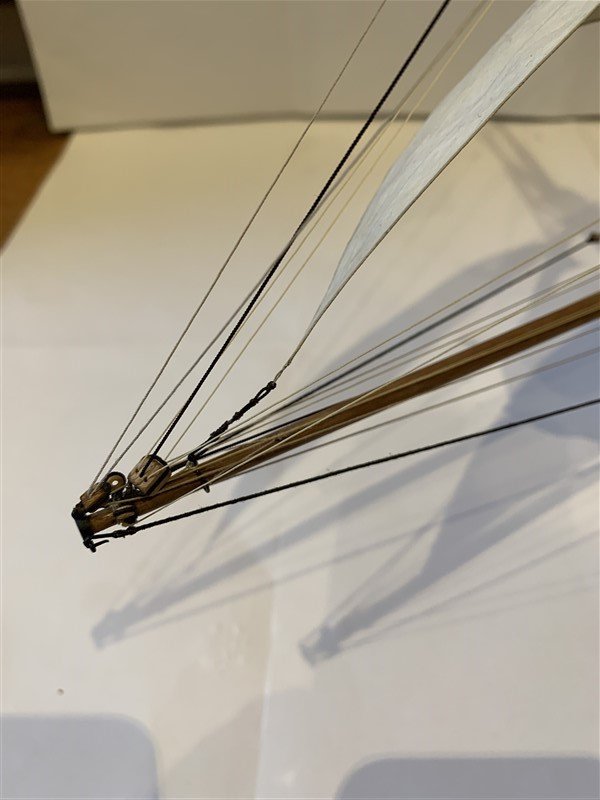
Thanks to everyone for the likes and feedback on the sails. This week I have added the Jib sail, by the same method as the foresail. The dawning realisation on how restrictive the sails will be for access means I am also having to tie-off some of the rigging sooner than anticipated, but I should have foreseen that - doh! The sails are held in place by using the same stainless steel wire used in the sails, but painted to match the rest of the running rigging and glued to the appropriate spot on the hull. The rigging is largely following Lennarth Petterson's Cutter in "Rigging period Fore and aft craft" and in so doing I am slowly realising this work somewhat simplifies the rigging compared the contemporary model Petterson based his drawings on. So I am finding this out as I go and adapting as best I can. Next up finish tying off the rigging forward of the mast, then add the topsail, I am thinking that I then will need to add the anchors and the gun crews before access becomes more confined by adding the booms and main sail. Thanks for looking in. 😁
- 207 replies
-
- 21
-
-
-
Those are fine scratch built replacements Johnathan, well done. 👏
-
The rudder enhancements look very neat David. Also the idea of using the plans as a template for the waterline numerals is great! 👍 As for losing one, well the Trial is missing one as well! 🤣
- 114 replies
-
- 1
-
-
- Vanguard Models
- Speedy
- (and 1 more)
-
And nice to see this unusual subject! 👏
-
Great finish on the painting Mike - metals and yellow as well 🫣
