
HOLIDAY DONATION DRIVE - SUPPORT MSW - DO YOUR PART TO KEEP THIS GREAT FORUM GOING! (Only 72 donations so far out of 49,000 members - Can we at least get 100? C'mon guys!)
×


AJohnson
-
Posts
2,034 -
Joined
-
Last visited
Content Type
Profiles
Forums
Gallery
Events
Everything posted by AJohnson
-
 Very smart build, making me look forward to starting mine! Those 24 pounders do dwarf Sherbourne’s guns!
- 66 replies
-
- 2
-

-
- Adder
- Vanguard Models
- (and 1 more)
-
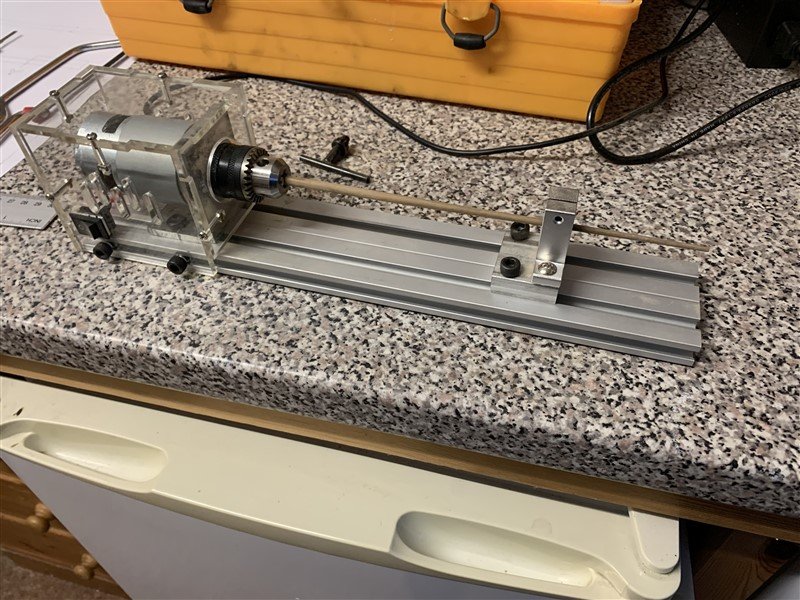
Thanks, I have no idea what make it is, I suspect some generic Chinese knock-off, I picked it up cheap at an auto jumble! 🤣. It is okay, but only any use for small jobs.
-
Great step by step log Glenn, thank you for taking the time to spell it all out for us that are following. She is looking really good!
-
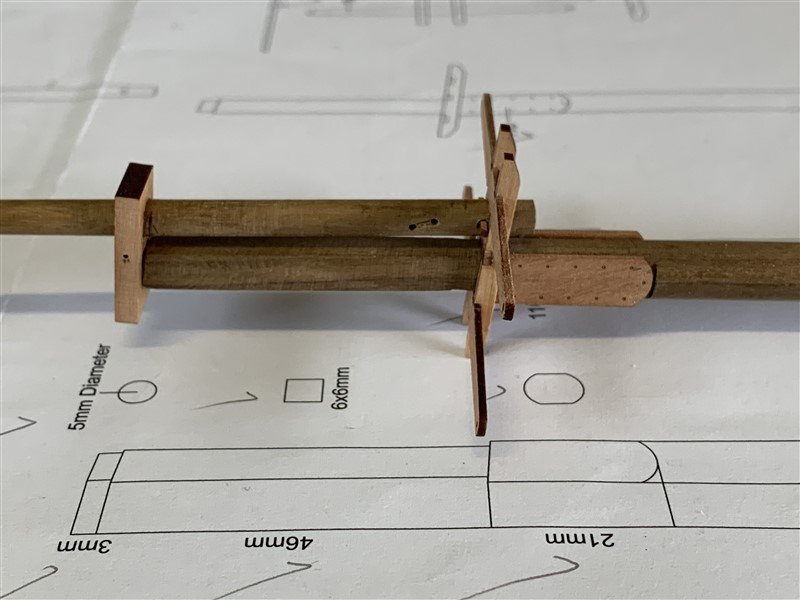
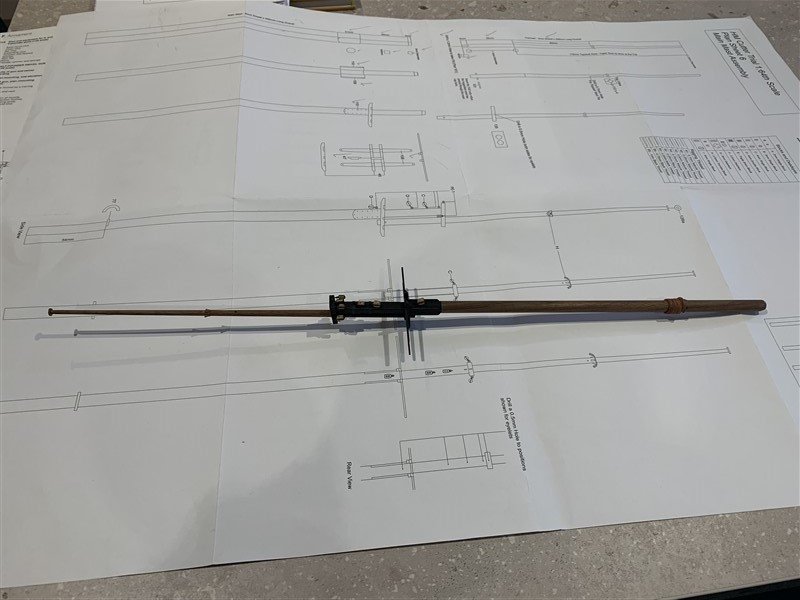
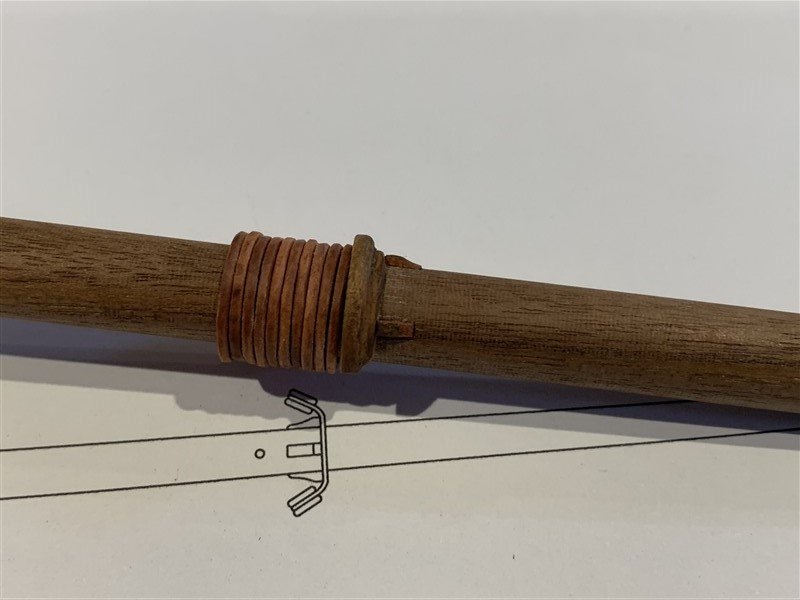
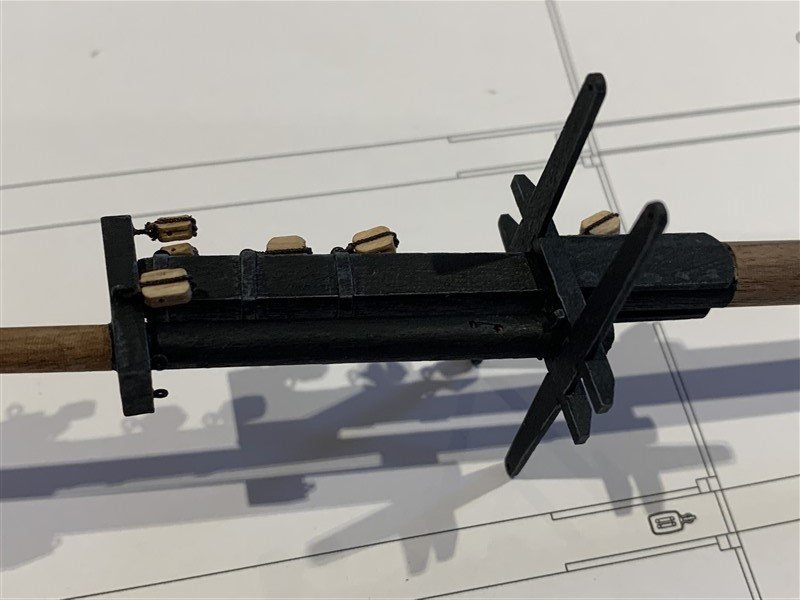
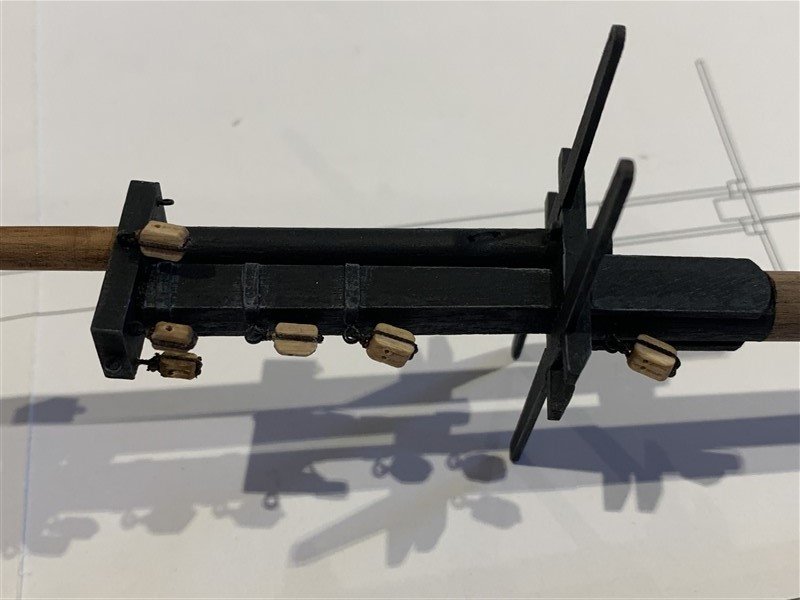
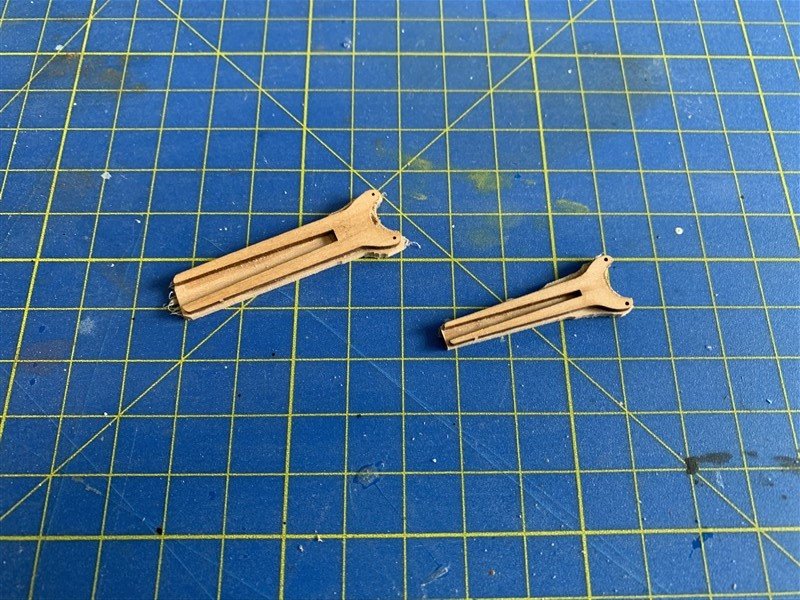
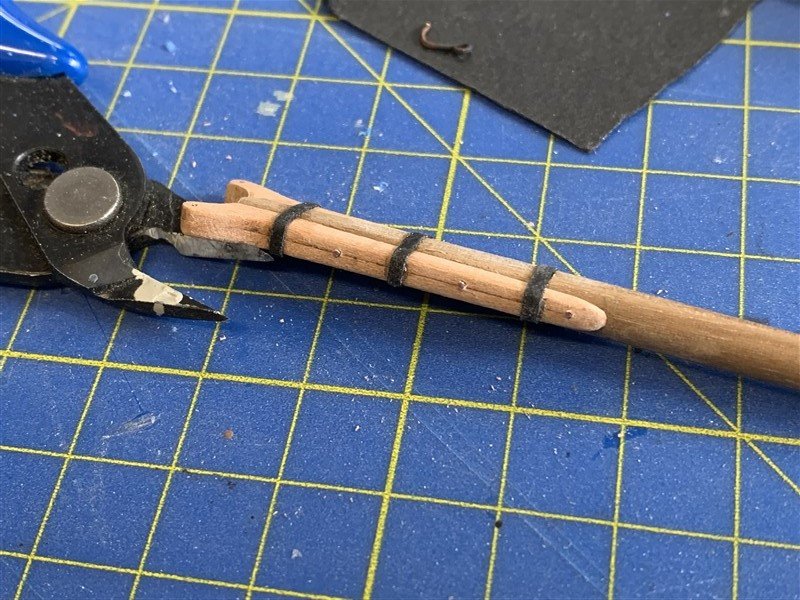
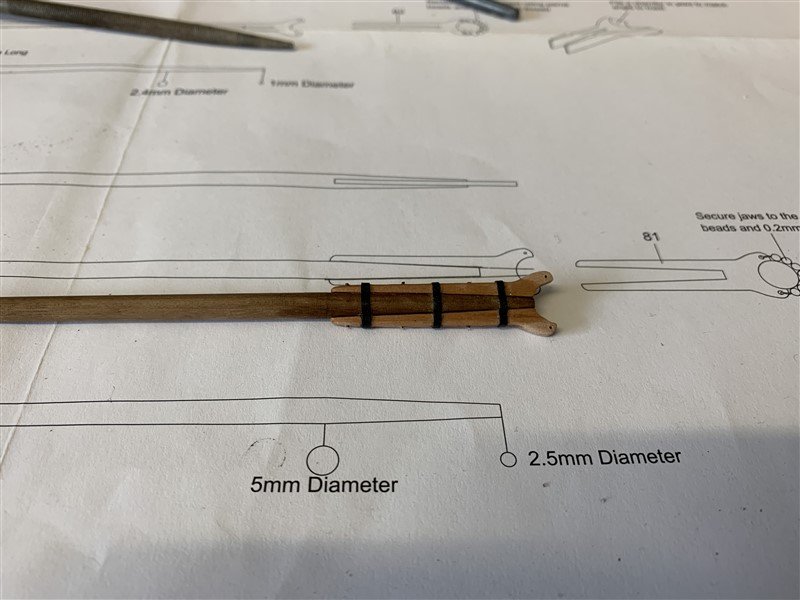
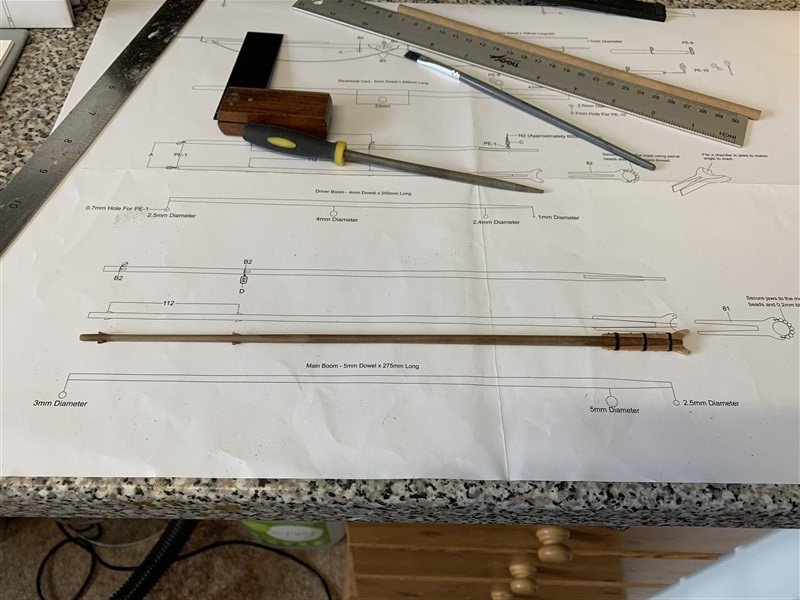
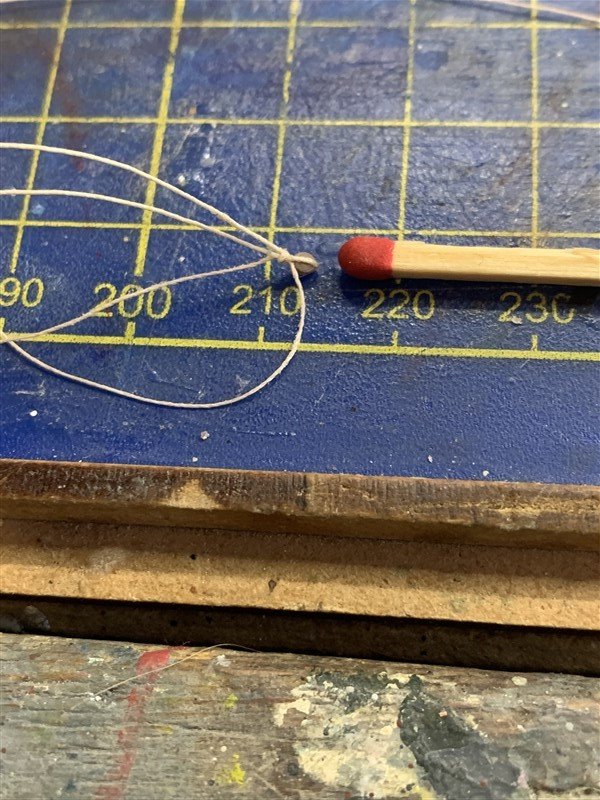
Updates for this weekend, before I torture myself watching England play football later! ⚽ 🤦♂️ Have made a start on the masts and yards. Largely as the instructions, I did however add mast hoops (purchased from @chris watton) , as I am adding sails and also some minor details added to the stool for the main boom, as David @dunnock did on his Trial build, shameless copying... 😁 For the main boom I have also decided to thicken the main boom jaws and add card bands and wire to simulate iron reinforcement bars. Started adding blocks using the thread I got from Ropes of Scale @BenD gone with brown standing rigging instead of black, very impressed with this thread. 👍 Adding a few extras; for the top rope as an example, I'm referring to the Cutter chapter in Lennarth Petersson's Rigging Period Fore & Aft Craft, quite how far I go I'm not sure yet. Think this get me as far as completing Plan sheet 6. Thanks for looking in. 👋

- 207 replies
-
- 14
-
-
Great news Ben, I’ve only just started using your ropes on my Trial build and I am very impressed with it. Good luck to you for the future. I will definitely be ordering more for my next projects.
-
Just found this log and will follow along, did you start the planking since your last log. Great start so far!
-
Congratulations, a great looking model, very envious of your display gallery!
- 282 replies
-
- 2
-

-
-
- Bluenose
- Model Shipways
- (and 1 more)
-
Hi Glenn, I will be following along, I will be interested to see how you build this one as I have Adder to do next once I have finished Trial.
-
Agreed, very tidy.
-
Brilliant work Glenn, a very impressive looking model.
- 587 replies
-
- 2
-
-
-
- Indefatigable
- Vanguard Models
- (and 1 more)
-
That looks a wonderful place to spend some time, while the Admiral does “shopping”. Hope you are having a great time.
-
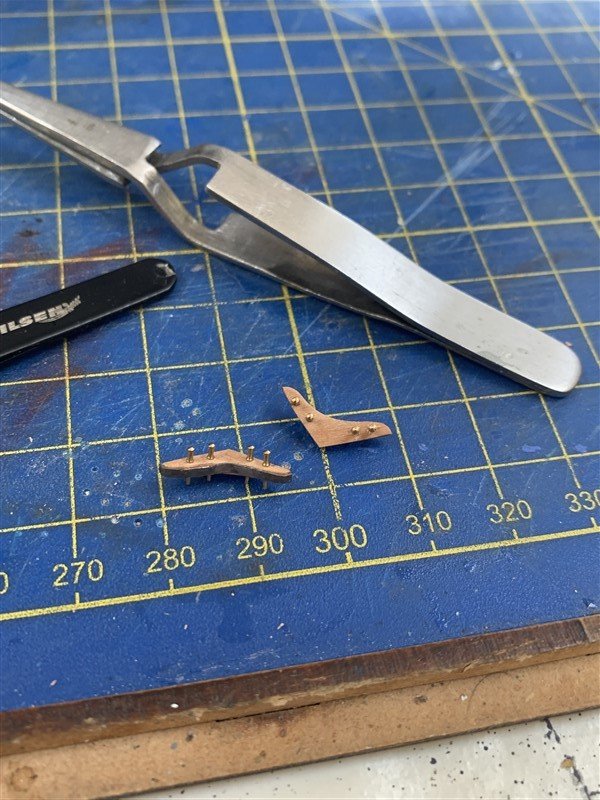
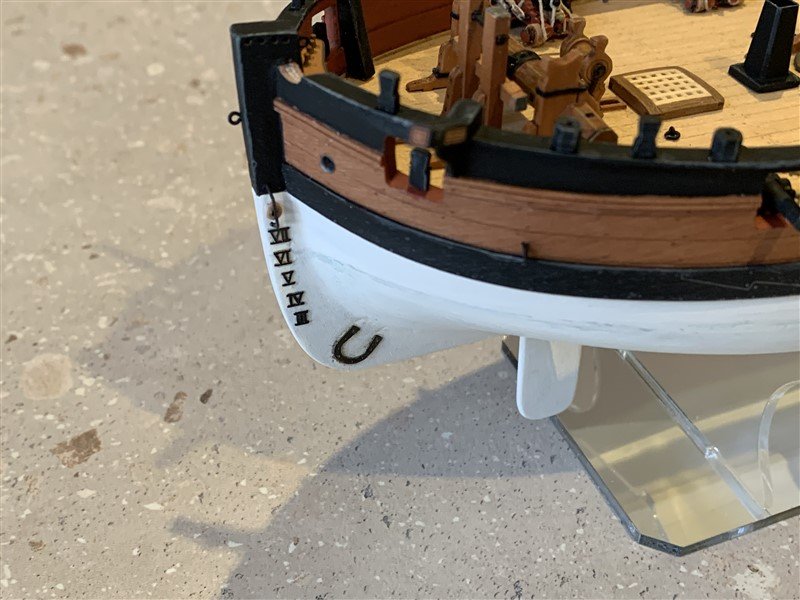
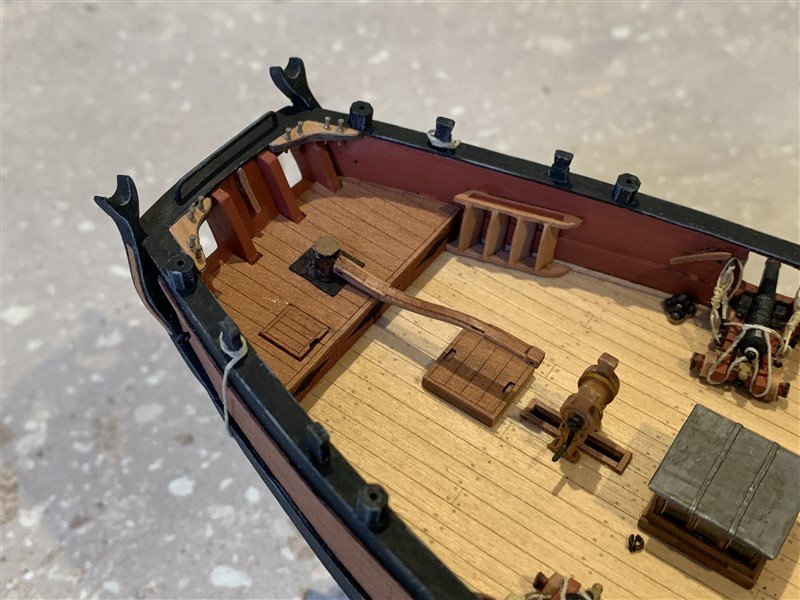
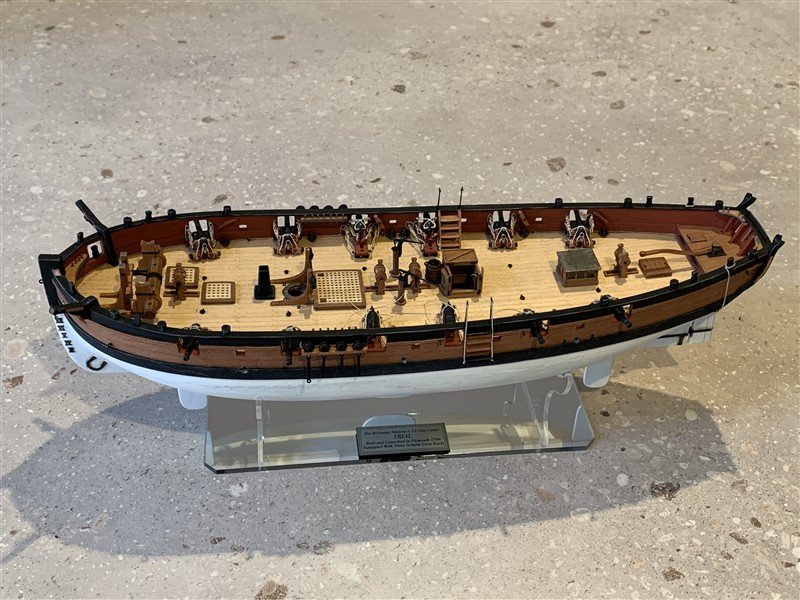
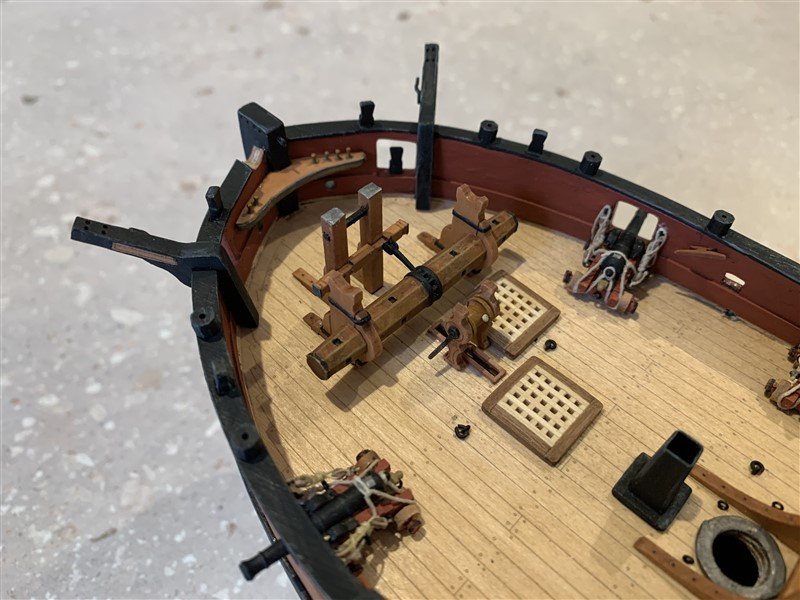
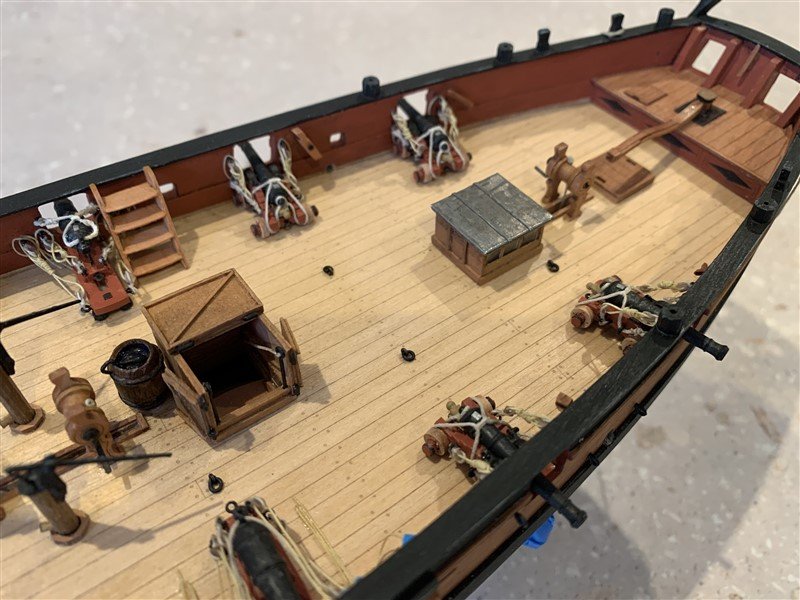
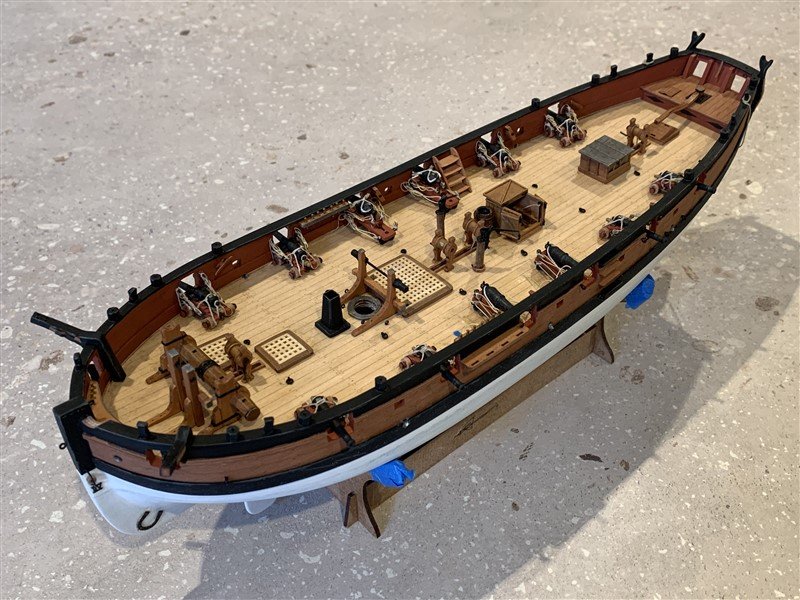
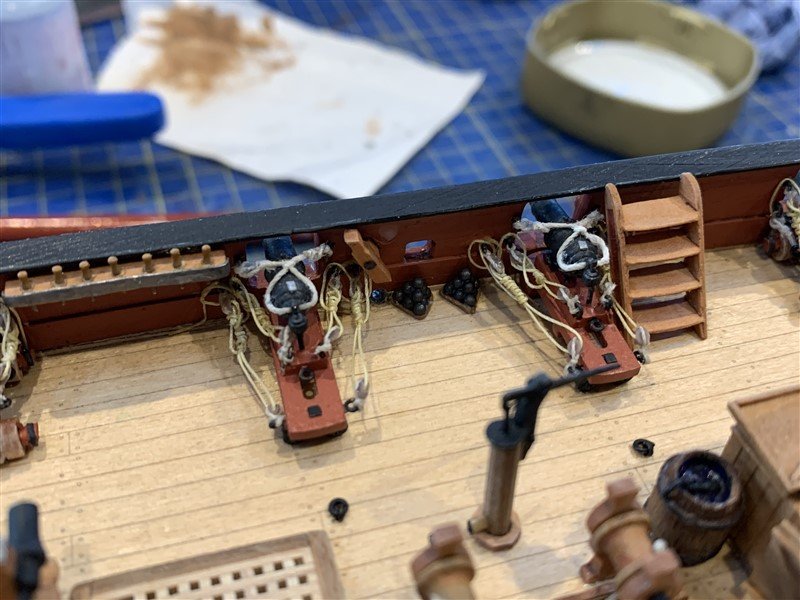
Hi all, finished off some of the items on the hull over the last few days. This included a re-make of the stern knees, as these did not survive the replacement of the belay pins. The addition of the Roman numeral waterline markers - these were an absolute torment to space correctly for some reason and the carpet monster eat two of them, so I ended up making those out of card strip, from the usual viewing distance you can't tell, so ended okay. Bulwark ladders added; one in place and one stored near the stern, as I'm sure these would be stowed in action, as they get in the way of the Carronades, added hand-ropes for the sides by repurposing the spare companionway stanchions. Added shot garlands and pyramids of shot for each gun and added the deadeye straps; loose fit for now until the shrouds can be setup and final fixing of the strap positions can be gauged. Finally I assembled the display stand, this I think gets me to pages 48/49 of the instructions, so on to masts and yards next, with the odd detour for anchors when I need a change. Thanks for the likes and comments. 😁
- 207 replies
-
- 19
-
-
This looks just great Jim , like Glenn I'm sorely tempted after I finish Trial and Adder(Sparkler)... now strategies required to convince the Admiral! 😆
- 76 replies
-
- 5
-
-

-
- Harpy
- Vanguard Models
- (and 1 more)
-
Great purchase David, the Petrejus book is one of my most referred to books. Armament looking very good.
- 114 replies
-
- 1
-
-
- Vanguard Models
- Speedy
- (and 1 more)
-
Welcome to MSW Joanne!
-
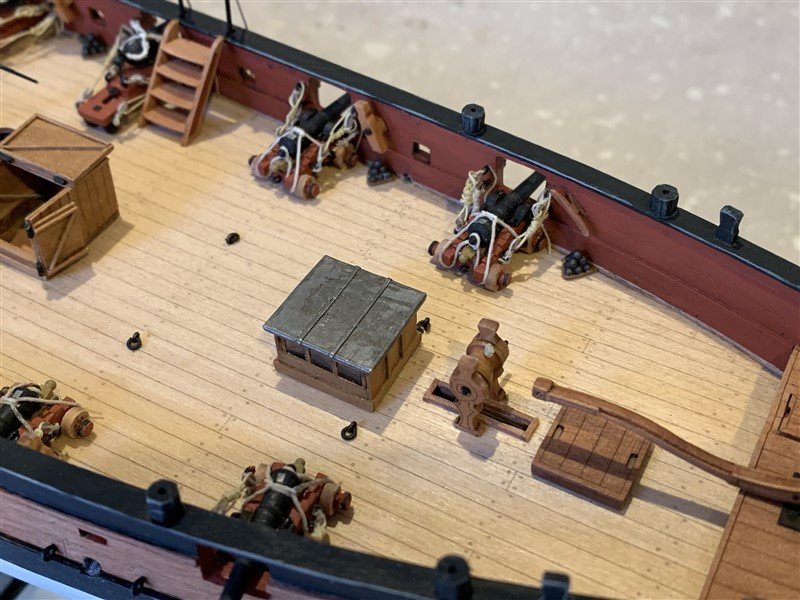
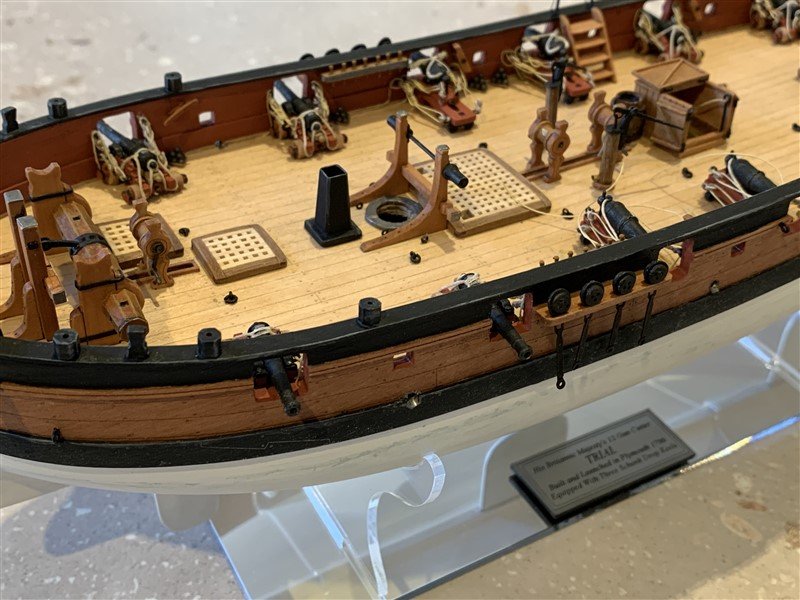
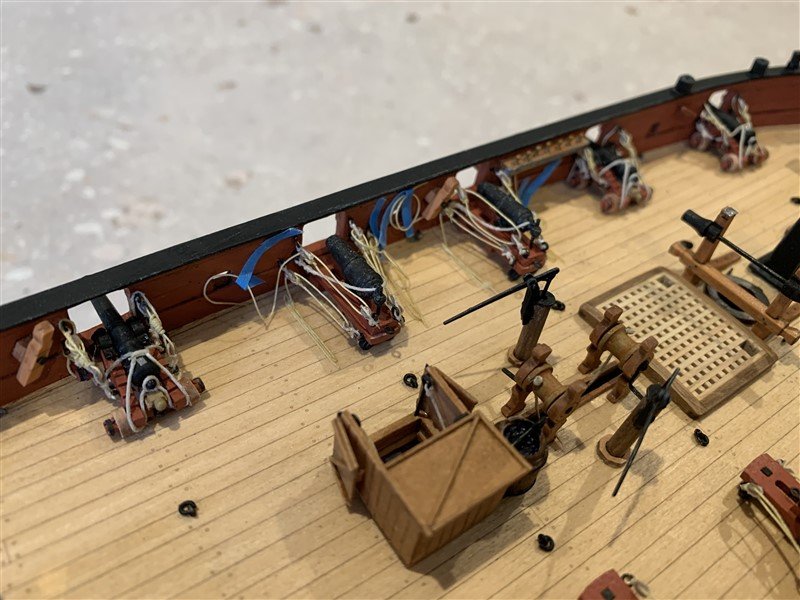
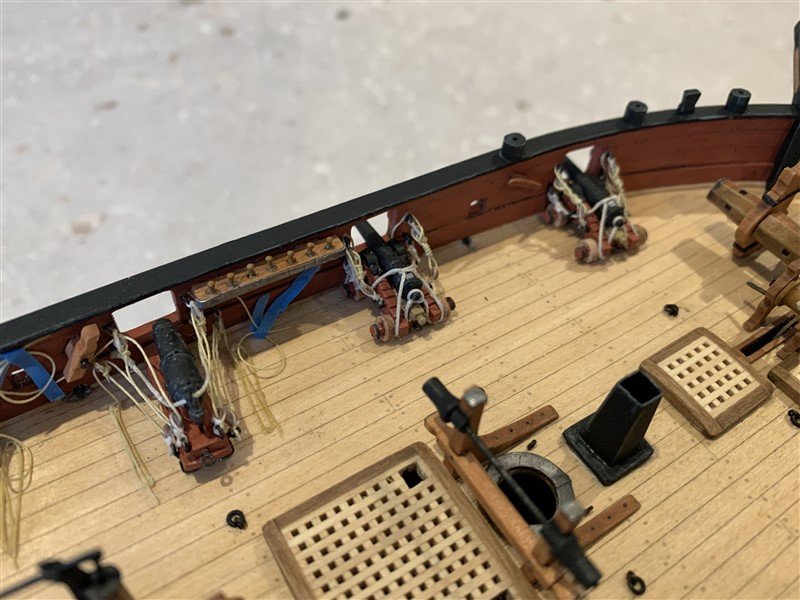
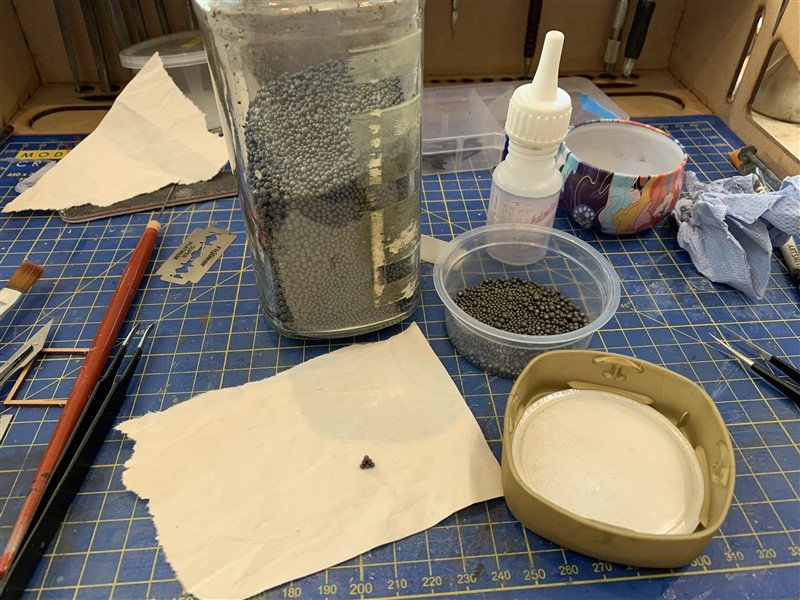
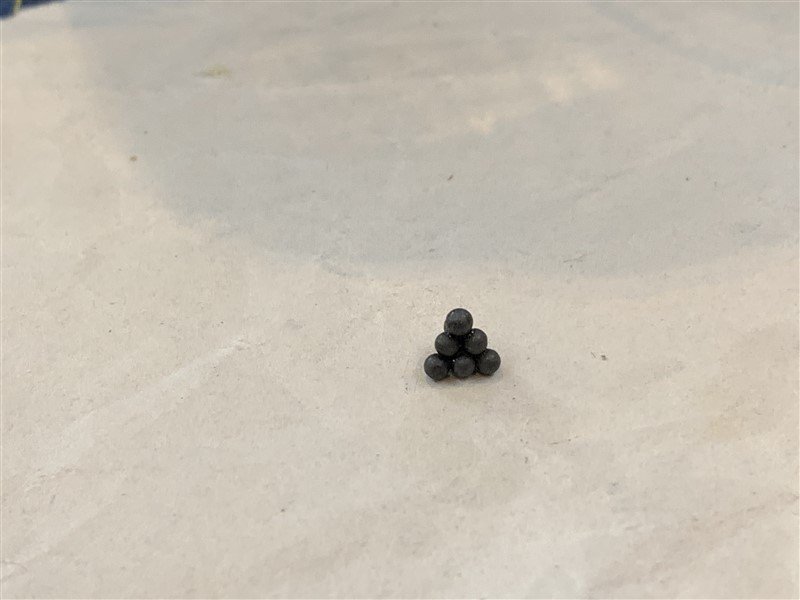
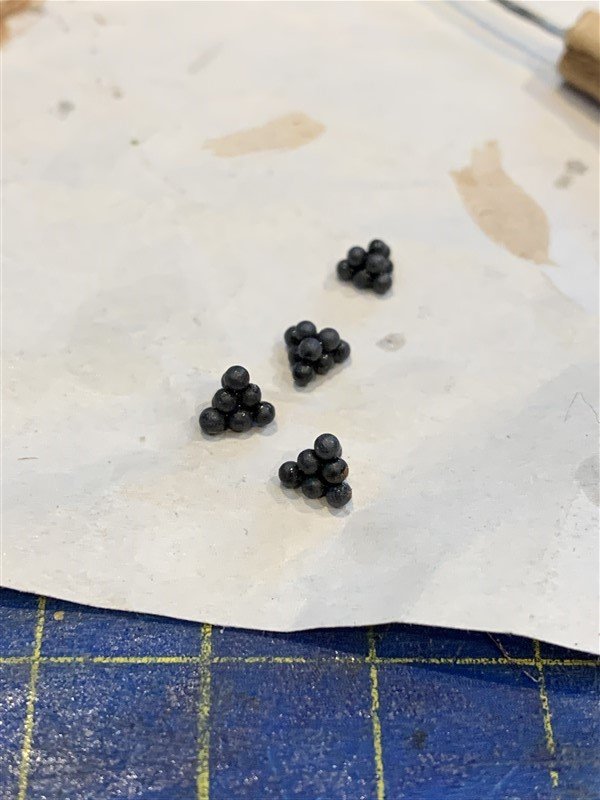
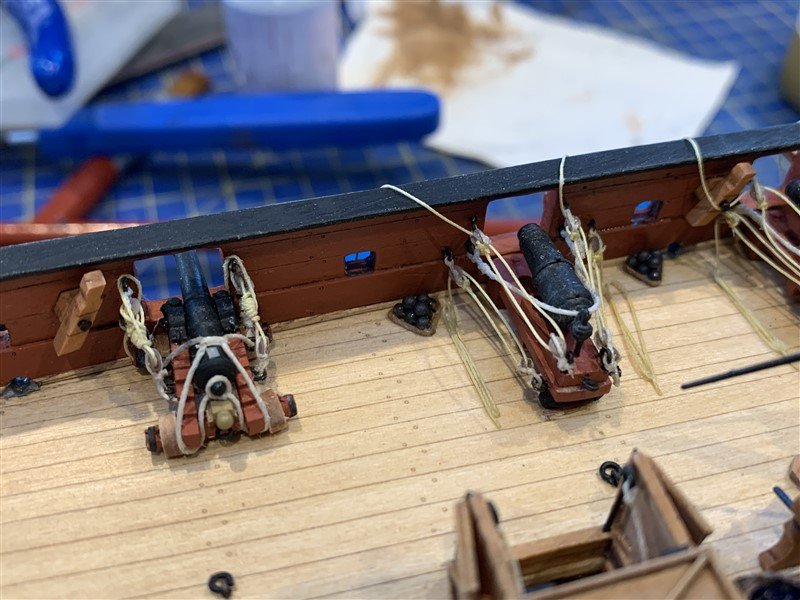
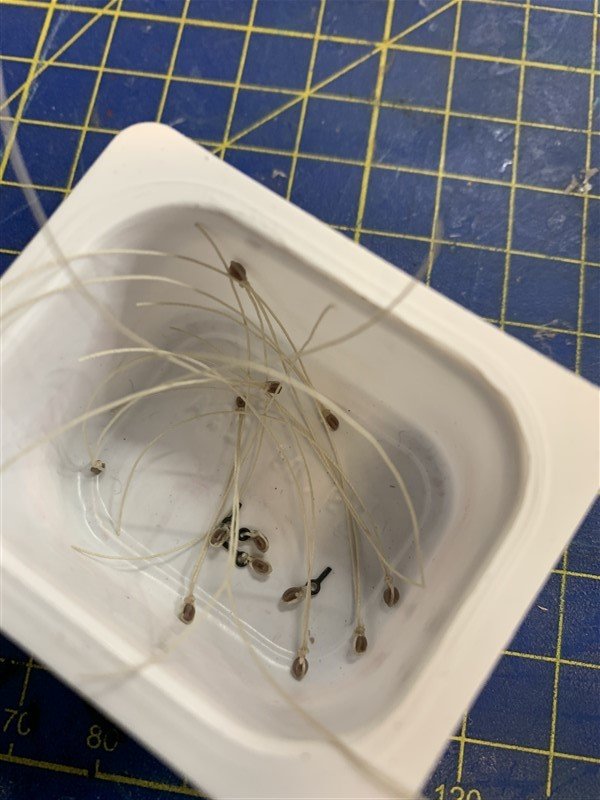
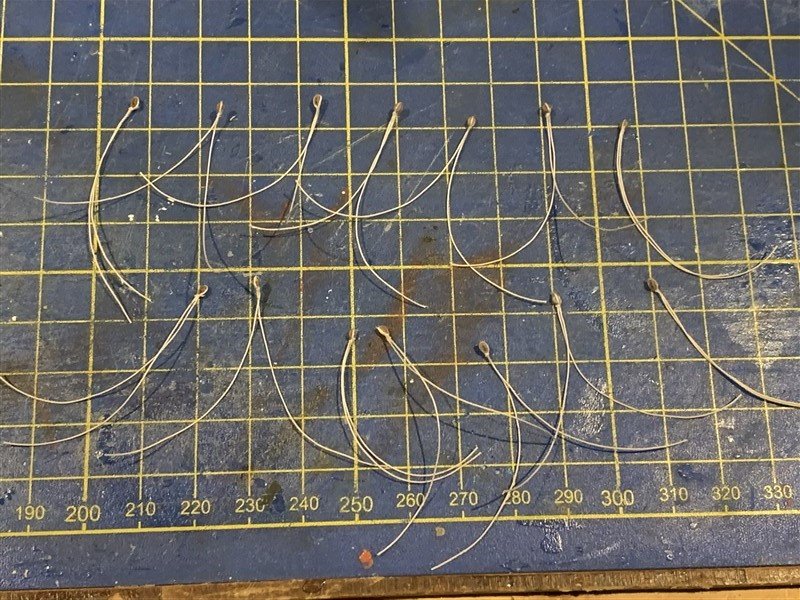
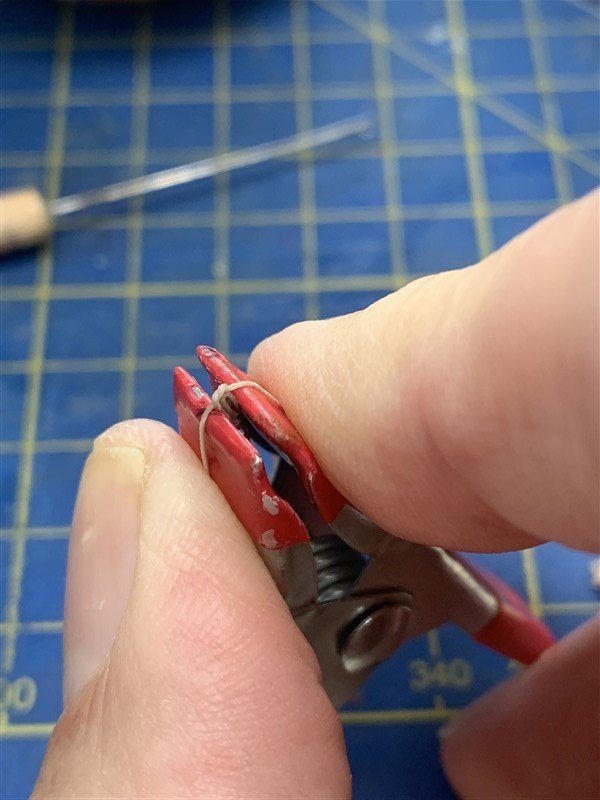
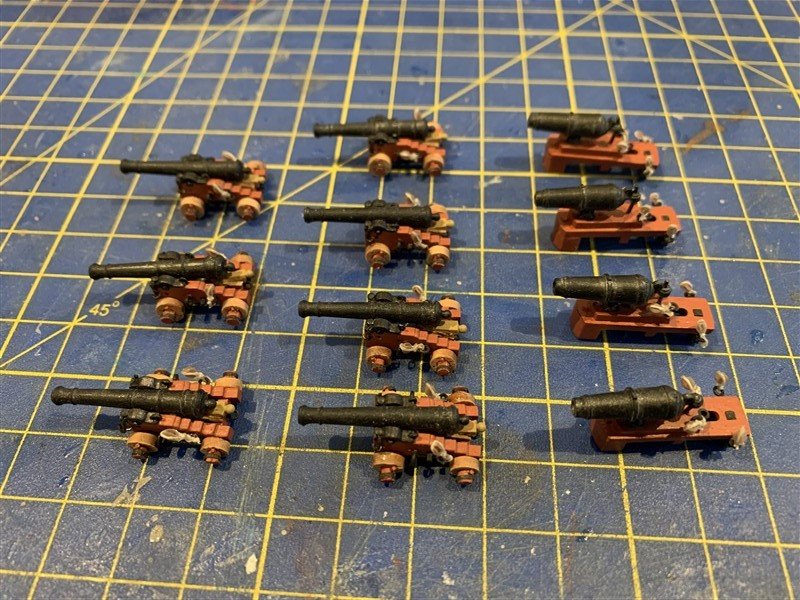
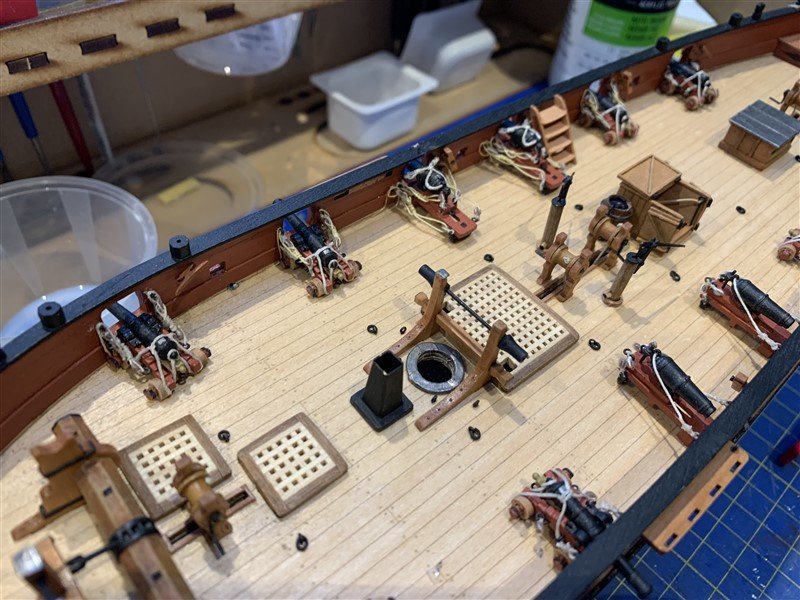
Update for this evening, Cannons & Carronades rigged - phew! 🙂 I'm not sure I will be rushing to rig guns as small as this again in a hurry.... overall happy with the result, but there areas I think I could do better on next time. I've also started adding shot garlands, just simple rope triangles, as no fixed garlands/racks are visible on the plans. For a good discussion on the subject, this thread is worth a read. The shot is selected bird shot I have in a jar, there is a good assortment of sizes, so I could get pretty close for the scale shot sizes required. I have also replaced the belay pins with 5mm brass ones, I bought the pack Ron recommend, so now I have well over a hundred more of these to use in future builds. Now need to do some clean-up and remove the accumulation of dust and bits on the model. Thanks for the likes and dropping by.
- 207 replies
-
- 17
-
-

-
Will be following along, I have got a CC. Snake in stock that I have always managed to avoid doing for over ten years now, not sure this is going to help! 🤭
- 76 replies
-
- 4
-
-
- Harpy
- Vanguard Models
- (and 1 more)
-
Really neat planking Ronald, rest in peace Mugje! ☠️😆
-
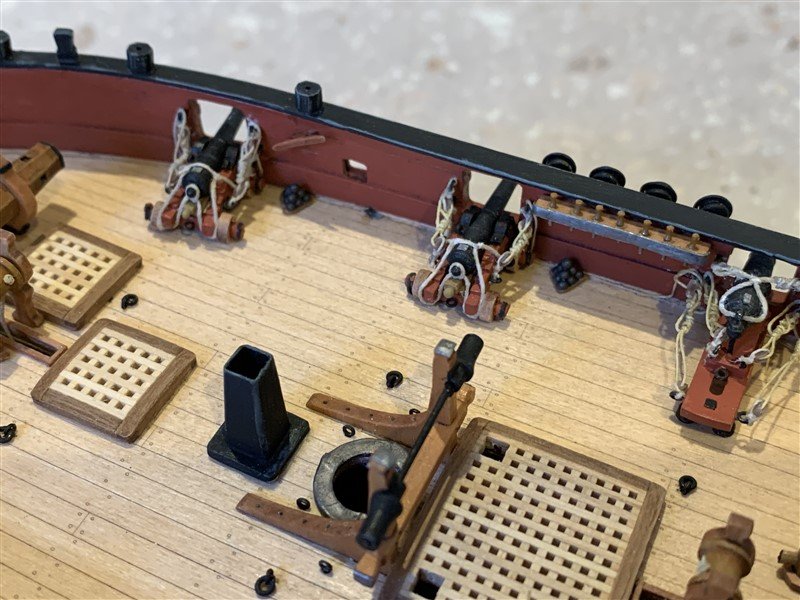
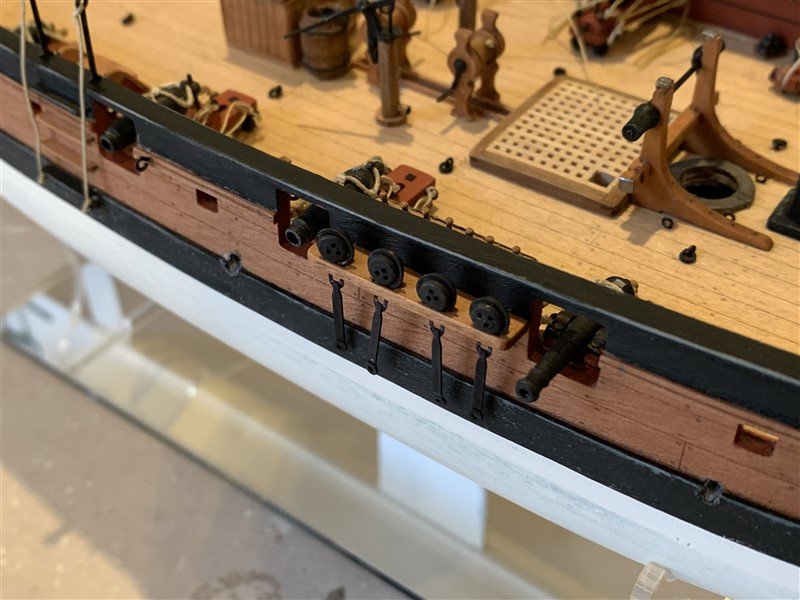
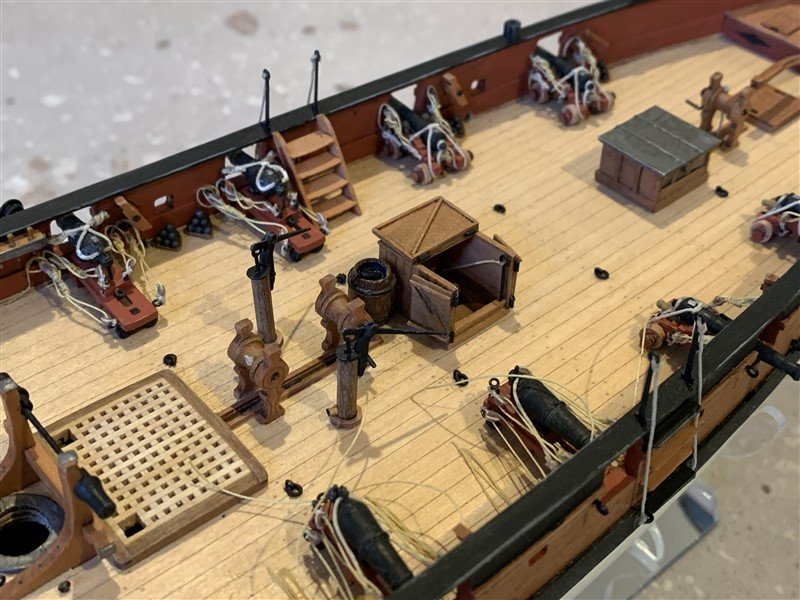
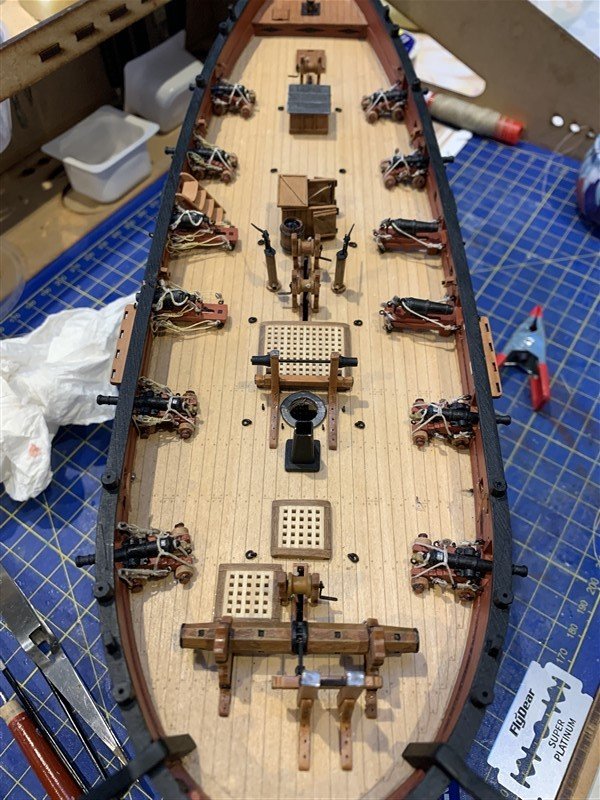
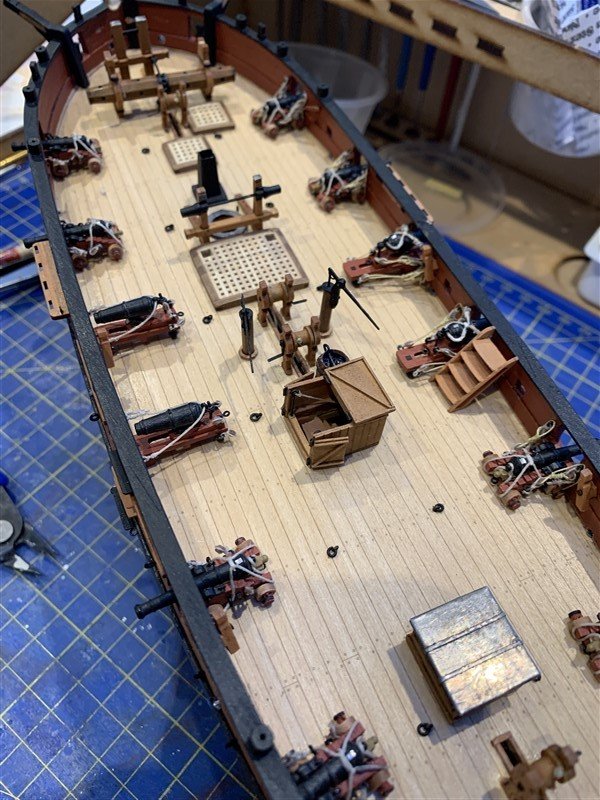
Firstly thank you everyone for your kind words and and good wishes regarding Belle and my recovery; taking it a day at a time, hopefully progress will be noticeable before too long! 😁 Back to the sadly neglected Trial! I have mostly been wrangling fiddly little blocks and trying to rig cannons/Carronades. So far done all the breeching ropes and about half the tackles. The eagle-eyed will spot that two of the Carronades are run in, these will be the ones that have gun crews around them, much later in the build. Also I have managed to take off the belay pin racks without too much damage; currently waiting for replacement belay pins that are more acceptable. - I don't know what all the fuss was about, I thought the "monster" ones would have doubled up nicely as cudgels/clubs to repel boards with! 😆 Until next time, thanks for looking in.
- 207 replies
-
- 14
-
-
Looking very good Will, nice lines.
-
Nice work on the deck fittings, those pumps looks especially tidy, good idea to use square wood rather than dowel for the casing.
-
Thanks Alan, Looking forward to seeing this come together, the sea looks very good. I’m back on MSW after an absence, won’t hijack your log here, the reasons are on my Trial log.
-
Snap! - I will follow along also as inspiration to get mine started one day. great start.
- 66 replies
-
- 1
-
-
- Adder
- Vanguard Models
- (and 1 more)
-
Hi Alan, playing catch-up on thread after being away from MSW too long, your seascape looks great, hope the redo on the paint work goes okay.