


AJohnson
-
Posts
1,493 -
Joined
-
Last visited
Content Type
Profiles
Forums
Gallery
Events
Posts posted by AJohnson
-
-
Welcome to MsW!

- Keith Black and mtaylor
-
 2
2
-
Welcome to MSW!
- mtaylor and Keith Black
-
2
-
Welcome to MSW
- Keith Black and mtaylor
-
2
-
43 minutes ago, ccoyle said:
Considering what you get, those are very reasonable prices.
Agreed, Adder especially seems good value, not much more than Trial.
-
-
Things have slowed up in the last week or so, the Admiral has got us doing another project in the house (decorating the kitchen) so modelling time at a premium!
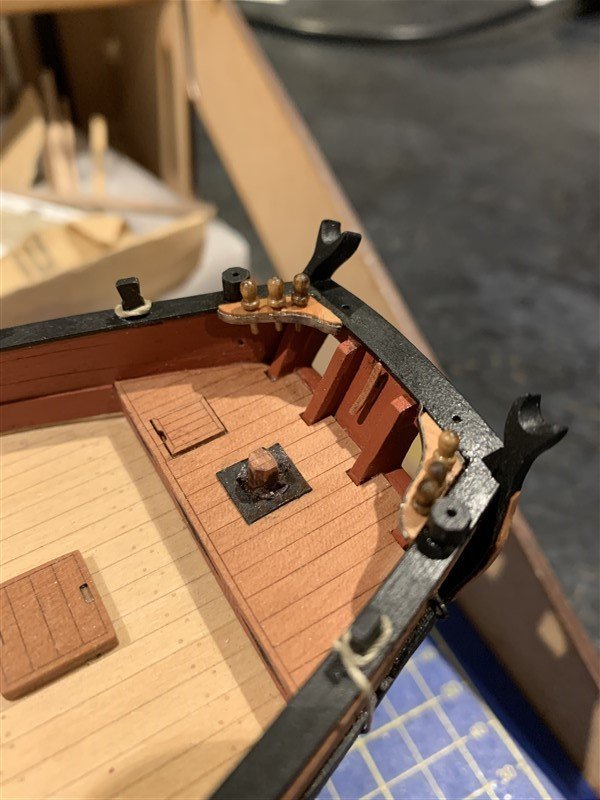
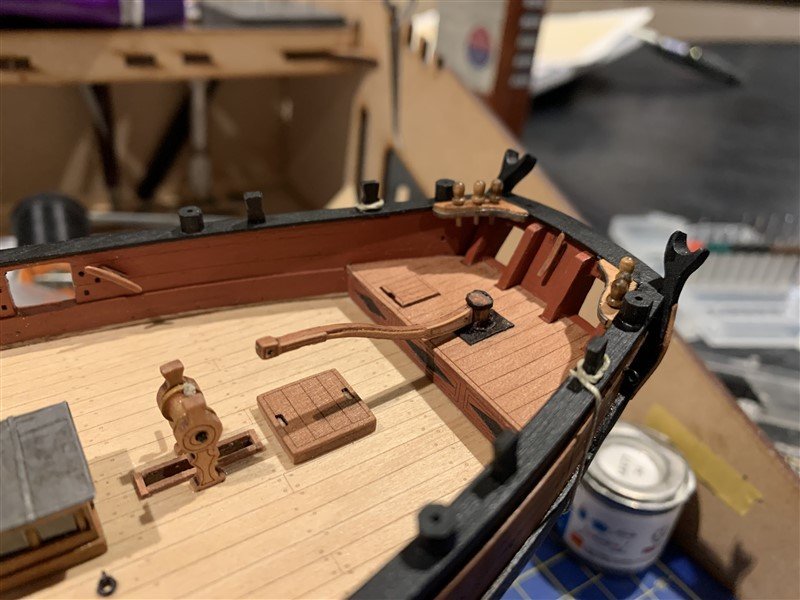
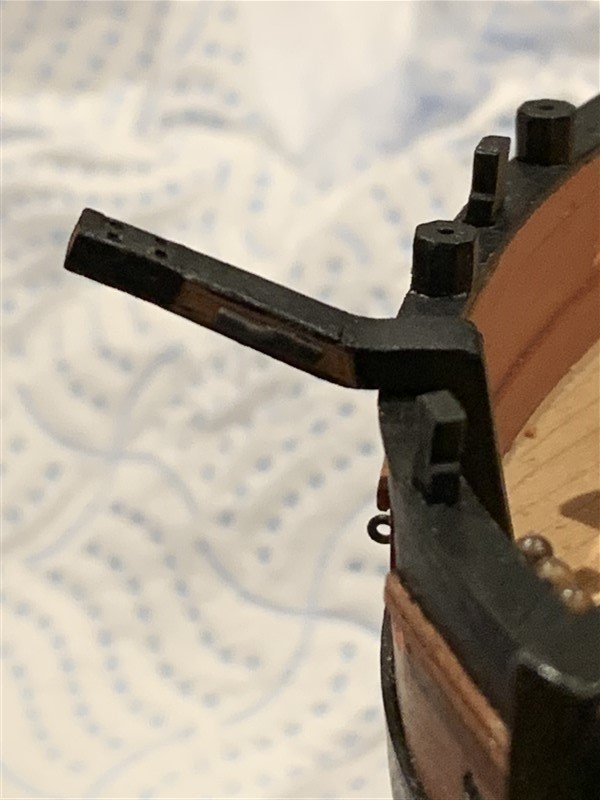
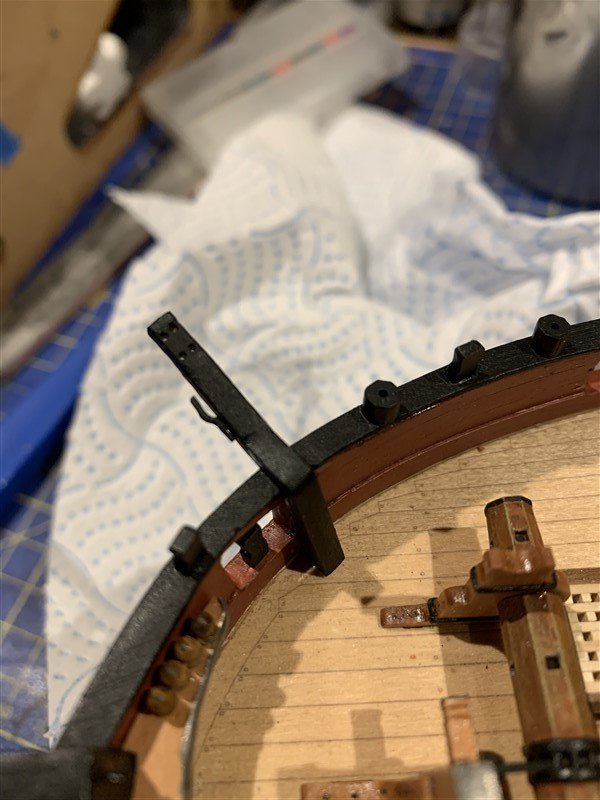
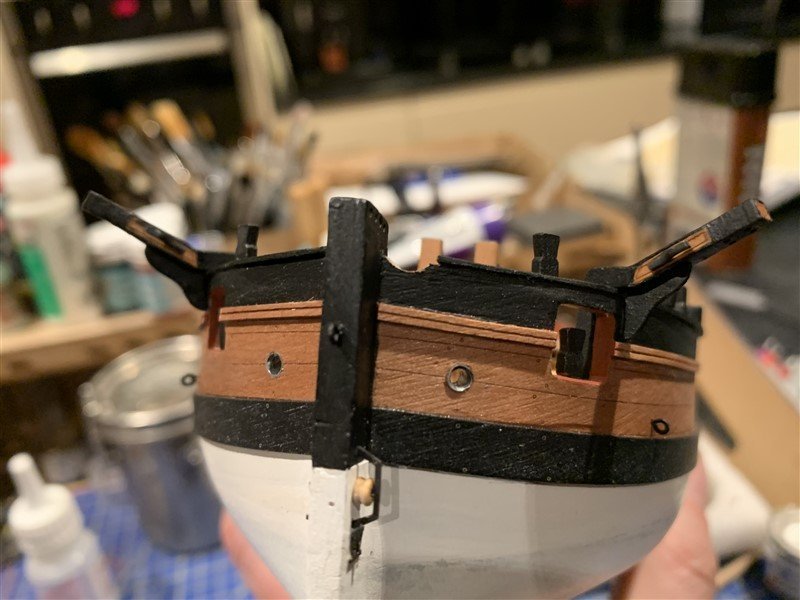
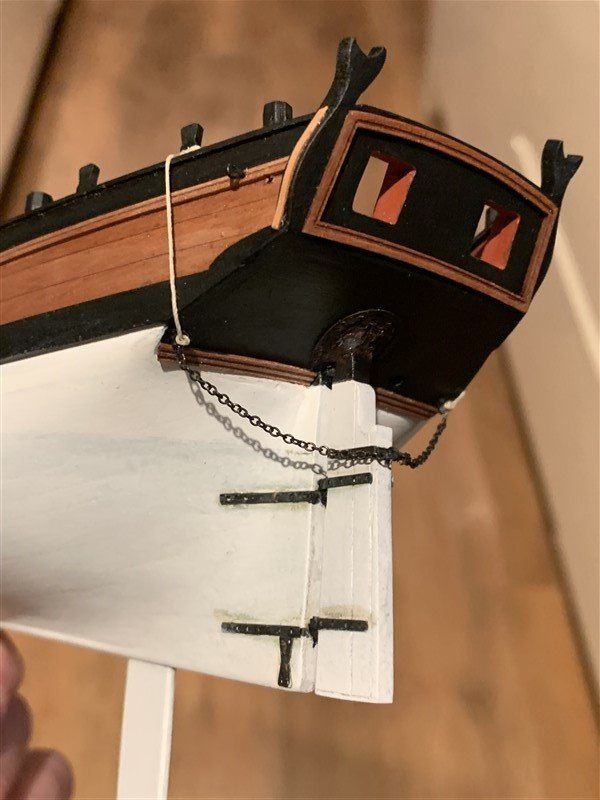
A few little bits have been completed:- I made some slightly larger stern knees and added belay pins for the aft braces I'm going to fit and the flag halliard. Assembled and fitted the catheads, I painted them to hide the parts construction but masked off the fine detailed etched into the sides; also added stopper cleats and cathead supporters as little extras. The tiller arm although assembled is not permanently fixed yet.
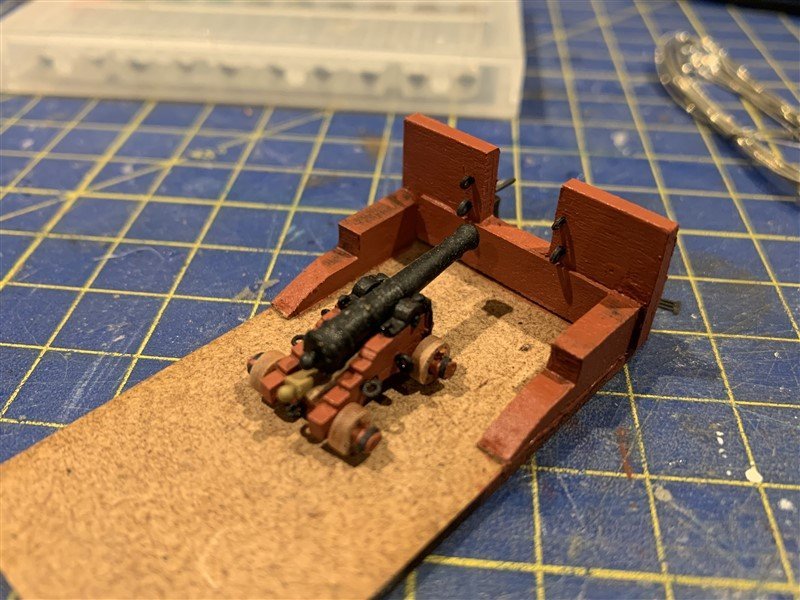
Next up as and when I get time is to rig and fit the ordnance. To that end I have made a little dummy gun port for rigging up the cannon before fitting to the model. I now also need to get some supplies to continue the build, so that and DIY might slow me up for a while.
Thanks for looking in

- Blue Ensign, hollowneck, DaveBaxt and 16 others
-
18
-
 1
1
-
-
That looks really good, an interesting subject and as you say, it does not take up much shelf space!

- JacquesCousteau and mtaylor
-
1
-
 1
1
-
Sorry to hear about Maggie, hope she makes a good recovery is home with you soon Keith.
- Glen McGuire, Ryland Craze, Dave_E and 2 others
-
4
-
1
-
Hi Glenn, Thanks for sharing your tips on trying out snaking. I have only tried it once on a build and found it to be a torment. Hopefully one of our MSW Sages will come to the rescue. I think yours will look very good indeed when you have blacked them with ink.
-
That looks outstanding David, really pleased you have blazed the trail for me and others to follow on this fine build. I also like clutter, looking at the contemporary models of Cutters like Trial & Hawke then they are very busy looking and cluttered with details like rope hanks anchor bouys and boats even.
Are you hoisting a flag at all?
-
That brings a smile to my face, like many I cut my wooden model boat building teeth on the Caldercraft Sherbourne, how kits have moved on!
- mtaylor, hollowneck, Kevin and 3 others
-
6
-
-
2 hours ago, Morgan said:
You’ve mentioned before this is an itch you want to scratch, just go for it 😉
Gary
You are definitely going to need bigger premises at this rate Chris!
- Canute, thibaultron, chris watton and 2 others
-
5
-
-
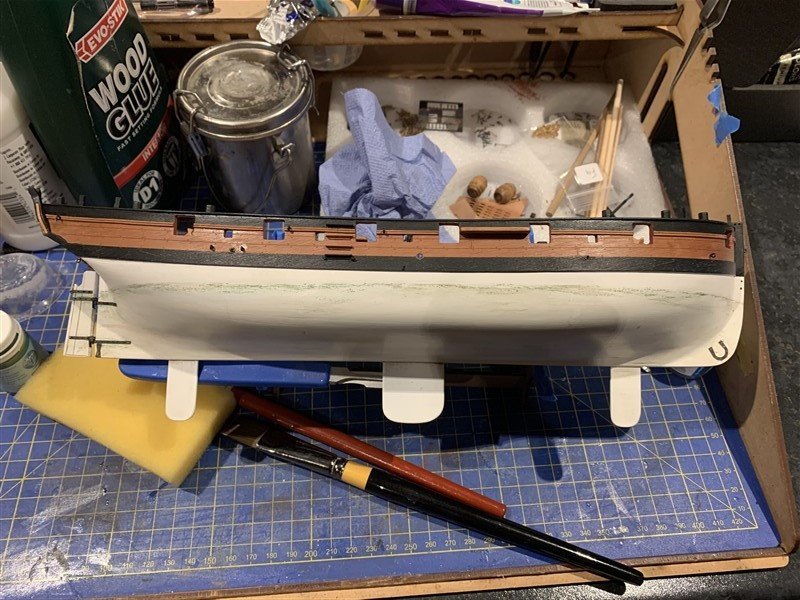
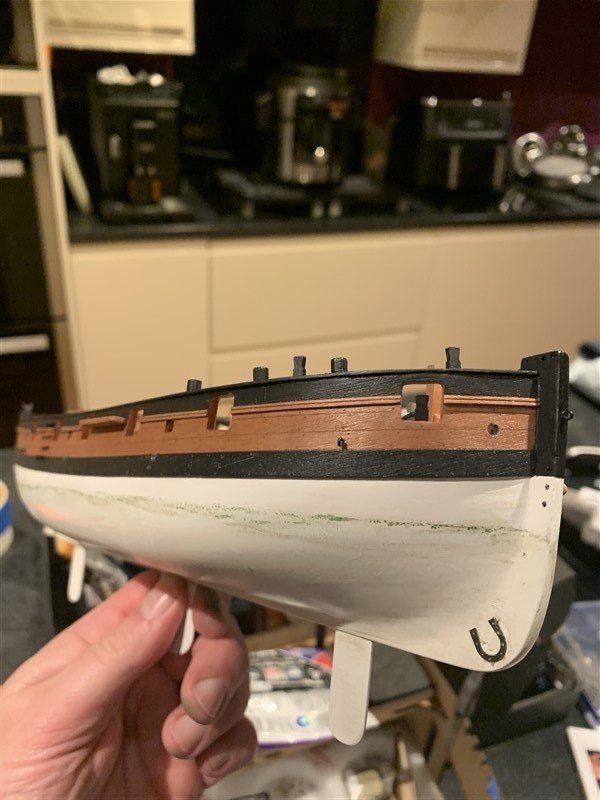
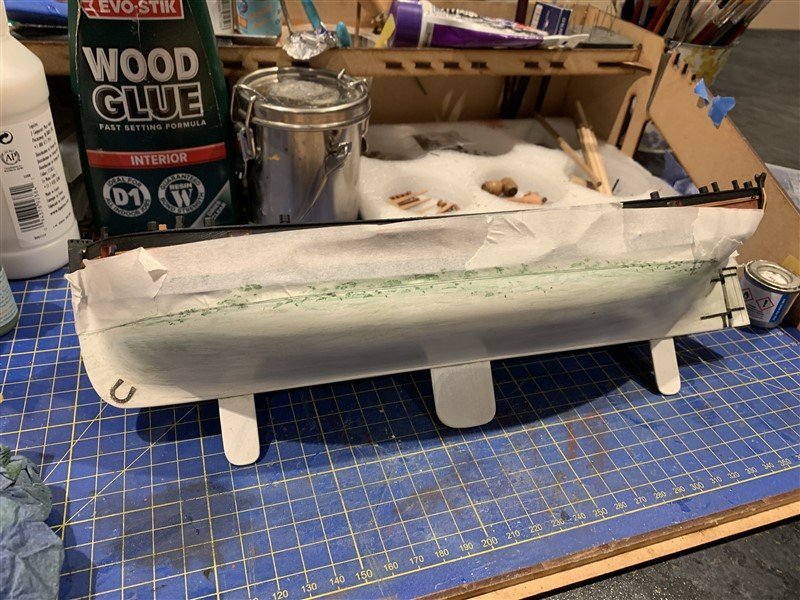
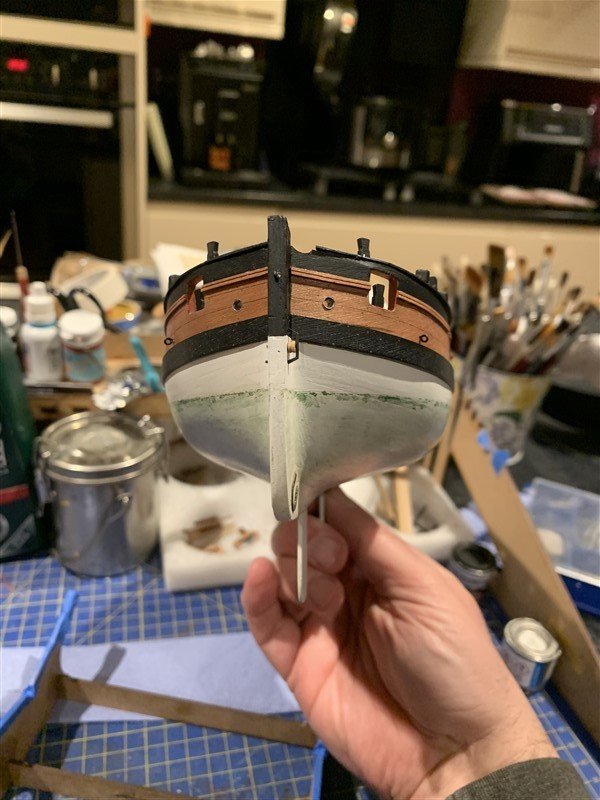
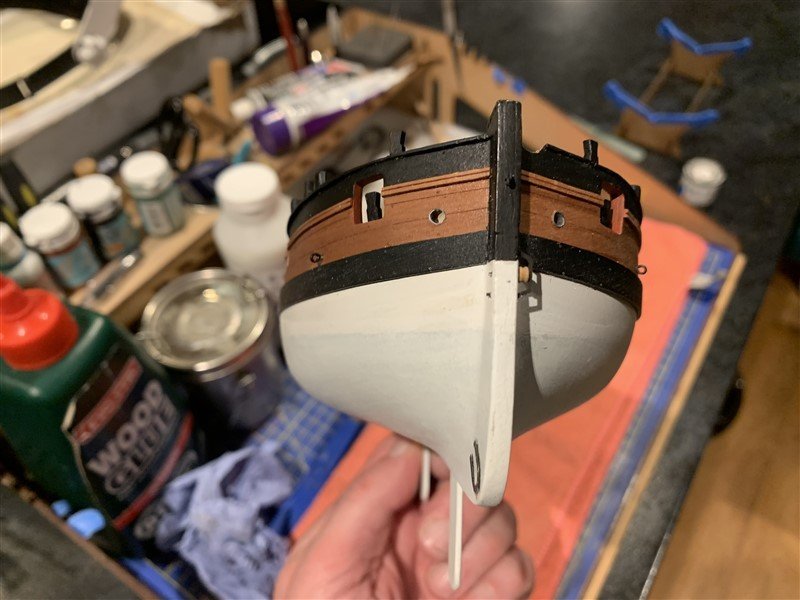
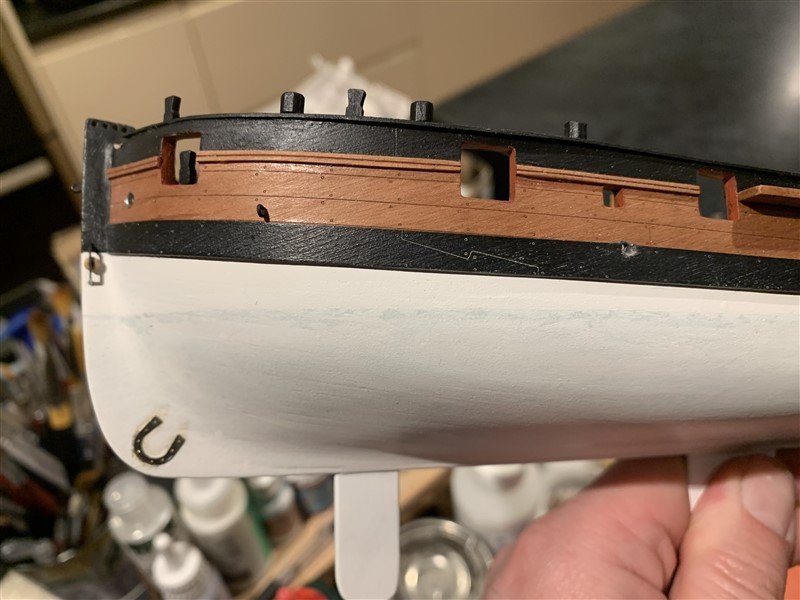
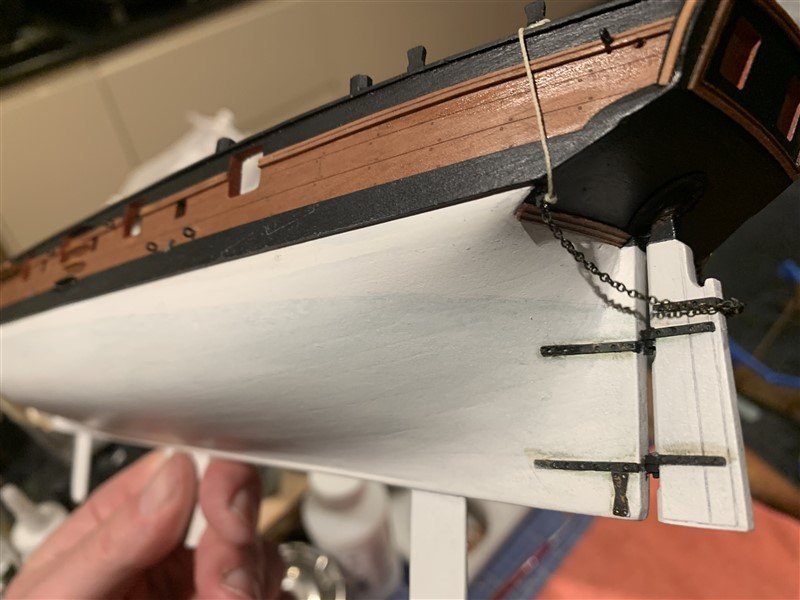
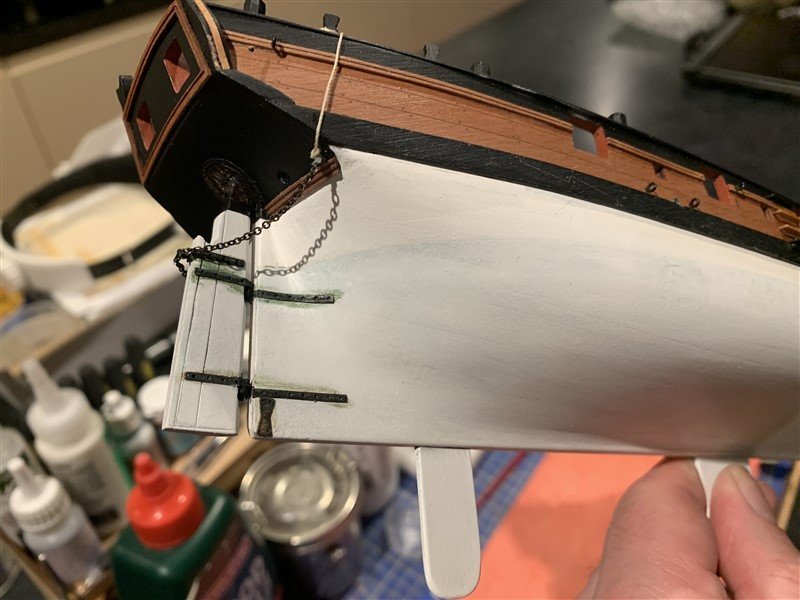
Update to show the progress so far on the hull. I wanted to show someone looking at the model where the nominal waterline would be ( as the white goes up to the underside of the wale) and so wanted to add some indication of waterline fouling.
This has been a bit of Trial and error! Weathering is always subjective in model kits and striking the right balance between realism and something that just isn't "nice" to look at is difficult. So having built up some washes and grunge/fouling, I have decided to knock it back and maybe with a bit of judicial sanding away of the top coat reveal a little more waterline fouling, but I'll take it steady. Once fully hardened it will need a flatting with very fine abrasive and old towelling to make the surface clean again, macro photography shows all that up nicely! 😣
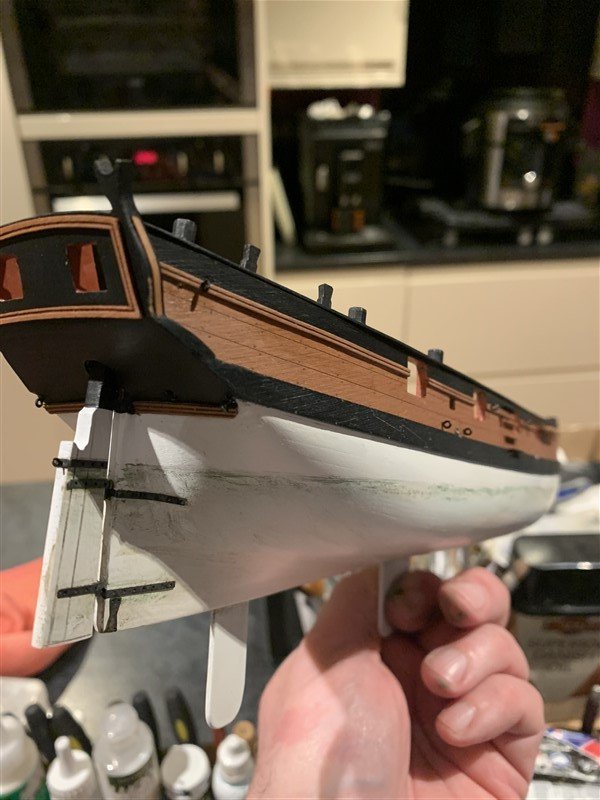
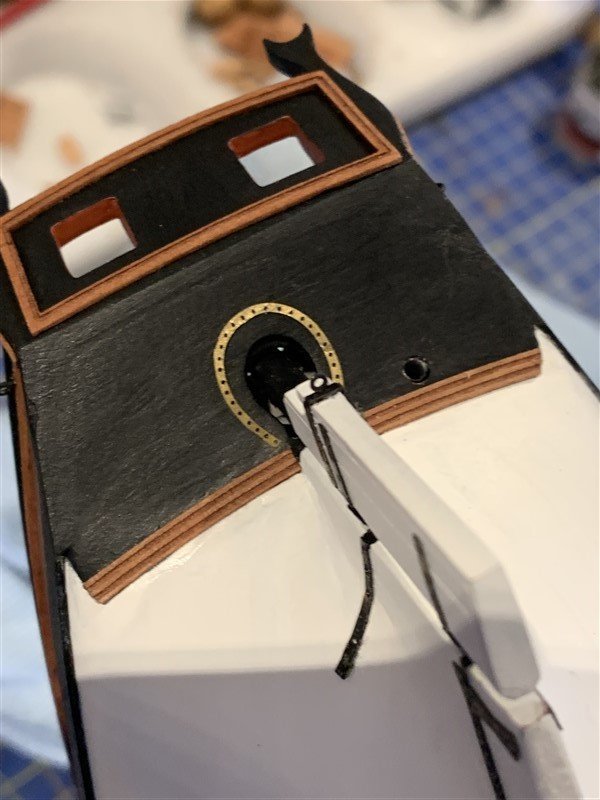
Also added a few rudder details, like the rudder coat and ring as shown in the plans and rudder chain.


-
4 hours ago, chris watton said:
I did rush the rig, cut a lot of corners, meaning it took around 5 days from shrouds to braces - but I only need the model to look presentable for box art...
I don’t know Chris, your rushed rigging in 5 days would make most of us very happy if we did it! 🤣
-
Wonderful looking presentation, just great Glen.
- FriedClams, Keith Black, mtaylor and 1 other
-
4
-
-
7 hours ago, realworkingsailor said:
Looks like fun, count me in.
Although he’s just started, @AJohnson is working on the 1:24 Typhoon, and he’s built a few other nice Airfix kits on here too, you may wish to check out his builds.
Andy
I also have this Spitfire IXc in my stash, just not the time to do them; building a boat at them moment. But I will follow along and see what is involved in this kit for later.
-
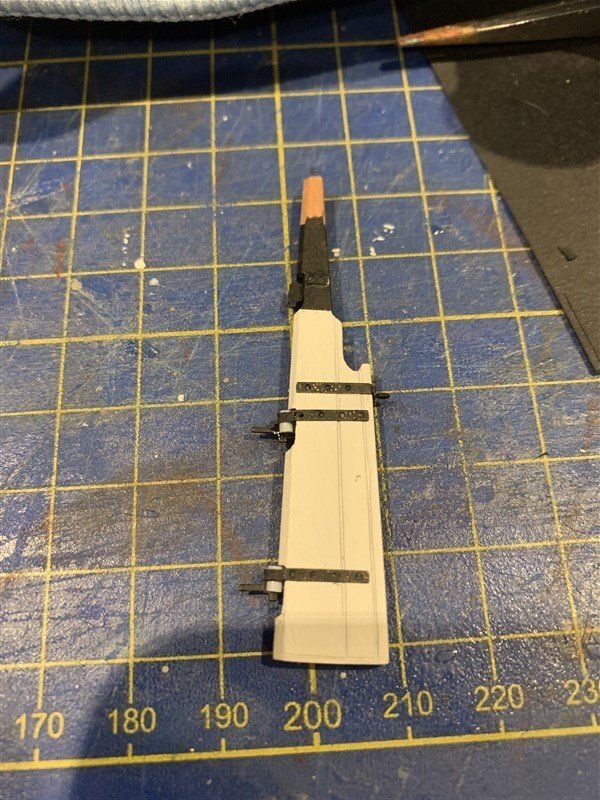
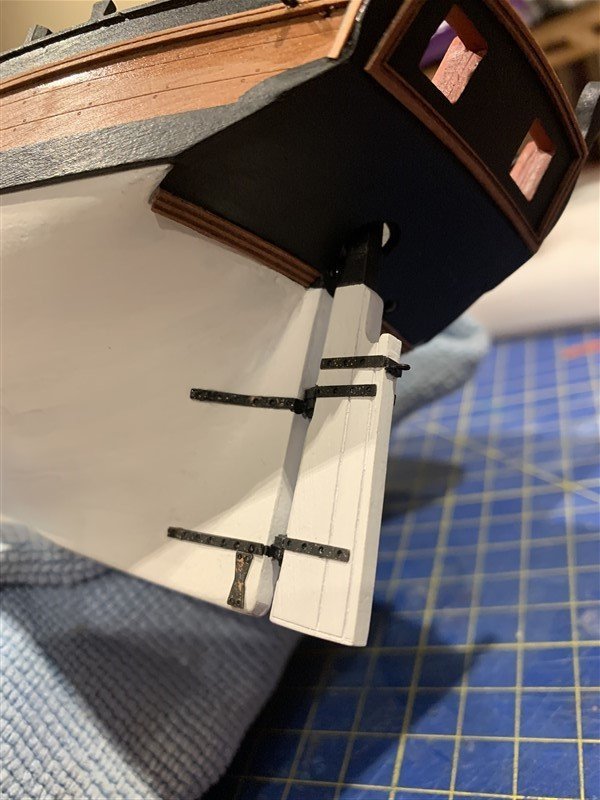
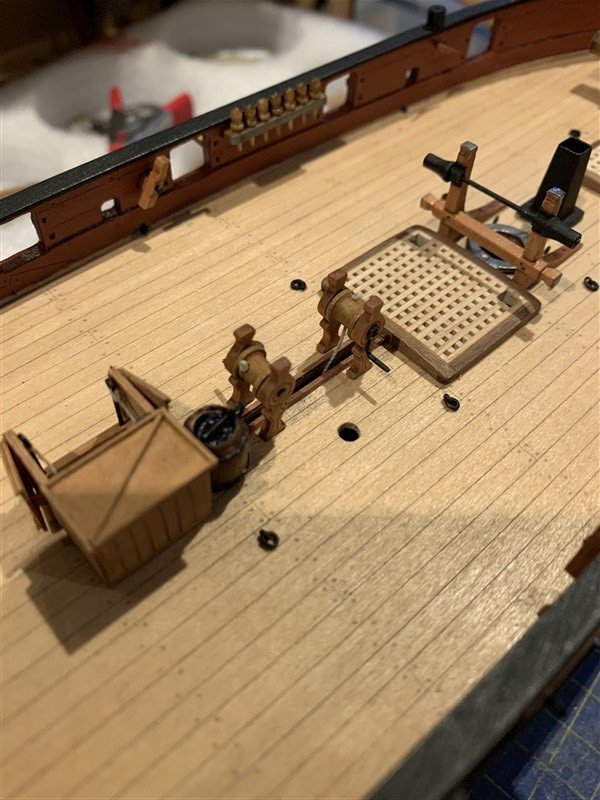
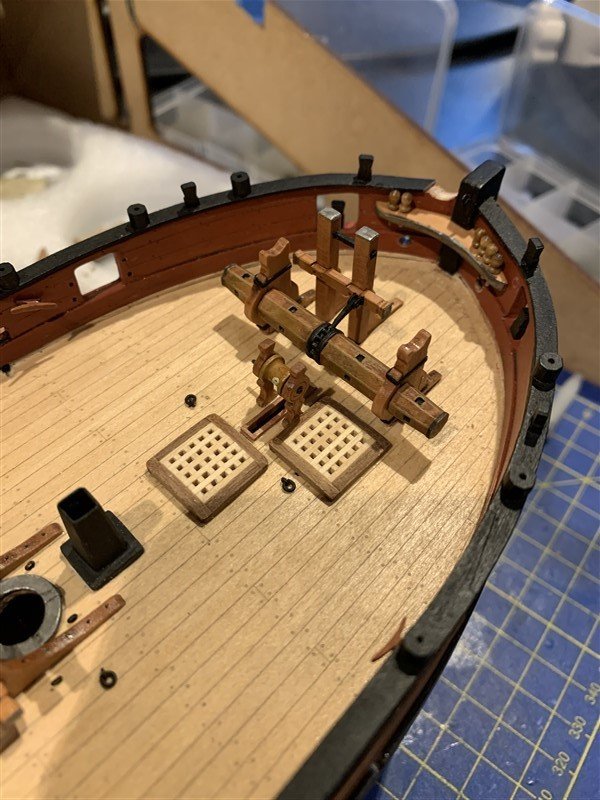
Updates for the last few days, the rudder assembly has been completed, the only changes to this I made was to add thickness to the pintle/gudgeon with some hemispherical plastic rod, as the PE parts looked a bit 2D. I'm playing around with some parts from the spares box to make a rudder coat frame, the part in the third picture is from a 1/48 aircraft canopy frame, think it might work!
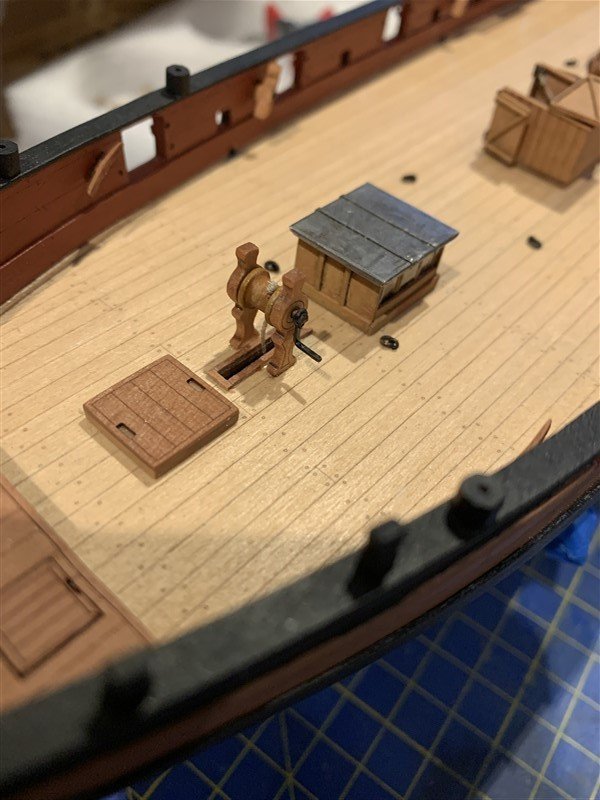
I've also added the sliding keels and the winches. I actually installed mine from the bottom upwards as the the white paint made them too thick to slide from the top down. This meant taping the lines to a thin knife and poking them them through the slot so I could pull the thread through and attach to the winch drums, a bit fiddly, but no dramas really.
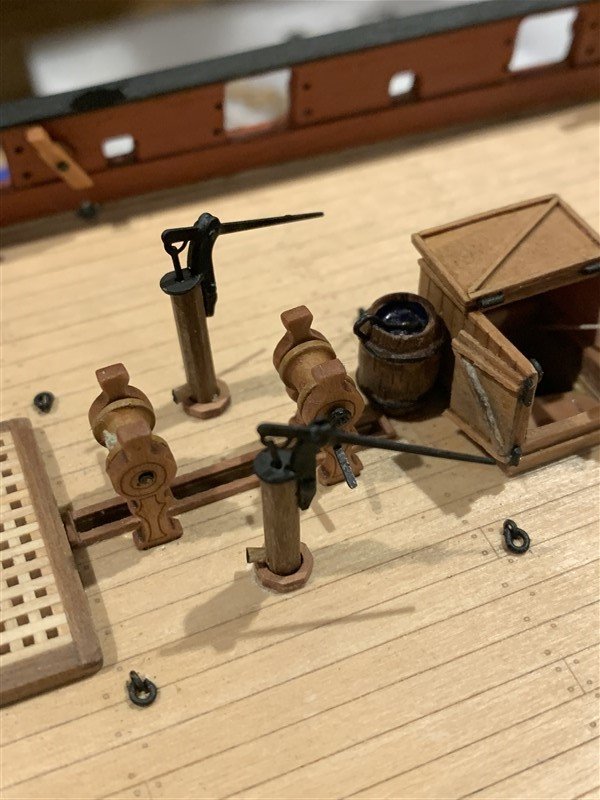
Final addition has been the Elm tree pumps.
I'm now working on how to apply a little grunge and algae markings on the waterline and below, but not sharing that yet, as it looks terrible when the washes first applied, a bit like the multi coloured pre-shading planking I did before the final coats of white.
Thanks for all the likes and kind comments. 😉

-
5 hours ago, jpalmer1970 said:
Next on the list is a very quick build of a Napoleonic French field gun.
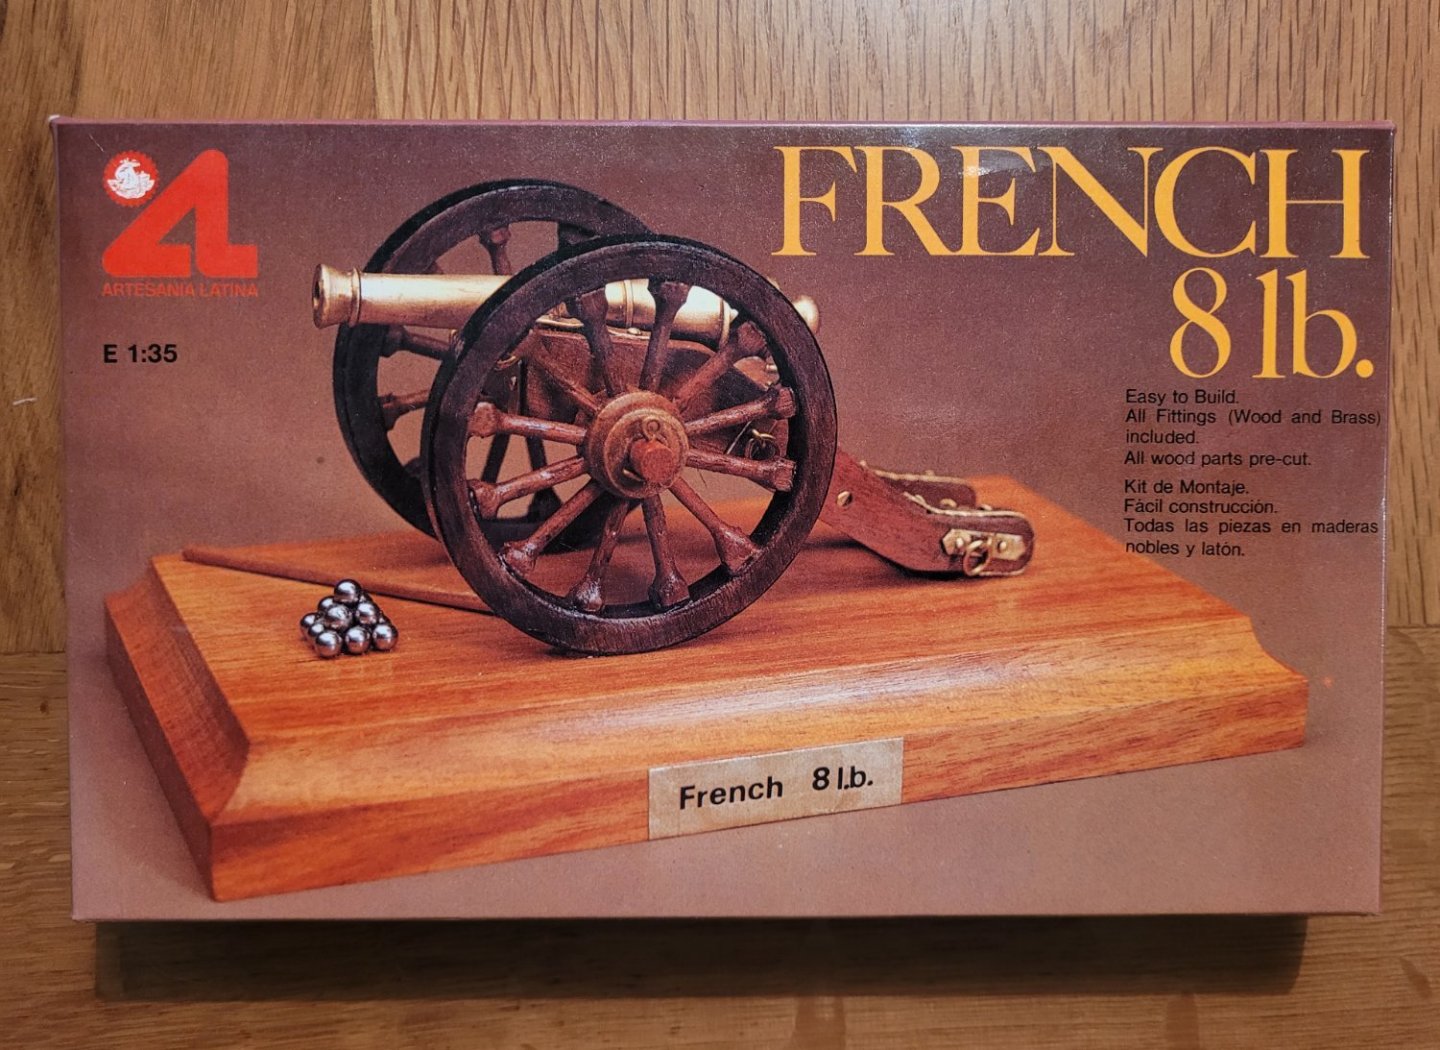
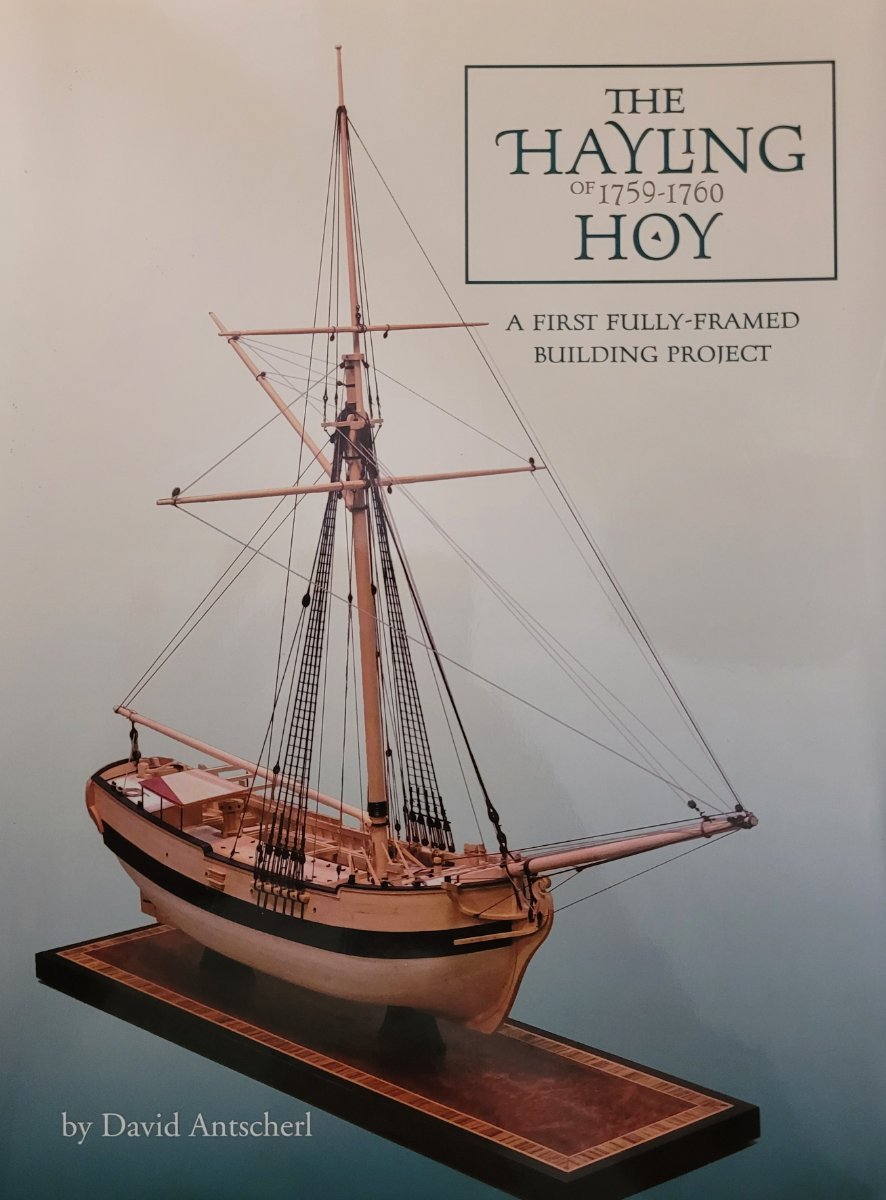
After that I will be returning to ship building and I'm going to try my hand at a scratch build of the Hayling Hoy.

I must admit to feeling somewhat out of my depth with this as it will be a completely new level or woodwork for me. I have bought the required tools I need such as a thicknesser and scroll saw but have no idea how to use them properly 😀 I foresee that there will be a lot of sawdust and do overs. The Hayling Hoy will be a very long term project for me which works well because I don't really have a lot of space to display more models!
I will be interested to see your work on the Hayling Hoy, I have that book and like you feel it will be the cause of much sawdust and cursing on my part! So it sits on the book shelf for now…
-
Excellent work Jeremy and the display base and case really set it off.

-
Well done Simon, Saucy Jack looks really good. 👍 That is a nice display you are building. You should have no trouble with “Nisha” another great kit from Vanguard.


HMS Dreadnought 1907 by RGL - FINISHED - Zvezda - 1/350 - PLASTIC - revisited
in - Kit build logs for subjects built from 1901 - Present Day
Posted
Second that, mind blowing detail.