HOLIDAY DONATION DRIVE - SUPPORT MSW - DO YOUR PART TO KEEP THIS GREAT FORUM GOING! (Only 20 donations so far - C'mon guys!)
×


Paul Le Wol
-
Posts
1,016 -
Joined
-
Last visited
Content Type
Profiles
Forums
Gallery
Events
Everything posted by Paul Le Wol
-
Gary, this is a great start to a very interesting looking project. I am all signed up and ready to follow.
-
Peter, in every square millimeter of your Xebec there is something to marvel at. Outstanding!
- 208 replies
-
- 6
-

-
- kitbashing
- Woodcarving
- (and 4 more)
-
Hi Wookie, my bad. I should have said ‘that I’m building a model of a 44 foot North Carolina Oyster Sharpie. It’s my understanding that the earlier sharpies were smaller with free standing masts. As they got bigger then stays were added. As to whether they had deadeyes, shackles or turnbuckles not sure. There’s probably someone here that knows a heck of a lot more about sharpies than I do. Maybe they can chime in.
- 55 replies
-
- 2
-
-
- sharpie schooner
- Midwest Products
- (and 1 more)
-
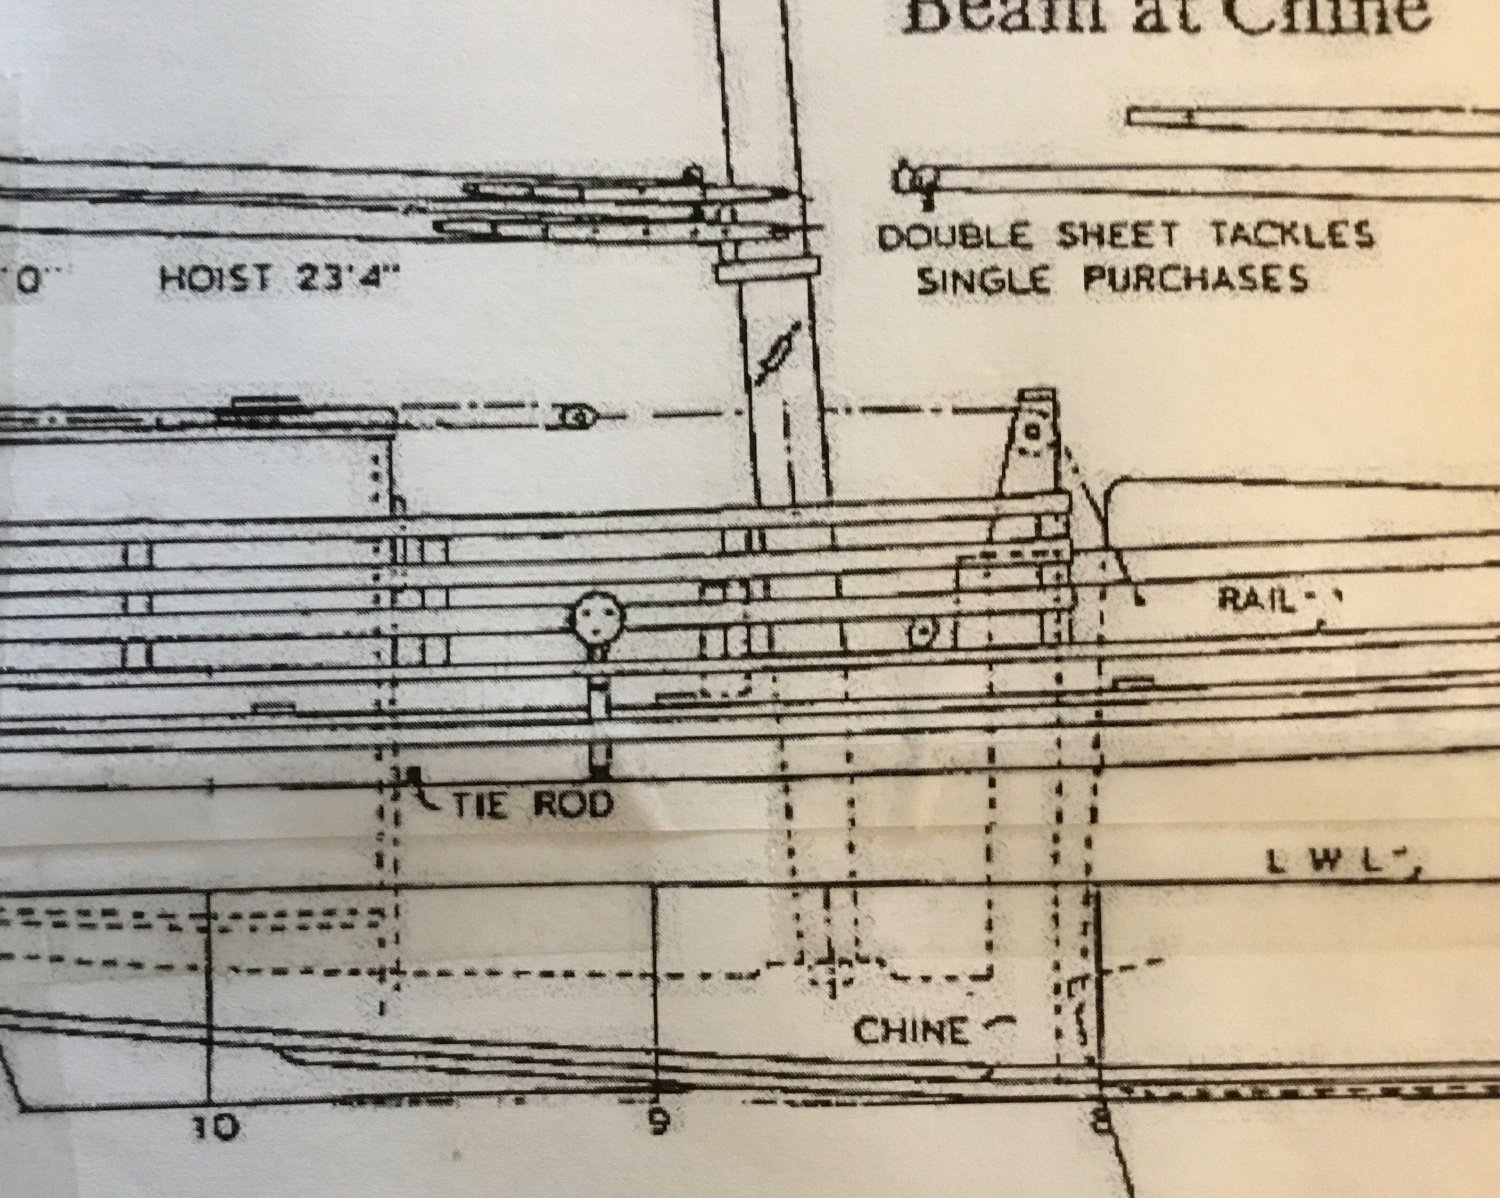
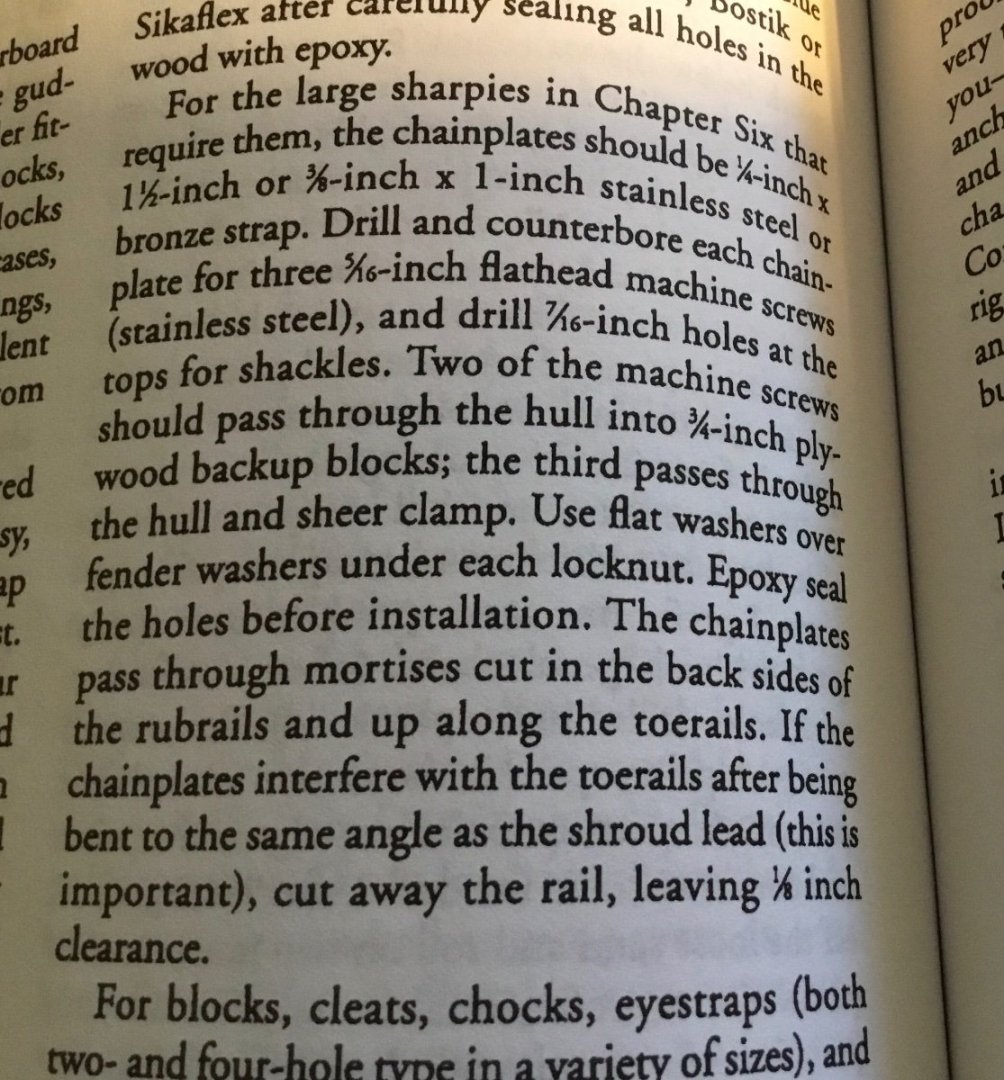
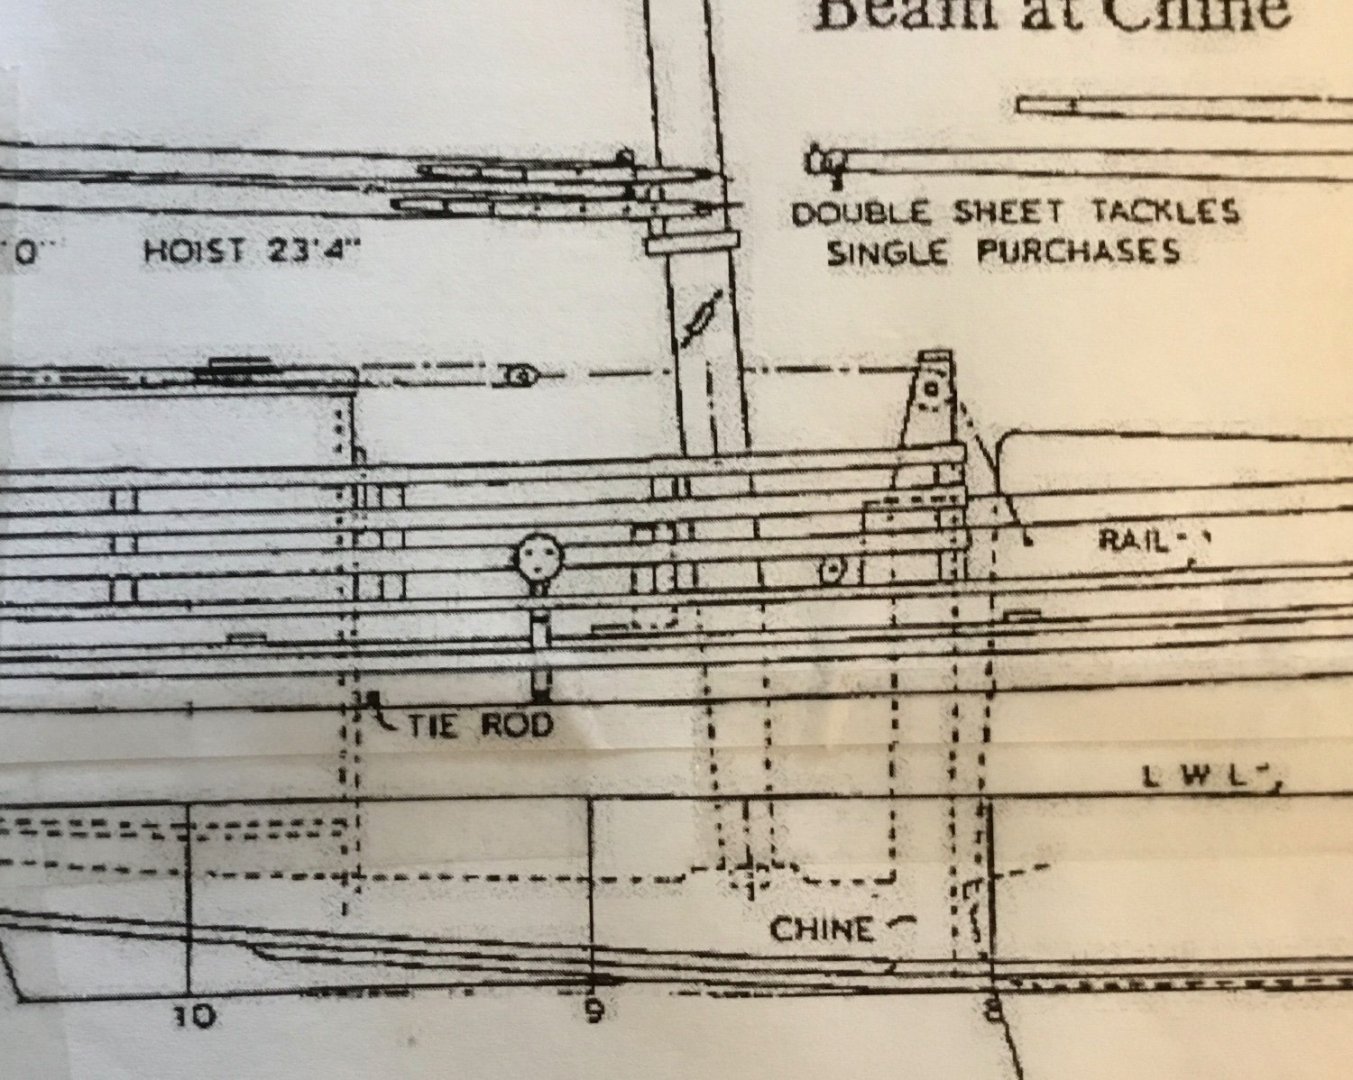
Hi Wookie, this first picture is an excerpt from The Sharpie Book where the author is describing how to attach a chainplate if you were making a sharpie today. The second picture is taken from the plans of the 44 foot sharpie I am building. It looks like either way the chainplate passes behind the rub rail. Perhaps you could add a fake piece below the rub rail instead of doing any wood surgery. Sorry about bunging up your log with photos
- 55 replies
-
- 1
-
-
- sharpie schooner
- Midwest Products
- (and 1 more)
-
Hi Bruce, Sunwward Hobbies in Toronto Ontario has a good selection of AK products. Don’t know about 3rd Gen. They ship to USA. I have bought from them before and was always a good experience.
-
SS Keewatin - last Edwardian passenger steamer
Paul Le Wol replied to JKC27's topic in Nautical/Naval History
Lucky for all of us that the timing was so good -
SS Keewatin - last Edwardian passenger steamer
Paul Le Wol replied to JKC27's topic in Nautical/Naval History
We stopped by to see SS Keewatin just after her arrival at Port McNicoll. She looked so sad and tired. I didn’t realize that they had done so much work on her. This is great news. Thanks for posting this. -
Hi BeeWee, a few years ago I bought an “Ultra Thin Razor Saw from Lee Valley ( $14.90 CAD ) ( item # 60F0310 ). Been using it to cut wood as well as brass and aluminum. Still chugging along. Mentioning it because you have a store in Calgary. Good luck with your search.
-
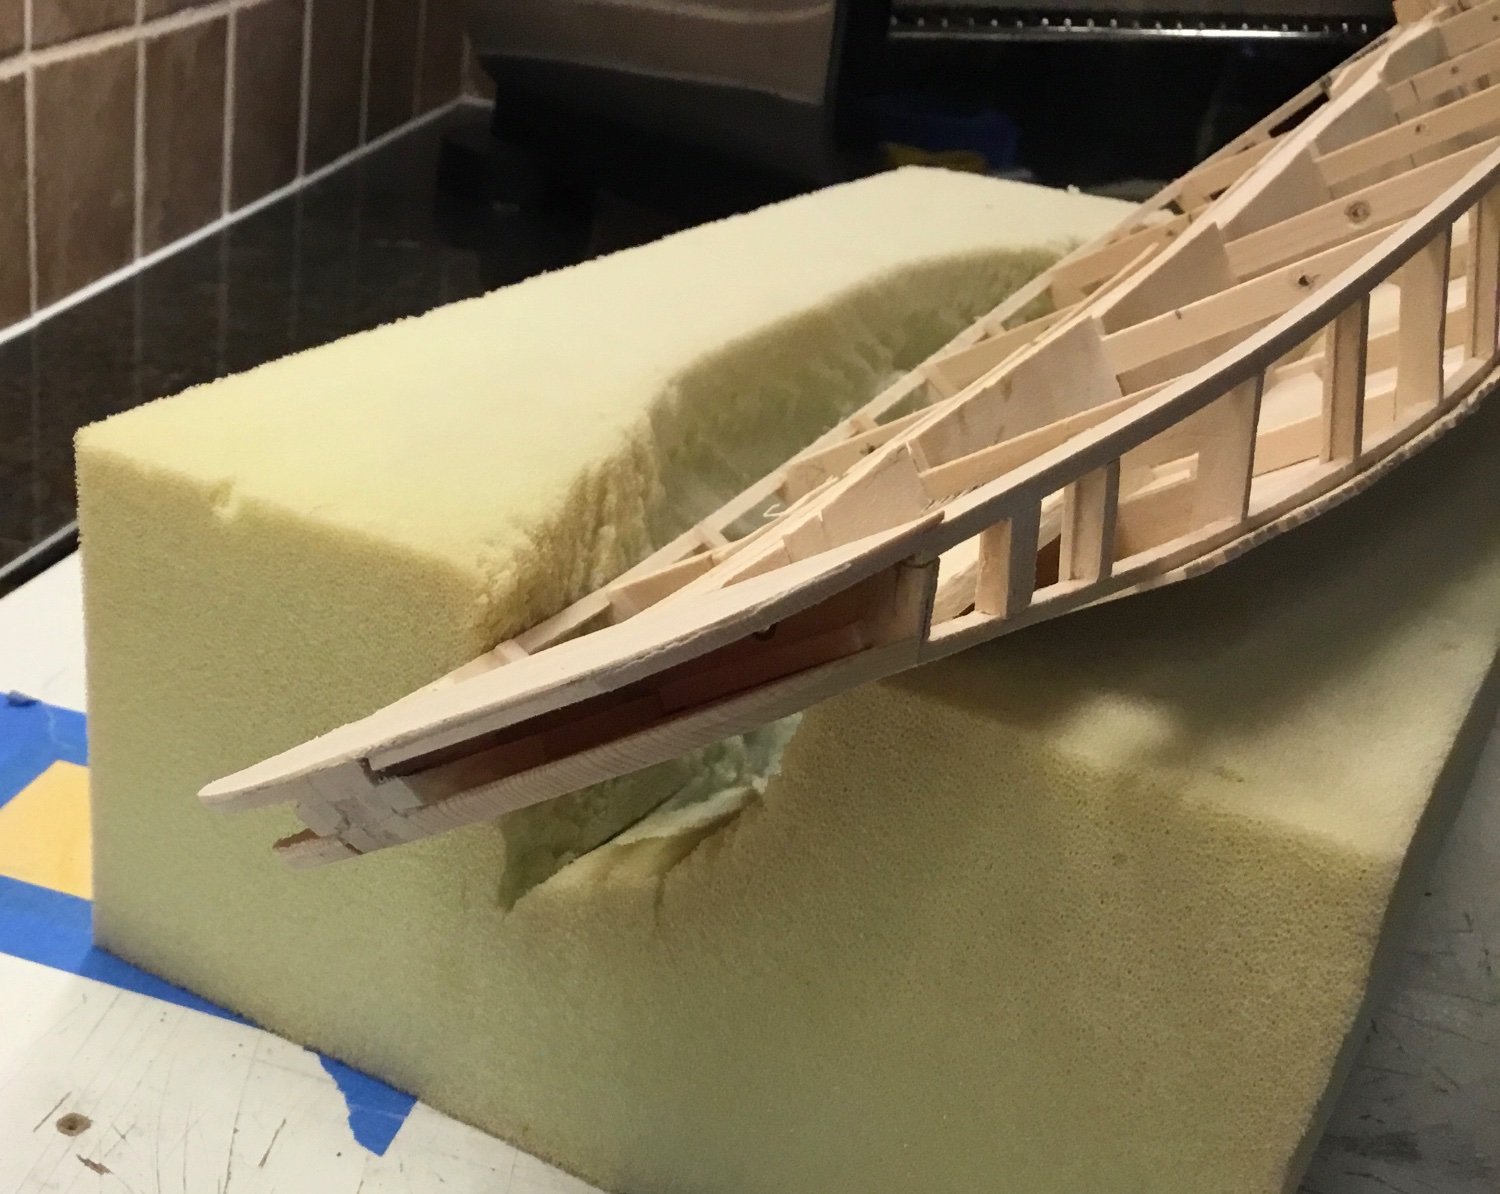
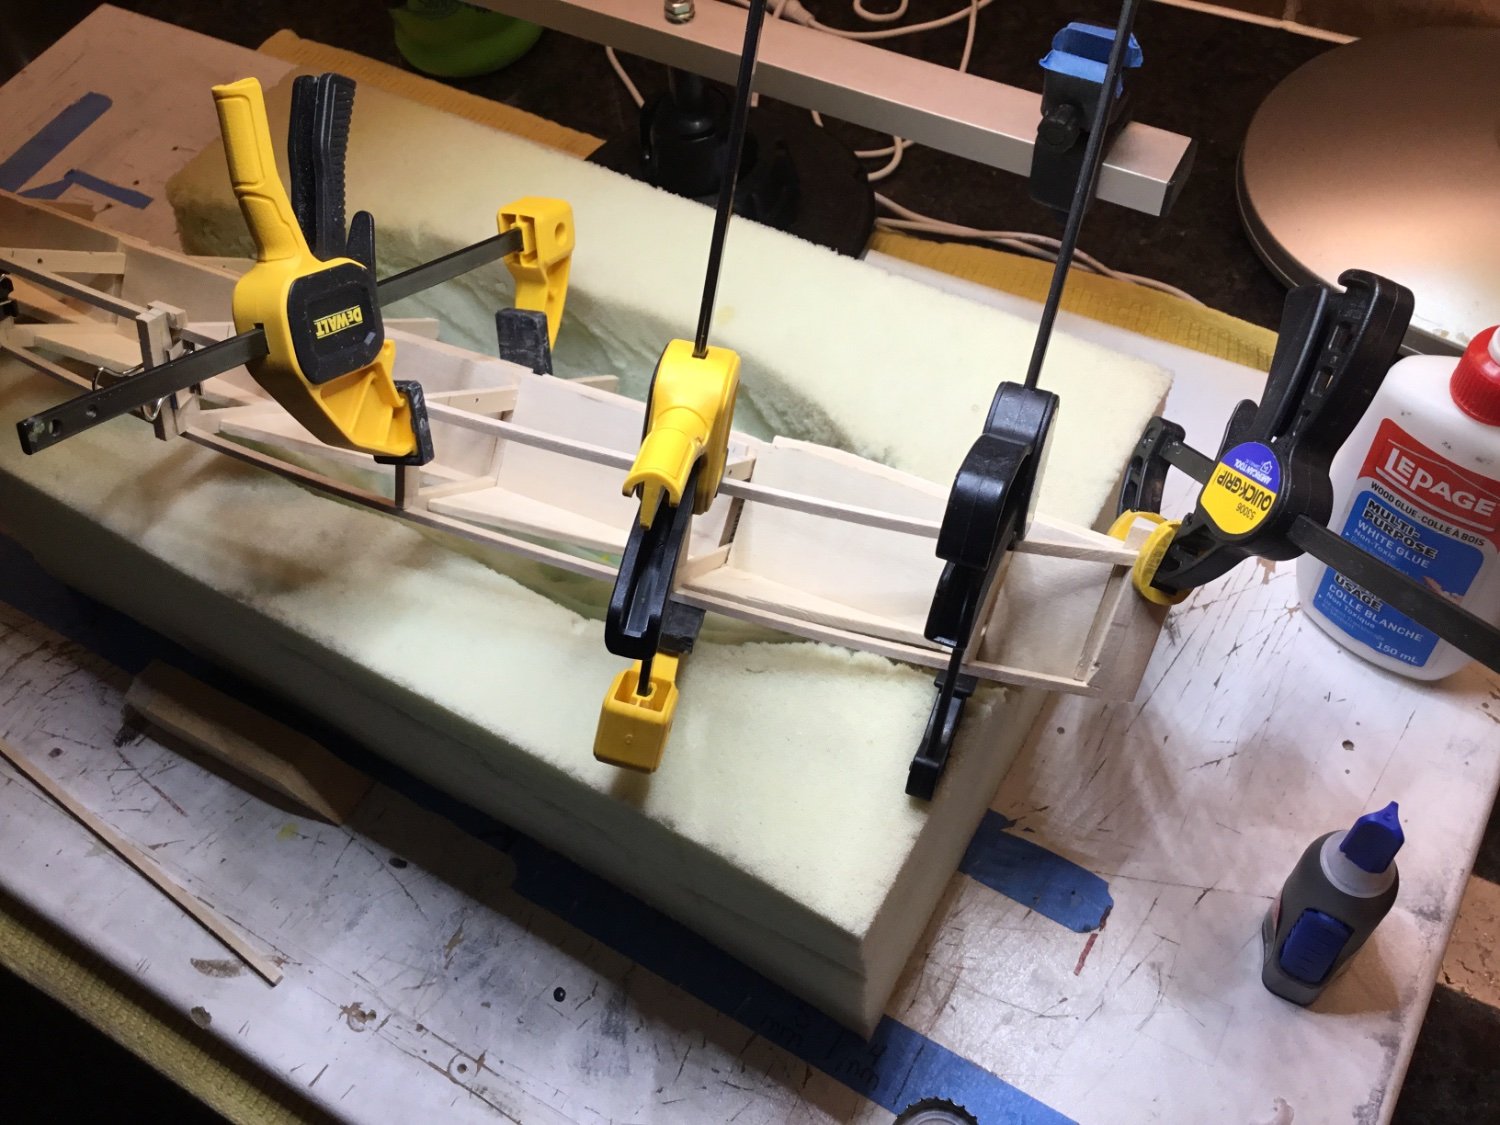
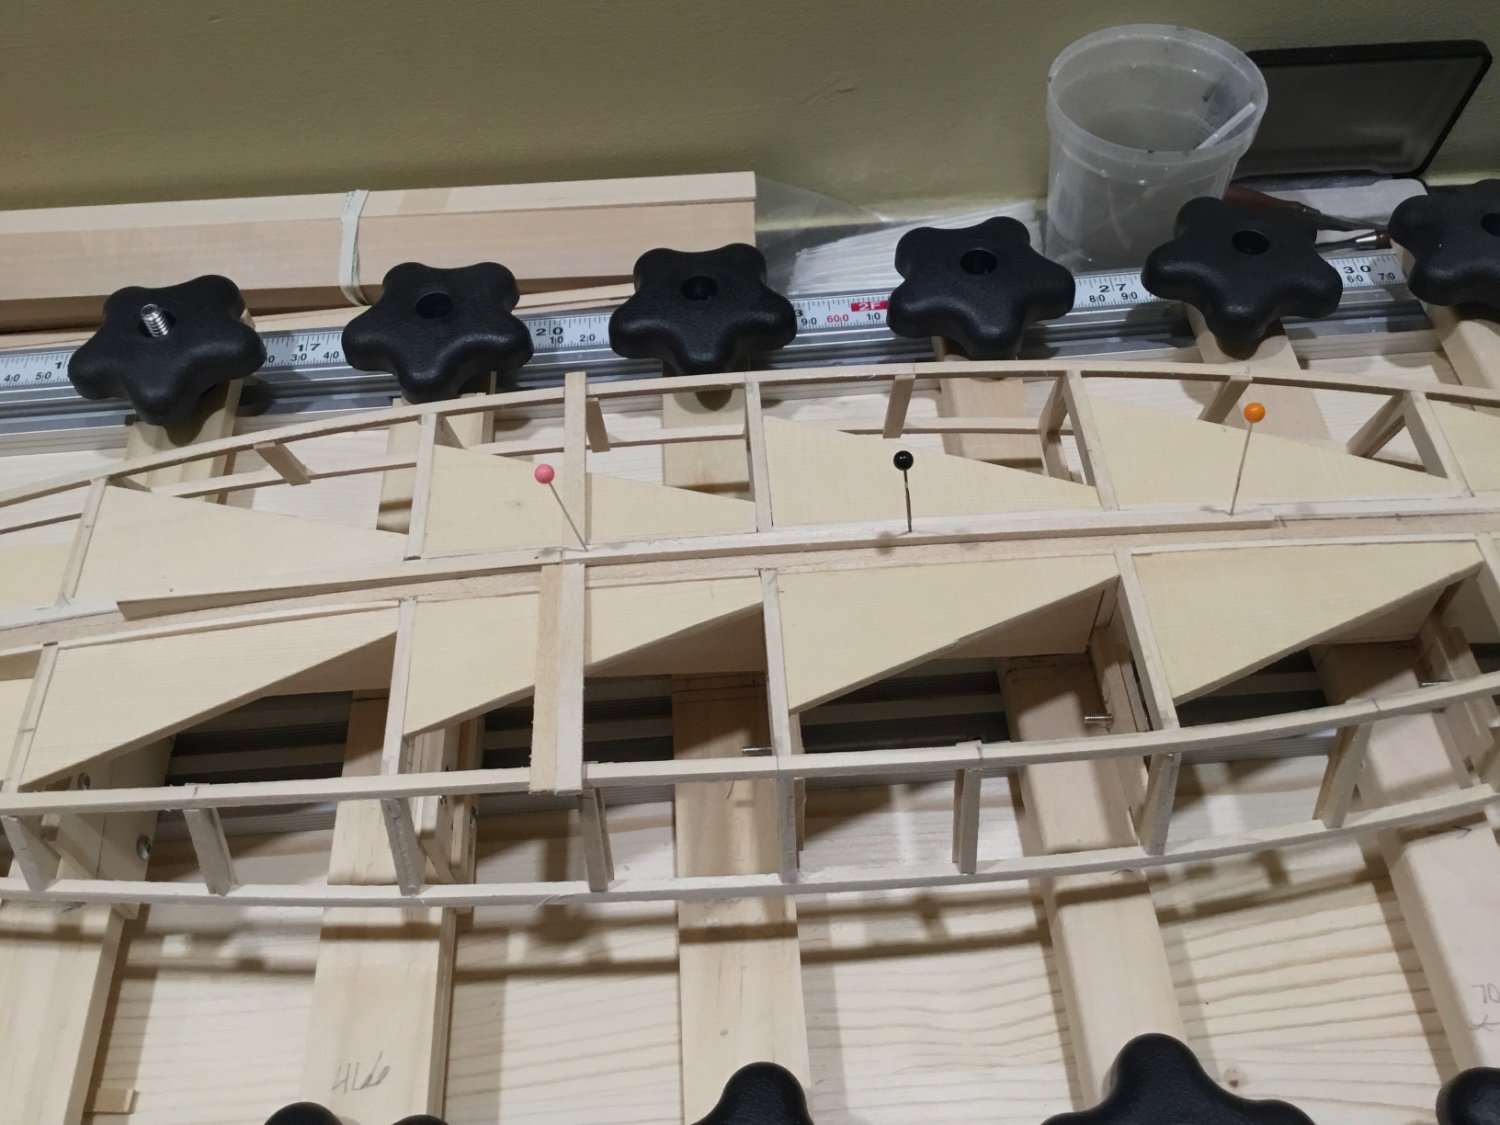
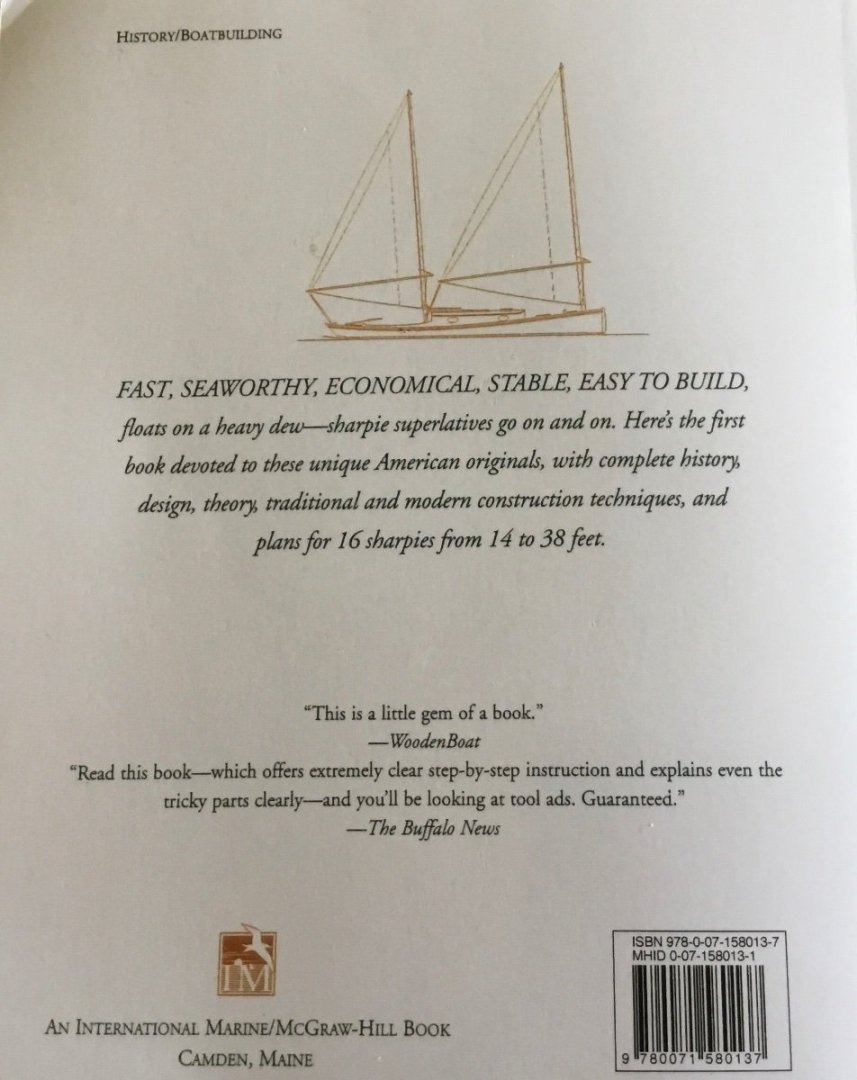
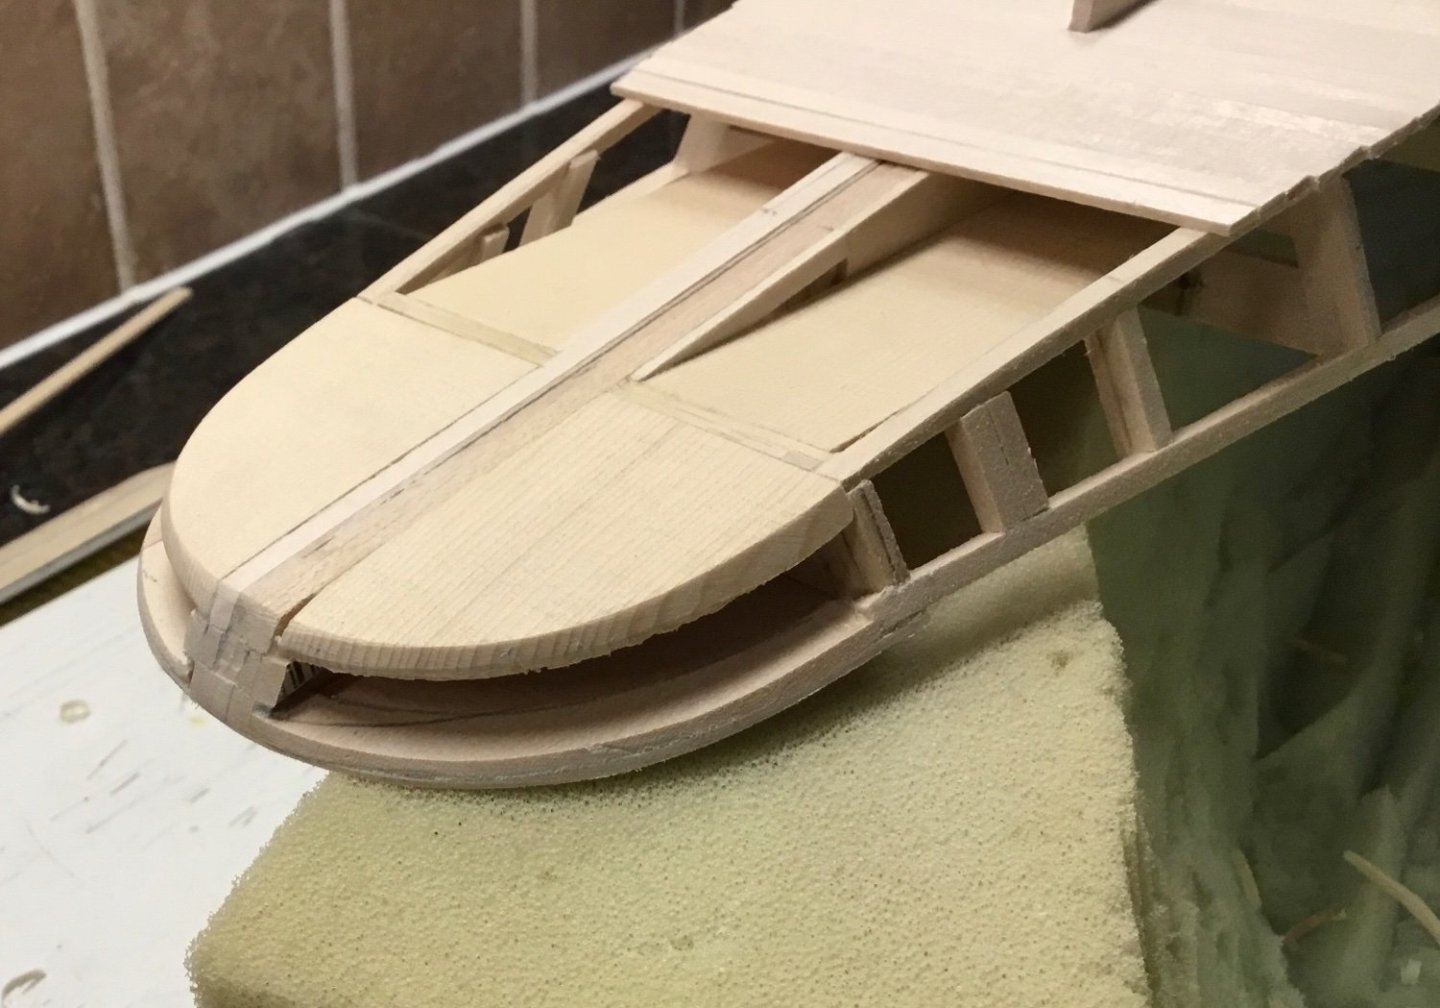
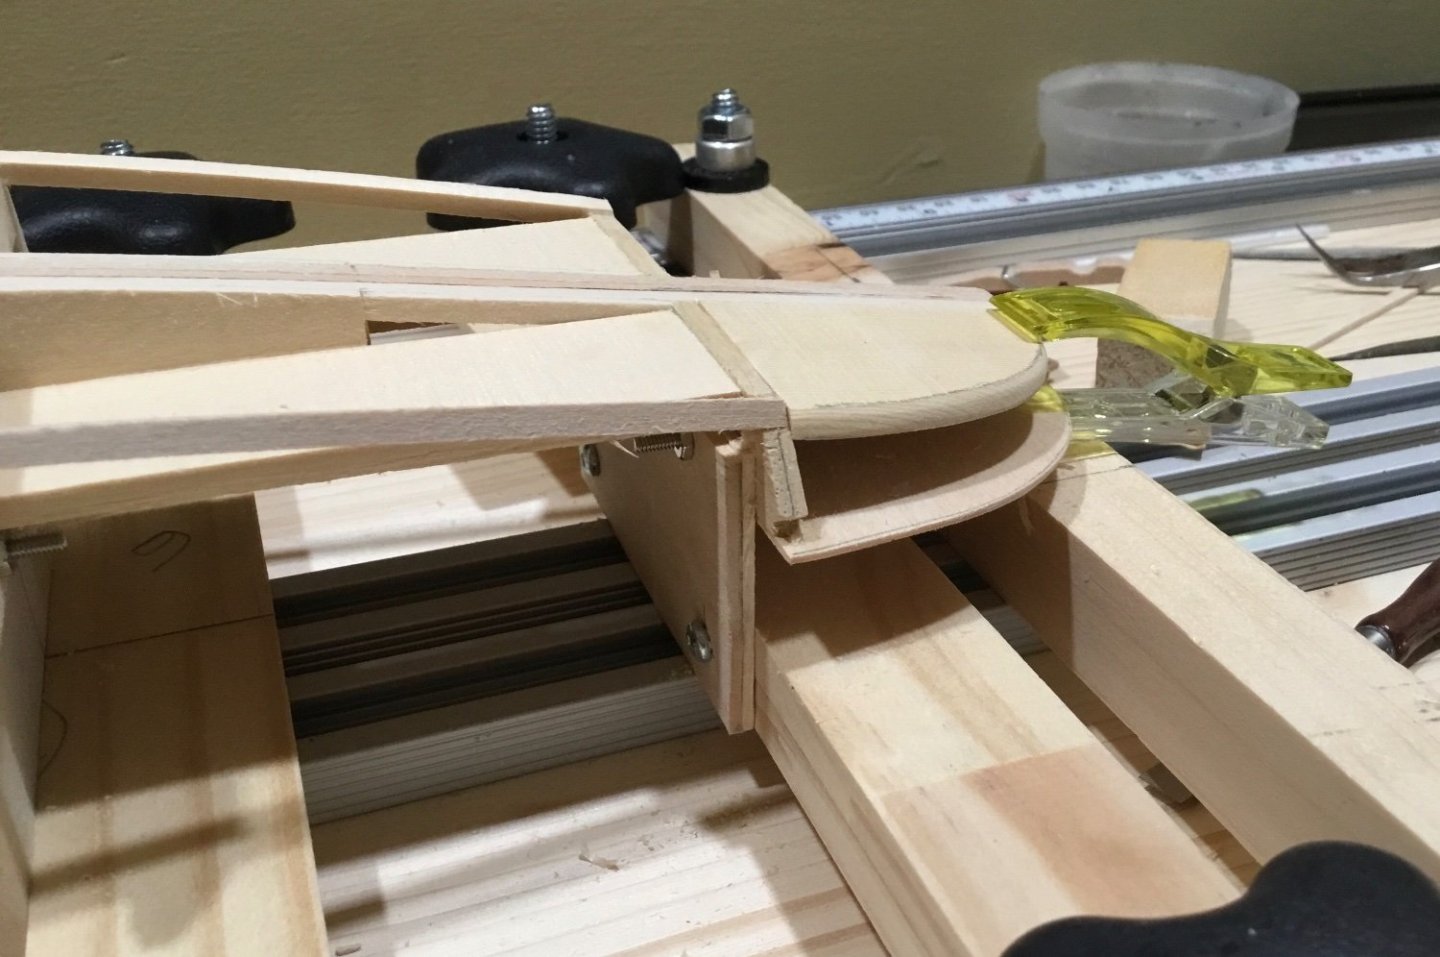
Hi Everyone, thank you for your Comments and Likes. Work on the bottom planking of the hull progressed far enough that I had to start thinking about fairing the stern. The hull was removed from the build board. The edge of the sub deck was protected with tape and the filler pieces on the bottom of the hull at the stern were faired. Then the edges of the bottom filler pieces were taped and the edge of the sub deck was faired. This went back and forth a few times until it was all fair. Now the hull will be mounted back onto the build board and the bottom planking will be finished. I also wanted to mention that I bought The Sharpie Book. It has some interesting detail drawings and narrative about how these boats were put together. Hope to talk to you soon.


- 201 replies
-
- 11
-
-
- Oyster Sharpie
- first scratch build
- (and 1 more)
-
Fred, your Cheerful is excellent! Speedwell on bulkheads sounds like a great idea.
- 113 replies
-
- 2
-
-
- Cheerful
- Syren Ship Model Company
- (and 1 more)
-
Major, very nice planking! I’ve found that applying a little diluted pva in between the planks (where it needs filling) and sanding before it dries works pretty good and helps to bond the planks together. You could try a test with a couple of couple of pieces of scrap
- 40 replies
-
- 3
-
-
- Model Shipways
- Muscongus Bay Lobster Smack
- (and 1 more)
-
Hi Rick, maybe you could try trimming the plank under the front gunport so that the 1/16” strip sits where it’s supposed to. If that doesn’t work you might be able to just remove it back to the second port
-
Hi Bob, I’m sure your Mayflower won’t mind being on standby for a bit. Always looking forward to your next post.
-
Mark, beautiful hand crafting of the beams. Thank you for showing how you did that.
-
Hi Gary, thanks for your kind words. I’ll be pretty busy over the next couple of months so I might not be able to make any updates. I’m hoping maybe a small one every so often. Don’t like to lose the momentum.
- 201 replies
-
- 2
-
-
- Oyster Sharpie
- first scratch build
- (and 1 more)
-
Hi Duck, this is a fine looking build and build log. The additions and modifications to the kit are making a real difference!
- 4 replies
-
- 3
-
-
- First Build
- Dioramaworld
- (and 1 more)
-
Hi Richard, like Allen I remembered someone asking about stanchions. So after a search I found that on March 23, Keith Black suggested to Bobcat1970 to go to Cornwall Model Boats. They have a very good selection of stanchions.
-
Harvey, this is a very interesting project. I’m looking forward to following your progress
-
Hey Major, congratulations on finishing your pram. She looks exceptional!
- 72 replies
-
- 3
-
-
- Norwegian Sailing Pram
- Model Shipways
- (and 1 more)
-
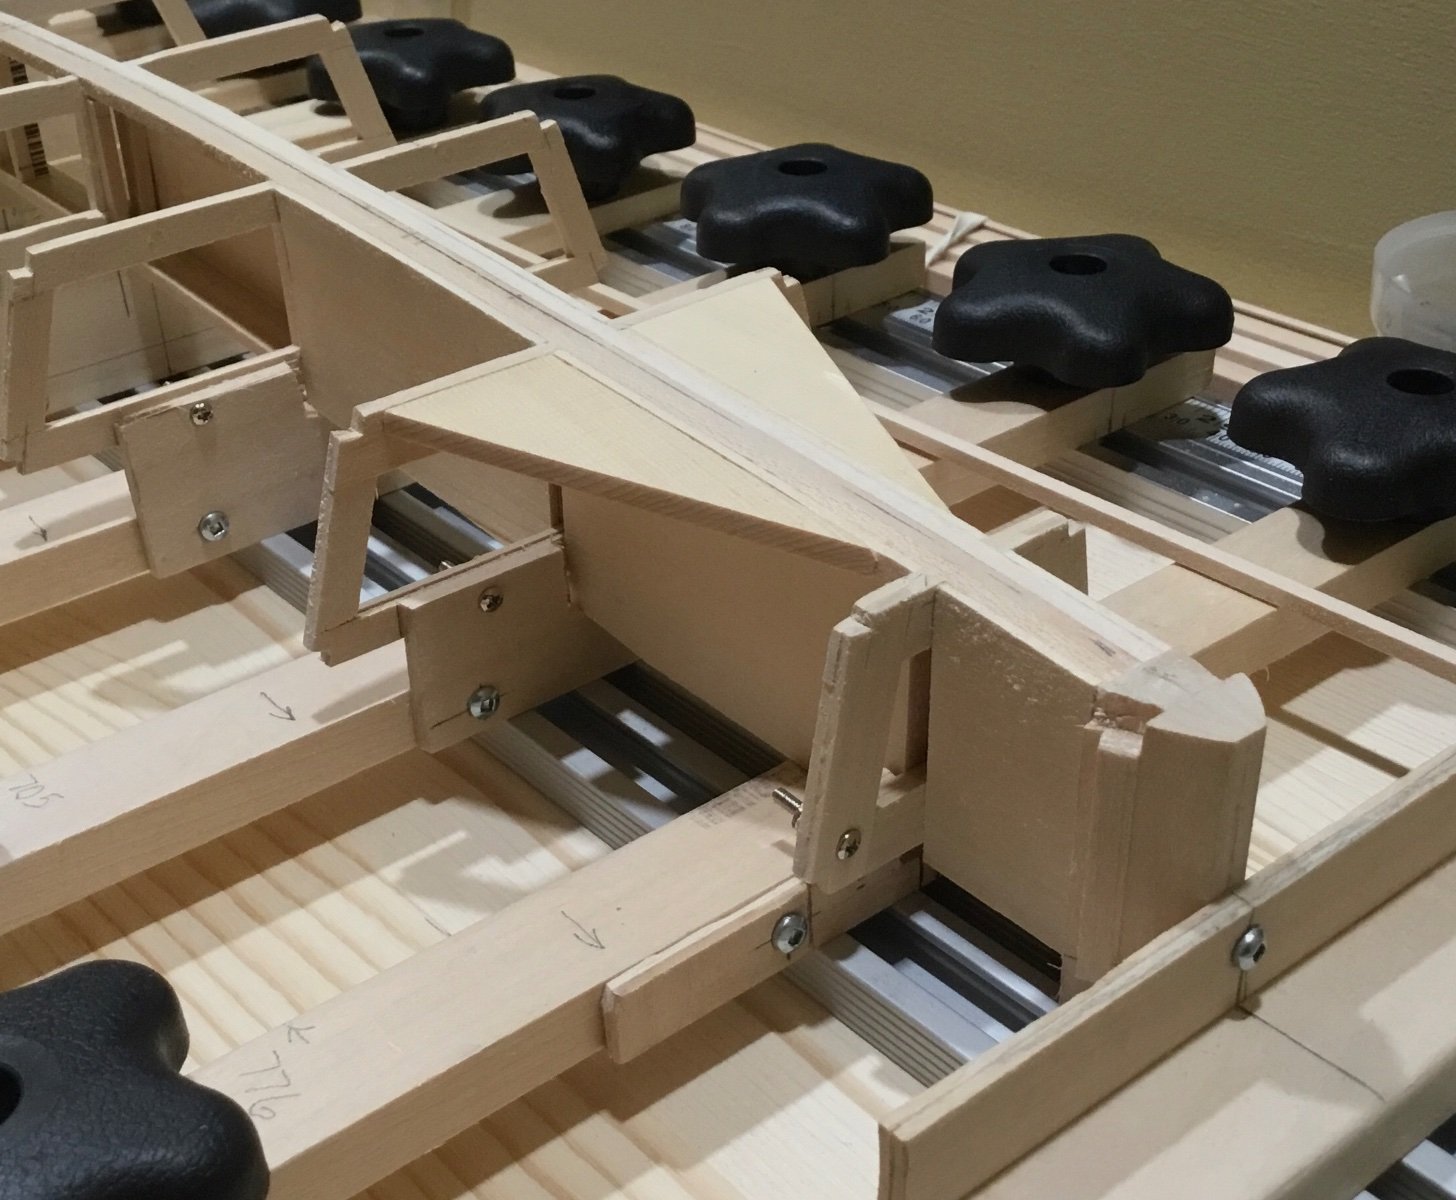
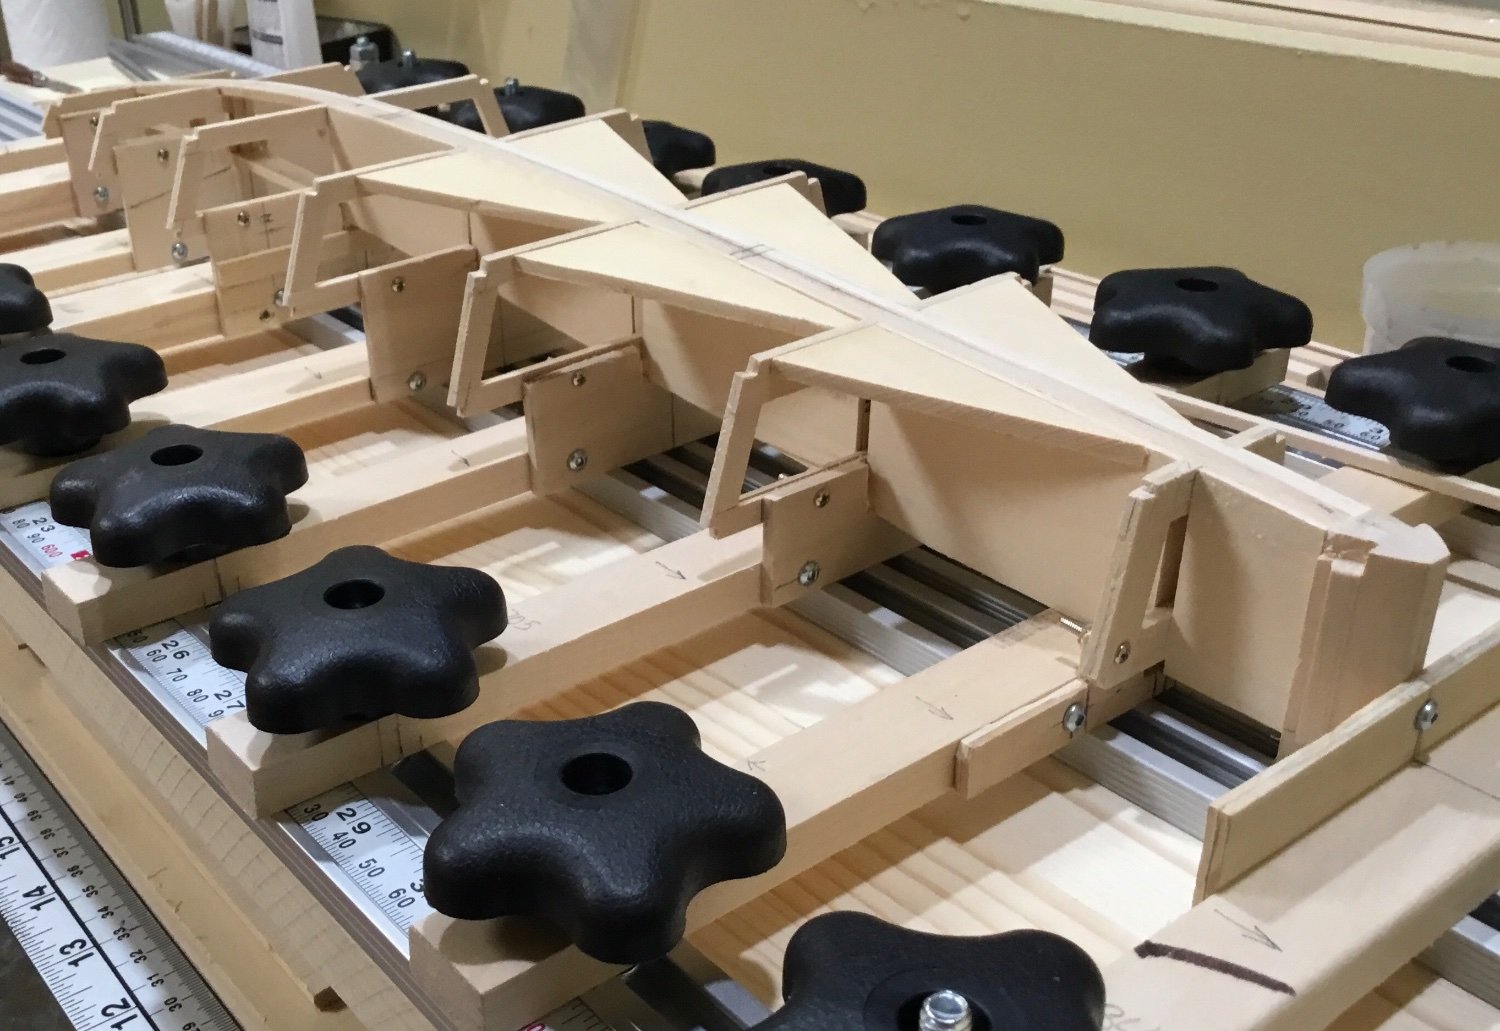
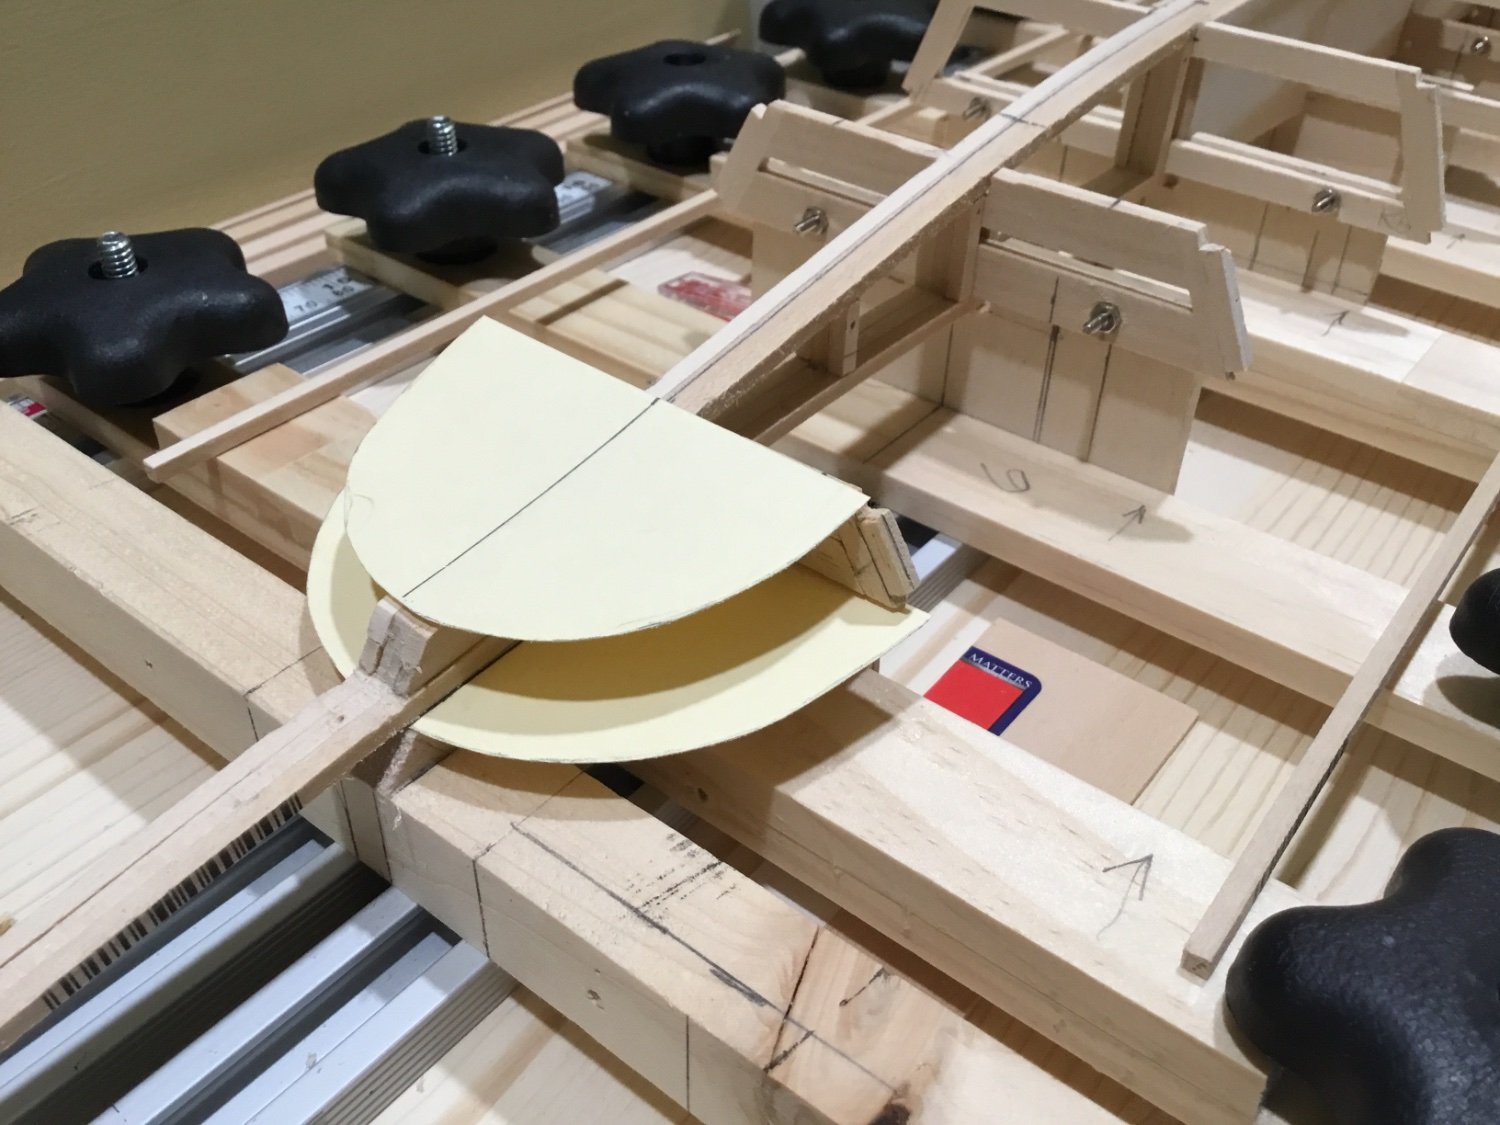
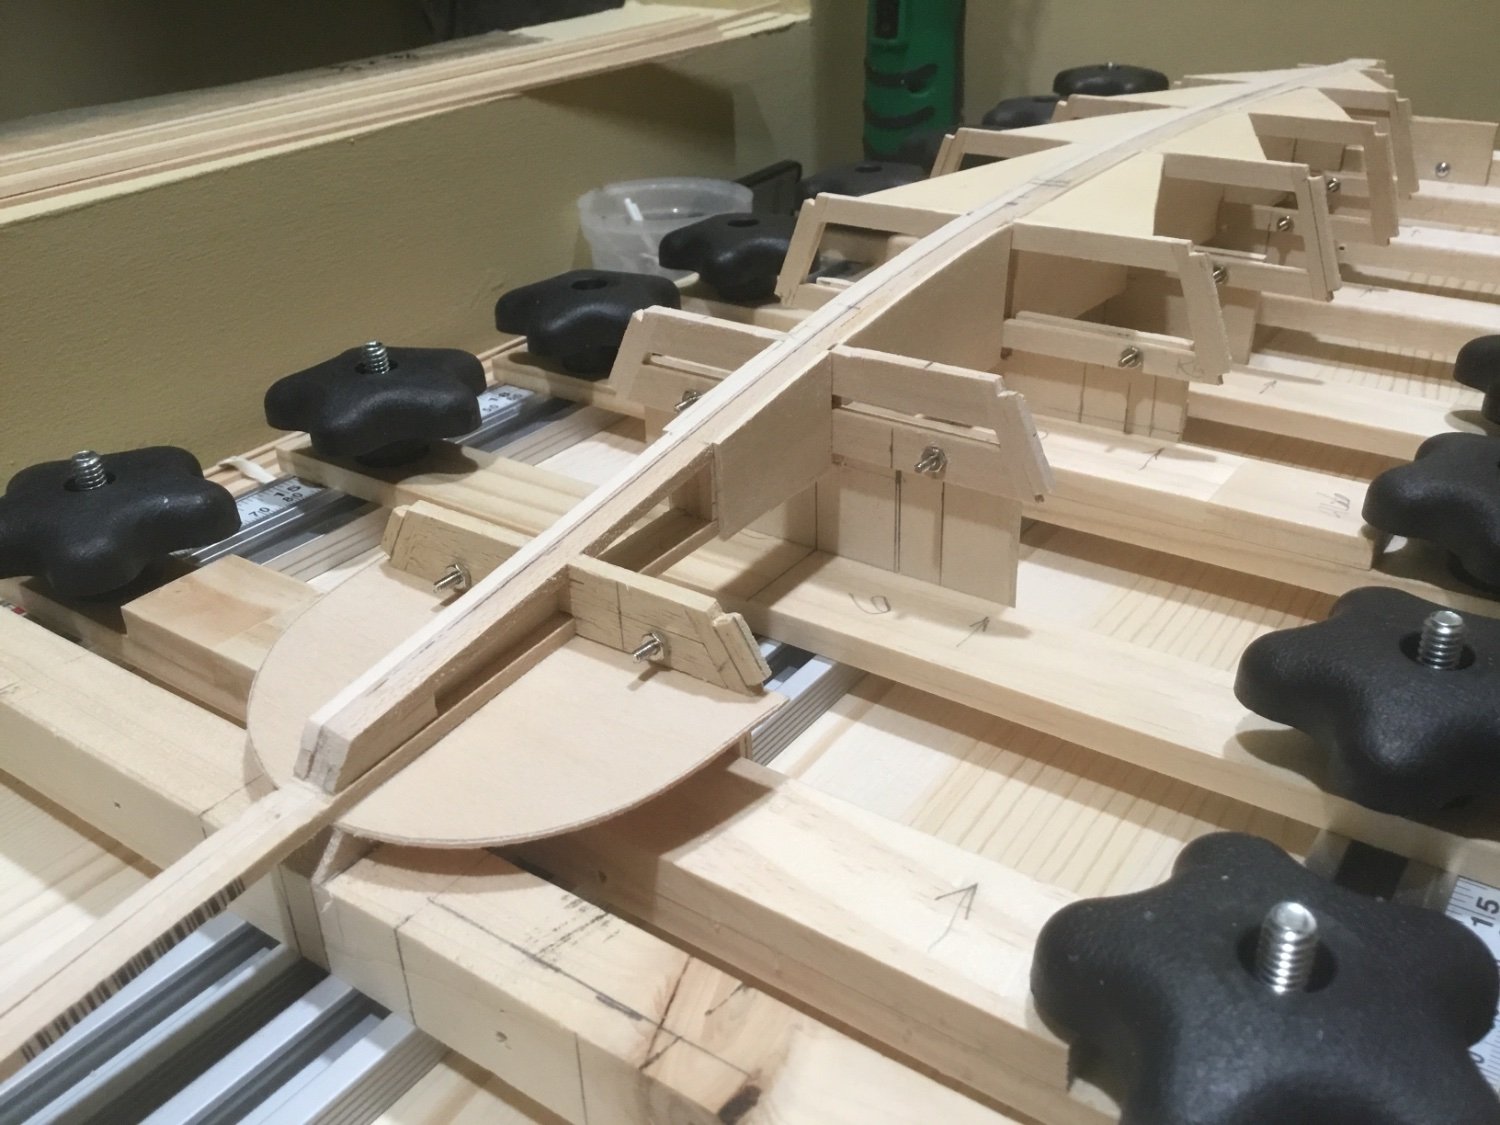
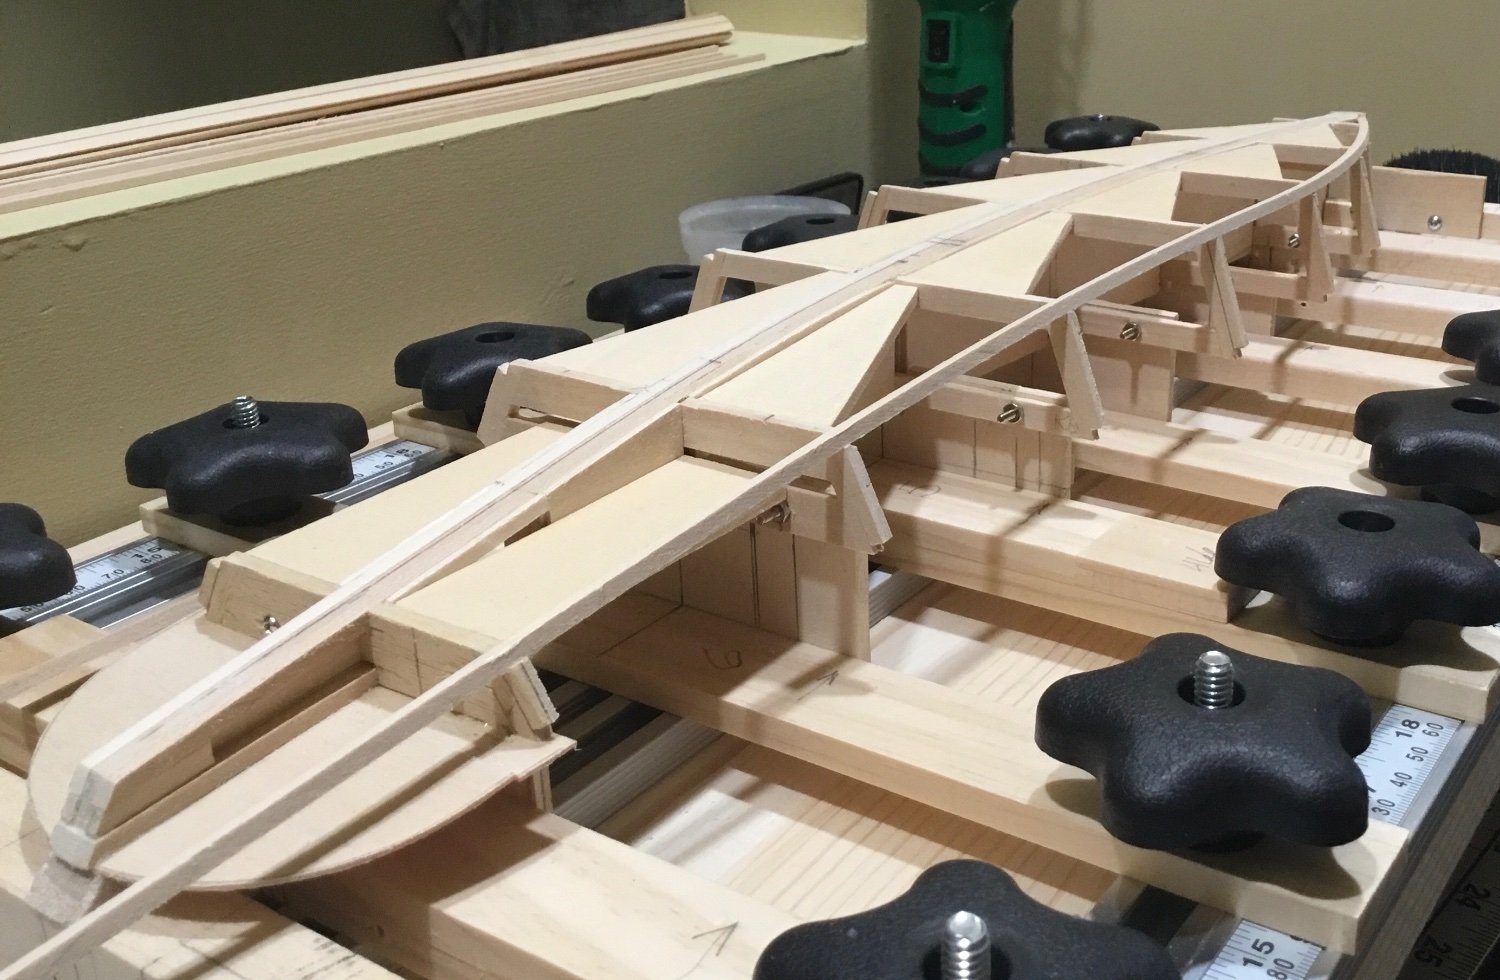
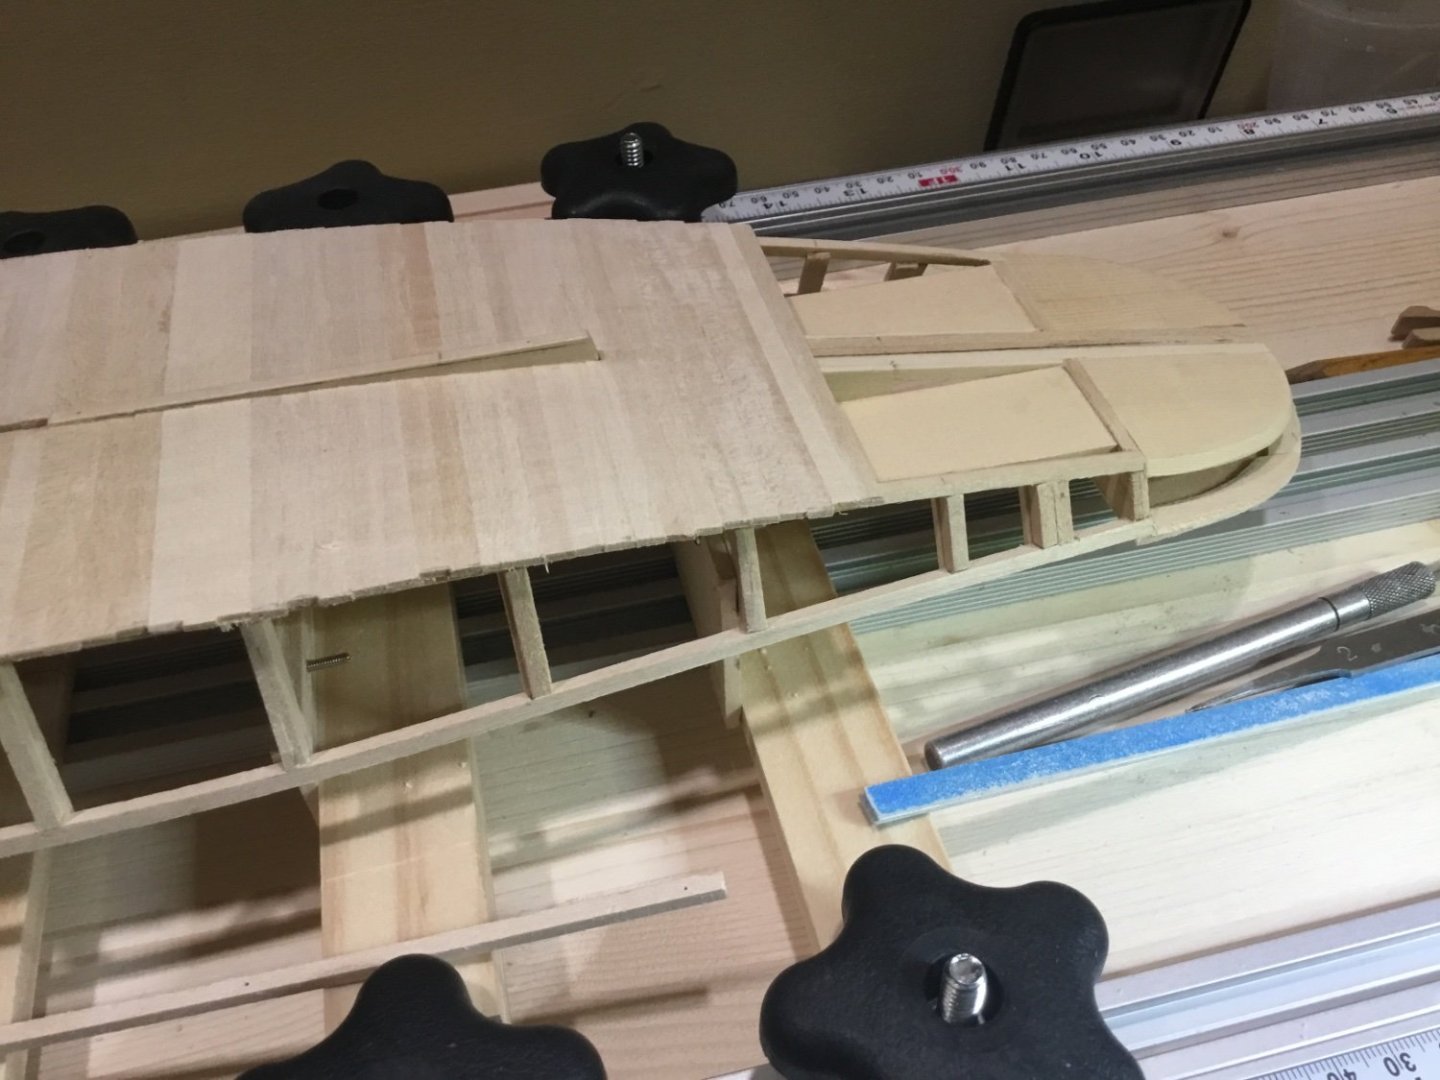
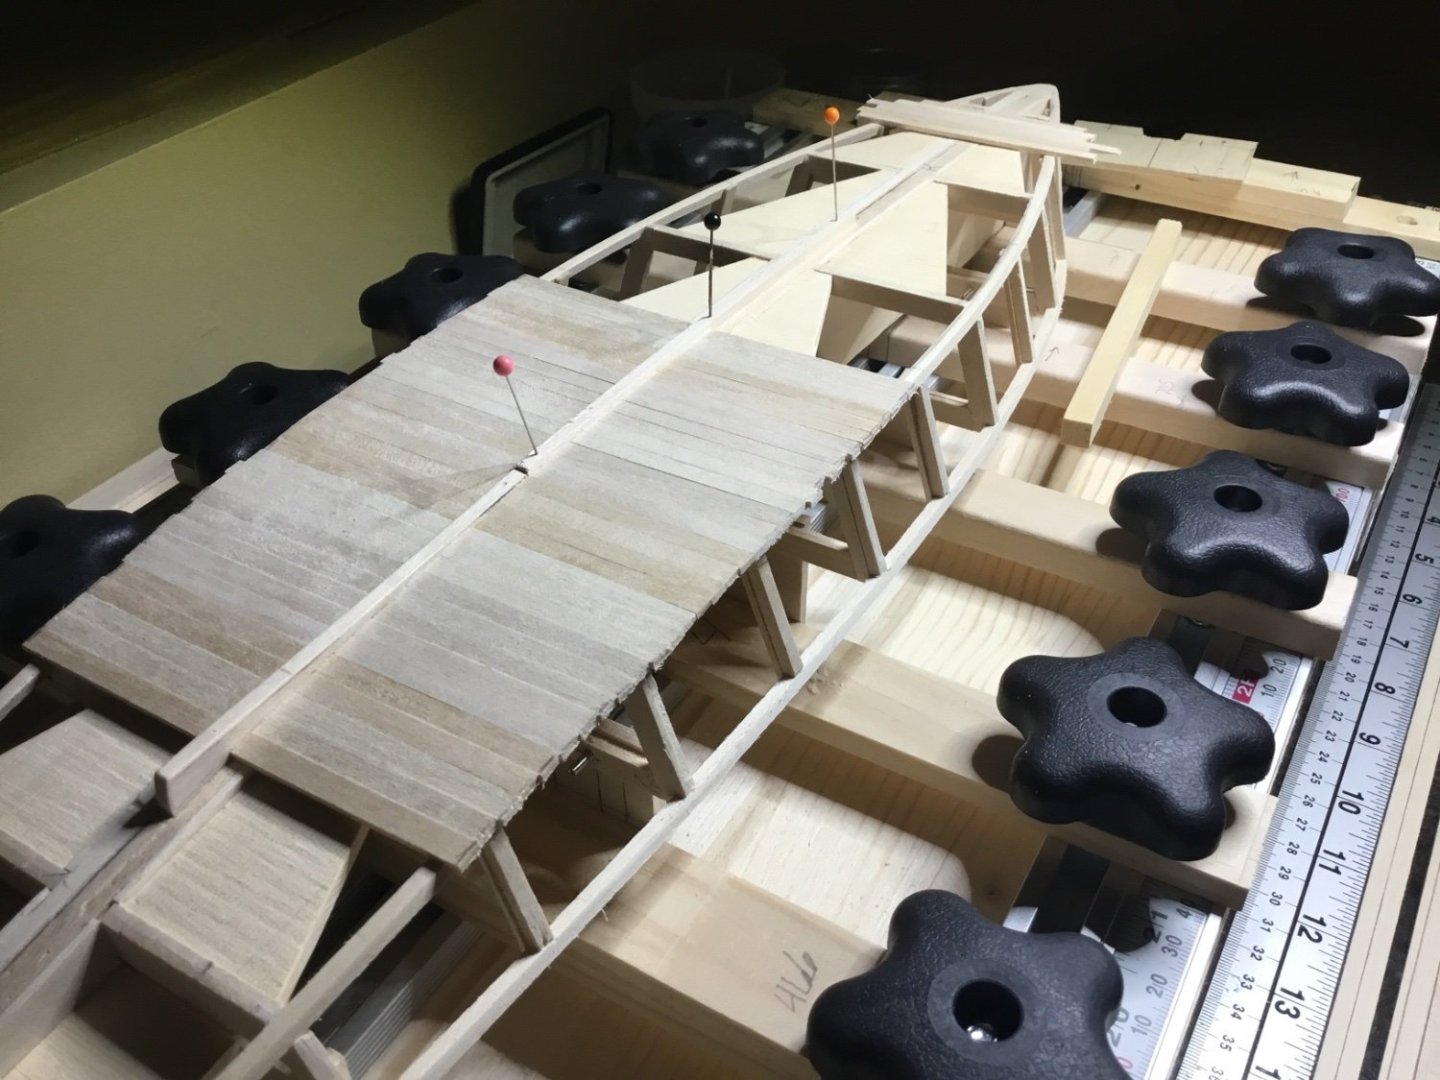
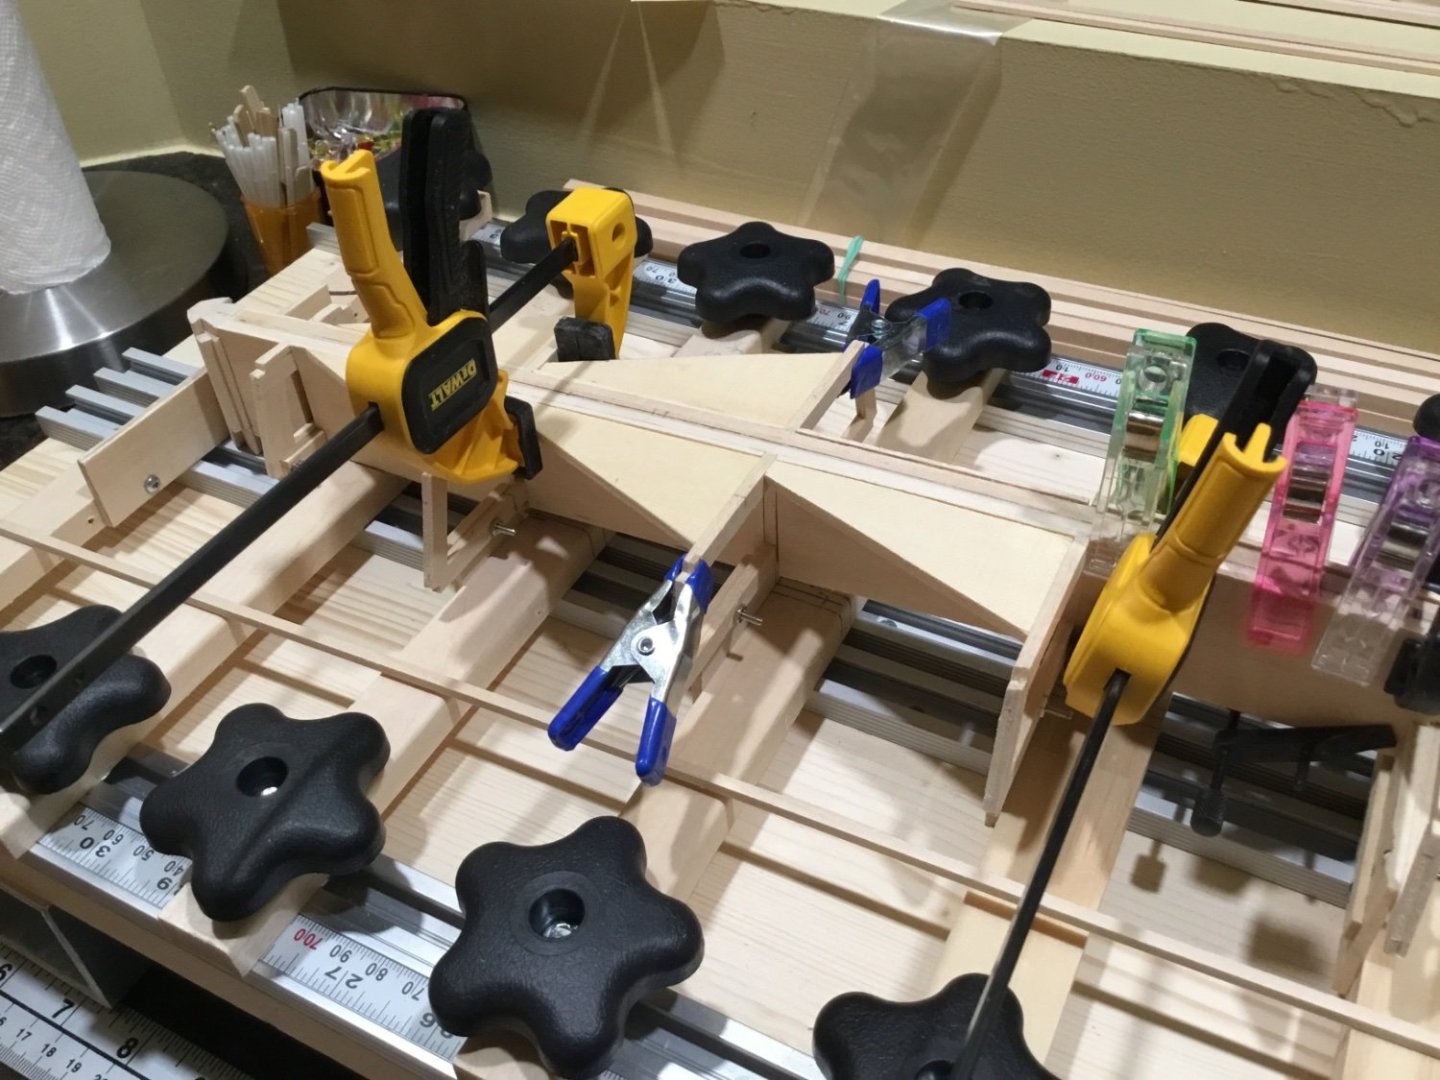
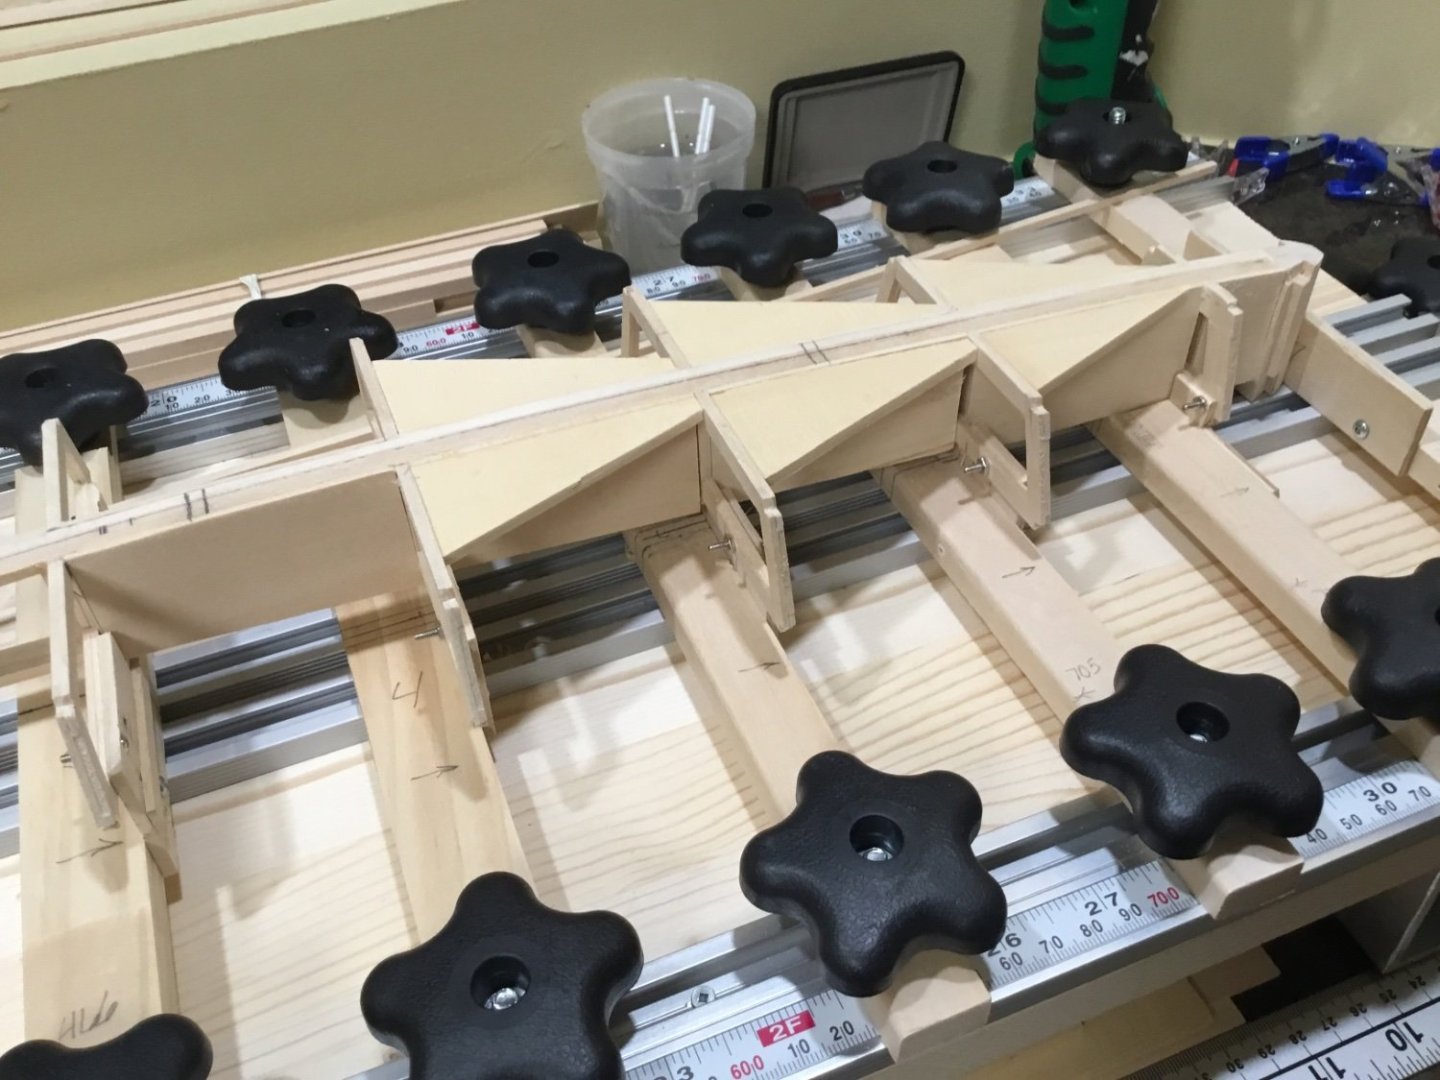
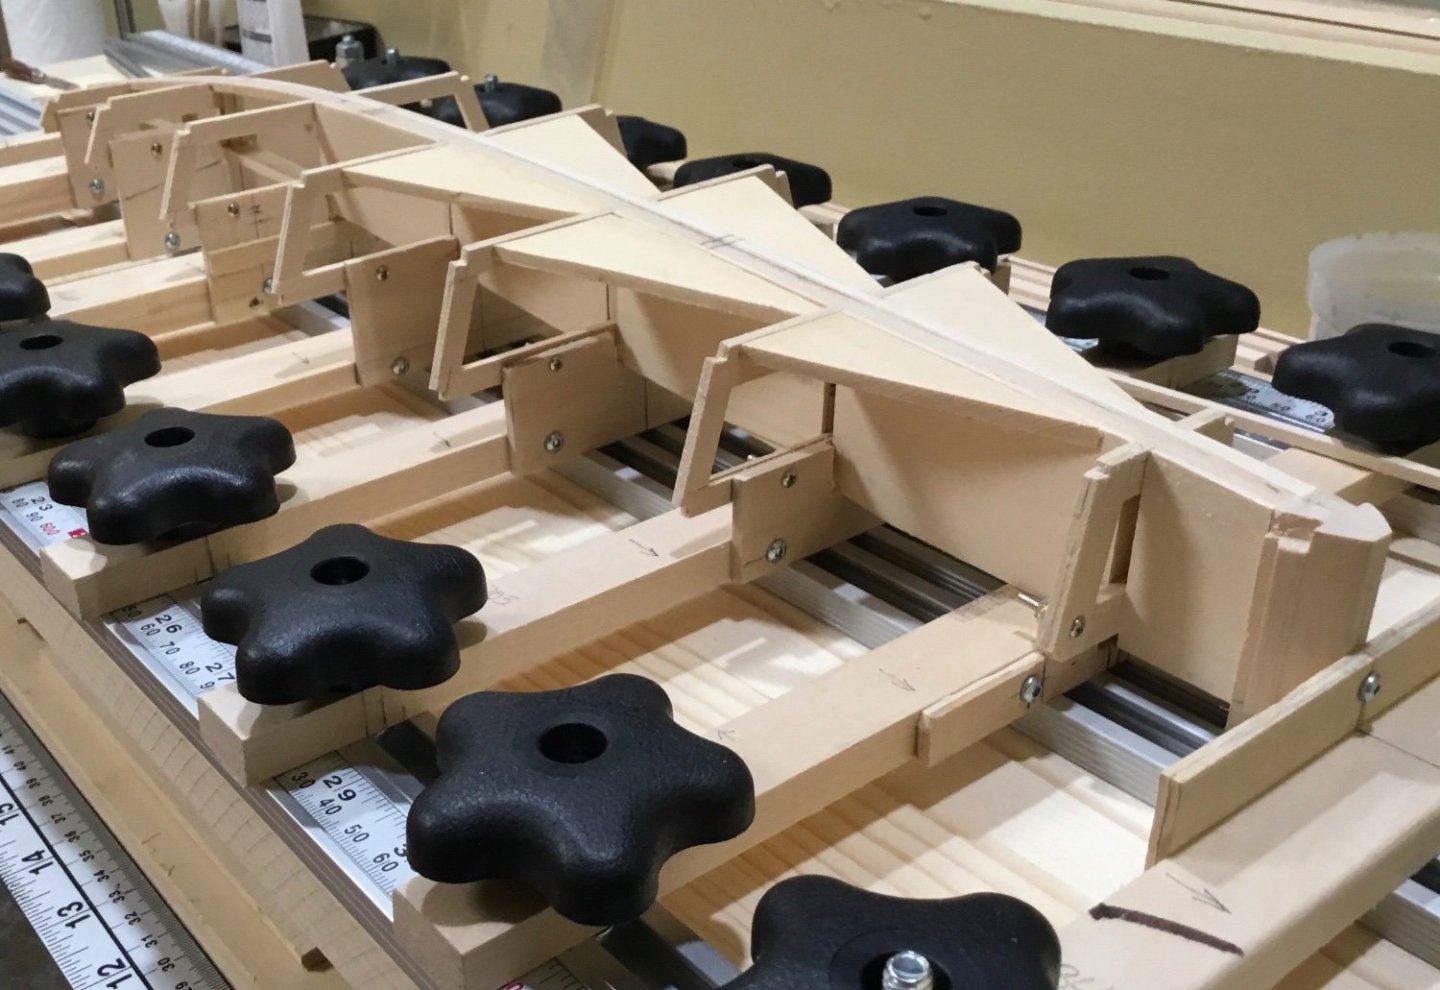
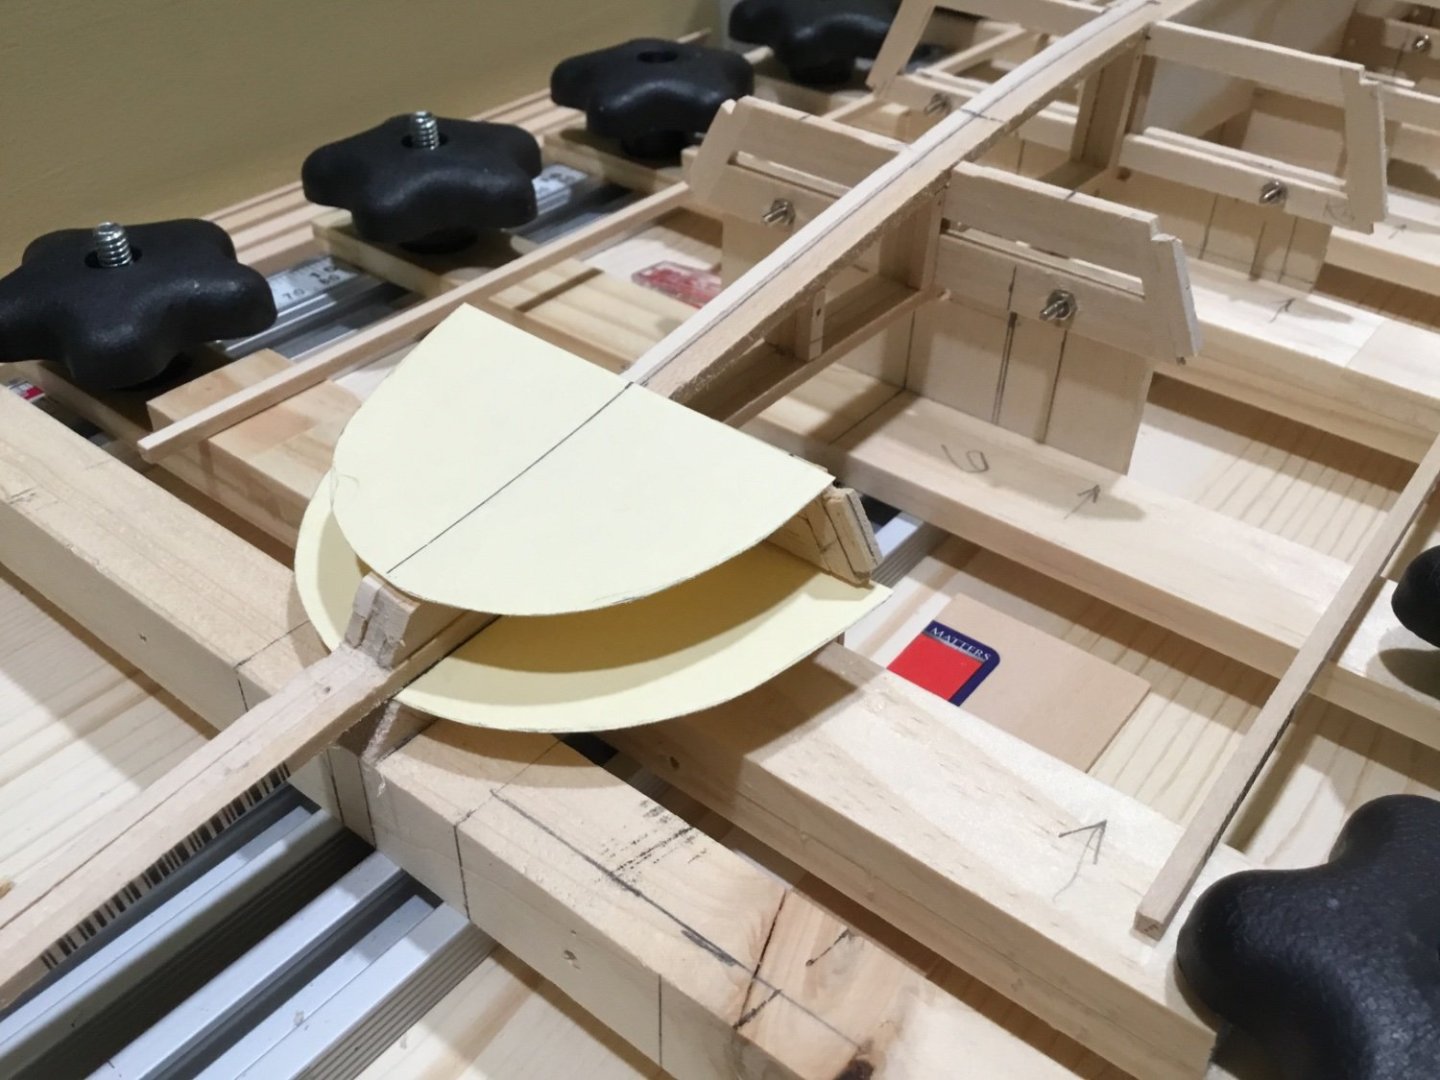
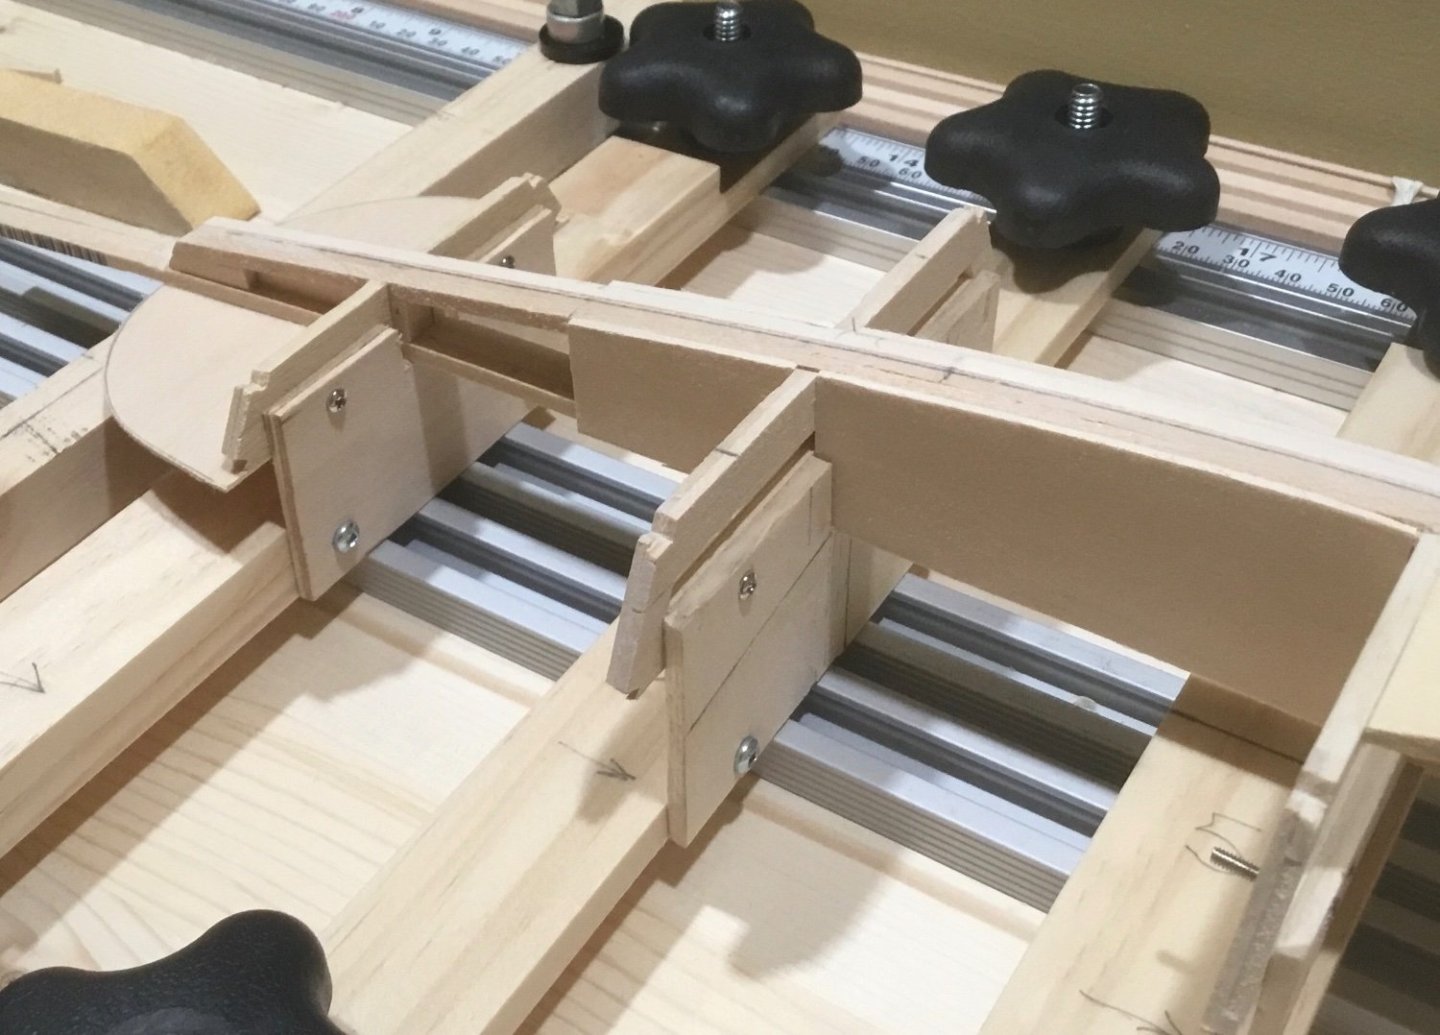
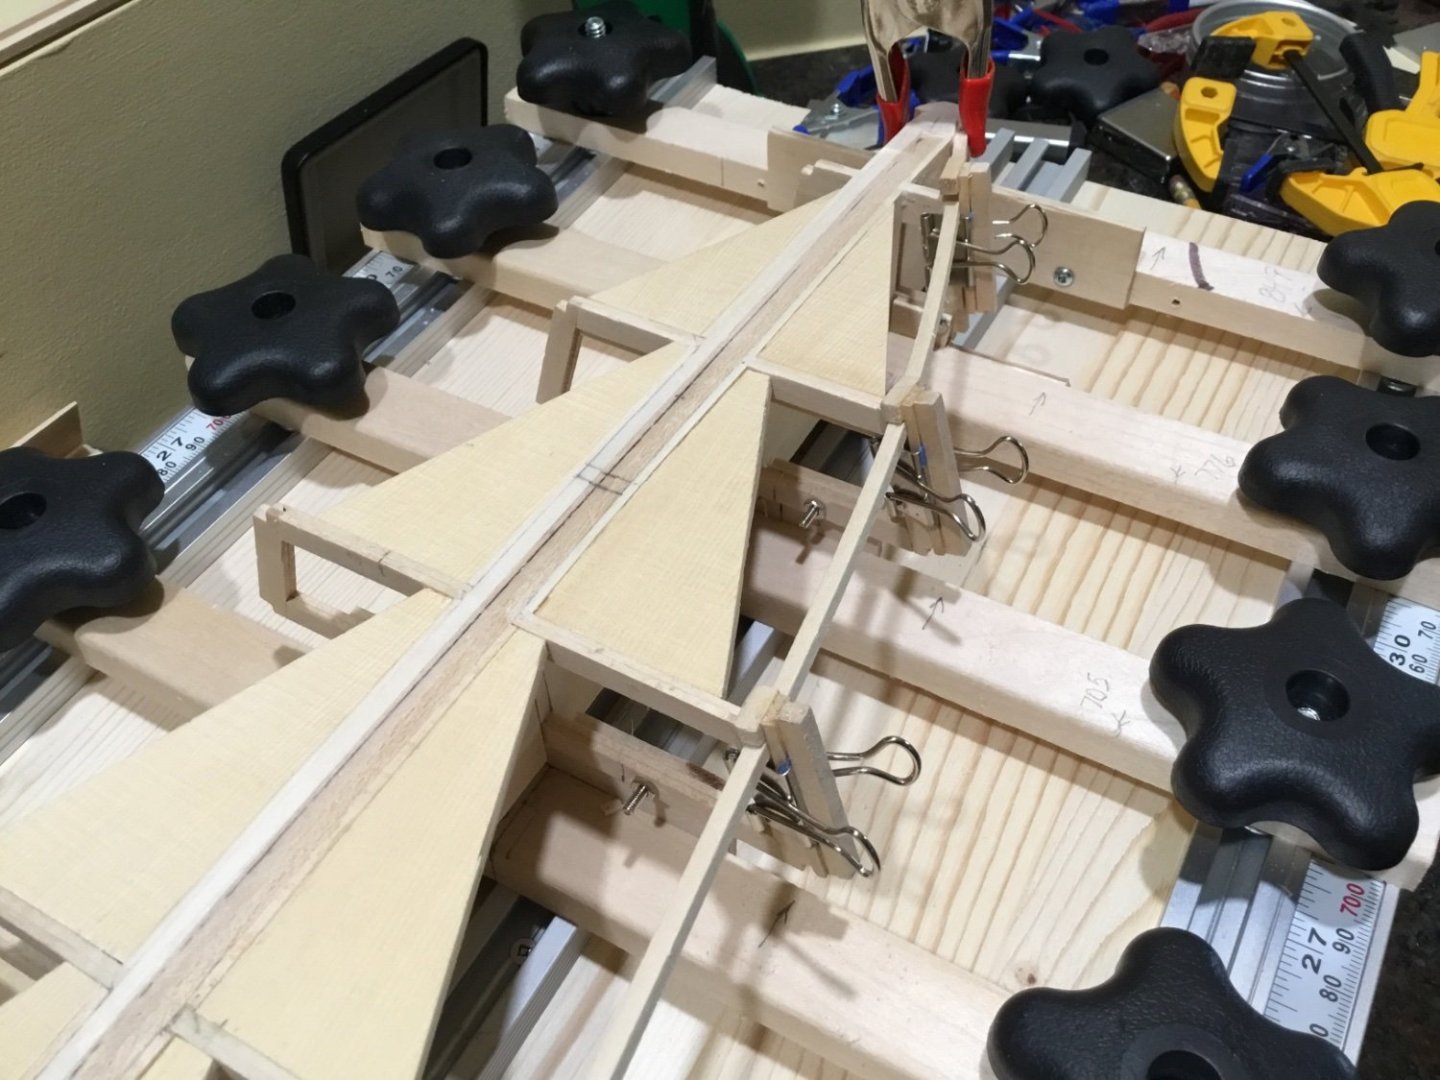
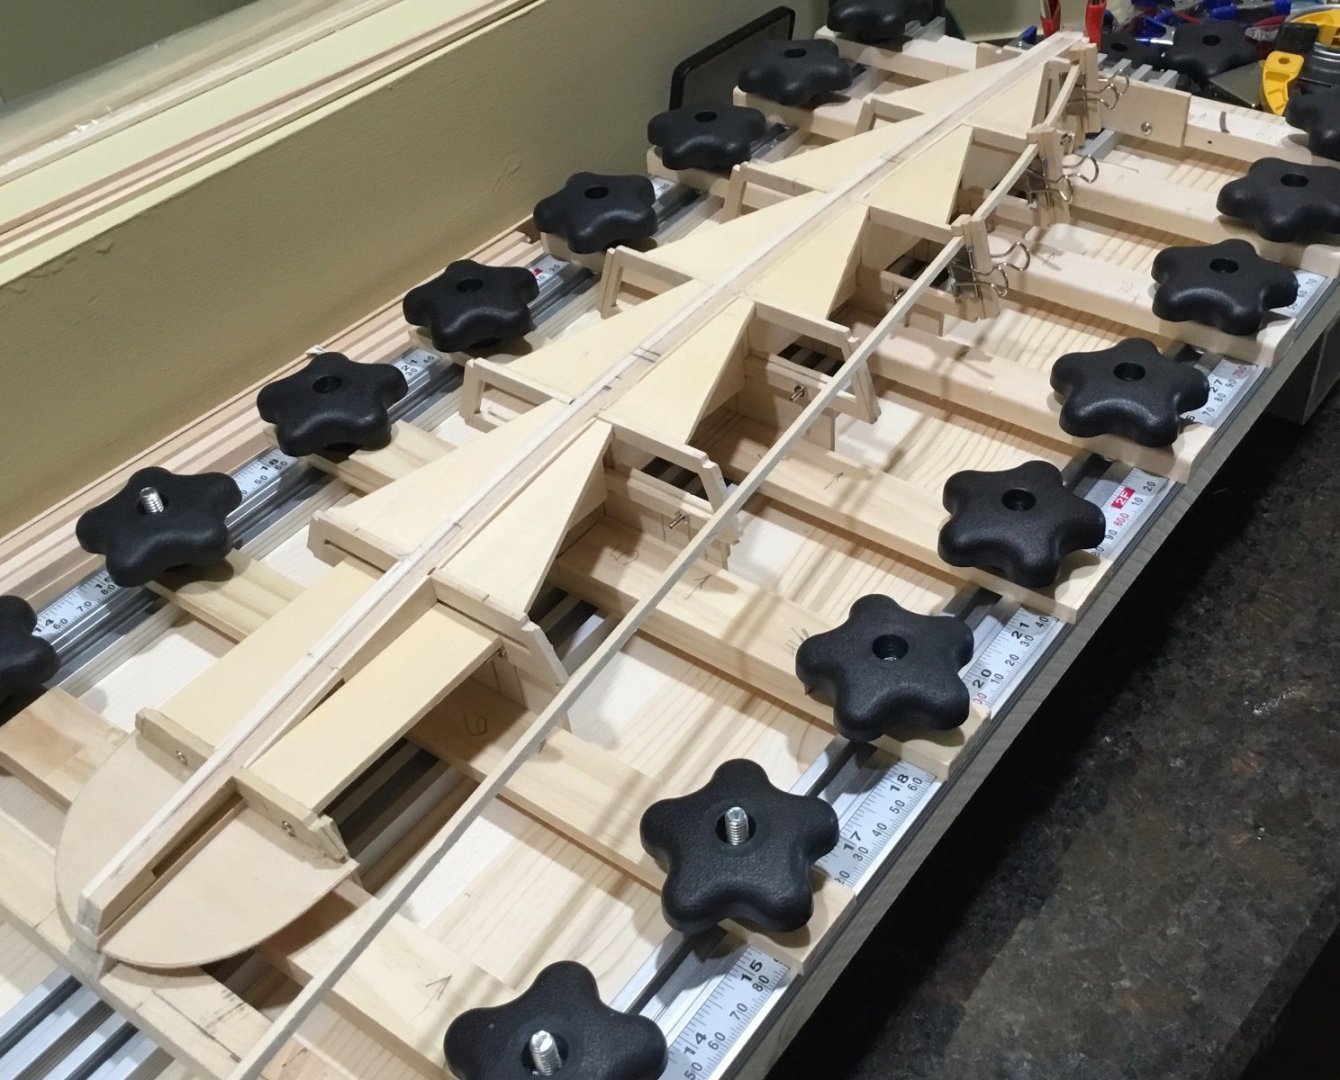
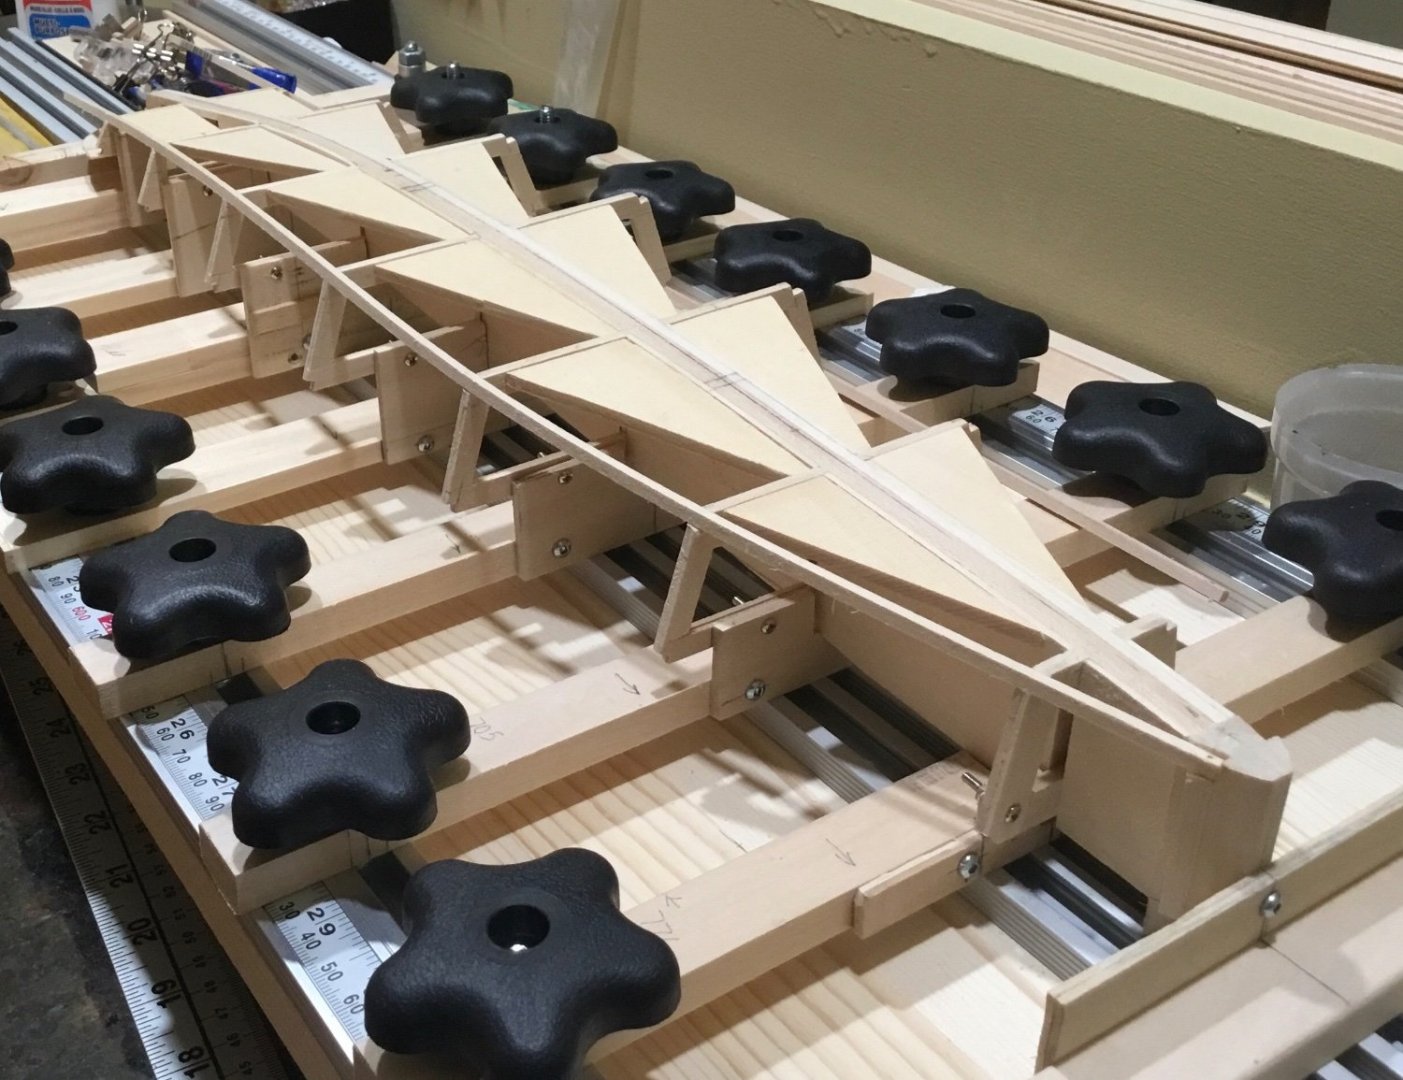
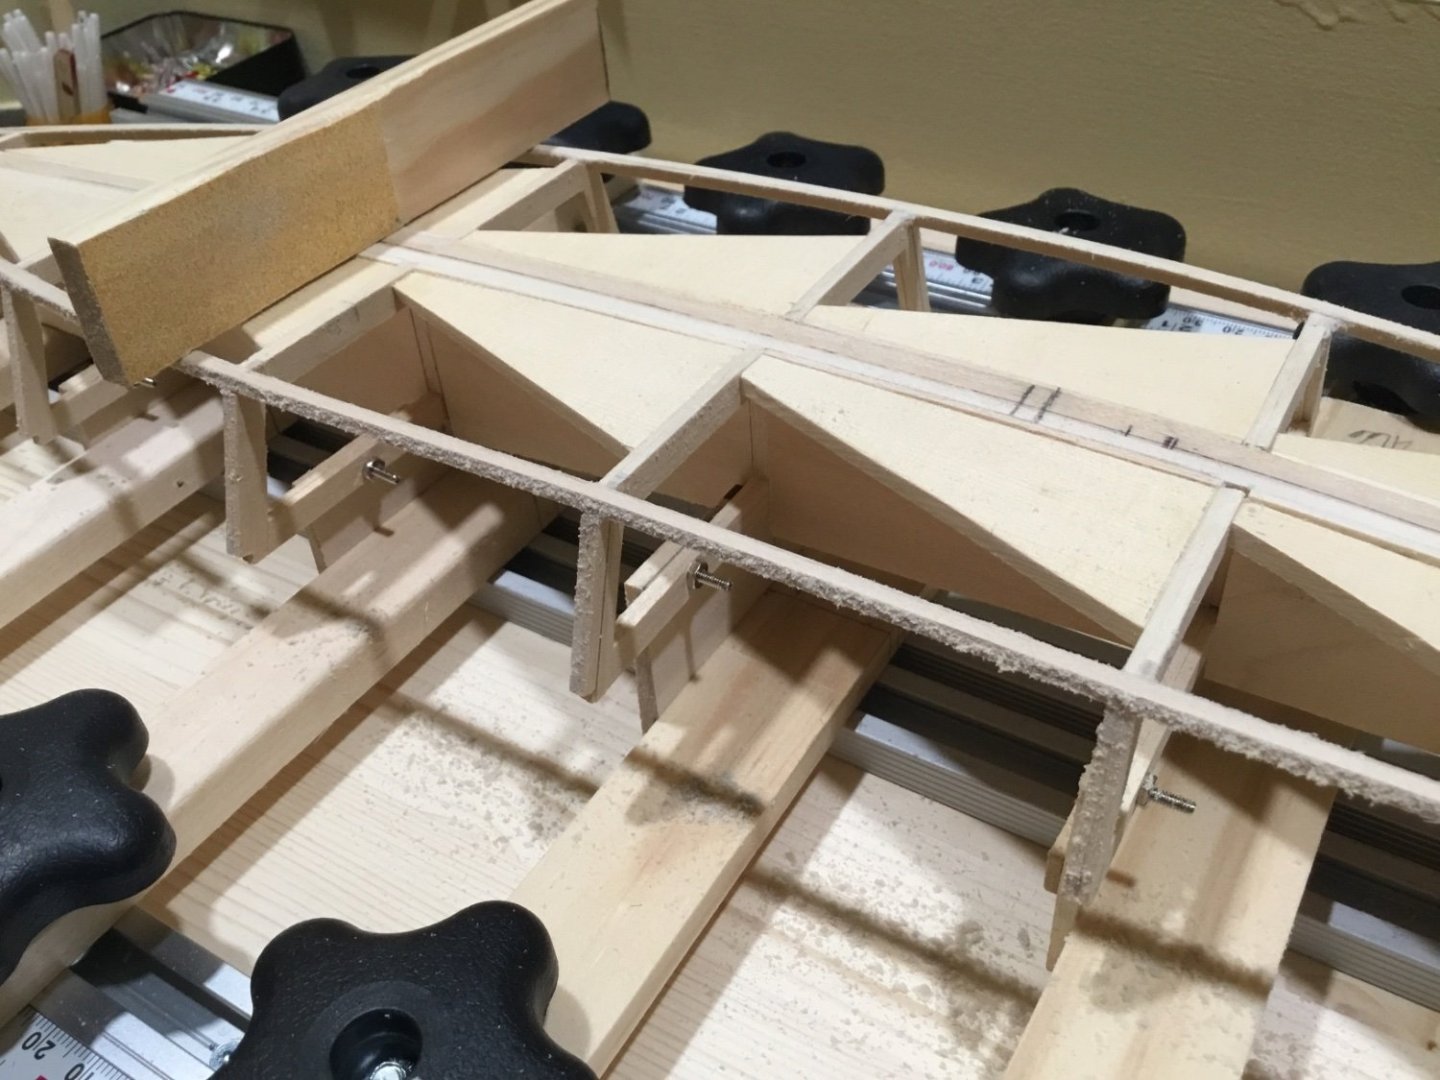
Hi Everyone, thank you for the Comments and Likes. They are very much appreciated. I have completed boxing the bulkhead former with 1/16” sheet working from the stem aft. The frames were braced as I went. A template was made from a file folder to make the sub deck and the underside of the hull at the stern. A piece of 1/32” sheet was used for the sub deck and glued into place. The bulkhead former was not boxed where the cockpit is situated and the king plank will be cut out once the hull is planked. The frame braces between frames six and seven will double as the floor of the cockpit. The chine logs were glued into place once all of the bracing was completed. The supports for the hull planking at the stern were glued into place and then the chine logs were faired. The boat was removed from the build board so that it was easier to attach the sheer logs. It was then remounted to the build board and false frames were added between the real frames to give the hull planking some more support. Starting to lay out the planking on the underside of the hull. Hope to see you next time.


- 201 replies
-
- 15
-
-
- Oyster Sharpie
- first scratch build
- (and 1 more)
-
Hi Cisco, your planking is looking great, and especially great where it hits the stem👍
-
Glen, congratulations on finishing your incredible Oseberg / Kraken. This build has given many people lots of smiles. Thank you
-
Hi Gary, thank you for joining the adventure. I’ve been enjoying this scratch building so far. Seems to be a more relaxed pace. Just a pile of wood patiently waiting to become something. ( Hopefully 🤞 )
- 201 replies
-
- 3
-
-
- Oyster Sharpie
- first scratch build
- (and 1 more)
-
Panteg, your planking is looking great!
-
Hey Denis, thank you. It’s great to have you along!
- 201 replies
-
- 2
-
-
- Oyster Sharpie
- first scratch build
- (and 1 more)