Paul Le Wol
NRG Member-
Posts
1,016 -
Joined
-
Last visited
Content Type
Profiles
Forums
Gallery
Events
Everything posted by Paul Le Wol
-
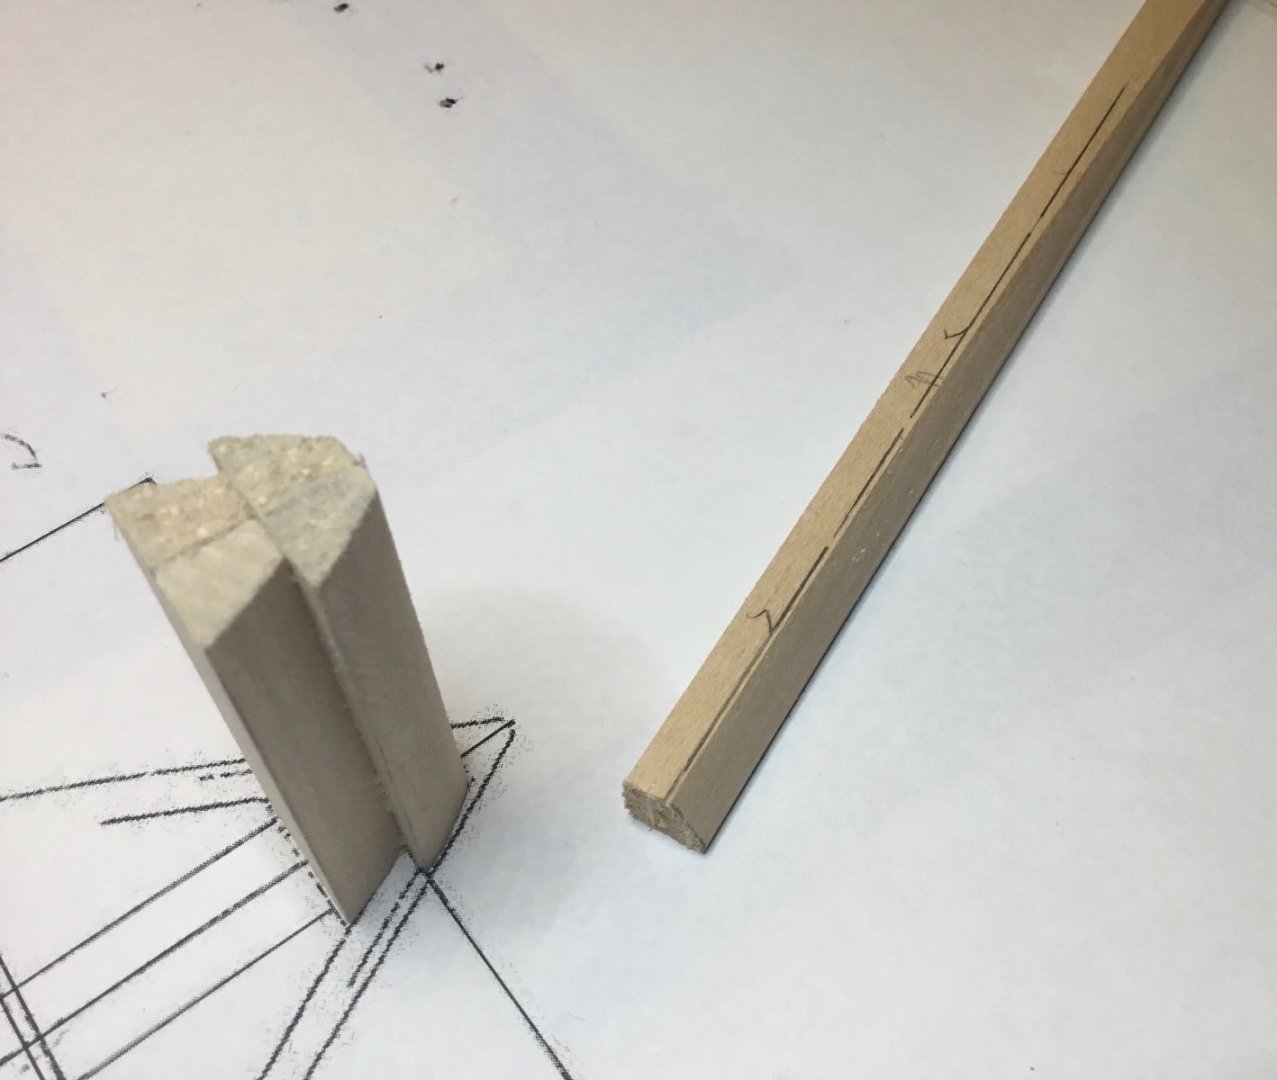
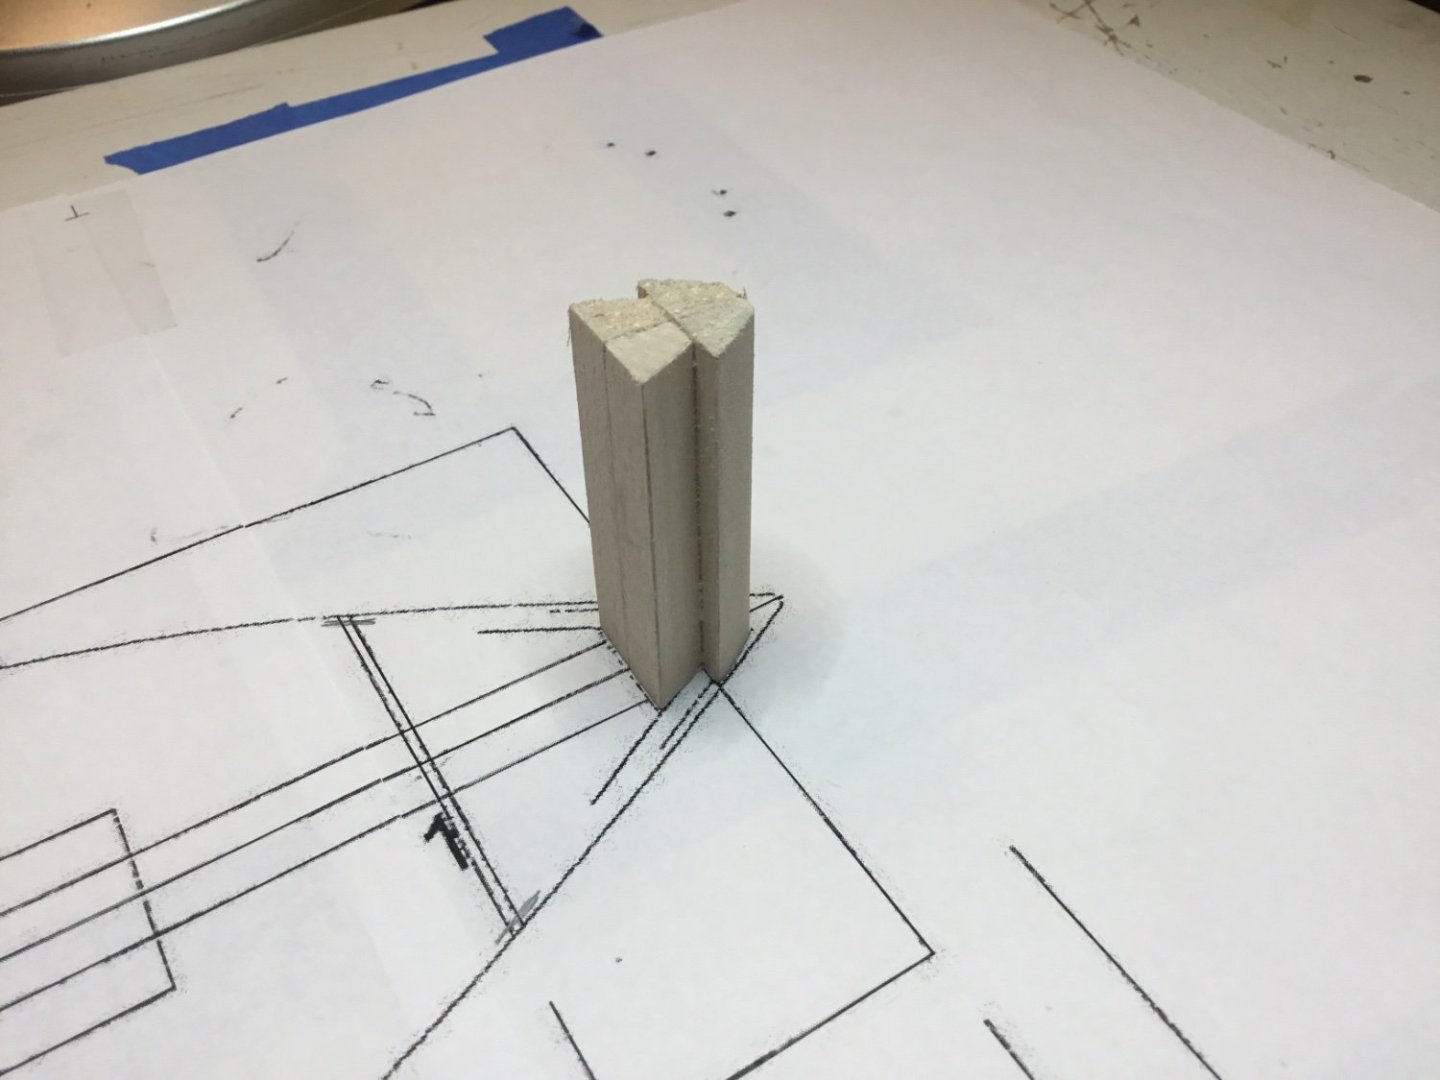
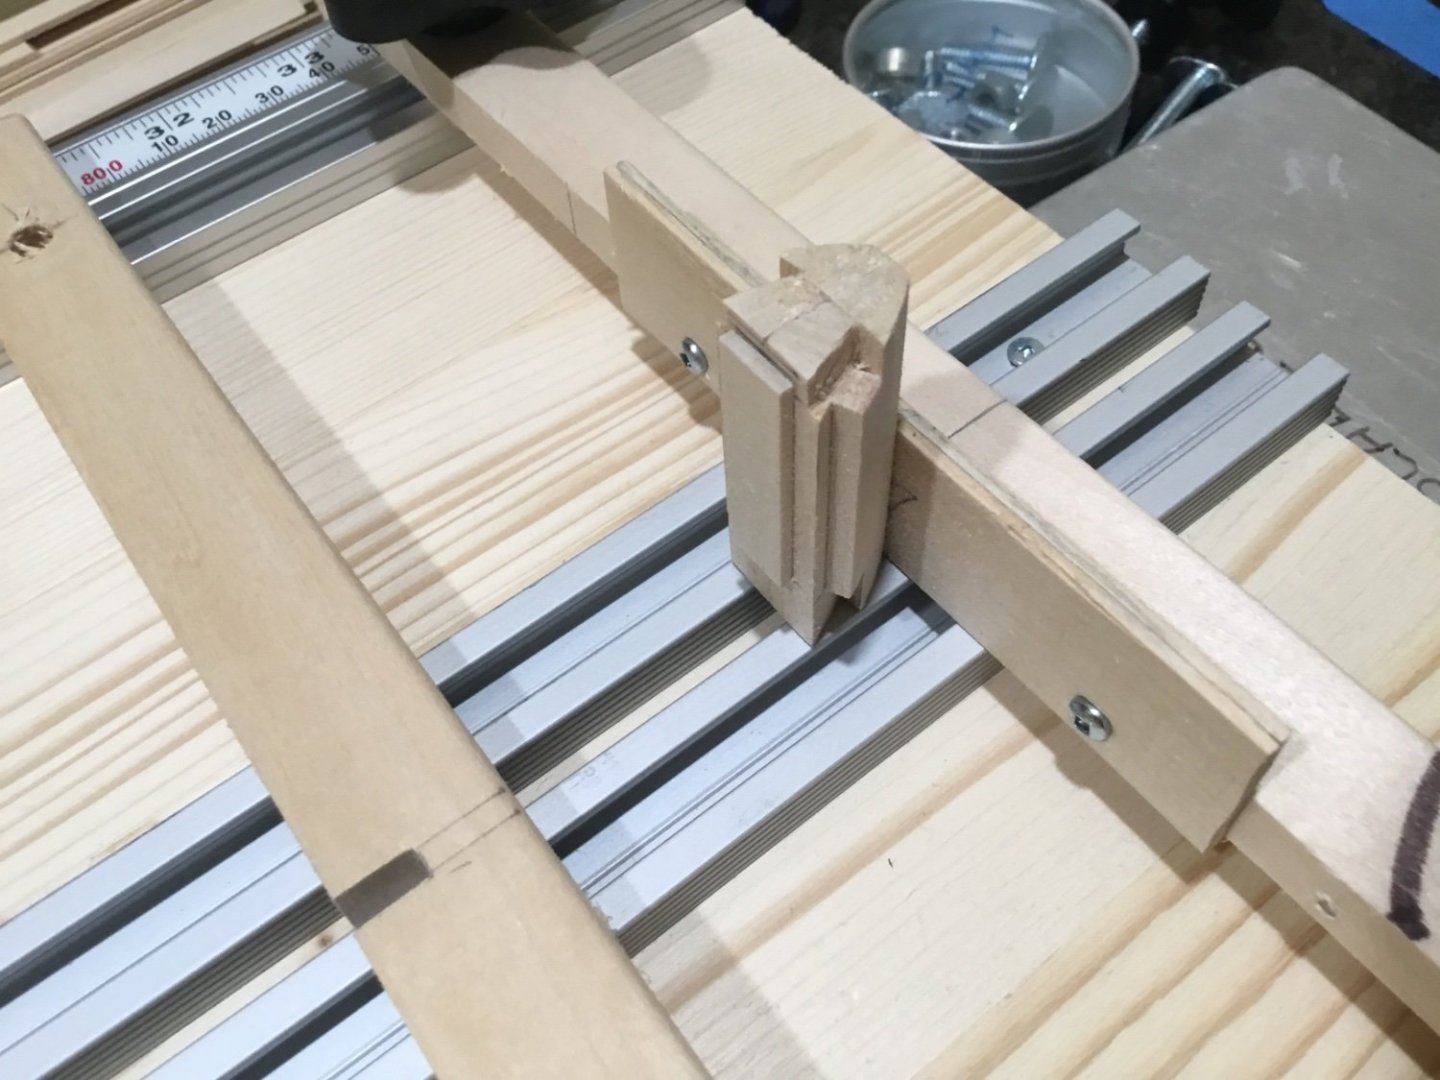
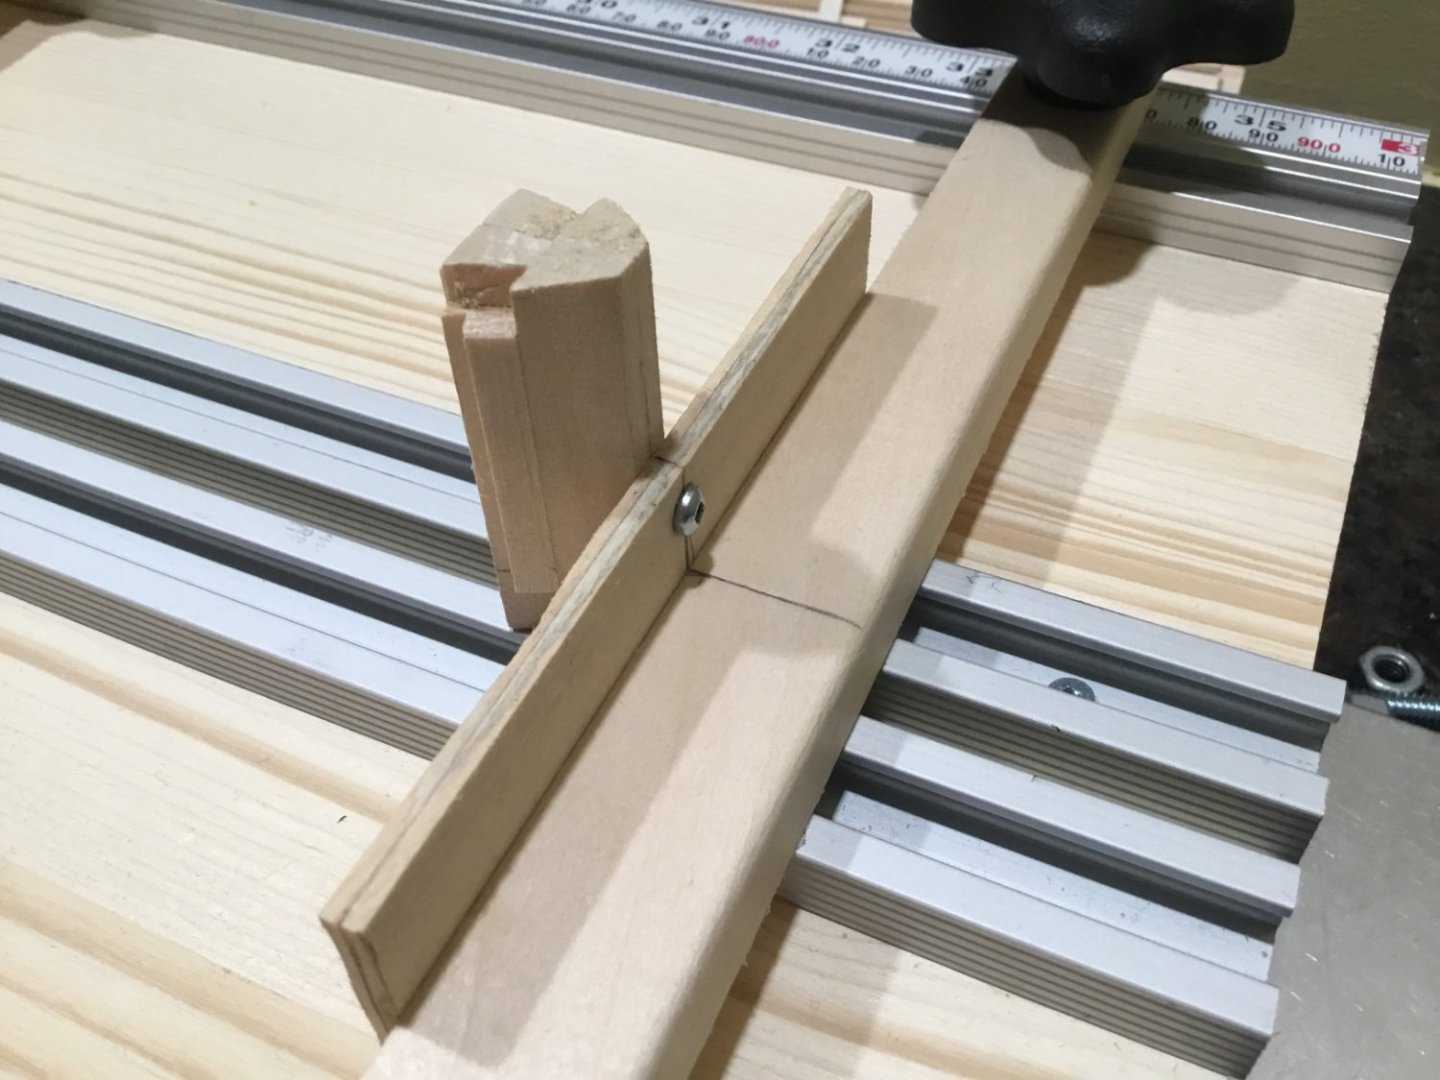
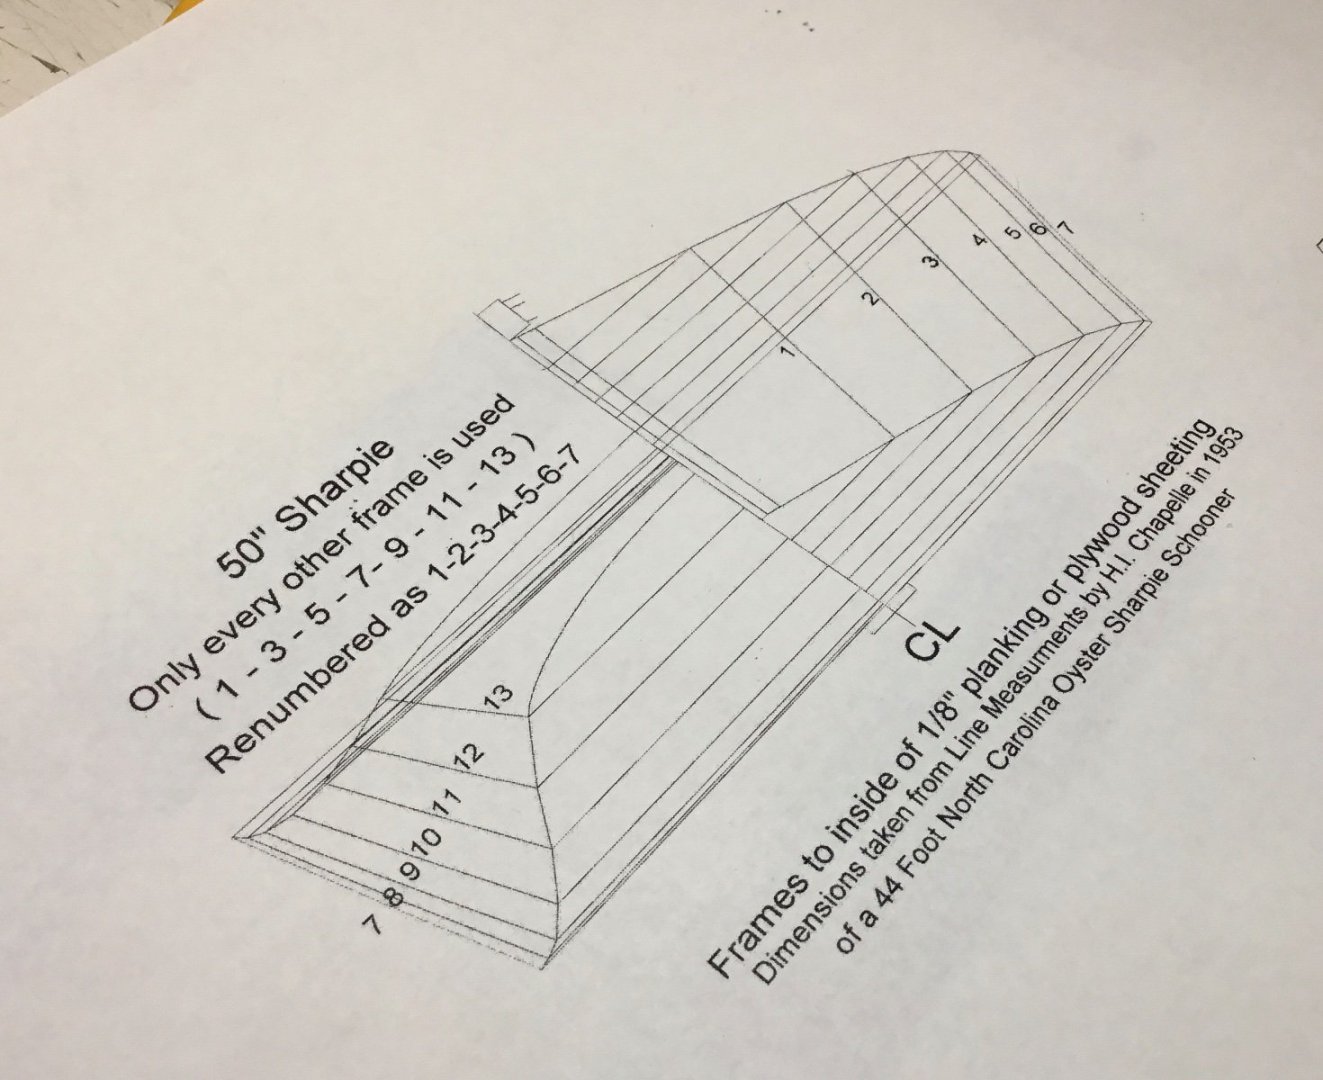
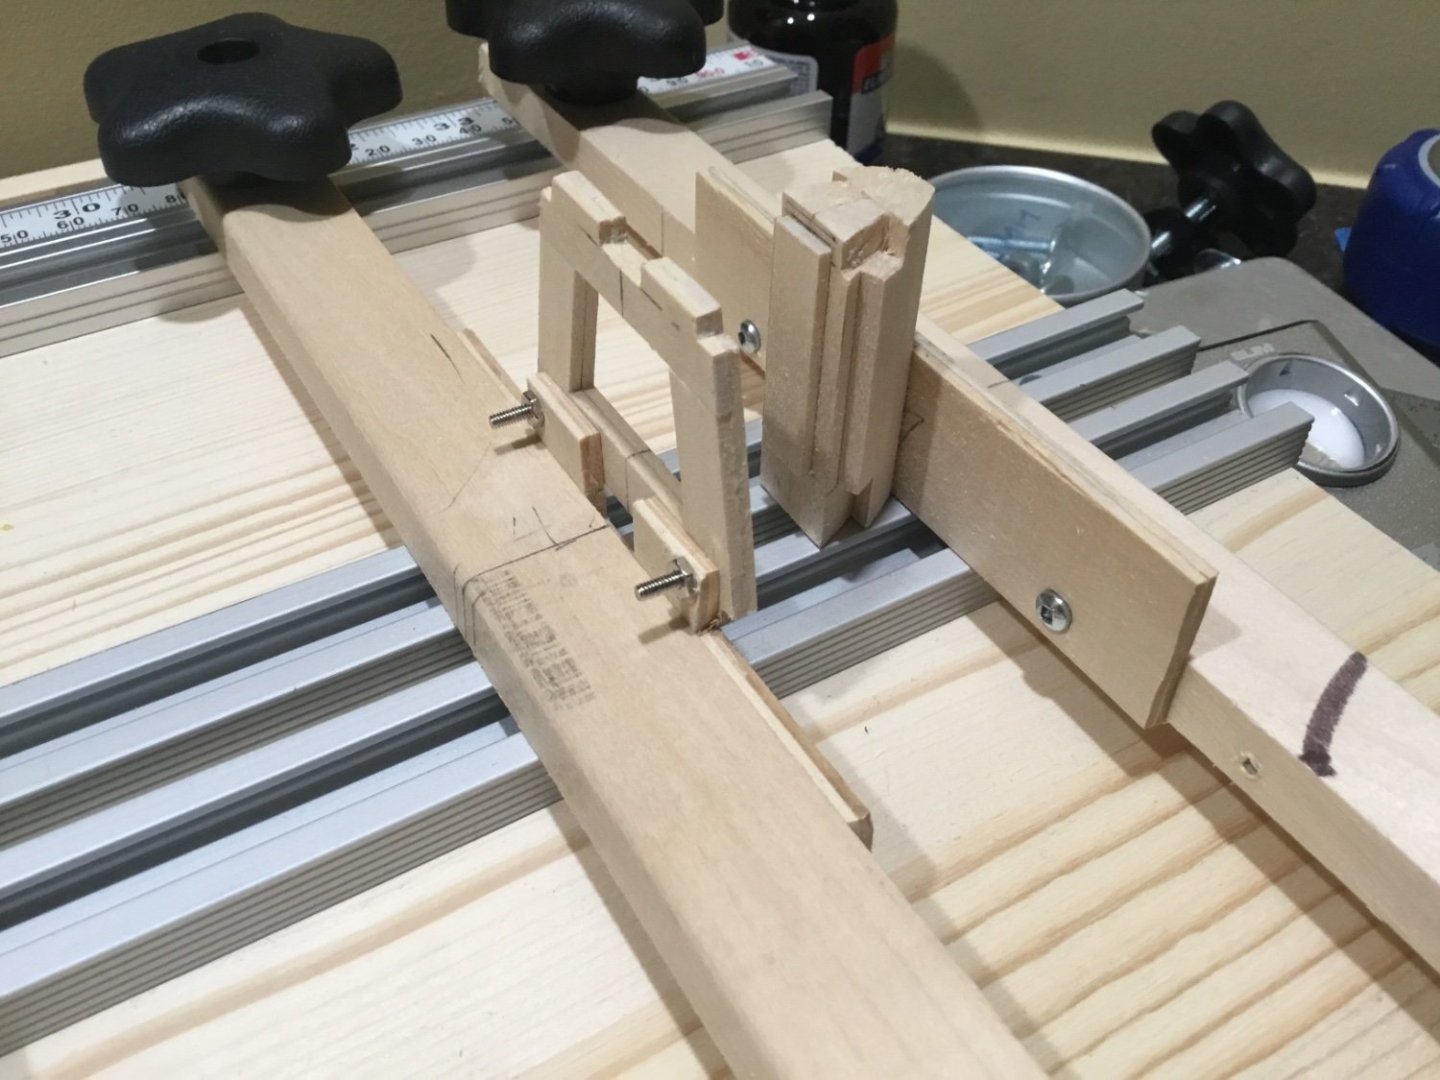
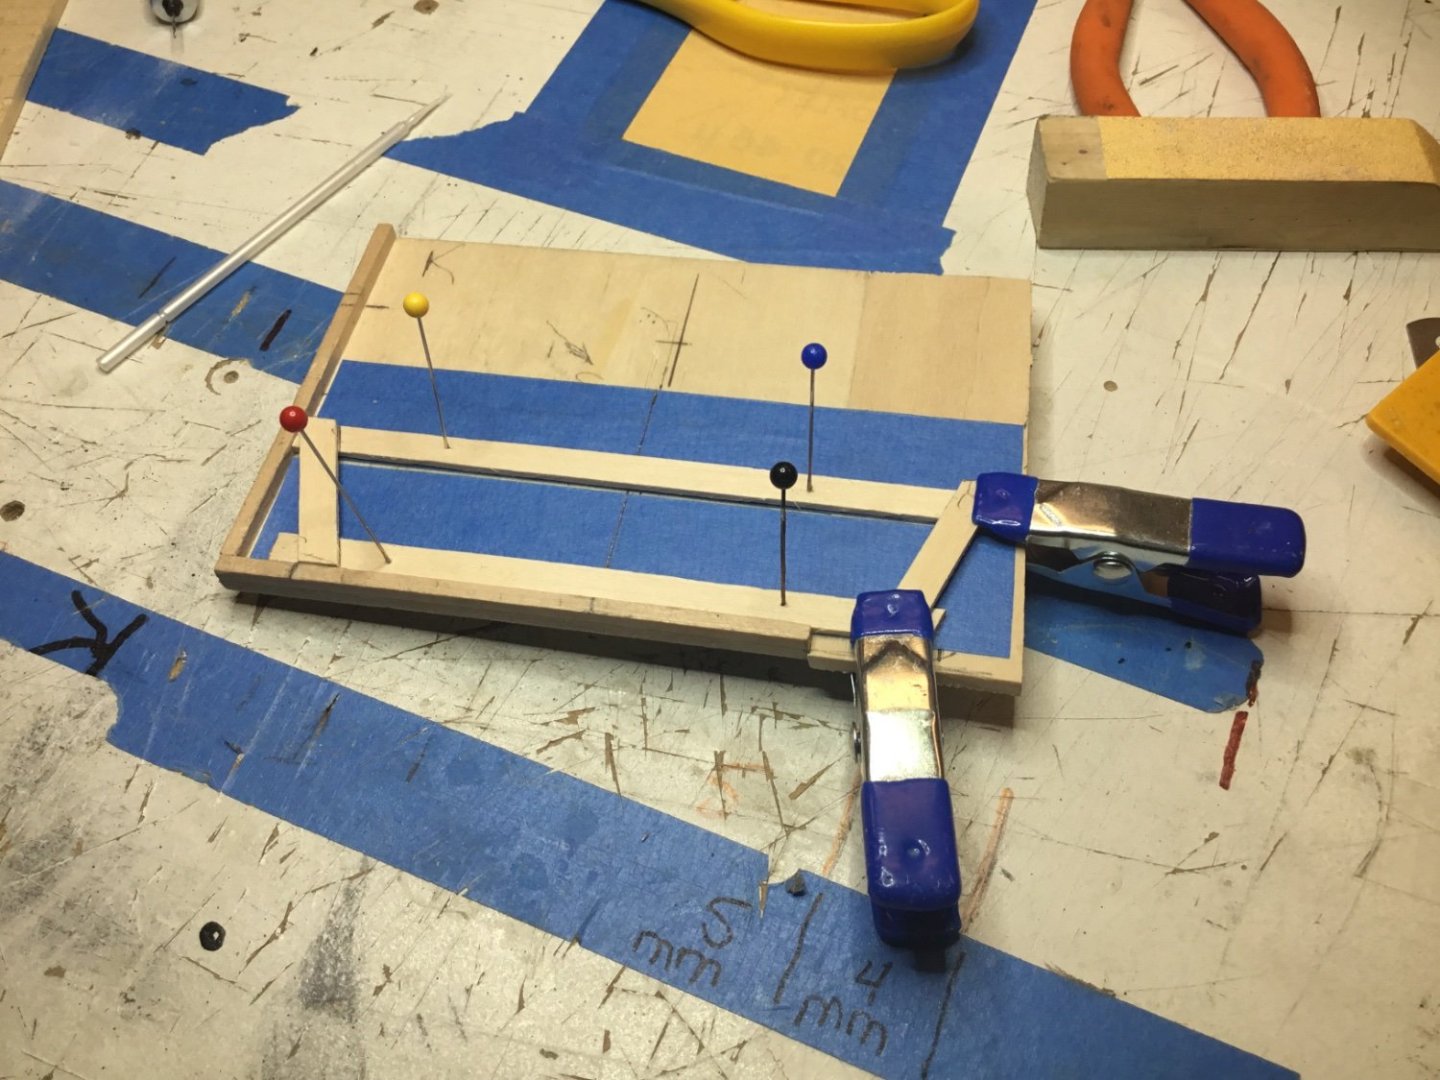
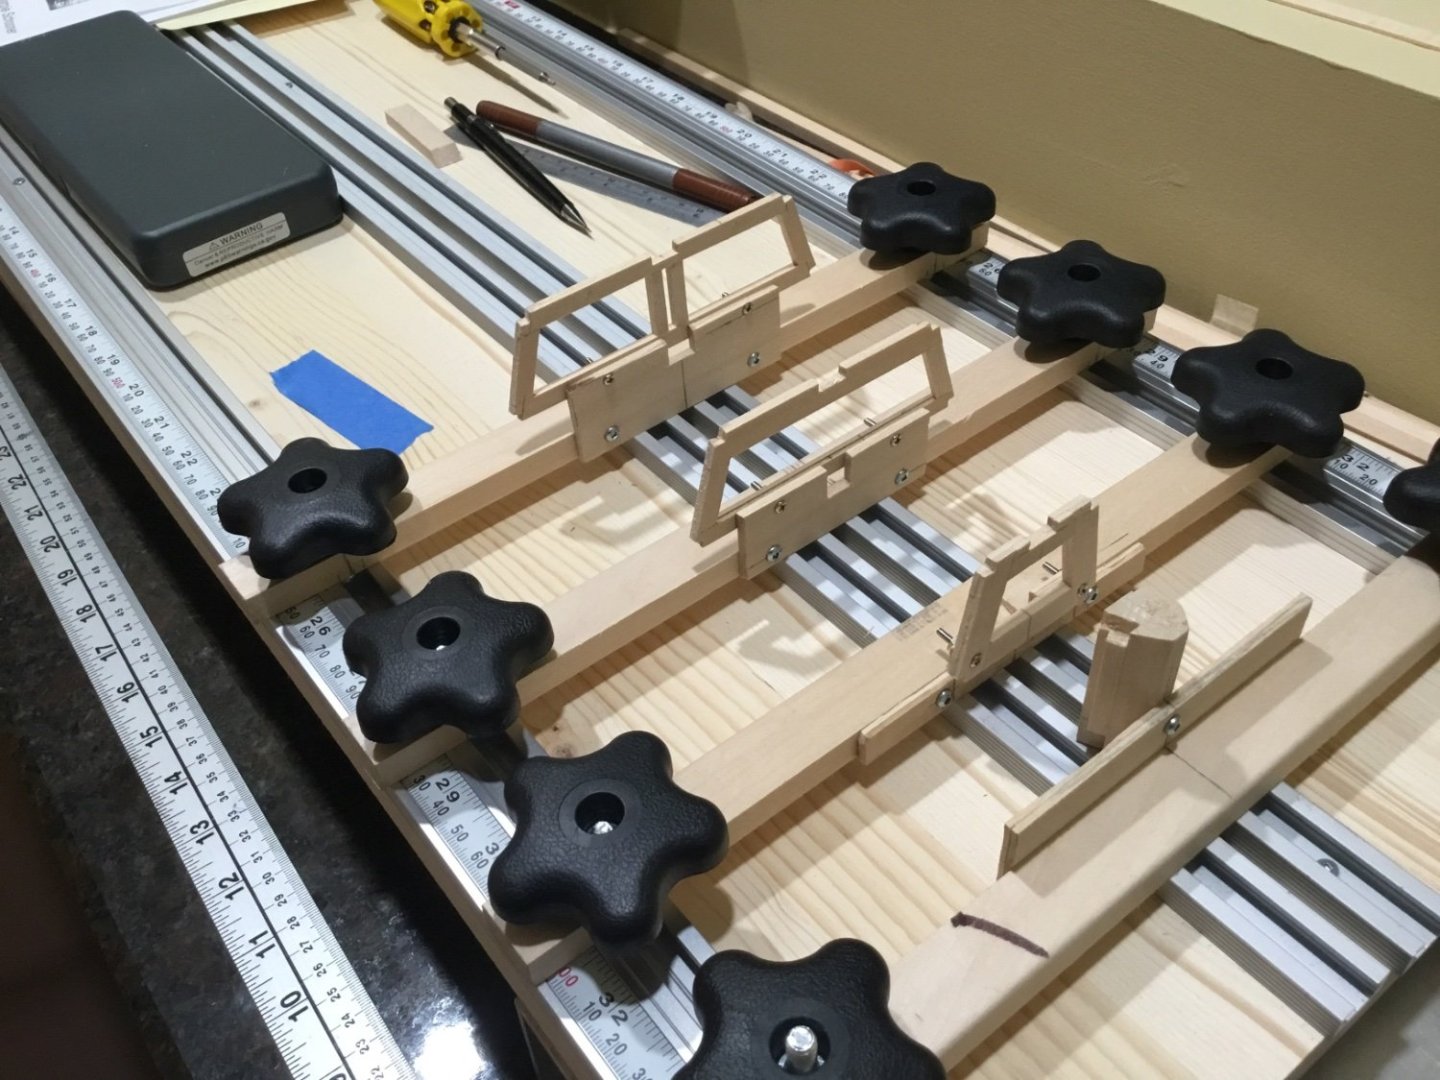
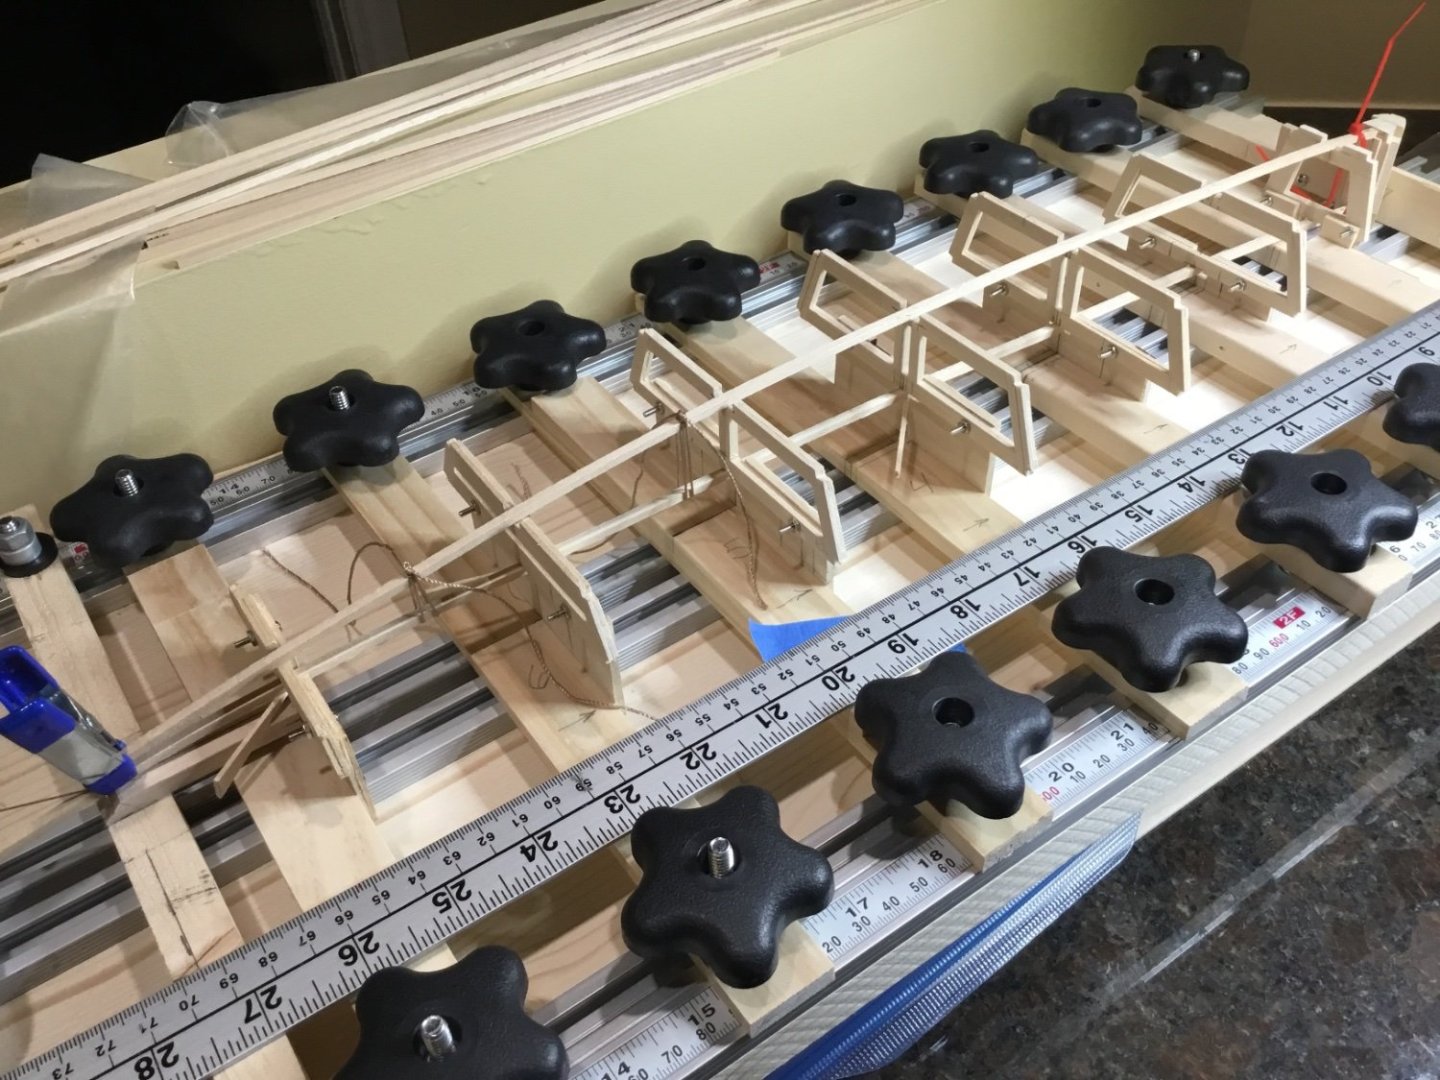
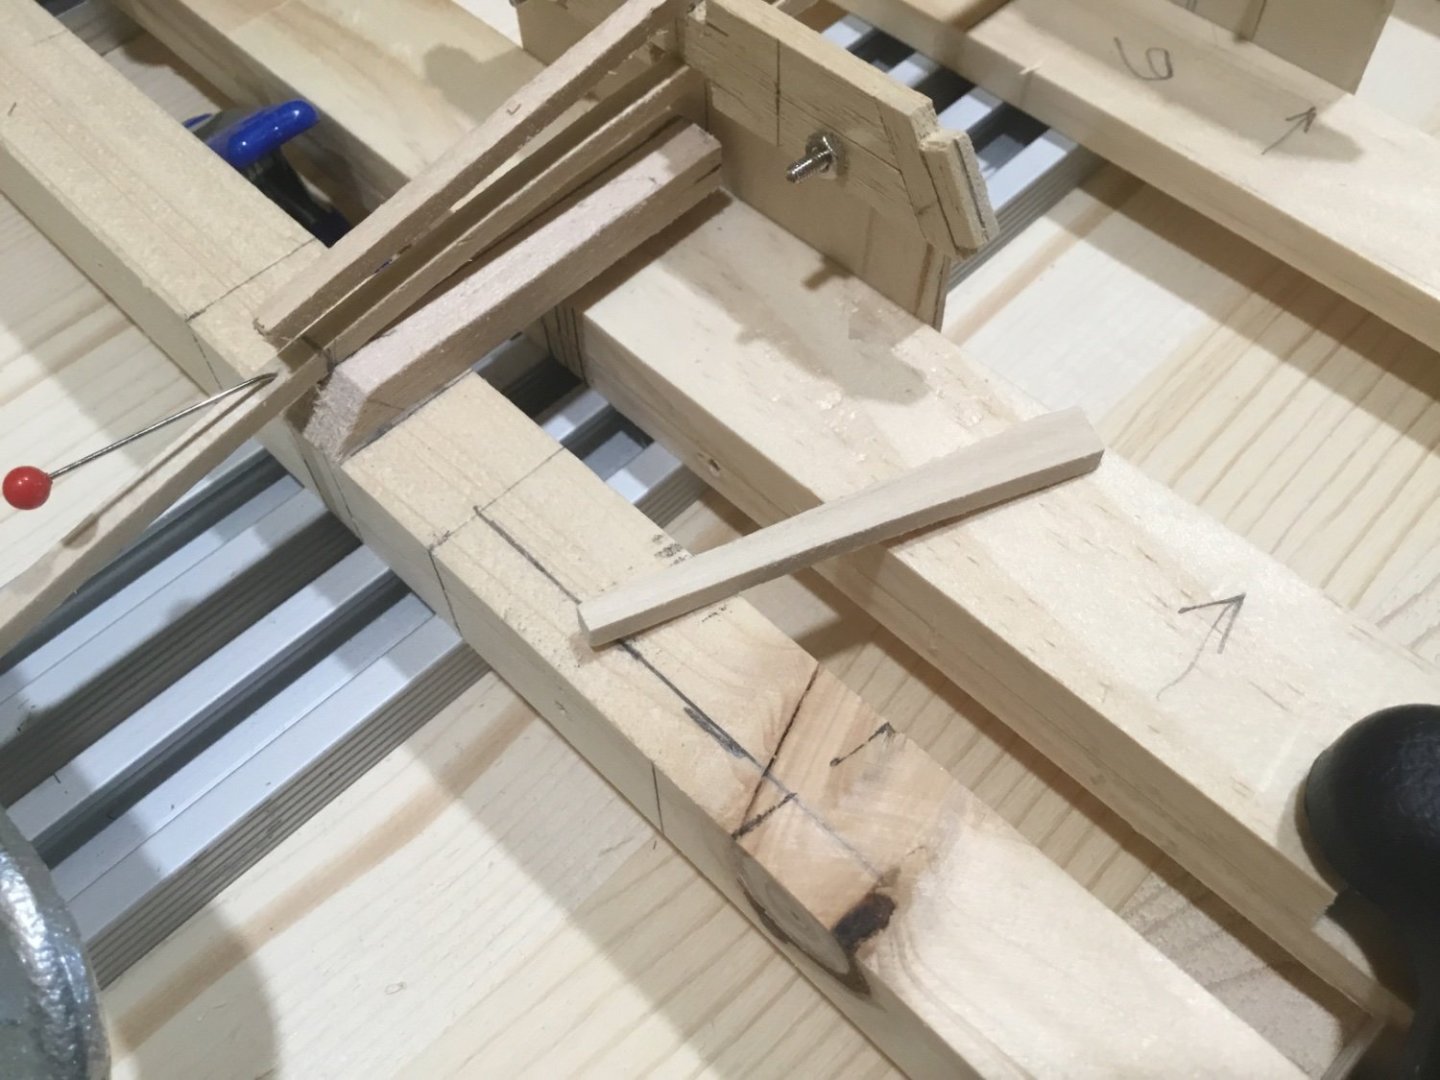
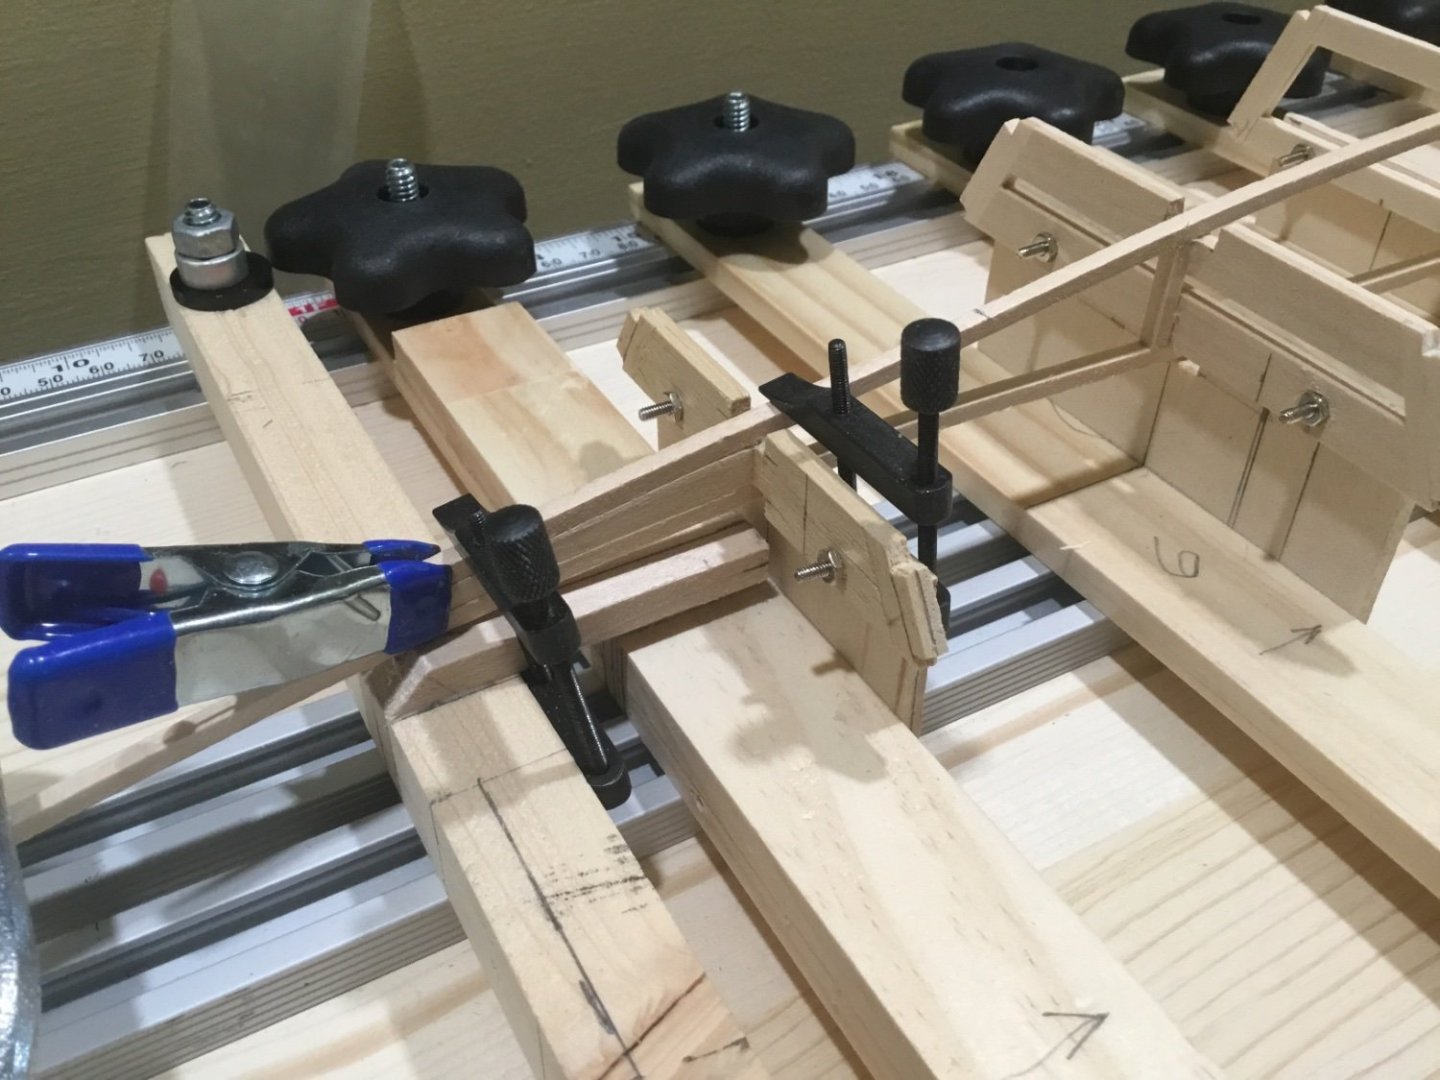
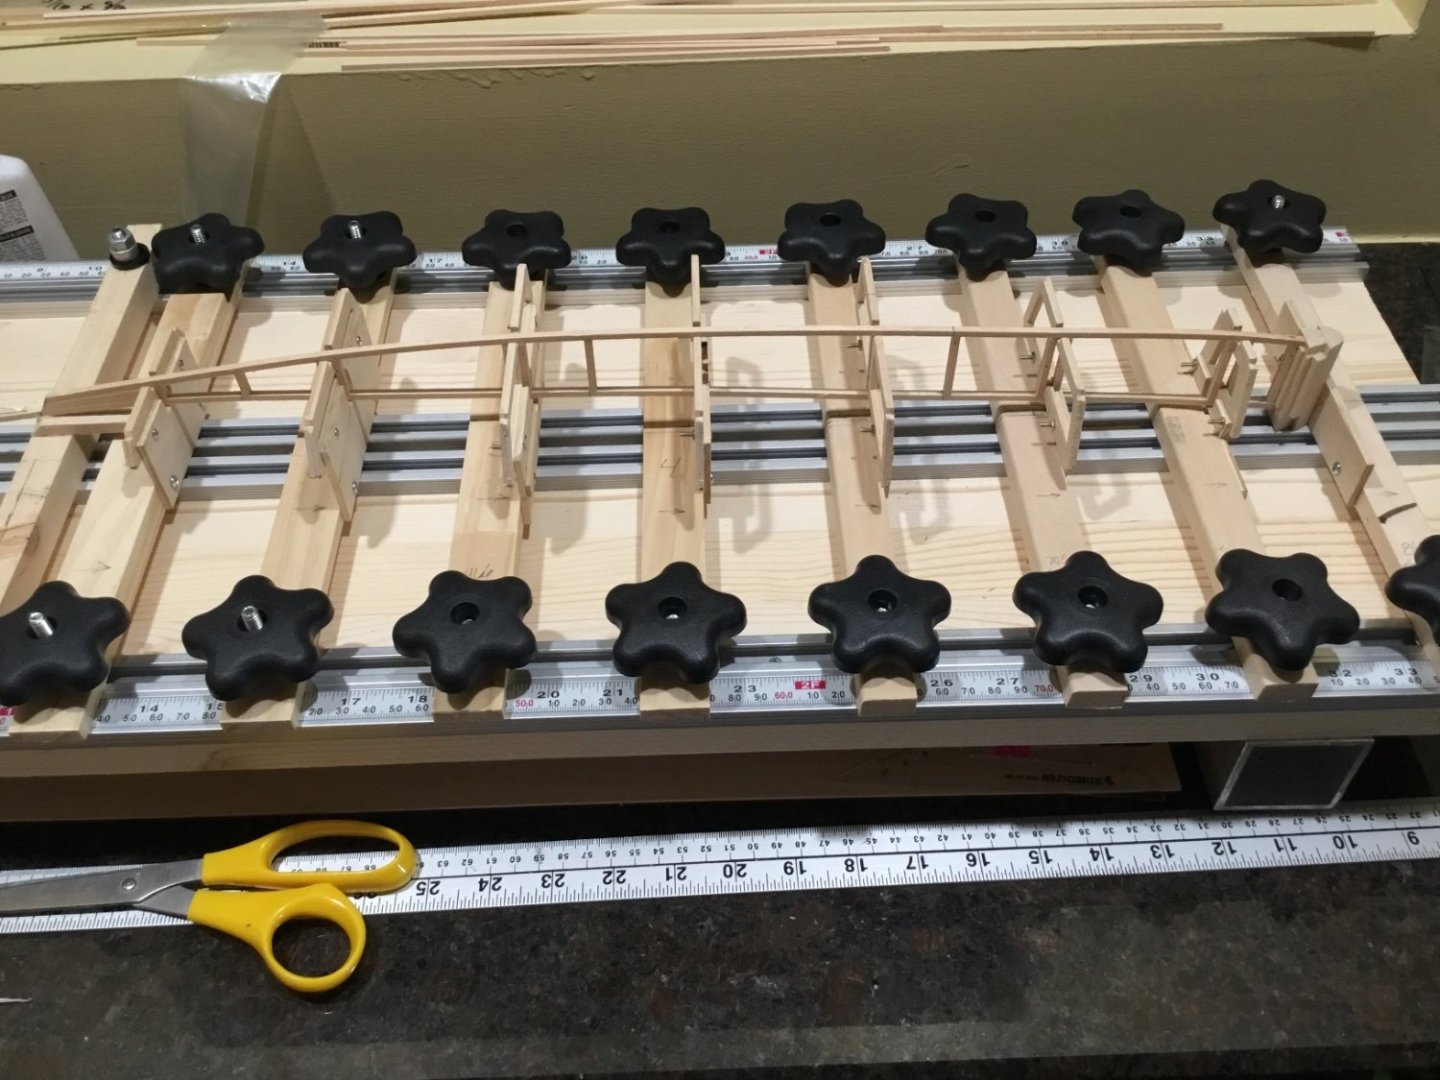
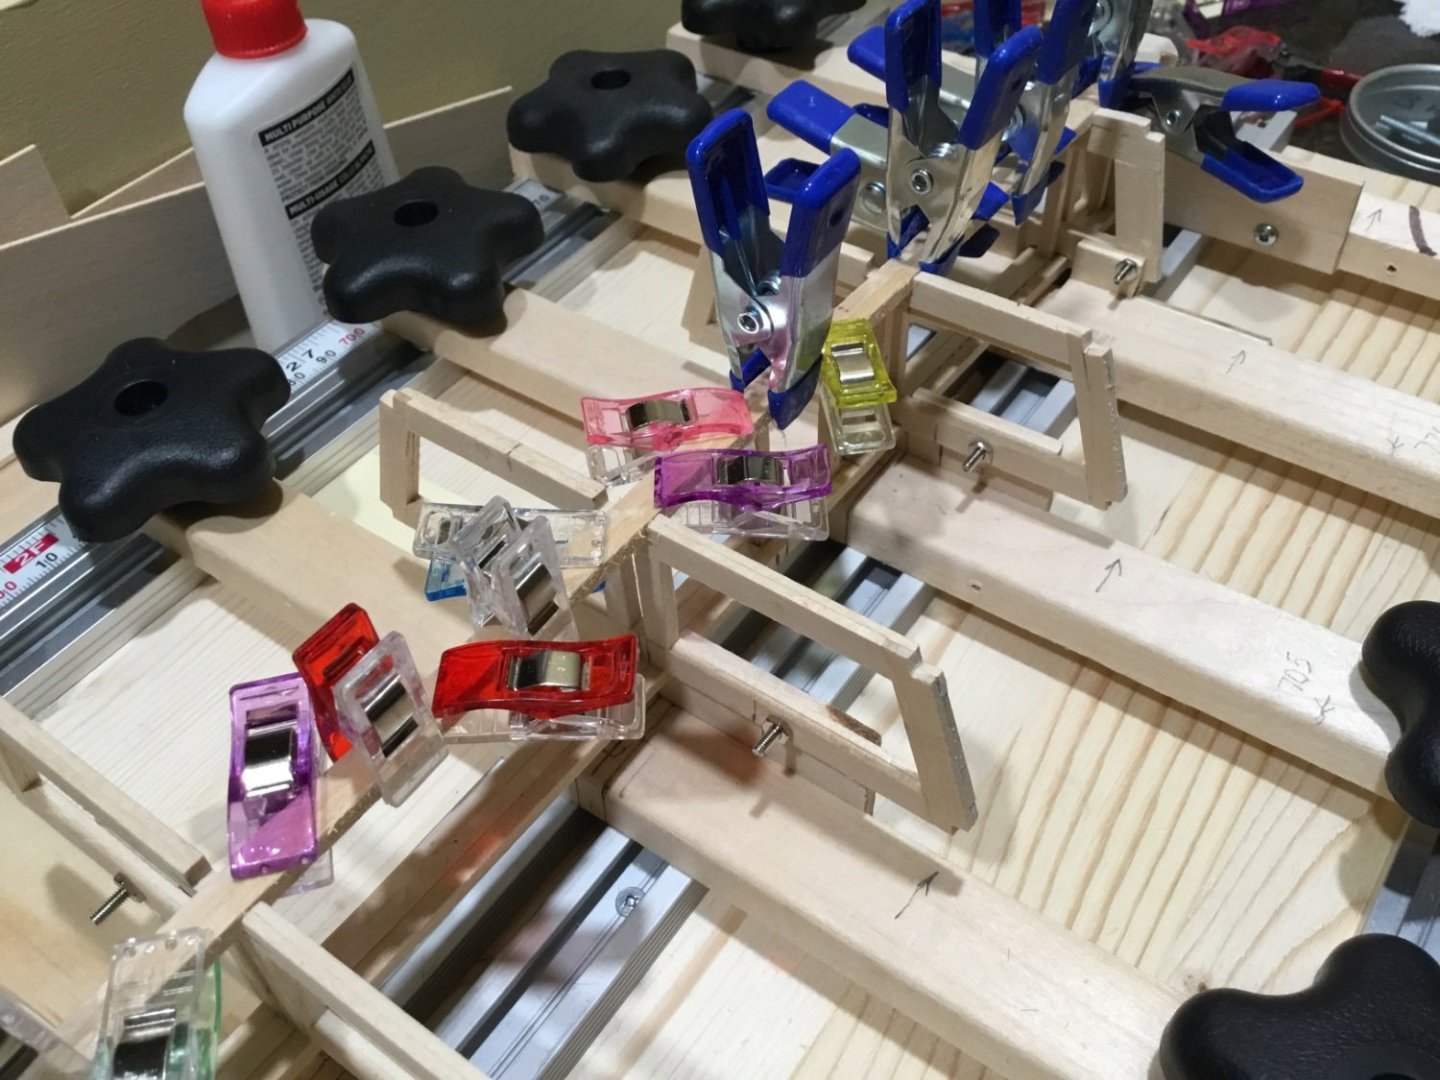
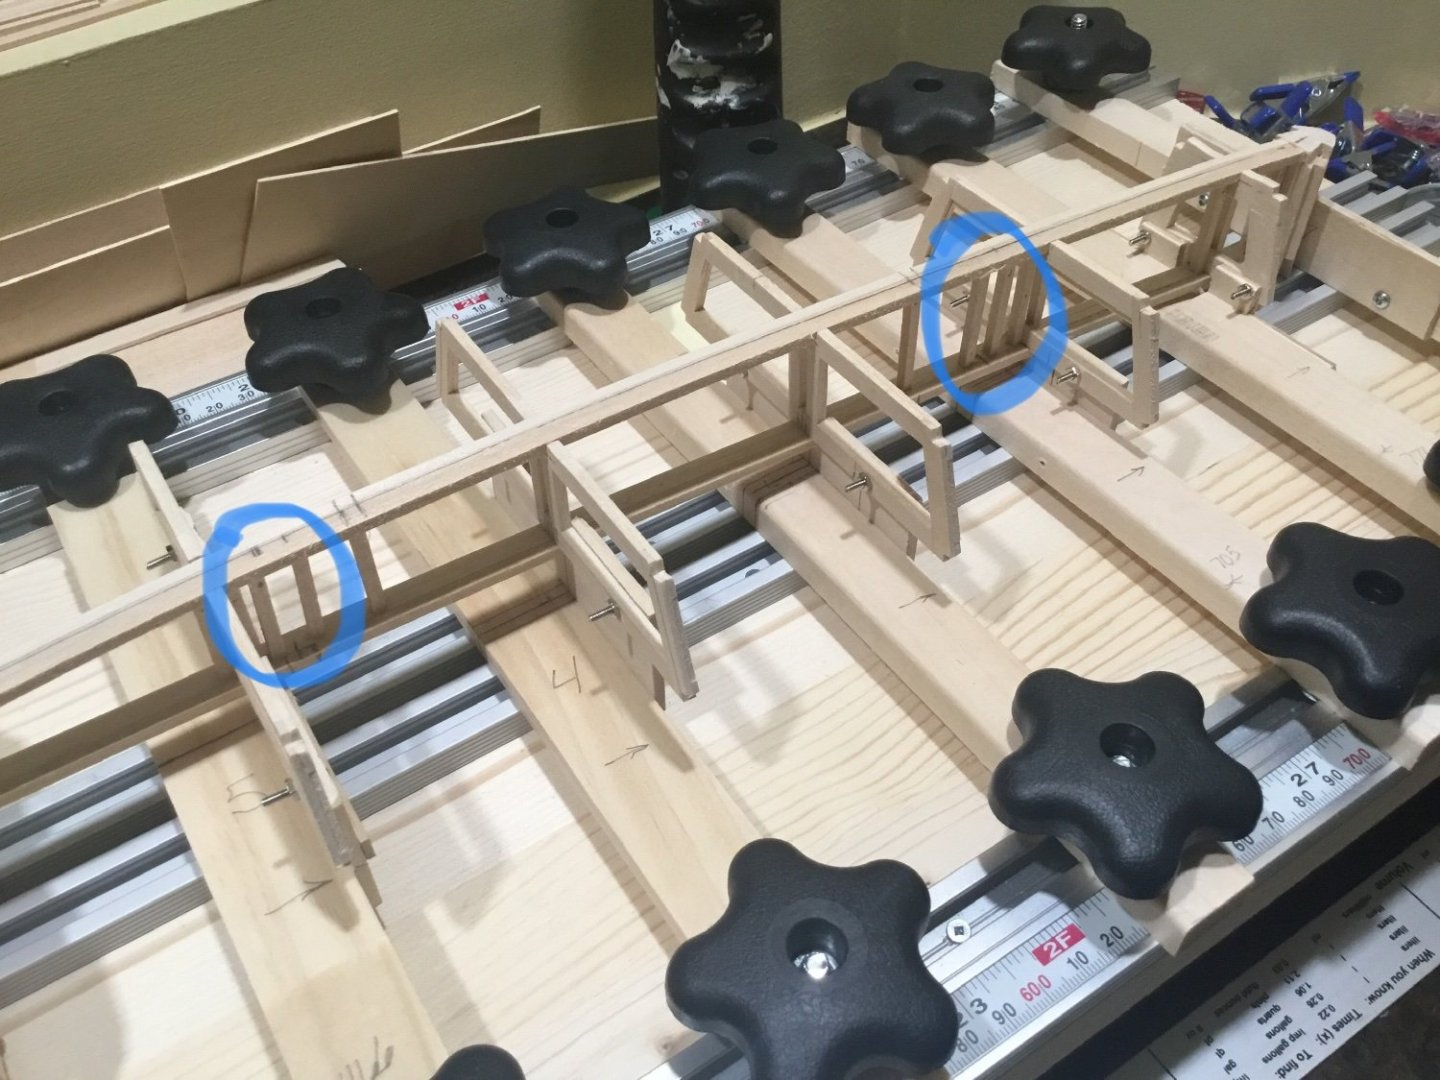
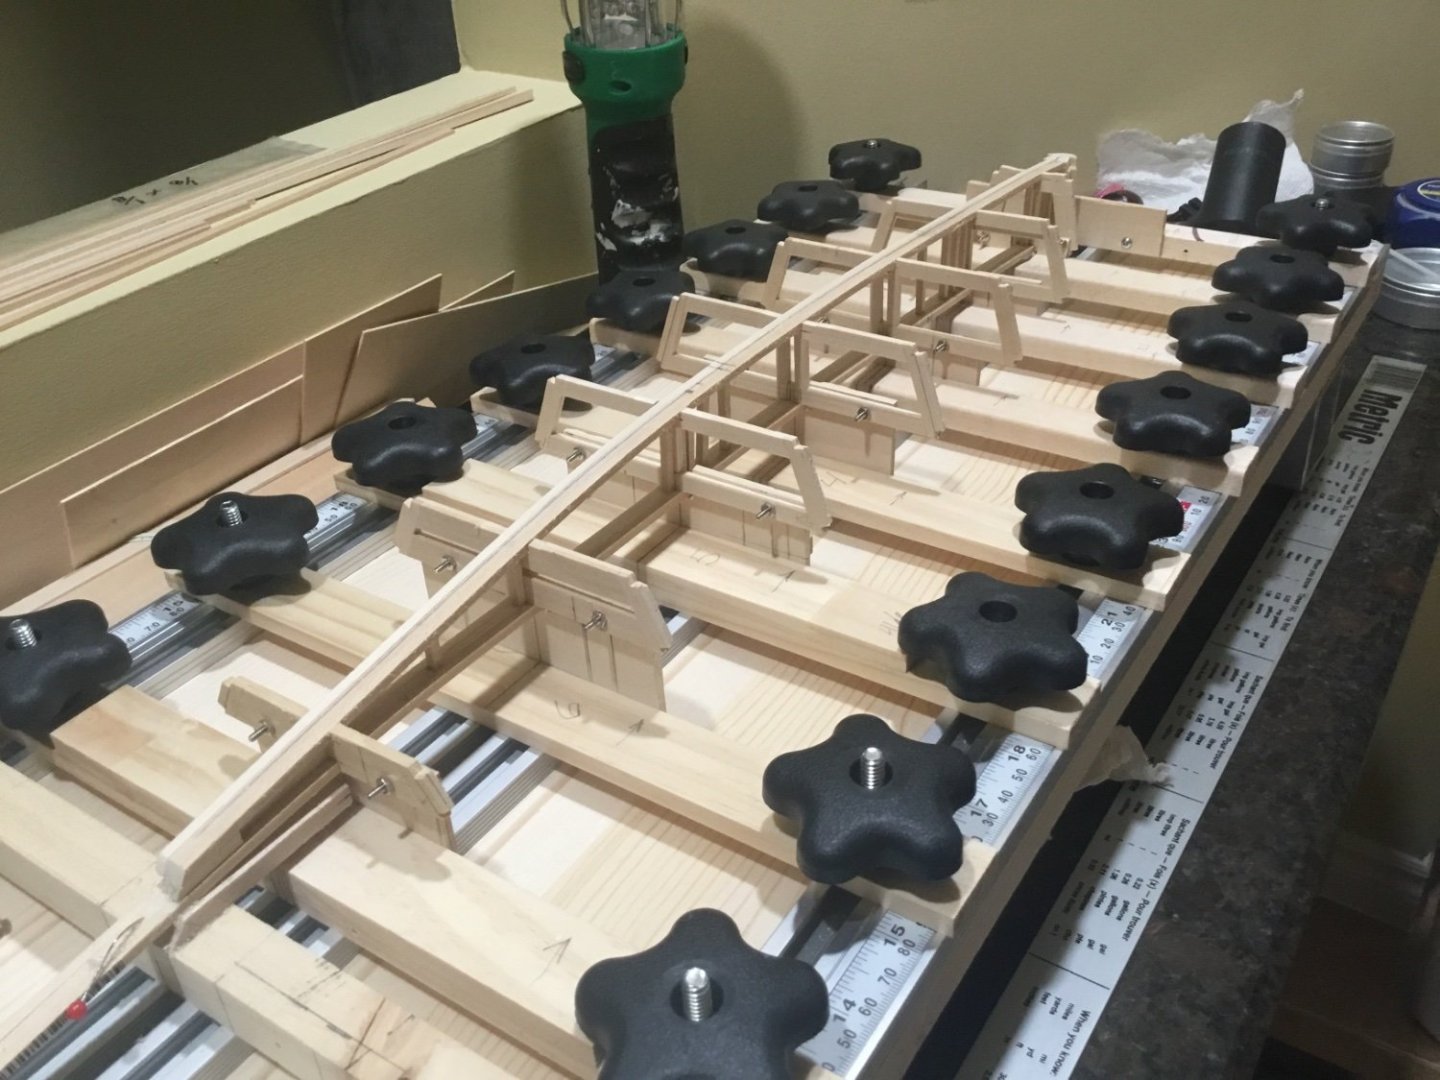
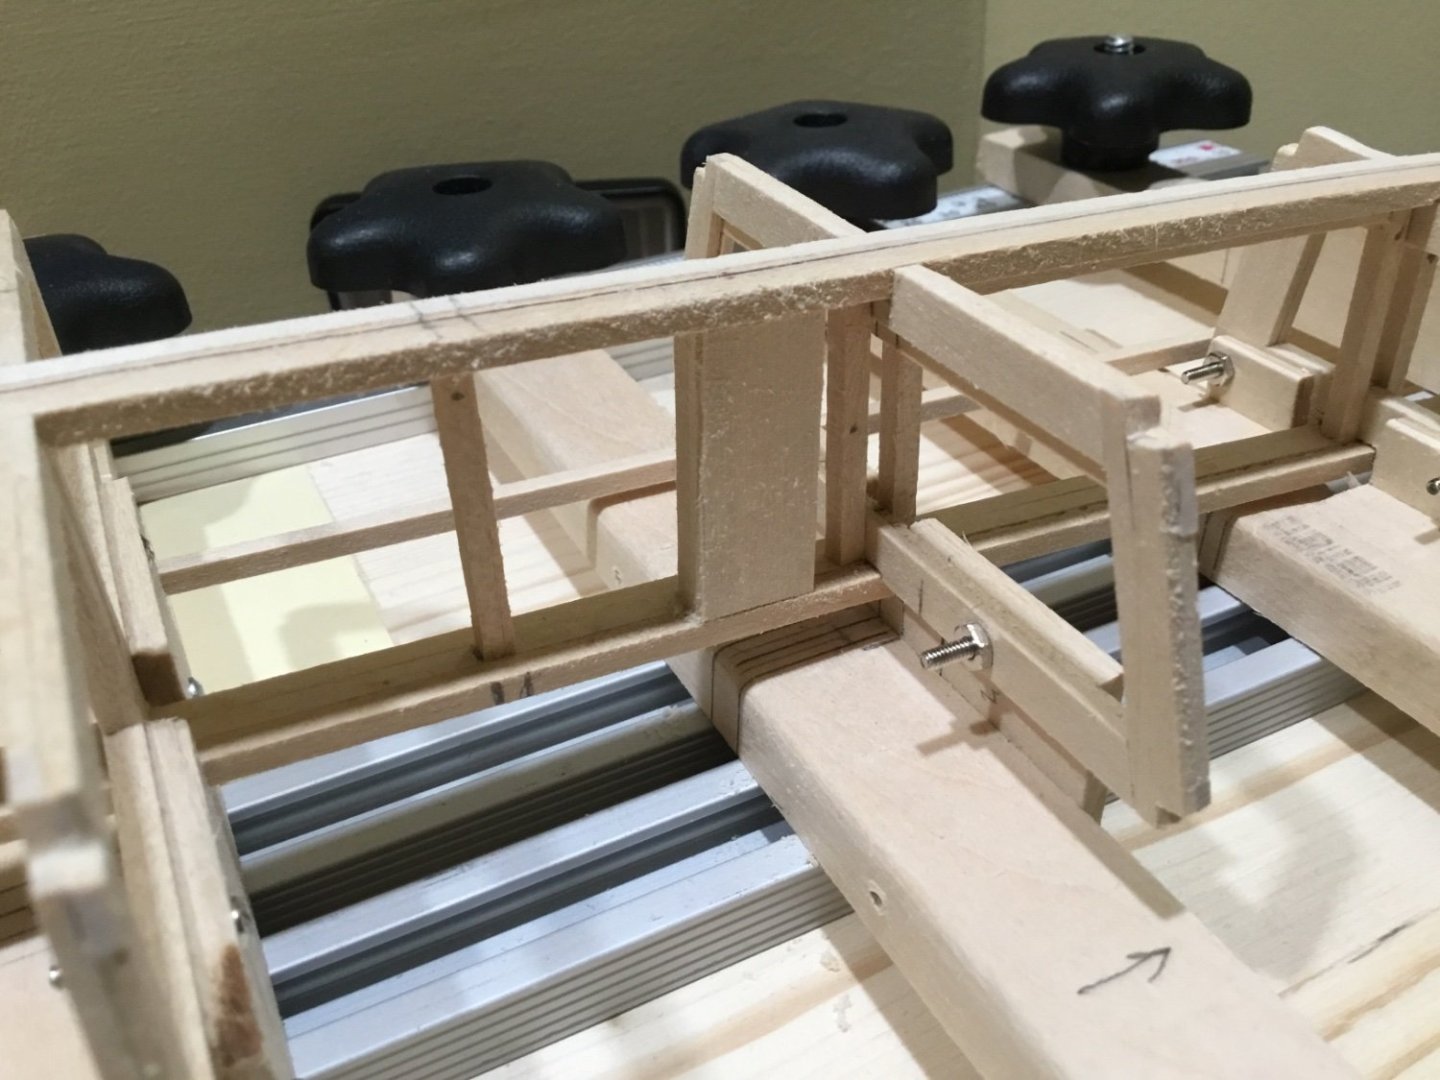
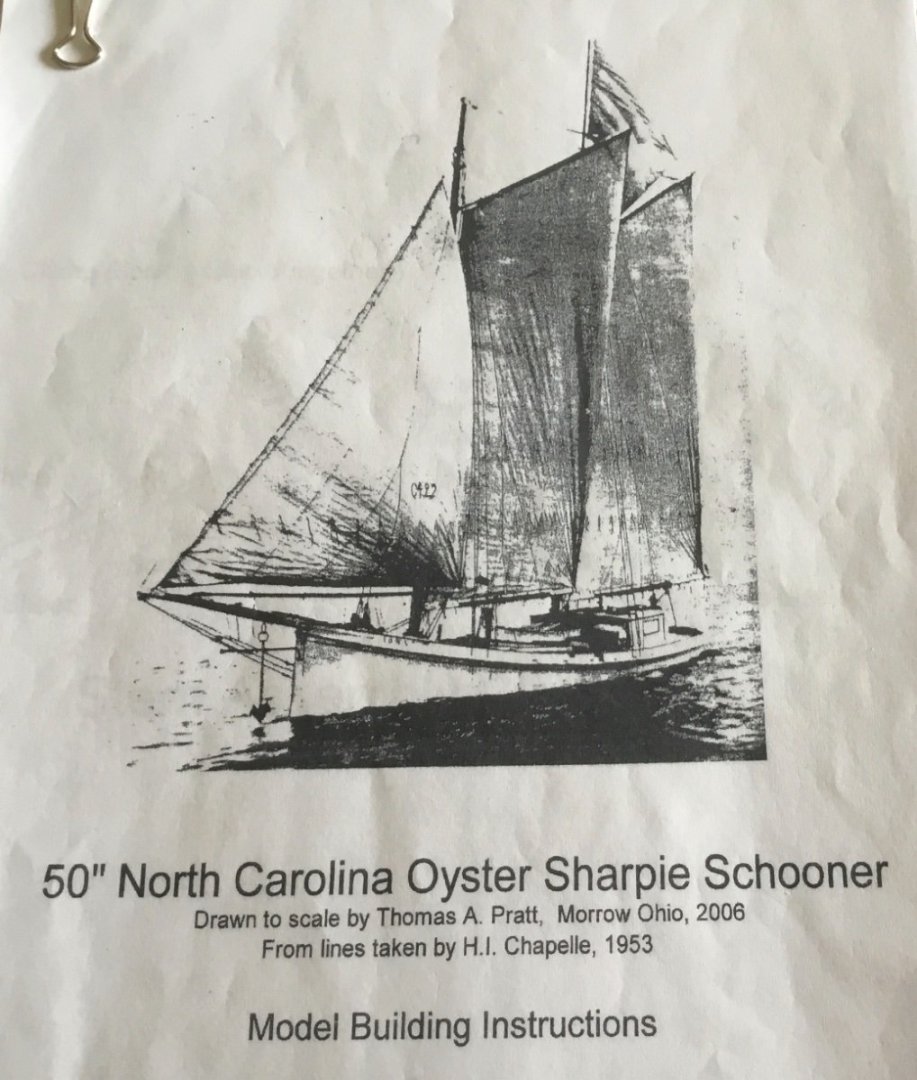
Hi Everyone, this build of a 44’ North Carolina Oyster Sharpie will be my first scratch build. The plans were bought from US Vintage Model Yacht Group. ( USVMYG ) They are drawn by Thomas A Pratt, taken from the lines of Howard Chapelle. They are a digital download with the plans and directions for a 50” model on one pdf and photos and directions of a 50” model being assembled on a second pdf. Acrobat Pro was used to scale the drawings to 1/24 ( 22”) using the tile function to print them out. All of the measurements are taken directly from the printed drawings. Detailed instructions are given on how to make the build board but I’m using the adjustable board that I already have. The inner stem is made first. The inner stem is made from 1/4 x 1/4” basswood strip with one side planed at an angle so that the adjacent side is 1/8” wide. When all four pieces are glued together the forward side will be 1/4” wide to accept the 1/4 “ stem. Notches are cut at this time to accept the shear logs and the chine logs.It is mounted to the build board and all measurements are taken from this point.. The hull lines are all straight so I took the measurements from the drawing and started making frames from 1/16” strips of basswood. The frames are attached to the build board using 4-40 hardware to eliminate any cutting later on. Notches are cut for the keelson which consists of three 1/8” strips of wood. The king plank sits on top of the frame and will eventually be adjusted for the curvature of the deck. Three 1/8” strips were used in case the center piece needs to be removed for the center board. ( But that probably won’t happen) Once the center strips of the keelson and king plank were attached, vertical supports were added for the masts and bulkheads for the trunk, cockpit and hatches. Then the outer strips were added and more vertical supports were added so that the whole structure is 3/8” thick. The two areas where the masts will be stepped are built out so that they are 1/4” square and then boxed. The plan is to box in the entire bulkhead former and then add lateral supports for the frames before attaching the chine logs. Hope to see you soon.
- 201 replies
-
- Oyster Sharpie
- first scratch build
-
(and 1 more)
Tagged with:
-
Hi Rick, in the first photo where you are using the t-pin, the batten seems to cut straight across the space between the bow filler and bulkhead M. Maybe you can try putting some bend in the end of the batten so that it will enter the rabbet at the stem at a better angle. Then see how it sits moving aft. Looking good!
-
Tim, congratulations on finishing your dory. Your dory and build log are excellent. Looking forward to your next build!
- 31 replies
-
- Grand Banks Dory
- Bluejacket Shipcrafters
-
(and 1 more)
Tagged with:
-
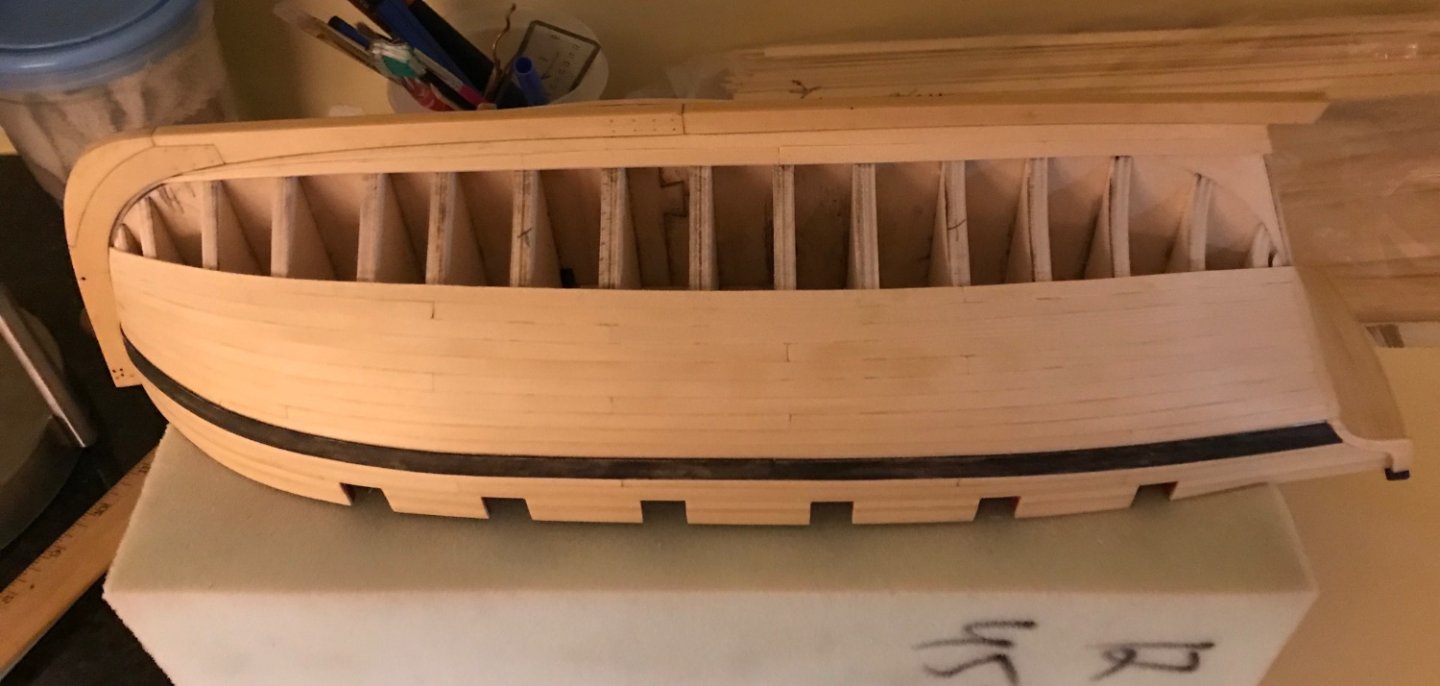
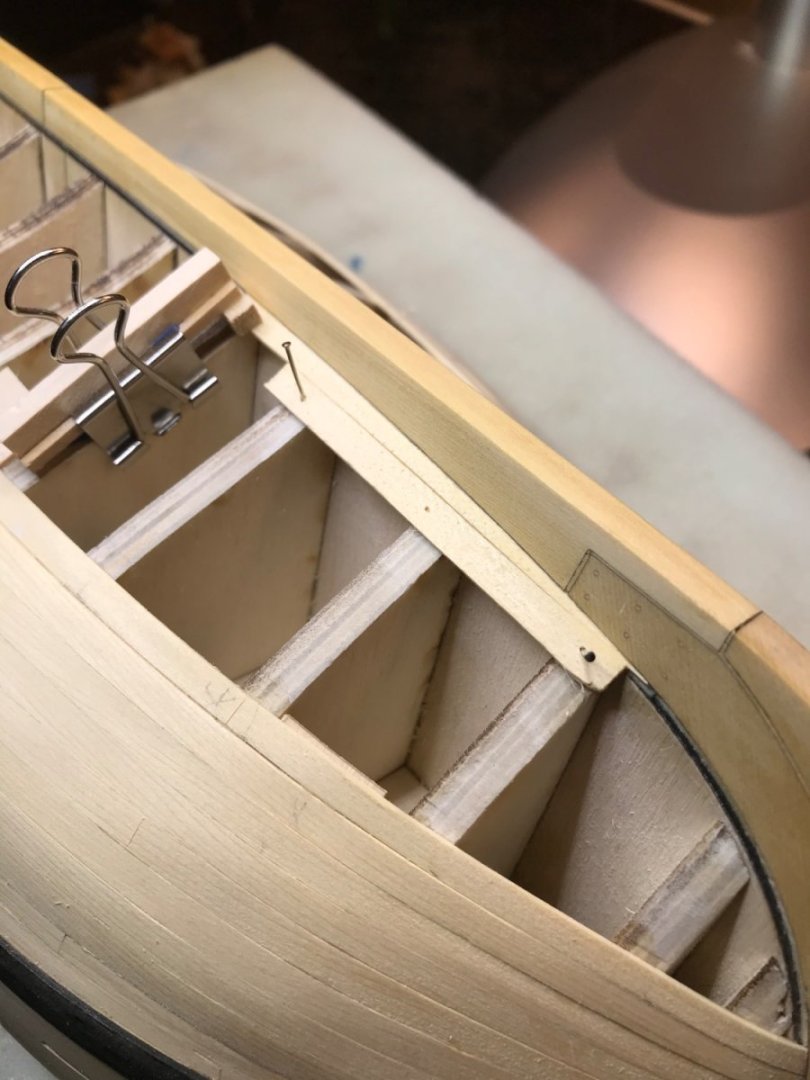
Hi rudybob, here’s a few pics of some of my planking. I found it easier to lay out the garboard but using a straight strip of wood clipped to the bulkheads where the plank above the garboard would sit. Start at the joint and run it back to the stern keeping the distance from the keel not more than the width of the plank you are using for the garboard. Mark the bulkheads and use the measurements at each bulkhead to lay out your garboard. Yours won’t be as wide at the stern (as in the first pic) but the principle is the same. These aren’t the best examples but they give you an idea of what Allen suggesting.
-
Coming along very nicely Glenn. 👍
- 587 replies
-
- Indefatigable
- Vanguard Models
-
(and 1 more)
Tagged with:
-
Hi Wizard, your pram is looking really good. To cut the brass tube, try sliding a piece of 1/32” brass rod inside the 1/16” brass tube to keep it from crushing and use a razor knife to cut it. Roll the tube back and forth under the knife blade. Annealing will make it easier but you can try it without annealing. That’s a nice looking red. What color is that? Hey Bryan, we were answering at the same time. Good suggestion 😀
- 38 replies
-
- Norwegian Sailing Pram
- Model Shipways
-
(and 2 more)
Tagged with:
-
Width in the bend
Paul Le Wol replied to rudybob's topic in Building, Framing, Planking and plating a ships hull and deck
Hi rudybob, as you approach the stem, the planks will become narrower. How much narrower depends on the vessel you are modeling. It doesn’t matter whether you have spiled the plank or whether you have tapered and edge bent the plank, its width will still have to change. So my answer to your question is no, that is not true. -
Adding Bulkheads
Paul Le Wol replied to acaron41120's topic in Building, Framing, Planking and plating a ships hull and deck
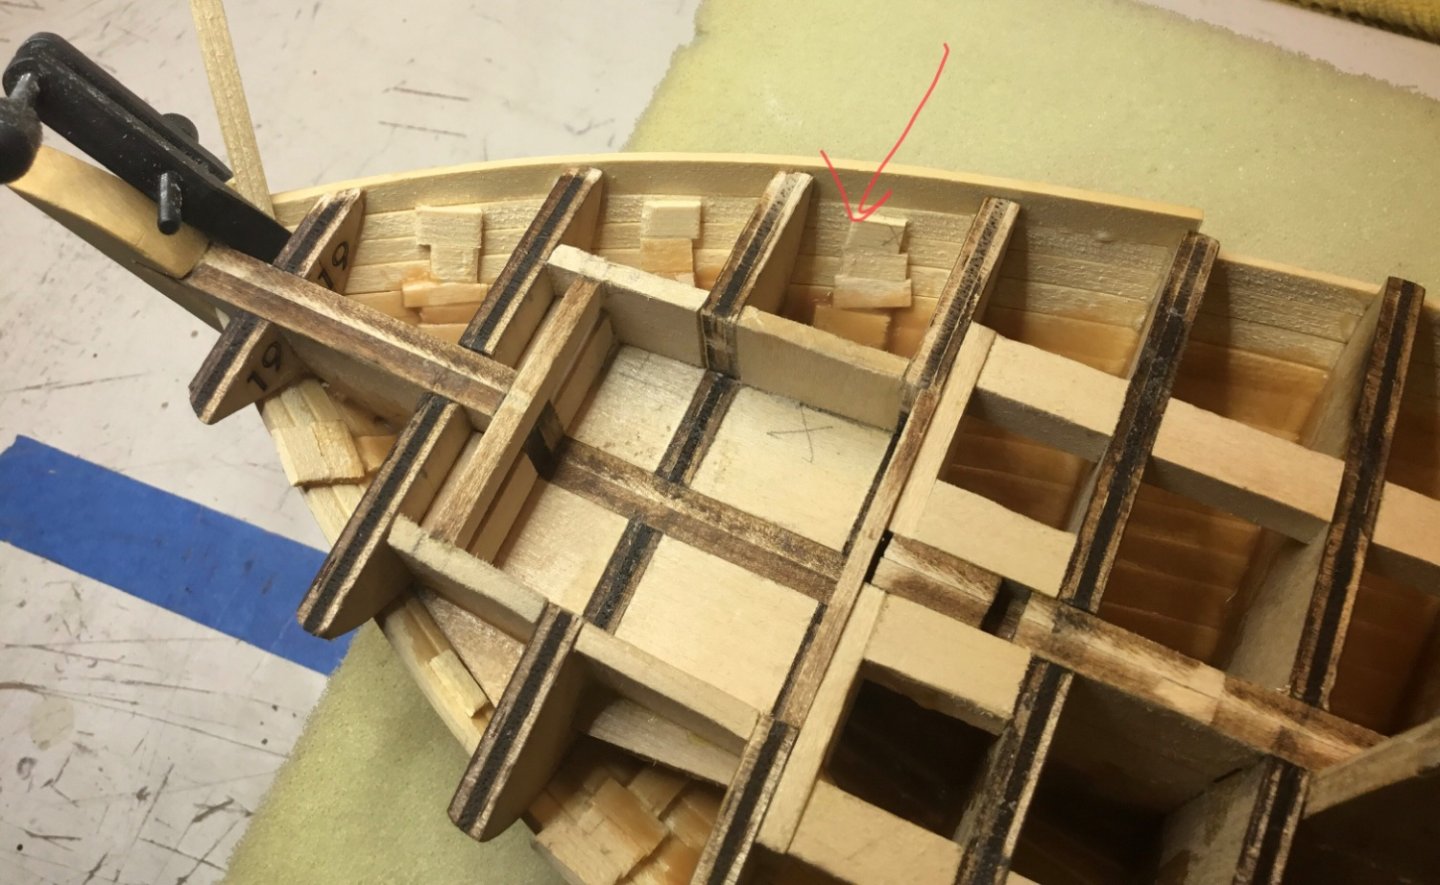
Hey Everyone, there’s been some planking questions come up lately so I thought I’d add this suggestion to this thread. Lots of people probably do this but it’s good to renew tips every once in a while. Instead of adding filler blocks or extra bulkheads I’ve been gluing small pieces of scrap wood to the previous plank in difficult areas like the bow or stern to keep the planks on the same plane. The next plank can be glued and clamped at this point effectively giving you an extra bulkhead. Also not a bad idea to add them in straight areas where the bulkheads may be over 2” apart. Should add though that the planks will still need to be tapered and bent first. -
Melissa, congratulations on finishing your journey. Your Statenjacht looks fantastic.
- 84 replies
-
- Statenjacht
- Kolderstok
-
(and 1 more)
Tagged with:
-
Split ring making process
Paul Le Wol replied to Dave_E's topic in Metal Work, Soldering and Metal Fittings
Hi Dave, you have gotten a lot of very good advice. Like you, I am also using darkened annealed wire to make rings and eyebolts although not at such a small scale. I’ve been getting away without soldering or gluing because nothing I’ve done is under tension. (Cannon rigging) The nice thing about annealed wire is that you can burn off the coating with a micro torch if it becomes scratched while working it and you end up with a dark grey flat finish. I belong to the group that believes you should do as little as possible to get the results that you are happy with 😀 -
Timber-framed outdoor kitchen - Cathead - 1:1 scale
Paul Le Wol replied to Cathead's topic in Non-ship/categorised builds
Very nice Eric, we used to grow climbing beans on a similar structure. They were finished producing just when you wanted to have the sun warming you up again. Of course our climates might be a little different. -
Hi Panteg, I think there should be a strip of Obechi 3 x 8 x 300mm included in the kit that is probably cut in half to use for the stand. Good luck with your build
- 35 replies
-
- norden
- billing boats
-
(and 2 more)
Tagged with:
-
Hi nemosdogs1, welcome to the forum. Make sure you head on over to the new members thread and introduce yourself. The numbers inside the circles on the drawing you are showing will also be on another drawing showing the sails and rigging. I think Billings calls this drawing “General Arrangements”. The corresponding number inside a circle will be pointing at the rigging that attaches to the pin or cleat shown on your drawing. Sometimes they are printed very lightly and are hard to see. Good luck with your build.
- 18 replies
-
- marie jeanne
- Billing Boats
-
(and 1 more)
Tagged with:
-
Hi Bob, hi Dave. Thank you for your comments. You are both very kind
- 72 replies
-
- Glad Tidings
- Model Shipways
-
(and 1 more)
Tagged with:
-
Hi Joe, welcome to the forum. Your Dory and Pram look exceptional. Hopefully one day you’ll be able to post some pictures of your RC aircraft.
-
Steve, congratulations on finishing this boat. She is perfect!
- 40 replies
-
- BlueJacket Shipcrafters
- Chris-Craft
- (and 2 more)
-
Hey Eric, hey Bob, thanks very much for your support and for joining me on this journey
- 72 replies
-
- Glad Tidings
- Model Shipways
-
(and 1 more)
Tagged with:
-
Thanks Chris and thanks also for marking it as finished. Thanks Ian. I’m not sure what’s next. I do have a Vanguard 22’ yawl that needs doing while thinking about it.
- 72 replies
-
- Glad Tidings
- Model Shipways
-
(and 1 more)
Tagged with:
About us
Modelshipworld - Advancing Ship Modeling through Research
SSL Secured
Your security is important for us so this Website is SSL-Secured
NRG Mailing Address
Nautical Research Guild
237 South Lincoln Street
Westmont IL, 60559-1917
Model Ship World ® and the MSW logo are Registered Trademarks, and belong to the Nautical Research Guild (United States Patent and Trademark Office: No. 6,929,264 & No. 6,929,274, registered Dec. 20, 2022)
Helpful Links
About the NRG
If you enjoy building ship models that are historically accurate as well as beautiful, then The Nautical Research Guild (NRG) is just right for you.
The Guild is a non-profit educational organization whose mission is to “Advance Ship Modeling Through Research”. We provide support to our members in their efforts to raise the quality of their model ships.
The Nautical Research Guild has published our world-renowned quarterly magazine, The Nautical Research Journal, since 1955. The pages of the Journal are full of articles by accomplished ship modelers who show you how they create those exquisite details on their models, and by maritime historians who show you the correct details to build. The Journal is available in both print and digital editions. Go to the NRG web site (www.thenrg.org) to download a complimentary digital copy of the Journal. The NRG also publishes plan sets, books and compilations of back issues of the Journal and the former Ships in Scale and Model Ship Builder magazines.


