HOLIDAY DONATION DRIVE - SUPPORT MSW - DO YOUR PART TO KEEP THIS GREAT FORUM GOING! (Only 20 donations so far - C'mon guys!)
×


Paul Le Wol
-
Posts
1,016 -
Joined
-
Last visited
Content Type
Profiles
Forums
Gallery
Events
Everything posted by Paul Le Wol
-
Jerry, happy to see you working on the Pinky again. Looking forward to your posts.
-
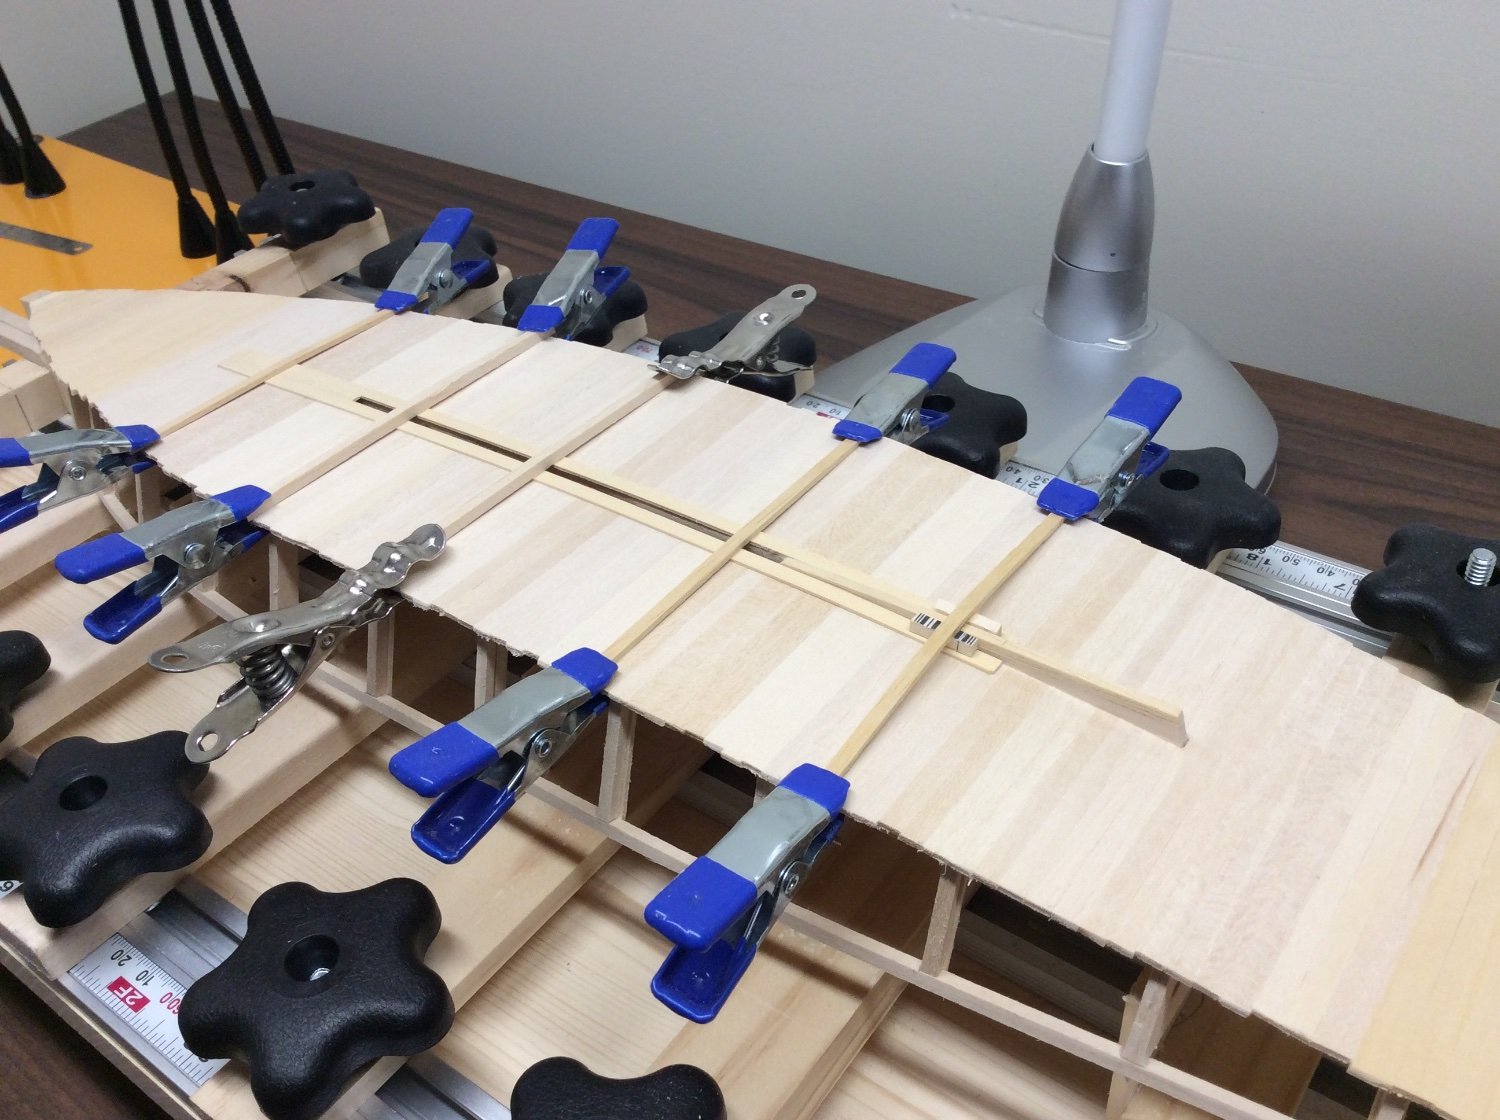
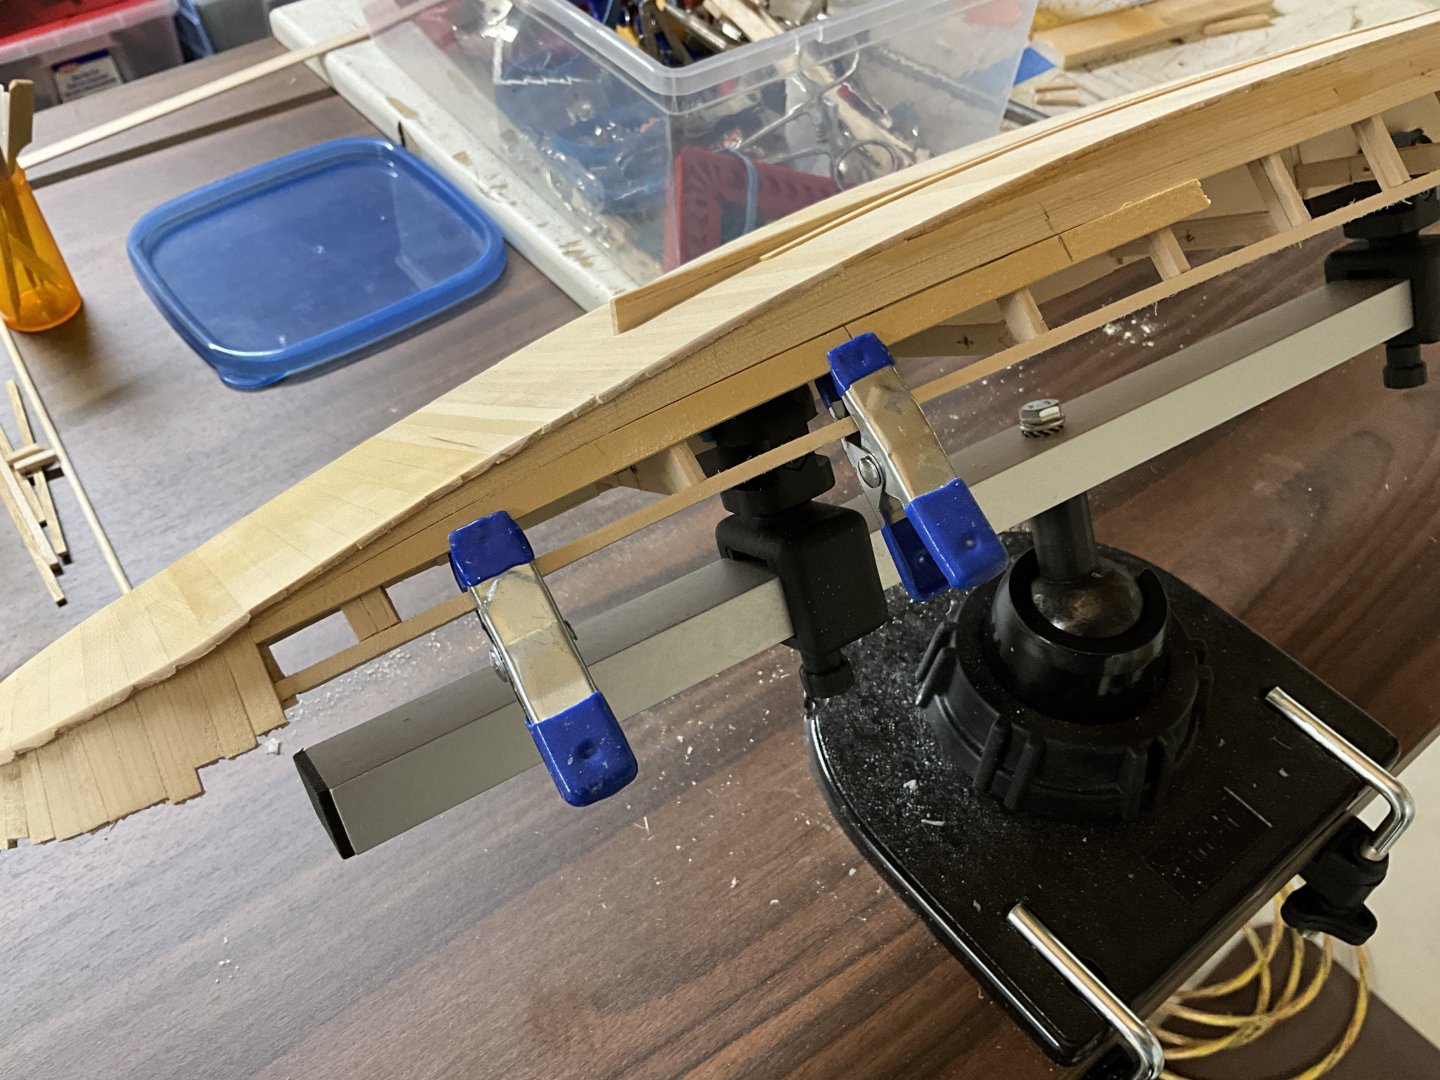
Thank you Jacques. When I started planking the bottom I started in the middle and worked in both directions using the basswood that came with the Glad Tidings kit. When I ran out of 3/16” x 1/16” basswood I changed to the 3/16” x 1/16” leftover Alaskan Yellow Cedar that I had bought to plank the Glad Tidings. So the bottom has a few inches of AYC at the bow and the stern. The sides of the hull are AYC. Started with 3/16” x 1/16” until it ran out. The rest of the hull will be finished with 1/4” AYC. She will be painted white so it should be okay. That was kind of long-winded wasn’t it 😀
- 201 replies
-
- 4
-

-
- Oyster Sharpie
- first scratch build
- (and 1 more)
-
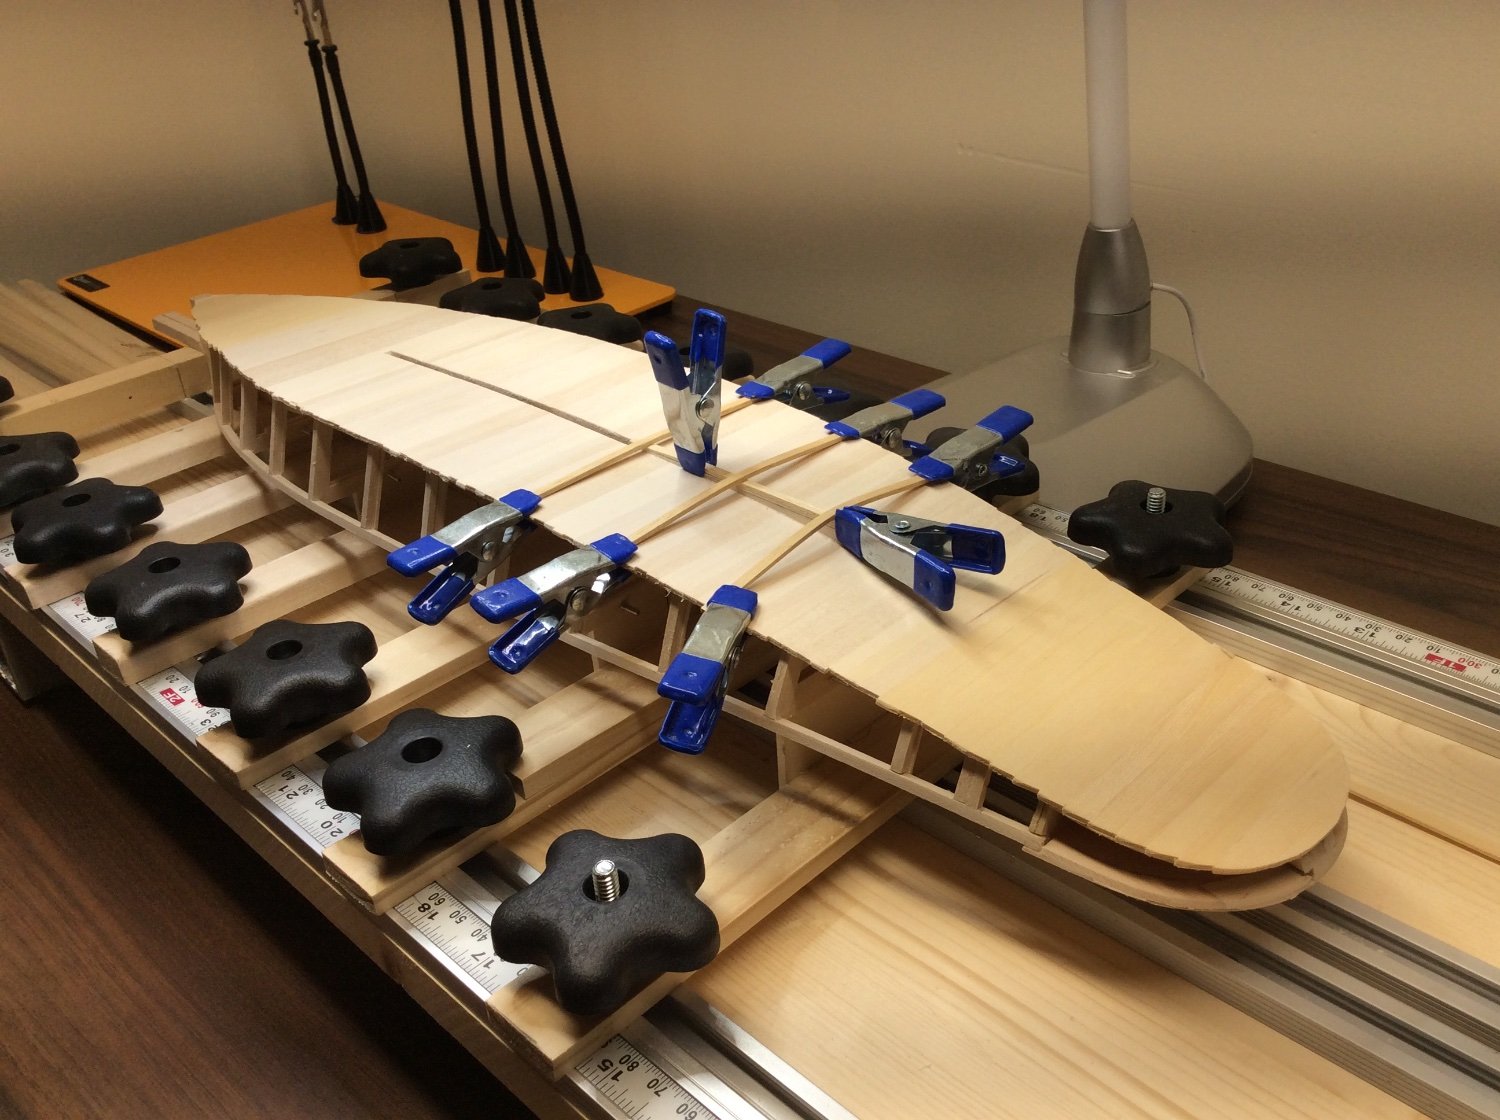
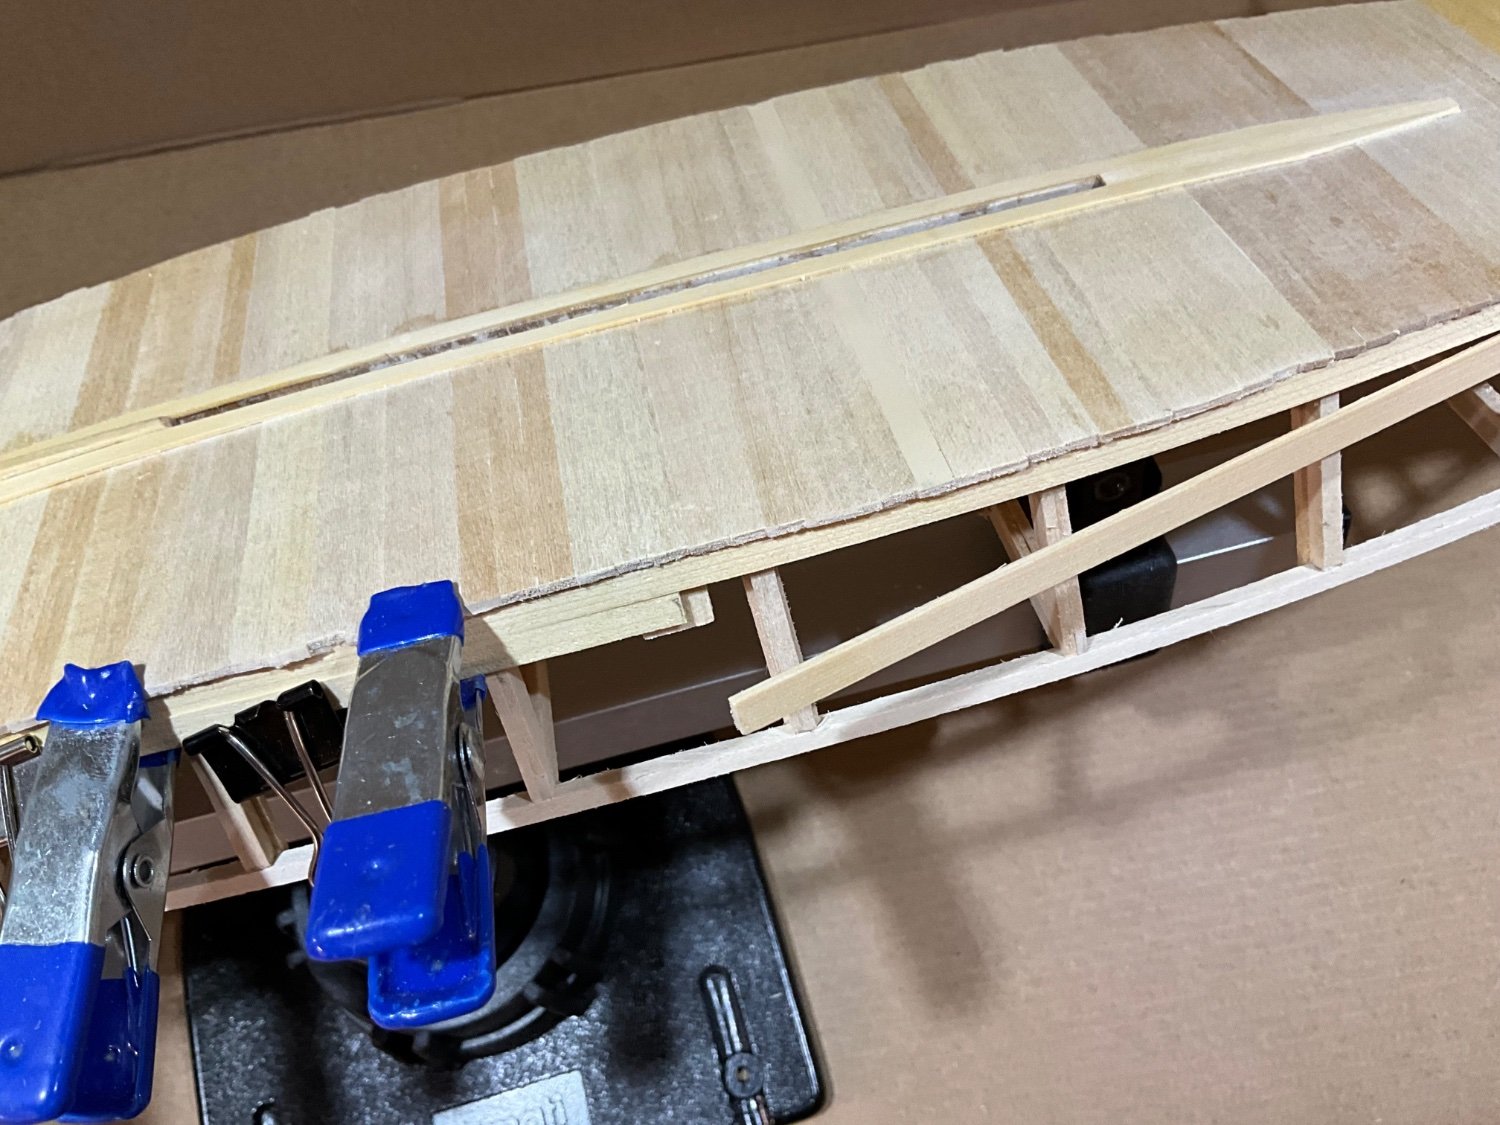
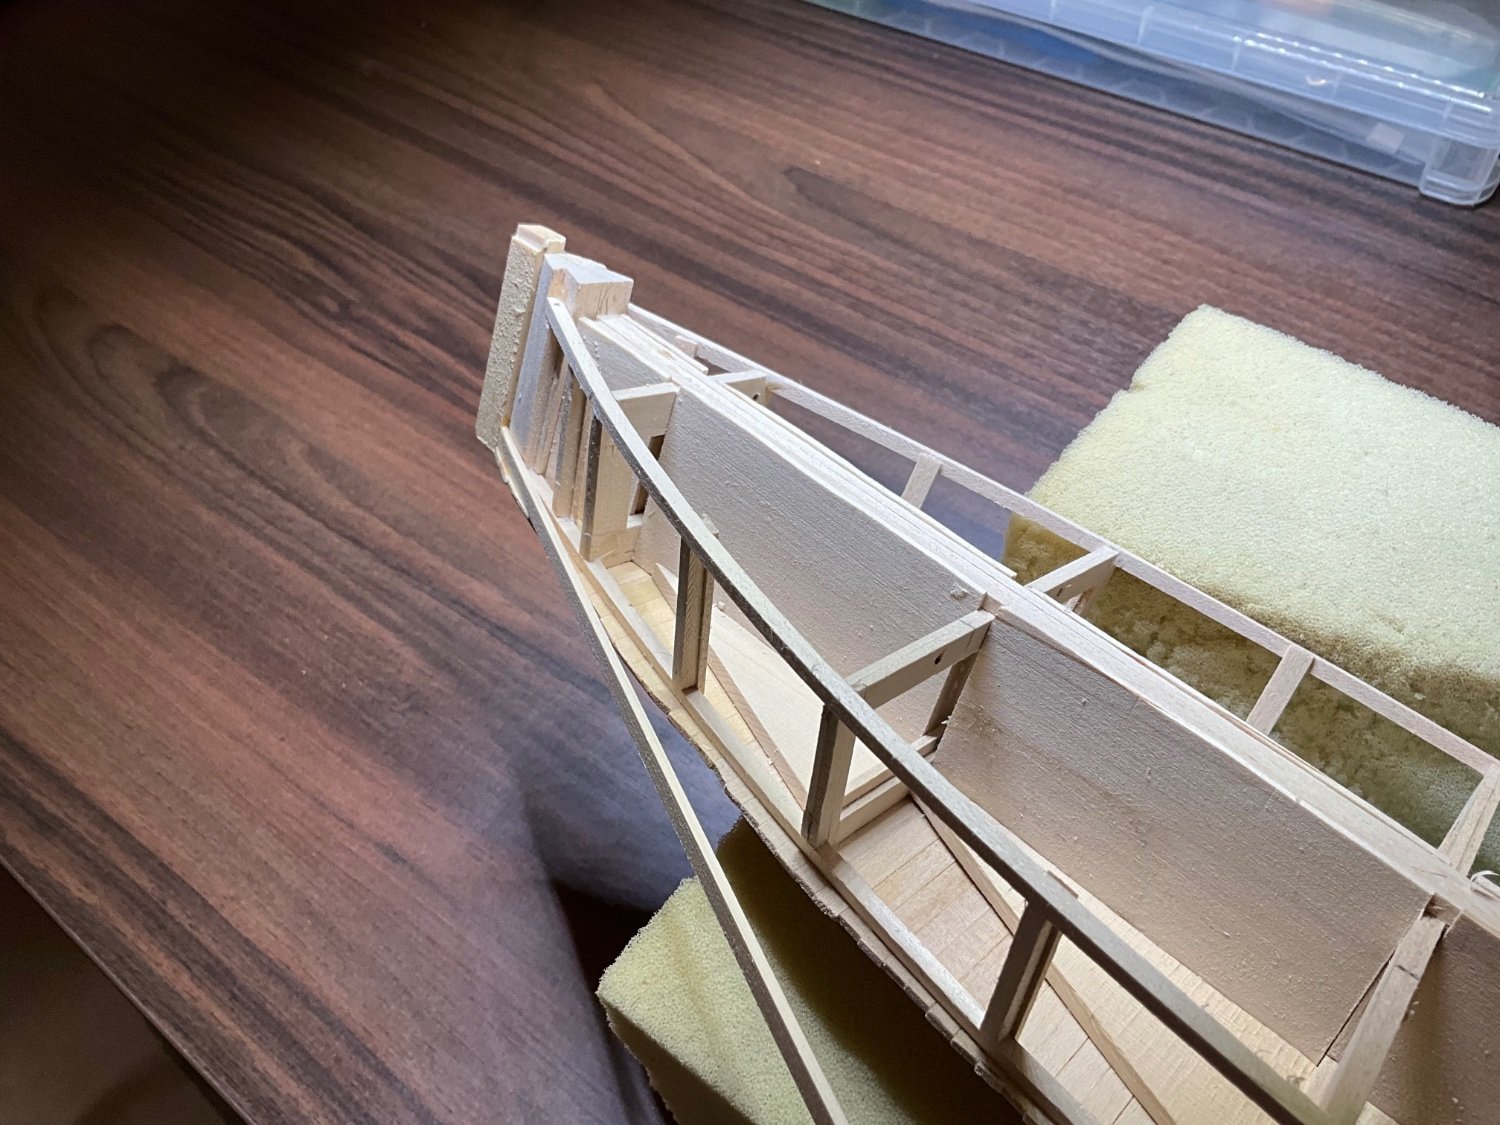
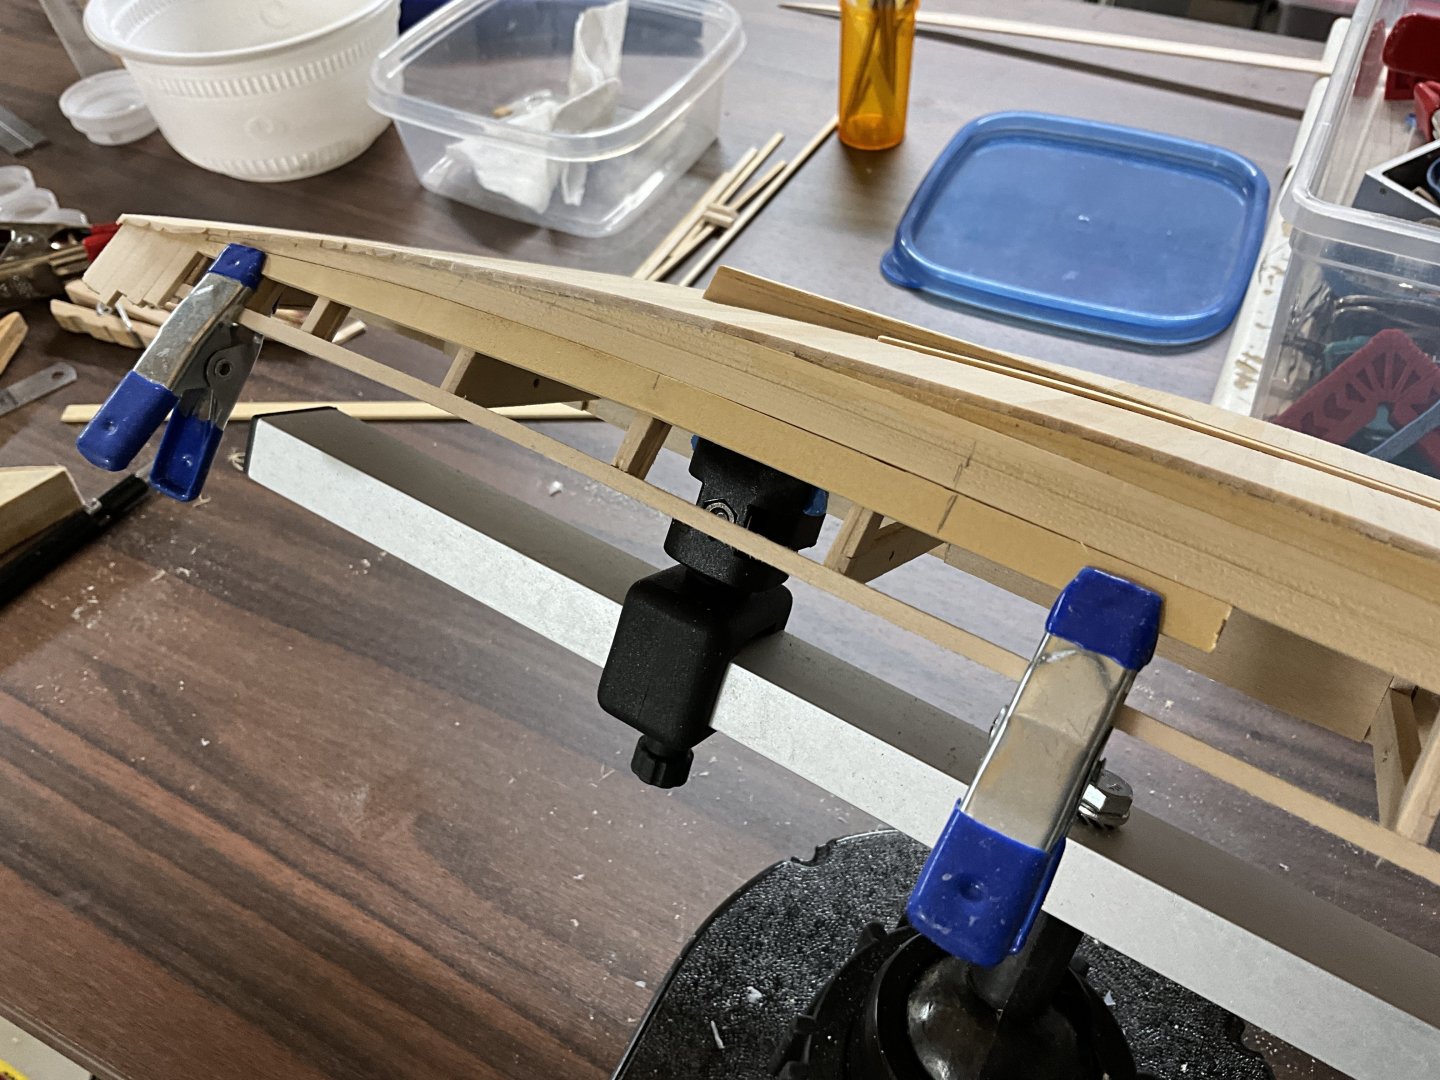
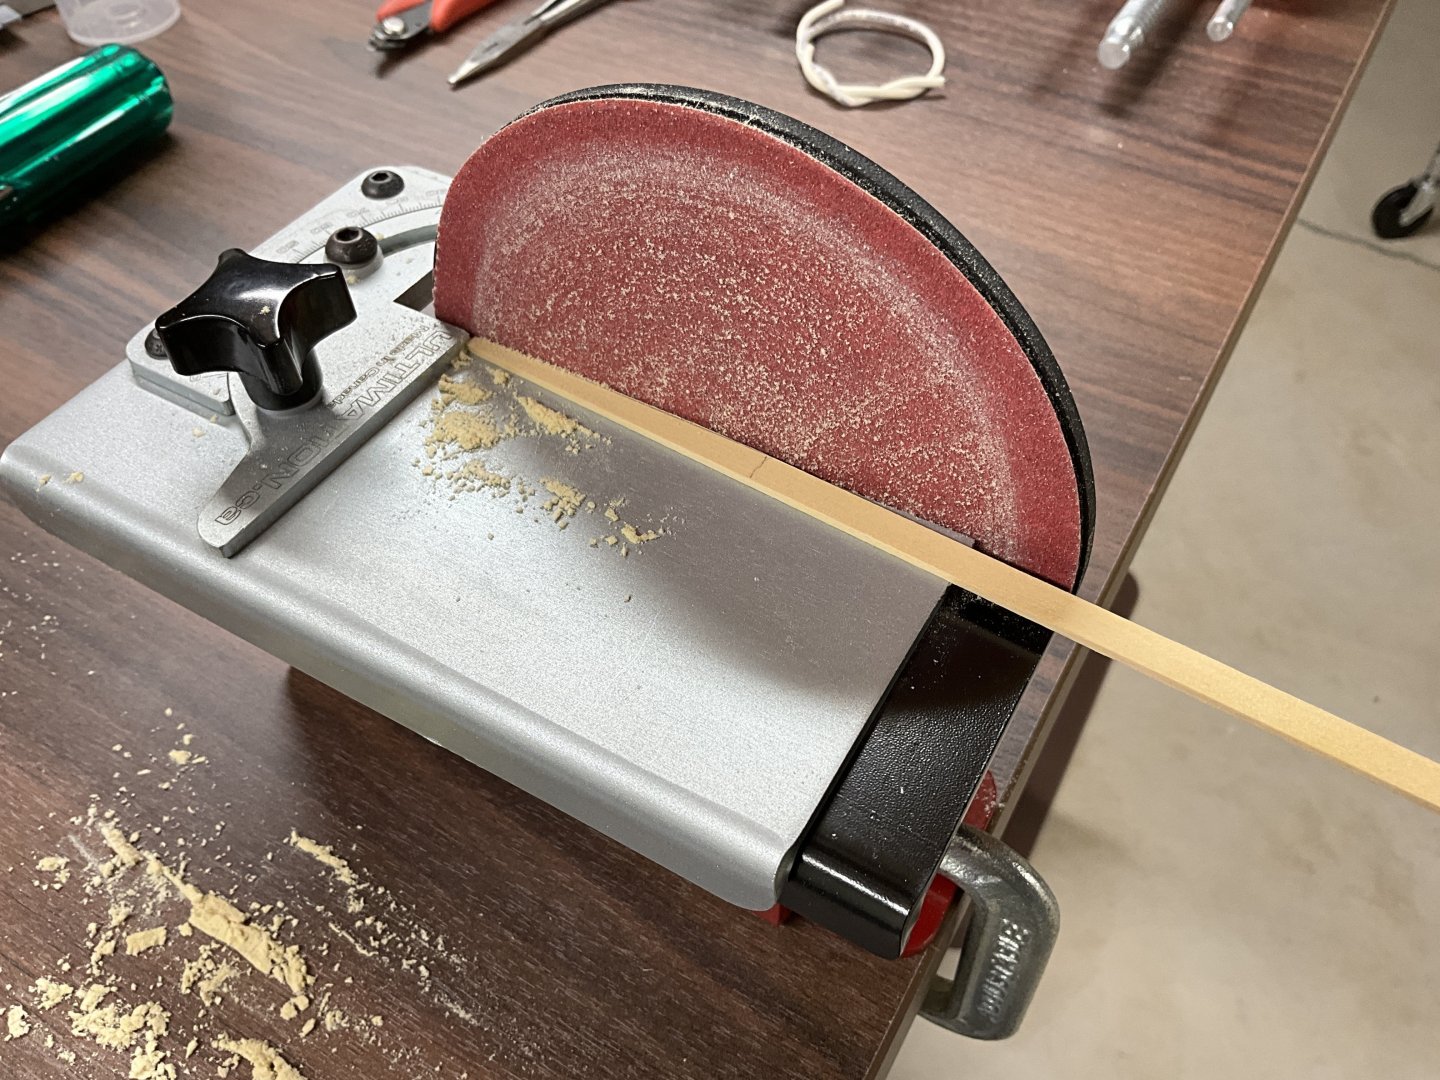
Hi Gary, thank you for your nice comment and for checking in on the sharpie. I’ve been slowly planking her. Been using two planks in each strake so usually I glue the end of the plank at either the stem or the stern and then the next day finish gluing the rest of the plank. So it’s been taking four days to complete a strake. A couple of months ago I picked up an Ultimation disk sander and started using it to taper the planks. I like using it a lot. And it’s so quiet! That’s it for the planking for now. Going to do some sanding and then work on giving the deck beams some camber before laying down the sub deck.

- 201 replies
-
- 9
-
-
- Oyster Sharpie
- first scratch build
- (and 1 more)
-
Hi Micha, I am glad that you have accepted the Billing challenge. It will turn out great!
- 146 replies
-
- 2
-
-
- Roar Ege
- Billing Boats
- (and 2 more)
-
Congratulations on completing your Yakatabune. Fine looking boat and great pics!
- 7 replies
-
- 2
-
-

-
- Japanese boat
- yakatabune
- (and 2 more)
-
Hi DuckDetective, what a great yacht and model. Such a shame that Billings would discontinue her. Everything is looking super!
-
P-51D Mustang by CDW - FINISHED - Dragon - 1:32 Scale
Paul Le Wol replied to CDW's topic in Non-ship/categorised builds
Craig, congratulations on finishing your Mustang!. Thanks to you and everyone for sharing so much great information. -
Challenger86, congratulations on completing this beautiful Duyfken.
-
Thanks Dave, when I put the build on hold last year I was afraid I would lose momentum. Well I sure did 😀
- 201 replies
-
- 5
-
-
- Oyster Sharpie
- first scratch build
- (and 1 more)
-
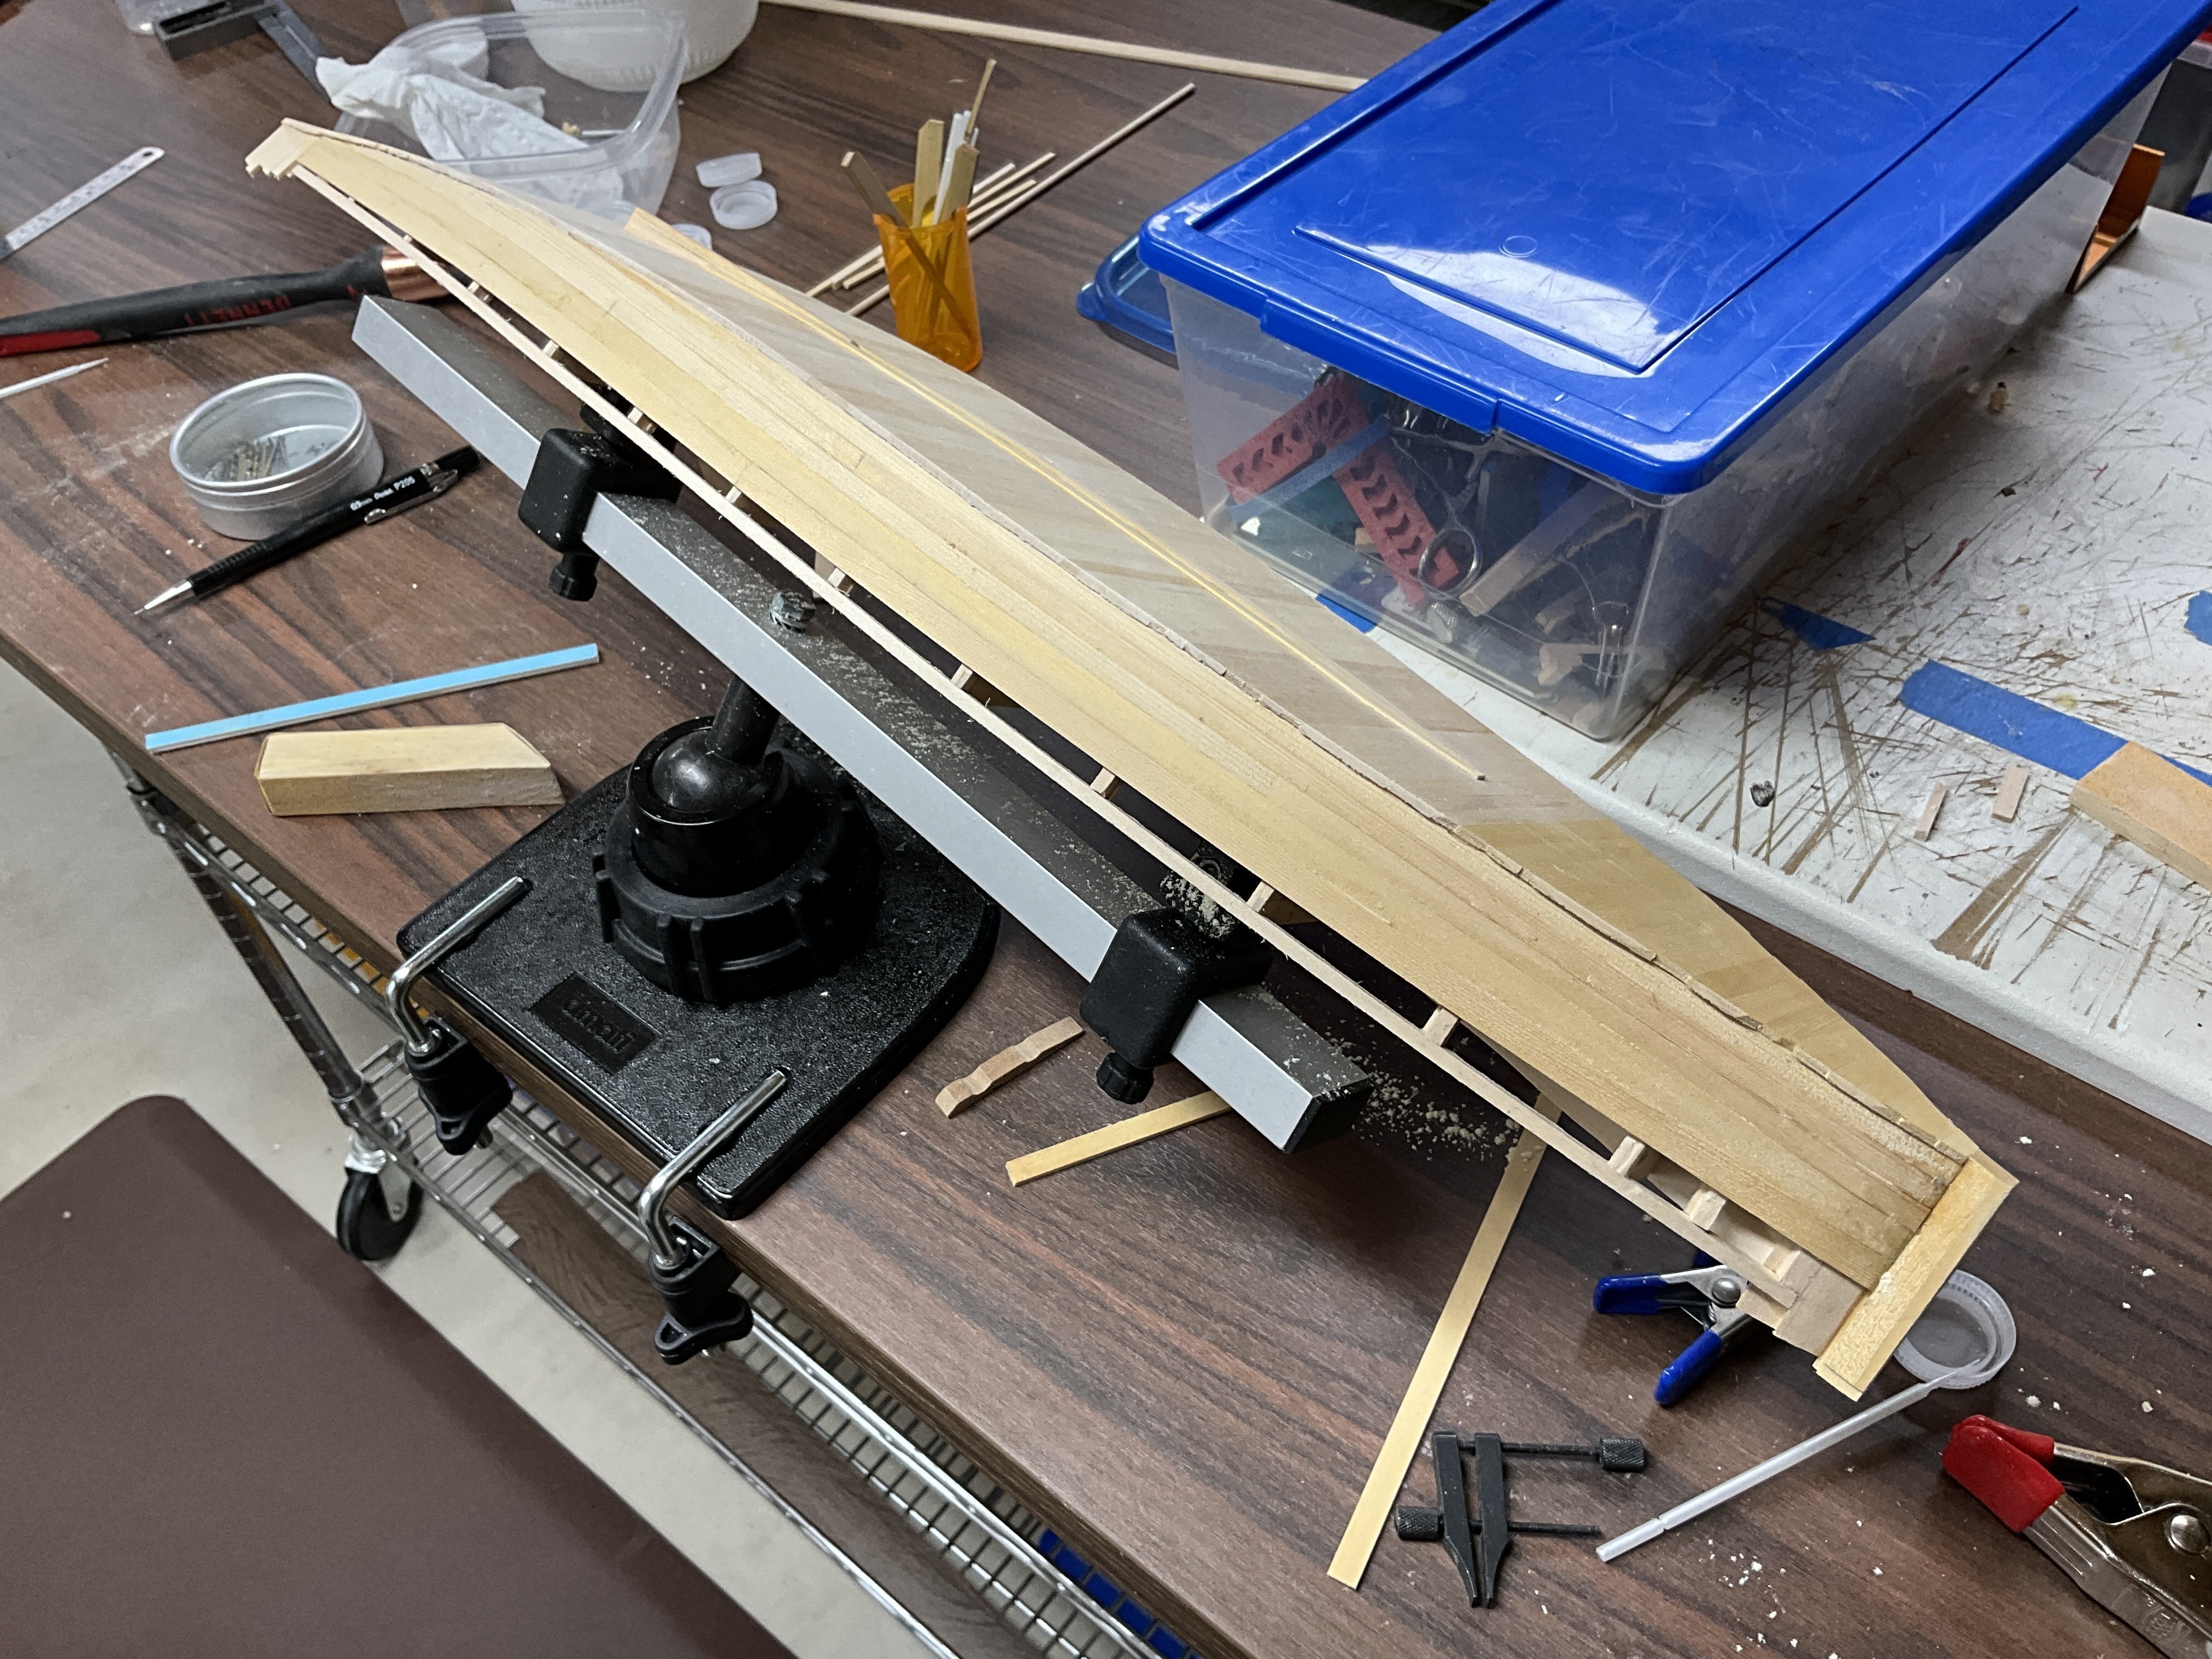
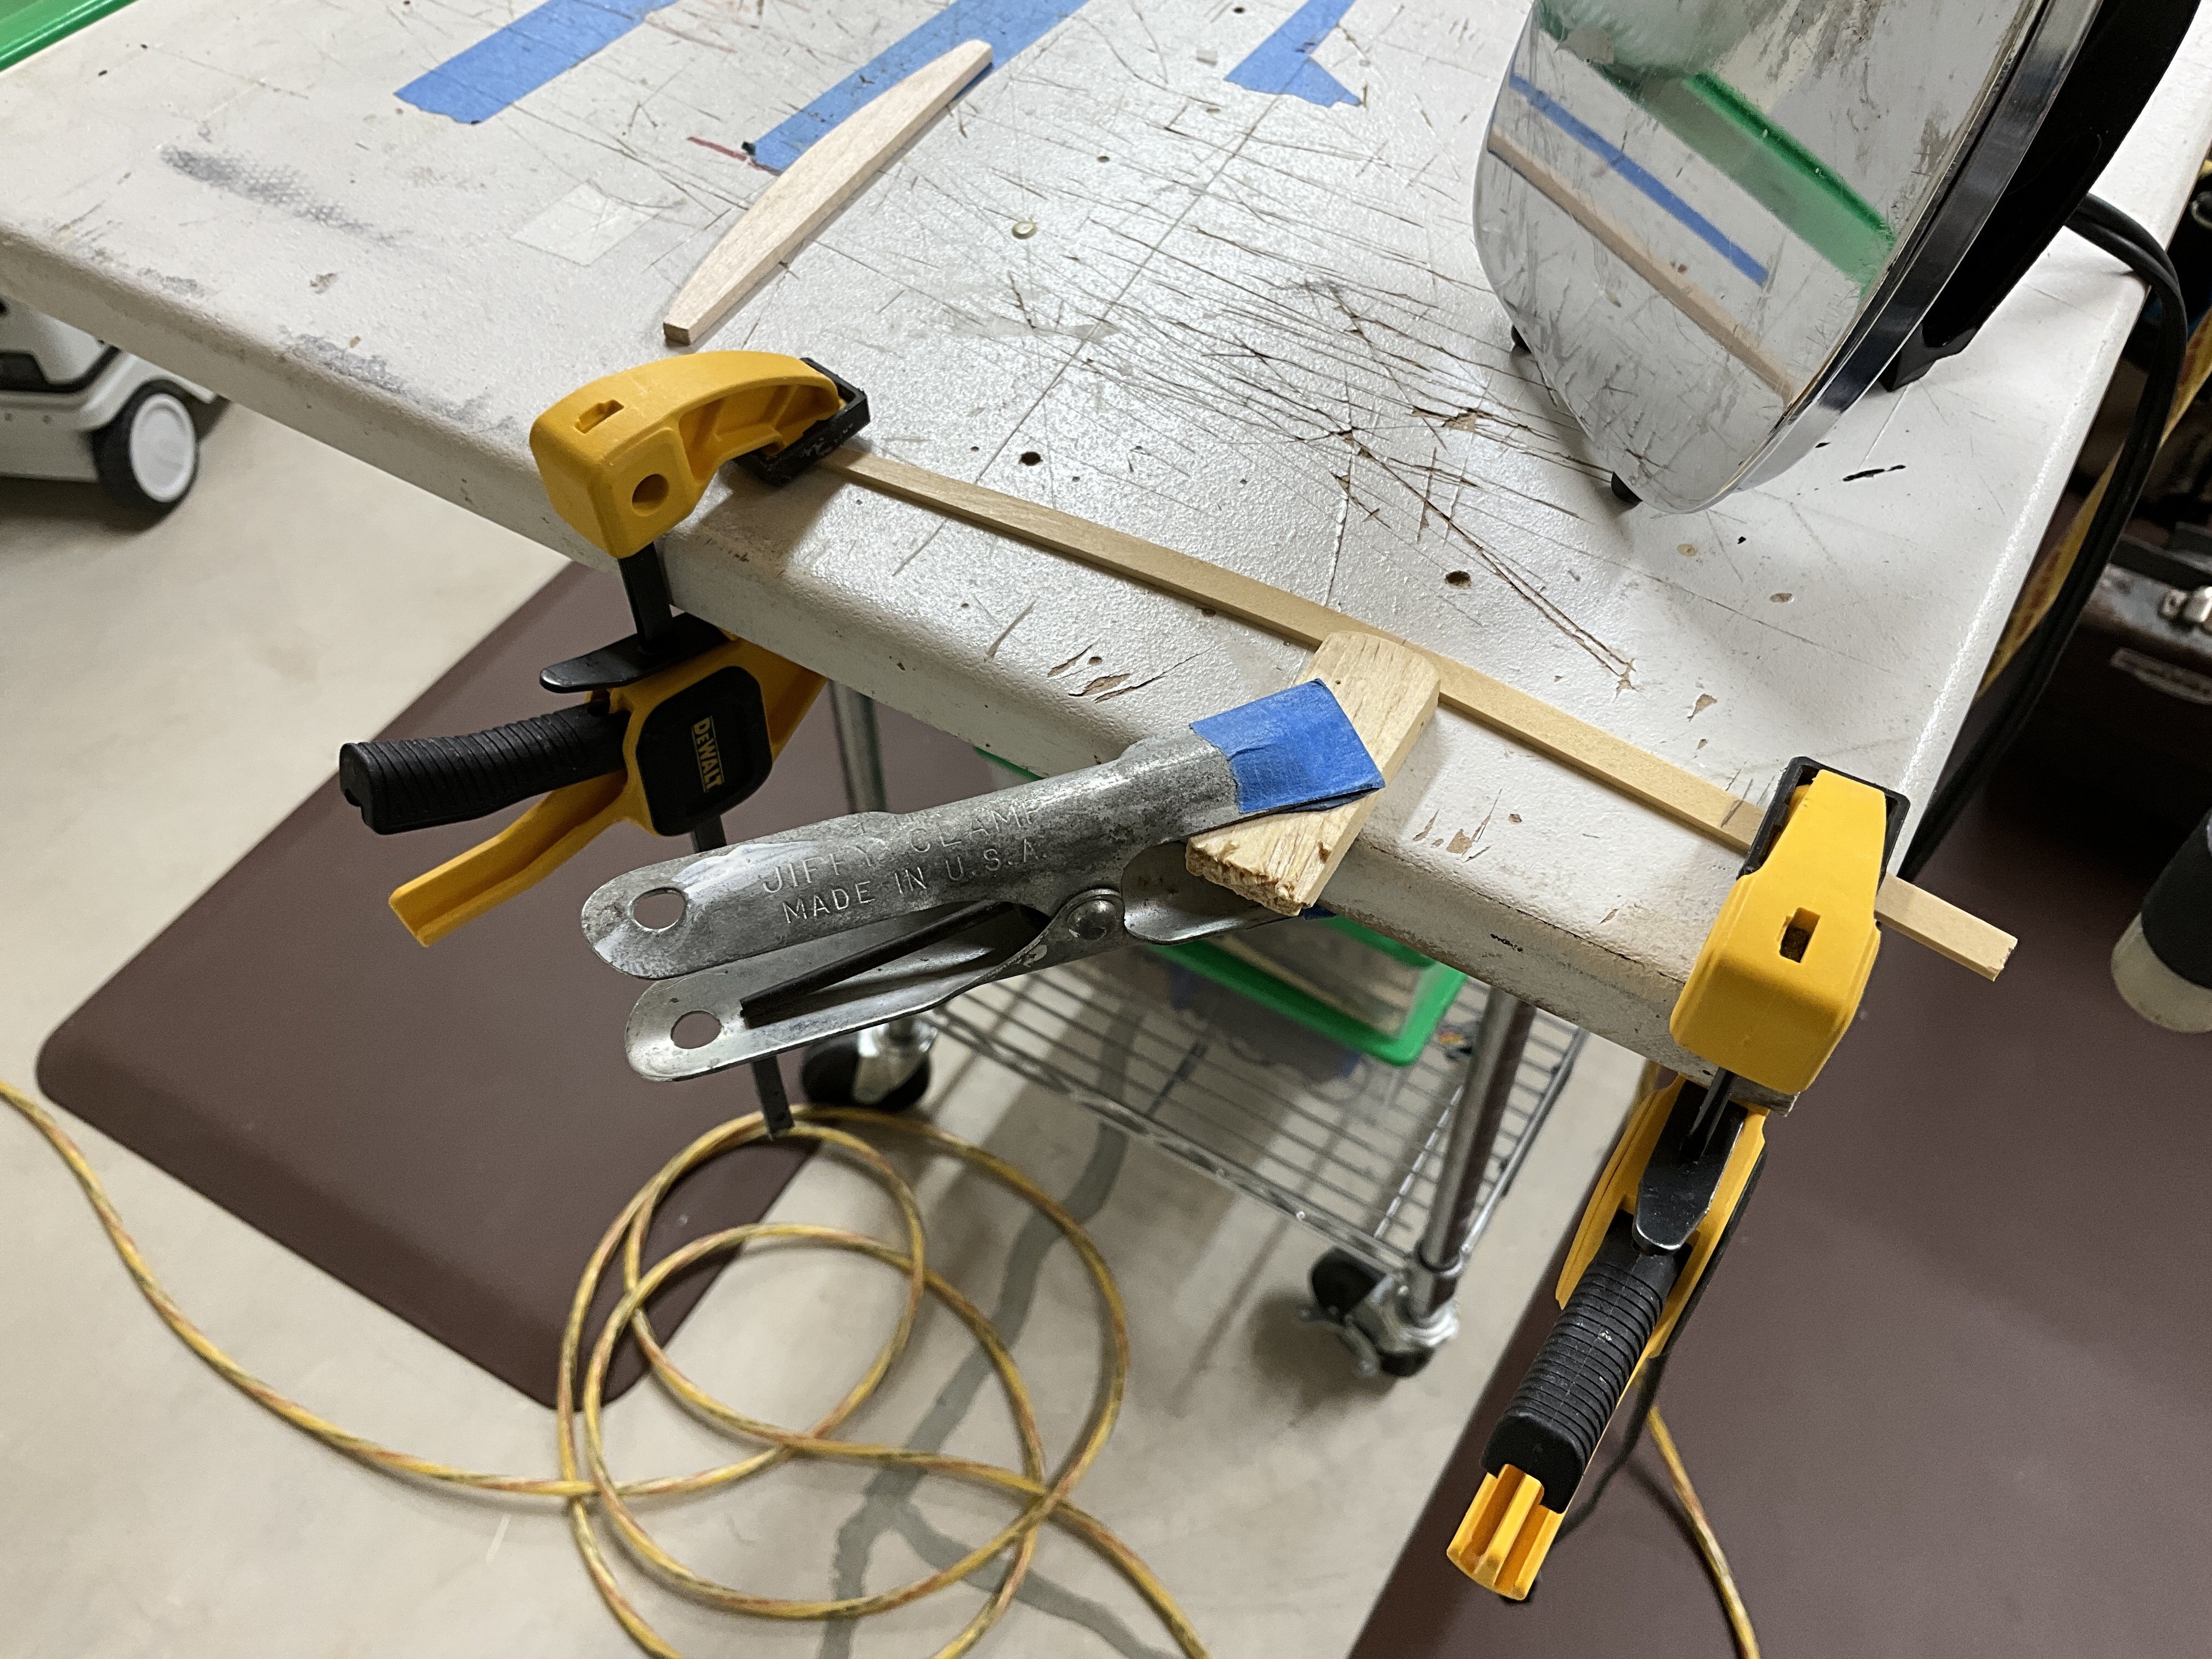
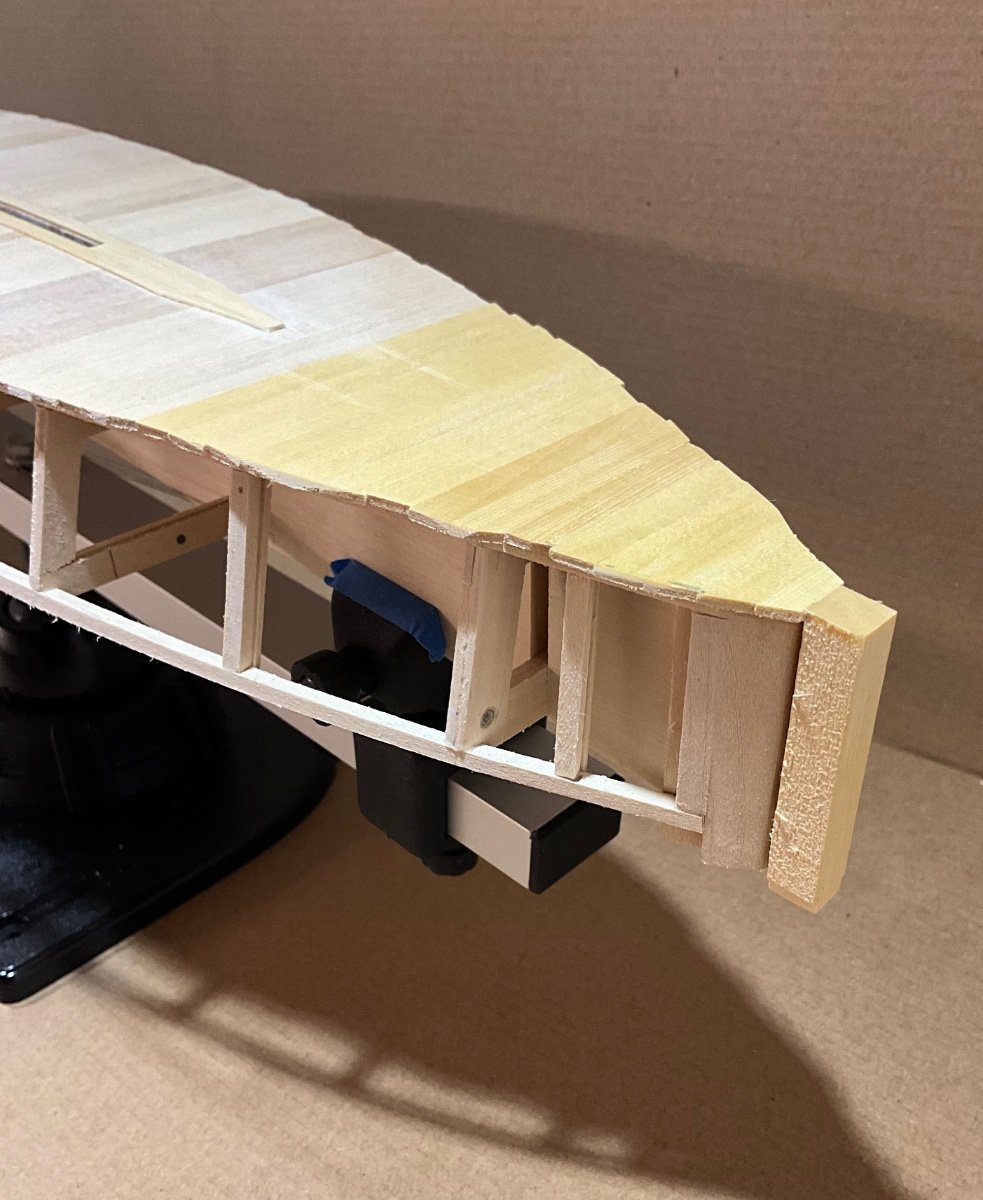
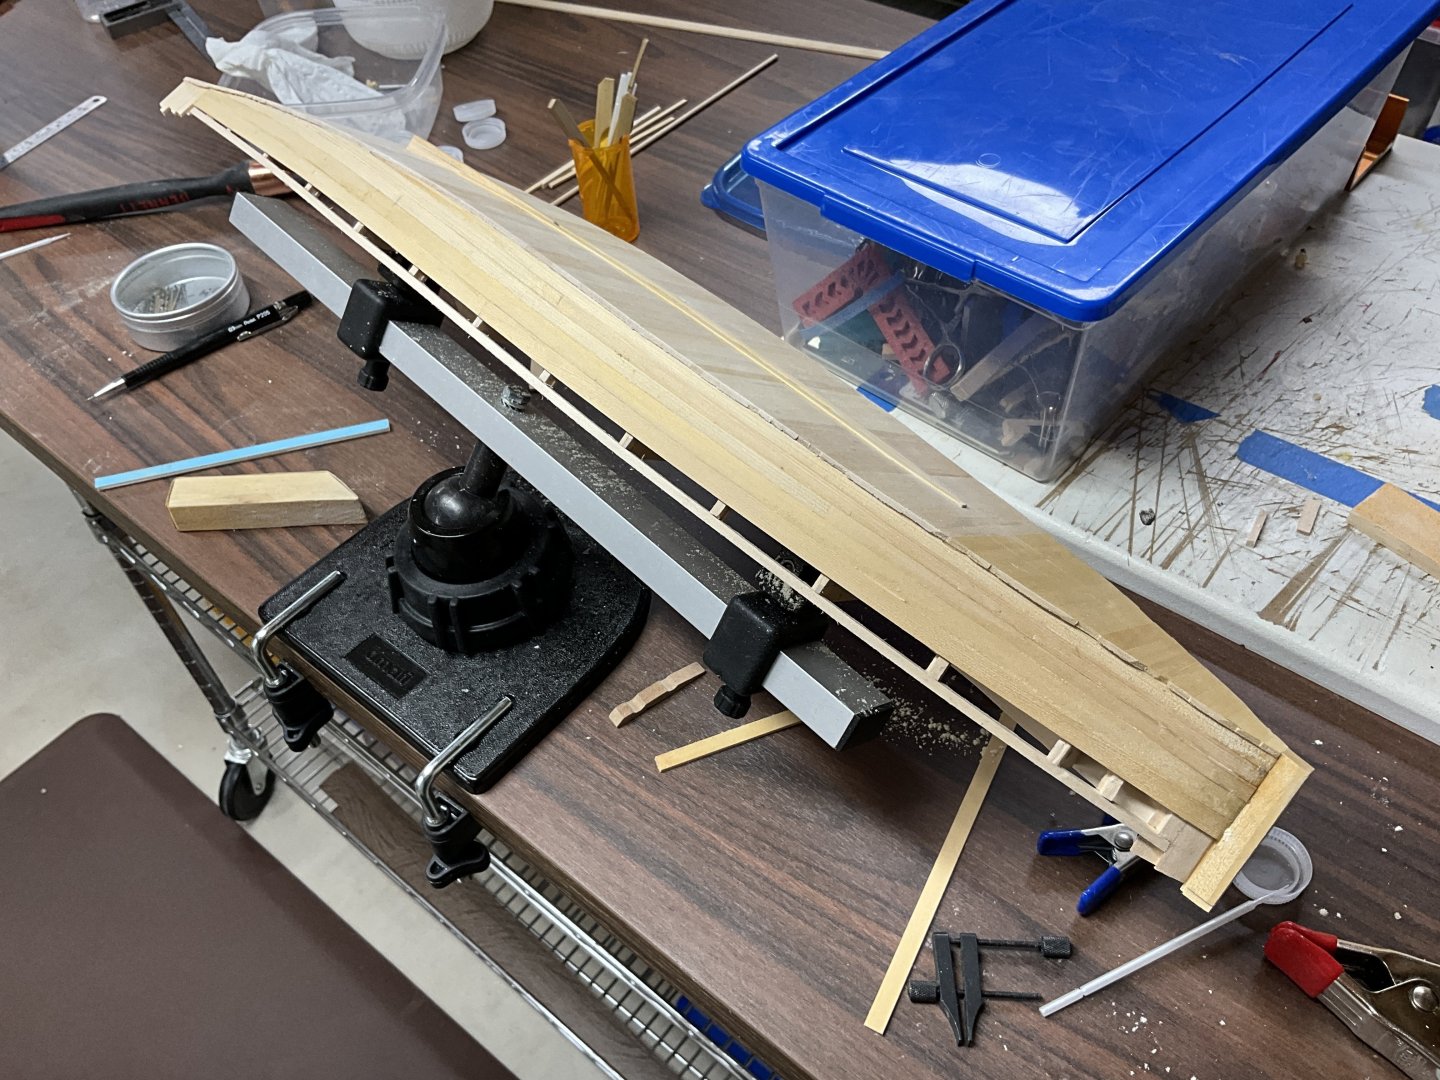
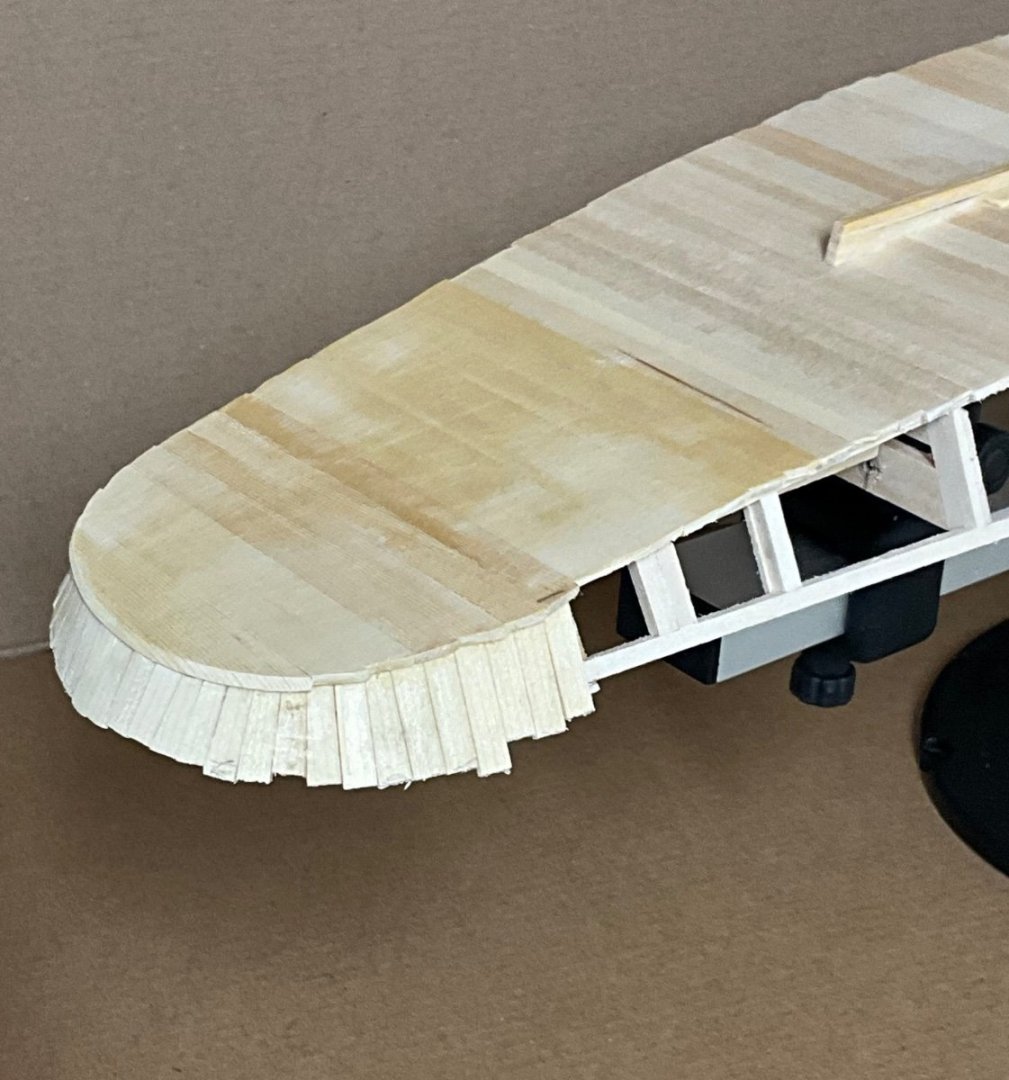
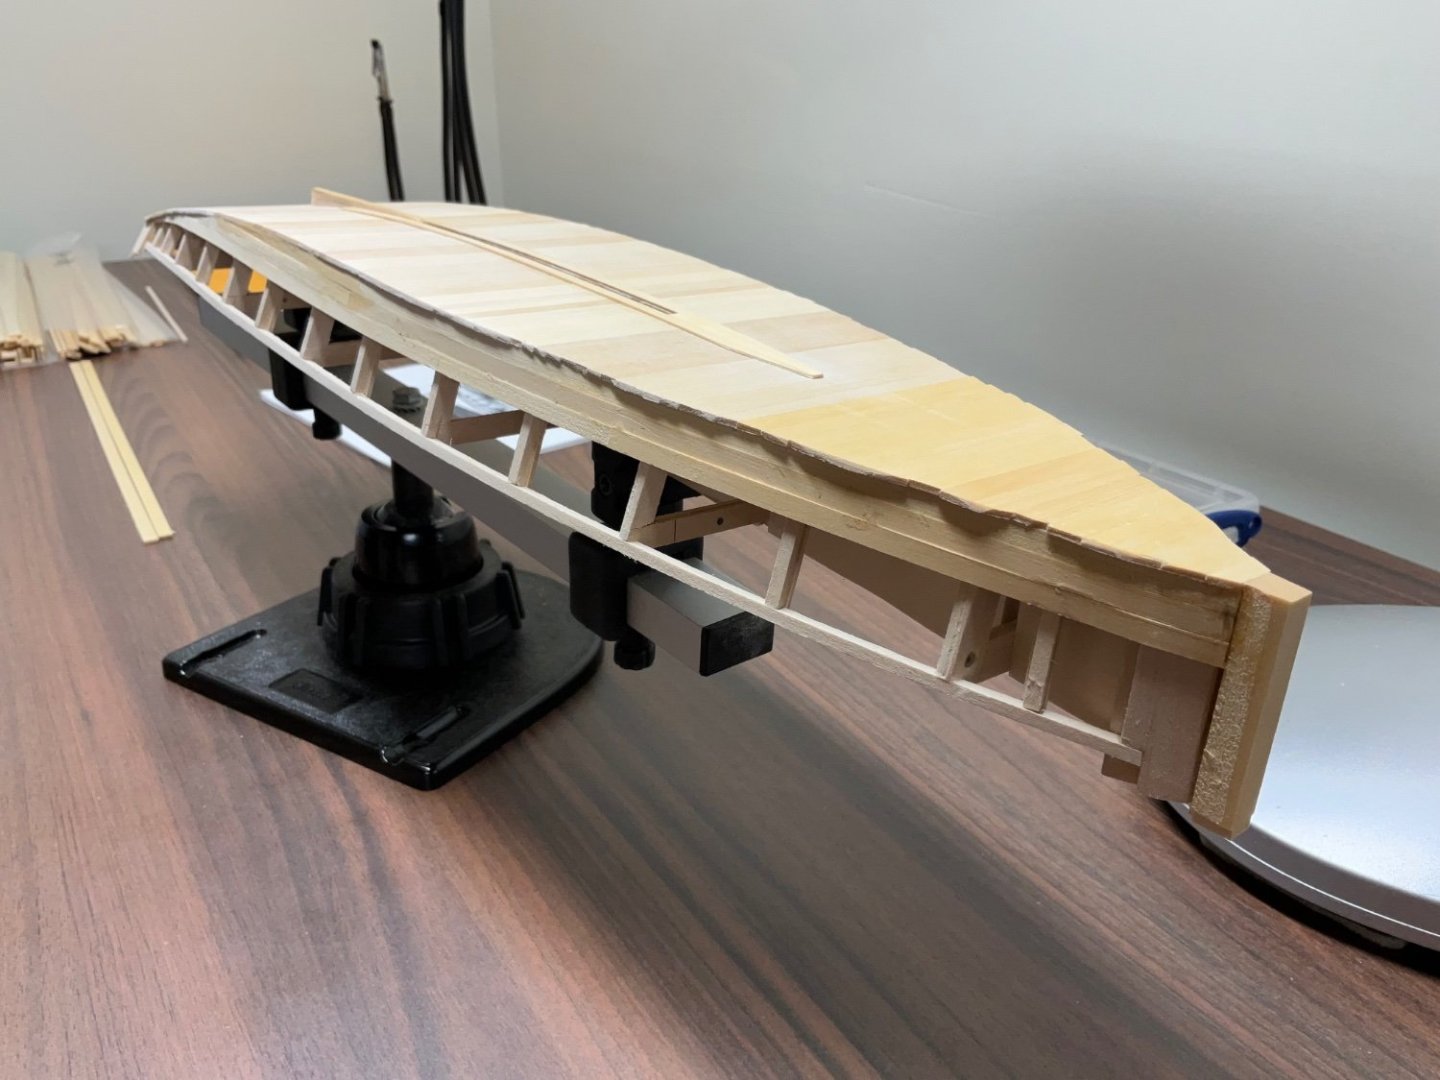
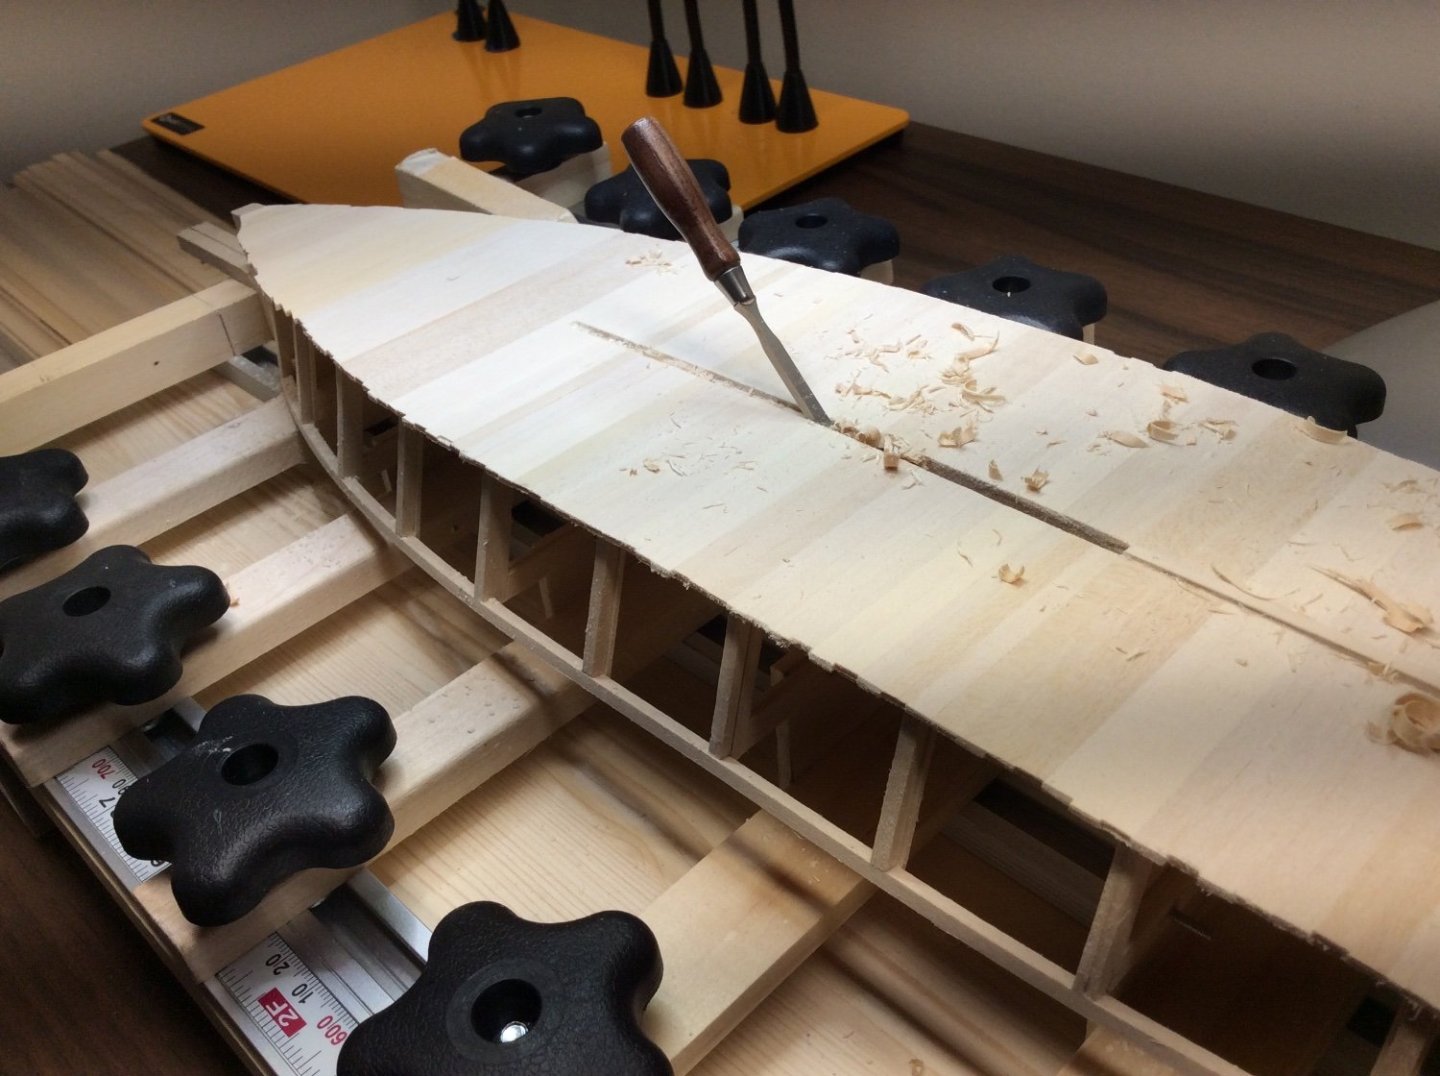
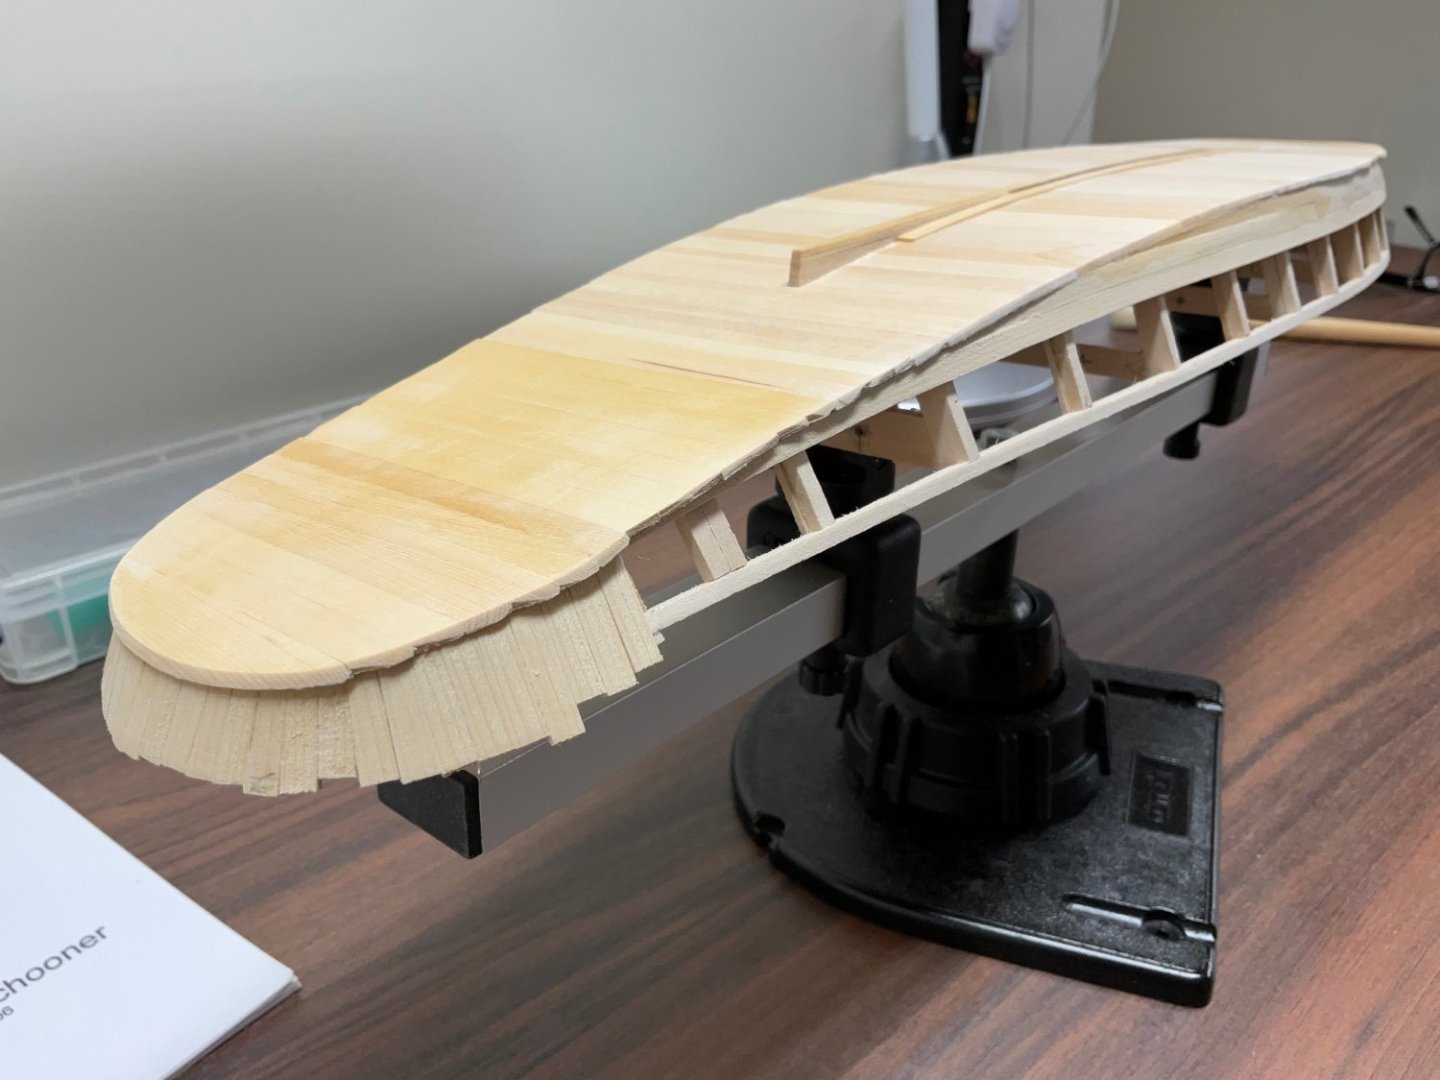
Hi Everyone, I got sidetracked when I moved last summer but I’ve managed to find some time between the renovations to work on the sharpie. The bottom of the hull was finished being planked and the stem was attached just before I moved. A couple of weeks ago the 1/8” x 1/8” strip of wood that blocked the center board slot was removed with an 1/8” chisel. A 1/16” strip of wood was added to the skeg to make it stand a little more proud. Then the shoe was made using 5/32” x 1/32” AYC. and attached. It should have been a bit narrower but it won’t be noticeable once it’s finished. The staves were glued to the round stern with PVA so that took a week to complete. From what I’ve read the planking on the sides of the hull weren’t tapered but that might have been on the smaller sharpies. It seemed to be easier to taper them so that’s what I did. The planks were glued at the stem using Medium CA and then PVA for the rest of the plank. Now on to the starboard side with three strakes. Hope to see you soon.


- 201 replies
-
- 10
-
-

-
- Oyster Sharpie
- first scratch build
- (and 1 more)
-
Hi Jacques, everything is looking great. If the coating on the steel wire is giving you grief you can try sanding it off and then heat the wire with a butane lighter or mini torch.. The metal will turn dark grey giving it a more natural look. Someone posted this suggestion a little while ago but regrettably I can’t remember who it was.
-
I've lost it....need a refresher to get my confidence back
Paul Le Wol replied to bigcreekdad's topic in Wood ship model kits
I’ve never built one but I keep looking at the Wasen - Japanese style boats made by Woody JOE. They look like they would be an interesting and fun build. Good luck with your decision. -
Gary, congratulations on finishing your Lobster Smack. Beautiful looking boat!
- 88 replies
-
- 1
-
-
- Muscongus Bay Lobster Smack
- Finished
- (and 1 more)
-
Gary, thank you for showing your planking techniques both inside and out. She is looking great!
-
Major, congratulations on finishing your Lobster Smack! She may have been ornery, but she is a fine looking boat.
- 40 replies
-
- 1
-
-
- Model Shipways
- Muscongus Bay Lobster Smack
- (and 1 more)
-
Jacques, congratulations on finishing your Juana y Jose. Your scratch builds have been very interesting and informative. Always enjoy seeing your updates.
-
Gary, thanks for sharing your gifting of such a beautiful boat to the Jonesport Historical Society. Very nice! And the Pelican’s planking looks amazing
-
AMC DH9 by davec - FINISHED - Wingnut Wings - 1/32
Paul Le Wol replied to davec's topic in Non-ship/categorised builds
Thanks Dave, this will be a very interesting build to follow 👍 -
AMC DH9 by davec - FINISHED - Wingnut Wings - 1/32
Paul Le Wol replied to davec's topic in Non-ship/categorised builds
Hi Dave, glad to see that you are starting this log here. What do you think of the GasPatch accessories. Are they a lot nicer than the kit parts? -
Hi Joe, the Sharpie you’ve acquired is truly beautiful and inspirational. I didn’t realize that it had been that long since your last post. Time certainly flies. Hope you are able to finish and display her soon.
- 201 replies
-
- 4
-
-
- Oyster Sharpie
- first scratch build
- (and 1 more)
-
Hi Dave, and thank you. Your Sharpie is one of the best examples out there!
- 201 replies
-
- 2
-
-
- Oyster Sharpie
- first scratch build
- (and 1 more)
-
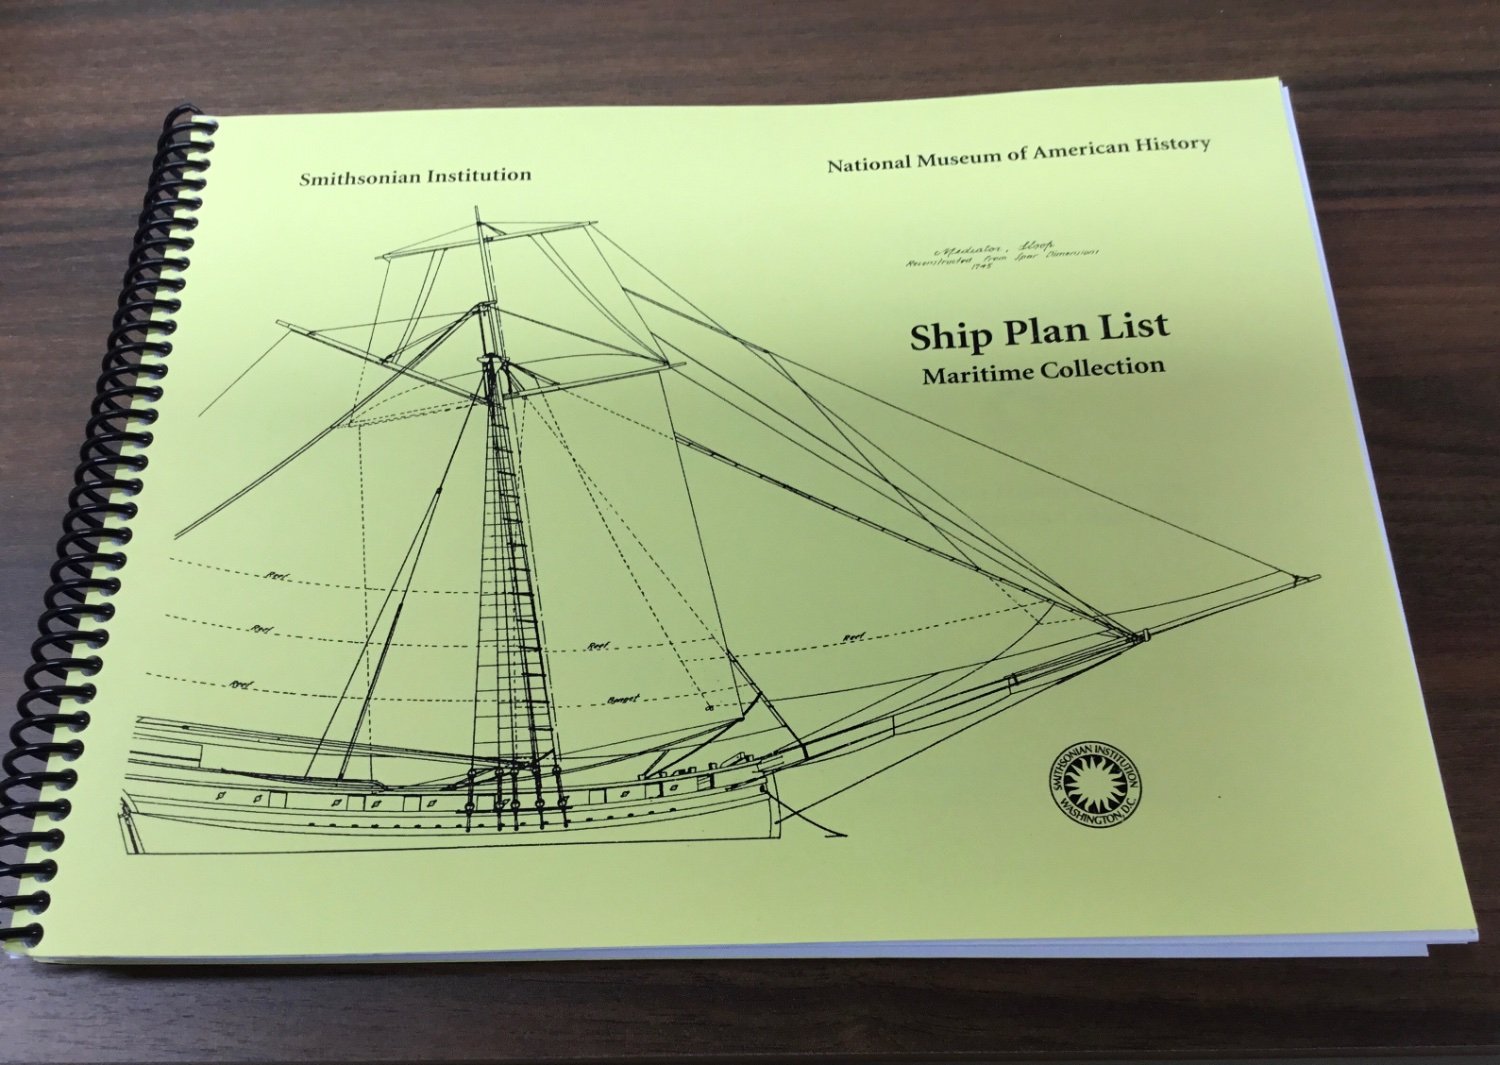
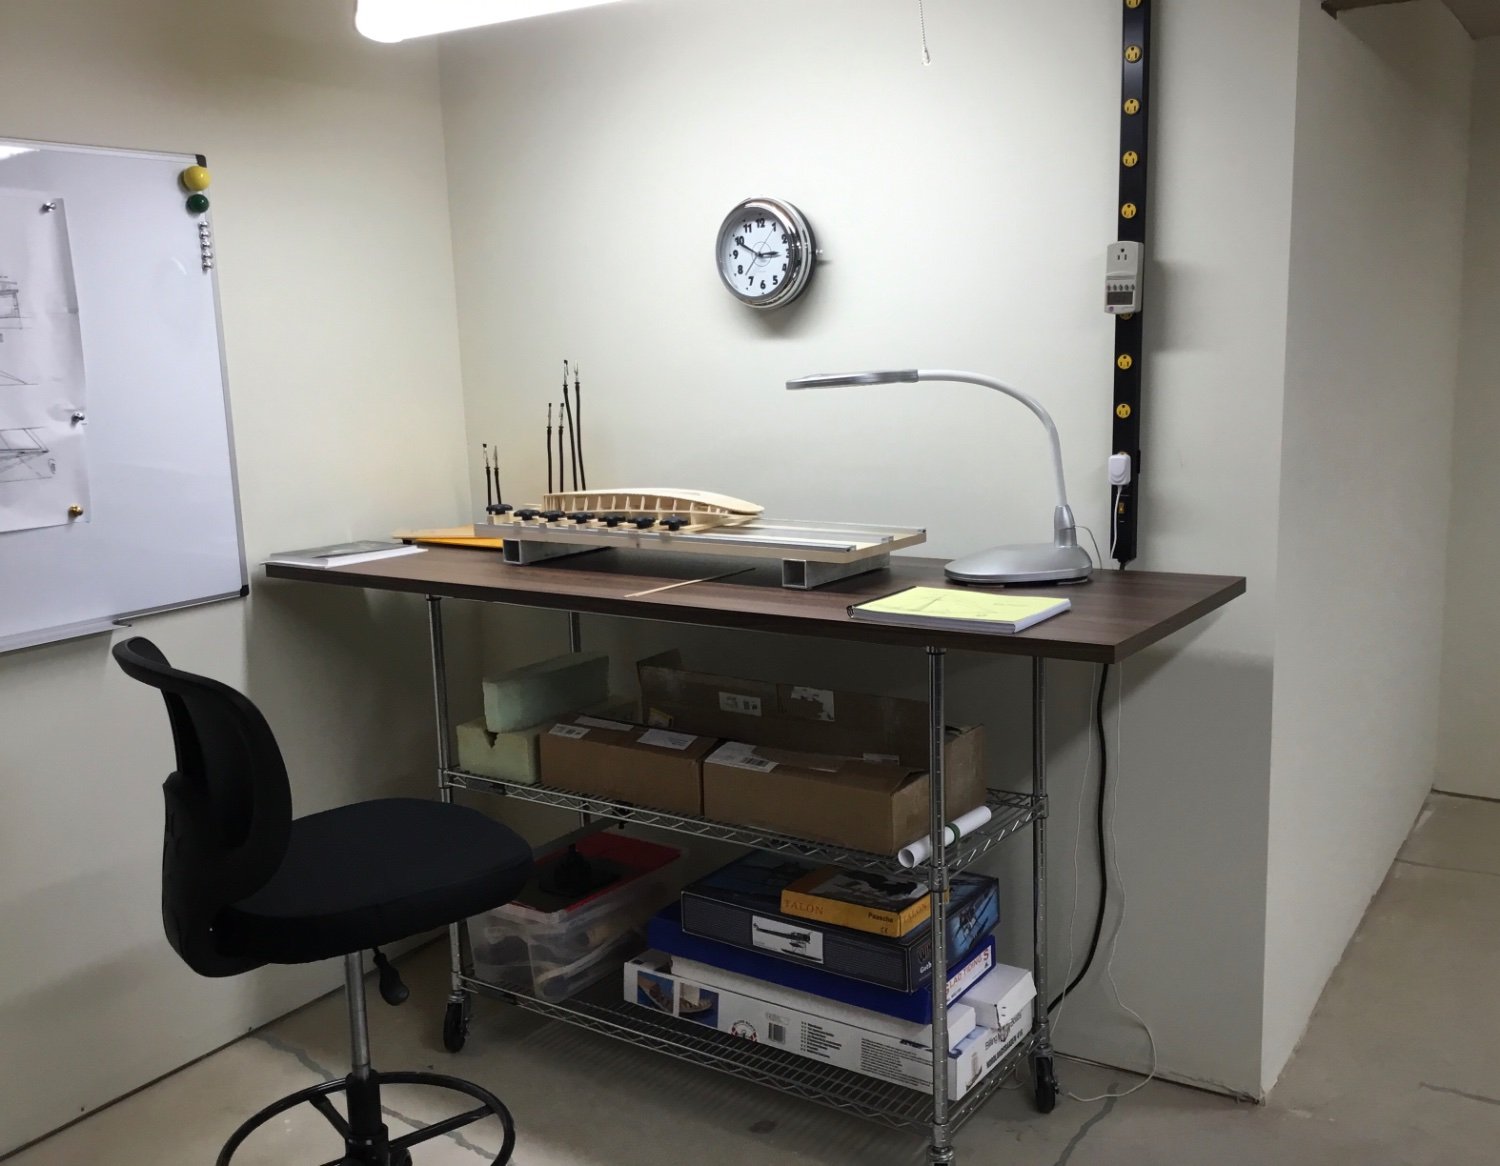
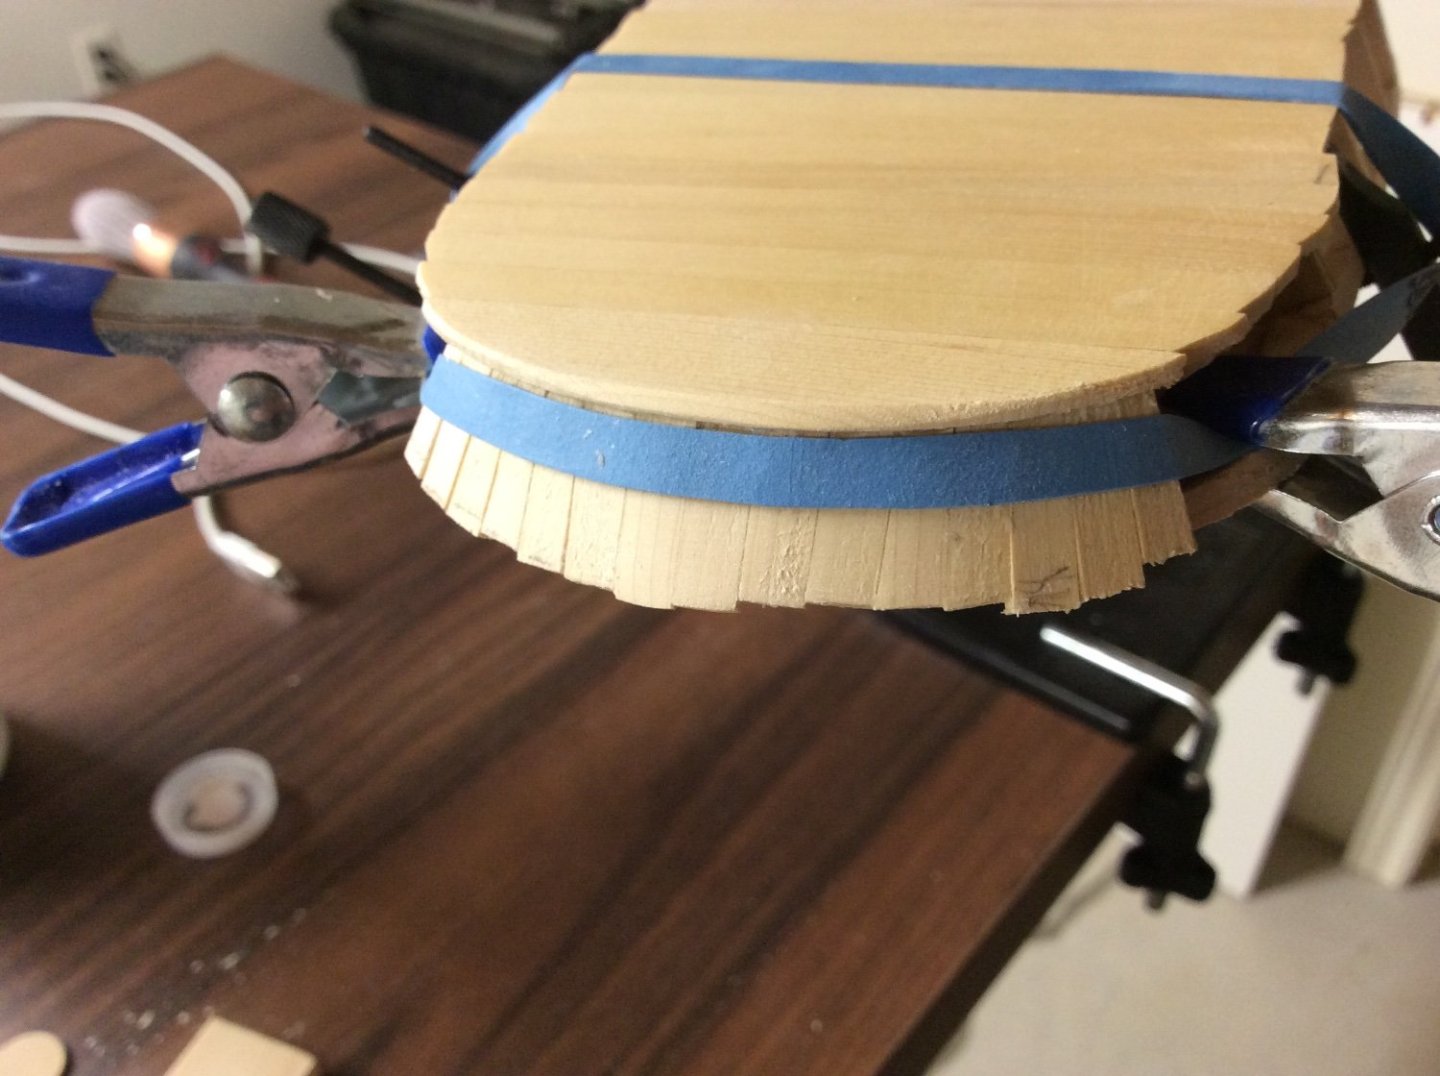
Hi Joe, thanks for asking. I was looking at her last night and thinking it was time to get back to it. Last summer I moved to this new ( for me ) place. It took way longer than I thought it would to renovate but I now have a work room. Then this came in the mail today. Hope it’s not too much of a distraction 😀 I want to start on the staves running around the stern in the next couple of weeks.


- 201 replies
-
- 9
-
-
- Oyster Sharpie
- first scratch build
- (and 1 more)