HOLIDAY DONATION DRIVE - SUPPORT MSW - DO YOUR PART TO KEEP THIS GREAT FORUM GOING! (Only 20 donations so far - C'mon guys!)
×


Paul Le Wol
-
Posts
1,016 -
Joined
-
Last visited
Content Type
Profiles
Forums
Gallery
Events
Everything posted by Paul Le Wol
-
Jacques, the locker (and everything) looks great. Using the needle really made a difference. Very nice work.
-
Hi Keith, maybe you could try changing the dns server you are using. Search for how to change dns settings on whatever device you are using. I’ve used Open dns in the past. ( owned by Cisco ). Now I just use Google dns ( 8.8.8.8 / 8.8.4.4 ) because it’s easier to remember. There are lots of geeks here that can tell you whether or not that will help. Good luck
-
Rod, congratulations on finishing The Robert E. Lee. Steamboats are special. Yours is extra special.
- 58 replies
-
- 2
-

-
- Robert E Lee
- Amati
- (and 4 more)
-
Greg, congratulations on finishing Speedwell. She and her display are beautiful. As for lighting, I am in favor of not lighting her.
-
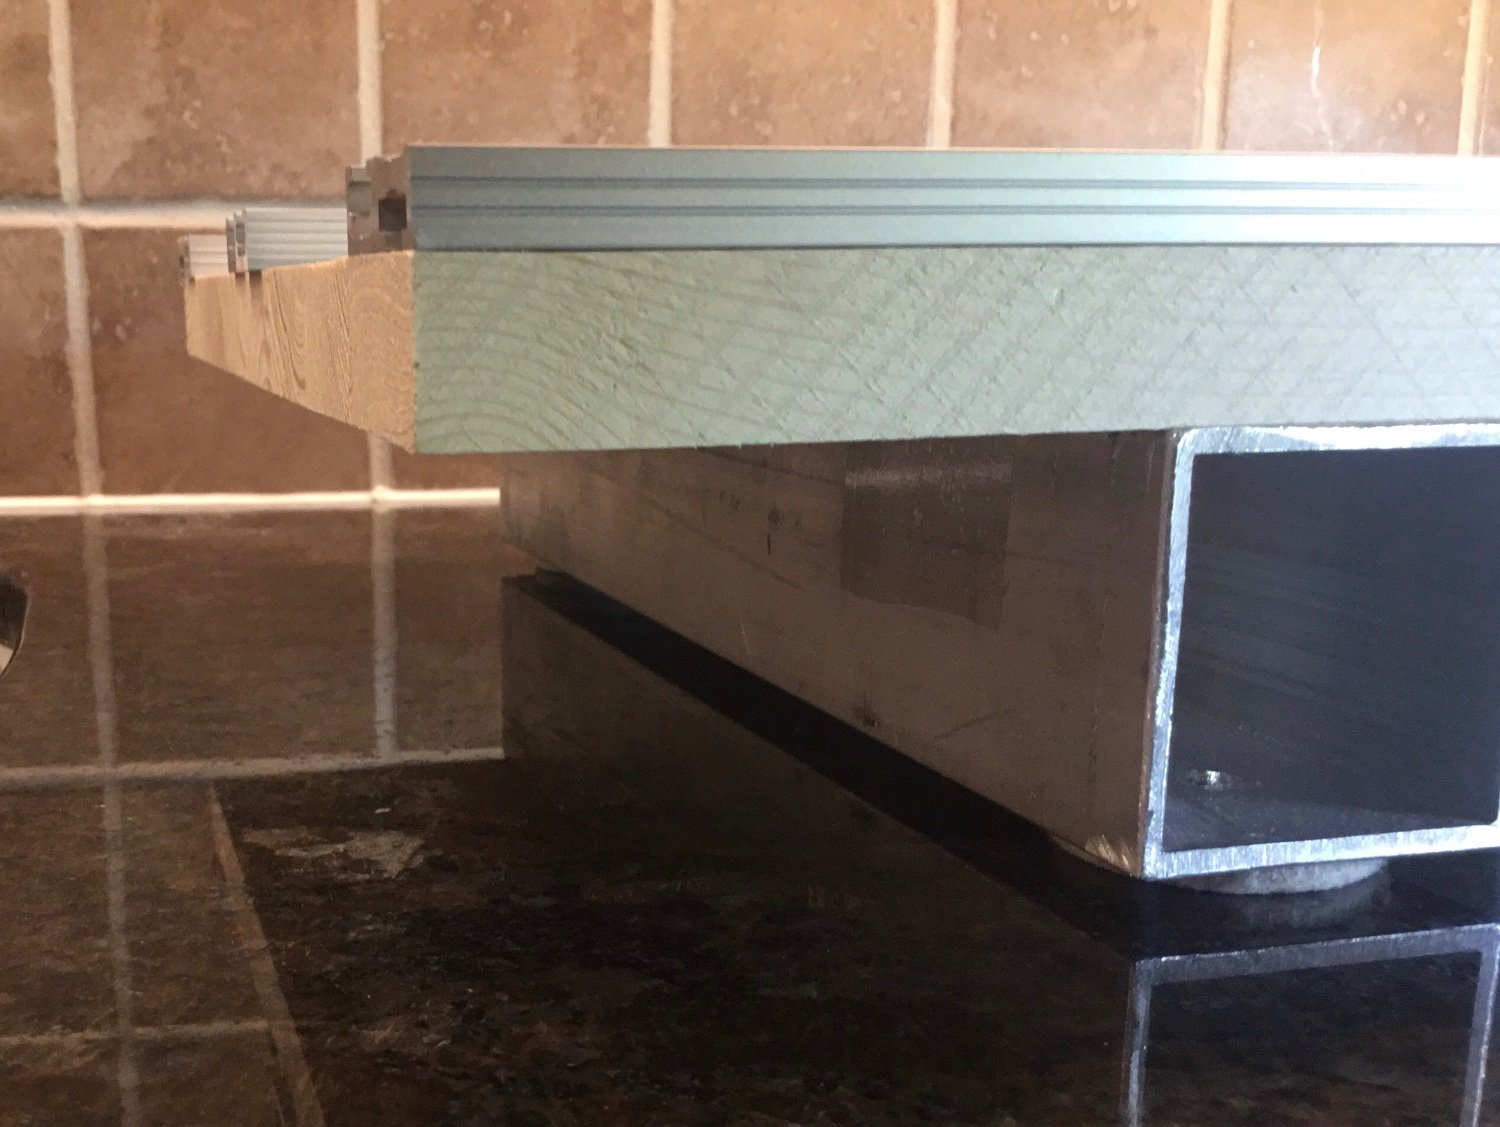
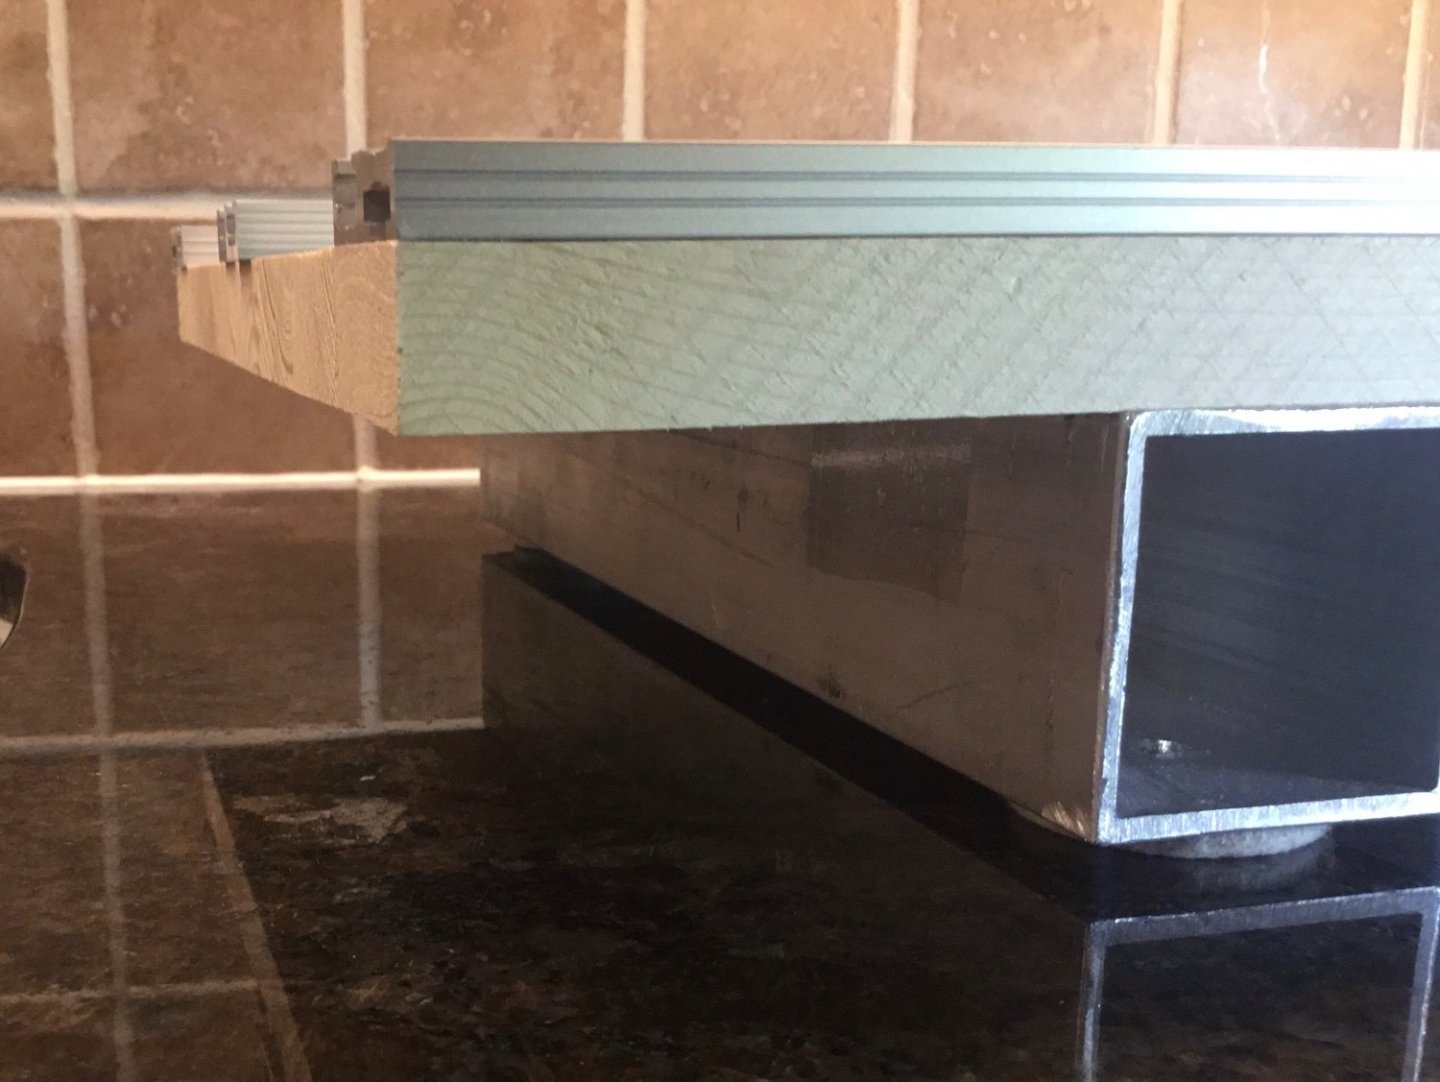
Hi Mike, the build board was made using extruded aluminum t-slot tracks screwed to a pine project board. I bought the tracks at Lee Valley because they’re handy to where I live. They are surface-mounted because I don’t have a router to cut slots to flush mount them. The two outer tracks have an area to accept self adhesive measuring tape. I bought Starret measuring tape from Amazon. It comes in metric or imperial. The t-bolts come in 1/4 or 5/16 inch sizes and the plastic knobs have an embedded nut in them. They have different types of knobs depending on your needs. I used 2 inch aluminum square tube screwed under the board to to keep the board honest and to make it possible to clamp to the board. The square tube was bought ar Aircraft Spruce in Brantford Ontario also because they are handy to where I live. The board is a few.years old and so far has remained straight. I hope this answers your question.

- 201 replies
-
- 9
-
-
- Oyster Sharpie
- first scratch build
- (and 1 more)
-
Peter, I am looking forward to the continuation of your new build log. What a great start!
- 30 replies
-
- 1
-
-
- Corel
- wappen von hamburg
- (and 1 more)
-
Peter, these pictures and your build log are a beautiful gift that you have given us. Thank you!
- 208 replies
-
- 5
-
-

-
- kitbashing
- Woodcarving
- (and 4 more)
-
Planking Book?
Paul Le Wol replied to BWDChris's topic in Building, Framing, Planking and plating a ships hull and deck
Hi Chris, I think you will find that Chuck’s guides and techniques will work with any kit or scratch built model that you choose to build. Cheerful is a kit. I have used Chuck’s planking techniques on my pinky build which is a Model Shipways kit. In my opinion, planking is planking. Have a look at some of the Winchelsea builds. They all use the same techniques and I don’t think that you will find better planking anywhere. -
Planking Book?
Paul Le Wol replied to BWDChris's topic in Building, Framing, Planking and plating a ships hull and deck
Hi Robert, thank you for correcting the url. My apologies to anyone inconvenienced by my mistake. I will edit my post right away. -
Planking Book?
Paul Le Wol replied to BWDChris's topic in Building, Framing, Planking and plating a ships hull and deck
You can also go to syrenshipmodel.com and download Chuck’s Revenue Cutter Cheerful monograph. Chapters 3, 4, and 5 deal with planking. Of course this is after you pop over to the new members forum and introduce yourself 😀 -
Peter, congratulations on finishing this wonderful ship. Your build log has brought me much pleasure. Thank you!
- 208 replies
-
- 3
-
-
- kitbashing
- Woodcarving
- (and 4 more)
-
Hi Jacques, everything is looking great. Can’t say why, but I like the five and three placement of the frames.
-
Dennis, congratulations on finishing Speedy. I think that your “diversions” have made this one of the finest examples out there. The copper looks great against the wood of the hull and the action shots of the deck are top notch!
- 10 replies
-
- 1
-
-
- Speedy
- Vanguard Models
- (and 1 more)
-
Hi Jacques, this is a very interesting project that you have started. Last November OldSaltf started a topic called “Contemporary Fishing Vessels “. During the discussion links were provided to plans of boats used in different parts of the world. There may be something there that will be helpful to you. Good luck with your build
-
Chris,congratulations on finishing Fly. She looks perfect!
- 69 replies
-
- 5
-
-
- fly
- victory models
- (and 2 more)
-
Jacques, congratulations on finishing this fine model. Well done!
- 62 replies
-
- 1
-
-
- First Build
- Grand Banks Dory
- (and 2 more)
-
Very nice planking Patrick. Your happiness is well deserved!
-
Mark, congratulations on finishing this fine ship. It is beautiful!
- 505 replies
-
- 6
-
-
-
- vanguard models
- Sphinx
- (and 1 more)
-
Bob, congratulations to you and the 1st Mate on completing this beautiful boat!
- 56 replies
-
- 4
-
-
-
- Sea of Galilee Boat
- SE Miller
- (and 1 more)
-
Bob, your hull turned out beautifully. Well done!
- 56 replies
-
- 4
-
-
-
- Sea of Galilee Boat
- SE Miller
- (and 1 more)