

DB789
-
Posts
413 -
Joined
-
Last visited
Content Type
Profiles
Forums
Gallery
Events
Posts posted by DB789
-
-
Thanks Uwe.
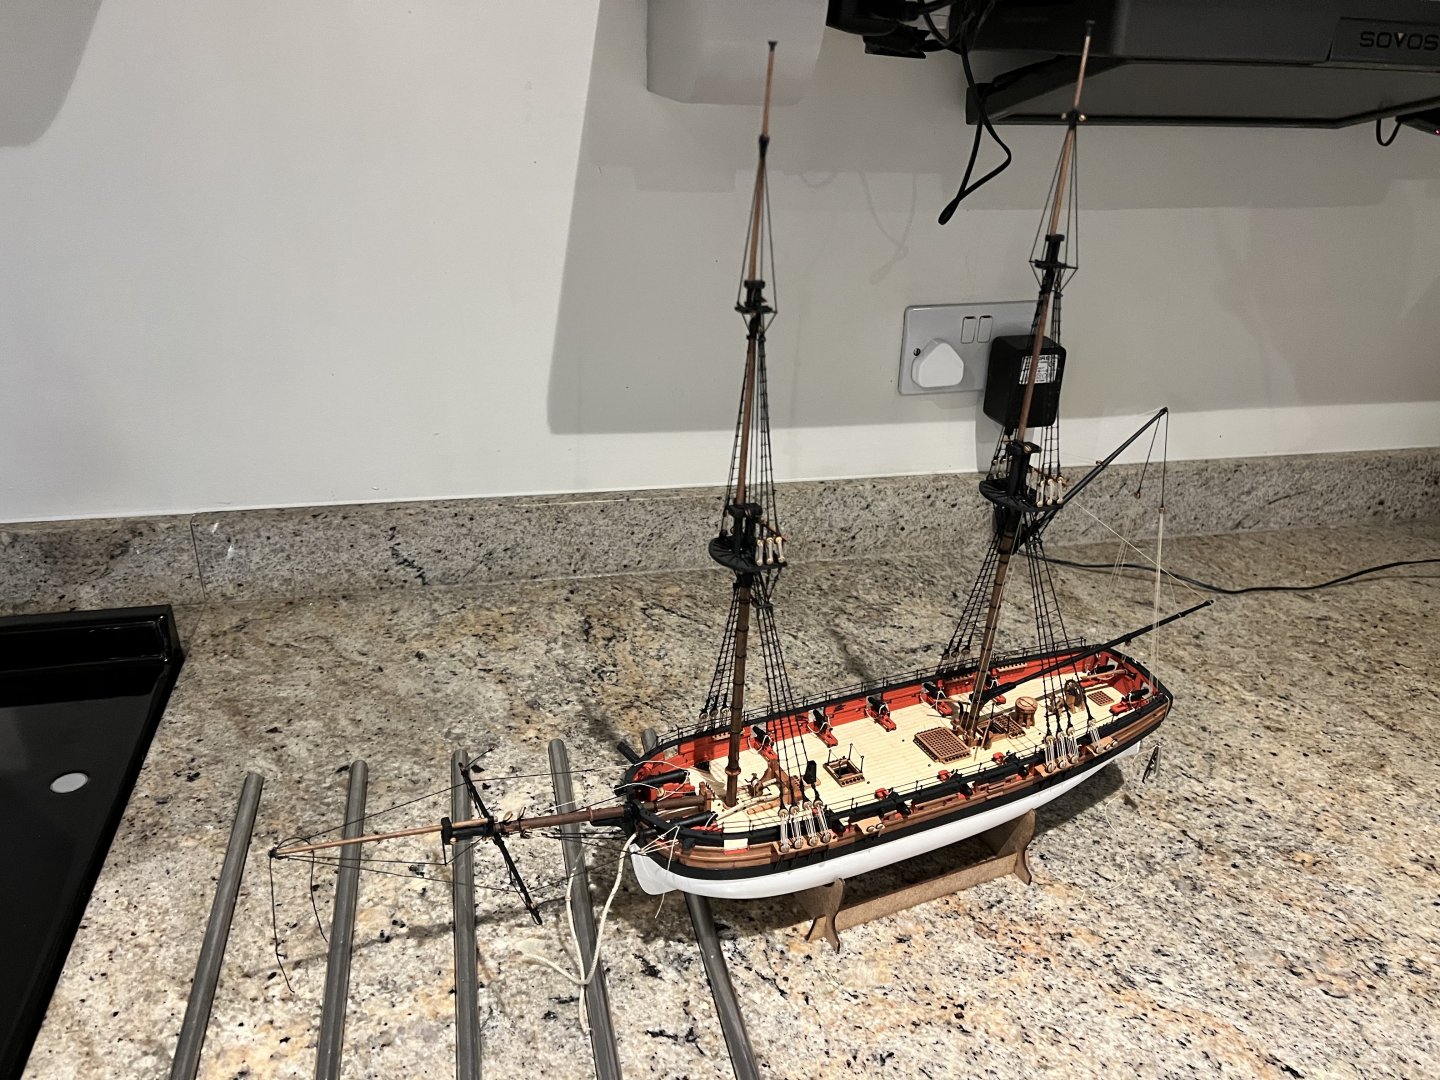
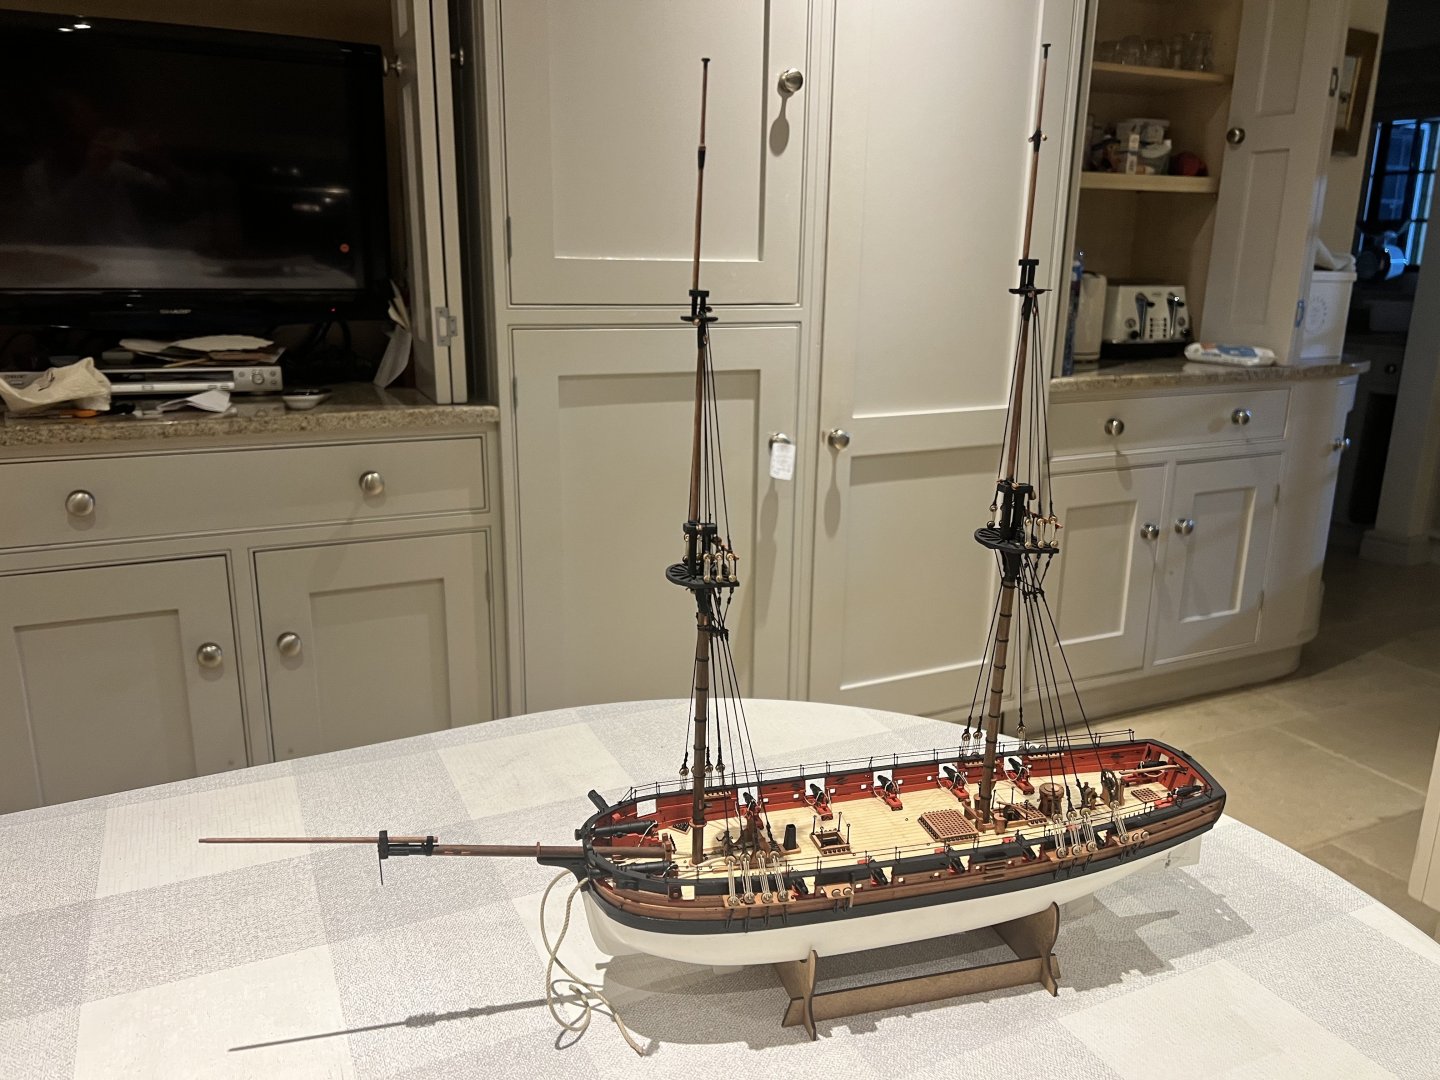
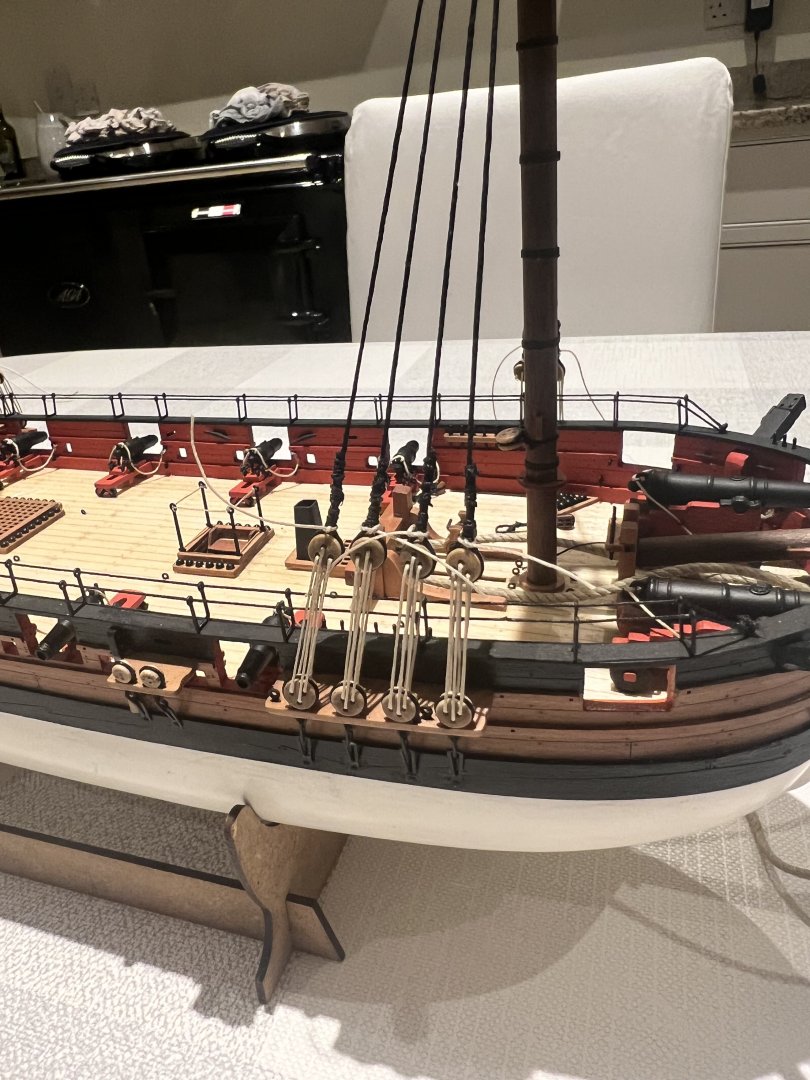
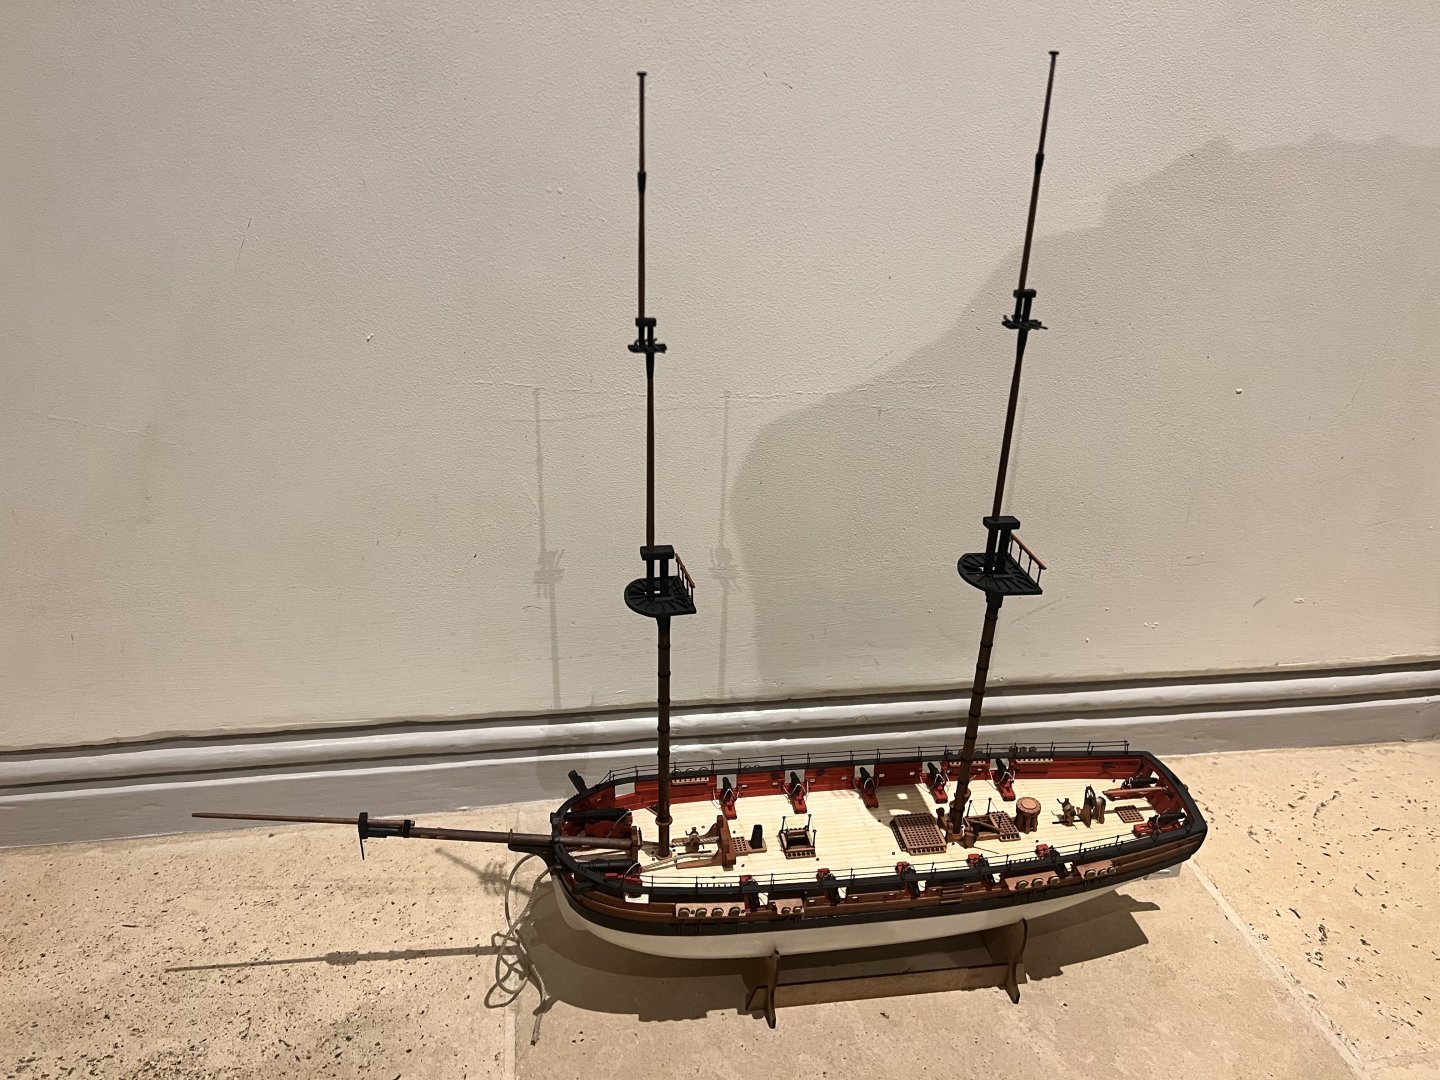
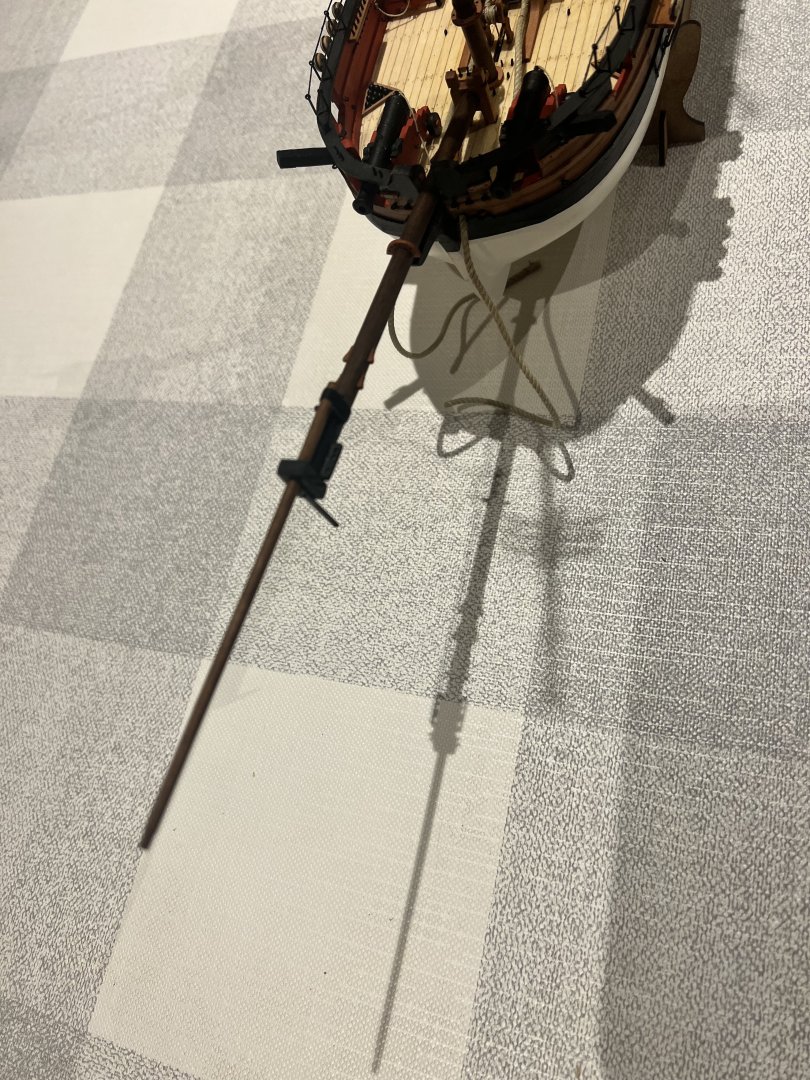
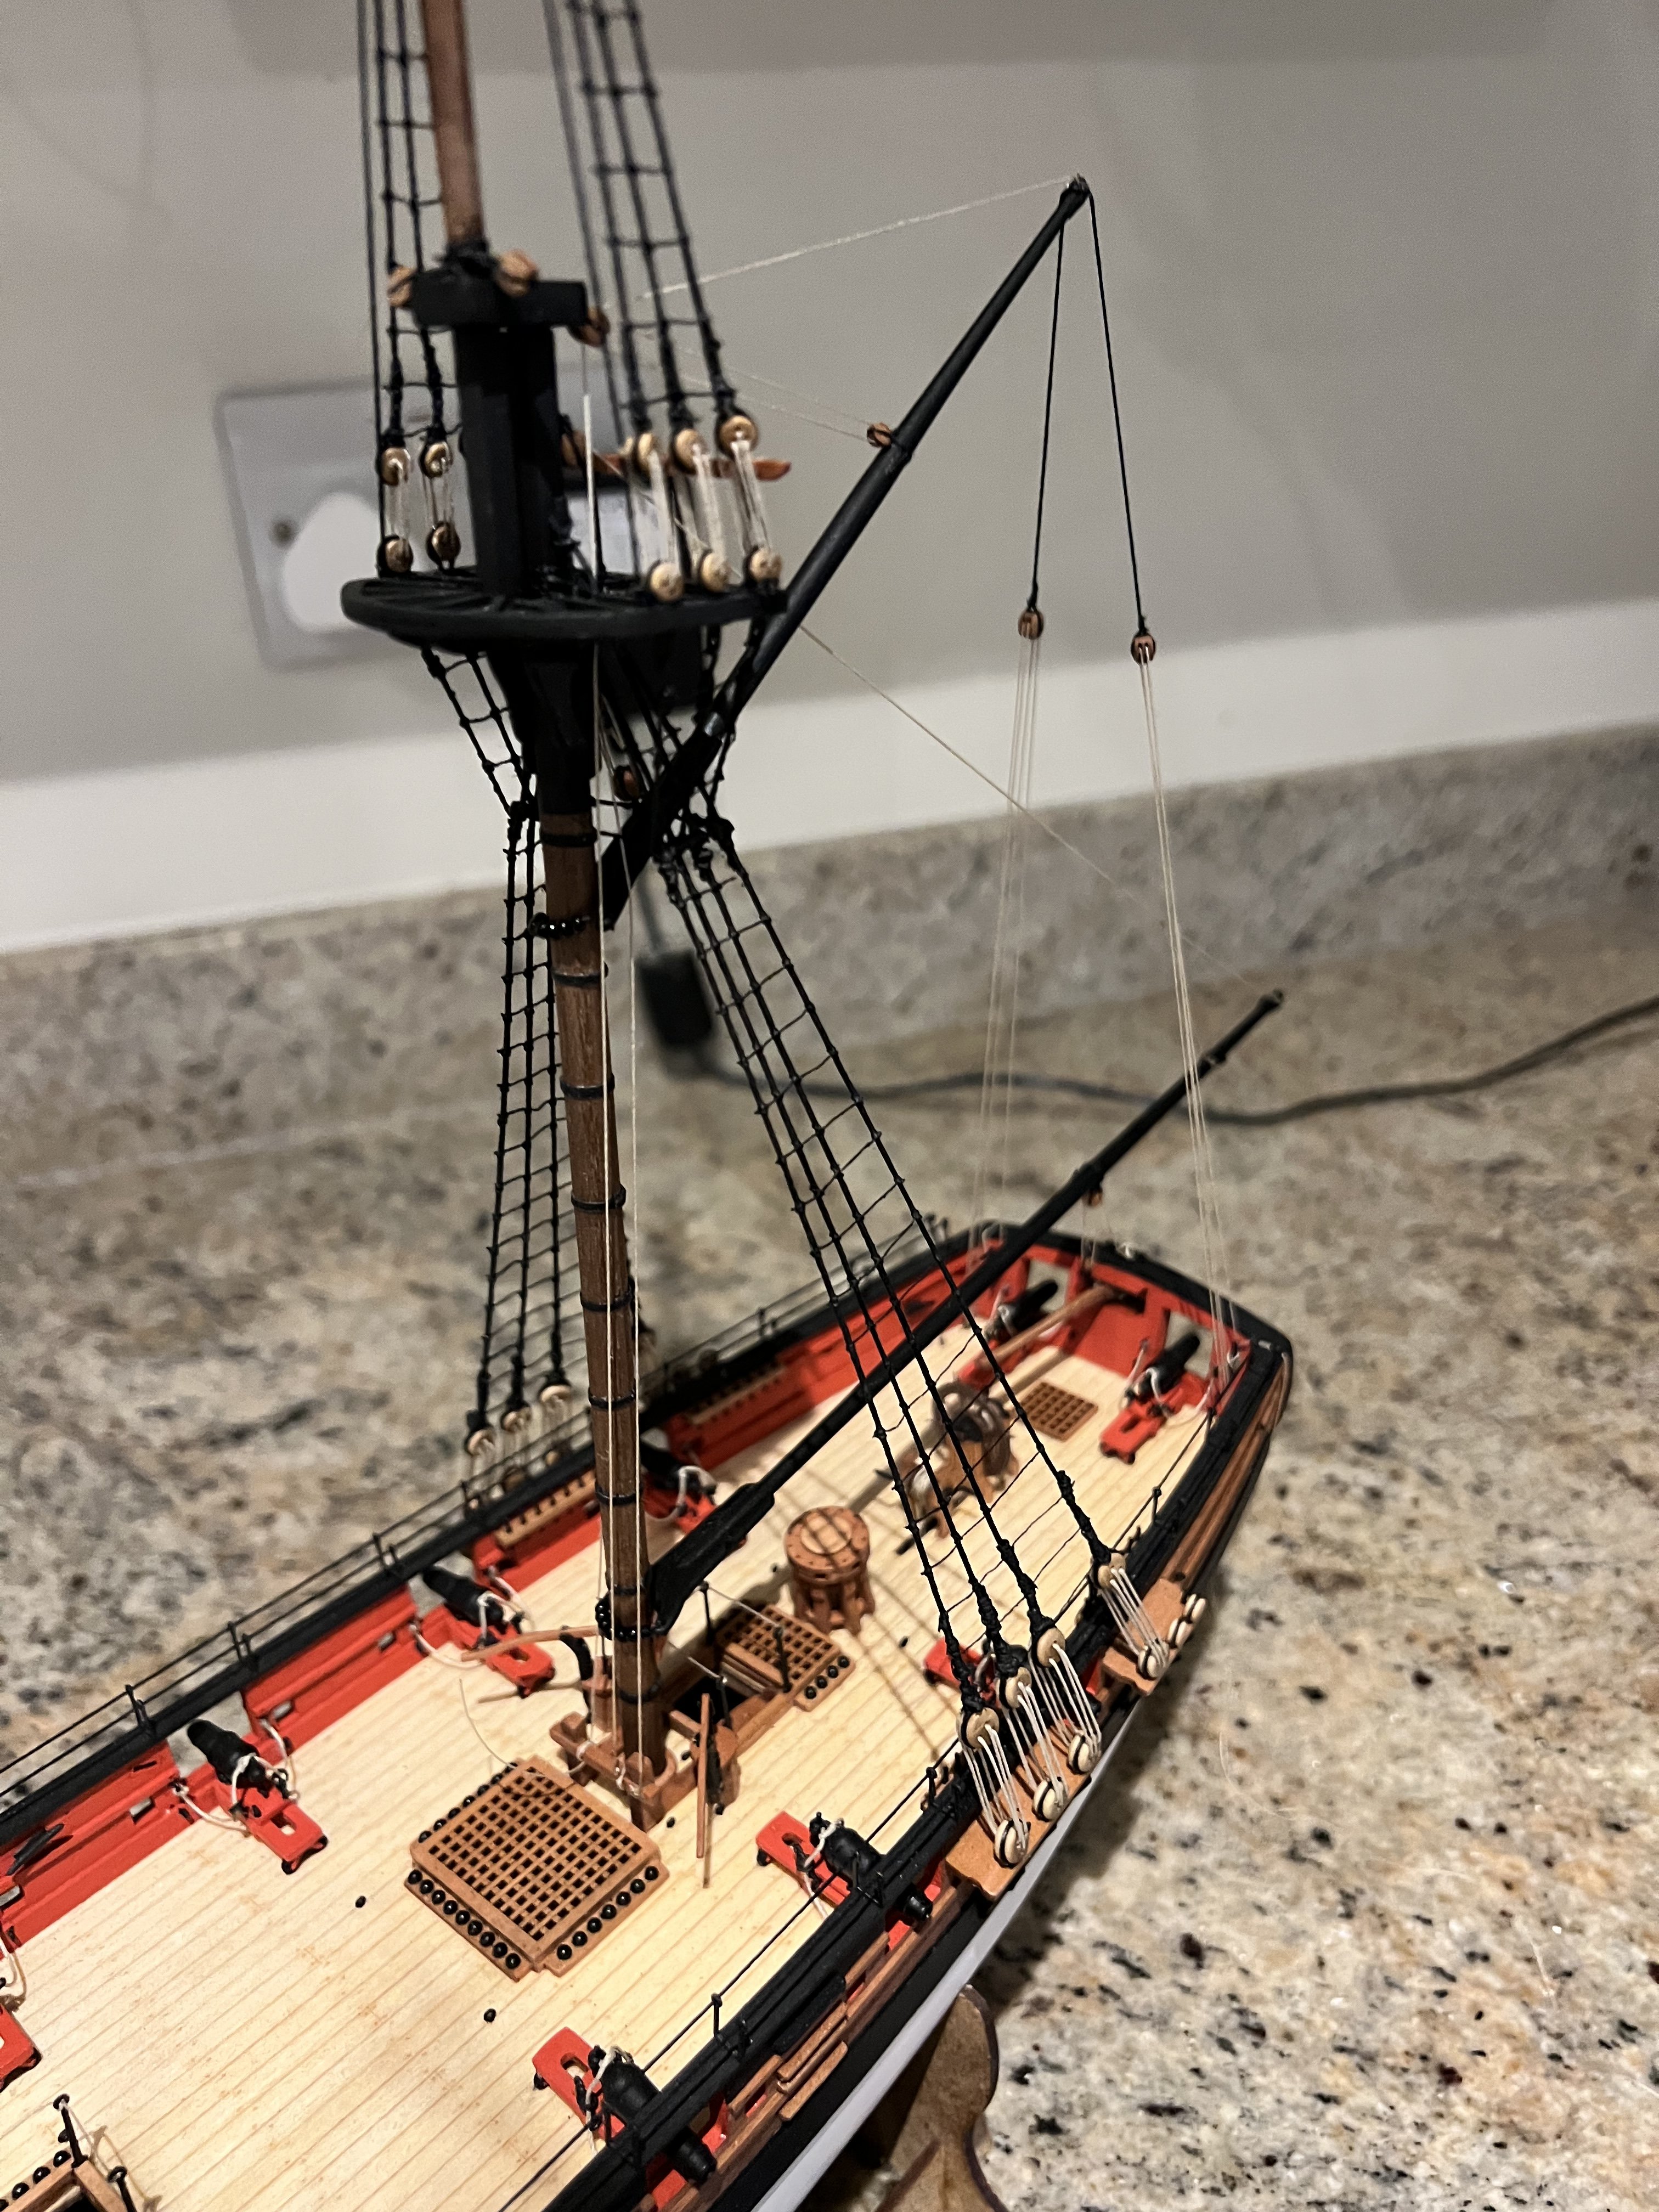
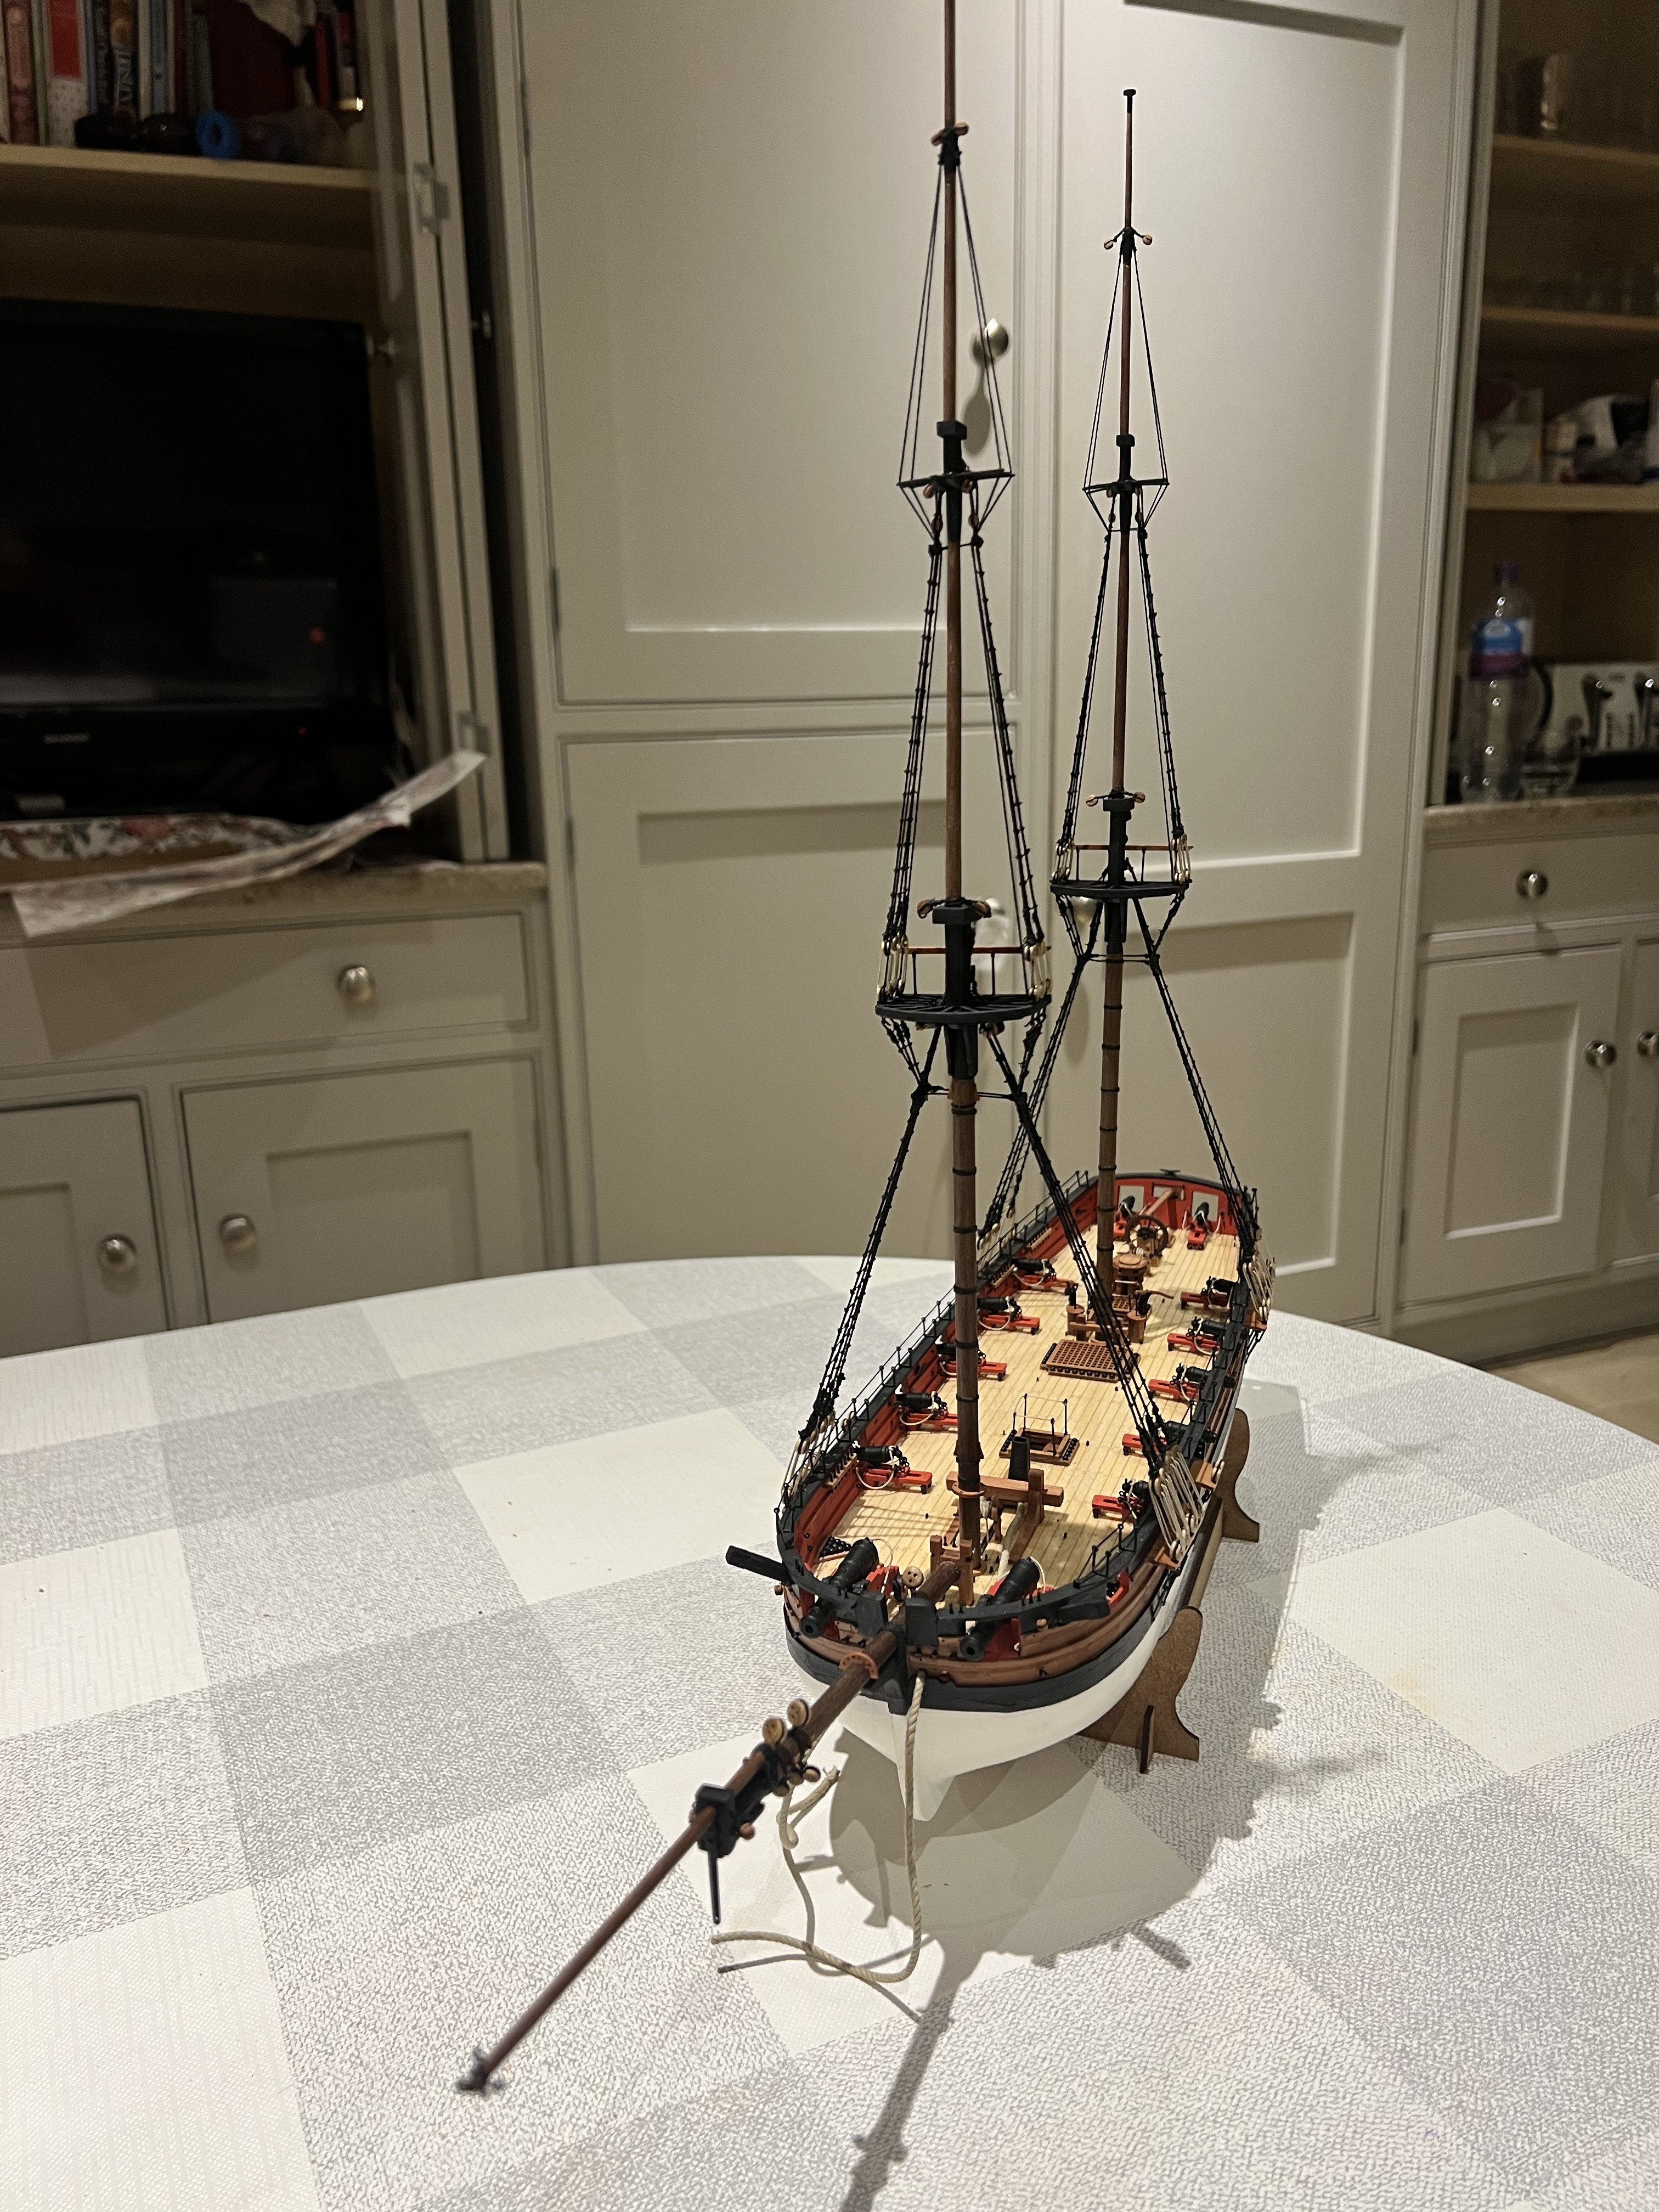
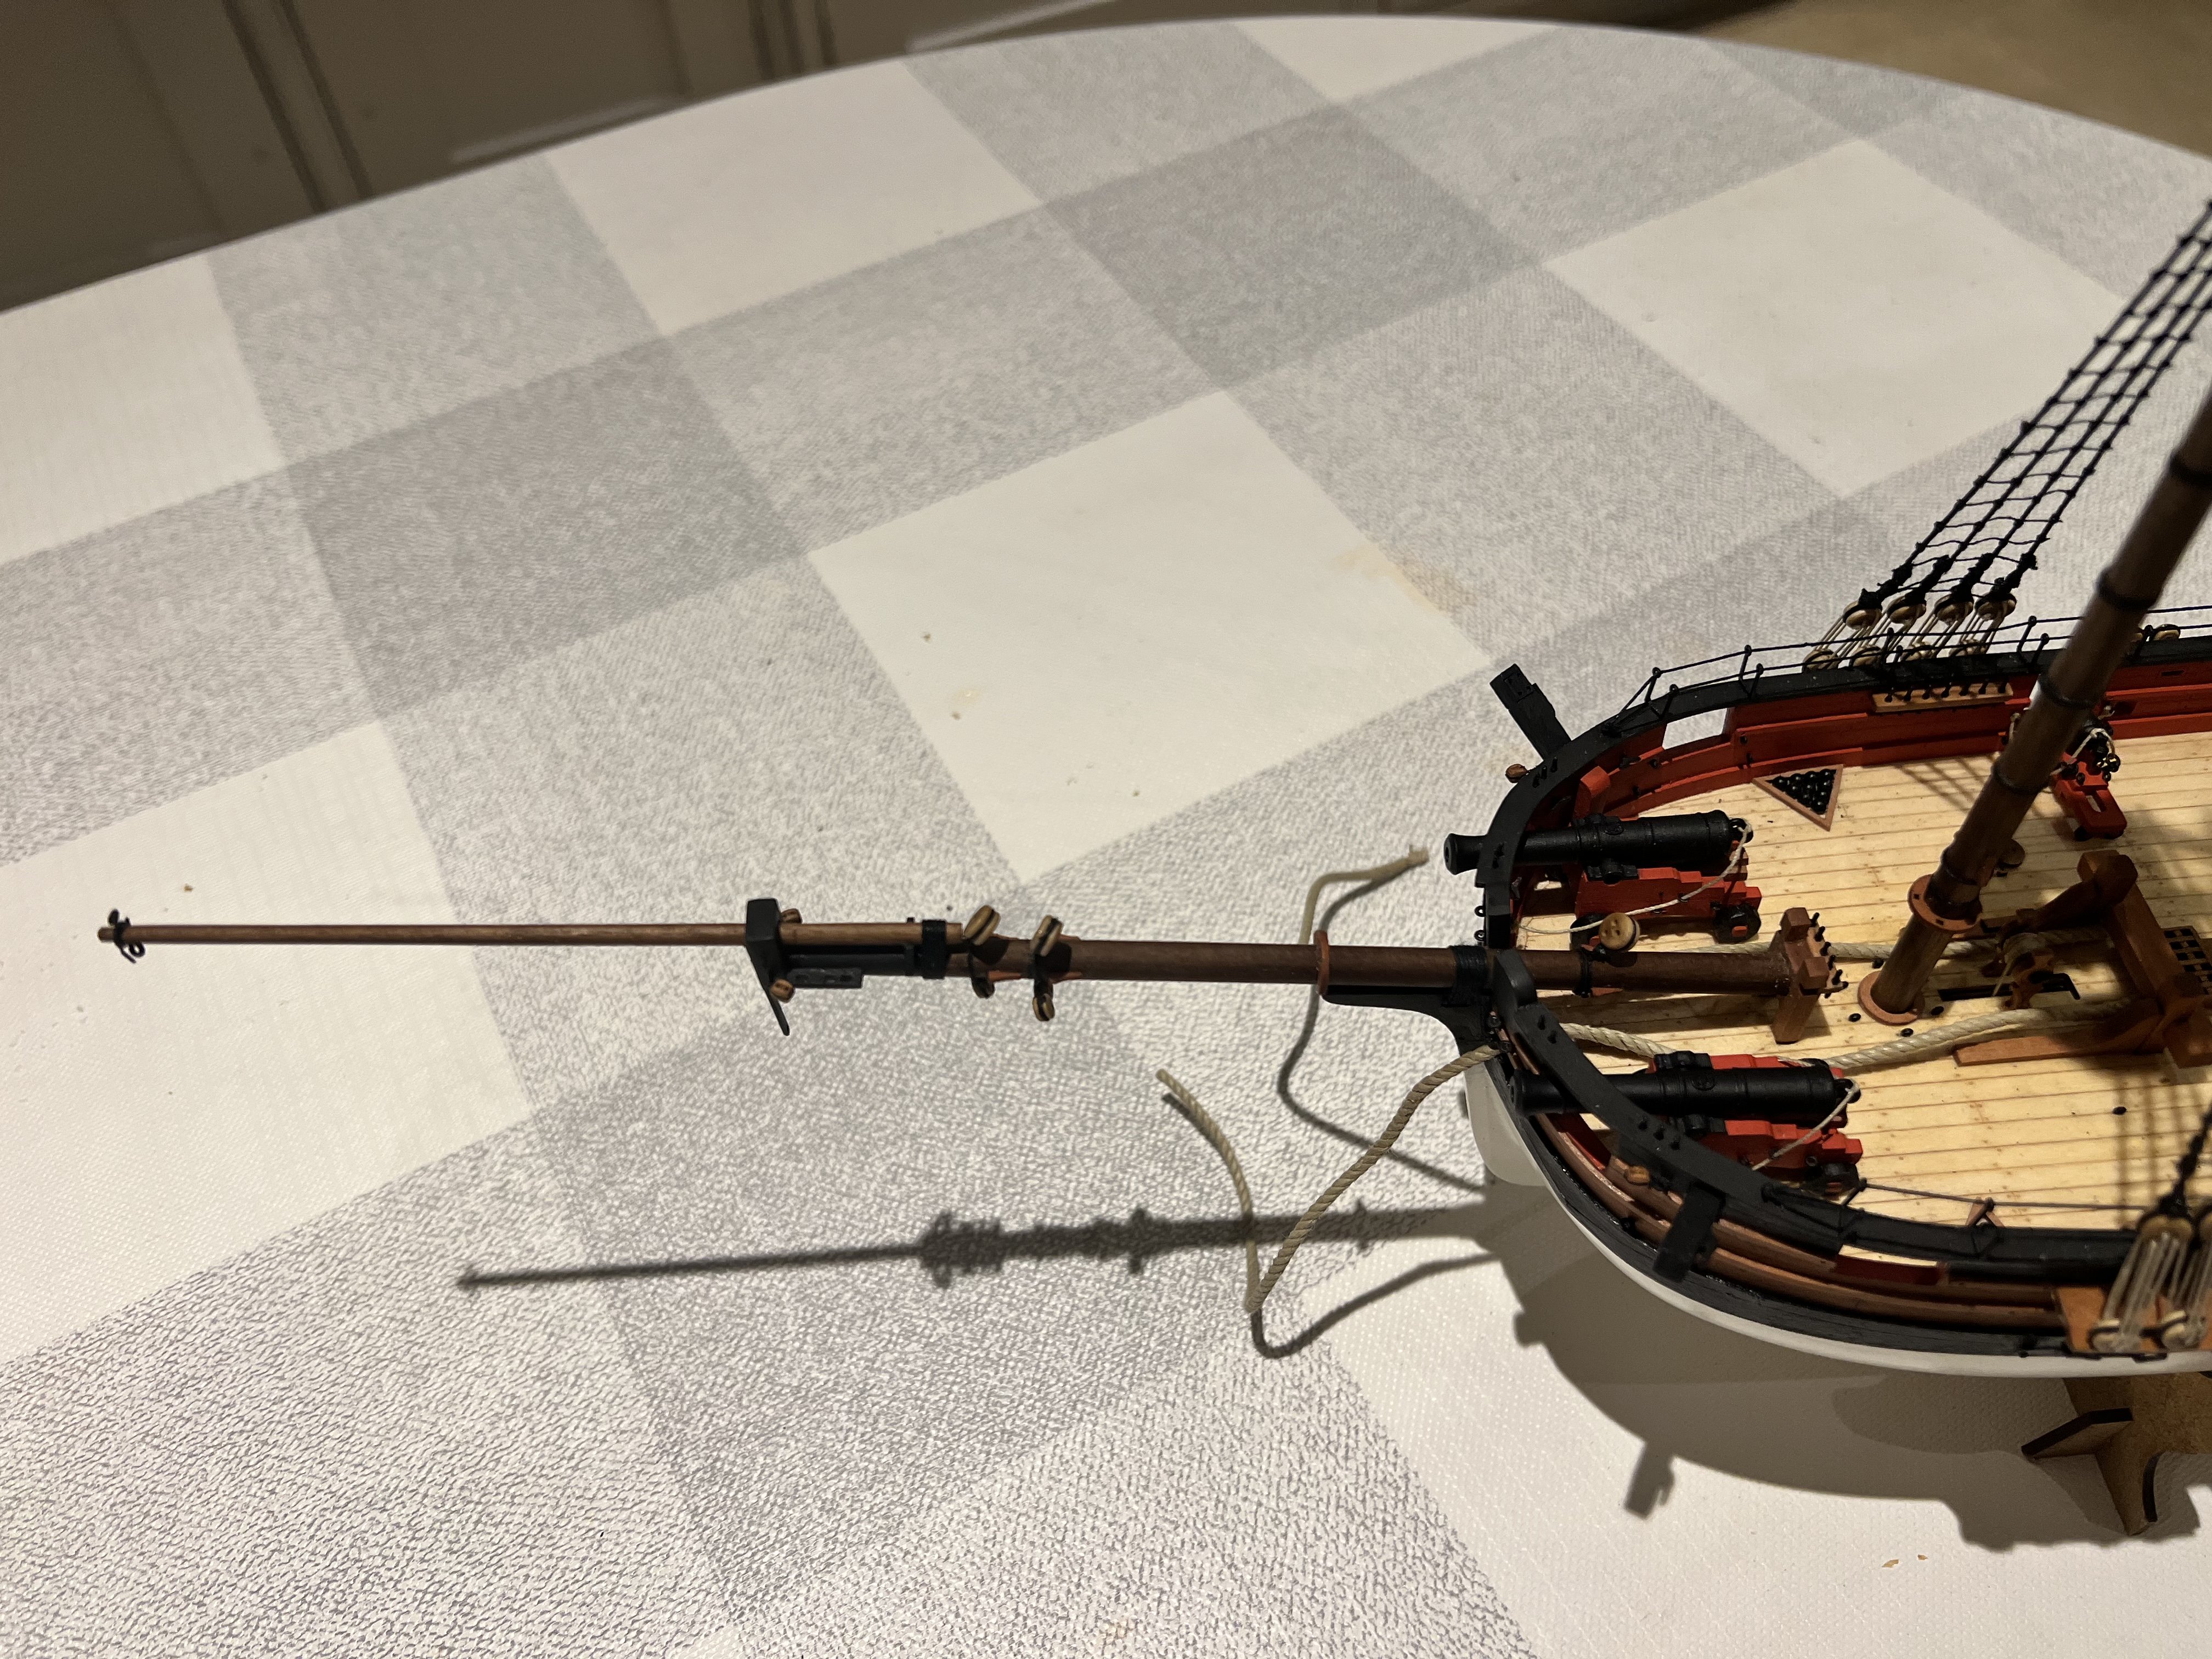
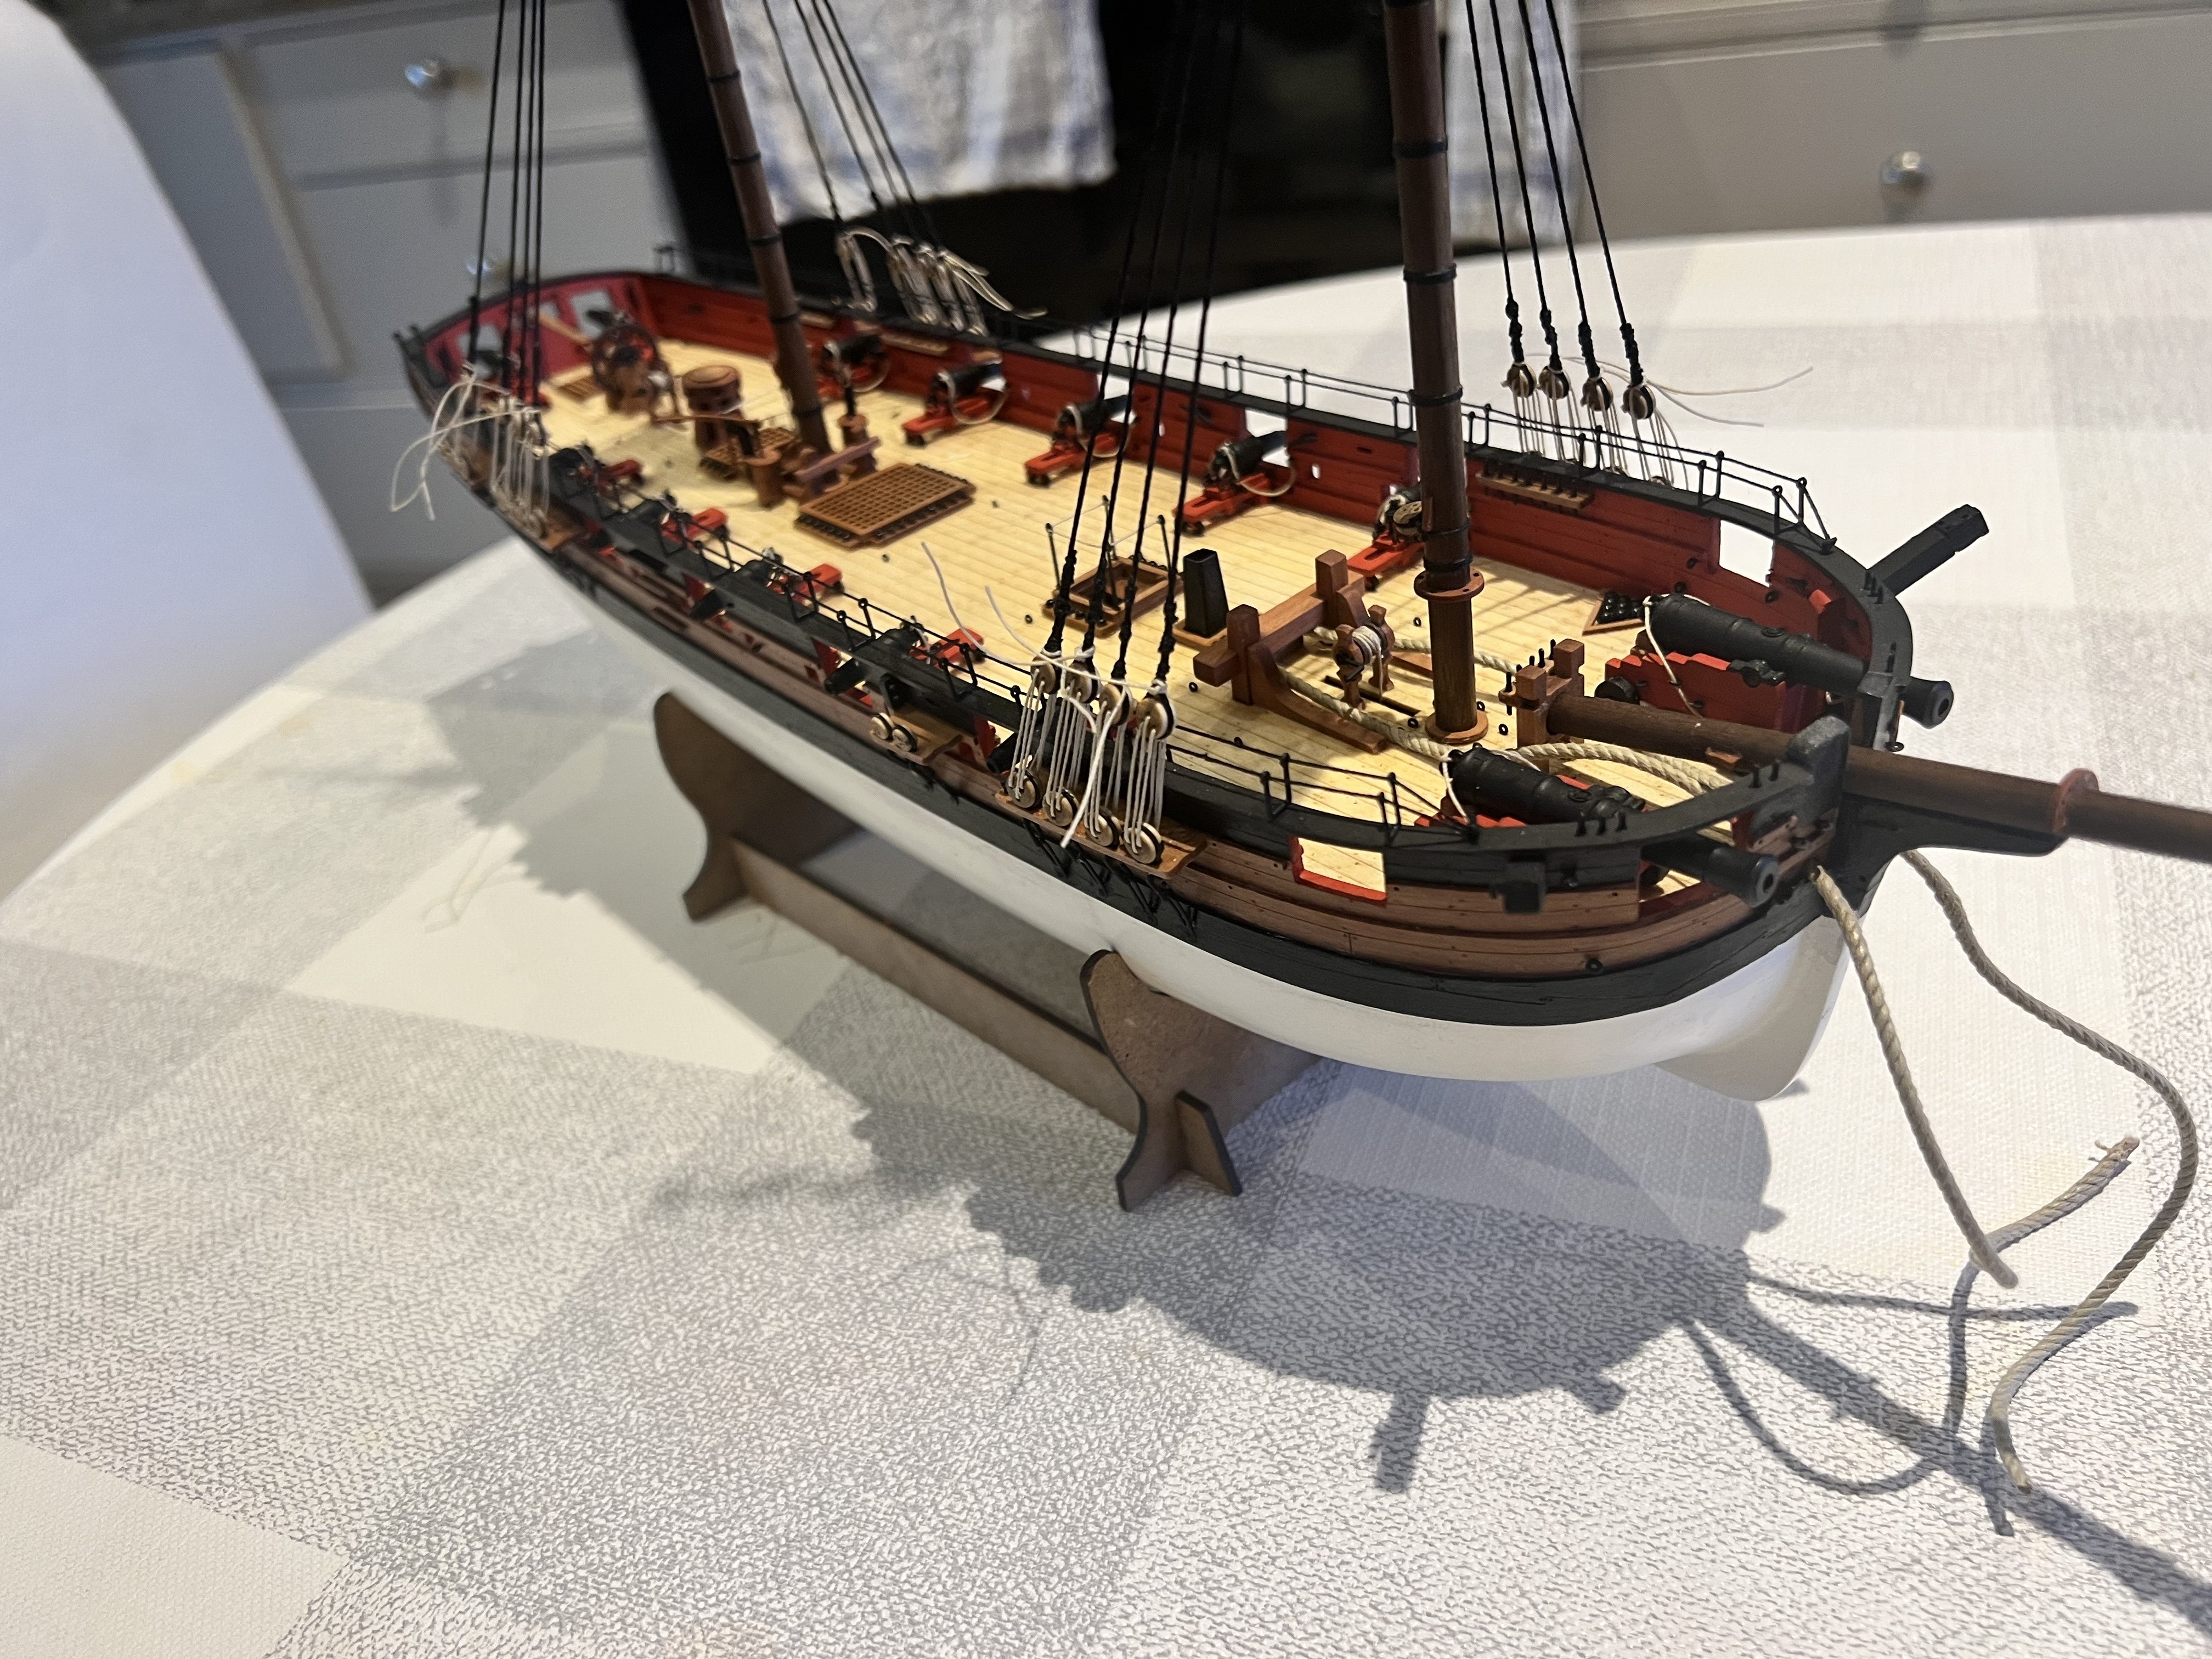
I’ve added the bowsprit rigging, fairly straightforward except there’s a PE ring with four smaller rigs attached to the rim that is at the end of the bowsprit. Being clumsy I managed to break off three of these rings. I’ve CA glued on three replacement rings but they’re not strong so each line goes through the rings and then is tied through the bowsprit rather than the ring.
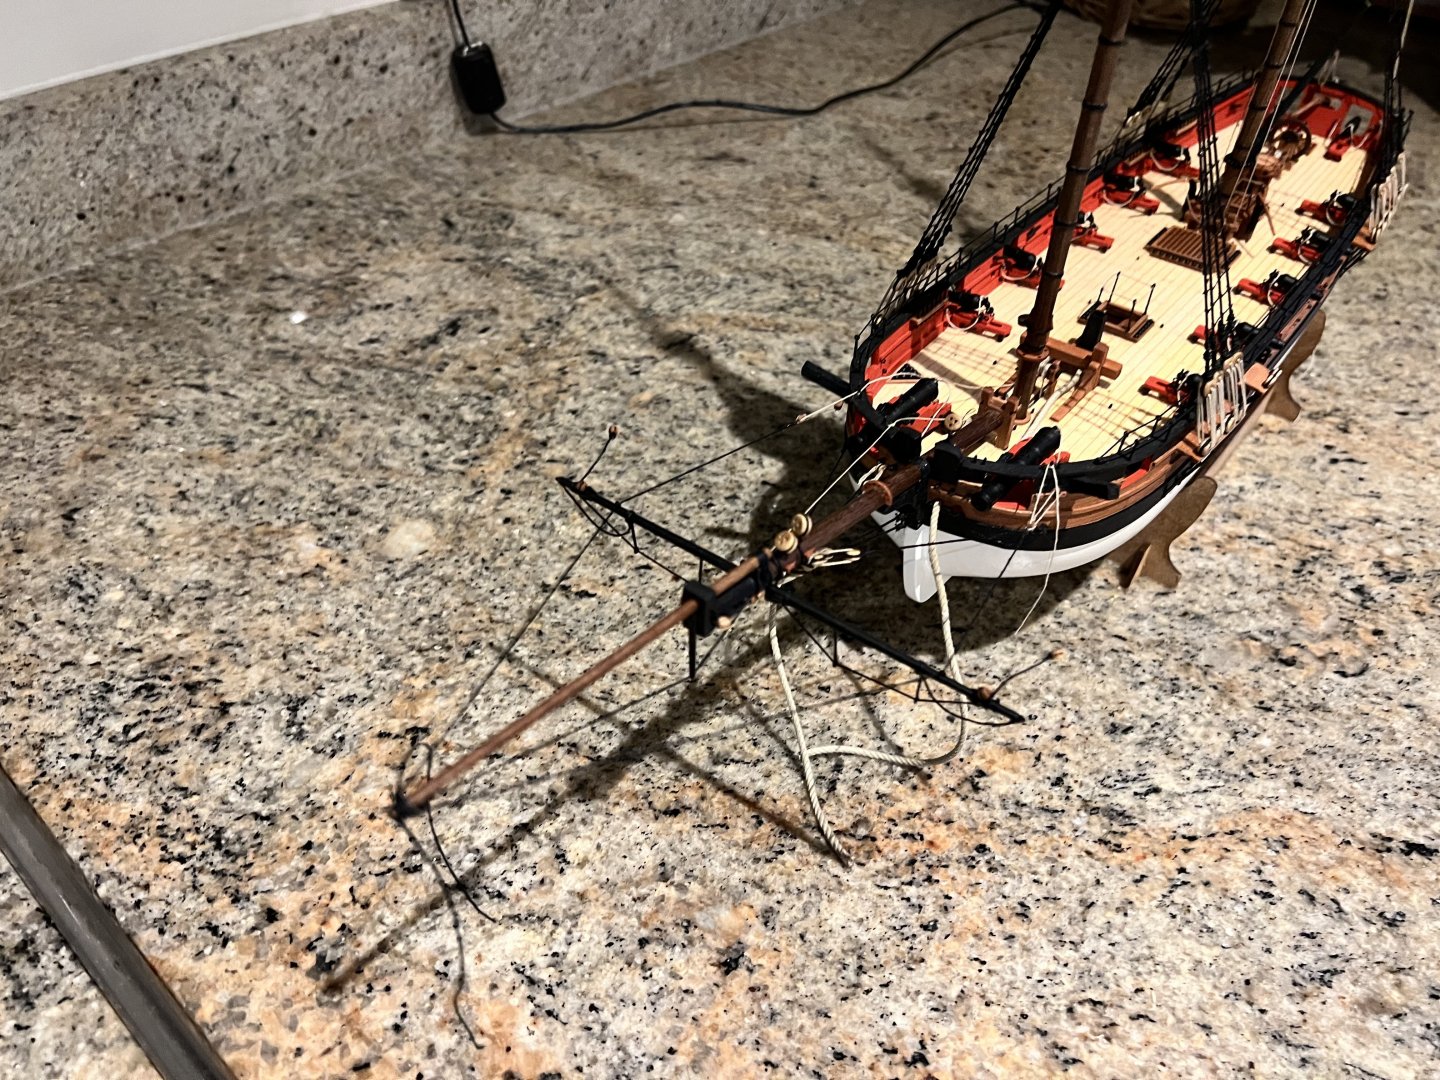
I’ve left some lines tied and unglued so I can add tension later if they go slack when other rigging is added.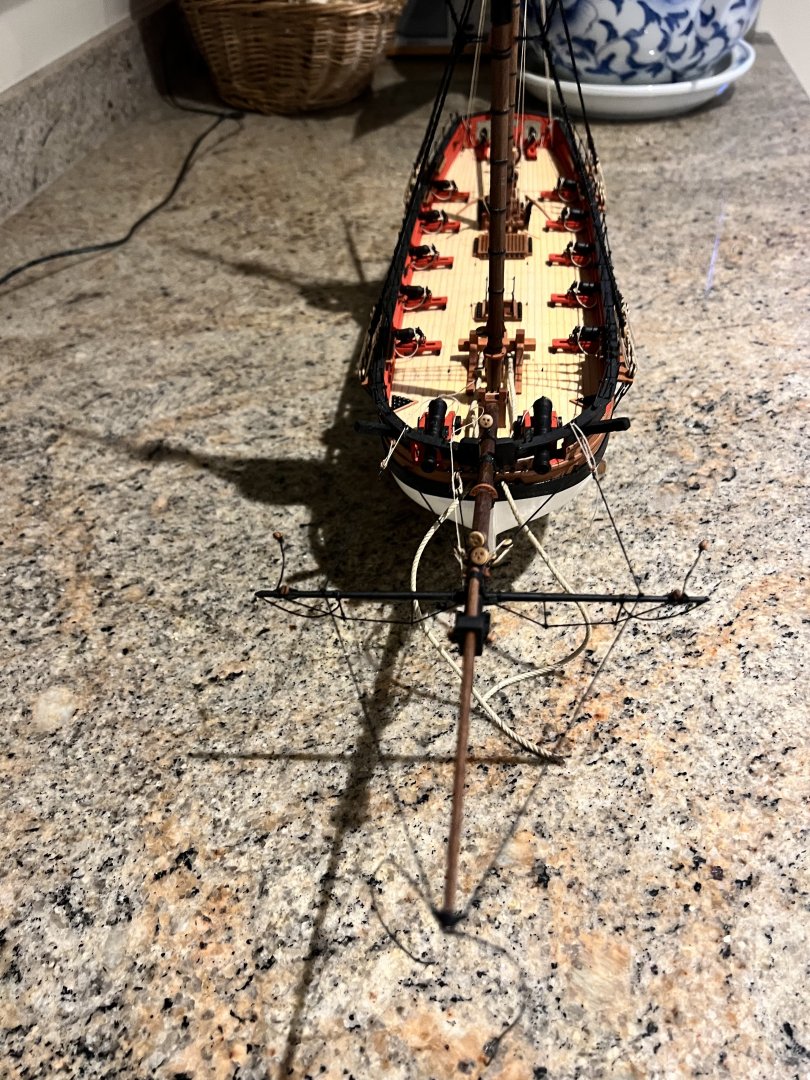
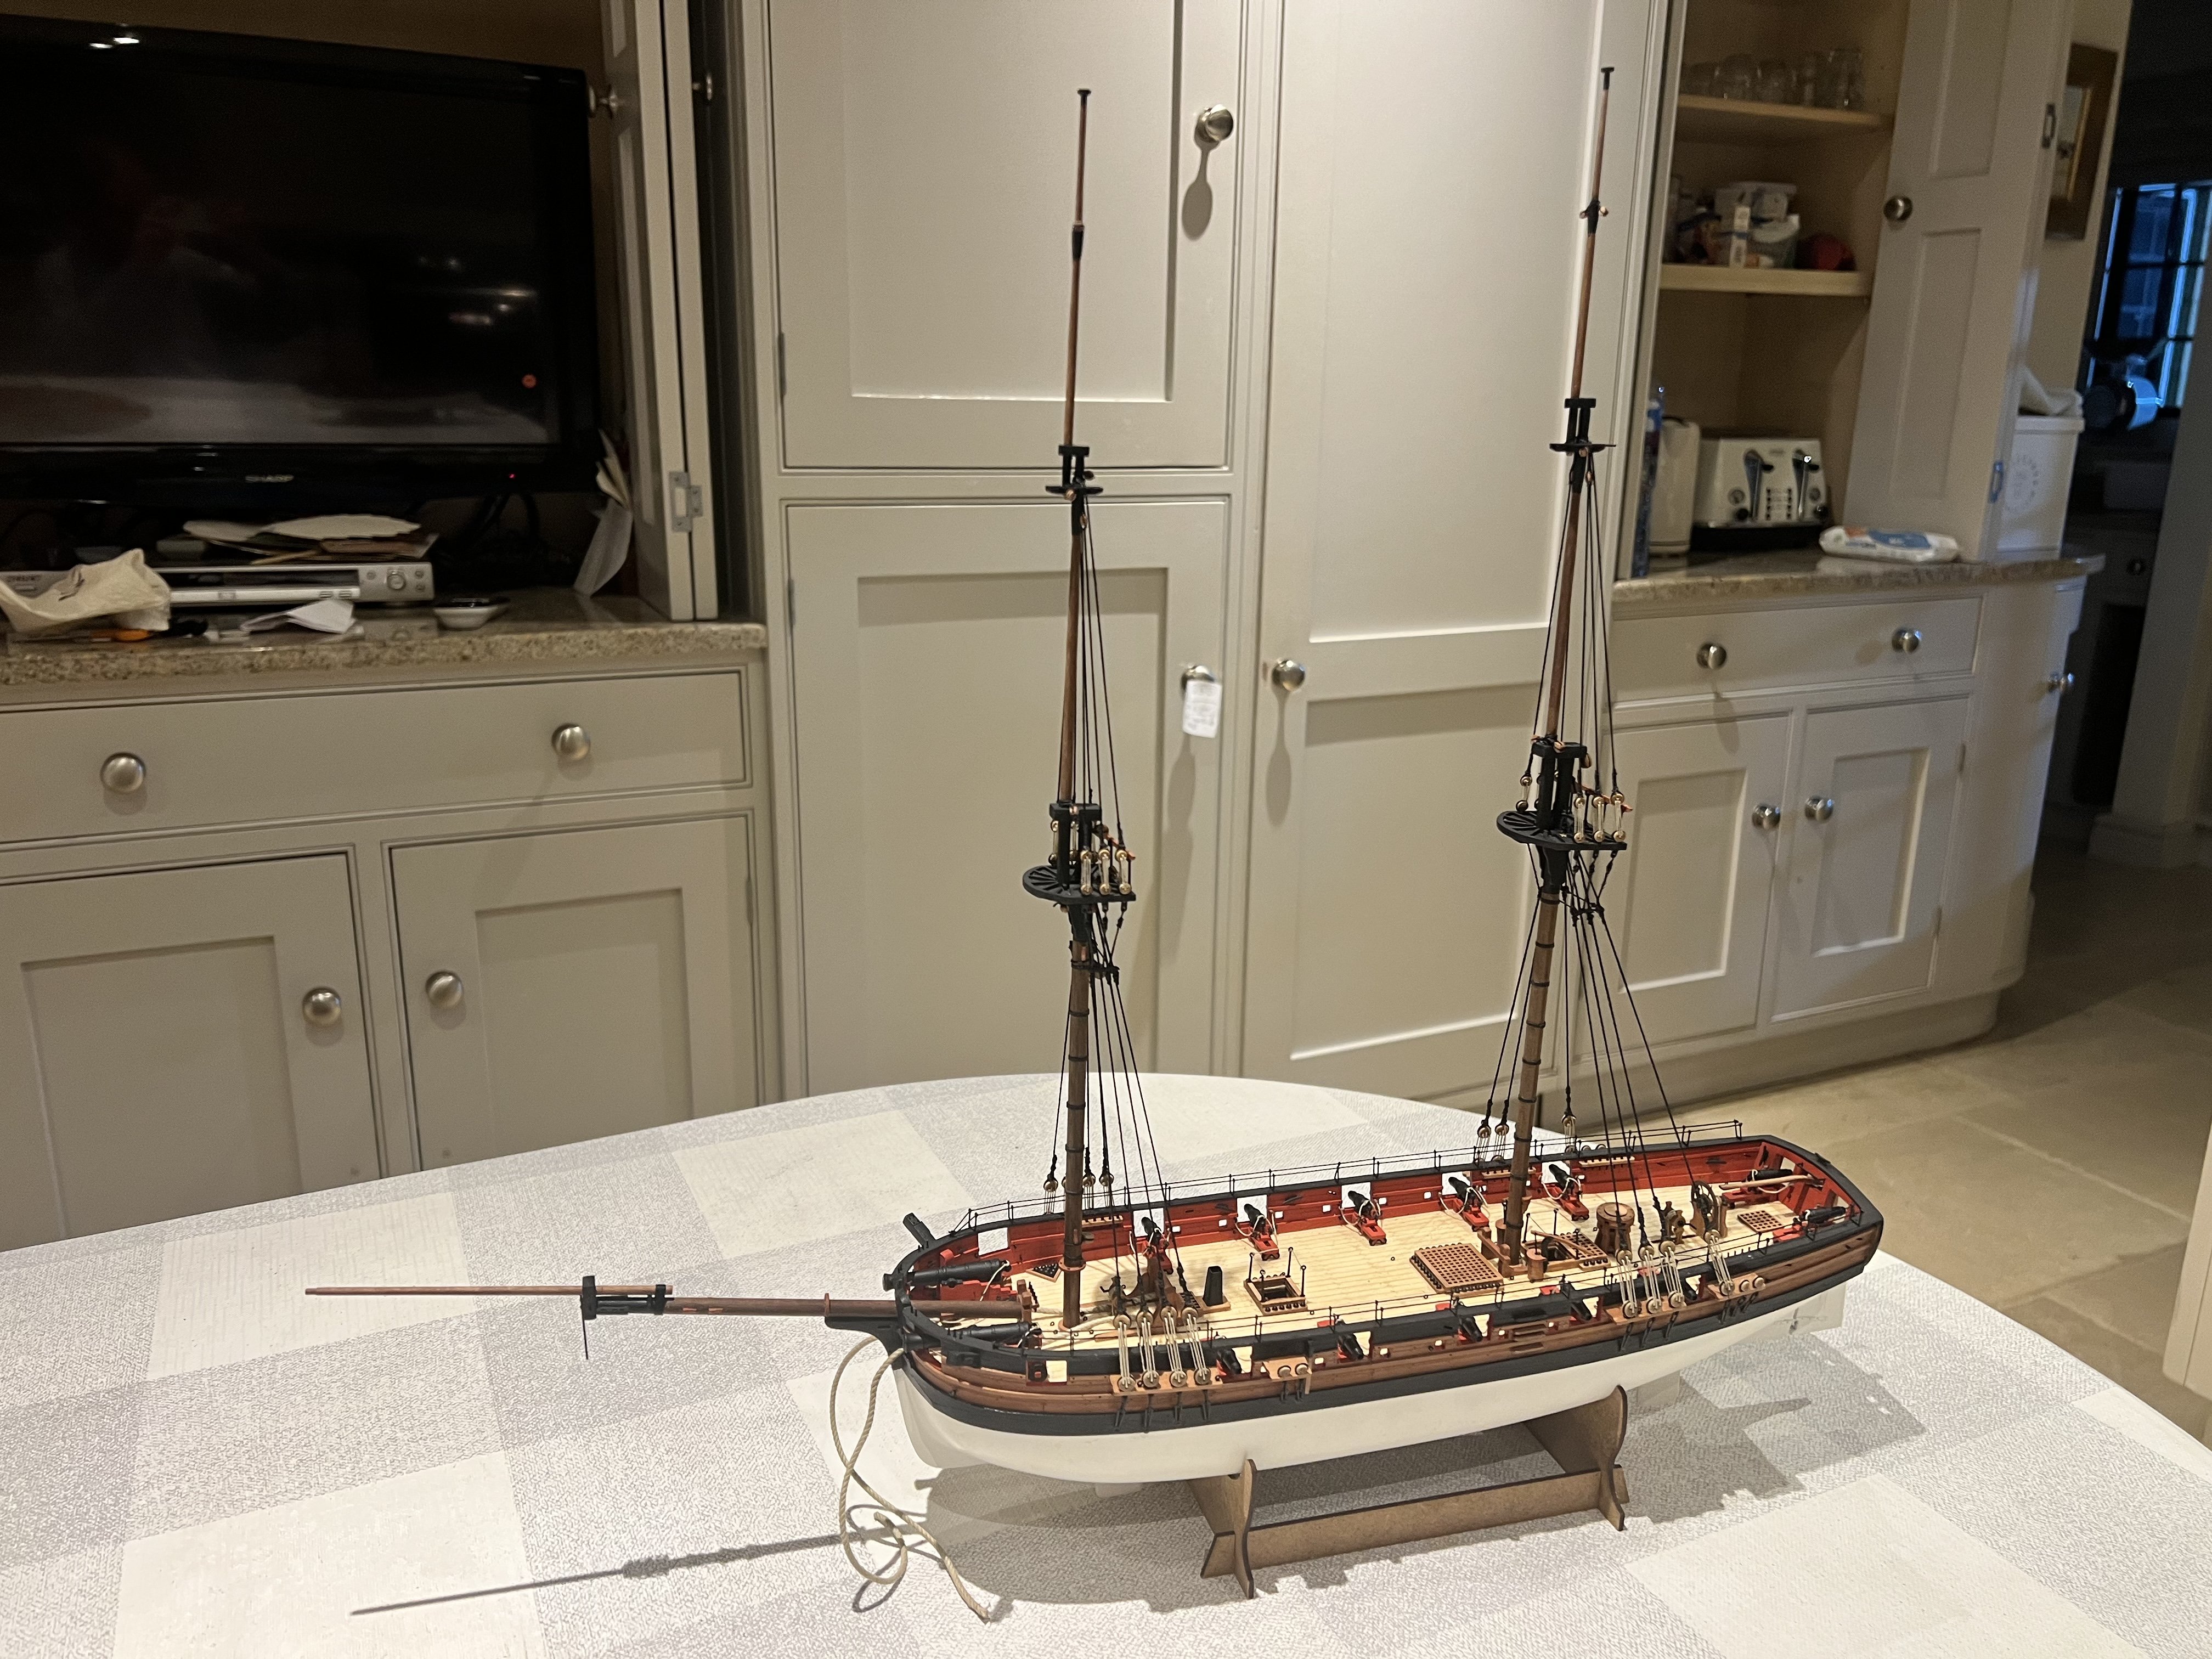
Also added the main boom and gaff. Much the same as on the fore and aft rigged vessels I’ve built.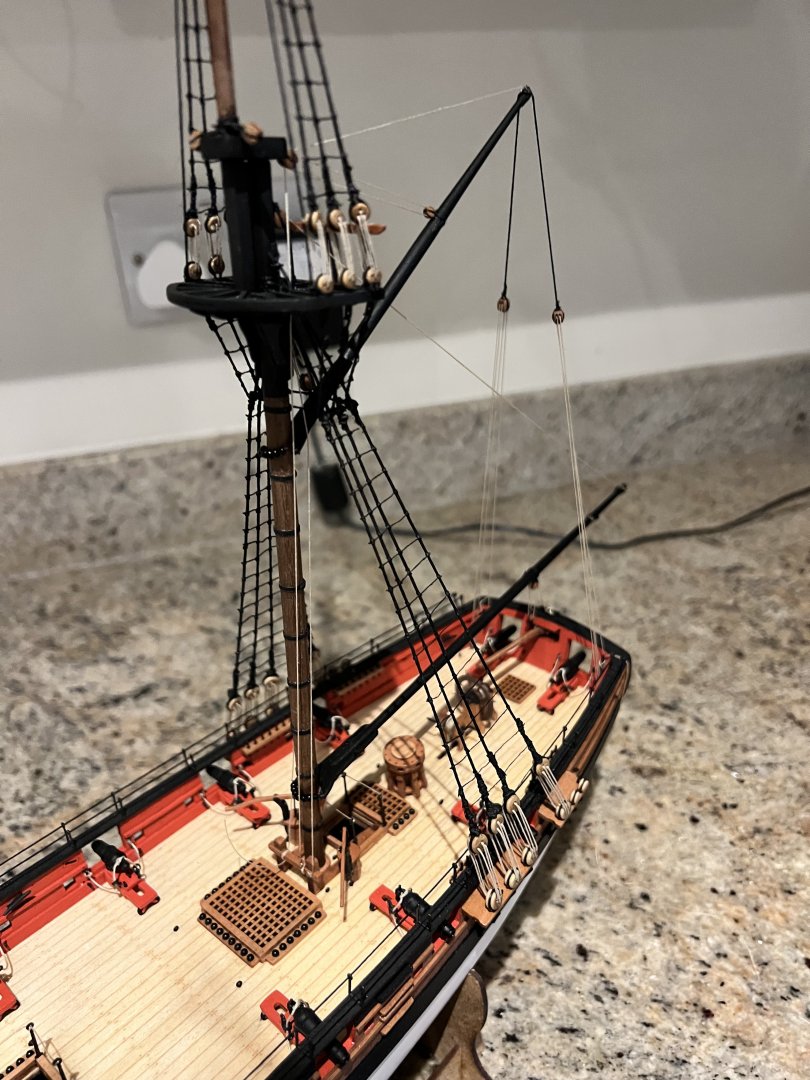

Onto the yards next I think. Is there a better sequence - start at the top and work down? I’m thinking of doing the main mast yards first and then moving to the fore mast.
I’ve still to add most of the stays - I reckon it’s easier to add the yards before the stays?
Any advice very welcome. Thanks!
- rcweir, chris watton, Ronald-V and 7 others
-
 10
10
-
Hi Glenn, I glad my log is of some use! I’m really enjoying building this one although I’ve slowed down as I’m rigging and making yards and spars, which for me is slow going. Adder should be an easy build for you after Indy, Eck’s racing through his build. Yours looks great, I look forward to following along. Best wishes Dan
-
An absolutely stunning model - congrats! I’ve really enjoyed following your build of her.
- Glenn-UK and Ryland Craze
-
1
-
 1
1
-
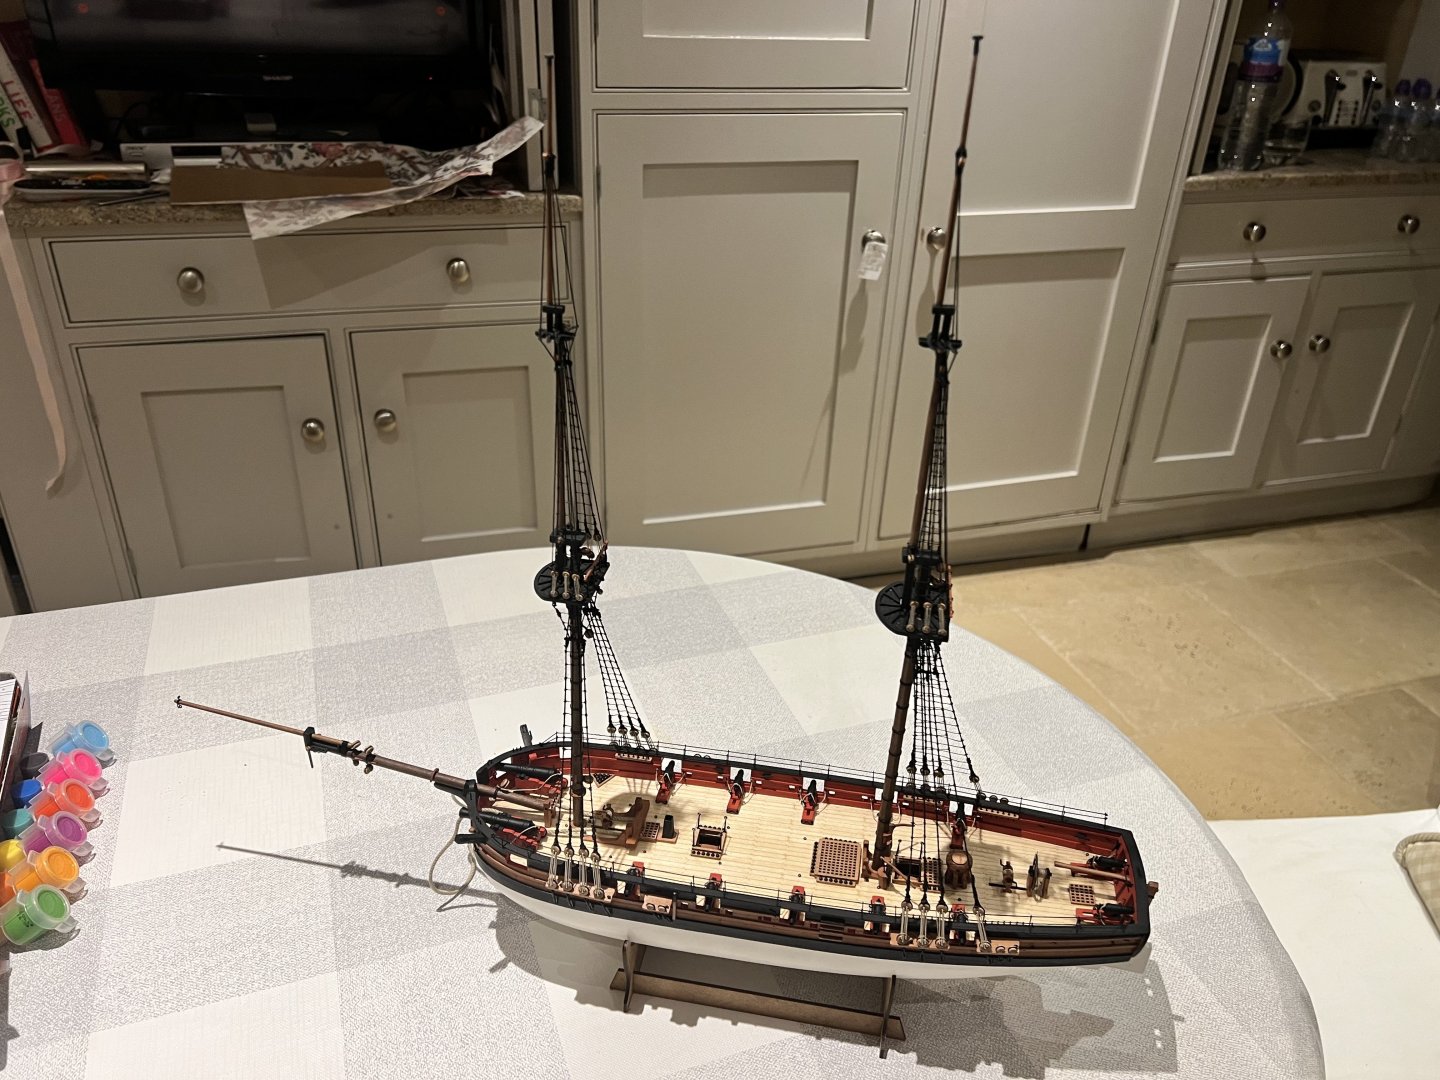
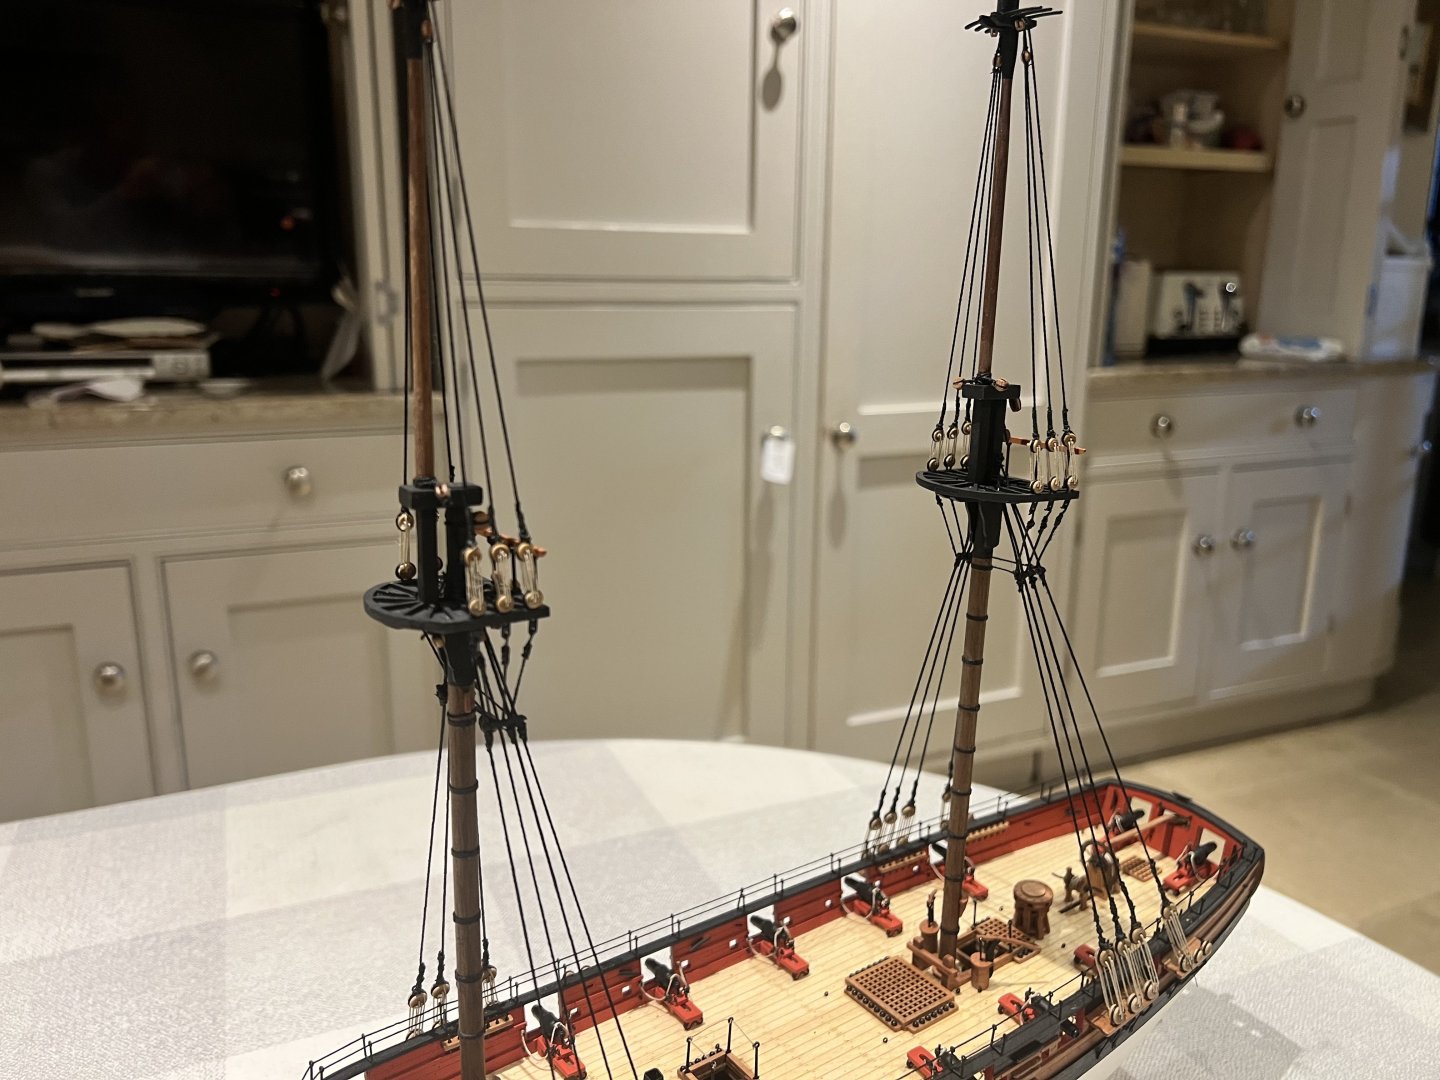
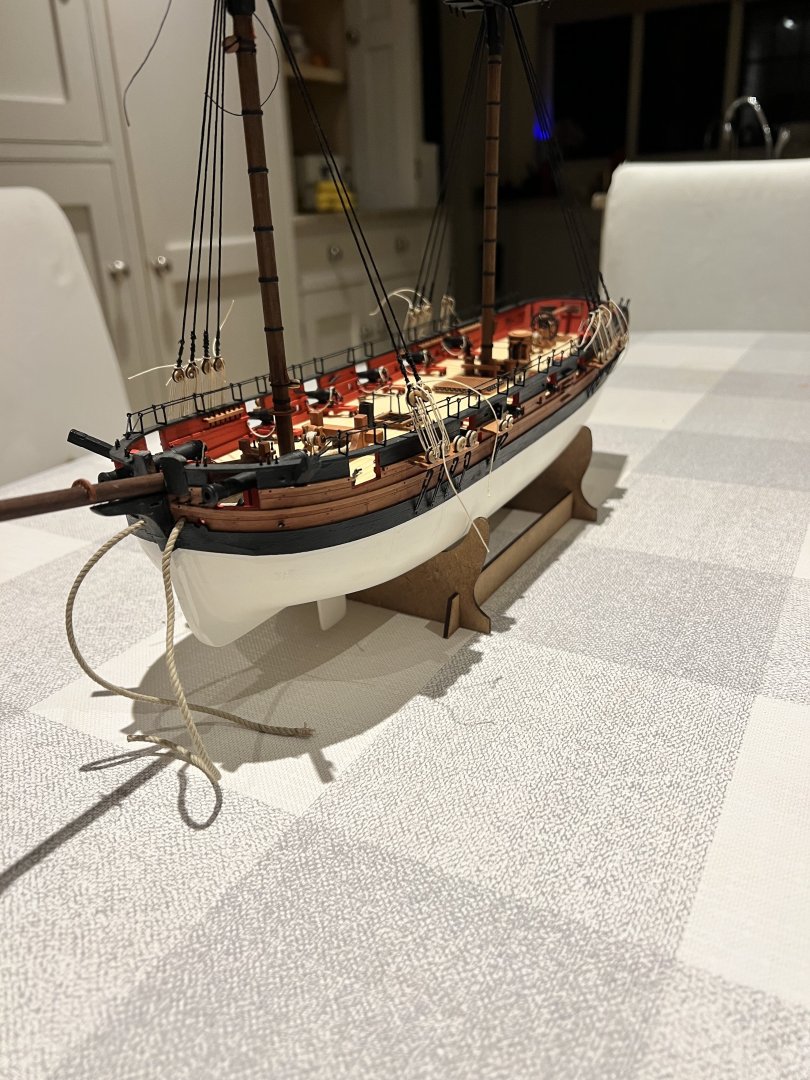
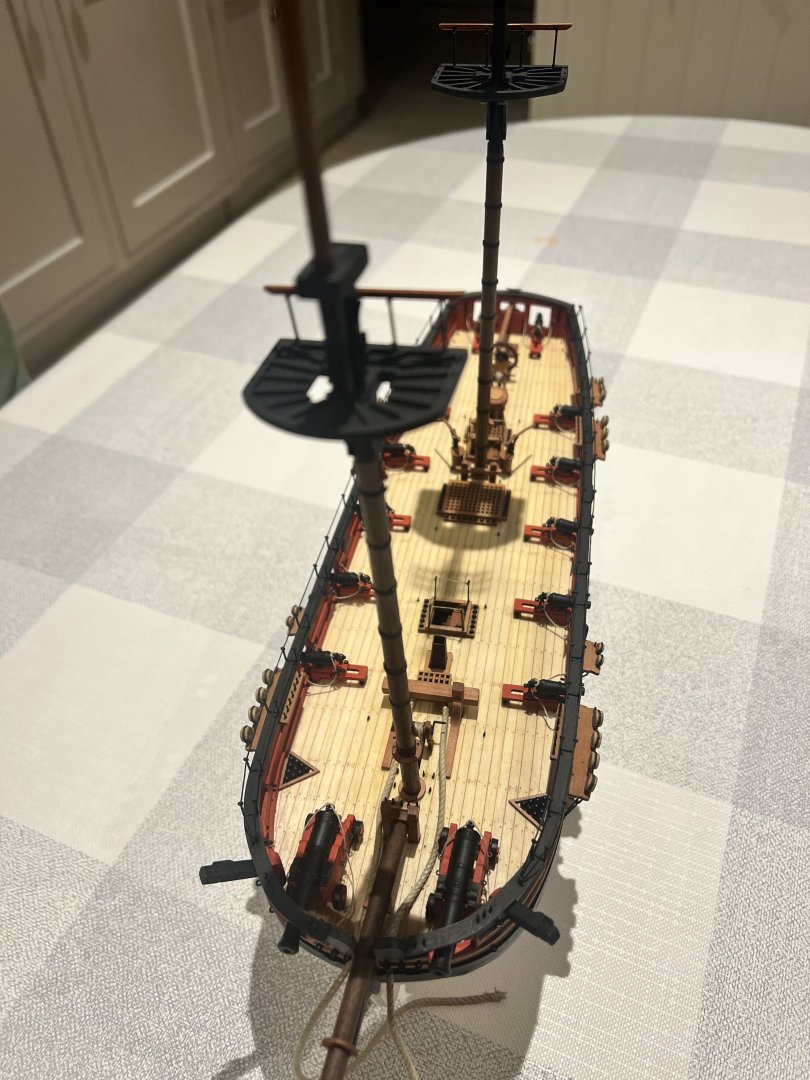
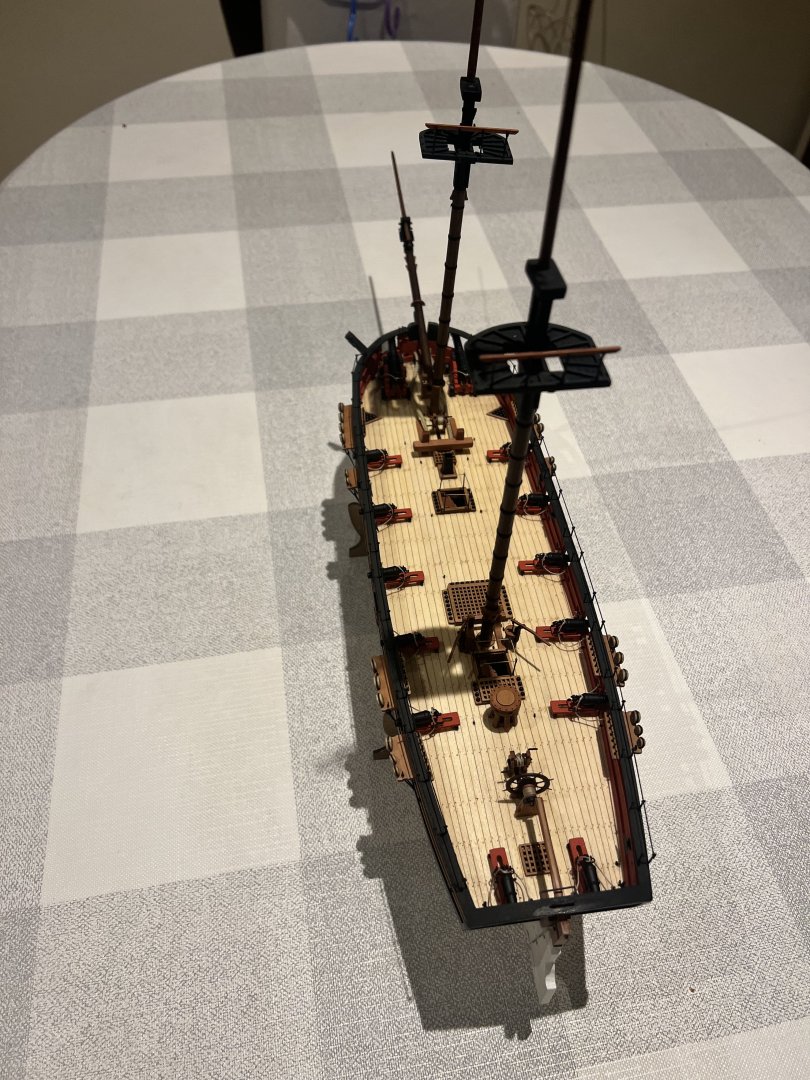
Shrouds and ratlines complete. I’ve attached the bowsprit too. Rigging the bowsprit next, then making and adding the spritsail yard.


-
-
Congrats - she looks super.
Dan
-
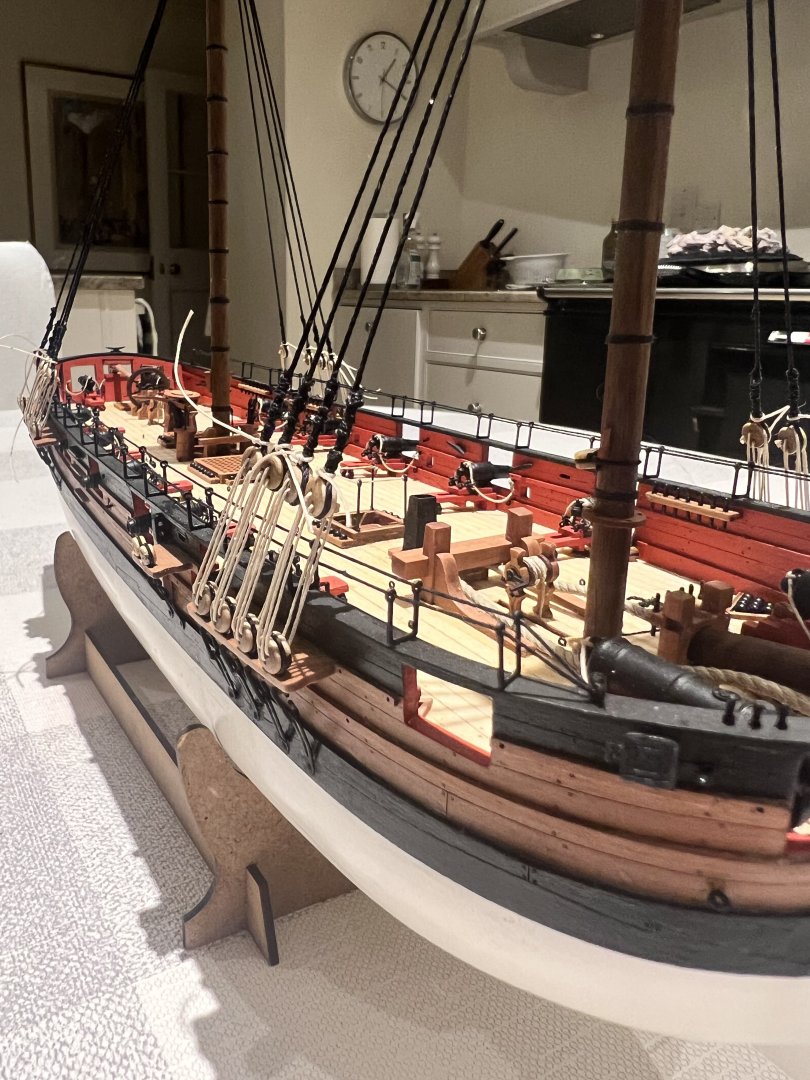
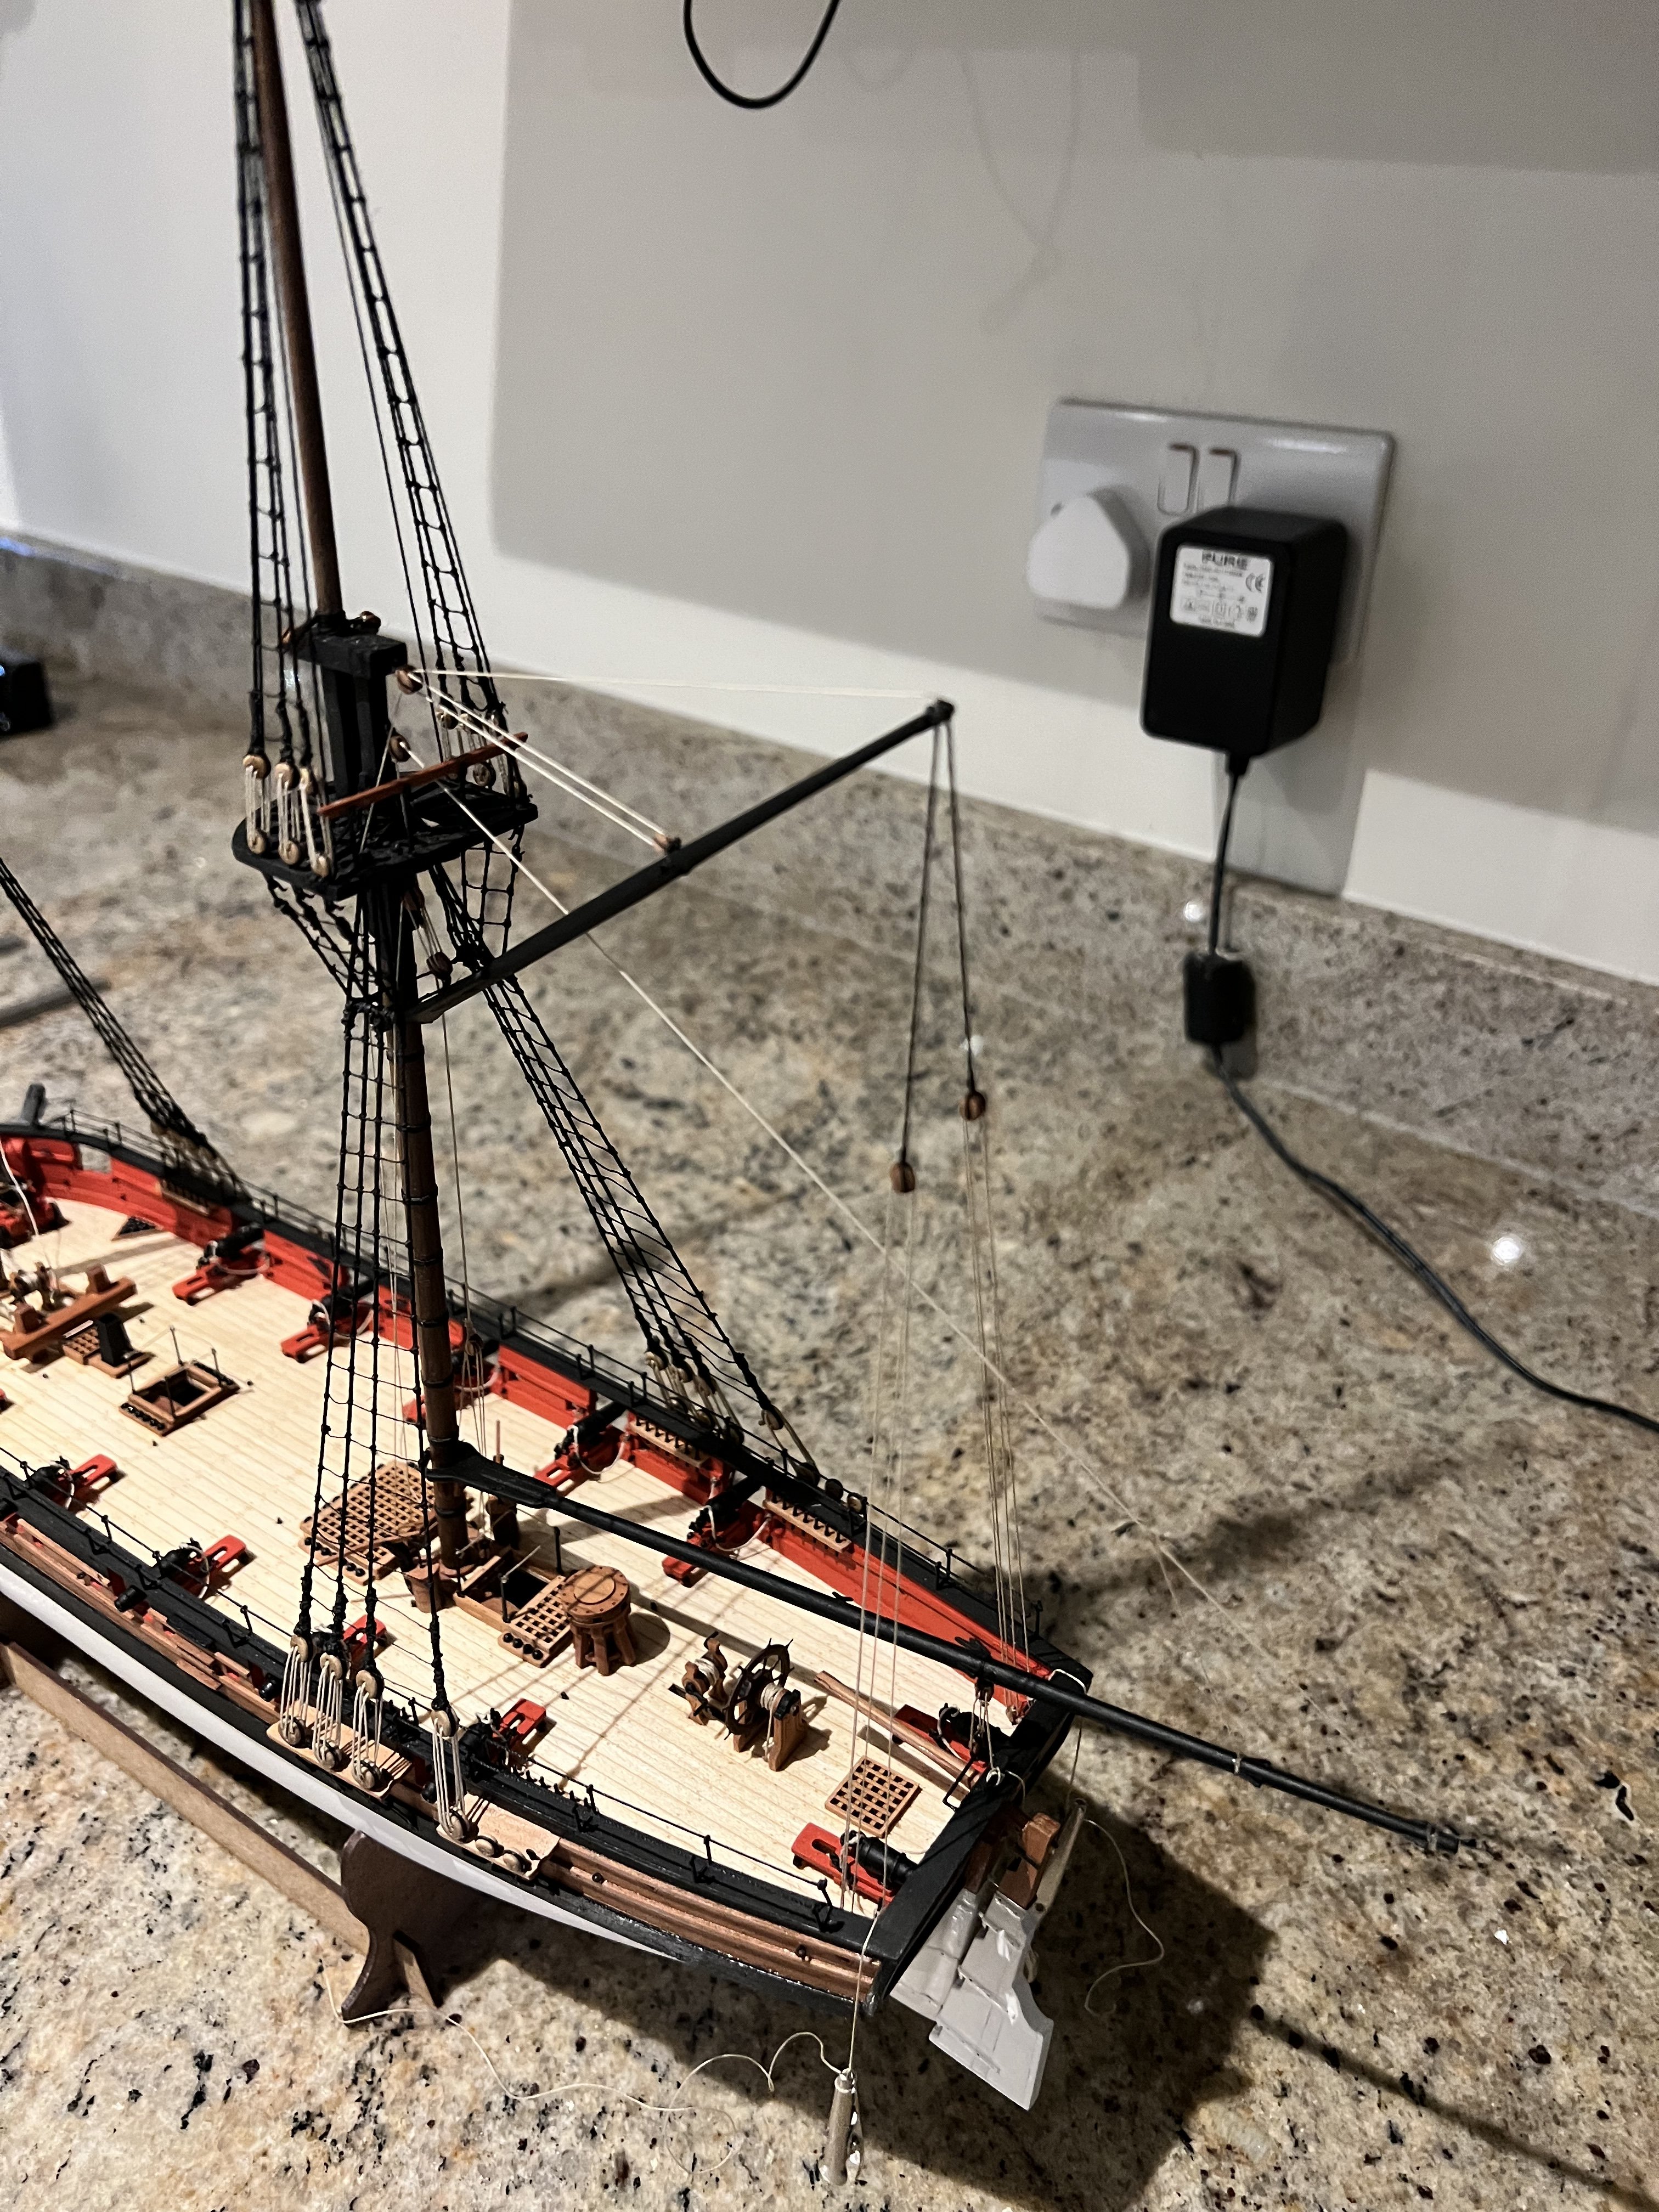
Making some good progress on the ratlines, just the main topmast ratlines still to do. I have added the fore topgallant shrouds too.

As always, plenty of room for improvement!
Once the shrouds/ratlines are complete, I’ll fit and rig the bowsprit and spritsail yard.
I’ll follow the build order in the instructions after this which suggests adding the yards, boom and gaff (all yet to be made). I’m a little worried they will be in the way when I add the stays, but I guess it’s the case vice versa too?
- Blue Ensign, hollowneck, Oboship and 10 others
-
13
-
-
-
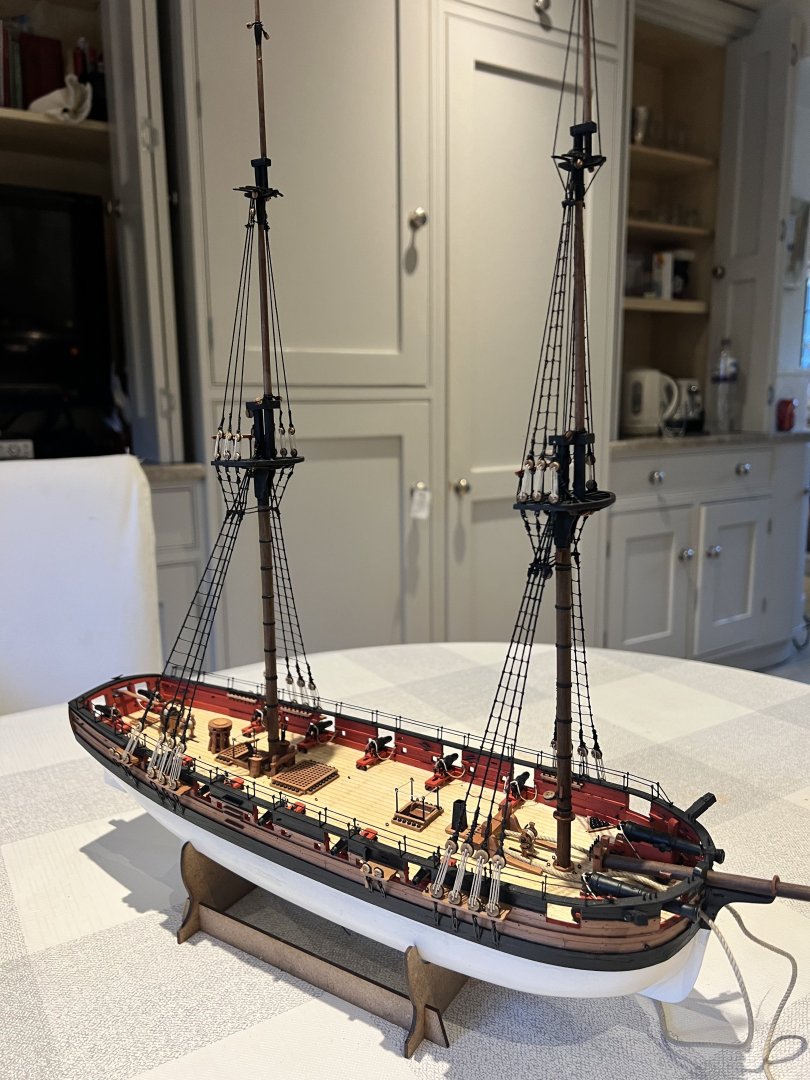
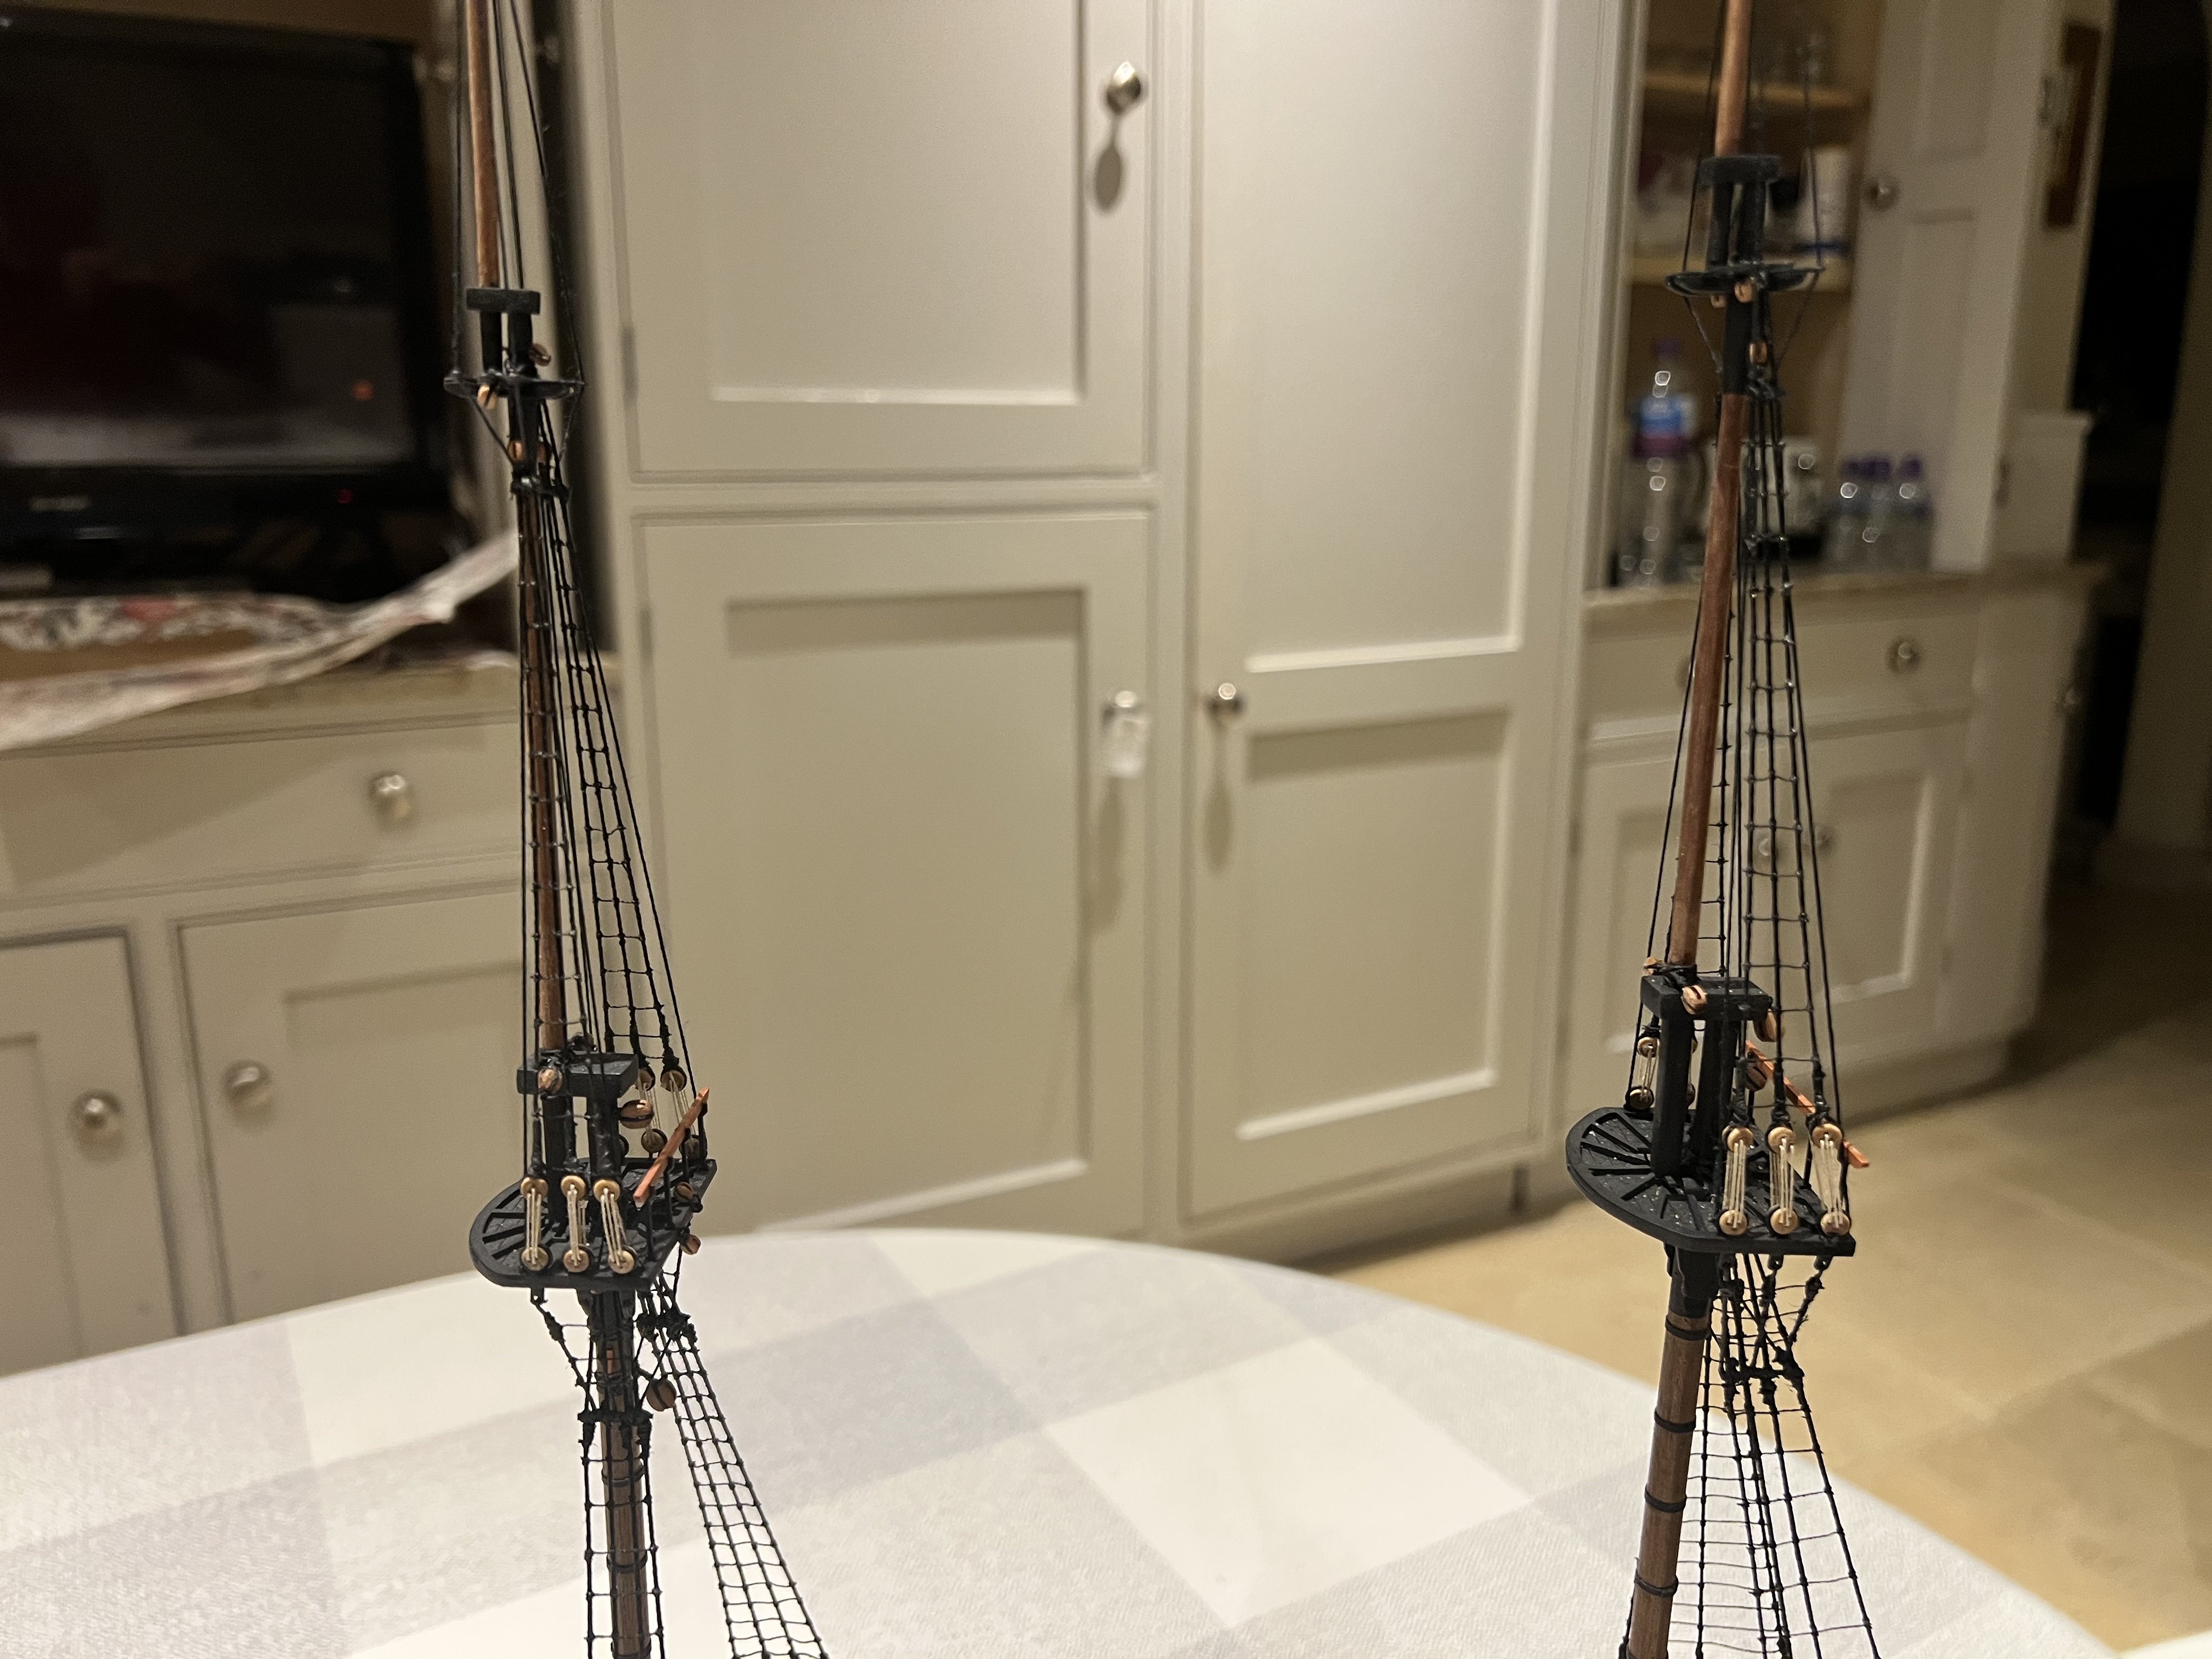
Futtock shrouds and topmast shrouds added. Still need to add futtock staves and catharpins to the topmast shrouds. Then onto ratlines followed by topgallant shrouds.
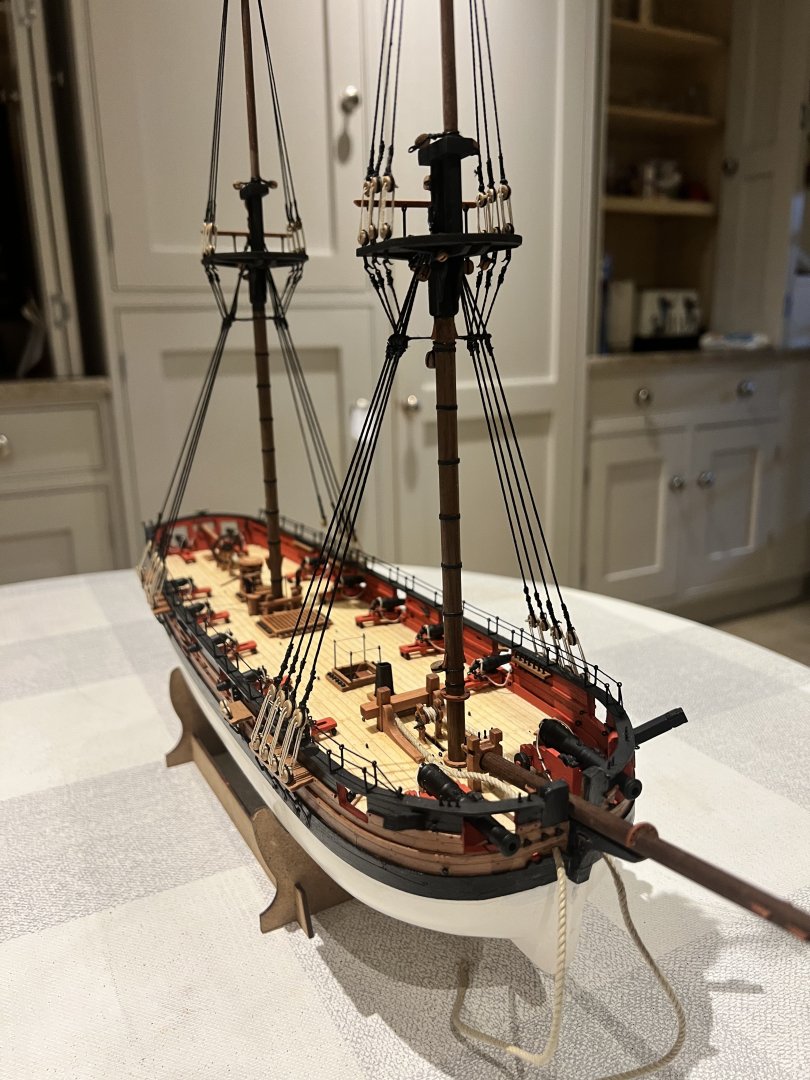
There’s definitely work I need to do to get my knots and seizings tidier! Nice to see her start to take some “3D” shape above decks now.
My next post may not be for a week or two as the ratlines will take a while and I may break up the monotony after doing one mast and fit out the bowsprit and make the spritsail yard. I haven’t made any of the spars or yards yet.
-
-
-
Chris, thanks so much for the advice. I will certainly follow that sequence.
My deadeye lanyards are longer than the top of your range, but not hugely so. I’m happy with them albeit they’re not technically correct. I’ll make sure I get them shorter on my next build.
I’m much more out of my comfort zone on the rigging so it takes me a lot more time than it really should. As I get to know the typical rigging layout on a square rigger it will get easier and I’m sure I’ll speed up.
I much prefer building and fitting out the hull to the masts and rigging.
Your plans couldn’t be clearer and I appreciate that Adder has a slightly simplified rigging plan compared to say Speedy which will really help me.
Thanks again for another great kit.
- Glenn-UK, chris watton, Oboship and 2 others
-
5
-
Ron, thanks so much for the advice. I’ll certainly follow that sequence. I look forward to seeing your diorama.
-
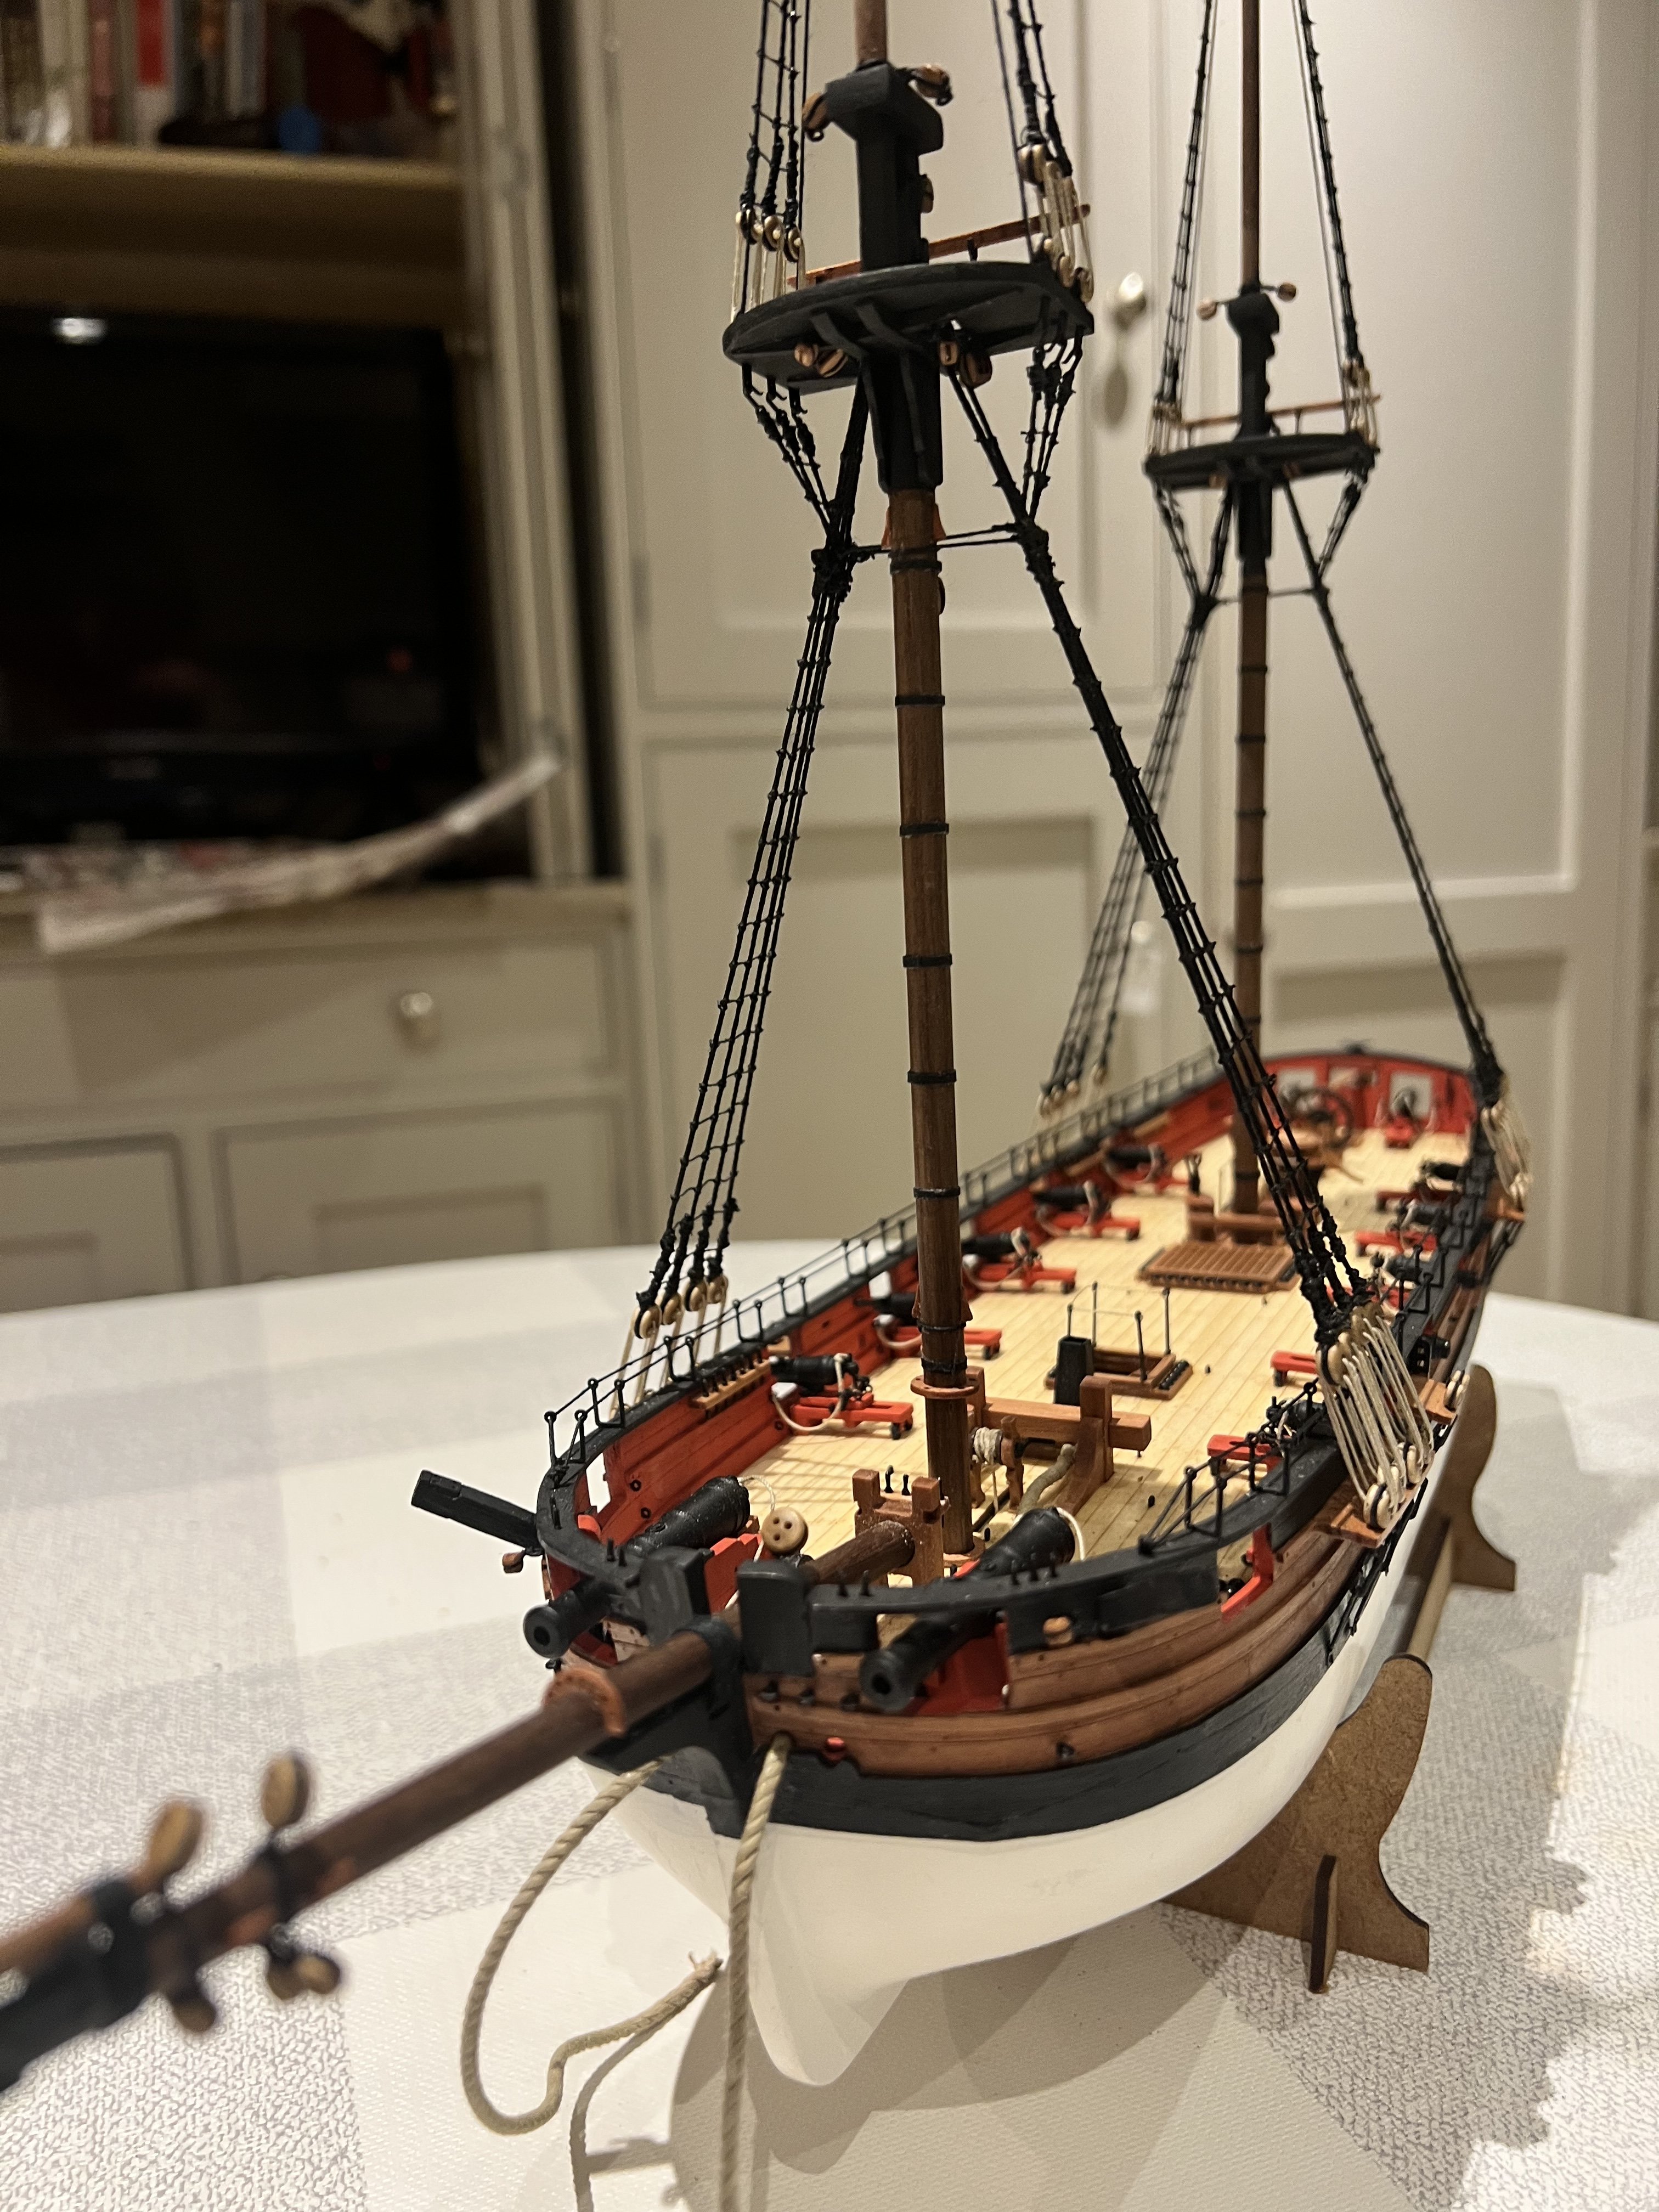
Thank you all for the excellent advice. Gratefully received and followed. I’ve removed and replaced the shrouds on the foremast.
All the shroud lanyards are a little longer than on Chris’s prototype which I’m sure has the realistic scale length, but they’re all now the same length and I don’t have the odd looking high deadeyes starboard on the foremast. I’m happy with that, the lanyards are no longer than I have on my Grecian and Alert kits, they just look it as the height of the maintop/foretop is much lower on the square rigged Adder than the two fore and aft rigged vessels.


Next either to add ratlines (and catharpins) to the lower shrouds or add the topmast shrouds. Not sure which I’ll do first - or should?
Ron - I look forward to seeing your Adder, mine is very much an “out of the box build” following the instructions and colour scheme. They’re such great kits from Vanguard that’s enough for me, but I really liked your interpretation of Grecian.
-
Thanks Uwe and Lee. Uwe I’ll certainly follow your advice, life has been busier than normal…. So I’ve stalled a bit as I find the rigging a little intimidating.
Not a huge amount of progress. I’ve seated the masts, but not yet the bowsprit, and added shrouds. I’ve left the deadeye lanyards longer than I should have and certainly longer than Chris has in his prototype. I’m happy enough with them on the main mast but do they look silly this long on the fore mast? I’m loathe to change them as it means replacing the fore shrouds as they wouldn’t be long enough…
The deadeyes are just above the hammock cranes at the main but higher still at the foremast and particularly noticeable on the starboard side of the foremast. Any thoughts and advice very welcome.
- hollowneck, Lee Spender, TJM and 5 others
-
8
-
Stunning model and super photos. I hope to build her one day.
-
Apologies for the lack of progress, I’ve been very slowly adding blocks to the masts, but life and work have got in the way. I hope to be back on the case properly next week.
Uwe - thank you. I think the rigging should be pretty straightforward for a modeller with some experience. It’ll be a challenge for me as I don’t yet know the rigging of a square rigger and have lots to learn.
Lee and B.E. thanks for the encouragement!
- Glenn-UK, AJohnson, Thukydides and 2 others
-
5
-
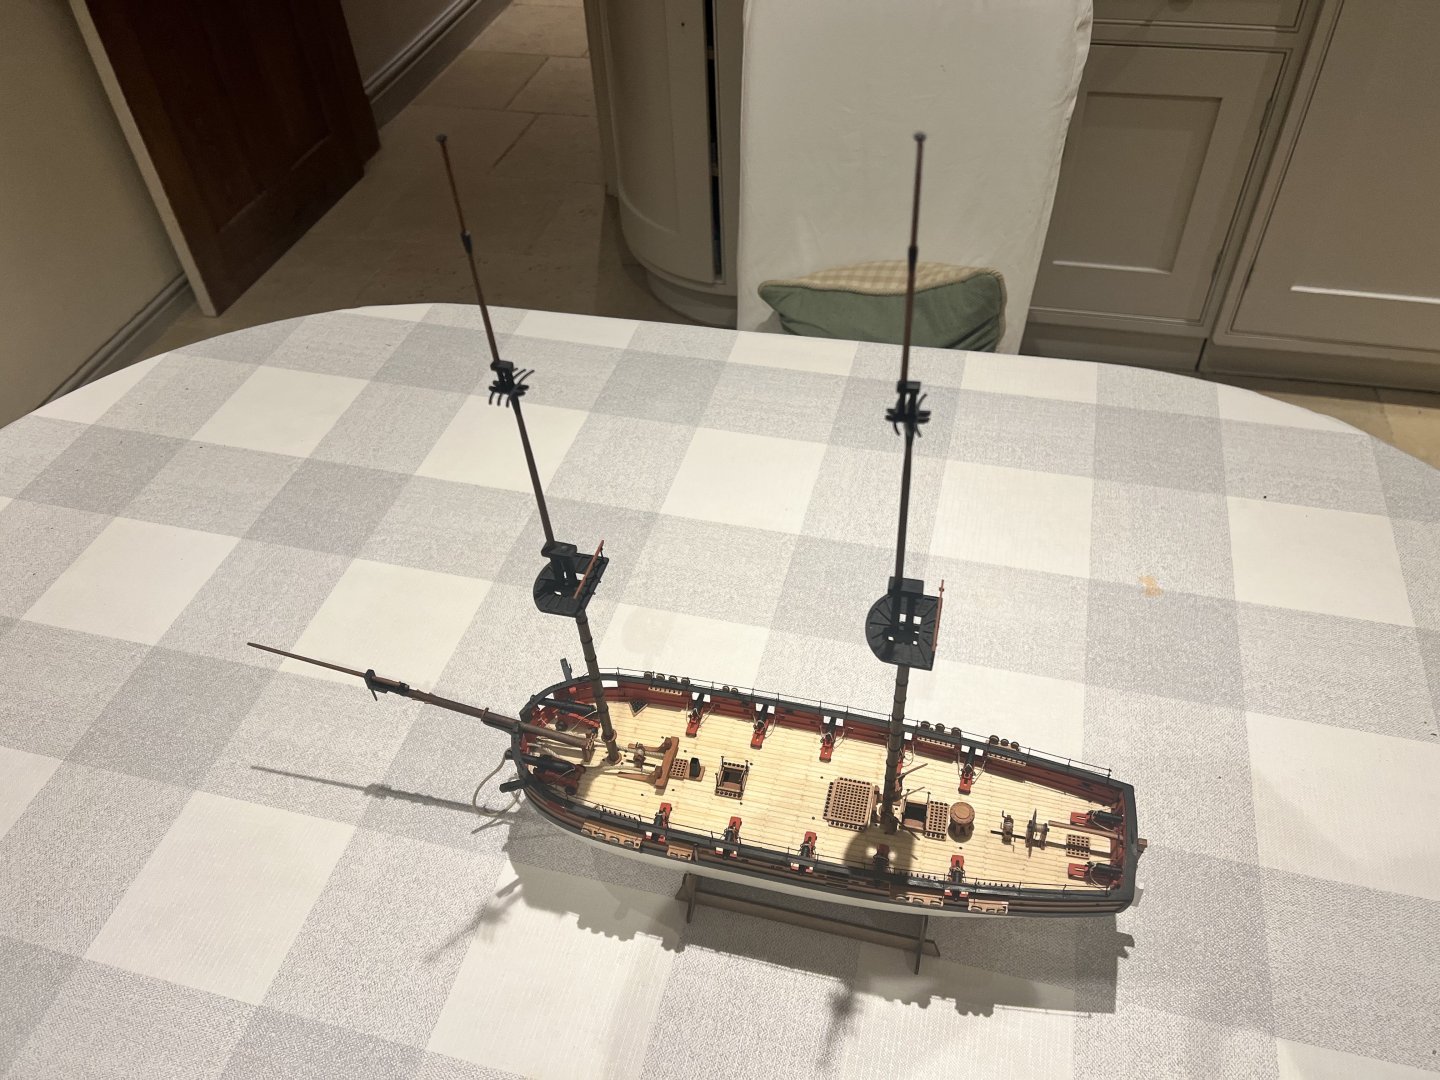
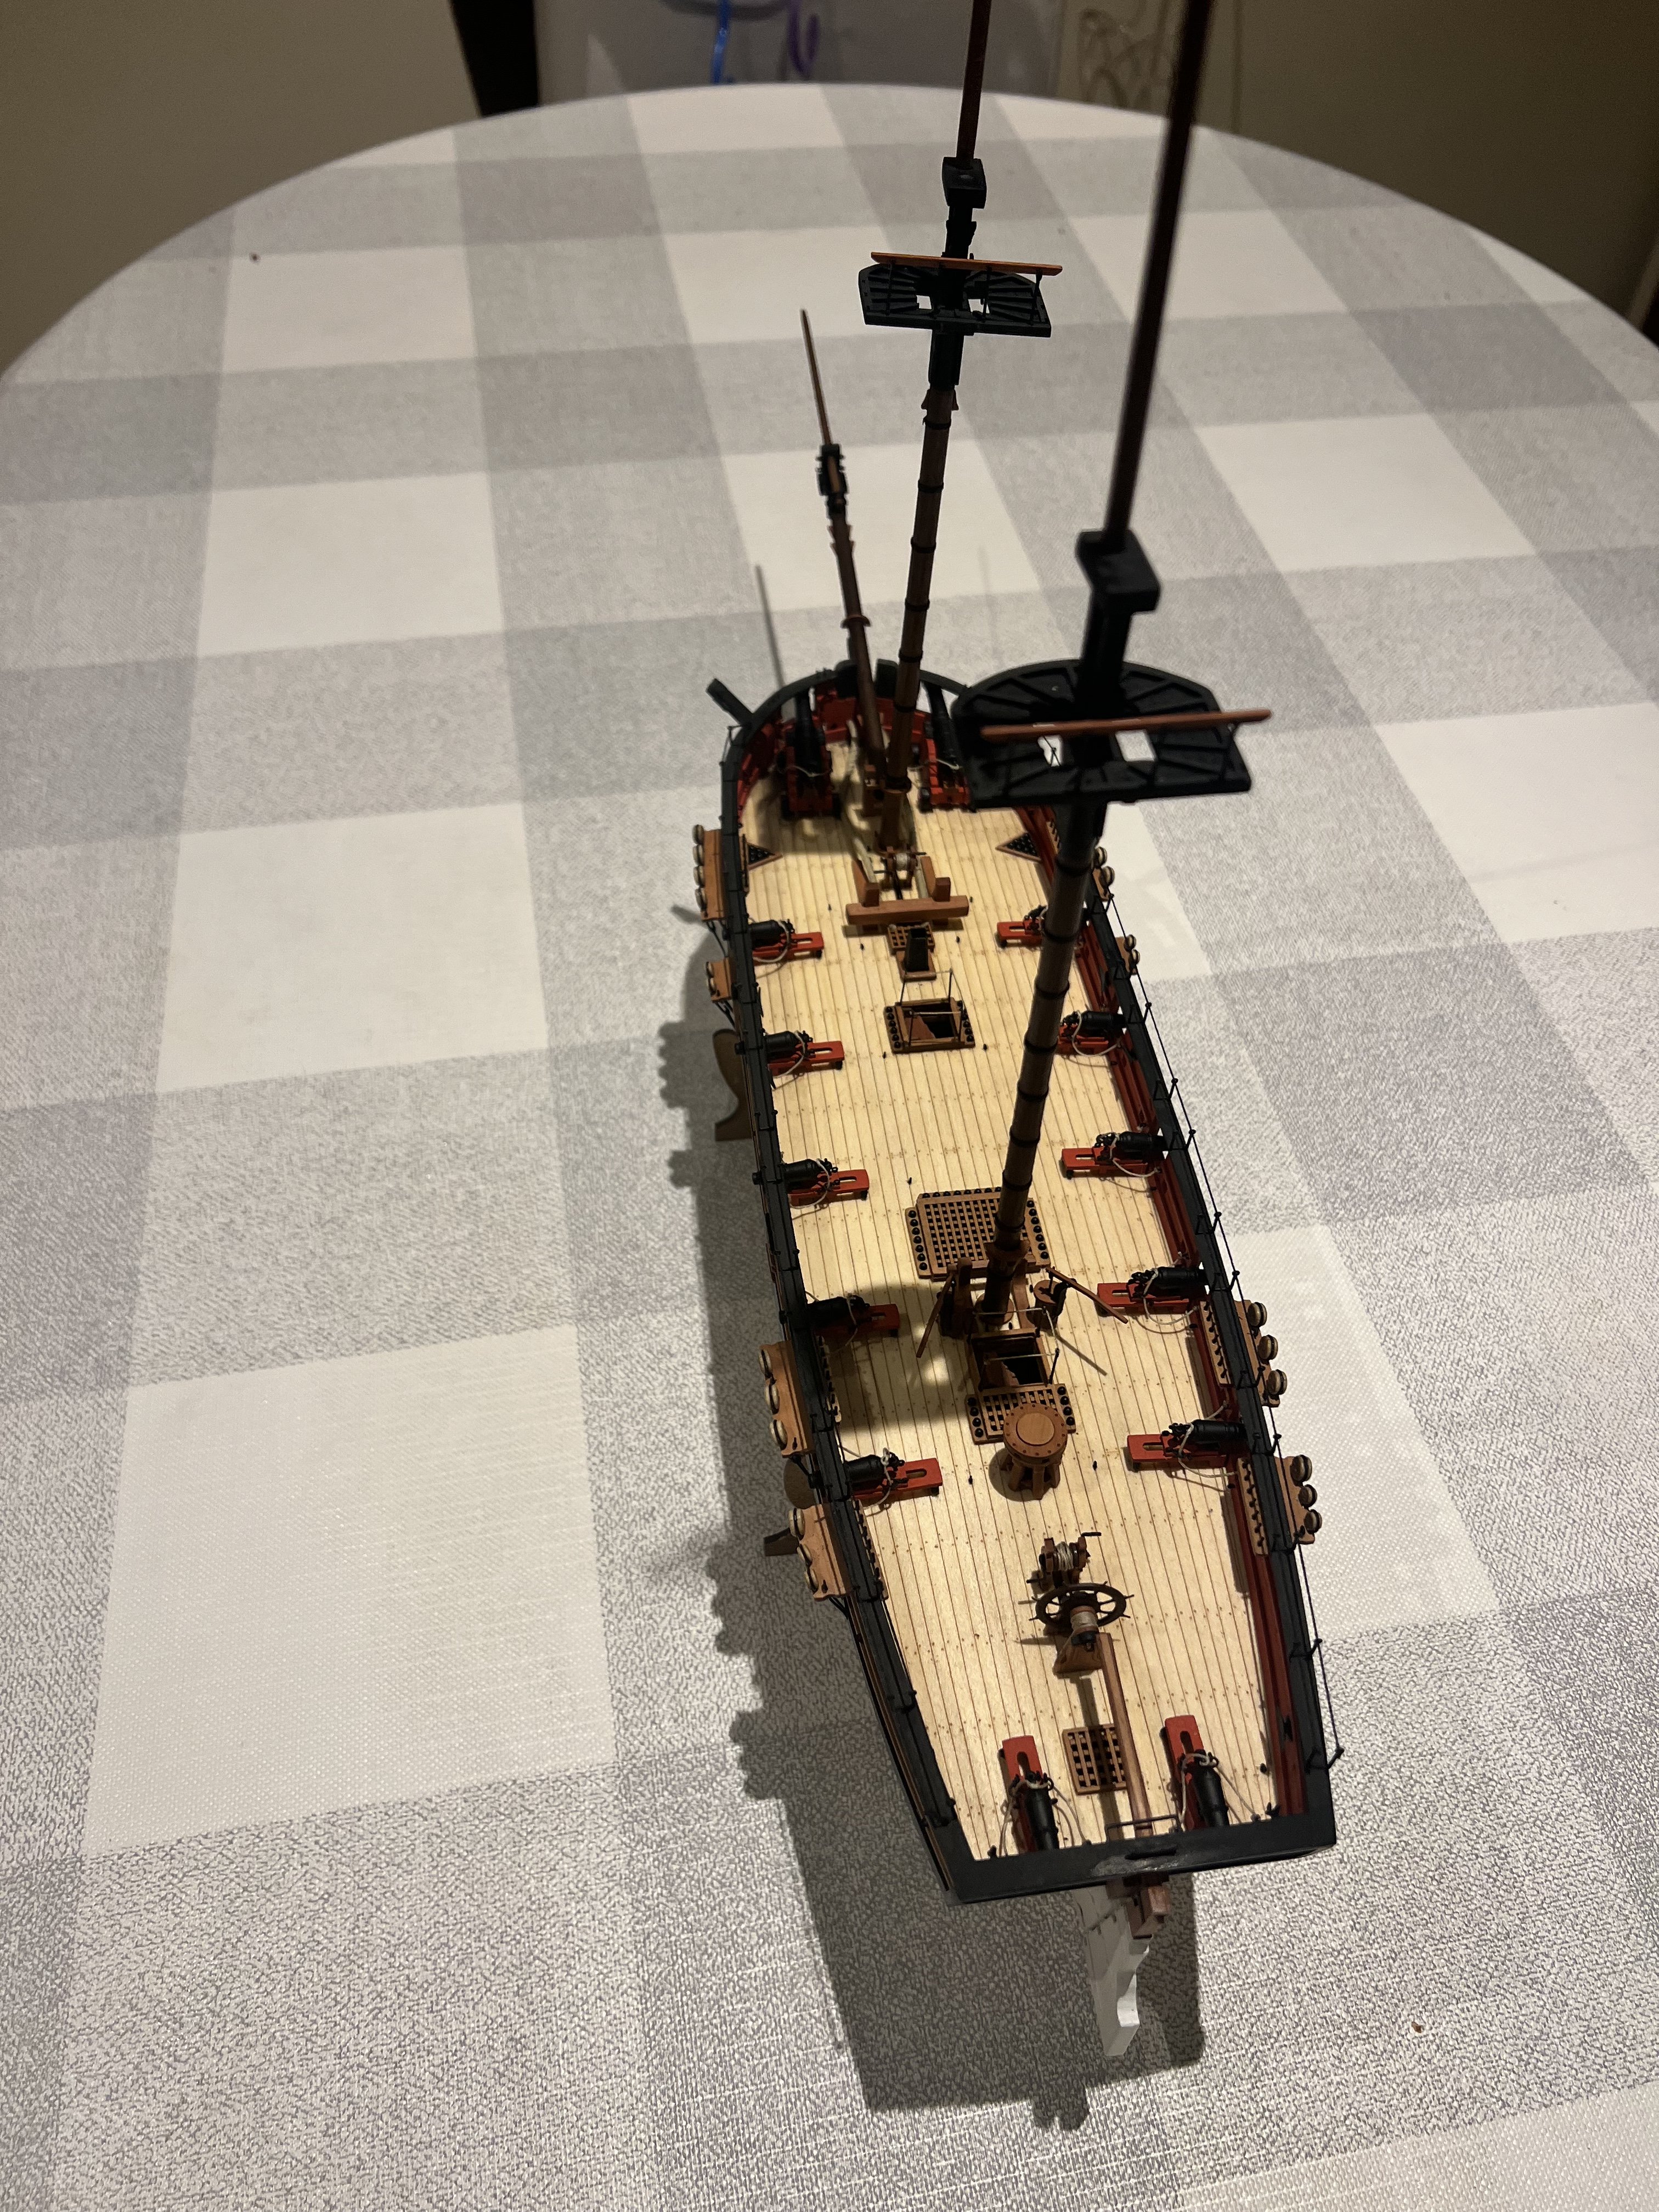
Sunny weather in the UK (until the last few days) has not been so conducive to boat building.
I’ve made the masts and bowsprit, they’re not glued in position yet, so may not be properly aligned. Still to add any blocks or deadeyes to them, that’s the next job I find squaring off the dowel at the tops for the masts and topmasts quite difficult, I just use a vice, file and sandpaper, I’m not sure if there’s a better method?
I’m also clumsy and keep snapping off the top of the topgallant masts - both now reaffixed with CA glue.
There’s two types of PE eyebolts in the kit, larger PE-15 for the outside of the hull and smaller ones PE-14. I don’t think there’s quite enough of the larger eyebolts for the outside of the hull so I checked with Chris and he said fine to use the smaller PE-14 eyebolts there too. I ran out of eyebolts after completing the hull and before adding those needed to the masts and bowsprit. I’m not quite sure why, I’ve gone back and counted all the PE eyebolts required on the plans including the shortage of the larger eyebolts and by my reckoning I should have had enough between the two types. I must have lost more to the carpet monster than I thought!
I contacted Chris and he very kindly sent me some more eyebolts. Such incredible customer service and hugely appreciated. Thanks again.
-
-
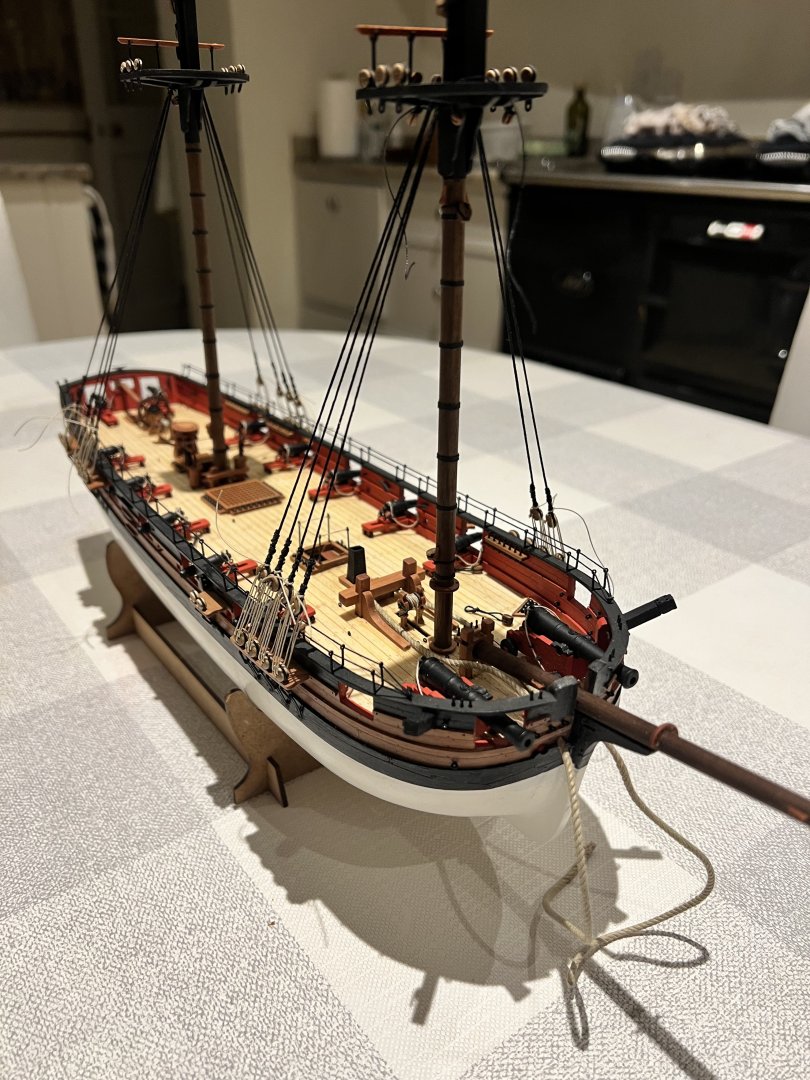
Thanks Thukydides - I was planning to follow your excellent advice. I installed the PE for the hammock cranes, then put a line through to check alignment, this proved surprisingly fiddly, so I fully rigged the hammock cranes as I’d probably find it difficult to do so once the shrouds were fitted.
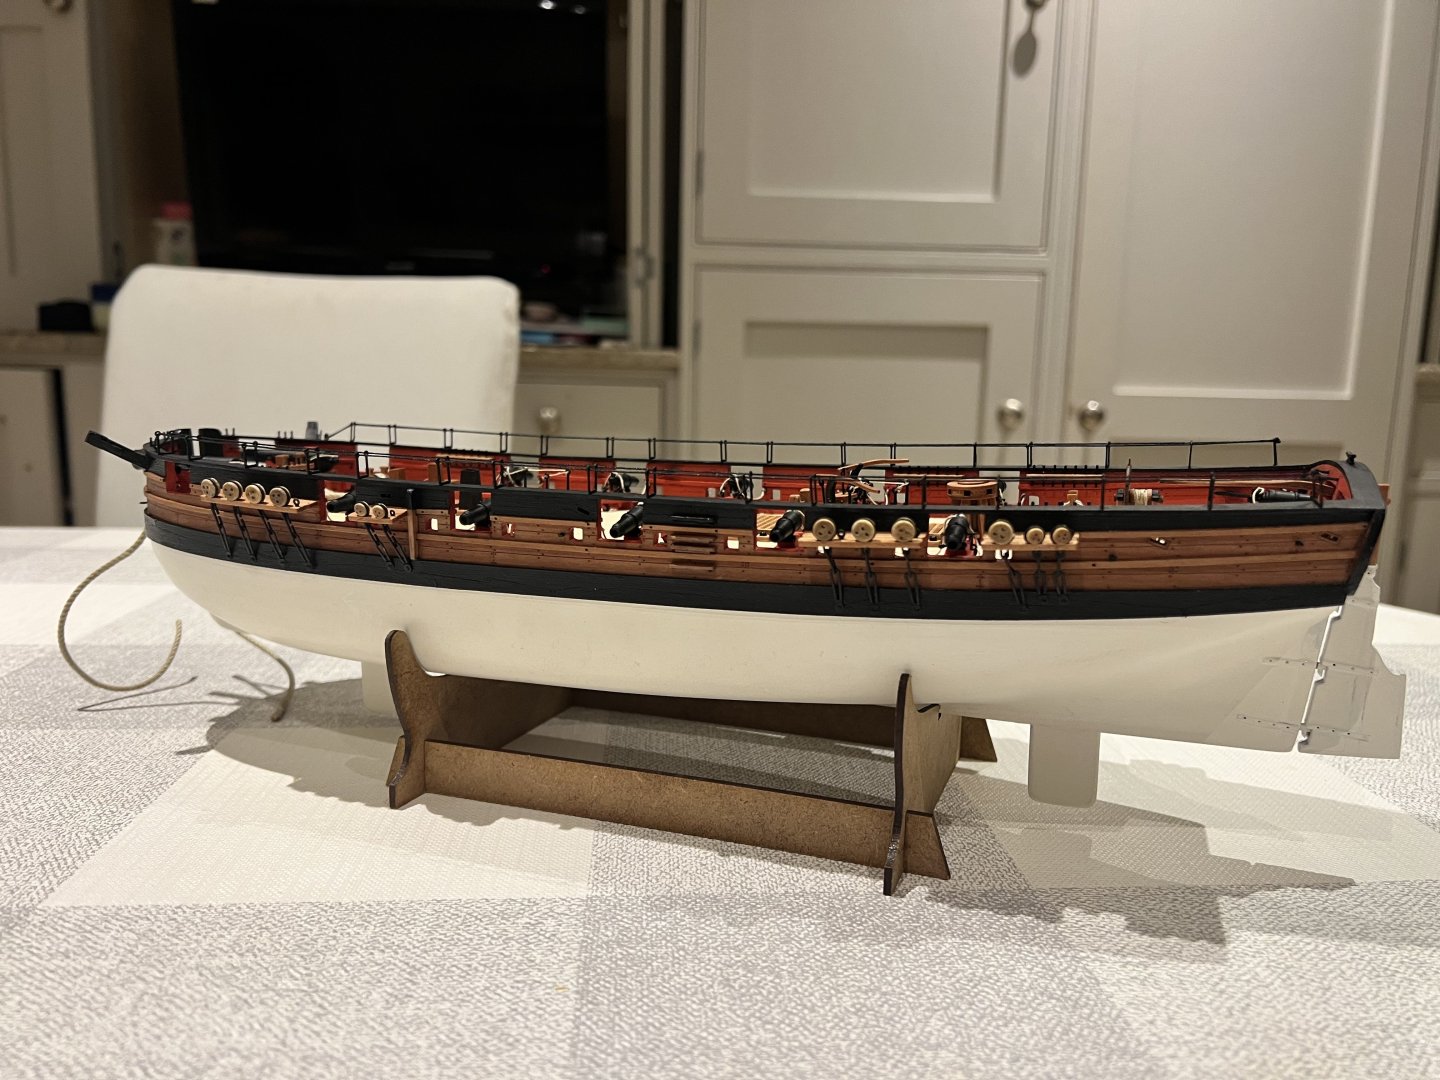
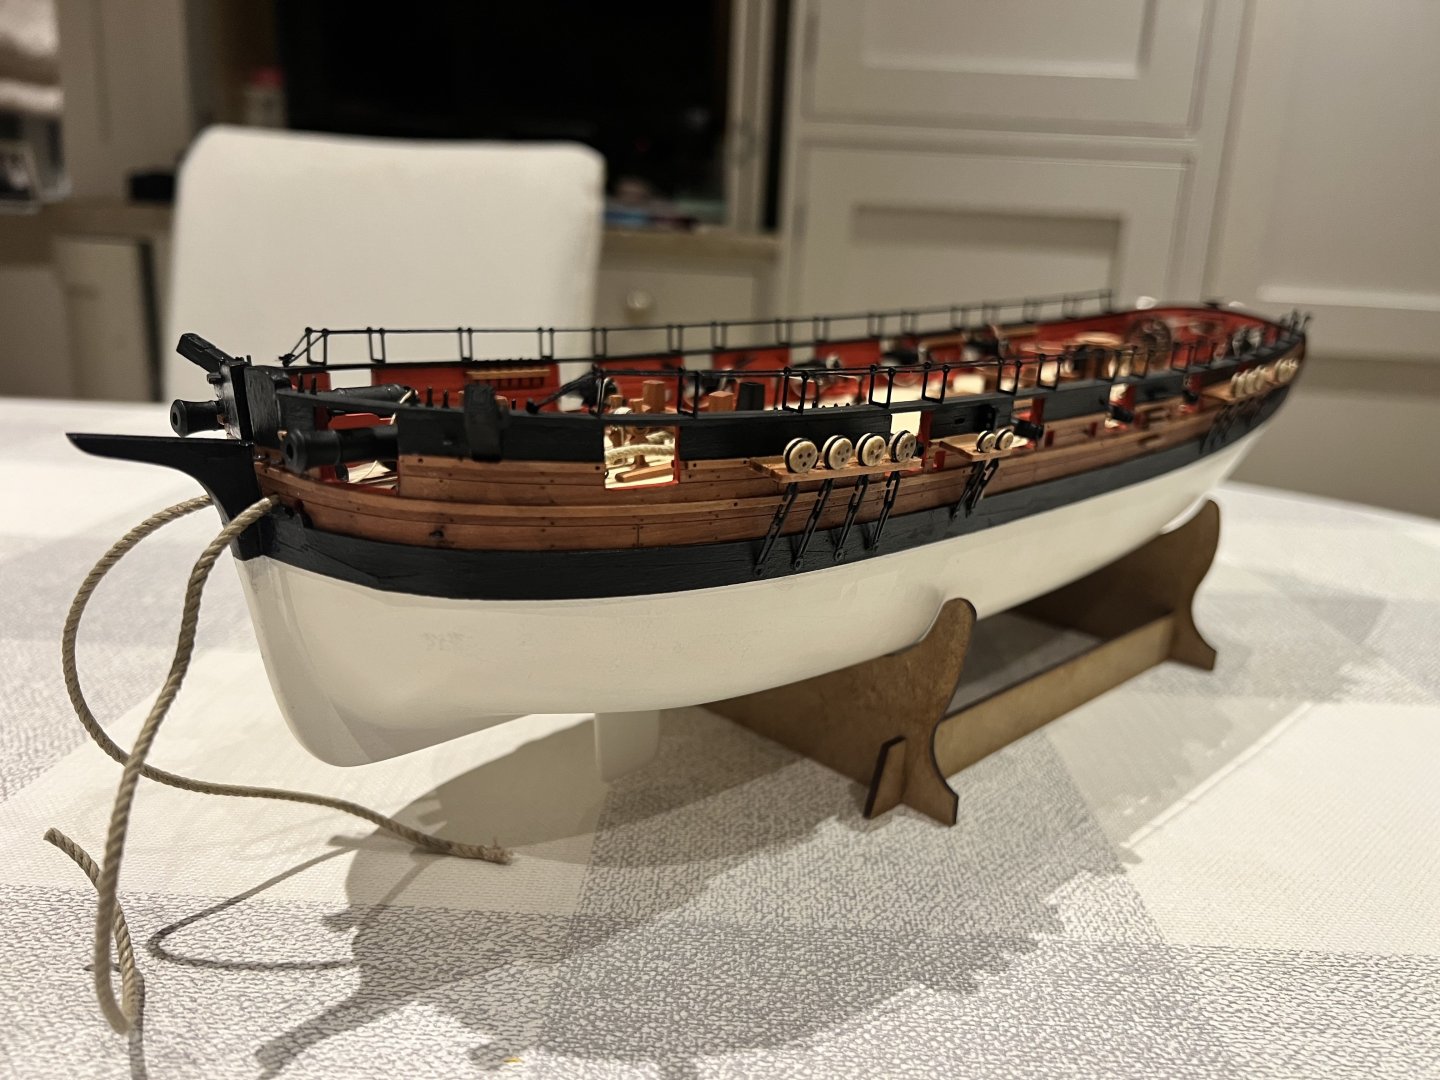
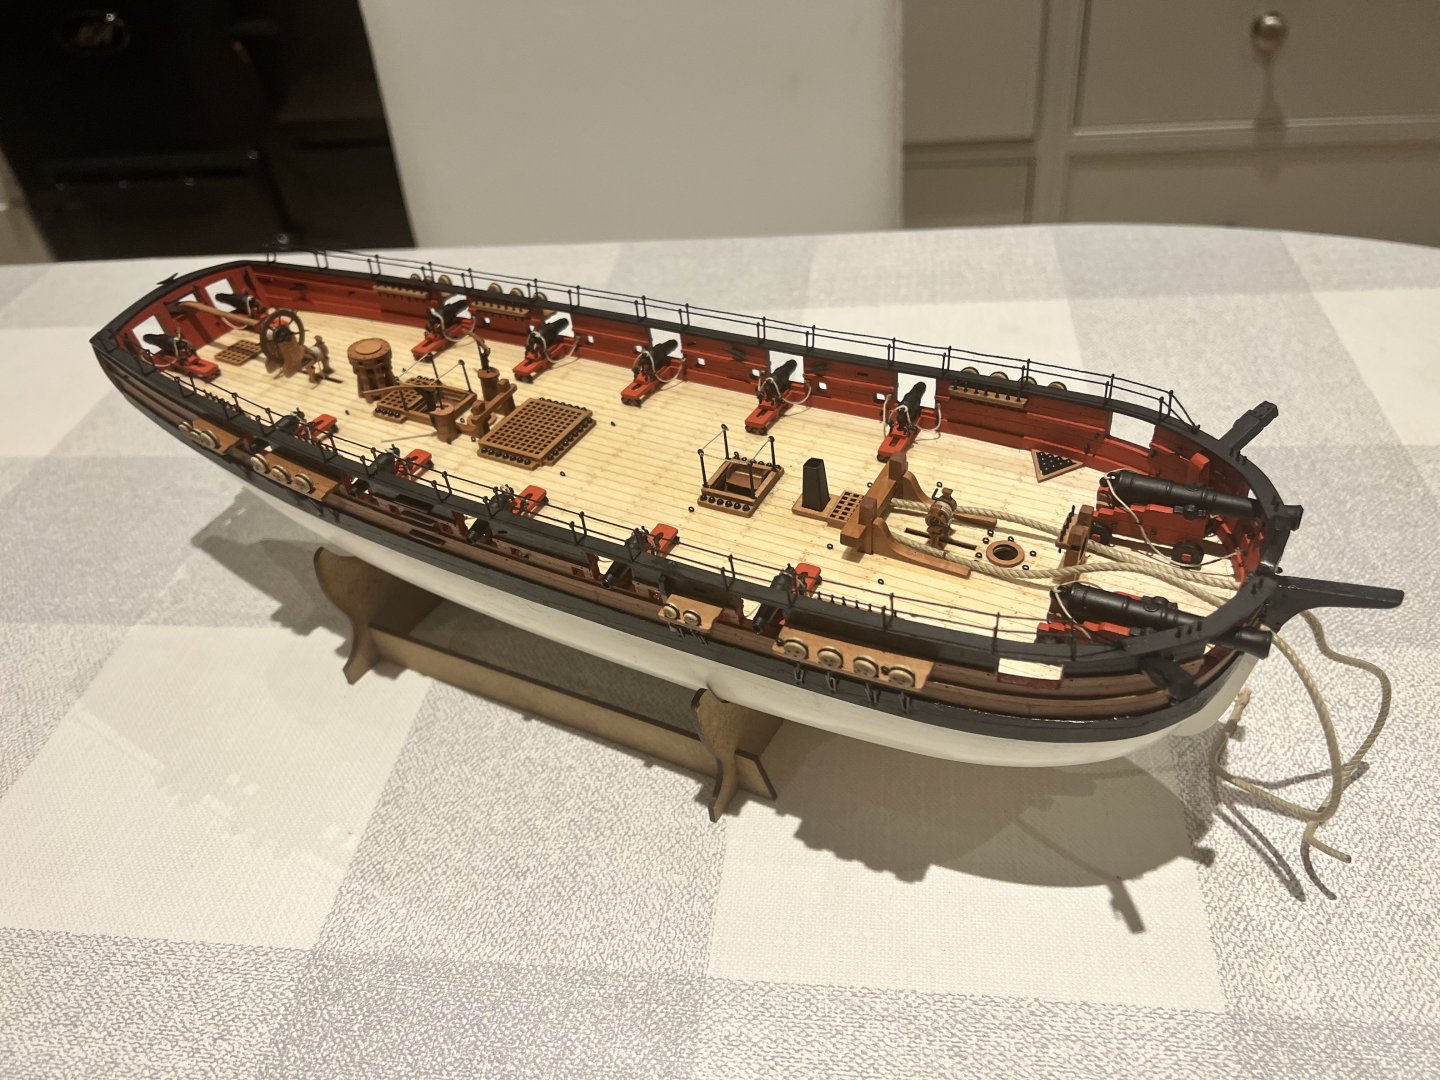
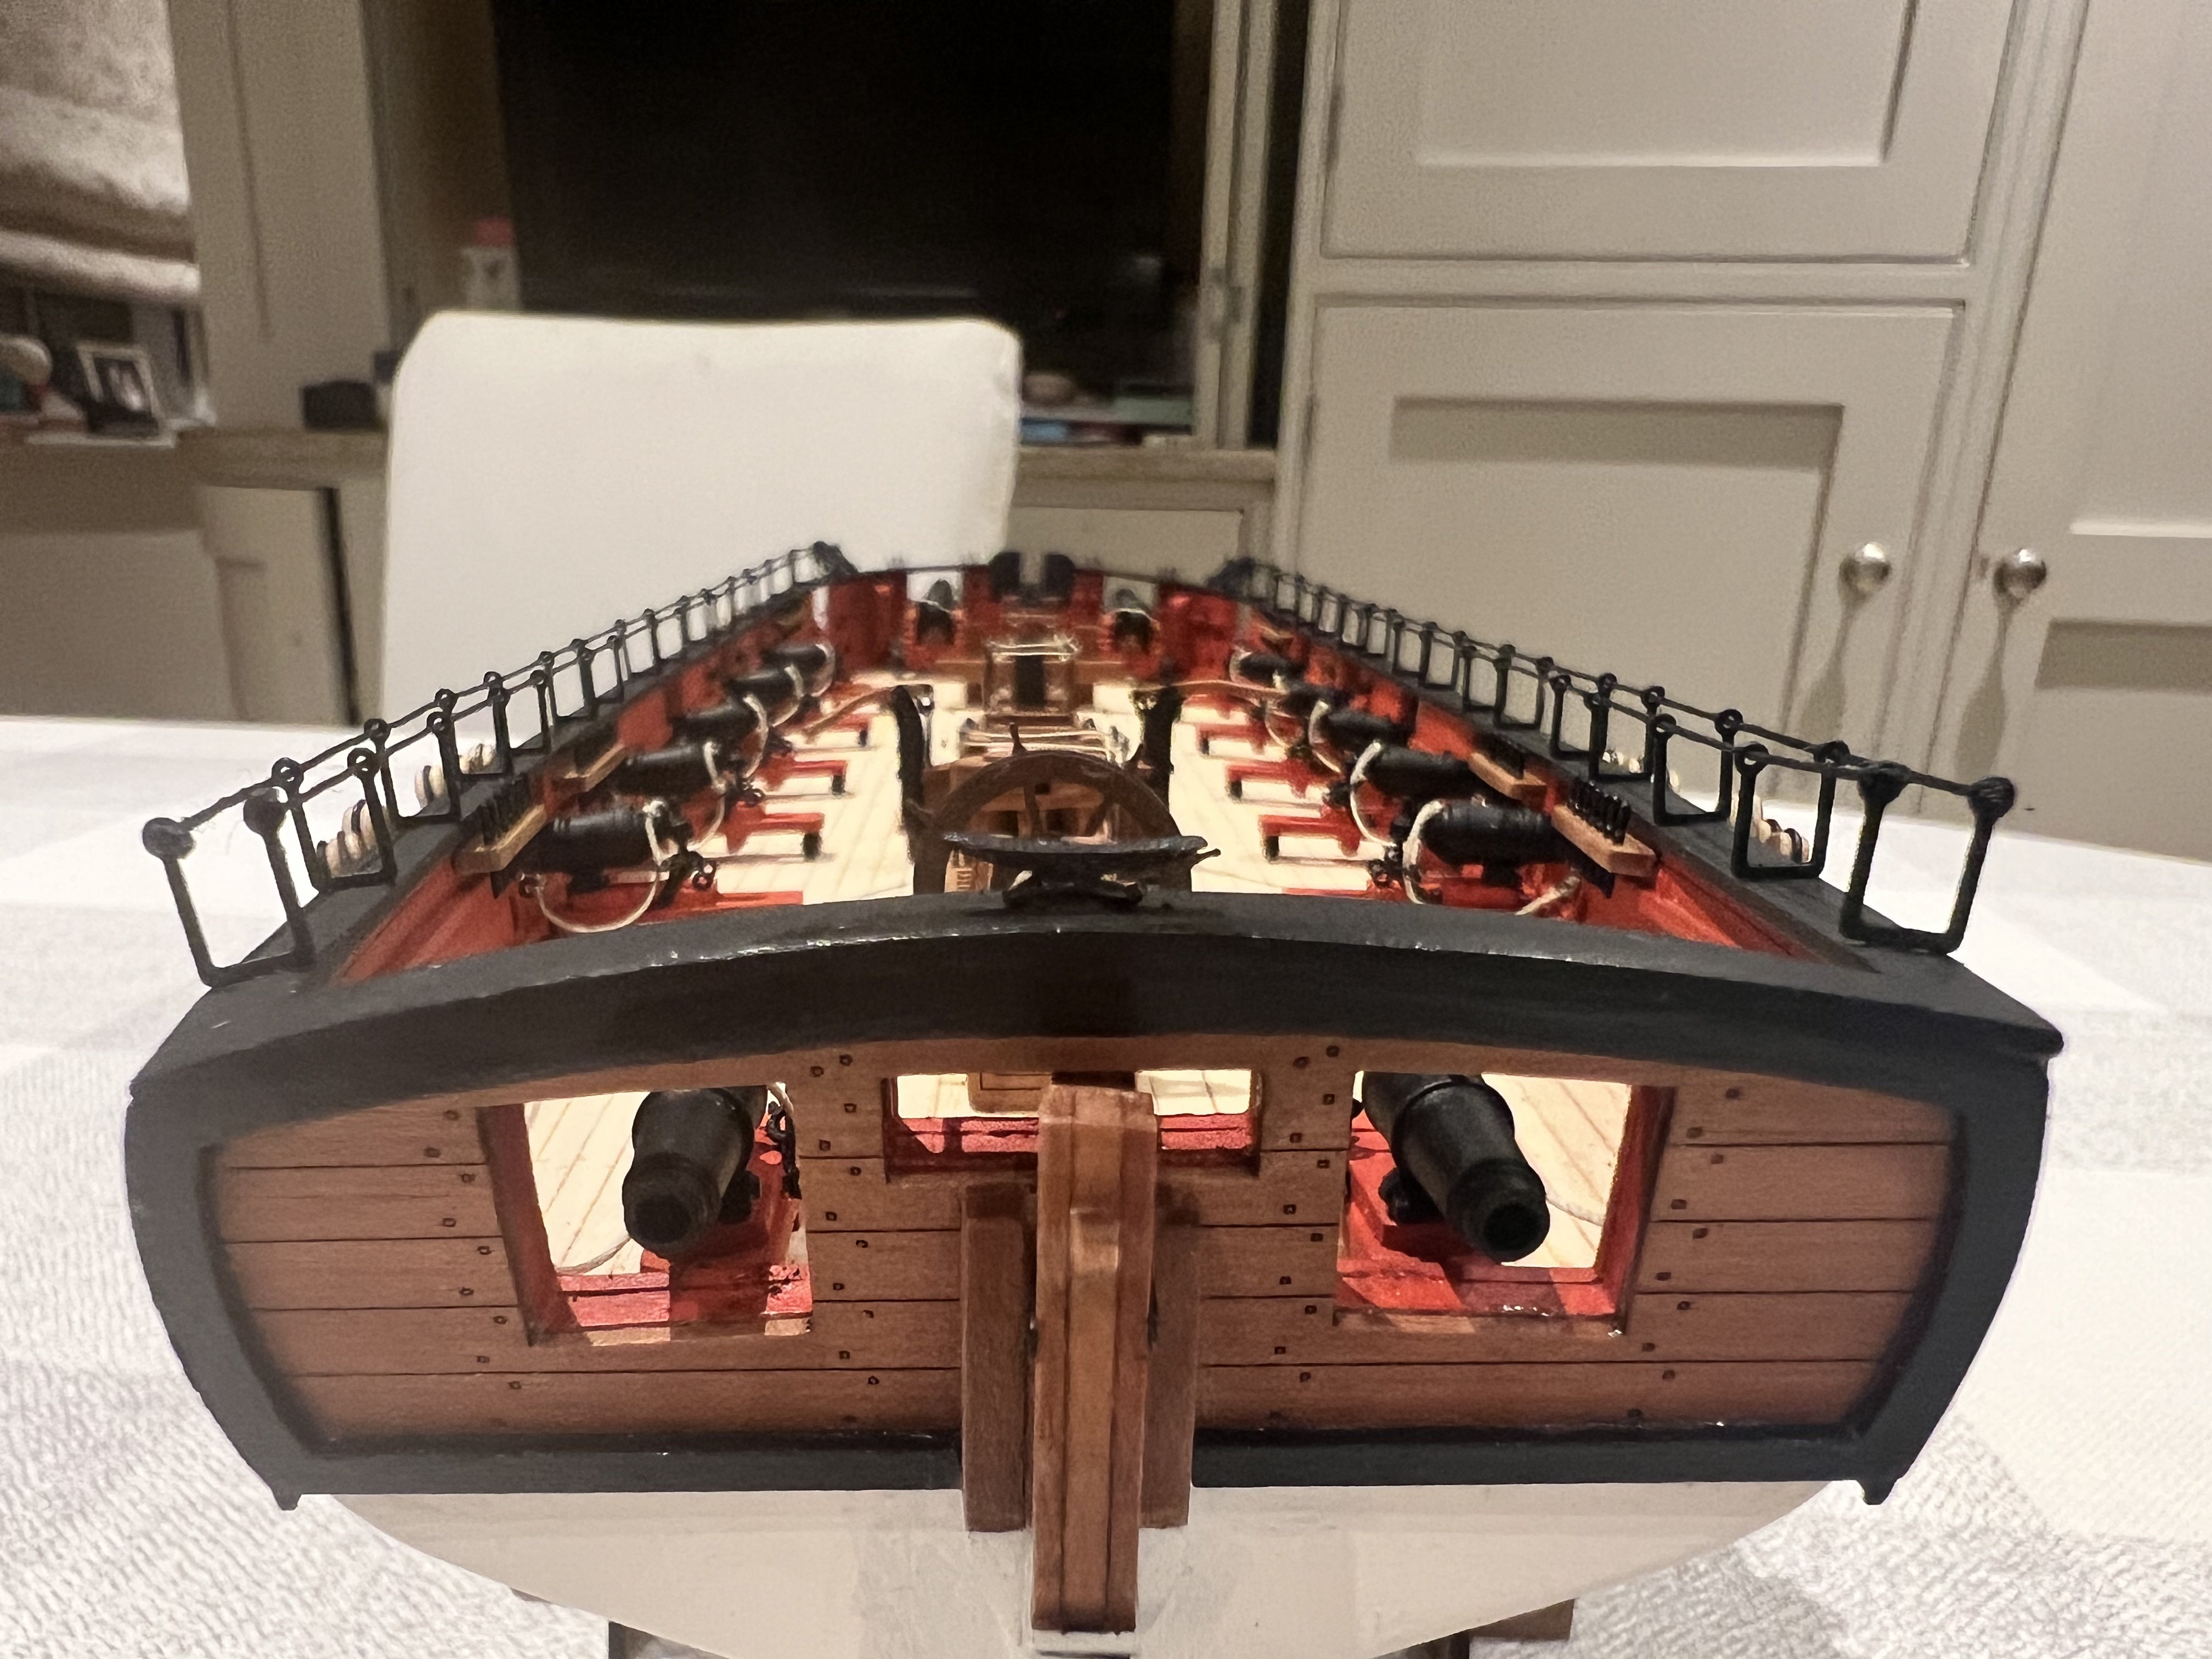
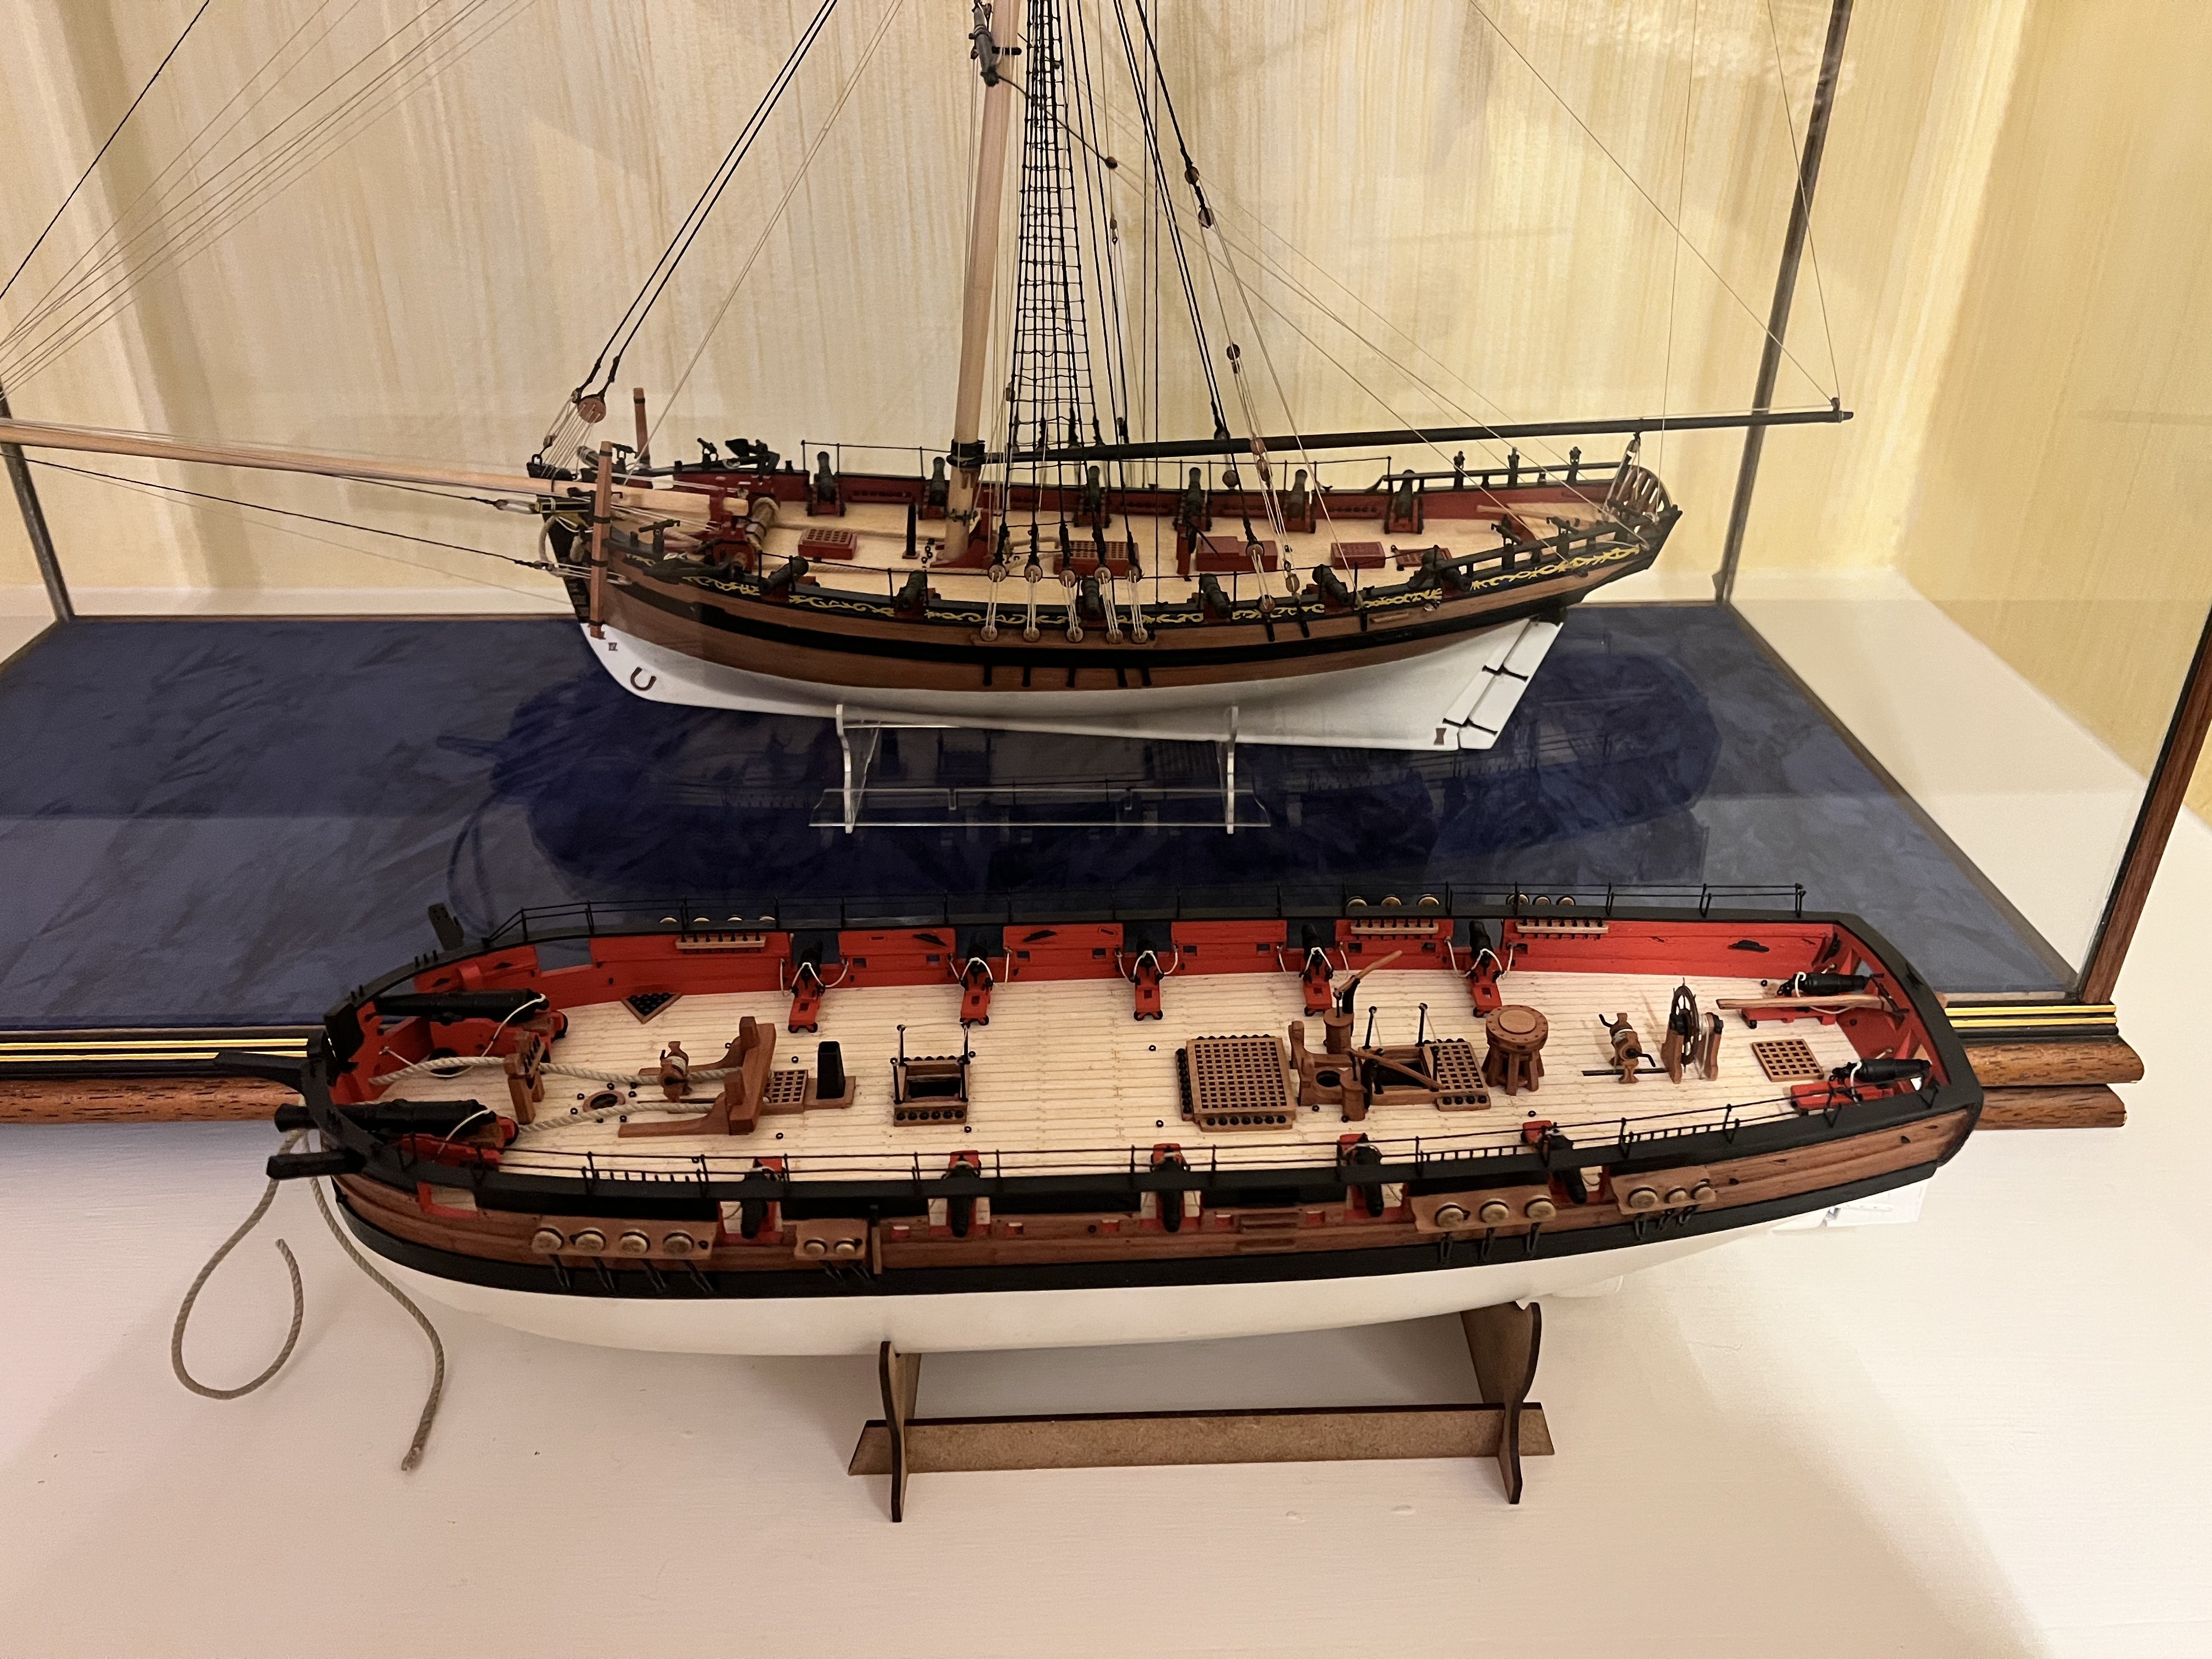
Adder’s hull is now complete except for the anchors so onto masts, yards and rigging…
Photos of the finished hull below:

With Alert. Perspective is deceptive, Alert and Adder’s hulls are almost identical in length.
-
Thanks Glenn, I’ll follow you advice and add the hammock cranes once the deadeyes and chainplates are fitted.
-
Looks great, I broke the top off the upper rear section on my Saucy Jack too.
- Dfell and chris watton
-
2
-
Thanks Chris, Chuck, mugje, really appreciated.
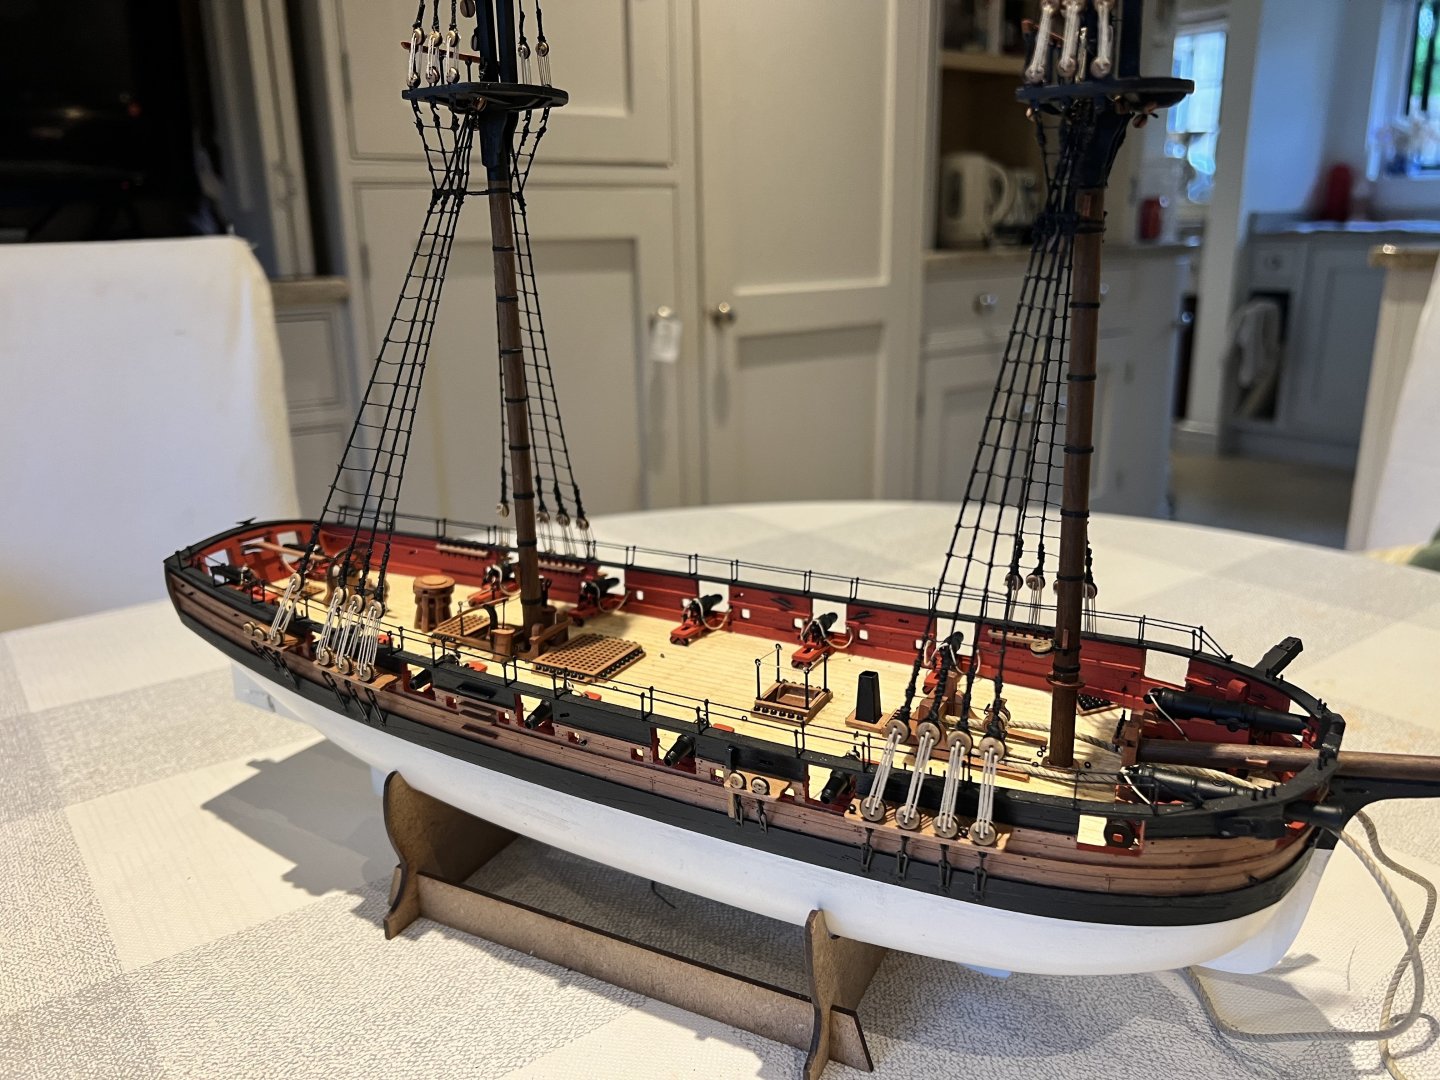
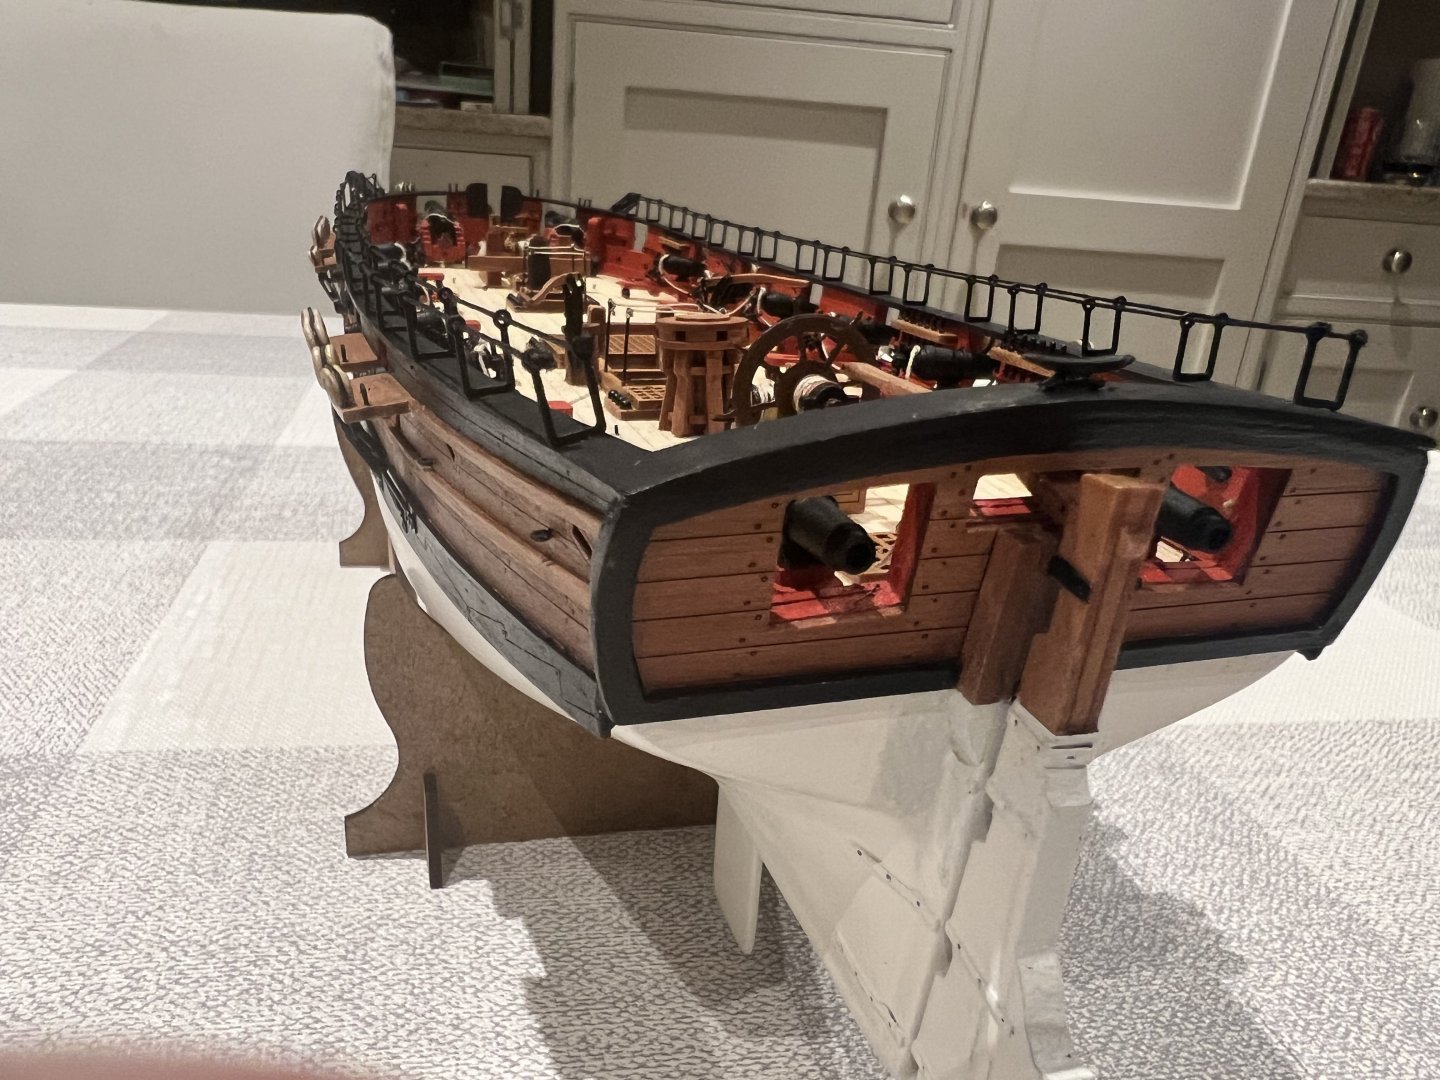
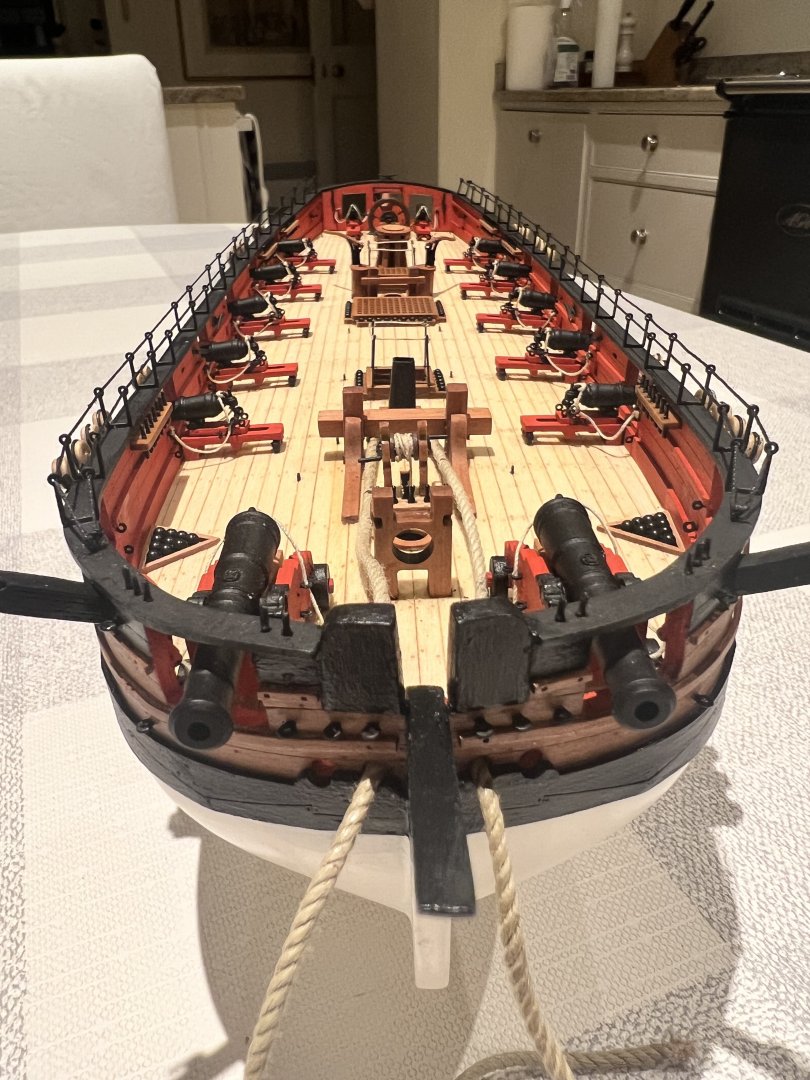
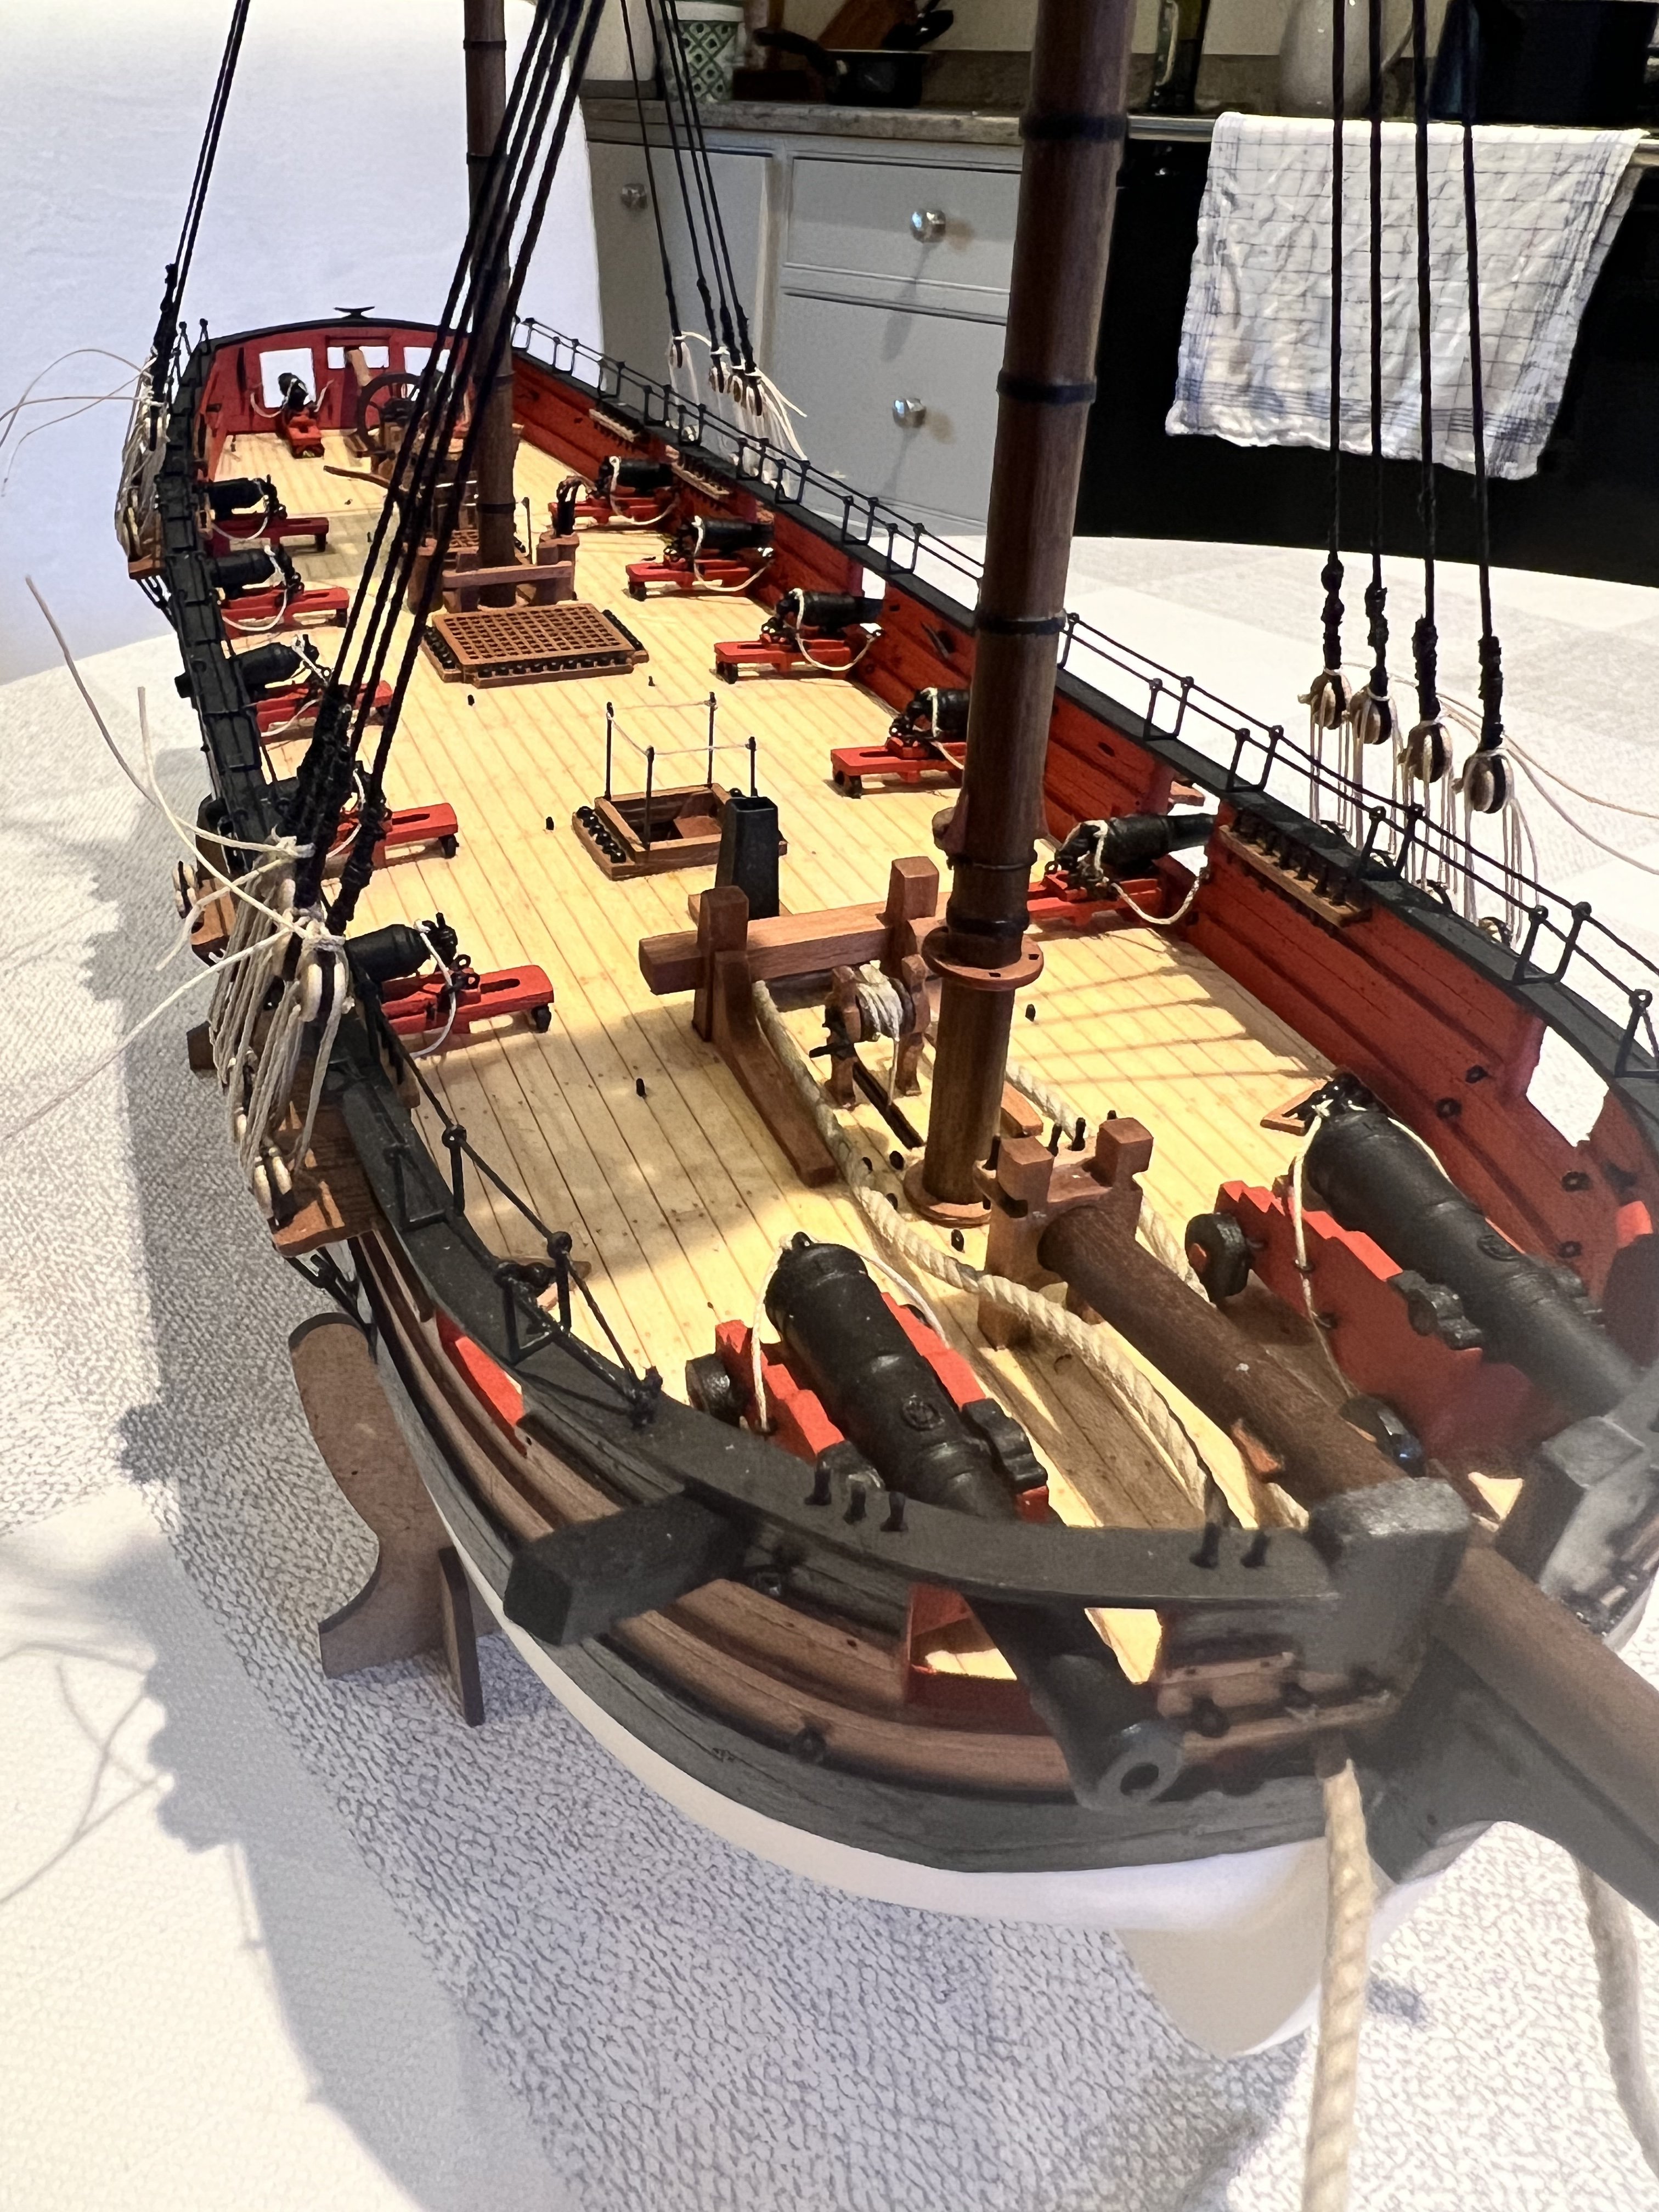
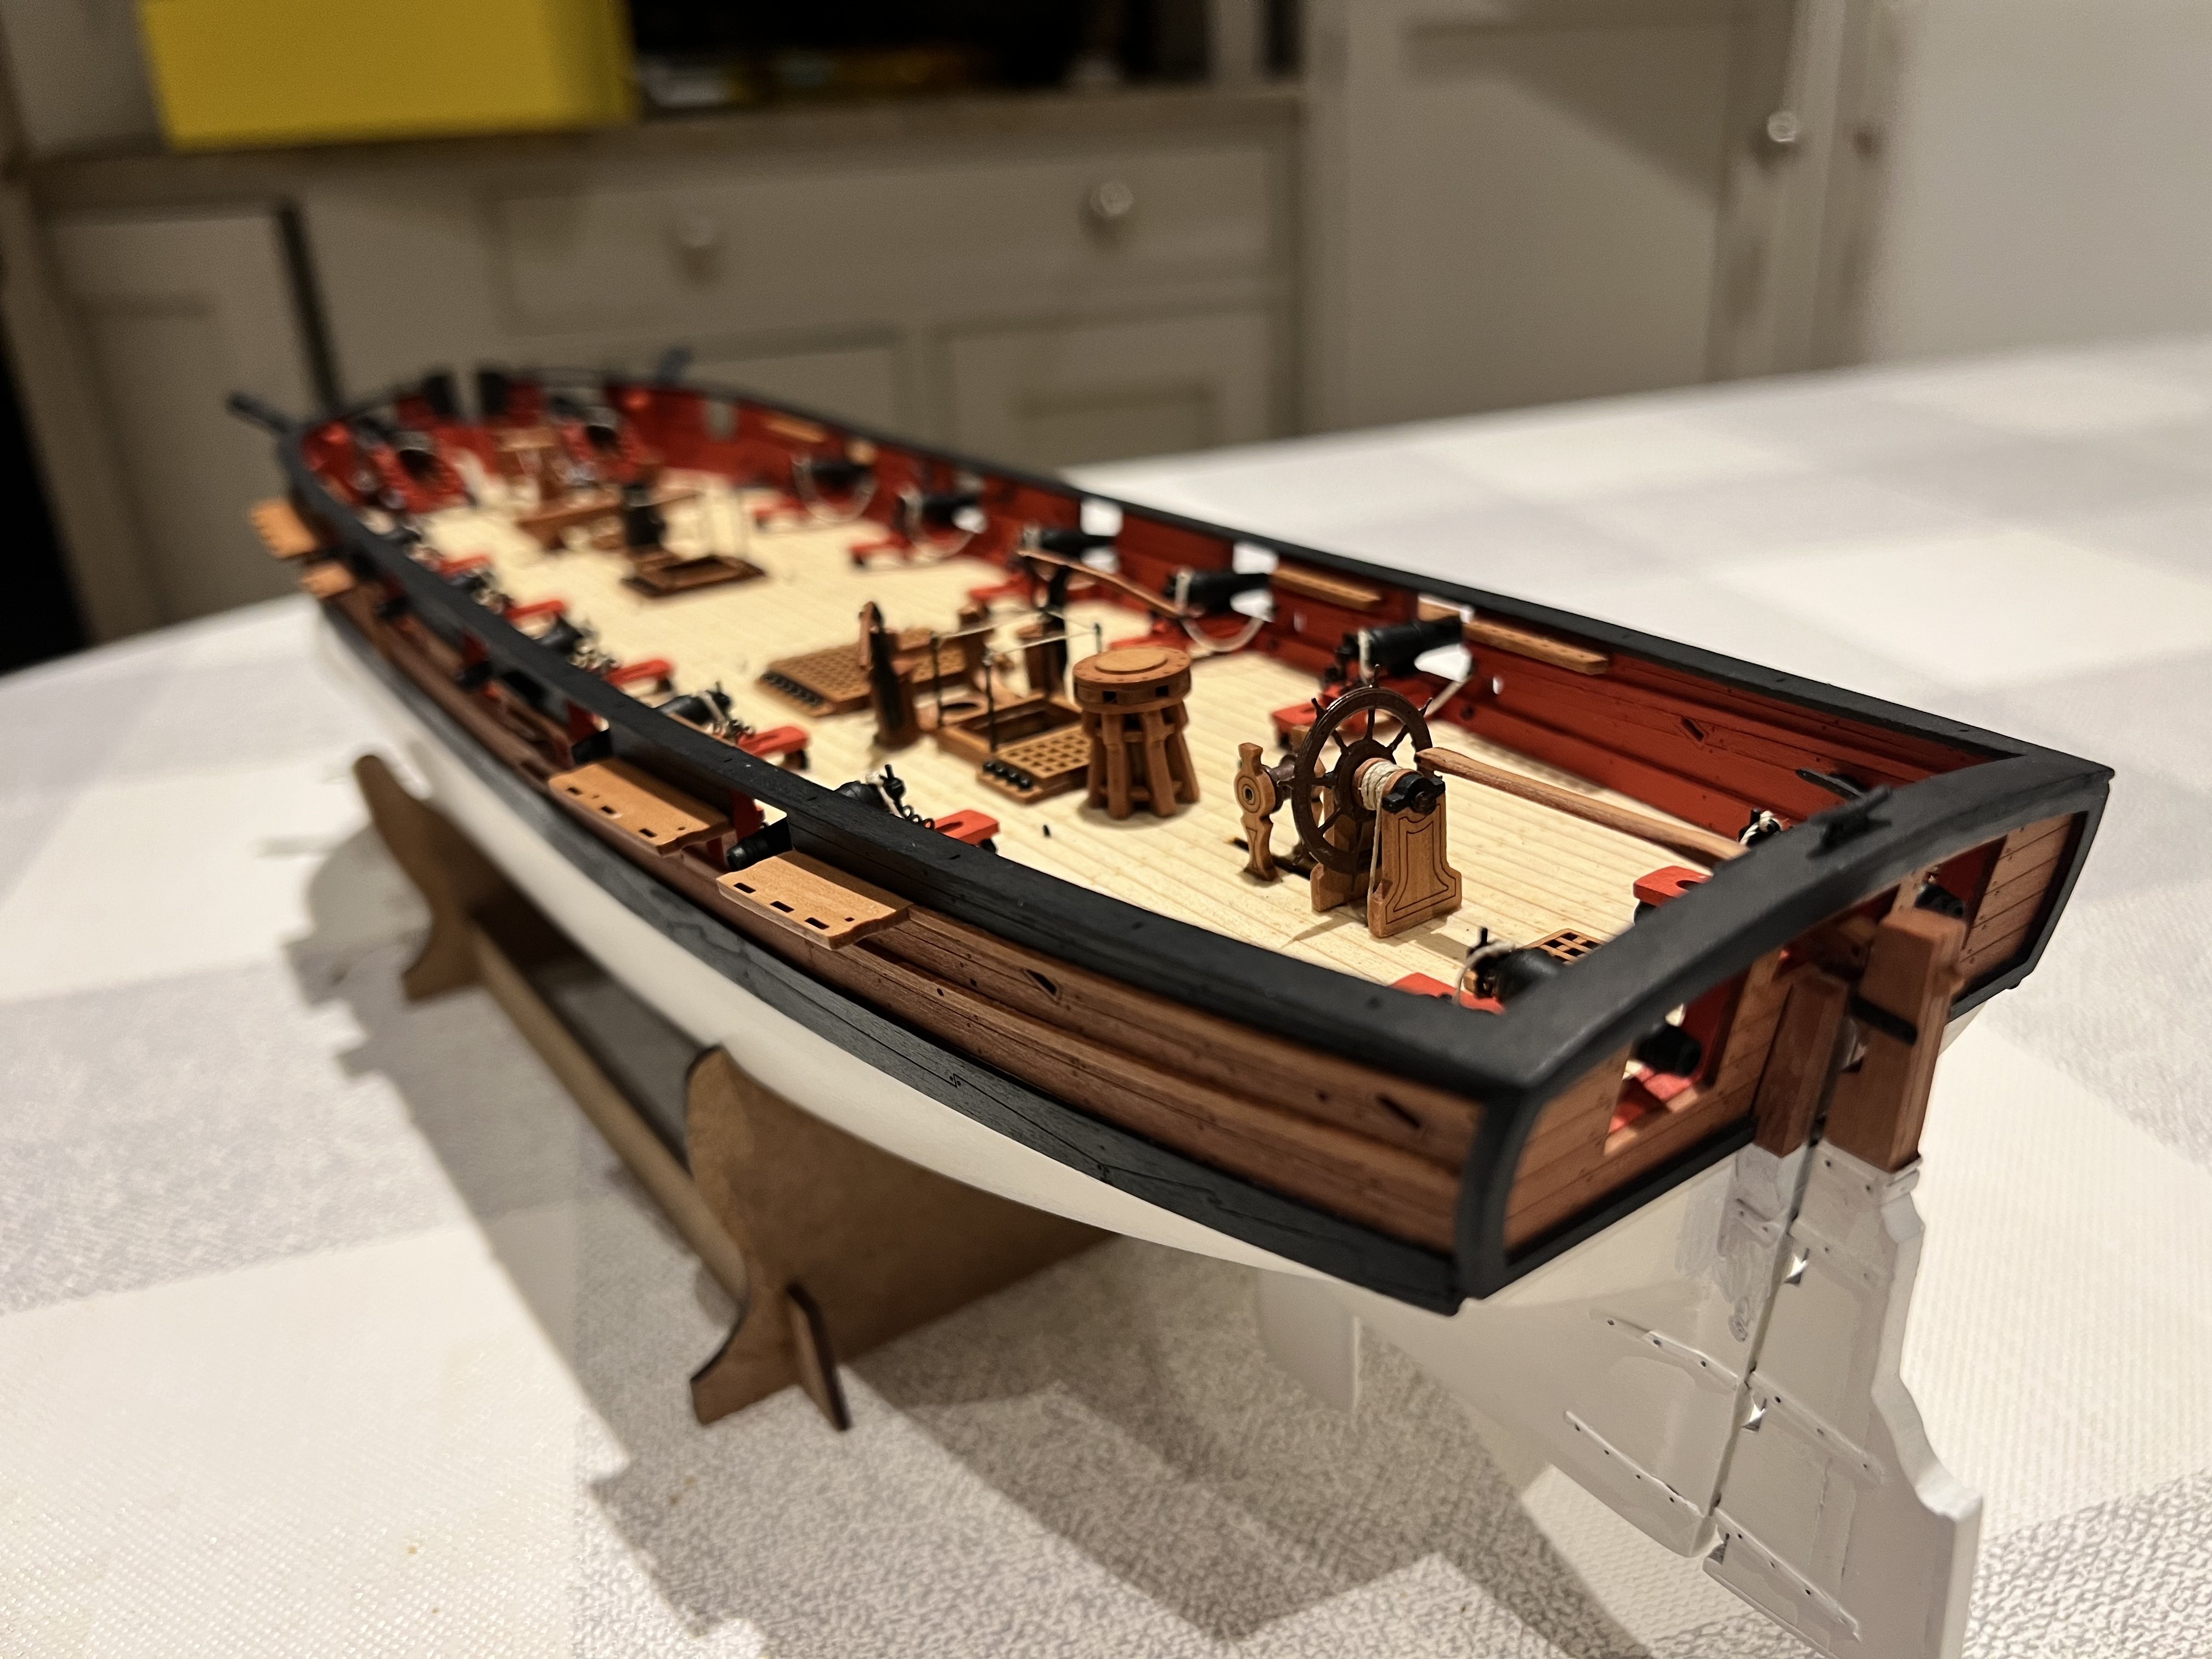
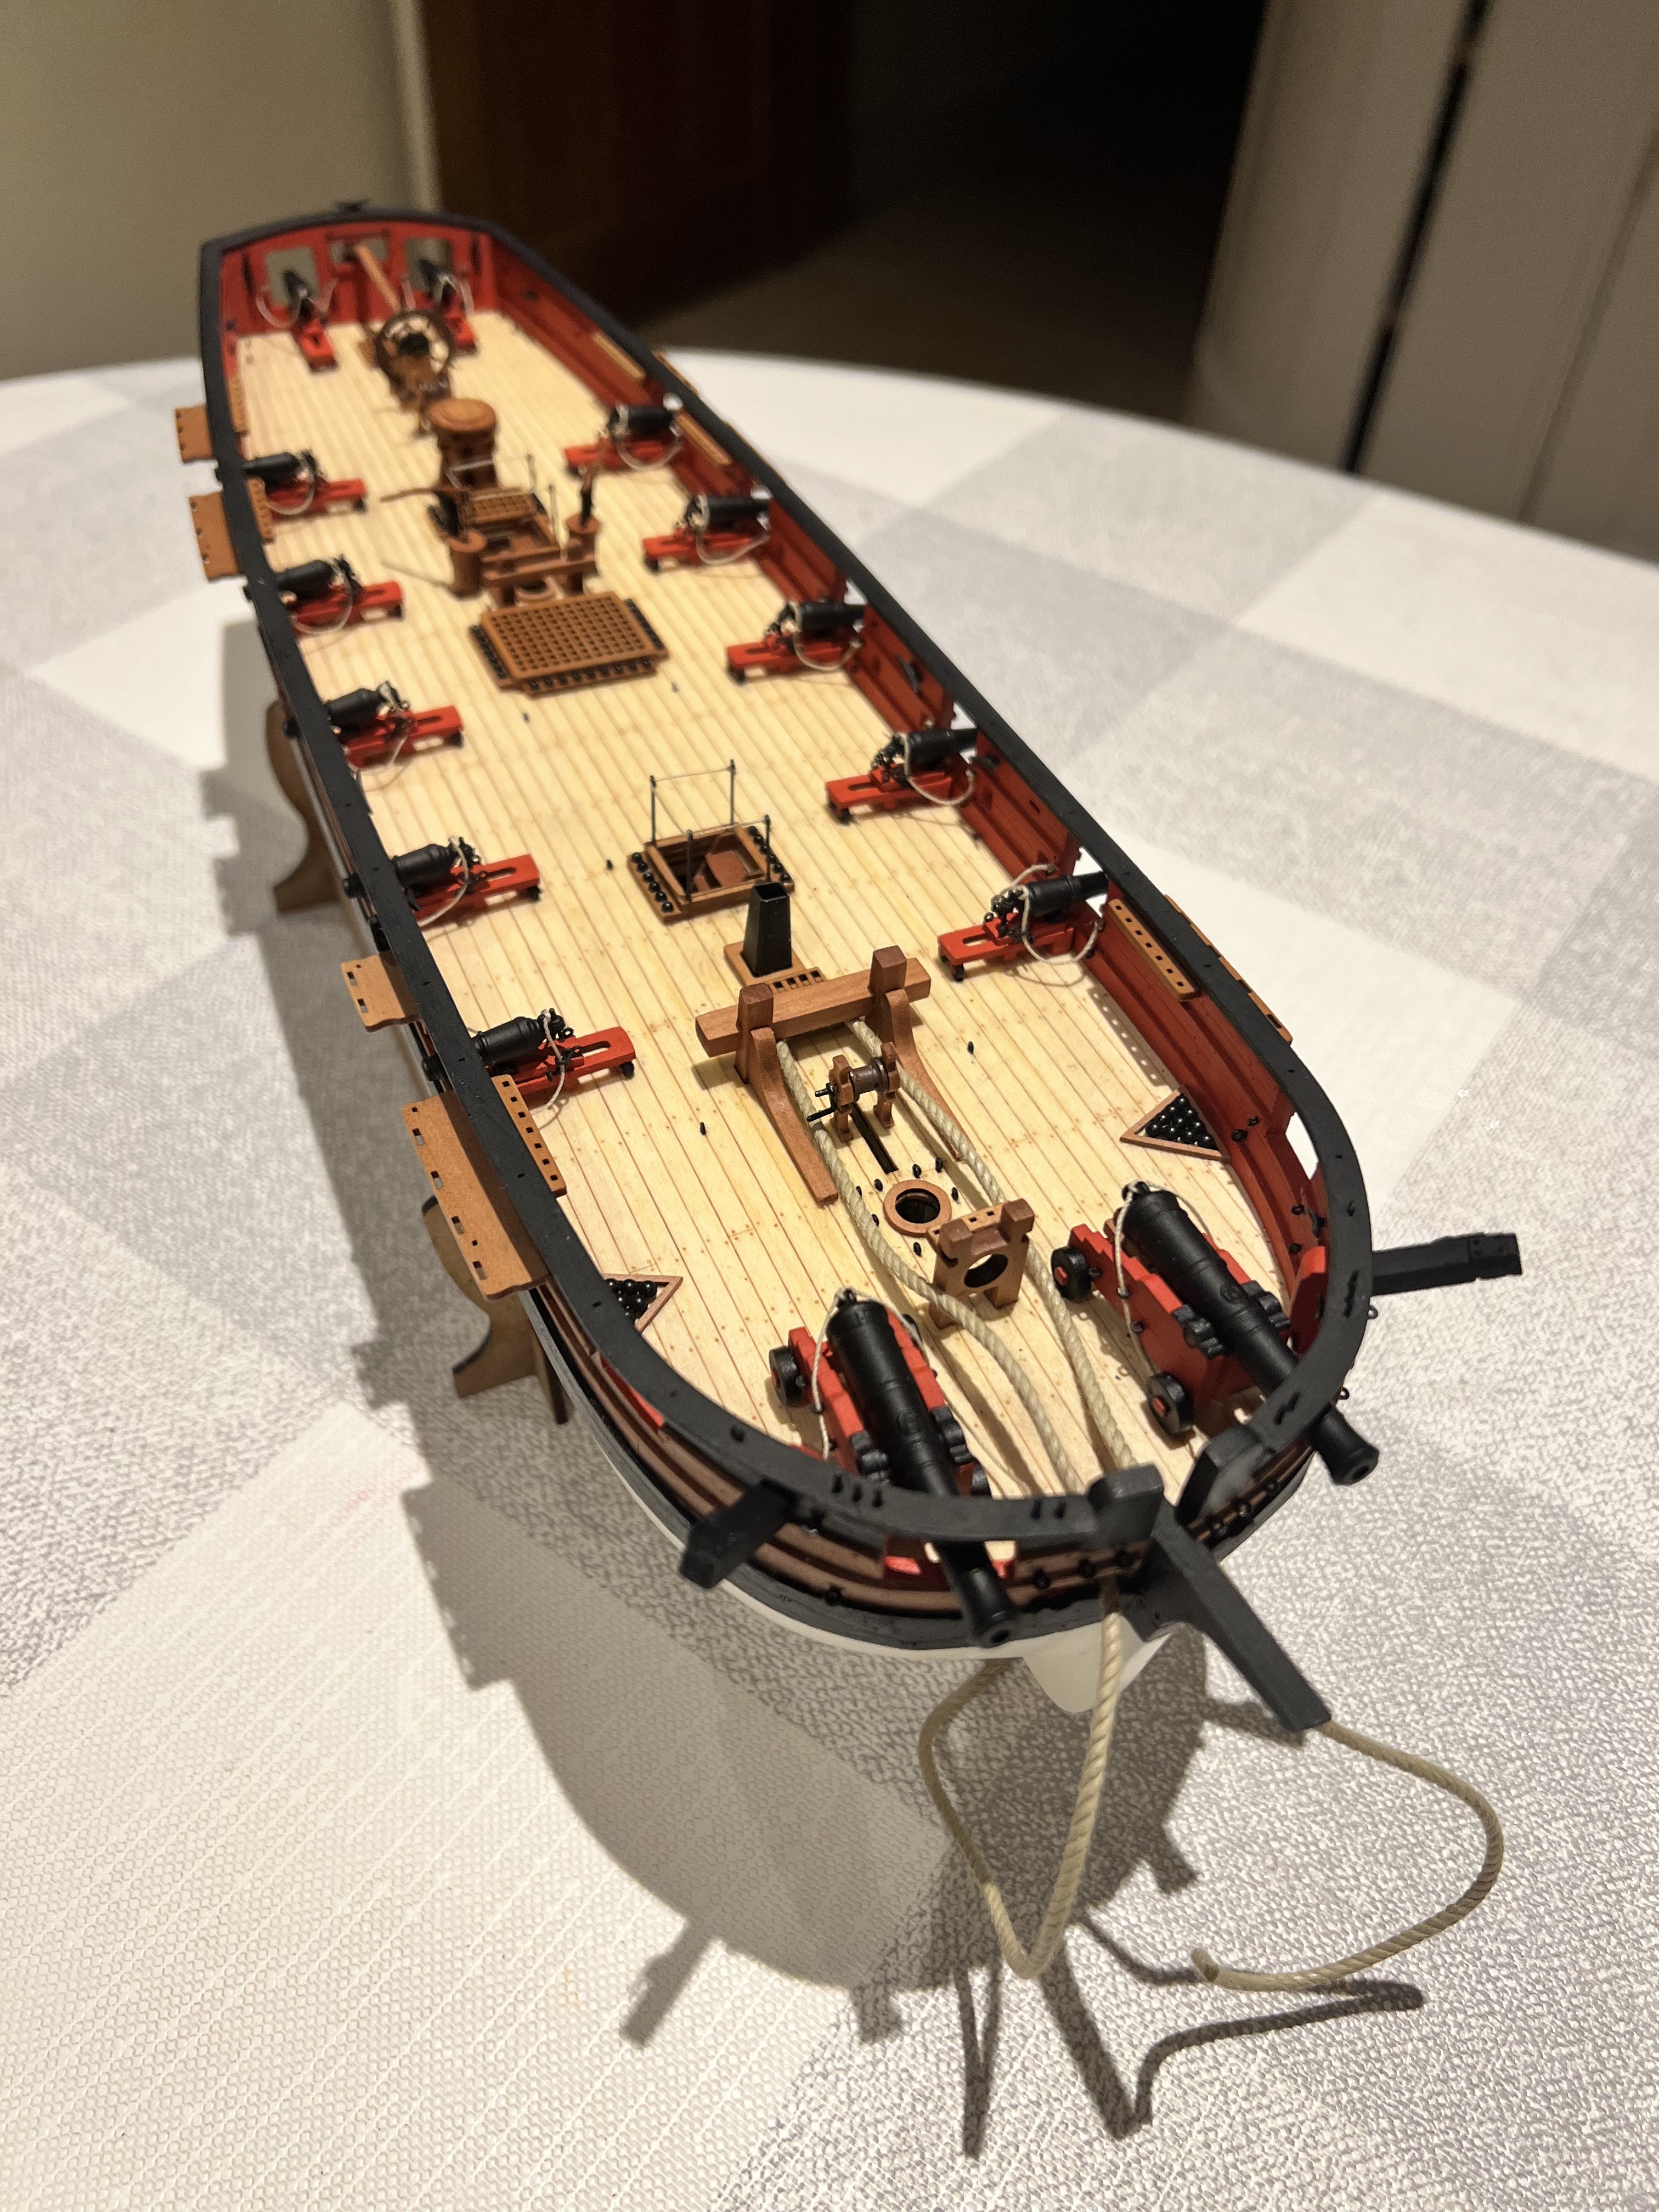
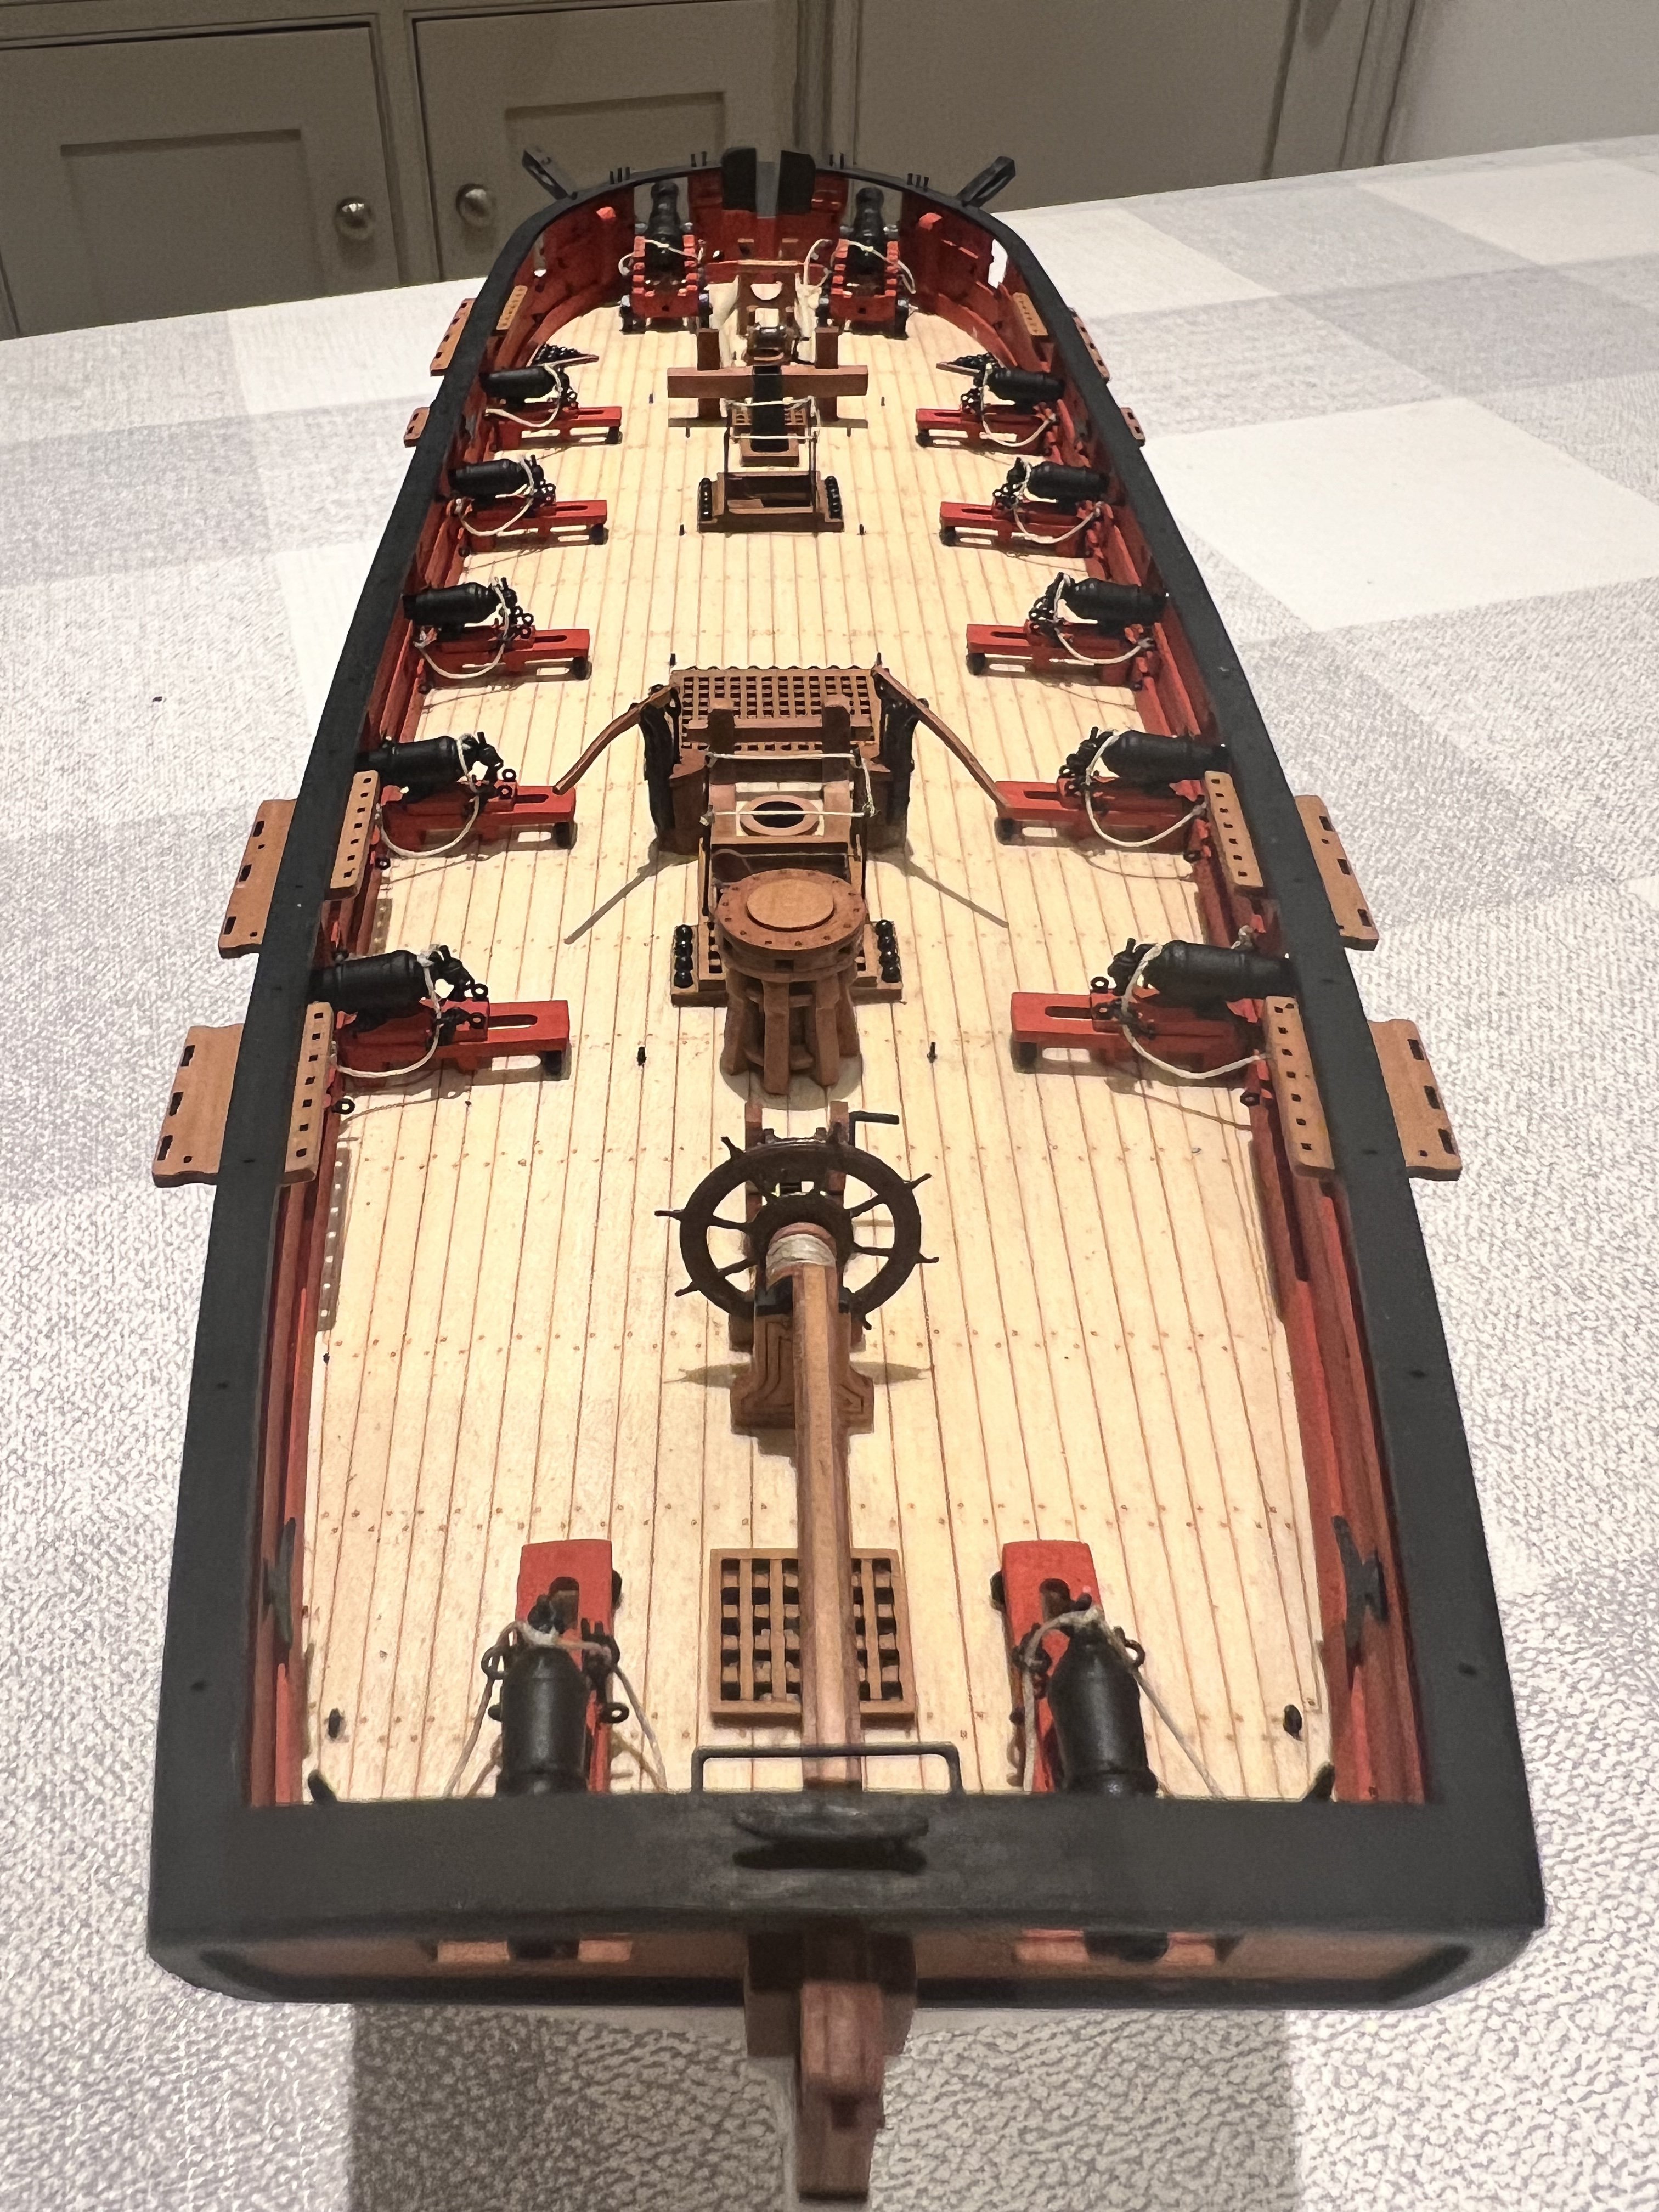
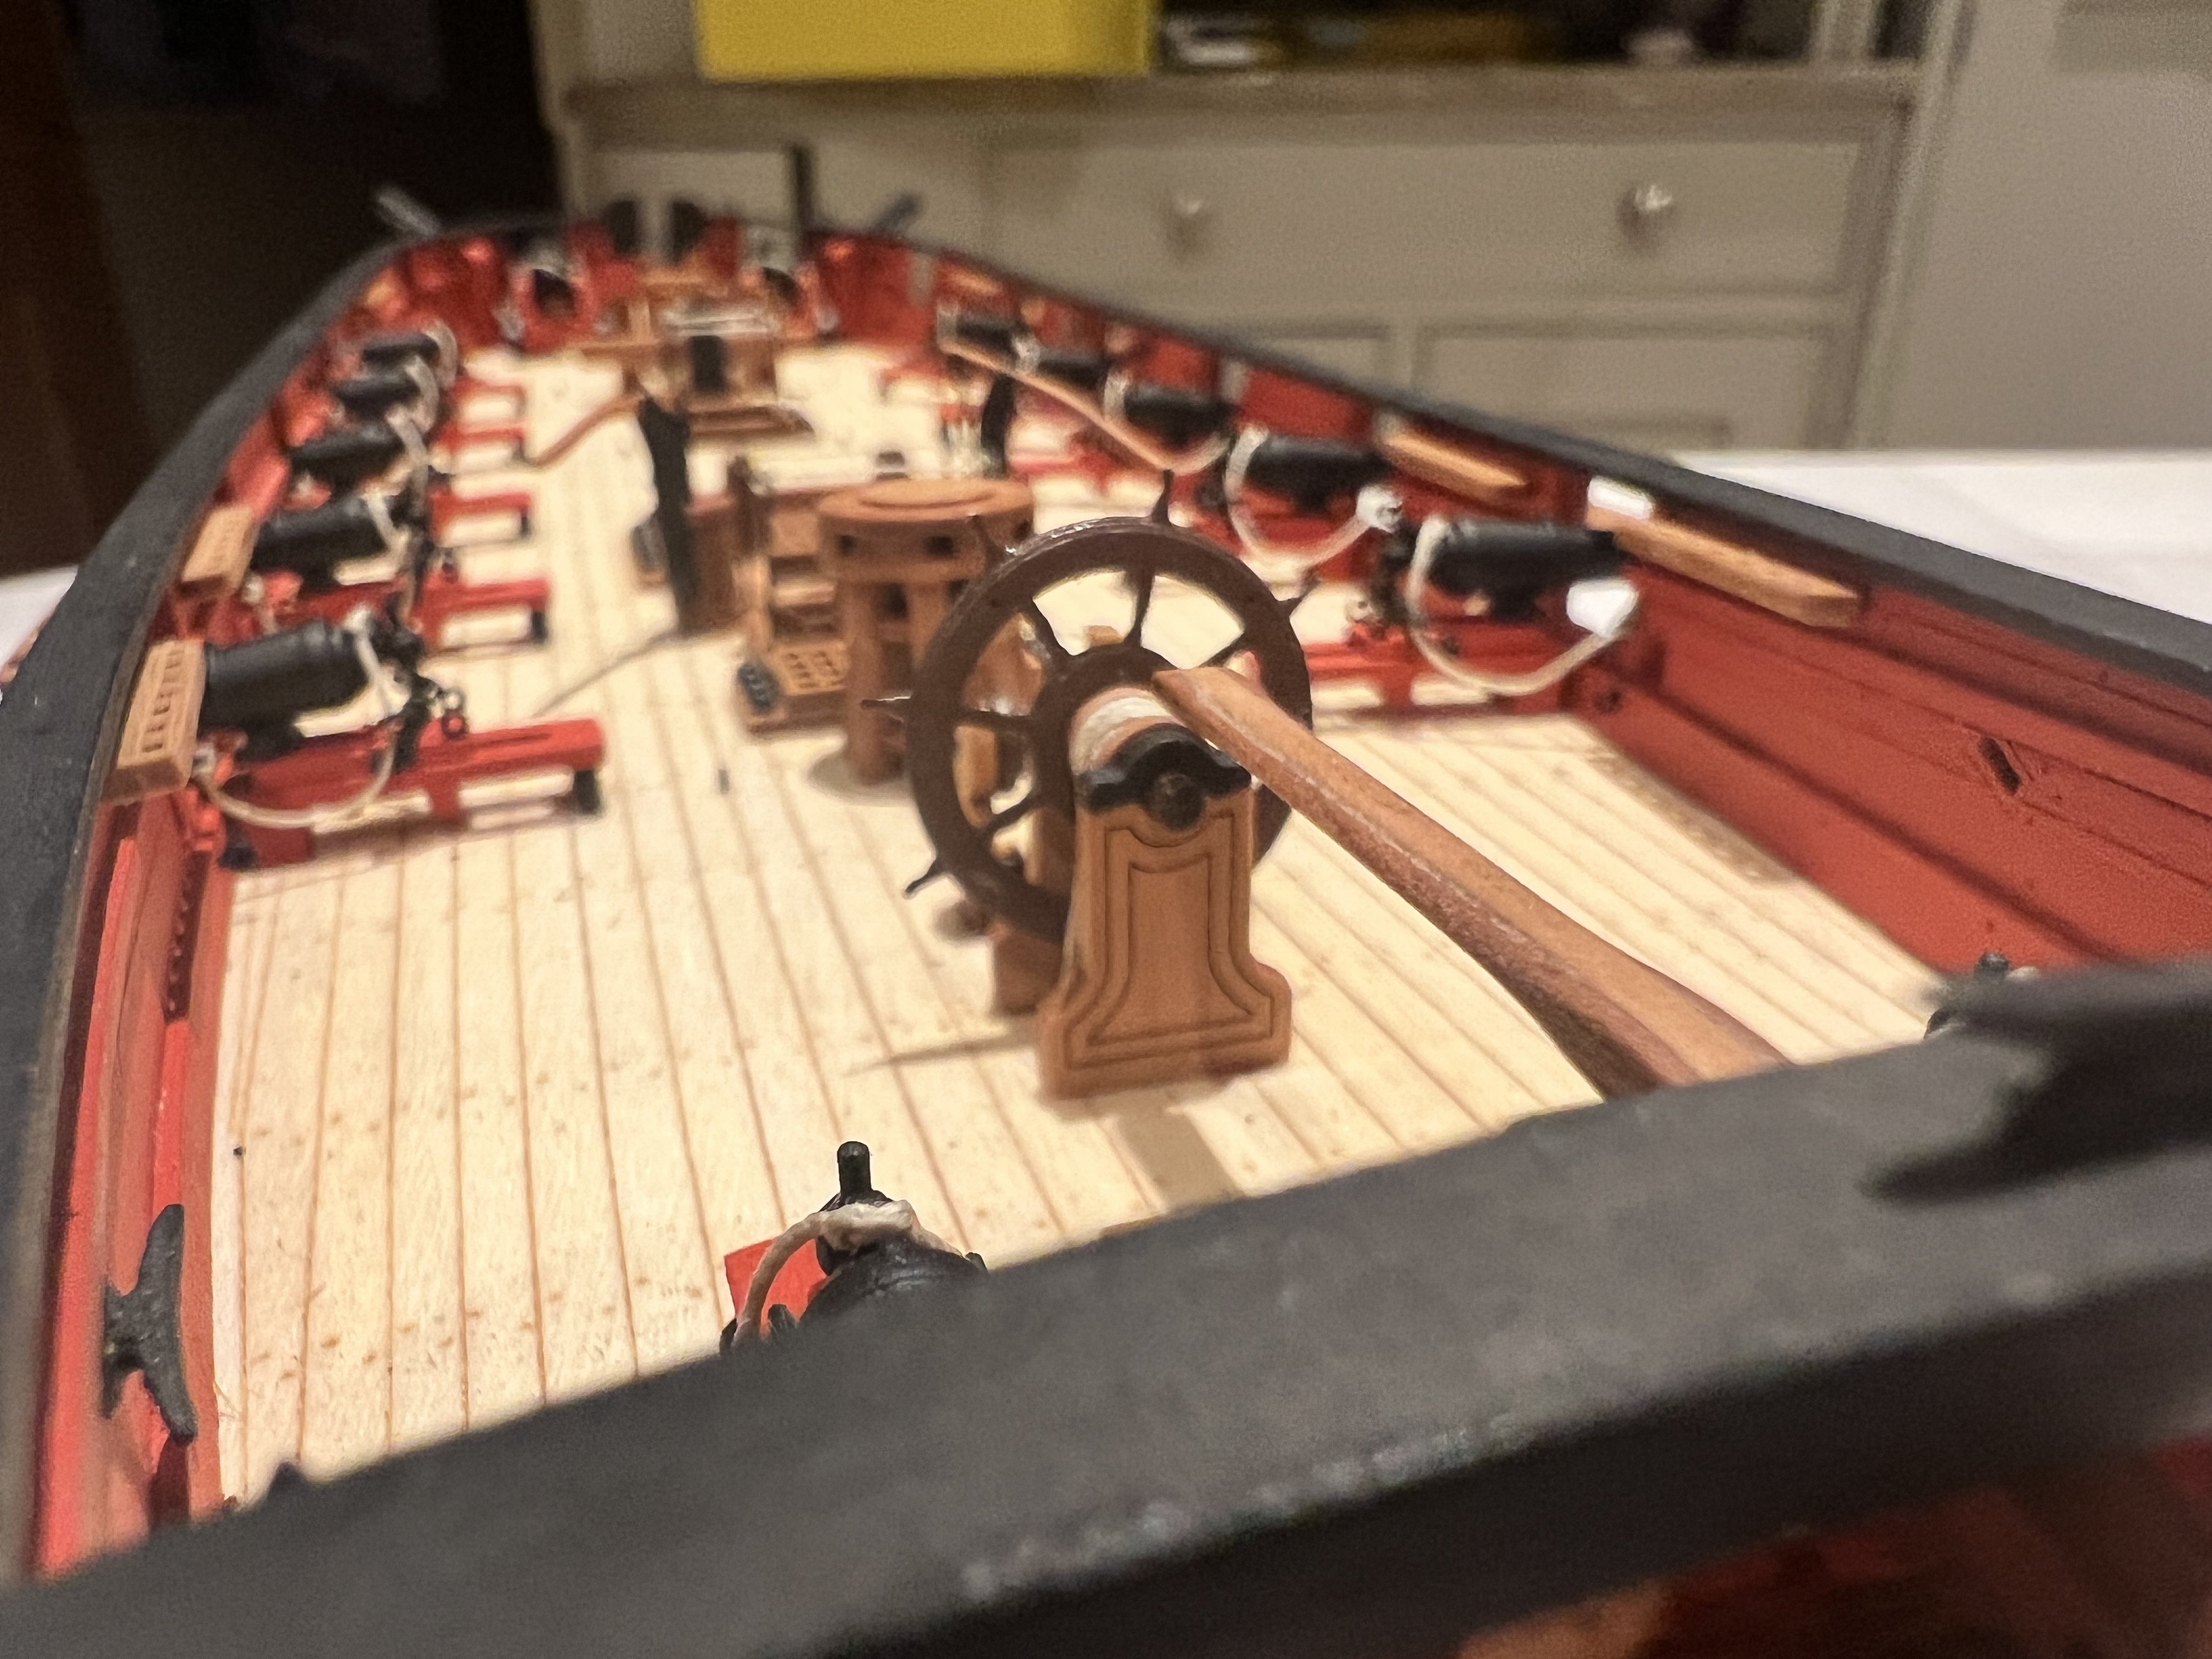
Fitting out of Adder’s hull nearing completion.
I decided to risk blotches and apply Danish oil to the outer bulwarks and it worked! The engraved pear looks amazing with Danish oil.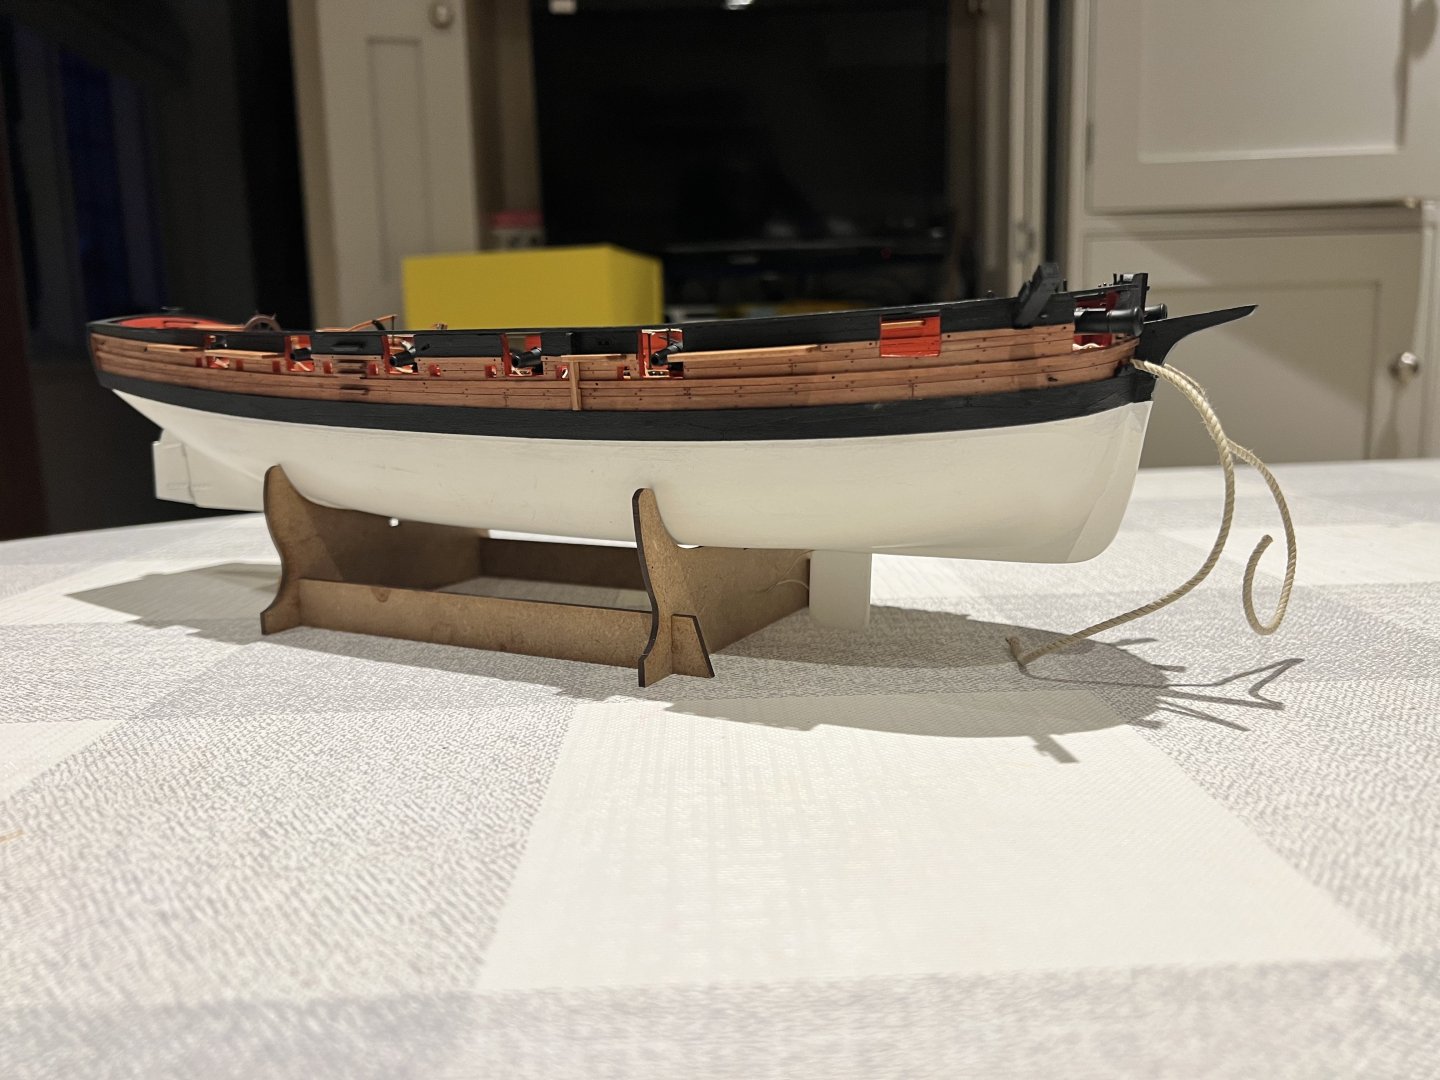

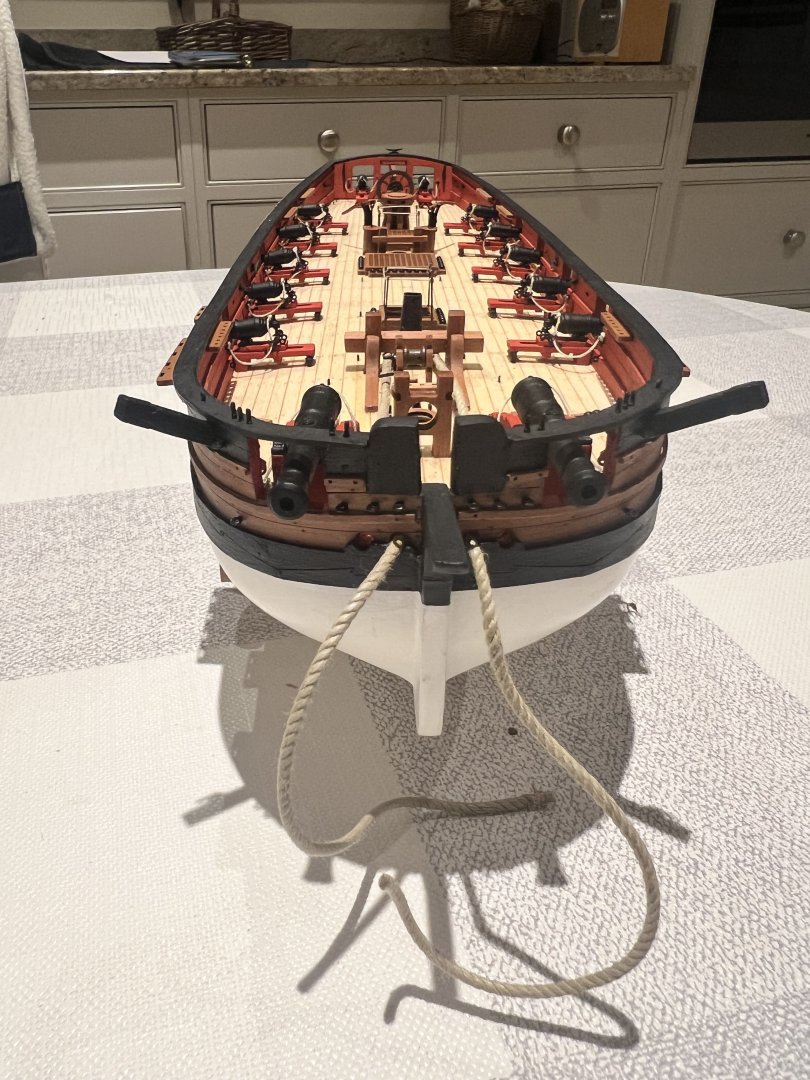
I’ve done a somewhat amateurish job of fitting breech ropes to the cannons and carronades.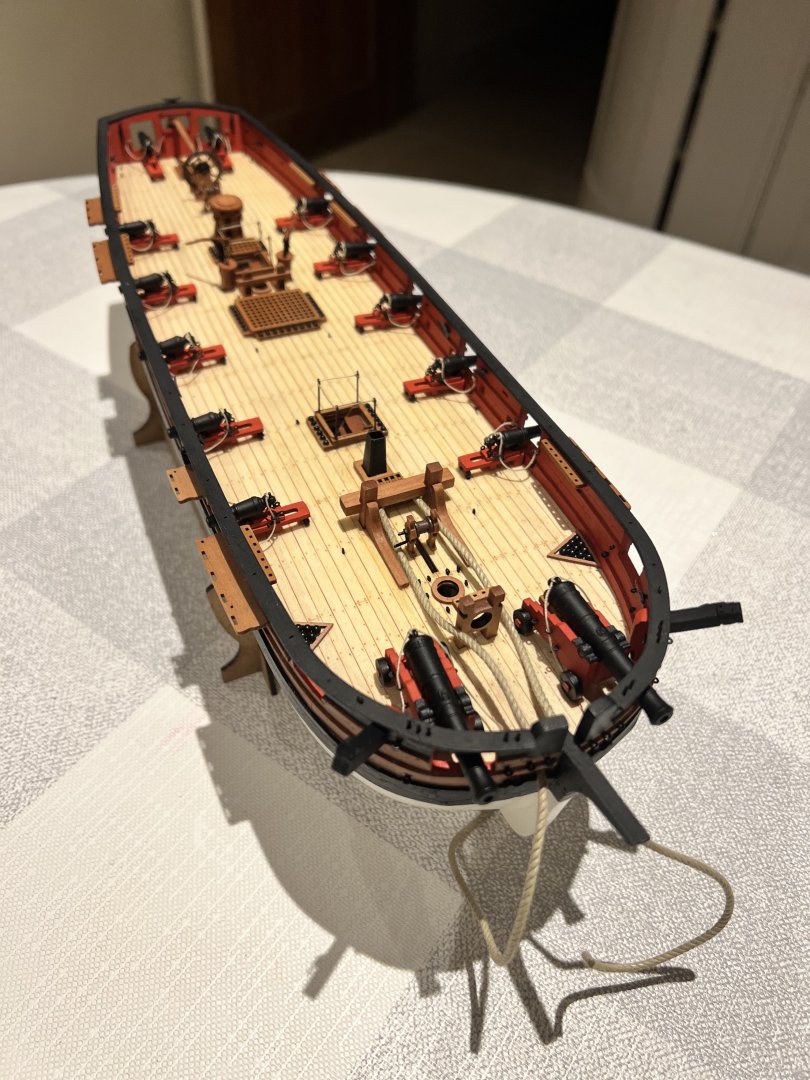
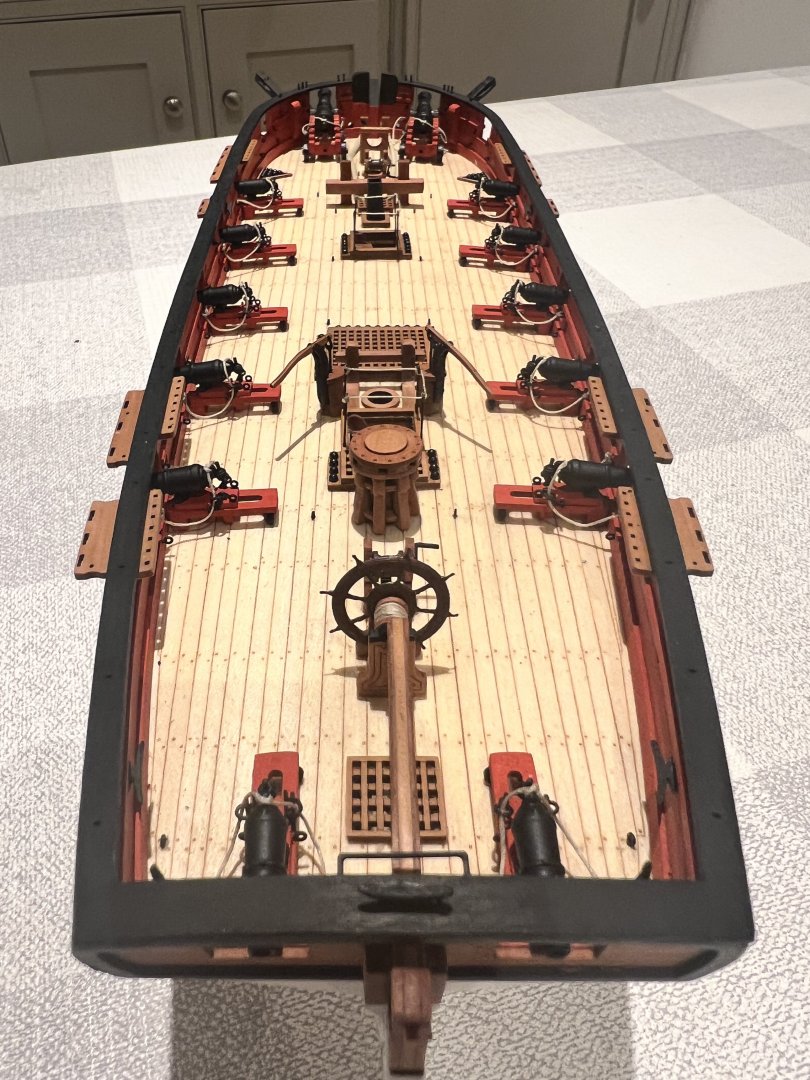
The cannonballs were added using ultra matt poly varnish to hold them and take some of the shine off them.
Fitting the parts is pretty straightforward. The fiddliest parts are the rope for the wheel and also for the drop keels. I have taken the drop keels off again whilst I manhandle the hull and fit deadeyes and chainplates.
I’m leaving the anchors off until rigging is complete. I’m not sure when best to fit the hammock cranes and the cord between them as they’ll likely be in the way to for tying off rigging, then again I’ll need access to fit them which may be hard post-rigging.
Still to add the deadeyes, chainplates and drop keels.
Thanks for looking!


HM Gun Brig Adder 1797 by DB789 - FINISHED - Vanguard Models - 1:64
in - Kit build logs for subjects built from 1751 - 1800
Posted
Thanks Chris, I’ll do that. Much appreciate the advice. Dan