MORE HANDBOOKS ARE ON THEIR WAY! We will let you know when they get here.
×

pompey2
-
Posts
511 -
Joined
-
Last visited
Content Type
Profiles
Forums
Gallery
Events
Everything posted by pompey2
-
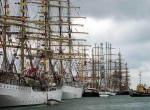
 Submarine HMS Alliance, museum in Gosport (Portsmouth) UK HMS Trincomalee, Teak Frigate now museum in Harlepool UK Nick Further to the London Bridge conversation - One of the London Bridges is in AZ
 -
Welcome Elijah and Jolly Roger, thanks for stopping by Nick
-
Hi Jimz66, welcome aboard.
-
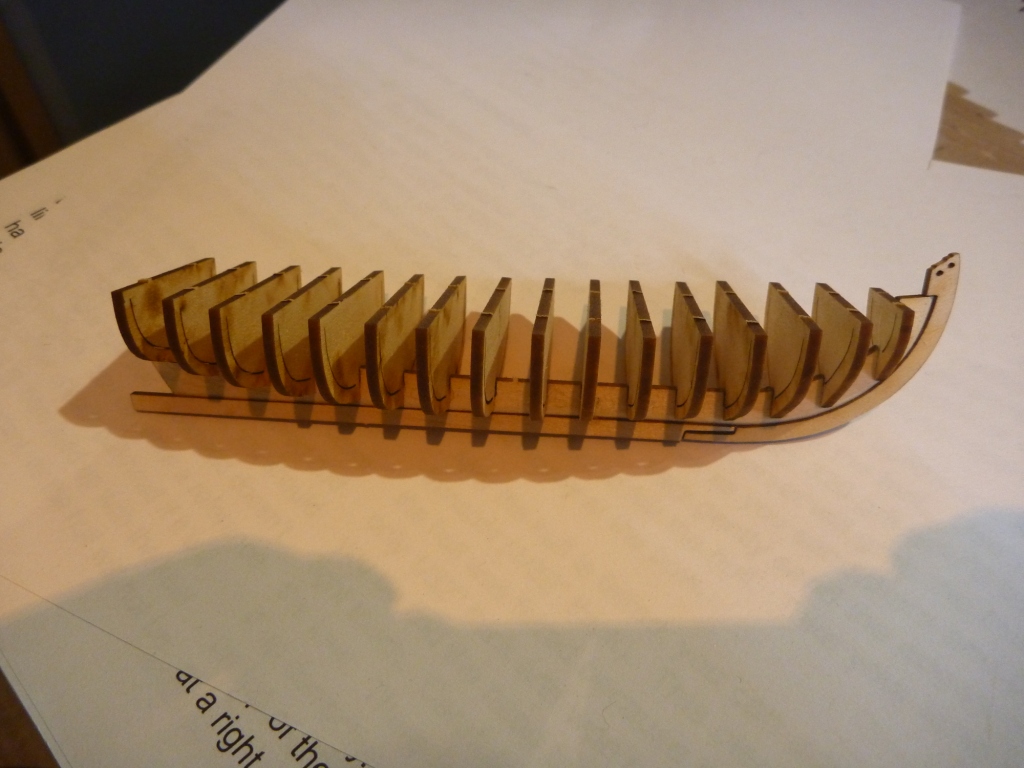
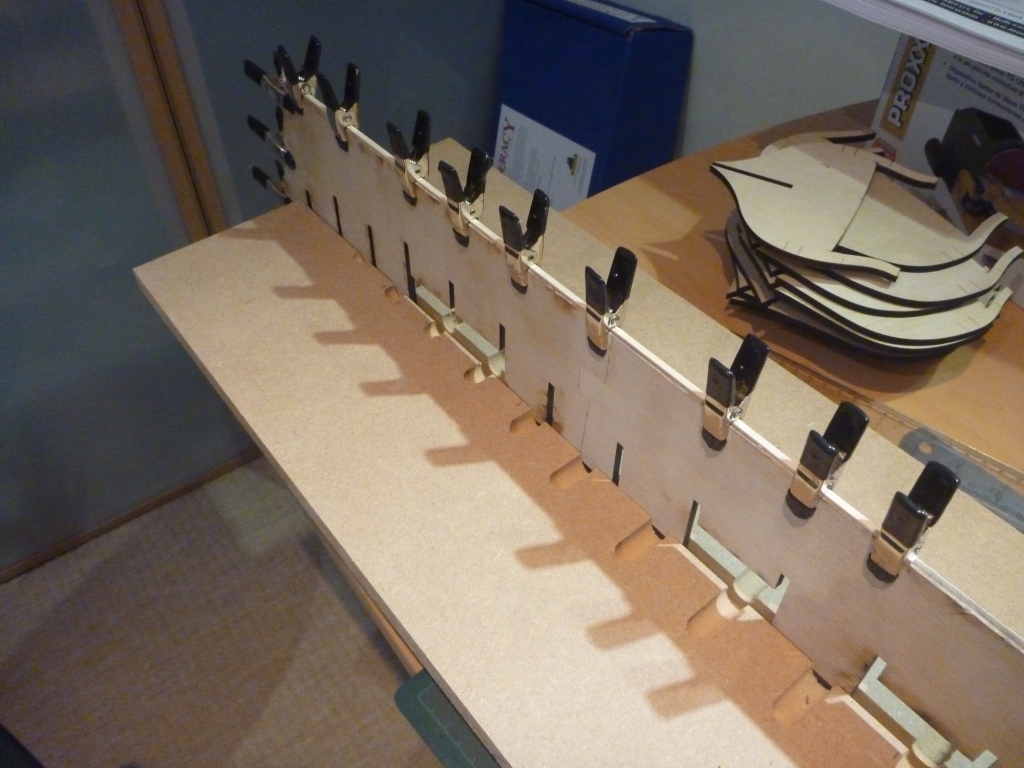
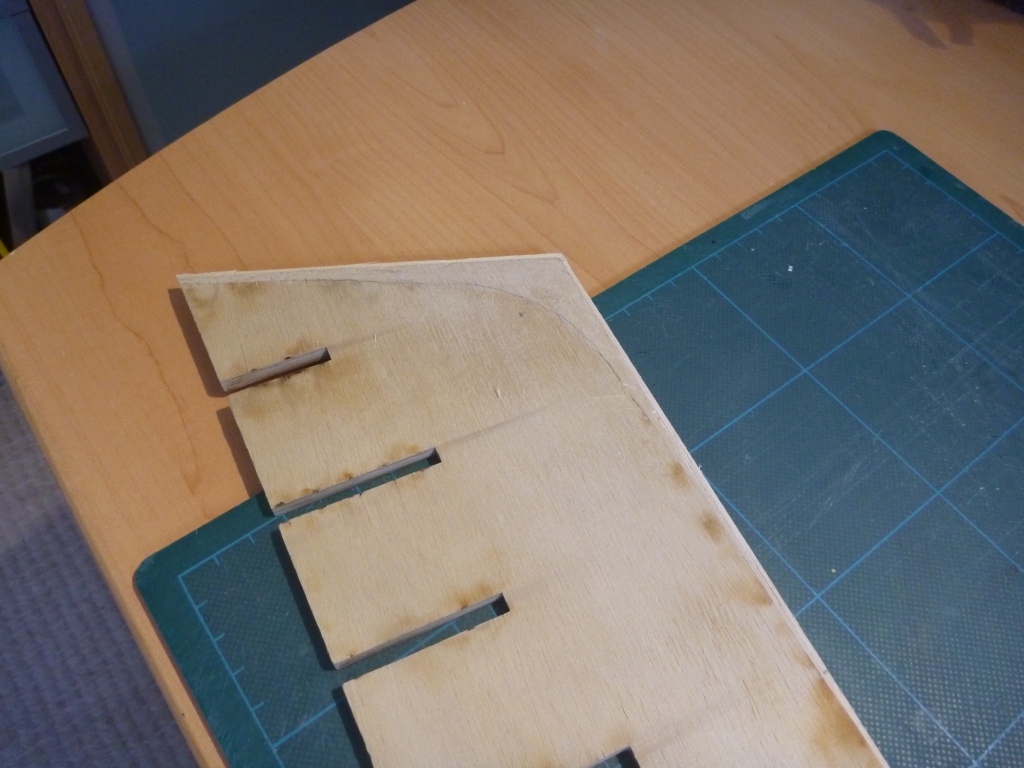
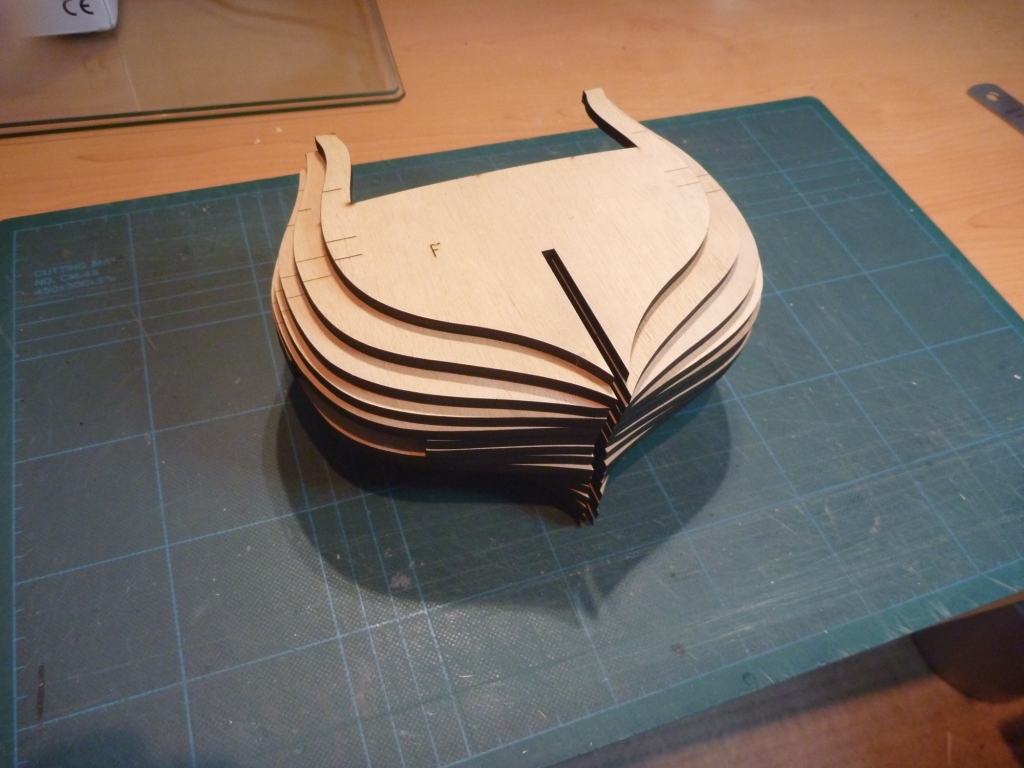
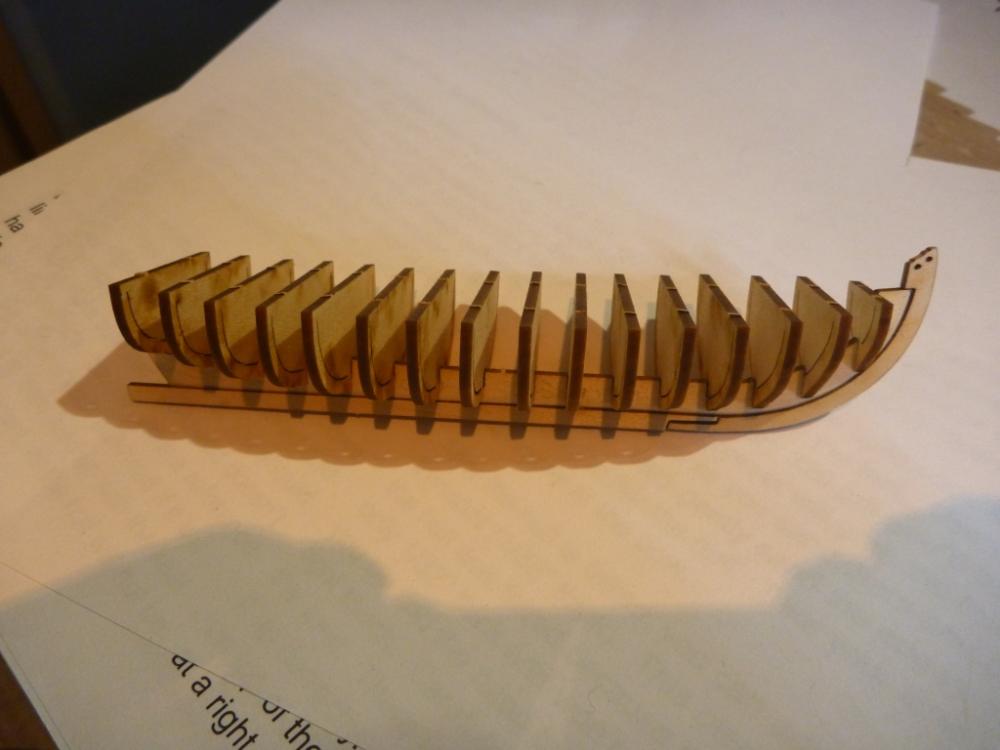
The other mini project I am running in parallel whilst I wait for timber is the first of the ships boats. First off get the Bulkhead former and thin the edges to form a Rabbet and for the bearding. Then add on the keel and stem. The joint does not match properly but I will get back to that. Then real carefully glue in the Bulkheads a pair at a time making sure they are square and even in two planes. Then I glued a couple of scrap plank strips along the top. They do a really good job of keeping the bulkheads square and the structure rigid. the bulkheads can easily flex as you try to fair the edges down. They have also proved to be helpful when placing clamps. They are glued to the inner parts of the bulkheads which get removed later so they don't present any problems Once the strips were done I faired the hull down. Then added the Transom, the scrap bits also helped keep it in place whilst the glue dried. Nick PS - I could kick myself. Just reviewing my photos and realised that I could have easily re-cut the keel to get that badly lasered joint correct, dooh.


-
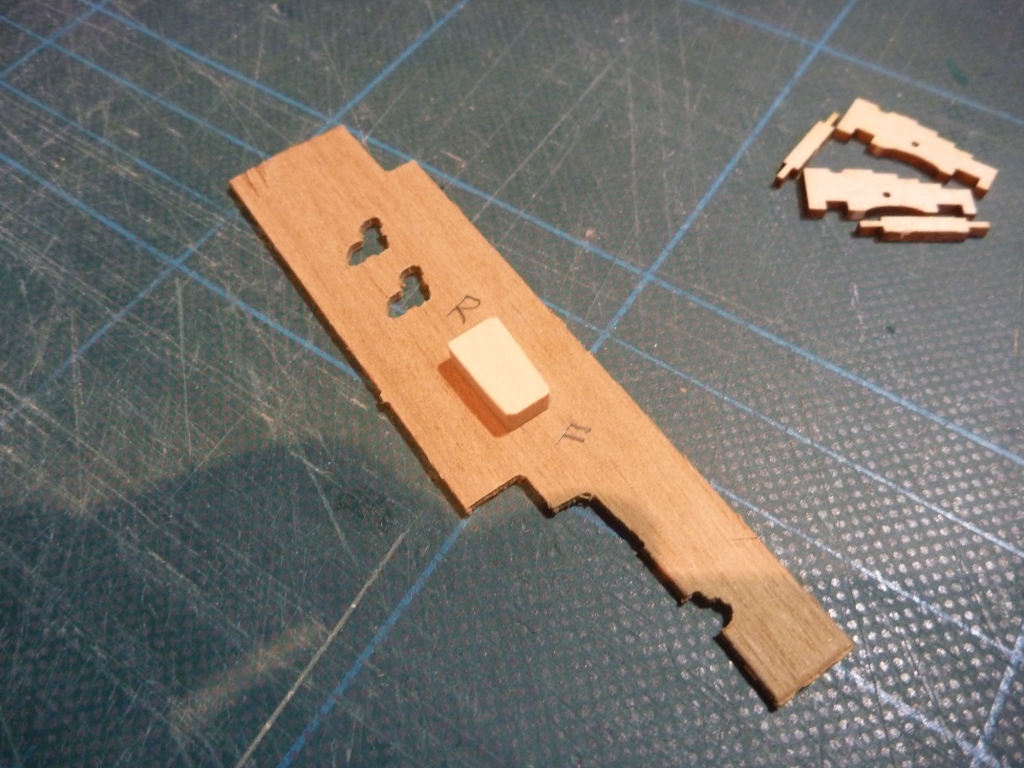
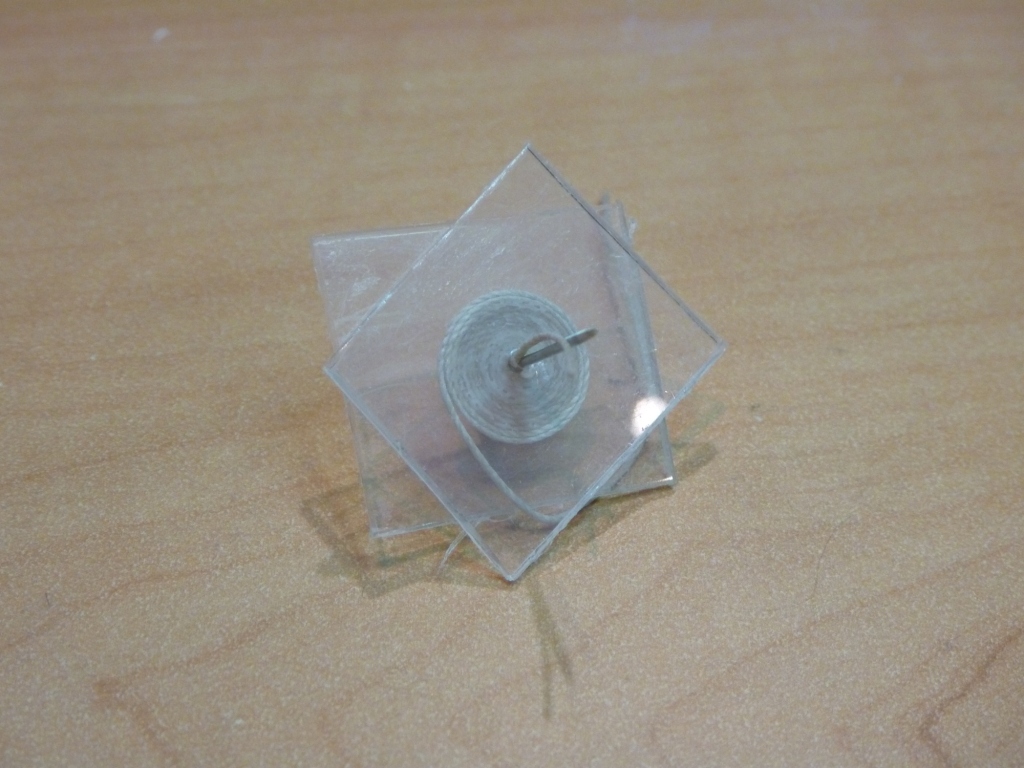
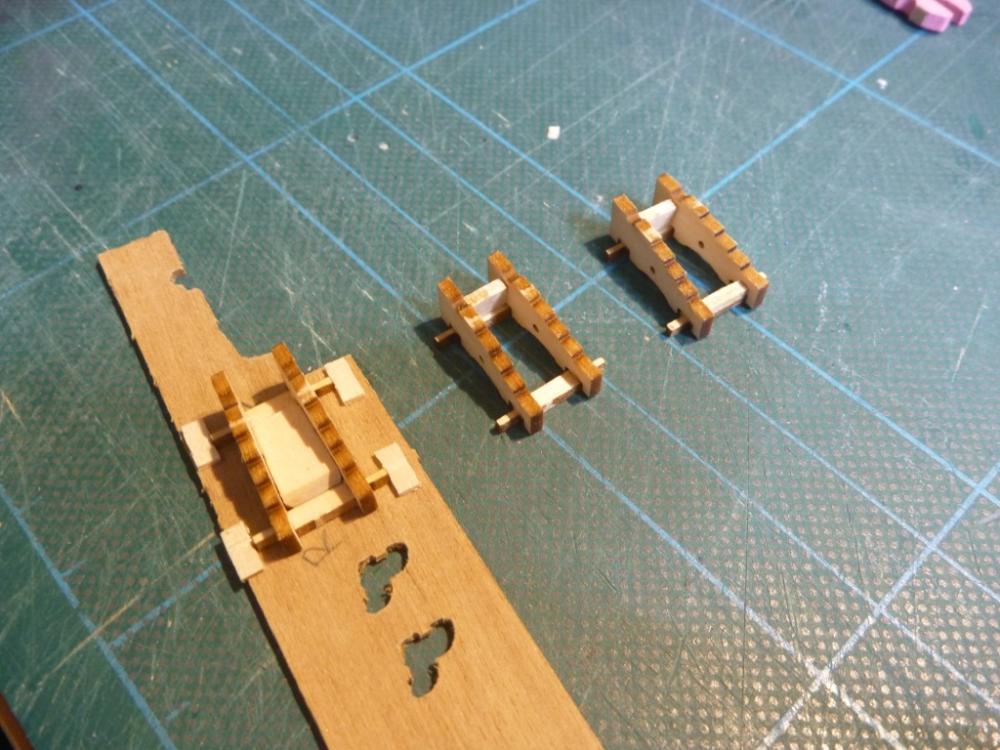
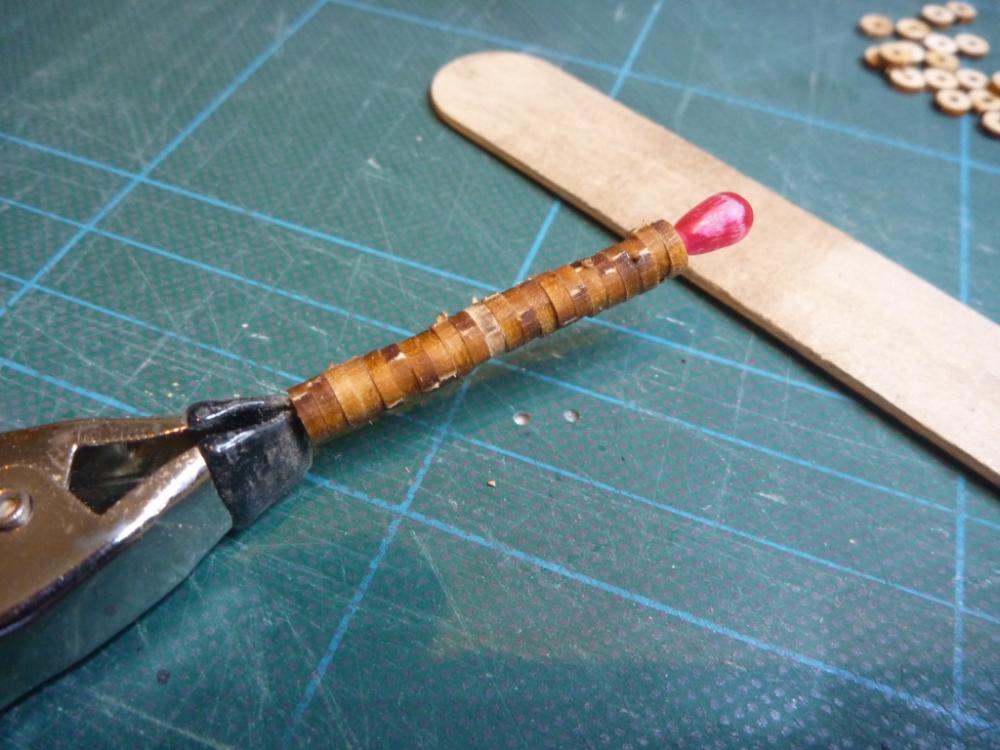
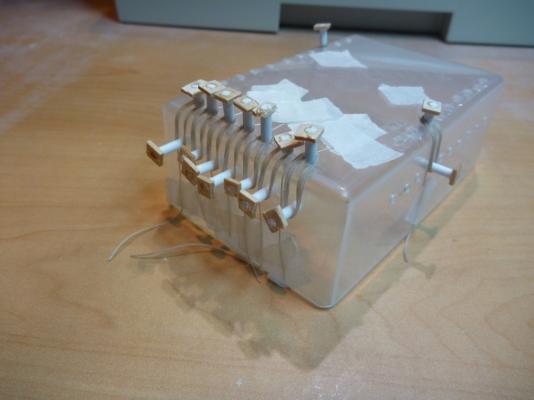
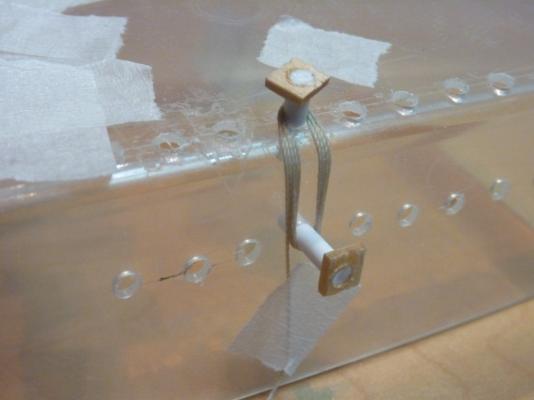
I decided not to go with the Basswood for hull planking. So I have ordered some Maple to do the planking. My wood order included some to allow me to reproduce the Stem parts so that I get a good match with the planking, which means I will have to wait a bit before the Hull can move forwards. In the mean time I thought I would start a couple of the smaller project while I wait. The first one will be the Guns, well carriages at least. The instructions say to paint the separate parts before assembling. But I decided to put the main parts together first and then i will air brush them. First step was to build a little jig on a piece of scrap to get the two axles and the sides aligned correctly for gluing. Then start the production line. 1. glue the first parts. 2. shape and glue the Transom across the front axle. 3 shape and glue the Bolster across the rear axle. That little production line is now in full swing, a couple of gun carriages come off each session. I also wanted to clean up the carriage trucks (wheels), there are attachment pips and laser char to get rid of. Doing each one by hand would be a real pain, plus I would have ended up with a bunch of oval trucks. So got to thinking of an approach. First I loaded a couple of dozen trucks onto a long needle and used a clamp to keep them in place. You can see the char and pips. Then by holding the clamp and rolling them along the edge of the table I can apply a sanding stick and work it back and forth as I roll. This is how they come out, still perfectly round, consistent diameter and cleaned up. Might do them a bit more yet. If you decide to try this then switch them around part way through because the middle ones get cleaner more quickly.


-
Hey Dirk Thanks so much for your post it will be very helpful and hopefully stop me making a mess of things. That's what I love about MSW lots of really useful advise. Nick
-
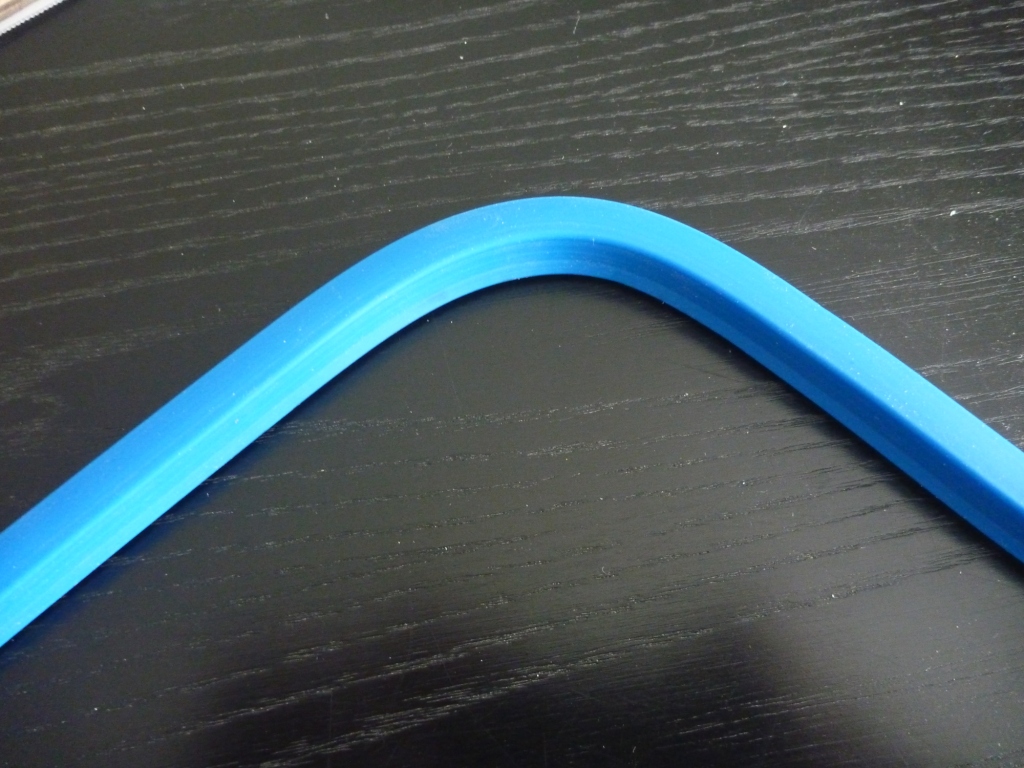
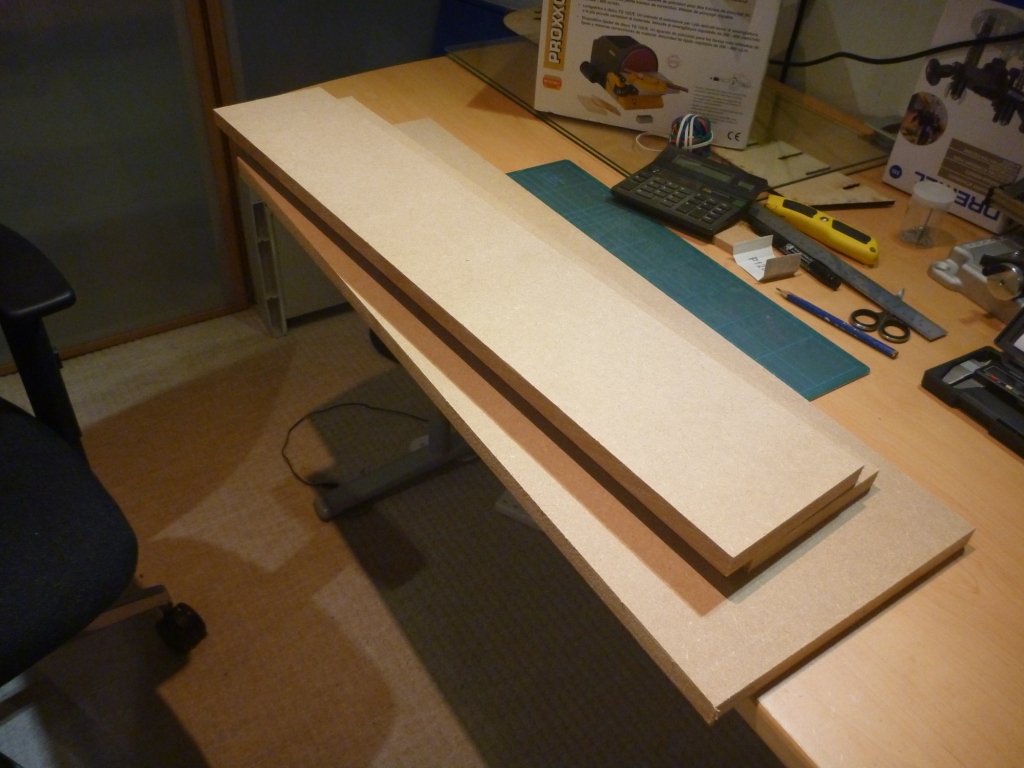
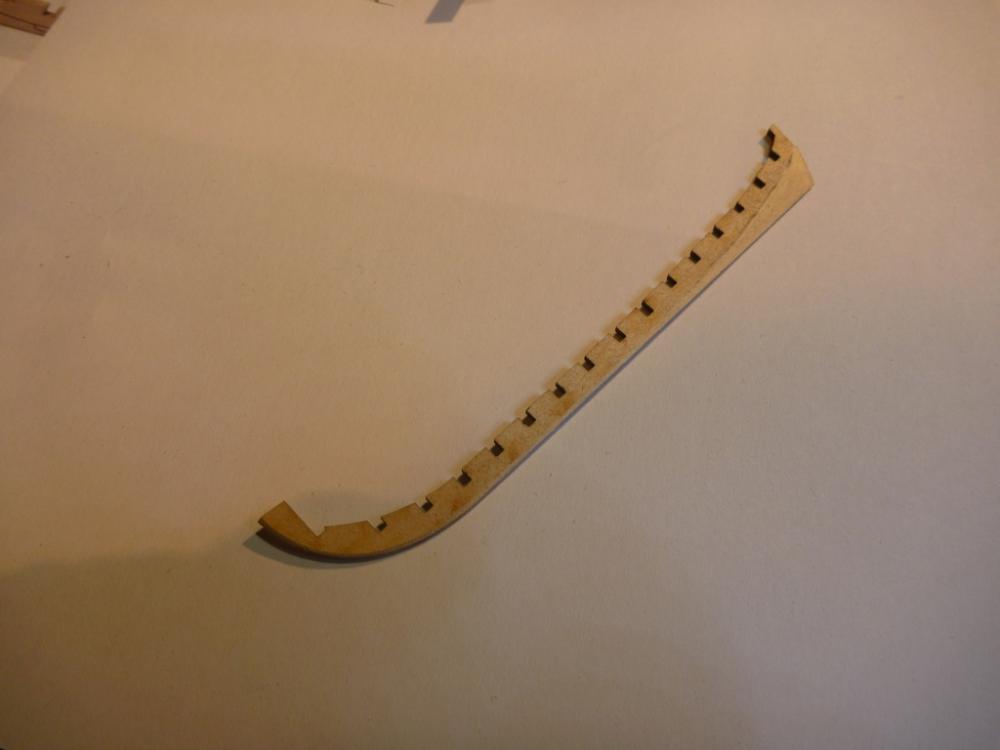
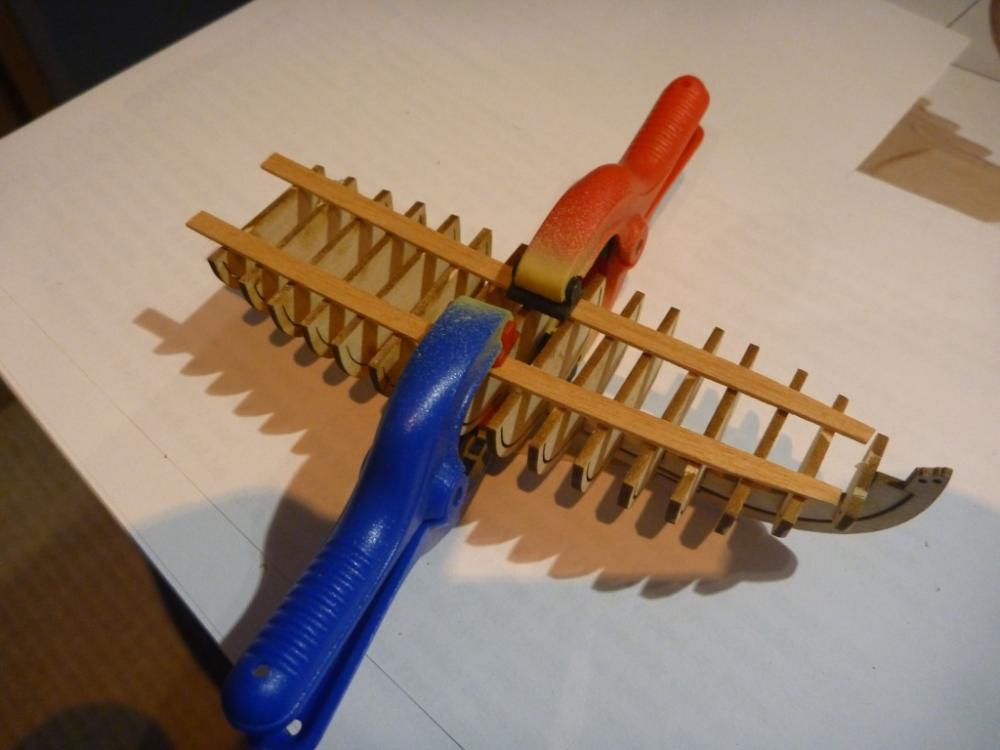
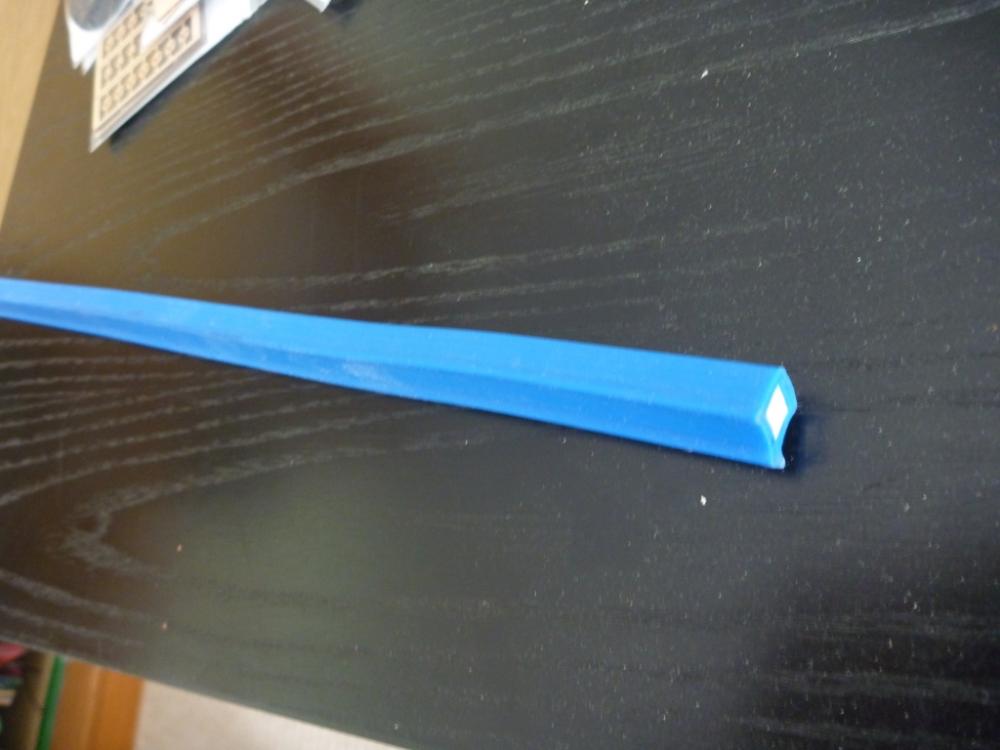
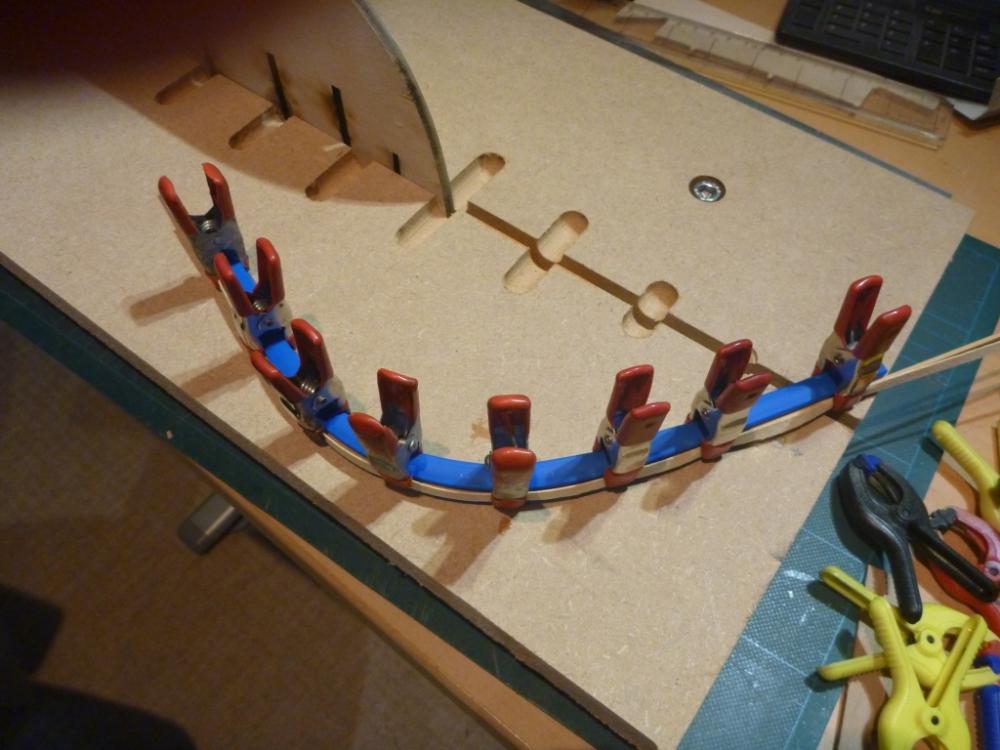
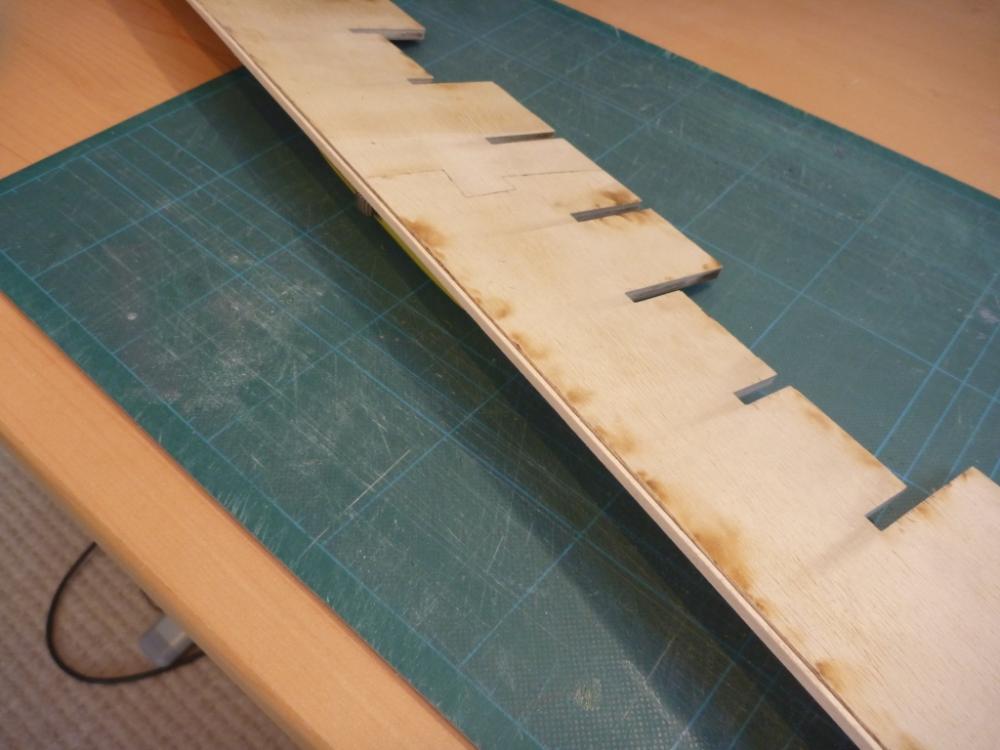
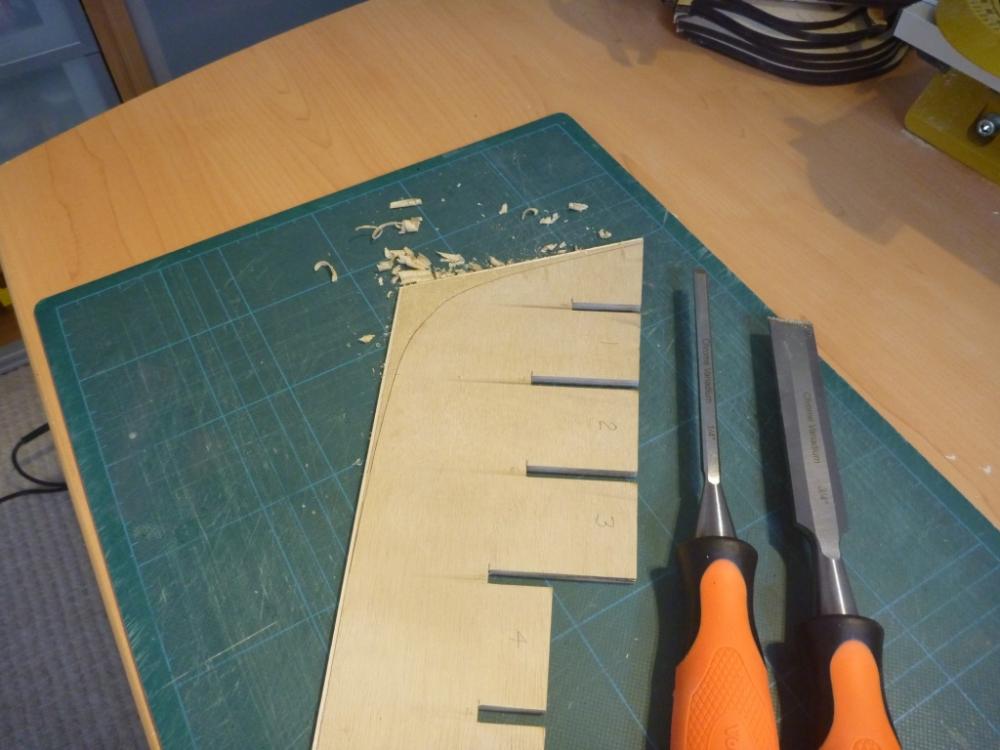
Next the rabbet strip. I wanted to try an idea I had a while back for plank bending so tried it here. I had bought a flexible curve, the sort often used for draughting (a lot in my past). It was a cheap one but holds the bend very well and can go to a pretty tight radius. I set up the flexi curve, soaked the bow part of the strip for an hour or so and gently bend it round the curve. I overlaid some scrap, very thin strip to avoid clamp marks then applied clamps all along. Gotta say I’m pretty pleased. The curve held the radius completely and once dry the strip was just right. Glued and clamped the strip to the bottom of the former. My keel clamp comes in handy already as a work holder. Once set I transferred to bearding line on the former to the other side and tapered down to the rabbet strip both sides with chisel and sandpaper. Here we are all done.

-
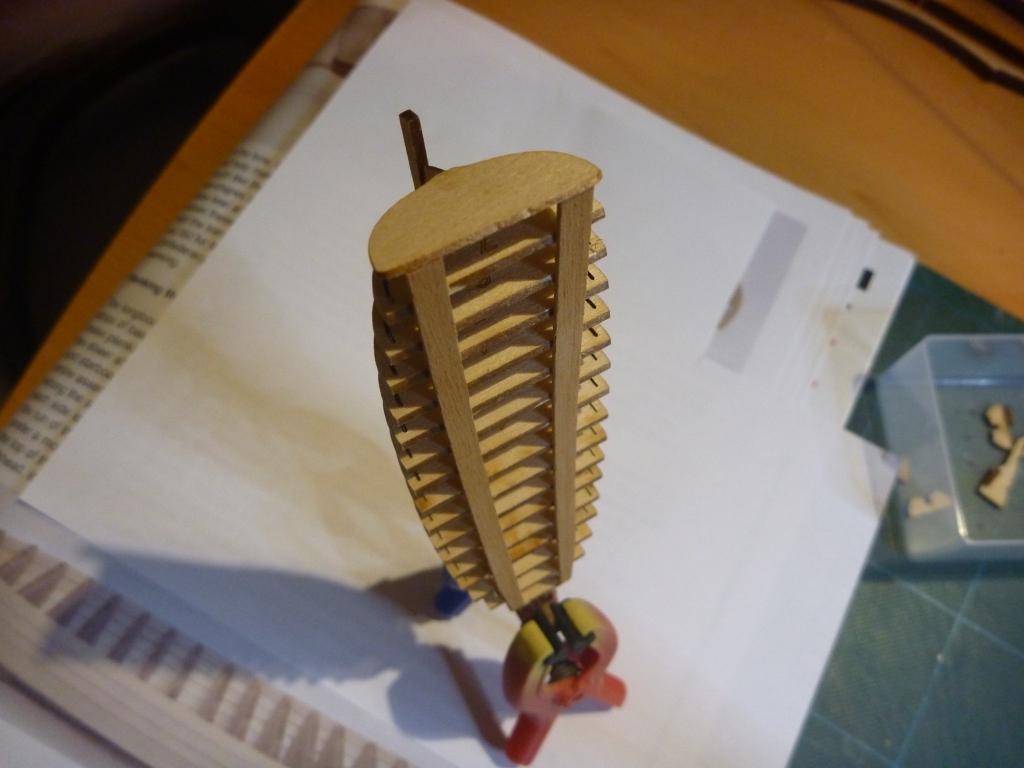
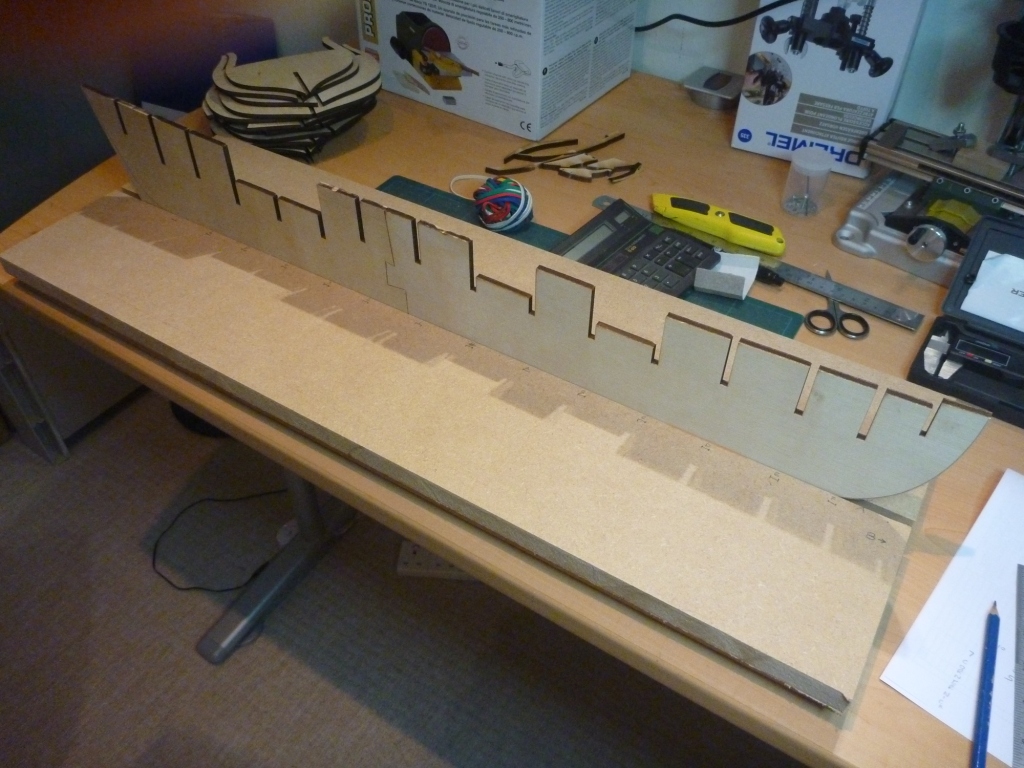
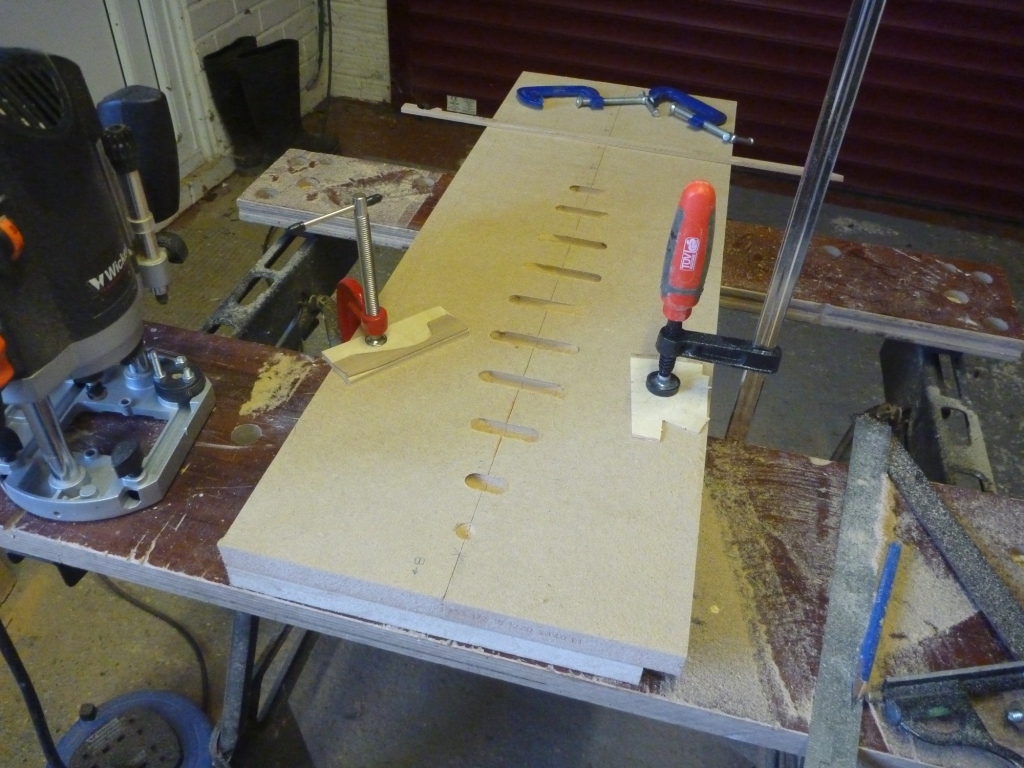
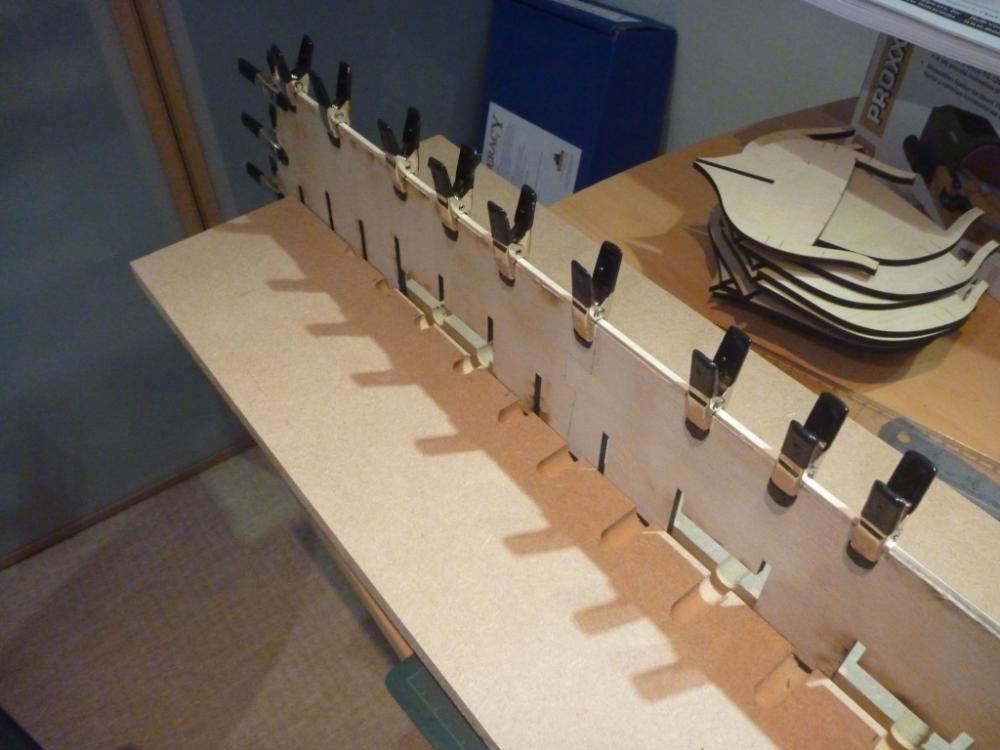
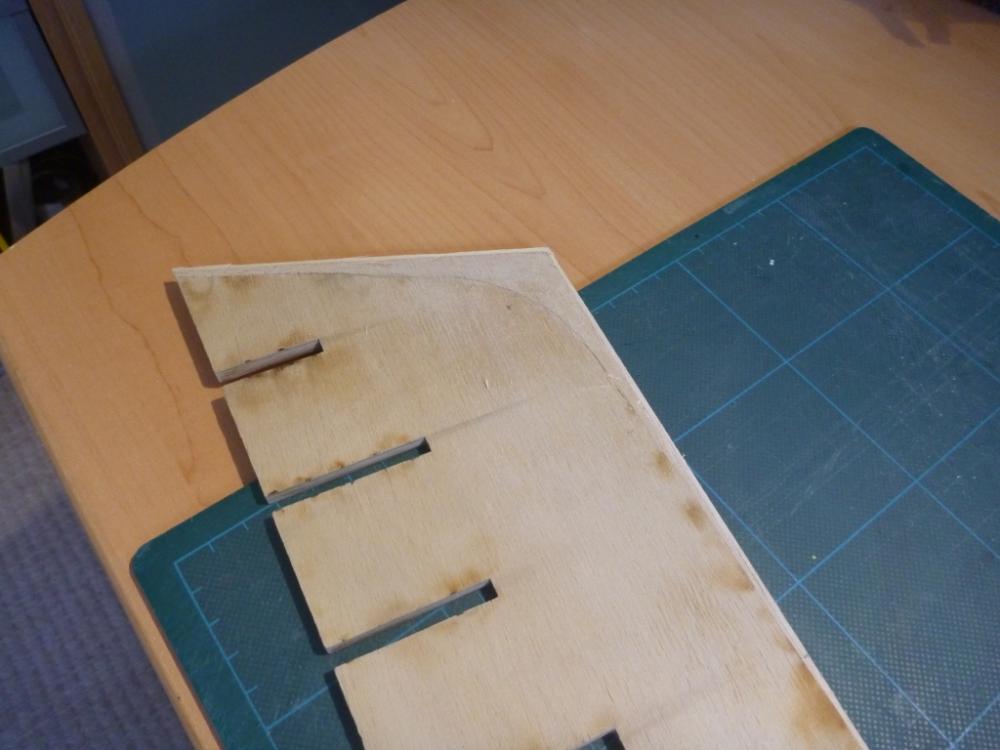
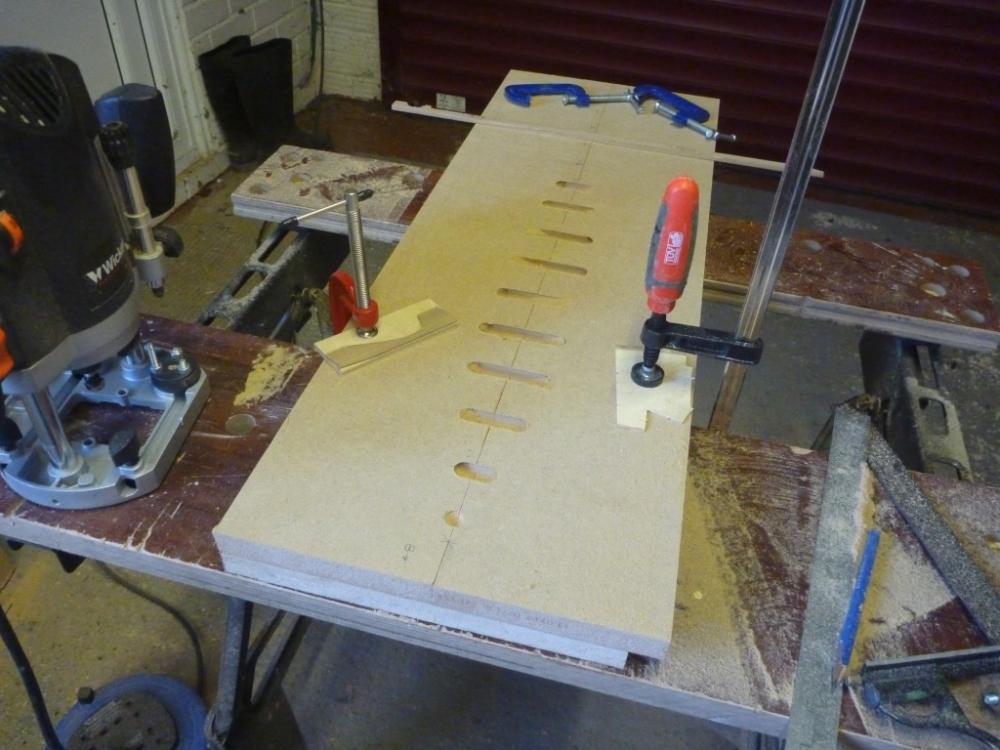
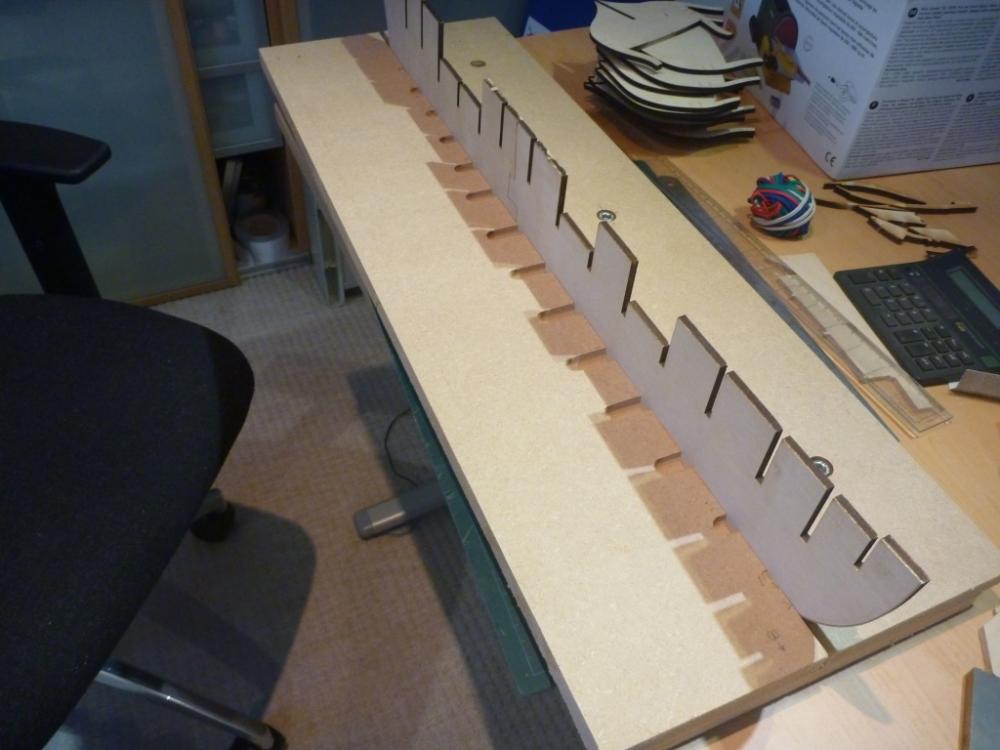
So, to starting the kit. The two parts of the Bulkhead former were cleaned up and glued together. I sandwiched them between two glass sheets plus some weights to keep things straight. Cleaned up the bulkhead slots and test fitted them for a nice tight fit. I’m very conscious of the length of this hull and wanted to be extra cautious to avoid any warping. So gave some thought to a keel clamp arrangement, this is what I came up with. I sawed up a few pieces of 18mm MDF. One big bit as a base, one smaller bit as a fixed jaw and another smaller piece as a moving jaw. I Positioned the former between the jaws with a false keel spacer below and measured/marked the bulkheads positions Then clamped the parts together and routed out slots to correspond with the bulkhead positions. They are different widths and depths, half the slot in each jaw. The glued the fixed jaw to the base. Drilled screw holes/slots to allow the moving jaw to be clamped tight. I left the two jaws overlapping the base along the long side to act as a lip for fixing clamps, elastic bands etc.


-
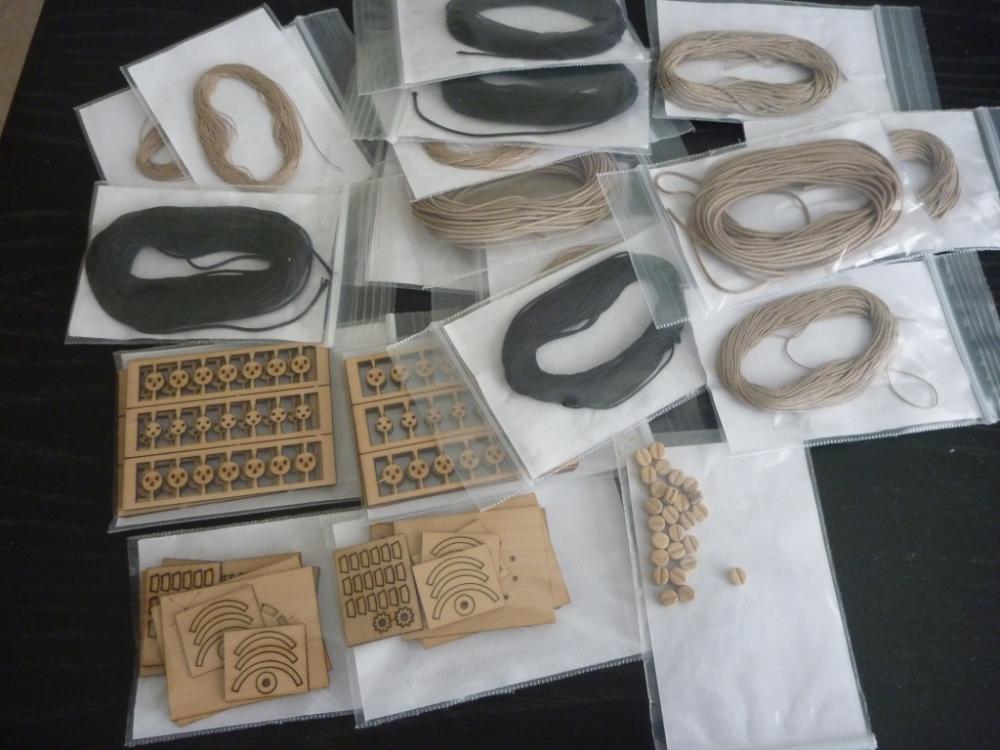
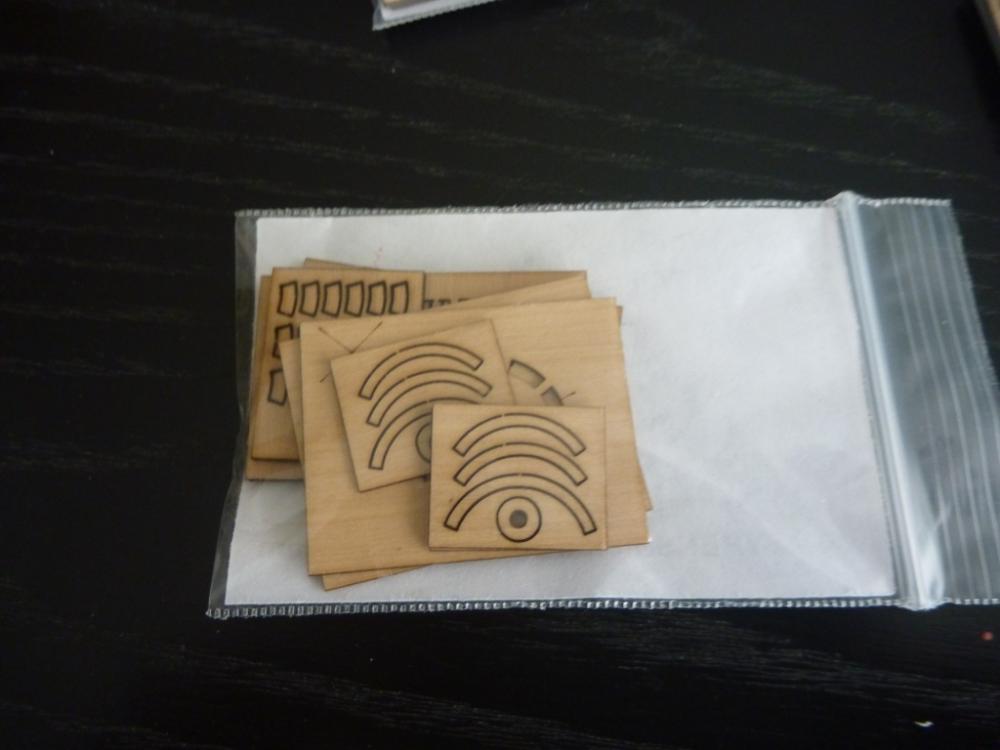
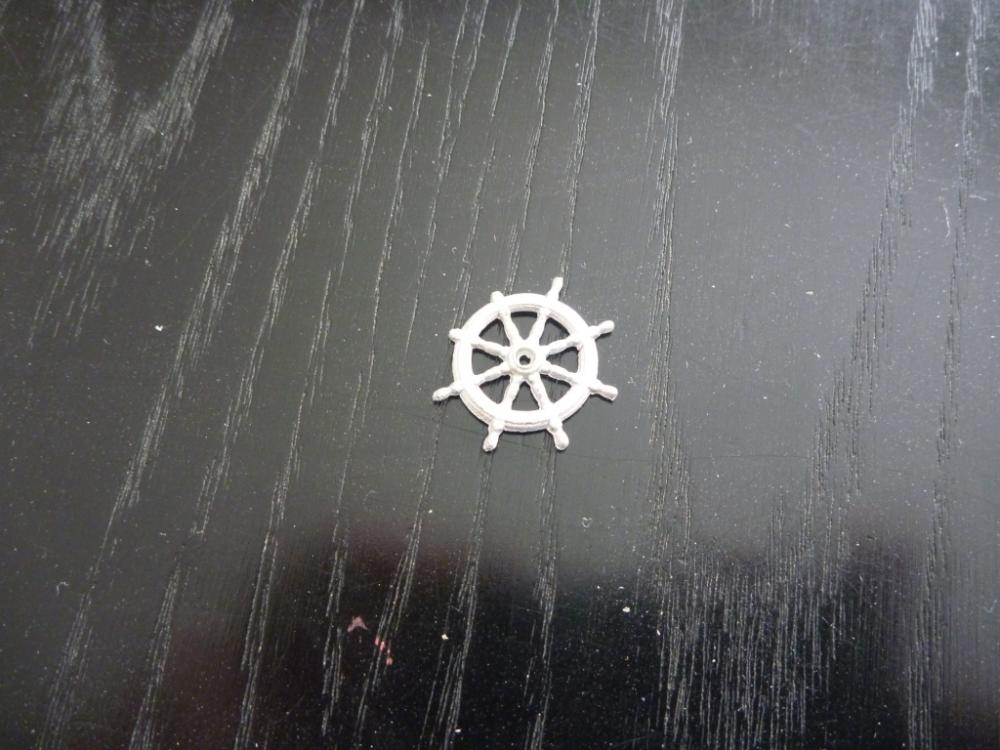
I won’t photo the kit contents, most of you will have seen the like before. However some first impressions. Chuck’s stamp on the kit stands out a mile. His instruction book with many many colour photos and detailed descriptions is a joy. Also the drawings are first rate. There are a lot of features that show a really good eye for the detail and the build has been very well thought through. The decorations in the form of the etched brass and castings are also numerous. The timber strips are pretty good quality and consistency. However I’m not a big fan of Basswood for external finish. So I am ordering some replacement timber for Hull planking. I will think about deck planking later, may stick with Basswood, not sure yet. The many sheets of laser cut Basswood and Ply parts are all good quality. One downside (for me at least) is that the laser cutting means I will have to spend time removing the char caused by the cutting. My Caldercraft Victory used machine cutting so no char, maybe I’m a bit spoilt. Also after reviewing some of the parts I decided to revisit Syren A lot of the line was quite shiny so I replaced it all with Chucks line. Plus I like his Deadeyes so threw in some of those. And lastly the cast ships wheels were a bit poor. So imagine my delight a few weeks back when Chuck announced a ships wheel kit at a very suitable size. Two of them also included.
-
Nice to have you onboard Udo, welcome
-
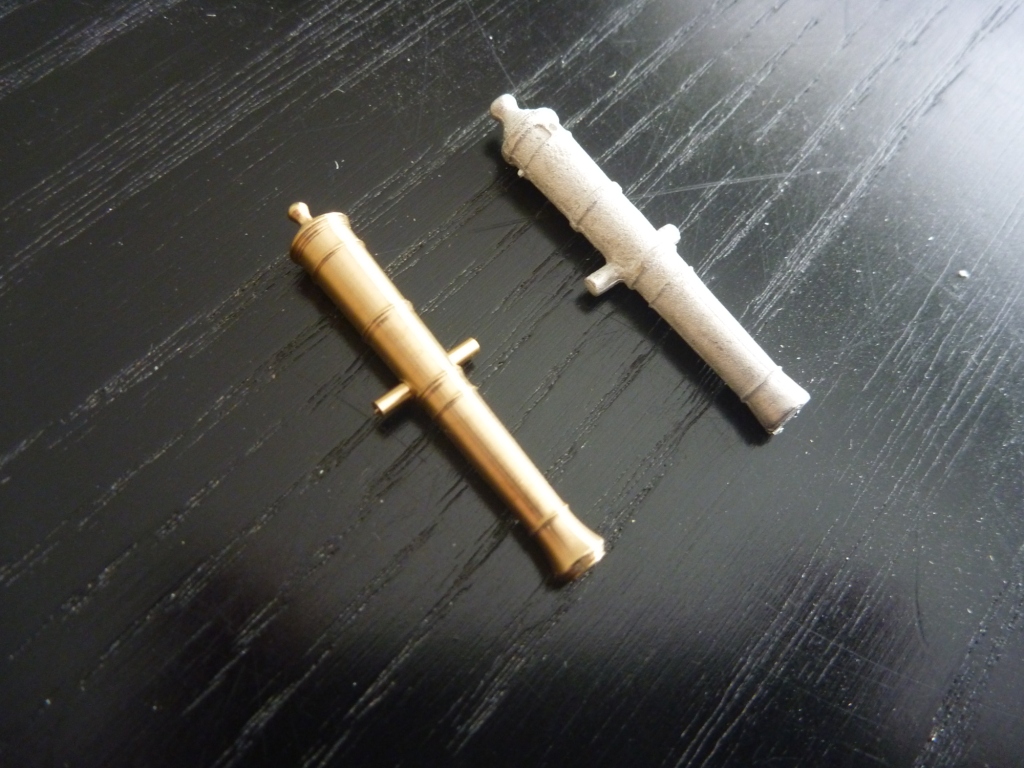
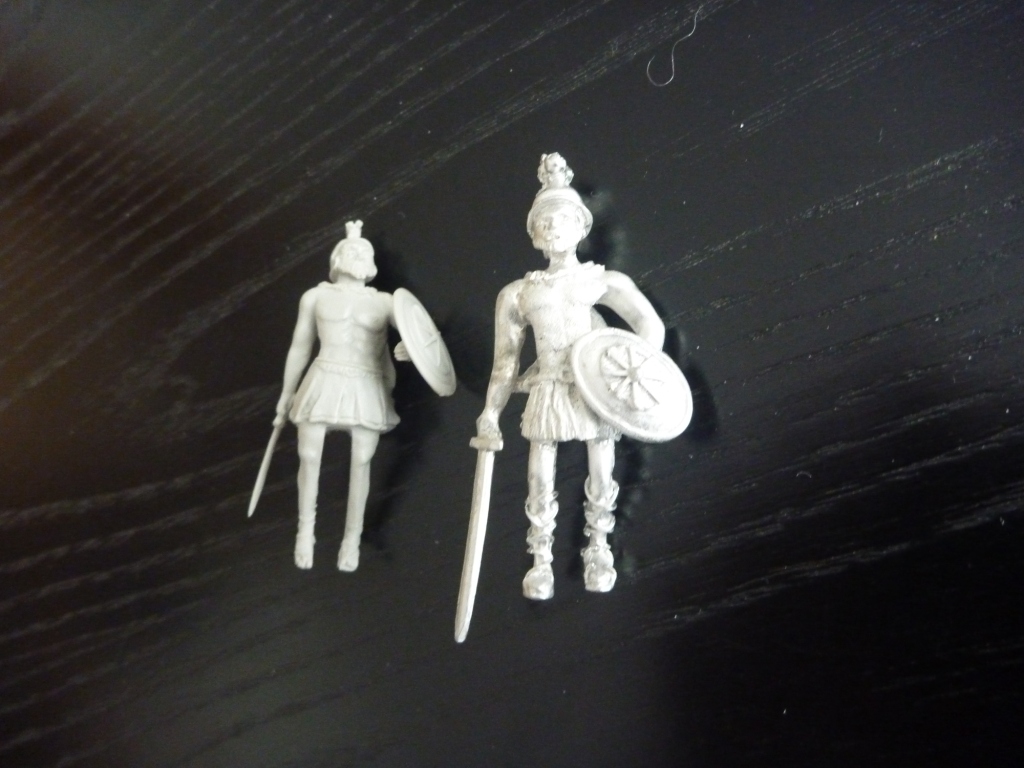
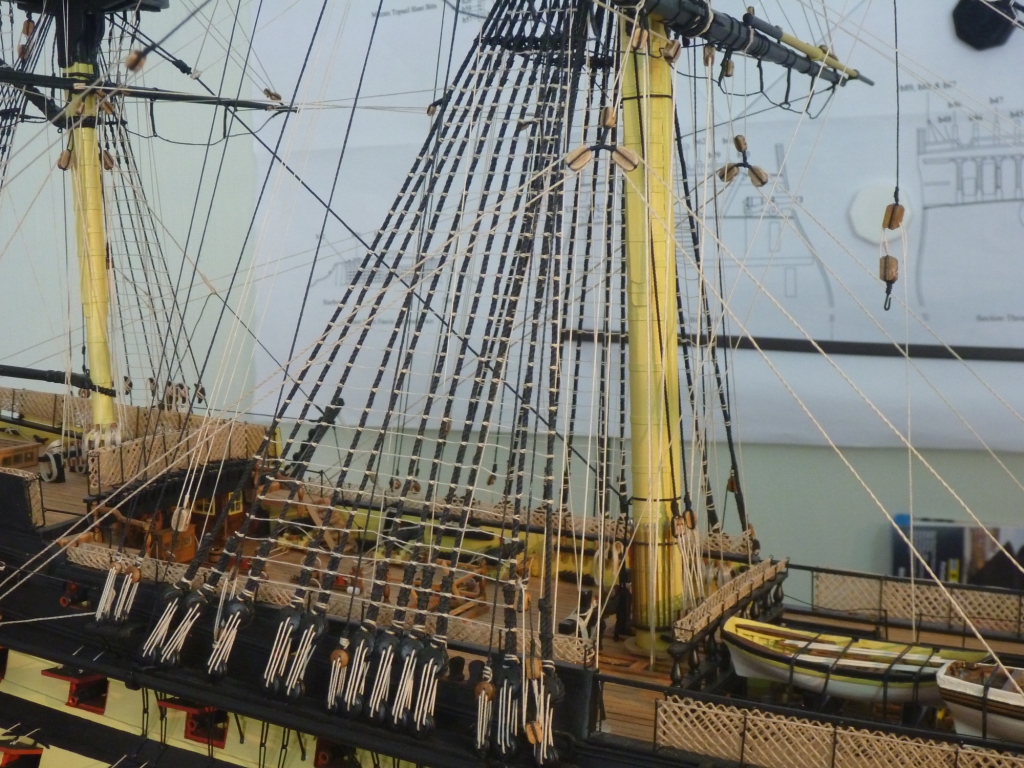
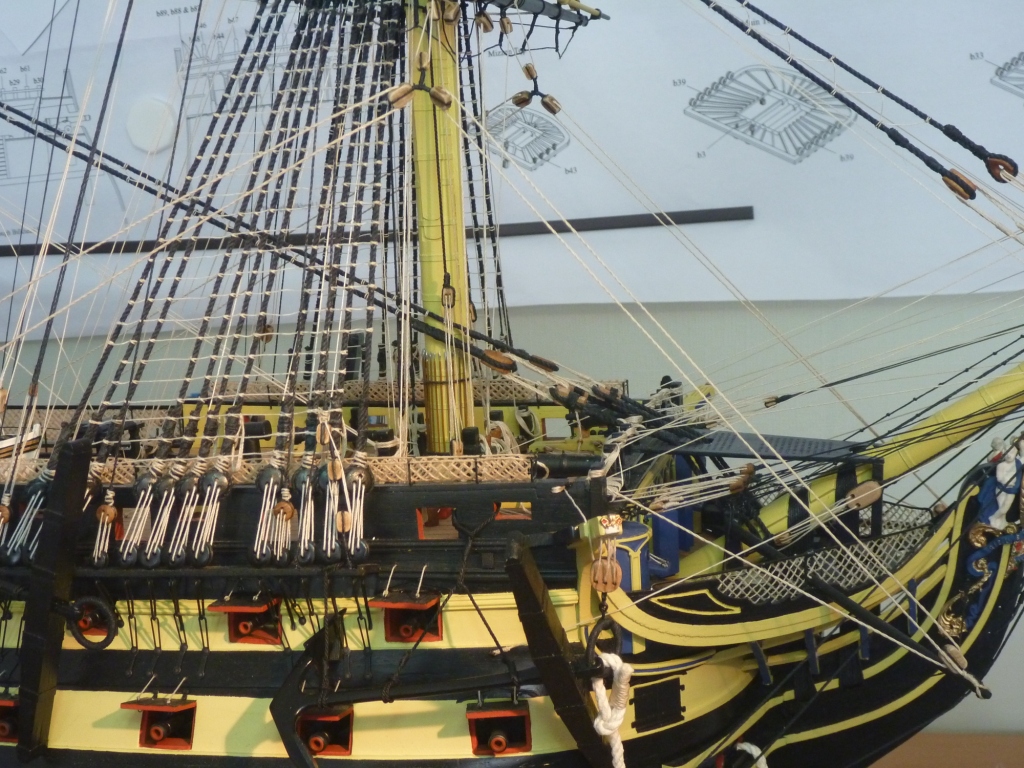
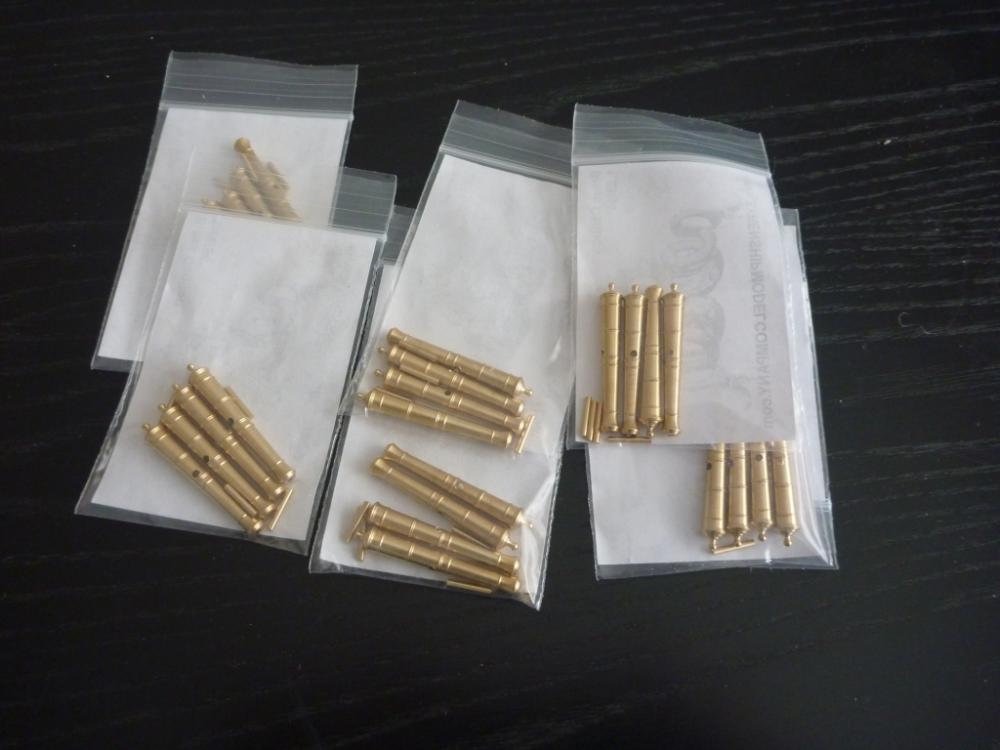
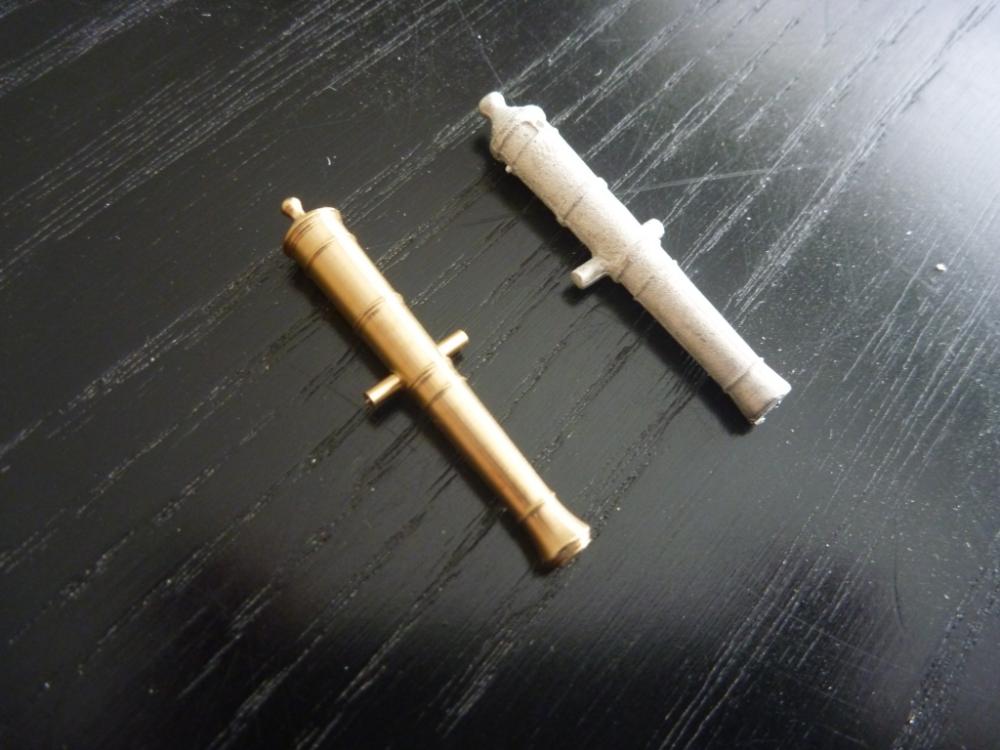
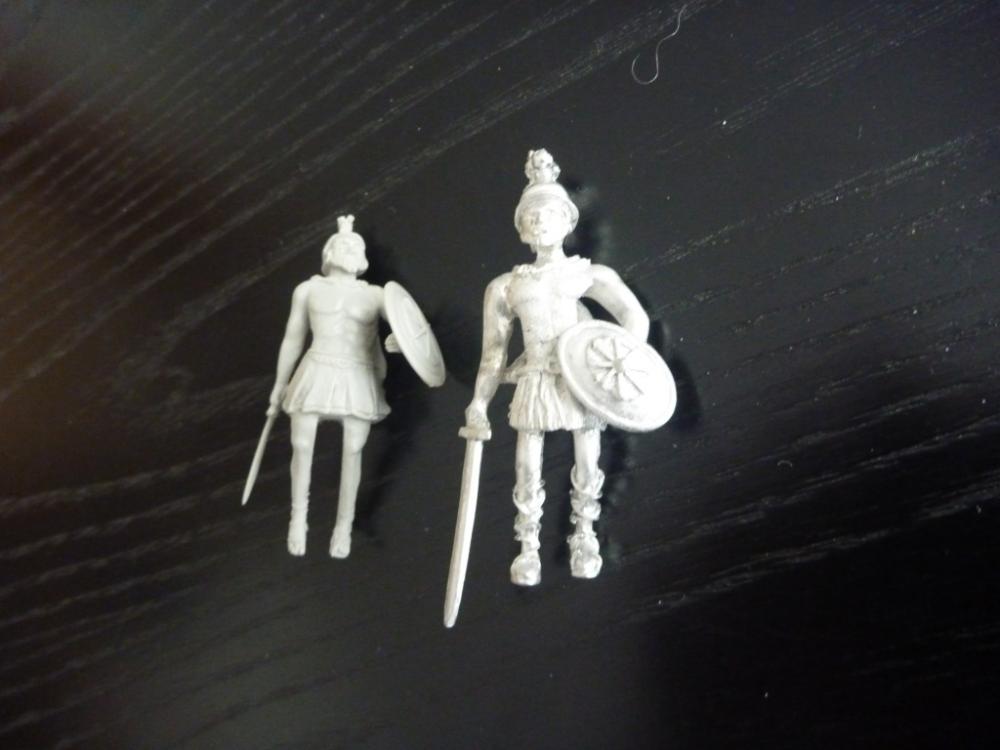
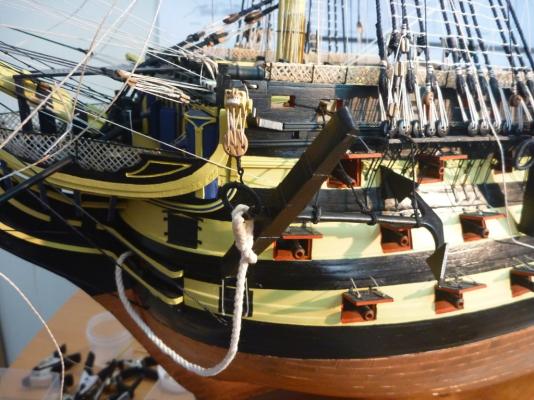
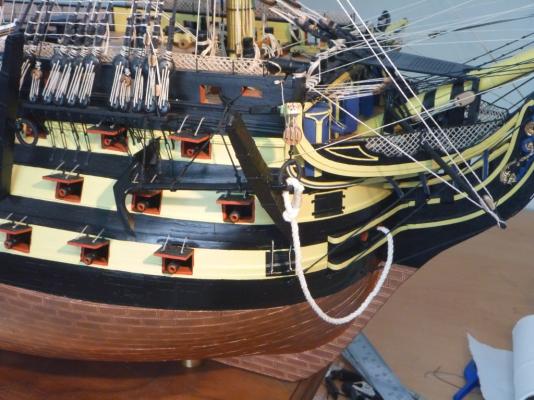
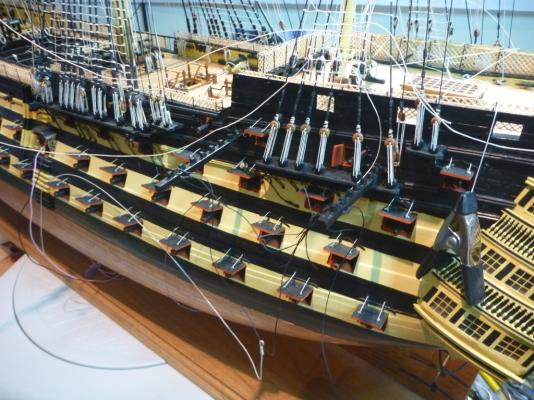
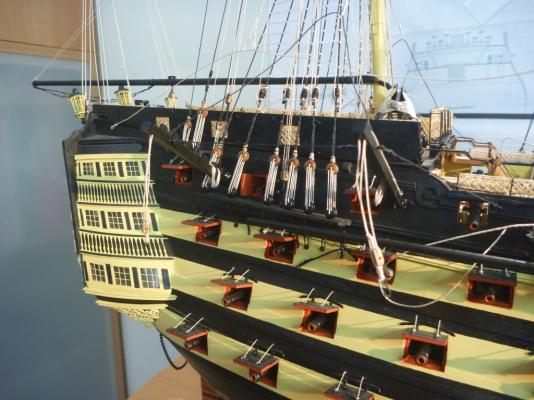
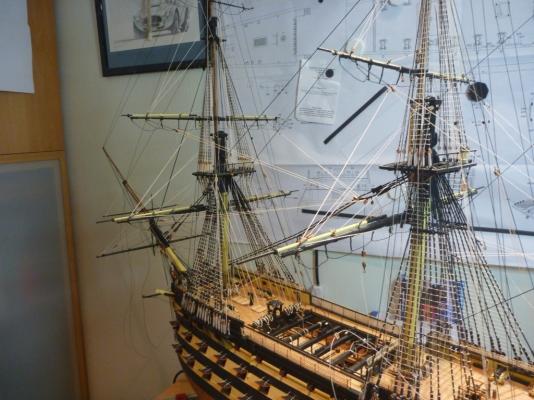
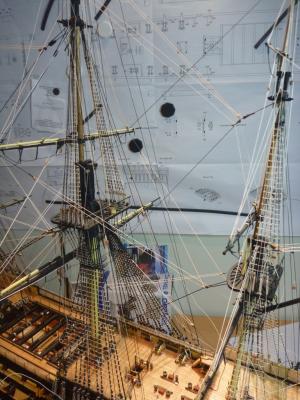
So here we go. Recently finished my Caldercraft Victory and I've picked the Confederacy as the next victim. I bought the kit a few months back in preparation. Also in preparation I went to Chuck for a full set of his great gun barrels. A big difference from the kit supplied ones. And also his figurehead (got in before discontinued I think) Also a very very big improvement on the kits offering. Nick
-
Hi Kevin Just stopping by to get an update. Interesting to hear you plan for a diorama, that sounds great, cant wait to see it progress. I like the picture you want to base it on, looks like a distinct lack of wind. Your progress so far is looking great, really nice work, hope you are still enjoying, I'm sure the ratlines are challenging your patience. Keep up the good work Nick
- 1,319 replies
-
- 4
-

-
- caldercraft
- Victory
- (and 1 more)
-
Mike Check out MarisStella (think I got that right) in the traders section. They have just launched a series of three starter kits aimed at complete beginners, a sort of 'course'. Should suit nicely. Nick
-
Merchen Your work is incredible, truly amazing.... and carved with practically a sword, wonderful Nick
-
Enamle vs Acrylic
pompey2 replied to Timothy Wood's topic in Painting, finishing and weathering products and techniques
Worth noting that Caldercraft's Admiralty paints used to sell both. But now are stopping enamel due to the declining demand vs acrylic. -
Igor, outstanding work. Love the figurehead I think you got it perfect. Nick
-
Hi Daniel Is the suggestion that this is Victory? On the painting it looks like the guy just left of centre is trying to lift the item in question and maybe the guy far left as well. So maybe it is actually a fallen spar or other misc. woodwork, the sail on deck could support that. It does seem strange that the deck either side seems to be on the same level. And then the poop deck sketch looking similar may be a red herring. Nick
-
Hey Nigel I've been enjoying your build, lovely work. I've just started on my Confed after finishing my last model of Victory. I'm getting together some bits and pieces before starting a log but will do soon. Also waiting for some replacement timber to arrive. Your log has been a definite help, advising on things to watch out for. Keep up the good work Nick
-
Hey Rob Glad to see things moving along, pre-planking bulkheads sounds like a good idea. Thanks for your recent comments on my build finish. I will still be checking in occasionally to check up on you Nick
- 295 replies
-
- 1
-
-
- victory
- caldercraft
- (and 1 more)
-
Dafi,Grant, Zoltan, Robert, Ian and Rob Thank you all for your very generous comments. Wishing you all the best with your own builds. Nick
-
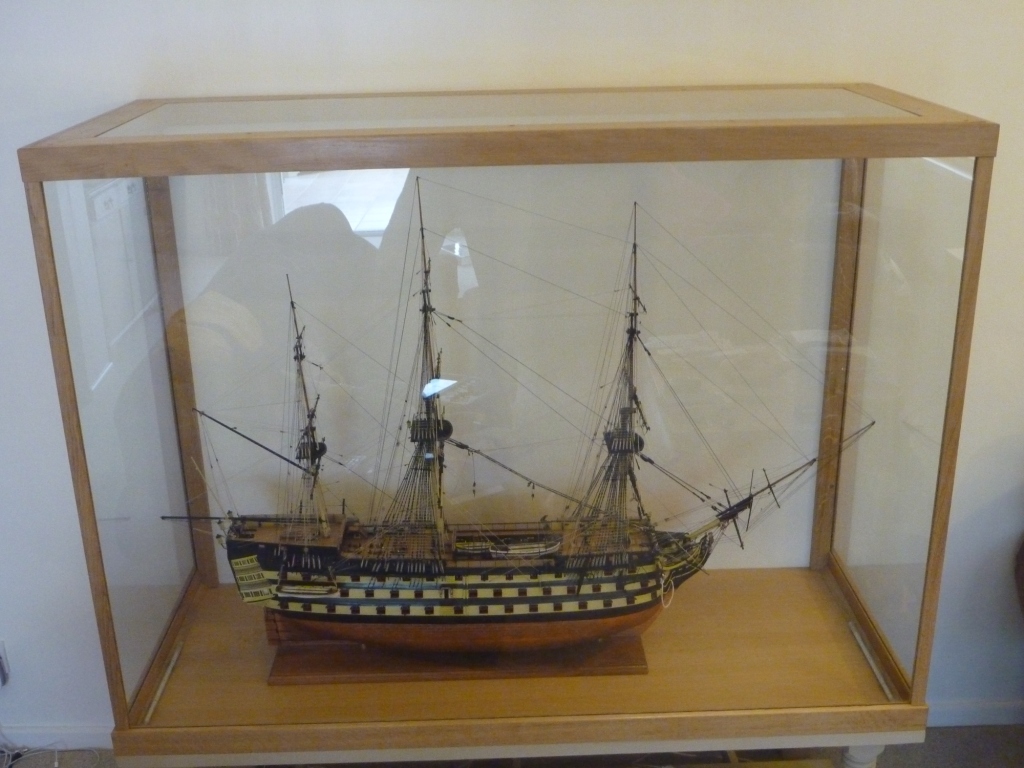
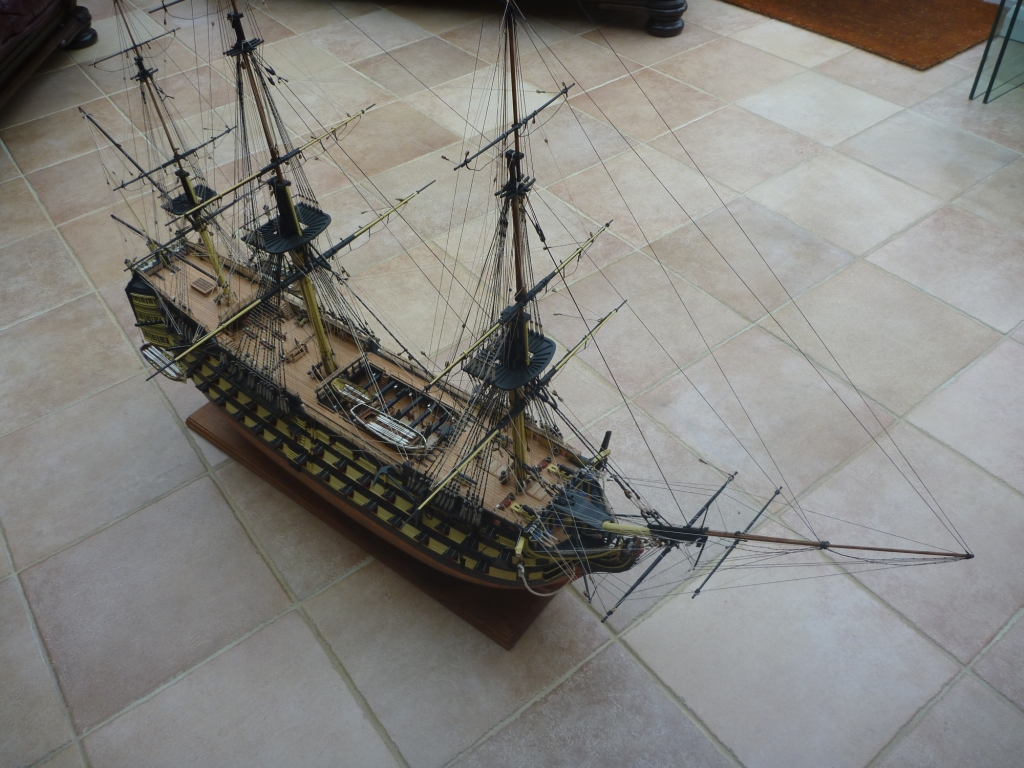
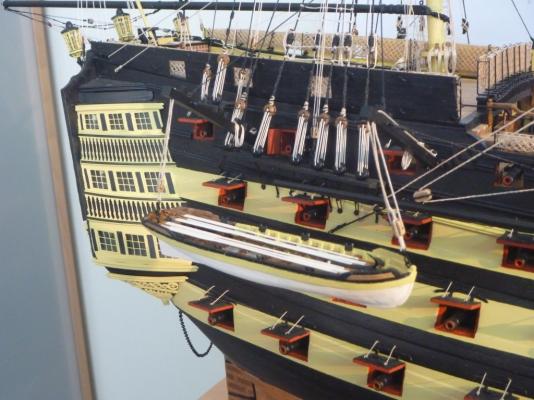
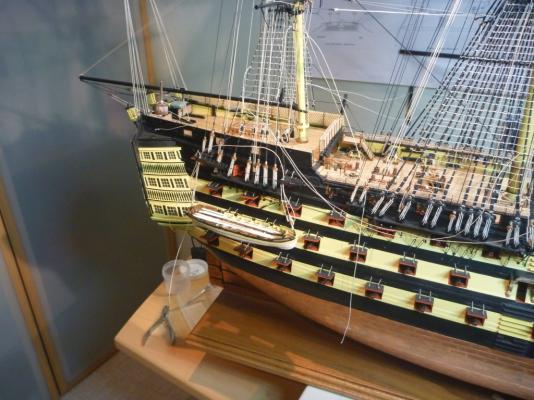
to continue: Finally the other boats now hung from the davits. And I do mean finally because that is now me all done. One HMS Victory complete. I have also been working on a cabinet for her. The cabinet project was a pretty major undertaking on its own so I have started a different thread to show the process. Here is a link if you are interested. http://modelshipworld.com/index.php/topic/13173-display-case-for-hms-victory/ But here is a few finished photos of the old girl and some in her final resting place (that sounds a bit terminal) – All that is left to be said is – Phew, now what’s next? Looks like the pumpkin approves Thanks for following along, it’s been a blast. And a very big thank you for kind comments and likes. Nick PS actually I know whats next - USF Confederacy.


- 84 replies
-
- 9
-
-
- finished
- caldercraft
- (and 1 more)
-
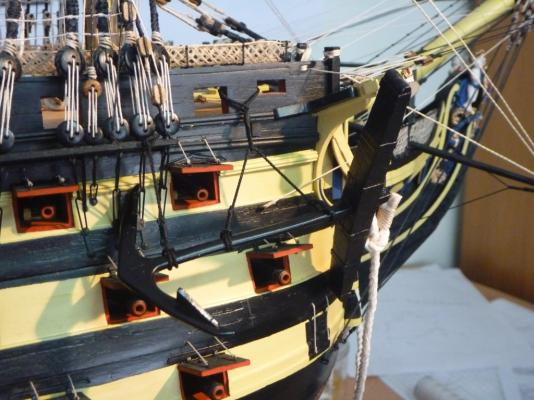
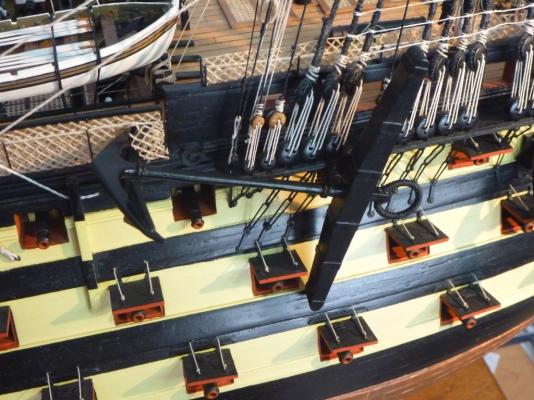
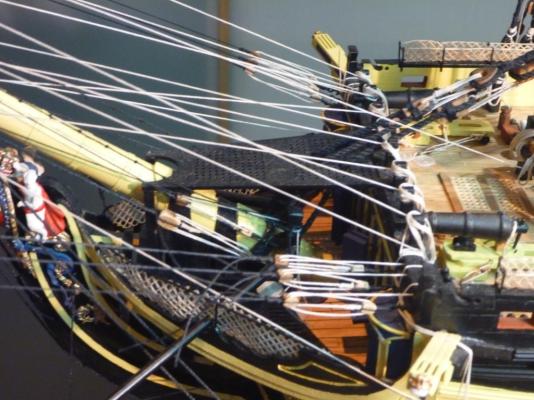
To Continue: Then onto the Anchors. The Starboard Sheet anchor secured. The Cat falls rigged for Bower and the anchor secured. And the Cable led into the Hawse hole. Both sides. Now the Tack/Sheet/Clue garnets can be hung from the foremast yard and the lines run and secured. And the same for the Main Yard. Here they cross then reeve through the hull to be tied off on the gun deck cleats, tricky job that. yet more to go. Nick


- 84 replies
-
- 6
-
-
- finished
- caldercraft
- (and 1 more)
-
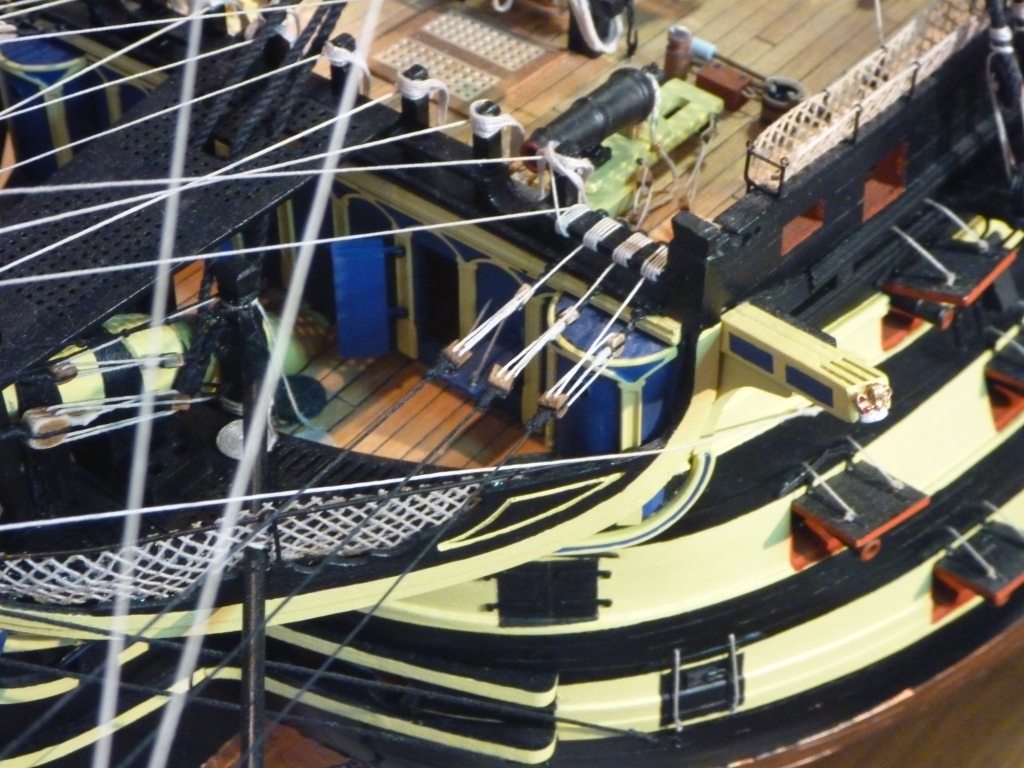
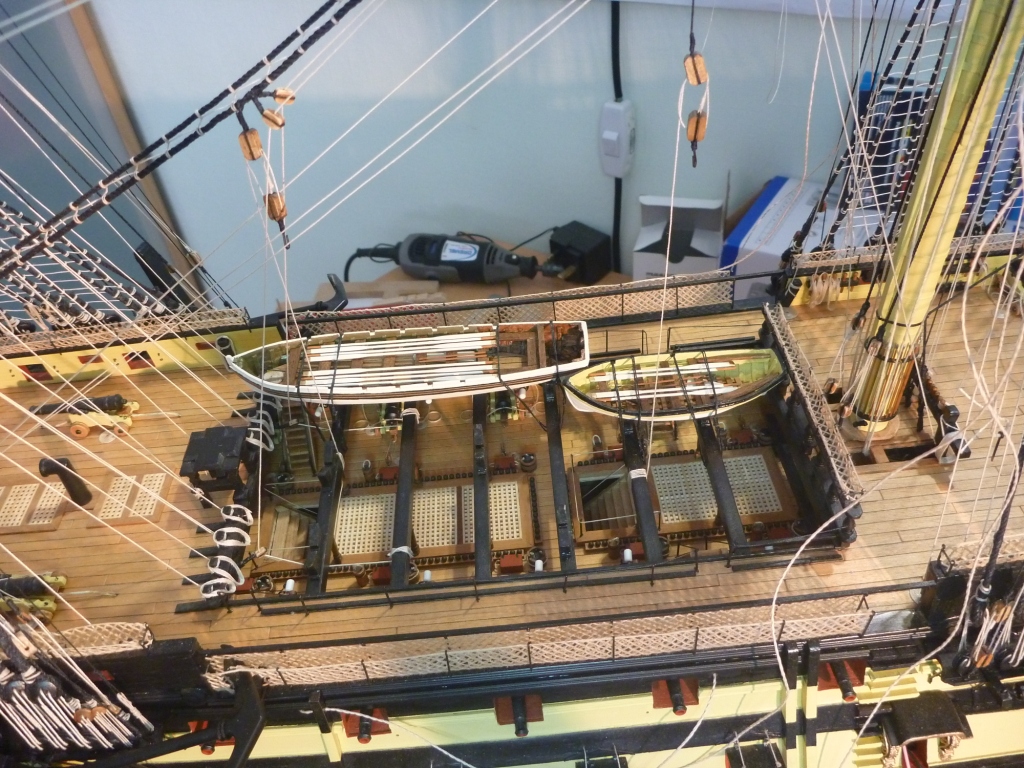
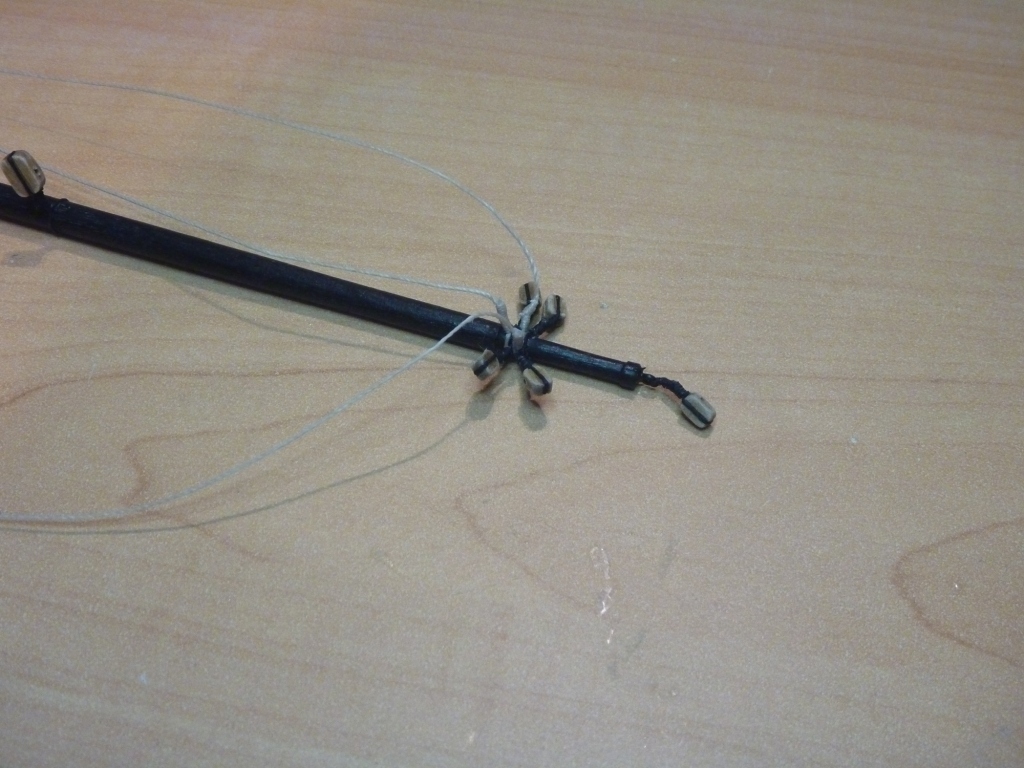
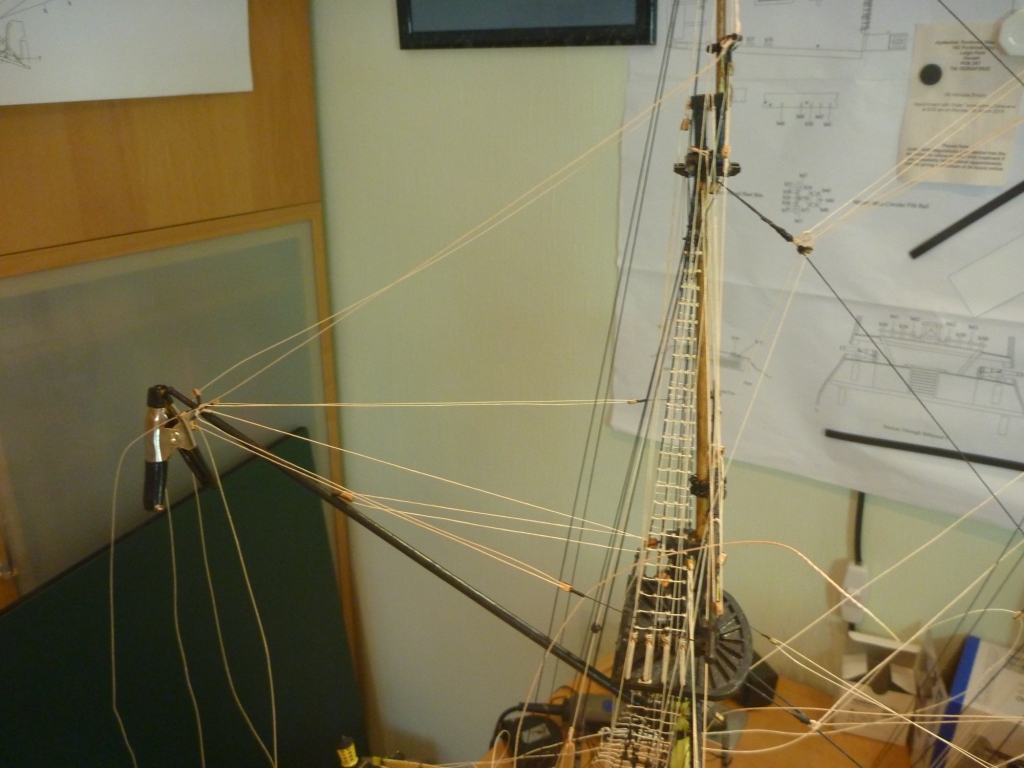
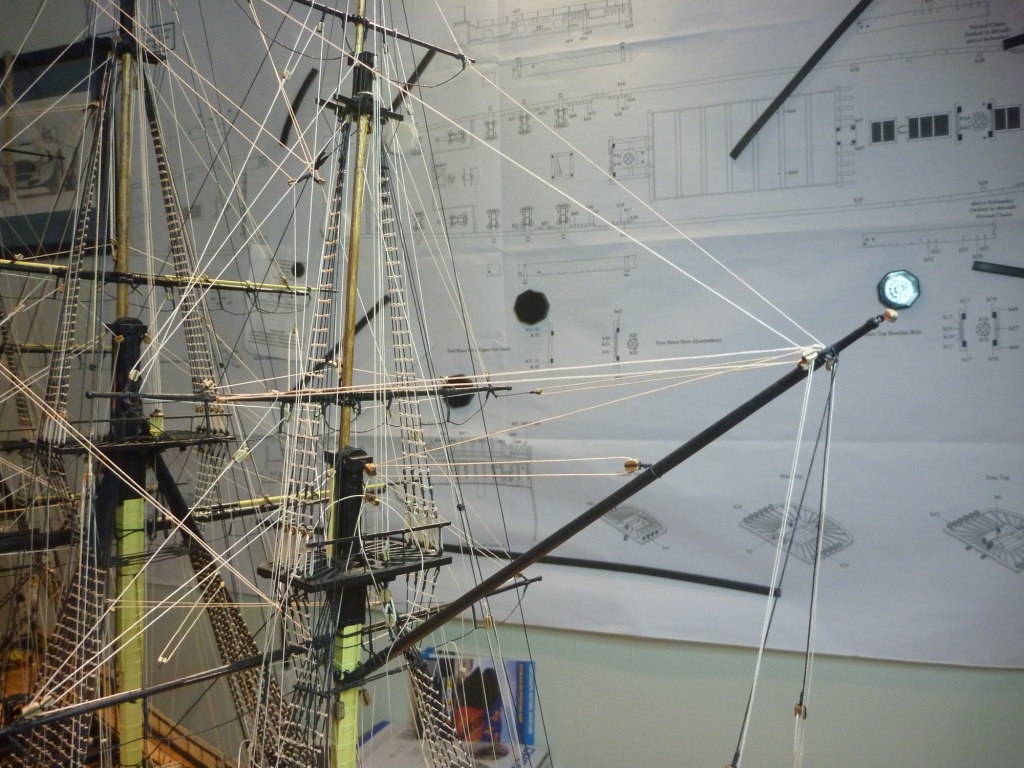
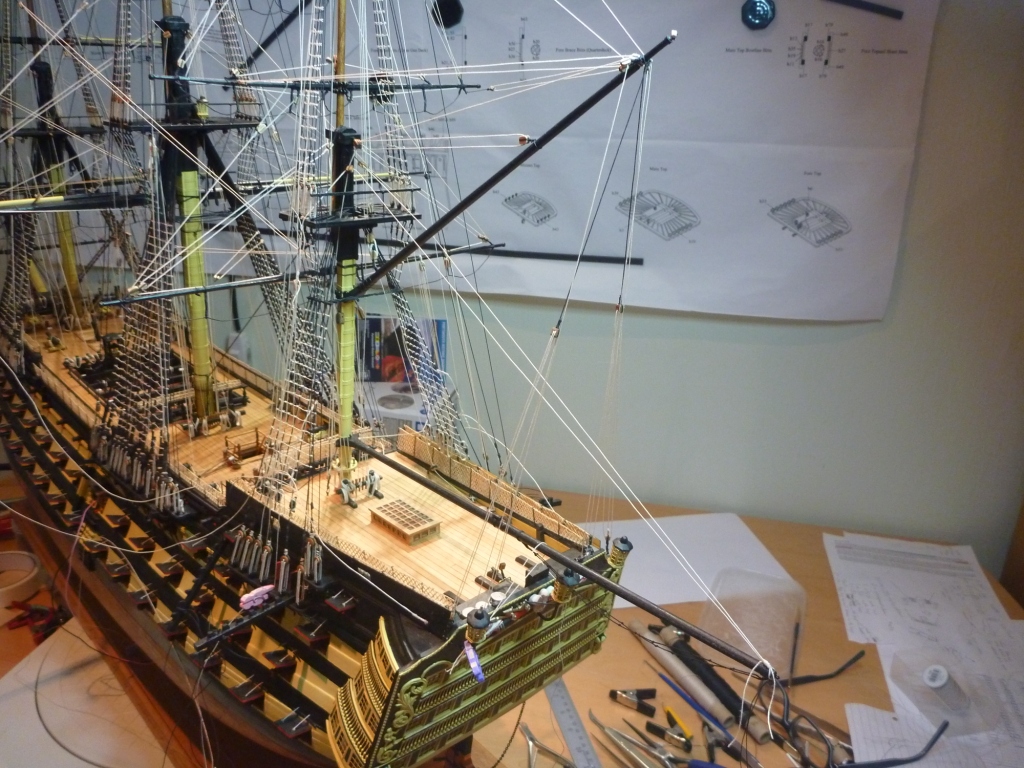
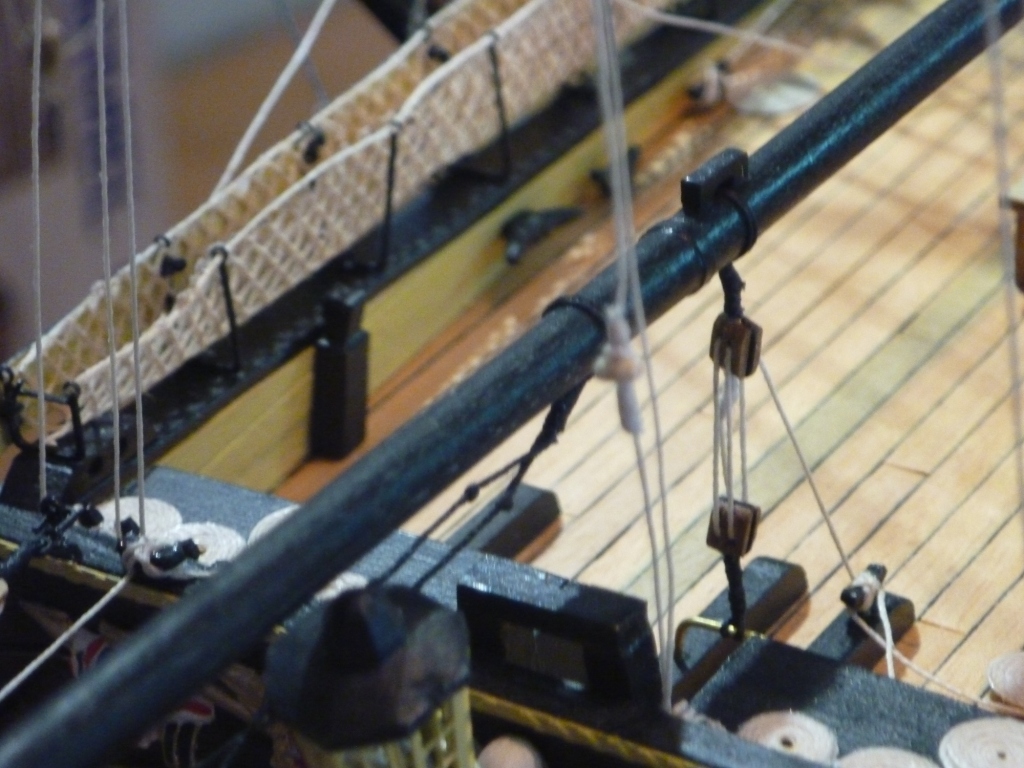
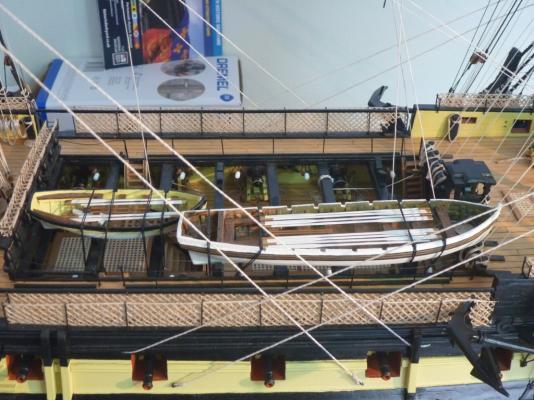
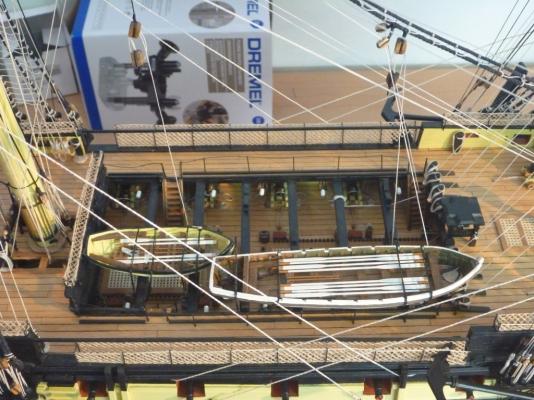
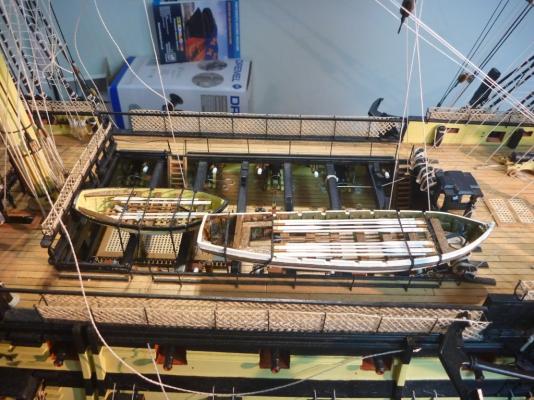
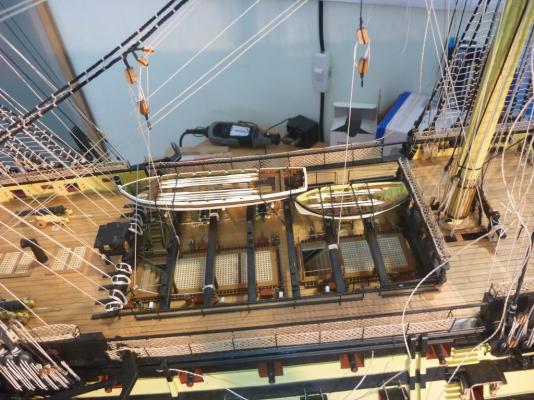
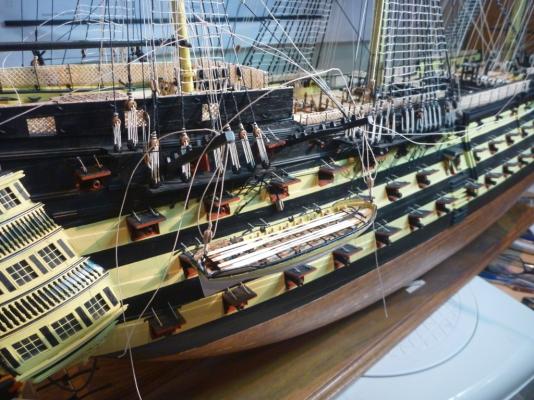
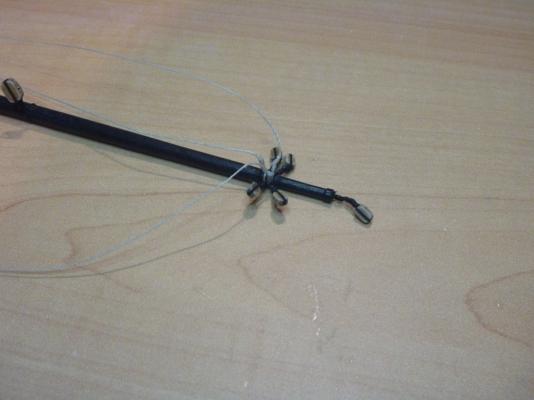
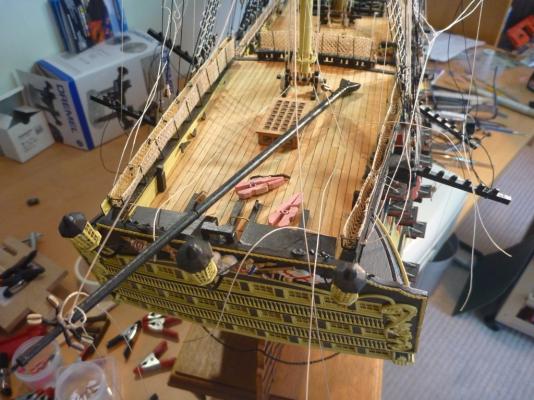
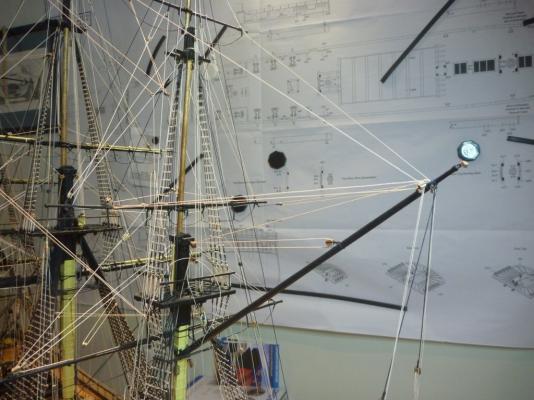
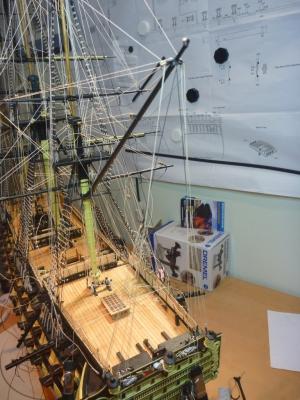
To continue: Thought I might share these This is how I create the rope hanks I have been using on belaying pins. And the rope coils. Next onto the three guys on the Bowsprit. Loose rigged. Then tensioned and tied down. Both sides. Then the ships boats. As I am hanging two from the davits I will only mount two in the waist. This allows a viewer to see past them to the detail on the gun deck below. Boats now mounted and tied down. Then make off the drops from the tackle pendants. still more to come. Nick


- 84 replies
-
- 6
-
-
- finished
- caldercraft
- (and 1 more)
-
To continue. The Ensign Staff going in. I tried long and hard to get a flag to sit right. But whatever I did I was not happy with the way it hung. So decided to go without flags at all. I included little toggles and eyes in the Signal and Ensign Halyards, just for the hell of it. Now allows me to finish the Quarter Davits and tie them off in position. And test hang the boats. Then finish tensioning and tying off some of the braces which still needed doing. still more to come. Nick
- 84 replies
-
- 4
-
-
- finished
- caldercraft
- (and 1 more)
-
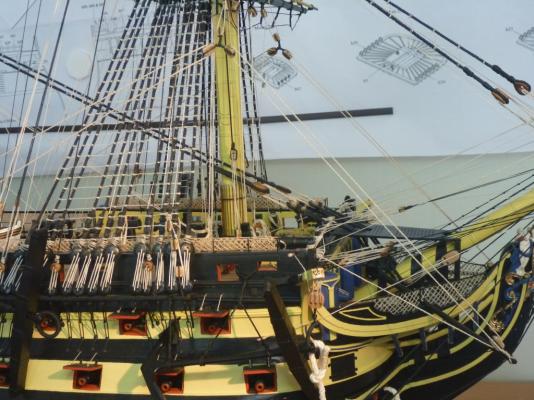
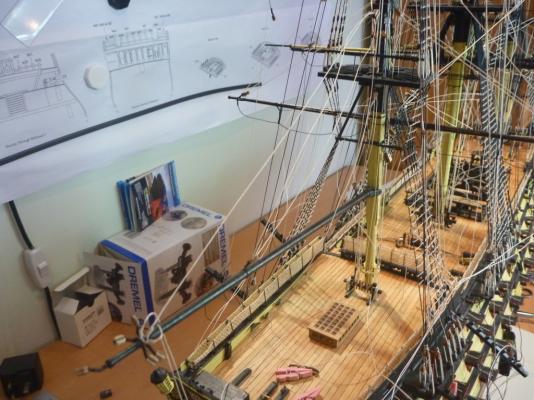
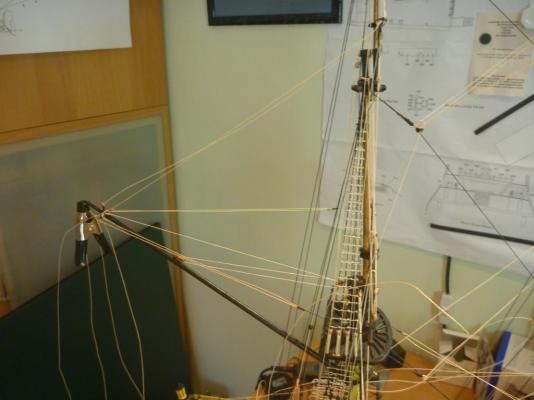
So here we go with some more updates. There is a bunch of them so I will split them across several posts. Moving onto the Driver Gaff I pre tied all of the rigging to the end of the Gaff, what a birds nest! But after gluing and trimming it looks a little more sensible. Getting the Gaff ready to hoist. Up she goes. Now in place and having the rigging tensioned. That includes the Mizzen braces. Now the Gaff is complete, ready to move to the Boom. Boom also now in place. The Boom sheet being tied off. More to follow. Nick


- 84 replies
-
- 4
-
-
- finished
- caldercraft
- (and 1 more)