MORE HANDBOOKS ARE ON THEIR WAY! We will let you know when they get here.
×


pompey2
-
Posts
511 -
Joined
-
Last visited
Content Type
Profiles
Forums
Gallery
Events
Everything posted by pompey2
-
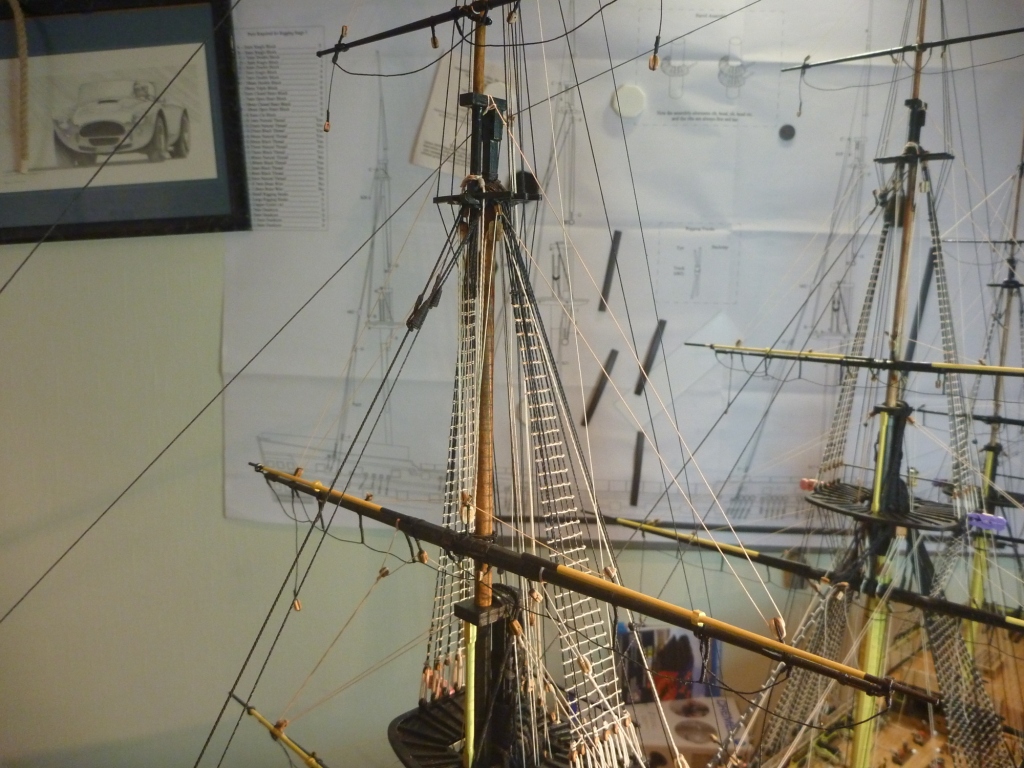
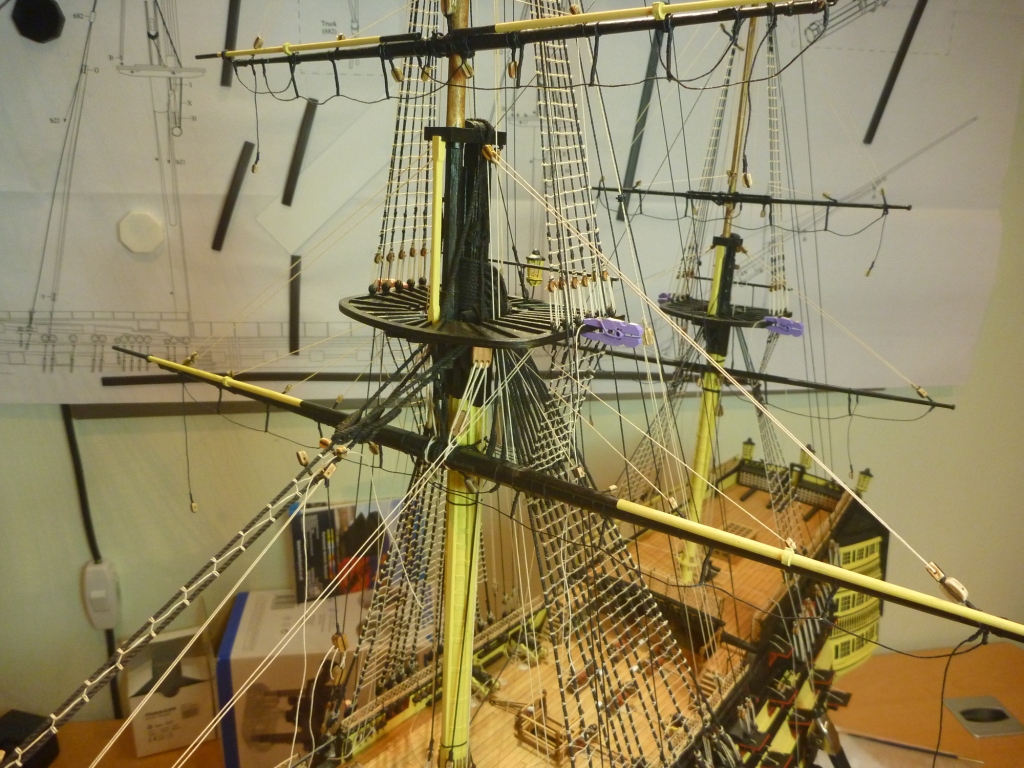
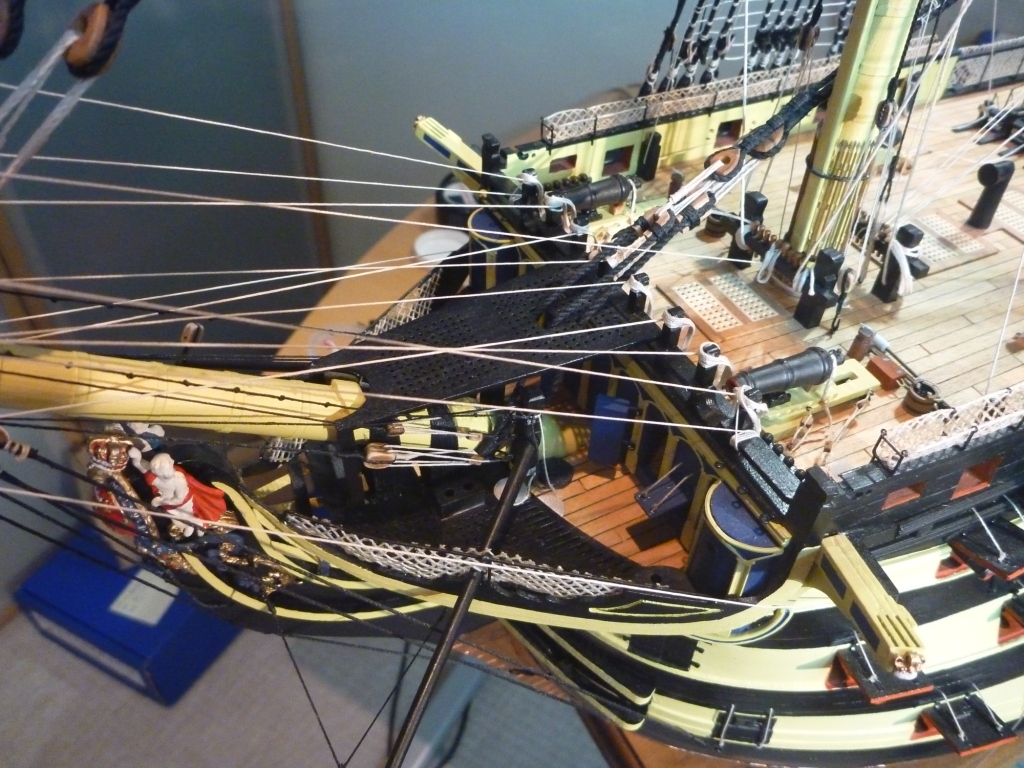
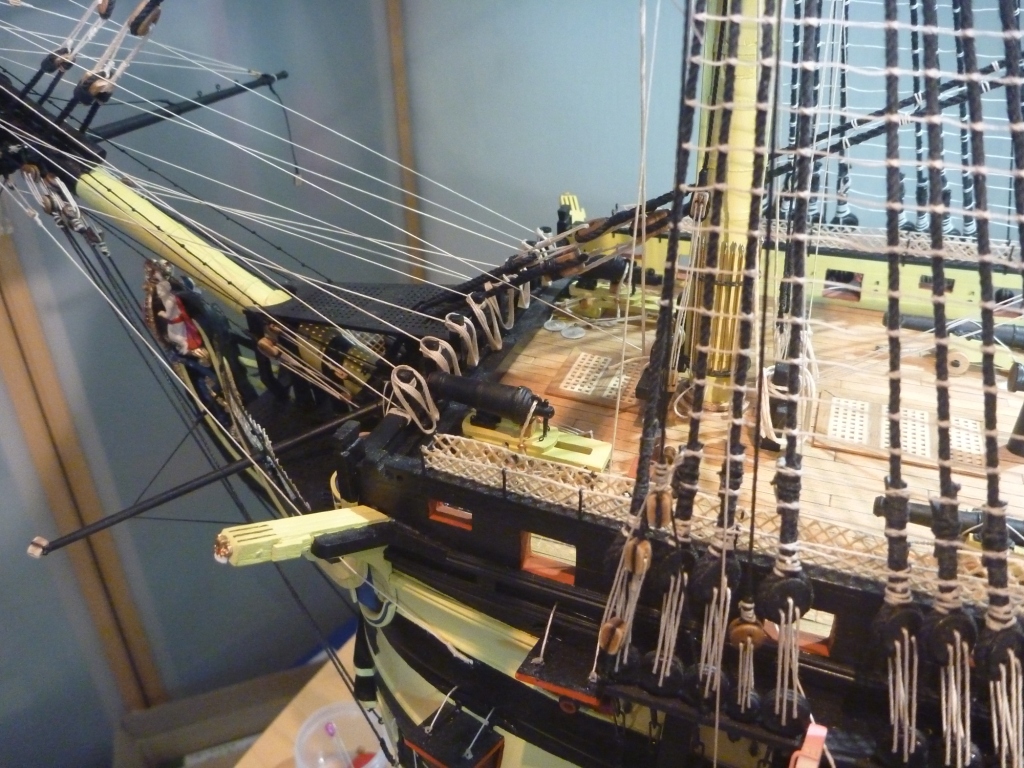
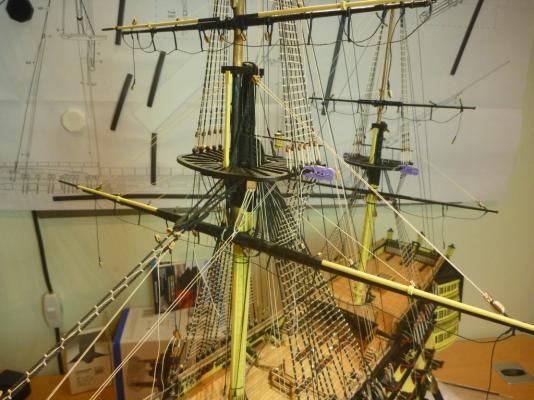
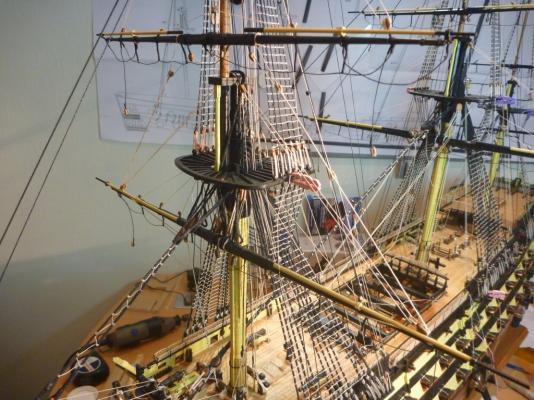
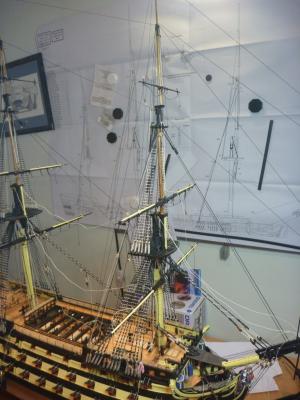
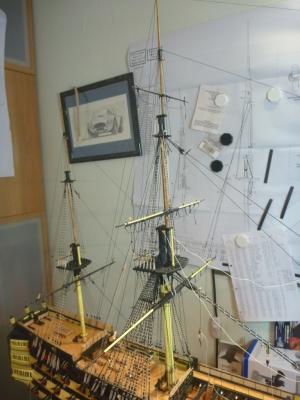
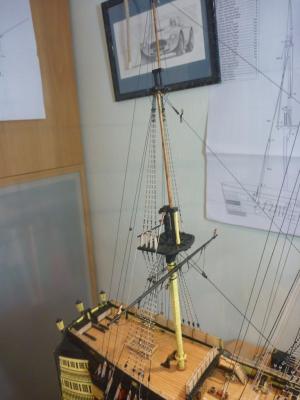
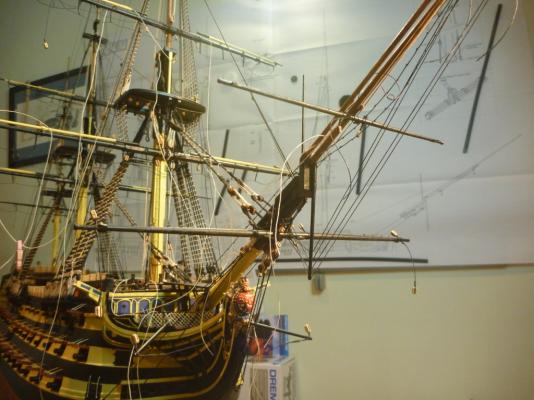
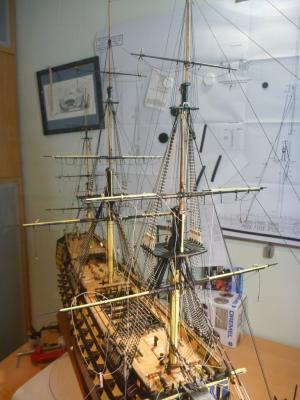
 OK, to continue The Fore Topmast Yard Lifts and Buntlines. Main Yard Lifts and the Bunt and Leechlines – these lines really annoy me, they run from the Main Top to the Fore Brace Bitts, so right through the only real area where you can get a hand in to make off belays, which means you constantly catch, push or pull then. All the Mizzen Lifts, and Buntlines for the Topmast Yard. Then the Spritsail Yard Lifts & Buntlines and the Spritsail Topsail Yard Lift. Then the Spritsail Yard Sheets and Cluelines. The Spritsail lines belayed to Beakhead timberheads. And hanks hung for them. The Fore Yard Sheets and Cluelines. You can also see those pesky Main Yard Bunt and Leech lines behind. My tip of the day would be to run these lines but leave them hanging loose. Then belay them at a later date. That should help avoid pulling out a block (which I managed) or just stretching them so that they end up hanging very loose. will continue on next post.
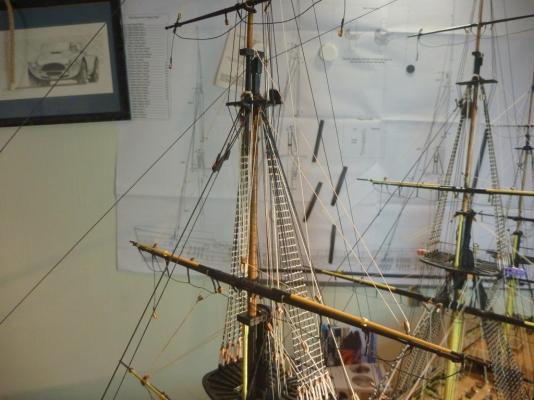


- 84 replies
-
- 3
-

-
- finished
- caldercraft
- (and 1 more)
-
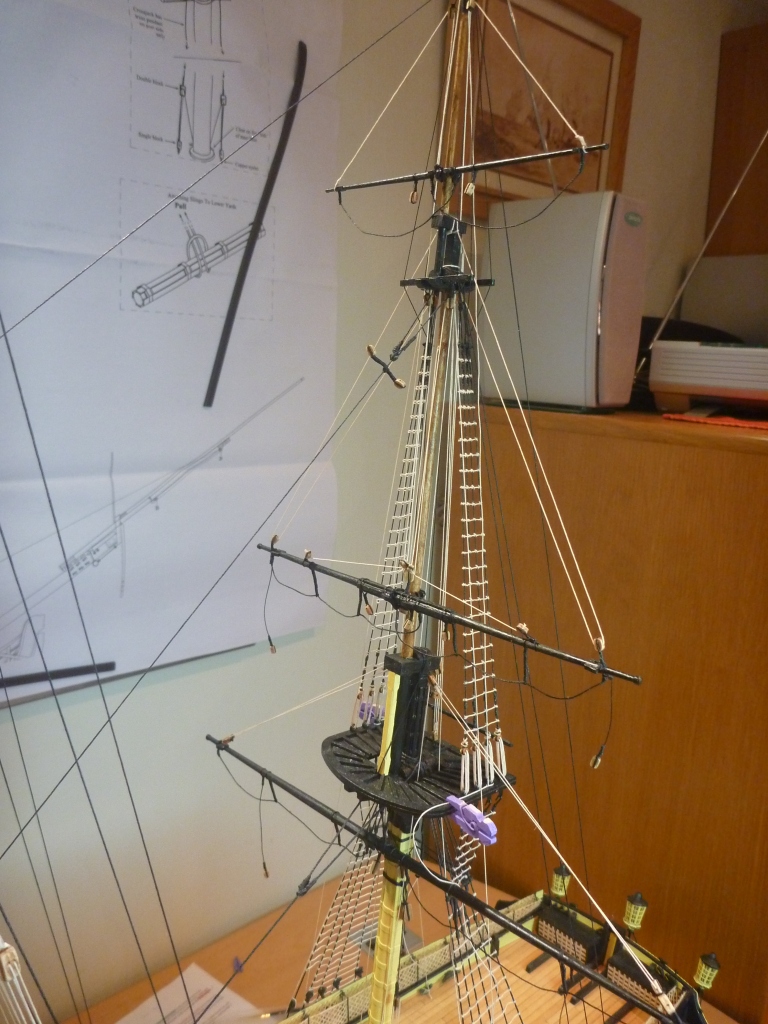
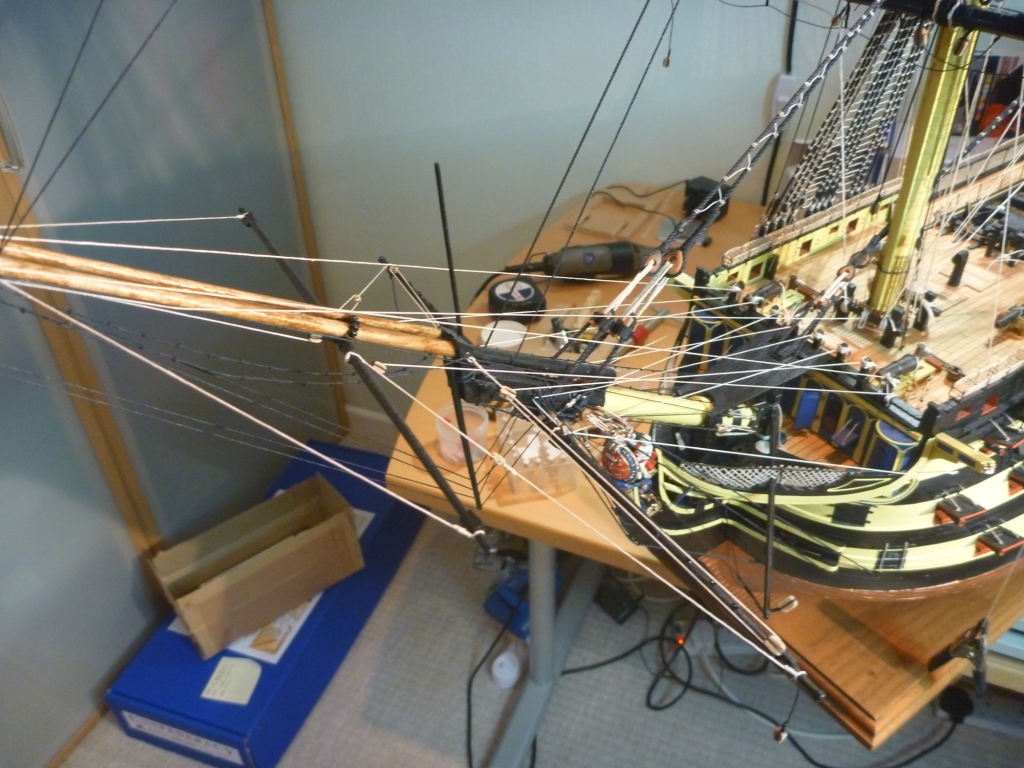
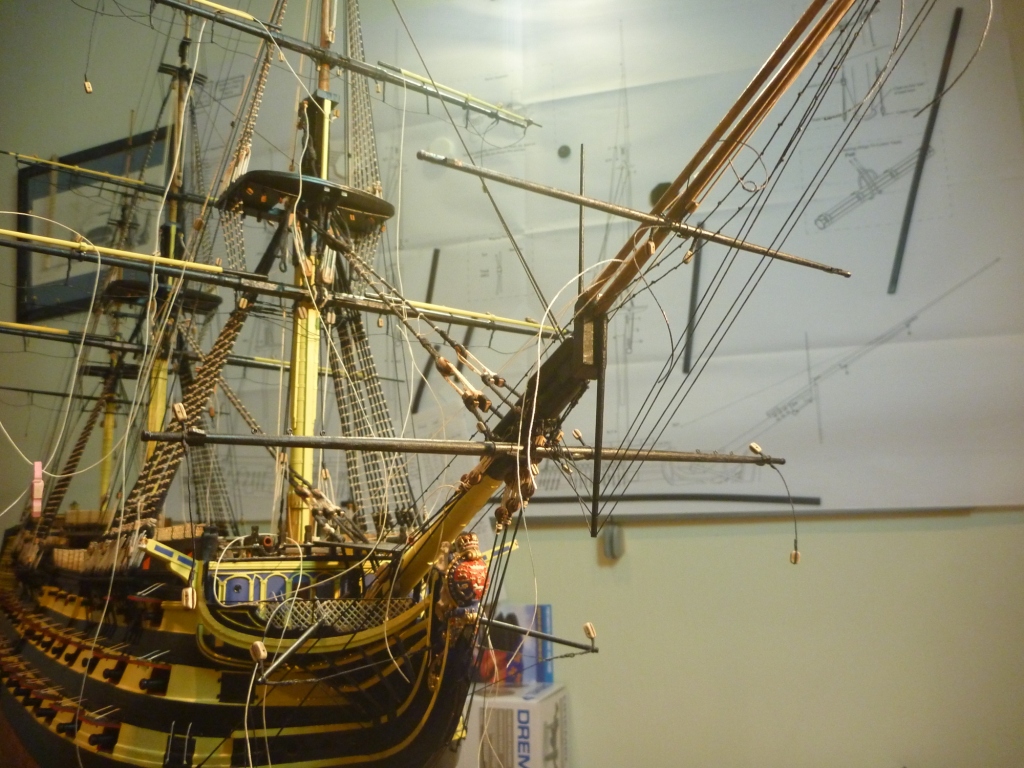
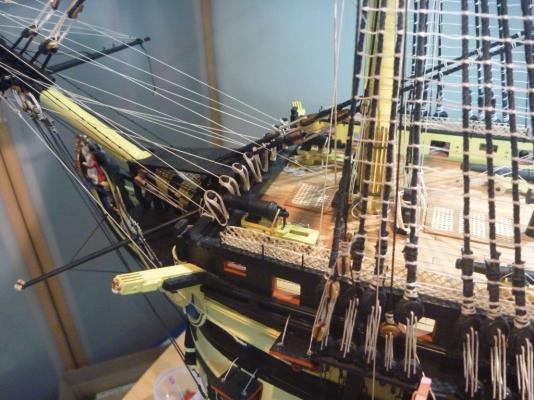
Time for an update. Sorry they are infrequent, I do it at work which makes it more difficult. Here we go then: All Fore Yards now hung and sling, truss pendant, Jeers, parrells and tyes in place as appropriate. Then the same for the Main Yards, hung and rigged. Just hung the Crossjack Yard on the Mizzen for now. And then hung the Spritsail Yard with sling and strop and the Spritsail Topsail Yard with Parrells and a halyard. Preparing the Lifts for all yards, just hanging loose at the moment. Returned to Mizzen and hung the Topmast and the Topgallant Yards. All three masts now with Yards in place. Will continue on next post Nick


- 84 replies
-
- 3
-
-
- finished
- caldercraft
- (and 1 more)
-
Only just seen the news about Augie, what a very sad loss. He was an inspiration and a great contributor to the site, he will be missed. Confederacy is my next build, just a month or two away so I was a keen watcher of this log. Bug, what a truly charitable act, it does you real credit, I'm sure Augie would agree. I will be continuing to keep a close look. My condolences to Diane and family. Nick
- 2,191 replies
-
- 7
-
-
- confederacy
- Model Shipways
- (and 1 more)
-
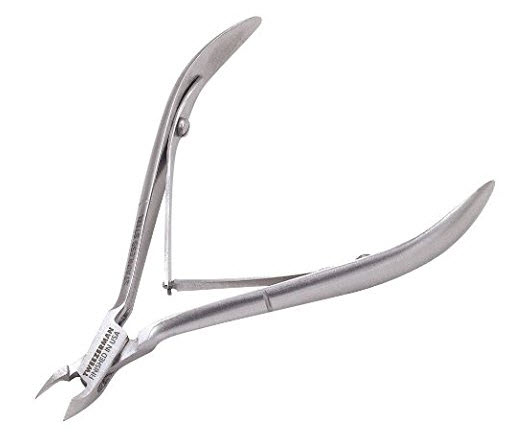
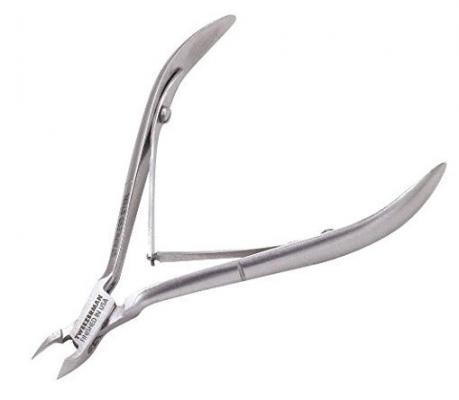
These are my all time favourite for trimming rigging. Very clean sharp cut and like side cutters they cut right up to the knot, no little end left. generally known as cuticle clippers.
-
On small details I generally apply a scale 'rule' If the part scales down to a size I don't think I am capable of making then I drop it. I don't like the approach where a part is made within a persons capability but when scaled up is actually twice real size. i.e. If a stanchion scales up the be 5" dia. then it will never look right if it was a 2" dia. metal post.
-
I agree with Bob, pull pins out later. There will be some places you need to drill and fit furniture, wouldn't want to hit a pin below the surface. Small risk I know. Nick
- 527 replies
-
- 1
-
-
- caldercraft
- victory
- (and 1 more)
-
I have to say that I find this approach gives me some troubles. I rig blocks exactly as the video shows, an S with a whipping in the middle. Then pull the ends to tighten around spar or block as appropriate. I then liberally 'paint' with 50/50 PVA as I don't like CA. They look real good. But the problem I sometimes get is that 'bitter' end as it were of the loop going around the block is only held by the whipping friction. When it is rigged on the ship the block has a tensioning force applied. That force is sometimes enough to pull the end of the loop out from under the whipping. So what I now do is exactly as detailed, then add an extra ingredient: Using a very fine line (I use fly tying thread) and a needle I run a couple of stiches straight through the whipping at 90 degrees. Thereby cross stitching both loops. Nick
-
Proxxon TG125 Bench Disk Sander
pompey2 replied to pompey2's topic in Modeling tools and Workshop Equipment
Hey, A big thanks to you all for the responses. That gives me tons to think about. What a great site! Nick -
Hi all I have a heavier duty disc/belt sander which serves fine. However the table is not that accurate. I'm looking for a smaller bench top (4") disc only sander. Most important for me is the robustness of the table/adjustments. Jim Byrnes would be the obvious choice and I would love that (wow, how I'd love that) But cost plus international delivery put it out of range. The Proxxon TG125 looks pretty good and I wondered in anybody could provide me with some feedback. Thanks Nick
-
Hi Rob A belated happy new year. Just realised how long it is since I caught up with your build (feeling guilty) I'm loving some of the things you are doing, the crew look just great. Will be a real special model when you are done. Rope coils are a difficult decision, probably unlikely in reality but they do look great. I have a process using a couple of small bits of clear plastic that works well. So, back to my rigging. It's driving me nuts trying to get hands and tweezers amongst the many lines without tearing them out. All the best Nick
-
Hi Robert I would agree on the filler blocks, definitely. I didn't use any and came to regret it. Looks like your lighting will be spectacular. I would advise testing frequently, especially before covering over your access (deck fitting) I managed to cut a wire when drilling a hole and had to fix it. Let me know if you do plan to visit Victory. regards Nick
- 527 replies
-
- 2
-
-
- caldercraft
- victory
- (and 1 more)
-
Hi Nigel I will certainly be joining you on your voyage. And in fact be sailing a bit behind you. This kit is my next and not too far from starting. Enjoy!!!! Nick
-
Hi John Difficult decision on redoing the ratlines, really depends on how different they look. I think that is one for you to decide. However reference your futtock shrouds, are you going to rig Catharpins? When the futtock shrouds pull the shrouds out of straight a bit (which is very difficult to avoid) you can use the catharpins to bring them back in line. Which I guess is why they are there. So might be worth giving it some thought Nick
-
Hi Robert Looks like a great start. I hope you have fun. PS love the lights, it will be a definite bonus to the model. Nick
- 527 replies
-
- 2
-
-
- caldercraft
- victory
- (and 1 more)
-
Thank you all for the generous comments. Nick - I know what you mean, the tasks seem to stretch away into the distance. But a real fun journey Hi Robert, I will be looking in to see how progress is going, enjoy. Mort - thanks, I made those bits and pieces, mostly from brass wire and plastic tube and rod. Plus some fuse wire for the coil on the wormer. I haven't got my act together to post photo's of my latest progress but will get some together soon. Currently the spars are all hung and I'm 2/3 or so through the rigging. Thanks for dropping by Nick
-
New mini-mill... CNC and impressive
pompey2 replied to mtaylor's topic in Modeling tools and Workshop Equipment
Great bit of kit. Now there's no need to 'build' your model you can machine it in one -
It's already got three claimant's. Maybe we should chip in as the Brits put it where it is. And Peru and Bolivia as it was their gold originally. And then the Caribbean islands are not that far away so.... Any chance of reward brings out the sharks as it were.
-
I cut up small squares of clear scrap plastic sheet (something semi rigid) Then put a pin hole through two of them in the centre. Push the line through one hole, then put the second square against the first trapping the line between. Put a pin through both holes. Now you can wind the line around the pin between the bits of plastic, the two pieces of plastic stop the line overlapping (keep them tight together) As you go dab a drop of watered down PVA on the line. The squeeze will push the glue to adjacent coils. Leave to dry, remove pin. The plastic does not stick to the glue so the coil can be easily taken off and trimmed up. I actually make a bunch of plastic squares and consider them disposable, that way the pin holes don't start to open up and become loose. Nick
-
Cutting Boxwood
pompey2 replied to mikiek's topic in Building, Framing, Planking and plating a ships hull and deck
Or a good sharp chisel -
Caldercraft / JoTika do a very nice range of Water based paints. They are based on traditional nautical colours
-
Terrible admission, I use a sanding tube in my dremel to get off the majority (end bulkheads at least) then resort to sanding by hand.
-
Question about Spinnakers & Stunsails
pompey2 replied to strangway03's topic in Masting, rigging and sails
Sails are heavy old things, just take a look the section size of a main Yard, that is required to be strong enough to support the Main Course. TopGallant yards are pretty flimsy in comparison, any sail reaching much further down towards deck would just snap if off. And if you built the Topgallant big enough that in turn would snap the mast in a blow. Nick -
Imperial or metric for lathes and mills?
pompey2 replied to tkay11's topic in Modeling tools and Workshop Equipment
My opinion - conversions are easy, buying tools, accessories etc. is not so easy unless they are local(ish) and current. So going with the system that gives better choice, price and availability in the future has to be preferable. So metric for Europe/UK. Nick -
I like the simple thickness sander. It wouldn't be that difficult to make a version yourself, use a dremel as the power source. I will have to give that some thought. I also like a disc sander but my large one has very poor levels/guides. I need something with the sort of control that Jim B's has. Nick
-
Tweezers - Japanese vendor Kaneshin
pompey2 replied to Landlubber Mike's topic in Modeling tools and Workshop Equipment
They do some great tweezers, I will be getting a couple certainly. Nick