HOLIDAY DONATION DRIVE - SUPPORT MSW - DO YOUR PART TO KEEP THIS GREAT FORUM GOING! (Only 13 donations so far - C'mon guys!)
×

pompey2
-
Posts
511 -
Joined
-
Last visited
Content Type
Profiles
Forums
Gallery
Events
Everything posted by pompey2
-
Greg If it's a double planked design then a lot of the nails would probably have been intended for first layer planking. Not necessarily permanent but part driven home and removed once glue has dried. Nick
-
 Looking great Rich. Now that most of the repetitive tasks are done every day gets to be something new. You are making a fine looking model there. Nick
- 414 replies
-
- 1
-

-
- caldercraft
- victory
- (and 1 more)
-
HMS Victory by juzek
pompey2 replied to juzek's topic in - Build logs for subjects built 1751 - 1800
I love your build method, always nice to see something different from the majority. Nick -
If you are displaying without sails but still wish to add those lines, then a knot can be used on the final block in each case and the remainder of the line run as normal.
-
Just seen your log Robert, looks great. I'm looking forward to seeing it continue. Nick
-
Hey BE, just checked out the site you linked. What a great source of parts, lots of very well made items at reasonable prices. Thanks for the link Nick
- 3 replies
-
- 2
-
-
- scratch build
- RC
- (and 2 more)
-
Questions regarding old kit(Mantua 776, HMS Victory)
pompey2 replied to Smoke's topic in Wood ship model kits
Replacing the strip wood wouldn't be too difficult, you might even want to upgrade the wood type. Planking is where you will find any dry wood cracking. Nick -
Hi Harley Yes I did use the kit stem pieces. I hadn't intended to and I bought replacement 1/4" maple. I even cut out the pieces in Maple. But I thought I would have a go with the kit parts first. As I was pleased with how they came out and the wood shade is very close I went with them. I will always have the Maple ones if I need to replace Nick
-
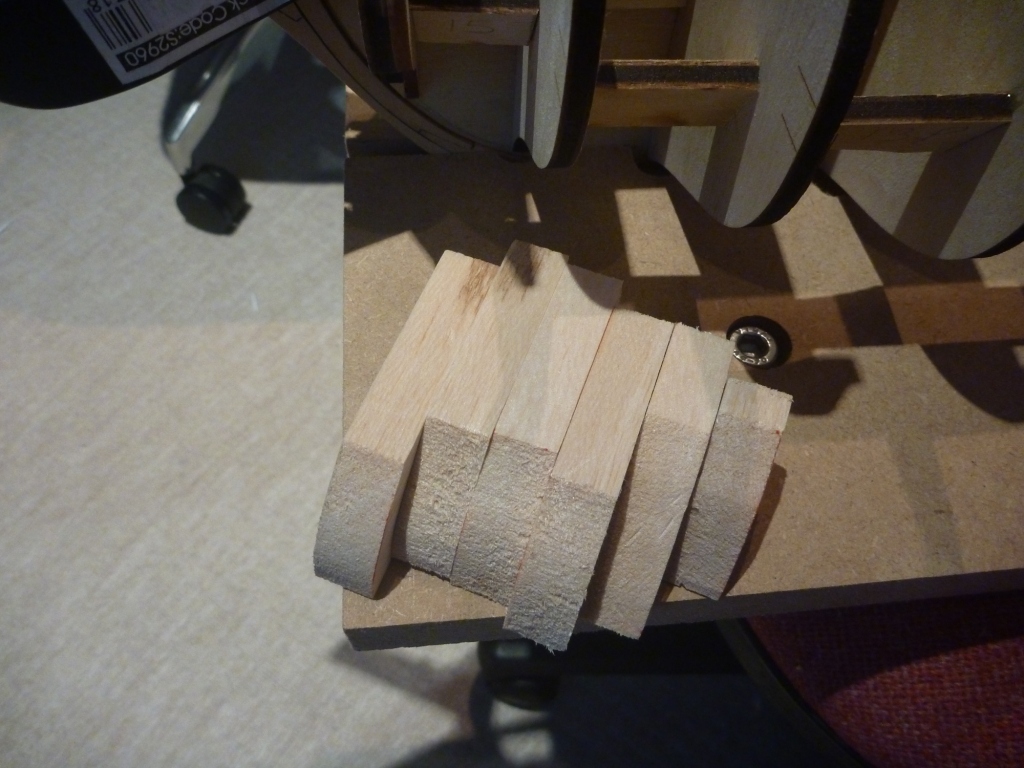
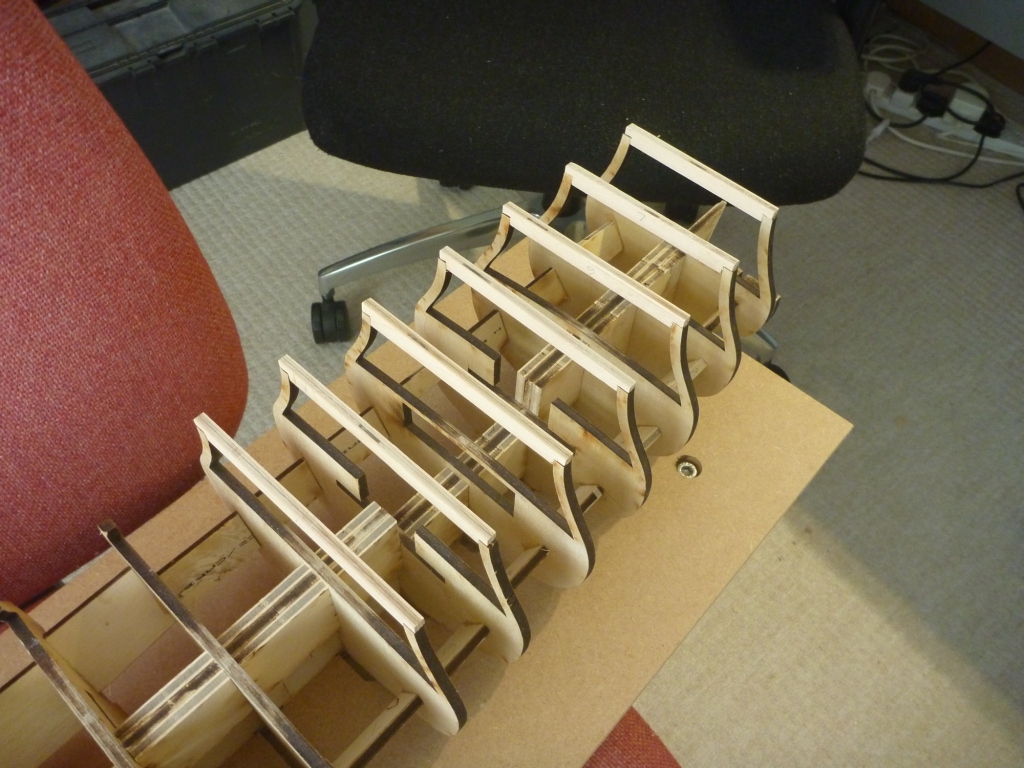
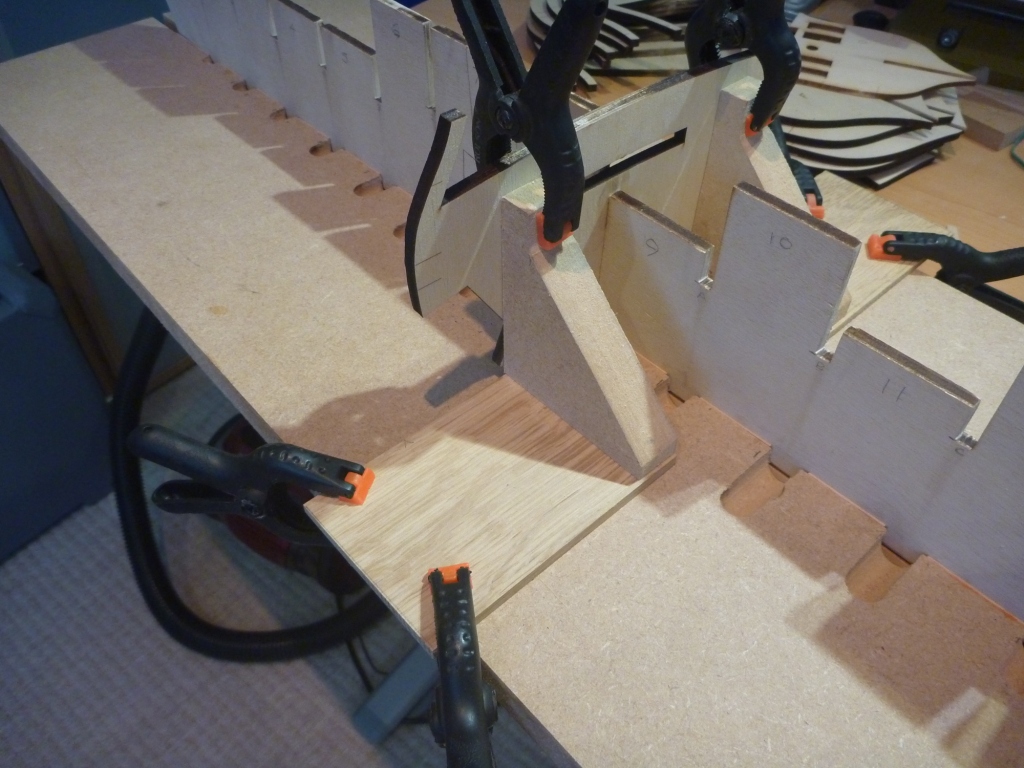
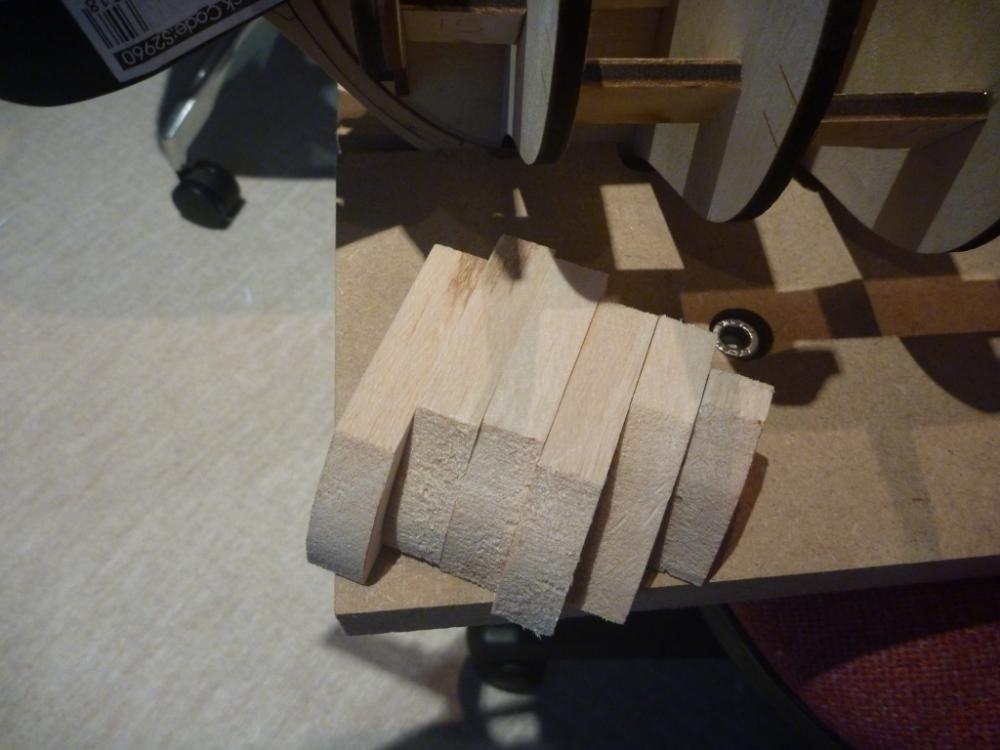
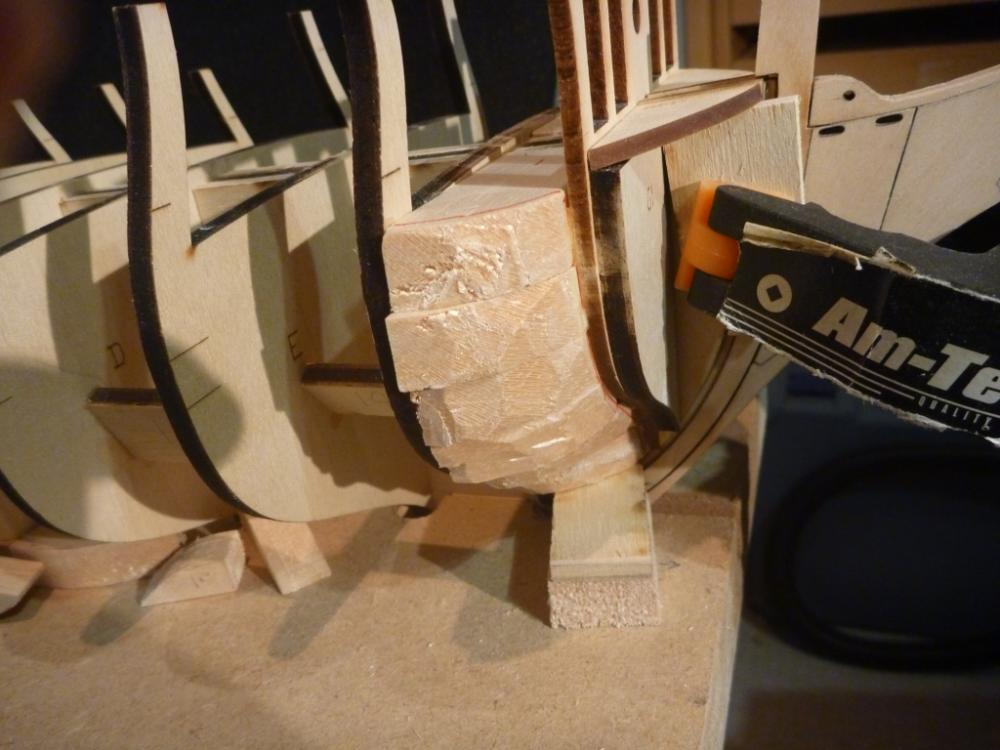
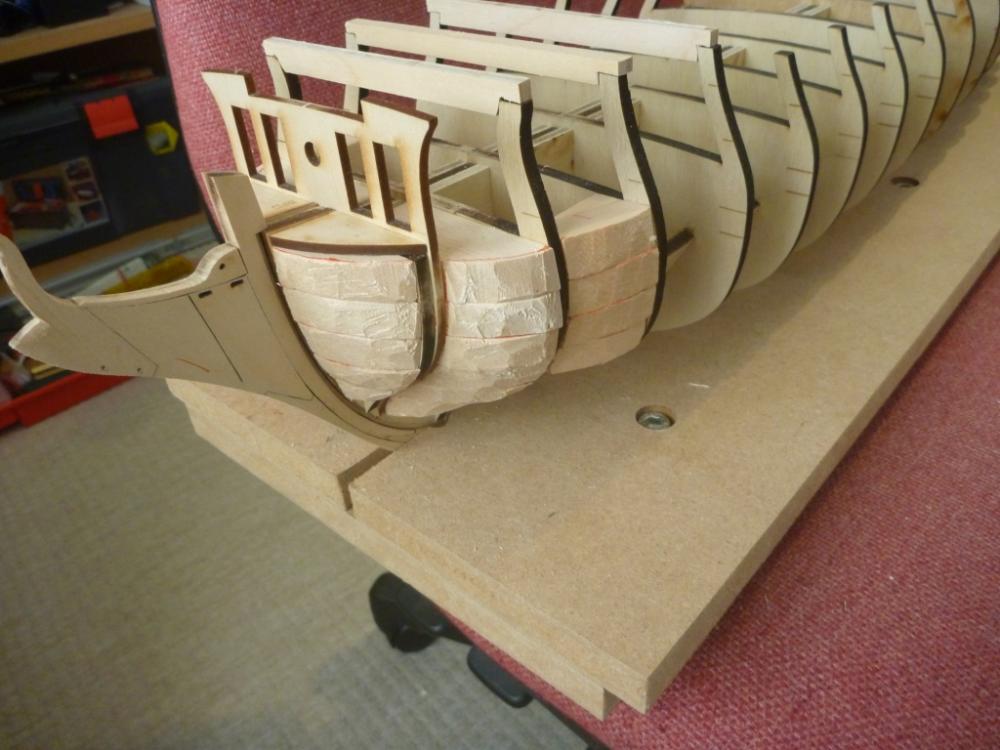
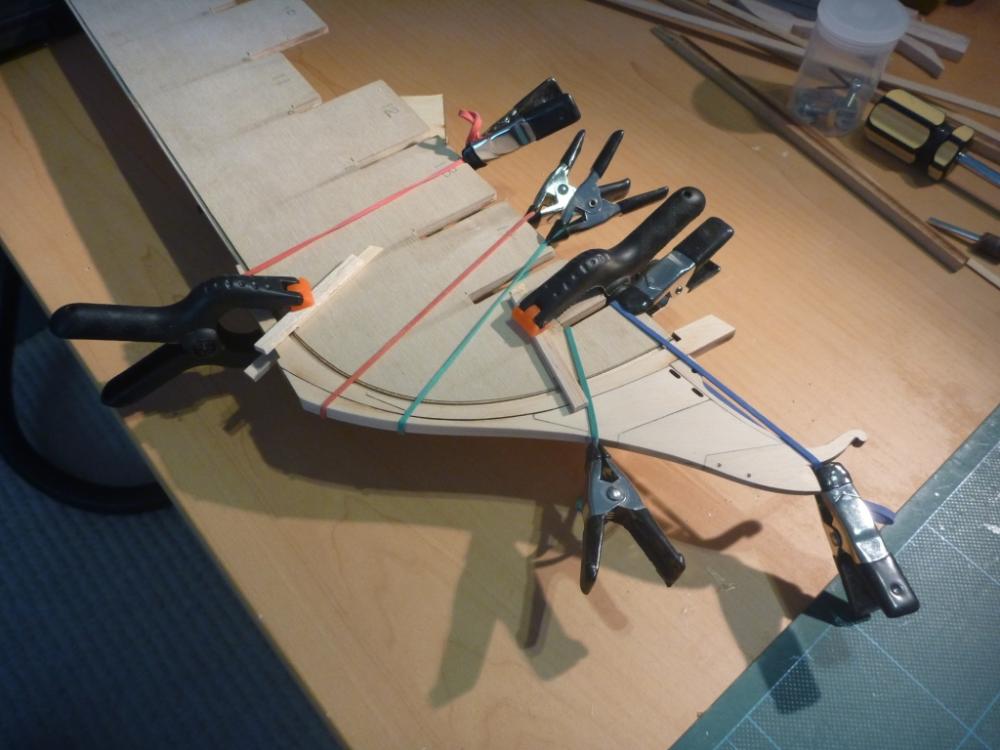
Adding on the Bow pre-cut pieces. And at the Stern. I am going to put filler pieces at the Bow and Stern to help maintain the shape of the planking and to provide greater gluing area. So that's my next job. First I cut some 1/2 thick balsa into rough shapes. This set is for the gap between first and second bulkheads. Then I offered them up and marked bulkhead profile on the edges. Then removed them and roughed a line across the upper and lower face to correspond to the edge marks. Then carve an approximate shape following the lines. I am doing them for the first three bulkhead gaps. Here the Bow fillers are now glued in place. And as the manual advises I have added temporary bracing pieces across the tops of the more exposed bulkheads. Next I will making lots of sawdust by fairing the frame. Nick

-
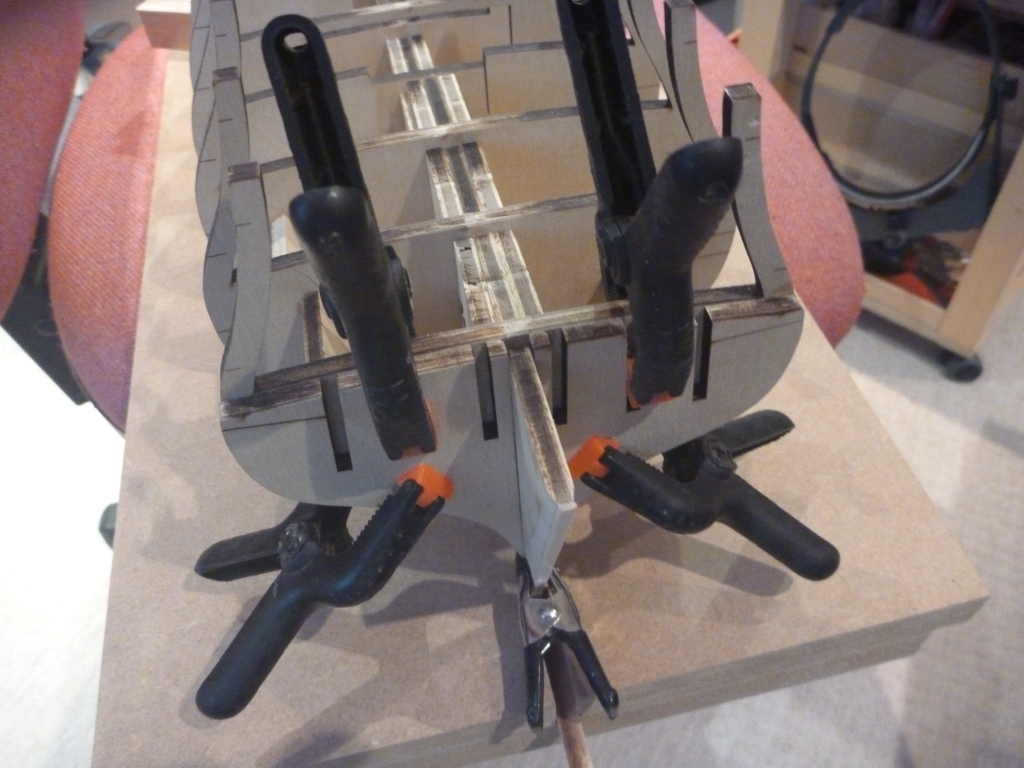
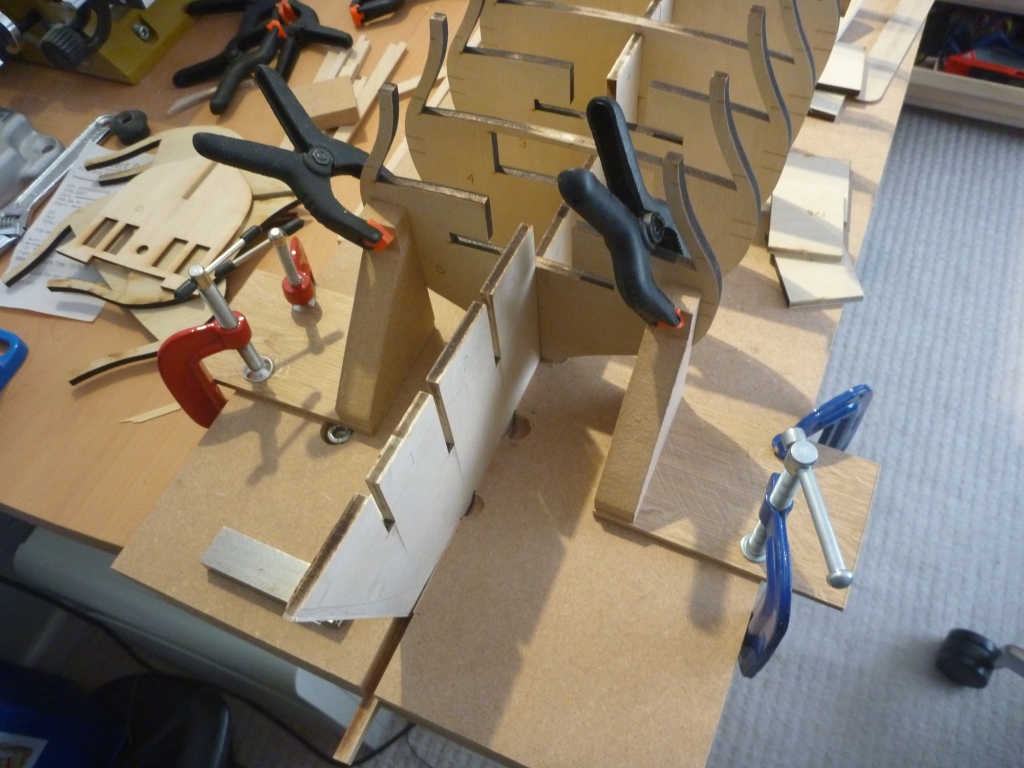
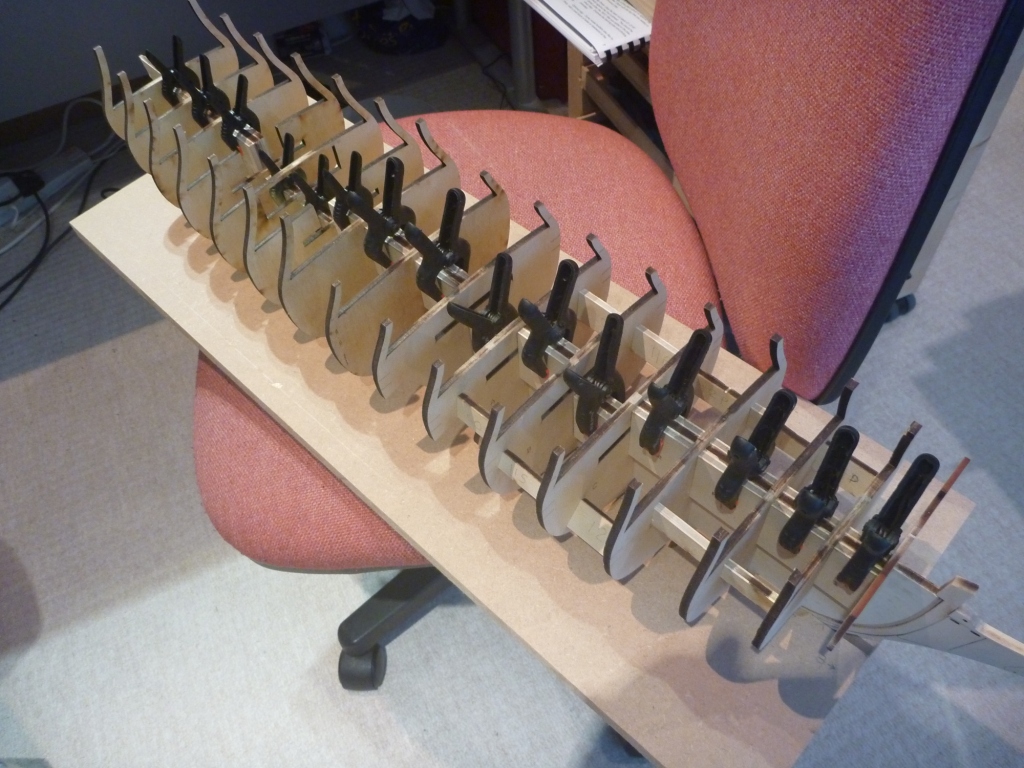
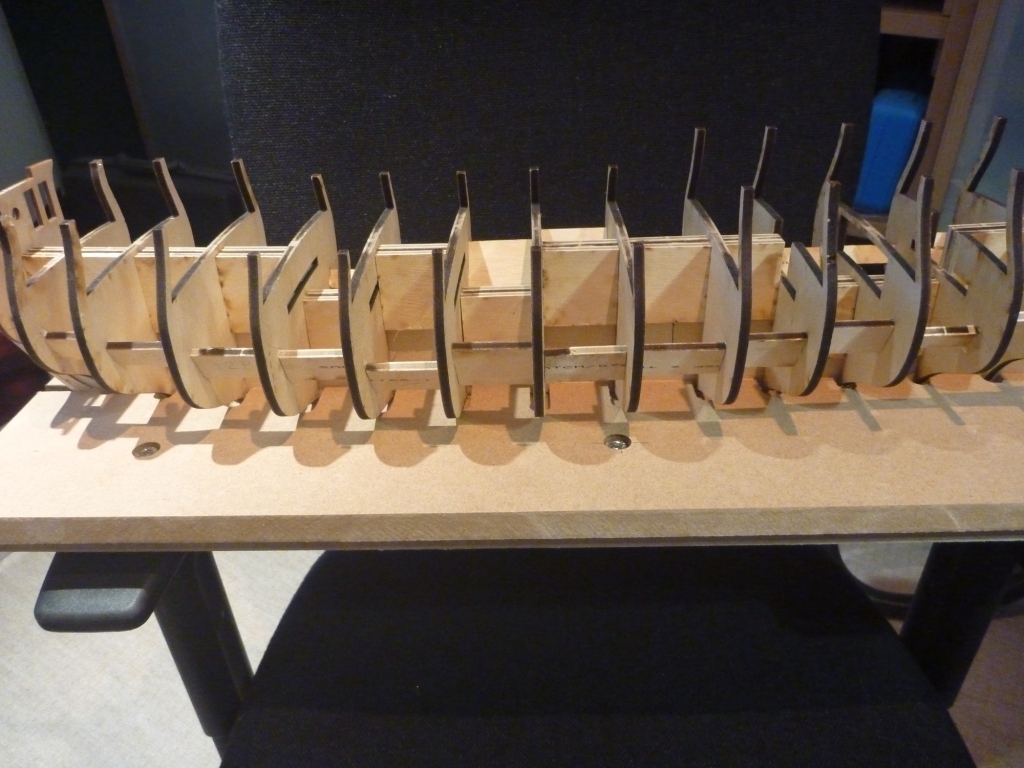
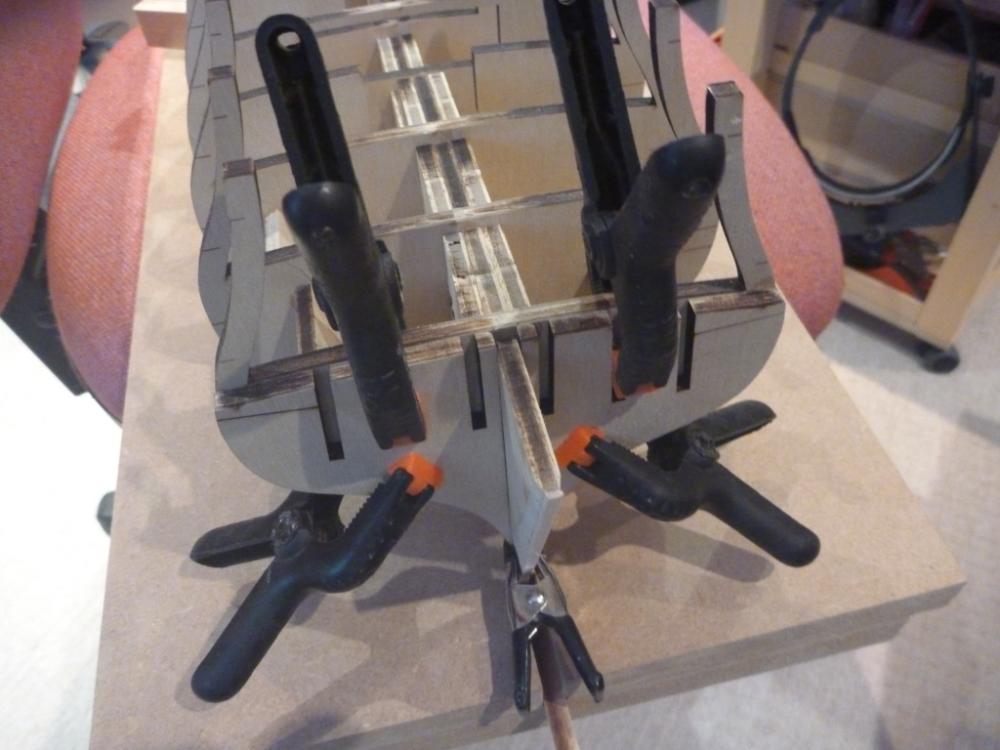
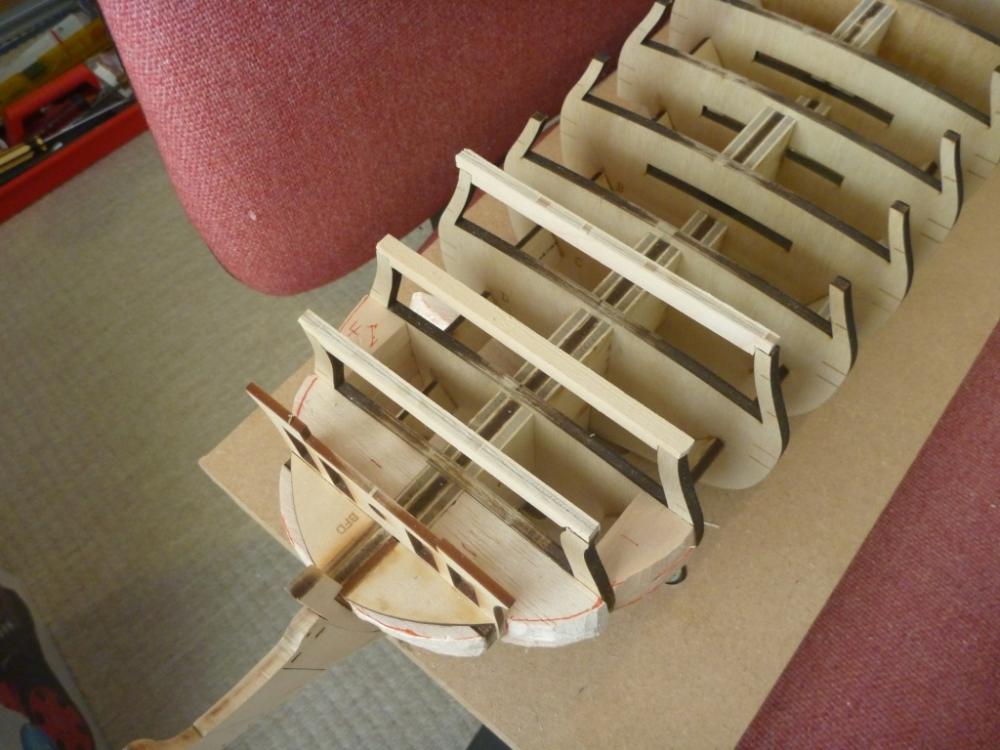
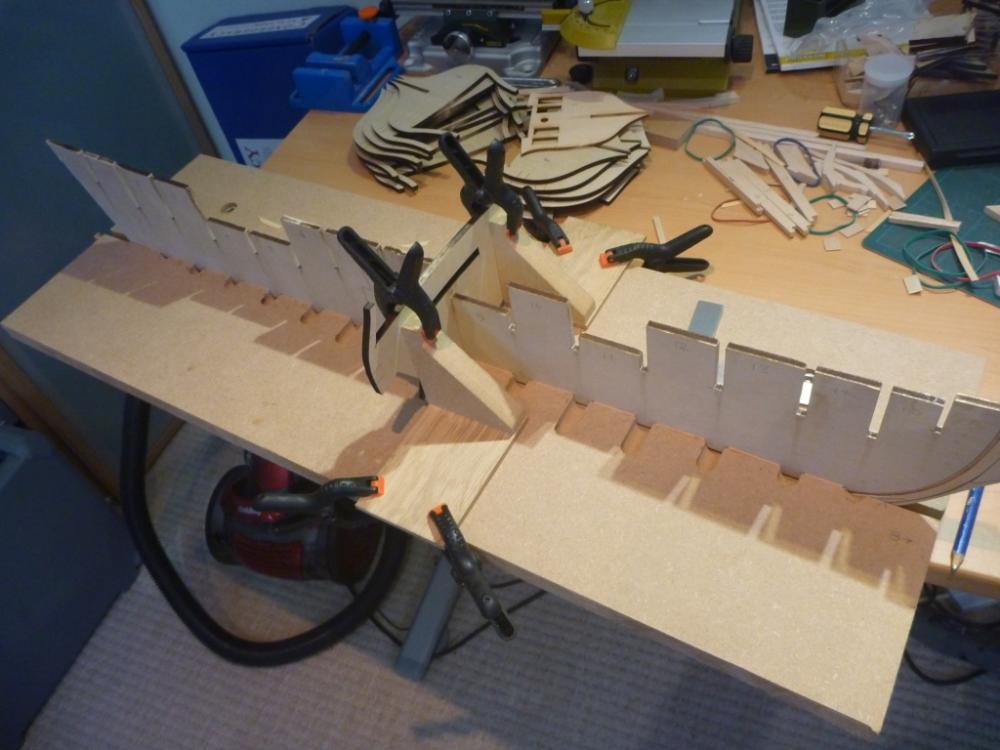
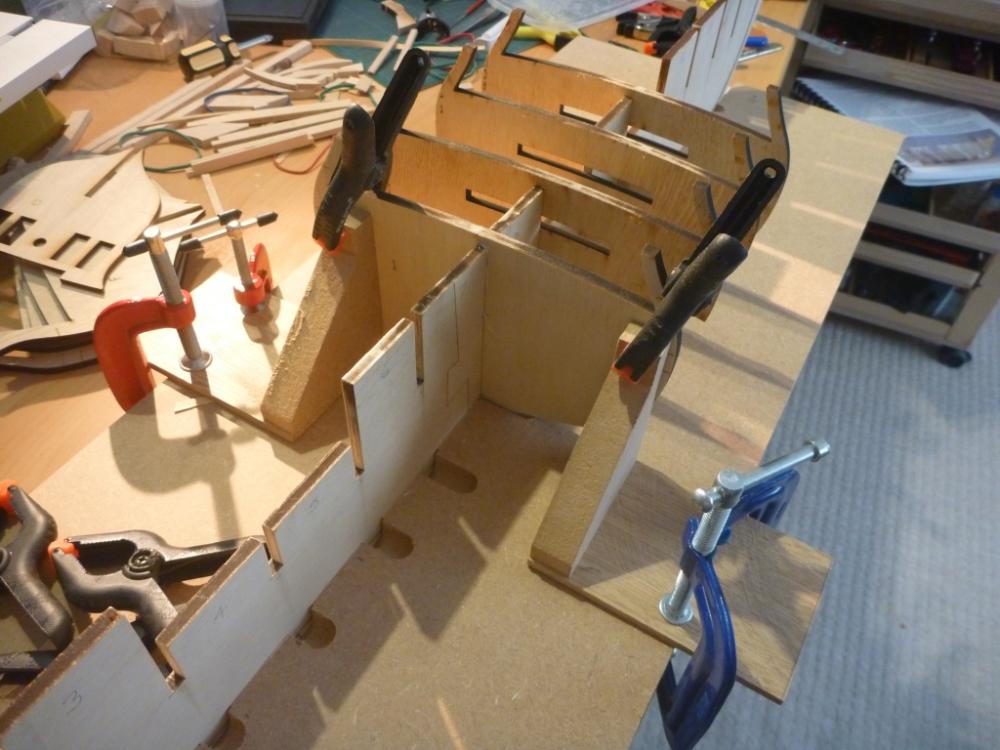
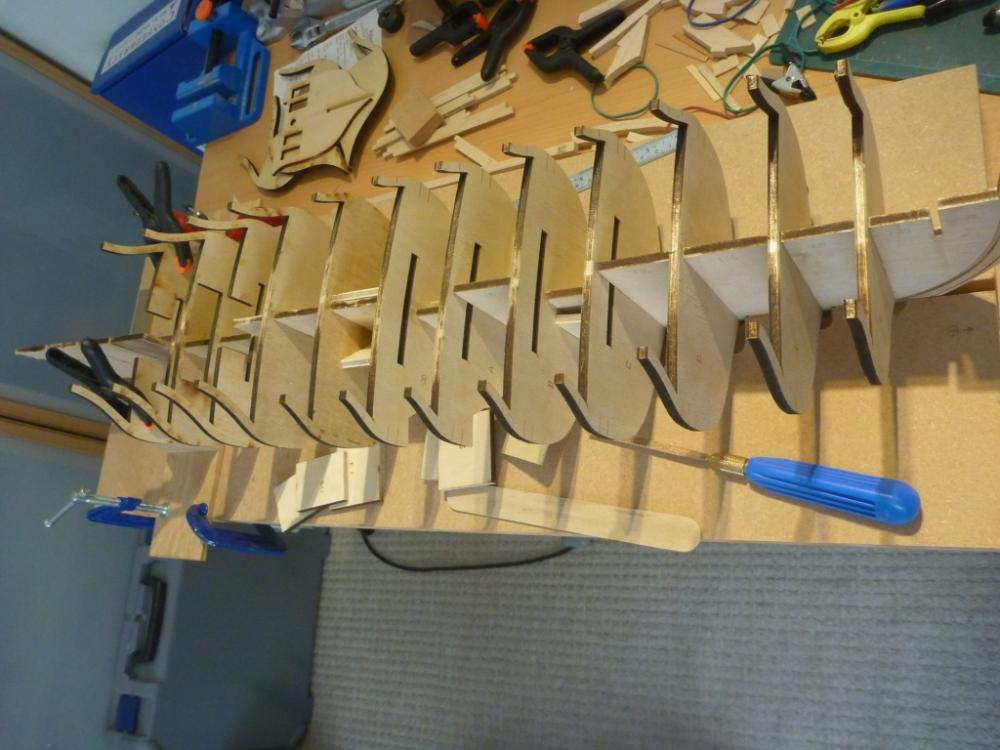
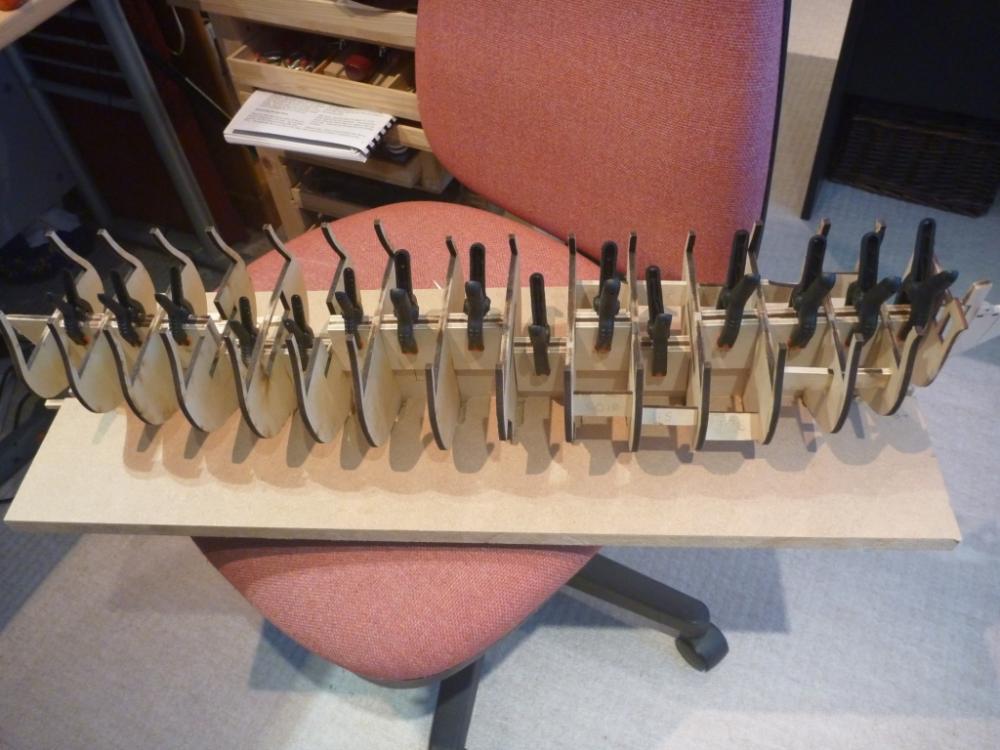
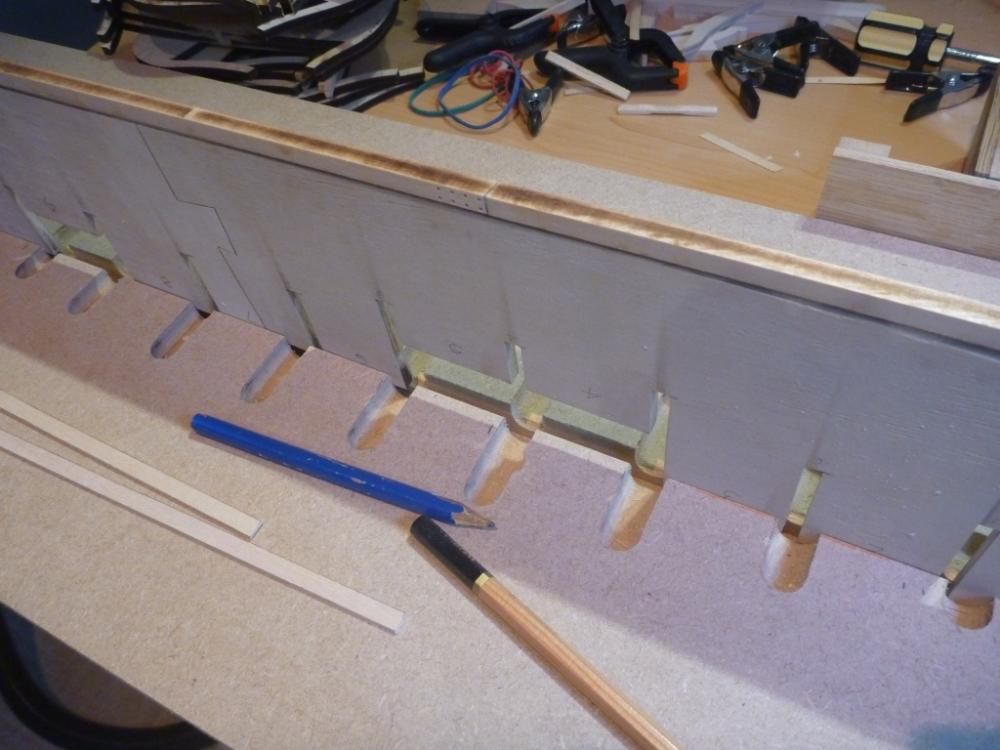
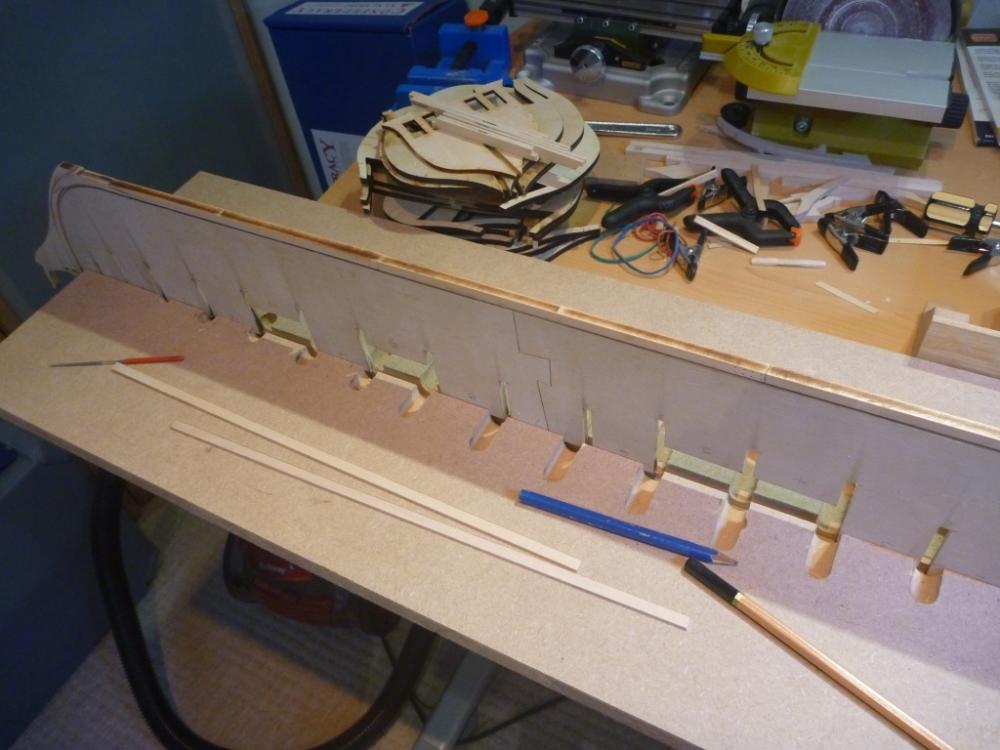
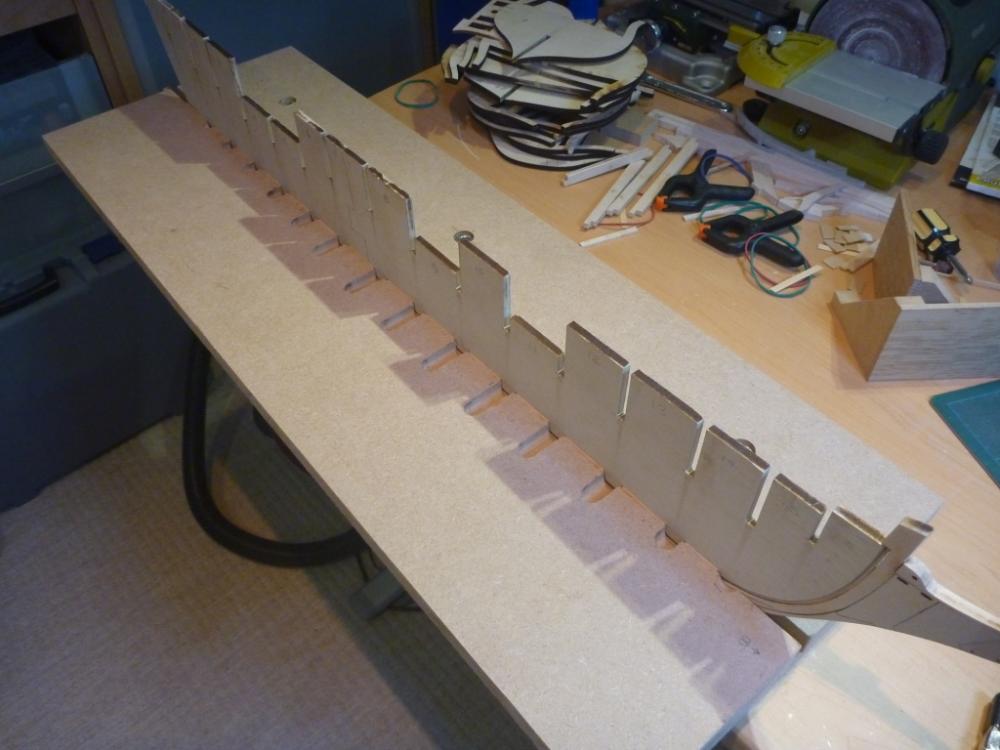
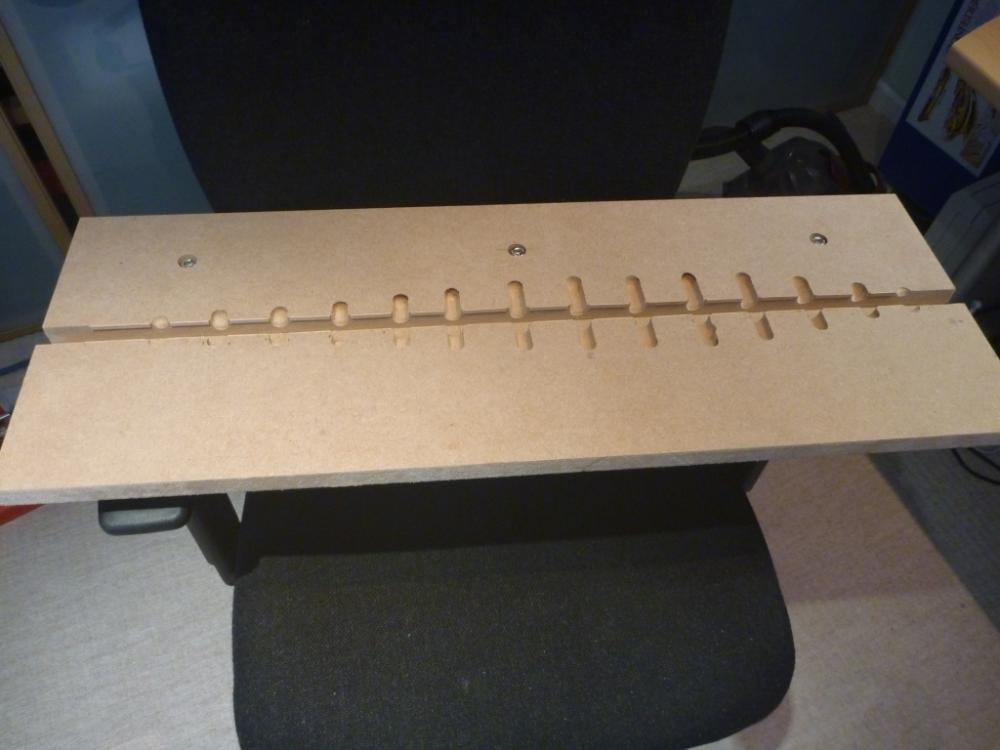
To continue. I made up some jigging to help me keep the bulkheads square, both in the vertical and to the former. Just a base with a triangular section glued on. Then the vertical trued up square on a face sander. This is how they work. One placed each side of the bulkhead and clamped to my base. The bulkhead is then adjusted and checked with a square. The jig moved to hold it there and a clamp added. So here goes the first bulkhead. Continuing to add bulkheads, up to number four. I have to wait for the glue to dry each time because I only have one pair of jigs. slowly getting there. Last few to go on the Stern. All bulkheads now done. here I have added the re-enforcing parts onto the former between each bulkhead after sanding to size. I thought that the bulkheads still had a bit of fore/aft movement in them. So to stop them moving when I fair the hull I have used some cut up pieces of scrap to re-enforce between the bulkheads further out from the former. Here are the first few. And with a full set in place. They also help confirm the squareness of bulkheads. Will continue on next post Nick


-
Hi Dirk Thanks for the update on your wood. I found his prices very good (very) and I am happy with the quality. But I must say it was a big struggle. His delivery took quite a while and I wasn't actually sure he was making my timber. When I asked for progress i was told to just be patient, shame. Nick
-
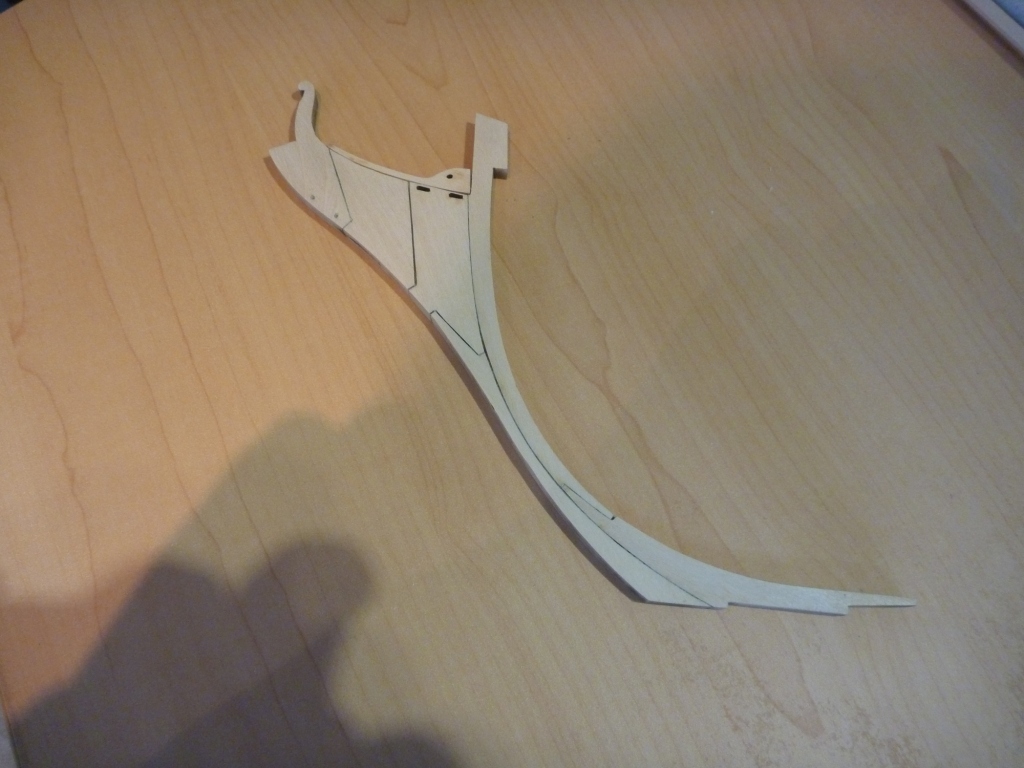
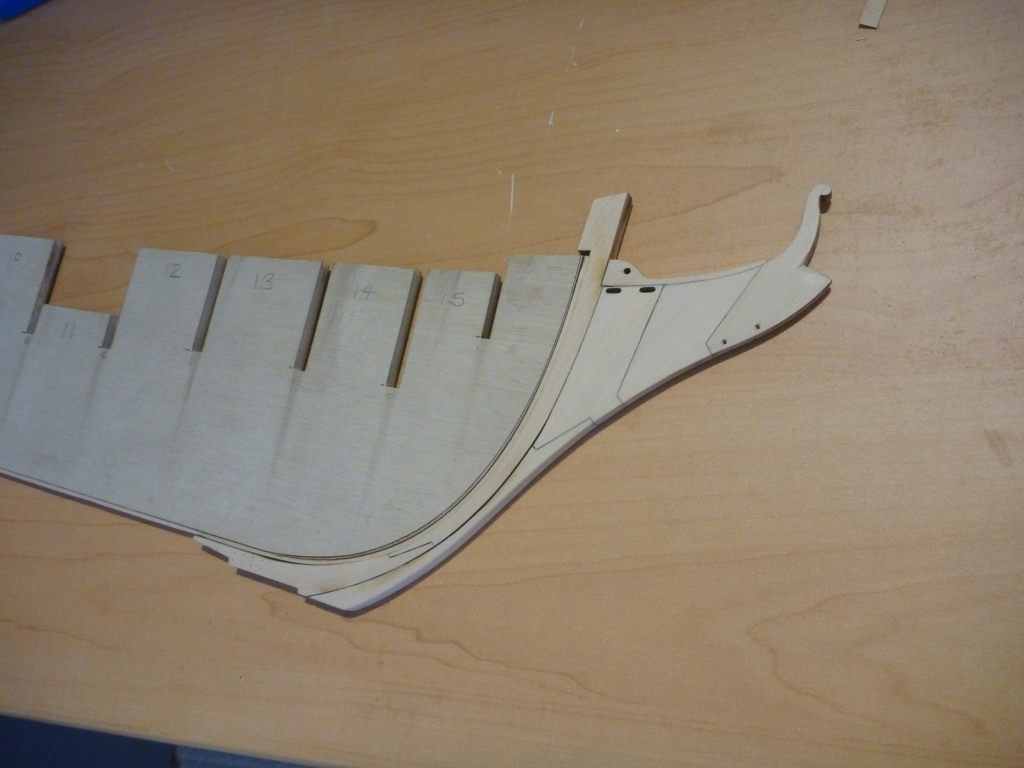
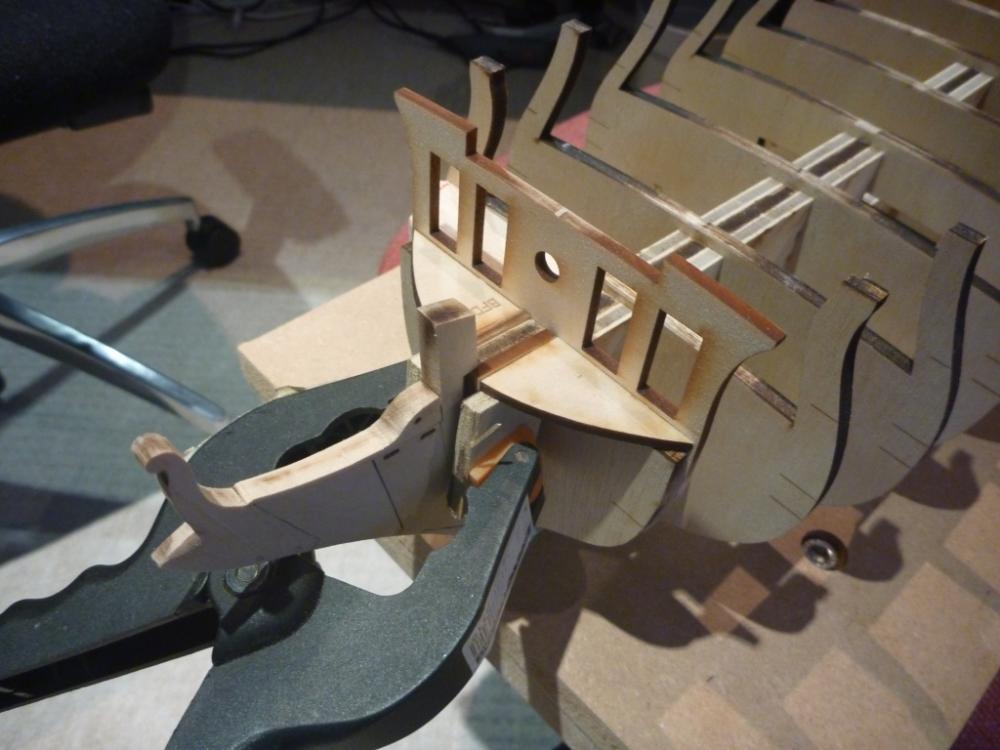
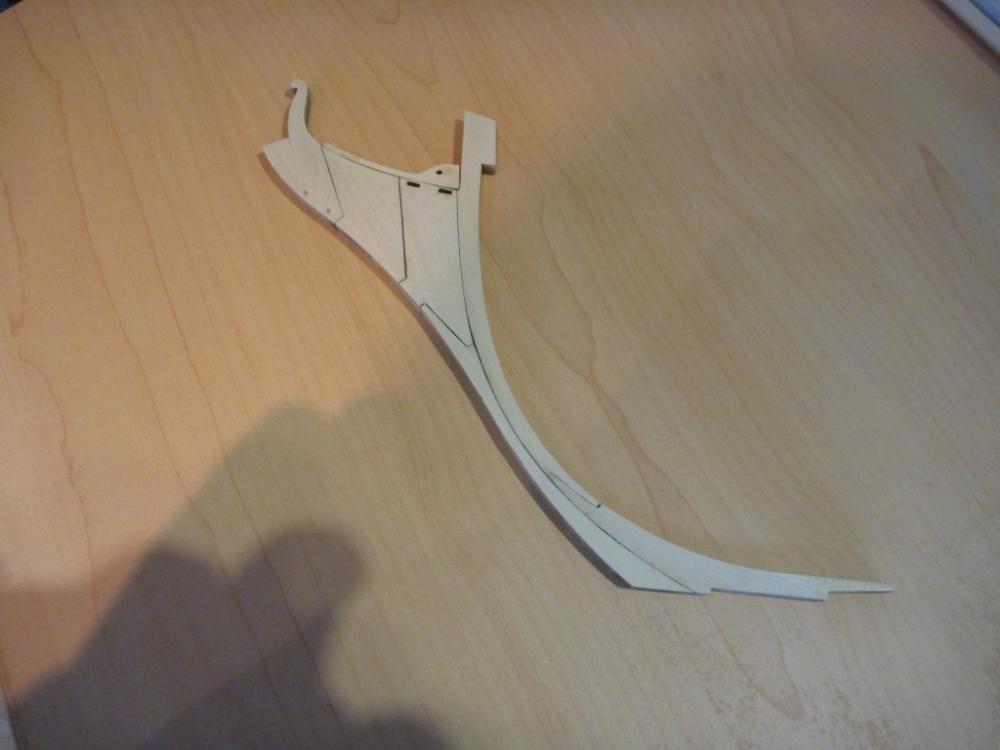
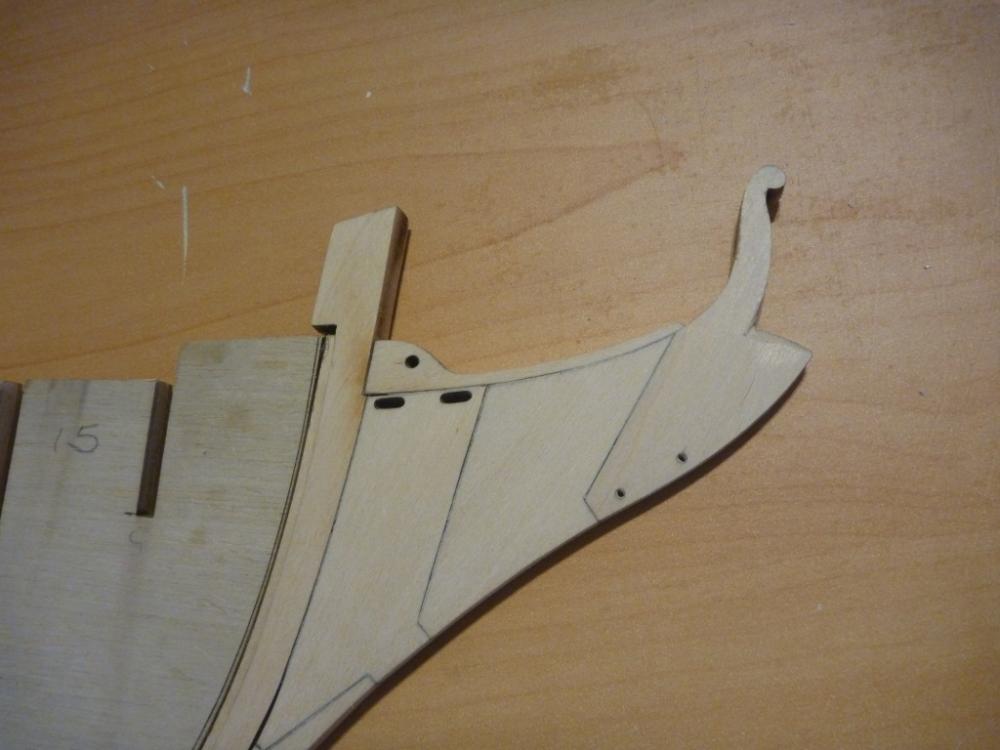
So, it's about time for an update. I got to work on the stem: Here it is fitted together and with the leading edge faired down. And now going into place. I found two thin strips to act as shims, they were the stem thickness minus the bulkhead former thickness /2. Put one each side then laid strips on top of them and clamped it up. Did that in two places. That helped insure that the stem was glued as central to to former as possible. Here it is now in place. And where the edge is faired. made sure that the figurehead was a good fit. Next job is the keel. Used my keel clamp (here it all finished) Mounted the former inverted and clamped it for a solid working position. Put on the rabbet strip, and the Keel sections. Drilled them off to simulate tree nails (as per Chuck's method) The false keel will then follow. Then stood the former on it's Keel and clamped it tight. Now ready to start on the bulkheads. I will continue later (next lunchtime at work ) Nick

-
Hi Dirk Sorry about the delay in replying. I got the wood from here: http://www.massiv-holz-werkstatt.de/ Closer to you than to me Nick
-
I'd give my right leg to find a good source.
-
And it is thought that hammocks gave some basic form of flotation device. They would trap an amount of air and if you were thrown into the water might help keep you afloat. Especially when most sailors couldn't actually swim. Nick
-
Hi Cobr@ This is a picture of the Gun equipment on the Victory, it might help. I think you will find that they are, from left. Water bucket, Sand bucket for placing a smouldering Linstock (prior to gunlock or as a backup) The linstock was a length of wood with a piece of rope attached. The charge carrier for carrying charge bags to the gun. And the ready box which held one or two charge bags in preparation. Balls or other projectiles were either local to the gun or from a ball locker. I hope I got that right. Nick

- 206 replies
-
- 12
-
-
- battle station
- panart
- (and 1 more)
-
17th June 1940 The sinking of RMS Lancastria. The largest loss of life in any British Naval disaster. Accurate figures not know but a minimum of 4,000 and up to over 6,000 lives lost. 2,447 survivors, amongst them my Grandad although inhalation of fuel oil got him eventually. Nick
-
I use an old cereal box for glue dispensing. Keep a side of the box handy, when you have a glue task (PVA, 2 pack or CA) cut about an inch square off. Drop a small puddle on the waxed side, it won't soak in, dispense with a sharpened toothpick. Once done fold the square in on itself (stops you gluing the square to the inside of the bin) and throw away. Nick
- 396 replies
-
- 3
-
-
- Idea
- Bright Idea
- (and 1 more)
-
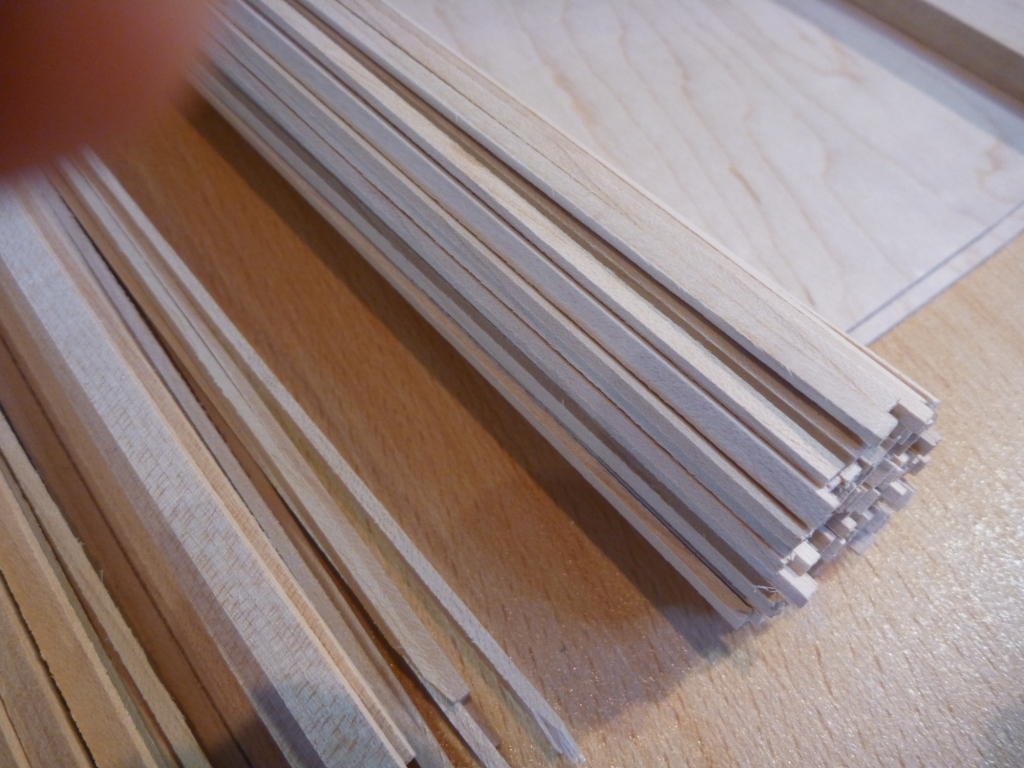
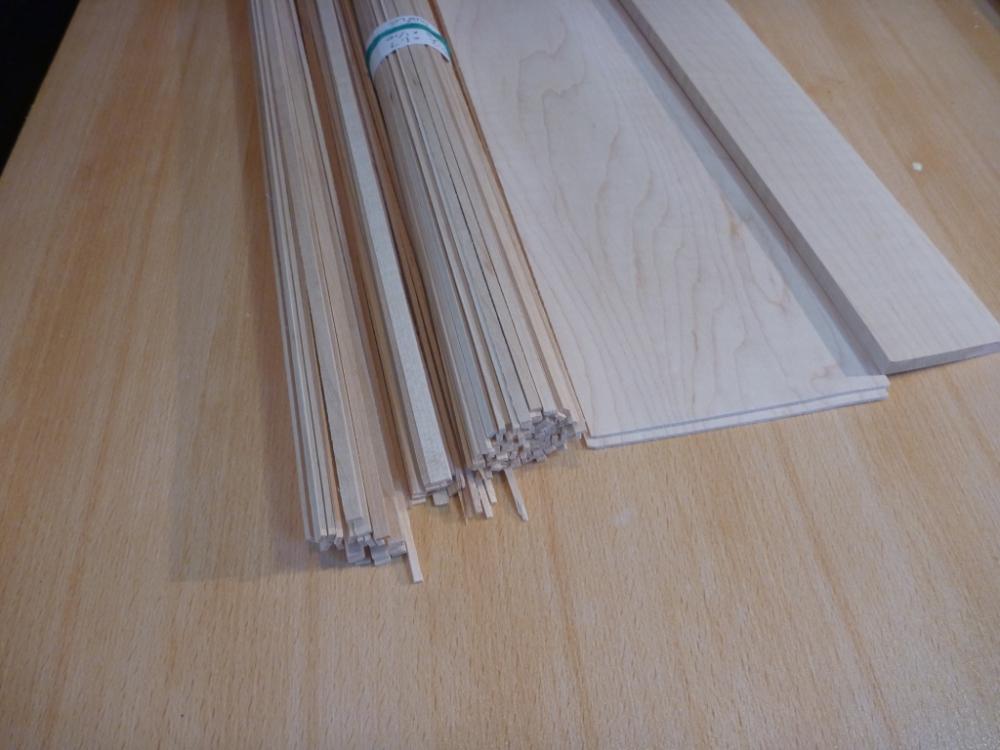
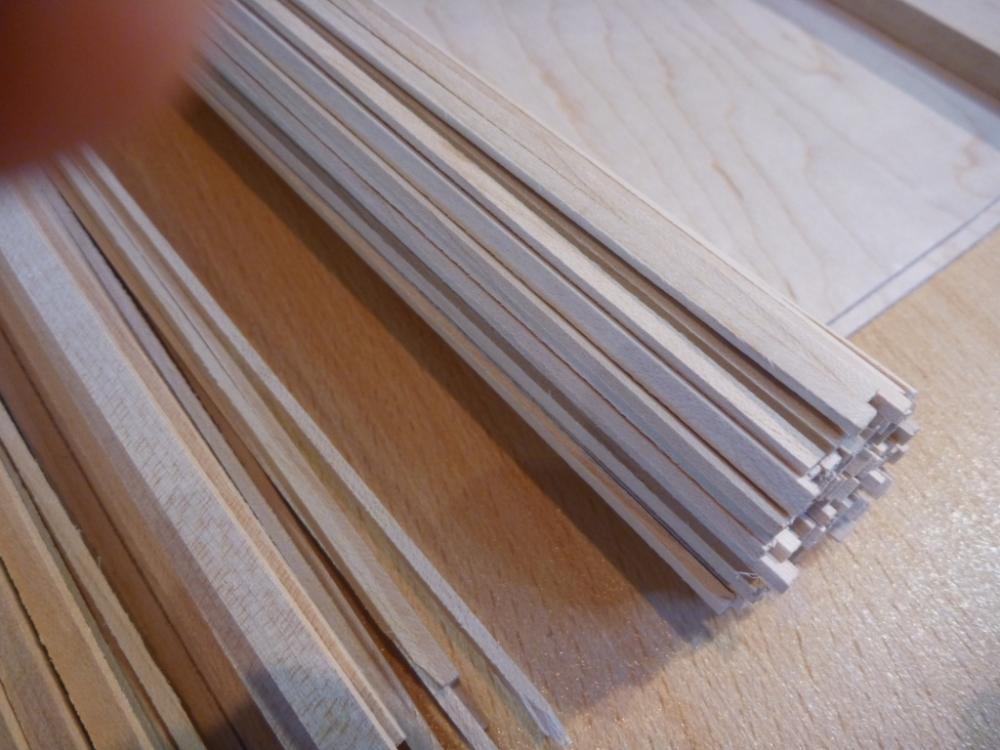
Well finally my replacement wood arrived. I am going for Maple from a German outfit. I am very happy with the quality and sizes, all as hoped for. Their prices were especially good about half of other Europe suppliers and nearer a third of US suppliers when the Import duties are included. Here are some pics. So now I can get on with the main show Nick
-
Ditto what Dave said but I do use 2 part epoxy (Araldite) just in case. Nick
-
I just received a bunch of Maple from them. http://www.massiv-holz-werkstatt.de/ The quality was very good, price was the most competitive I found (better than 30% of some quotes) Delivery took a while. This was to the UK. Nick


-
Hi Heksanol I have a method that is best explained by looking at your first photo. Where you have seized the block in the photo, imagine the loose end you show passing back through the seizing. That makes a loop that can go around the yard and the loose end can be pulled to tighten the loop. Some glue seals it all up Nick
-
Hi Wayne Sounds like a great project. Could you put the information in a database? Then you would not have to decide how to organize the information. People could search by subject, date, country or any other information that was put into the DB. Nick
-
For threading parrels I have rigged them on the bench and where necessary passed a double piece of thread through leaving a loop. Then once in place pass the real thread through the loop and pull through. It takes a amount of planning which thread goes where beforehand but reduces the in-situ work considerably. Nick
-
I find that when I'm rigging I miss the woodworking, and when I'm planking I miss rigging. Still guess that means I like it all Nick