HOLIDAY DONATION DRIVE - SUPPORT MSW - DO YOUR PART TO KEEP THIS GREAT FORUM GOING! (Only 72 donations so far out of 49,000 members - Can we at least get 100? C'mon guys!)
×


HIPEXEC
-
Posts
2,698 -
Joined
-
Last visited
Content Type
Profiles
Forums
Gallery
Events
Everything posted by HIPEXEC
-
 Mark, I think you are correct. This kind of challenge keeps my old brain active. If I chew on the problem long enough...the answer will pop into my head eventually. I do think the curvature of the hull is where the answer lies. Rich
- 1,135 replies
-
- 4
-

-
- model shipways
- syren
- (and 2 more)
-
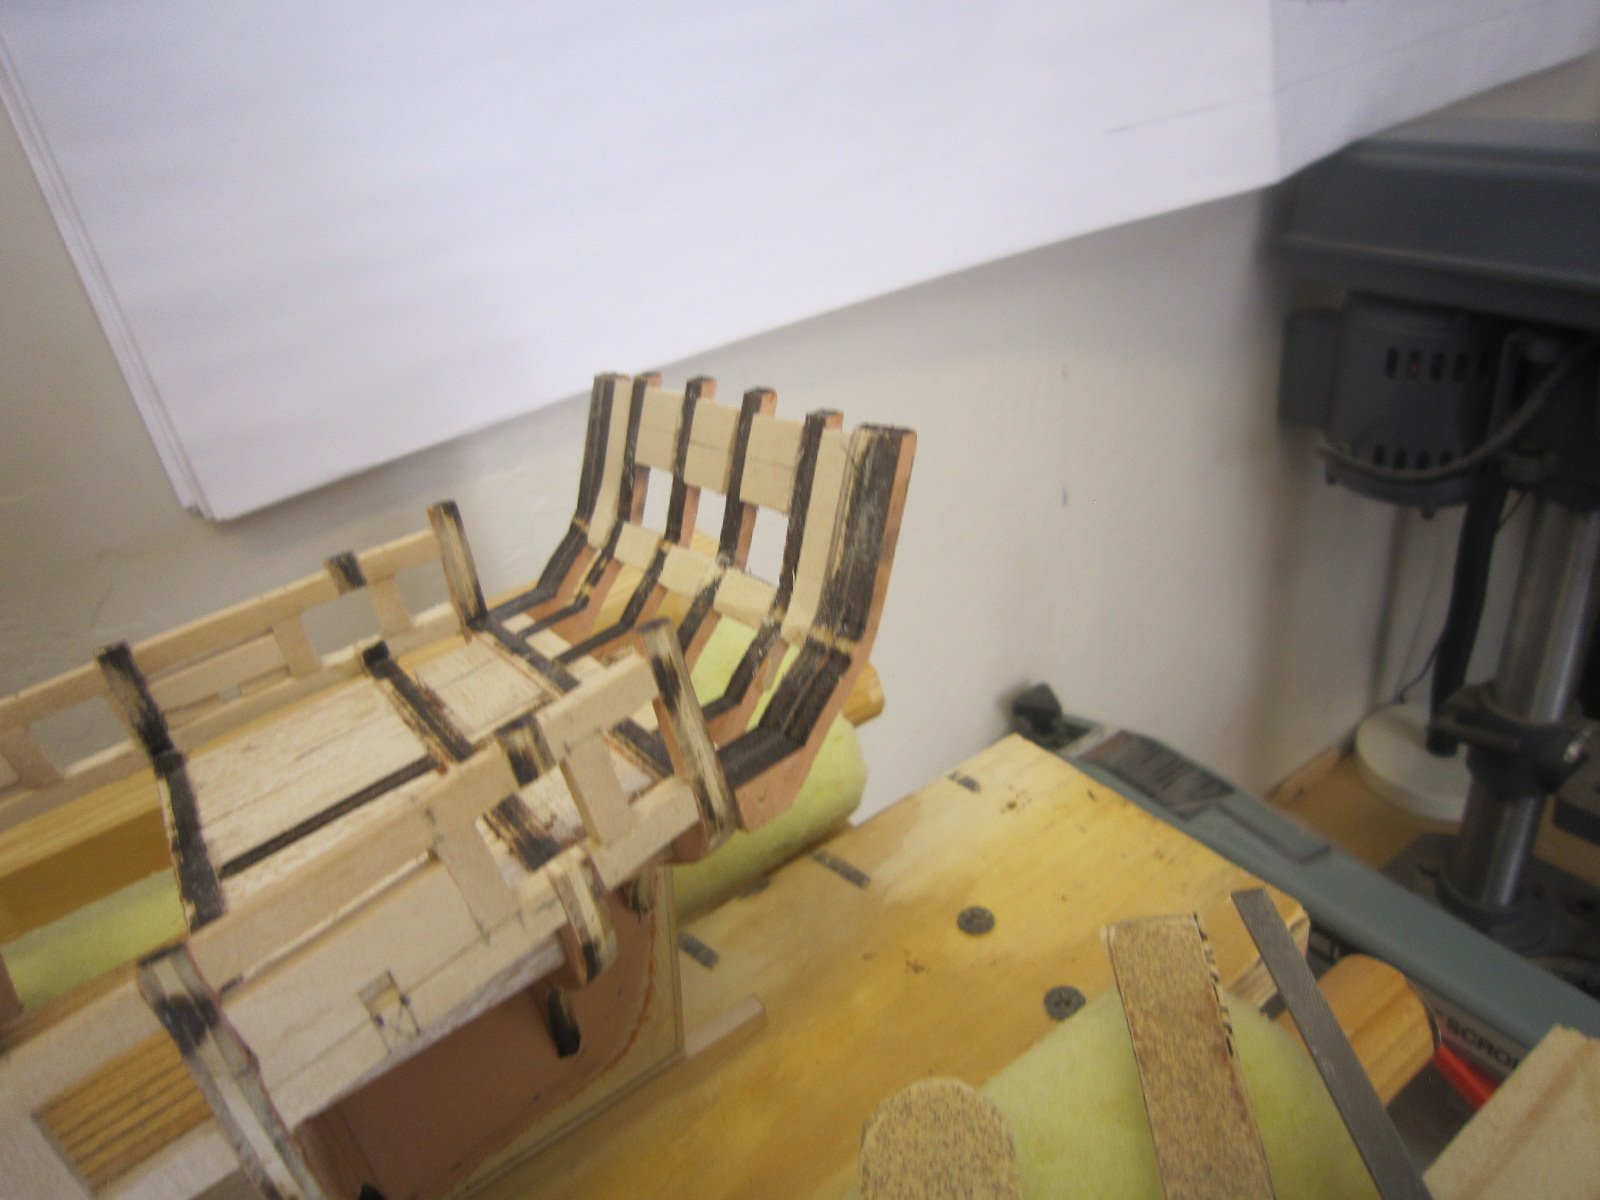
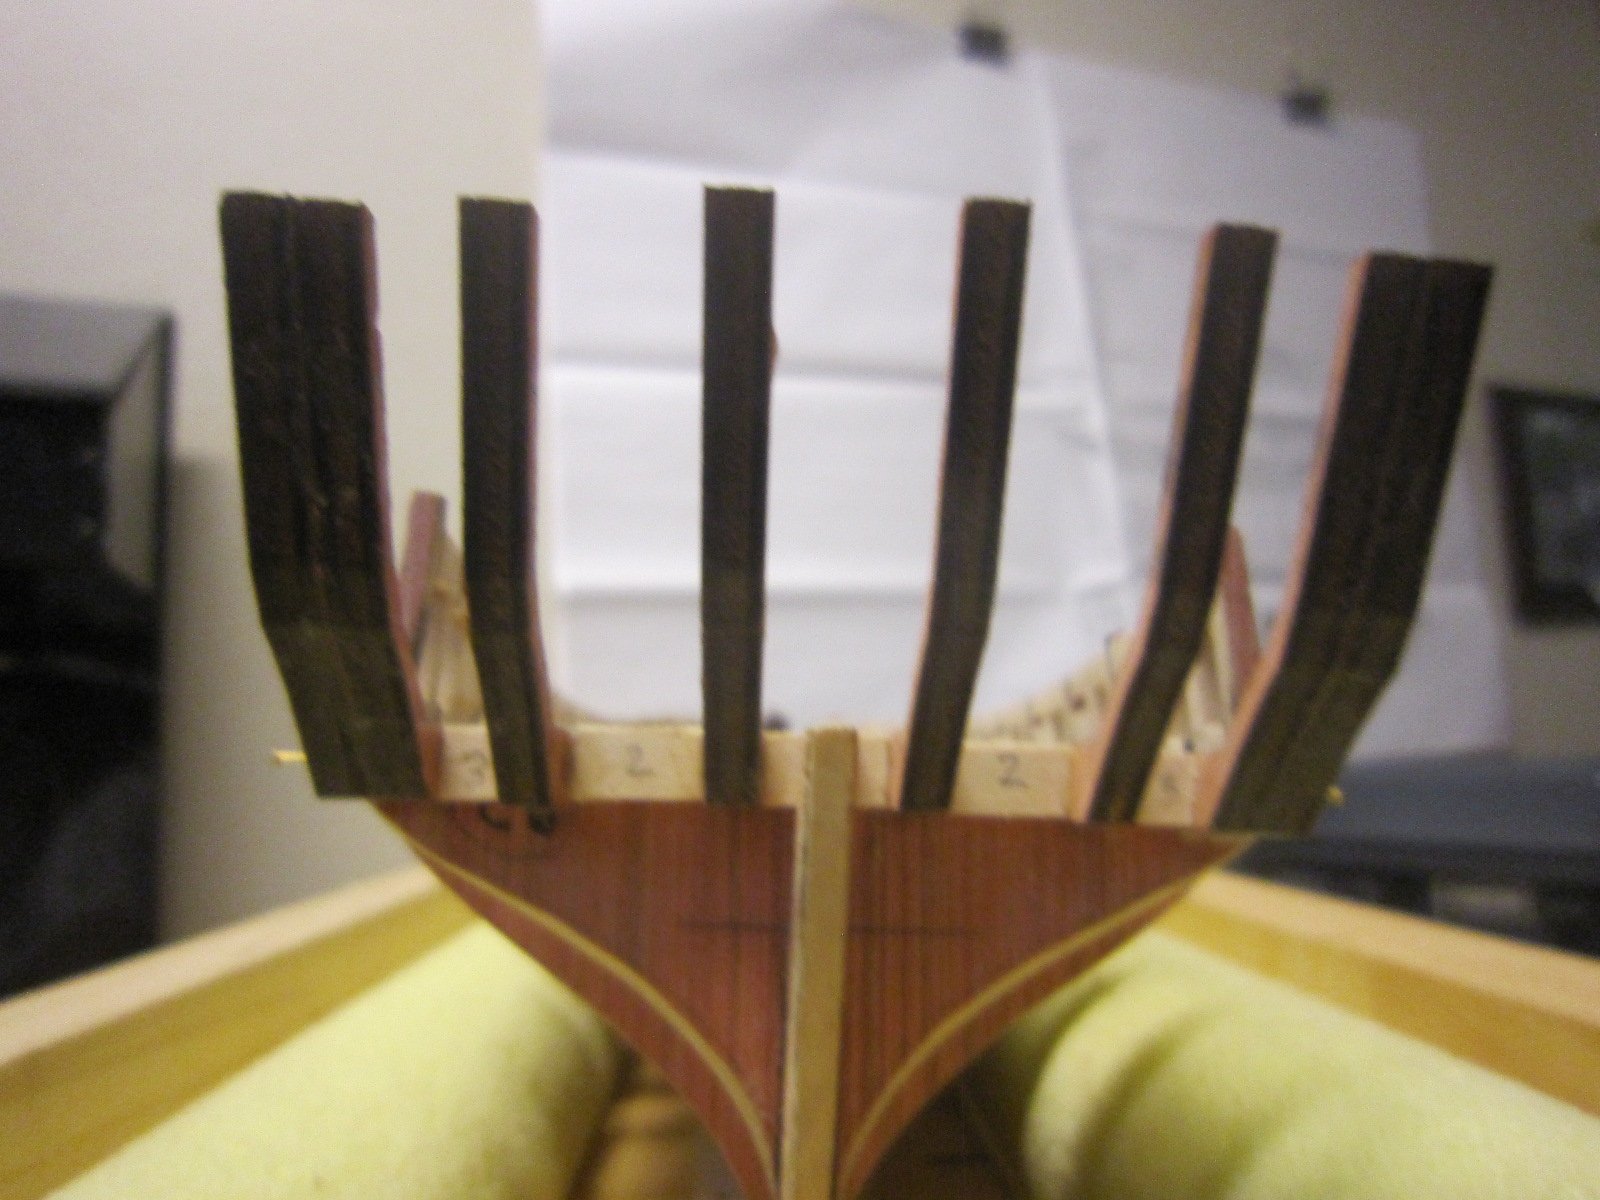
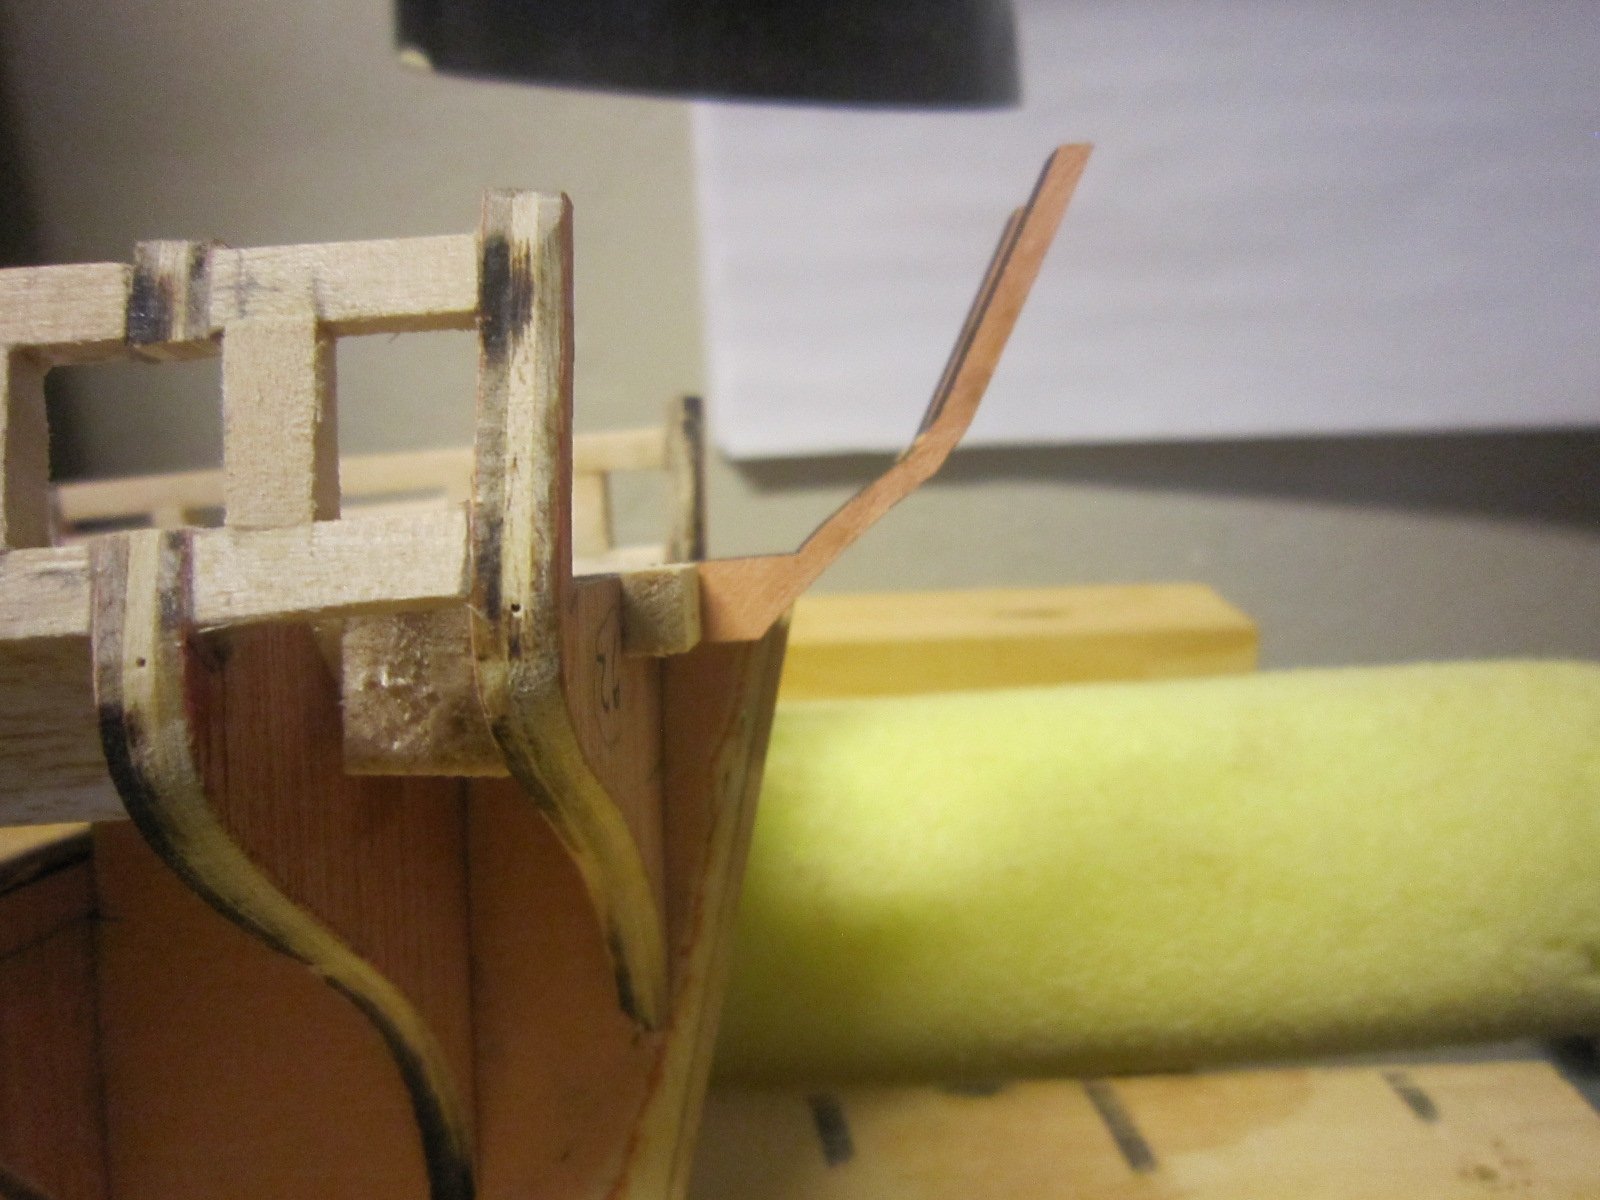
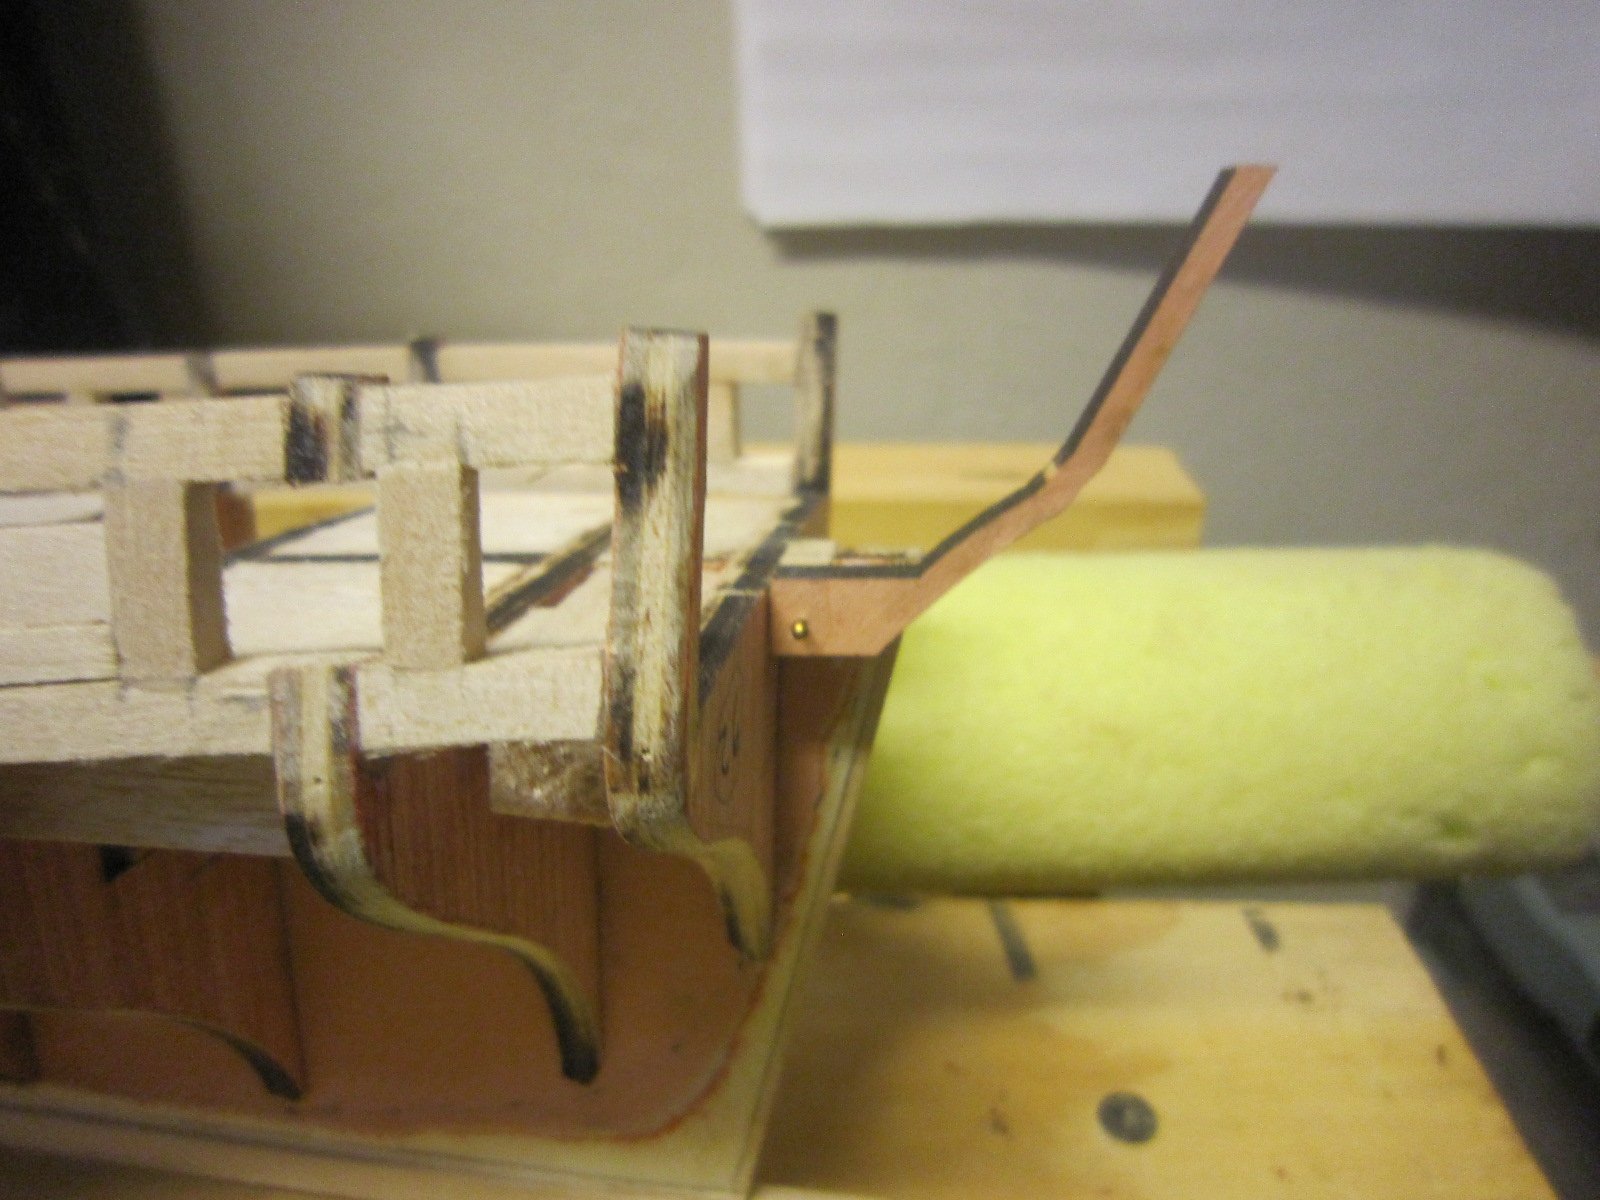
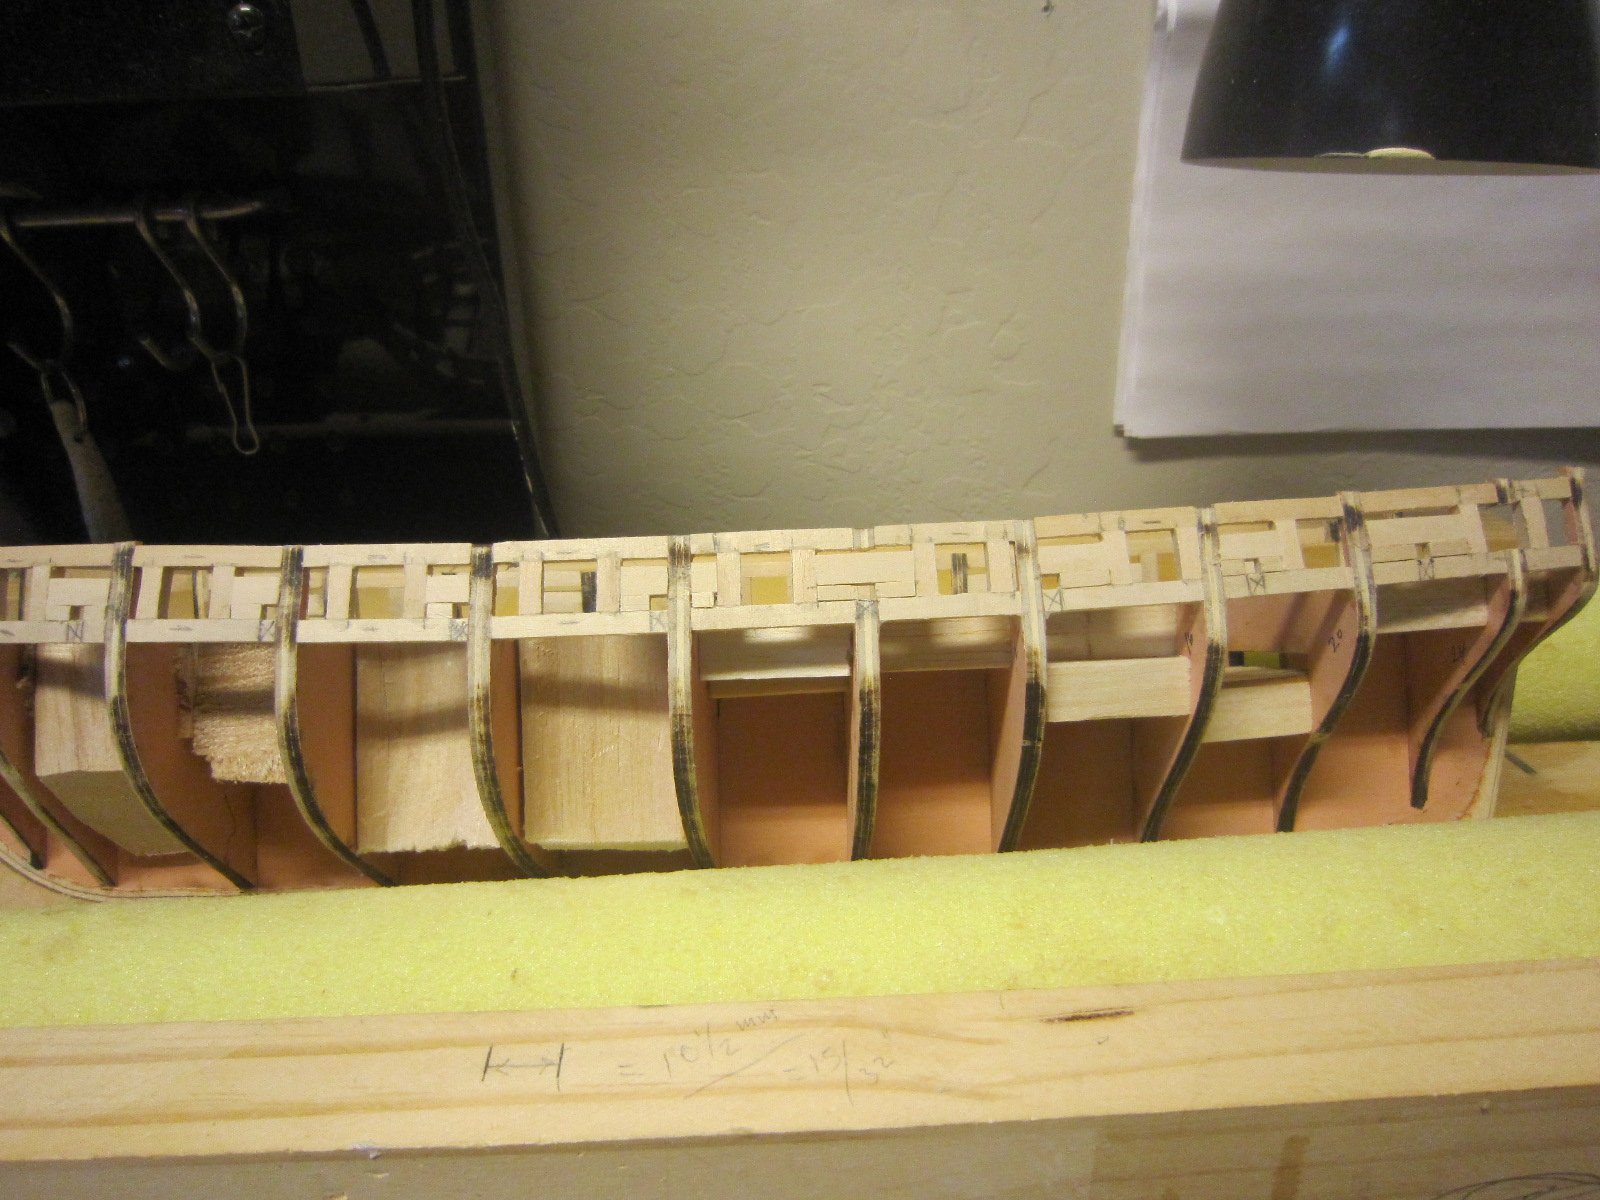
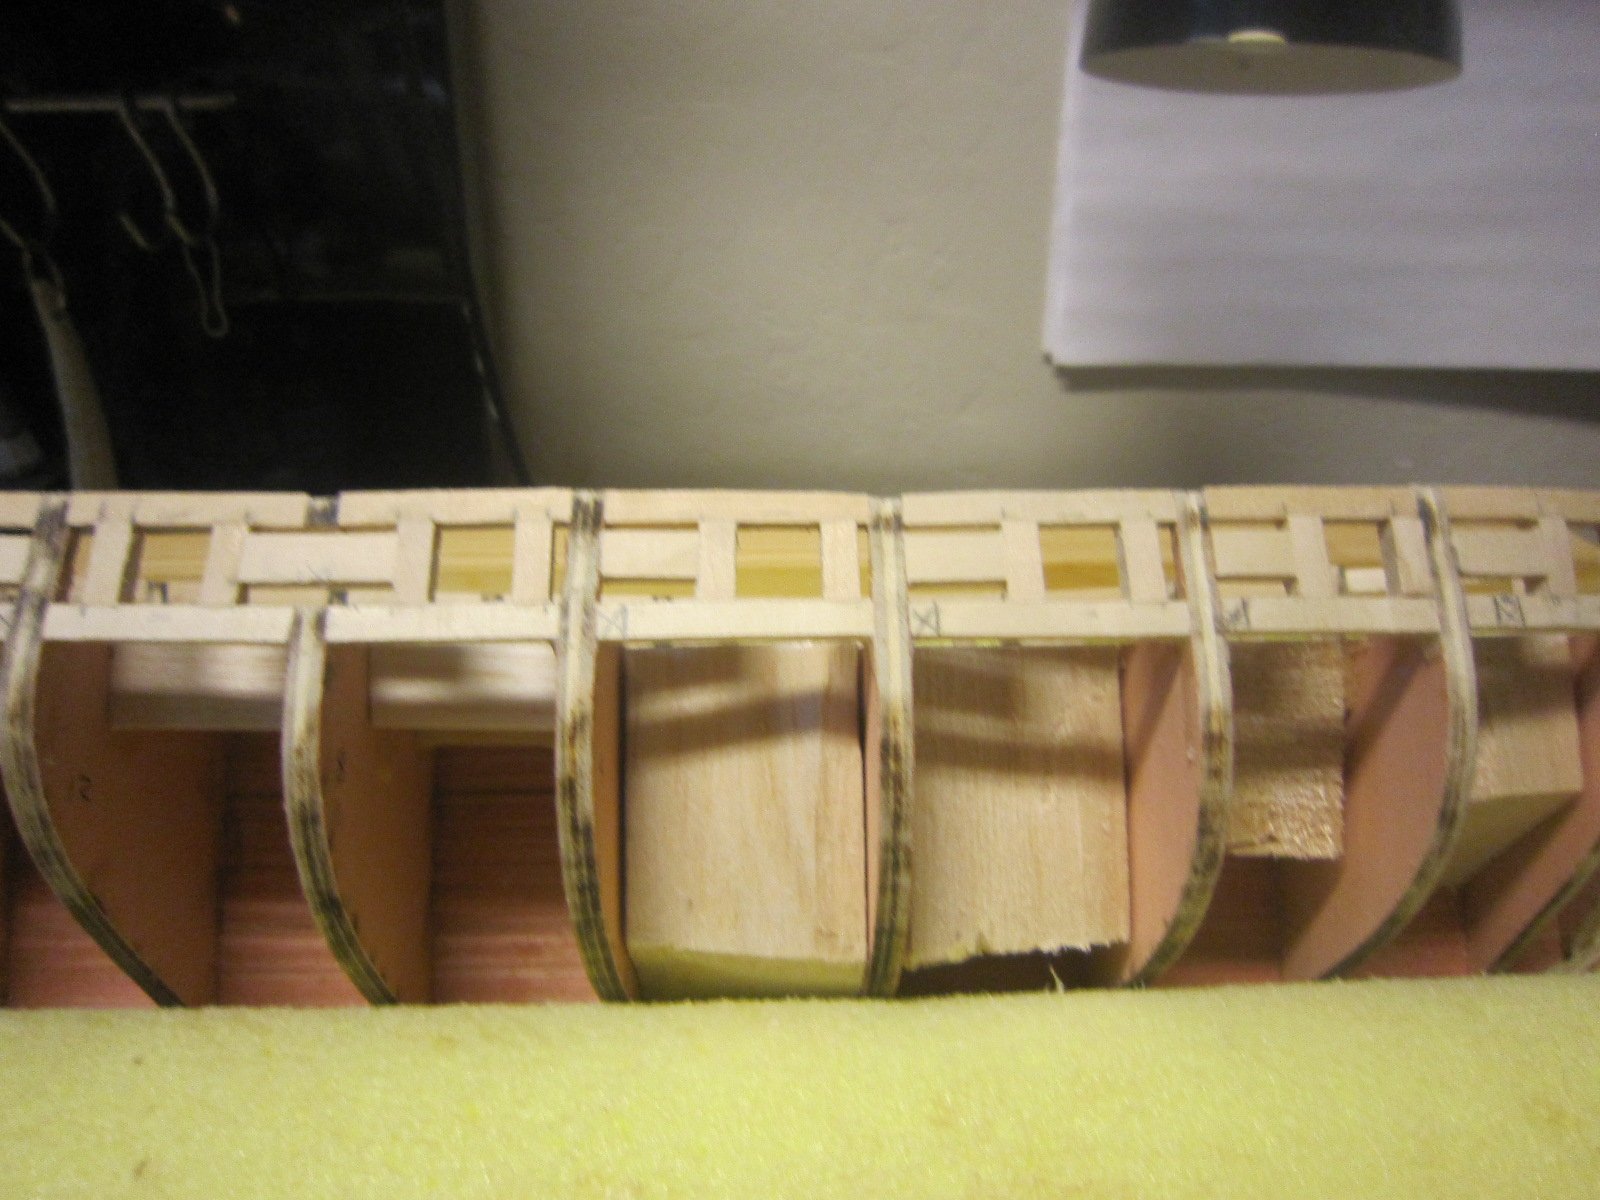
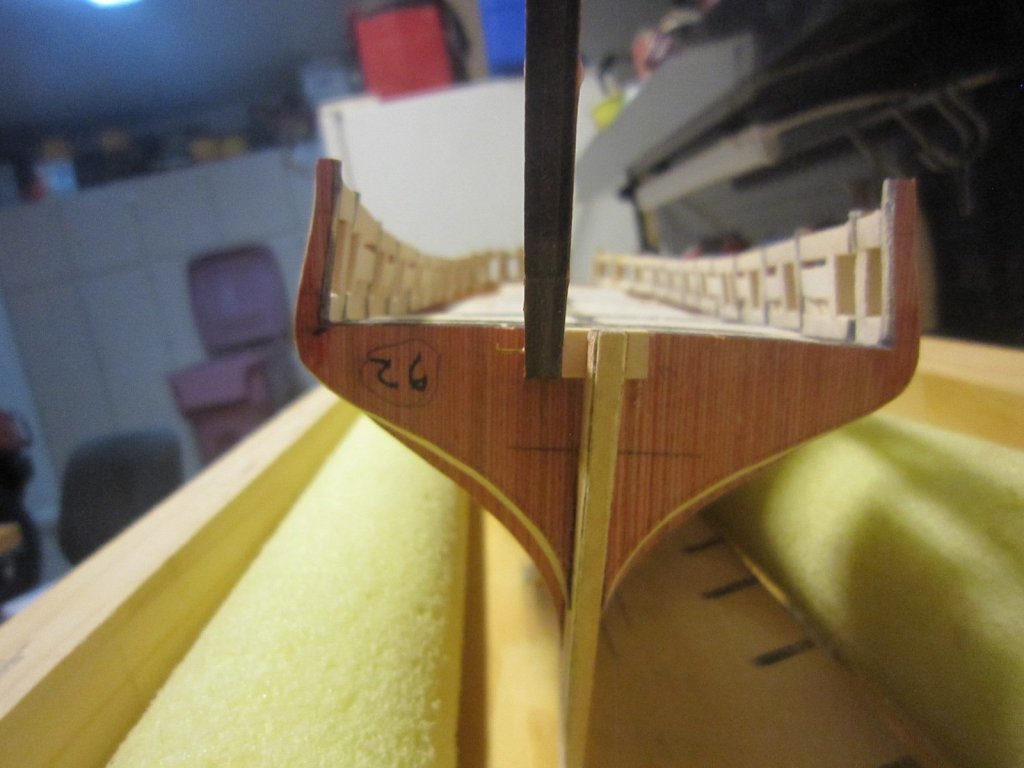
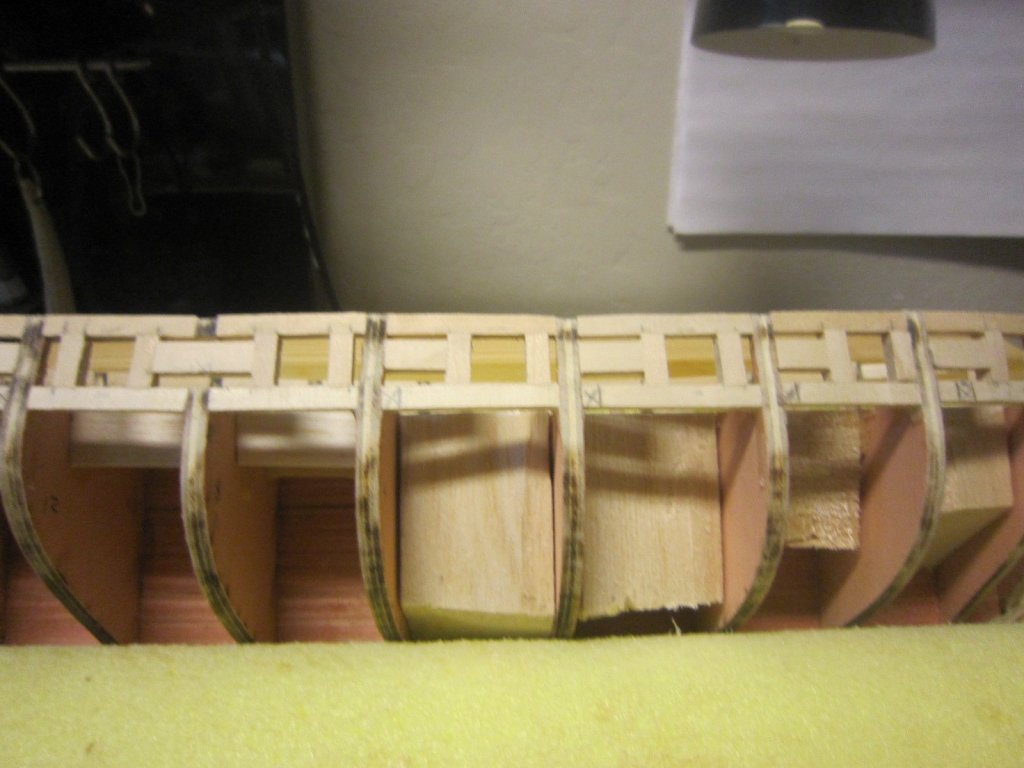
If trying to out how to build this stern is any indication of the rest of this kit, I'm in for a long ride. The kit comes with very good drawings and a cutout sheet of wood for the stern. It just seems like I can't quite figure out how much material to take off to get the correct shape of the stern and still have smooth planking. The gunwales, when I use a plank for gaging, don't want to line up with the pre drawn plan? I will figure it out...just not right now. In the meantime I'm adding some filler blocks to give the planks some gluing area.
- 1,135 replies
-
- 9
-
-
- model shipways
- syren
- (and 2 more)
-
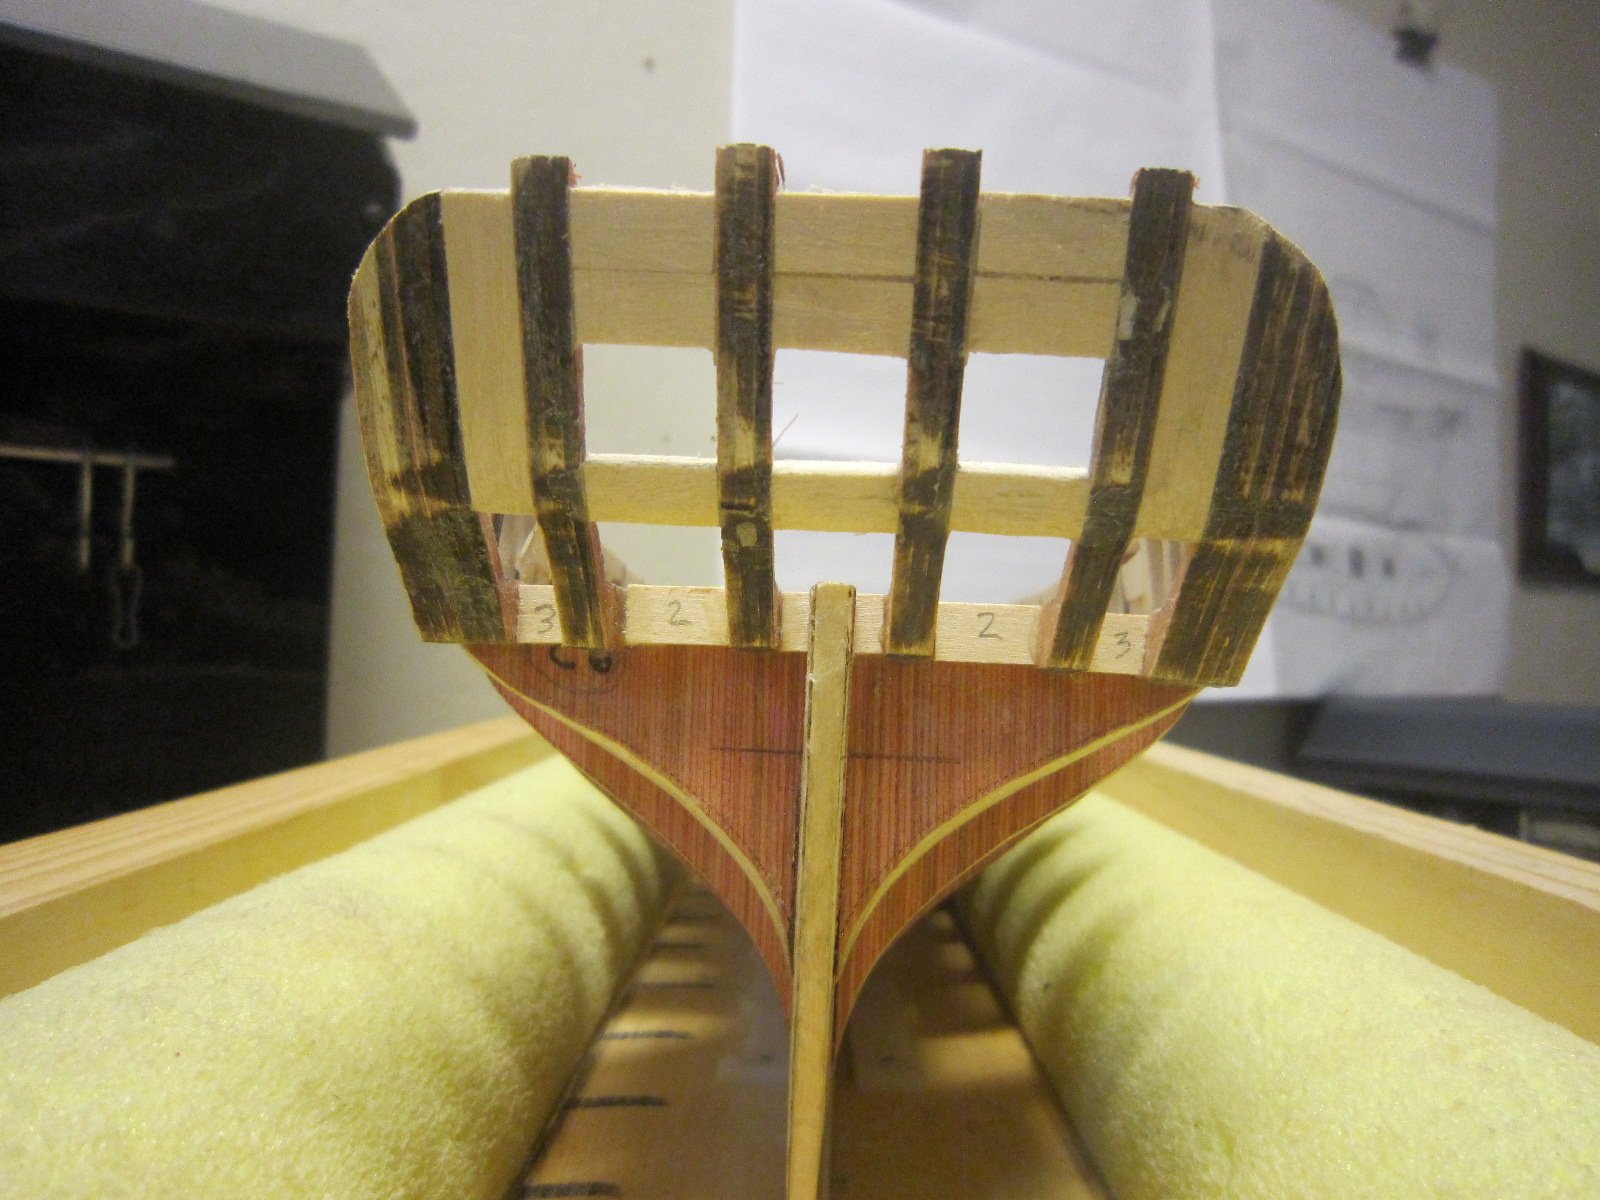
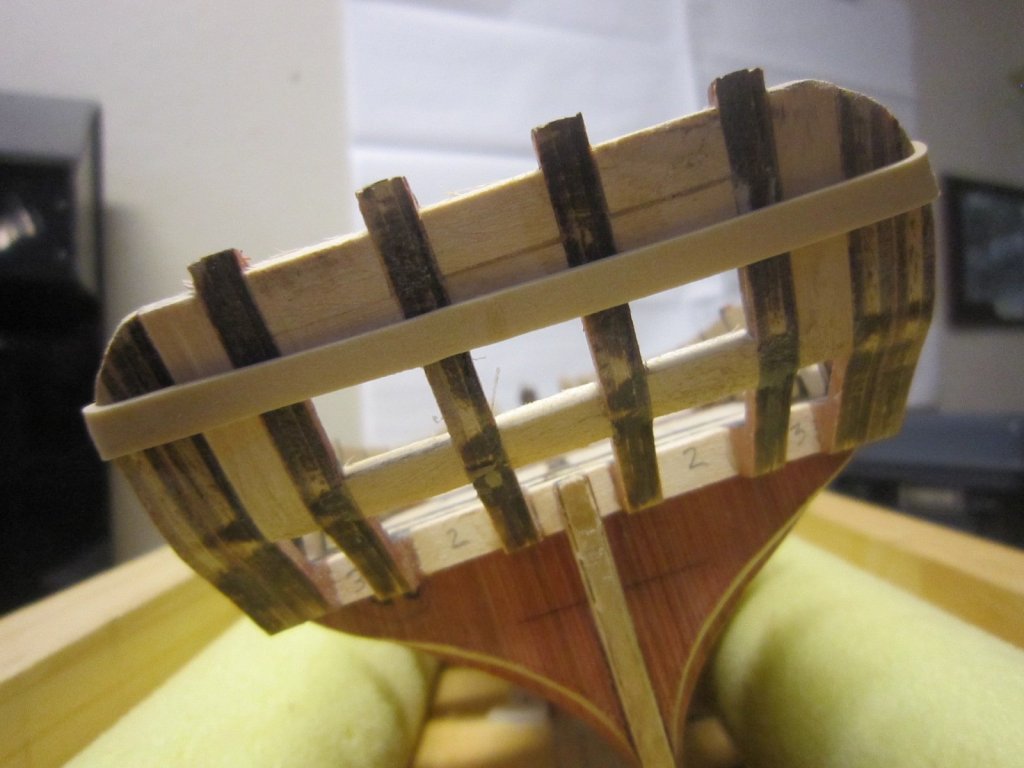
Well all that sanding finally caused parts of the fragile stern to come unglued. I'm holding together the fix with a rubber band.
- 1,135 replies
-
- 9
-
-
- model shipways
- syren
- (and 2 more)
-
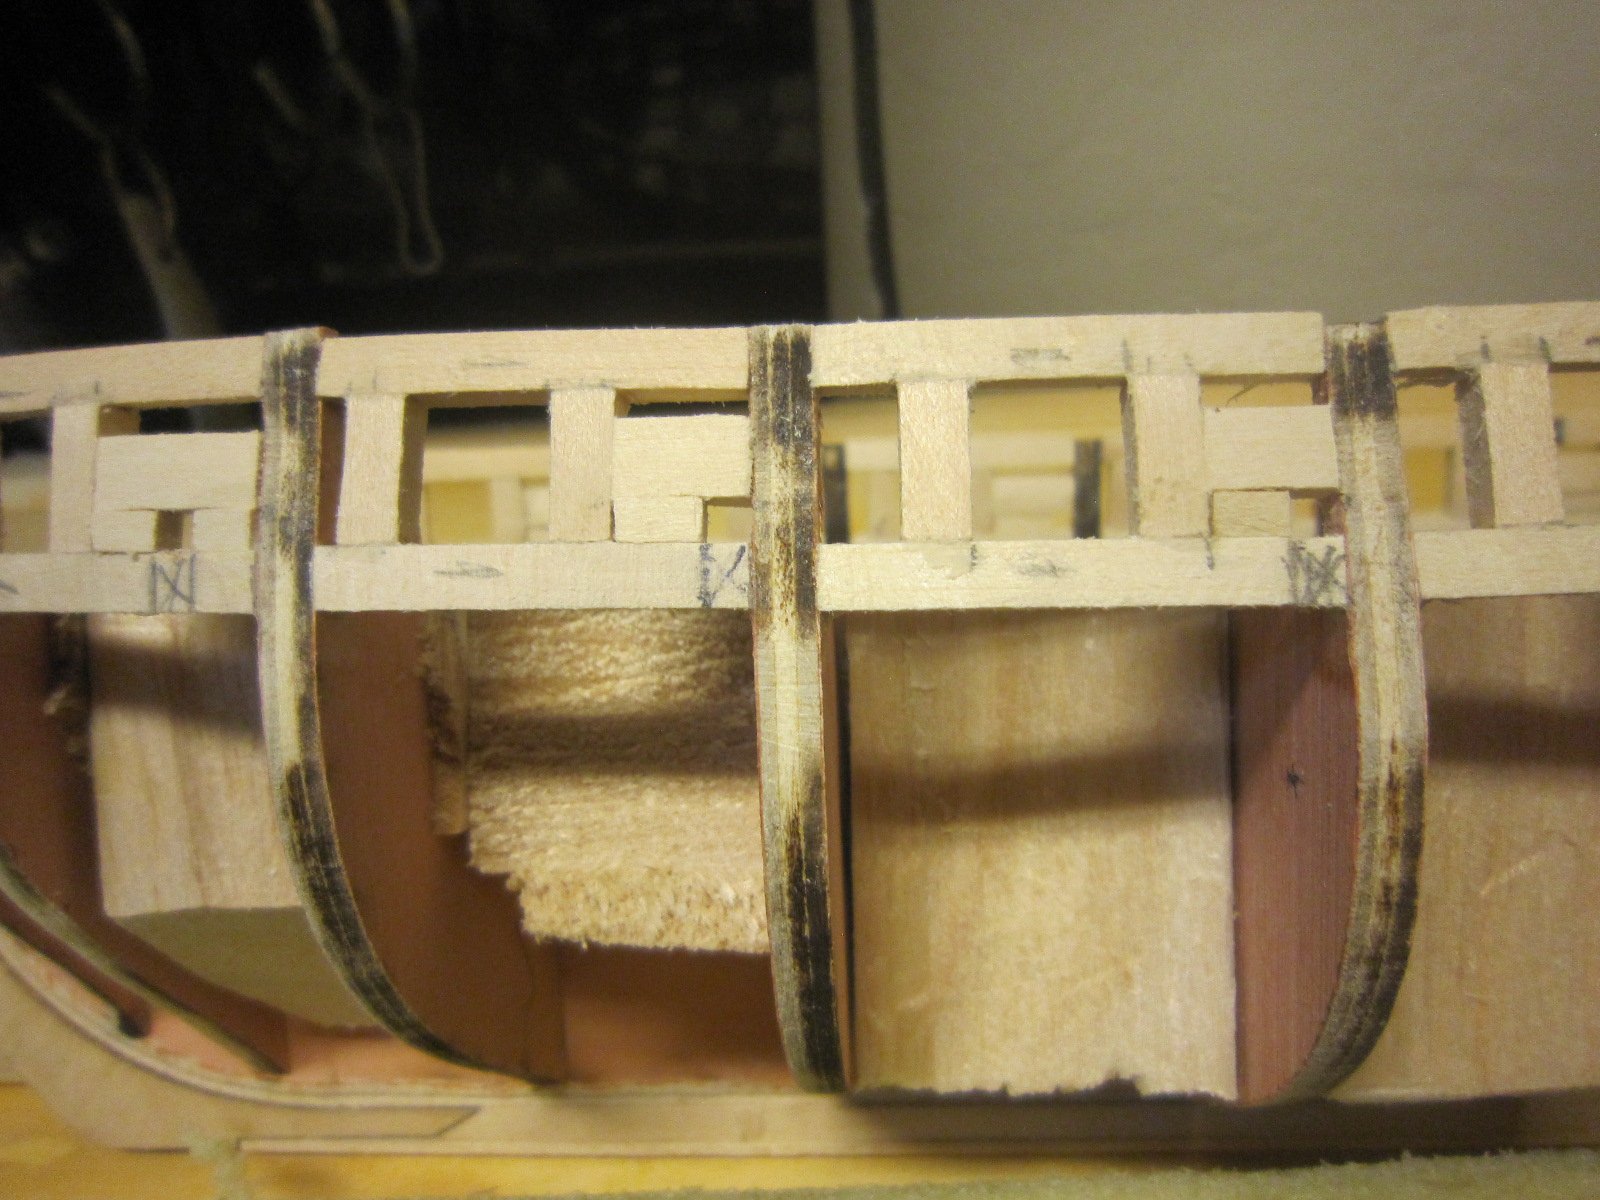
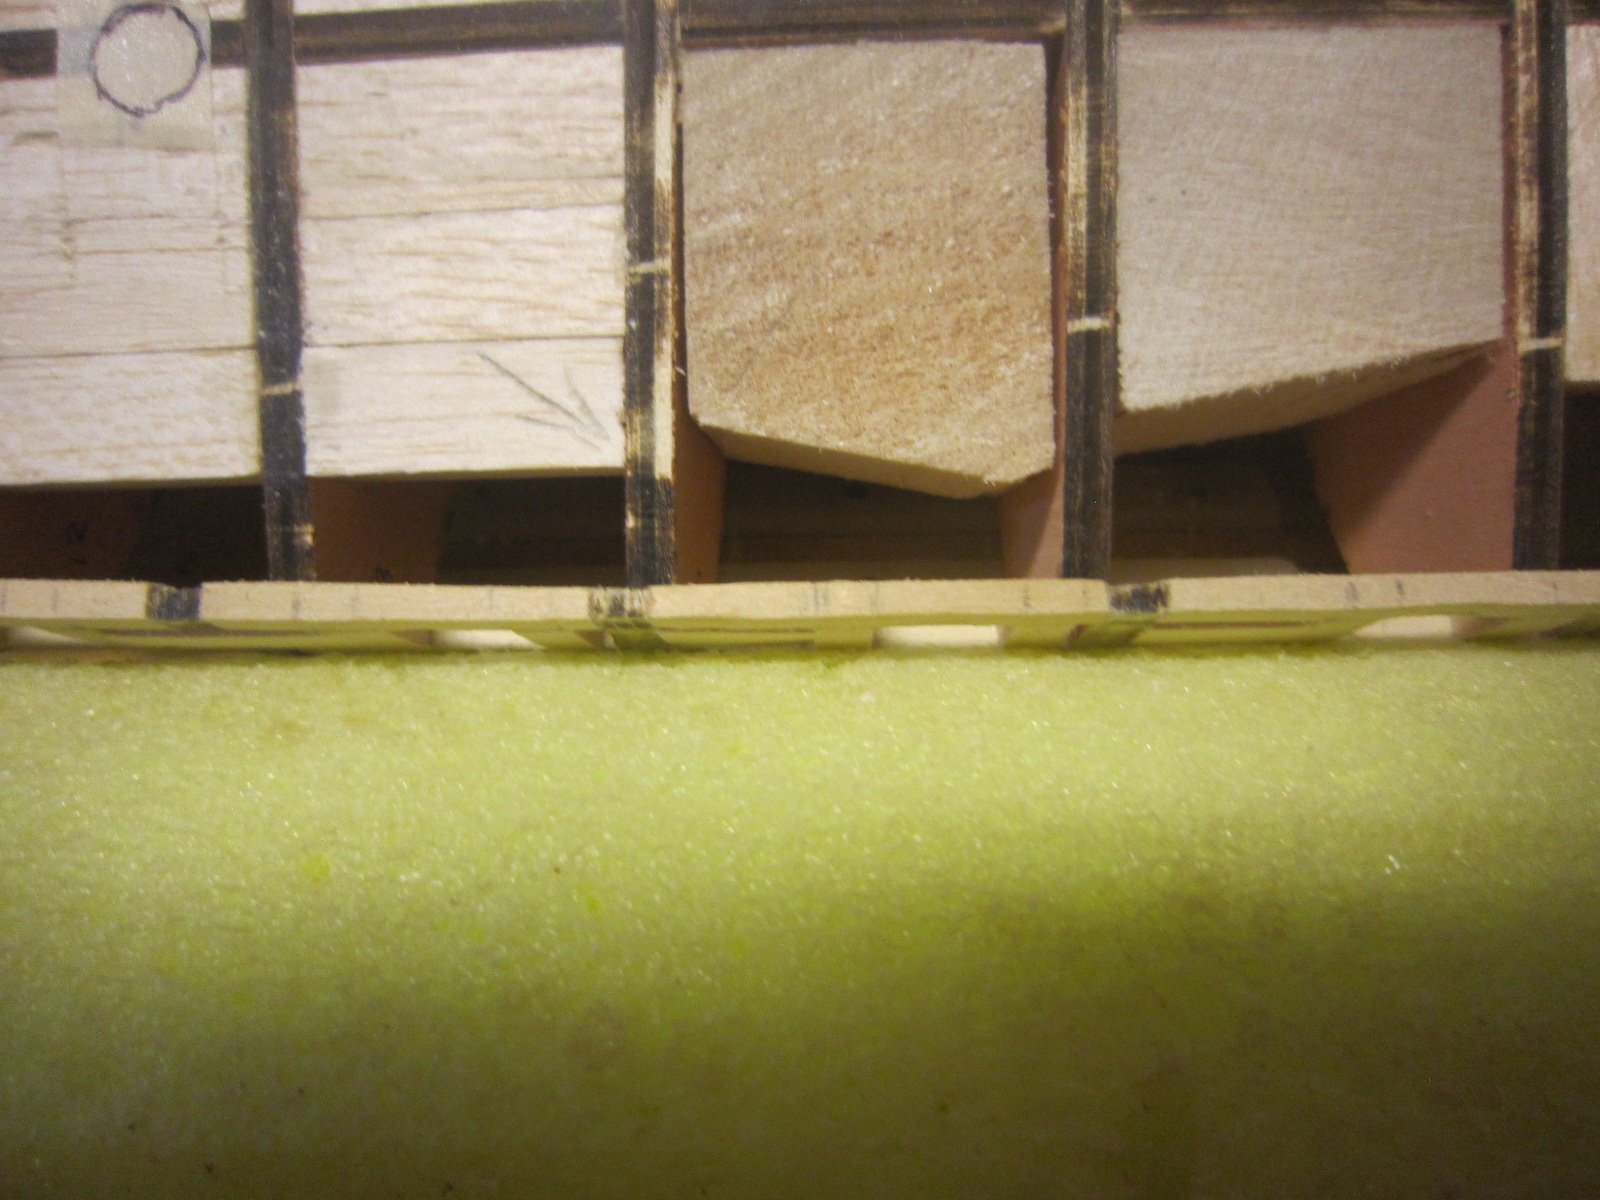
More sanding. This ship has the deepest char I've ever encountered.


- 1,135 replies
-
- 10
-
-
- model shipways
- syren
- (and 2 more)
-
It sounds like they've been multiplying like rabbits! Since my last two models took almost two years each to build...those 9 models would represent 18 years of my slow work. Wow!
-
I finished the stern fillers and port sills and lintels. I rough sanded the outside so I could begin to mark the stern's outline. I am sanding very carefully since I do not like the potential fragile nature of the structure at this point. It feels strong, but it's just the glue holding it on with no structural support.

- 1,135 replies
-
- 10
-
-
- model shipways
- syren
- (and 2 more)
-
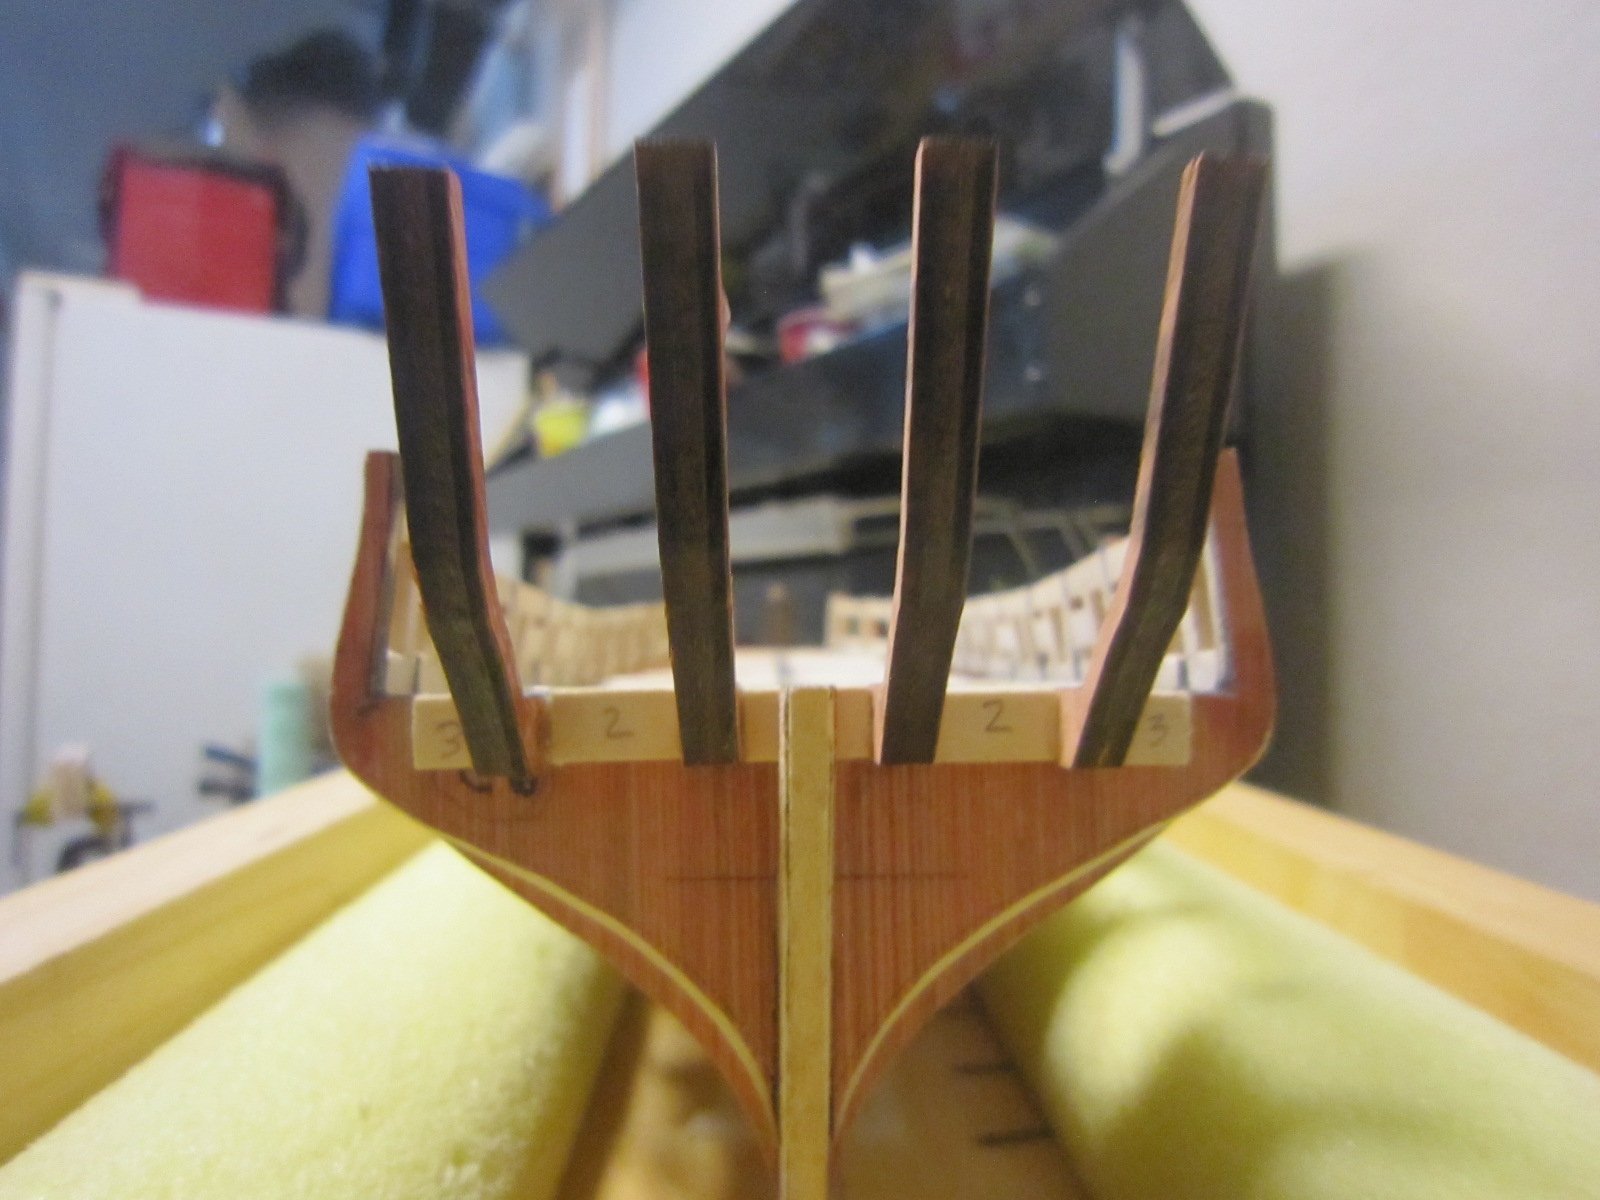
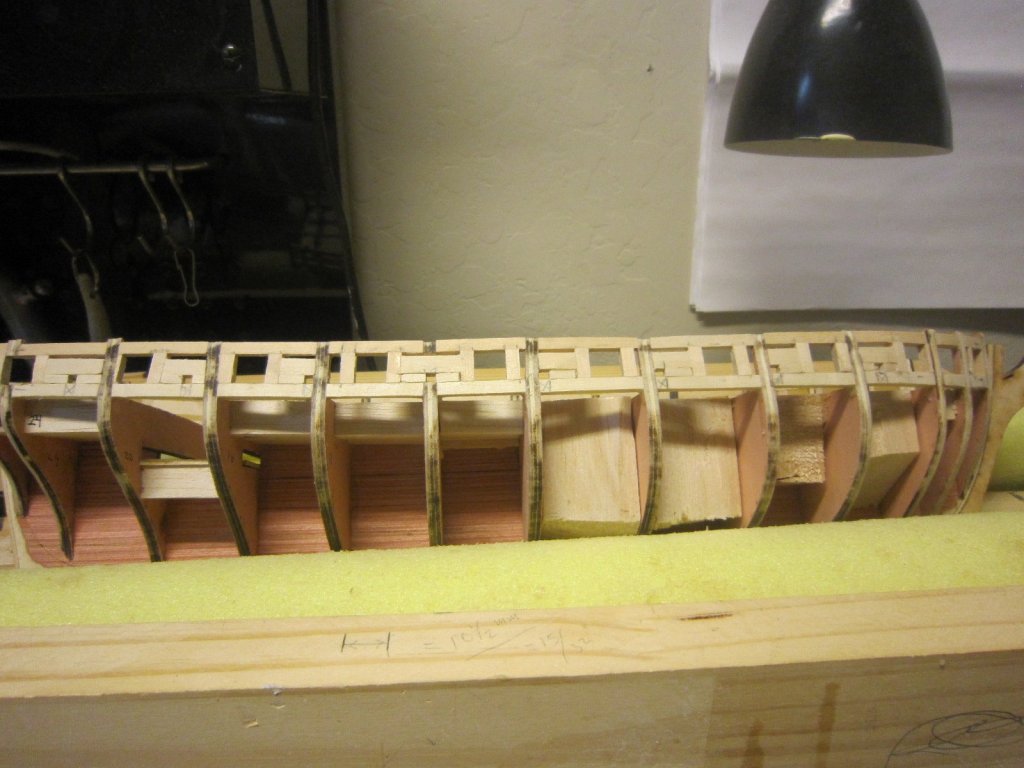
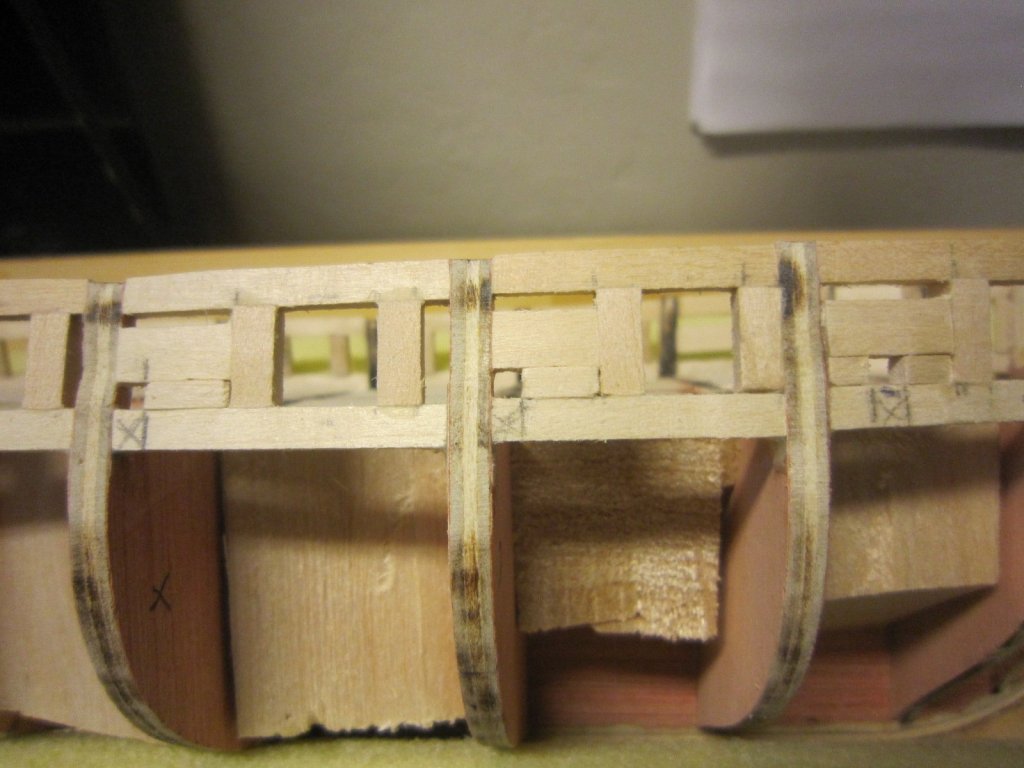
Doug, I've glued a few pieces in and am getting some stability right and left, but there's a big unsupported space fore and aft. I'll have to figure out how to fix that before sanding.
- 1,135 replies
-
- 5
-
-
- model shipways
- syren
- (and 2 more)
-
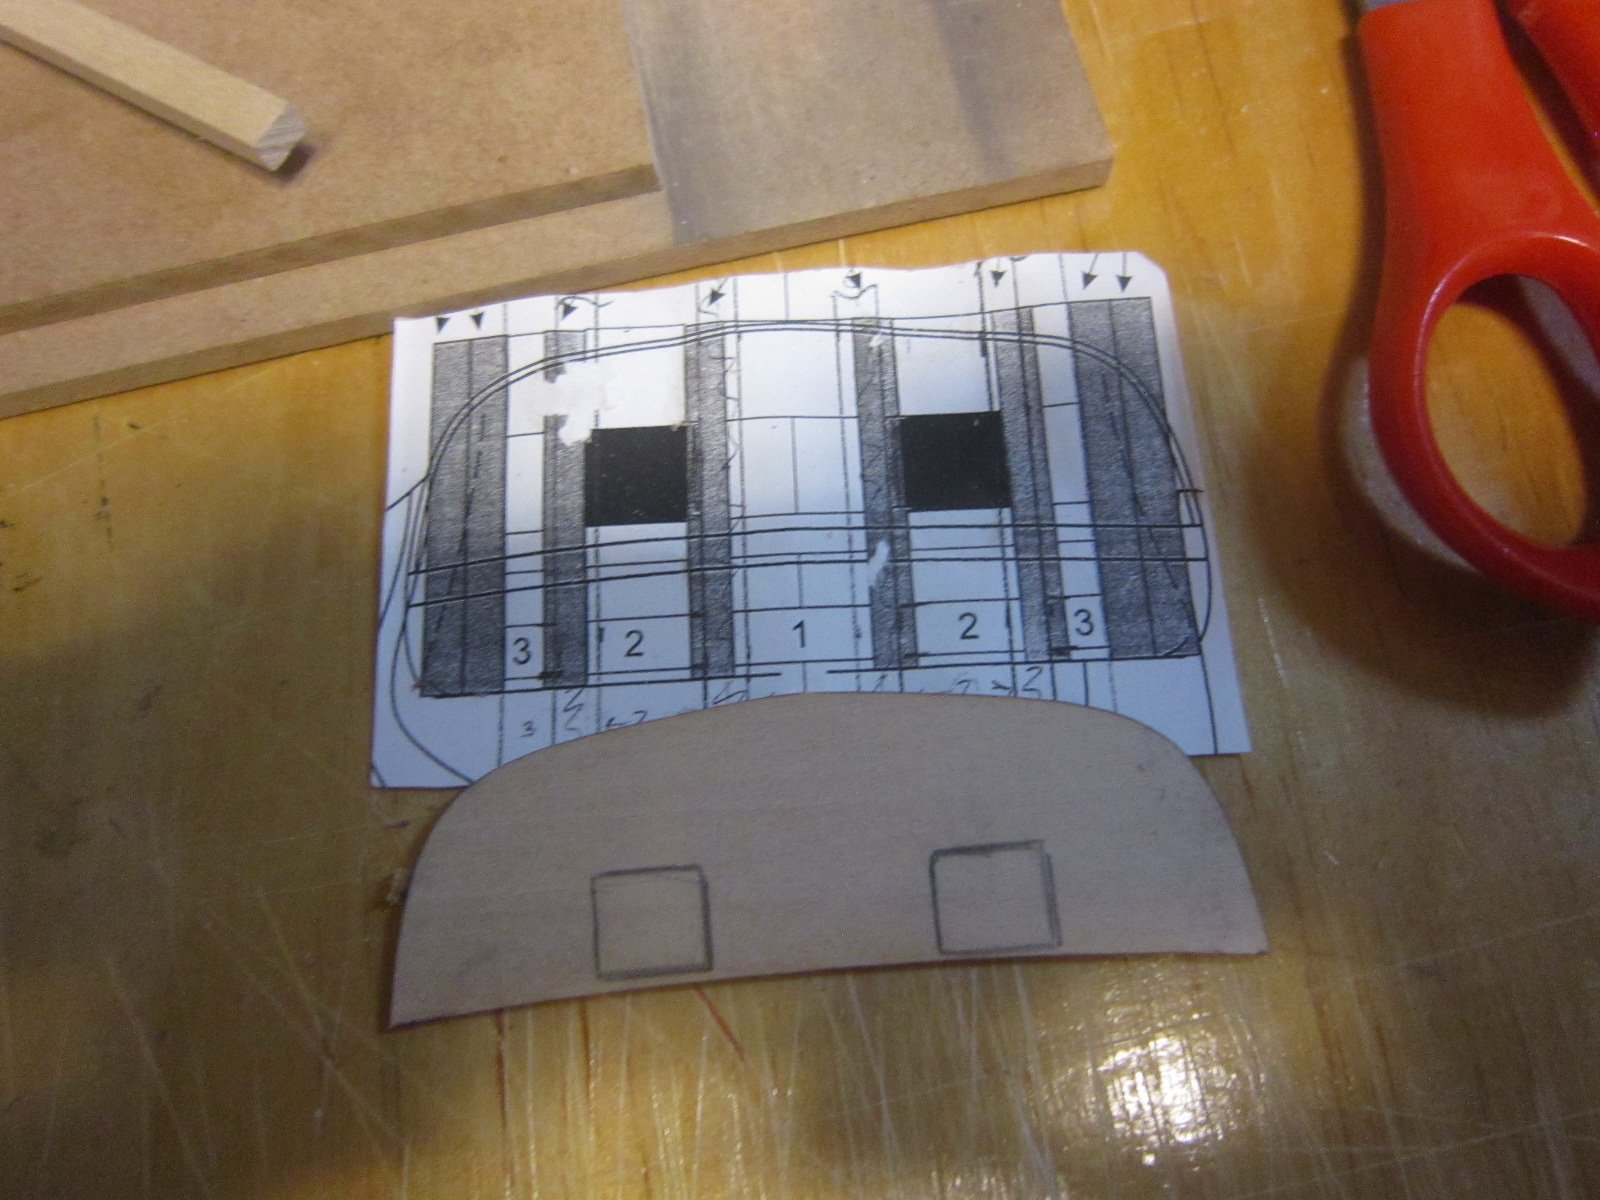
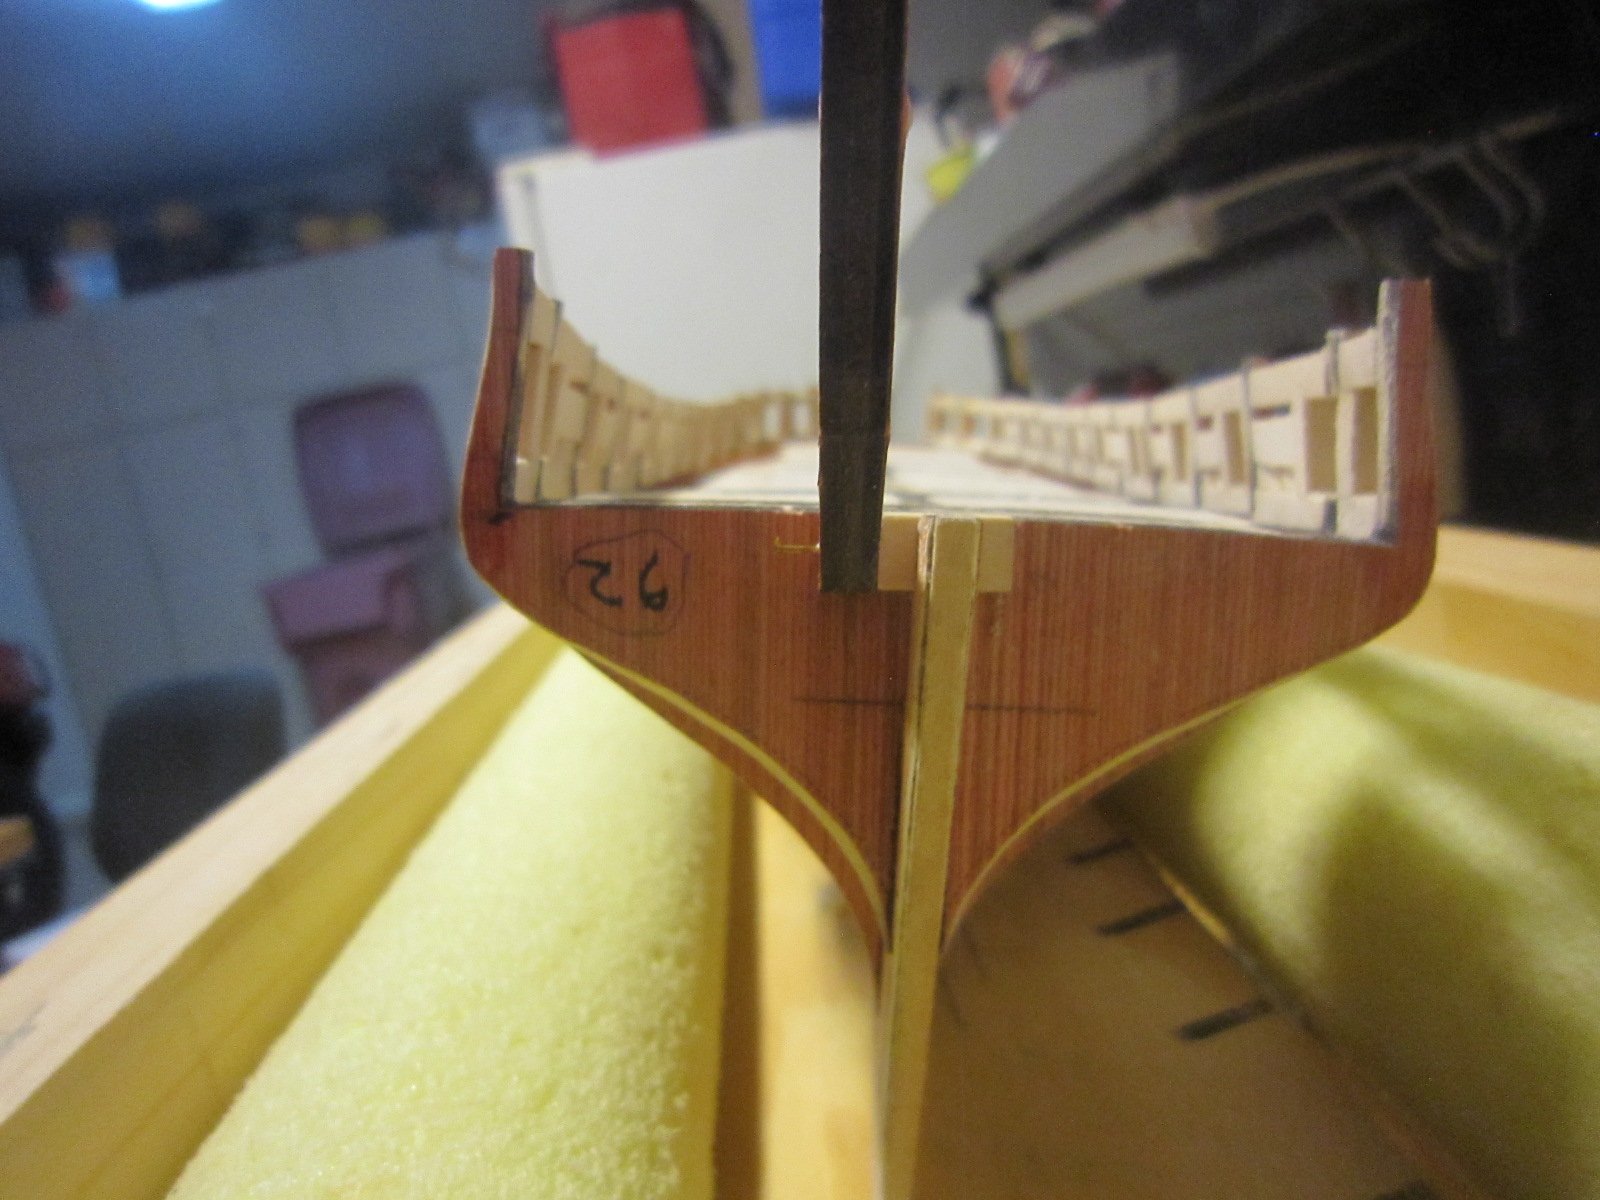
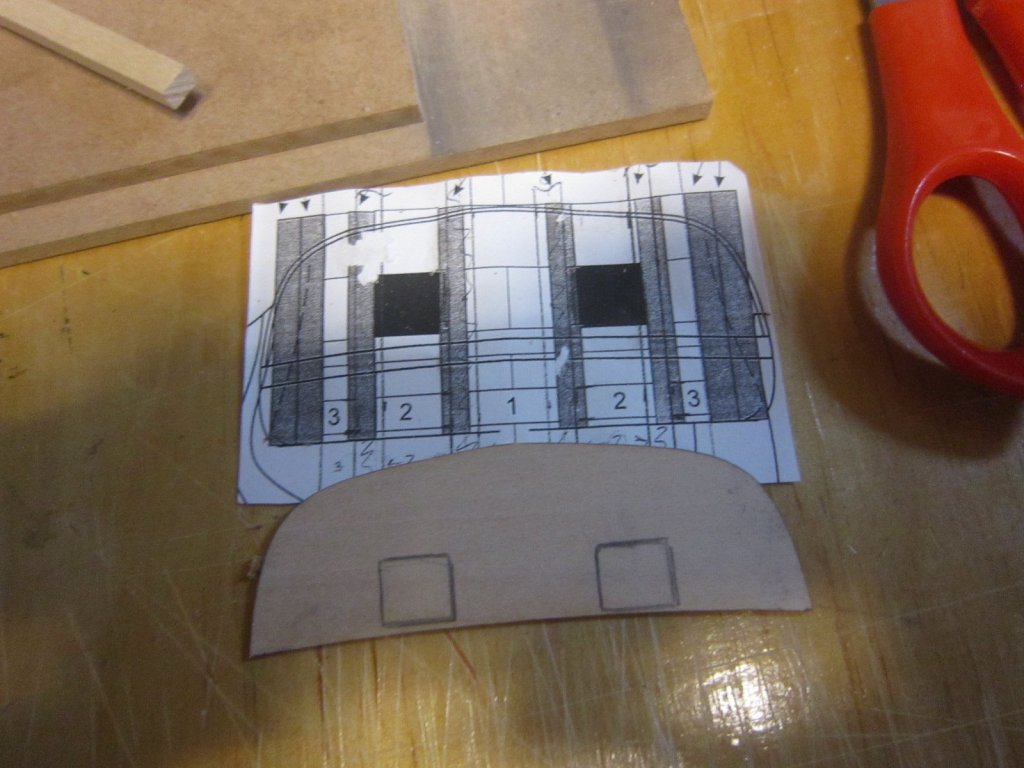
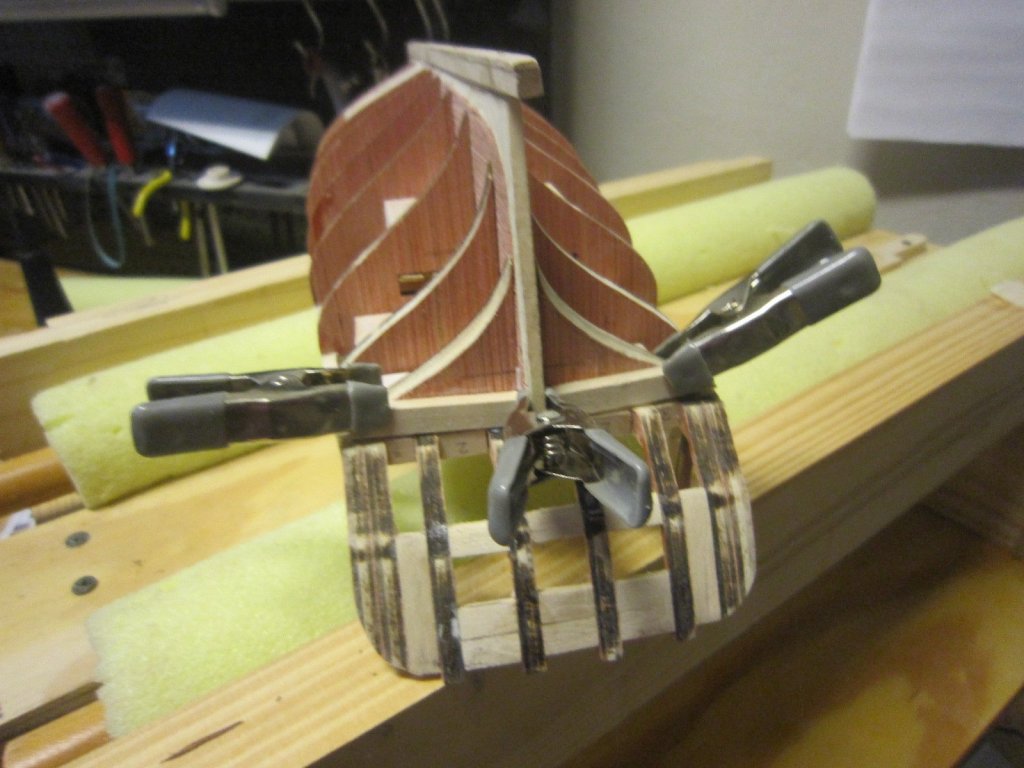
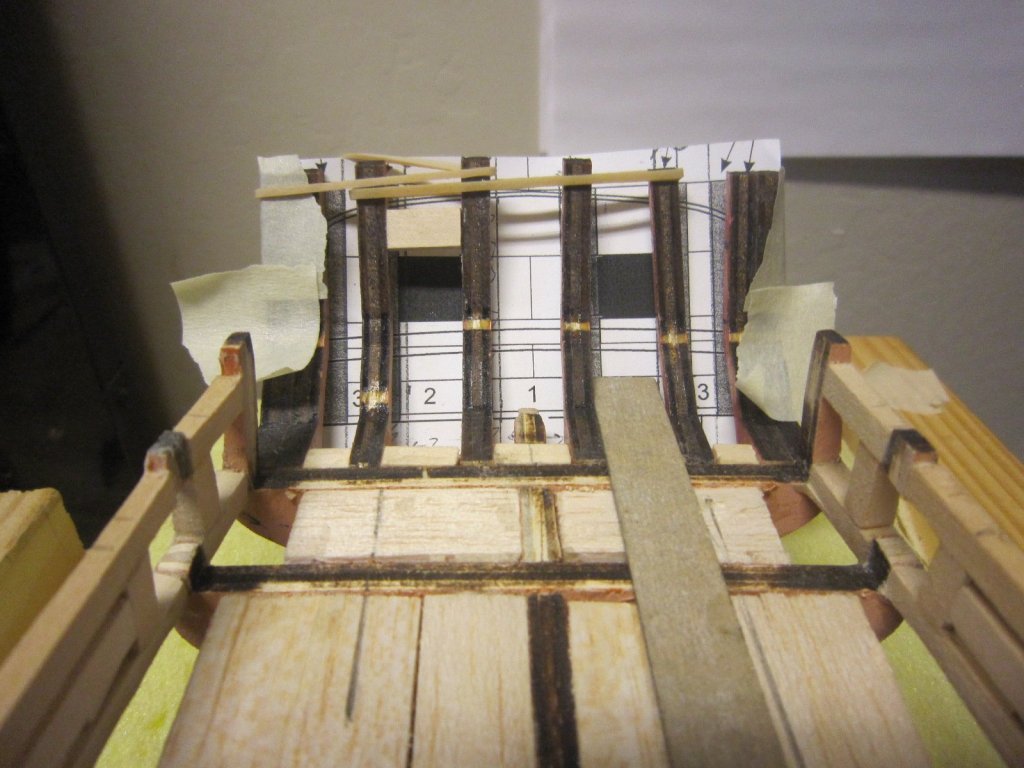
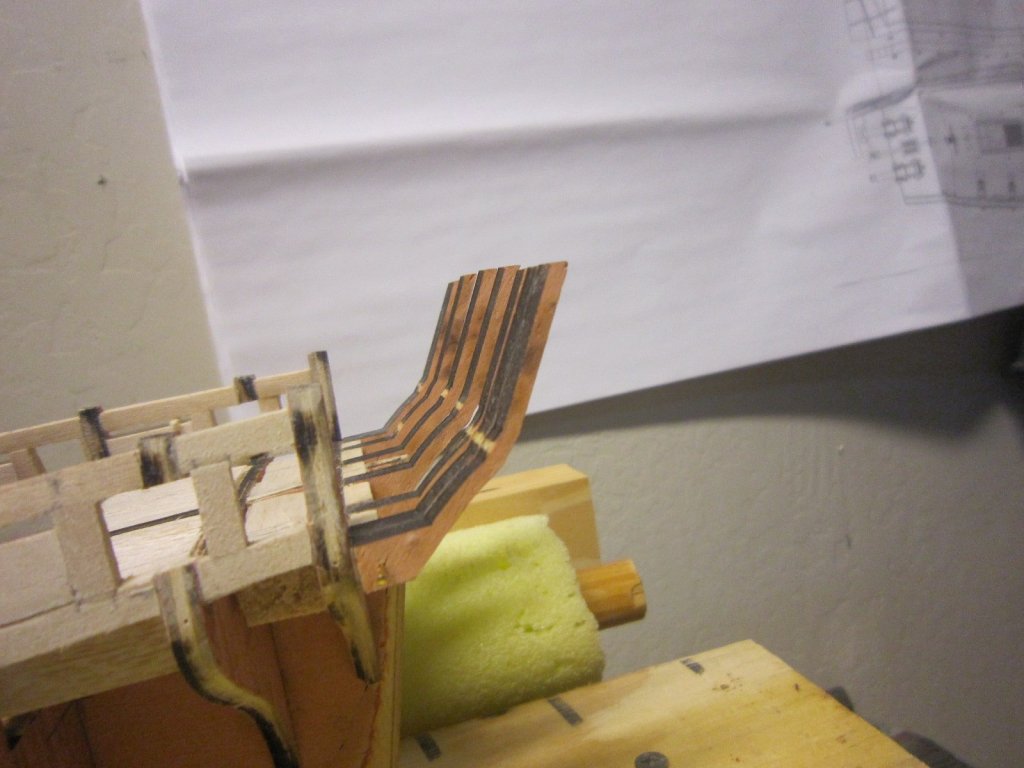
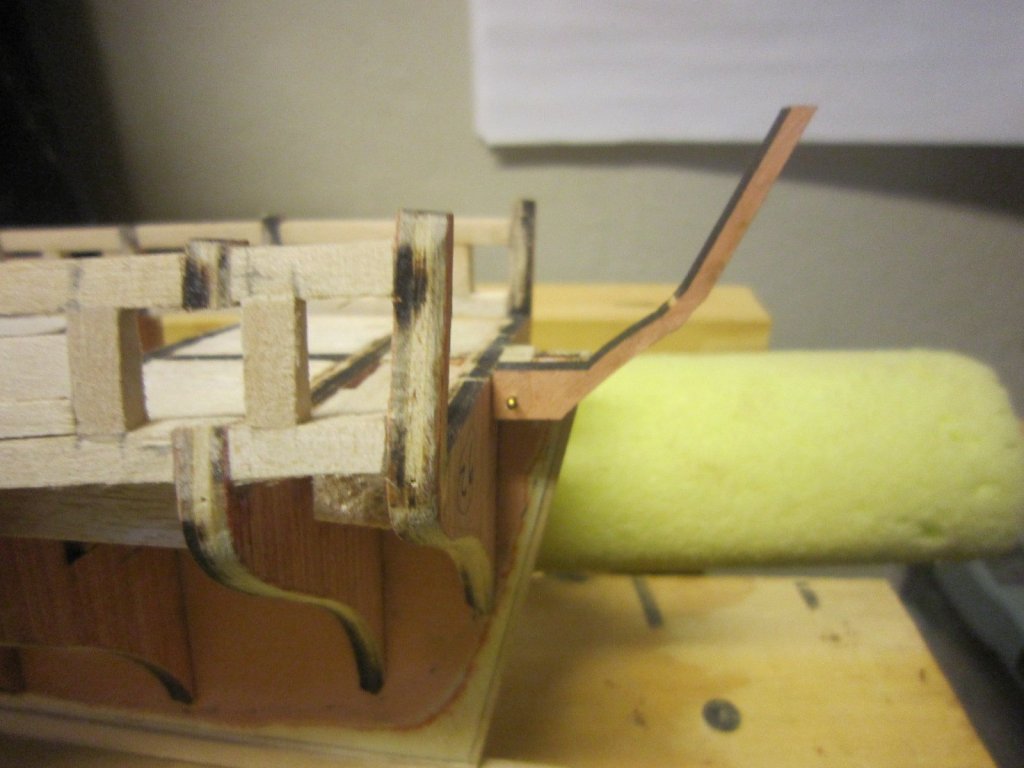
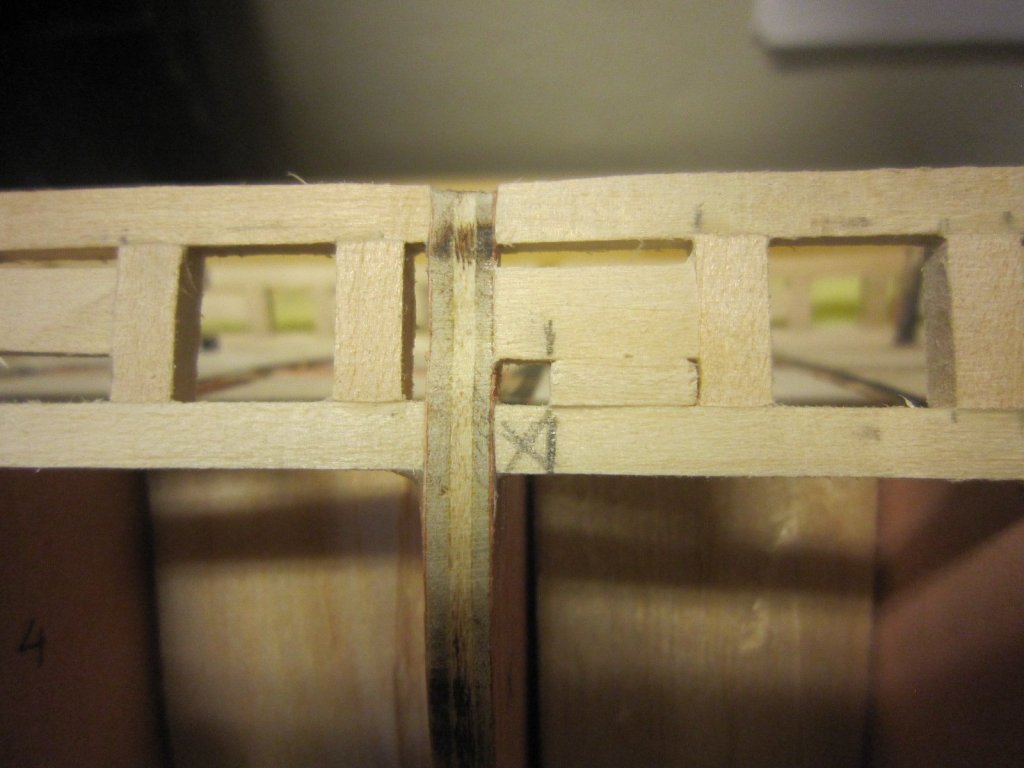
The instructions call for me to cut out and tape the stern template on for part locations. Easier said than done. Longitudinally was no problem but vertically was. I finally laid a narrow straight edge on the deck so it lined up with the deck level blocks I previously installed. Next the whole thing is like a fragile tuning fork, so I am experimenting with rubber band clamps to hold parts after glued. I have glued nothing yet.. This will take very careful measuring since the verticals will spread if too big.
- 1,135 replies
-
- 7
-
-
- model shipways
- syren
- (and 2 more)
-
Now I realize I should have sanded off all the char on these stern pieces before installing them. Oh well?
- 1,135 replies
-
- 5
-
-
- model shipways
- syren
- (and 2 more)
-
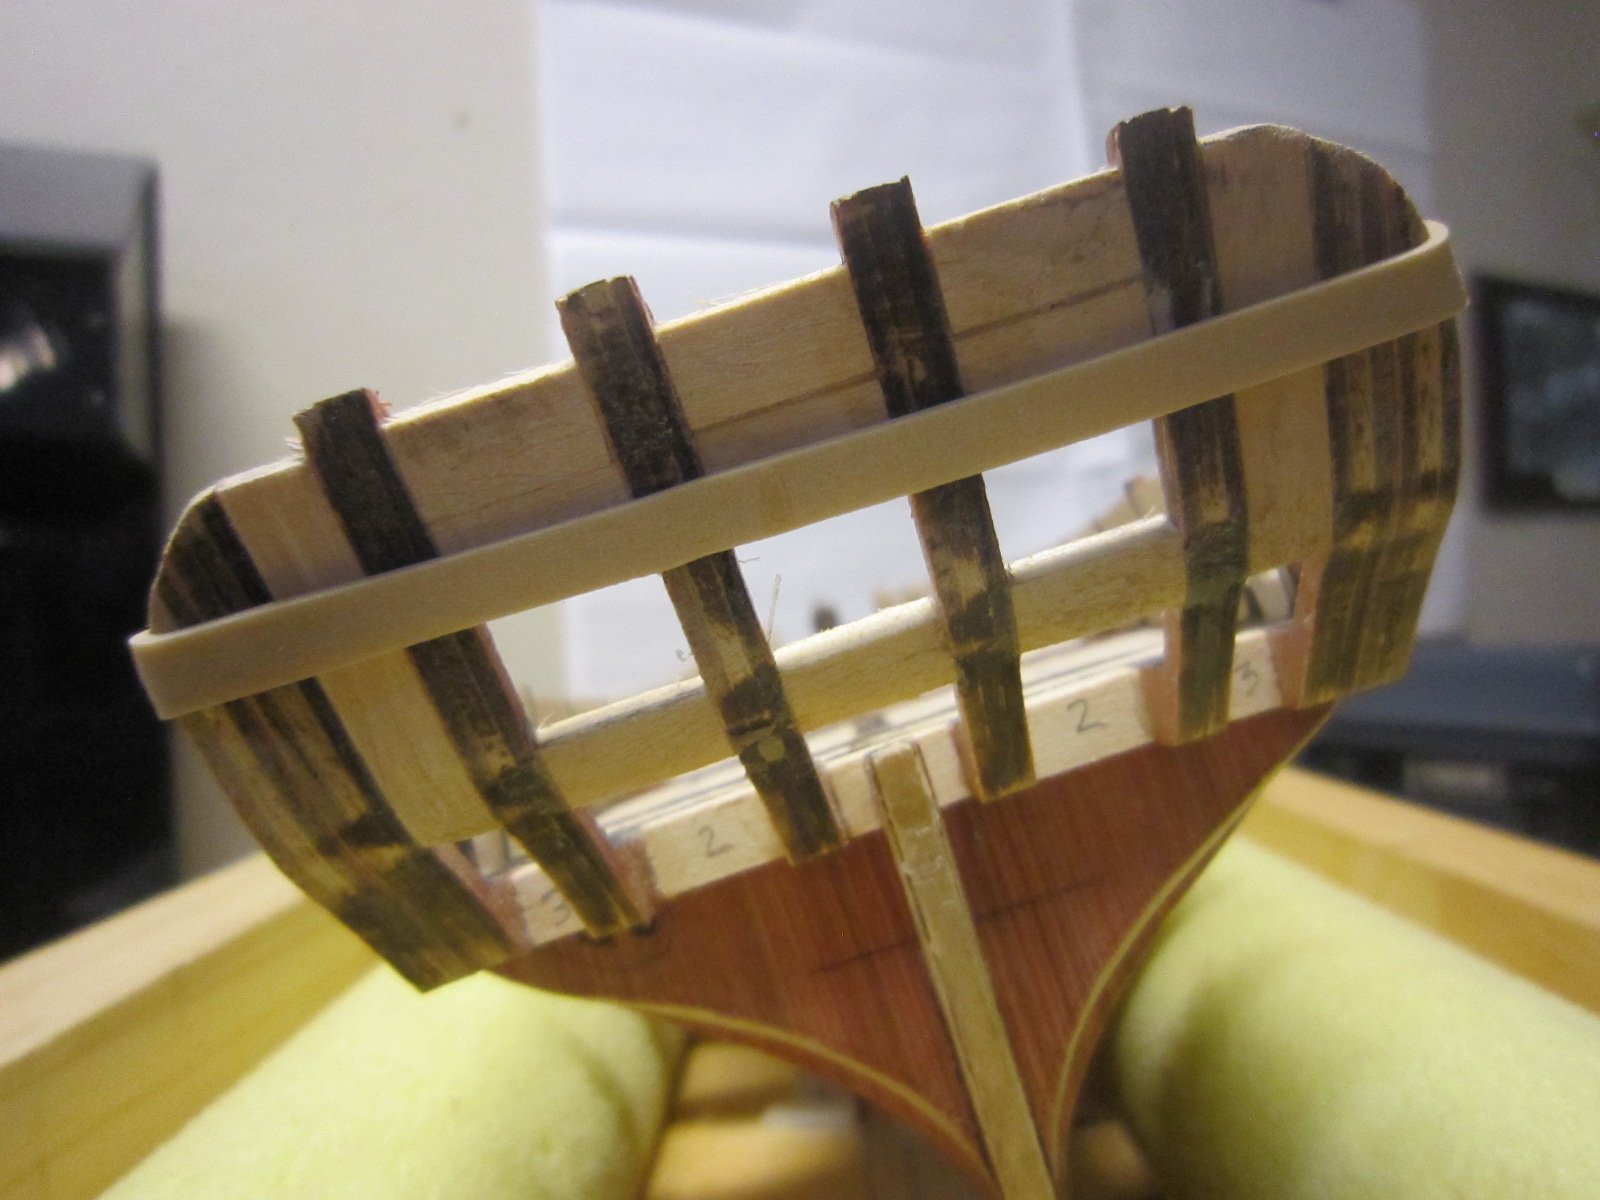
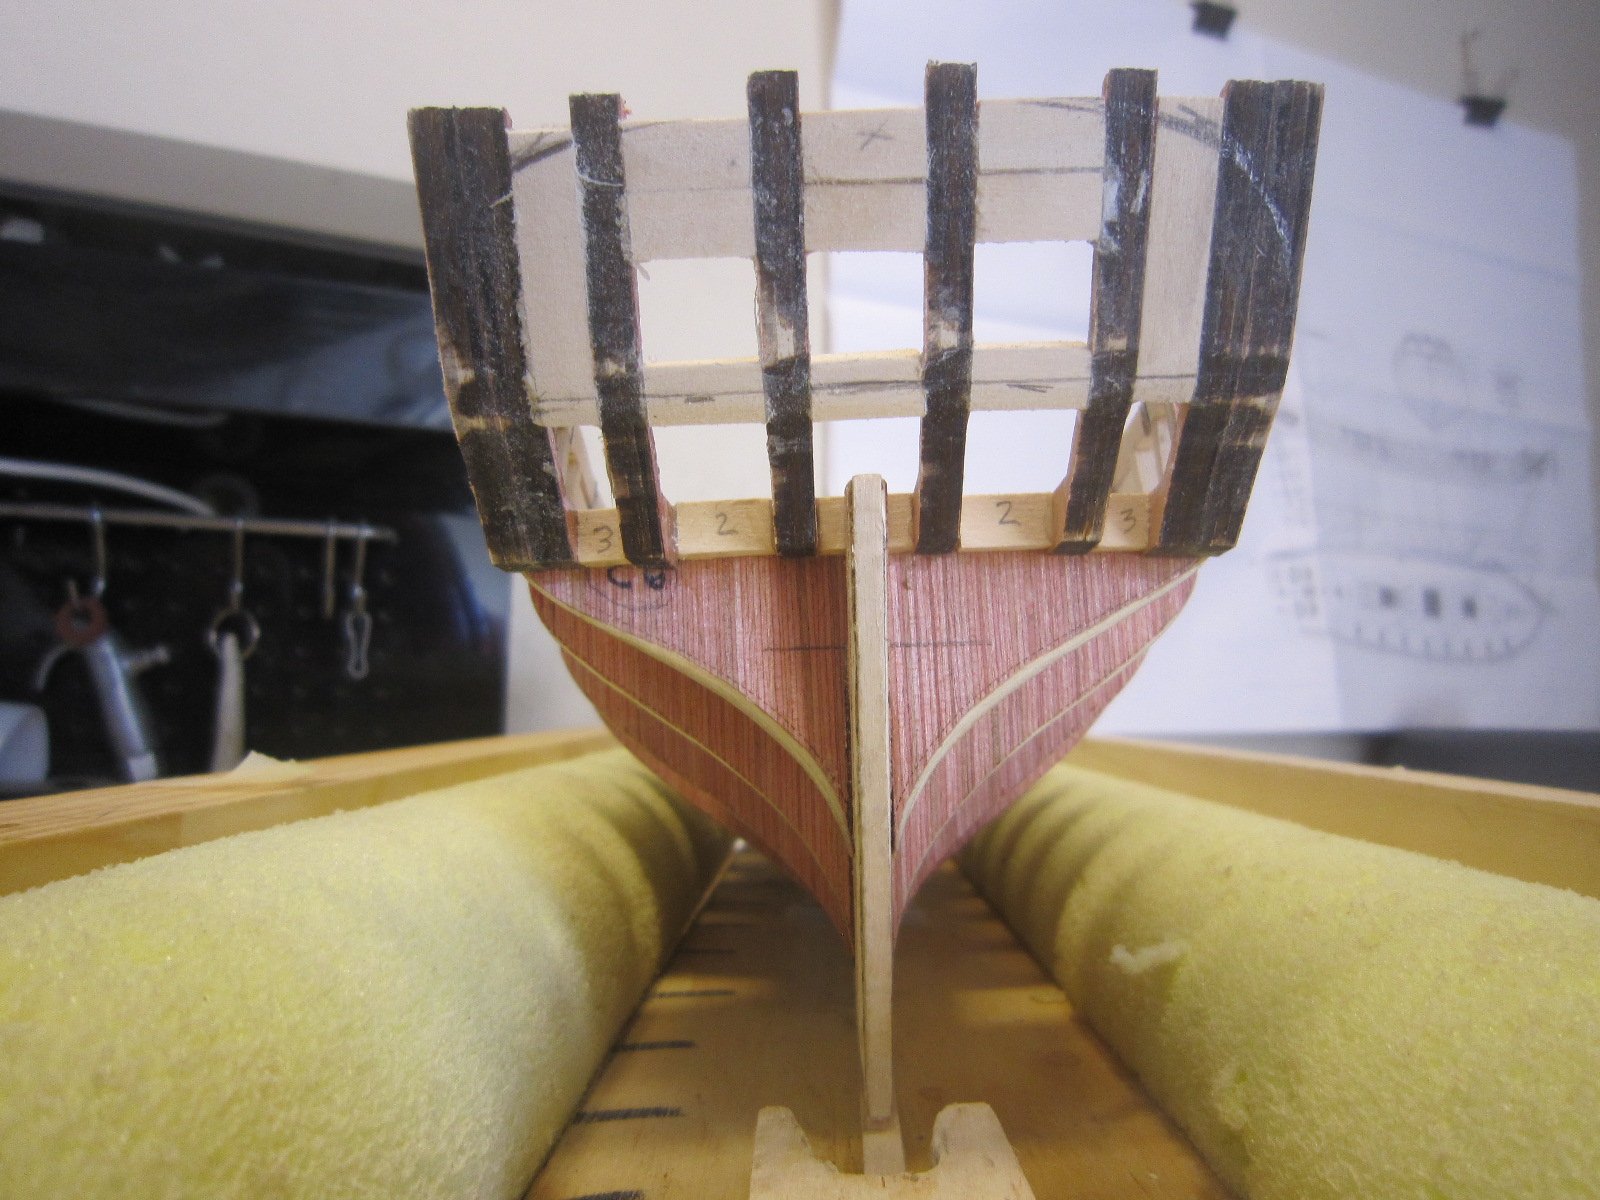
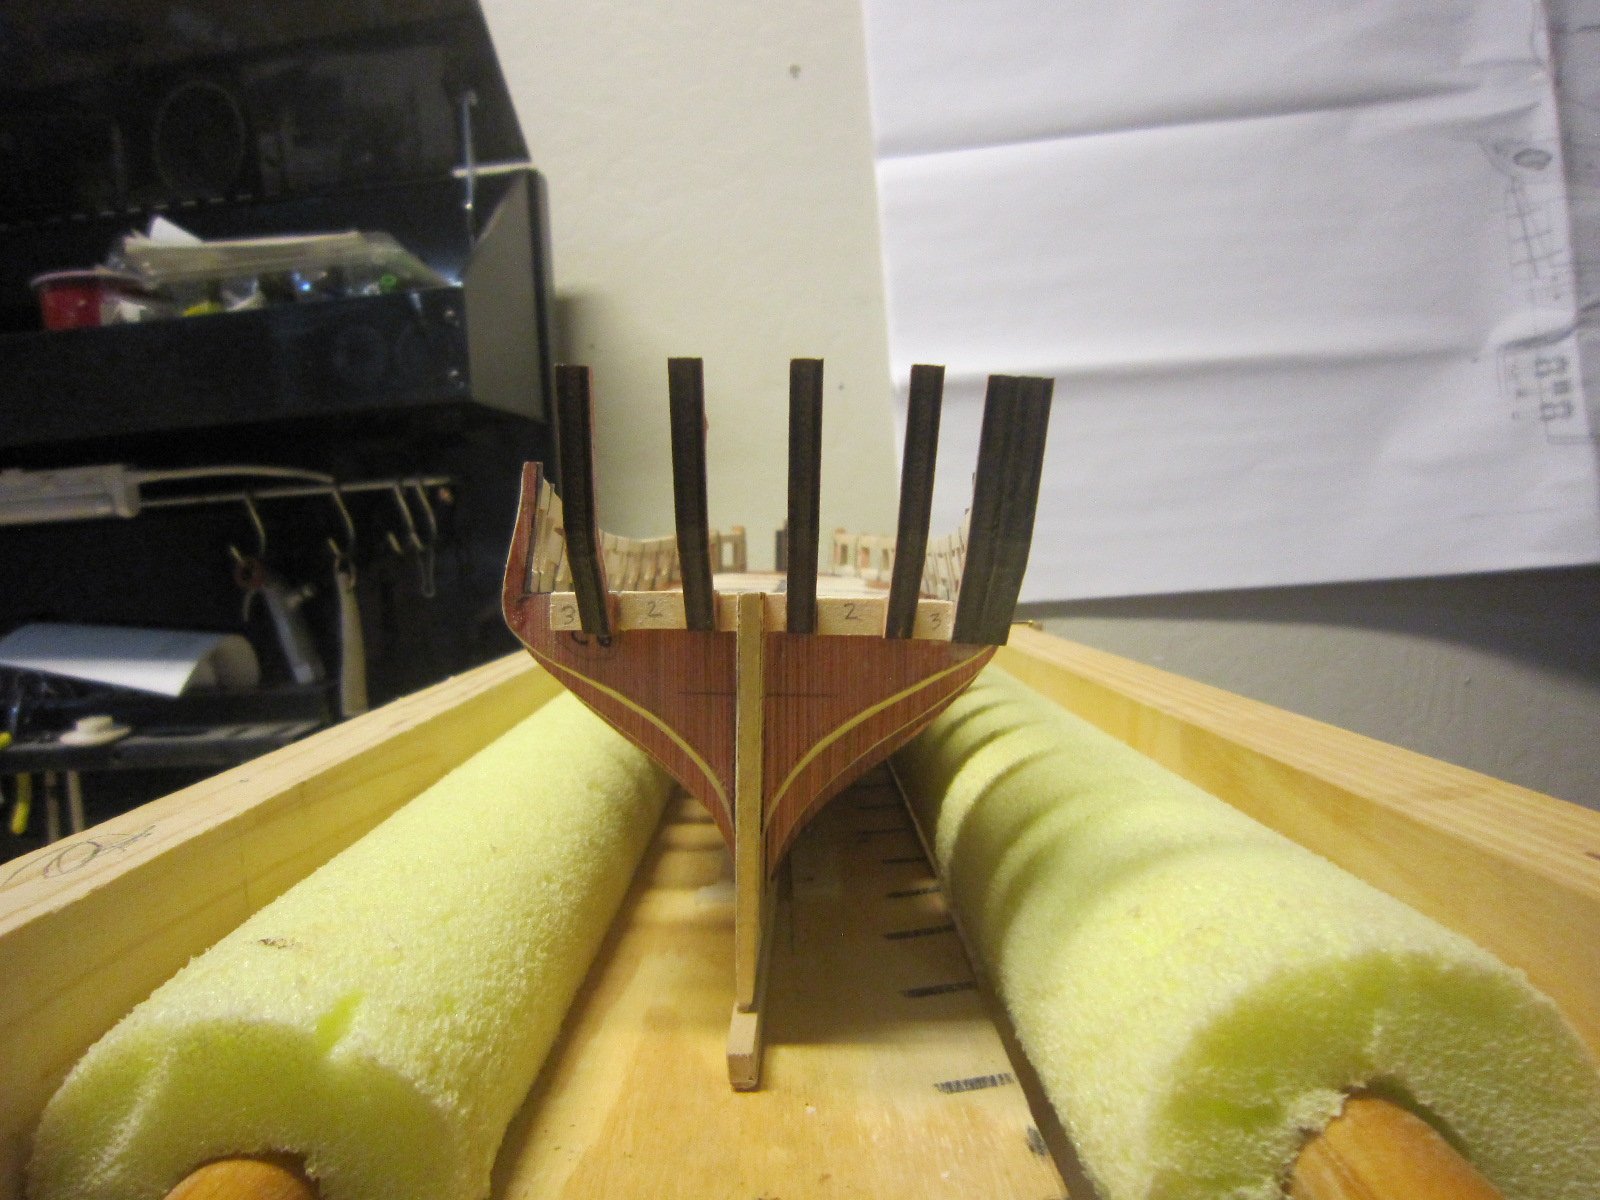
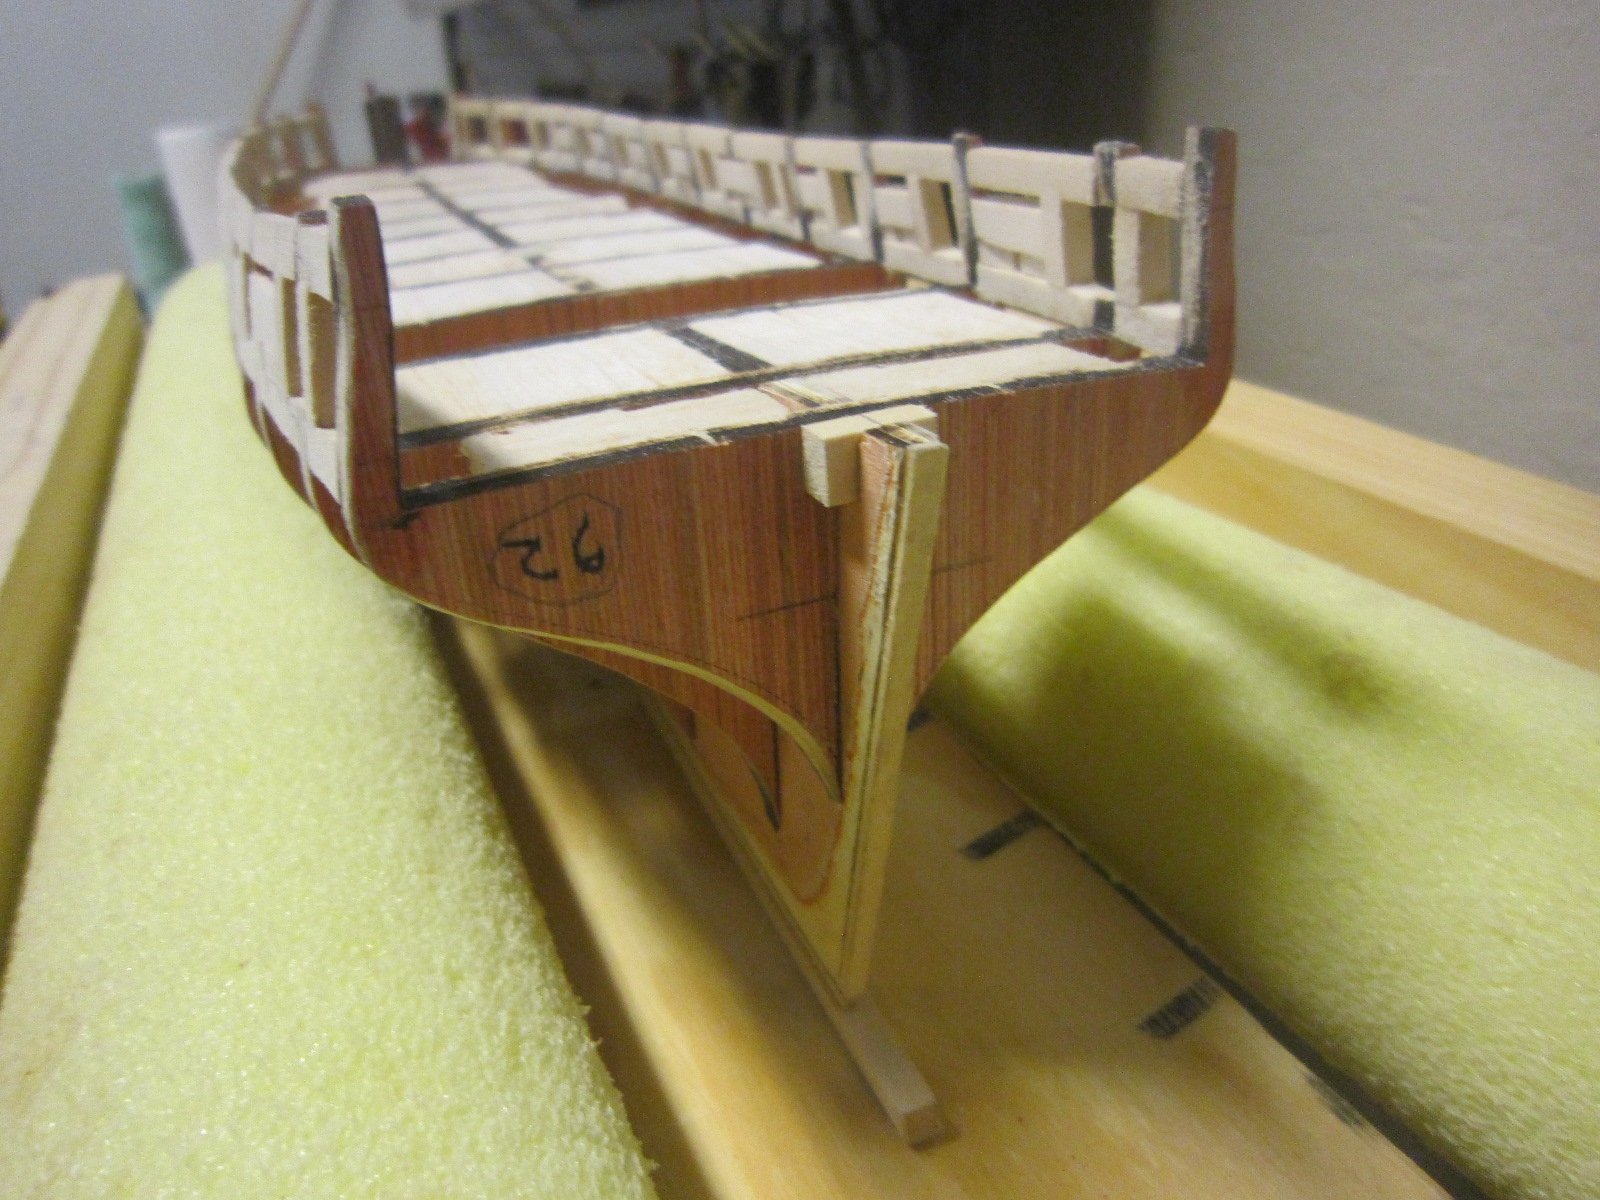
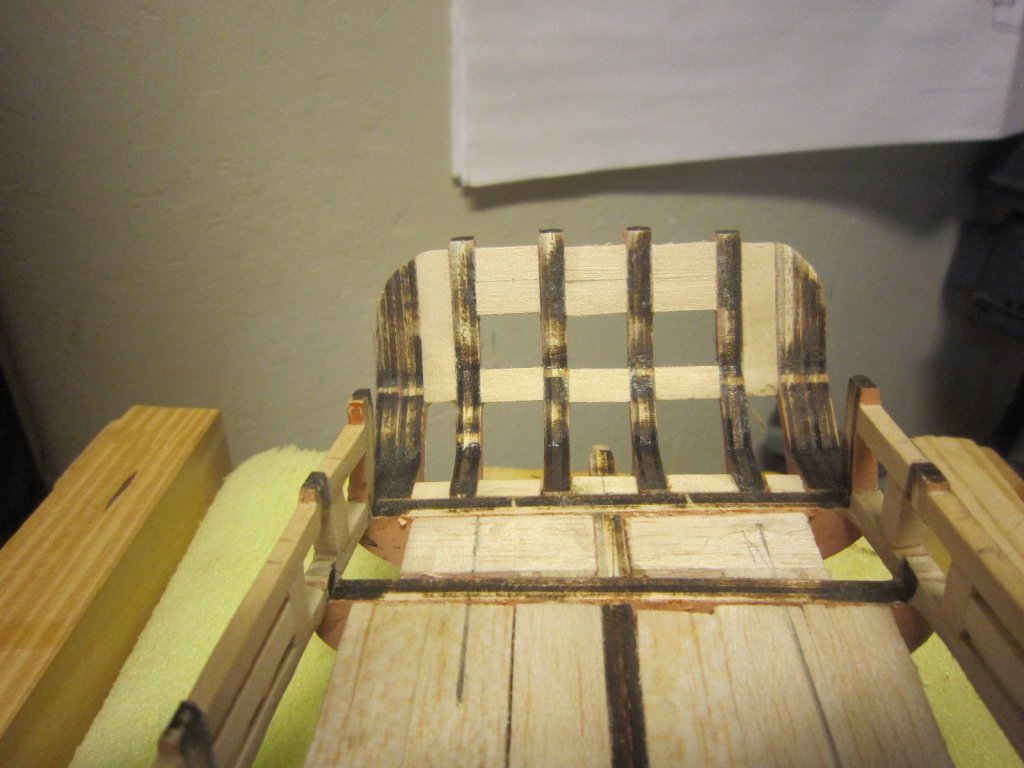
I finished the stern's vertical frames faster than I expected. If it weren't for the use of nails, I couldn't have progressed this fast.

- 1,135 replies
-
- 11
-
-
- model shipways
- syren
- (and 2 more)
-
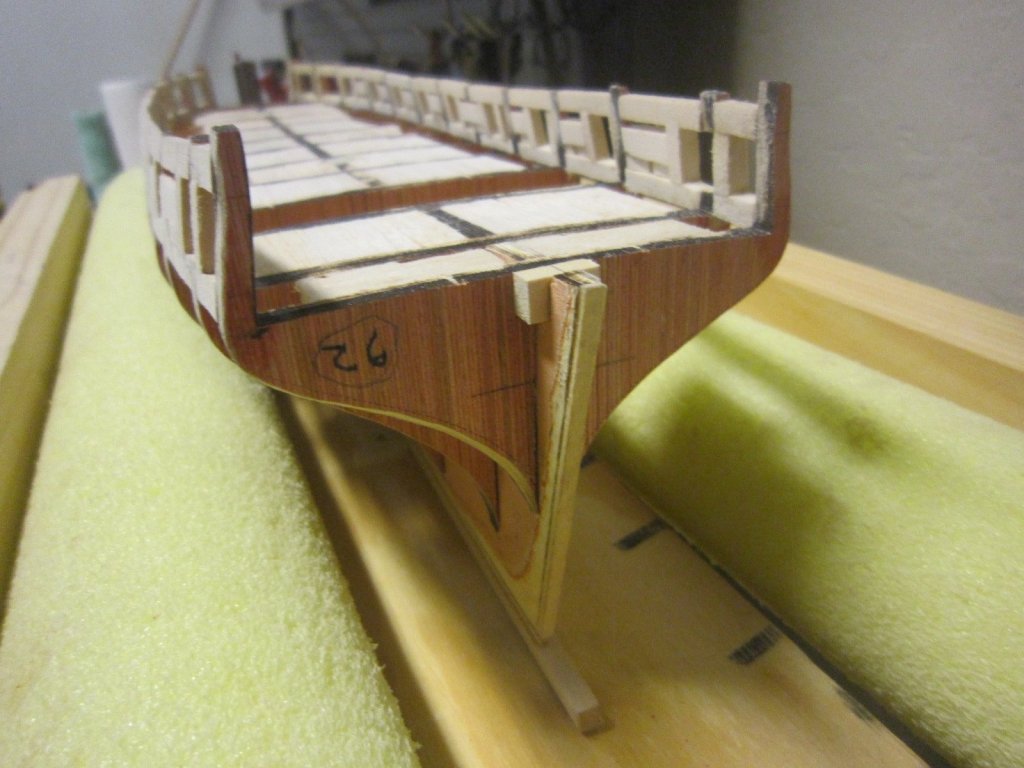
Slow but sure the stern is getting done. At this stage it's very fragile, but the instructions say that will improve with the addition of sills and lintels.


- 1,135 replies
-
- 10
-
-
- model shipways
- syren
- (and 2 more)
-
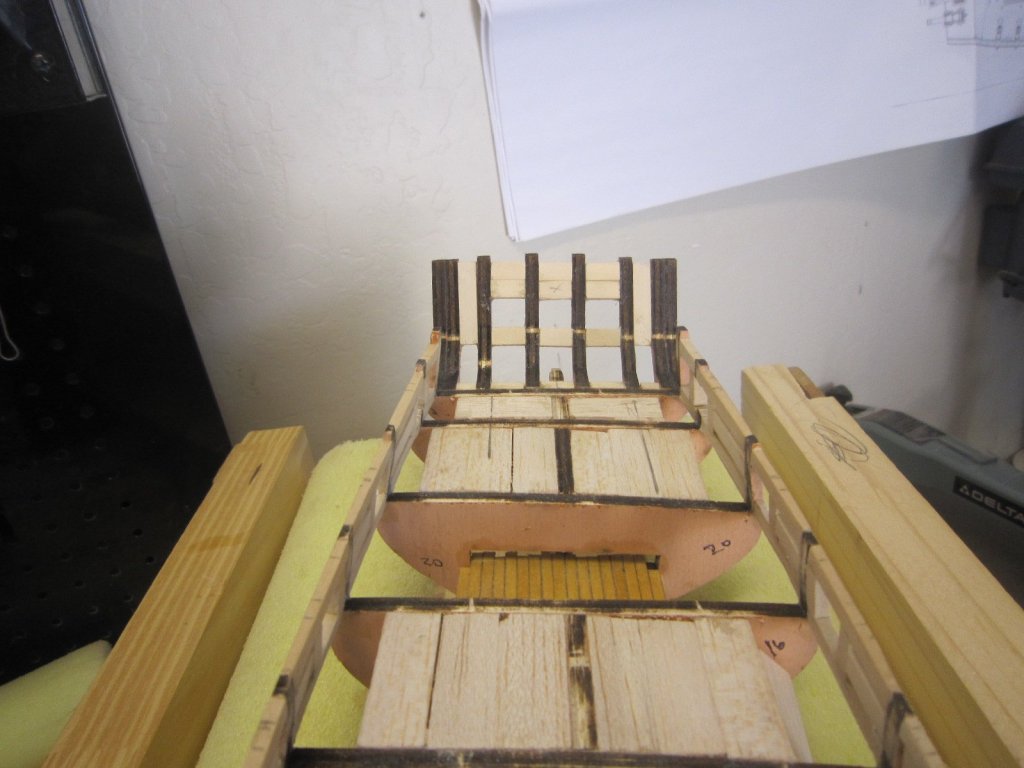
Moving right along, I've added the second stern piece and second spacer. That's it for today since the PVA glue has to do its job.


- 1,135 replies
-
- 11
-
-
- model shipways
- syren
- (and 2 more)
-
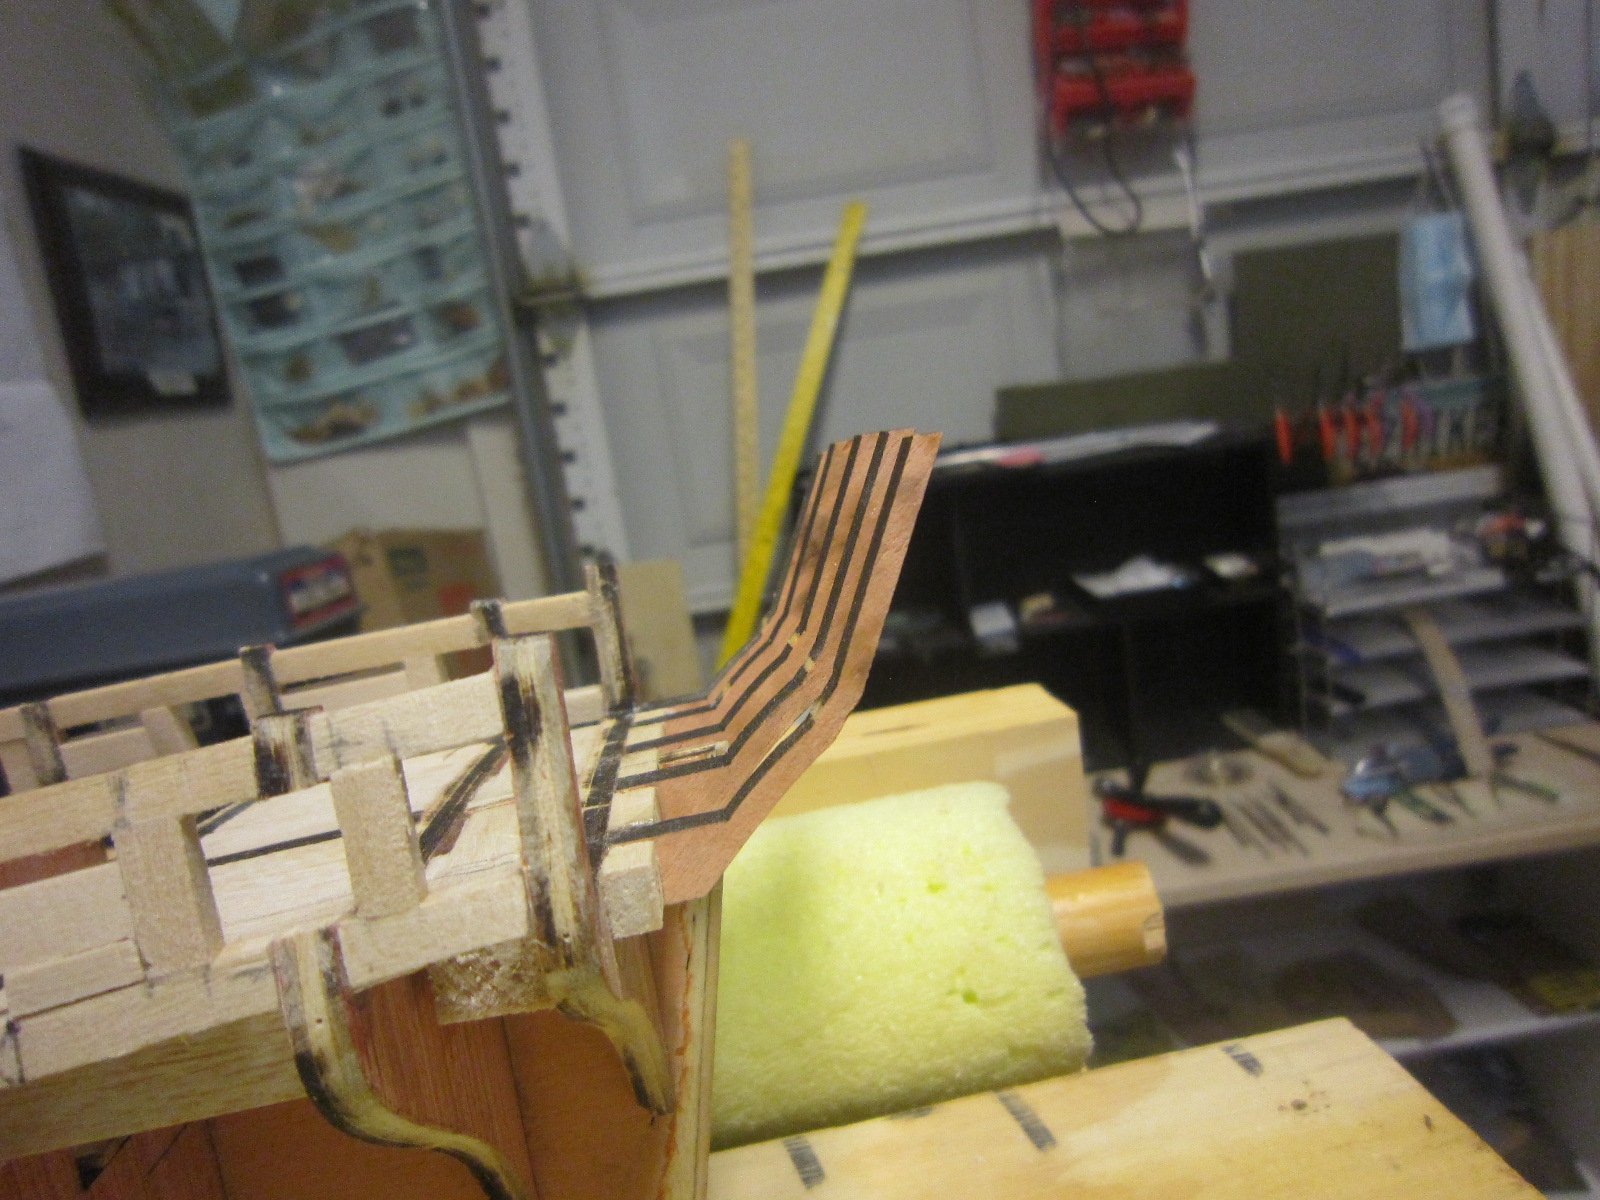
Well I can see that building the stern on this ship is going to be very, very tricky. First of all, way back weeks ago, I CA glued the stern frame angles since they appeared very fragile. That seemed to work since the stern frames do not seem as fragile anymore. Gluing the first "A" piece was a struggle. I tried several clamps I have, but none of them worked. I Finally drilled a nail hole in the frame and glued and nailed the frame to the spacer block. Now the first "A" frame seems perpendicular to the bulkhead and straight vertically. Nobody said ship building was easy.


- 1,135 replies
-
- 12
-
-
- model shipways
- syren
- (and 2 more)
-
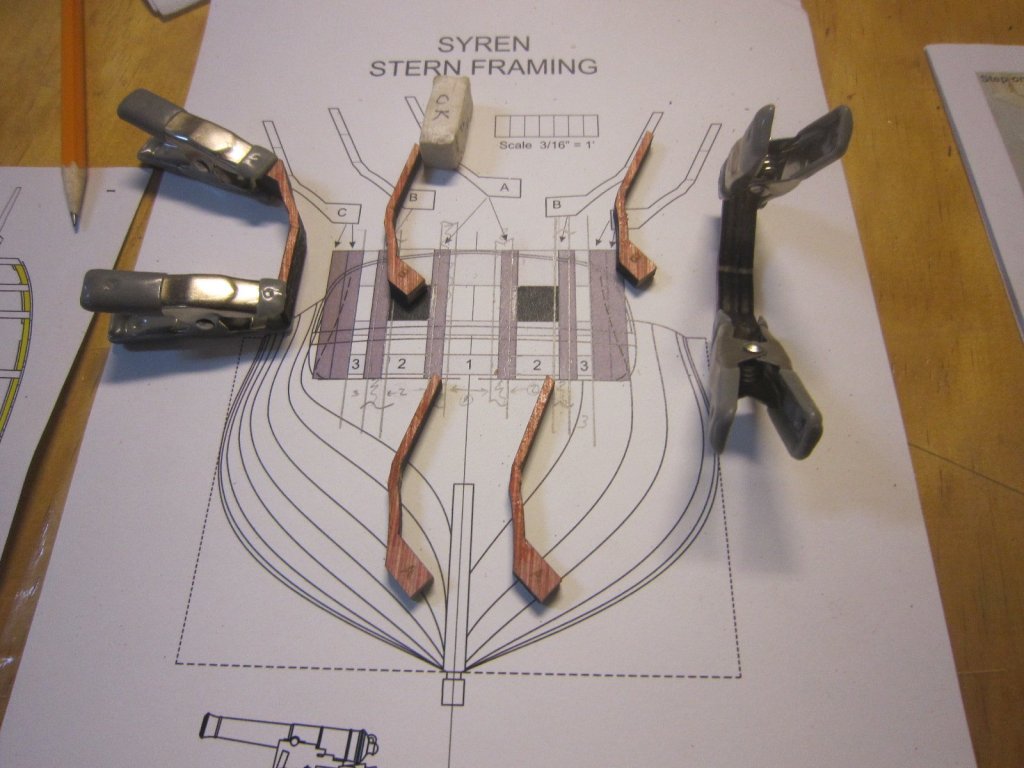
I'm getting ready for the stern construction. I re-designed the stern to make the Argus. Then I glued the two end frame pieces together as per the instructions. I then glued the re-sized center spacer to locate the first two stern pieces. I sanded off a lot of "char" to help make the glue stick. The "char" is very deep with this kit.
- 1,135 replies
-
- 9
-
-
- model shipways
- syren
- (and 2 more)
-
Enclosed version of these heads might be The Argus. HM Cutter Cheerful
- 1,135 replies
-
- 4
-
-
- model shipways
- syren
- (and 2 more)
-
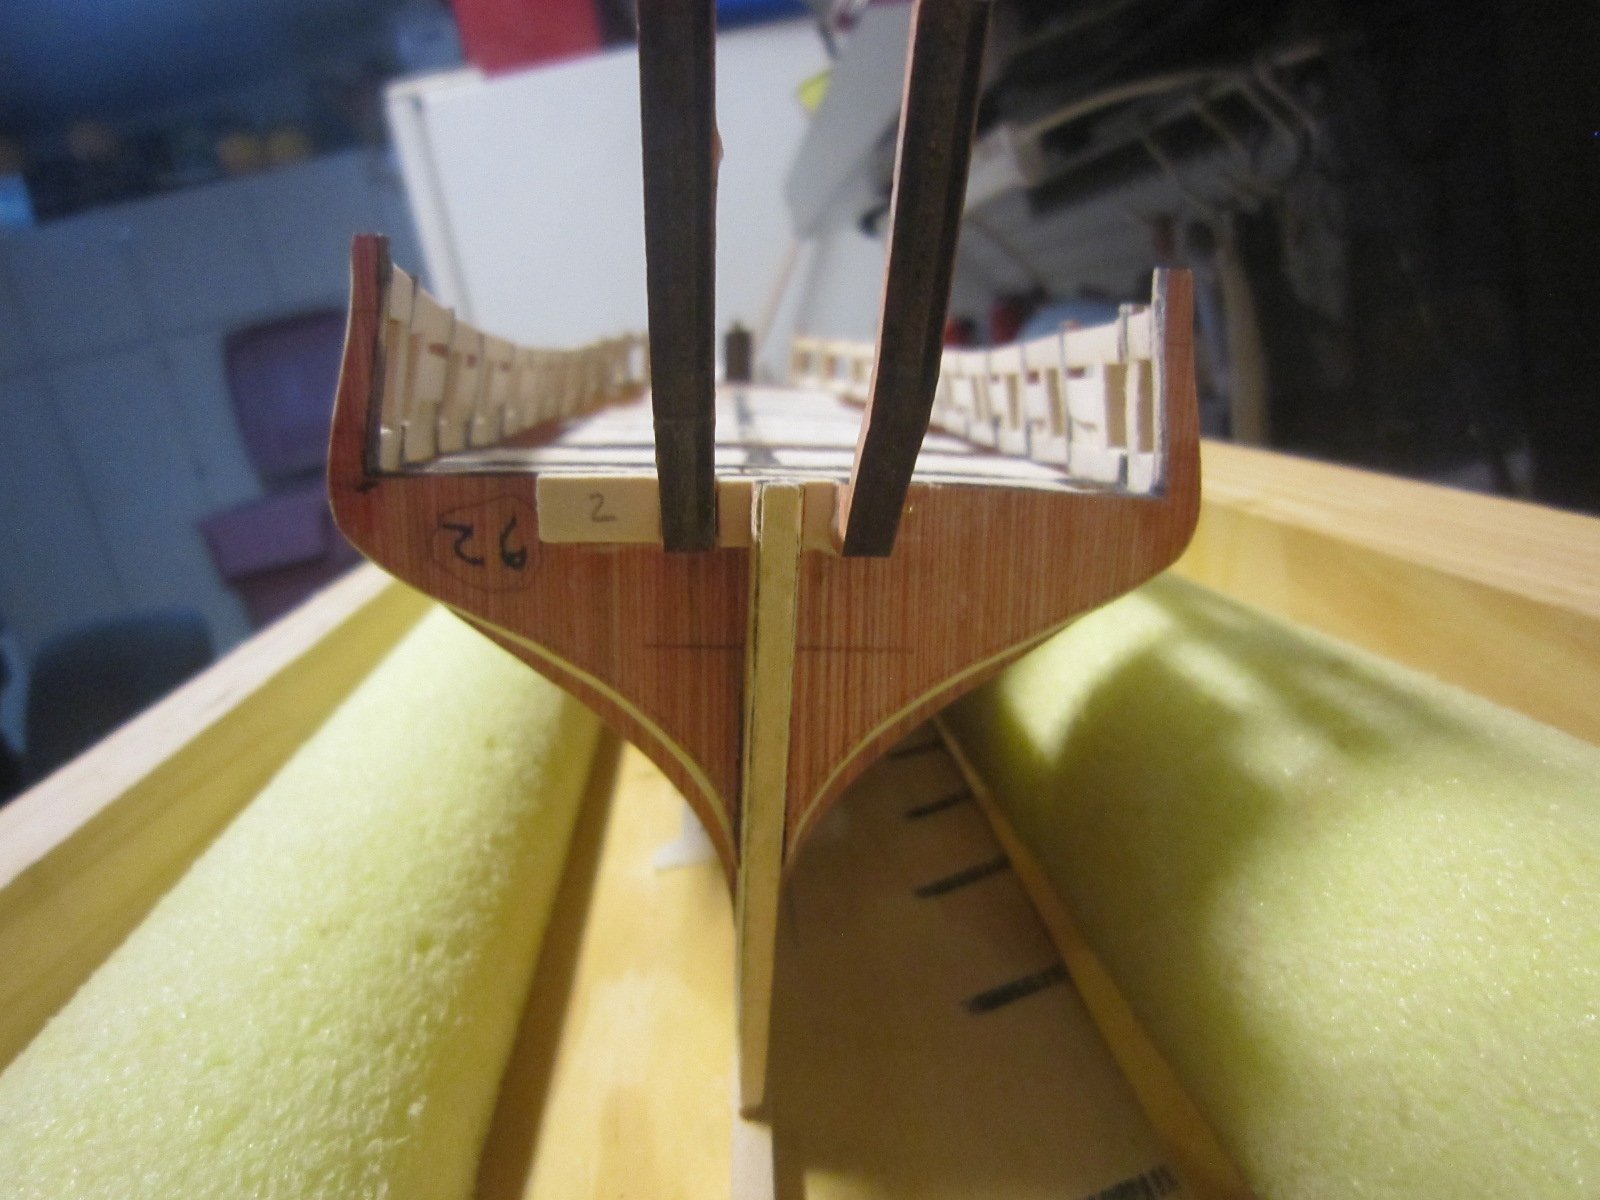
Port side sweep ports finished. Now I'm working on re-designing the stern of the ship since the Argus is quite different from the Syren. The Syren has a plain stern with two guns rigged for firing aft. The Argus has two structures port and starboard which are probably heads and/or flag lockers. The ports apparently not for aft firing guns since there is a large step in the way that will prevent rolling guns into the ports. The inventory for the Argus only lists forward chaser guns and not aft chasers. Since the Argus was considered the "hot Rod" of the fleet while the Syren was a "slug", the reduced weight in the stern of the Argus might have played a role.


- 1,135 replies
-
- 7
-
-
- model shipways
- syren
- (and 2 more)
-
Just finished the starboard side sweep ports. Pretty easy using 1/8" stock.
- 1,135 replies
-
- 10
-
-
- model shipways
- syren
- (and 2 more)
-
I finished sanding and fairing both sides. I installed the first sweep port side. I'm glad I found an error in logic in these very detailed plans. After making all 16 sweep port tops to have a 1/8" x 1/8" opening, the instructions call for using 3/16" stock to make the sides???? There is a slight mention of having to sand a few down, but that too is wrong. I'd have to sand all of the 3/16" to 1/8". I just found some 1/8" stock.
- 1,135 replies
-
- 5
-
-
- model shipways
- syren
- (and 2 more)
-
Finished sanding and fairing the starboard sweep port tops inside and out. I'll do the port side later

- 1,135 replies
-
- 10
-
-
- model shipways
- syren
- (and 2 more)