Rustyj
-
Posts
2,536 -
Joined
-
Last visited
Content Type
Profiles
Forums
Gallery
Events
Everything posted by Rustyj
-
 You have my sympathy. Been there done that as they say. Wish I was closer and could help. Ken, Send your sons over so Chuck can get some time on the Winnie! 😂
- 1,784 replies
-
- 2
-

-
- winchelsea
- Syren Ship Model Company
- (and 1 more)
-
Coming along nicely. I can tell you from experience keep looking forward and checking your measurements. It will save a lot of anguish later on.
-
Thank you Zarkon and Glenn. I used Admiralty Paints Matt (Metal) Black but I think Dull Black would work just as well. Thanks for the likes too!
- 642 replies
-
- 3
-
-
- winchelsea
- Syren Ship Model Company
- (and 1 more)
-
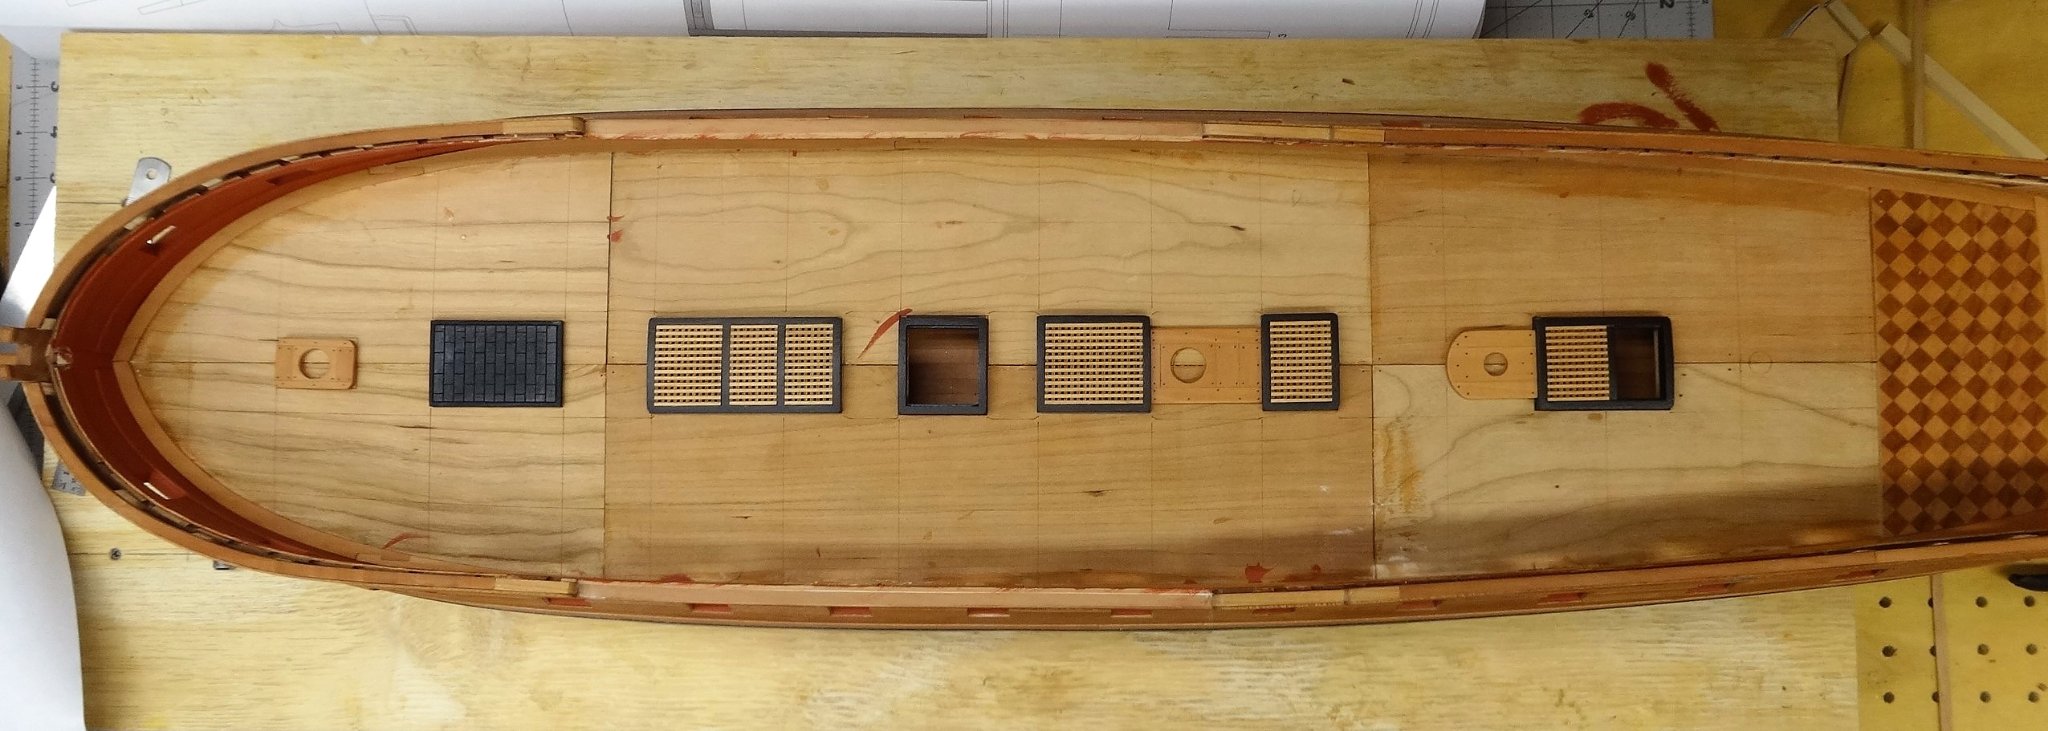
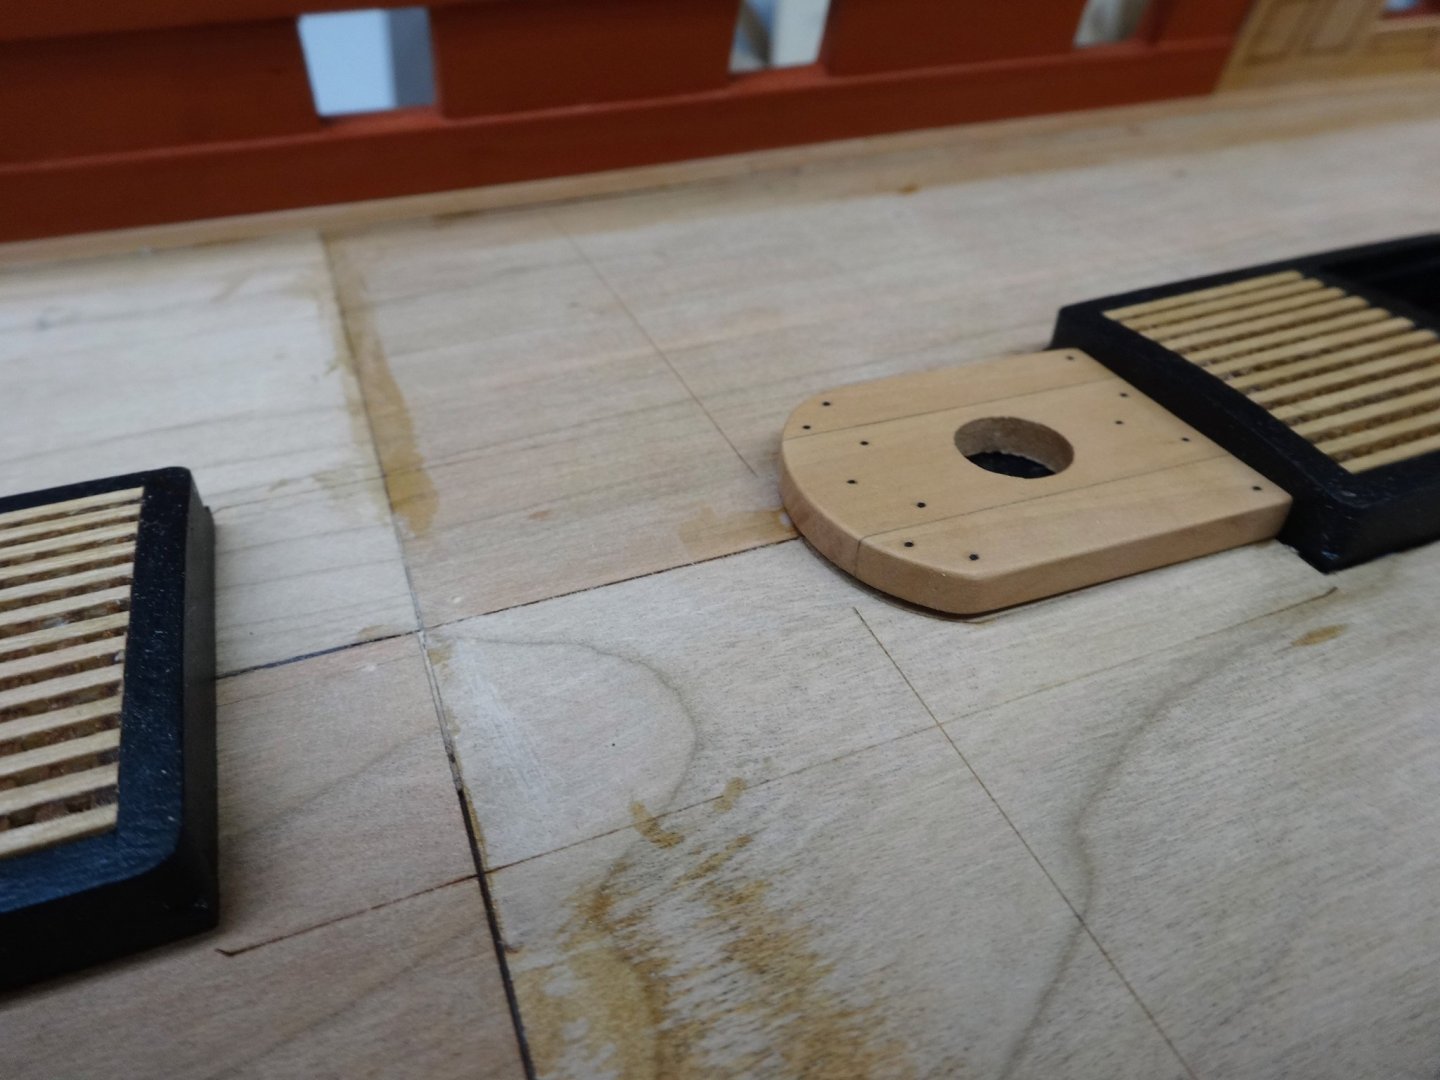
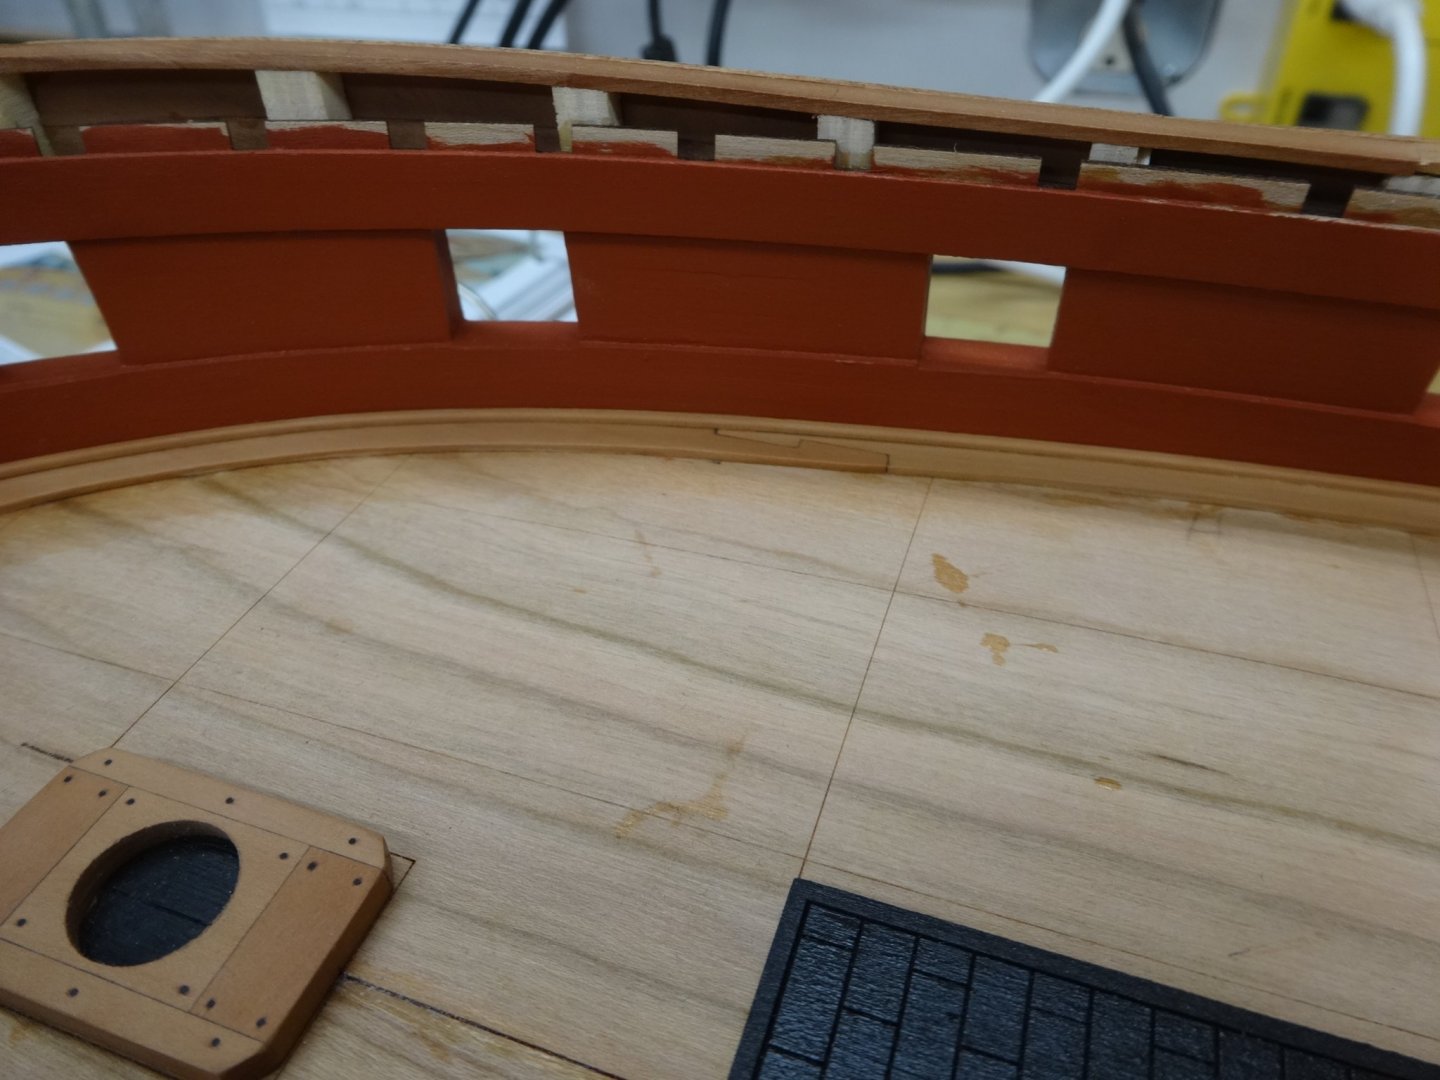
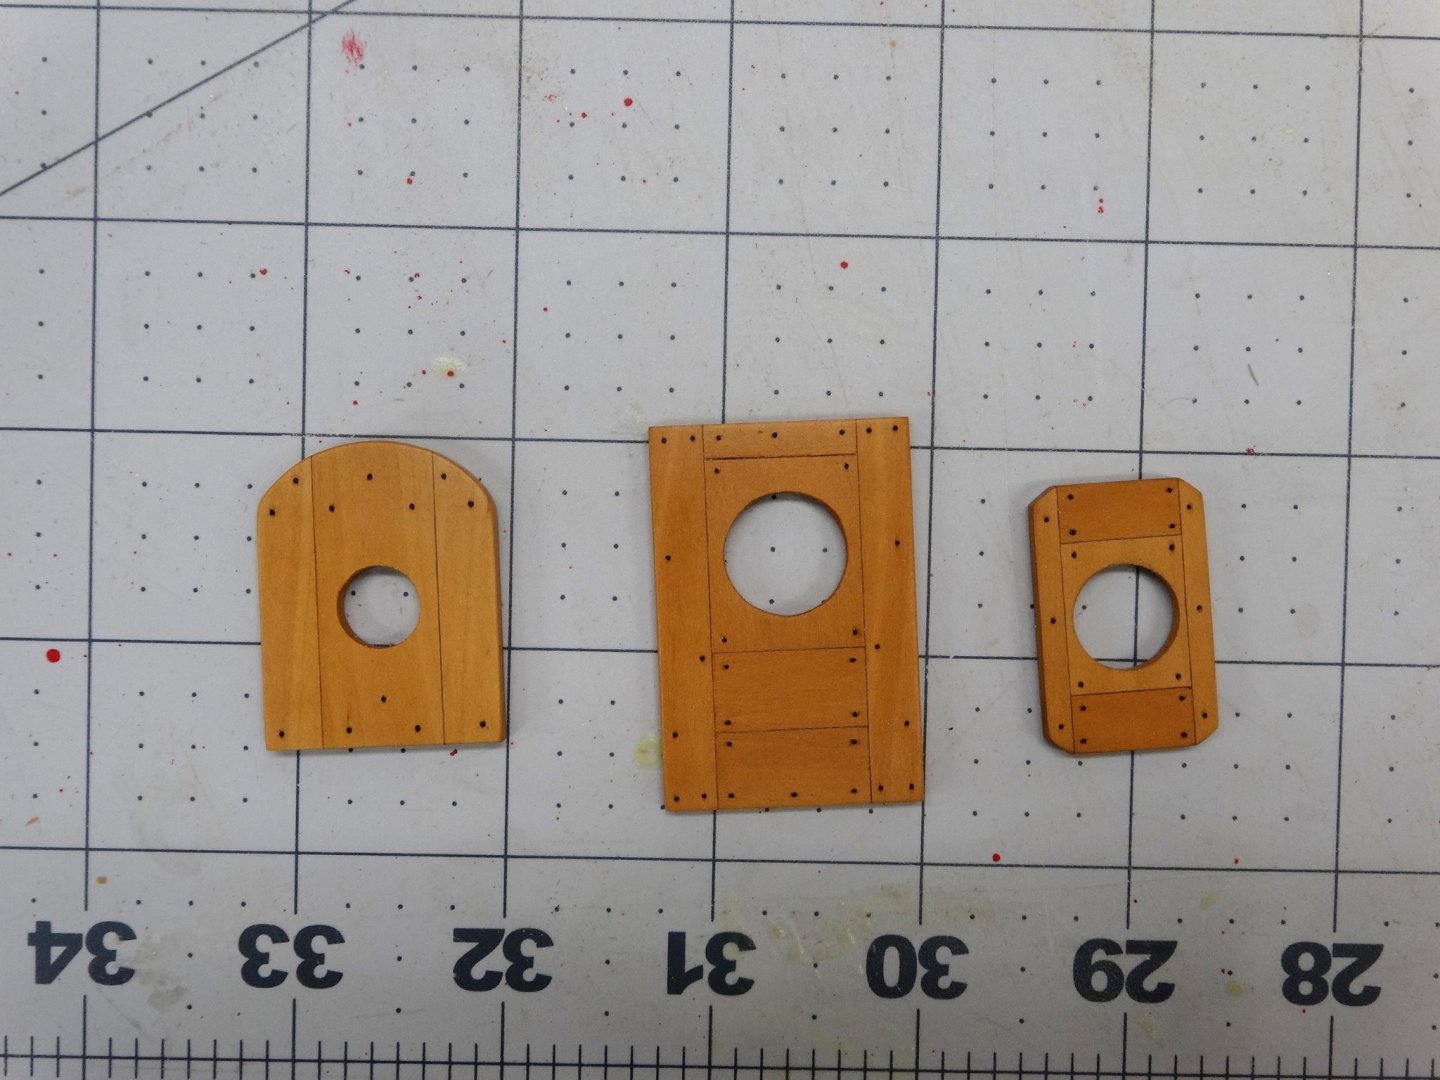
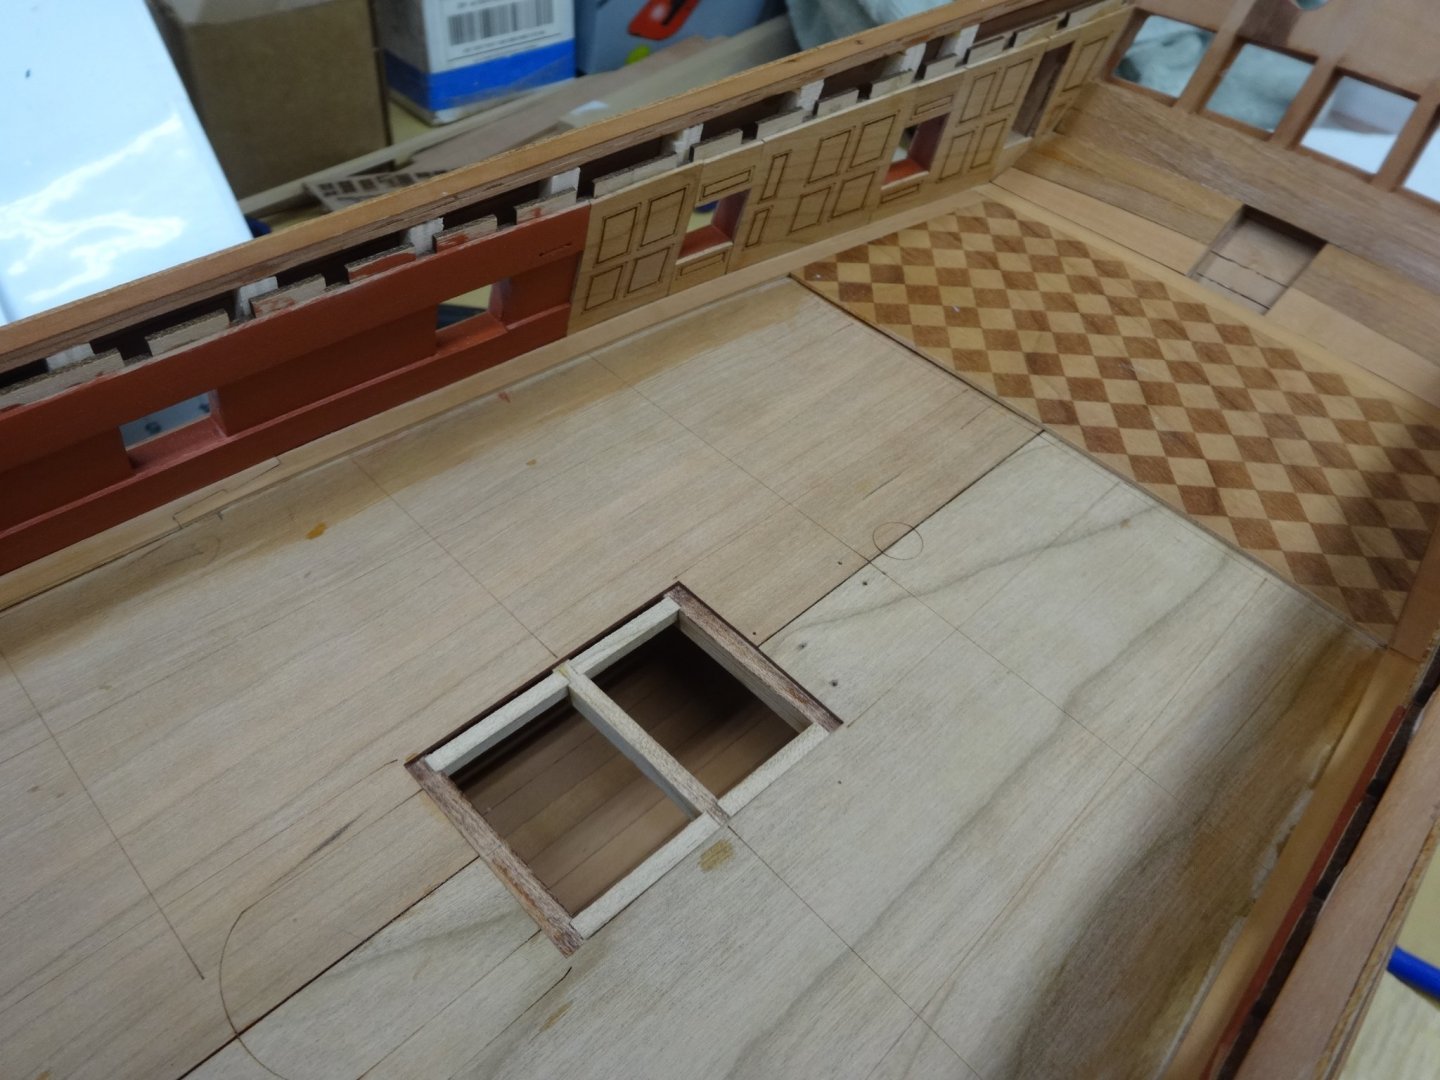
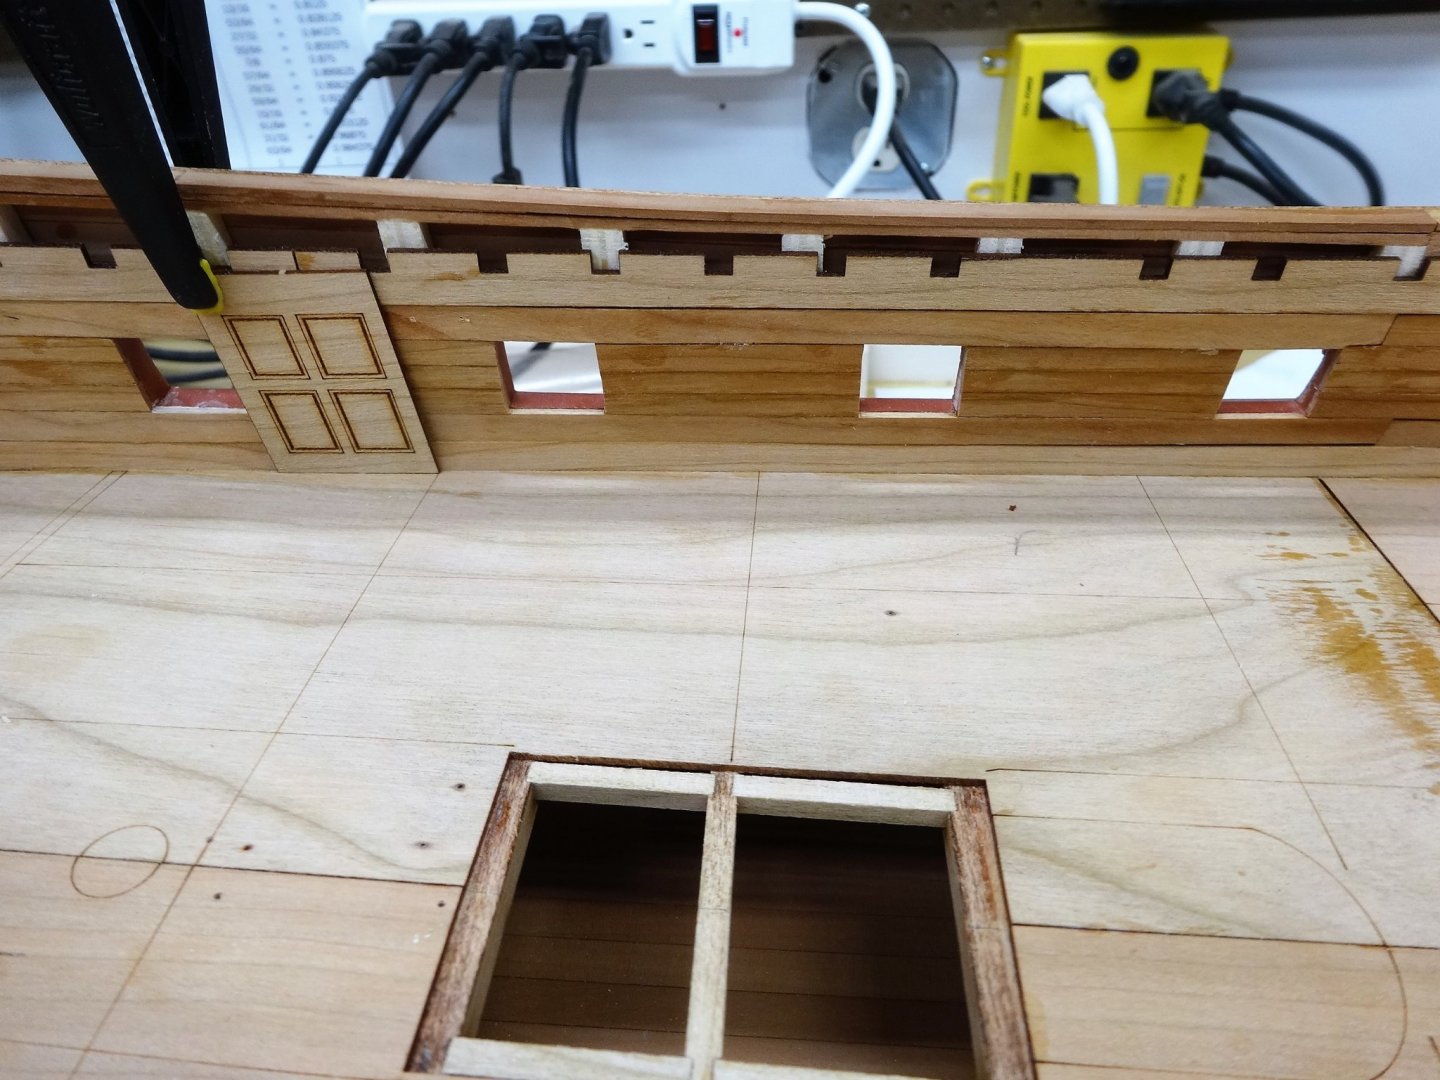
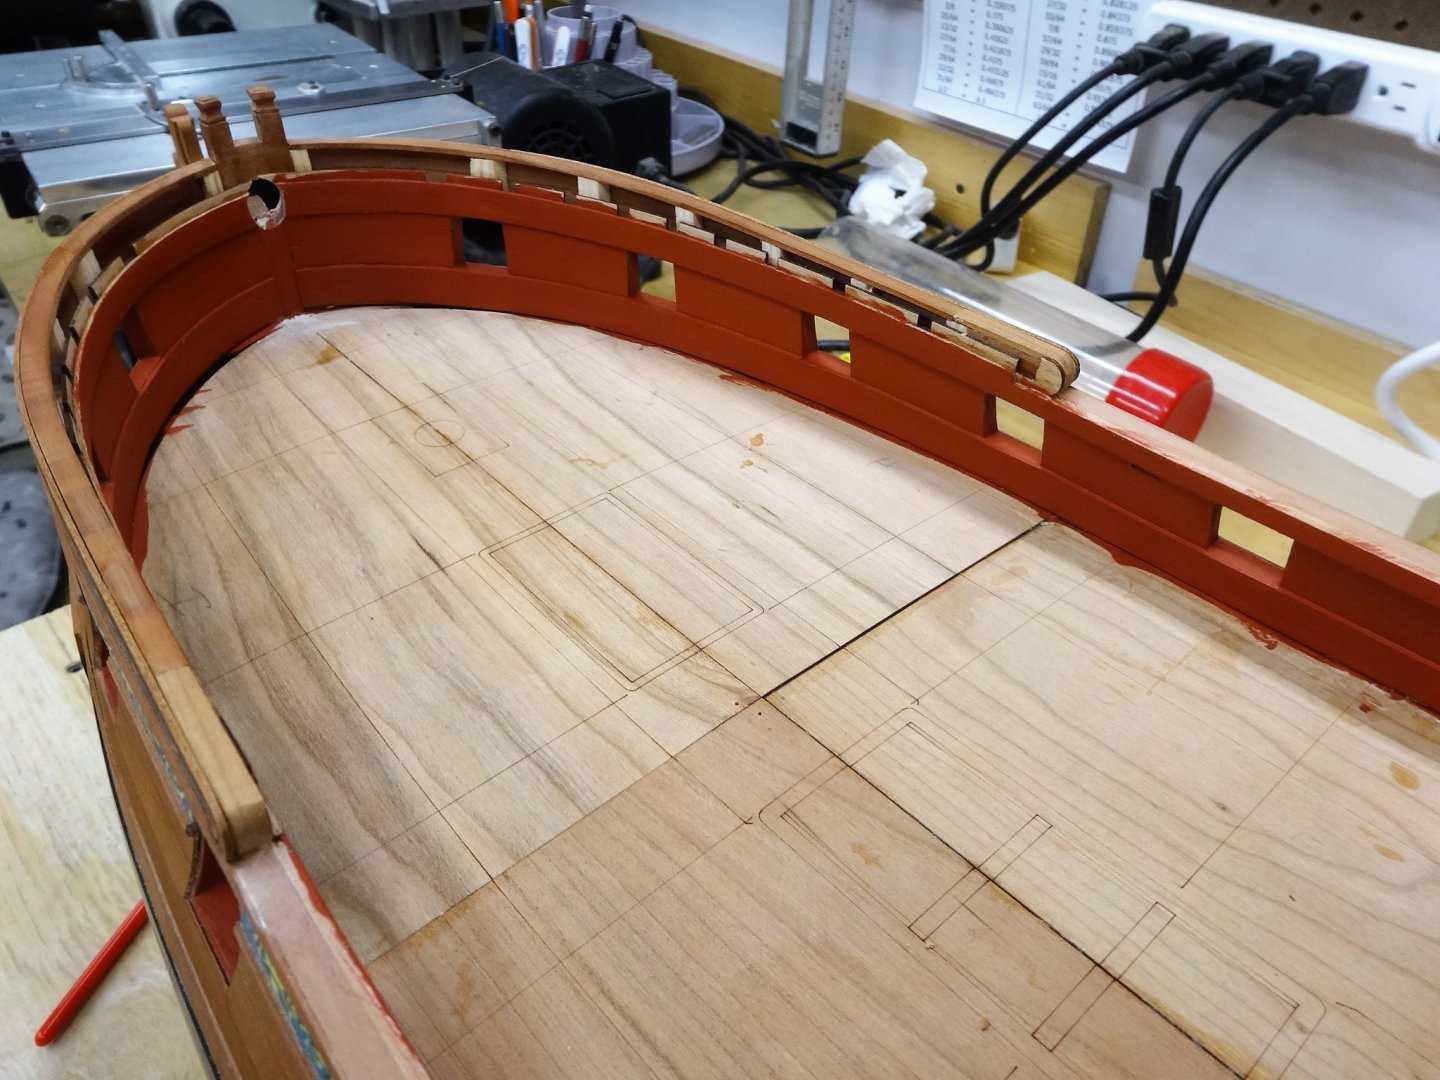
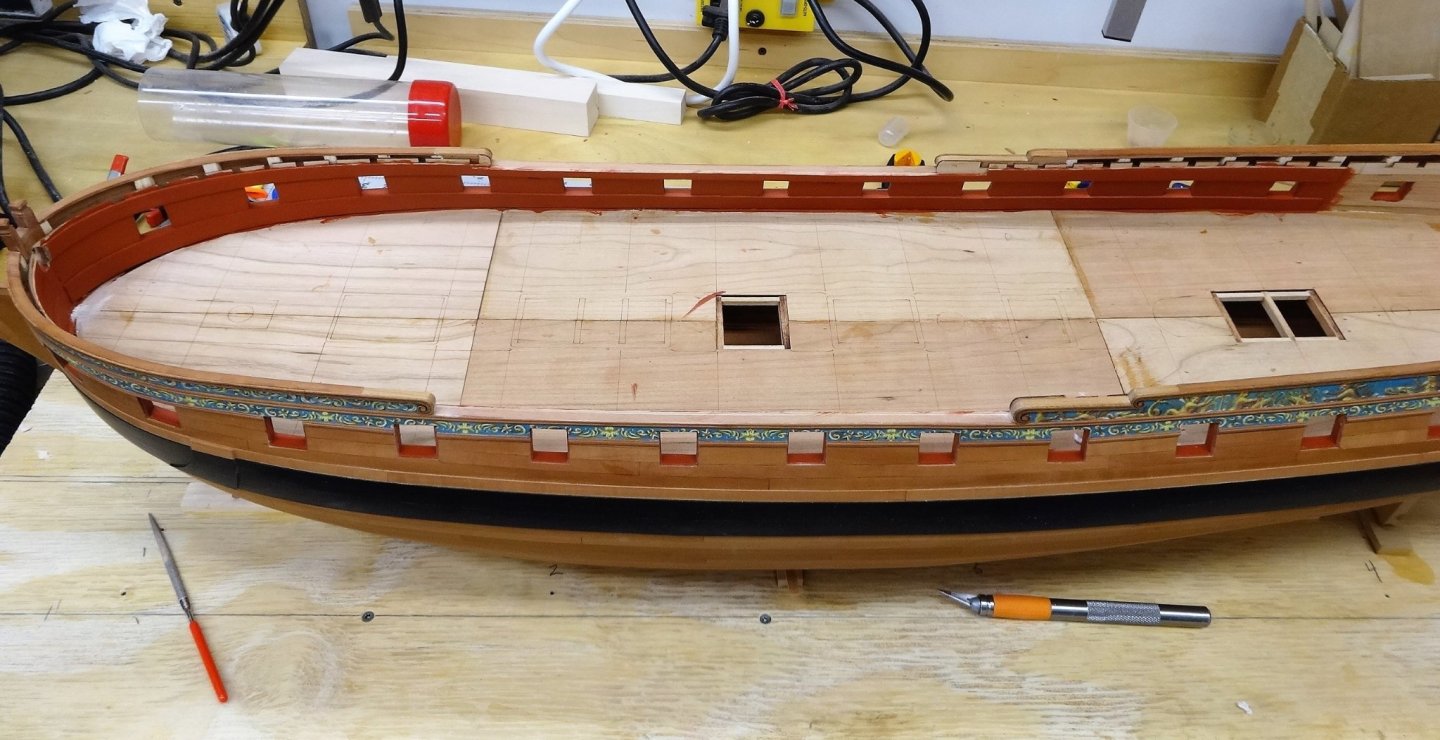
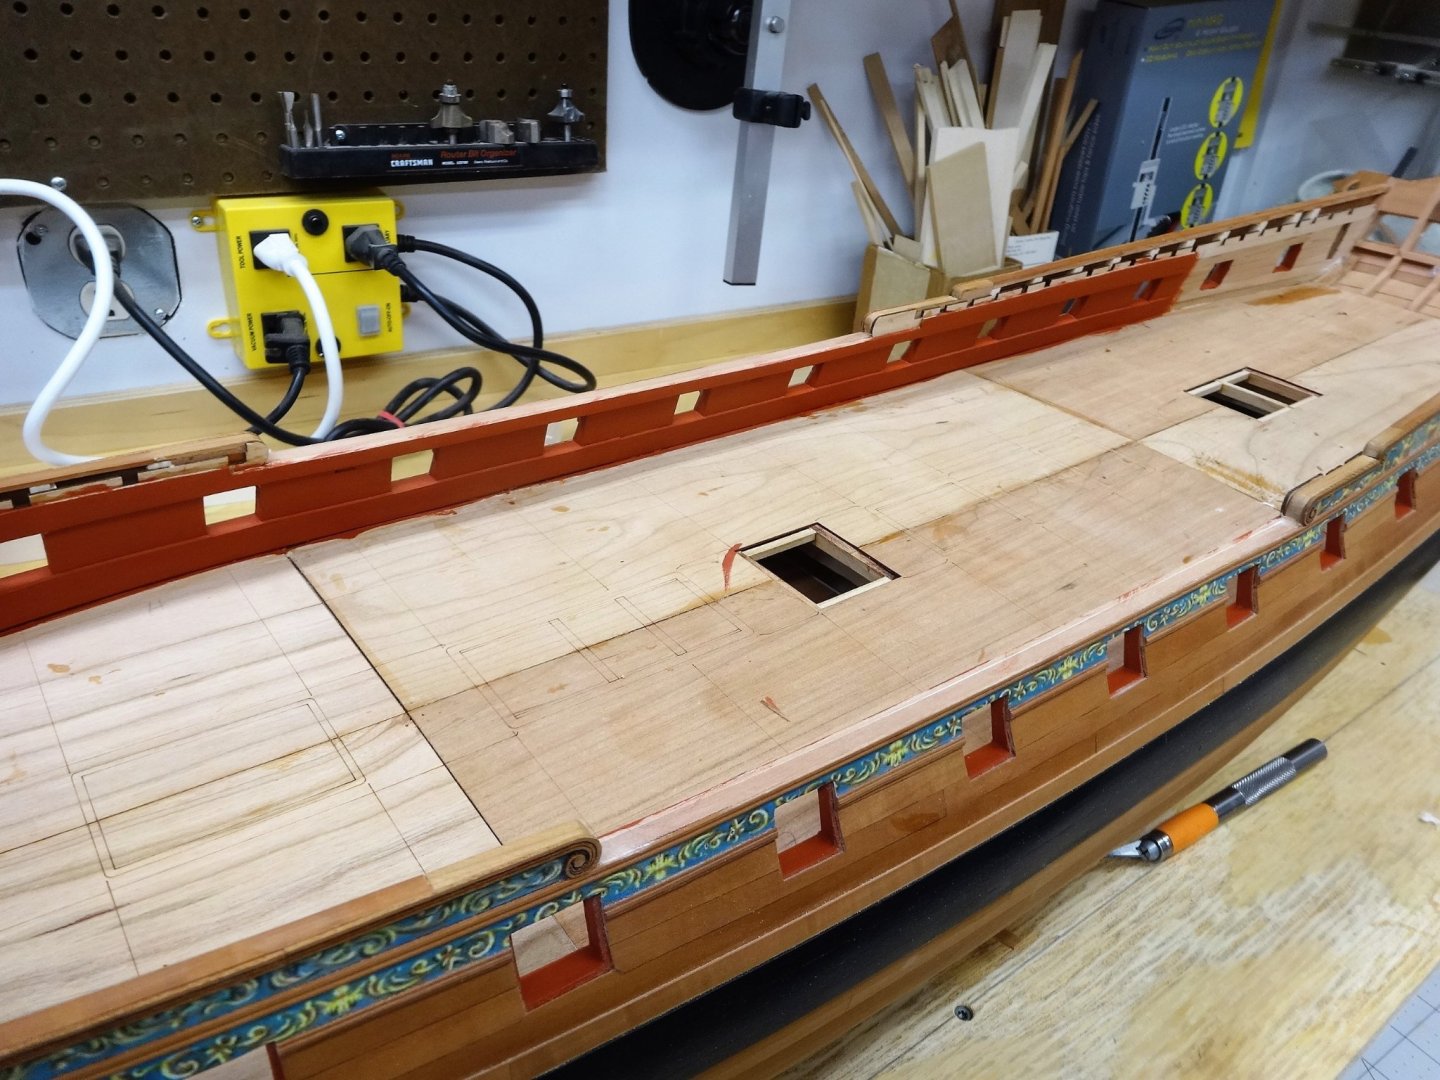
I've now set the hatches and partners in place. I tried real hard to keep them centered. Time will tell. I elevated the capstan partner by 1/32" as called for. I also forgot to include a pic of the waterway. It's 3/64" x 3/64" with one side rounded off to a quarter round molding . Tips of the finger took a bit of a beating from the sandpaper. Next up will be planking between the hatches and lining off the deck for planking. Thanks for stopping by!

- 642 replies
-
- 21
-
-
- winchelsea
- Syren Ship Model Company
- (and 1 more)
-
Looking good. I think once sanded the curve will show up better.
-
That sentiment pretty much fits me to a tee. Nothing wrong with it by the way!
-
You're doing a good job Fred. Unfortunately we continue to bump our heads as we move along. The key is to find the errors (as you have done) and correct them before they cause further problems. I continuously have to check, recheck and then check some more!
-
That looks really nice Bob. I'm sure you'll find something to build.
-
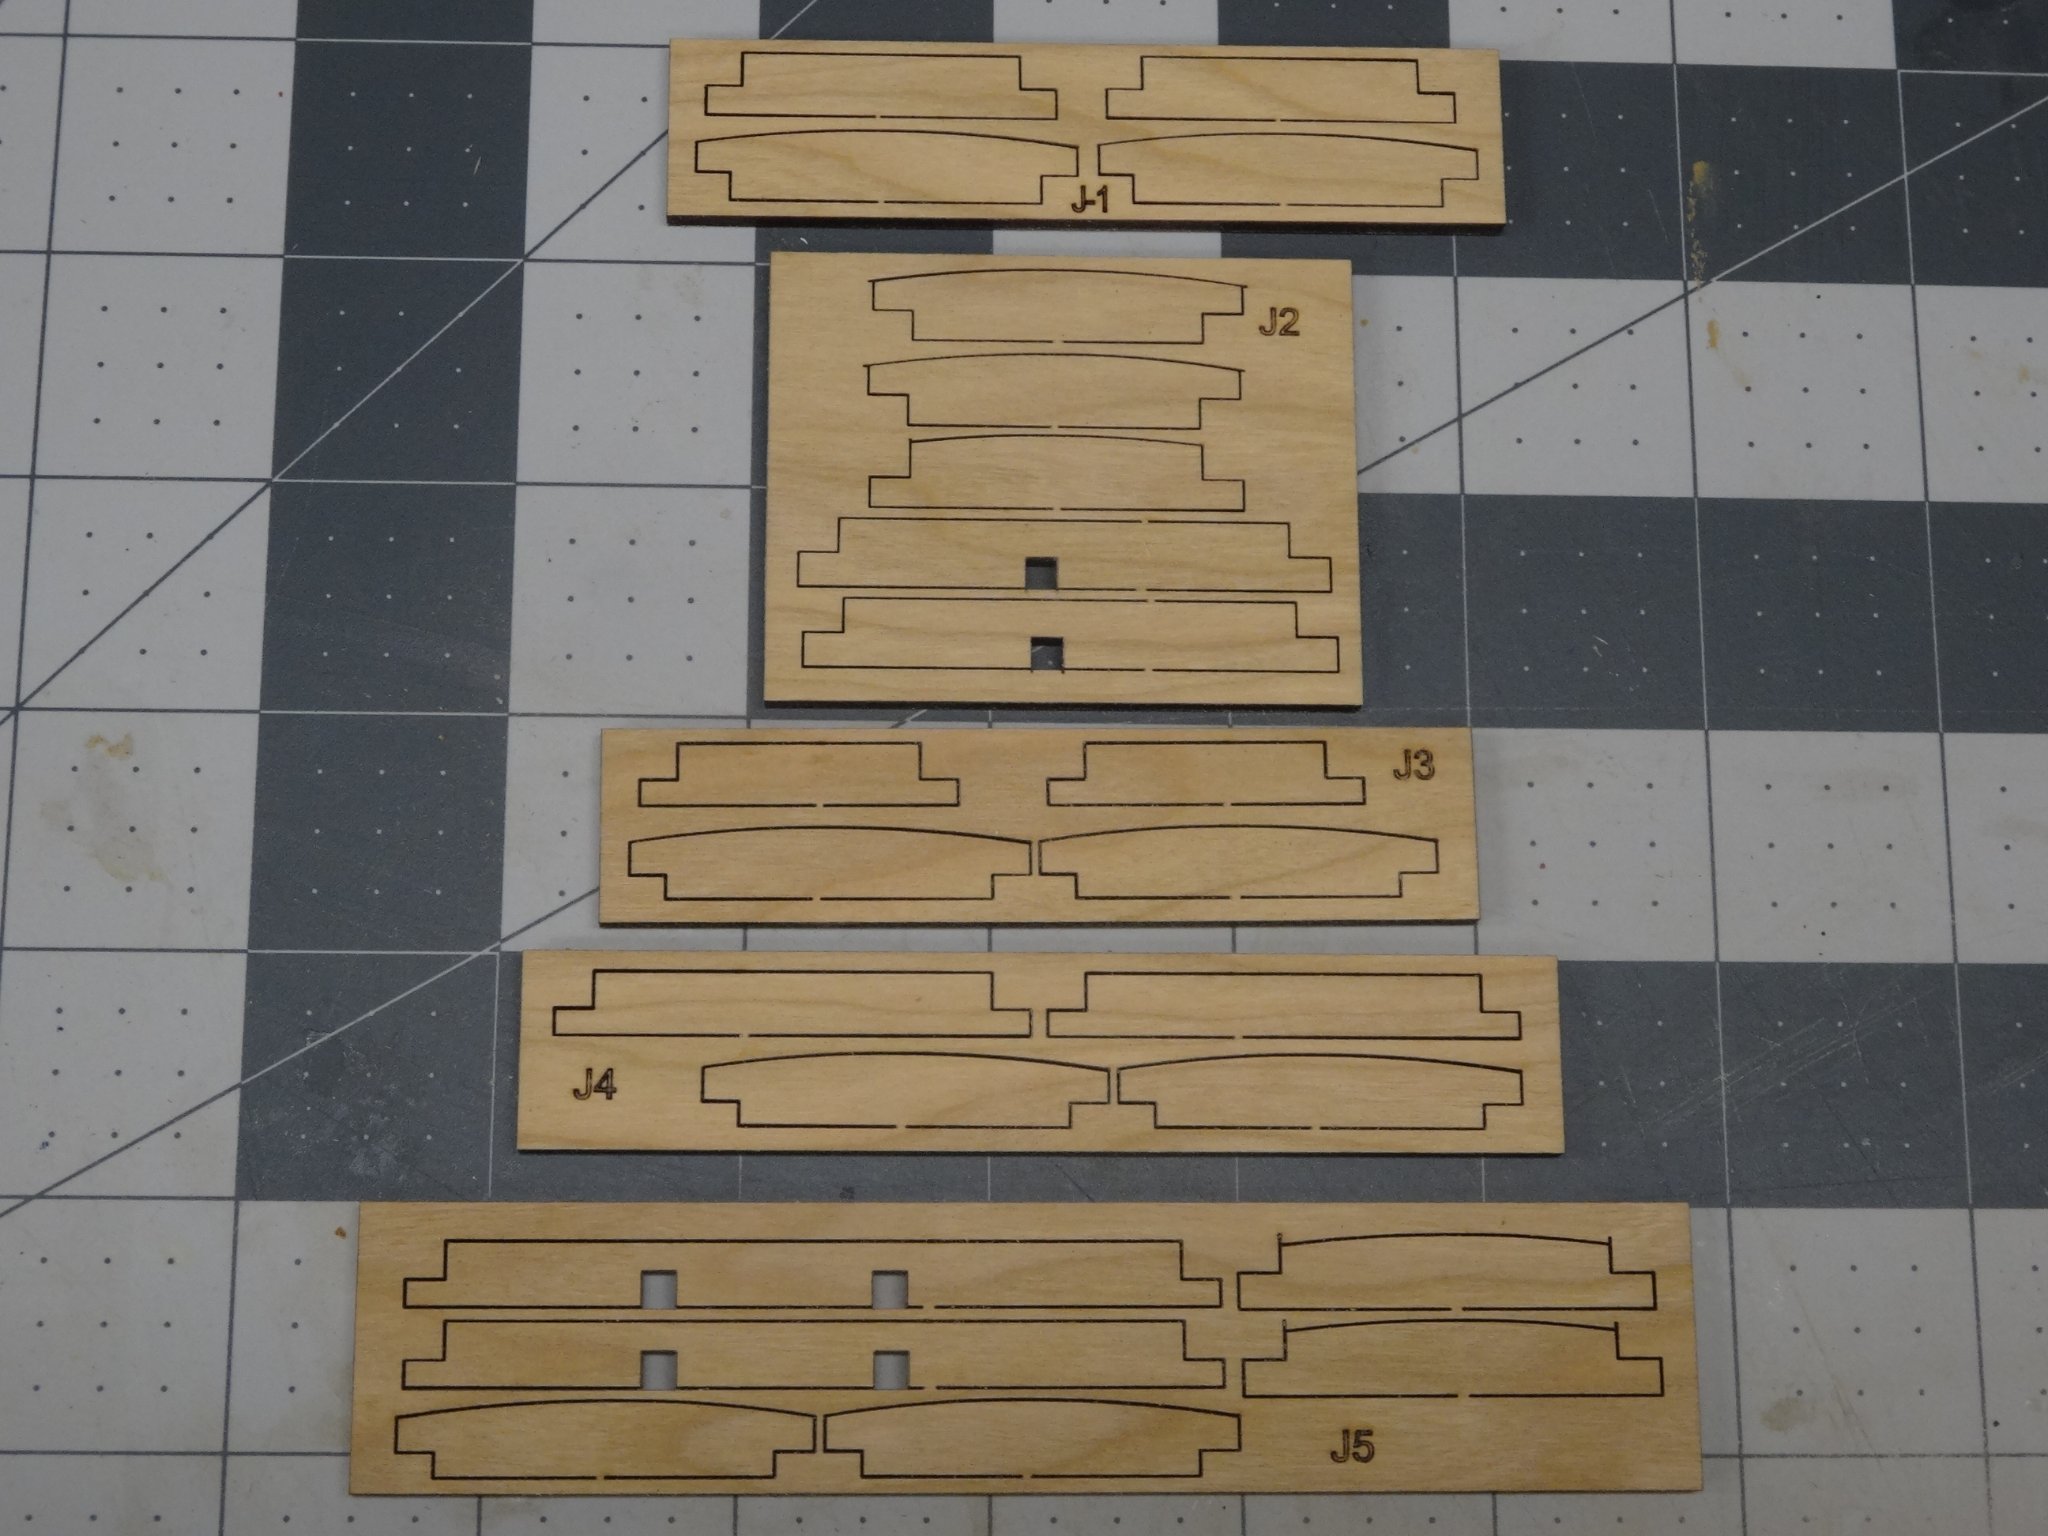
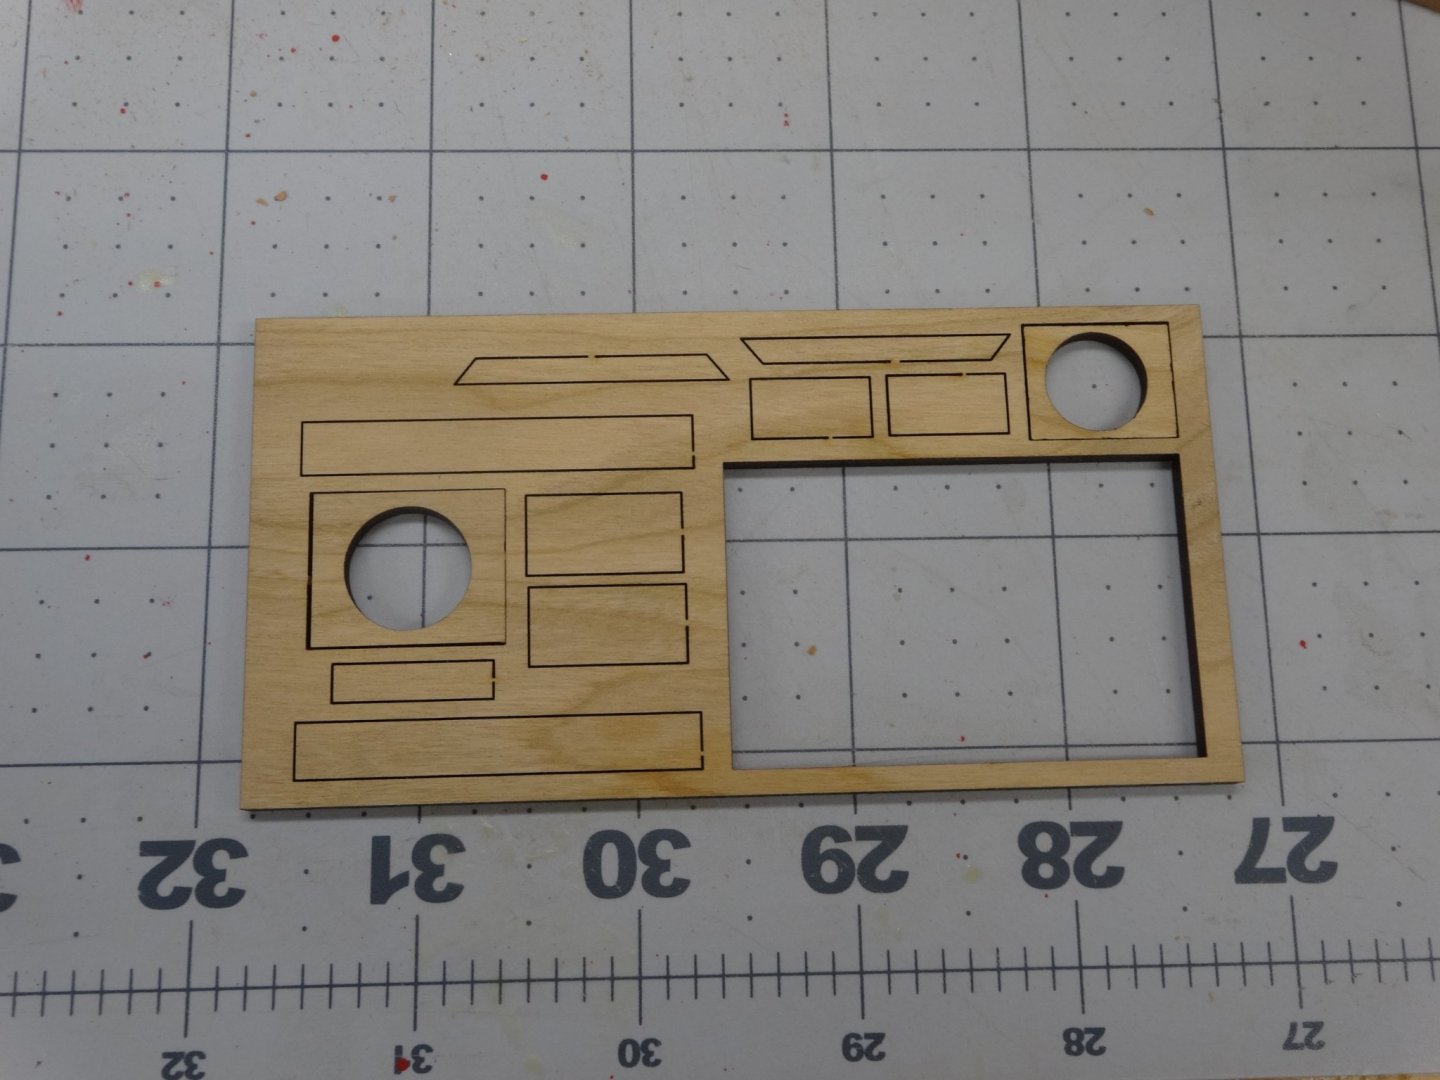
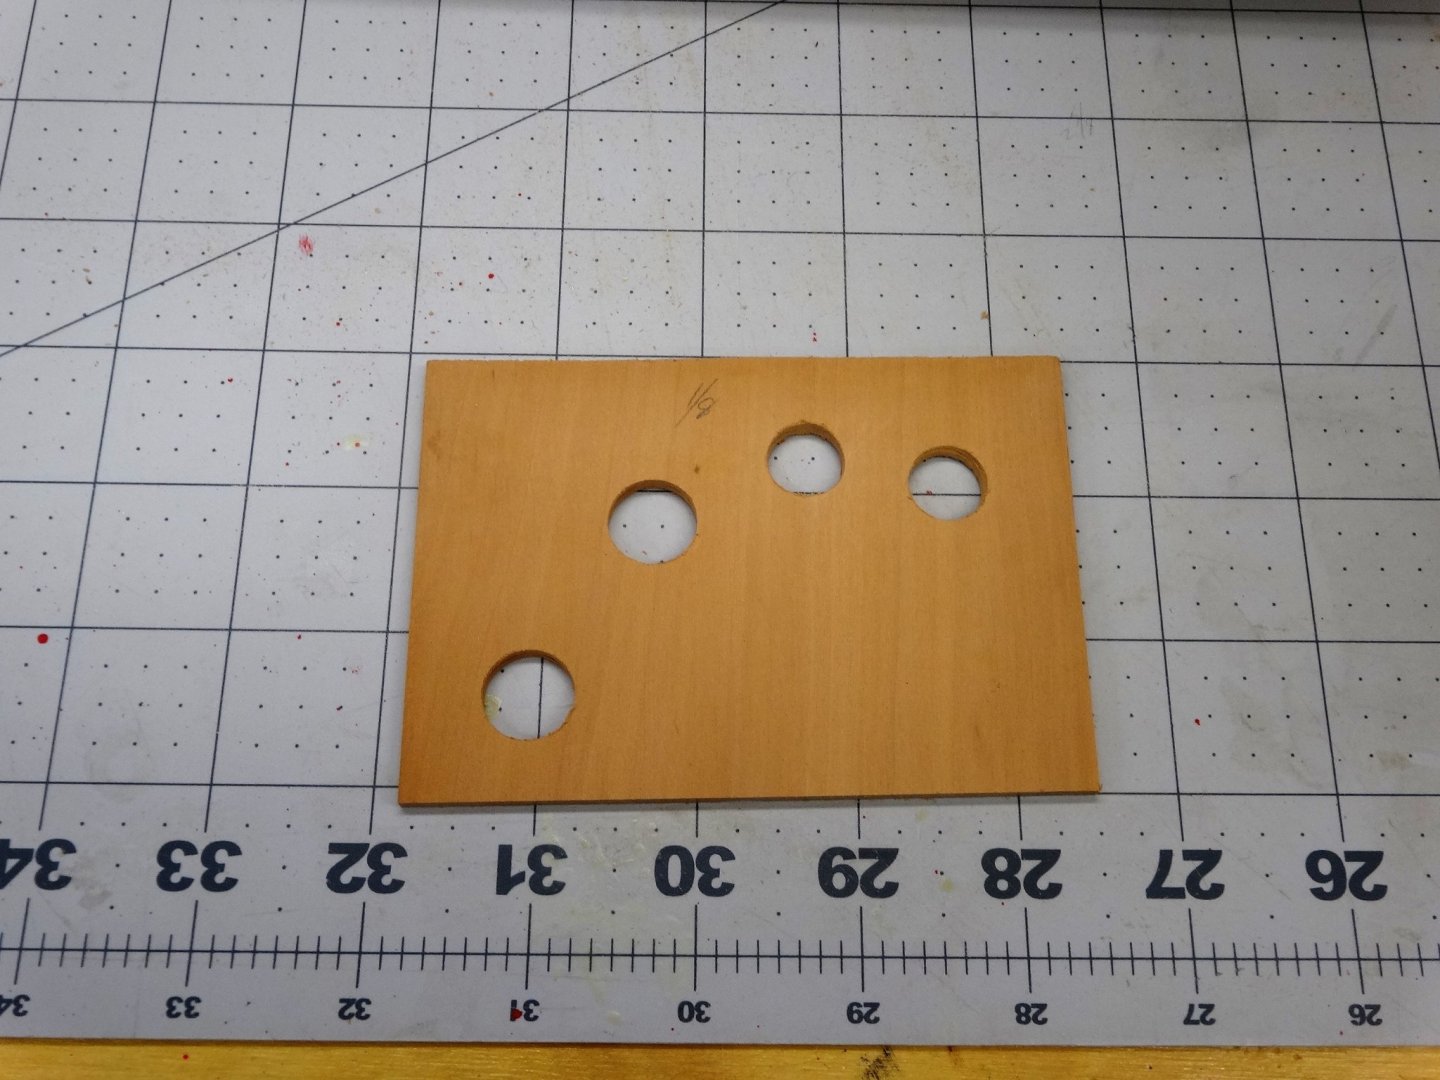
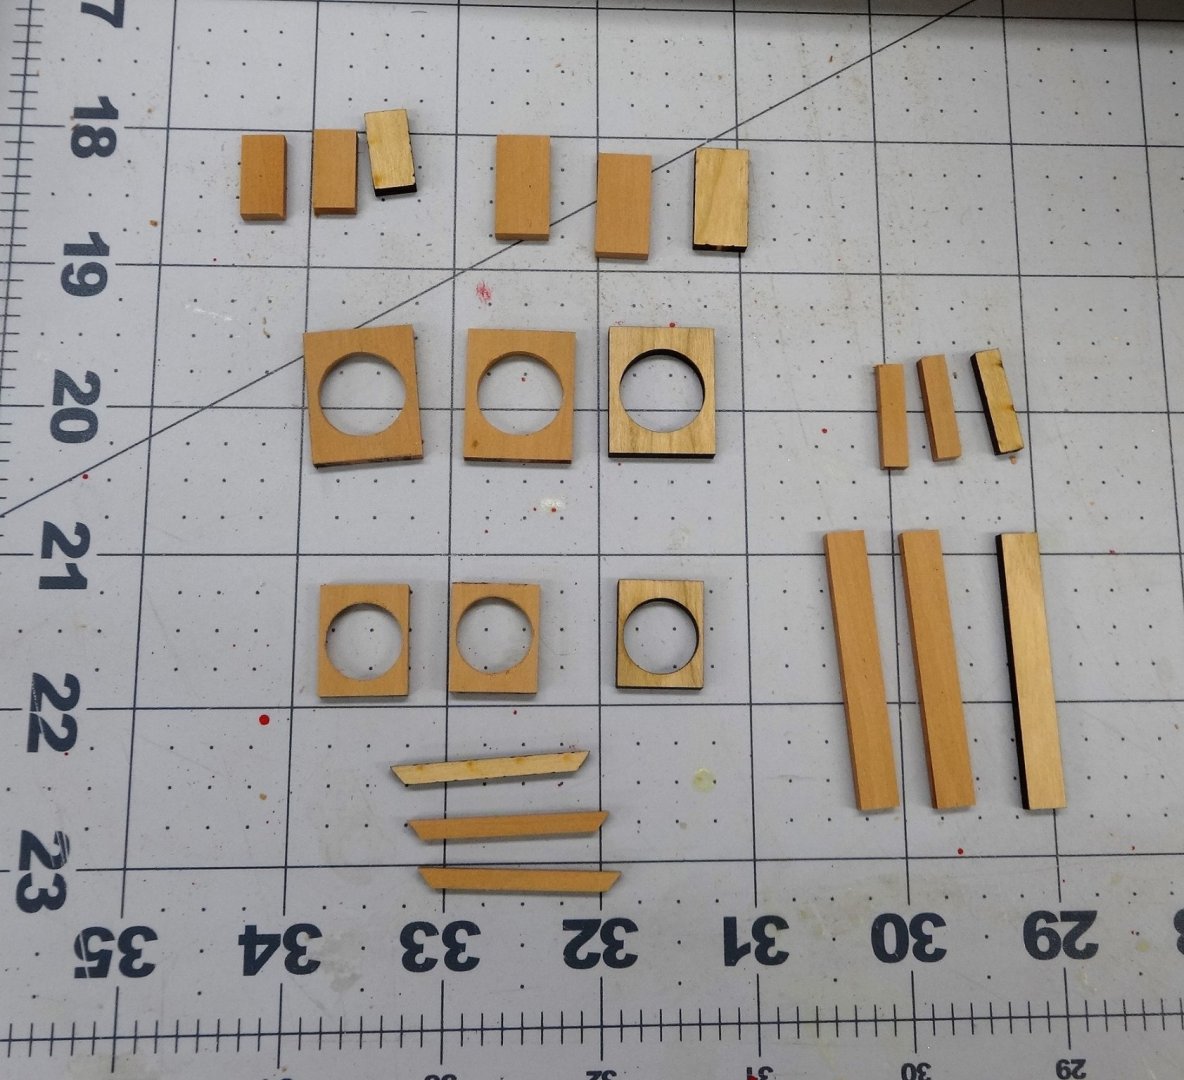
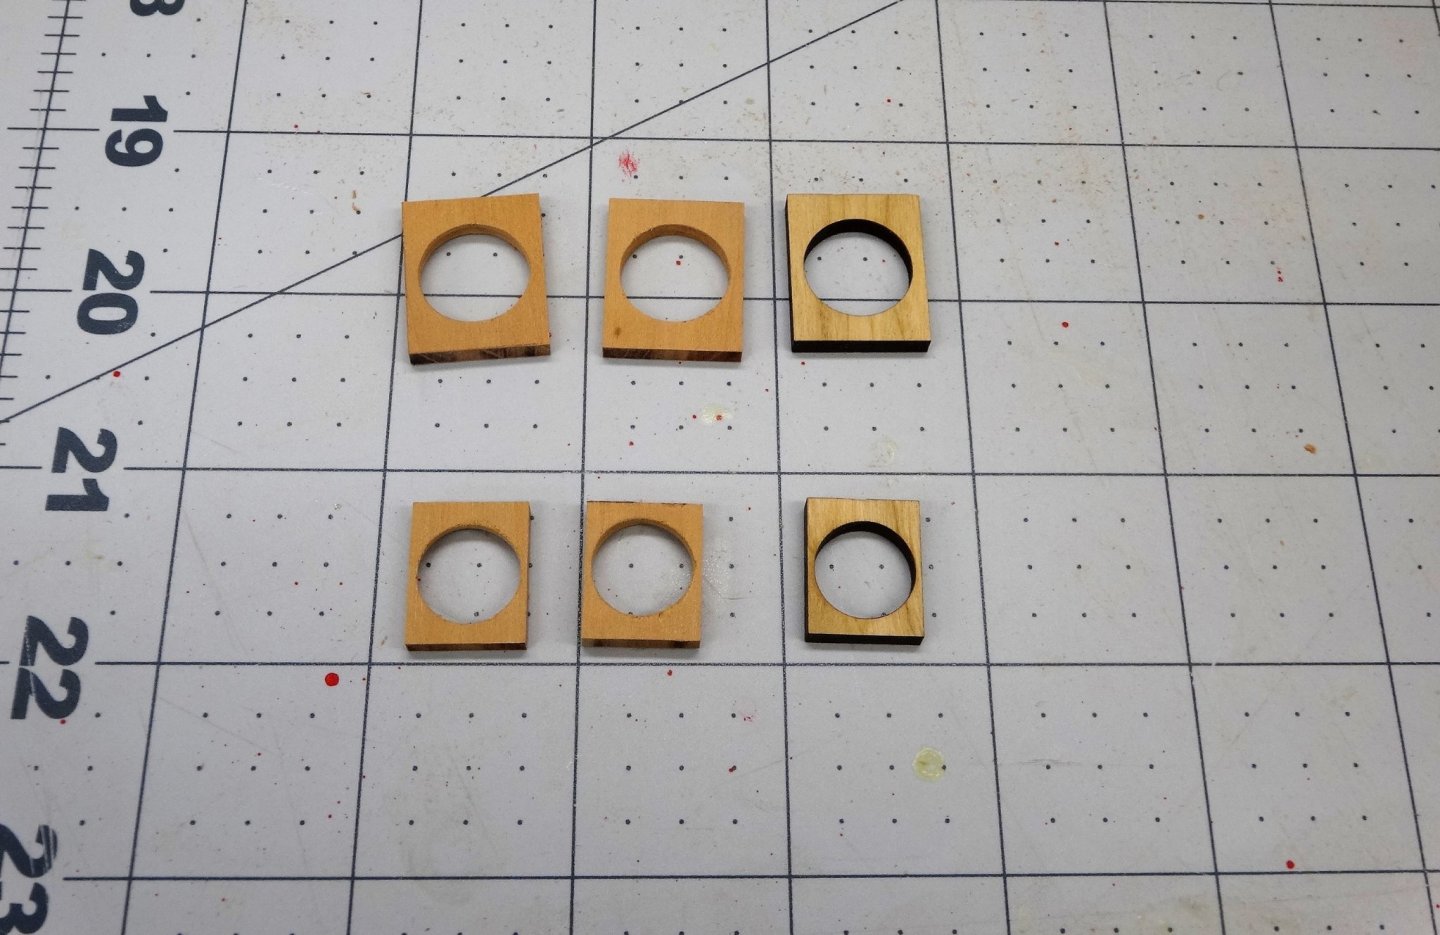
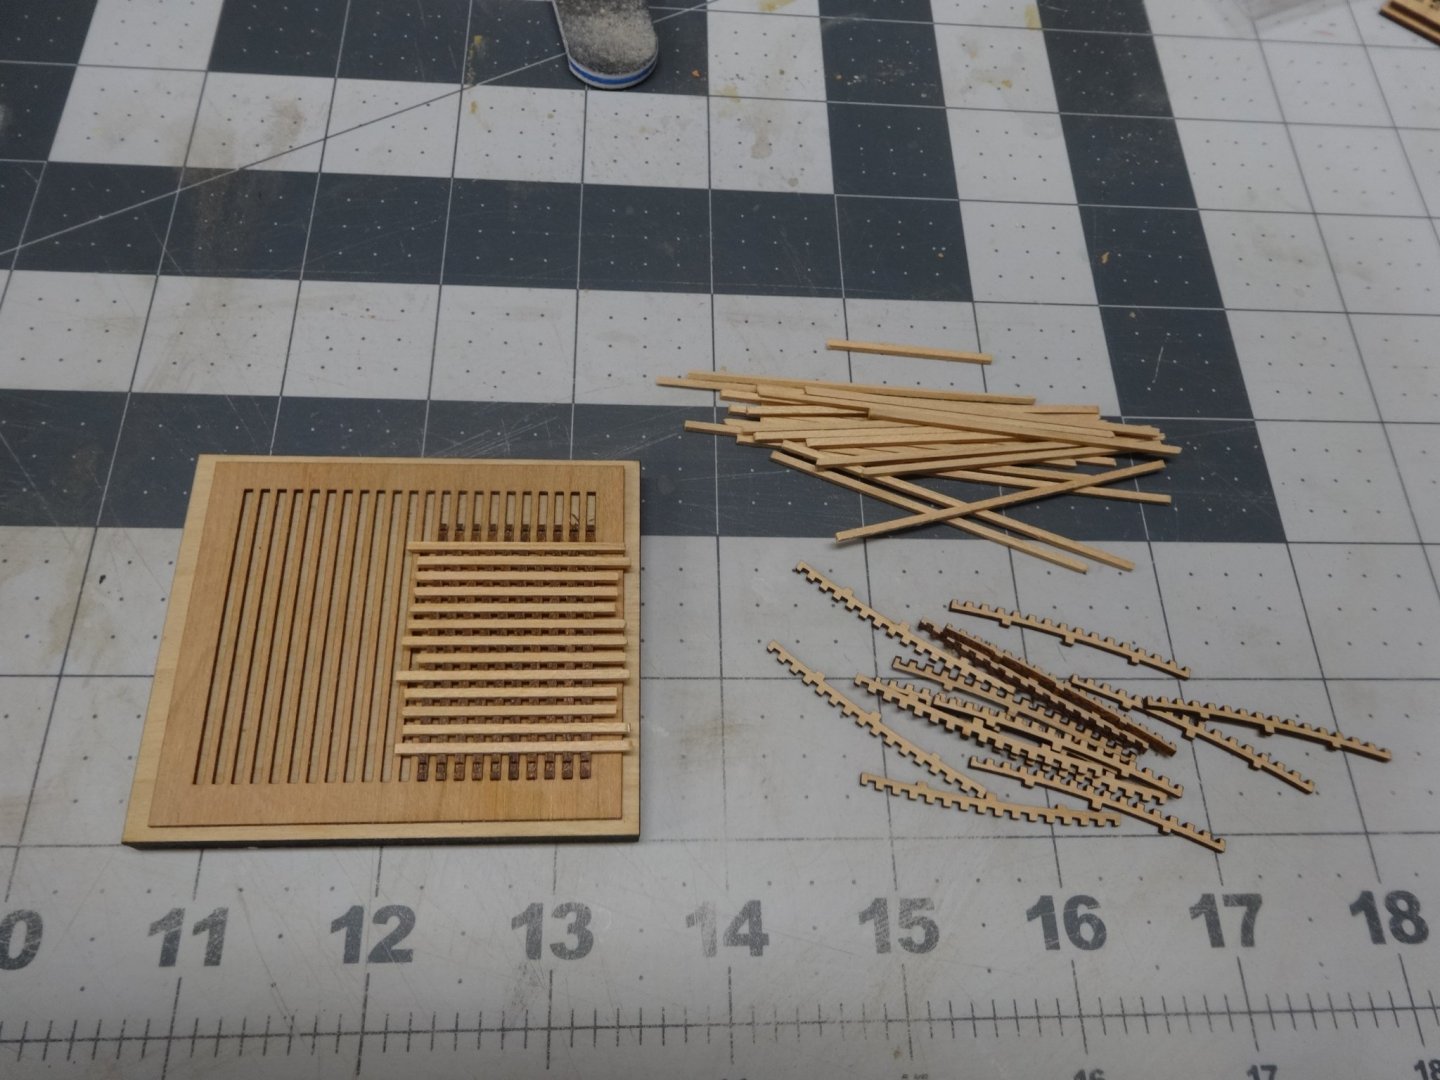
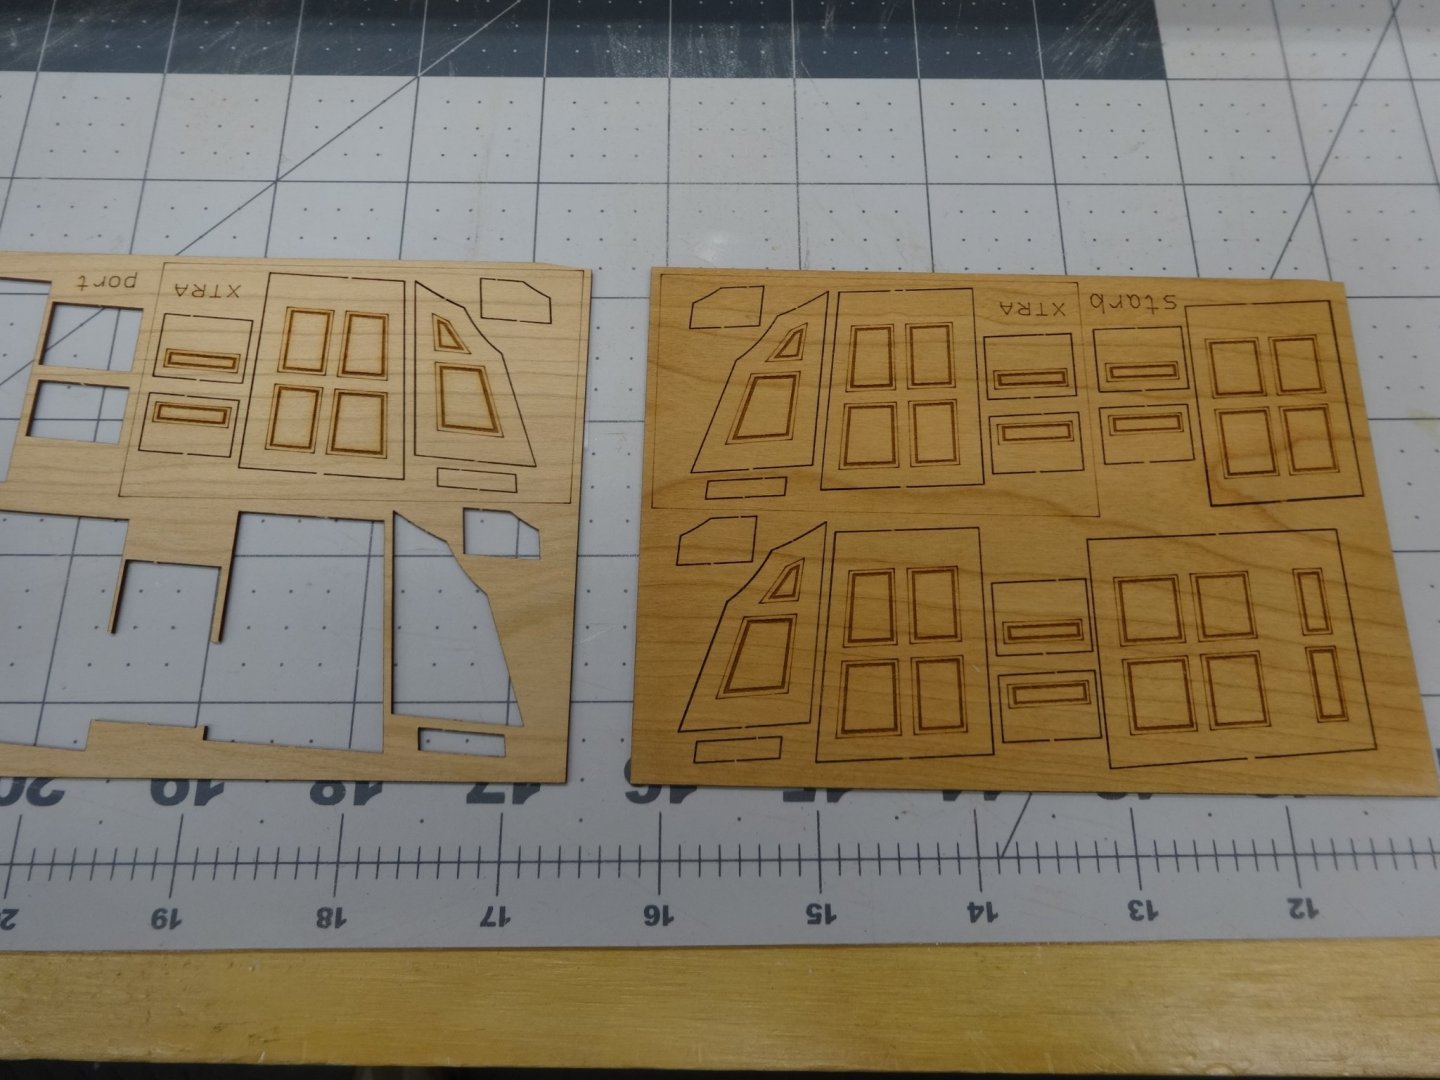
Thanks Chuck. Also thanks for all the likes. In the chapter 4 parts there are laser cut parts for the mast and capstan partners. I was feeling creative so I wanted to see is I could reproduce them in pear. I used Chucks parts as a guide for cutting. First I drilled two holes the same size as the originals. One extra for each size. I figured it was easier to cut them on the full sheet to minimize the chance is splitting and cracking. I cut them on the table saw and then used the disk sander to get them to the correct size. I then cut the remaining pieces to size and assembled them. Next I'll start placing the hatches and partners on the deck.
- 642 replies
-
- 19
-
-
- winchelsea
- Syren Ship Model Company
- (and 1 more)
-
Wonderful looking! Well worth all the effort.
- 778 replies
-
- 3
-
-
- cheerful
- Syren Ship Model Company
- (and 1 more)
-
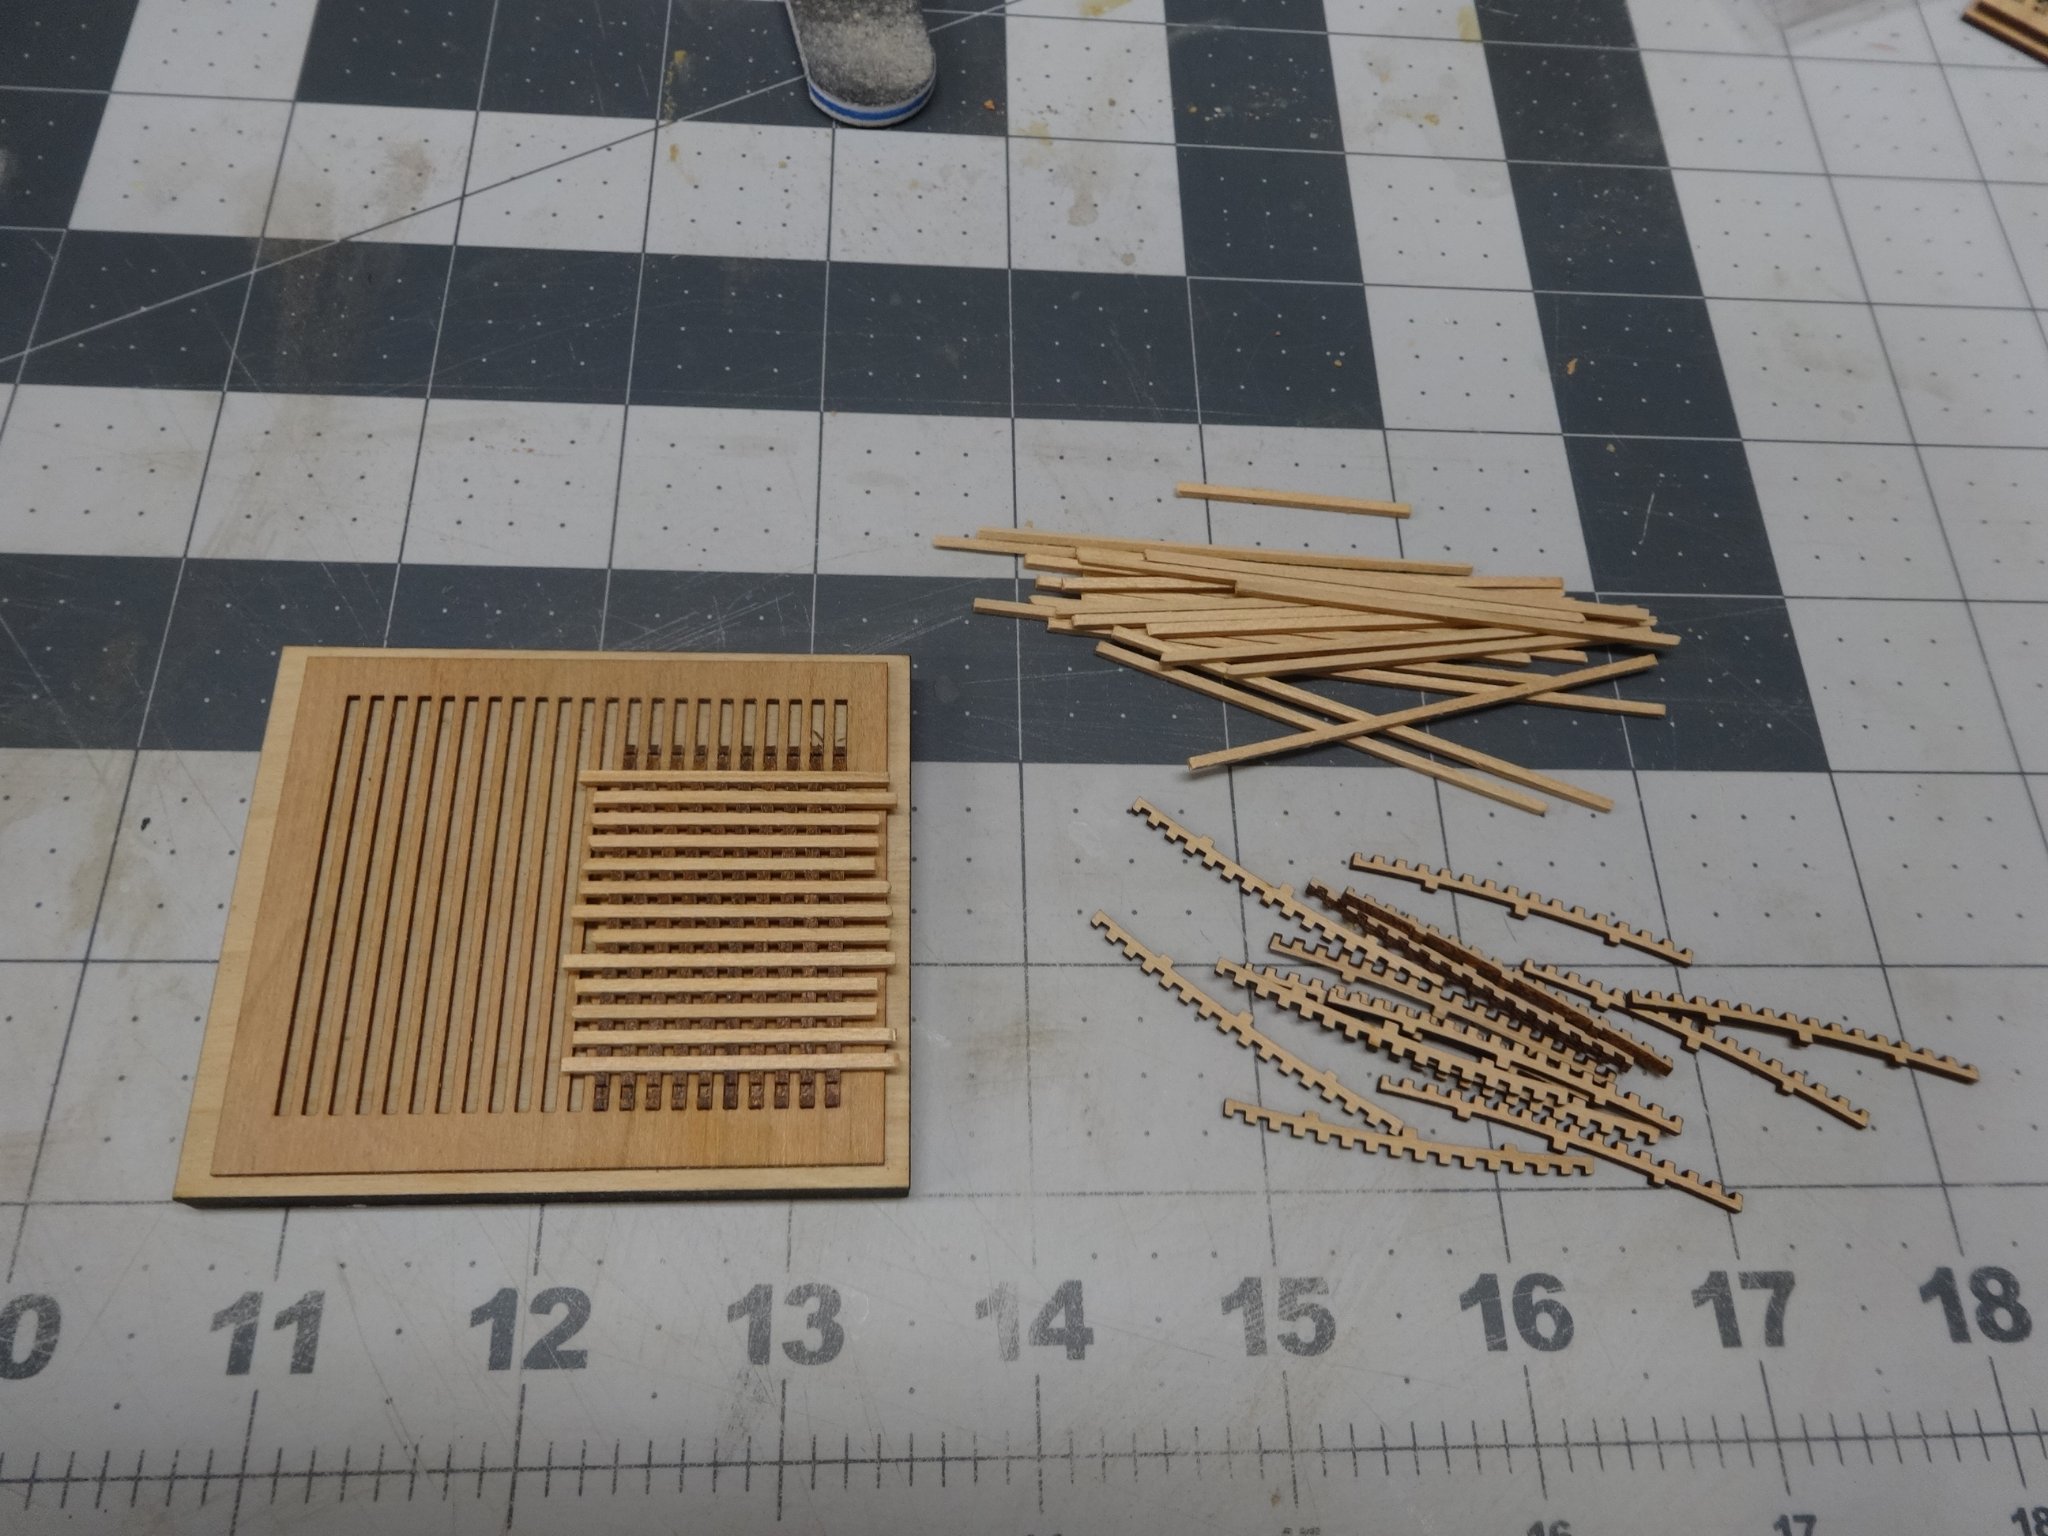
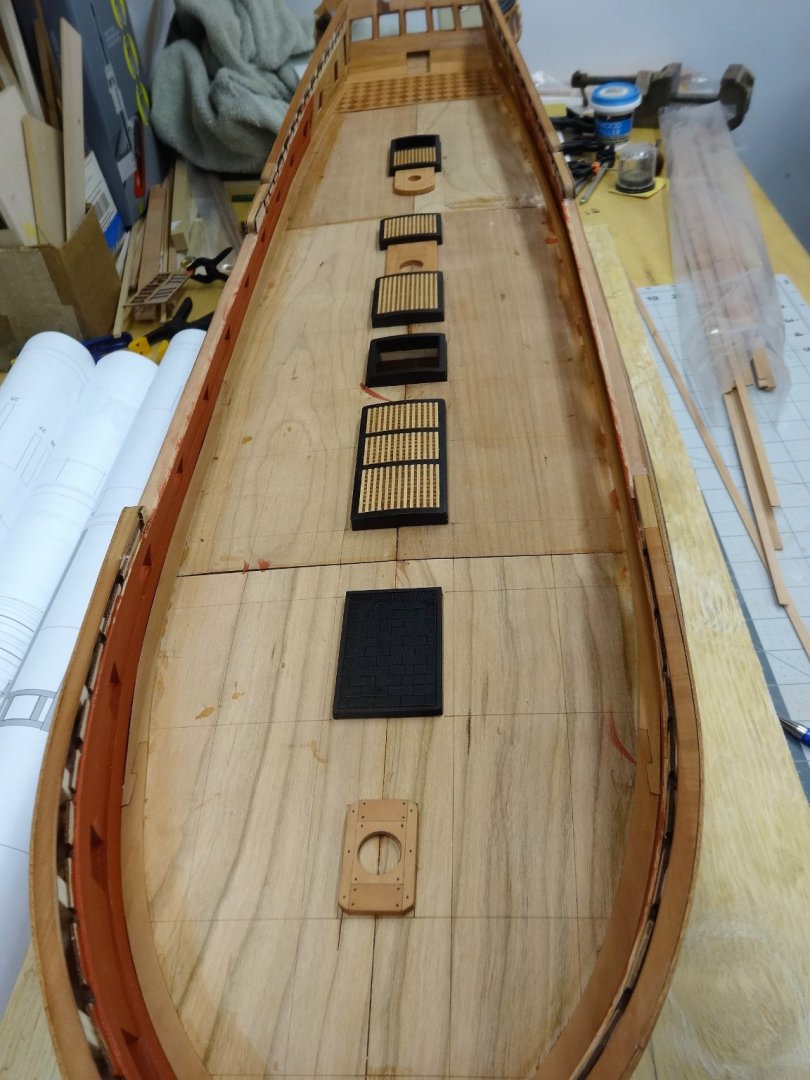
I used the hatch coamings and gratings from the Syren. The laser cutting was perfect and everything went together without issue!


- 642 replies
-
- 21
-
-
- winchelsea
- Syren Ship Model Company
- (and 1 more)
-
that looks really good JJ
-
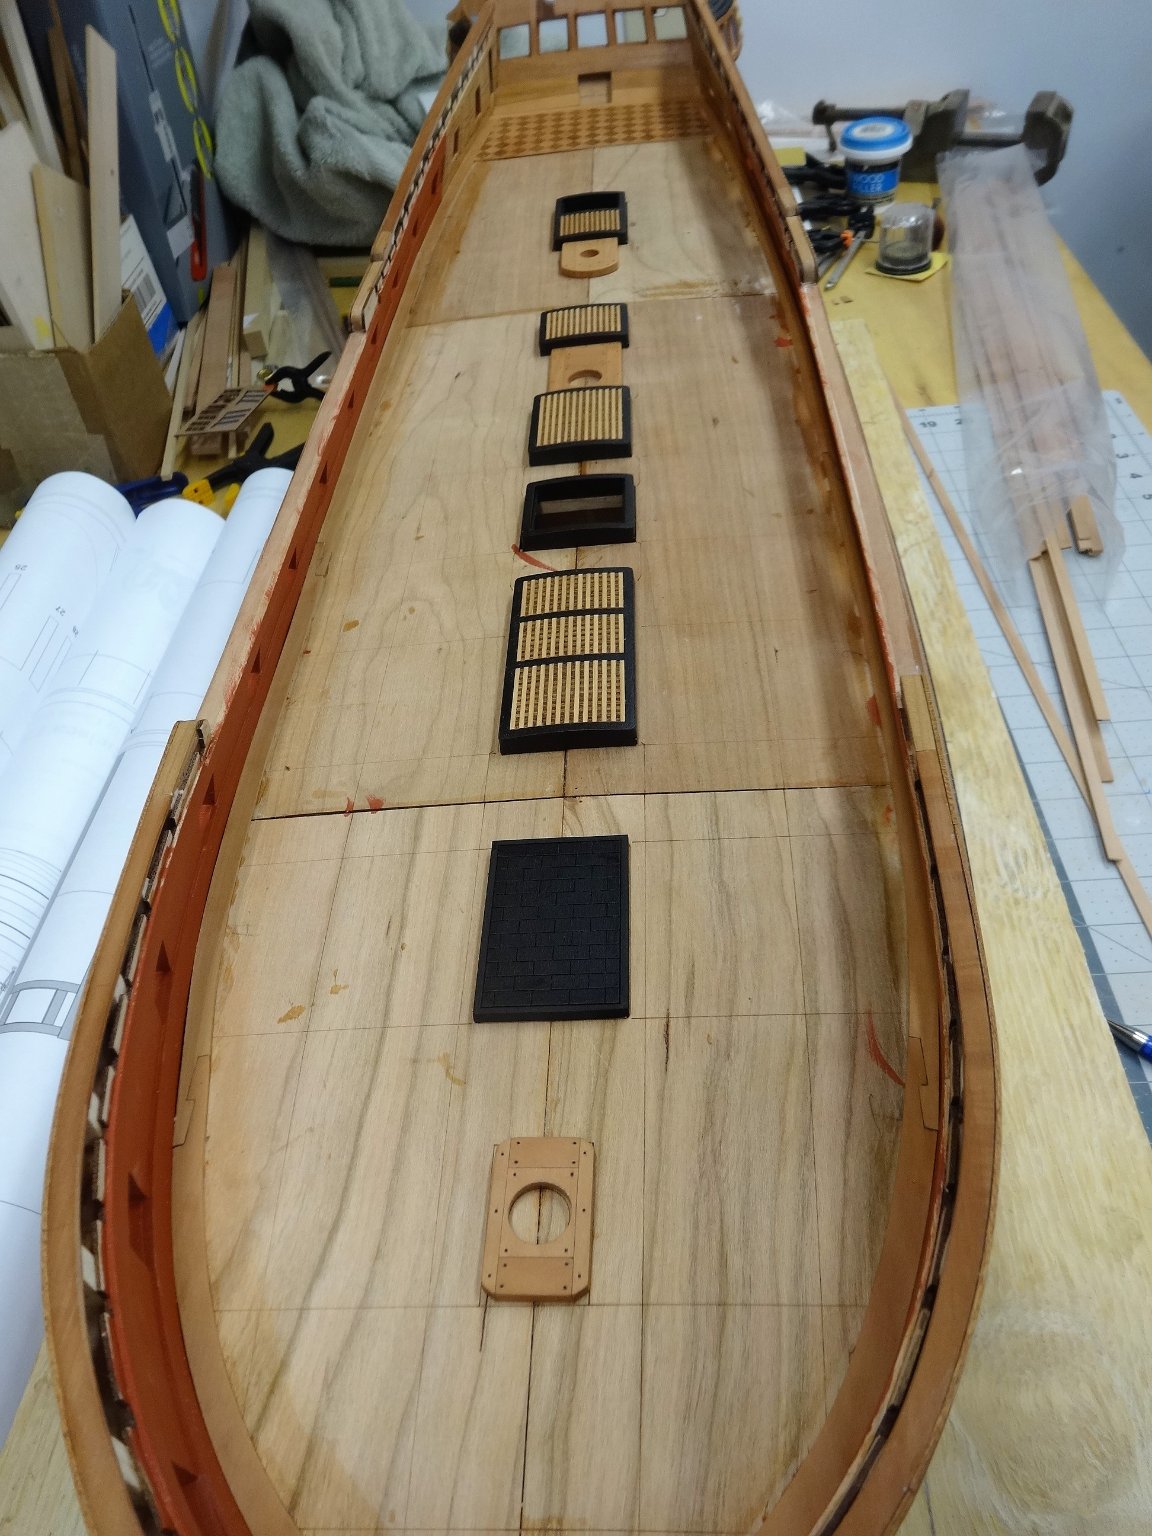
Thanks Matt. Yes closing the bulkheads always makes me happy! Thank you JJ and Chuck. Having a lot of fun. You're welcome Glenn. Wish I could tell you who passed that onto me a long time ago. Mast partners and hatches are coming along. Thanks for all the likes too!
- 642 replies
-
- 1
-
-
- winchelsea
- Syren Ship Model Company
- (and 1 more)
-
That looks nice. I think you'll be really happy with them now!
- 436 replies
-
- 4
-
-
- vanguard models
- alert
- (and 1 more)
-
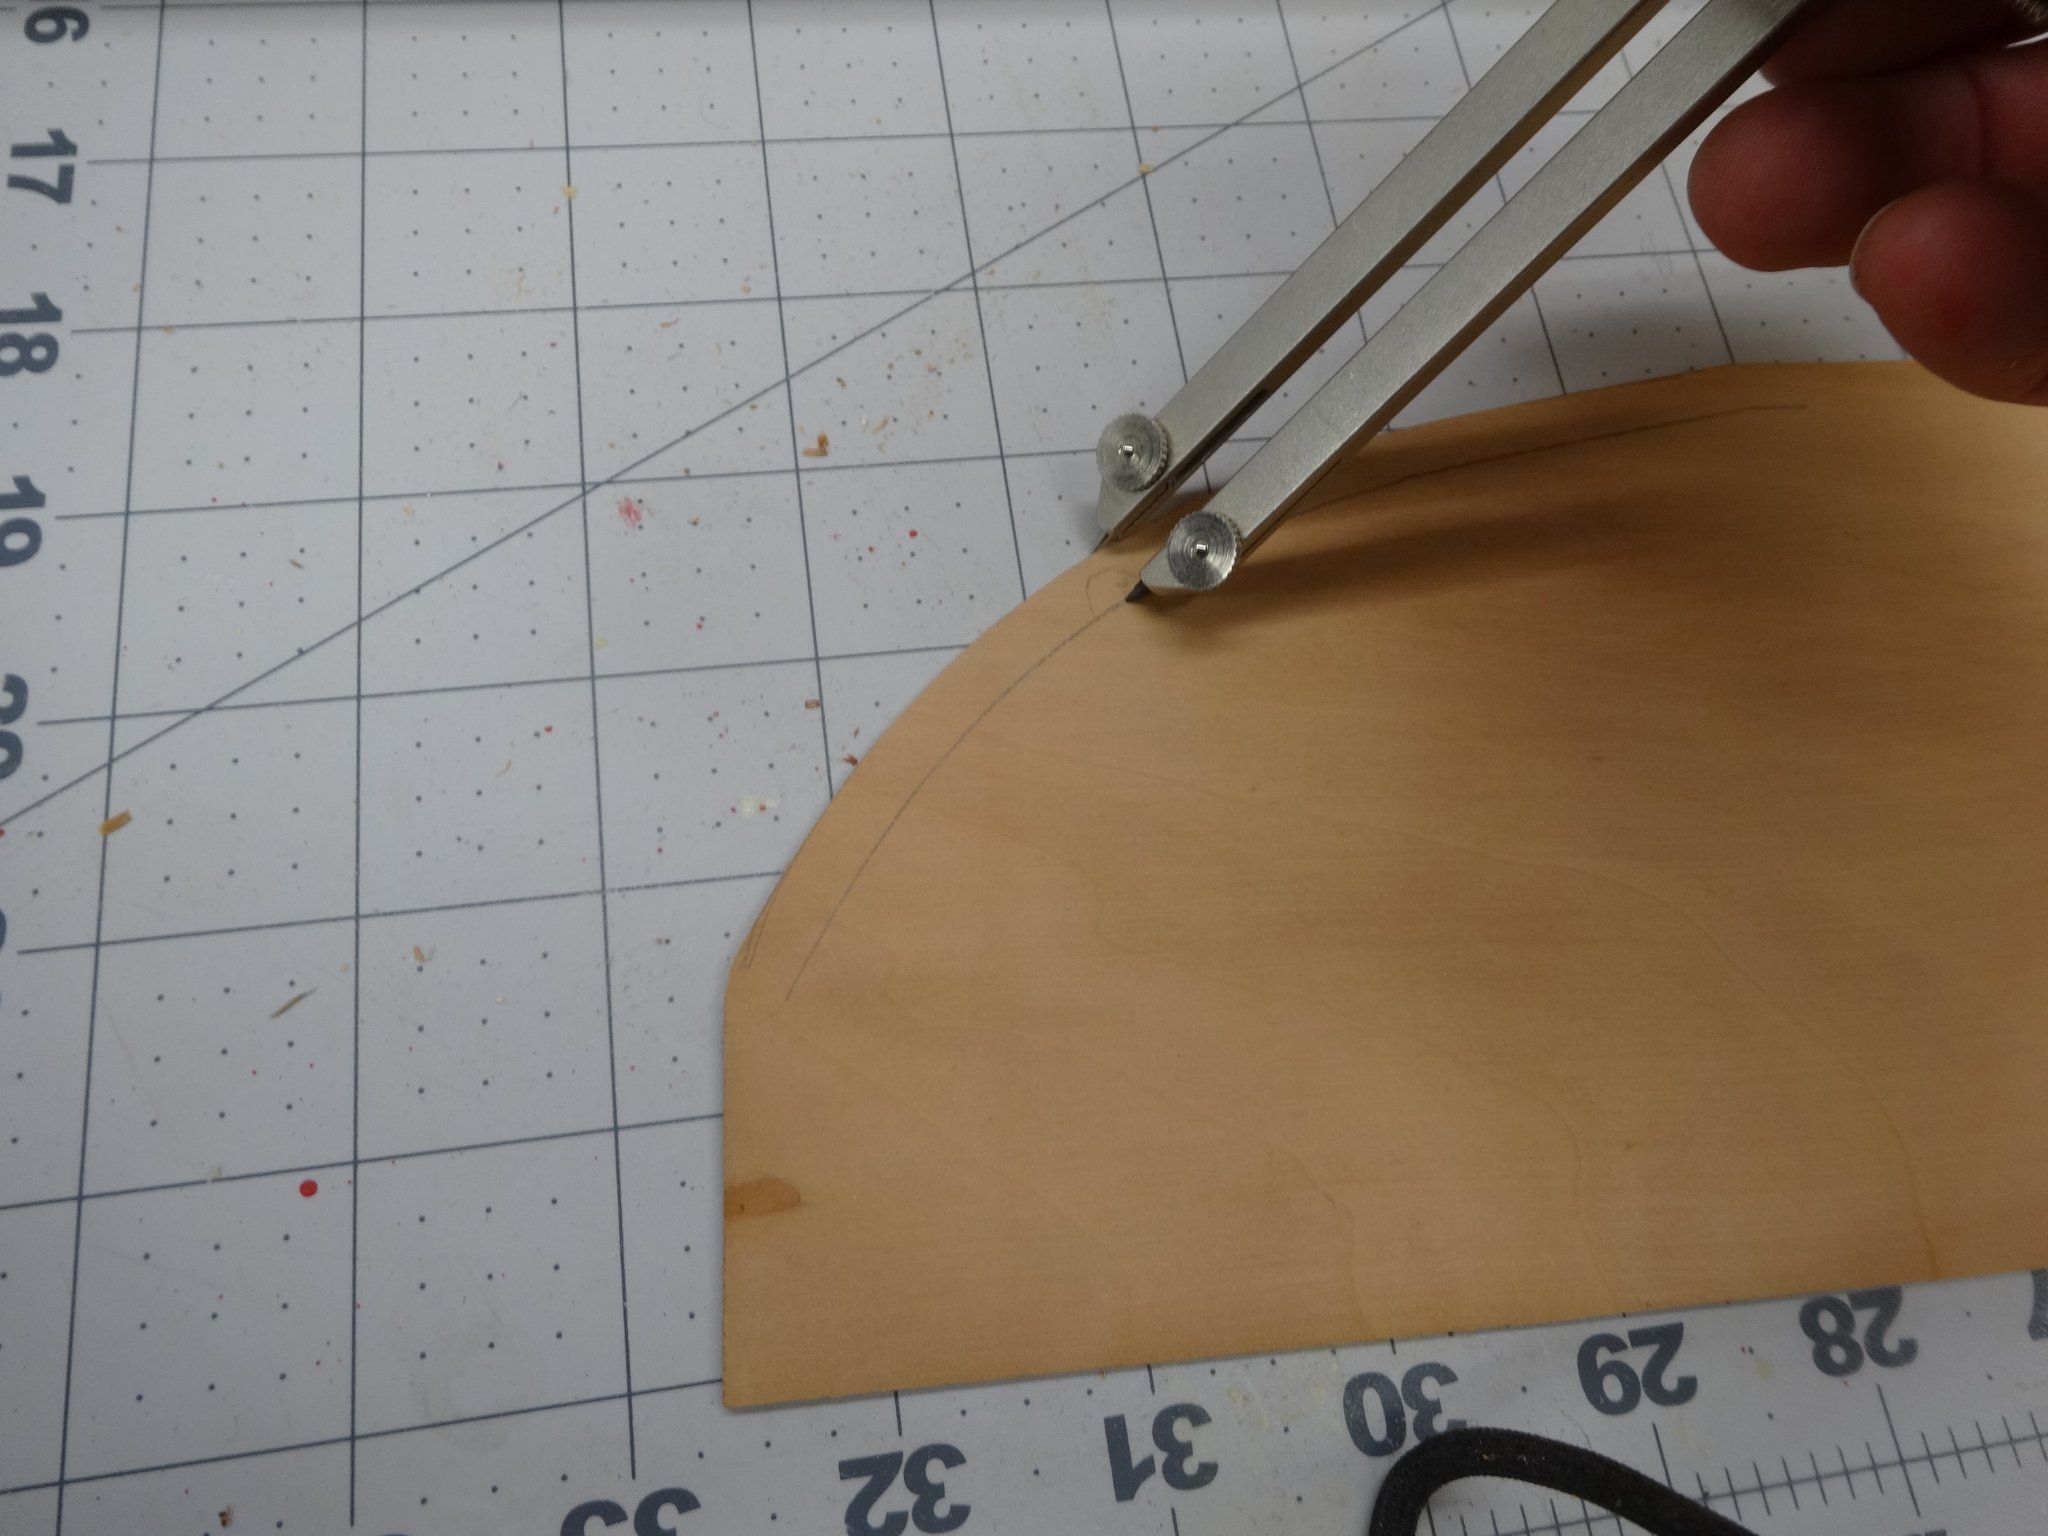
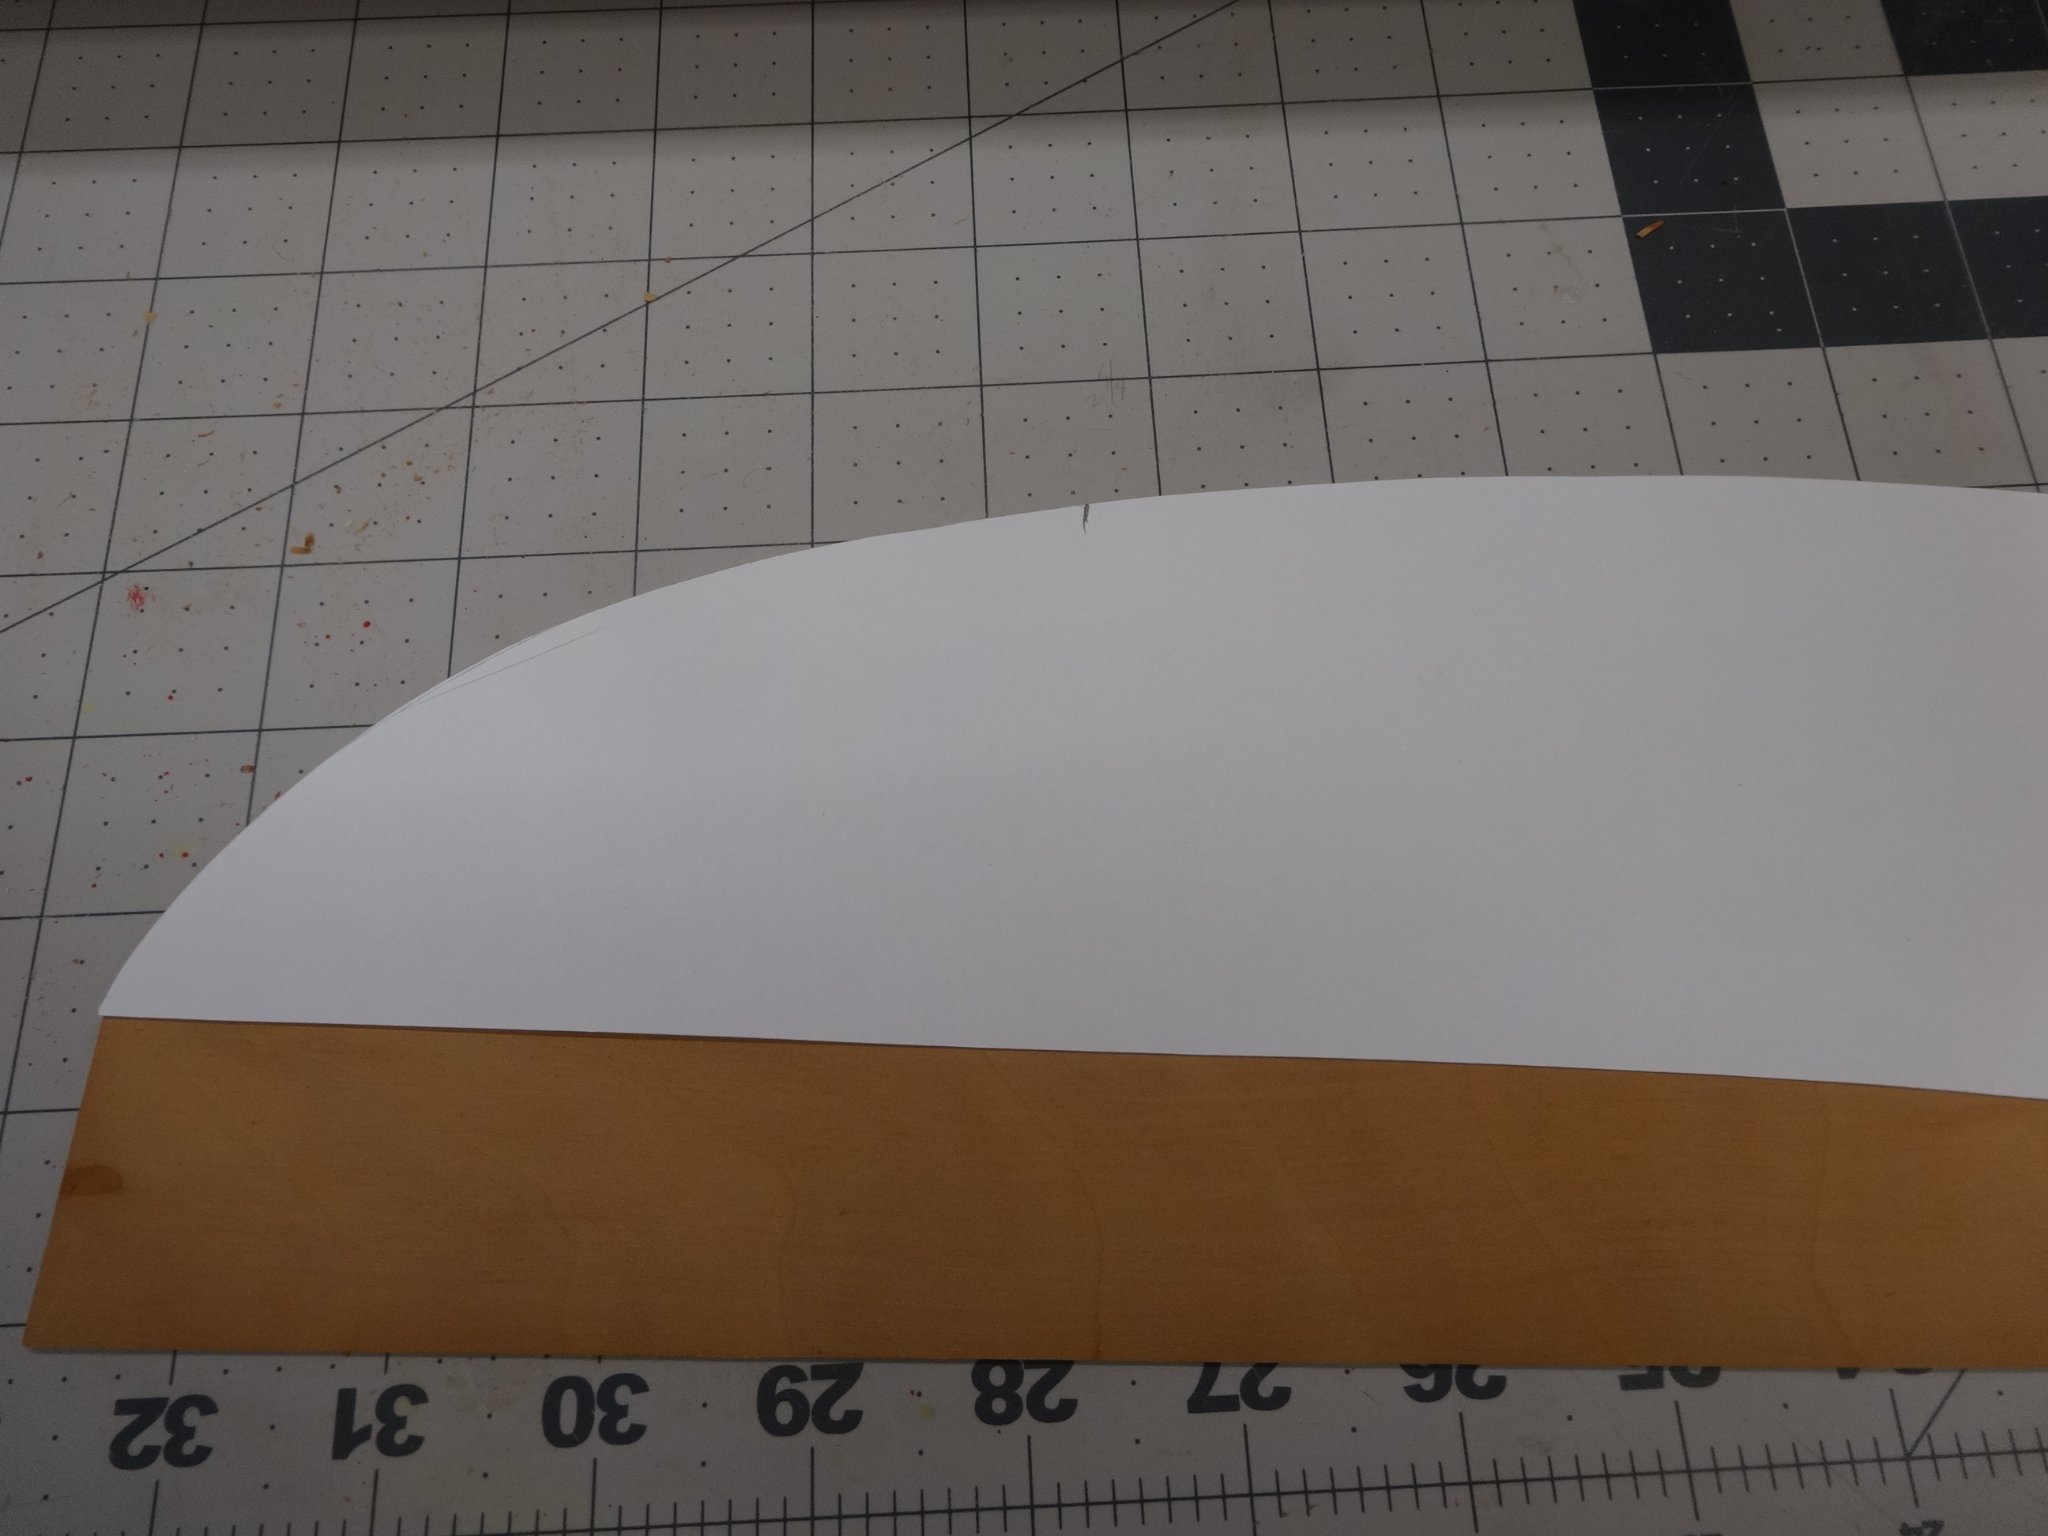
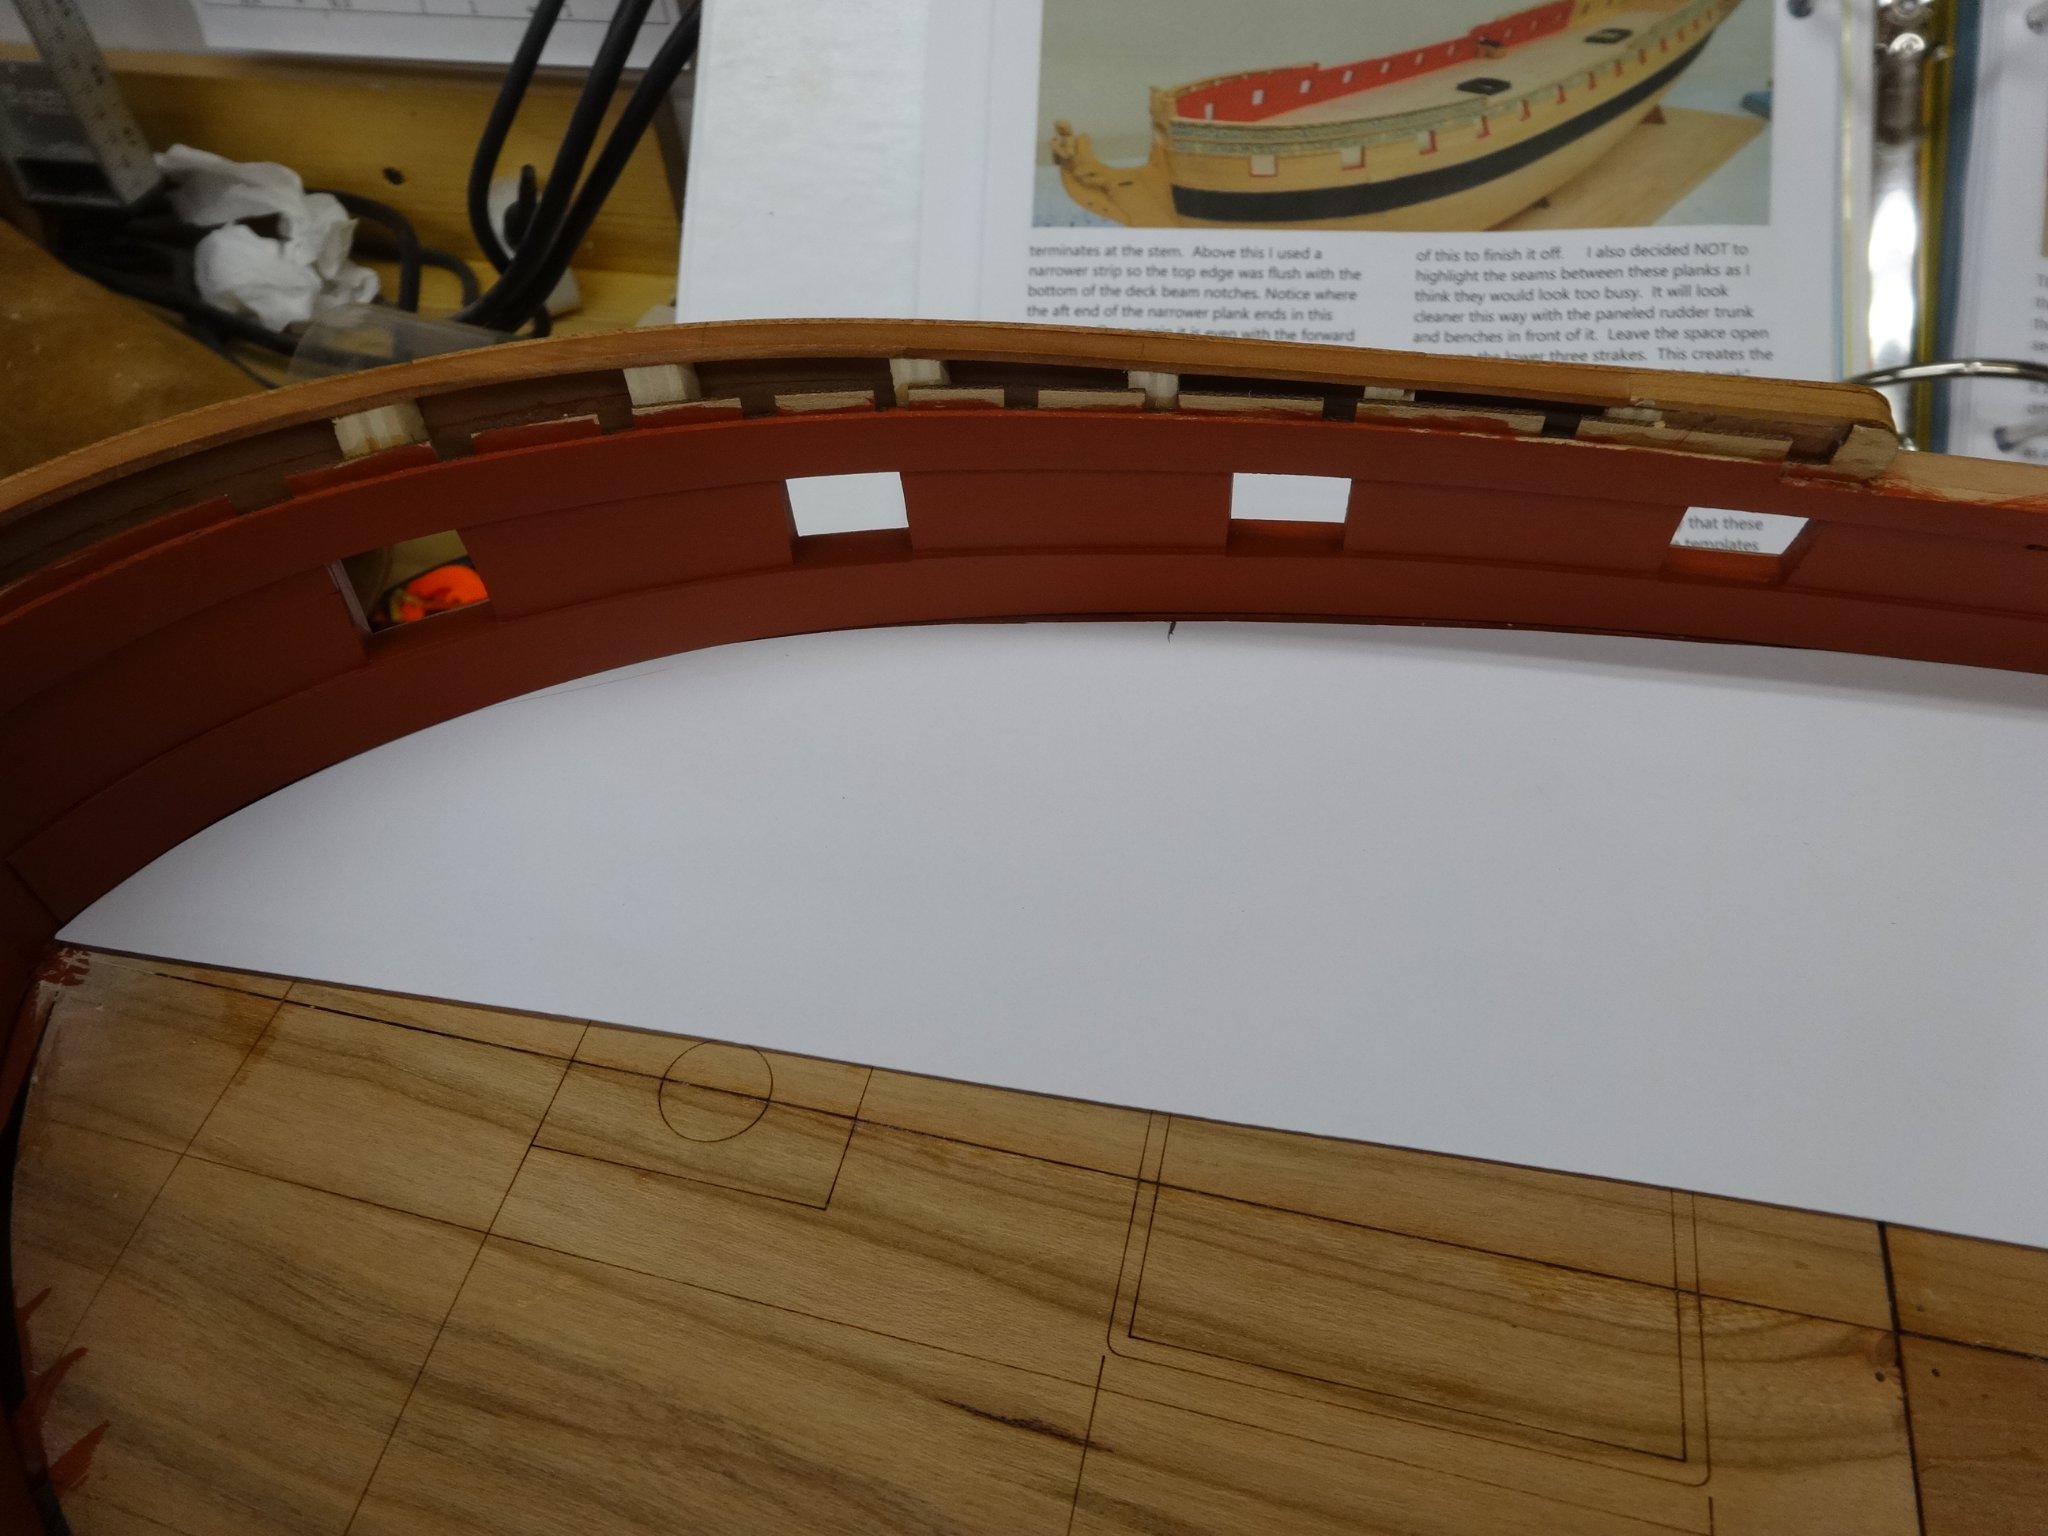
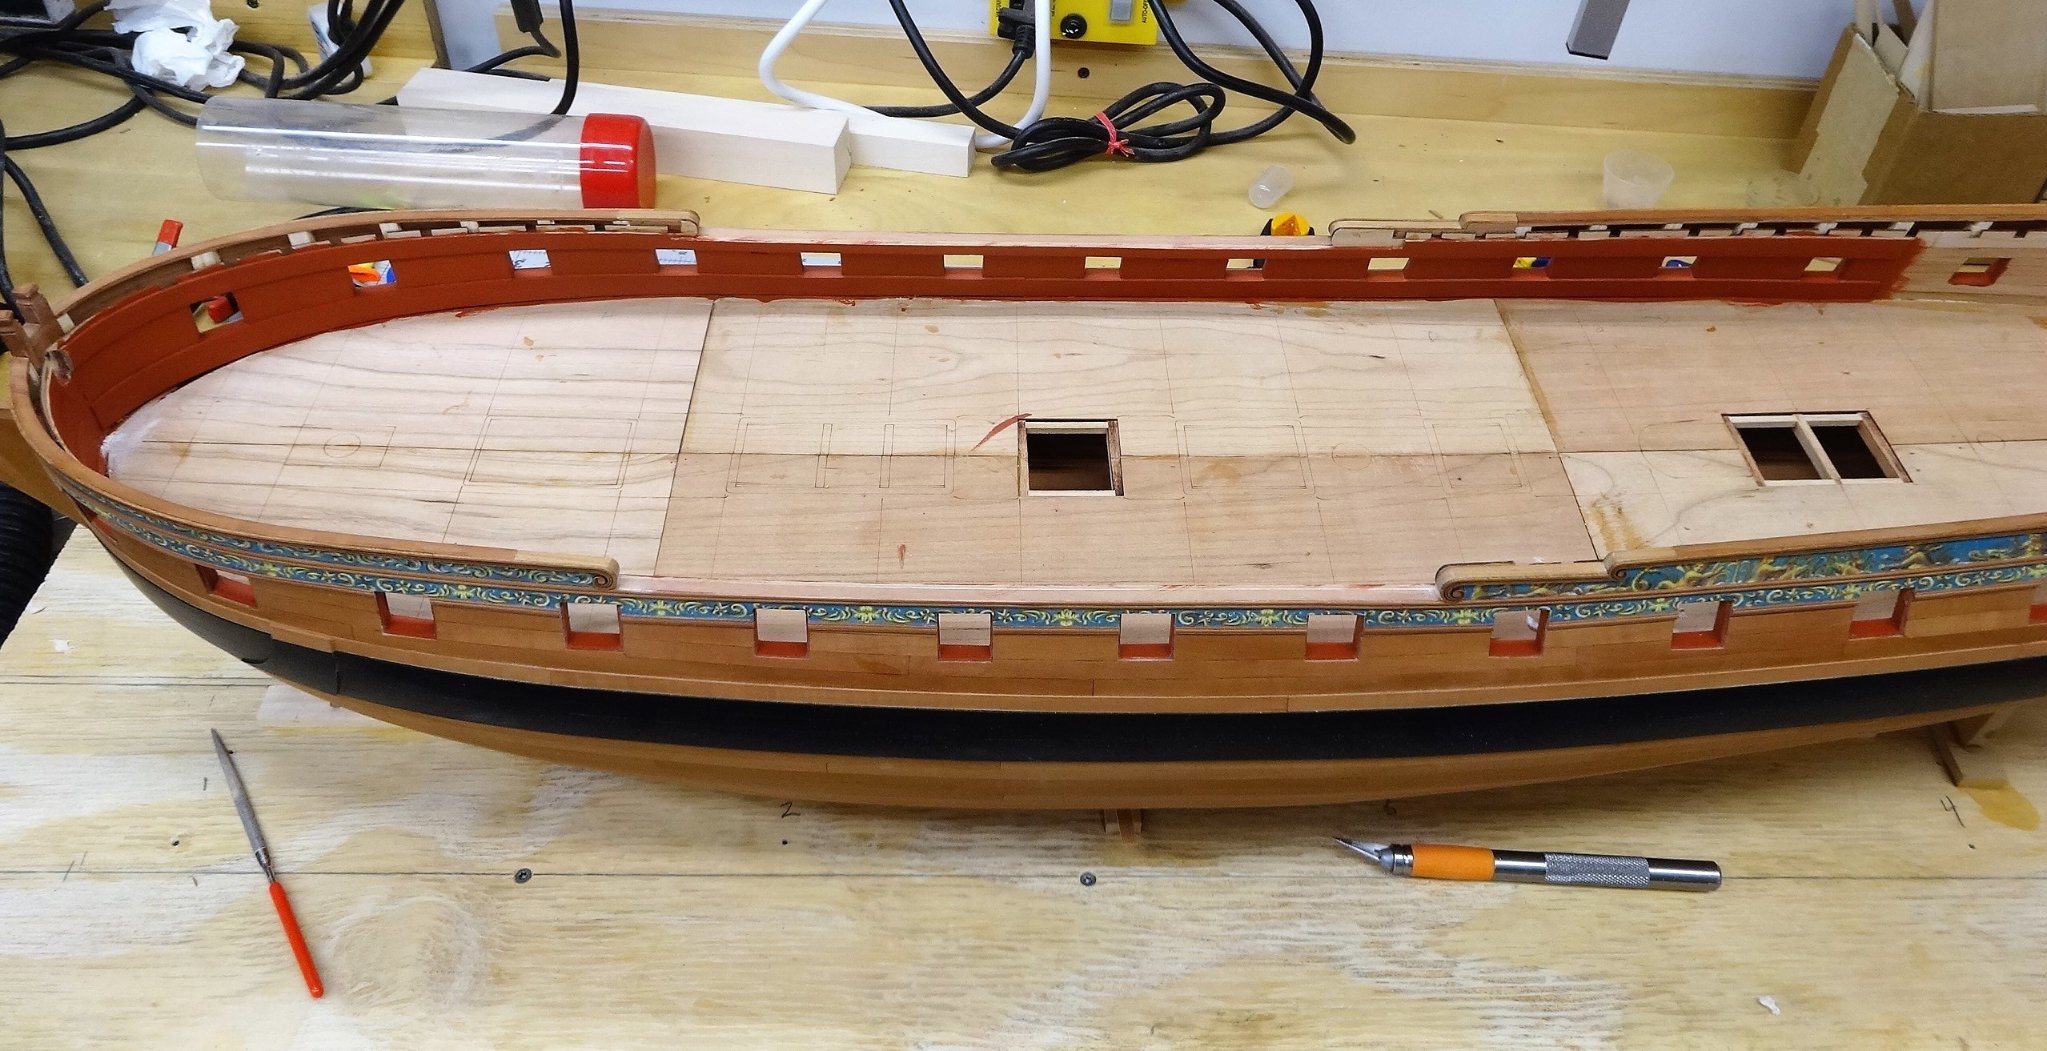
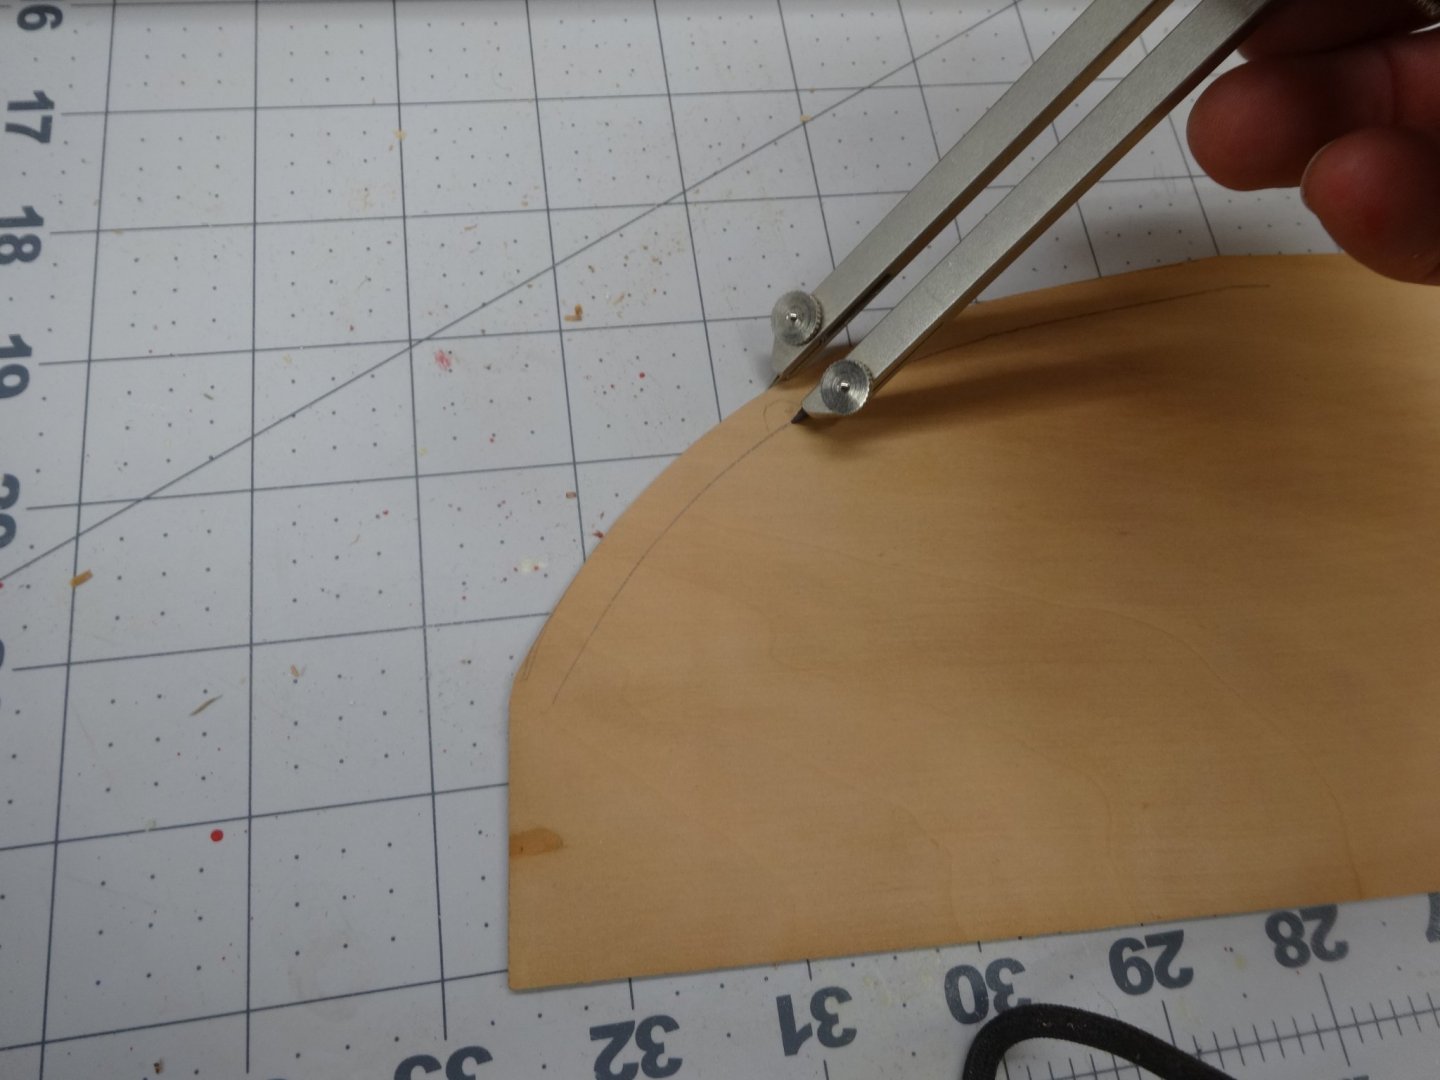
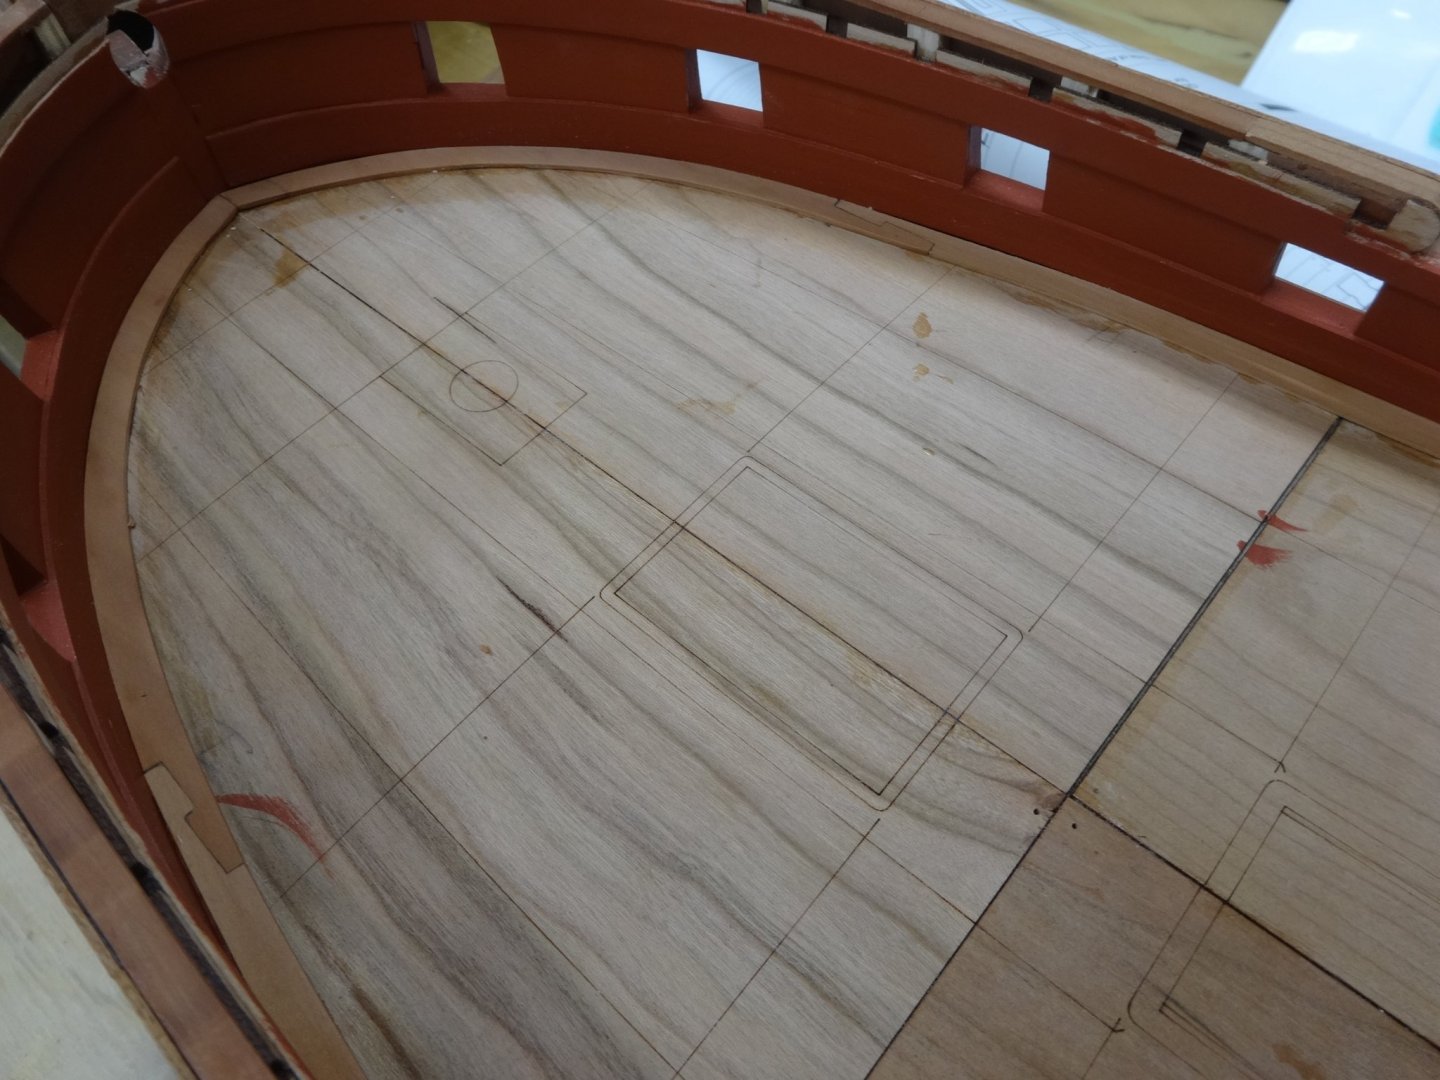
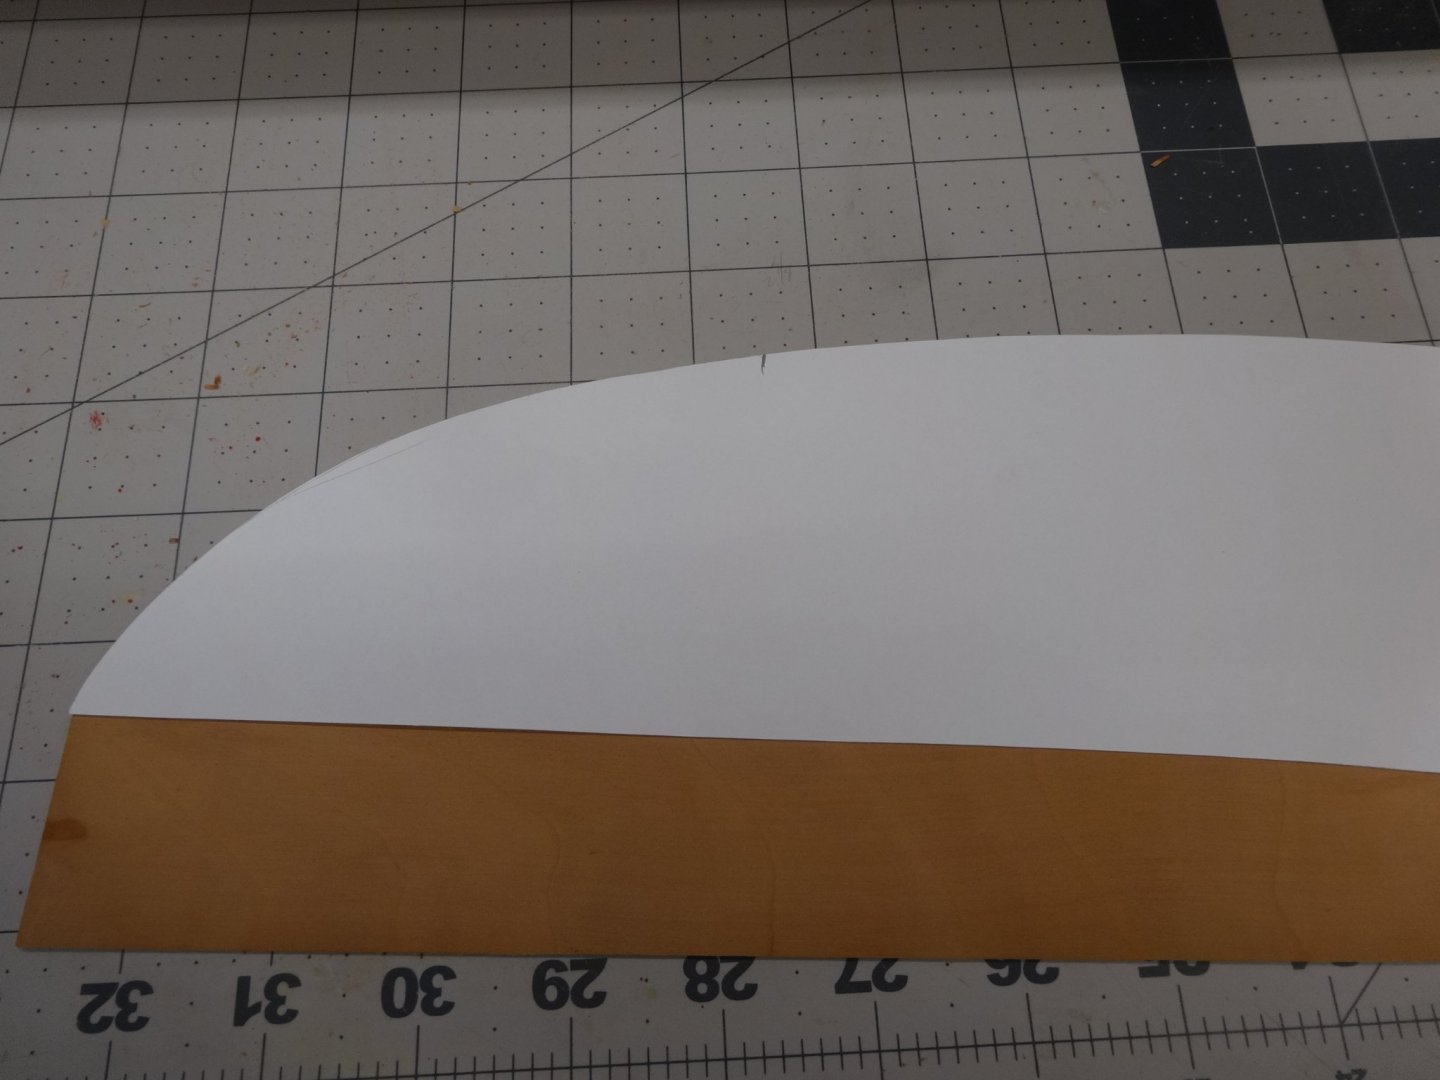
The fun continues. The panels for the Captains Cabin were placed with minor adjustments. The inboard stern counter was planked and then the margin planks were placed next. They required a little more work on my part. I took paper and cut a template of the curve at the bow and transferred it to sheet stock. I then marked the inside curve and the cut it out and final fit it. Scarph joints were cut and then the margin planks were added. After the margin planks were added the checkered floor was sanded to fit. Whew now I'm on to building the hatches.

- 642 replies
-
- 22
-
-
- winchelsea
- Syren Ship Model Company
- (and 1 more)
-
I also temporarily tacked pieces in place with rubber cement to check placement and alignment prior to permanently gluing in place.
-
Hi G. I use a 90 teeth per inch (TPI) blade when I rip either holly, or the pear I'm currently building with. The holly is harder than the cedar but for me I don't really see that you'd do anything differently. Your drawing is really nice. I can't even draw a stick figure.
-
Fantastic workmanship!
-
Glad to see you back at and will have more time to enjoy it!
- 109 replies
-
- 3
-
-
- medway longboat
- Syren Ship Model Company
- (and 1 more)
-
That looks great Bob. It's funny how we get a burst of enthusiasm and can't get enough building time. For me from here on out is the most fun!
-
Thanks Glenn. I've touched up the sills a couple of times already. The paint really shows up any imperfections.
- 642 replies
-
- 2
-
-
- winchelsea
- Syren Ship Model Company
- (and 1 more)
-
Thanks Reg, Bob and B.E. Though large it's a fun model. Also thanks for all the likes!
- 642 replies
-
- 3
-
-
- winchelsea
- Syren Ship Model Company
- (and 1 more)
-
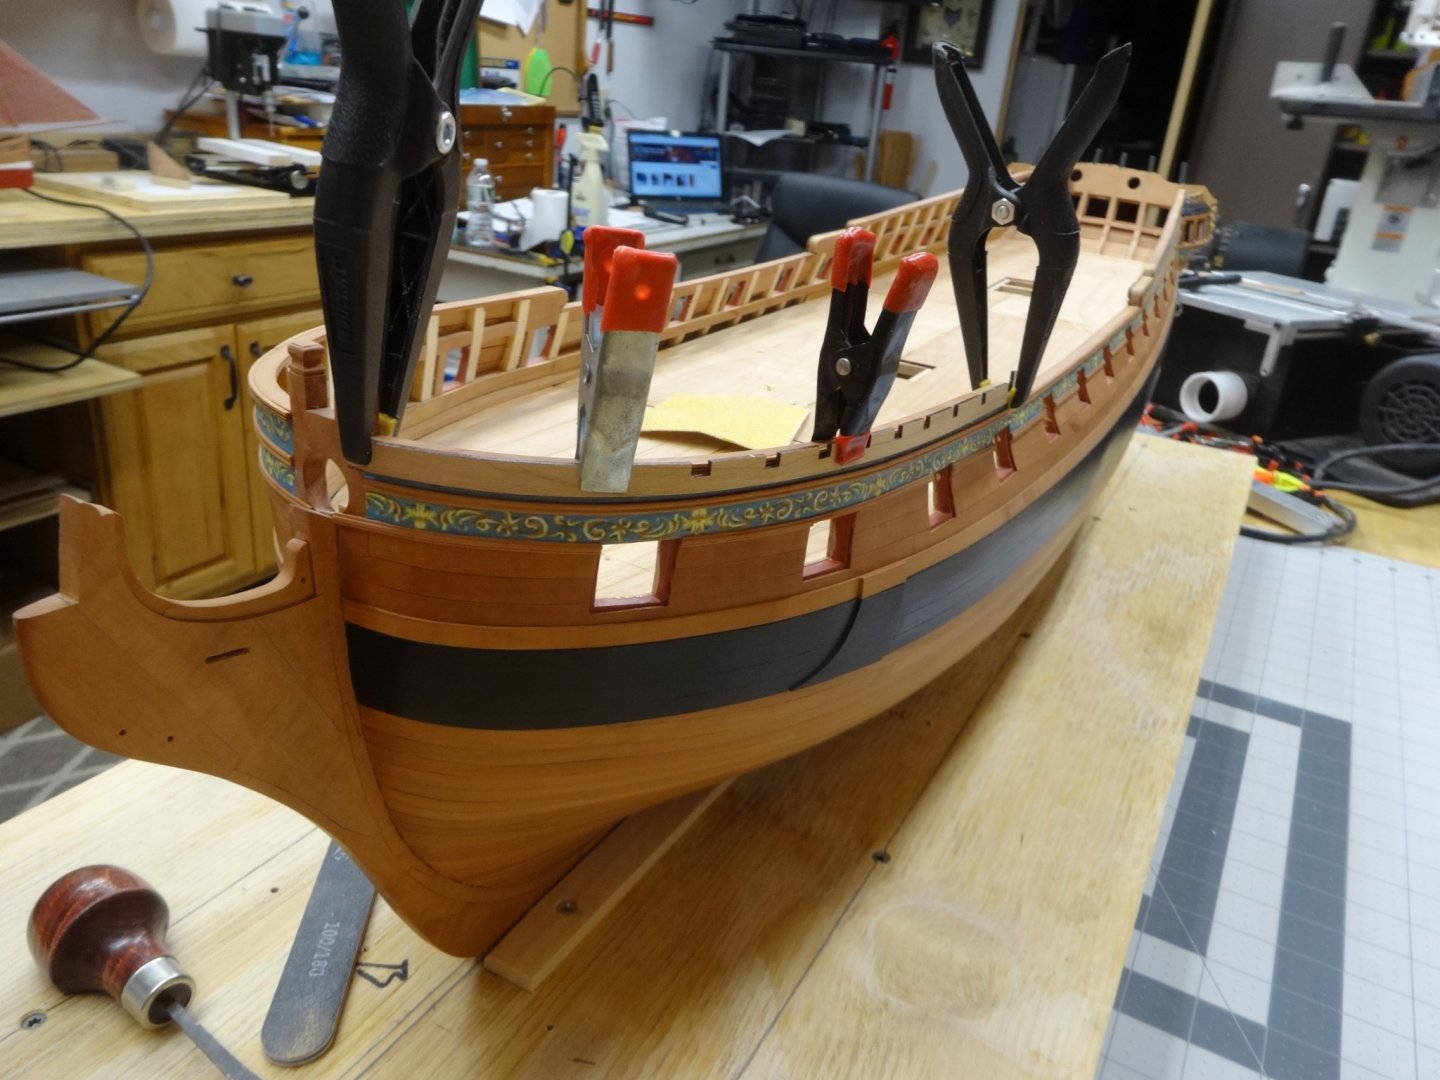
Hi all, I've been plugging away a bit at a time on chapter 4. After fitting the laser cut and etched false deck I added the first layer of bulwark planking. The fore deck clamp needs to be bent and with the cutouts for the deck beams can make it fragile. I carefully bent it around the outside of the hull and then heated it with a hairdryer and let it cool. After all of the first layer of planks and deck clamps were in place I confirmed that the Captain's cabin paneling was starting in the correct location I marked the fore edge and then added the second layer of spirketting. I have painted the bulwarks but still have a few more coats to go. Once I've finished painting I'll add the Captain's cabins paneling.
- 642 replies
-
- 23
-
-
- winchelsea
- Syren Ship Model Company
- (and 1 more)