


oakheart
-
Posts
413 -
Joined
-
Last visited
Content Type
Profiles
Forums
Gallery
Events
Posts posted by oakheart
-
-
-
6 hours ago, iMustBeCrazy said:
Oh what fun.
Ha, Ha..... that's why I keep dreaming of doing a ready made kit for my next build.
As you say 3rd time lucky. Your persistence is inspirational.
Tim
- mtaylor and iMustBeCrazy
-
 2
2
-
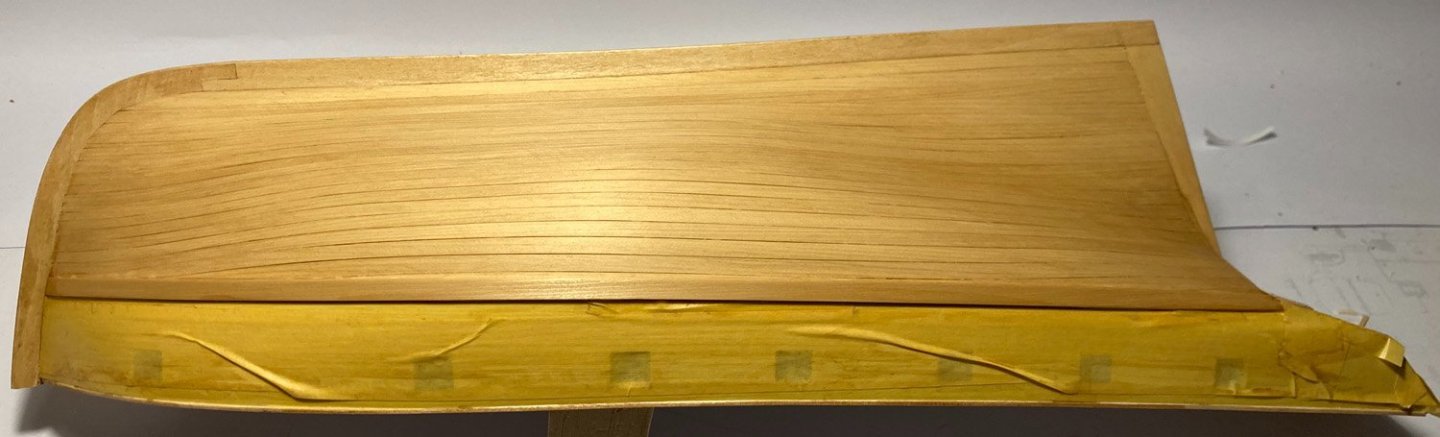
I also needed to make the waterway, the drawing shows a moulding but I went for a simple triangular section 1x1mm.
After cutting some 1x1mm square I made a simple sanding jig, the sides are at 45 degrees so that the section sits neatly in place ready to have half of it width sanded away leaving a triangular section.
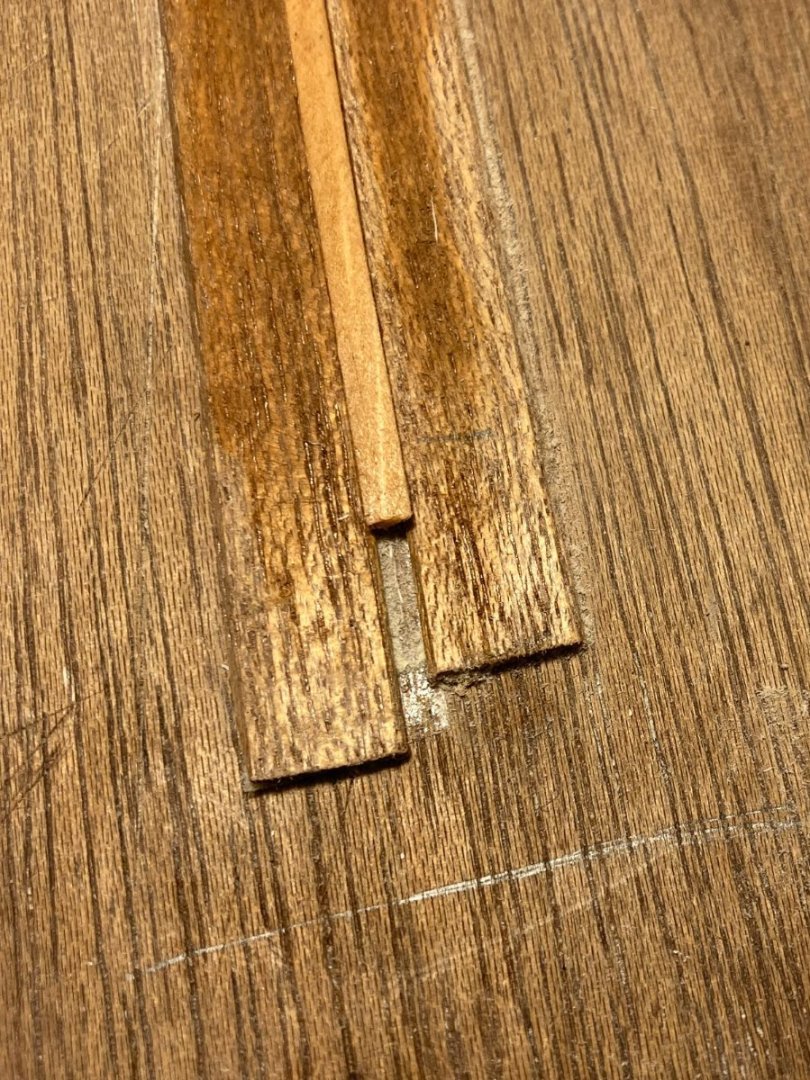
It gets very delicate, I managed to snap the first one I tried, then being much more gentle I managed to get two usable strips
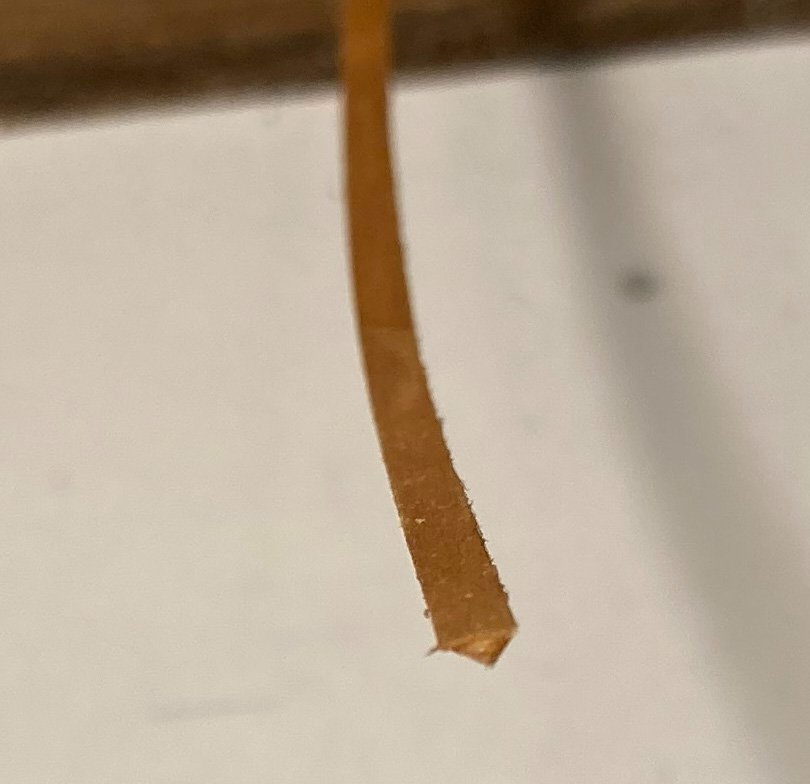
Now to glue them in place
Tim
- CiscoH, GrandpaPhil, davyboy and 3 others
-
6
-
Now I need to do the opposite side, the cap rail on the transom, then it's onto making and fitting the details.
I will need to keep referring back to thunders @Thunder build for guidance.
Chucks @Chuck Cheerful is also similar enough to be a great help here.
Does anyone keep a list of what needs to be done next?
Tim
-
2 minutes ago, iMustBeCrazy said:
New v old.
Very interesting, apart from being wider the new version looks better to my eye with the plank in the center instead of a gap.
Thanks for pointing out Chucks @Chuck Cheerful blog, I have read that and several other builds by Chuck, he is a true master to follow.
Now he is working in film he may not talk to us mere motals 🙂
I spent nearly 20 years working as a professional model maker, producing props and special fx for stills, TV and film, it's a really high octane business to be involved in.
Tim
- CiscoH, davec, iMustBeCrazy and 1 other
-
4
-
-
7 hours ago, iMustBeCrazy said:
Somewhere along the line I've done something not good.
I know that feeling 😞
Seeing the mockup I now understand how it will work, as you said "pictures and words"
And It will work really well, I shall tuck away that idea for my next build......
Tim
- iMustBeCrazy, davec and mtaylor
-
3
-
-
Got a good amount done today.
Darkened the wale and added the rail under the gunports, don't know what it's called.
made the quarter piece or fashion piece, I made it in two parts as the test I did did not bend well

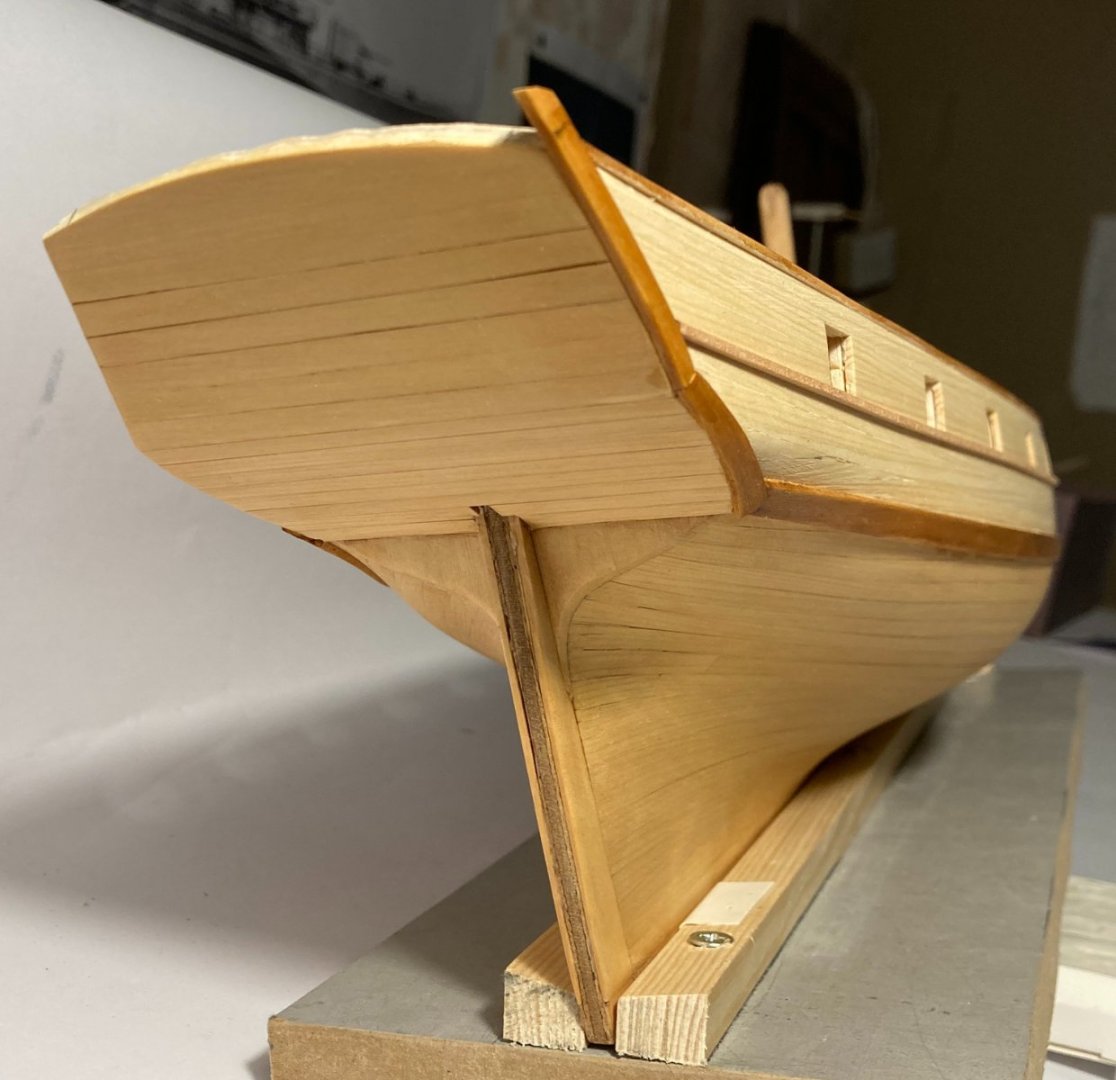
amazing how the photos highlight all of the bad parts as well as the good
I am enjoying having got this far and it does not look too shabby, especially as this is only my second single plank on bulkhead scratch build.
thanks for all of the likes and help / encouragement you have all given me.
Tim
- ccoyle, iMustBeCrazy, Gregory and 2 others
-
5
-
-
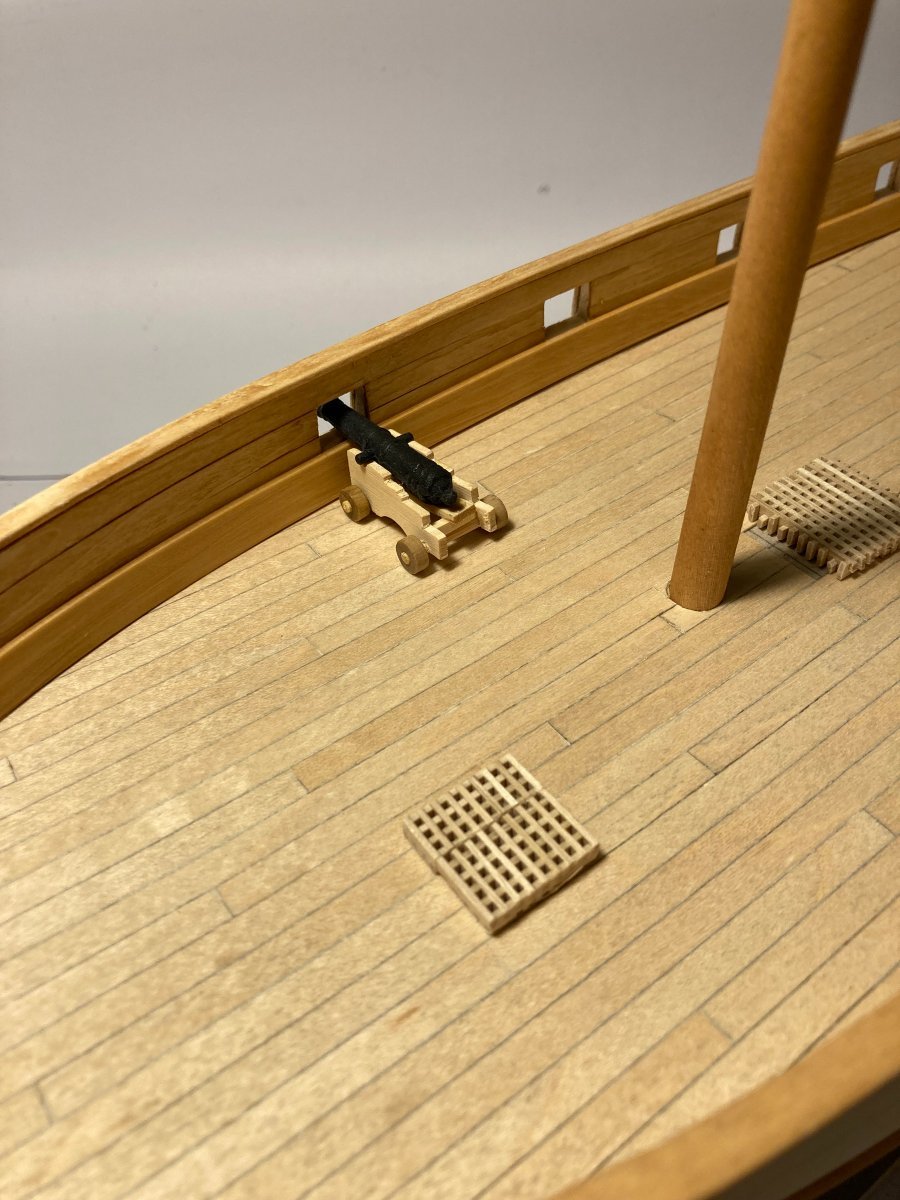
I can't resist playing, placed a few bits on deck just to start to get a feel for how it could look
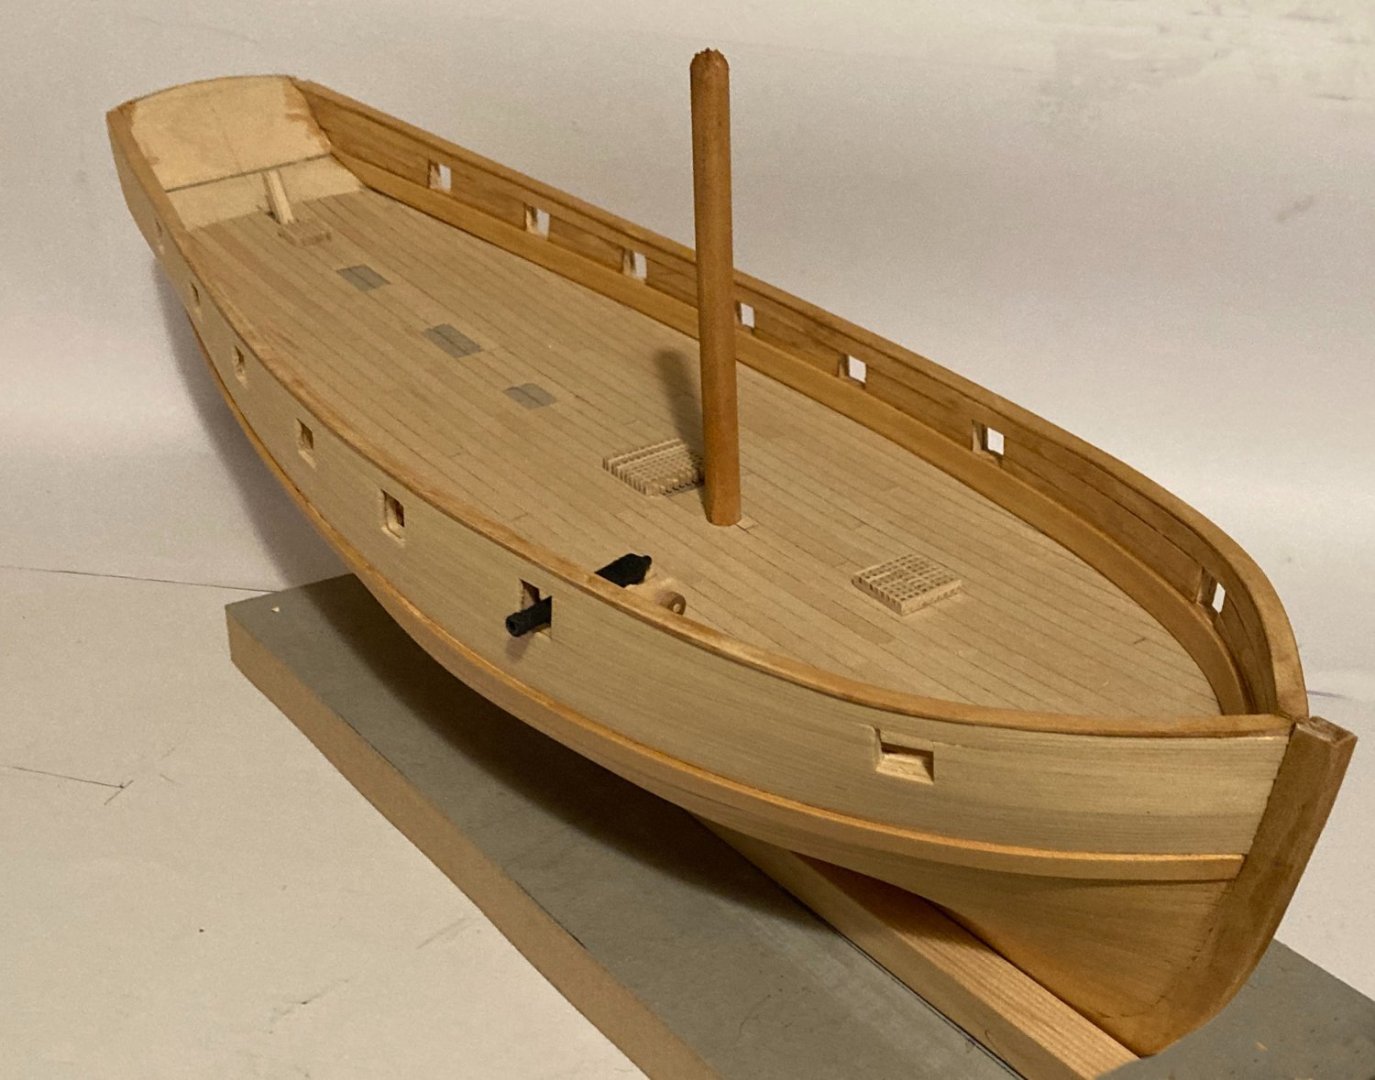
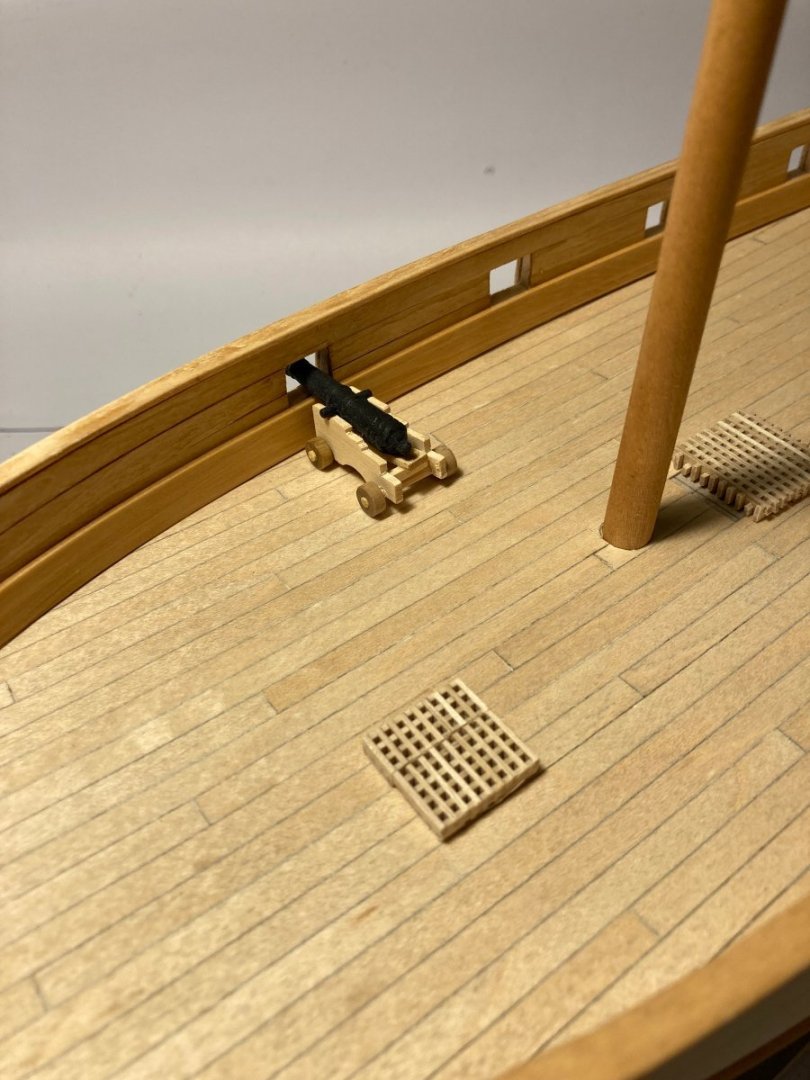
off for a snooze now
Tim
- davyboy, GrandpaPhil, iMustBeCrazy and 2 others
-
5
-
-
-
-
35 minutes ago, druxey said:
There may be a terminology issue
Thanks @druxey I think you are right there does seem to be different usages of the term 'fashion piece', I am still learning so just use what I see used here on MSW.
Chuck Passaro used the term on his speedwell build, in that instance it was a carved piece, I just assumed it would also apply to a simple uncarved piece applied in the same place.
As I said before, there is so much to learn.
Tim
-
-
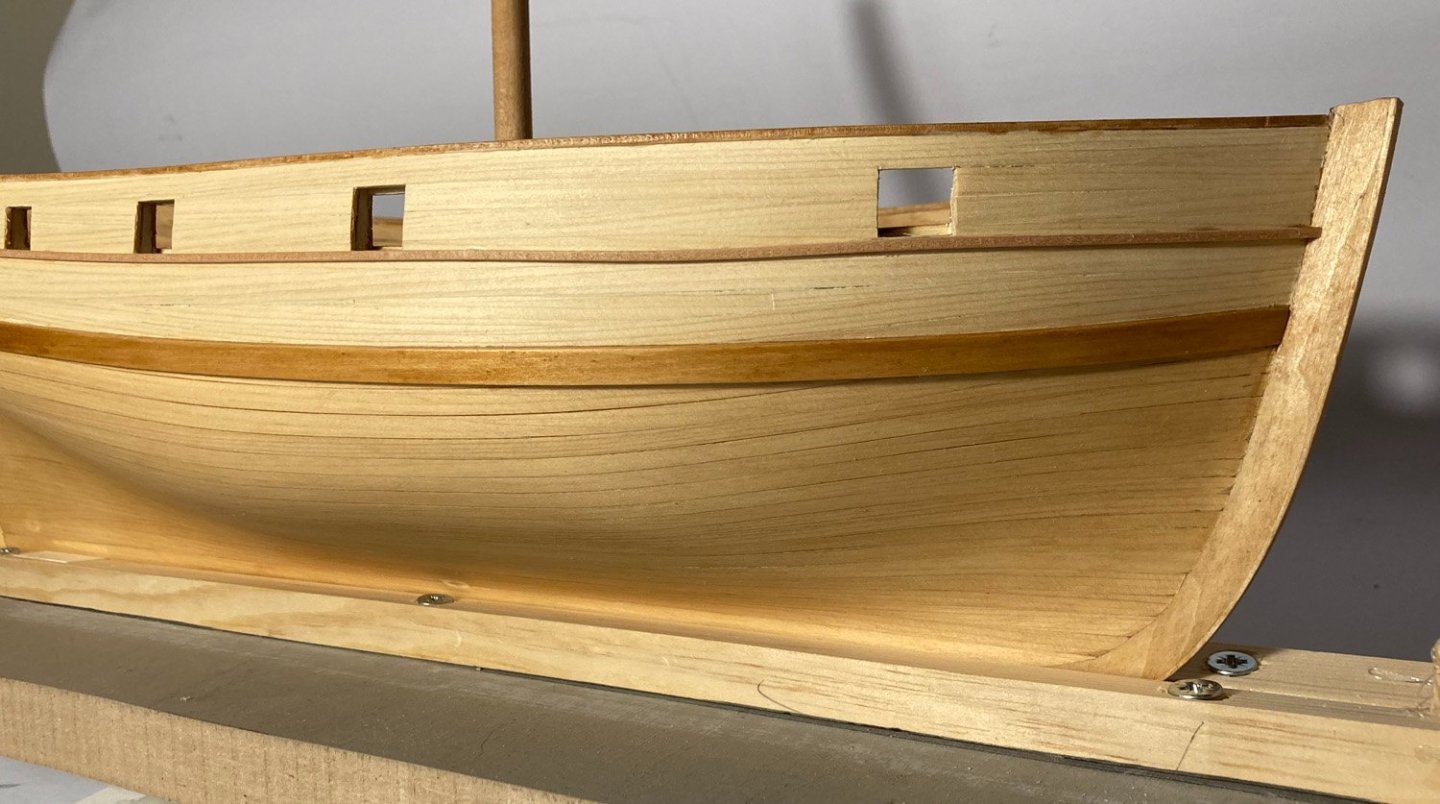
The hull is now dry, so here it is unmasked
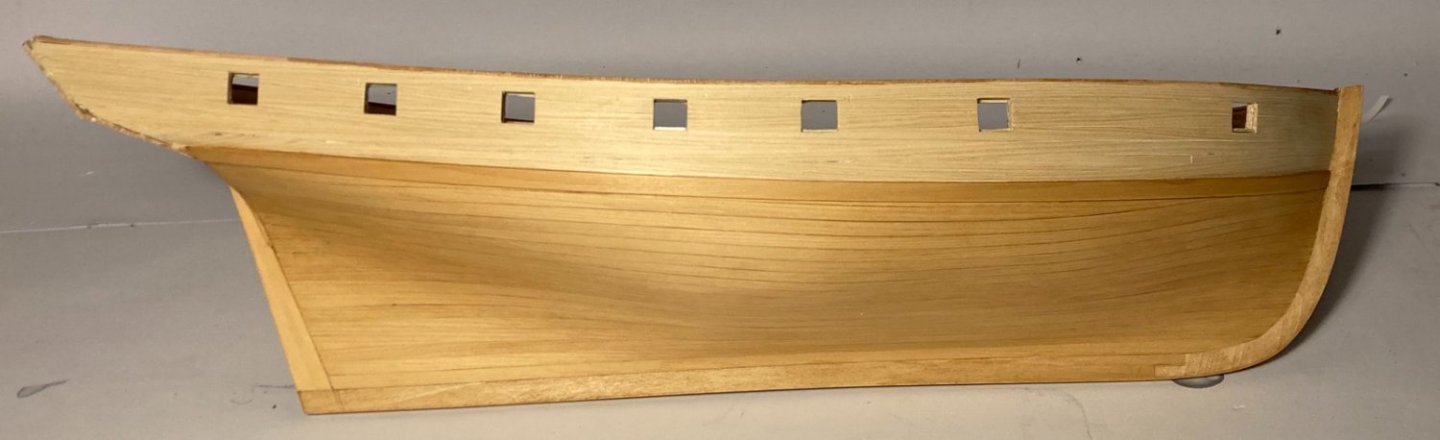
I think that the wale needs to be a lot darker than it is.
The fashion piece ( when fitted ) should be the same tone as the wale
thanks everyone for the likes
Tim
- CiscoH, mtaylor, Thukydides and 1 other
-
4
-
@Mirabell61 I just had a quick look at your Pegasus build, it's fantastic, that is the kind build I aspire too.
I would love to do a cutaway ship like yours, but I feel I still have a lot to learn.
Tim
- Mirabell61 and mtaylor
-
2
-
16 minutes ago, Mirabell61 said:
beautiful build Tim
Thank you so much. It is difficult sometimes to keep up the enthusiasm but a few encouraging words help a lot.
- mtaylor and Mirabell61
-
2
-
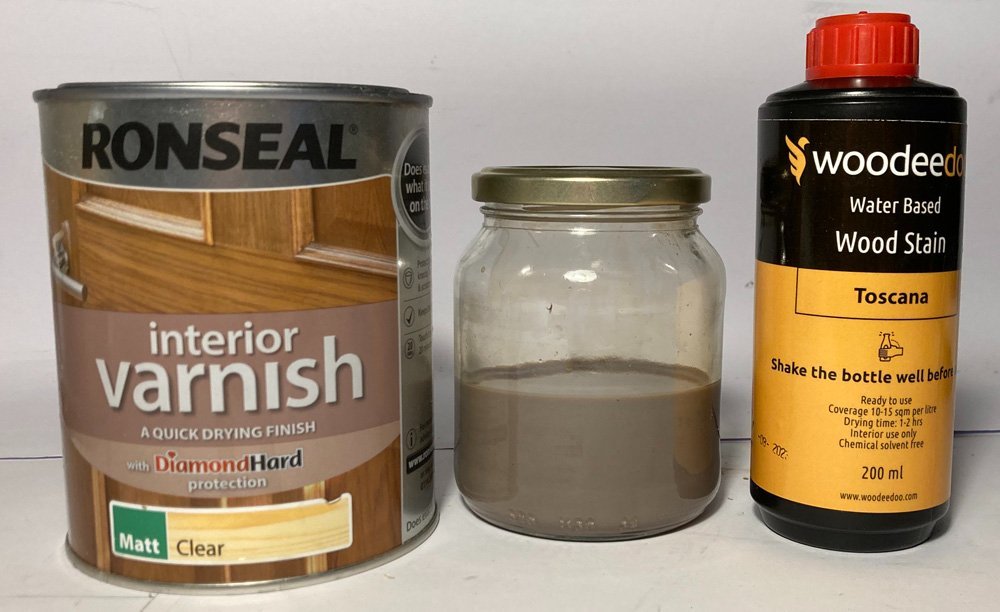
Mixed up some NotWOP 50% varnish, 50% stain, it gave a nice milk like liquid.
tested it some some scraps, seems to work.....................
Masked up the hull, then I bit the bullet, it was a bit of a pucker few minutes.
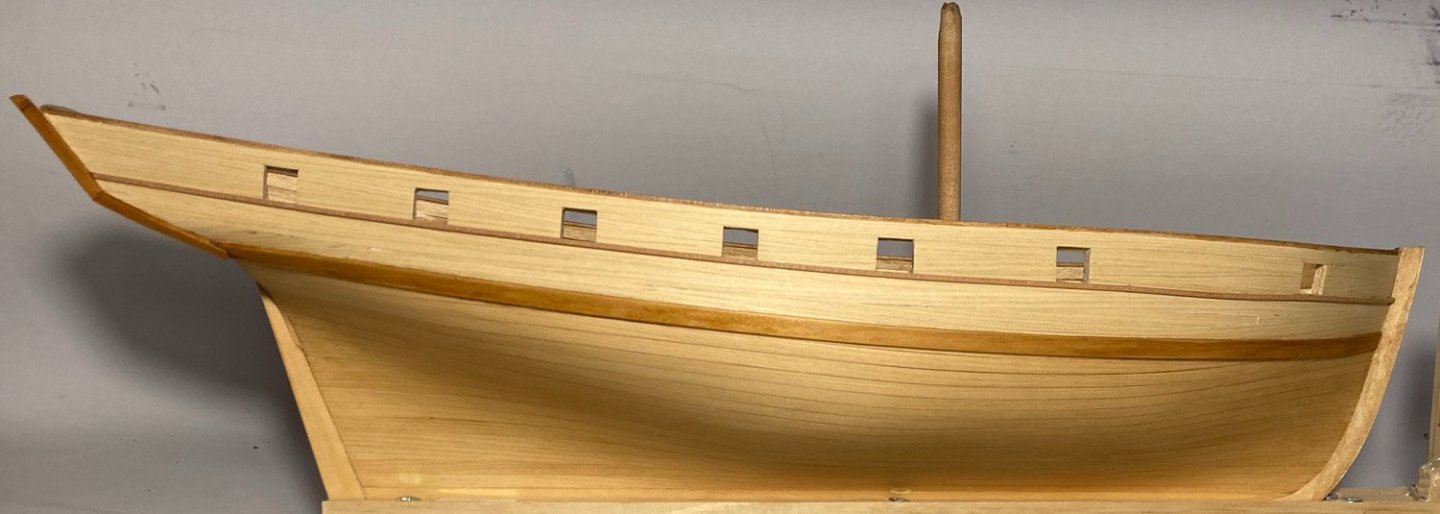
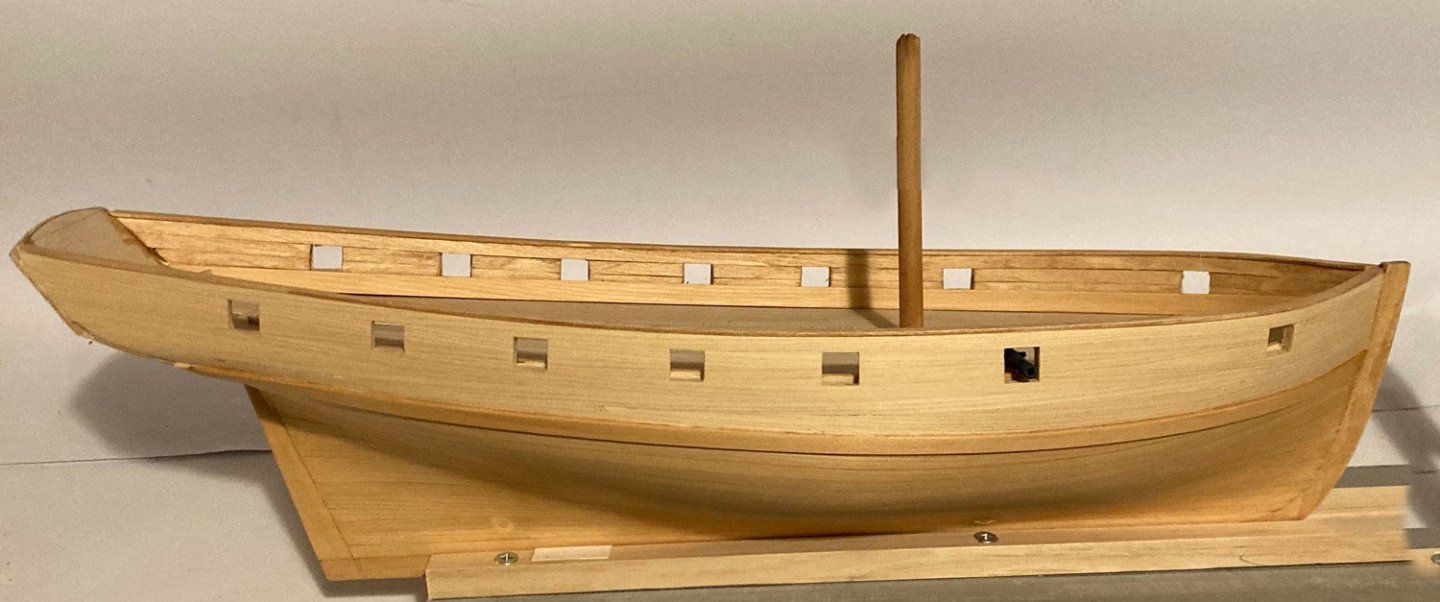
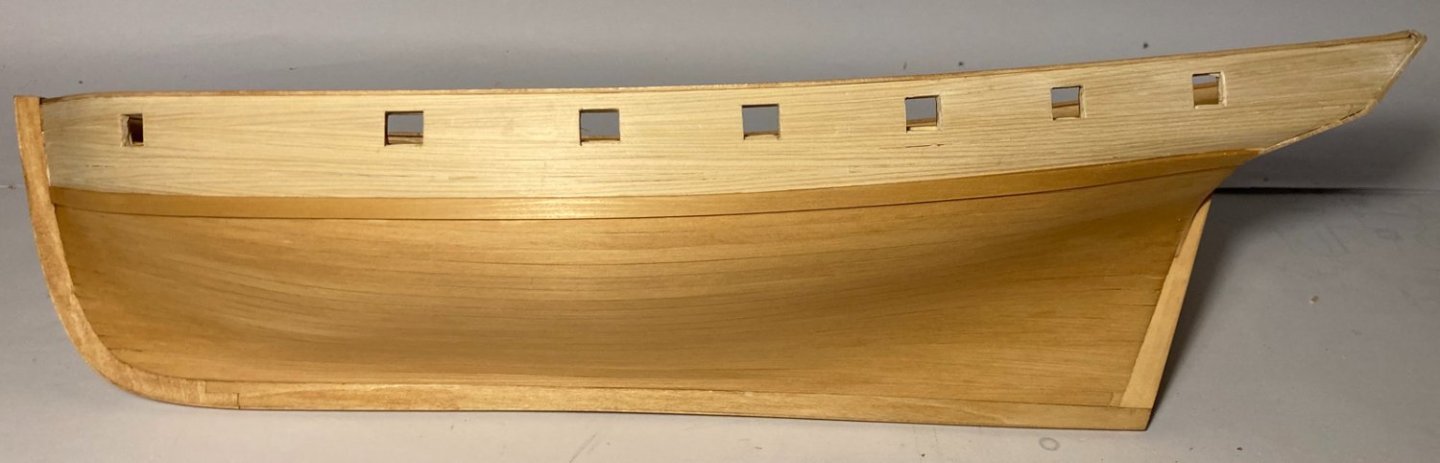
Here is a profile view of it drying, I guess it will change tone as it dries but I am pretty pleased with the result.
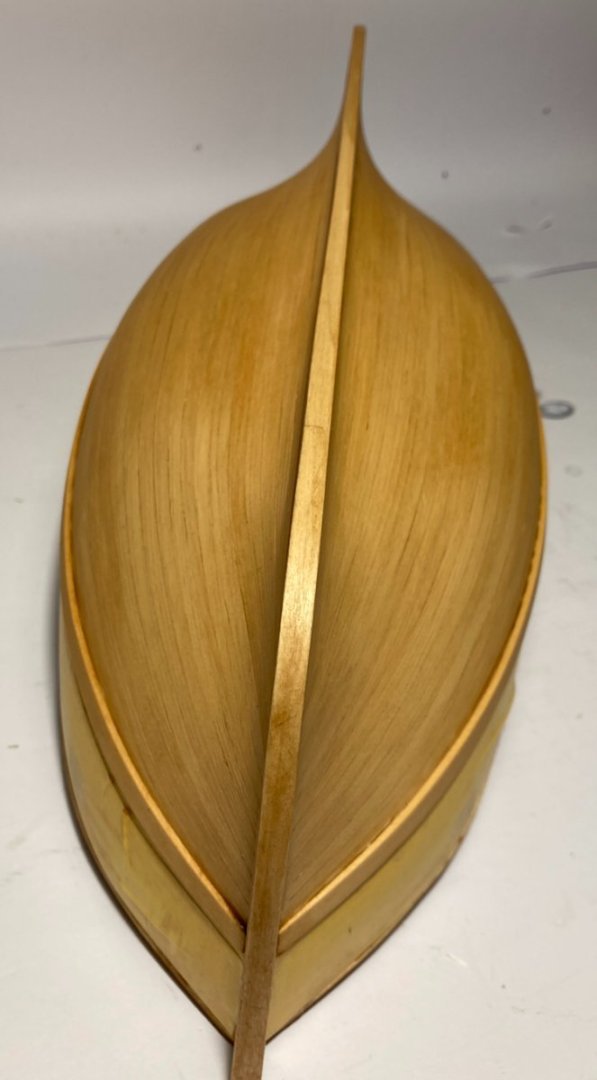
View of the stem end
Now I'm going to sit down and have a cup of tea, or maybe something stronger 🙂
Tim
- druxey, Thukydides, GrandpaPhil and 3 others
-
6
-
4 minutes ago, iMustBeCrazy said:
start lighter. You can darken it with another coat if needed
Thank Craig @iMustBeCrazy That's good advice, I will need to mask the deck as I am happy with that.
Will test on scraps first.
Tim
-
-
9 hours ago, iMustBeCrazy said:
the sides of the ports are perpendicular to the keel and the top and bottom are parallel to the deck.
Hi Craig @iMustBeCrazy
Not sure which you mean here?
I have got it wrong or they are correct?
I did make them as per the drawings ( yes I know they are in the wrong place 😞 ) and they are trapezoid in shape.
It could be the angle of the photo. You can see it better in the photo in post #123
On a different topic
Seeing it coming together I do think that the all pale wood is a bit too bland and needs some variation, so I need to do staining. as was discussed earlier.
Tim
-
Managed to get some good work done over the last two days.
working from Bills booklet
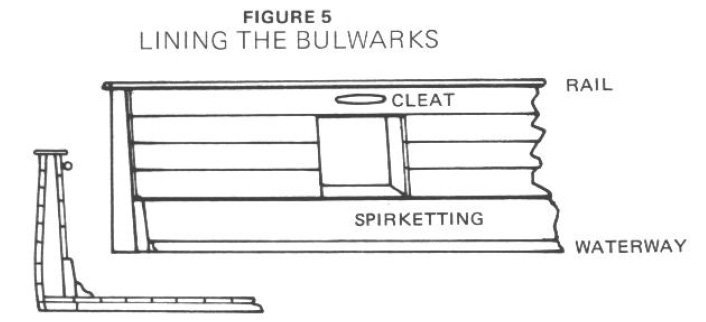
Bulwarks lined, spirketting in place on both sides
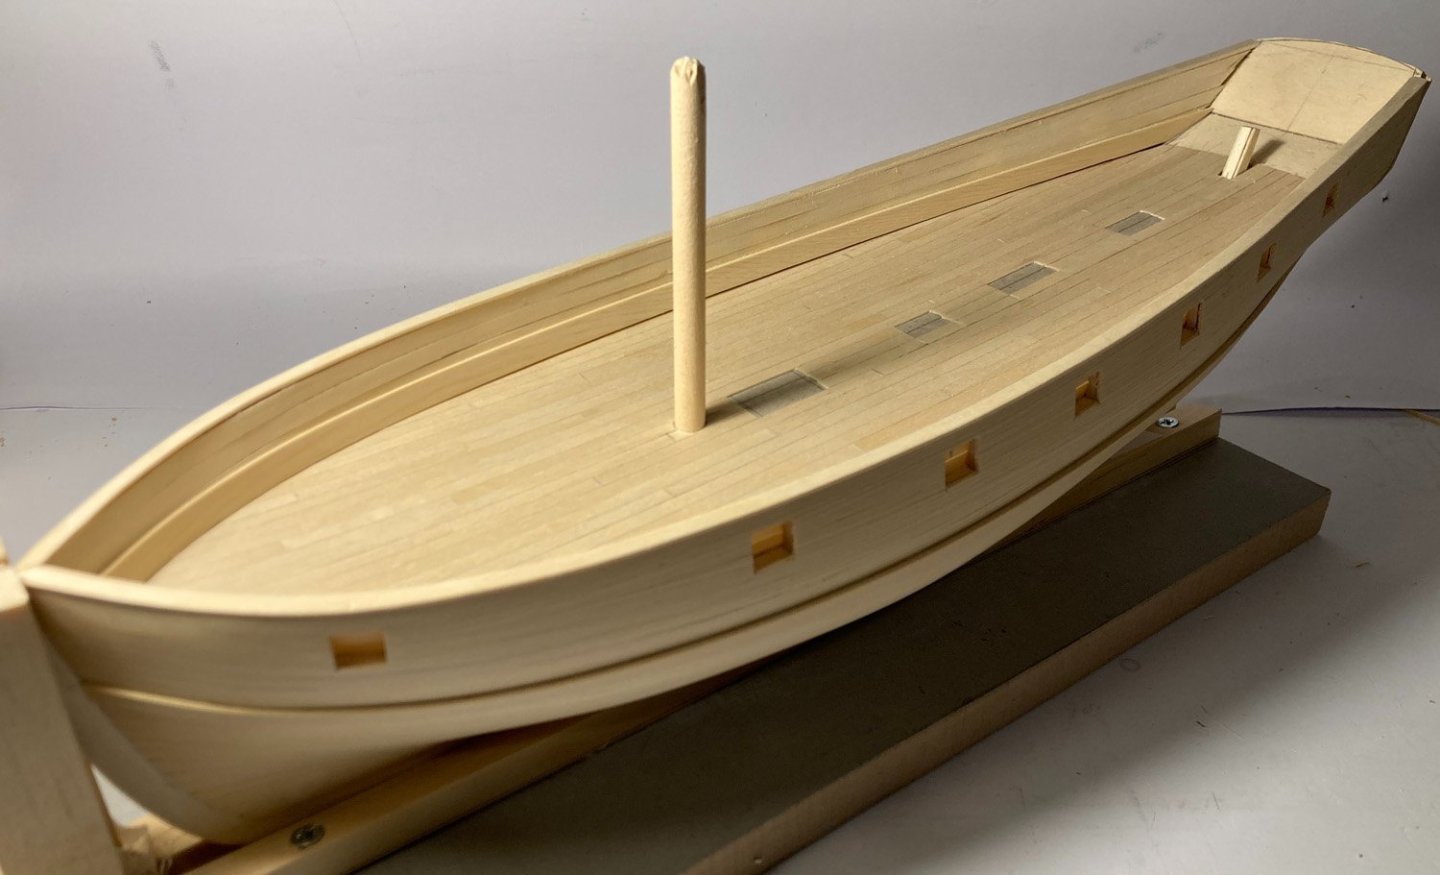
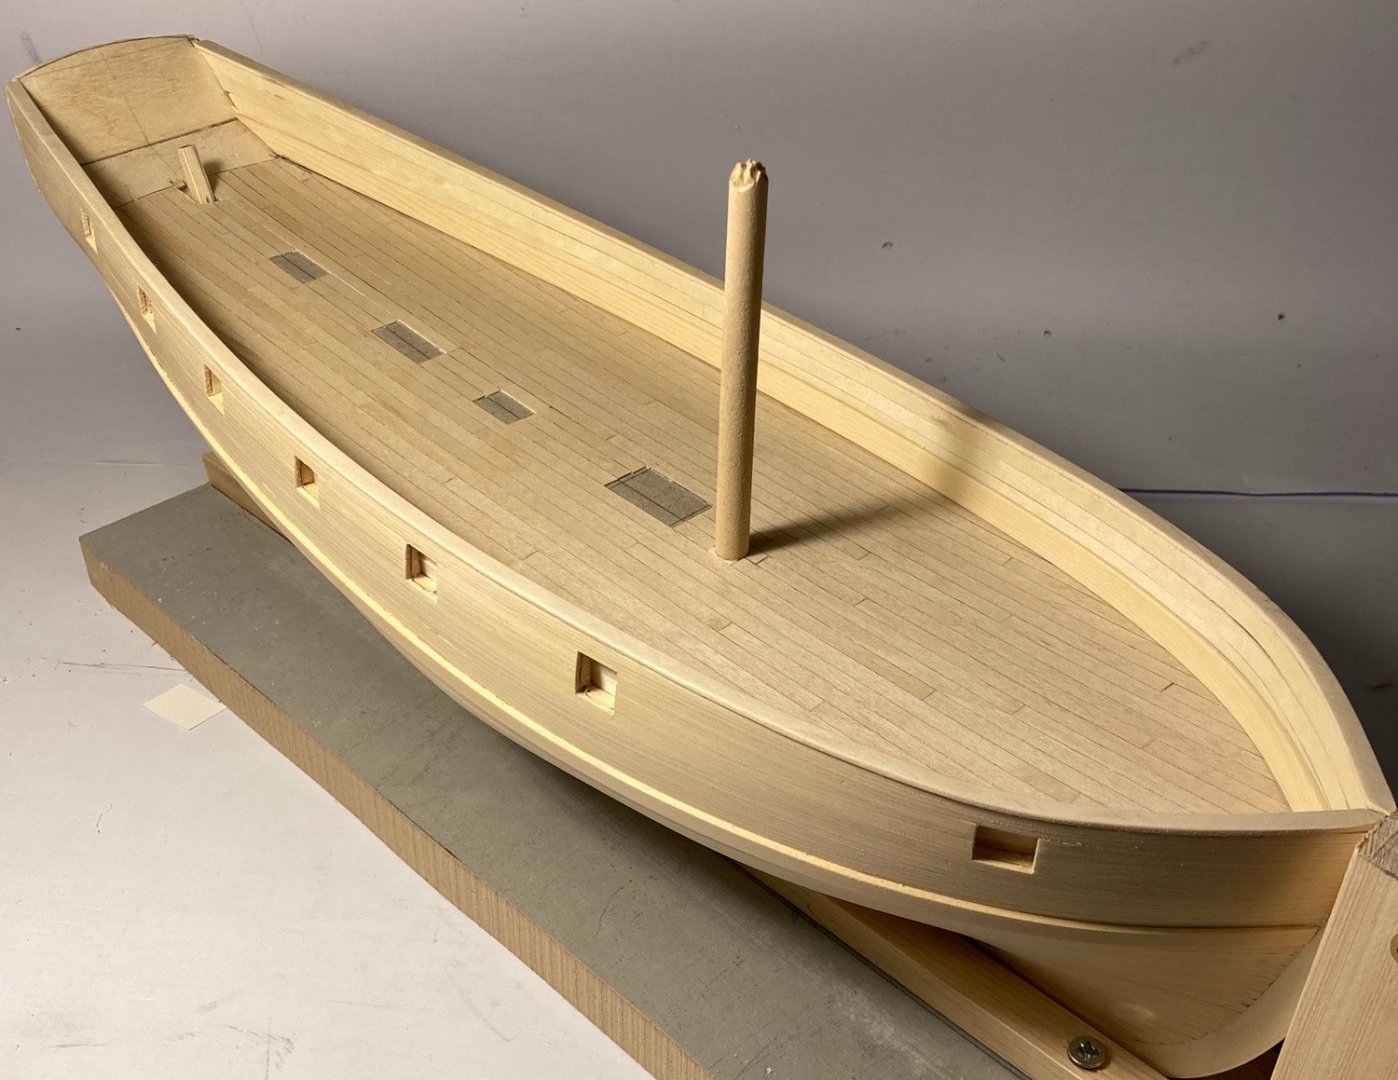
now I need to cut away the gun ports, line them and add the waterway fillet
Tim
- mtaylor, Mirabell61, ccoyle and 2 others
-
5


HM Cutter Speedy 1828 by oakheart - from plans drawn by Bill Shoulders in 1972
in - Build logs for subjects built 1801 - 1850
Posted
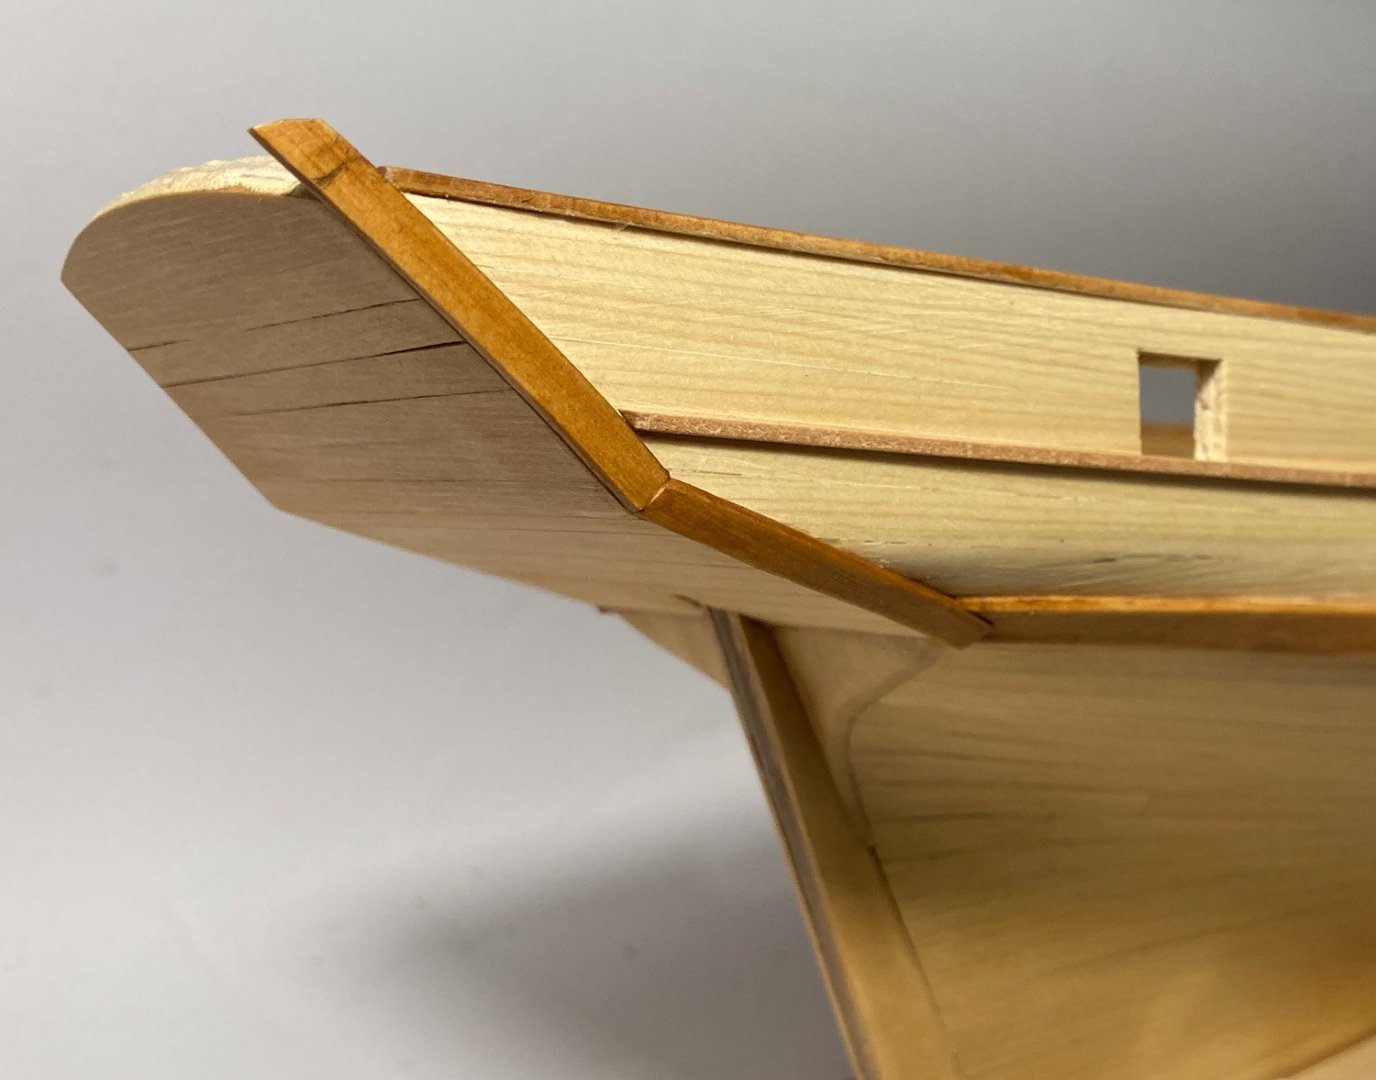
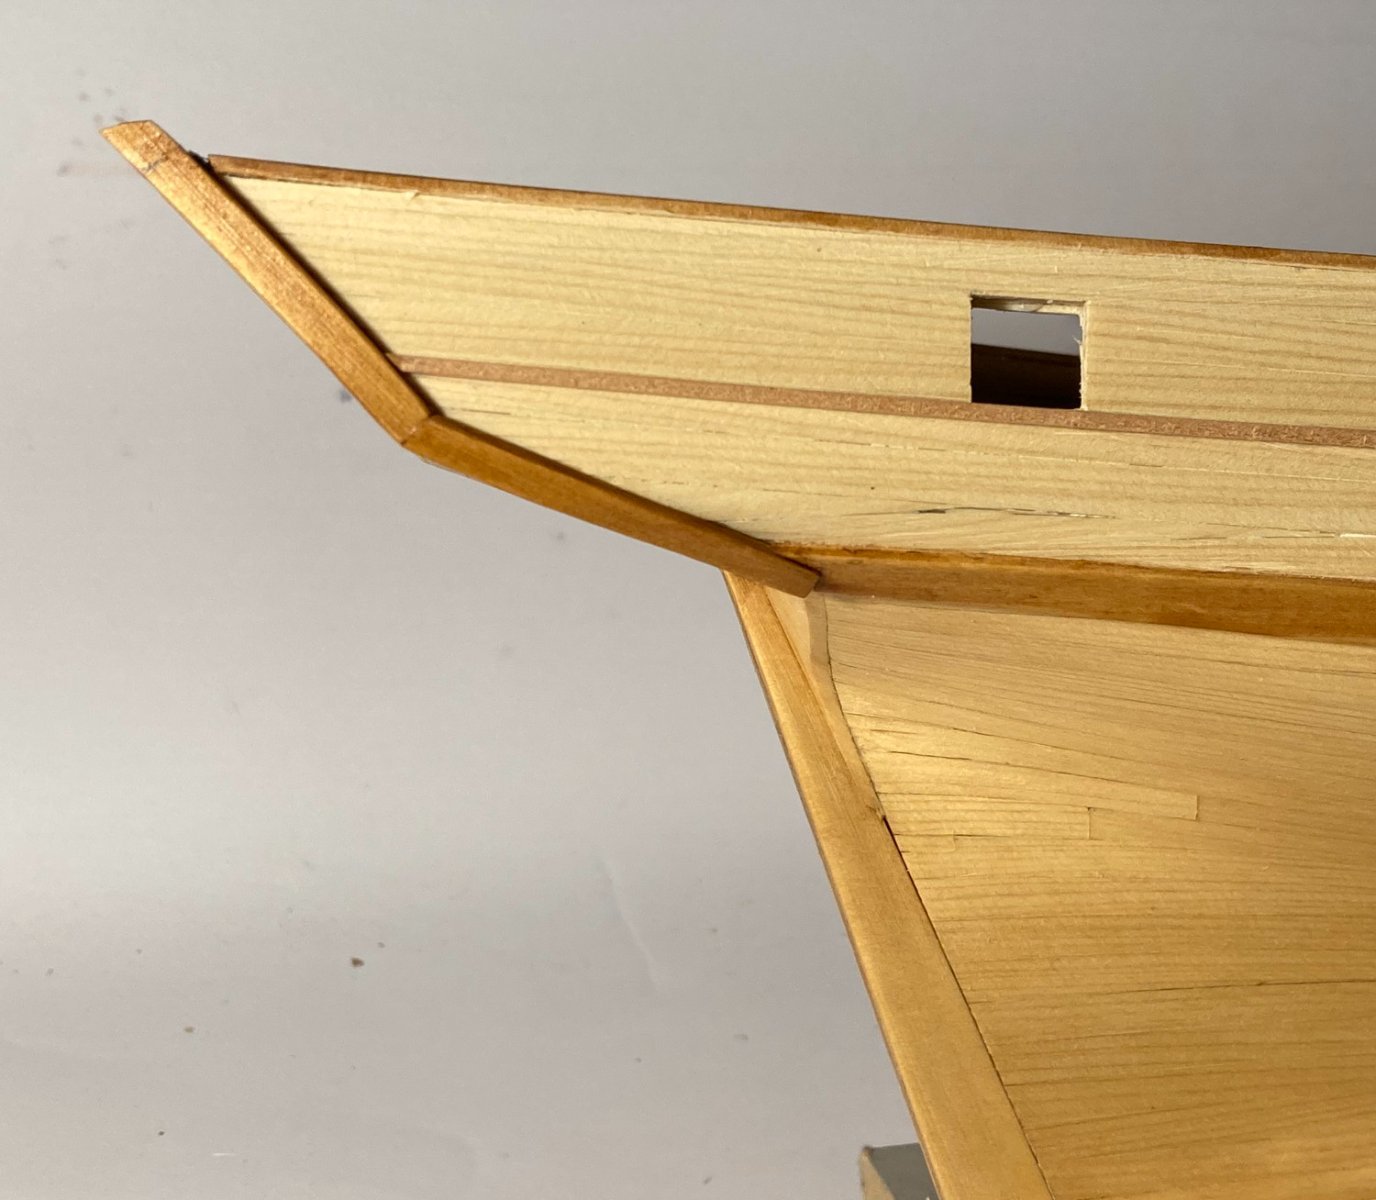
Waterways fixed in place,
cleaned up and added some detail to the stern I need a couple of bits of moulding to cover the ragged edges.
next job could be lining then gun ports.
As I no longer appear to be following Bills original here I am not going to add port lids, KISS
I think it will look better without them.
Question, can anyone tell me if there would have been scuppers on a cutter like this?
Tim