


oakheart
-
Posts
515 -
Joined
-
Last visited
Content Type
Profiles
Forums
Gallery
Events
Posts posted by oakheart
-
-
On 2/2/2024 at 7:55 PM, chris watton said:
Cutter (full kit – various scales) – VANGUARD MODELS
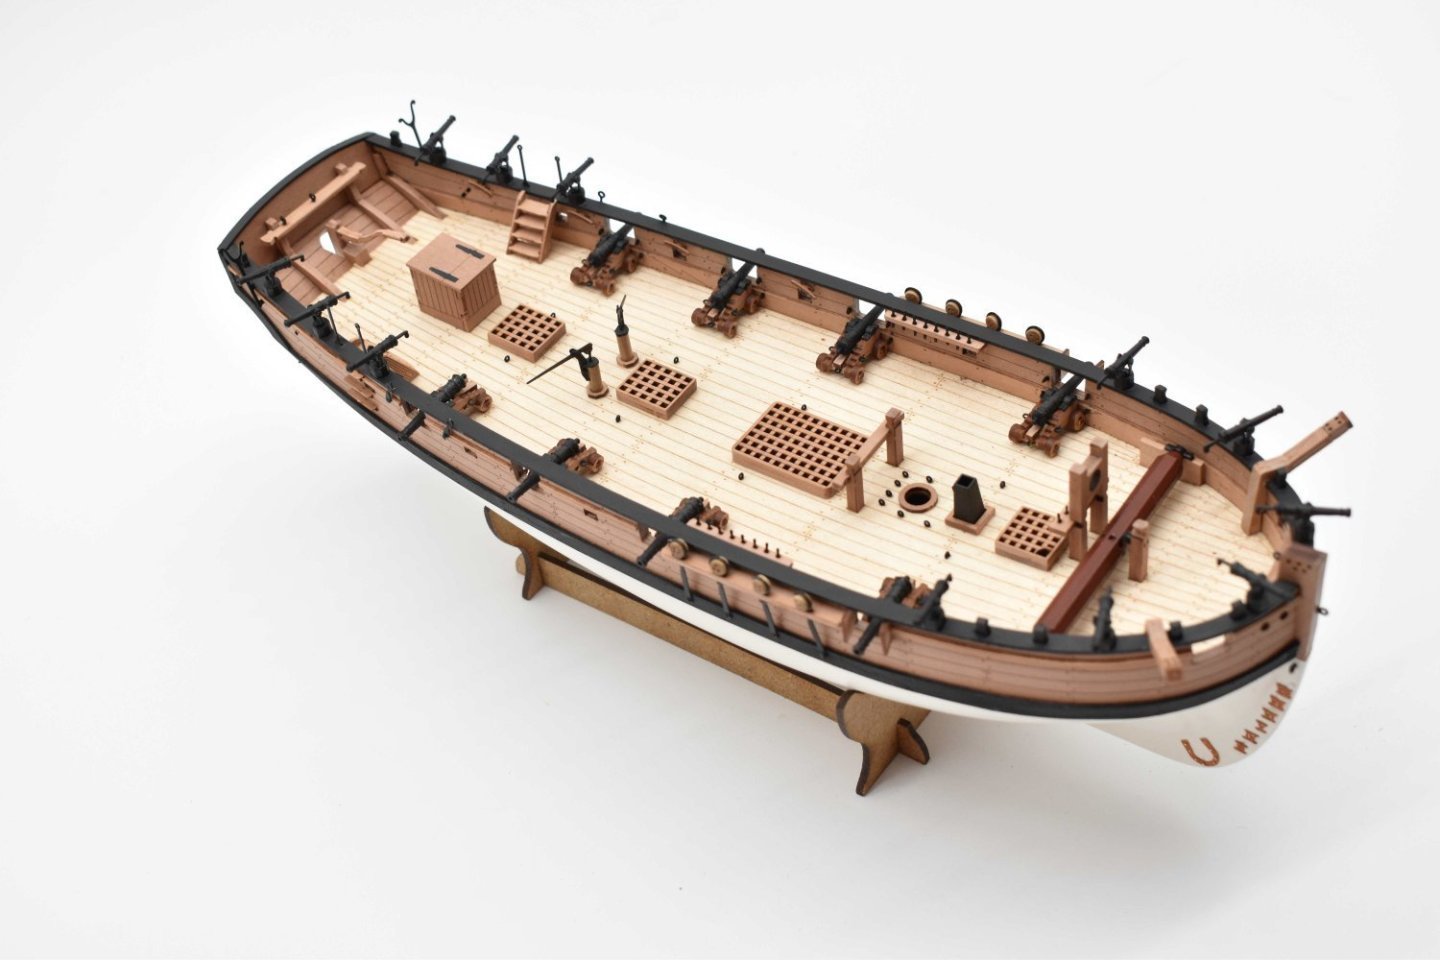
My 1:48 scale has just dropped through the letter box.
Quality is fantastic. Thanks Chris @chris watton
Now it's out with the paints.
Tim
- GrandpaPhil, JeffT, AJohnson and 4 others
-
 7
7
-
5 hours ago, Roger Pellett said:
when trying to drill without first center punching.
Hi roger @Roger Pellett I have taken to using a tiny centre drill, then using stub drills for small sized holes.
Unfortunately, they are not as available in the sub 1mm sizes, a pre drilled guide block can help here, even when made from a relatively soft material like a close grain wood or perspex.Tim
Edit : I just found these:-
0.5mm centre drill £11
0.5mm stub drill $18
are these cost effective in our hobby environment?
- Canute, mtaylor and Roger Pellett
-
3
-
3 hours ago, chris watton said:
will be live soon
I just put one in my basket along with Hornblower
Thanks Chris
-
-
3 hours ago, Wintergreen said:
people here utilize jigs for almost everything
Hi Håkan @Wintergreen thanks for the praise.
I can see how jigs are useful, the problem is making them accurately.
Thinking about it, I do have a 3D printer, I shall do some research to see if there is anything already done.If there is nothing suitable, I could try and design something in Fusion 360 then print it.
A lot of people talk of using LEGO bricks, I shall have to raid my granddaughters collection.
Tim
- Wintergreen, CiscoH and mtaylor
-
3
-
3 hours ago, chris watton said:
I shall do over the weekend
Oh the joys of being freelance - your own boss 🙂
Tim
- thibaultron, Canute, GrandpaPhil and 2 others
-
5
-
58 minutes ago, chris watton said:
For now, there will be three scales for this
Hi Chris, just went to your website, looking for 1:48 version of your new 3D printed cutter but I could not find it?
I need it for my build of cutter Speedy
Tim
- hollowneck, Canute, thibaultron and 2 others
-
5
-
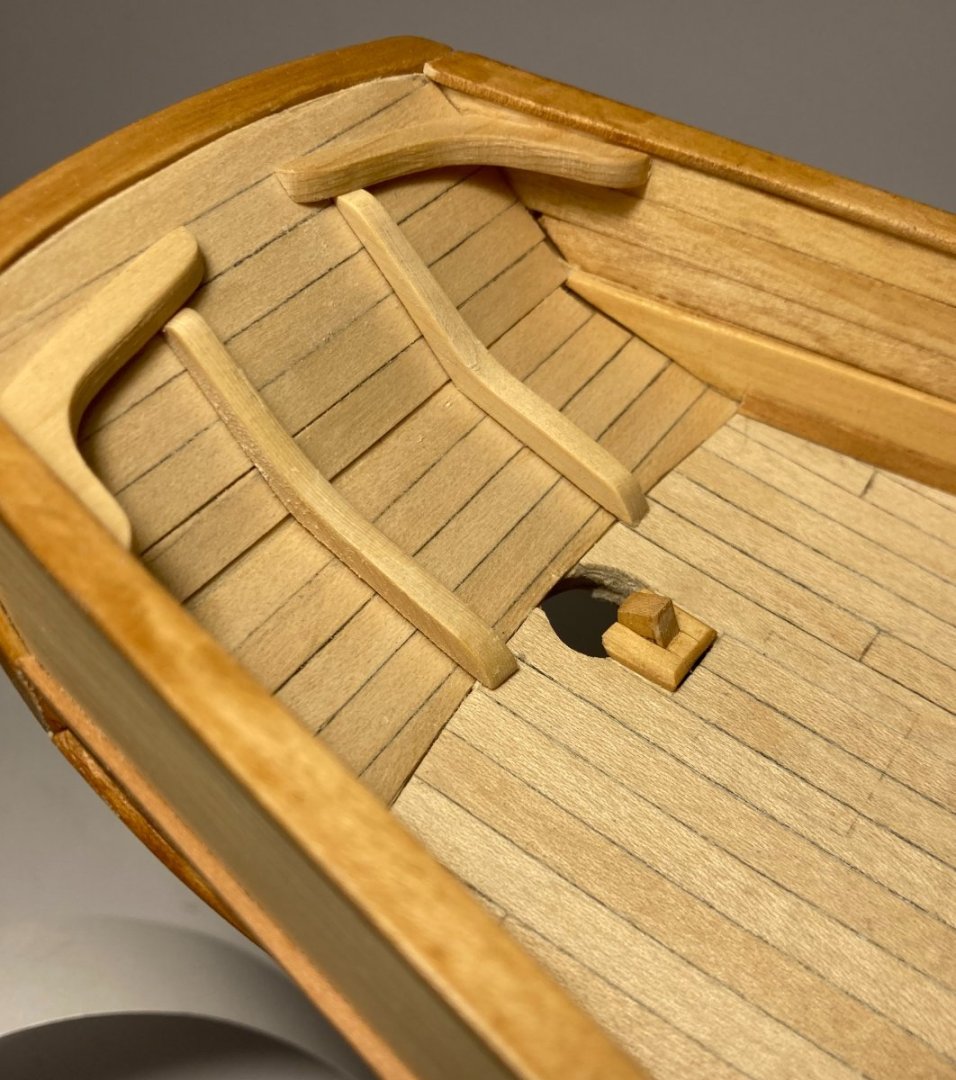
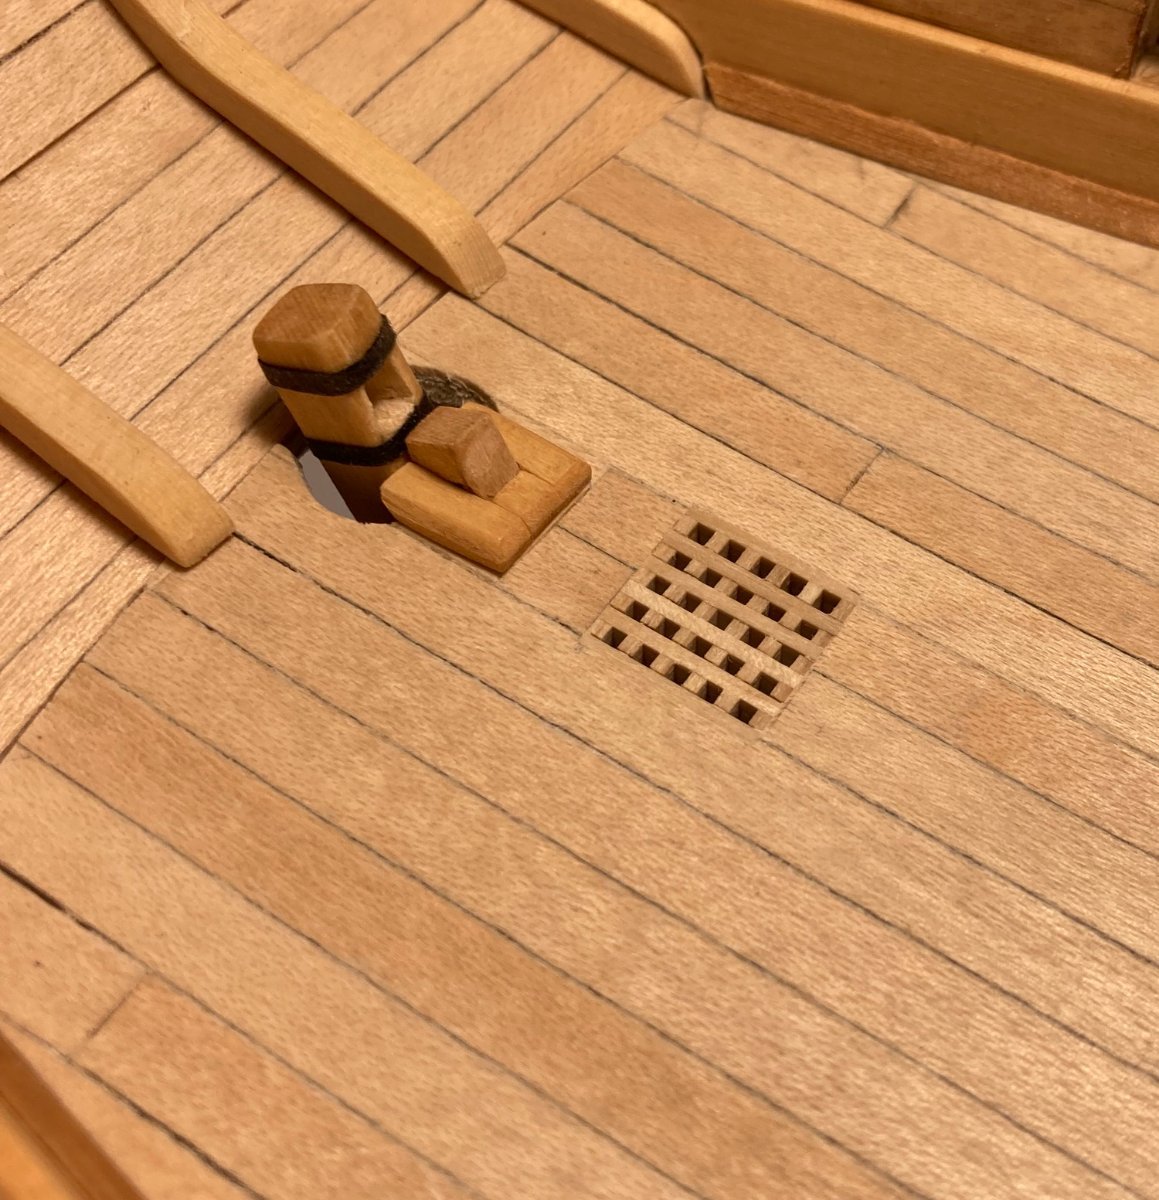
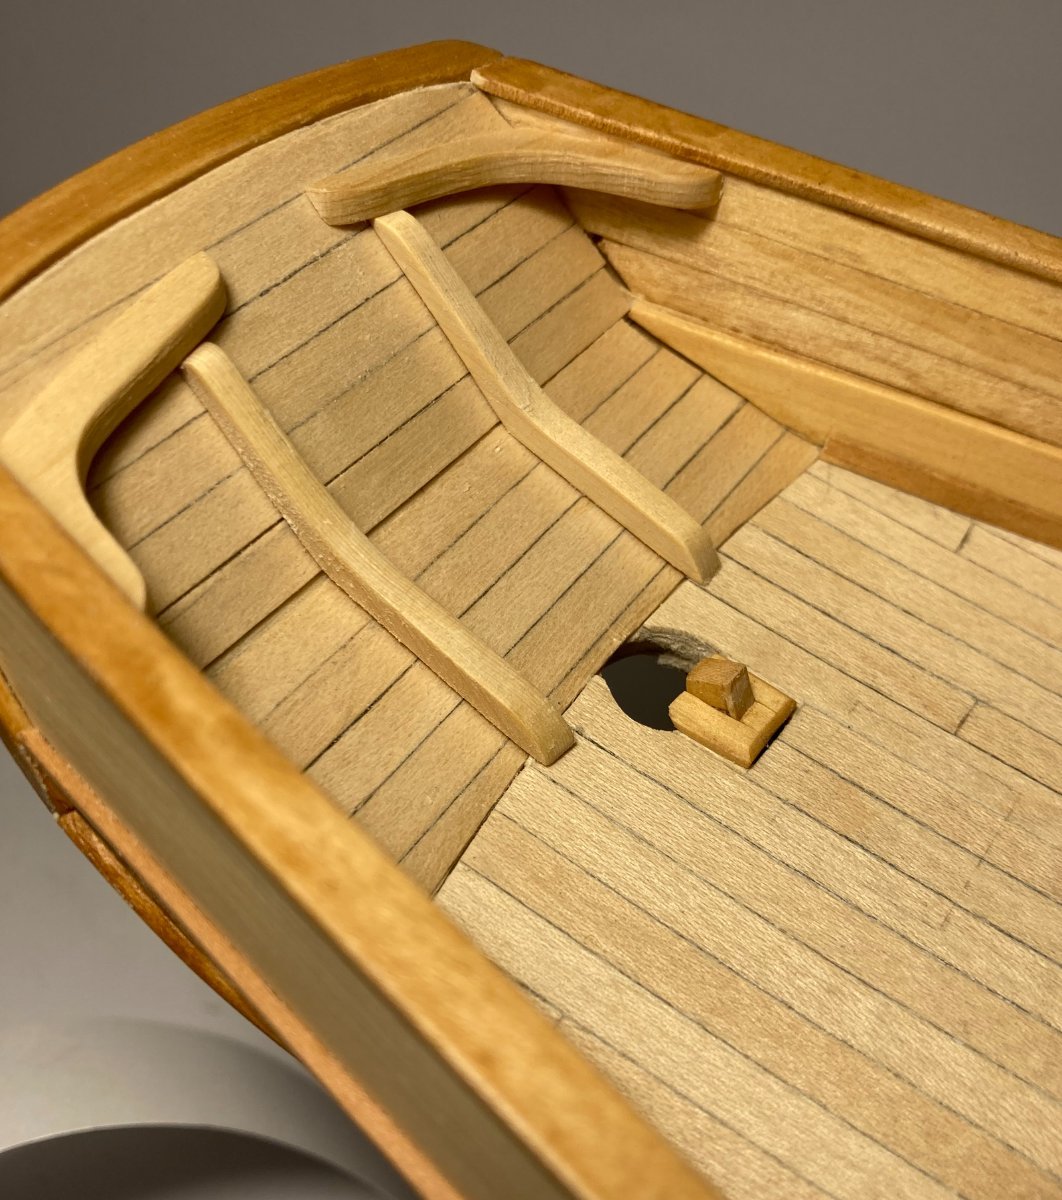
So enough of being cheerful, back to speedy.....
Here is the scuttle with a raised grating. I know it should have a half lap joint at the corners, but I found it difficult enough to get this made.
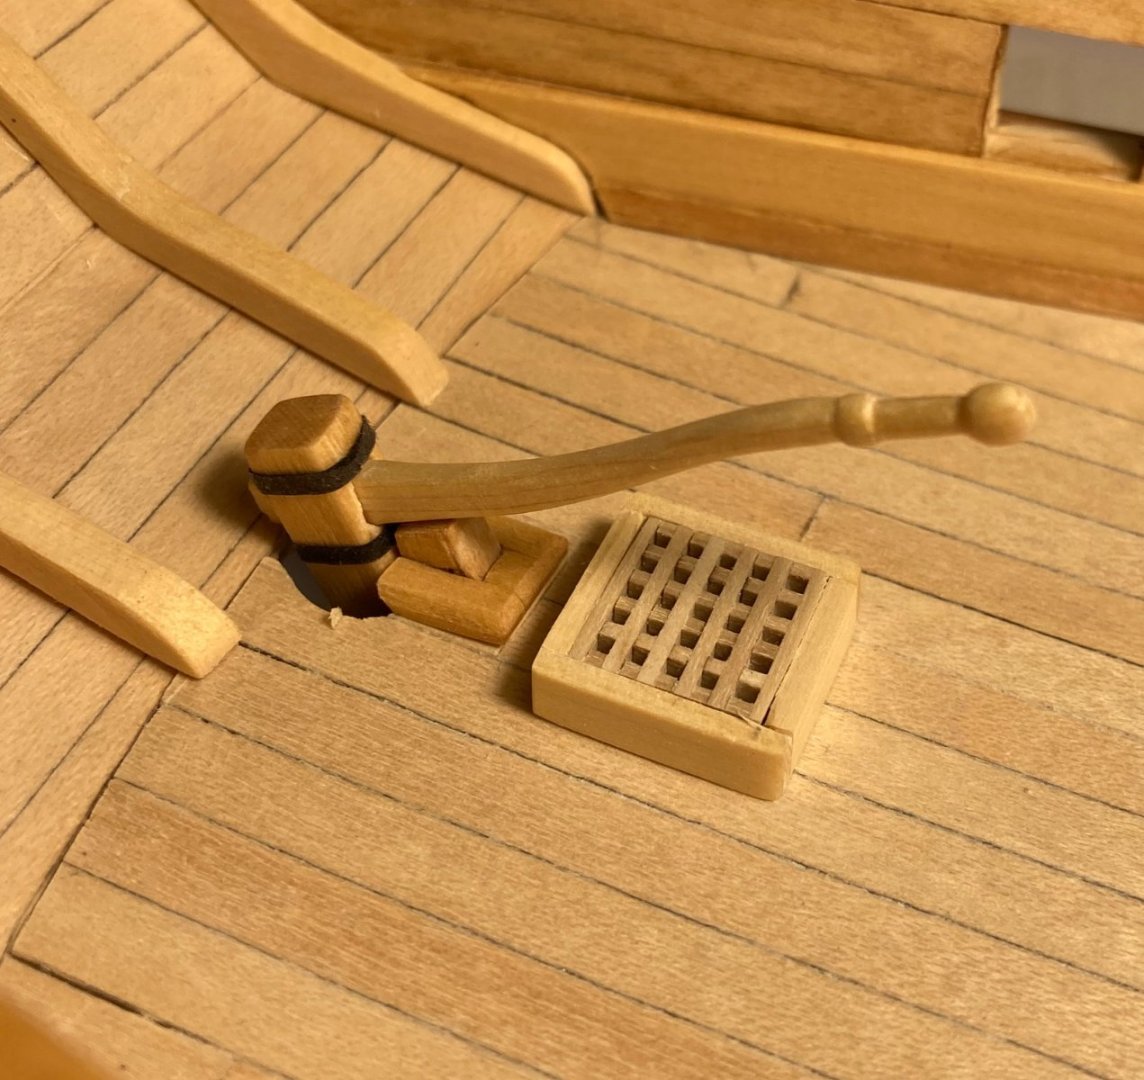
How do you all work this small? I know 1:48 is not that small, but getting things square is a problem for me.
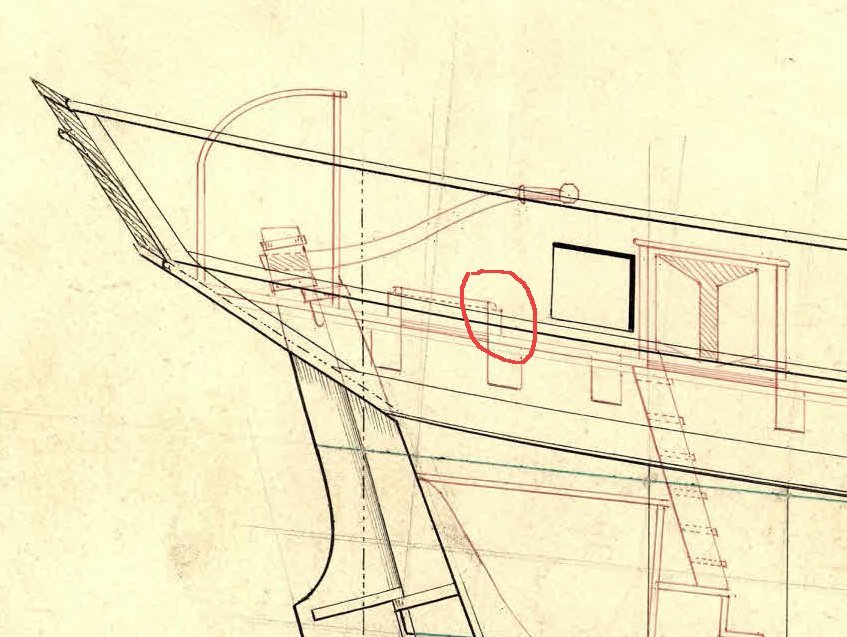
The hires Danish archive drawing shows some sort of moulding or profile round the top, not sure how to deal with this?
Tim
- Thukydides, CiscoH, Gregory and 1 other
-
4
-
7 hours ago, iMustBeCrazy said:
your grating does look nice.
Thank you Craig. I agree it does seem totally impractical in use, but if I make the 'rudder coat' as @druxey suggested , my bread won't get too soggy.
I do love this exploration, it's really incredible that we have realtime access to all of these records so we find find stuff out.
Tim
-
-
-
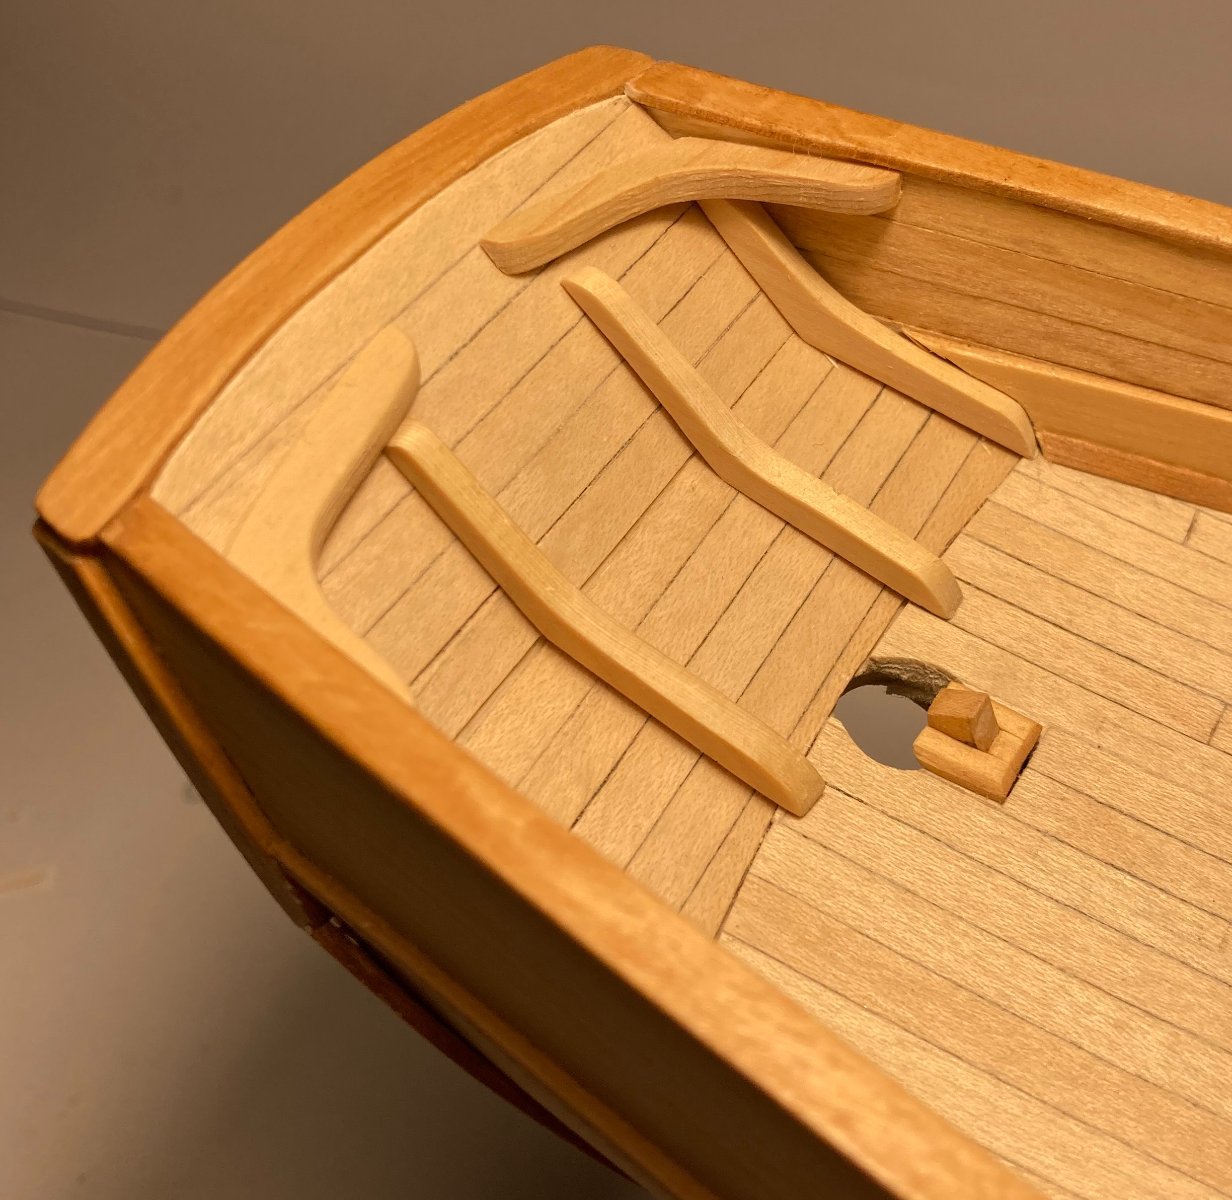
Today I did the stern grating, I used Chuck's @Chuck Cheerful version which is flush with the deck rather than Bills original version.
I think it looks a lot neater.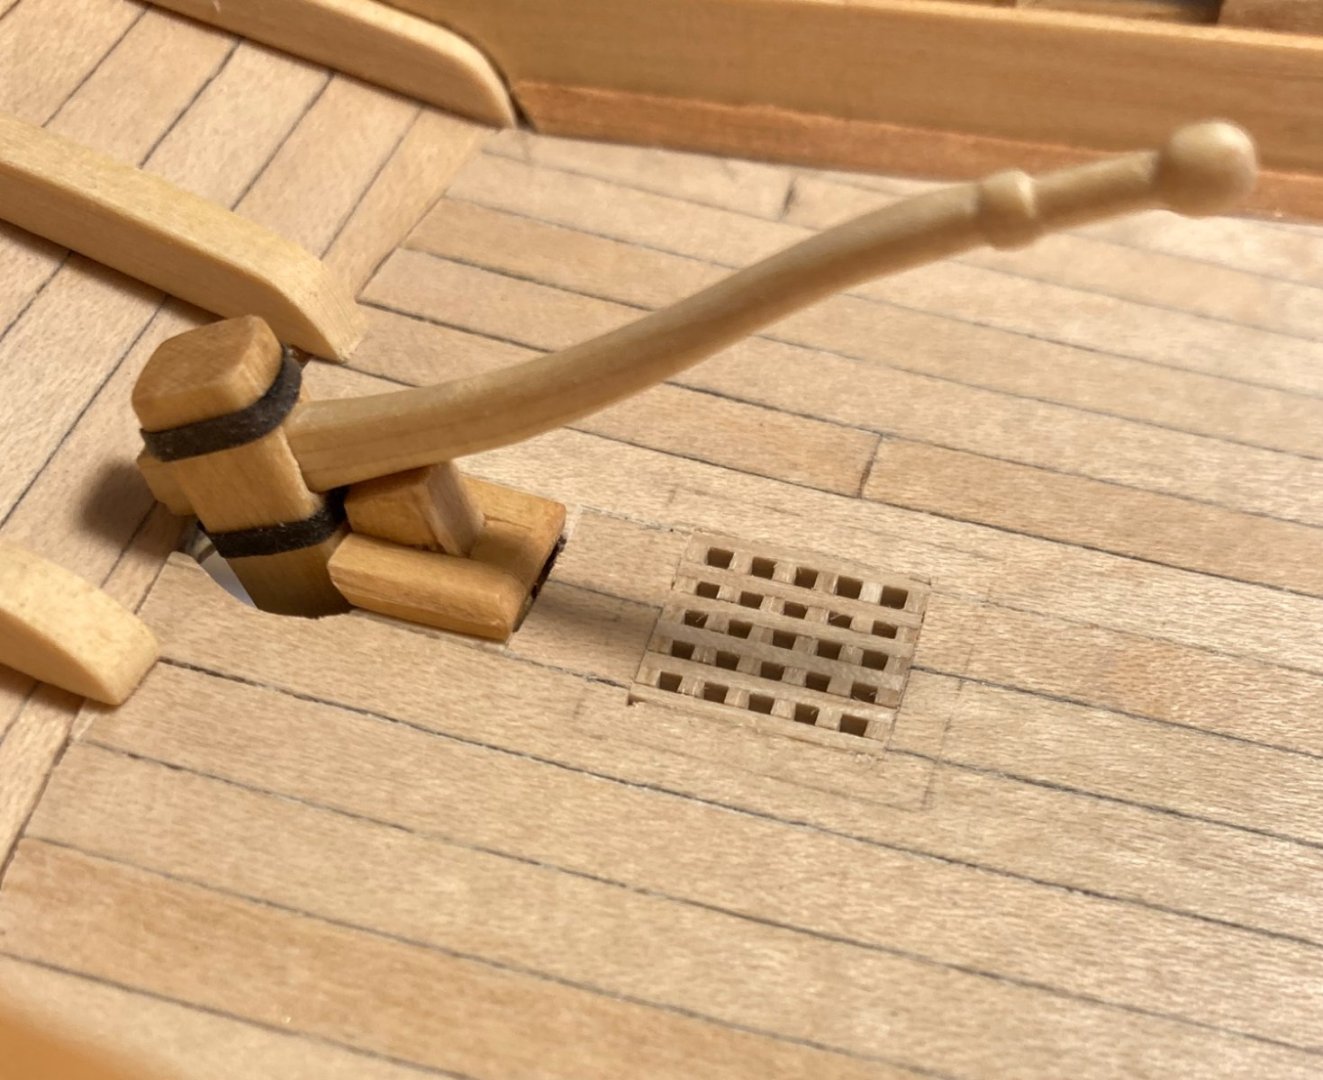
I am annoyed with myself, I had pencilled in bills original size for the grating, then gave the deck a coat of nonWOP.
Of course the pencil now shows, I will have to try and sand it out and re coat
I learn something new every day.
Tim
-
On 1/31/2024 at 2:41 AM, CDW said:
War Pig
Have you heard 'Samantha Fish' playing her version?
Tim
- Canute, Egilman and Old Collingwood
-
2
-
 1
1
-
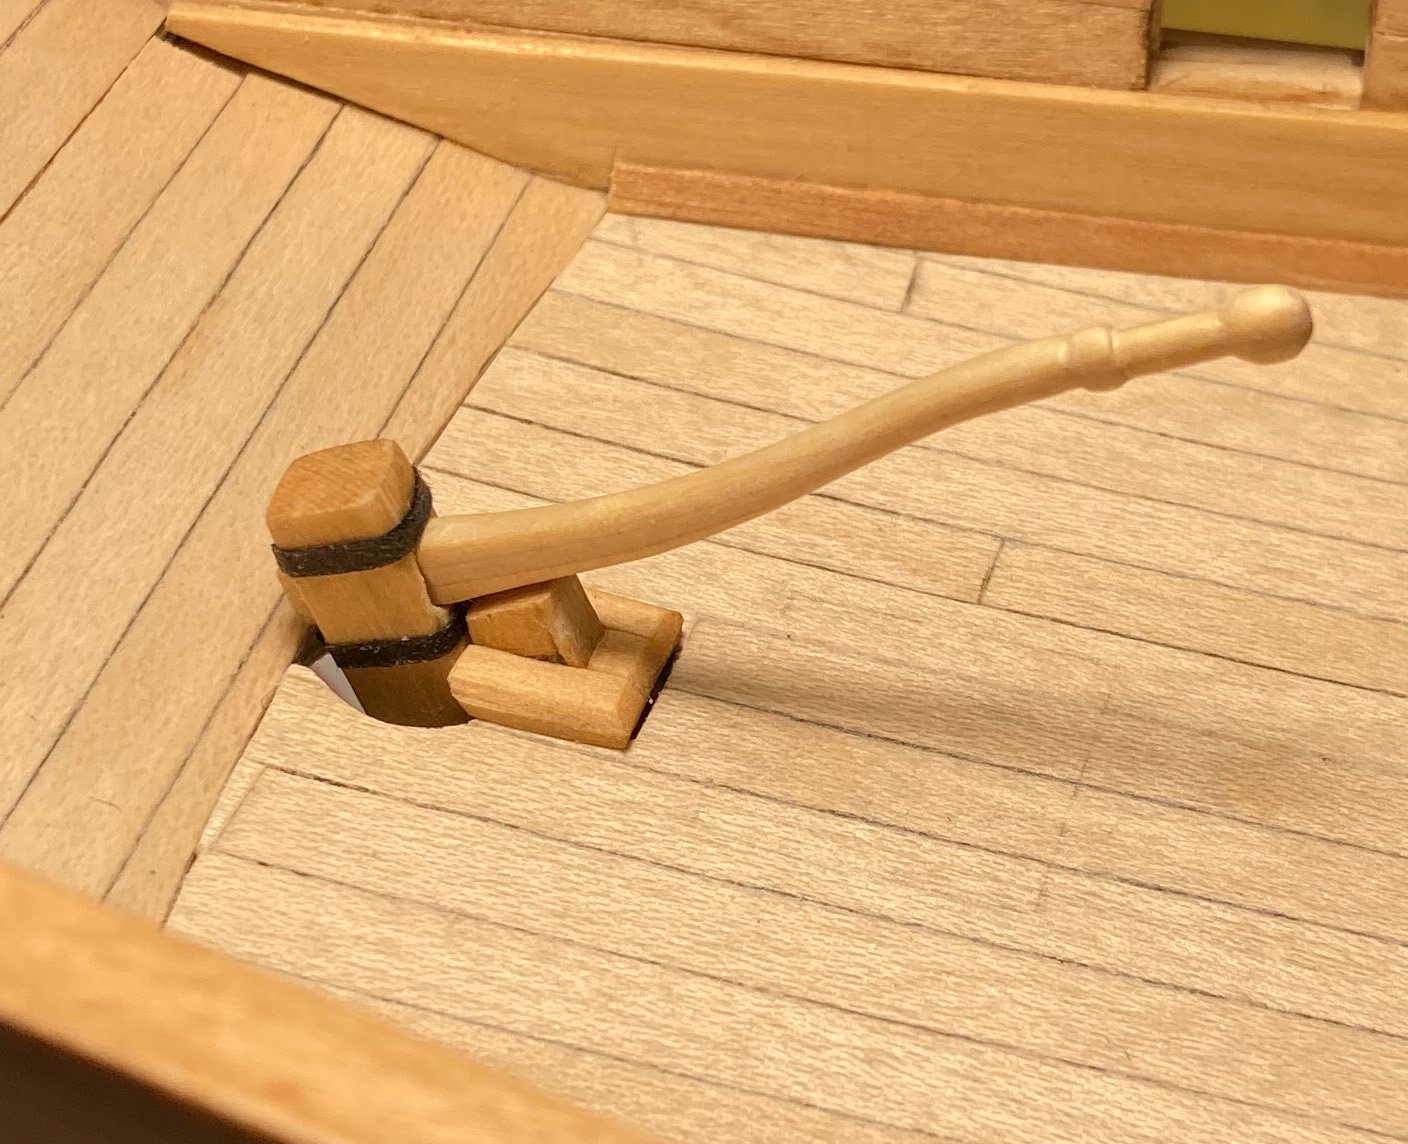
18 minutes ago, iMustBeCrazy said:
There would likely be six
Thanks Craig @iMustBeCrazy that is a really good illustration, I have made and fitted just 4, it adds detail without getting too cluttered.
Tim
-
-
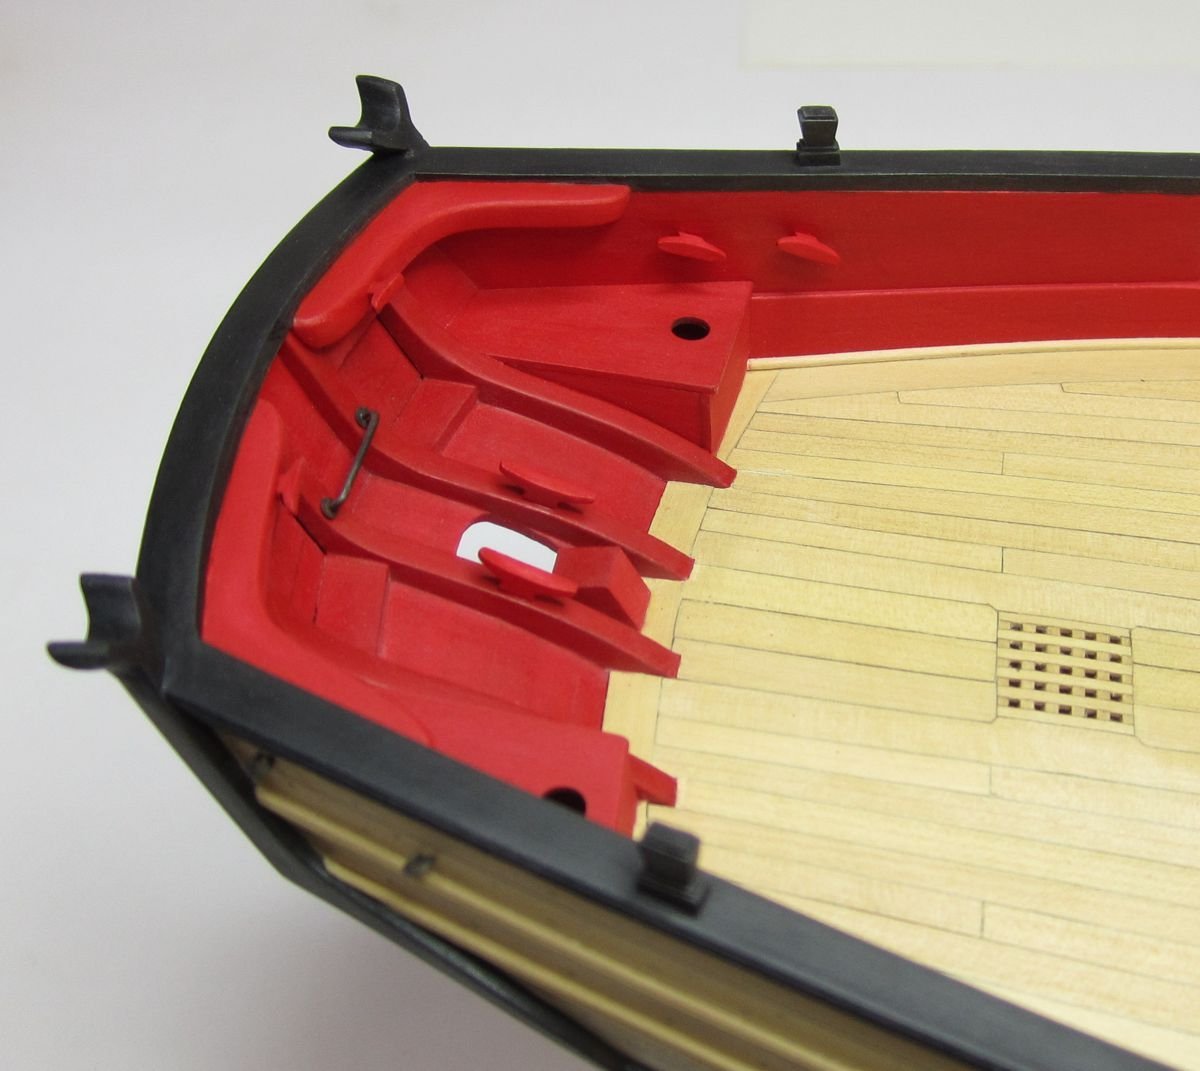
I have added a corner timber and I think it really helps to tidy up the stern area.

I need to line them all up and glue in place.
- davyboy, mtaylor and Thukydides
-
3
-
-
21 minutes ago, iMustBeCrazy said:
"it's not Speedy", are you joining the other team?
Now I am confused. I do not get the reference?
What I think is that Bill who designed this model in 1972 simplified it to make it easier to build.
I am learning to build a model ship from wood and having fun doing it, so adding detail that he left out is part of that.
here are two counter timbers made but not fixed yet, should I add two more in the corners, it would also hide that ugly gap.
Tim
- mtaylor, GrandpaPhil, davyboy and 1 other
-
4
-
-
-
and just to confirm my decision, Vanguard @chris watton is bringing out a new kit for the cutter Sherbourne
looking at that, I realise that there is some woodwork missing from the transom on this model, I think I will add that.
What are they called, on the transom, those angled timbers.
after that - I really am going to line the gun ports
Tim
- ccoyle, chris watton, GrandpaPhil and 1 other
-
4
-
34 minutes ago, iMustBeCrazy said:
It's quite an elaborate structure
Thanks Craig @iMustBeCrazy I have done some more research and think I will leave it as it is.
Why
examples of Cutters from that period
@Chuck Cheerful looks like this, it's a simple hole
Pilgrim BM45 although built in 1895 she is a similar size and style of ship and still sailing.

other contemporary cutter models at RMG do indeed show the stern decked or boxed in, it looks like anything you wanted you could have.
It does beg the question, with these very simple designs, how did they stop a following sea from spurting up through the gaping hole ?
was it just canvas as Craig @iMustBeCrazy suggested?
Tim
- mtaylor, ccoyle and GrandpaPhil
-
3
-
9 hours ago, druxey said:
Usually rudderheads were boxed in, with a slot for the tiller.
Thanks @druxey I have just started reading the thread that Craig @iMustBeCrazy gave a link too above.
Was there any conclusion yet?
I can't see any details on the drawings I have, also the kit that @Thunder built did not give any details either.
Was it just a given. The shipwright just did what was always done.
I will be quite happy to make something suitable for this cutter model if I can find the shape and size.
It's all a voyage of discovery for me at this stage in my model ship building.
Tim
-


HM Cutter Alert by Thukydides - FINISHED - Vanguard Models - 1:64 - first build
in - Kit build logs for subjects built from 1751 - 1800
Posted
Your work is an inspiration for me, thanks for sharing.
Tim