brunnels
-
Posts
337 -
Joined
Content Type
Profiles
Forums
Gallery
Events
Everything posted by brunnels
-
 Looking forward to seeing a later version of the Sphinx class with built up bulwarks and more guns, I will definitely be following along.
 -
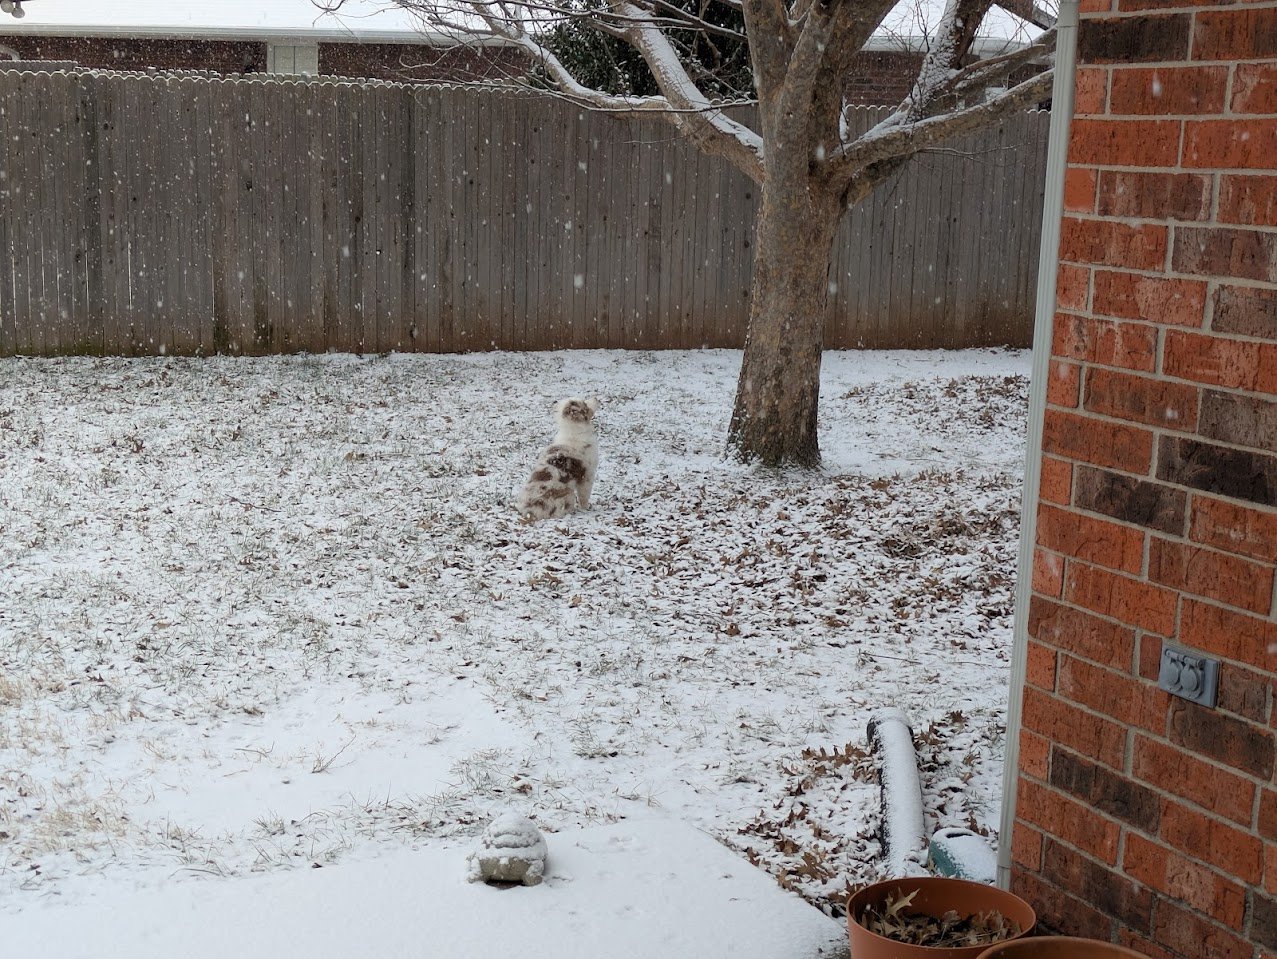
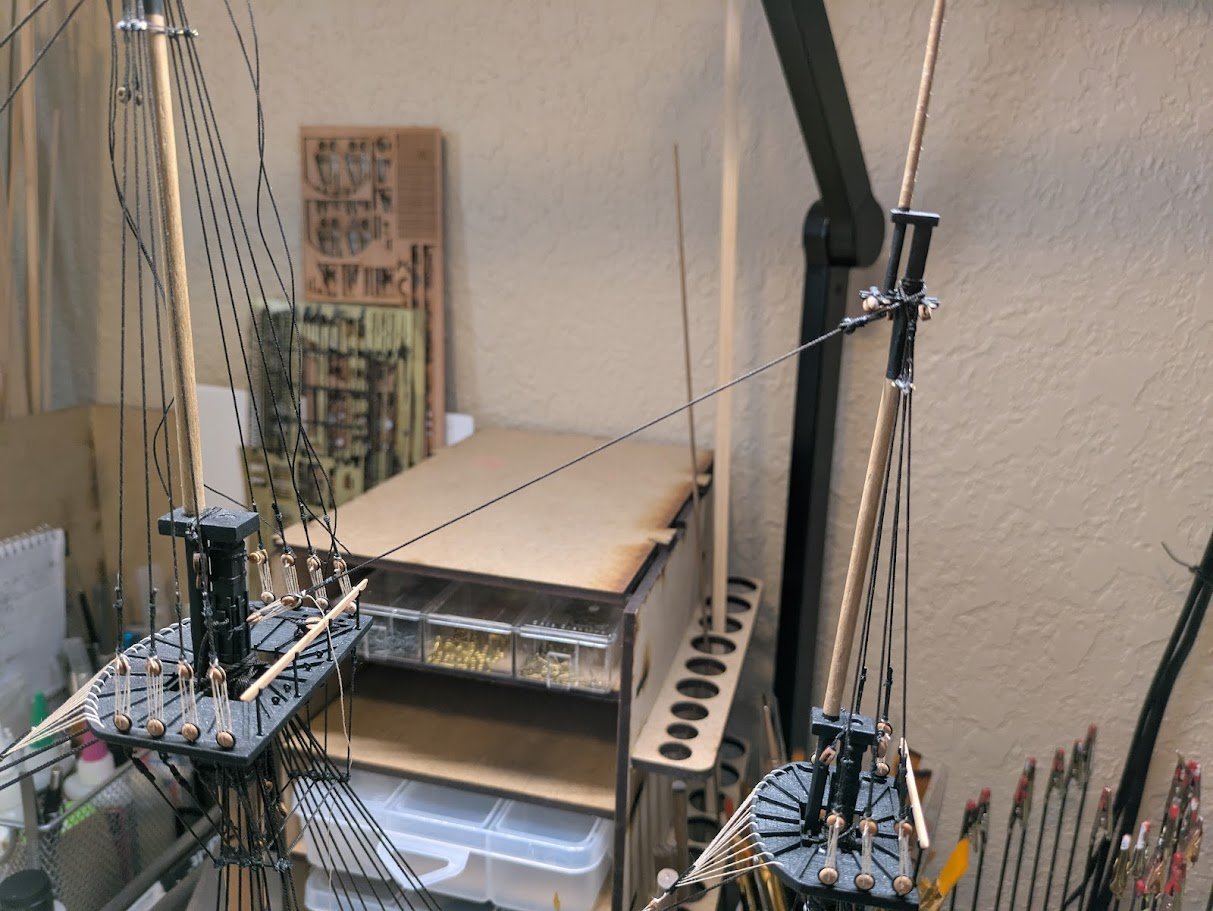
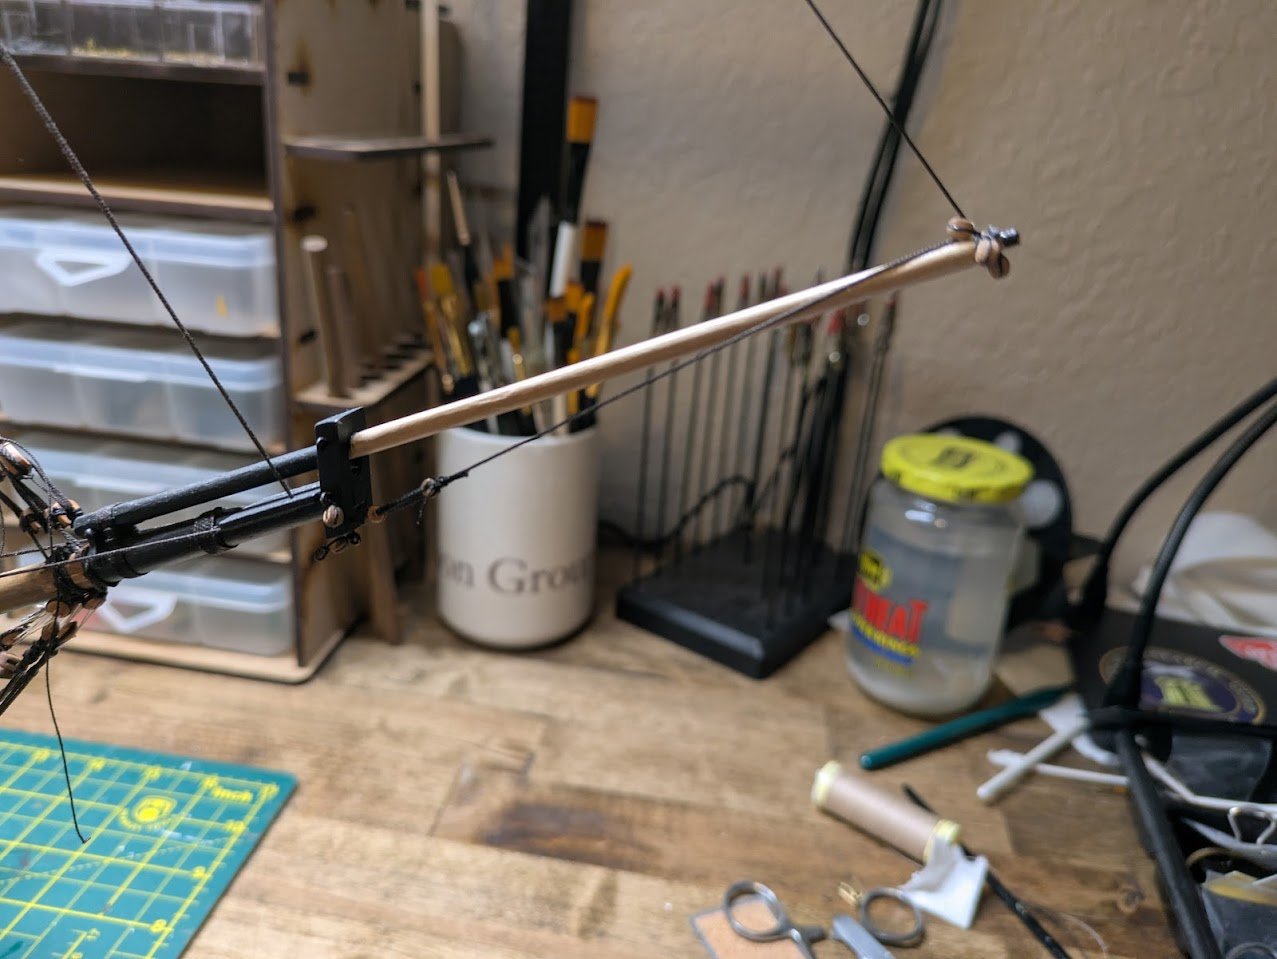
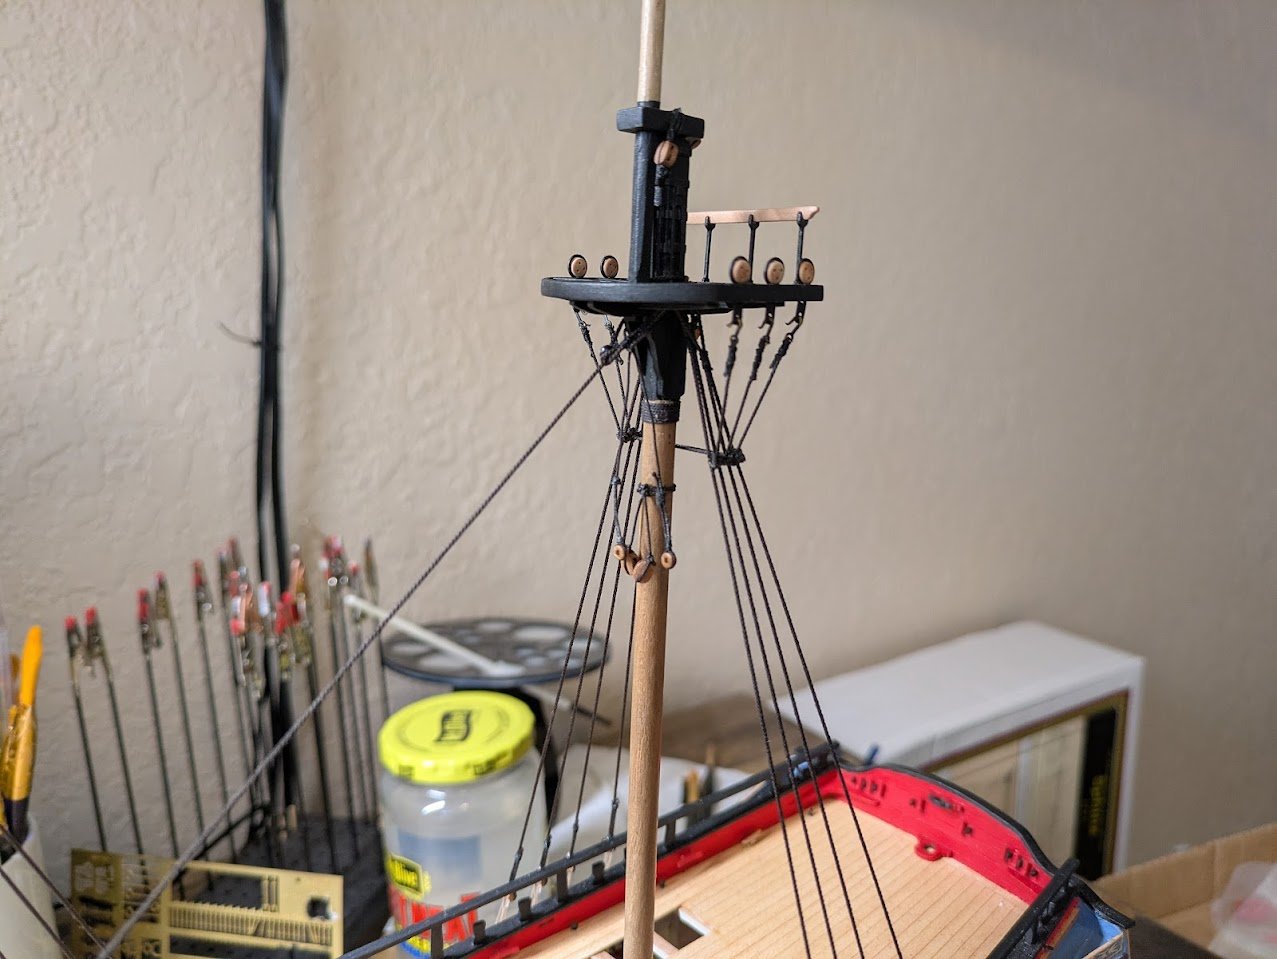
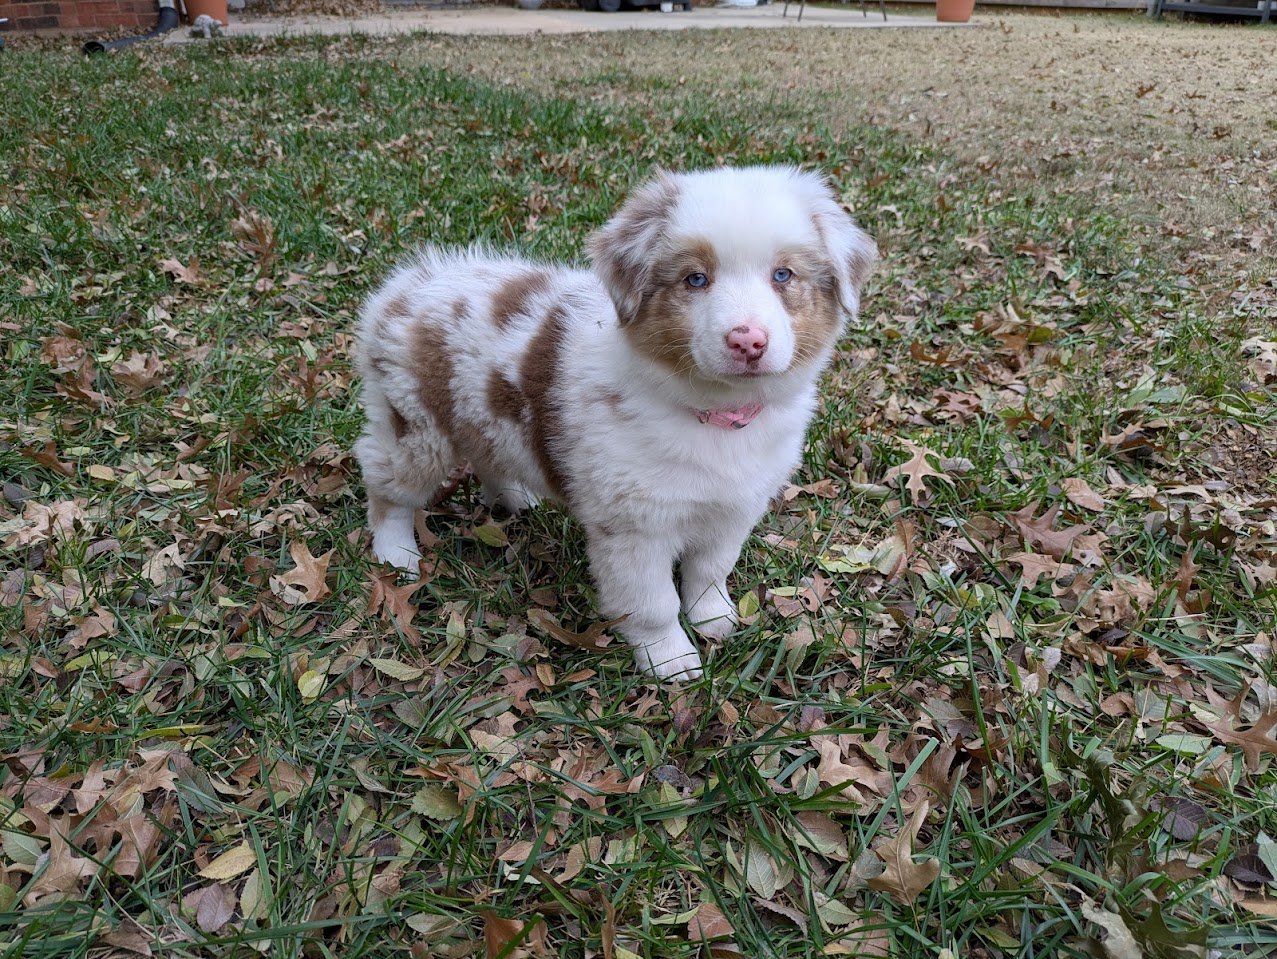
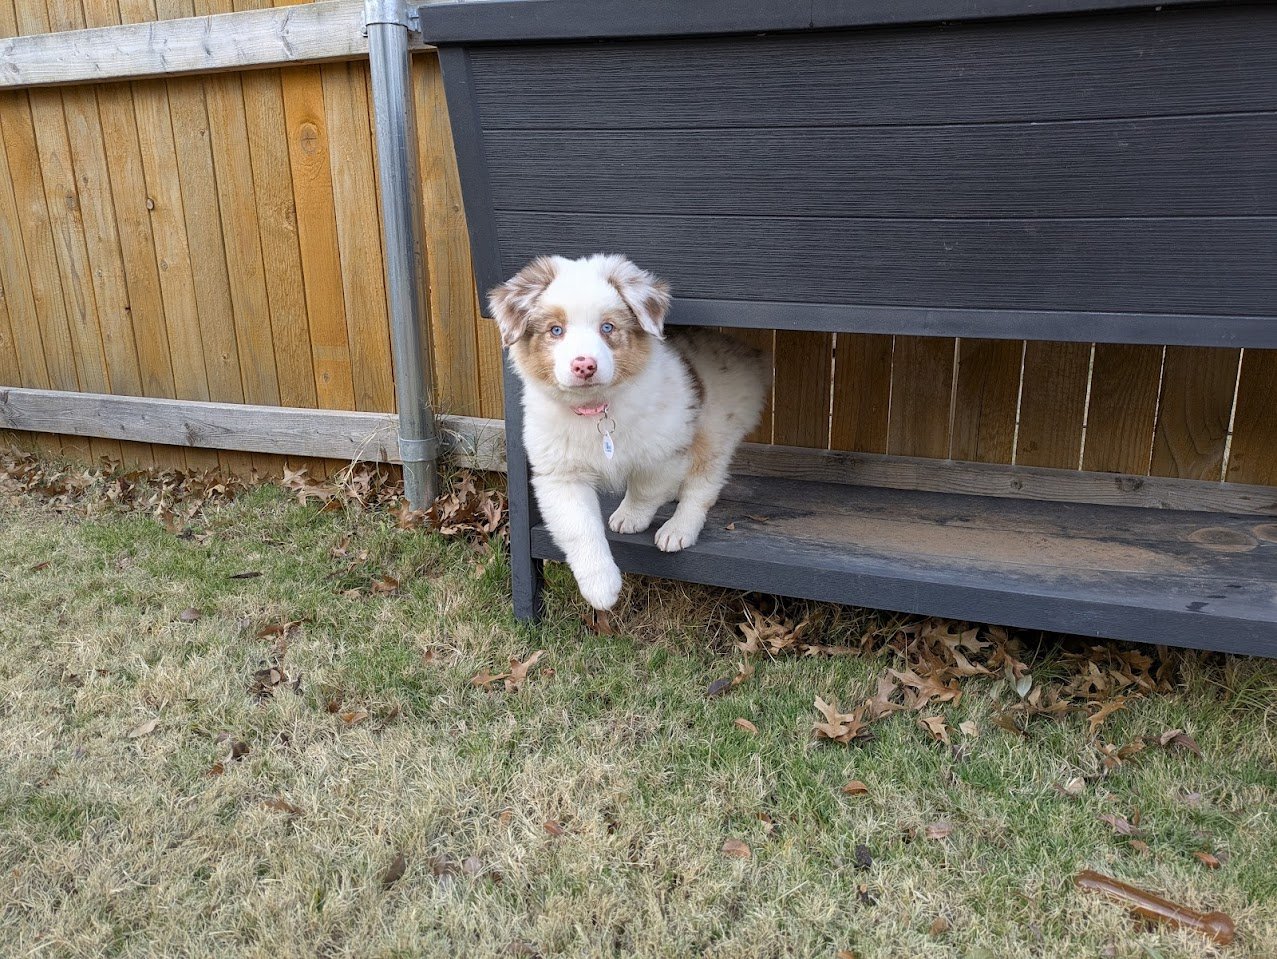
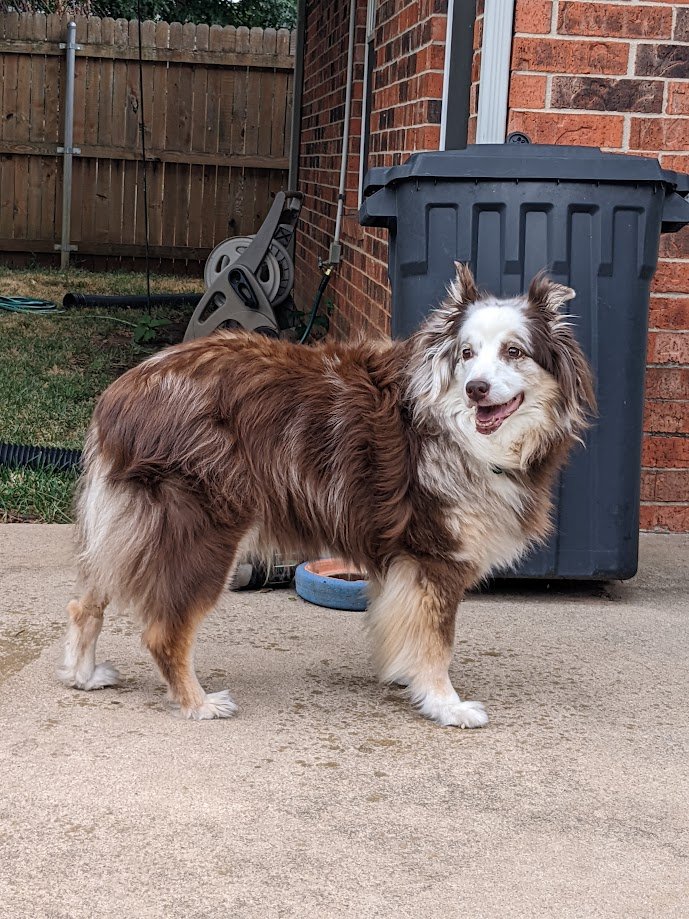
I normally love watching the squirrels in our yard, but they got a little too relaxed in my yard with no dog around, and one chewed straight through the power cord for my Traeger Grill. So now the pup is on duty keeping the Squirrels in the trees and giving them a good old fashioned stare down when they look like they are about to start any nefarious Squirrel business. Mizzen Top Stay: T'gallant shrouds and fore stays: Mizzen t'gallant stay connected to main mast top. Main T'gallant stay connected to foremast top. Foremast T'gallant stay connected to bowsprit. Next up is the ratlines.


-
I have taken Ideas from more logs than I can remember, but for the Sphinx @Blue Ensign's log is an obvious inspiration for my model you will see many ideas of his on my model, @hollowneck@Knocklouder's is another log I frequent especially when I am a little lost in the rigging, he has nice pictures of his rigging process. I also look at a lot of contemporary models of the period as an aid for how ships might have looked.
-
It's Minwax Wipe on Poly, you will see it frequently used on this forum. If your in North America it's fairly easy to find, but I hear it's harder to find in Europe. Wipe on Poly - Amazon
-
Advice on French 2nd or 3rd rate ship of the line
brunnels replied to James Flynn's topic in Wood ship model kits
It's a shame as well as there are some beautiful French ships, I was just looking around recently to see if there were any good 18th century French Frigate kits around 1:64 scale and sadly there wasn't a lot out there. -
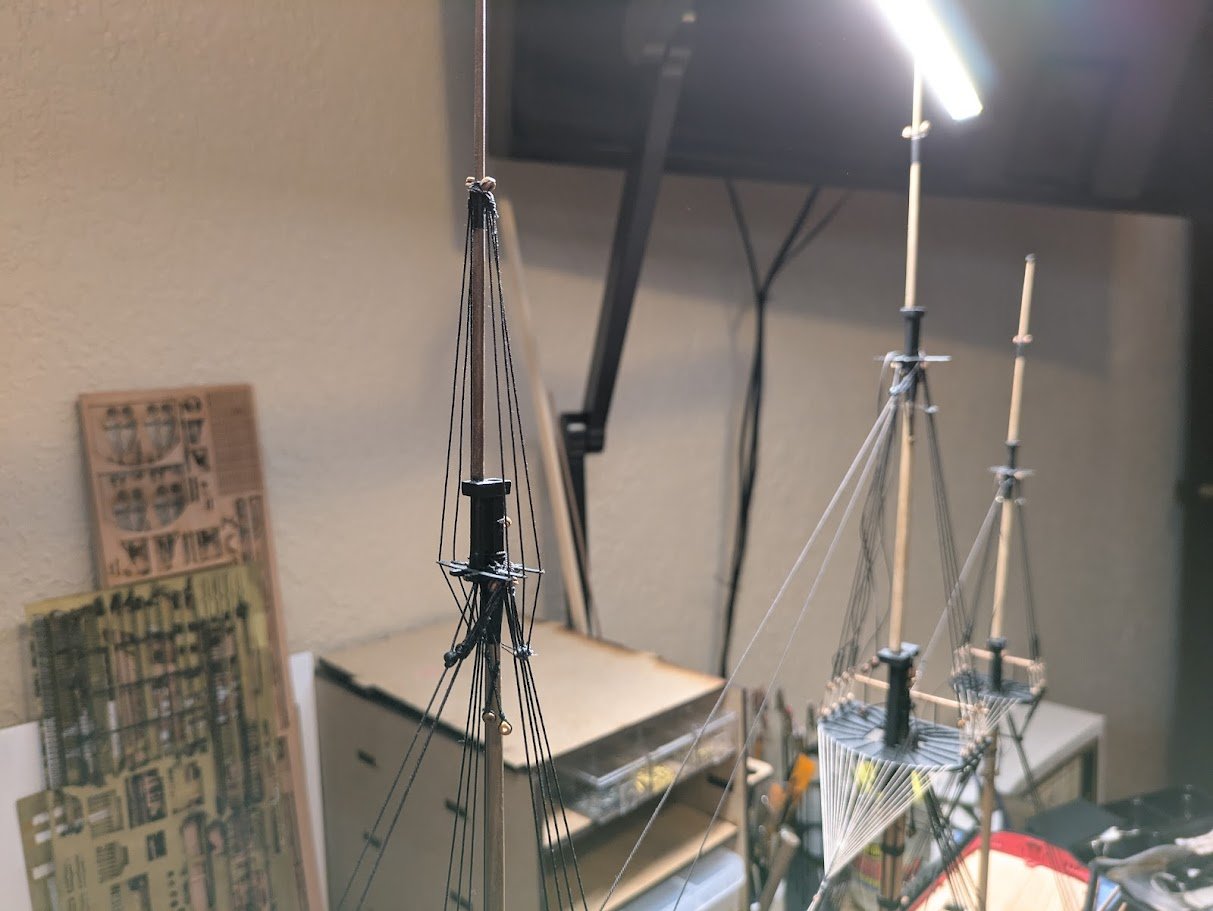
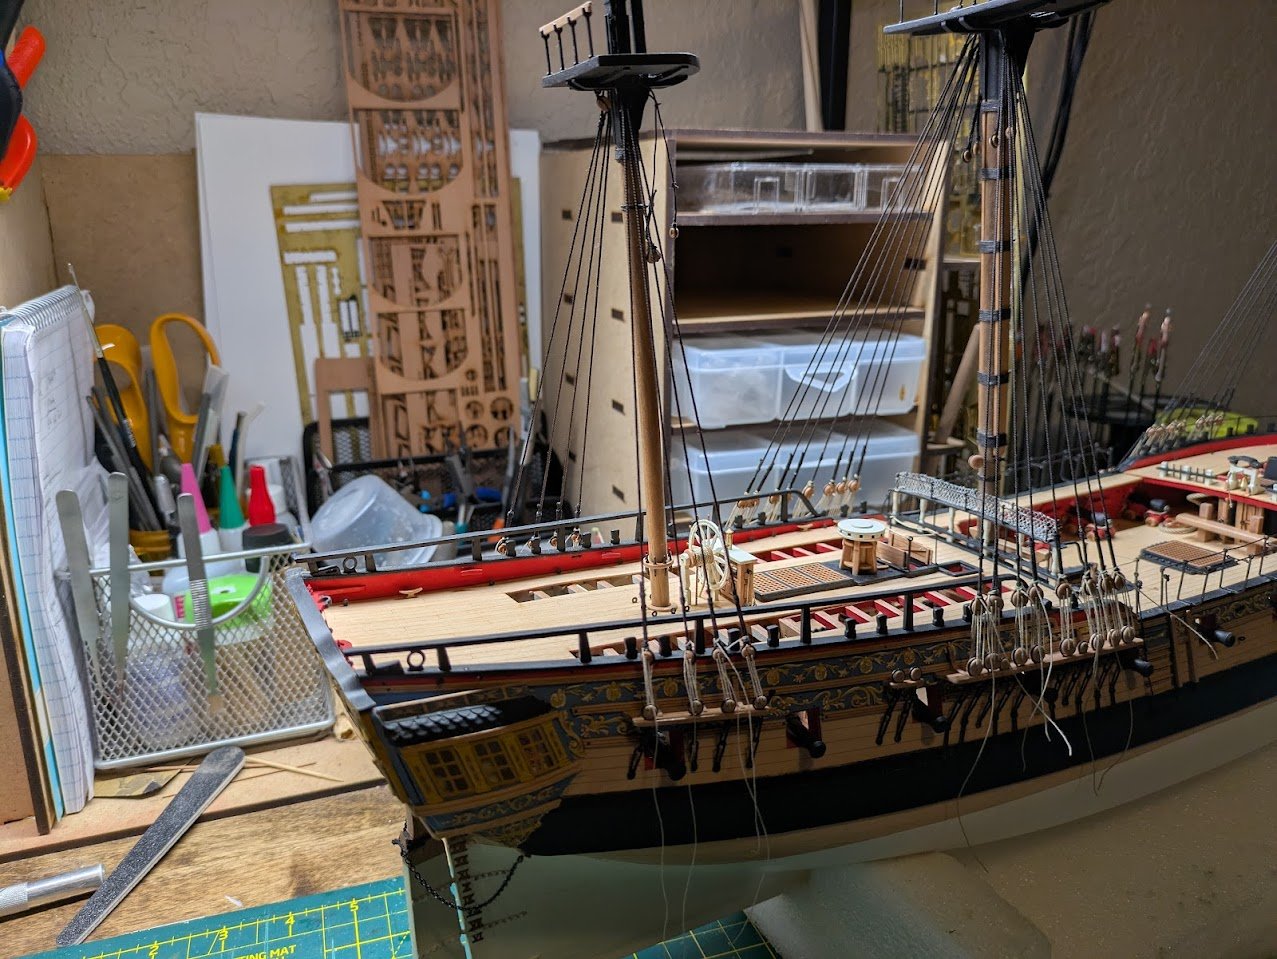
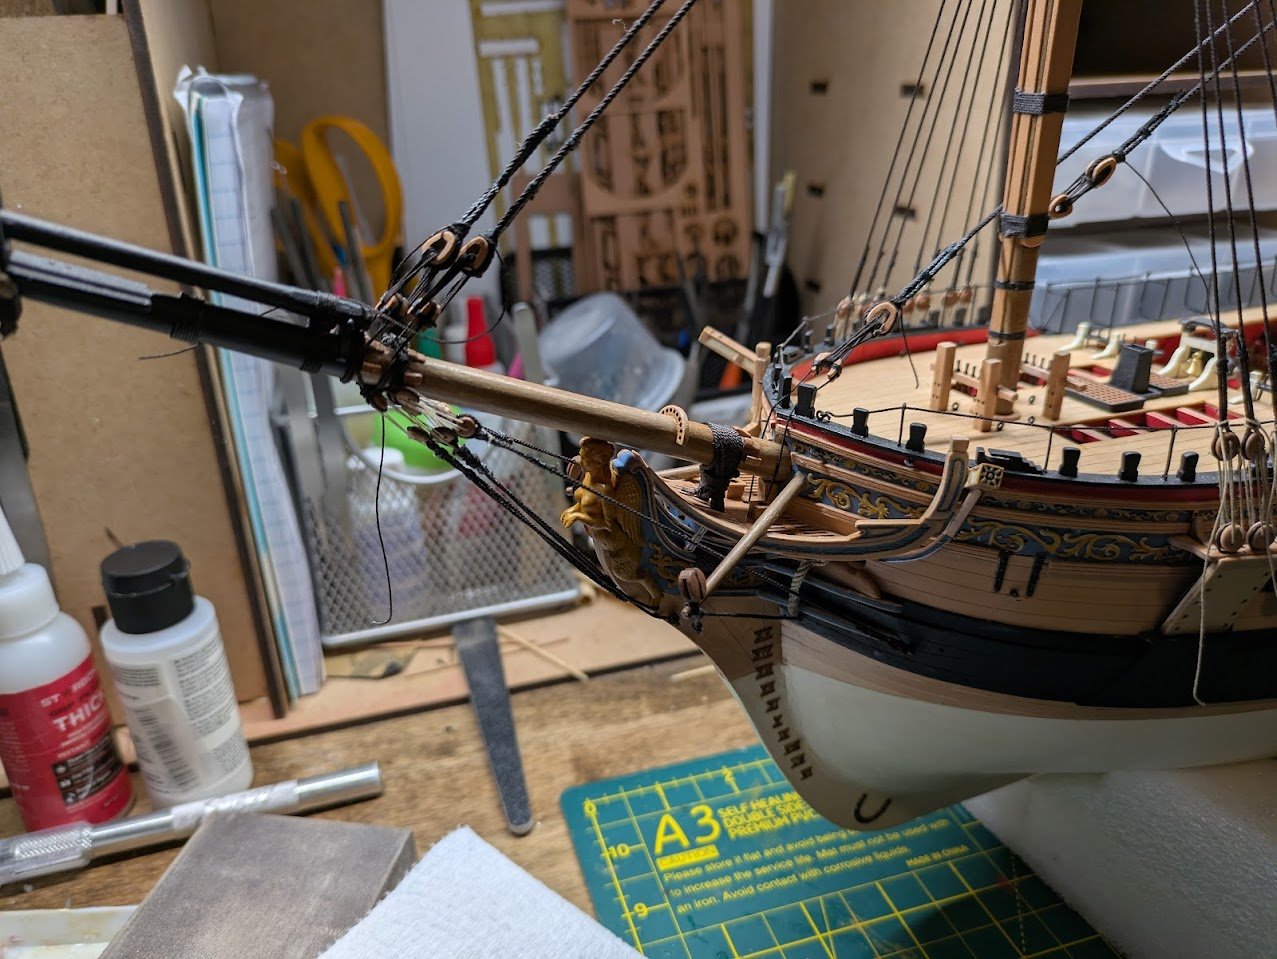
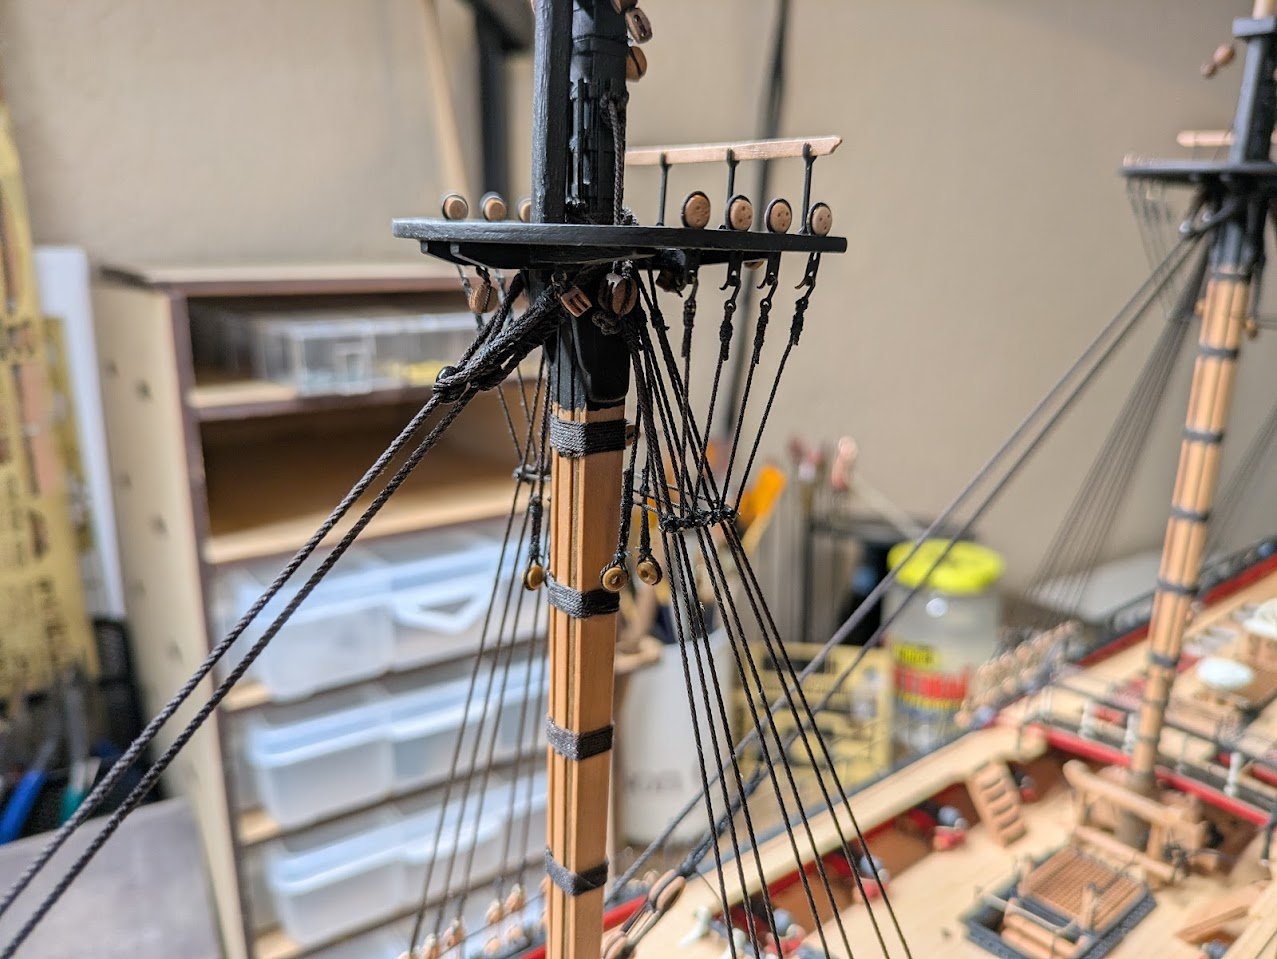
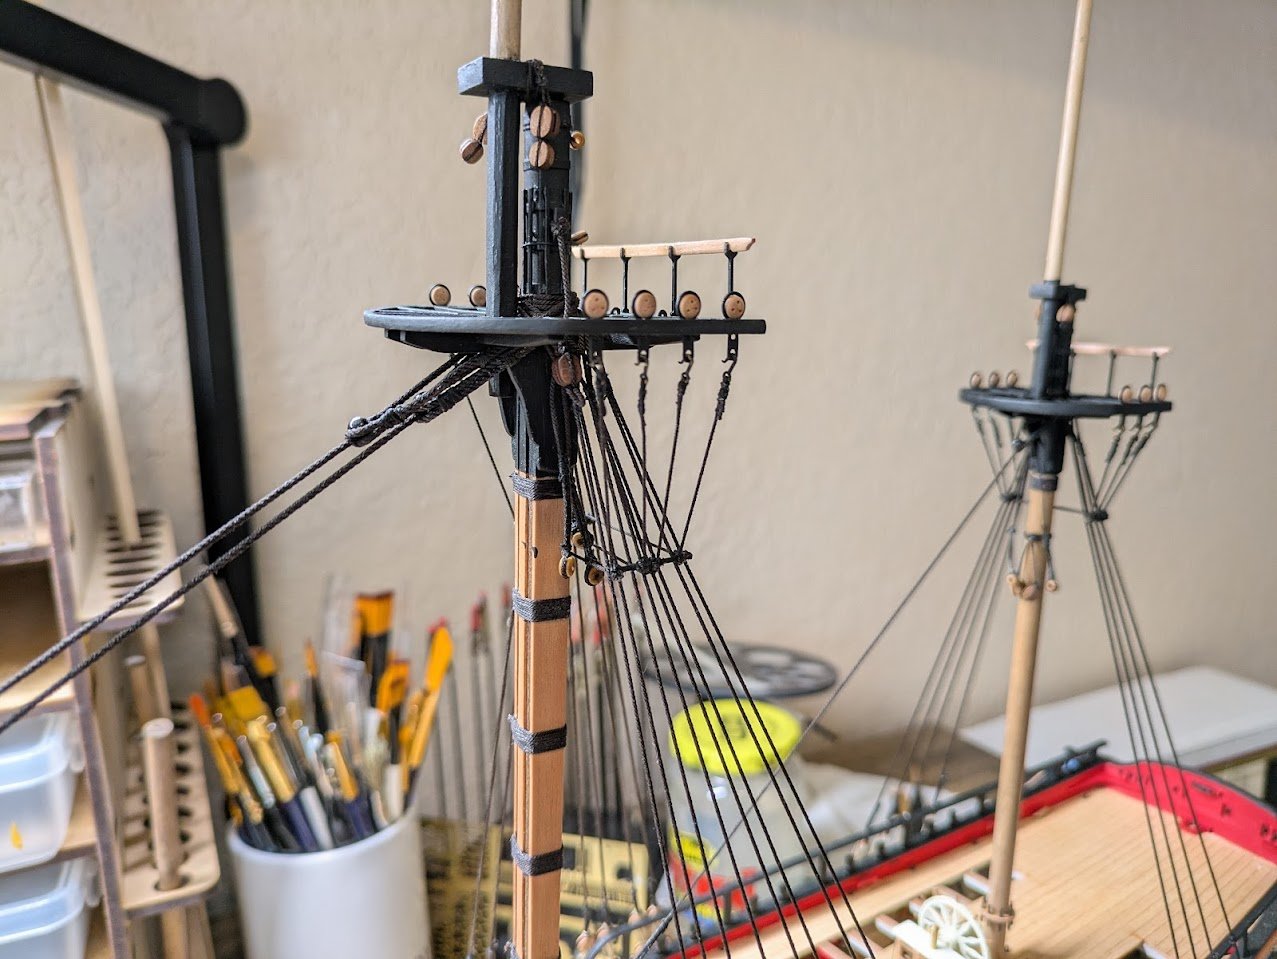
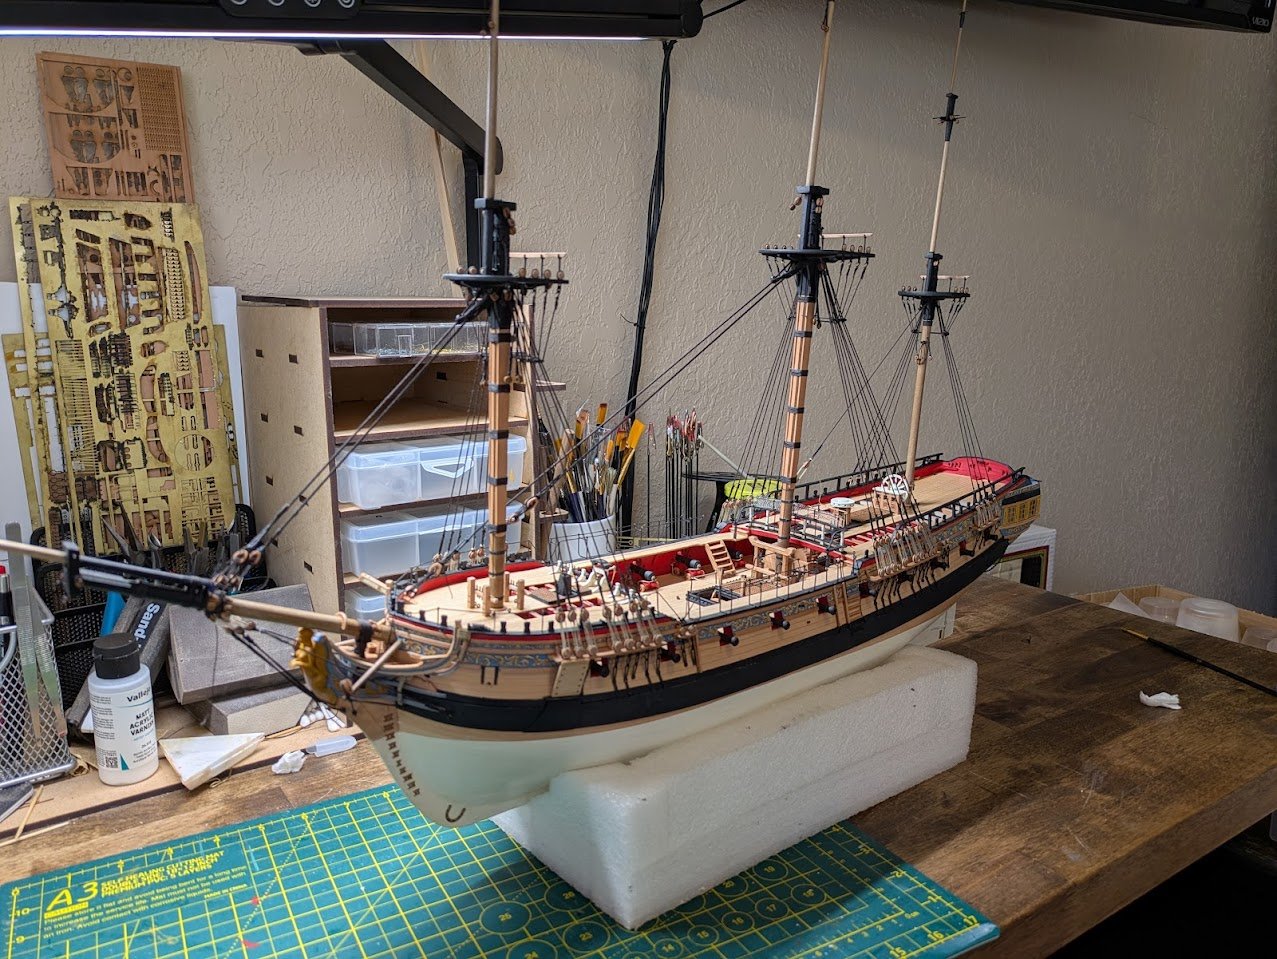
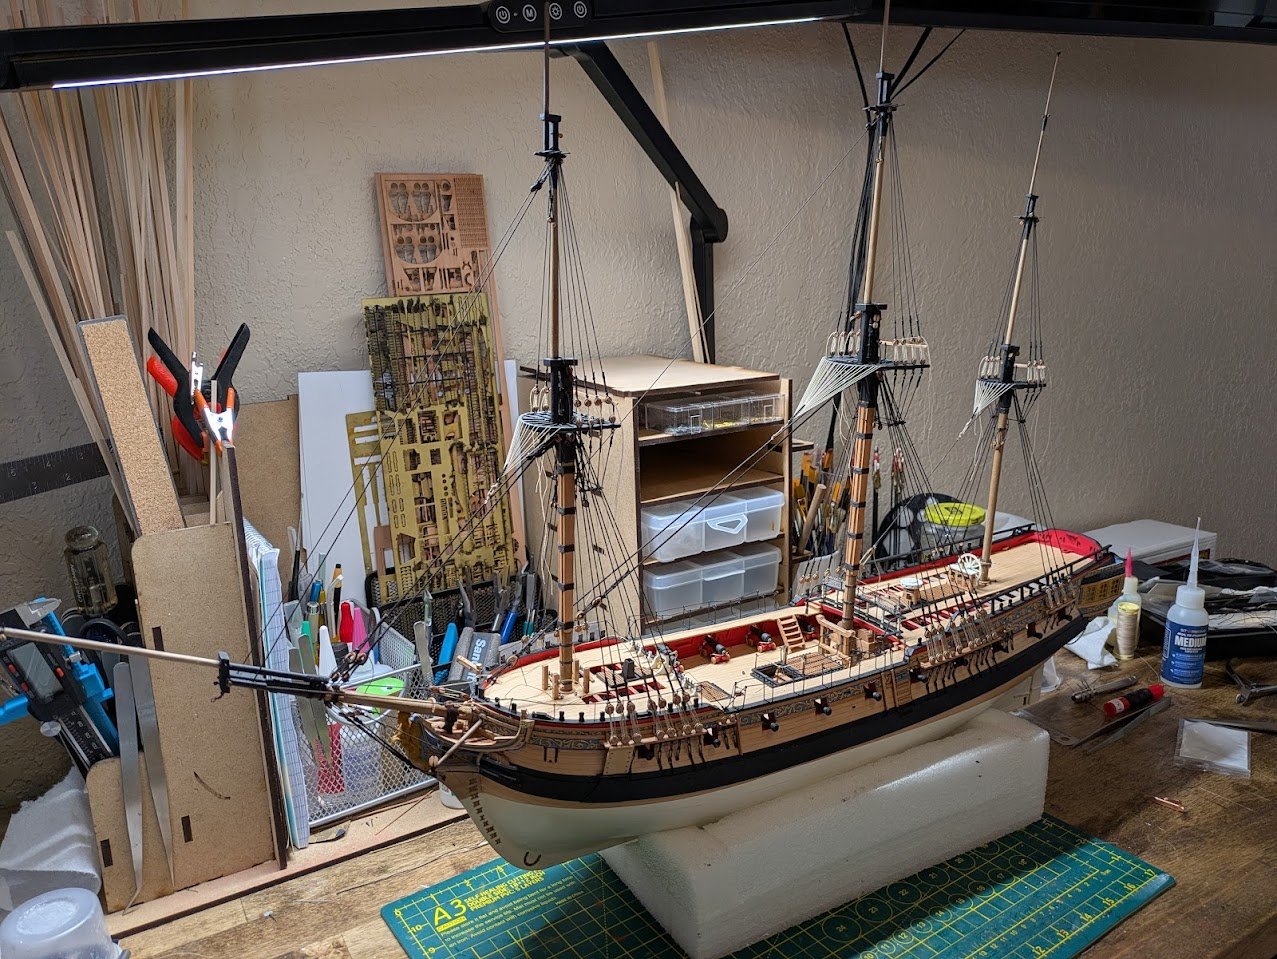
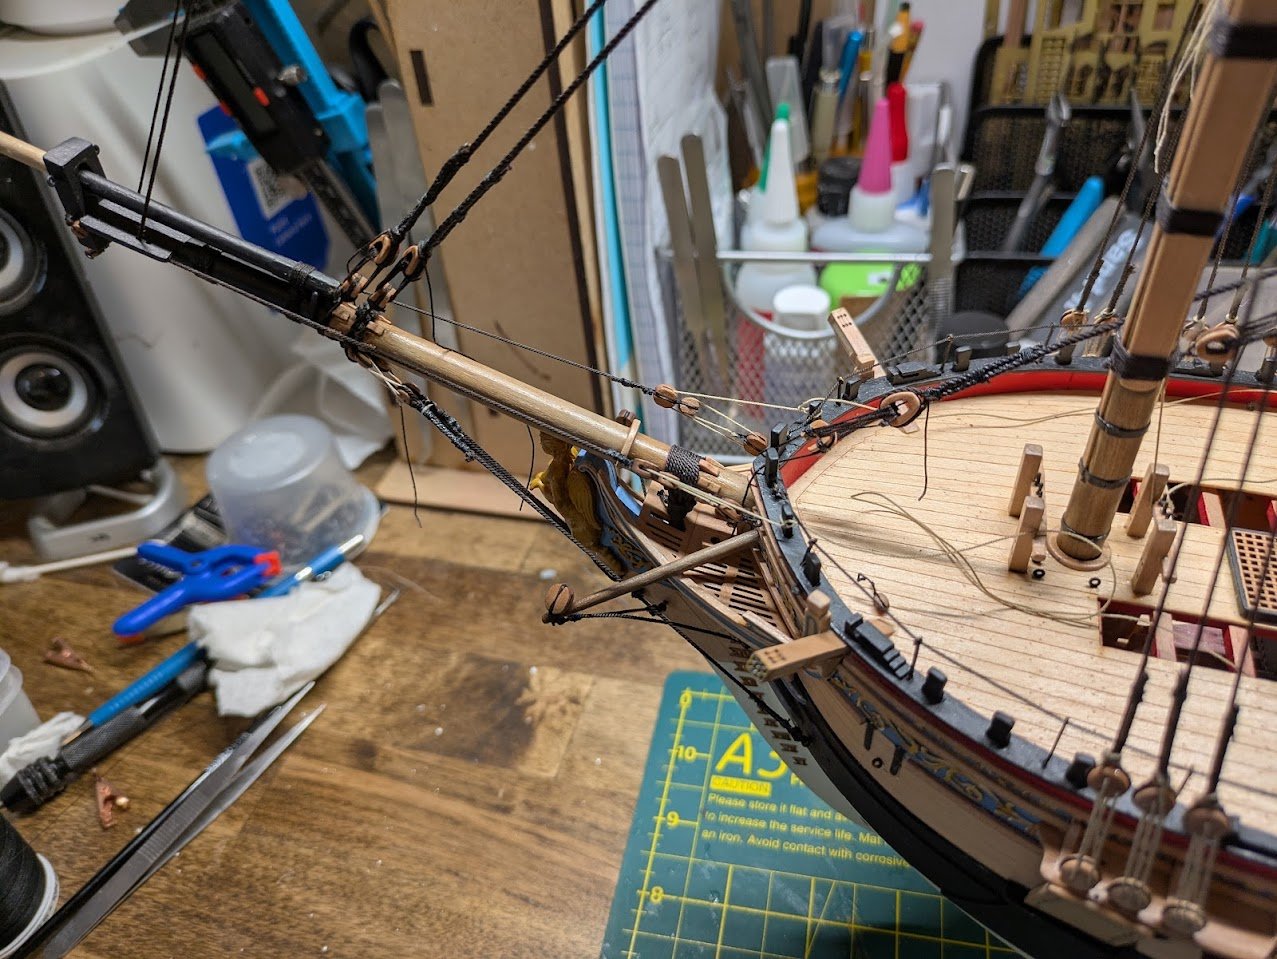
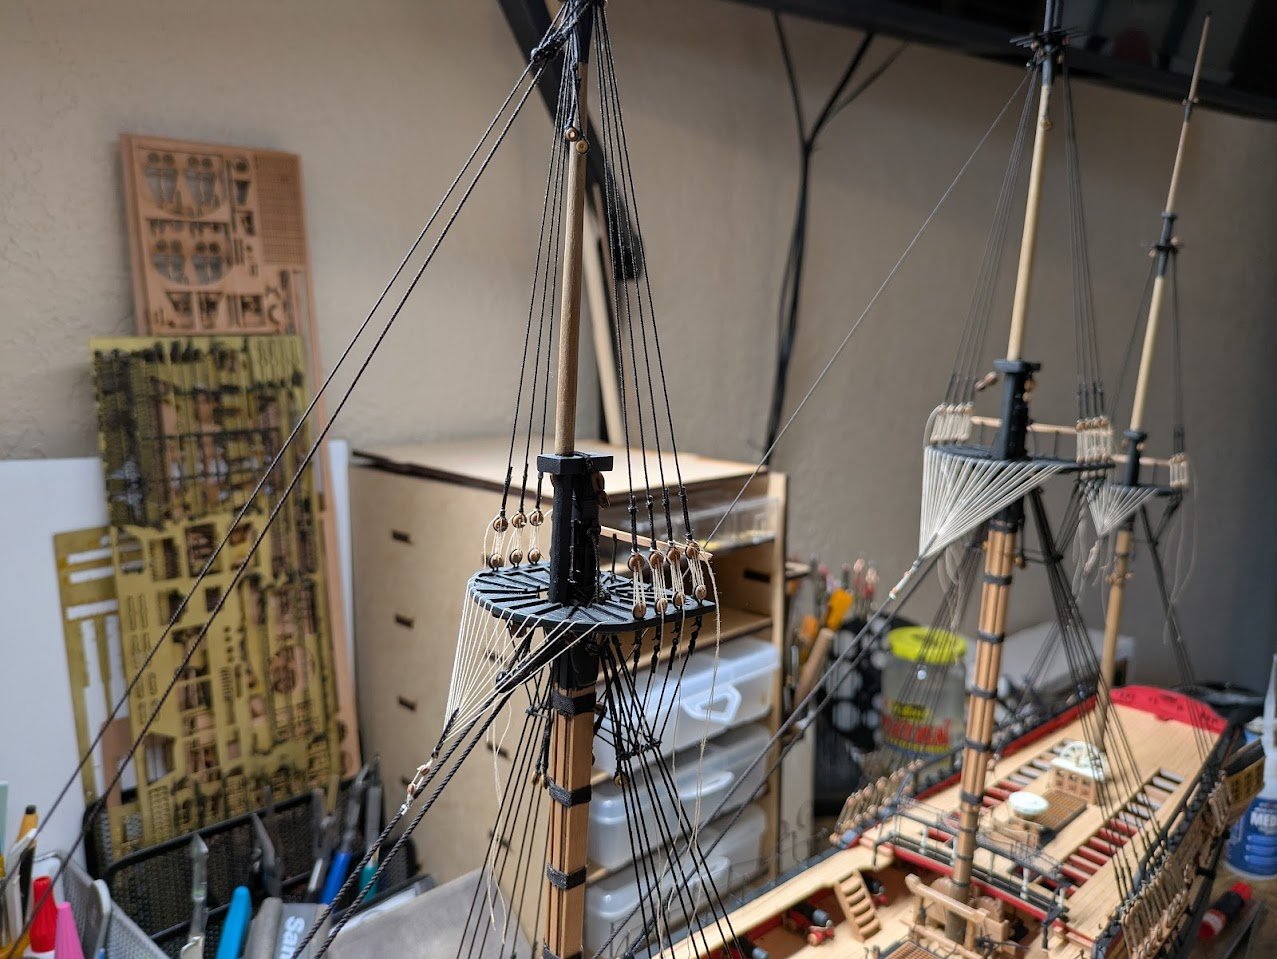
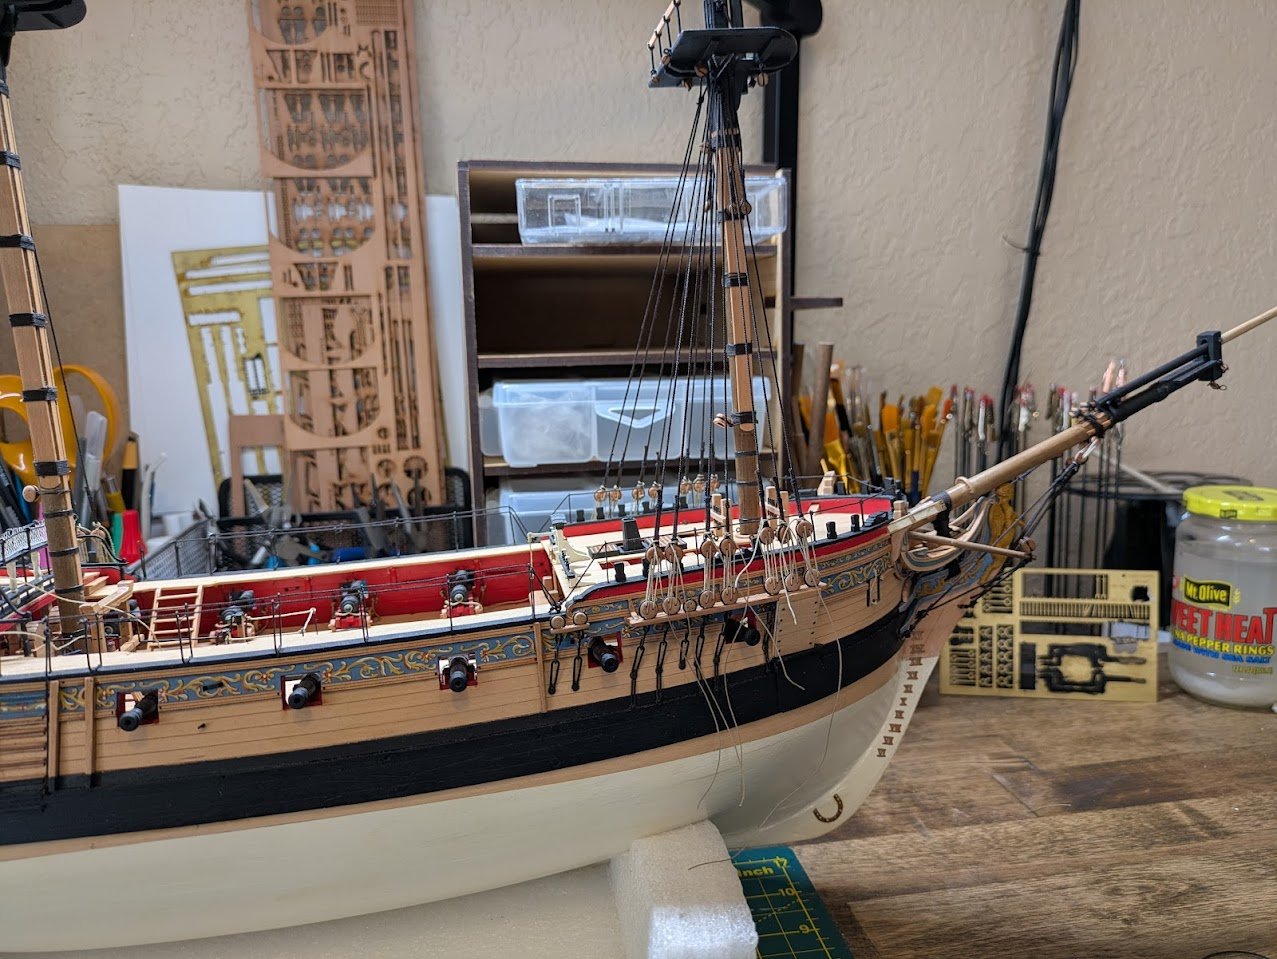
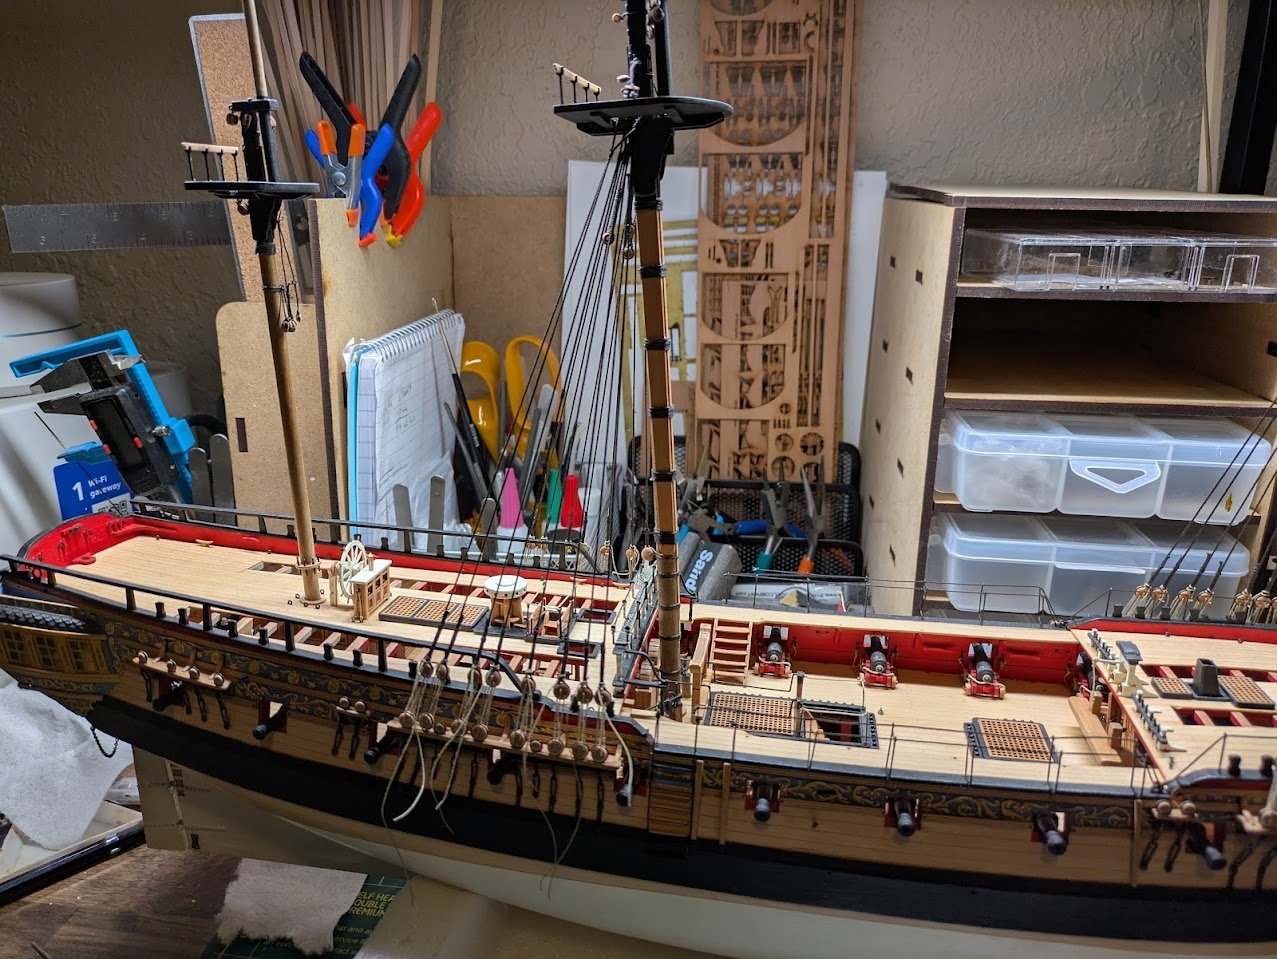
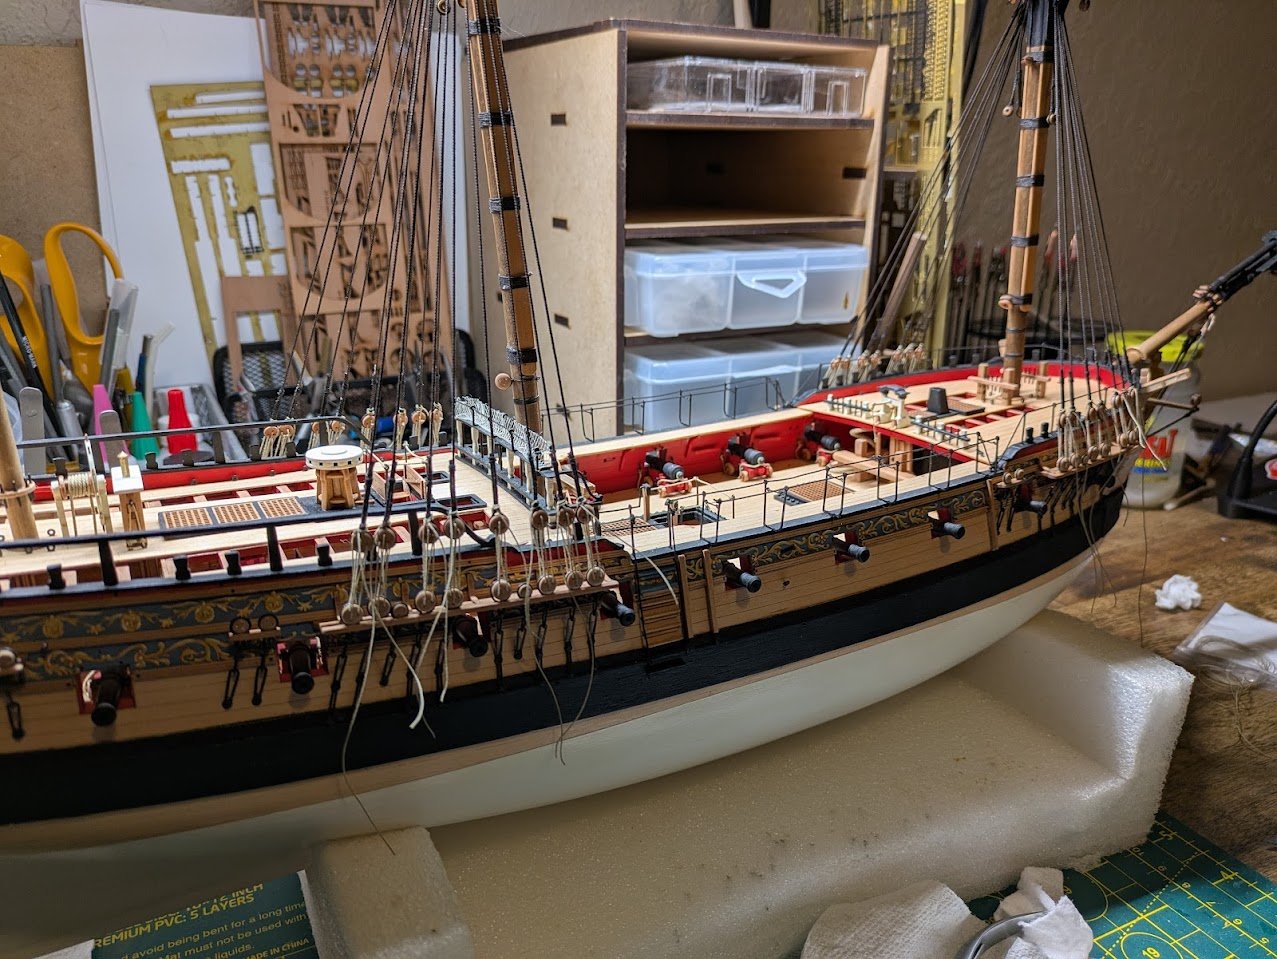
Been working on the rigging whenever I have the time, but haven't been able to get any good modelling marathons in lately. I never know how to take pictures of rigging, so apologies if items aren't in focus. I finished up the lower shrouds with the mizzen shrouds. I will complete the ratlines at a later point. Once the lower shrouds were done, the lower fore stays were added. Next up I needed to complete the futtocks shrouds and catharpins before I could continue up the mast with rigging. My Occre beagle kit basically just handled the futtock shrouds by trying one end around the deadeye and the other around the mast, so I was a little intimidated by how much more complex these were. Once I started the task was more straight forward than I was expecting and went together pretty smoothly. The upper shrouds were my next task. I forgot to take pics during this process, but these are all very straight forward. Next I started the crowsfeet. I was going to do the upper fore stays first, but realized it would probably be easier to do the crows feet before I had the upper stays hanging over them. Crows feet are another task I have never done, so it took quite a bit of time studying up how to do them, once you get the hang of the order the crows feet are very easy to string up, the hardest task is figuring out where to start and end. Now that the crowsfeet are completed, I was able to start on the upper fore stays for the foremast, there is always something enjoyable about tightening down a series of blocks and tackle. The spare rope is temporarily hitched around the timberhead on the bow at the moment until I lookup how to secure ropes properly to the timberheads. Lastly I started on the upper fore stays for the main mast. Here is the block and tackle for the stay. Next up is completing the fore stays, ratlines, backstays, and then I need to start on the yards before the running rigging.

-
You can order them off of amazon for very cheap if you can't find anyone local.
-
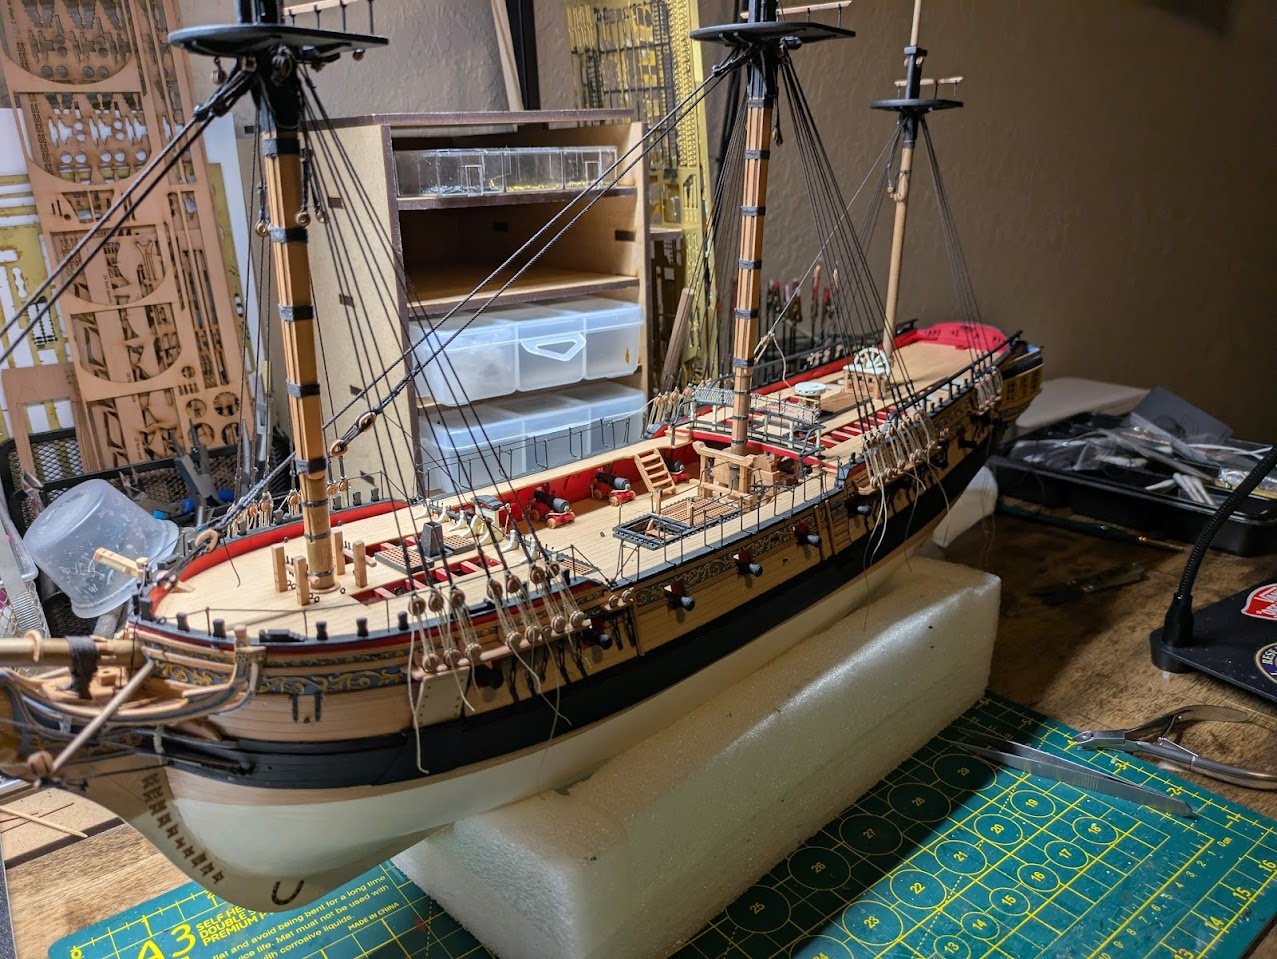
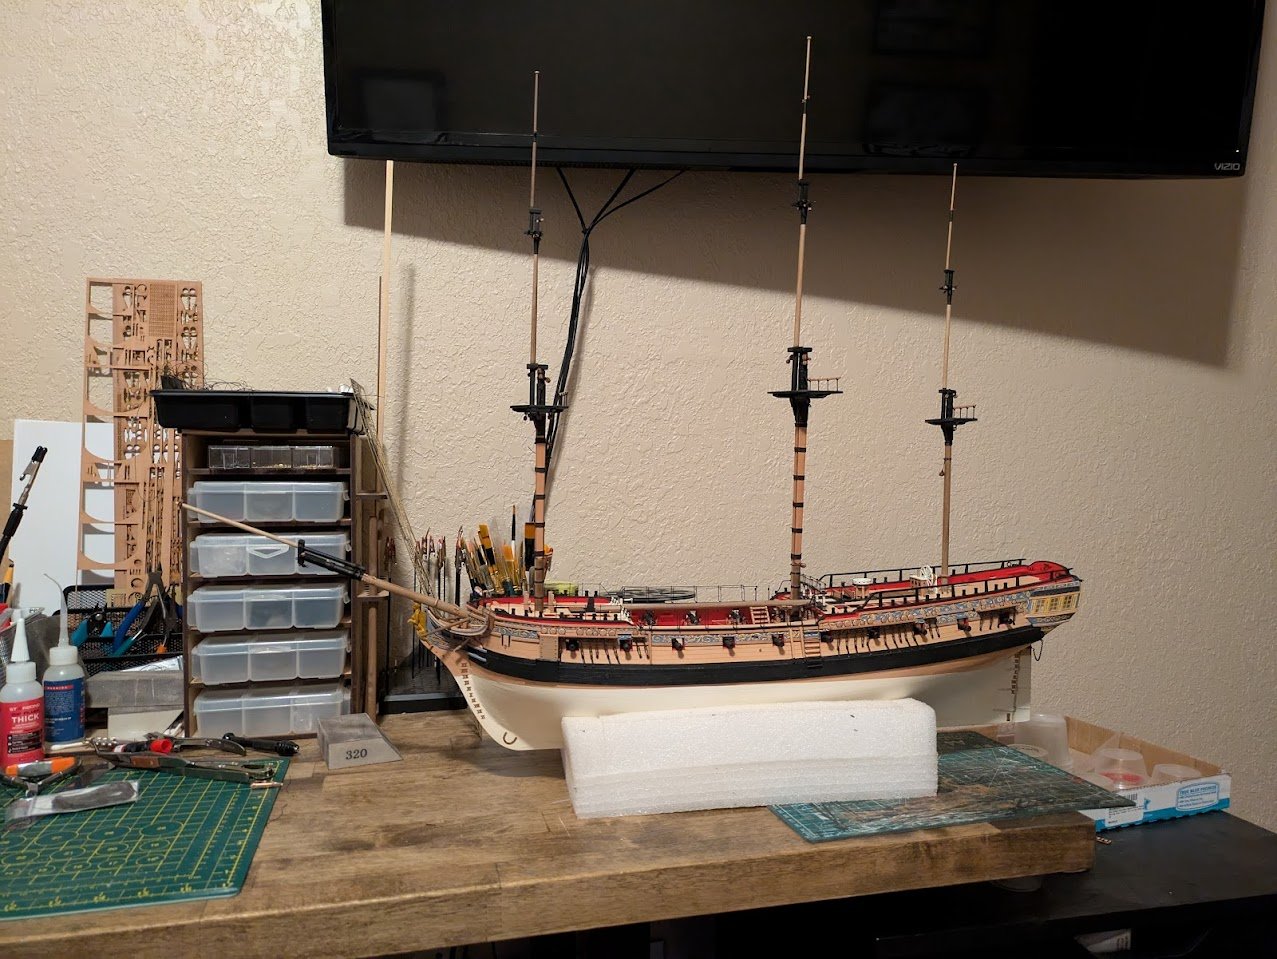
It's been slow going on the ship lately. It's always a busy time of the year with the holidays, but we recently introduced a 9 week old female Australian Shepard into our home as our new dock yard dog. The majority of my time has been spent with the pup with getting a small piece of rigging completed here and there while she naps, if I have the energy for it. Since I last left off I have completed the masts and started the standing rigging. I needed a break from the lathe, so I will probably turn the other spars after the shrouds and stays are done. I made the mistake of gluing the topmasts in place, I then realized when I started on the shrouds, that made it difficult to loop the shrouds over the masts. Oh well you live, learn and improve your mistakes on the next model, It hasn't been too difficult to put a seizing around the shrouds to make a loop once they were threaded between the lower and top masts. Foremast shrouds and deadeyes rigged. I also rigged the bowsprit shrouds, I need to take some pictures of those. Mainmast shrouds in place.
-
Looking great, I am working on the shrouds for my foremast, a little bit behind you. Do you think it would be wise to start putting on the cleats before I tighten down the shrouds? I saw the cleats in the instructions and wondered if putting those on earlier would interfere with anything else.
- 422 replies
-
- 1
-

-
- Vanguard Models
- Sphinx
- (and 1 more)
-
I recently saw online that a new Constitution kit is coming from Angora Models. It is a subscription kit which I am assuming is being contracted out, from the pictures there are a lot of similarities to what I see in Occre kits. I can't speak for the accuracy of the kit, but the kit seems very overpriced for the quality shown in the pictures and the overall price. https://www.agoramodels.com/us/constitution/
-
Your research is incredible, fantastic work.
-
Fantastic model, I have no experience with card models and had no idea they could look so good.
-
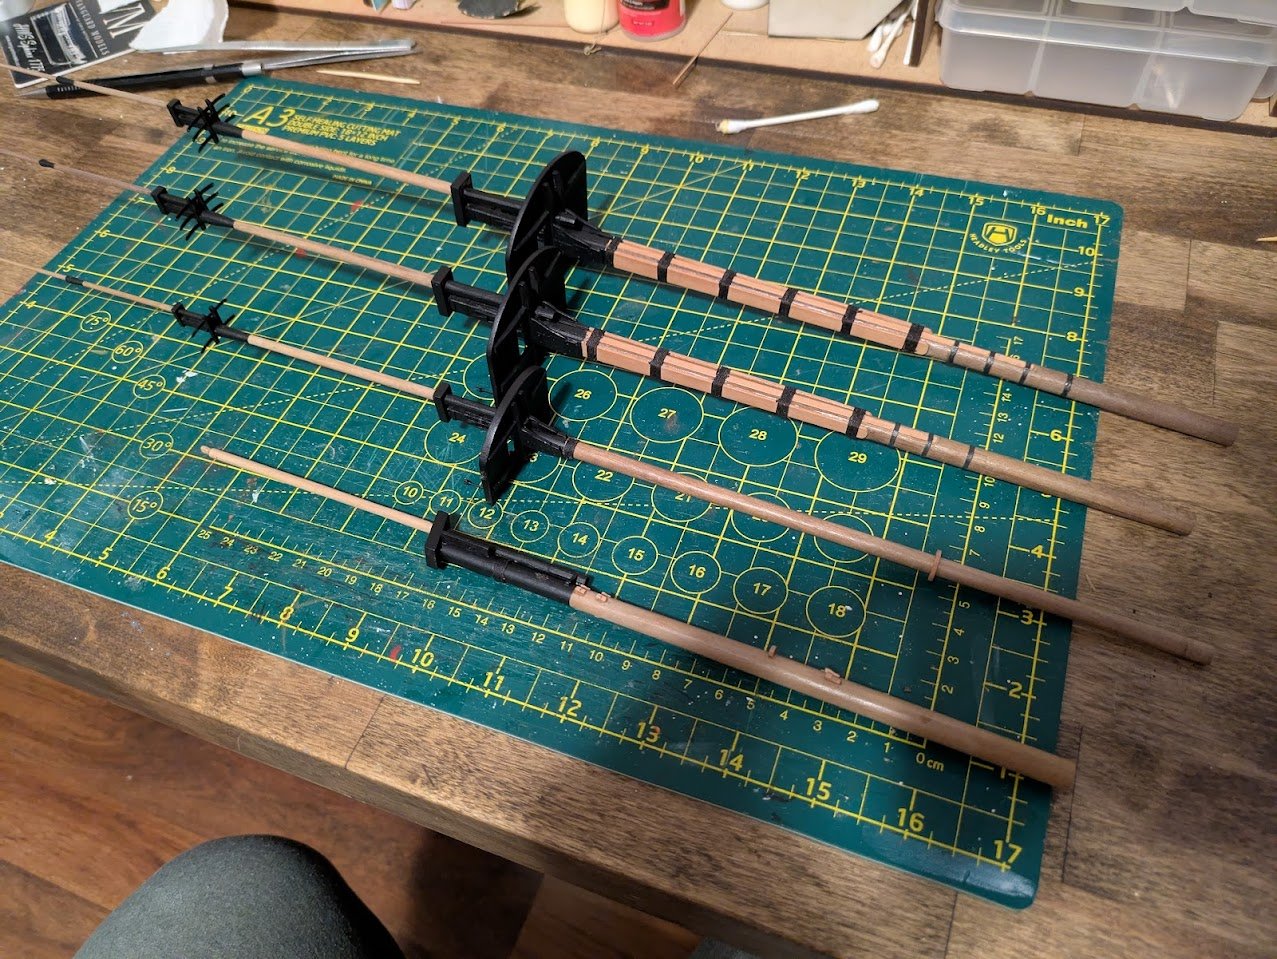
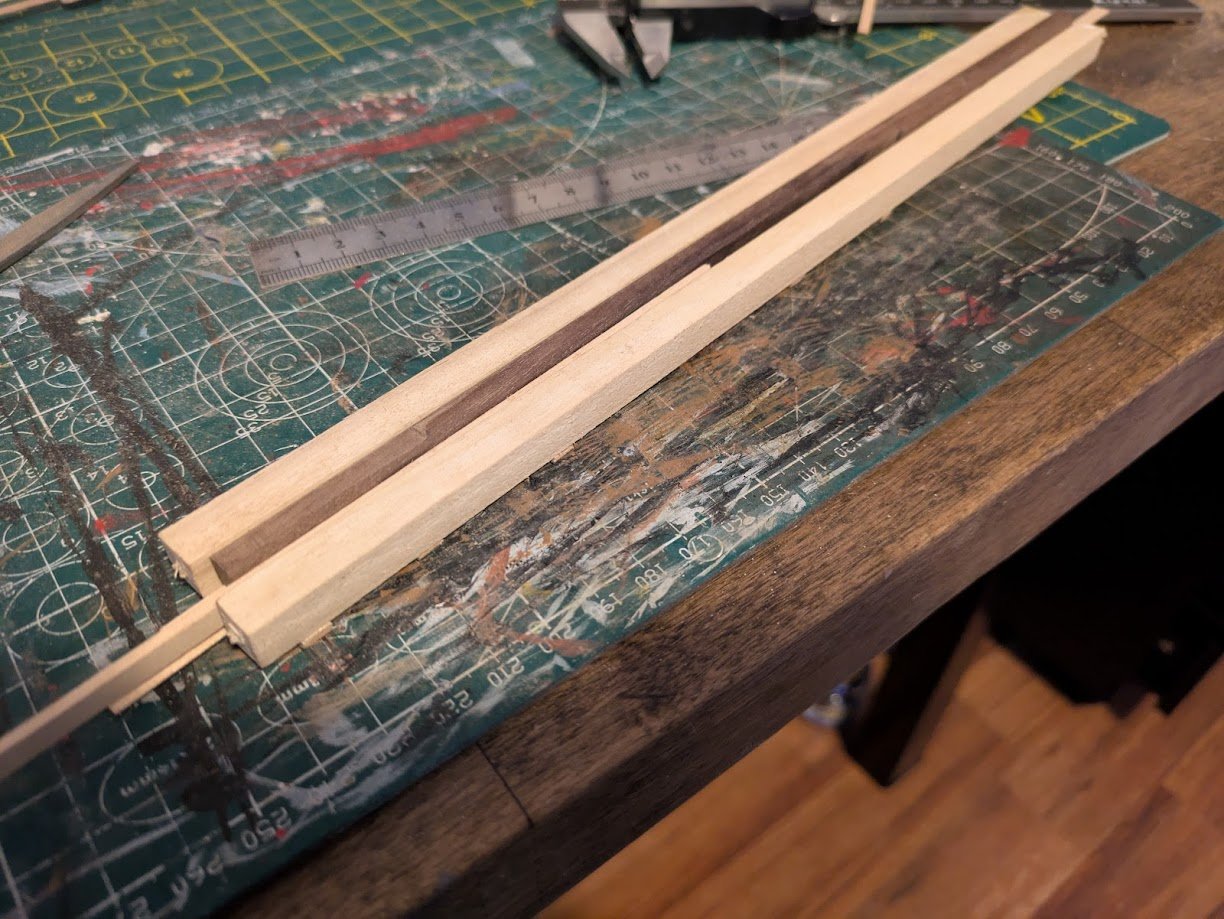
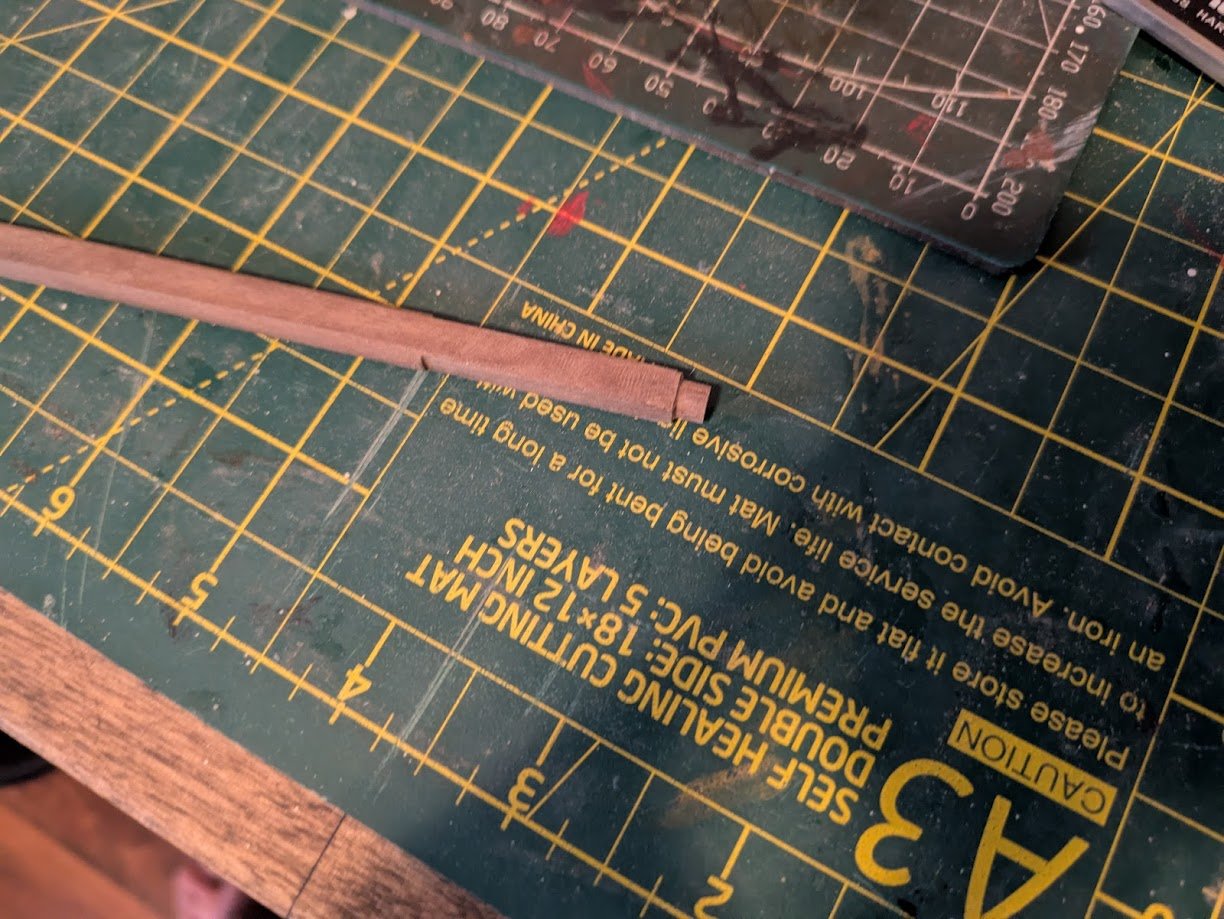
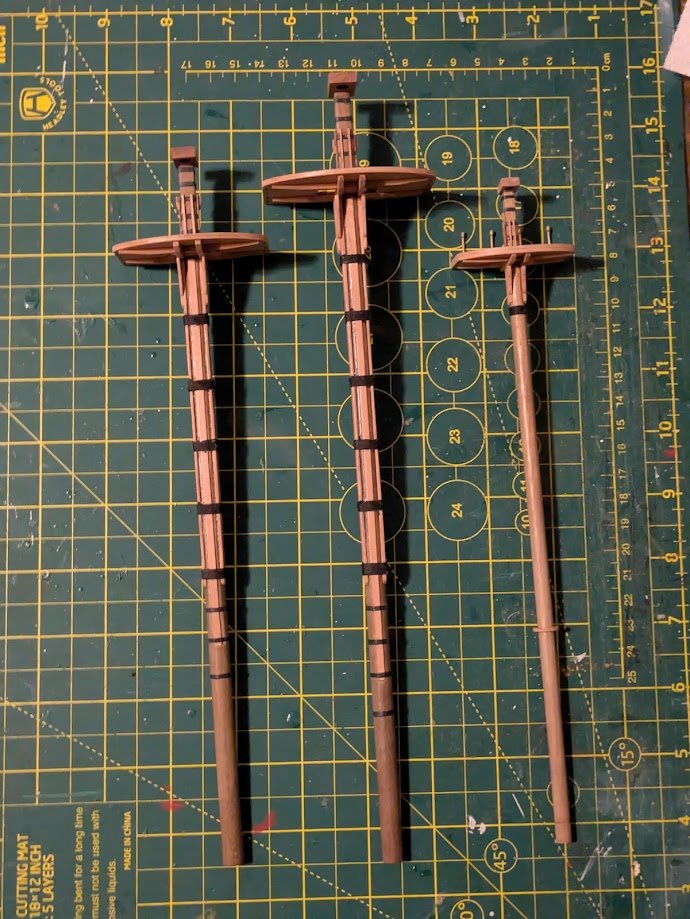
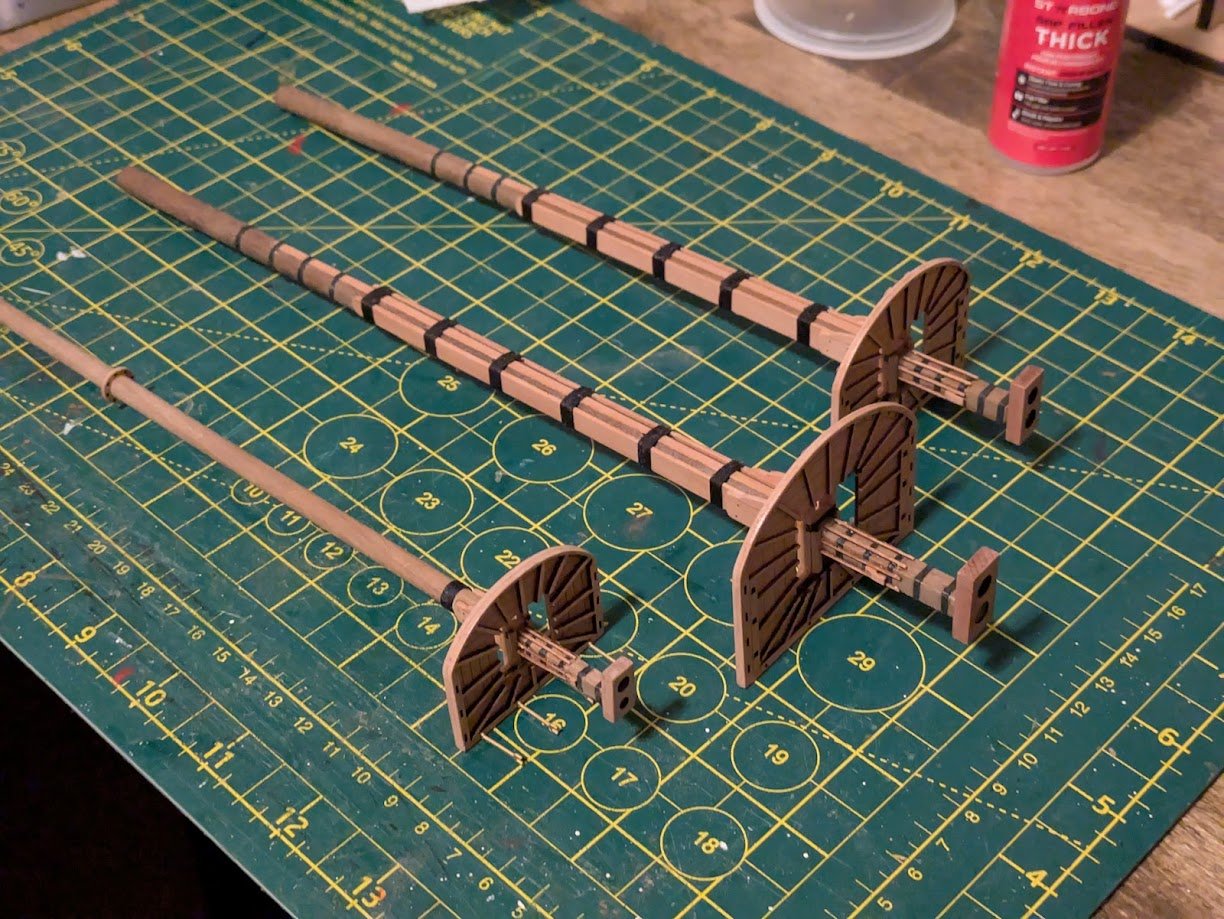
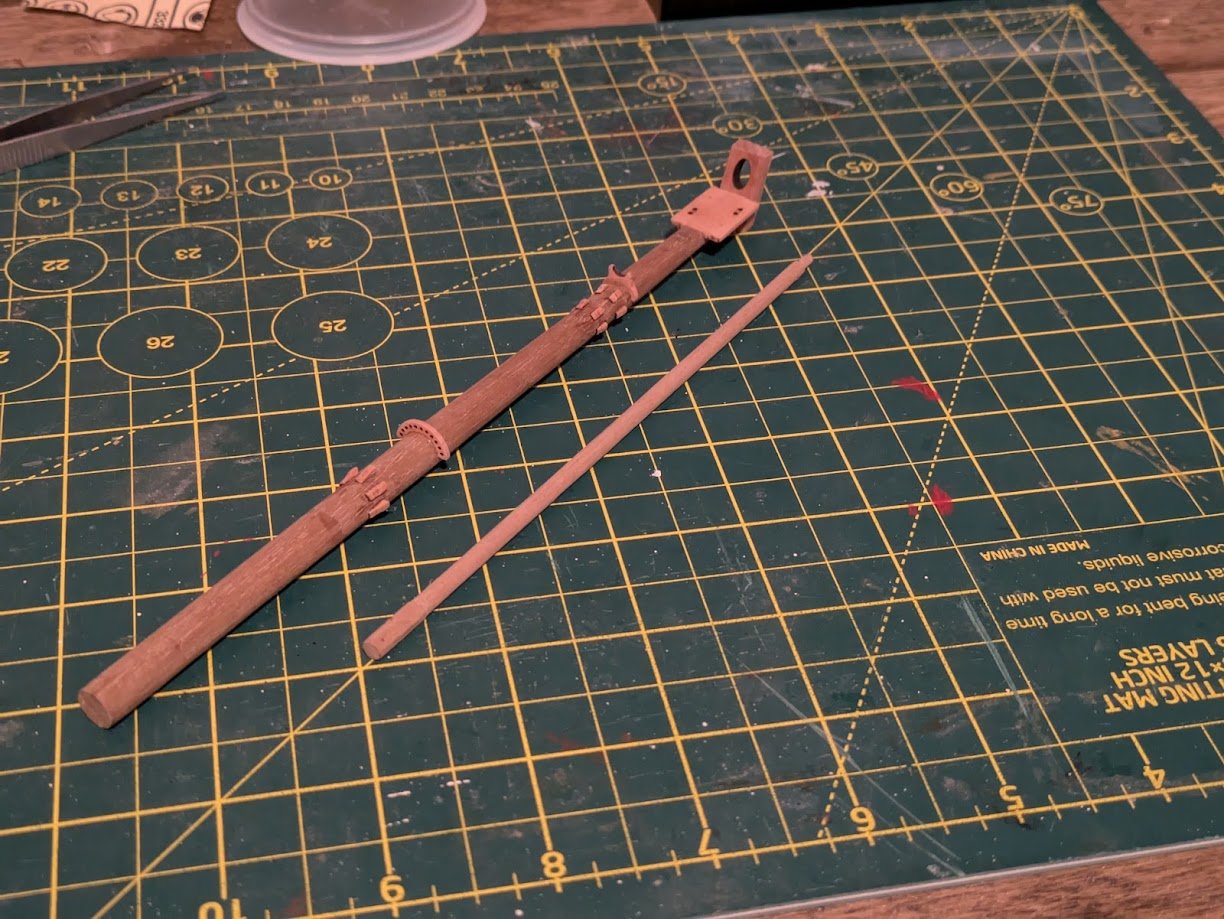
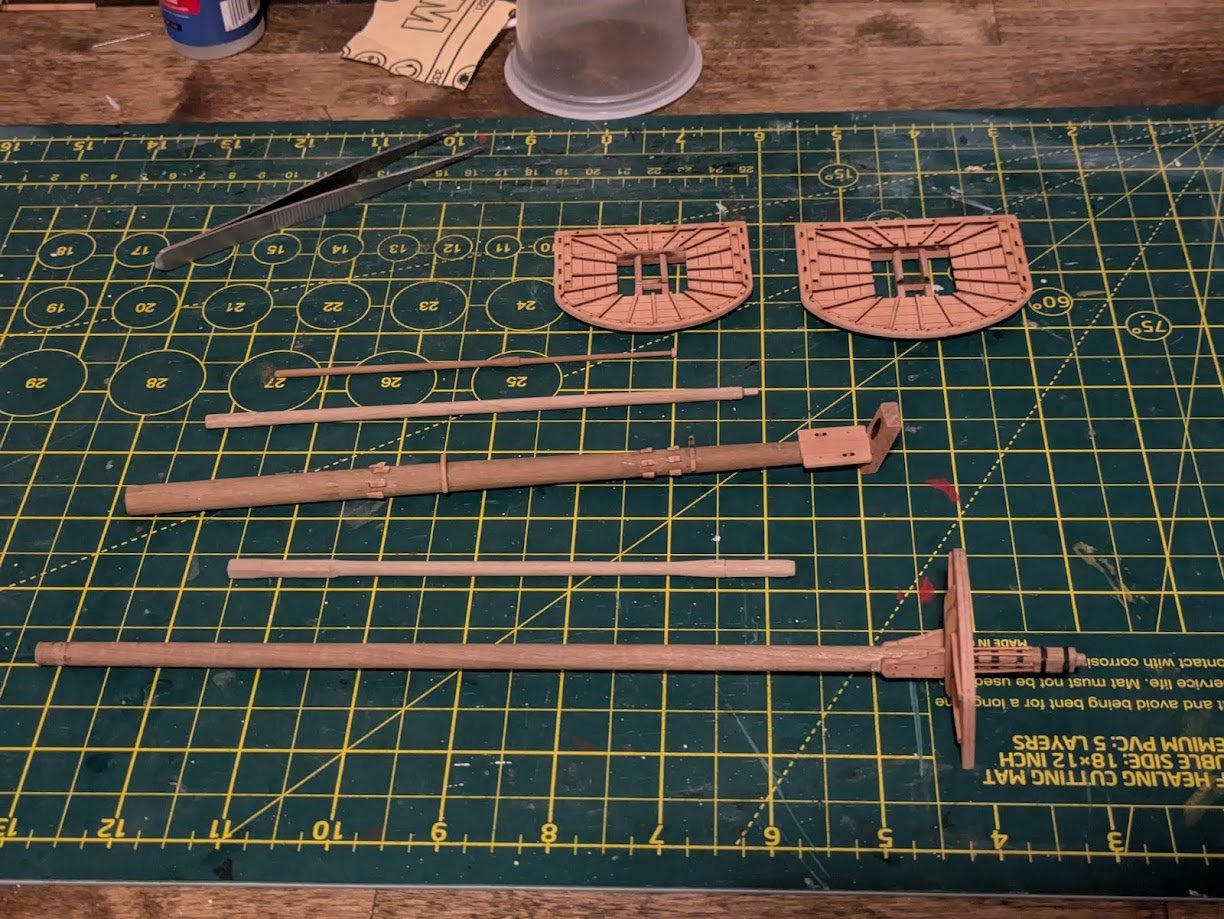
Howdy all. I have just about all the masts turned down on my proxxon lathe. My next step was building them up, I decided to start on the lower masts to first. The main masts need to be flattened out on 3 of the sides, and then the top portion above the tops are square shaped. To do this I created a very simple jig out of some spare square dowel I had. I can adjust the height of the dowel needing to be cut by inserting different thickness timbers below the dowel. This quick jig worked better than I was expecting, and I was happy with how the lower masts were able to be flattened with a simple file. Next was building up the masts with all the reinforcements, installing the tops, iron bands, and wooldings. I have never worked with card before on a model, but it was simple to work with and looked much better than I was expecting. I will probably add some assortment of card in my toolbox, I can see it being a useful material to use in the future.
-
Beginner - Rigging Tools
brunnels replied to nheather's topic in Modeling tools and Workshop Equipment
When I rigged my last model, 80% of the rigging work was done with some fine tweezers. I have that 5 piece rigging tool "minature fingers" set that micro mark sells and I actually found them to be very useful for belaying lines around belay pins and cleats that were in hard to reach areas. I use a set of forceps from time to time for spots where my small tweezers wouldn't fit. These are the ones I bought. https://www.amazon.com/dp/B01MXEN7OY?ref=ppx_yo2ov_dt_b_fed_asin_title Another tool I use are cuticle trimmers, they are fantastic for snipping line close to knots when you don't want to leave any excess line showing. https://www.amazon.com/dp/B07J6B3W12?ref=ppx_yo2ov_dt_b_fed_asin_title&th=1 I would also recommend something like some "helping hands" to hold lines while you tie knots off ship. Rigging is one of those tasks where you always wish you had a second set of hands to hold something. https://www.amazon.com/gp/product/B0C1ZZ9Y2V/ref=ppx_yo_dt_b_search_asin_title?ie=UTF8&th=1 I would also recommend a pack of small alligator clamps, they are very useful for clipping to a line if you need some weight to hold it in place. -
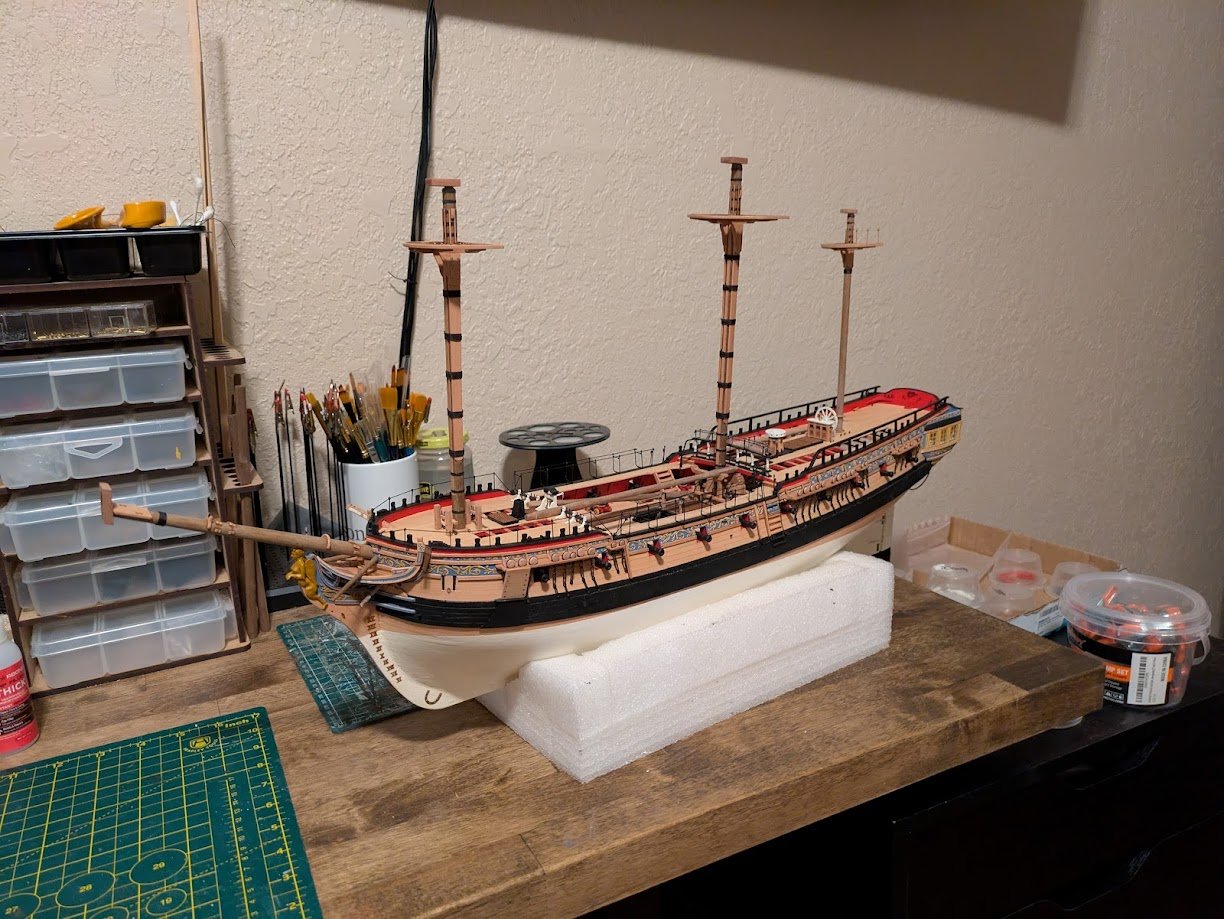
Howdy all, over the last week I have started on the masts. I recently purchased a Proxxon DB250 to turn the masts, on my last model ship I used the battery operated drill method to turn the spars down and I wasn't a fan. The last time I used a lathe was nearly 20 years ago in high school wood shop class, so it took a little bit of time to get acclimated with it again. I still have some learning to do, I have forgotten the purpose of each specific lathe tool, and need to learn what turn settings to use for each type of timber, but so far I have had success and really enjoy using the machine. I started on the bowsprit and mizzen mast assembly, I figured those would be the easiest pieces to get my bearings with.
-
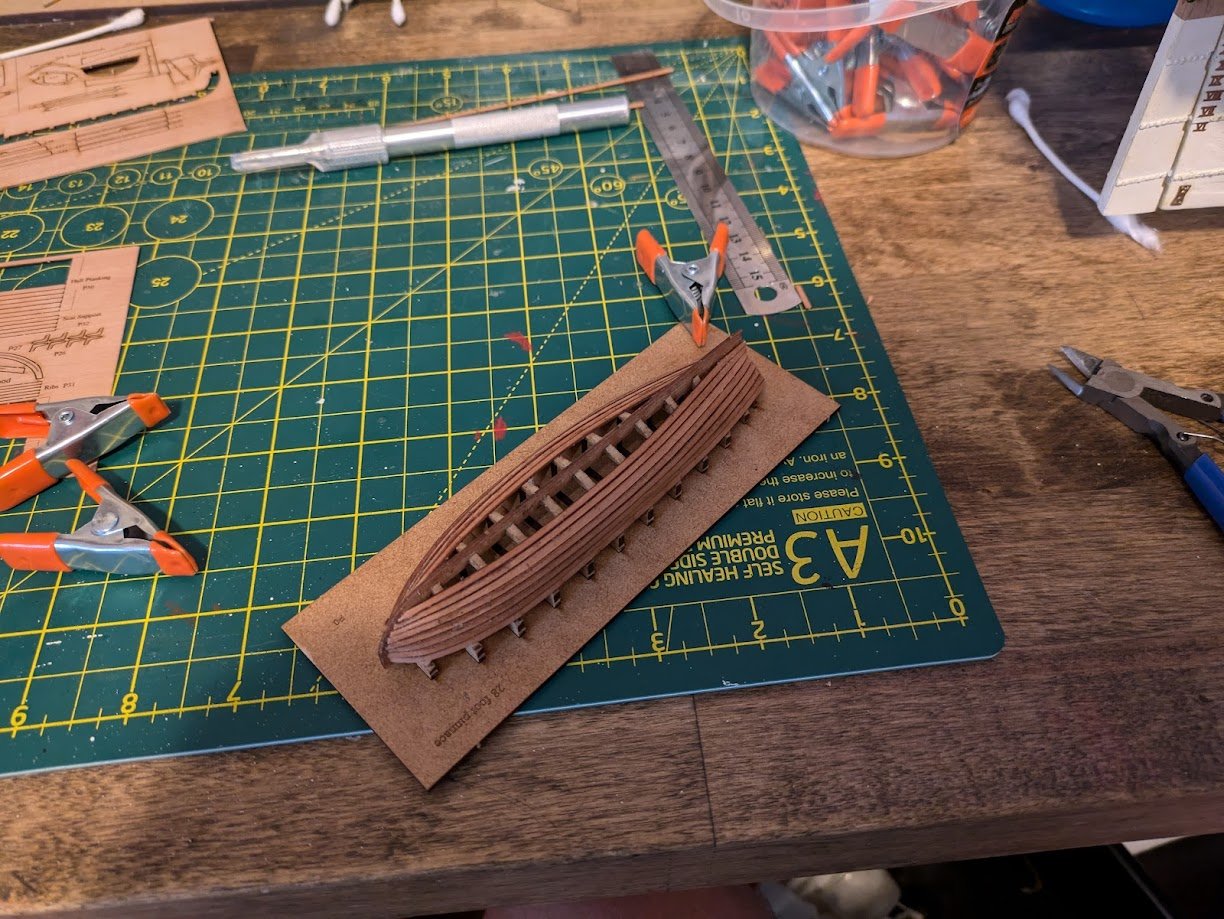
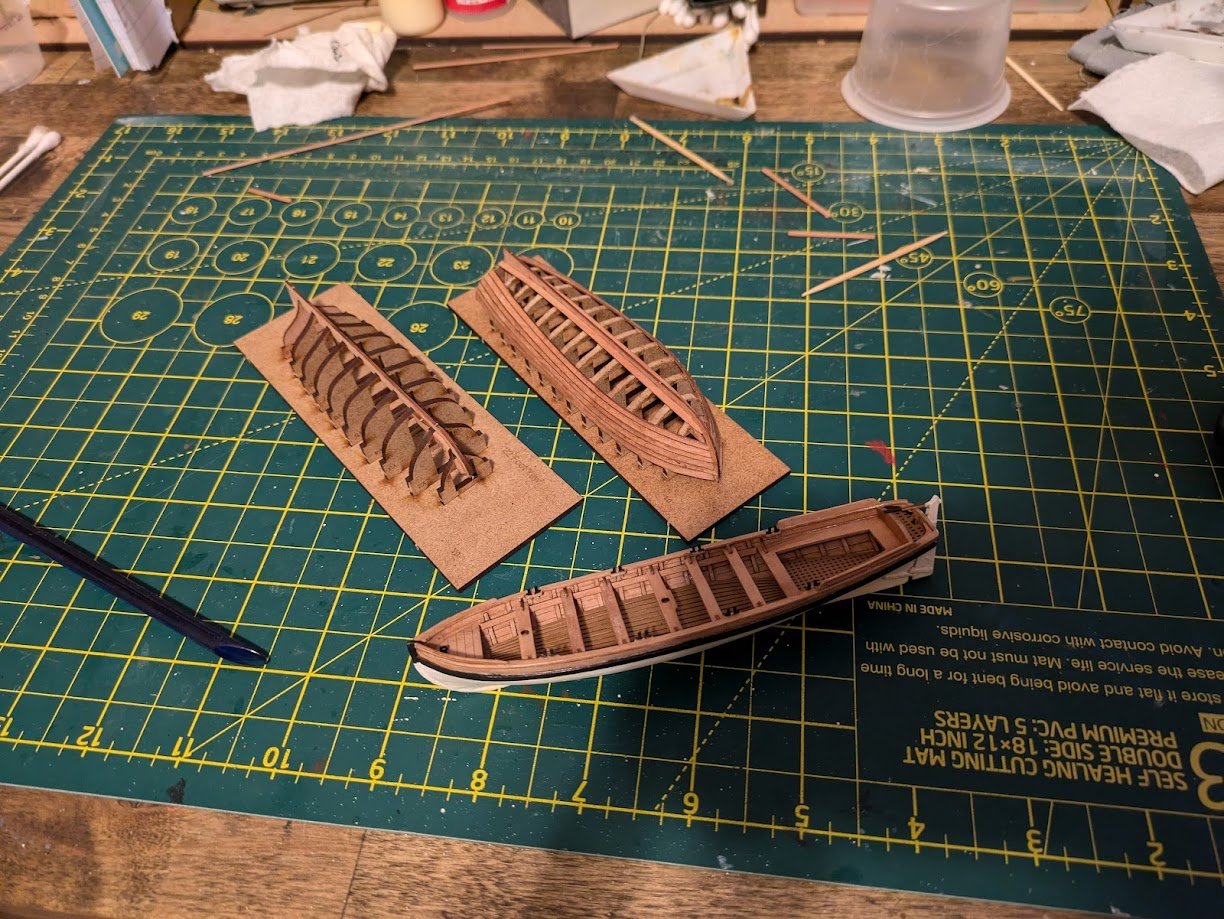
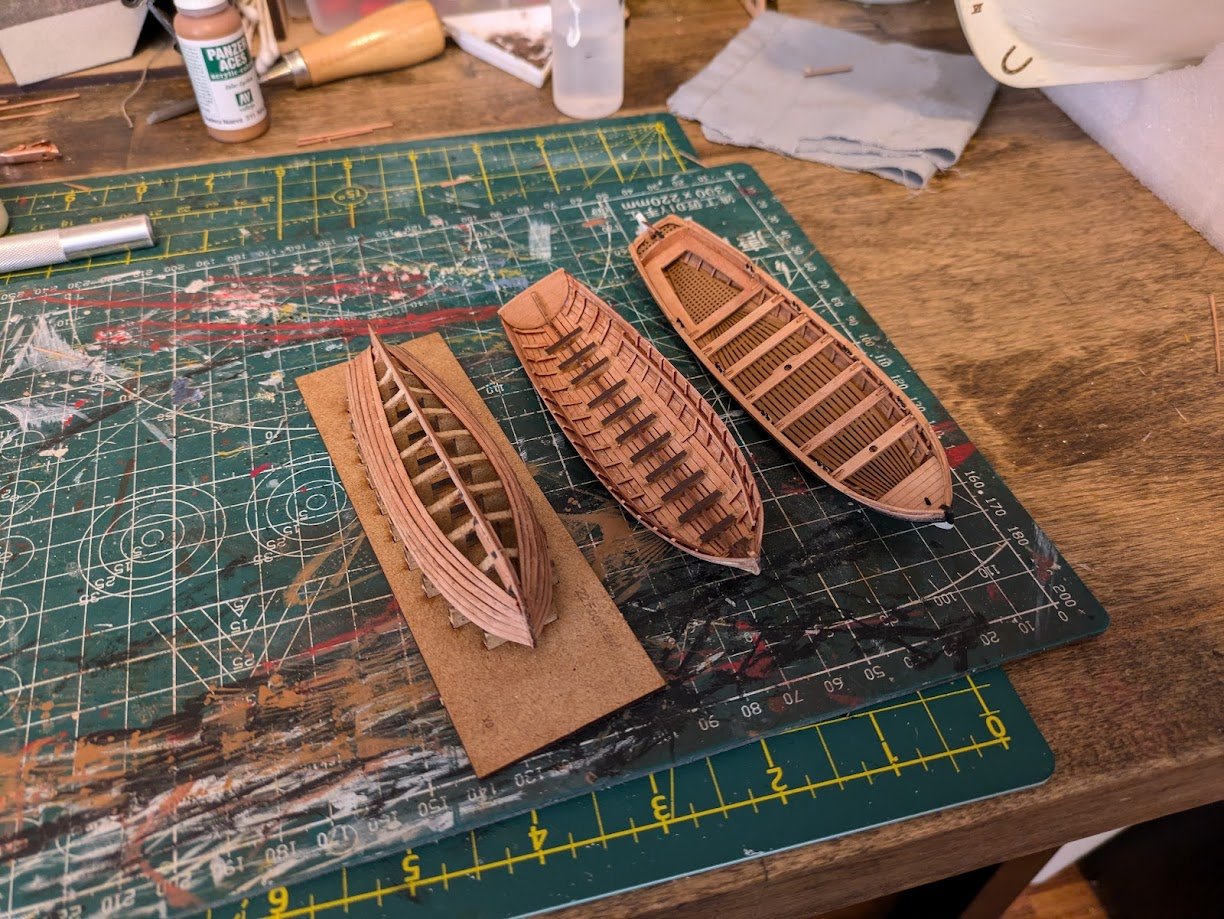
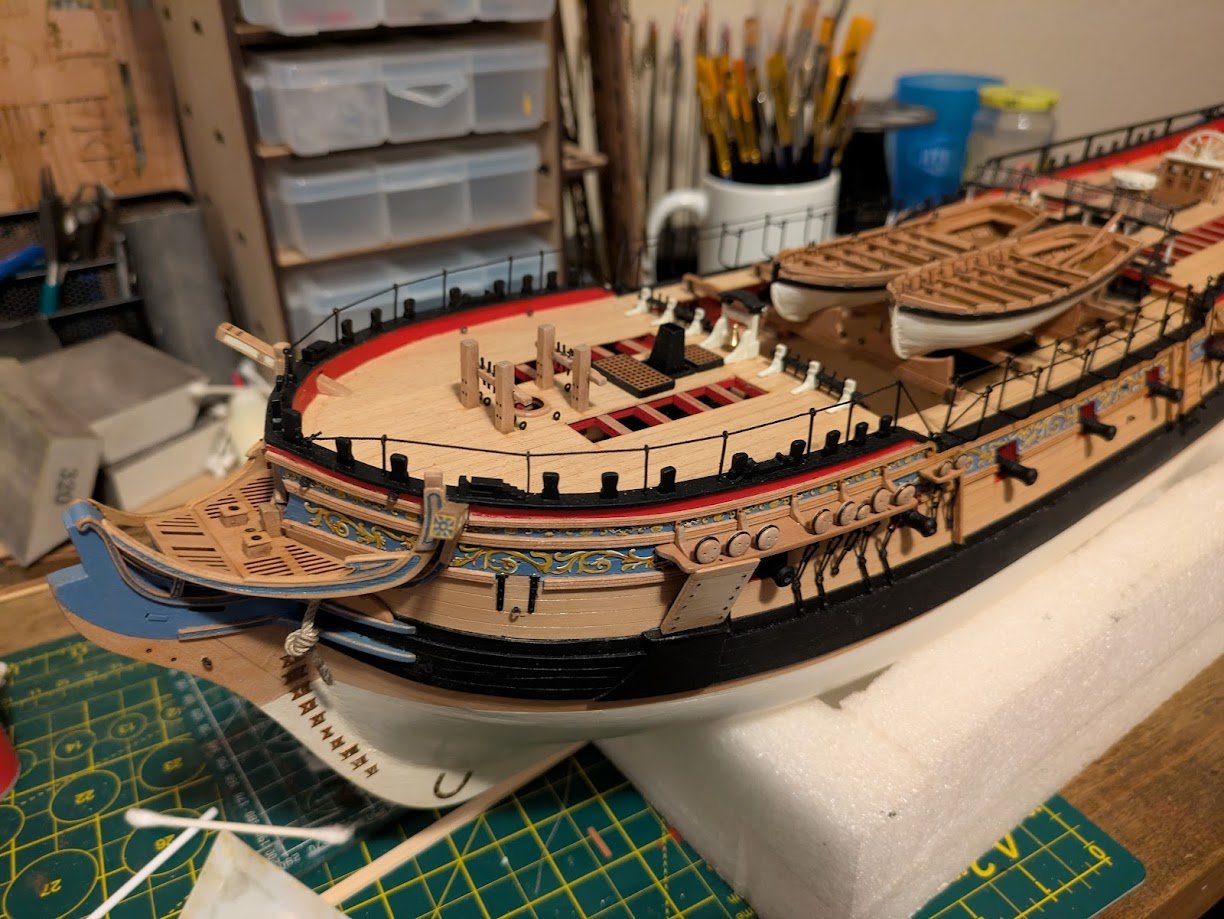
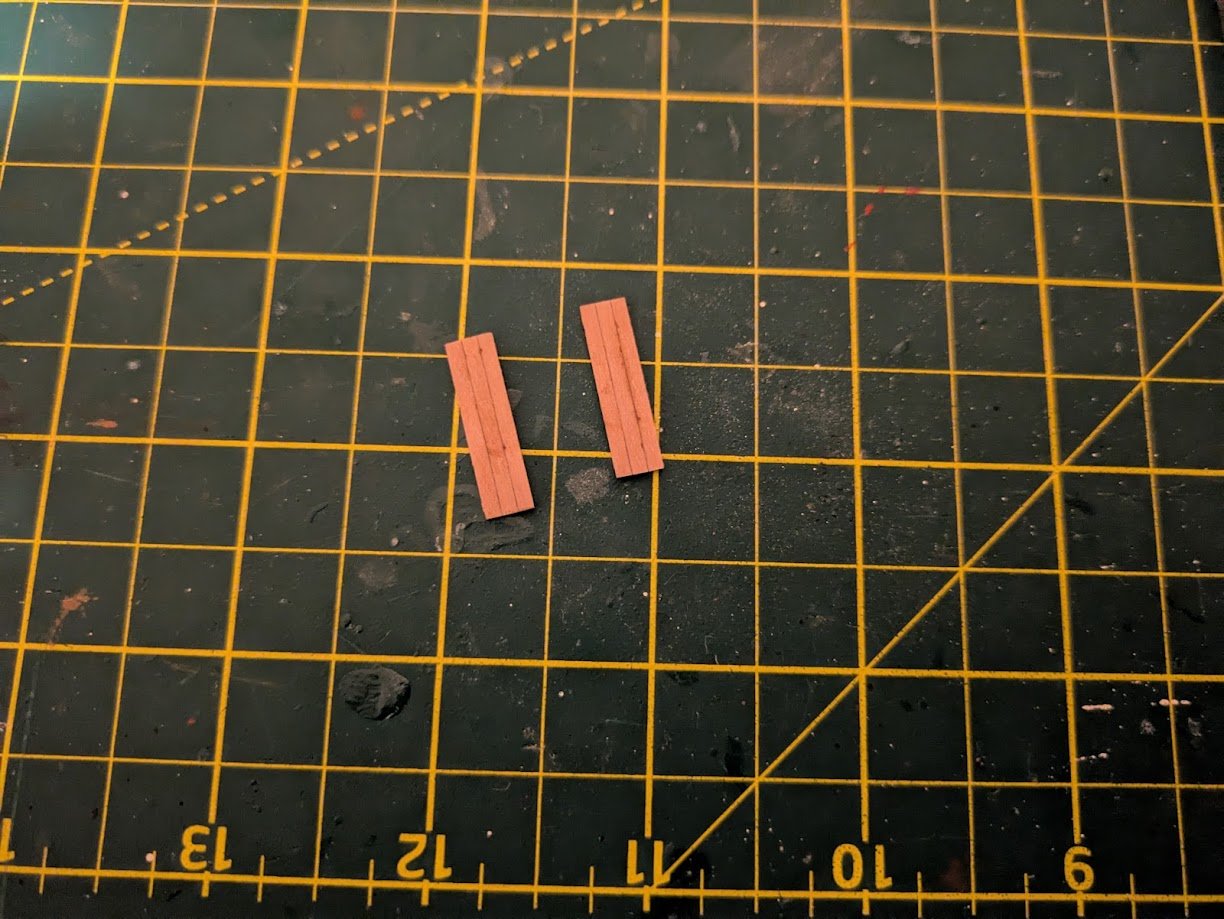
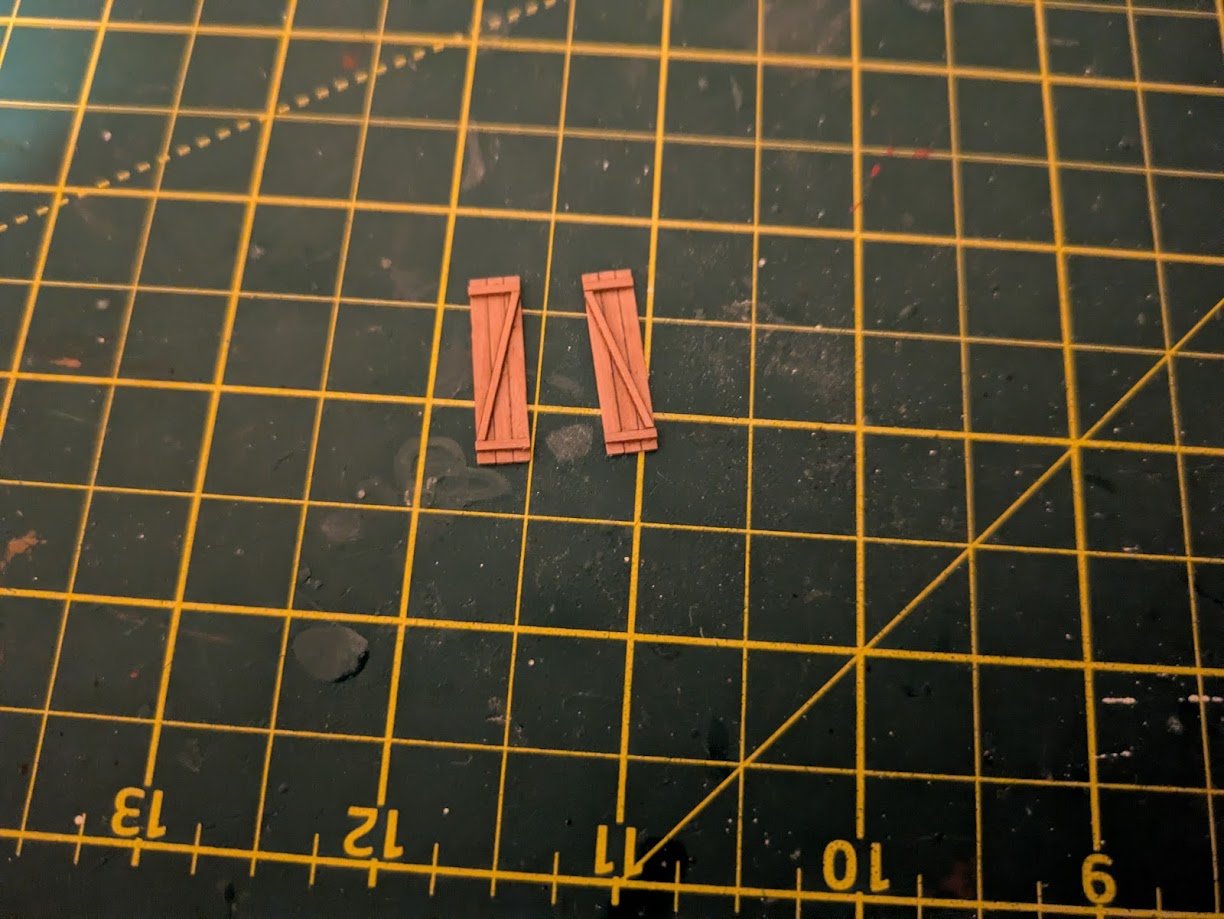
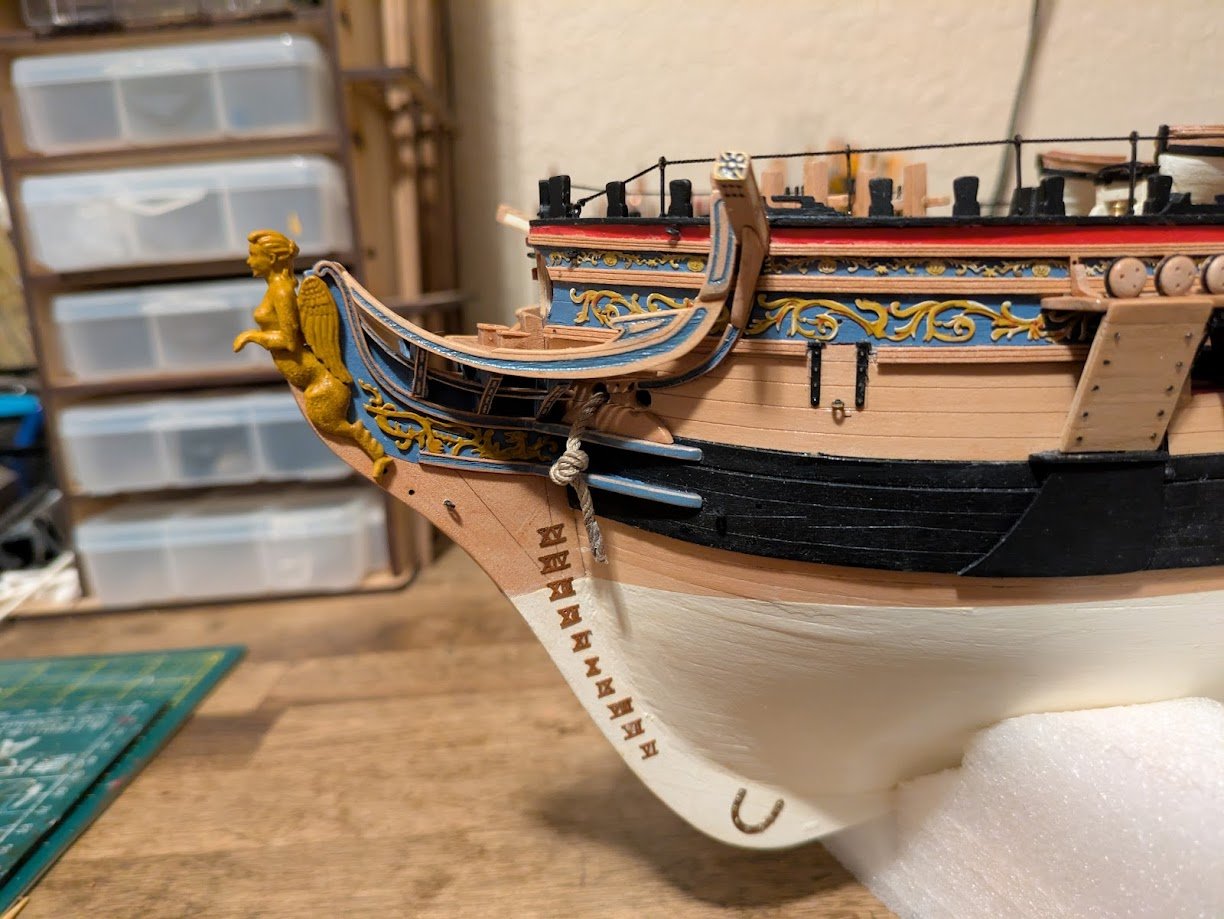
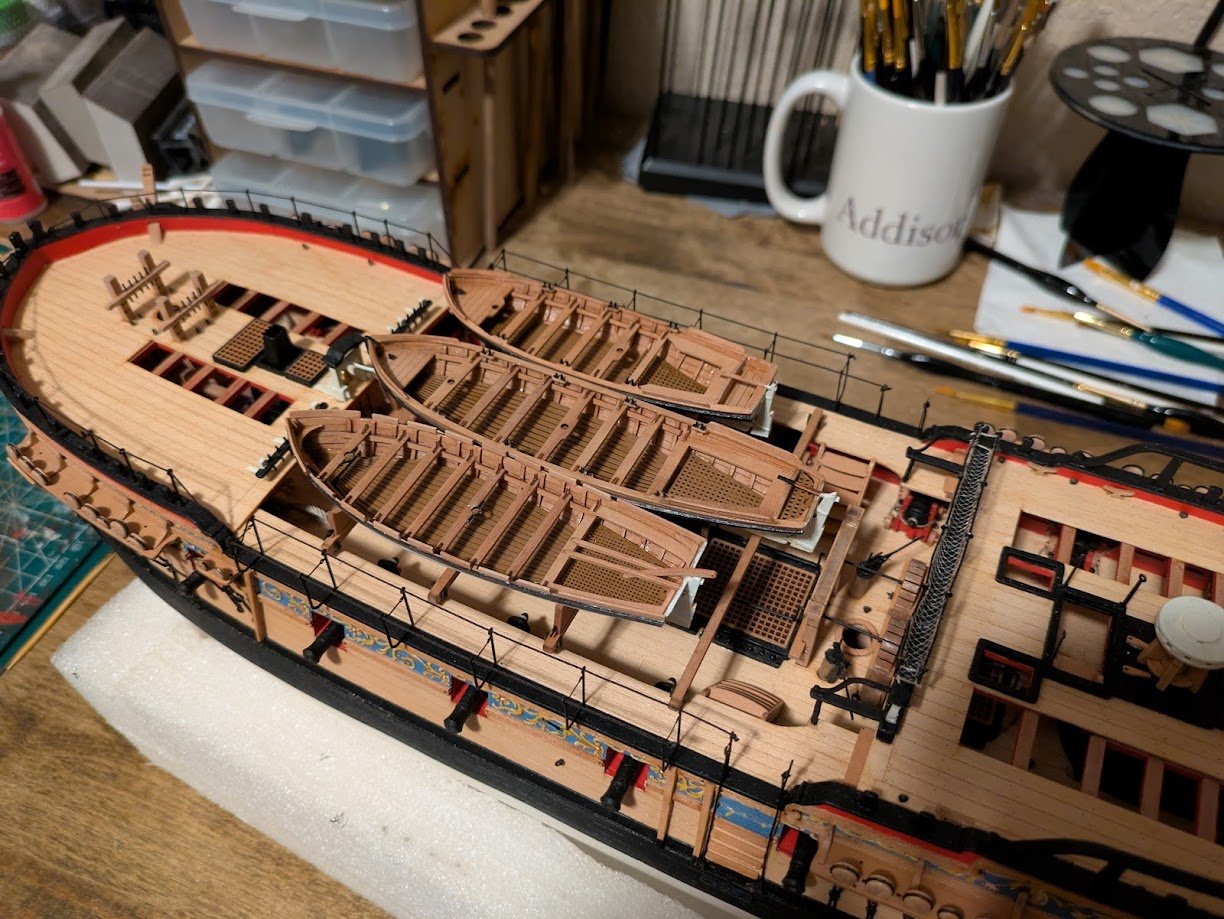
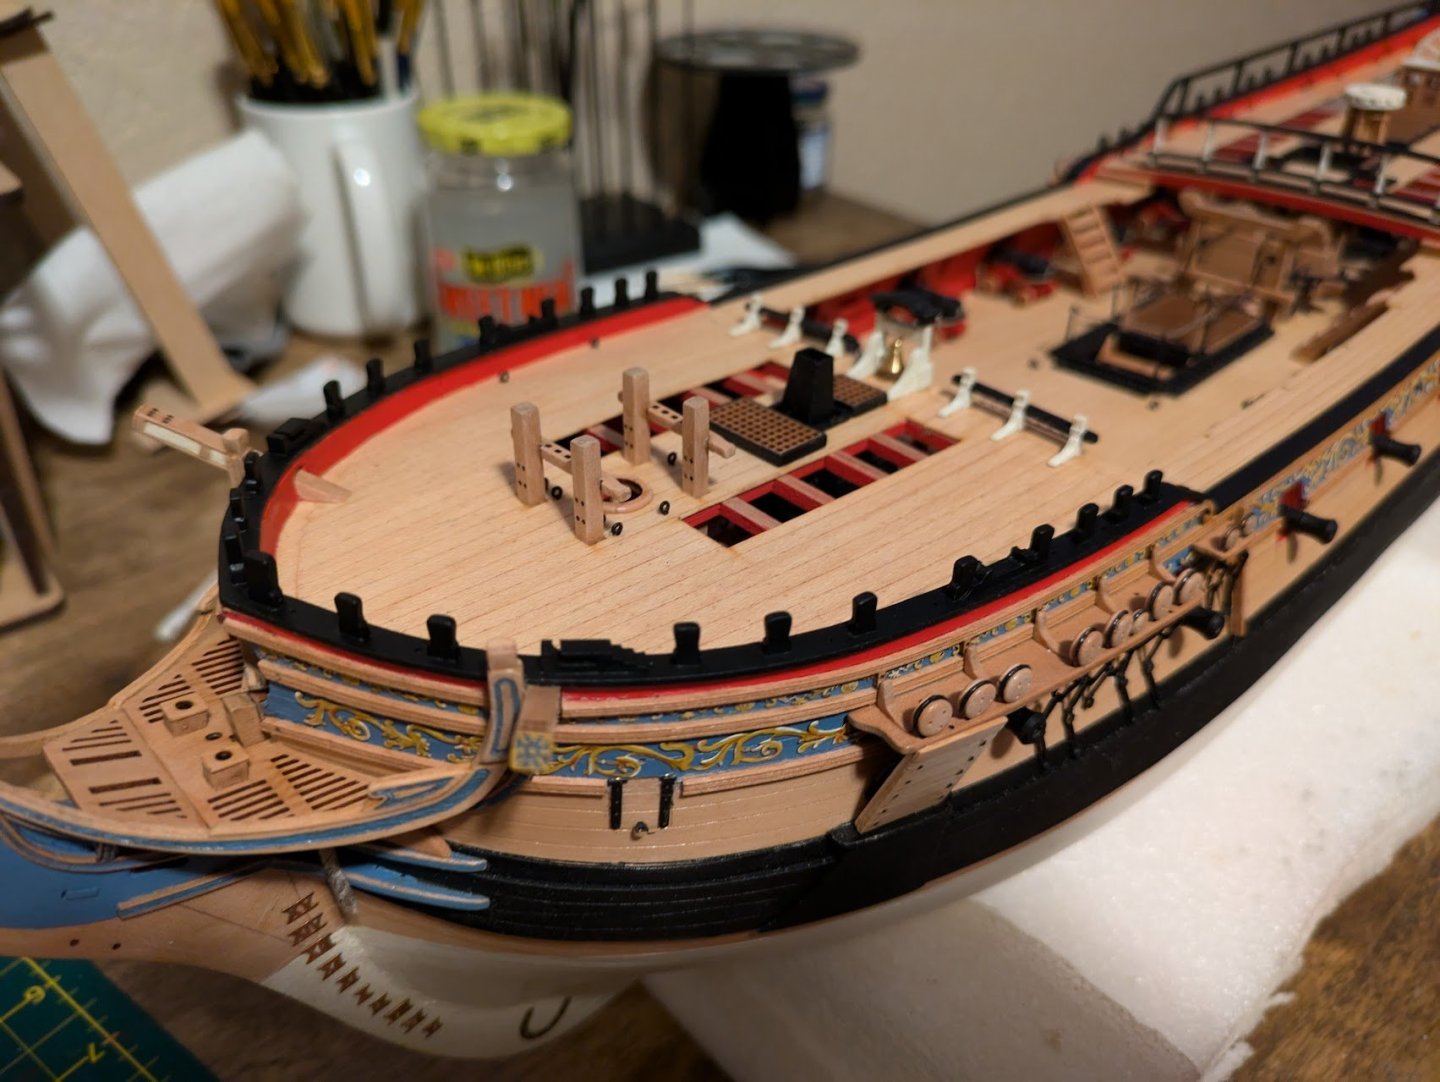
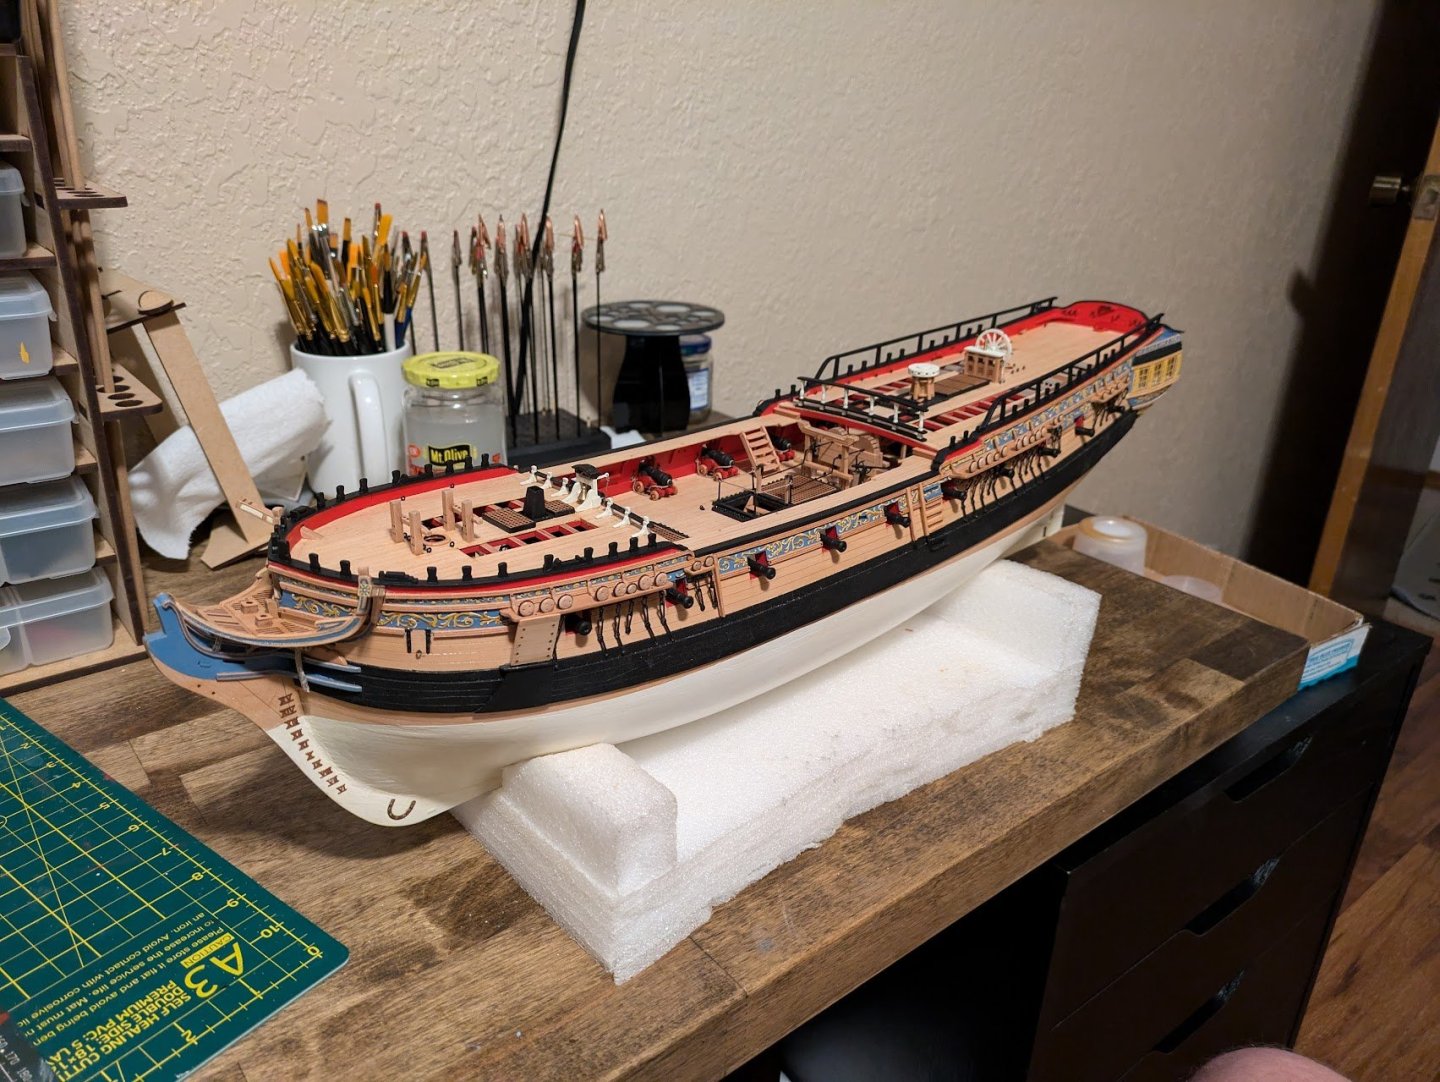
Apologies for my break from updating my build log. October was a very long month for us, our 15 year old Australian Shepard has been slowly losing more and more mobility over the last year with the last couple months being near 100% immobile. At the start of October she took a turn for the worse and we decided it was time. She was my constant companion, nearly always at my side for the last 15 years when I got her straight out of College. Her loss has been a huge adjustment for me to get used to, so apologies for the lack of pictures of my progress for the past couple months. For October, I spent nearly the entire month working on the ships boats. I really don't look forward to building these little boats, ships boats are always a fiddley task that always takes me way longer than I expect. I was planning on buying the 3d printed Vanguard boats so I didn't have to build them, but I needed to take my mind off of some stuff and figured I would give them a try and at least practice some of my skills. They aren't the best, but I am satisfied with the result. Planking Pinnace Completed Pinnace, work started on the other two boats Finished boats. I will complete the anchors and oars once they are permanently fixed in the ship after rigging. I also completed the rope railings and hammock cranes around the forcastle and gangways. After rigging I plan to add netting to the hammock cranes on the gangways. Figurehead. I painted with Vallejo Ochre brown, and then used a Vallejo brown wash on top. Next is something I saw on @hollowneck buildlog. He added a couple small doors to the Quarterdeck stairway which I thought looked really nice, so I decided to add something similar. I made the door out of some spare 2mm pear planking that was intended for the ships boats. 3 pieces for each door ended up being the perfect width. I then added some reinforcement on the back side I then used some spare PE rail stanchions that I cut down and bent for the hinges, and a couple eyebolts for handles. How the ship currently sits. Ready to start on the masts and spars.


-
As someone completely ignorant on lighting in models, I am assuming you have to install these as you build the model and it isn't something you can add afterwards? Since my Quarter deck and forcastle are already closed on my Sphinx it's probably too late to add. Love the product though, will go great with my future surprise kit.
-
Congrats, beautiful model. One of these days I will get around to my Syren kit. Are you by any chance from Kiowa, OK?
-
Those beveled boxwood waterways look really nice. Fantastic work as always.
-
My sentiment as well, the cutaway feature is really cool but I would have preferred any ship that there aren't a bunch of kits for already.
-
Looking great ECK, you must have an amazing fleet with all the fantastic models you have done.
-
I will definitively be one of the first on the buy list, frigates are my favorite vessels and like many the Surprise has a special place, the Master and Commander movie is what really kicked off my love for the age of sail, and one of my favorite memories of my youth is seeing the movie in theaters with my dad and brother when I was in high school. I've been reading the books and I get a smile every time the Surprise appears.
-
I agree, the figures look great. I will be happy if I could do half as good on the few figures I have.
-
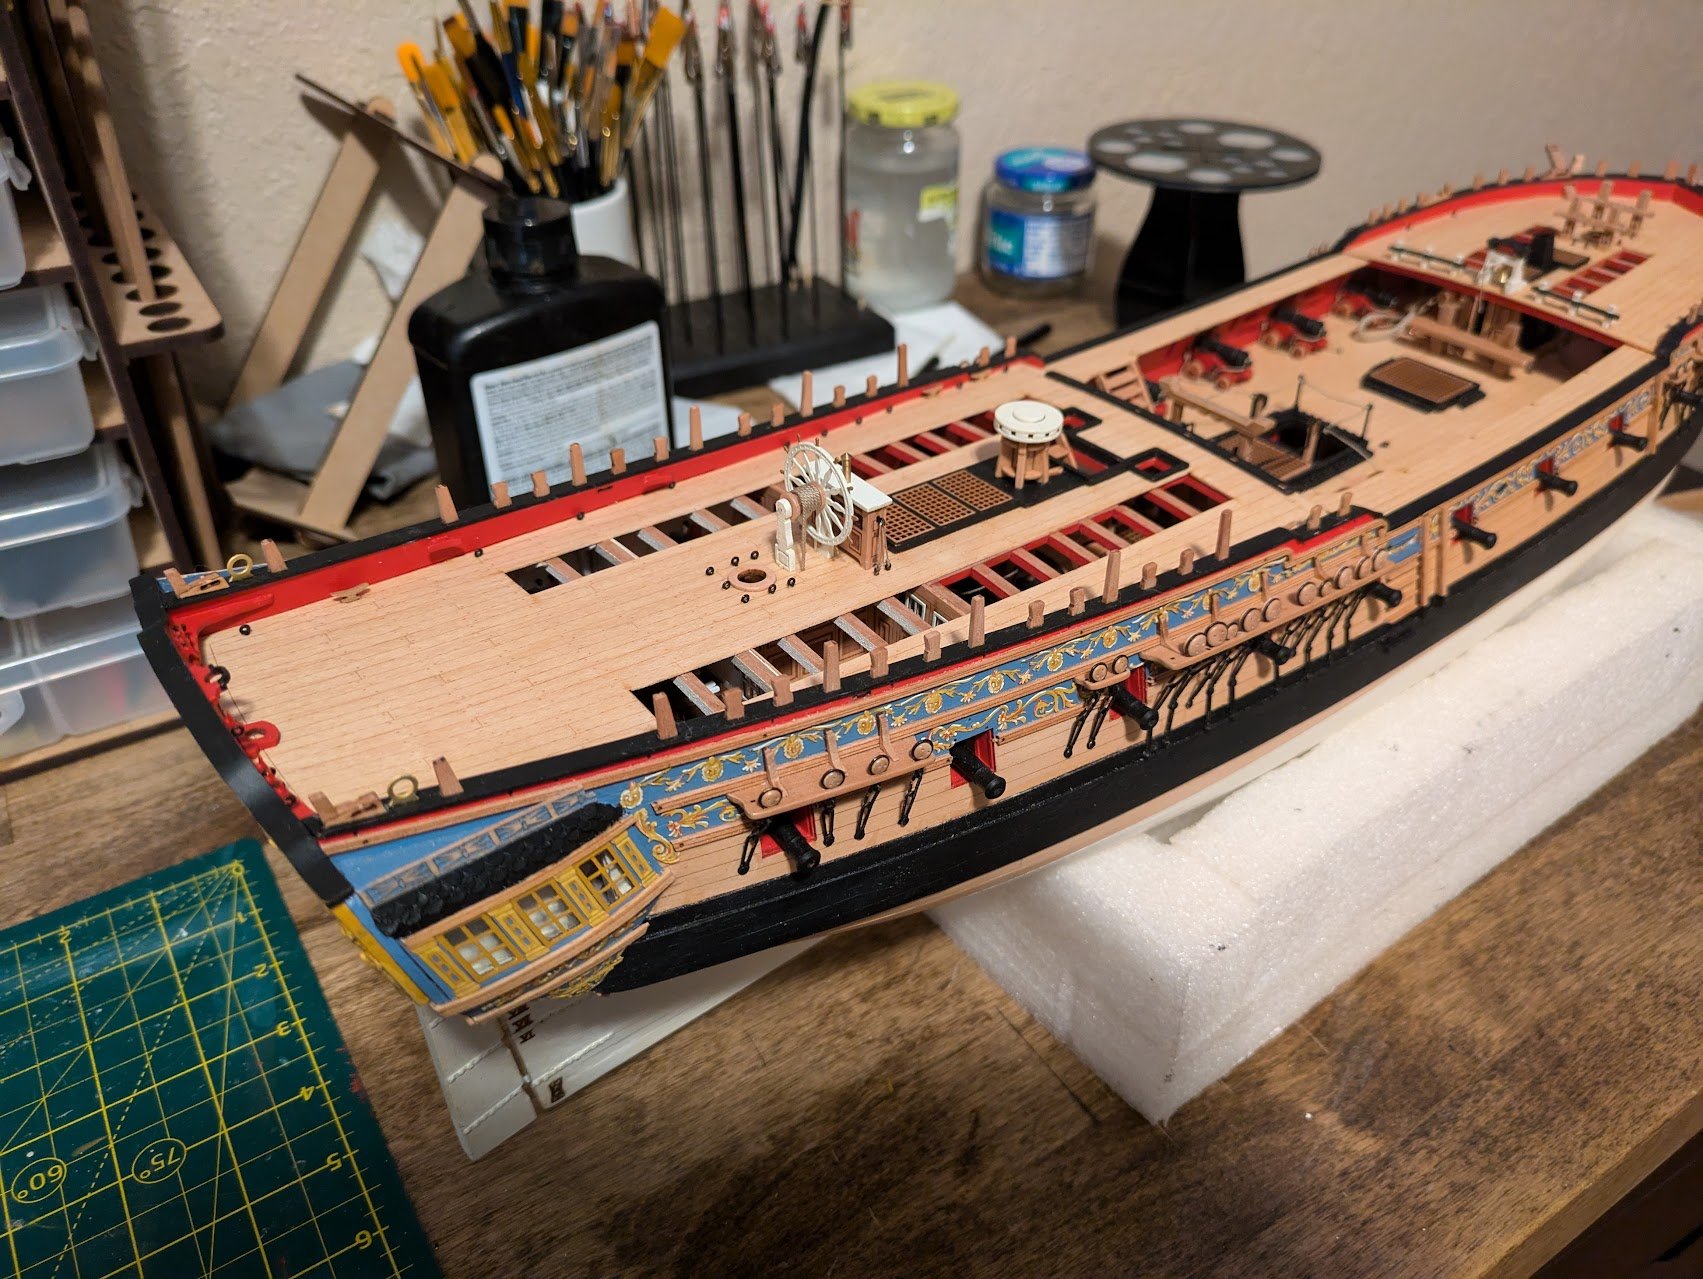
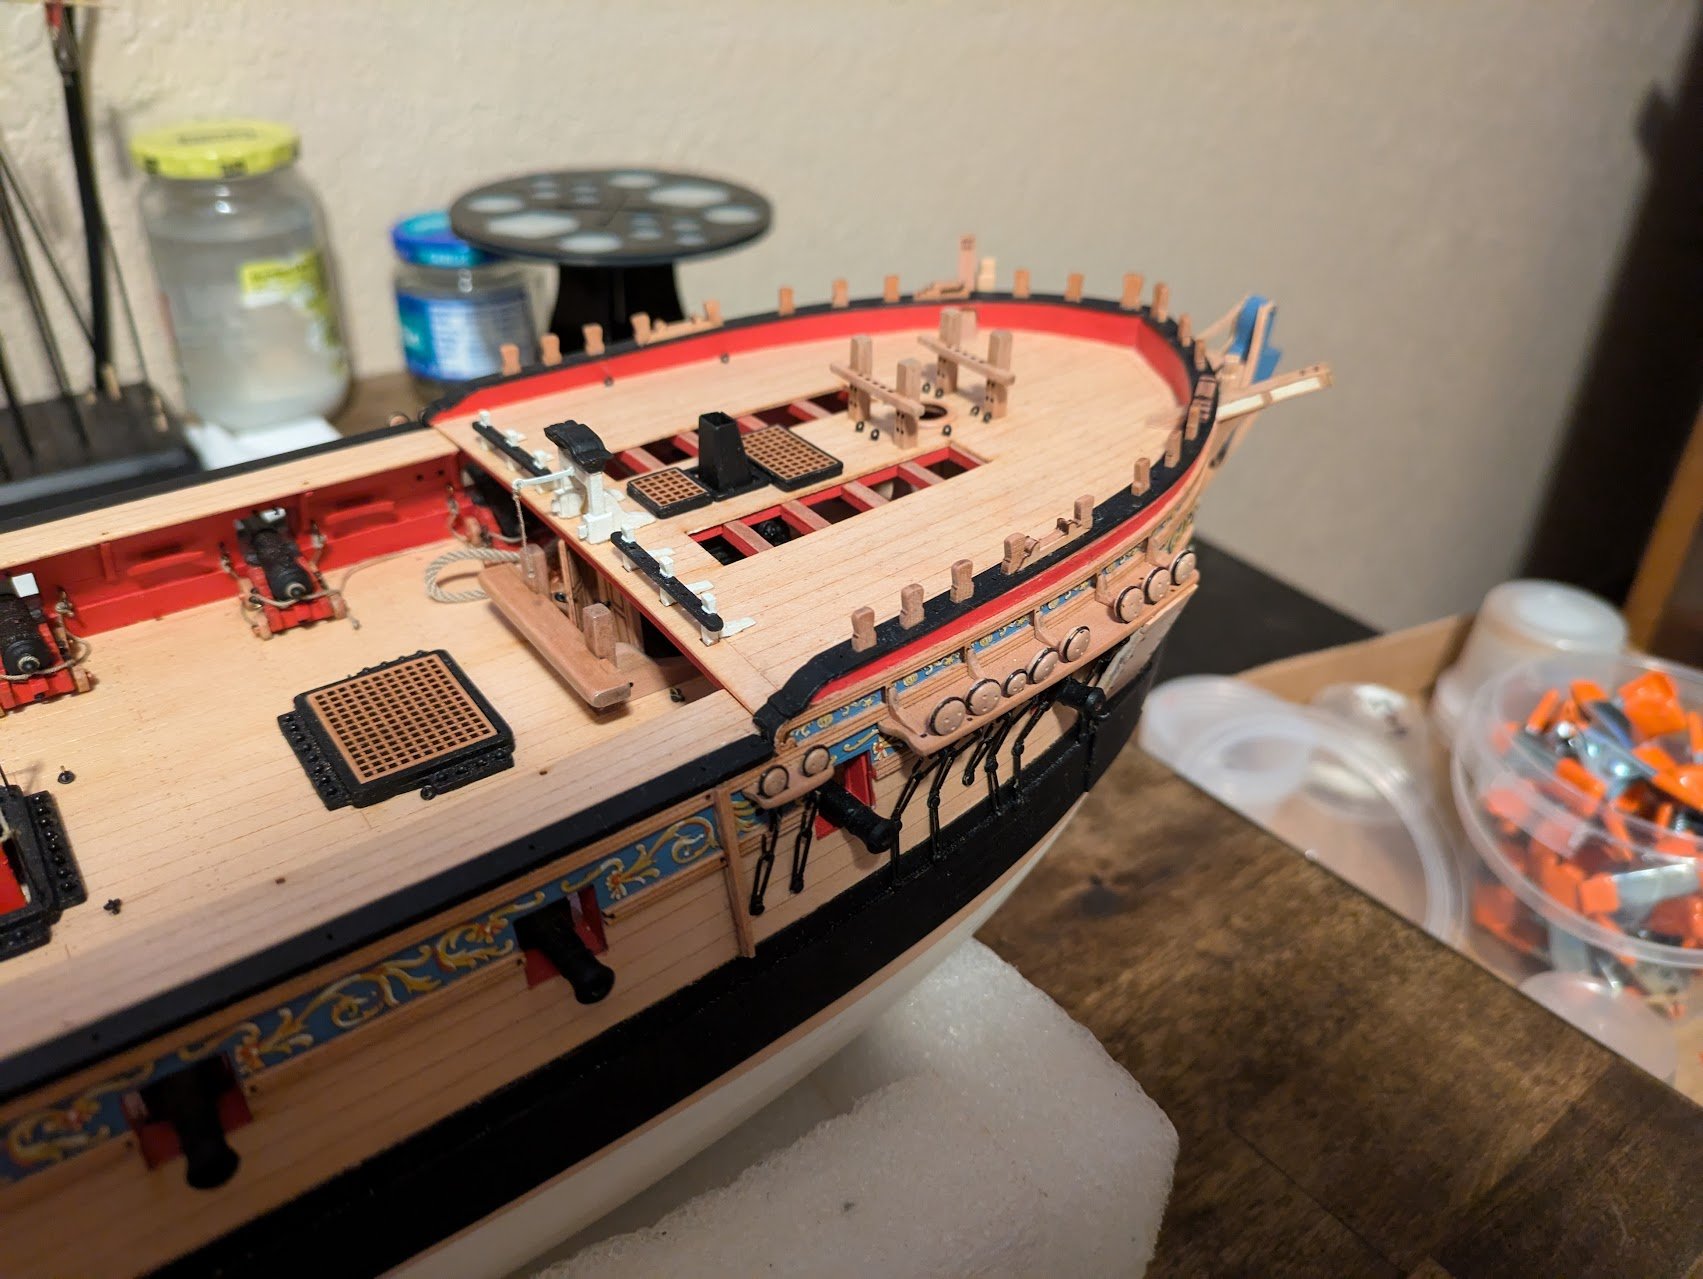
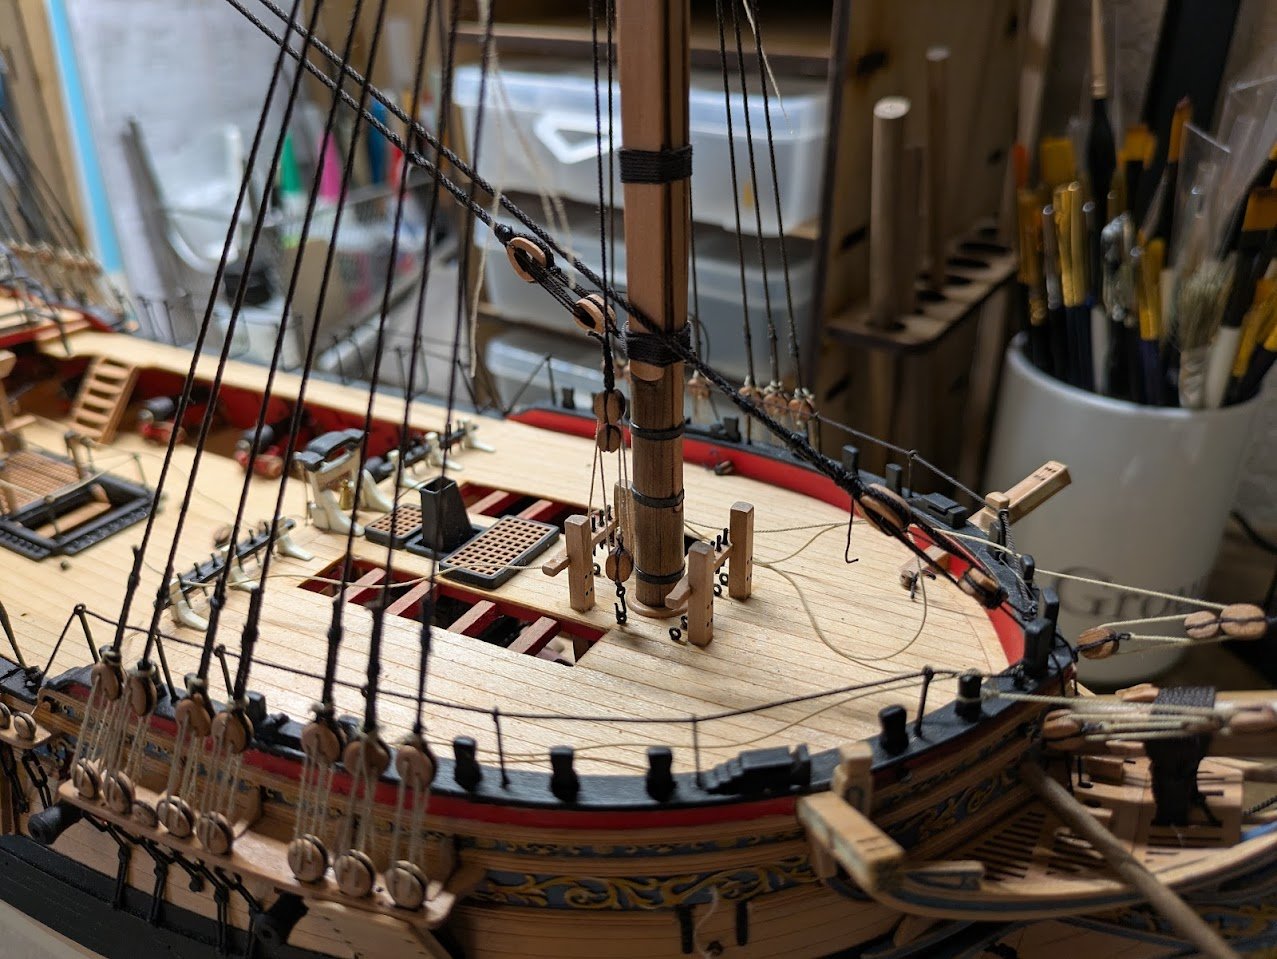
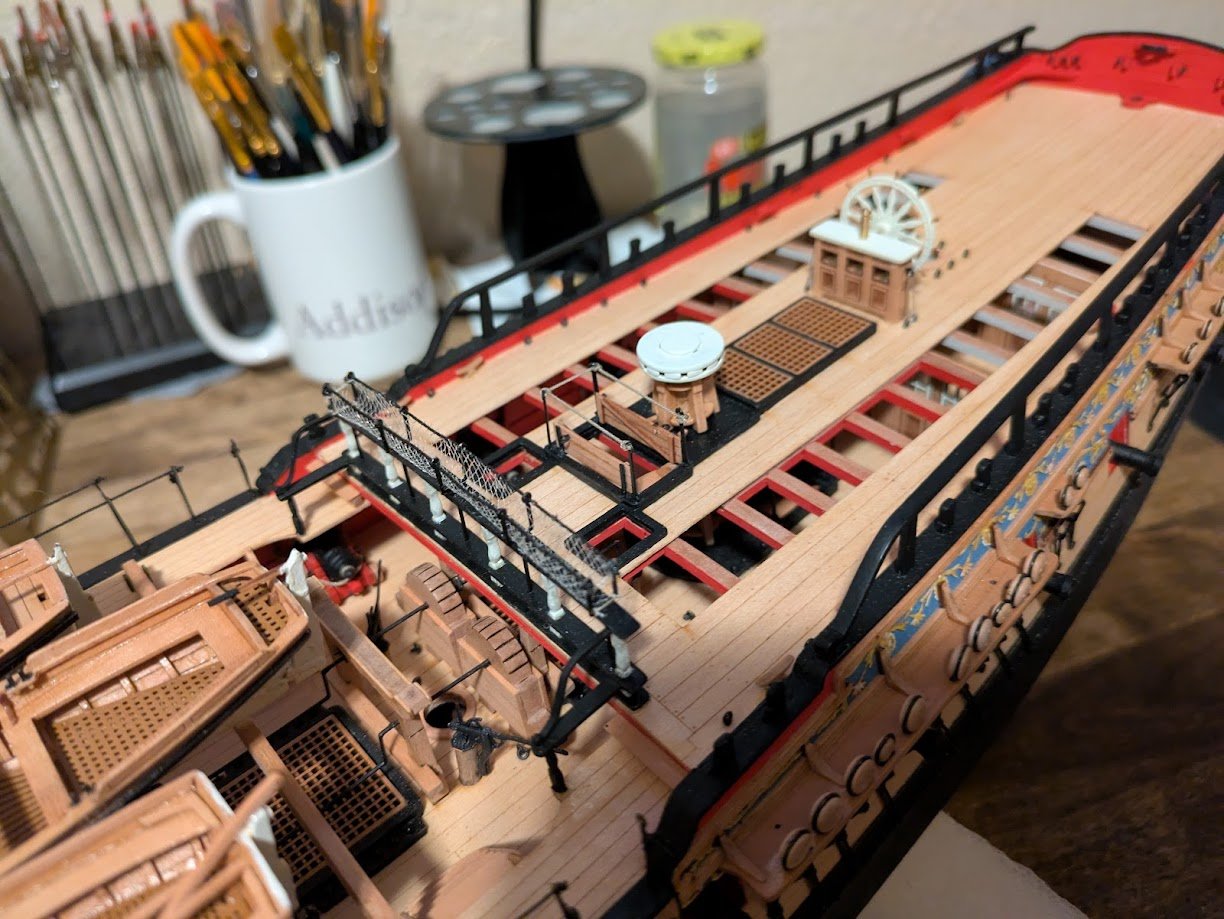
FC/QD Rail Stanchions and Timberheads: Removed the char off of the timberheads and rail stanchions and glued them in place. The slots in the gunwale cap pieces make this a very simple task. Next came a few coats of black paint and then varnished. QD Breast Rail: Next up is the QD Breast rail, the hardest part about this process was rounding the stanchions. I was also pleasantly surprised how little adjustment I needed to do to the stanchions to get all the horizontal railing pieces to line up and slide in their places. Overview shot of how the ship sits. Getting close to masts and rigging, just a few more tasks on the main ship, and then the three small boats.


-
DoK is a beautiful ship, you made a good choice.