


marktiedens
-
Posts
1,737 -
Joined
-
Last visited
Content Type
Profiles
Forums
Gallery
Events
Posts posted by marktiedens
-
-
-
-
Thanks Jason - welcome aboard.
Rob - what I did was run some medium CA glue down the joints to hold the bulkheads in place. I plan to add some regular wood glue to the joints to make sure they stay in place. I do not plan to show any cut away for the interior - I will just use the false cannons for the lower decks. Unless I put lights inside it would be hard to see any interior detail & I am not adding lights.
Mark
-
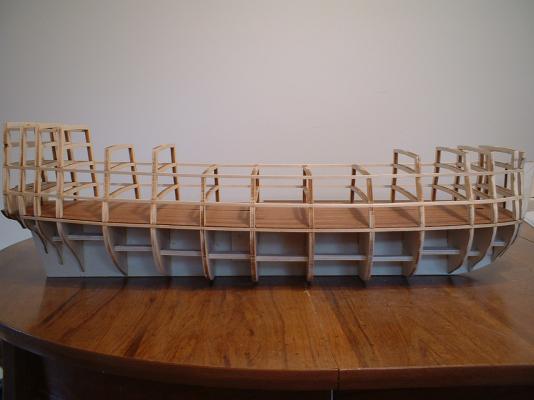
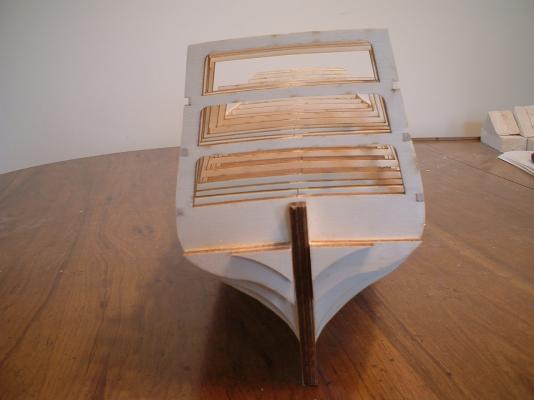
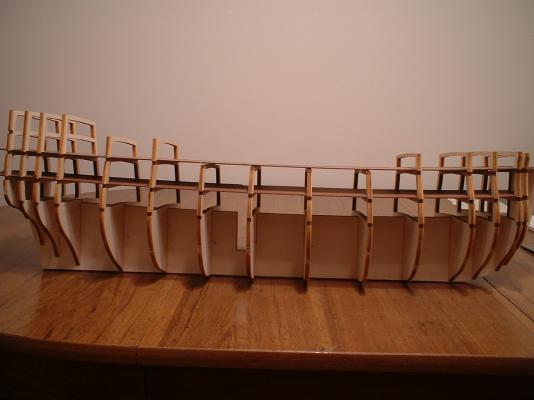
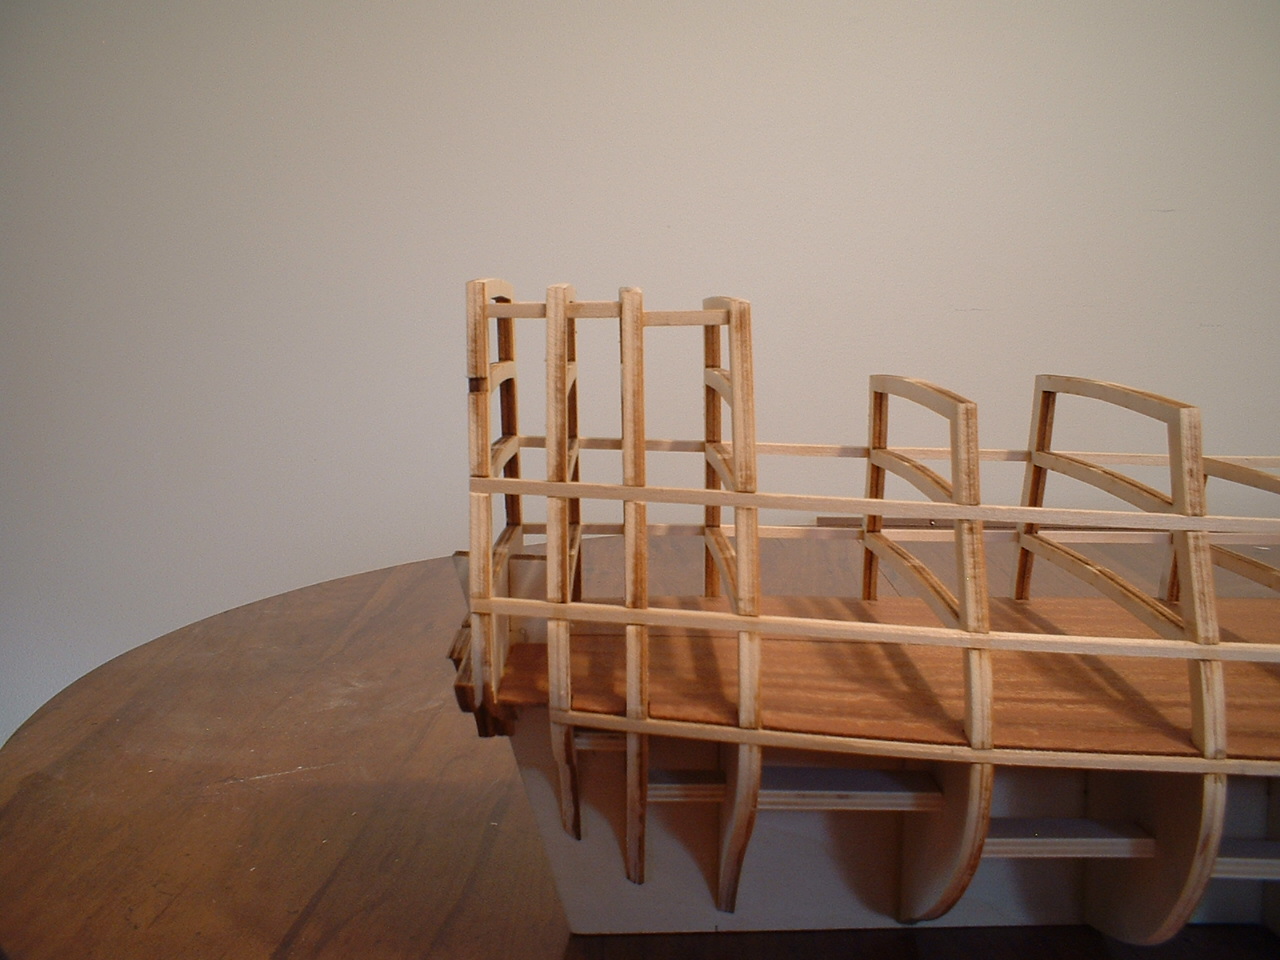
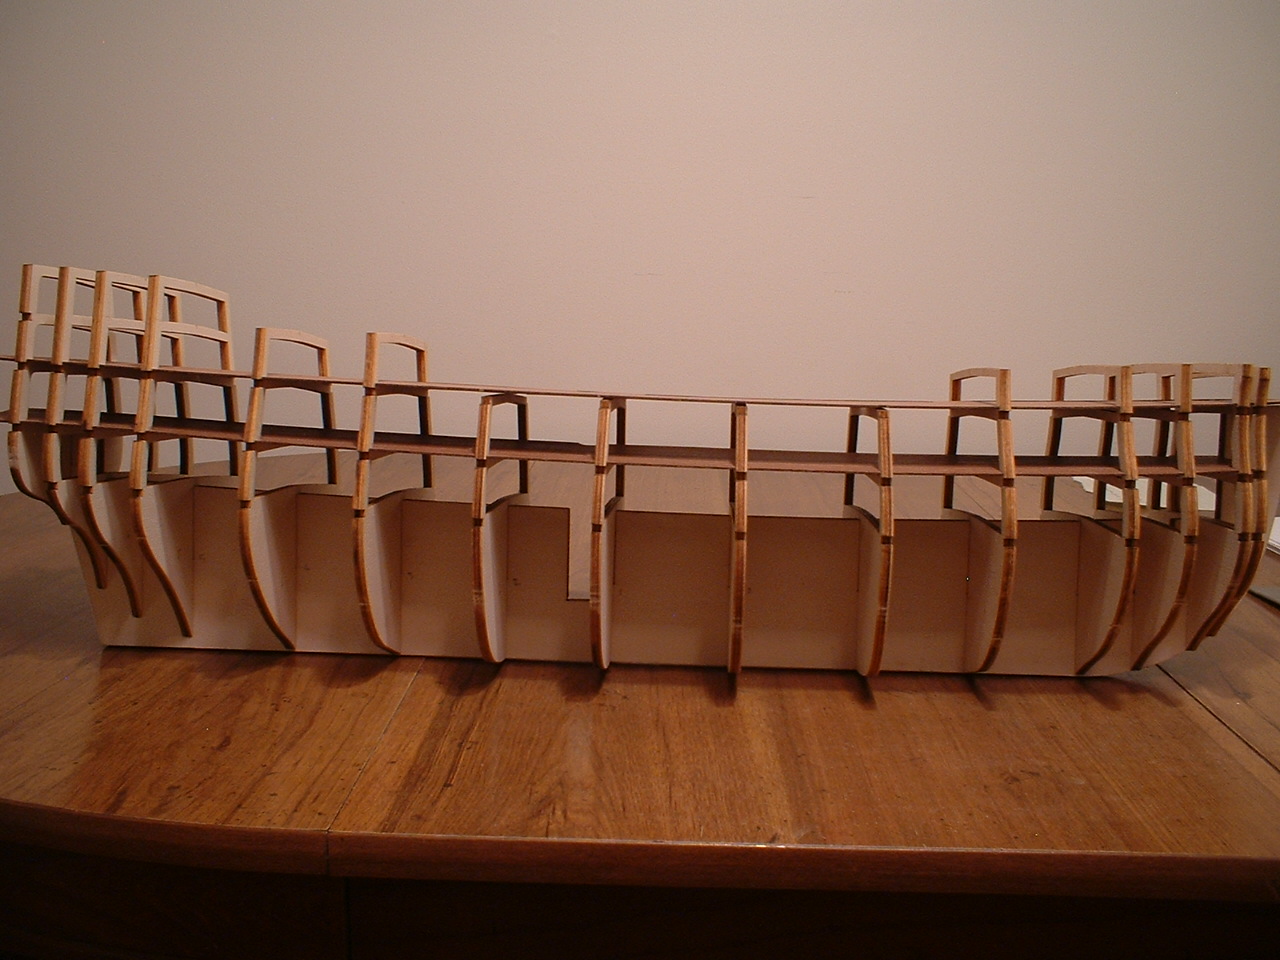
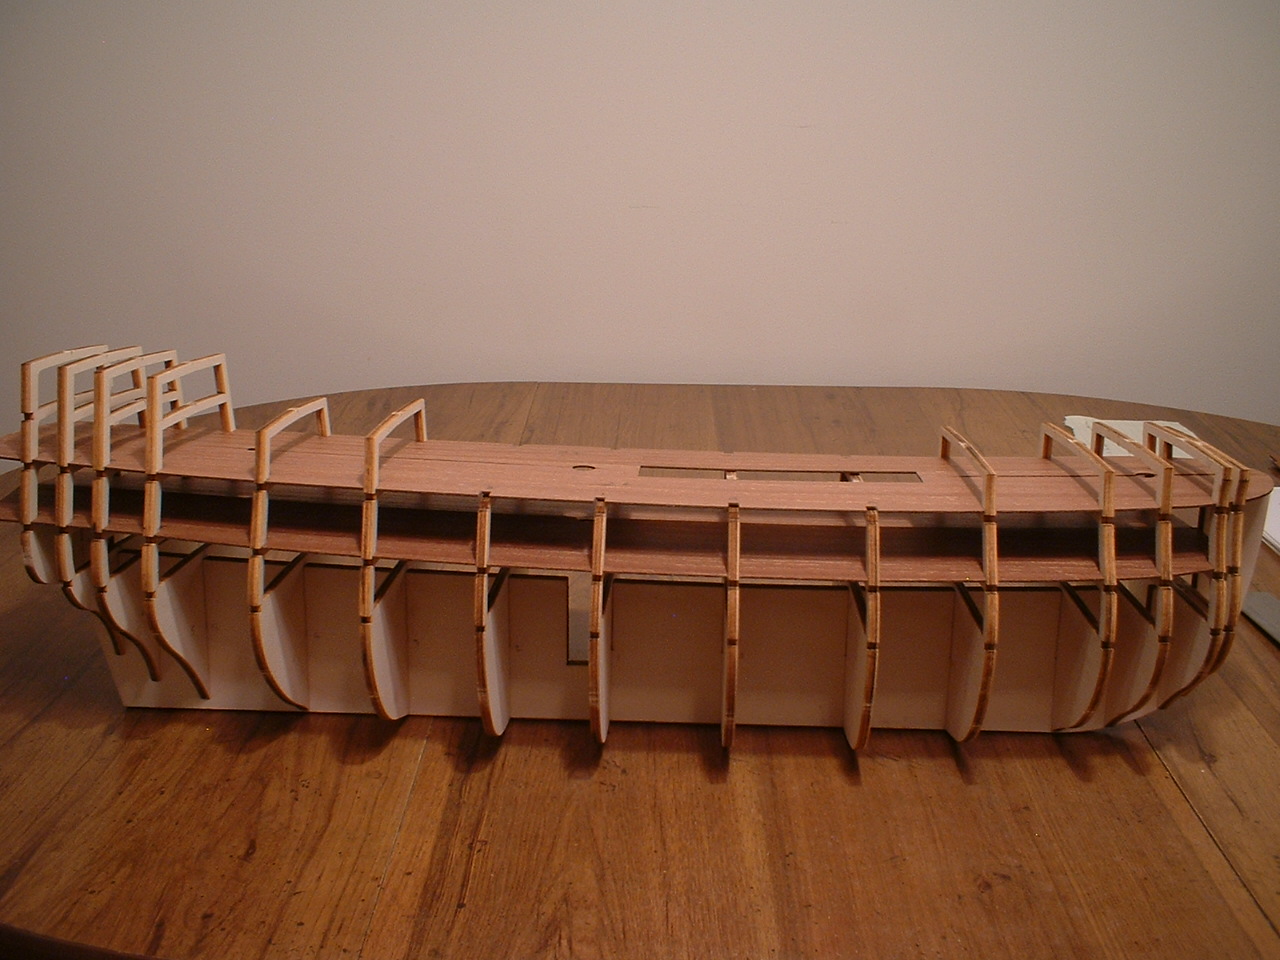
Hi all - proceeding along without any more bumps in the road so far. After dry fitting the bulkheads & decks I left the decks in place & glued the bulkheads - they all lined up nicely with the decks in place. Almost no adjustments were needed to the deck slots. I also left the decks in place when gluing the stringers in place. Extra supports were added between the bulkheads which made the framework very strong. Then I glued the lower gun deck in place along with the stern blocks - I hope they are in the correct place - it would have been nice if they would have given some kind of measurement as to their placement. I also added some bracing to the top of the stern frames as it would be very easy to break them at this point.

Mark
- canoe21, Landlubber Mike, maggsl_01 and 3 others
-
 6
6
-
-
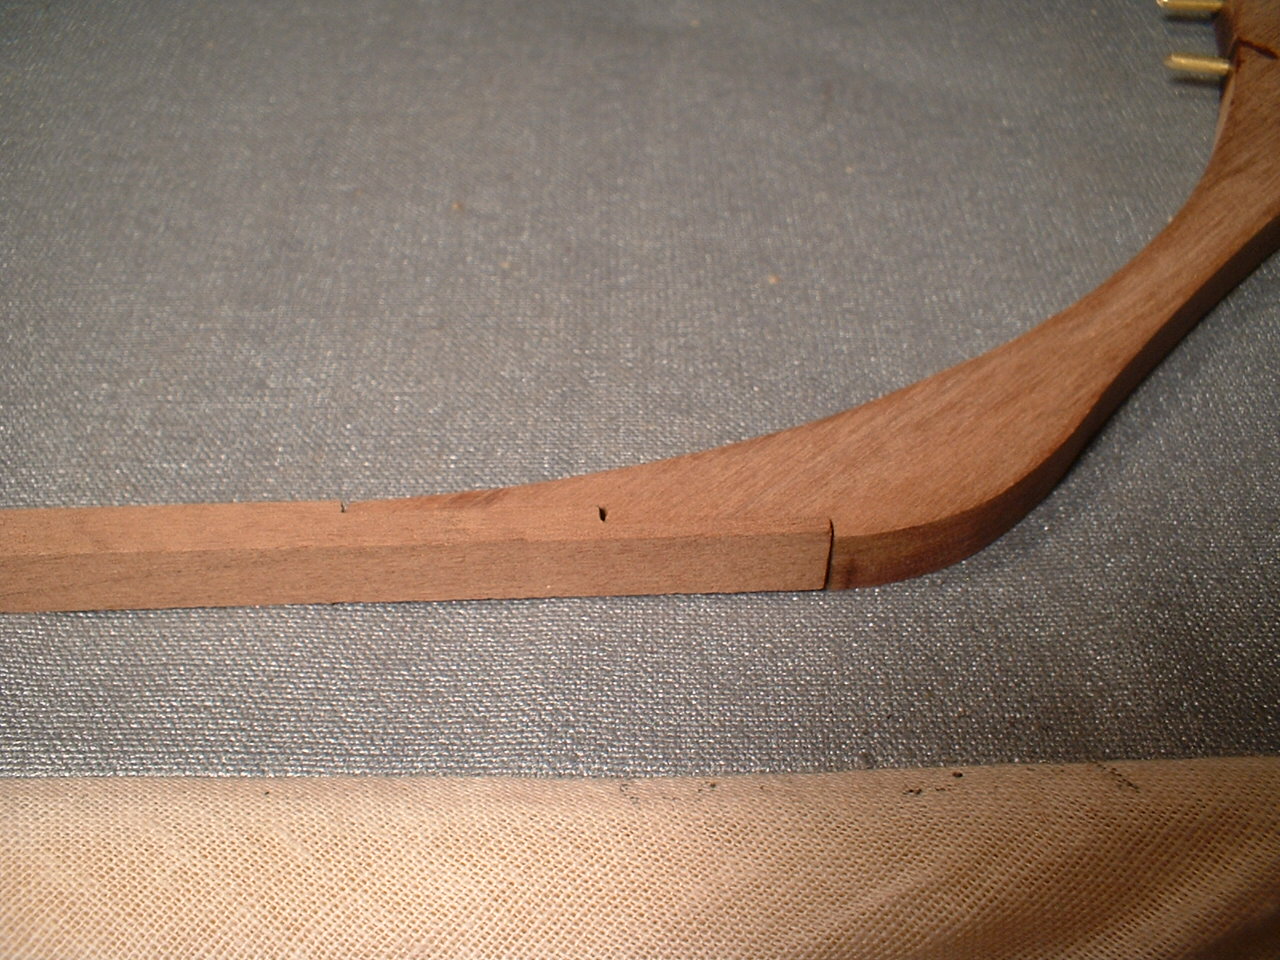
Hi Vince - I do have all of Pete`s info plus the Keith Julier book. If I would have looked at the plans a little closer I would have noticed the taper of the stem
 . I sometimes get in too much of a hurry.
Mark
-
Fabulous work on your KWdG. Regarding figures,you might try looking on the model railroad sites - N scale figures might be close to what you need.
Mark
- Dimitris71, Piet and mtaylor
-
3
-
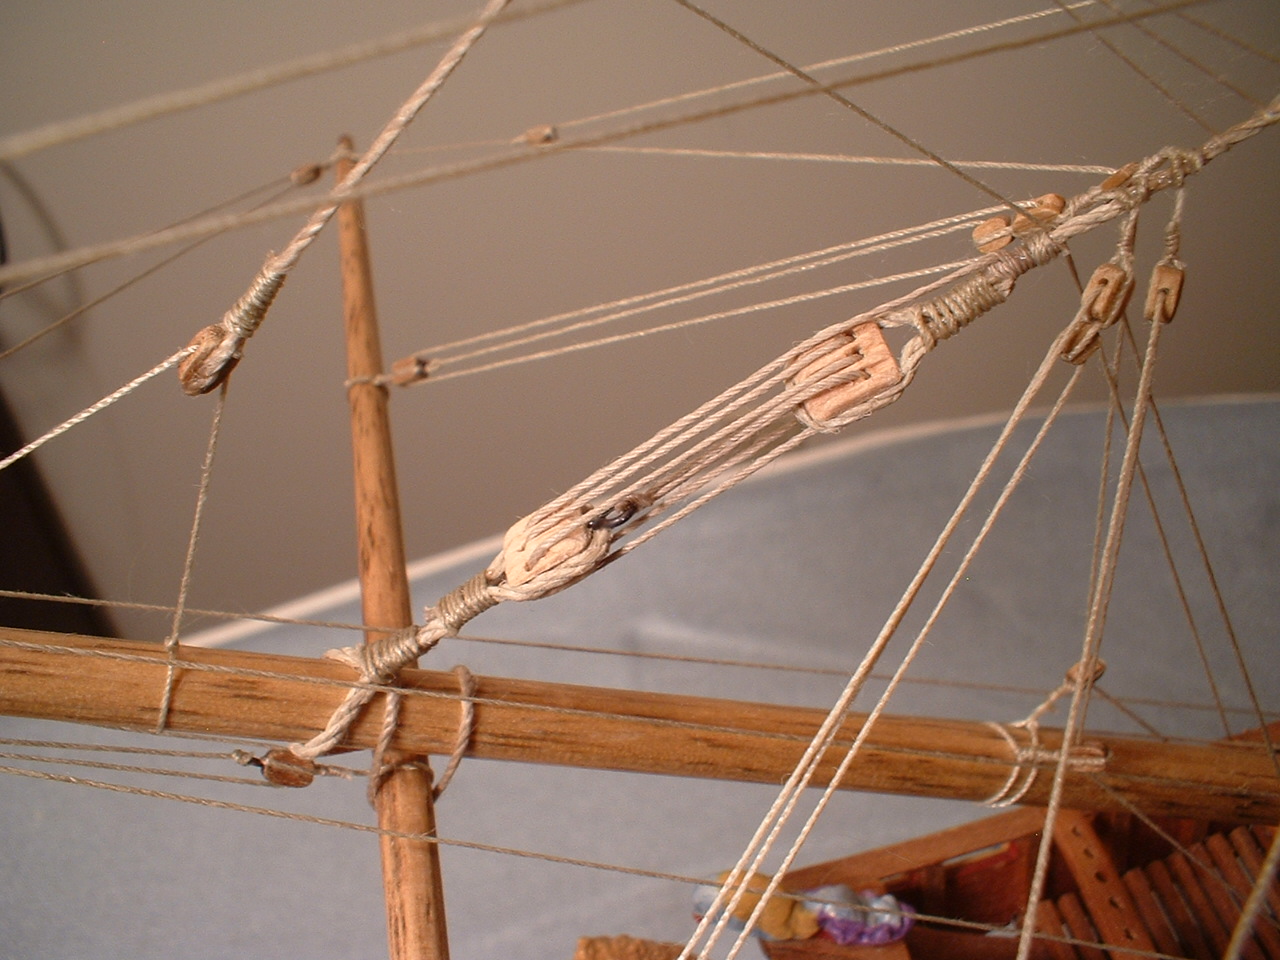
Wow - look at all those ropes. I hope you can remember which one goes where. Wait till you get to rigging all the crow`s feet on this ship - you almost need 3 hands
 .When you do get to them I found that using the thinnest thread I could find seemed to work the best at this scale.
Mark
-
-
Thanks Michael
. There is a bit more scratch work on this build than I am used to,but I will try and do my best.Mark
-
-
You may want to browse through the Vasa forum - there are some really nice builds there & you can ask questions about the ship directly to Fred Hocker,who is the director of research at the museum.
http://warshipvasa.freeforums.net/
Mark
-
-
Nigel - thanks for your observation. I guess I should have looked at the plans a little closer - my first mistake. I don`t think anyone would ever notice 1mm taper over the length of the stem anyway
 .
.Nils - thank you very much.
Keith - thanks for the info.
Mark
- NMBROOK and Mirabell61
-
2
-
Thanks Brian. Having already built one Euromodel kit I kind of know what to expect.
Mark
-
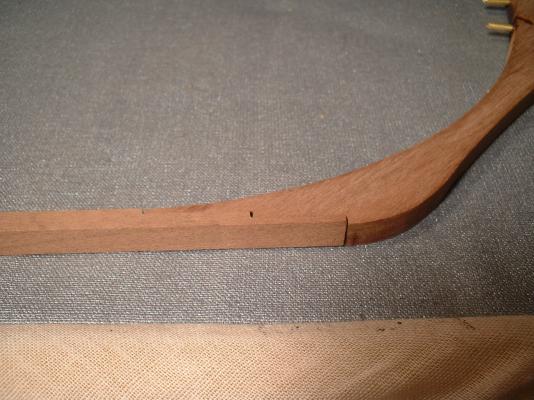
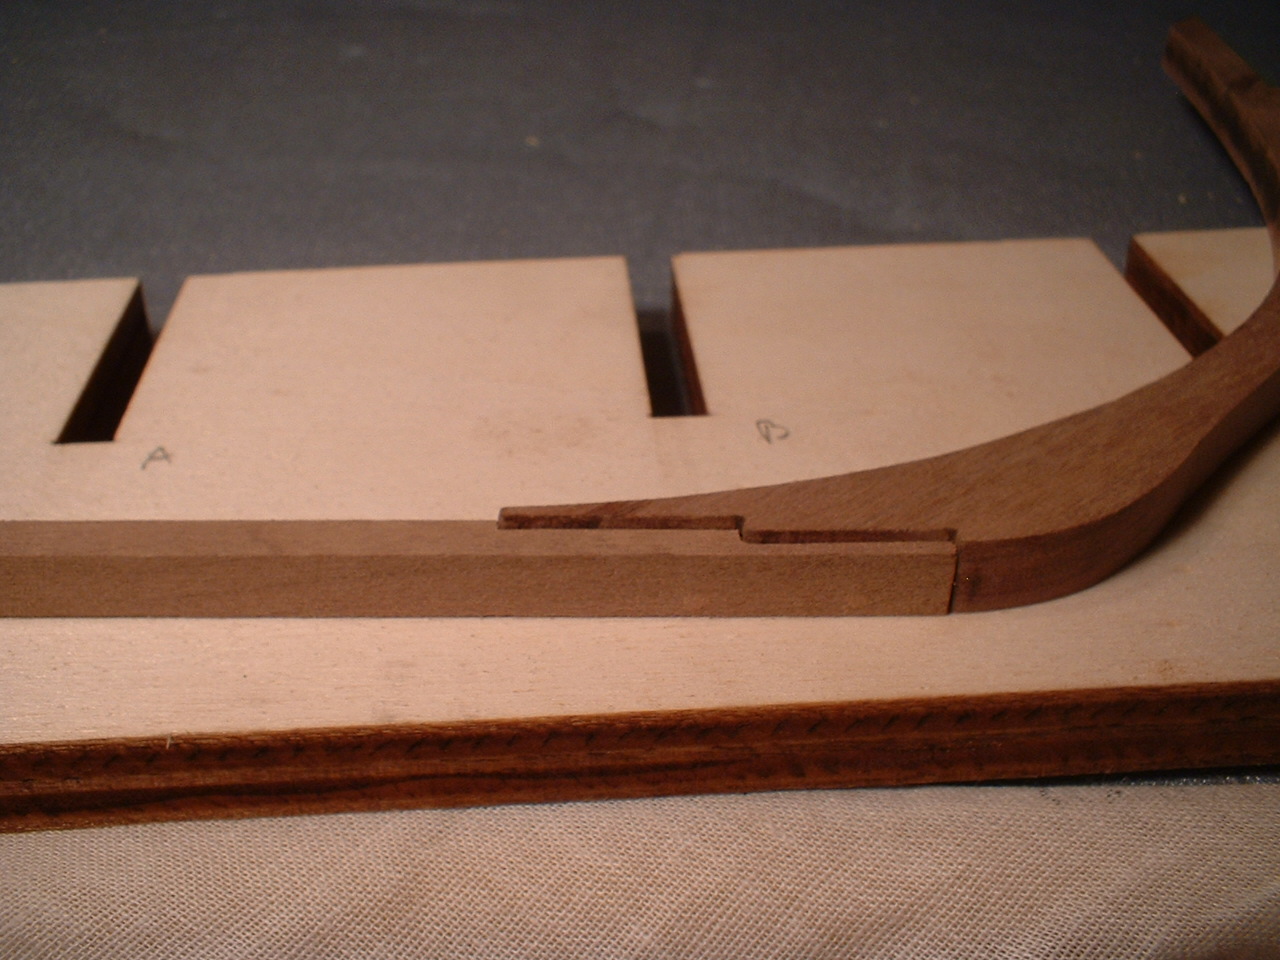
I thought I would dry fit the false keel & stem before gluing the bulkheads & ran into a little problem. First the stem was broke in 2 places which was not a big issue - just glued it back together. The breaks were not in a spot that would be easily visible. Second - the false keel & stern post are 7mm thick but the stem piece is almost 8mm thick
. After some work with the disc sander & a sanding block I got it down to the correct thickness.
Mark
- medic, Beef Wellington, canoe21 and 3 others
-
6
-
Mighty fine work,Michael. Just one thing - I believe the Corel plans are incorrect about having the wrappings on the fore mast. According to the experts on the Vasa forum only the main mast had the wrappings.Either way it still looks great.
Mark
- GLakie and CaptainSteve
-
2
-
Thanks guys. I have been following the other logs & am aware of some of the issues. I dry fitted the bulkheads to the keel former & found I had to make a few adjustments to the slots in the forward bulkheads like the rest of you. Also frame F is a little short at the top - will need to add a shim across the top. After making those adjustments everything lined up nicely.

Mark
- Beef Wellington, medic, Kevin and 4 others
-
7
-
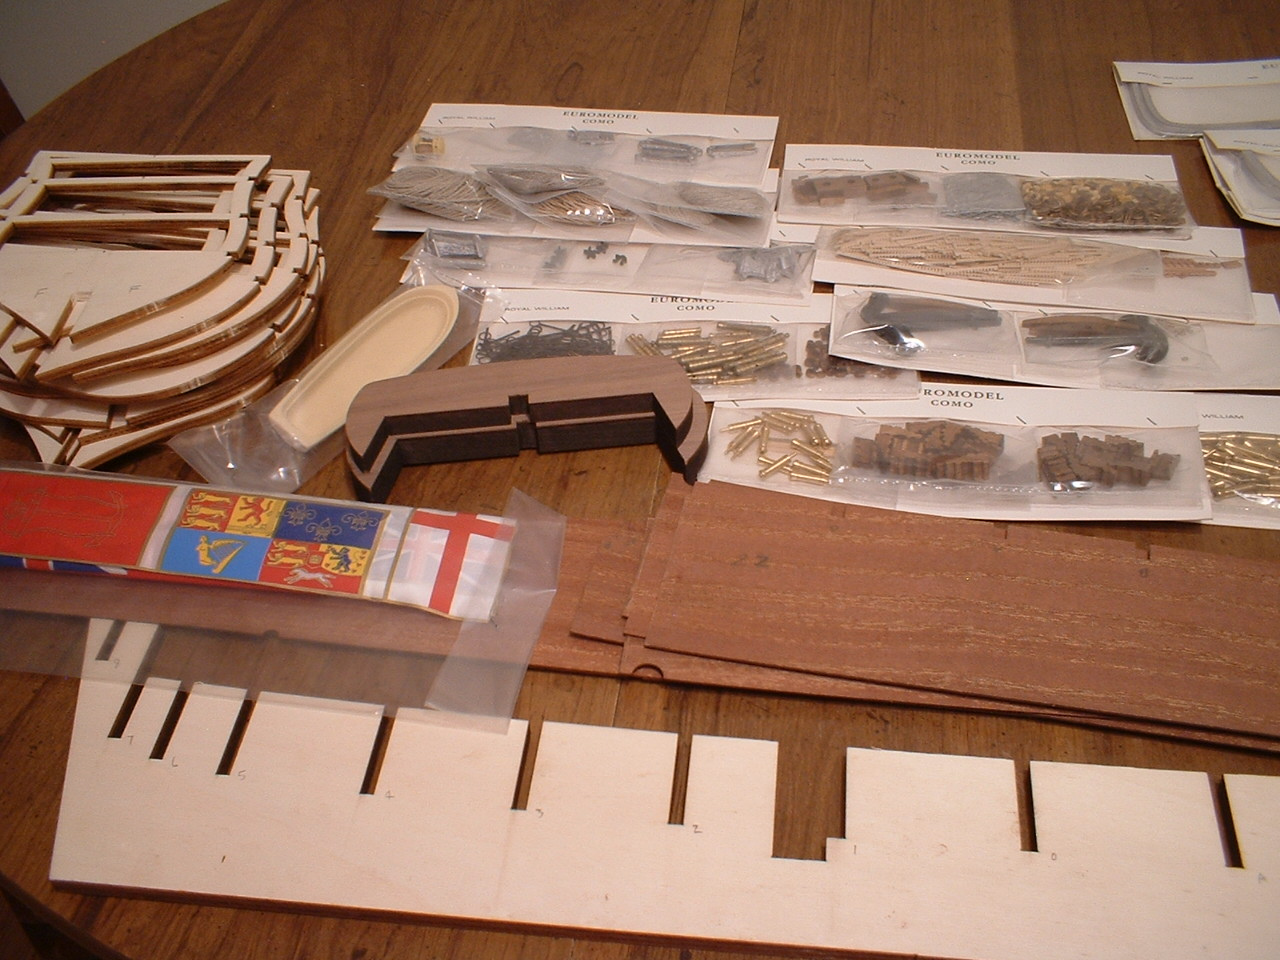
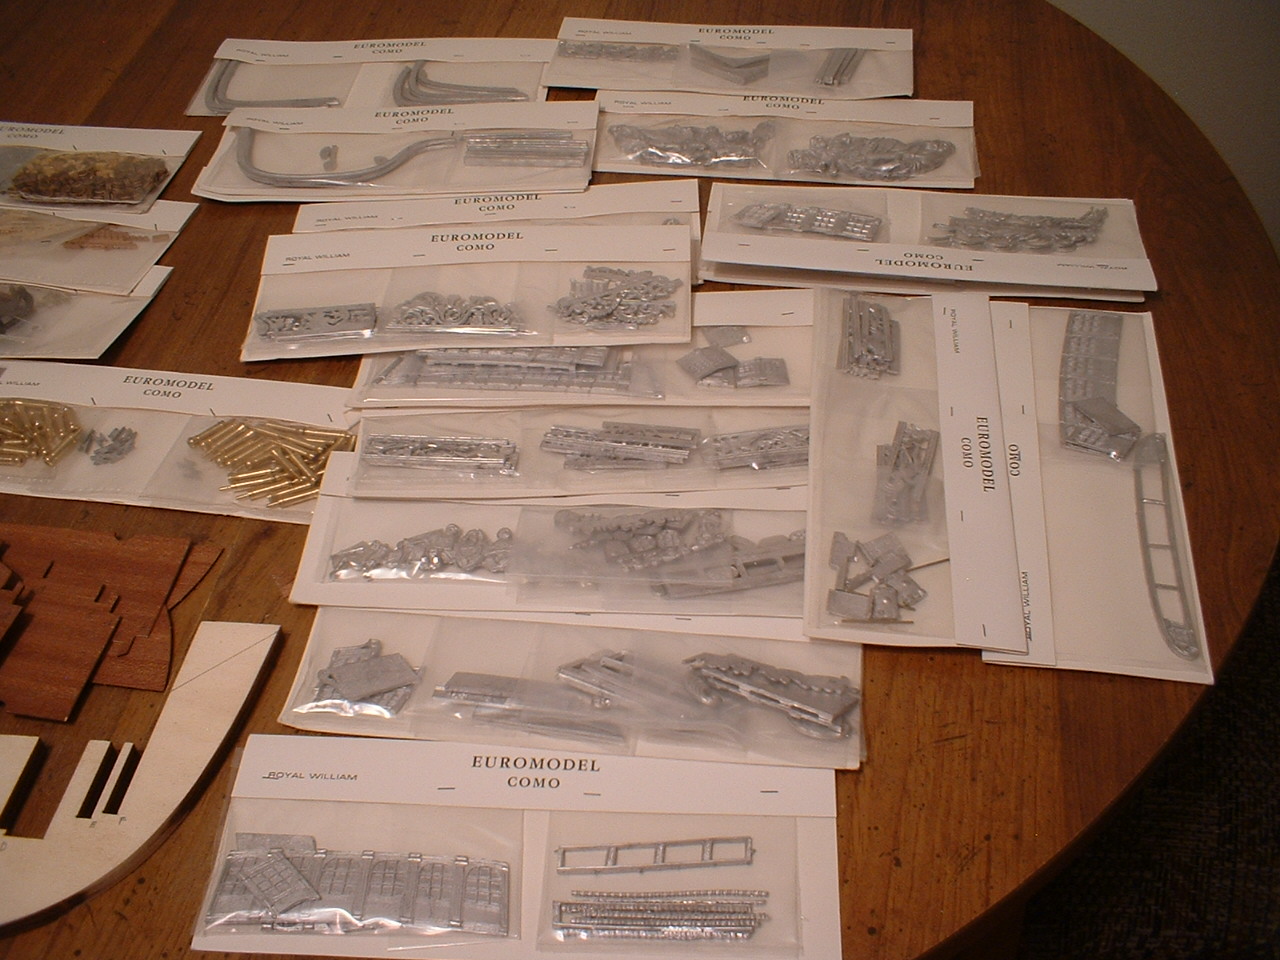
Hi all - this will be my attempt at building the Royal William from Euromodel. I say attempt because I consider my skills as just average. Upon opening the very heavy box I took a few pictures of the contents.All the bulkheads & the keel former are nicely laser cut. The keel former is good & straight but some of the bulkheads are warped a little. The contents include the usual fittings & a lot of cast metal pieces - most nicely done. There are 17 sheets of very nicely done 1:1 plans & a lot of strip wood which seems to be good quality.
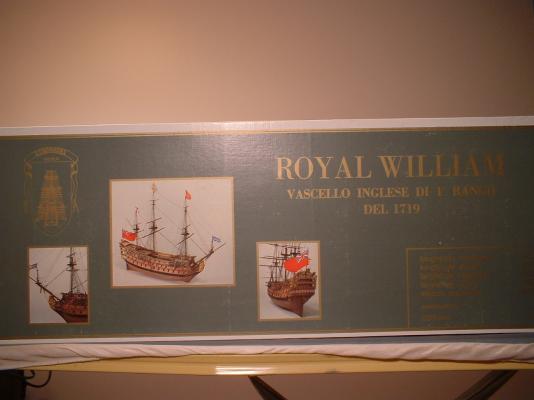

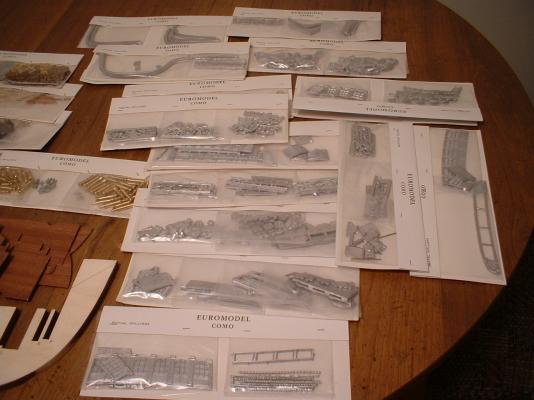
Mark
- zoly99sask, medic, ZyXuz and 7 others
-
10
-
-
I have the Mamoli kit which shows 6 windows,however the plan sheet looks a little different & has no nr8017 on it.The mamoli kit is 1/50 scale. The date on the plans is 1988 so maybe yours are older or newer. I don`t know anything about the other Santa Maria kits.
/Mark
-
Thanks Frank - yours & all the other Vasa builders were my inspiration to improve many of the aspects of this kit. As far as the flags go - they are the flags that came in the kit. I simply pinned them down in a ruffled position & wetted them with water. After drying they pretty well held their shape. I don`t know if they are the correct flags for the period but they are good enough for me
 .
./Mark
-
Thank you very much Jan.
/Mark
-
Keith - thank you very much. As far as what`s next,I haven`t decide yet but am leaning toward the Royal Wm. or Nuestra Senora from Occre. I have several others in my stash including Constructo`s Prince & the Model Shipways Vanguard. Maybe I`ll try working on 2 at once
 .
.Brian - thanks very much.It was a a long haul but worth the time.
/Mark


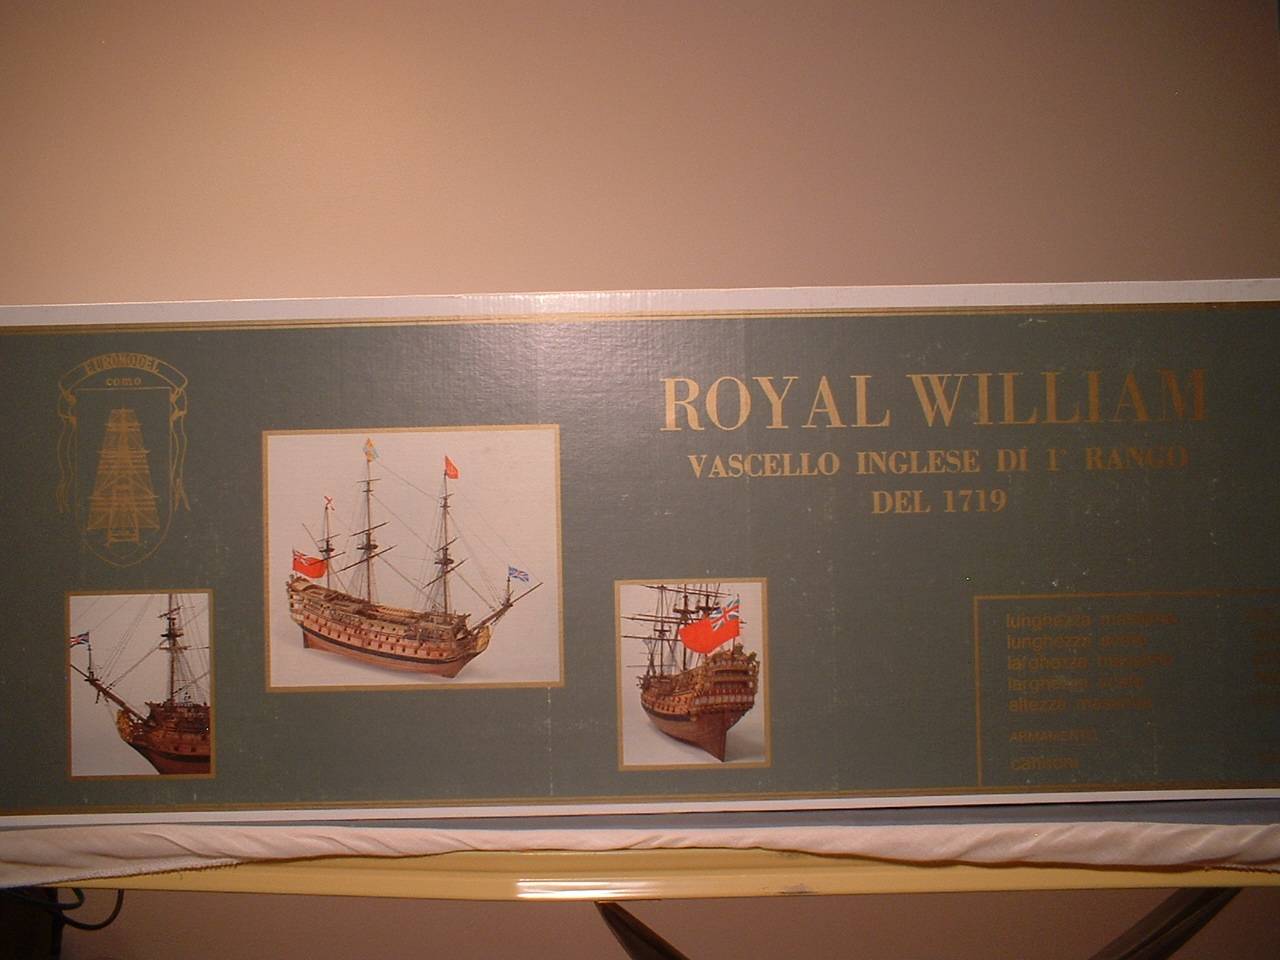
Royal William by marktiedens - FINISHED - Euromodel - scale 1:72
in - Kit build logs for subjects built from 1501 - 1750
Posted
A little update - I got the stern & bow filler blocks shaped & bulkhead edges beveled in preparation for the first planking. Also added a support on the lower gun deck for the mizzen mast. I will fasten the keel & stem before planking - have always done it that way. I will plank from the main deck level down to the lower gun deck so I can locate the openings for the gun ports following the lead by Vince P on his RW build. I also tapered the stern keel former down to 5mm so the planking will go up against the keel properly.
Mark