HOLIDAY DONATION DRIVE - SUPPORT MSW - DO YOUR PART TO KEEP THIS GREAT FORUM GOING! (83 donations so far out of 49,000 members - C'mon guys!)
×


yvesvidal
-
Posts
3,607 -
Joined
-
Last visited
Content Type
Profiles
Forums
Gallery
Events
Everything posted by yvesvidal
-
 You need to add a French vessel to your collection: I believe this one is now available in 1/350 scale. Yves
- 345 replies
-
- 6
-

-
- graf zeppelin
- trumpeter
- (and 2 more)
-
Very Nice decals. How did you do it? Printed on decals paper? Yves
-
Beautiful model. Yes, very much Museum like, but also very realistic. Yves
- 24 replies
-
- 3
-
-
- pontos
- king george v class
- (and 5 more)
-
Great endeavor! Thank you so much. Yves
-
Et voila.... There won't be any updates as I am travelling for the next three weeks. Have fun building models.... Yves

- 760 replies
-
- 17
-
-
Beautiful work Jack. You have been busy. I bet it was tedious, but the result is splendid. Yves
- 190 replies
-
- 2
-
-
- ragusian
- marisstella
- (and 1 more)
-
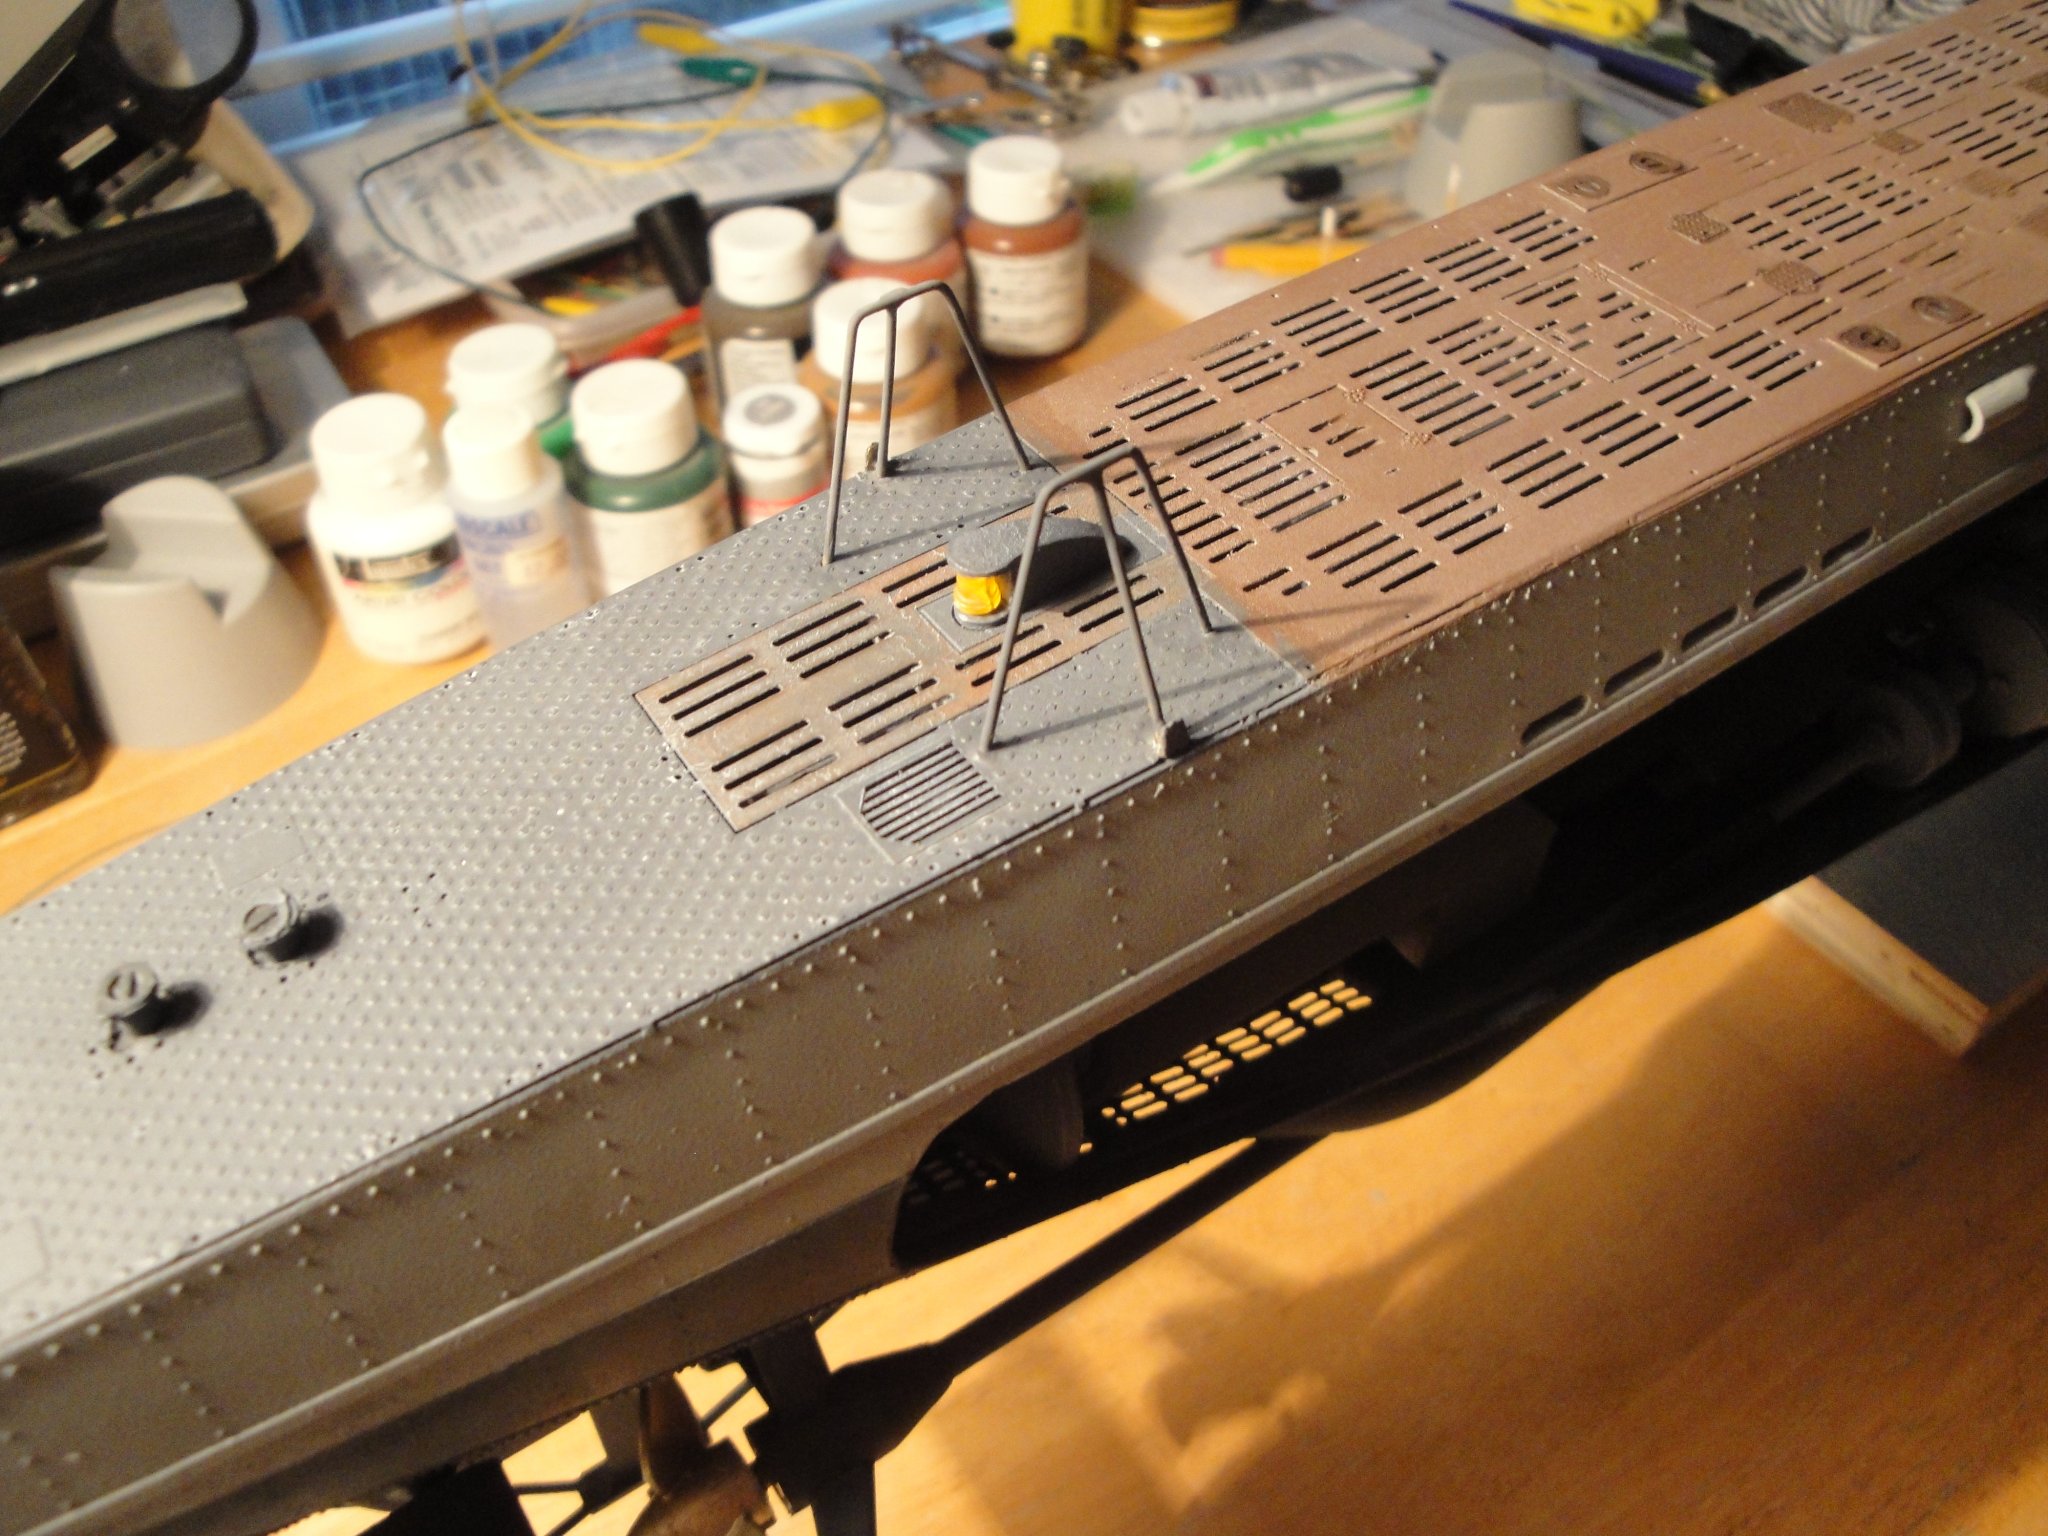
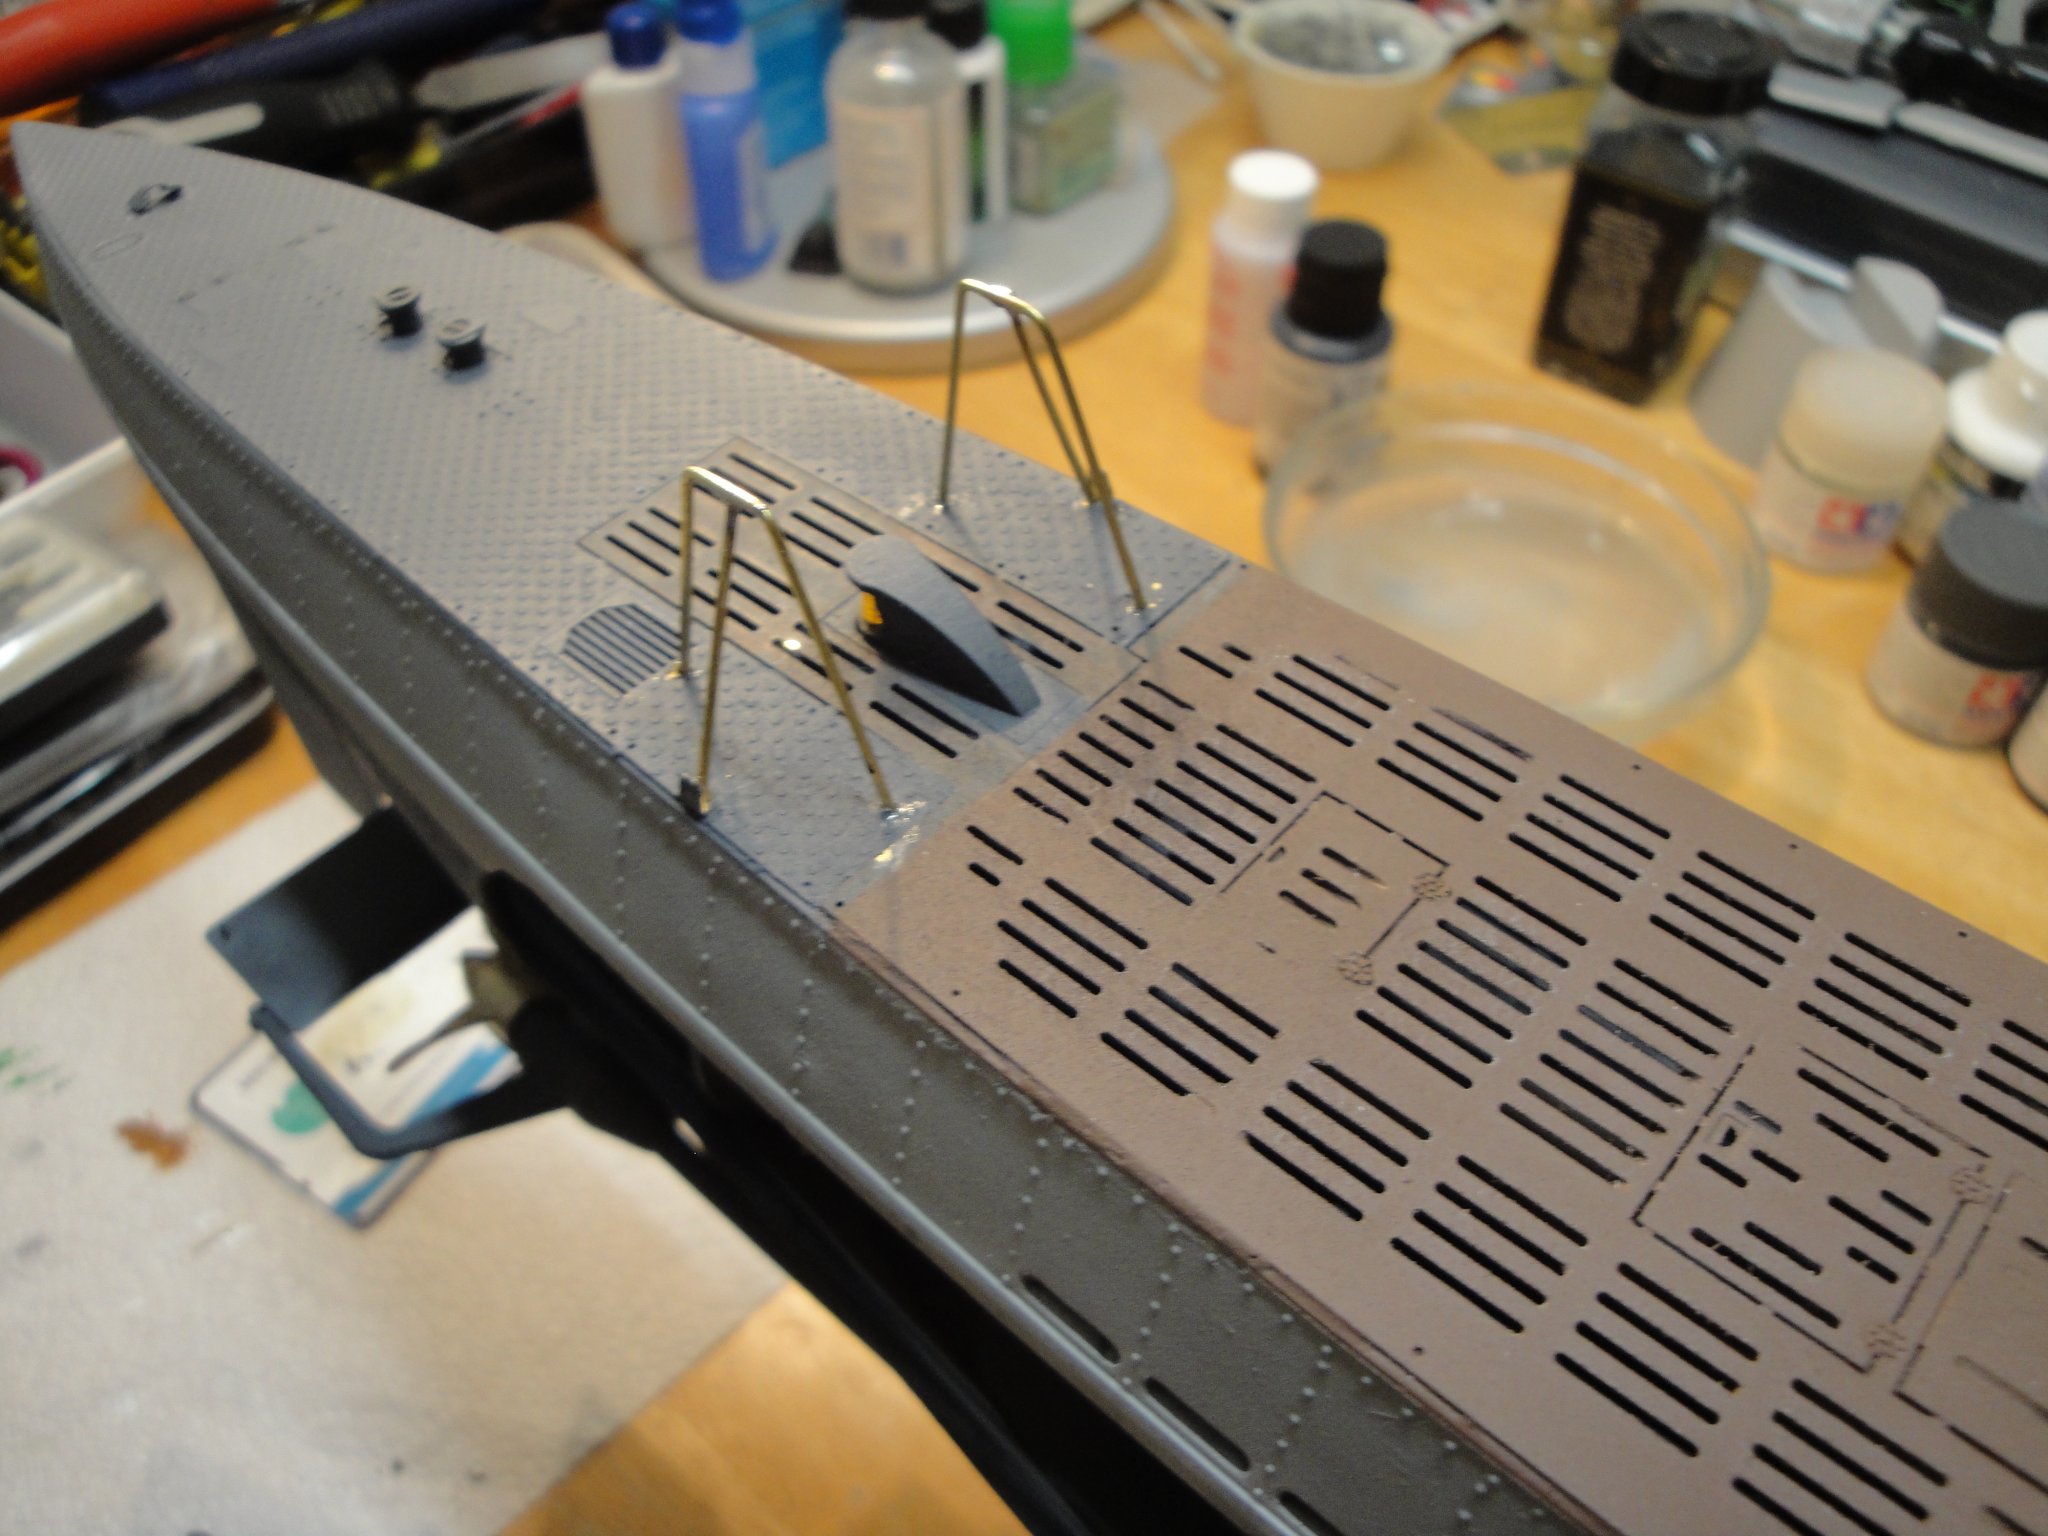
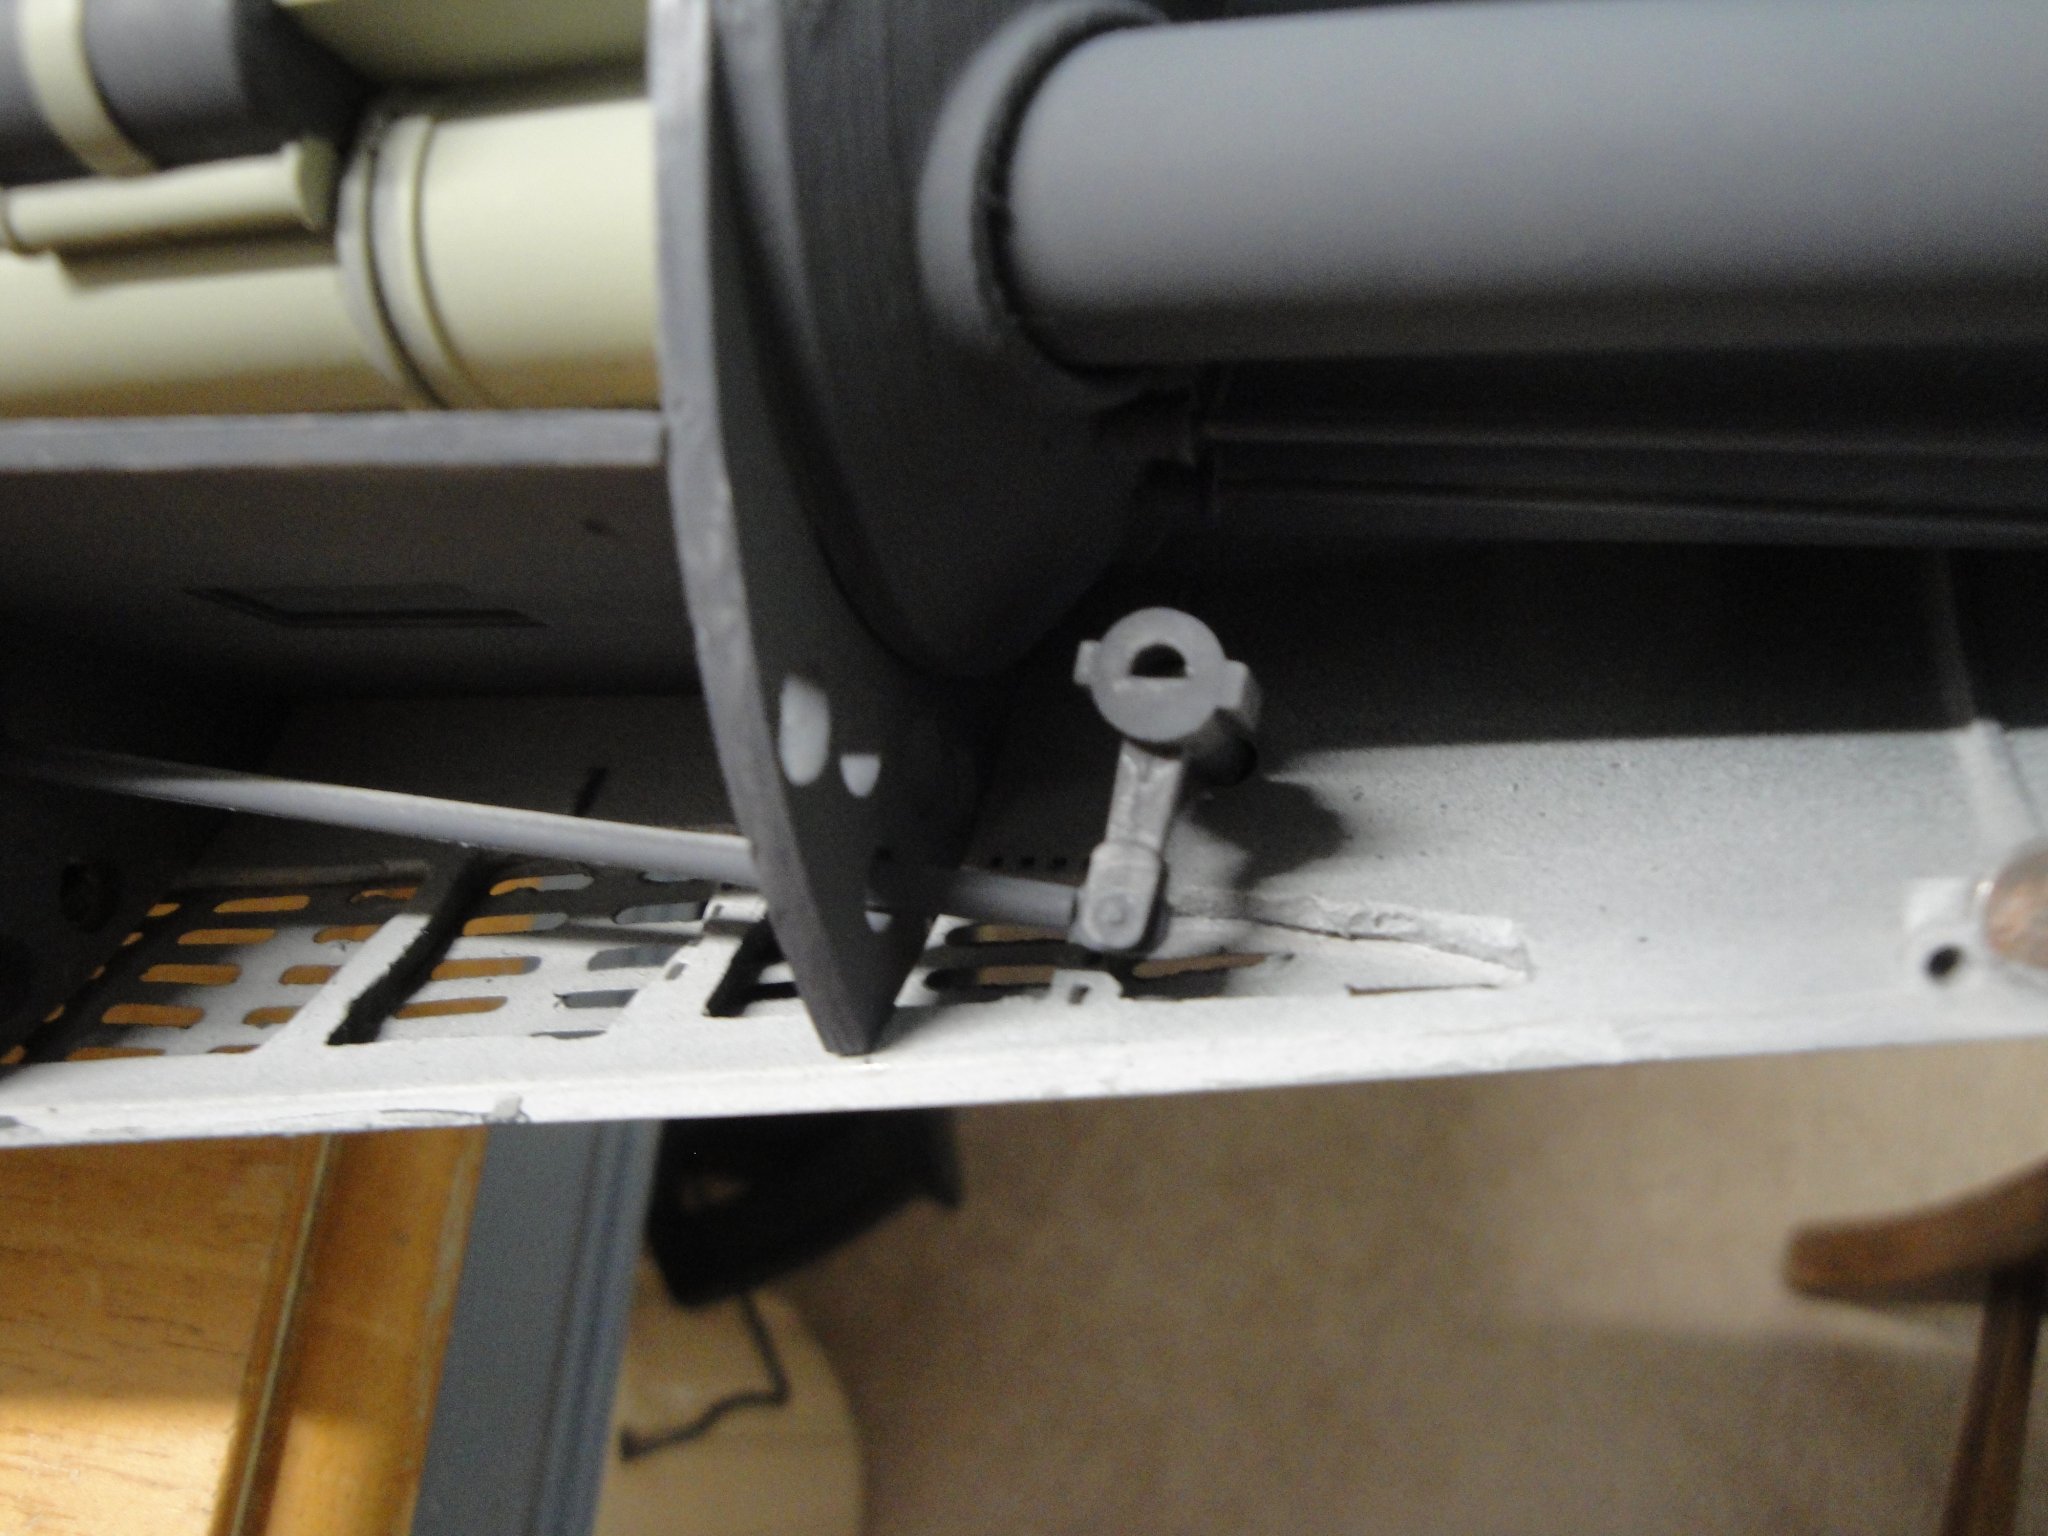
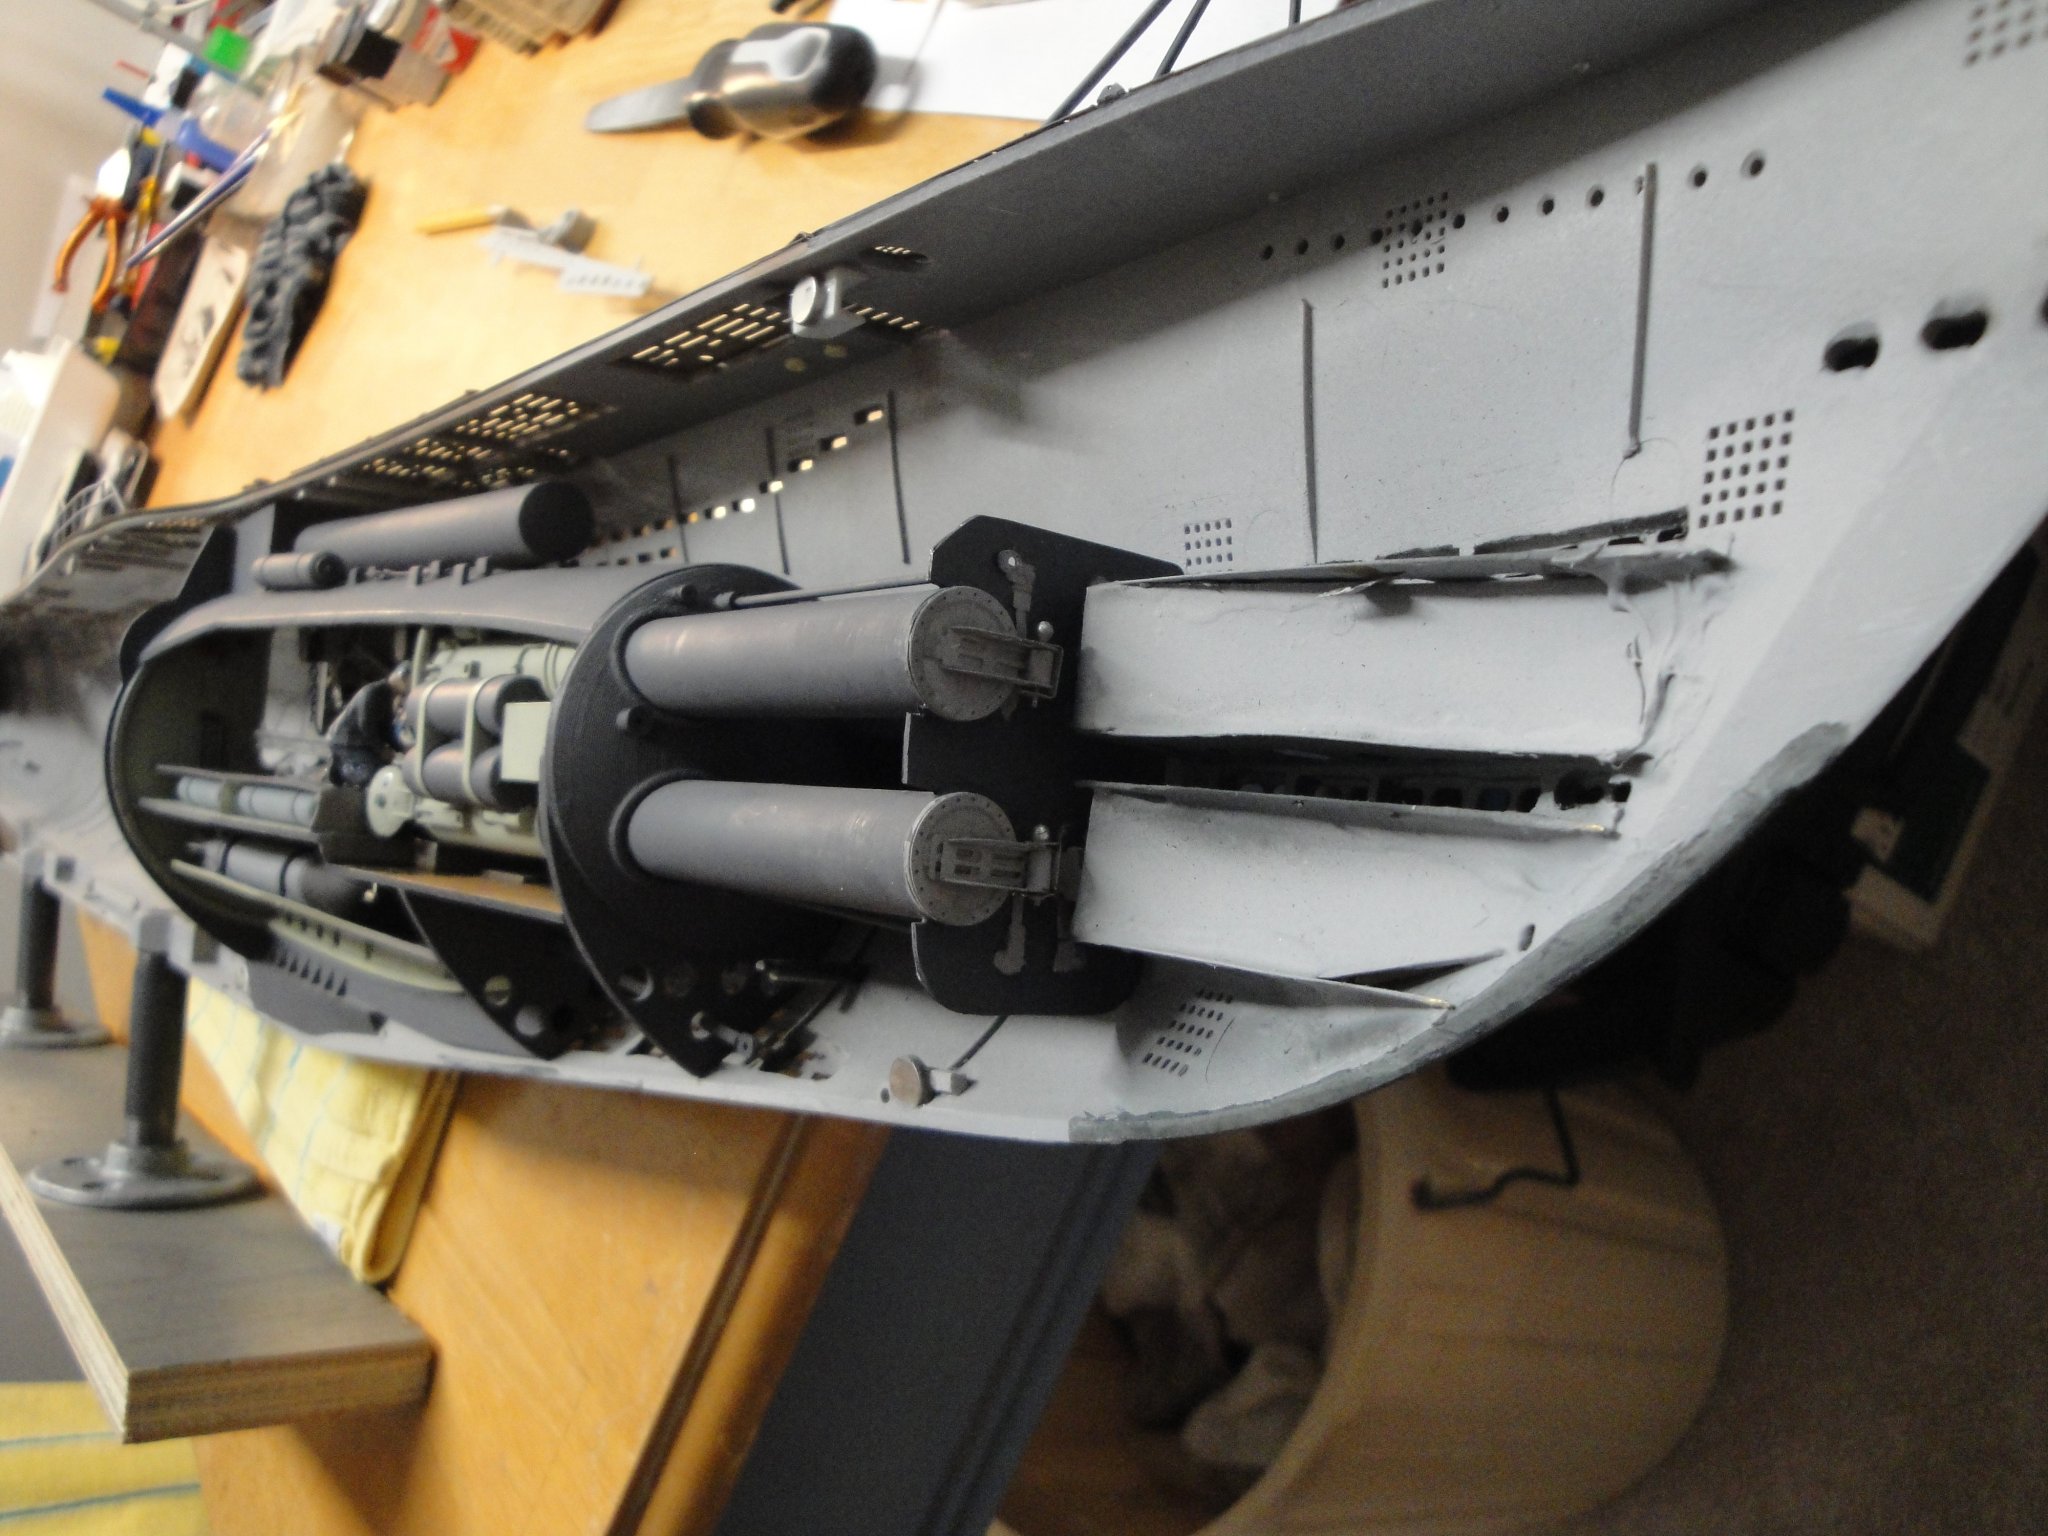
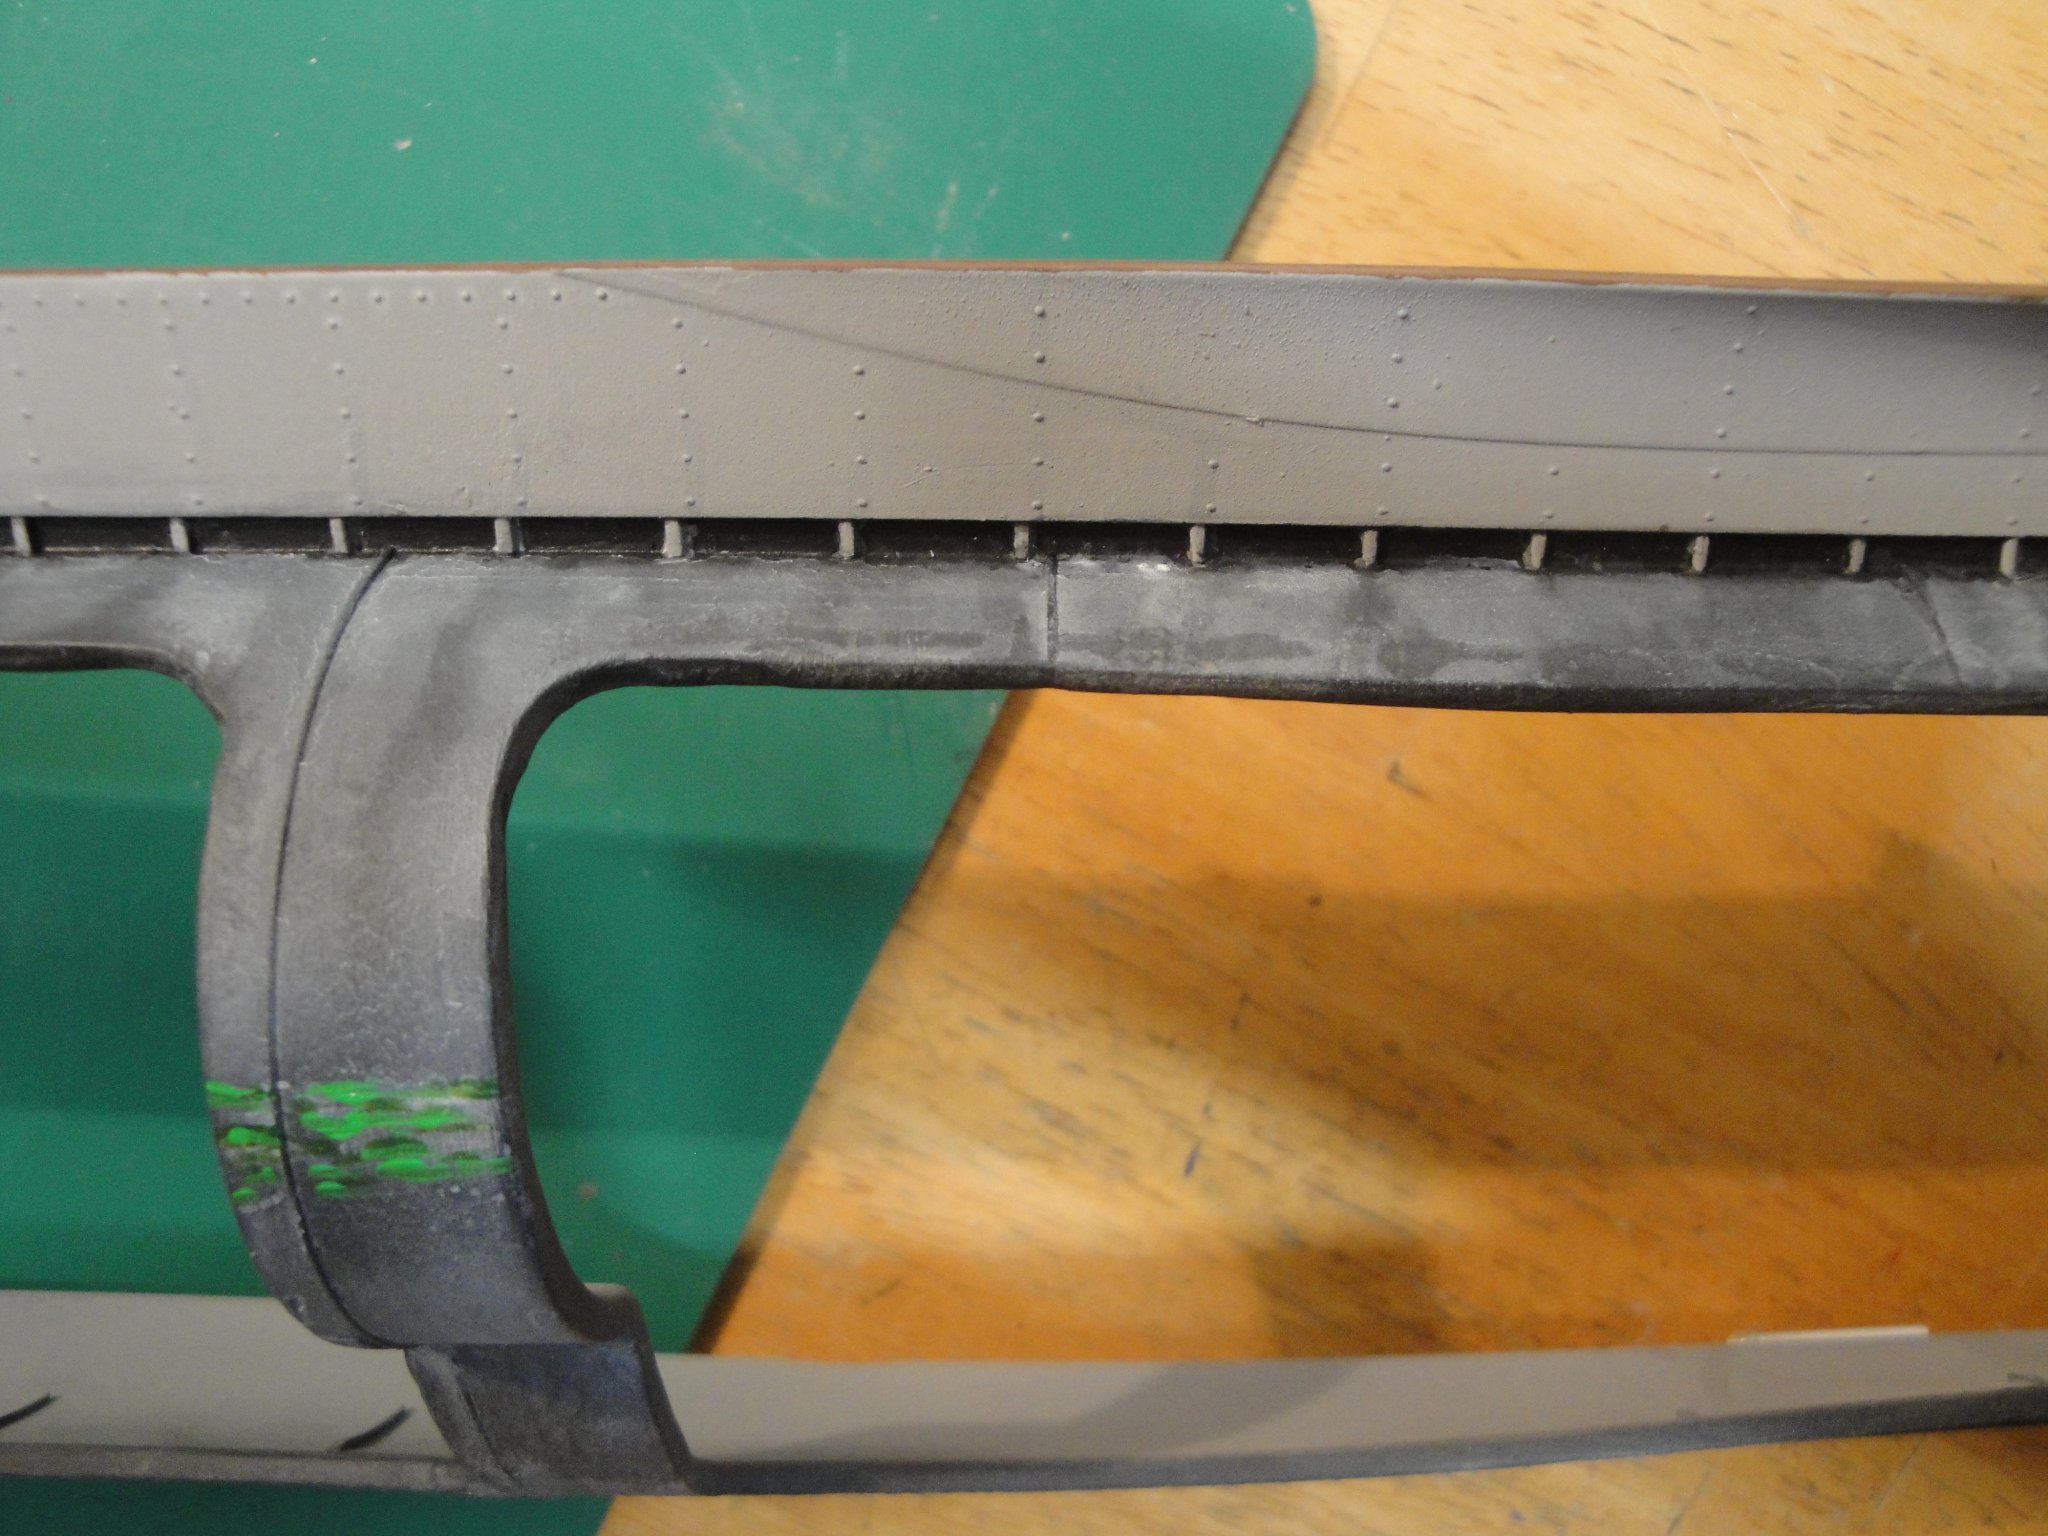
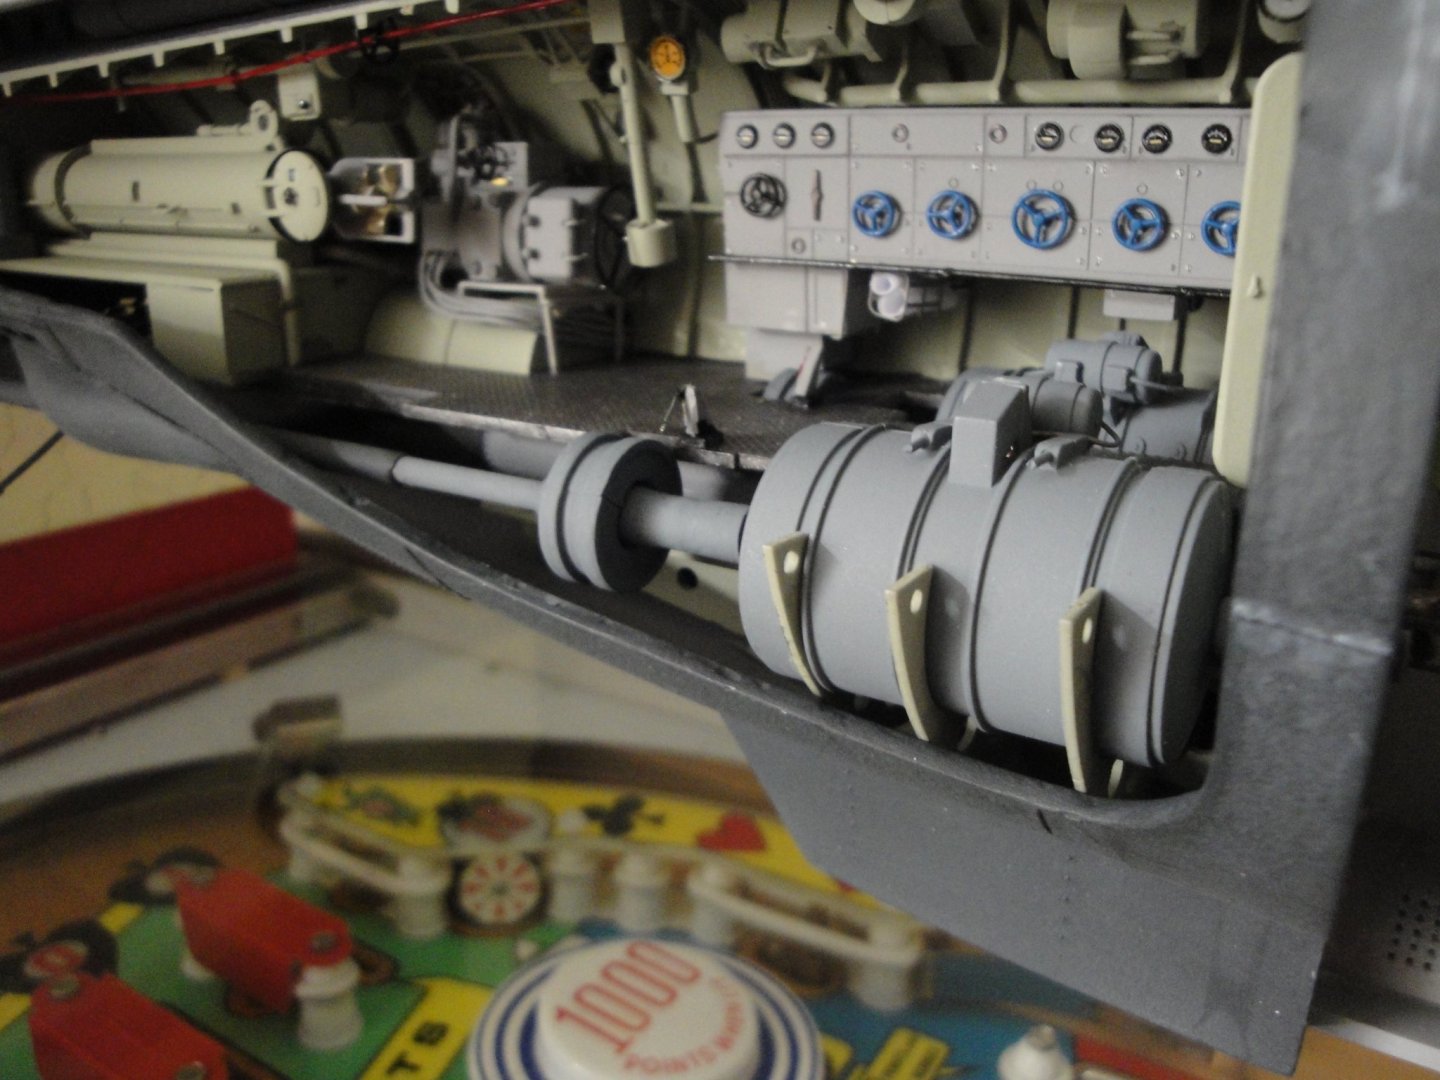
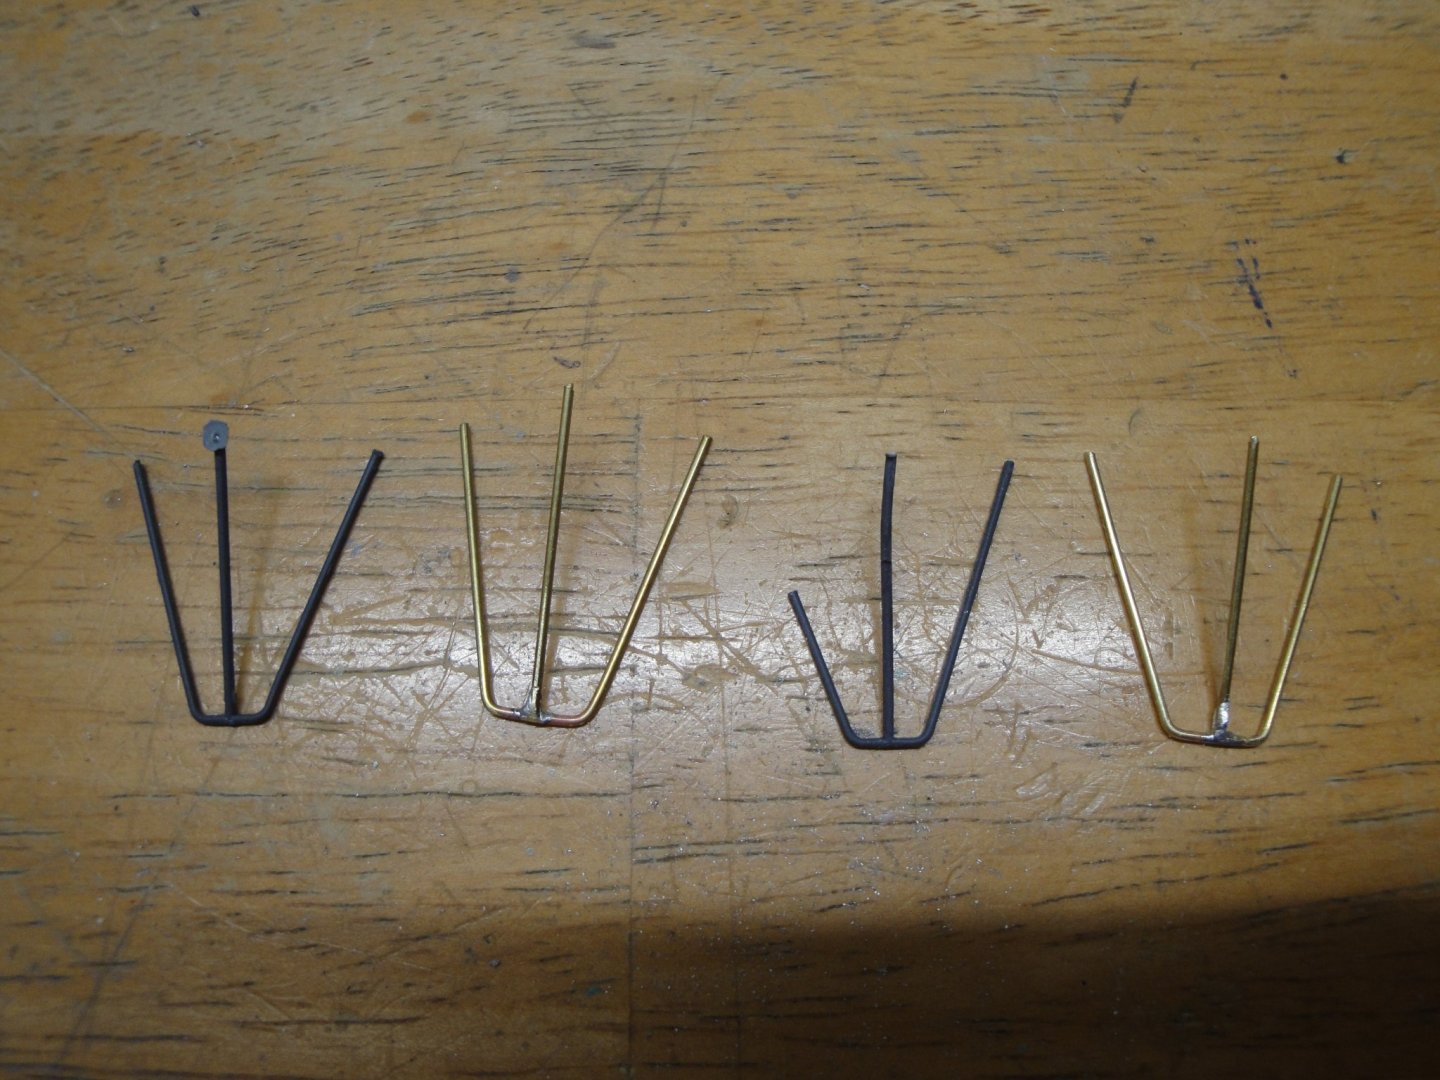
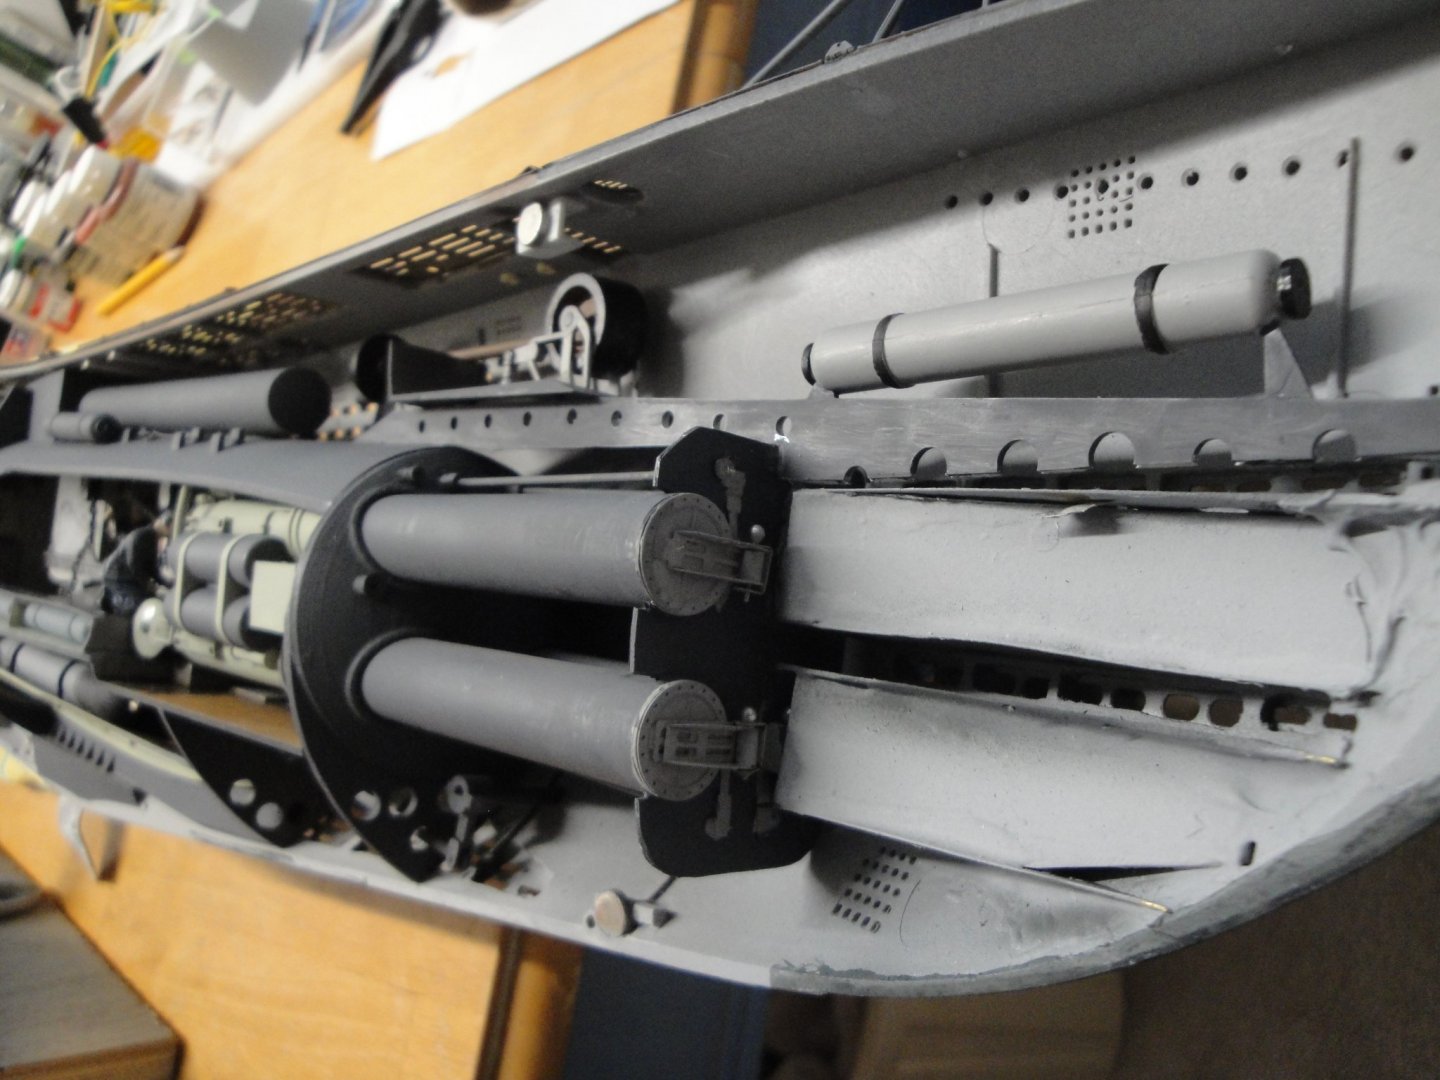
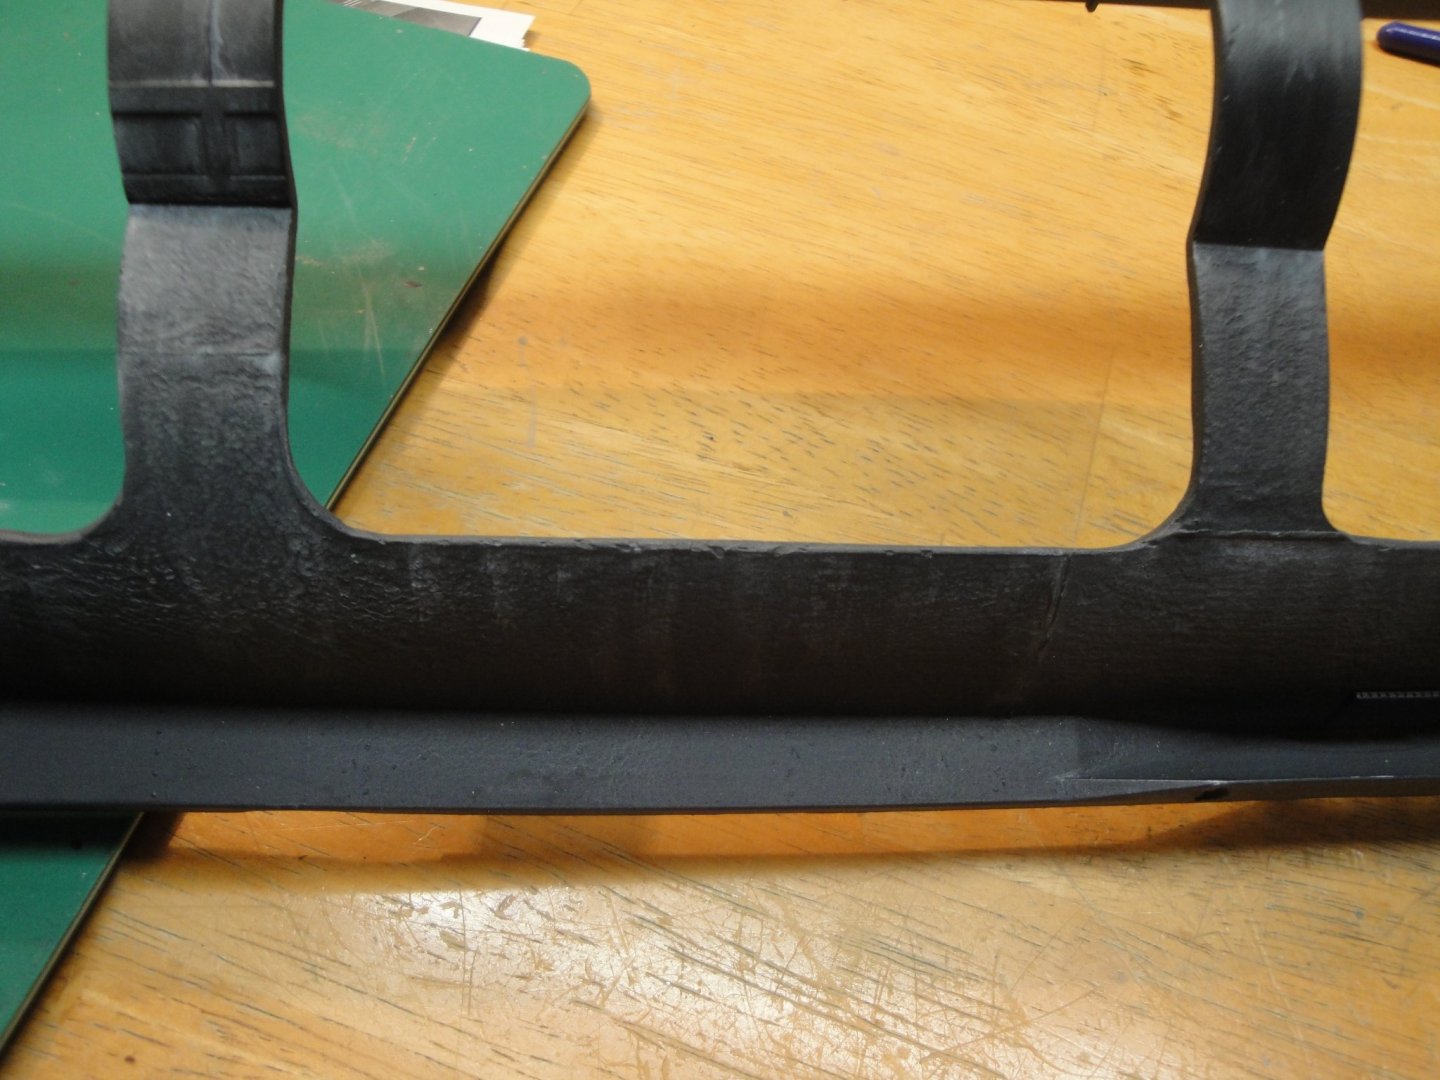
Working on a few details for improving the stern. 1) I installed the "Clutch" to hide partially the neoprene tube. After painting, it looks a lot more palatable: 2) I redid in brass wires (0.8 mm size) the two stern railings. These will be a lot stronger and I should be able to attach the two lines going back to the conning tower: Before filing..... and after, installed: Now, to paint them. Yves

- 760 replies
-
- 18
-
-
The shrinkage that you see, could be due to the strips being wet during the installation and drying/shrinking later on....? Since you will paint the hull, you can always use Bondo, lots of sanding, primer and a few coats of paint and varnish. Yves
-
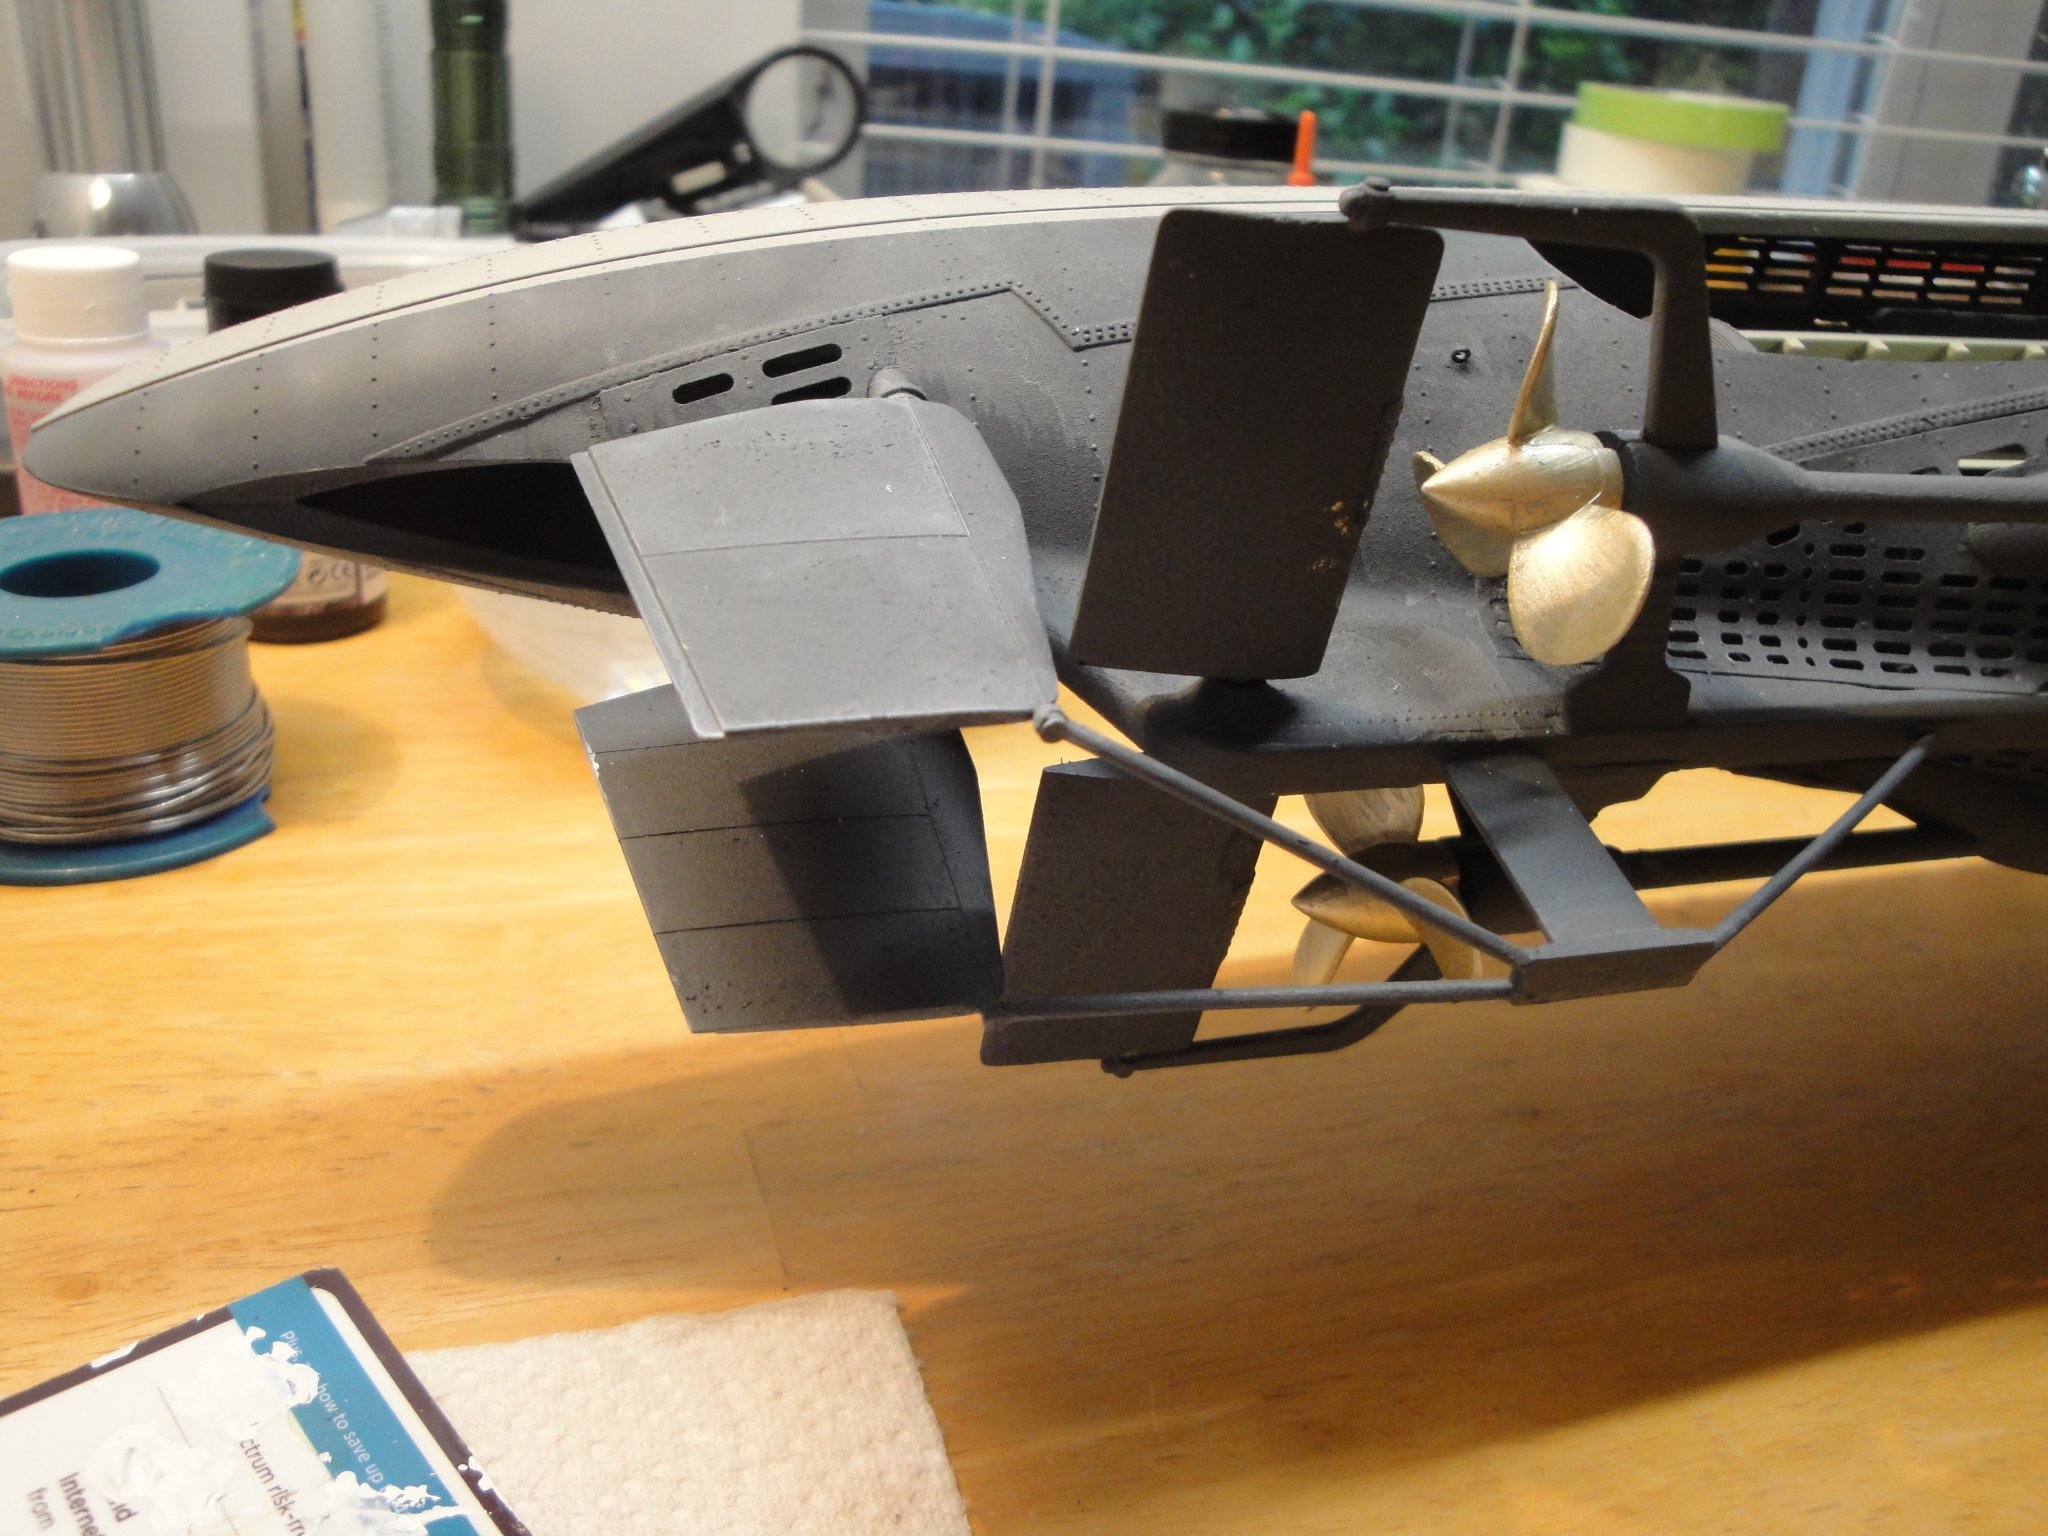
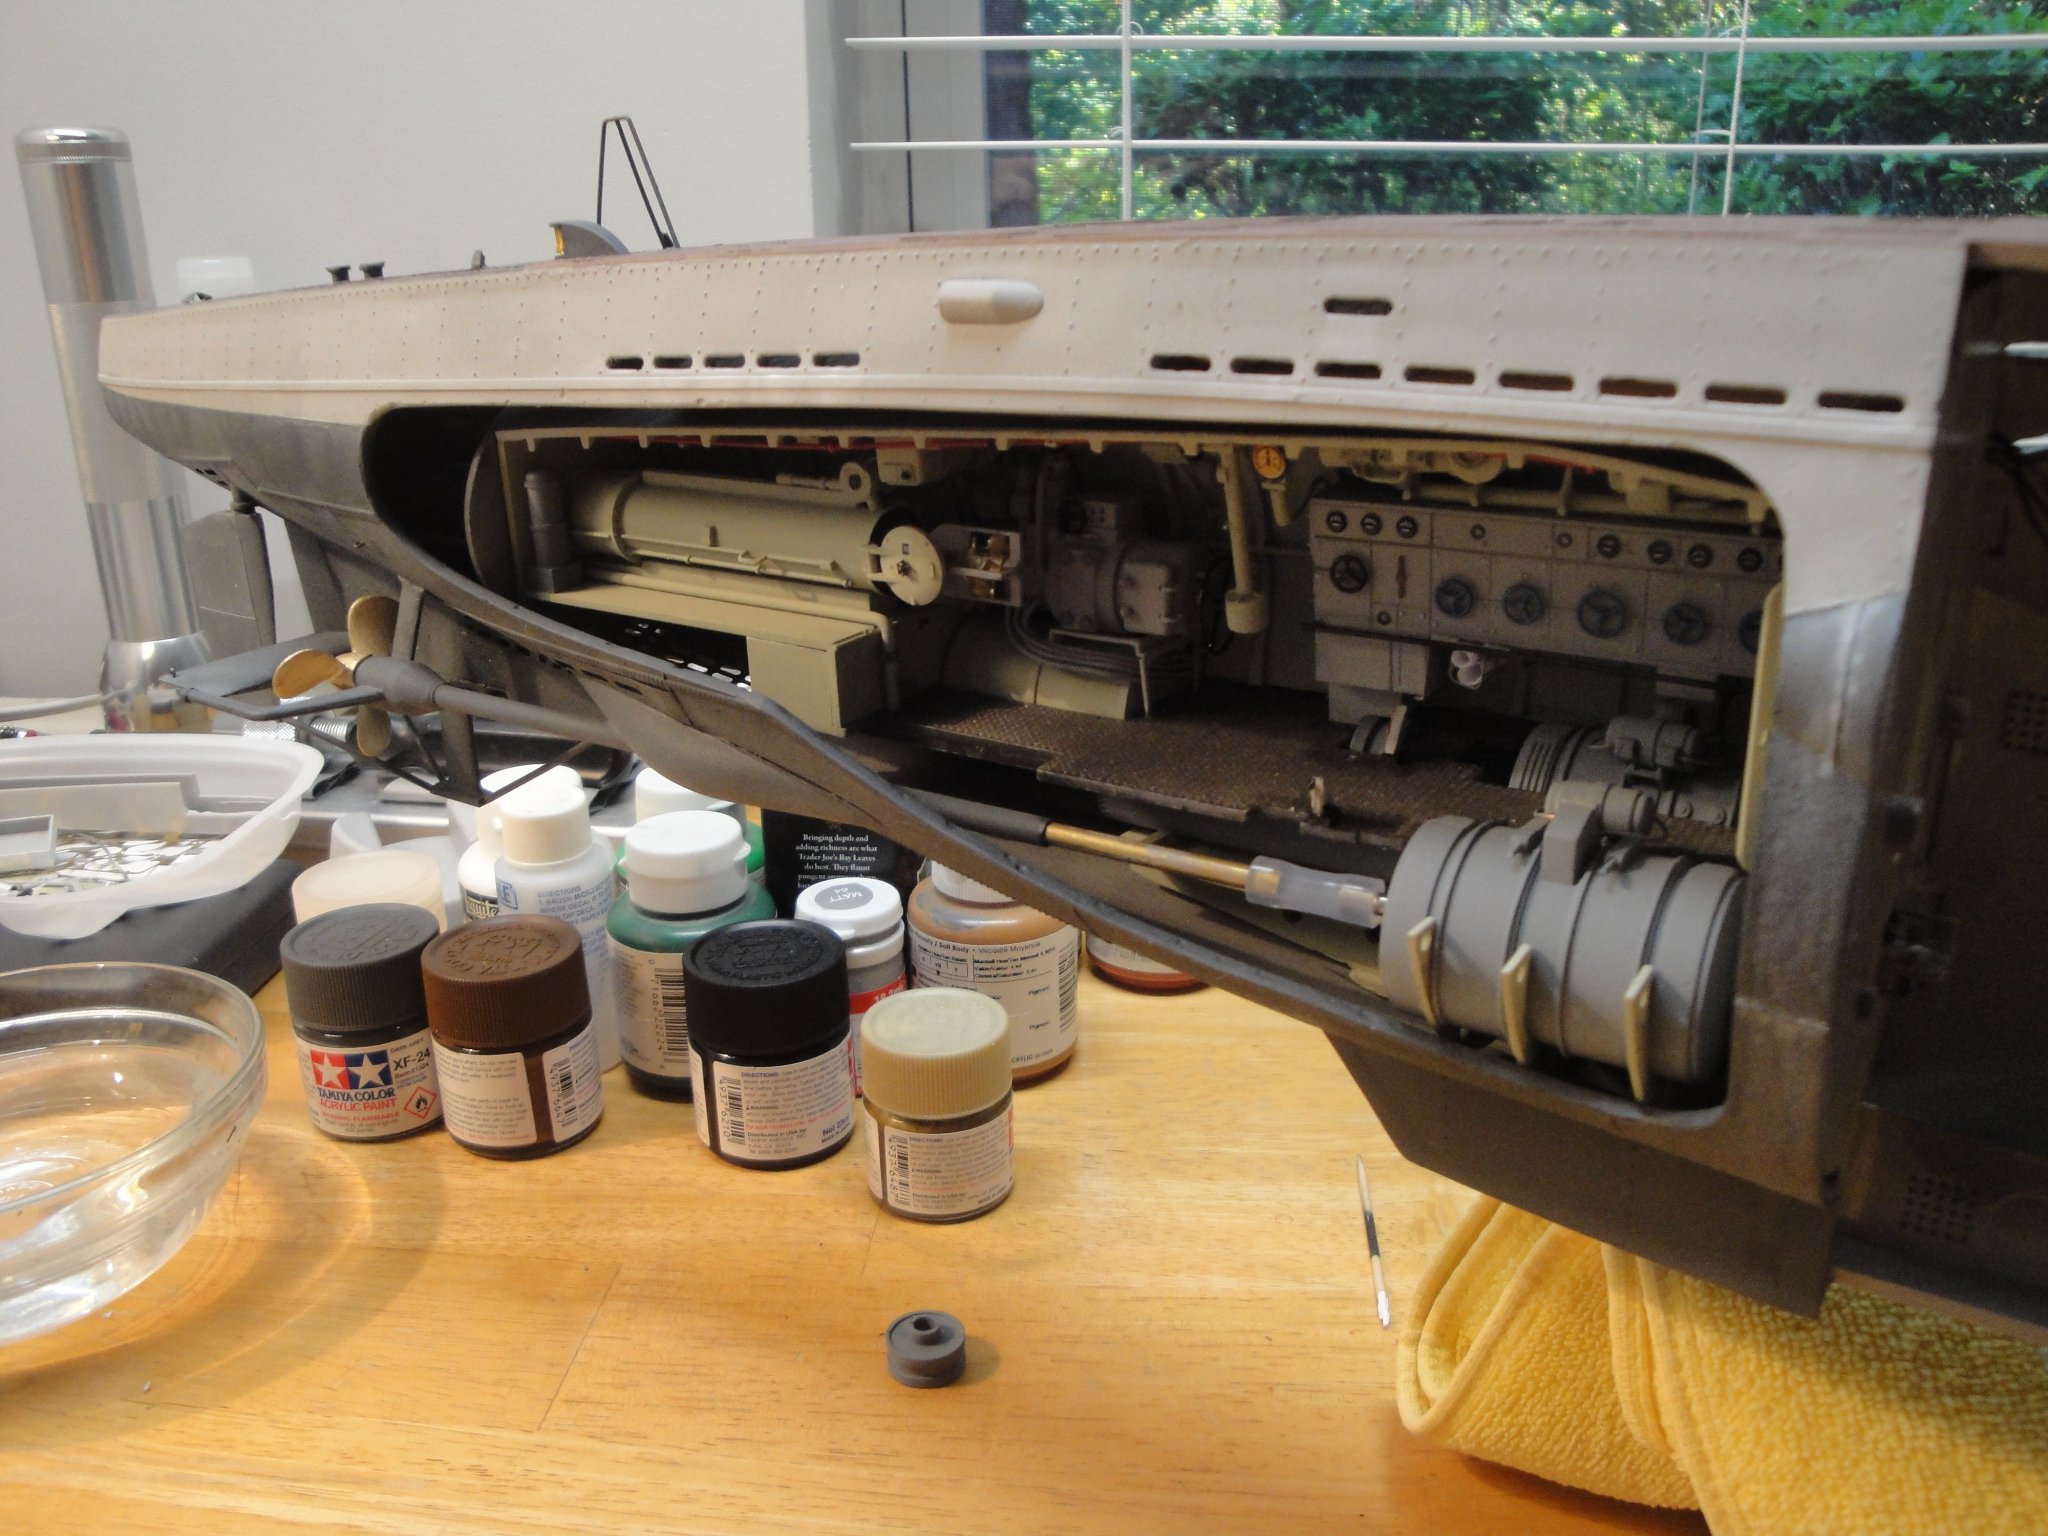
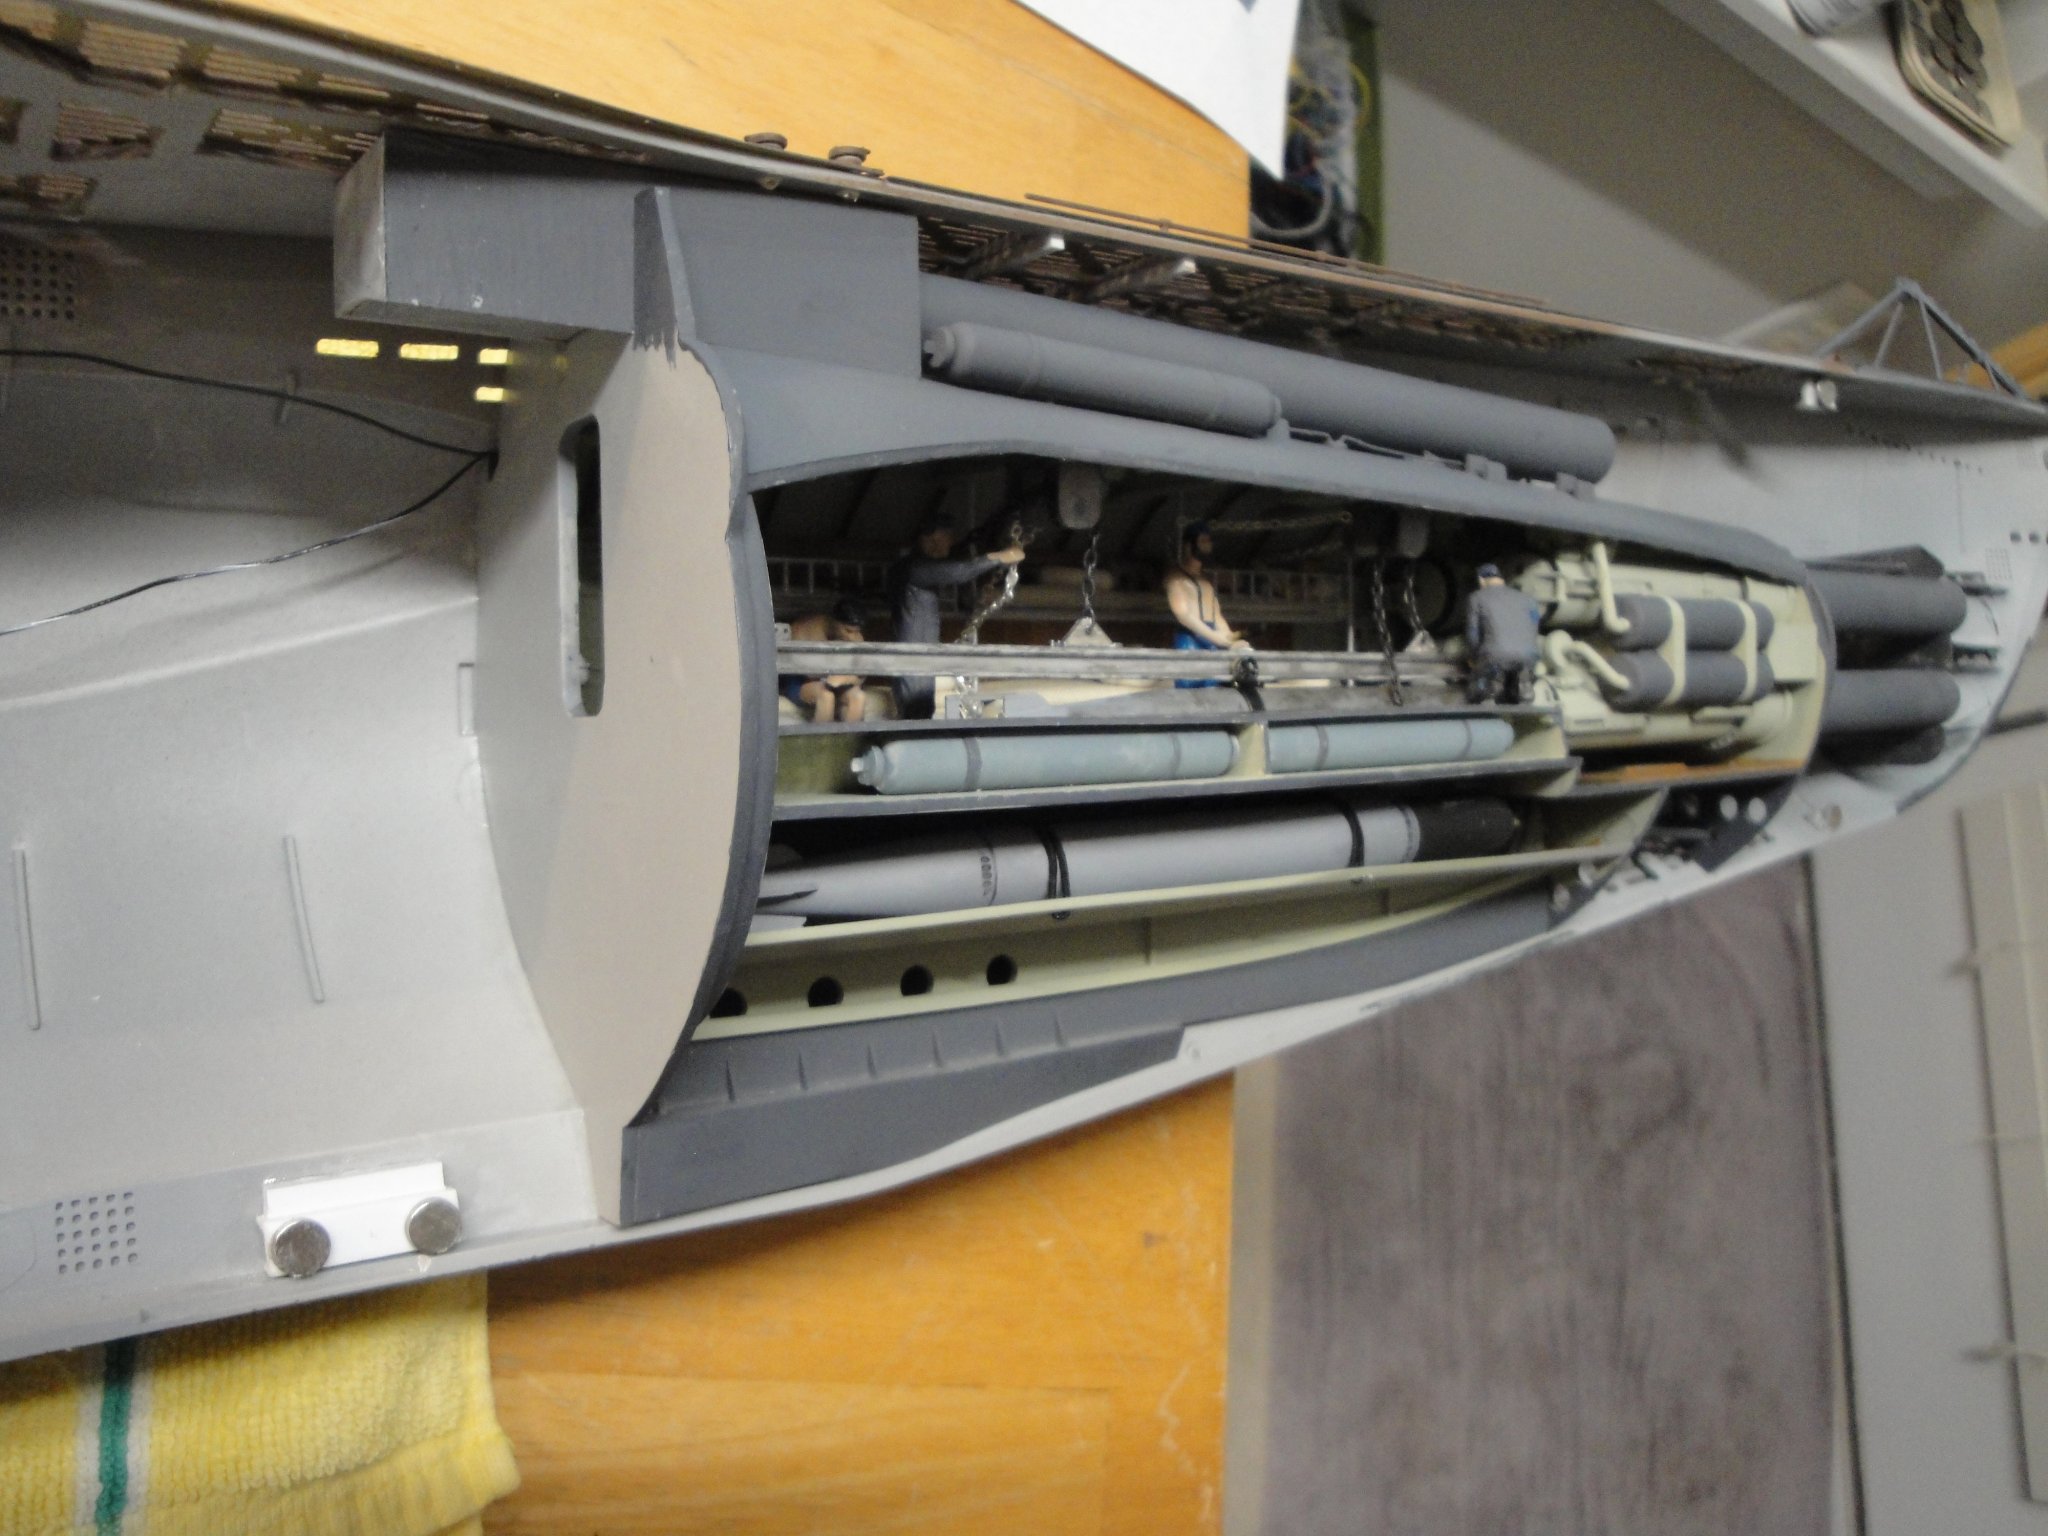
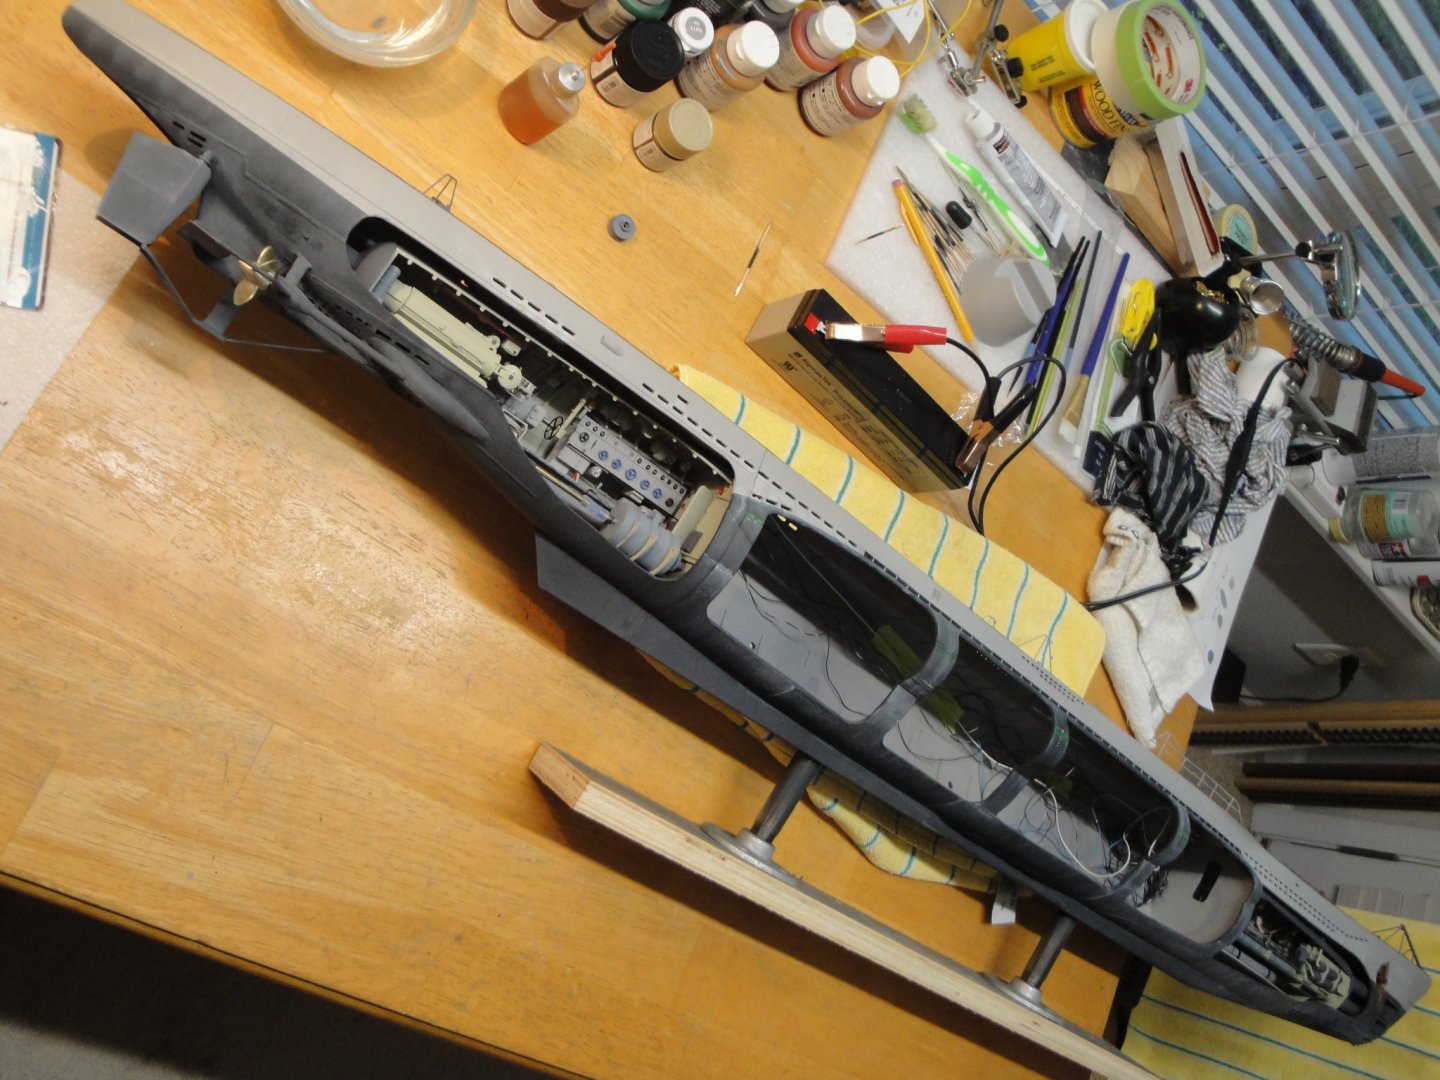
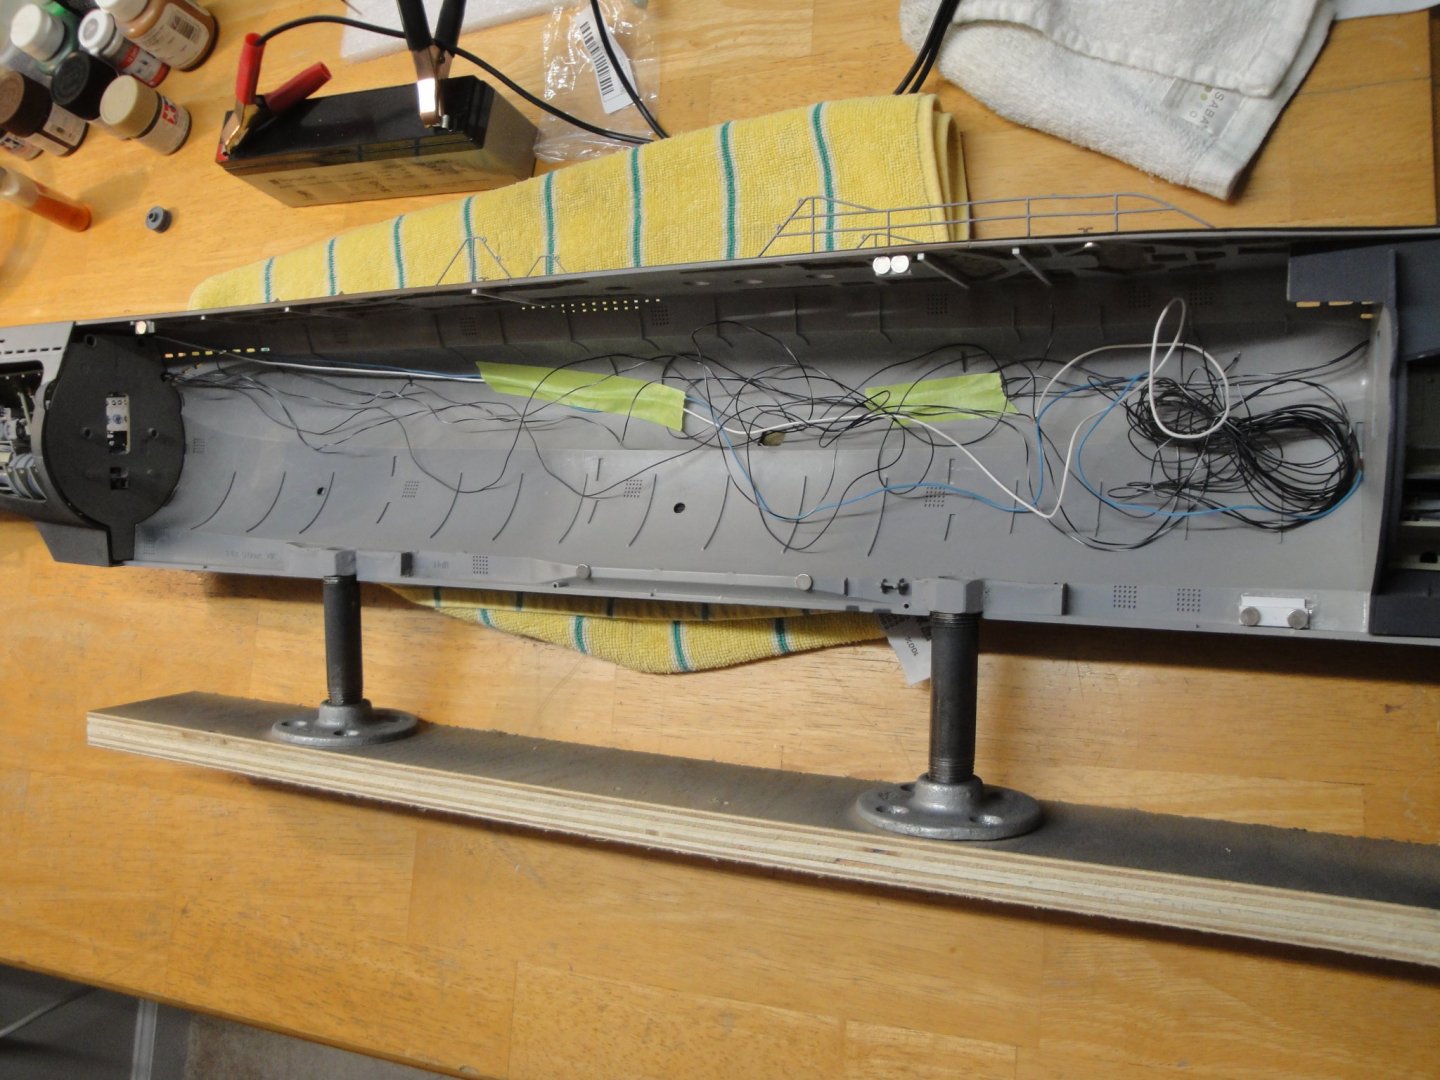
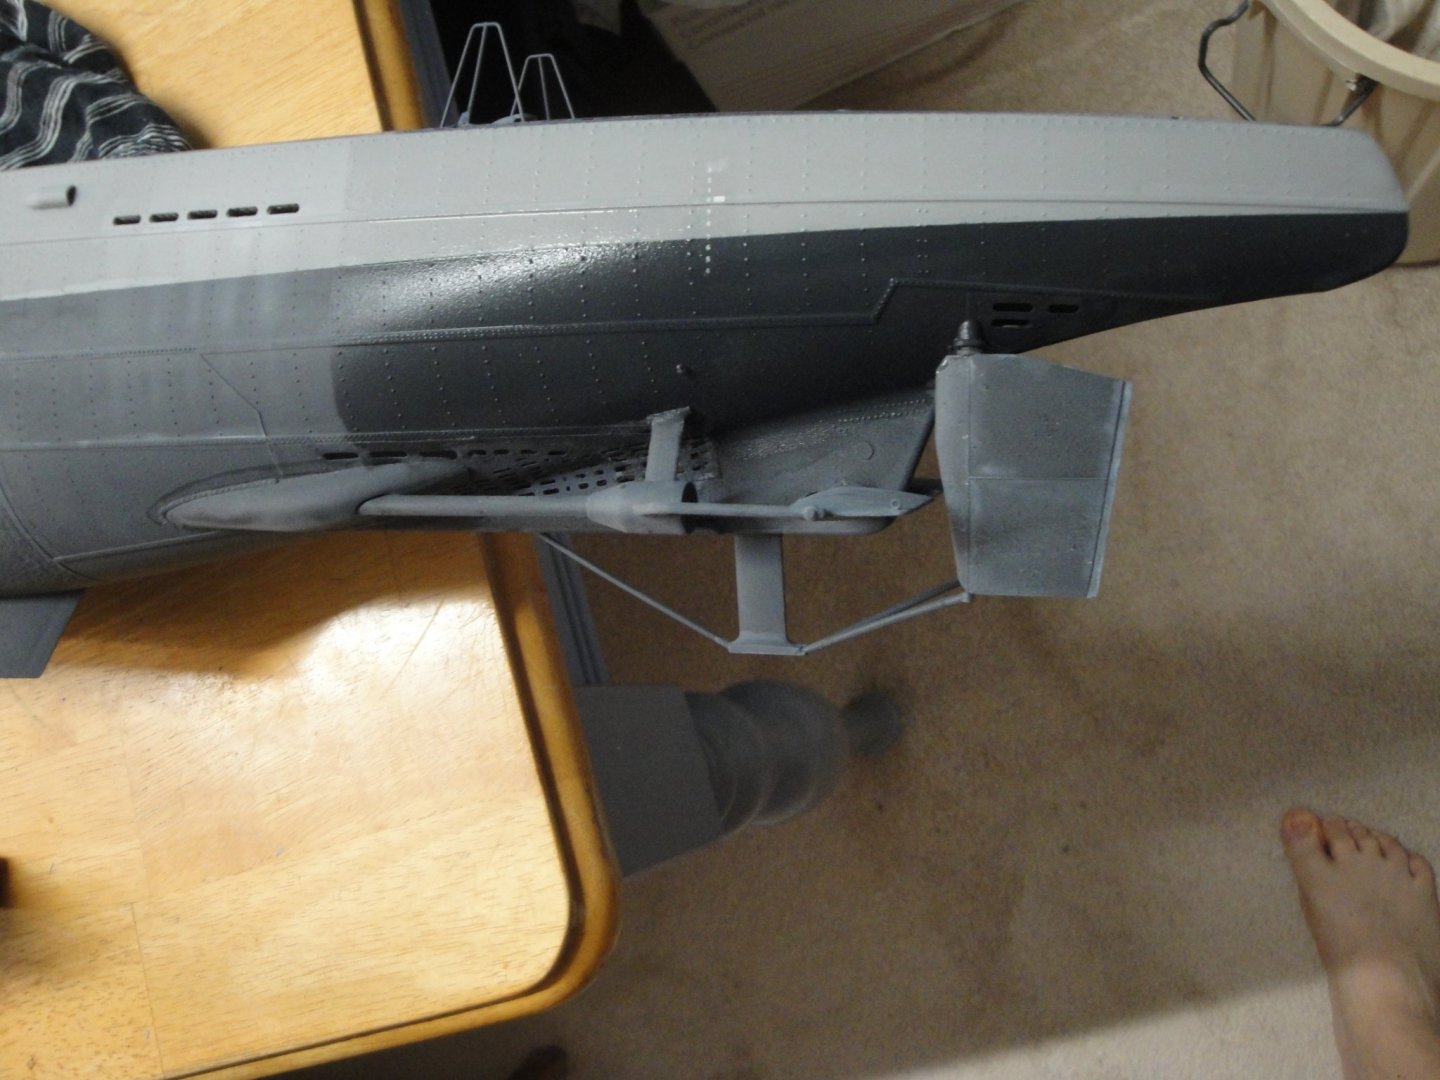
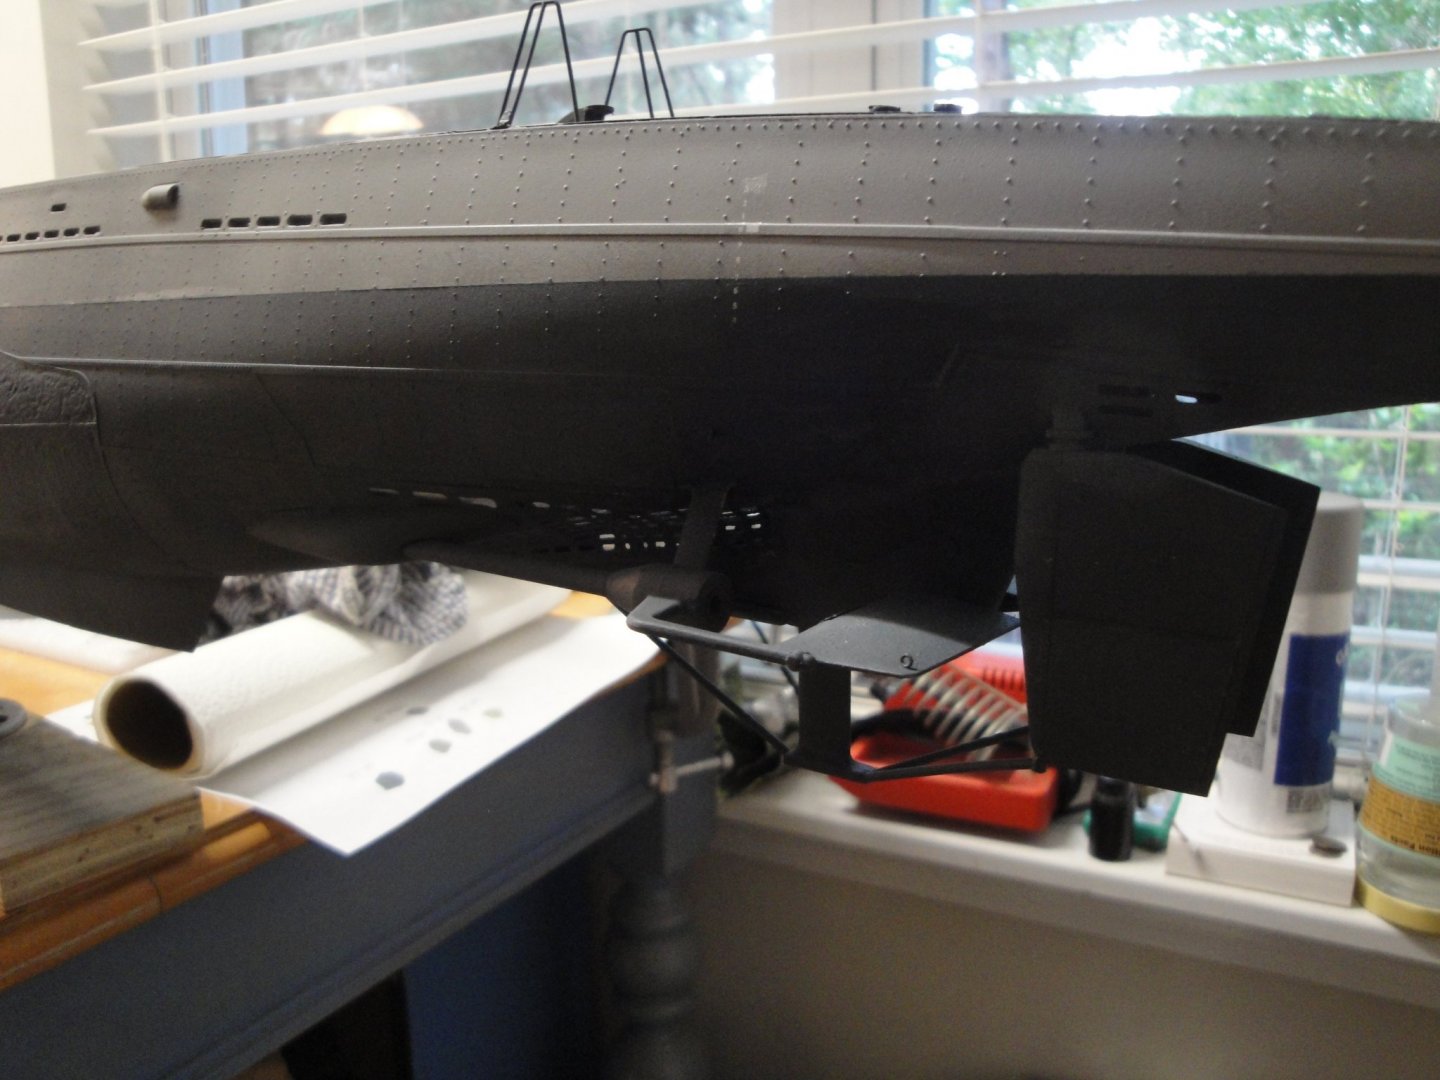
Moving along with the "extremely delicate" insertion of the rear torpedoes module. Delicate because we have the commands of the rudder to insert, the rear torpedo tube and the two propeller shafts. Before it, I had to install the rear deck light and wire it. Again, no coming back is possible, without damaging the bulkhead. I verified that both propellers are turning as they are supposed to (contra-rotations in the proper direction): So, we basically have the two ends of the submarine pretty much completed. I broke the plastic railing surrounding the rear deck light on one side. I am going to replace these plastic parts by brass wires shaped and soldered. This stuff is supposed to withstand the tension of the lines coming from the sail and the plastic part will not resist the rest of the construction. I also need to find a solution to hide the ugly couplers between the shaft and motors. In retrospect, I wish I had not cut so low...but I wanted to show the torpedo resting underneath. We'll see. Propellers, rudders and diving planes. I wish brass props could be provided either by Trumpeter or by RCsubs. The Revell folks at 1/72 have all these goodies available on the grey market. It feels almost real... Lots of wires starting to pile up: Blue and white for the rear deck light and four wires coming out of the rear module for the motors and the lights. Yves


- 760 replies
-
- 24
-
-
Fabulous work and great pictures to explain your approach. That is a difficult deck, because of the convex shapes in both directions. Yves
-
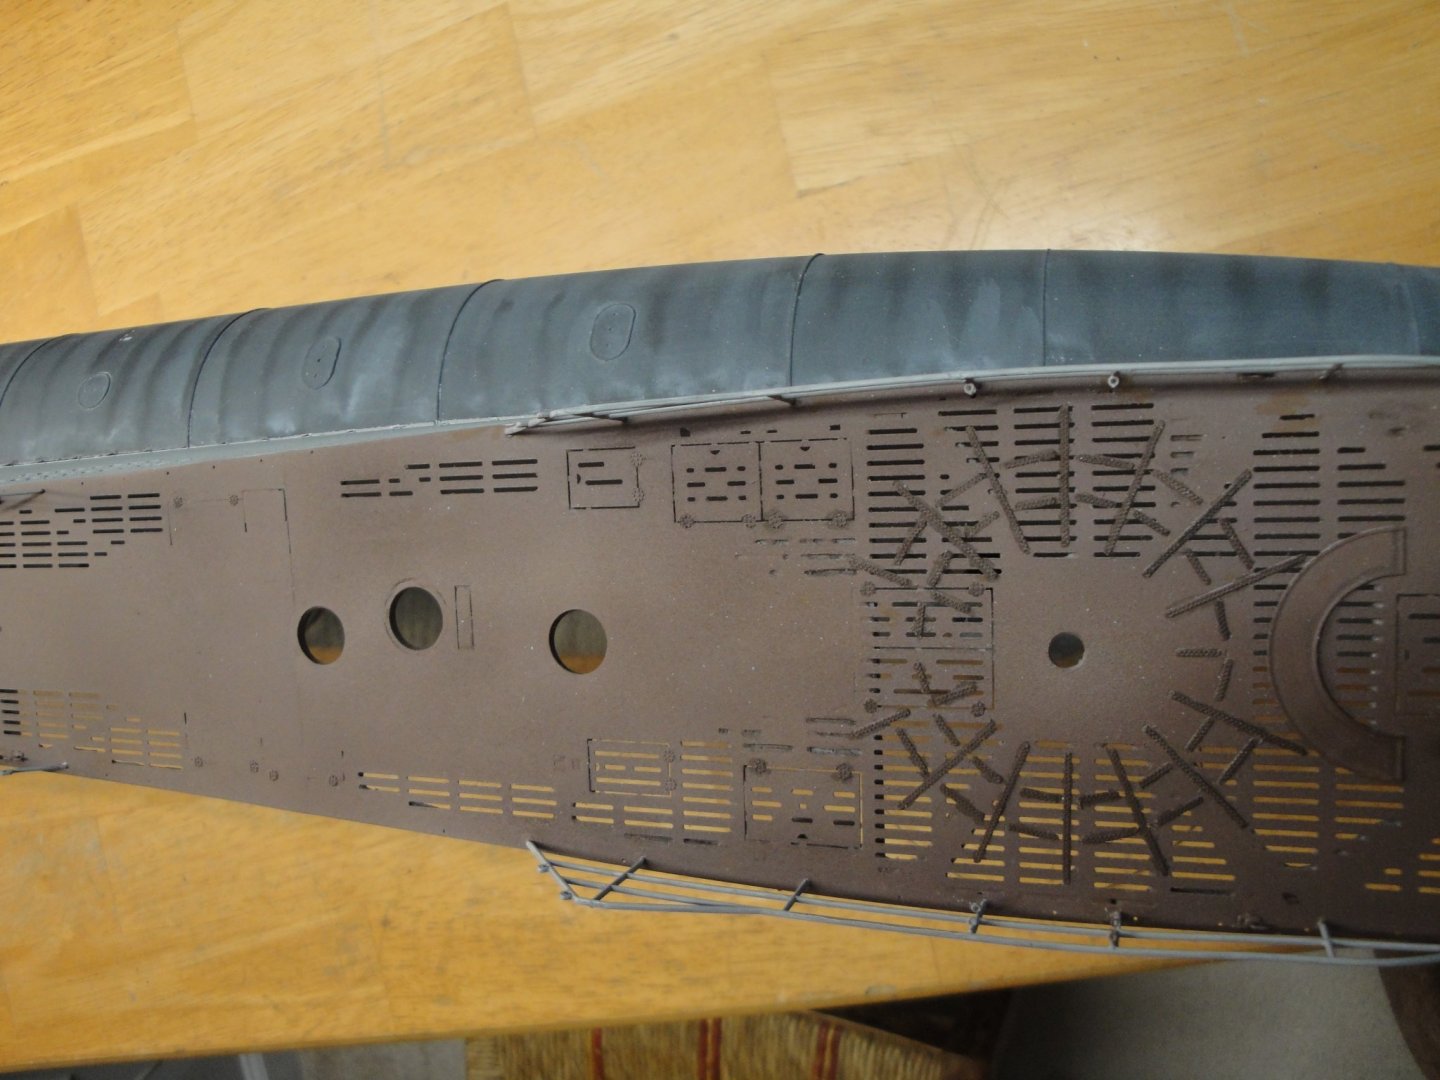
Trumpeter's solution to the mechanism of the front diving planes. Actually not too bad and quite close to the prototype. Again, the kit implementation of the anchor windlass. 95% of it will be invisible. Can you pinpoint the original Vallejo primer peeling away from the PE parts? That primer is excellent on plastic parts but to be absolutely avoided on brass parts. Fortunately, all this decaying is not visible. Yves

- 760 replies
-
- 14
-
-
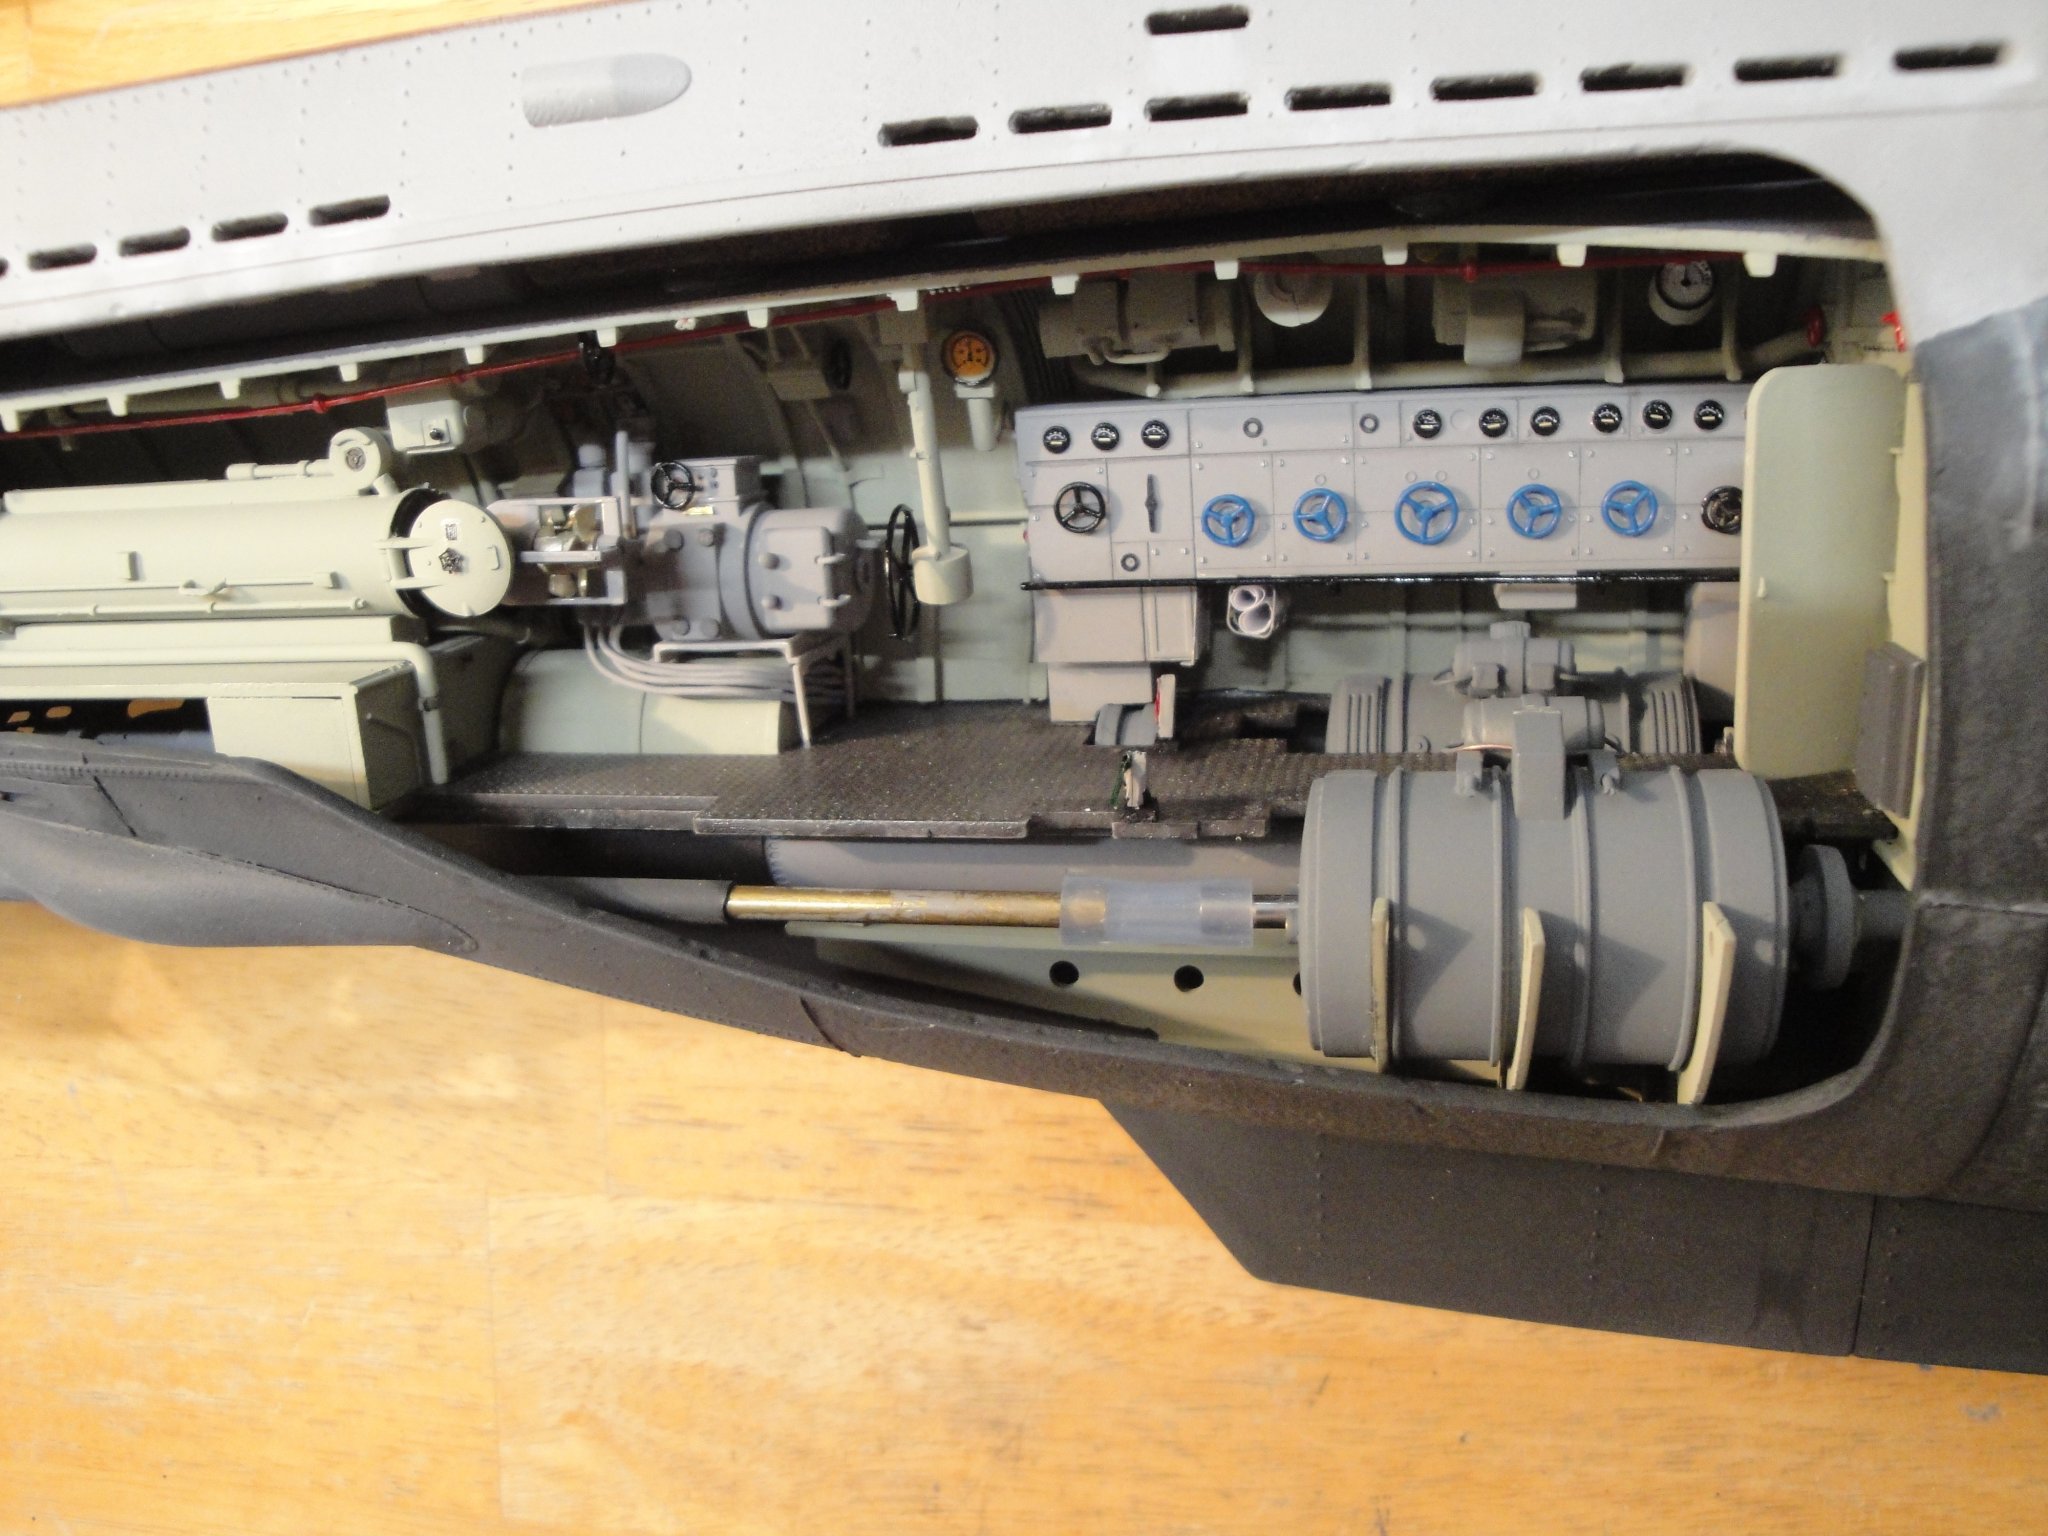
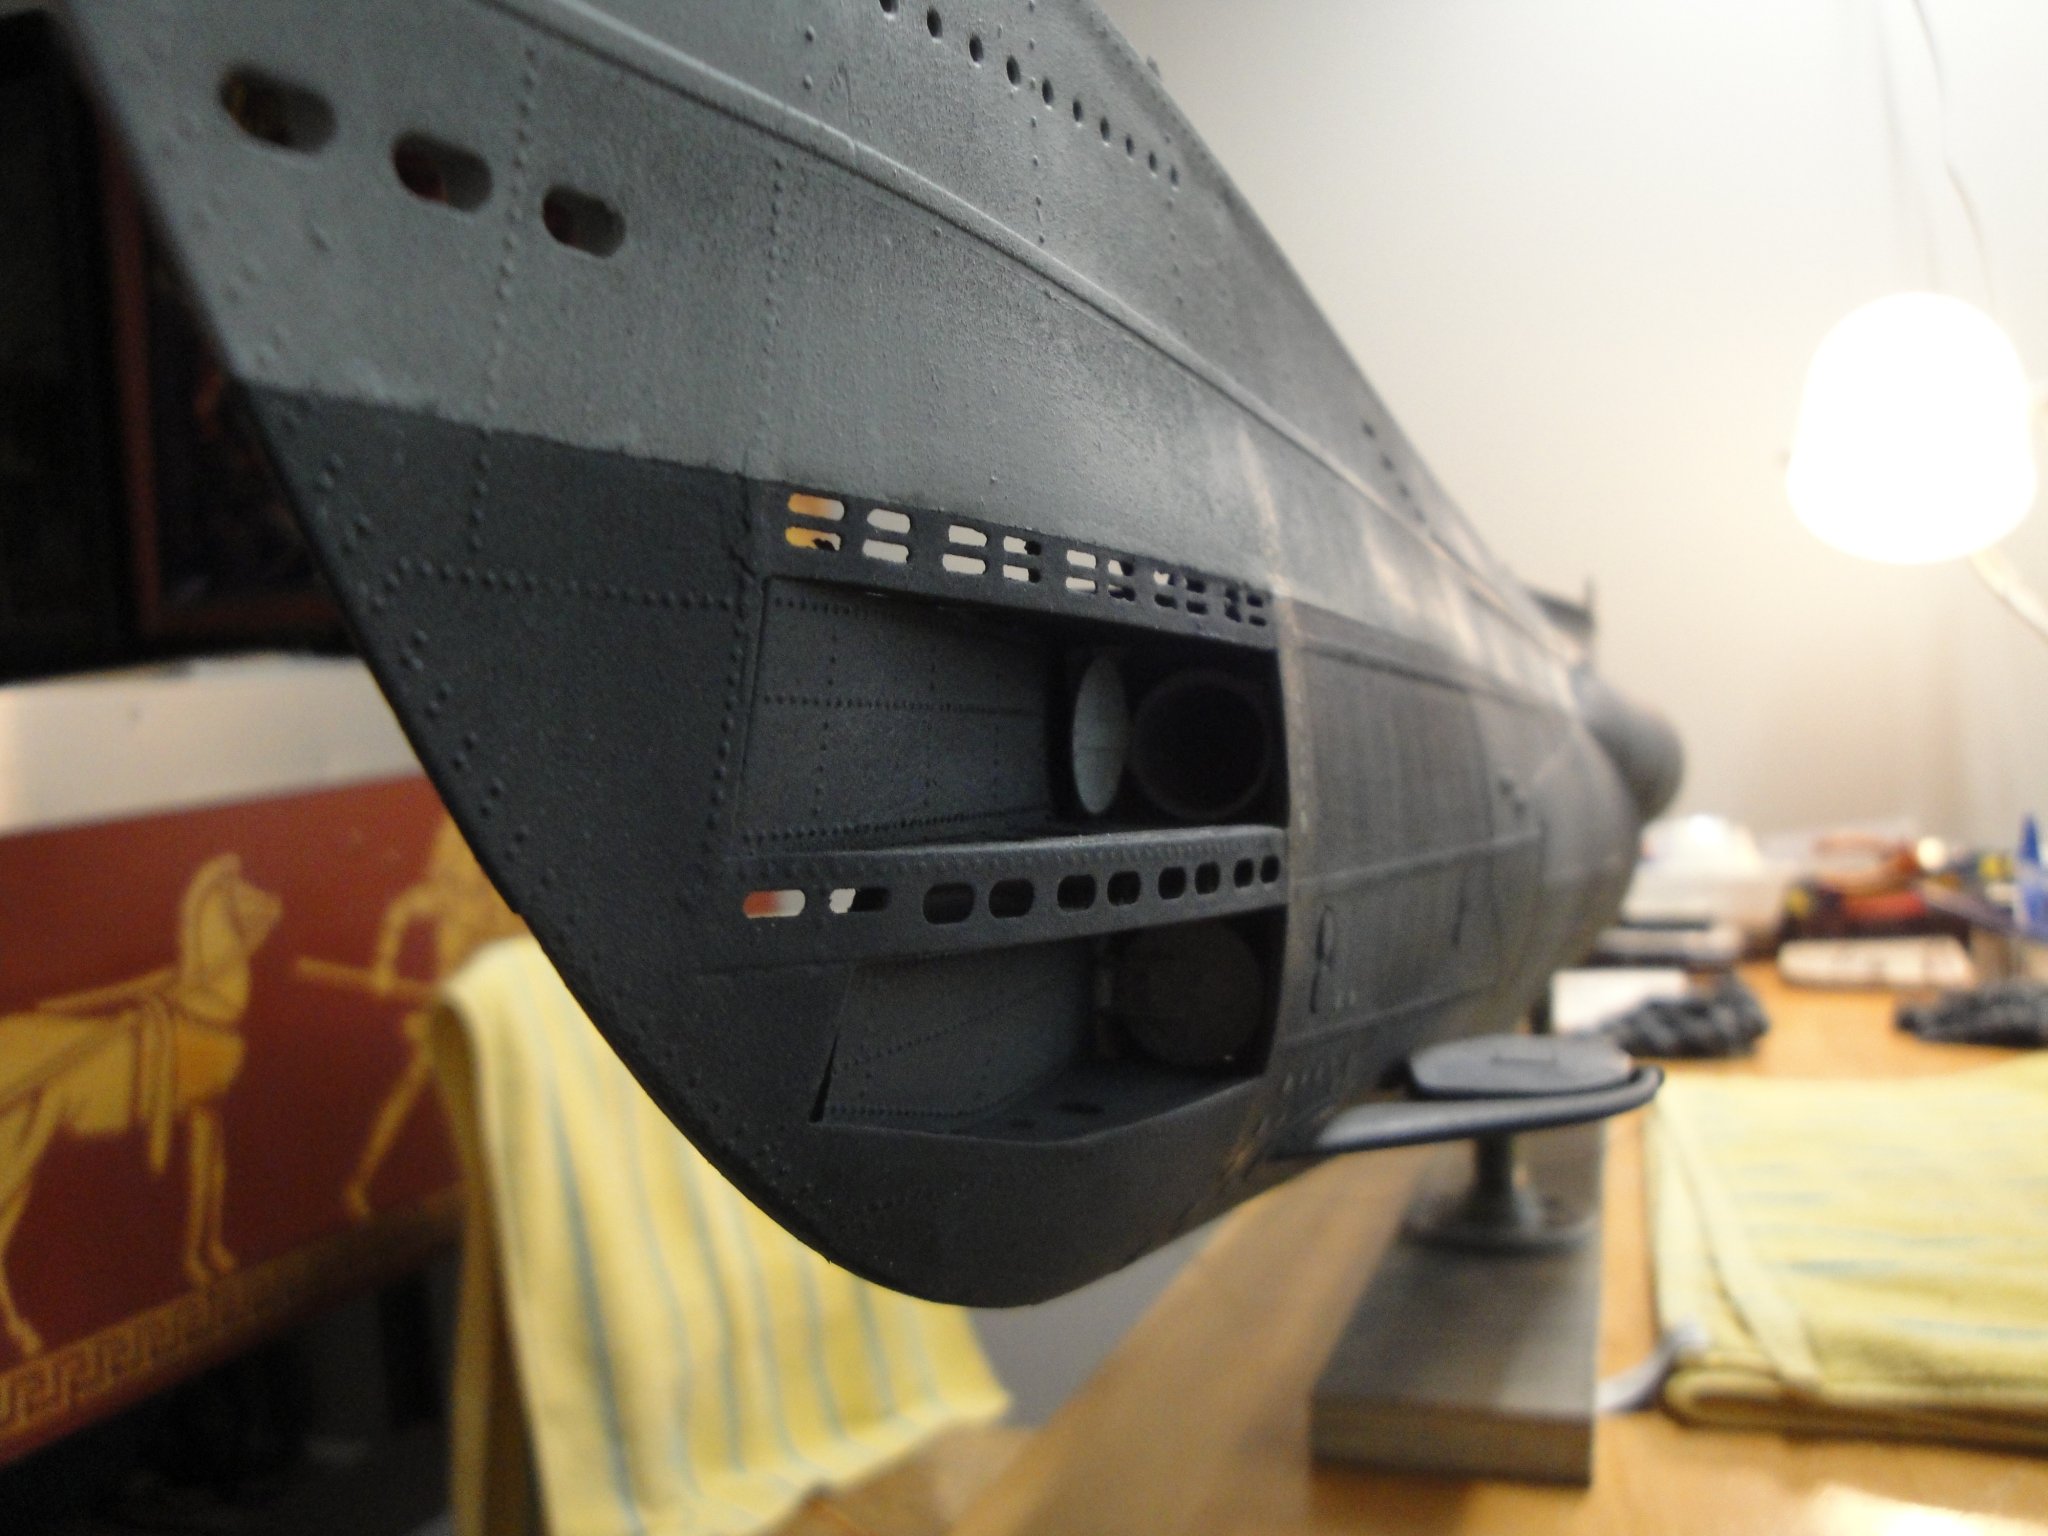
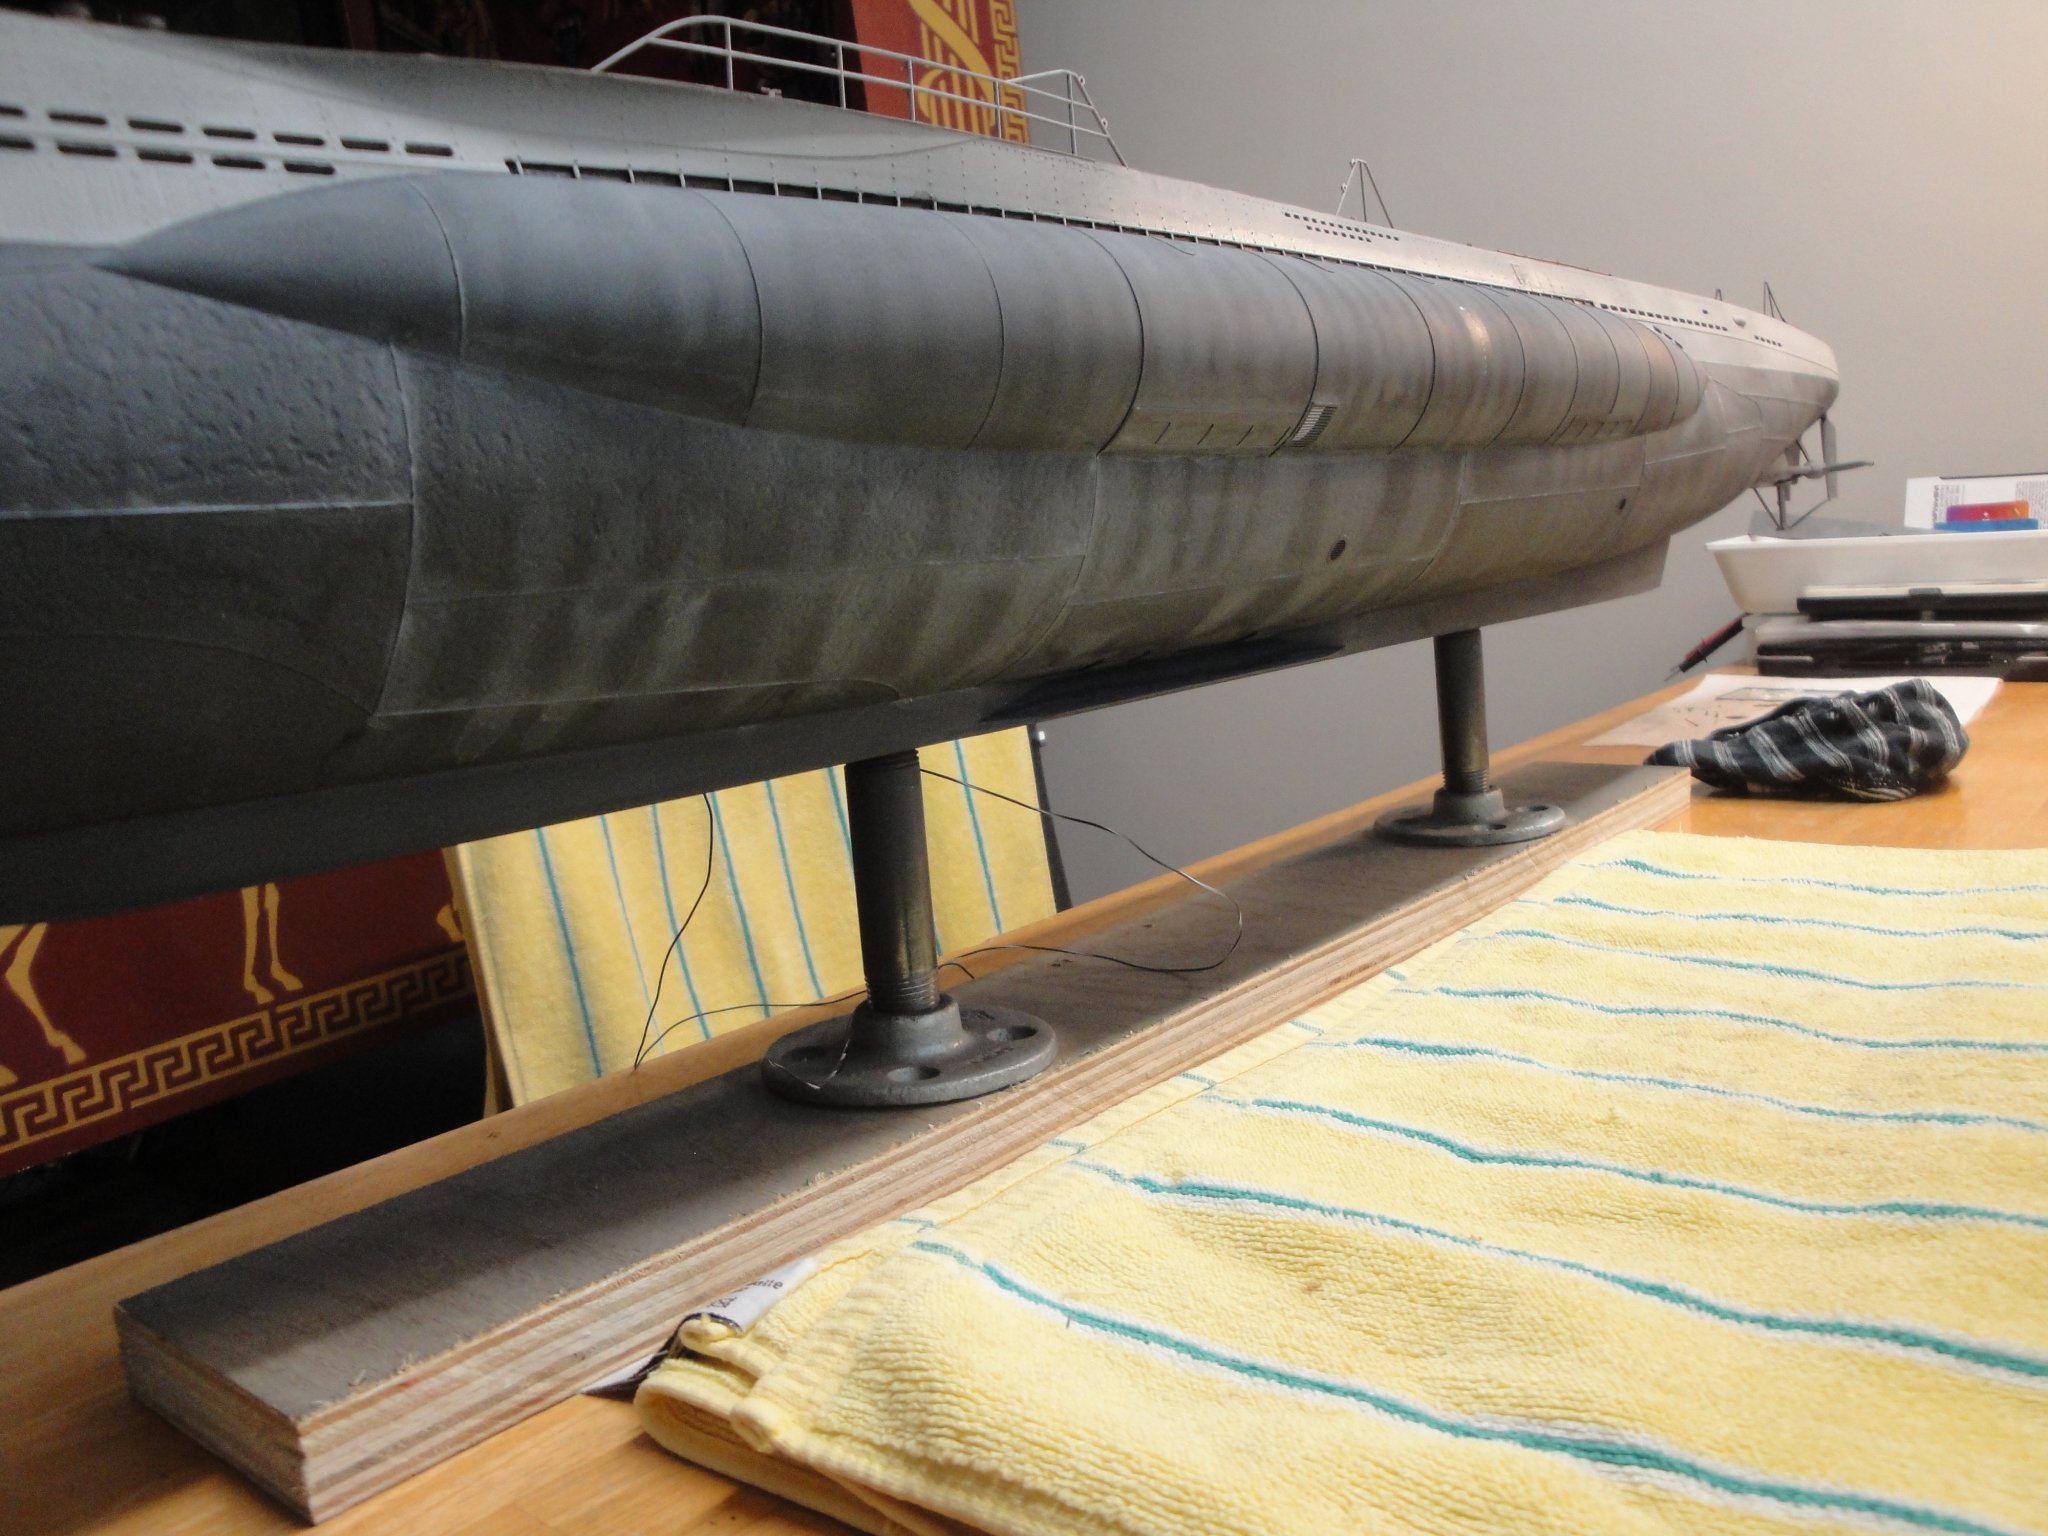
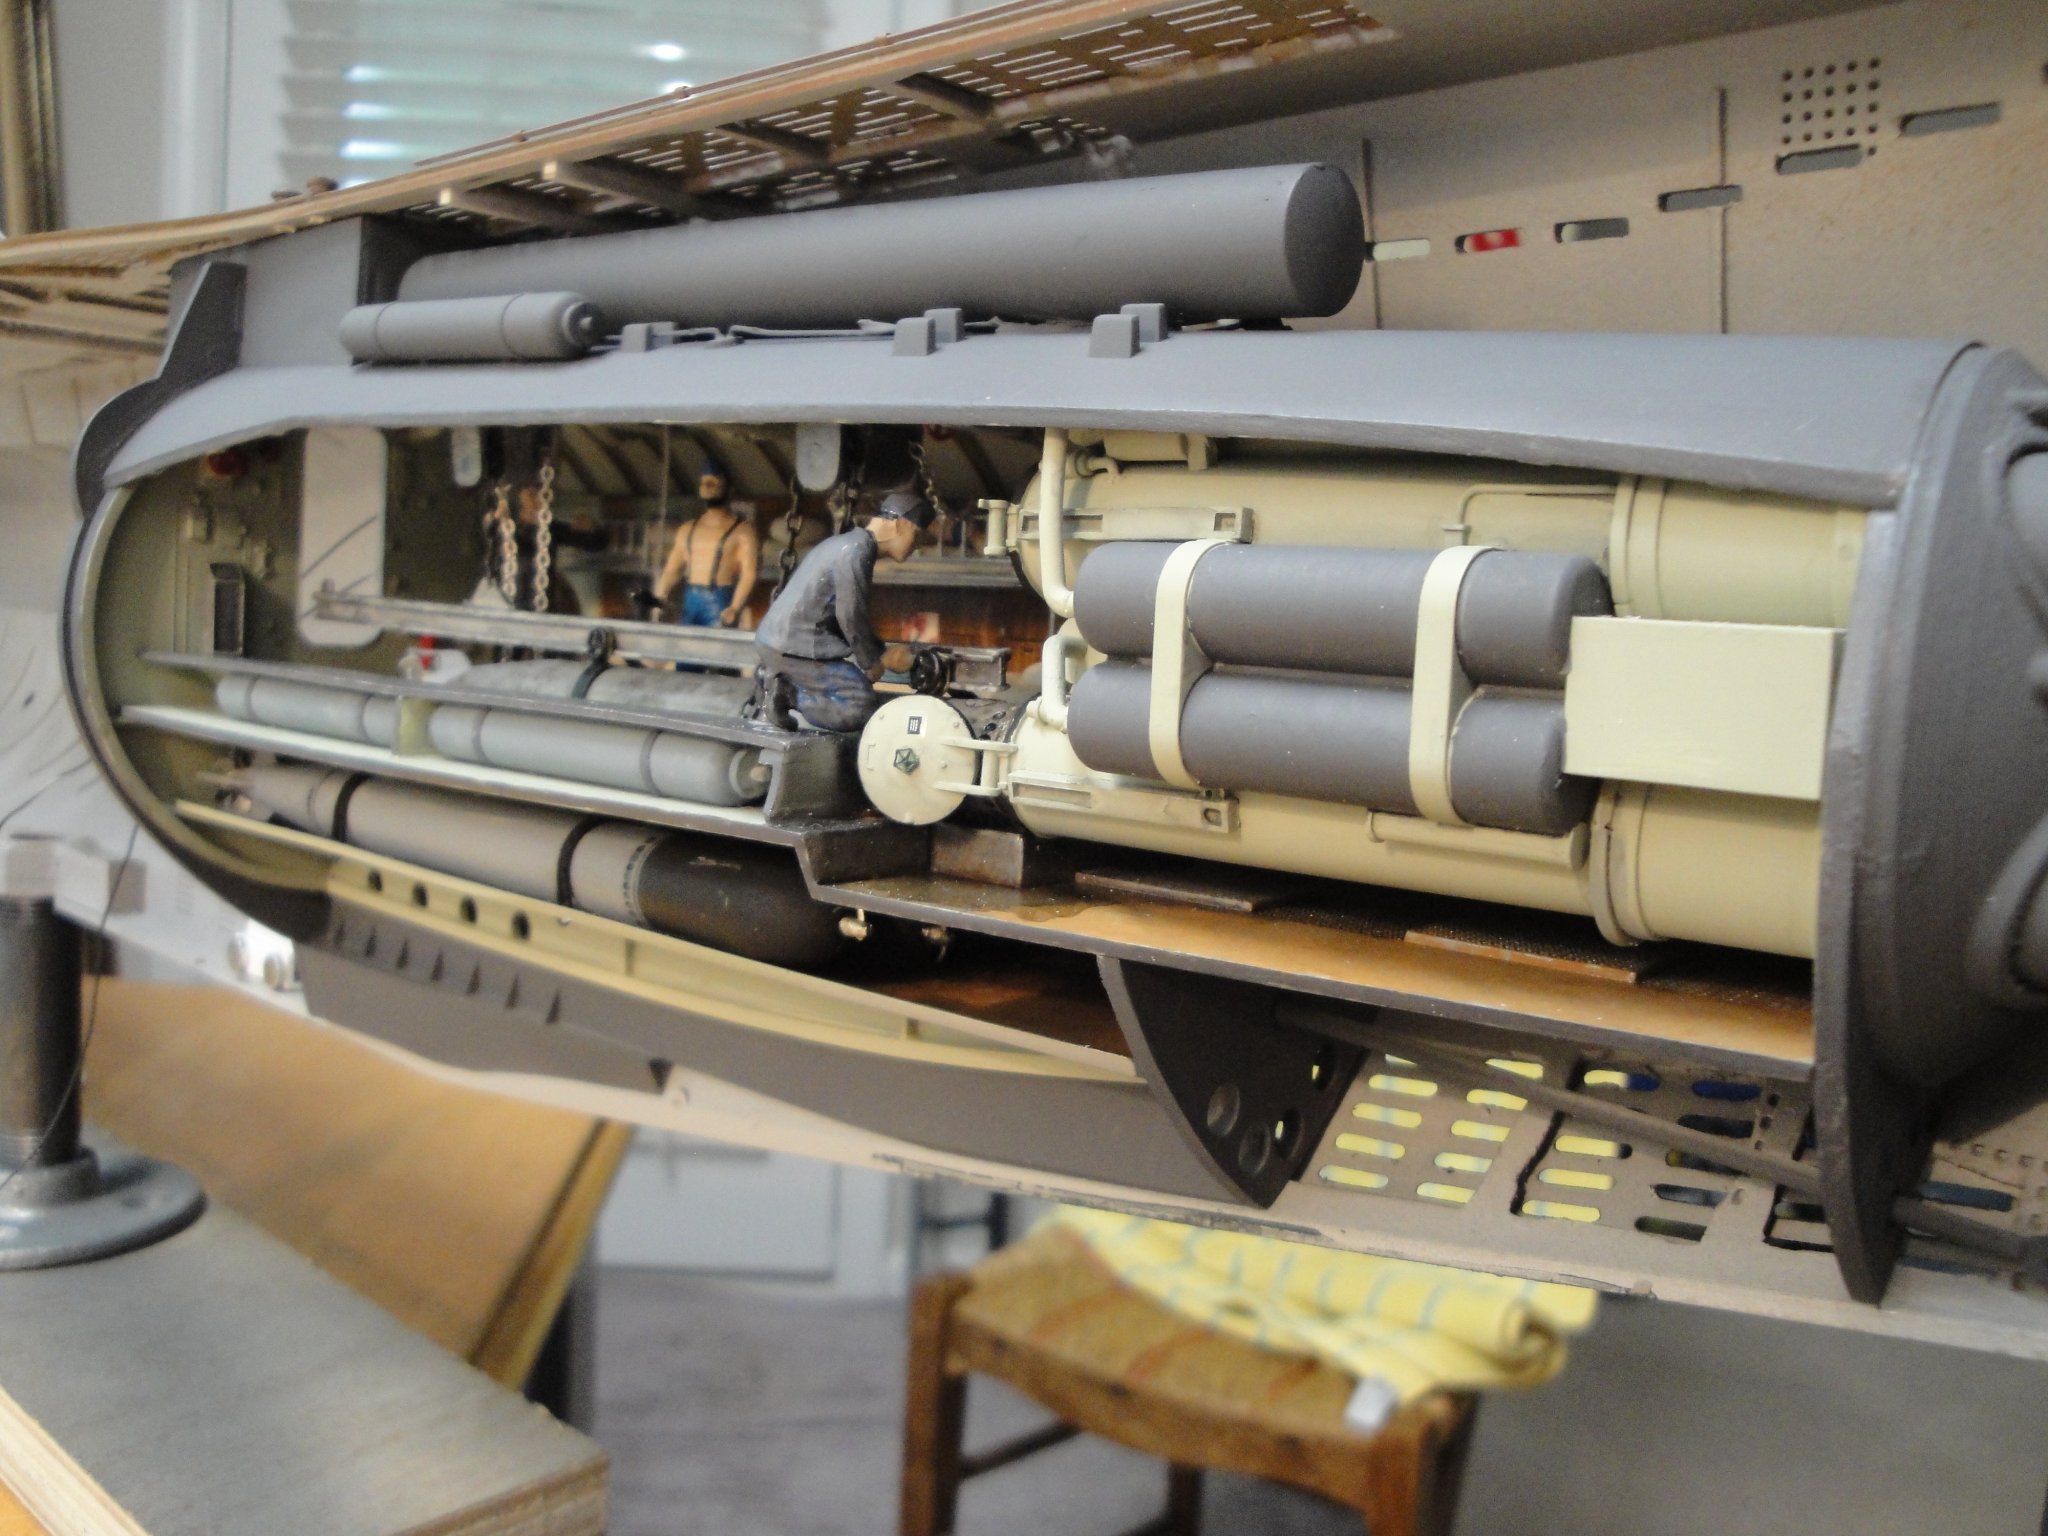
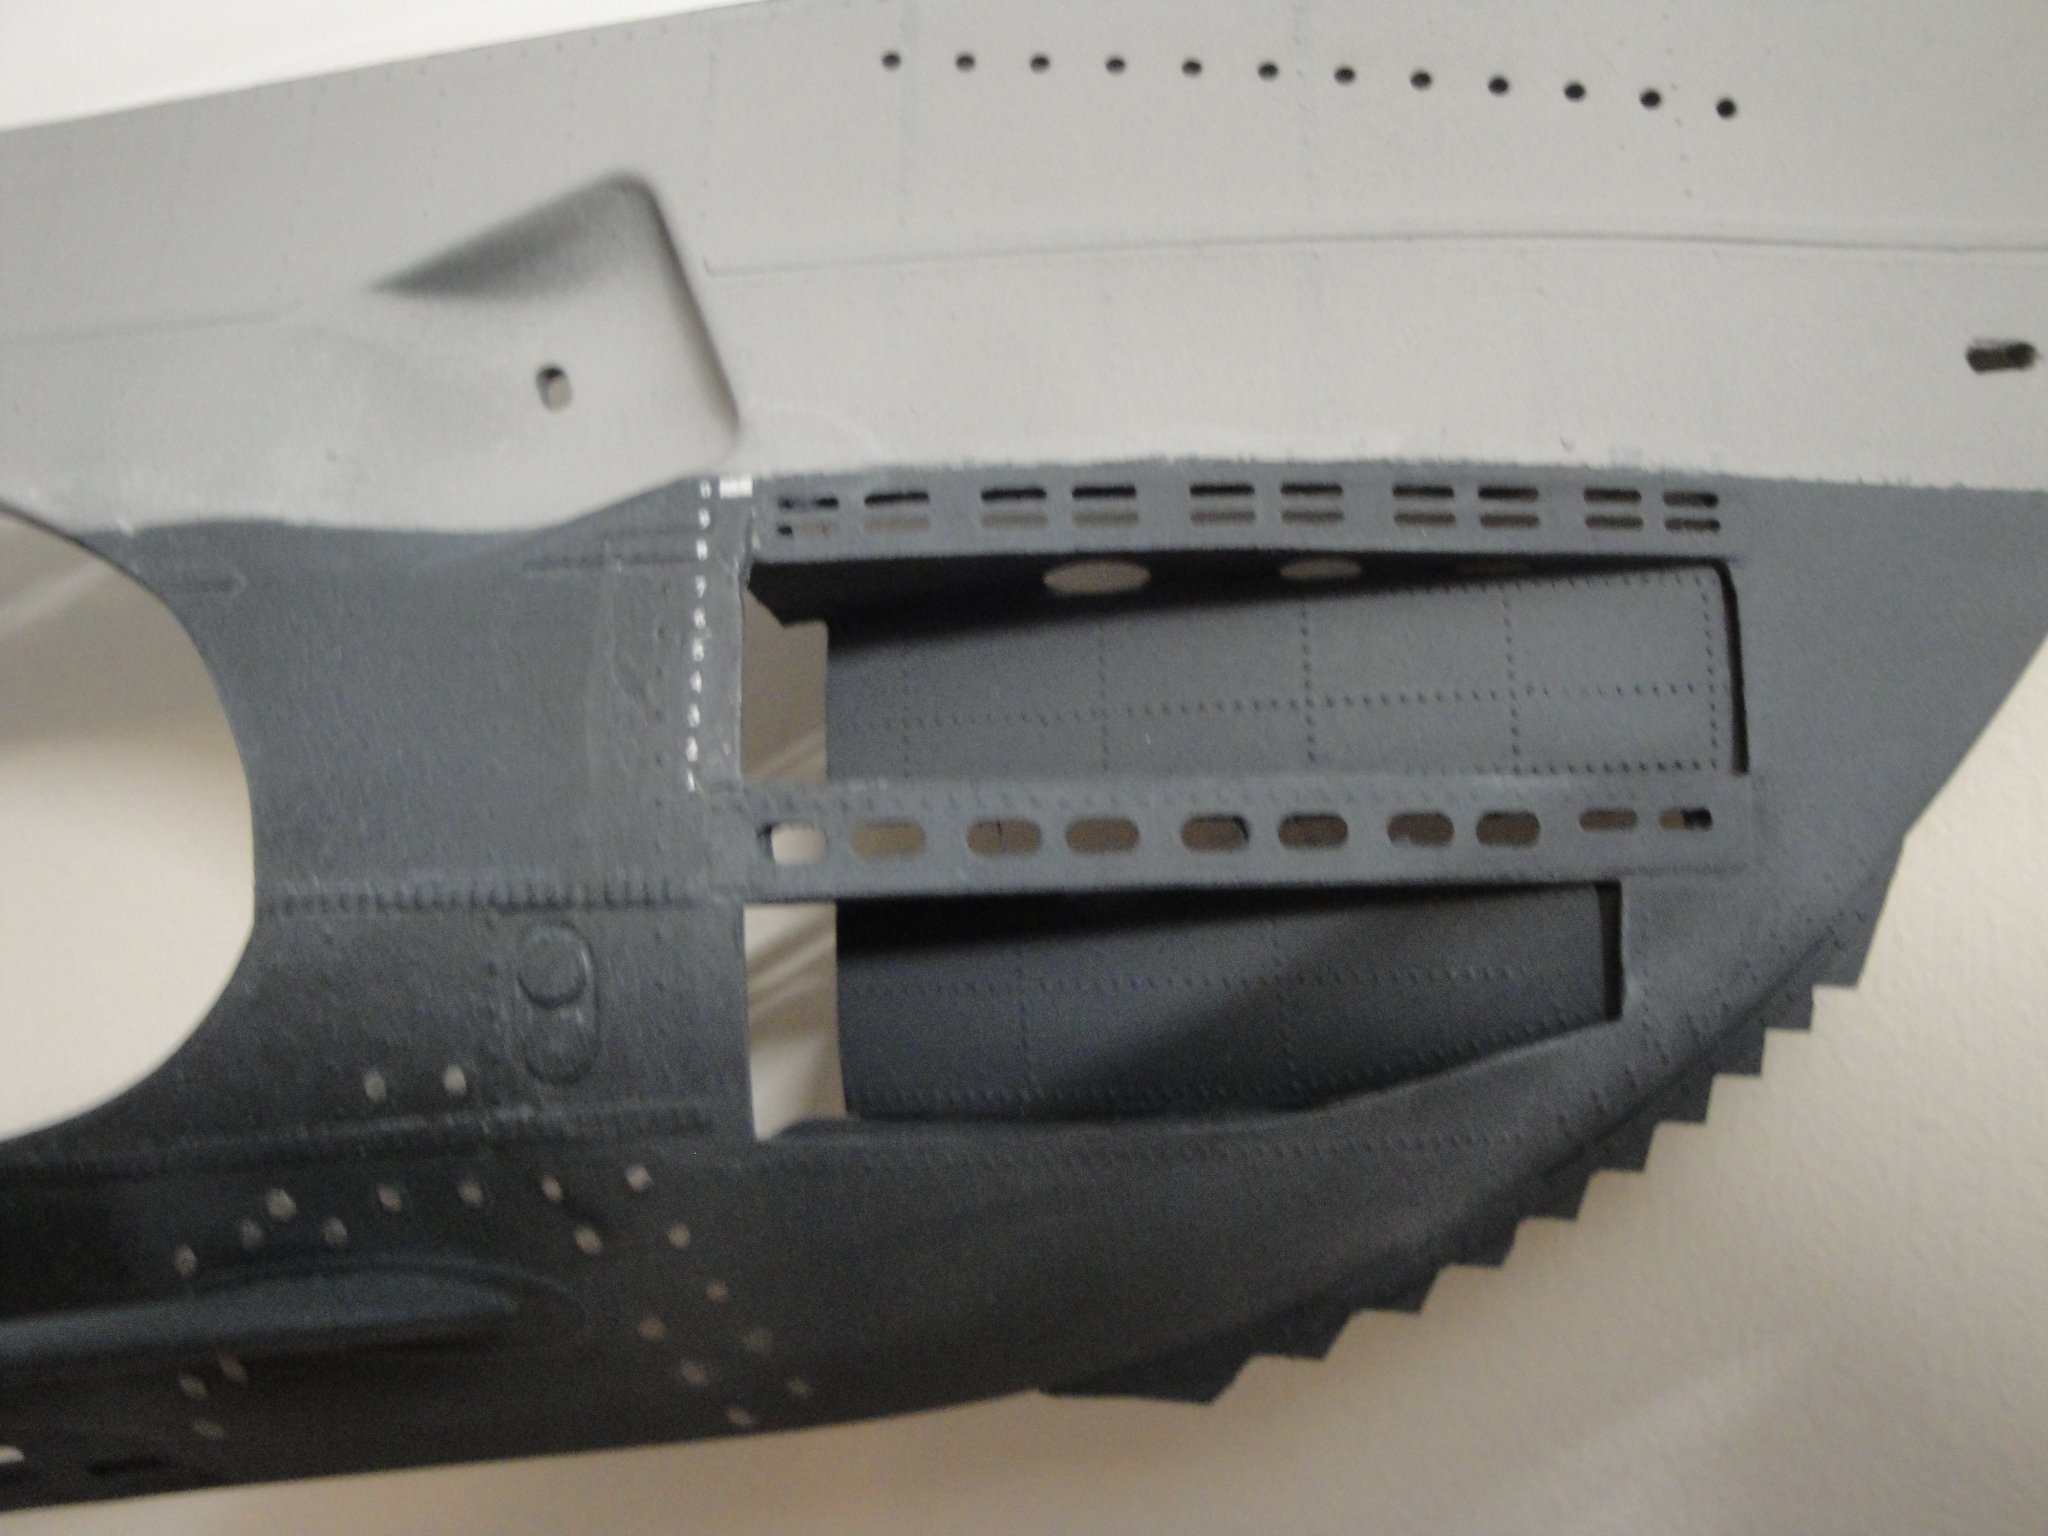
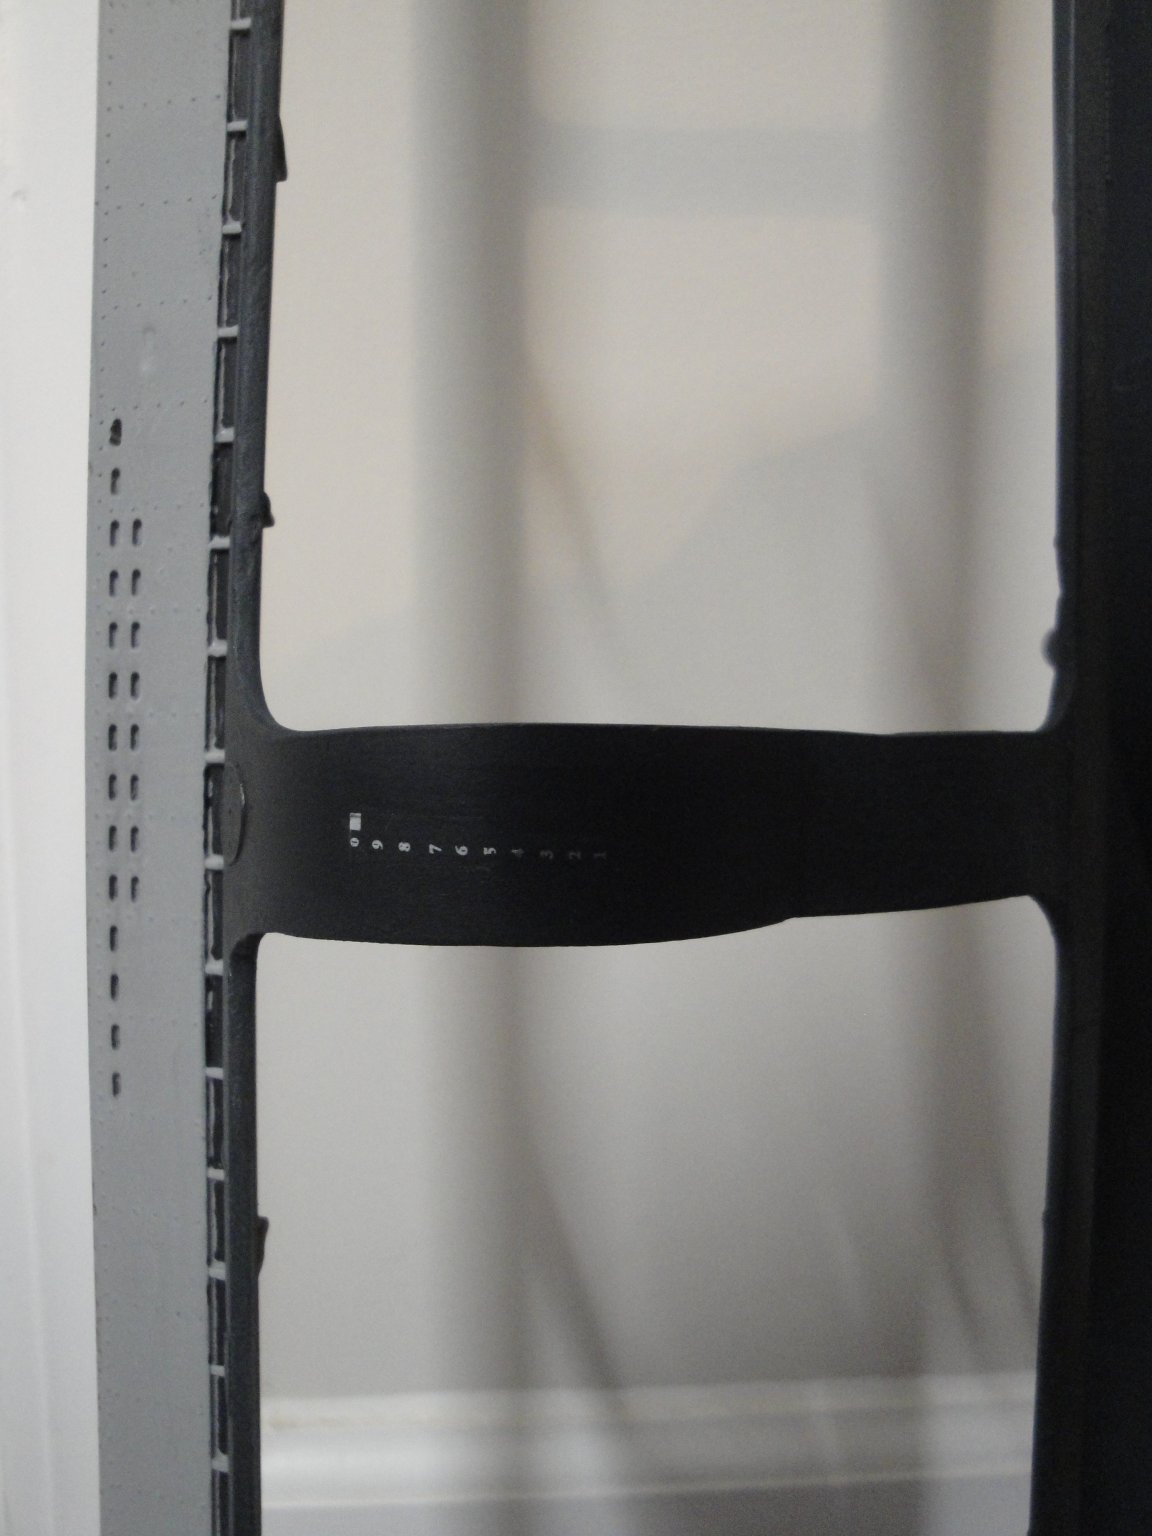
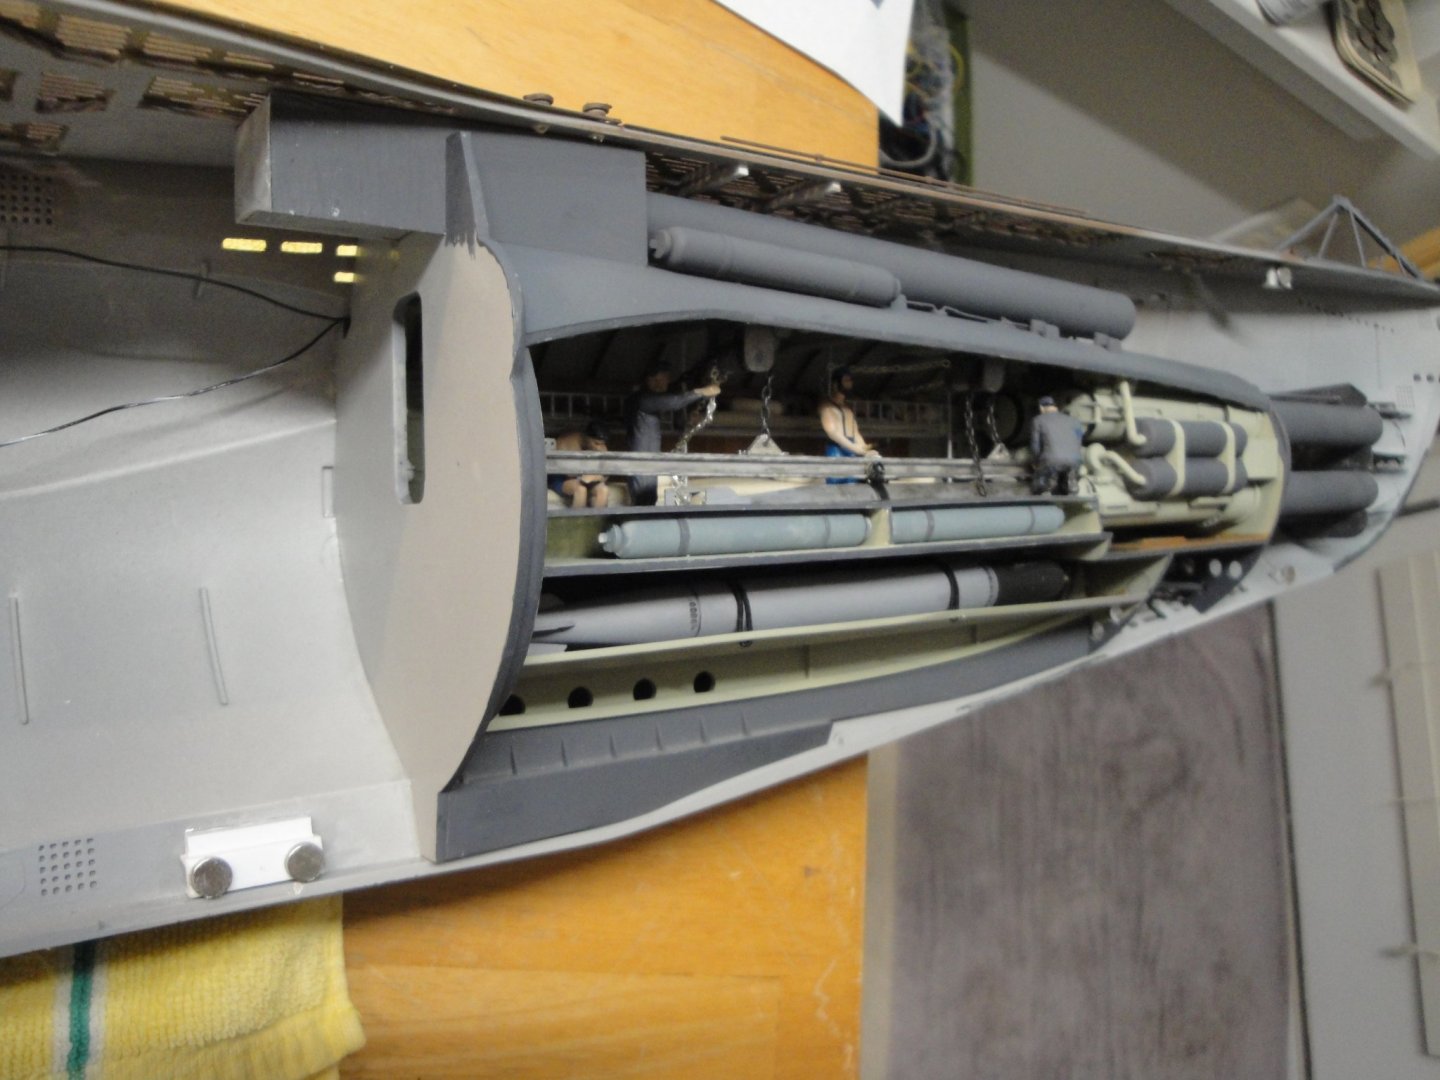
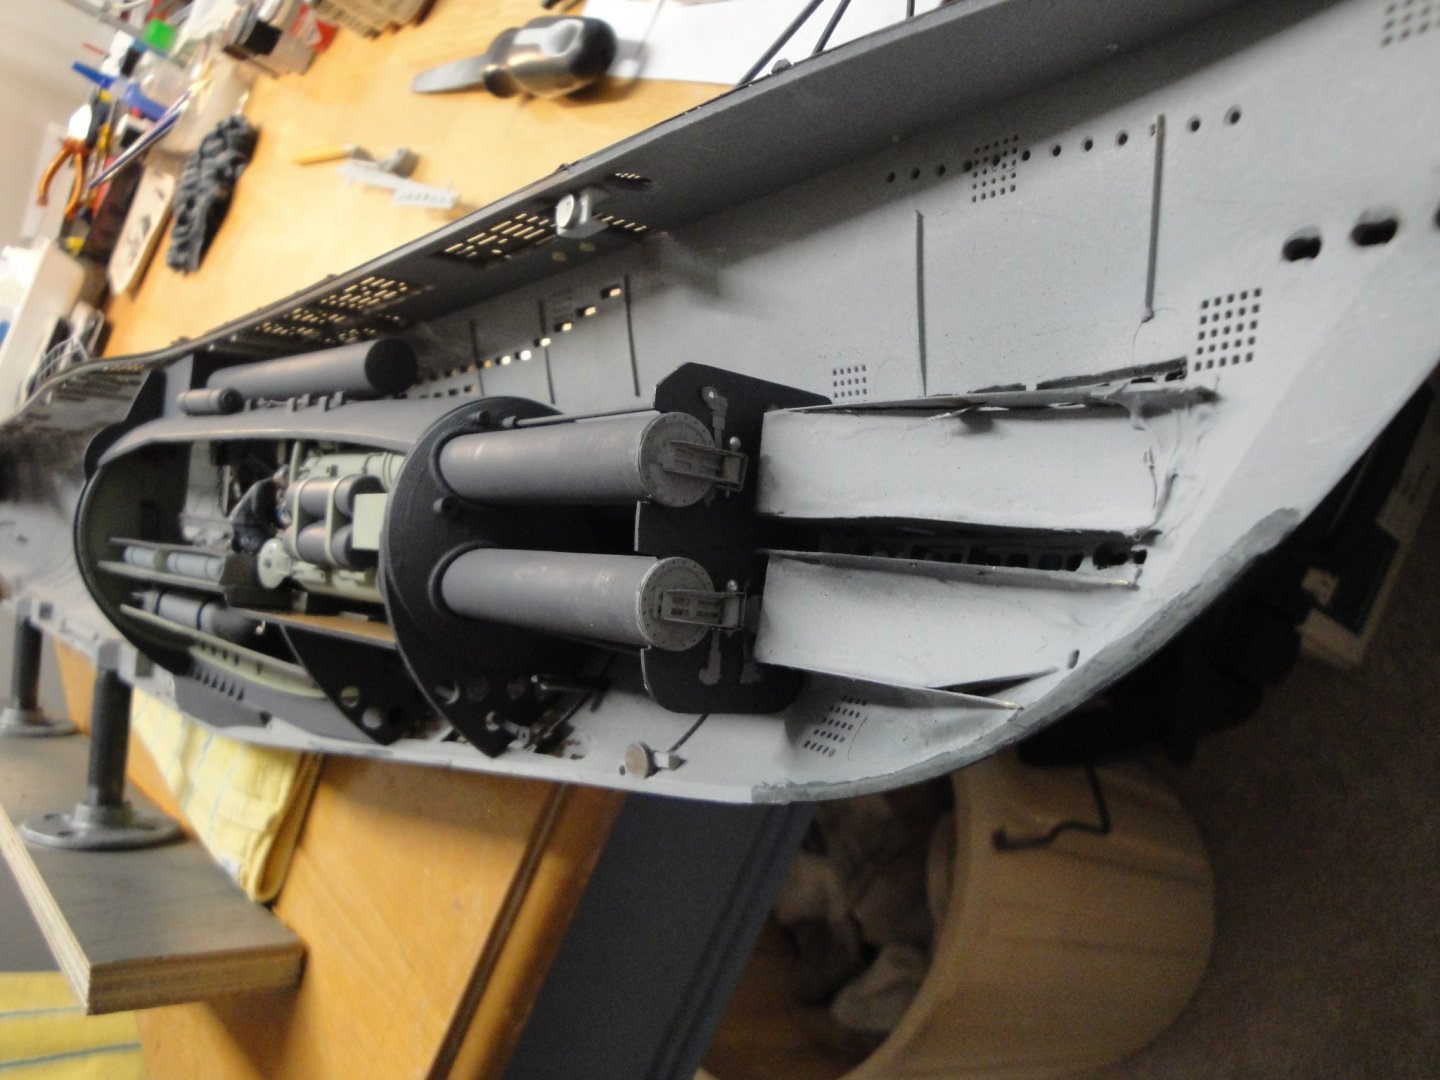
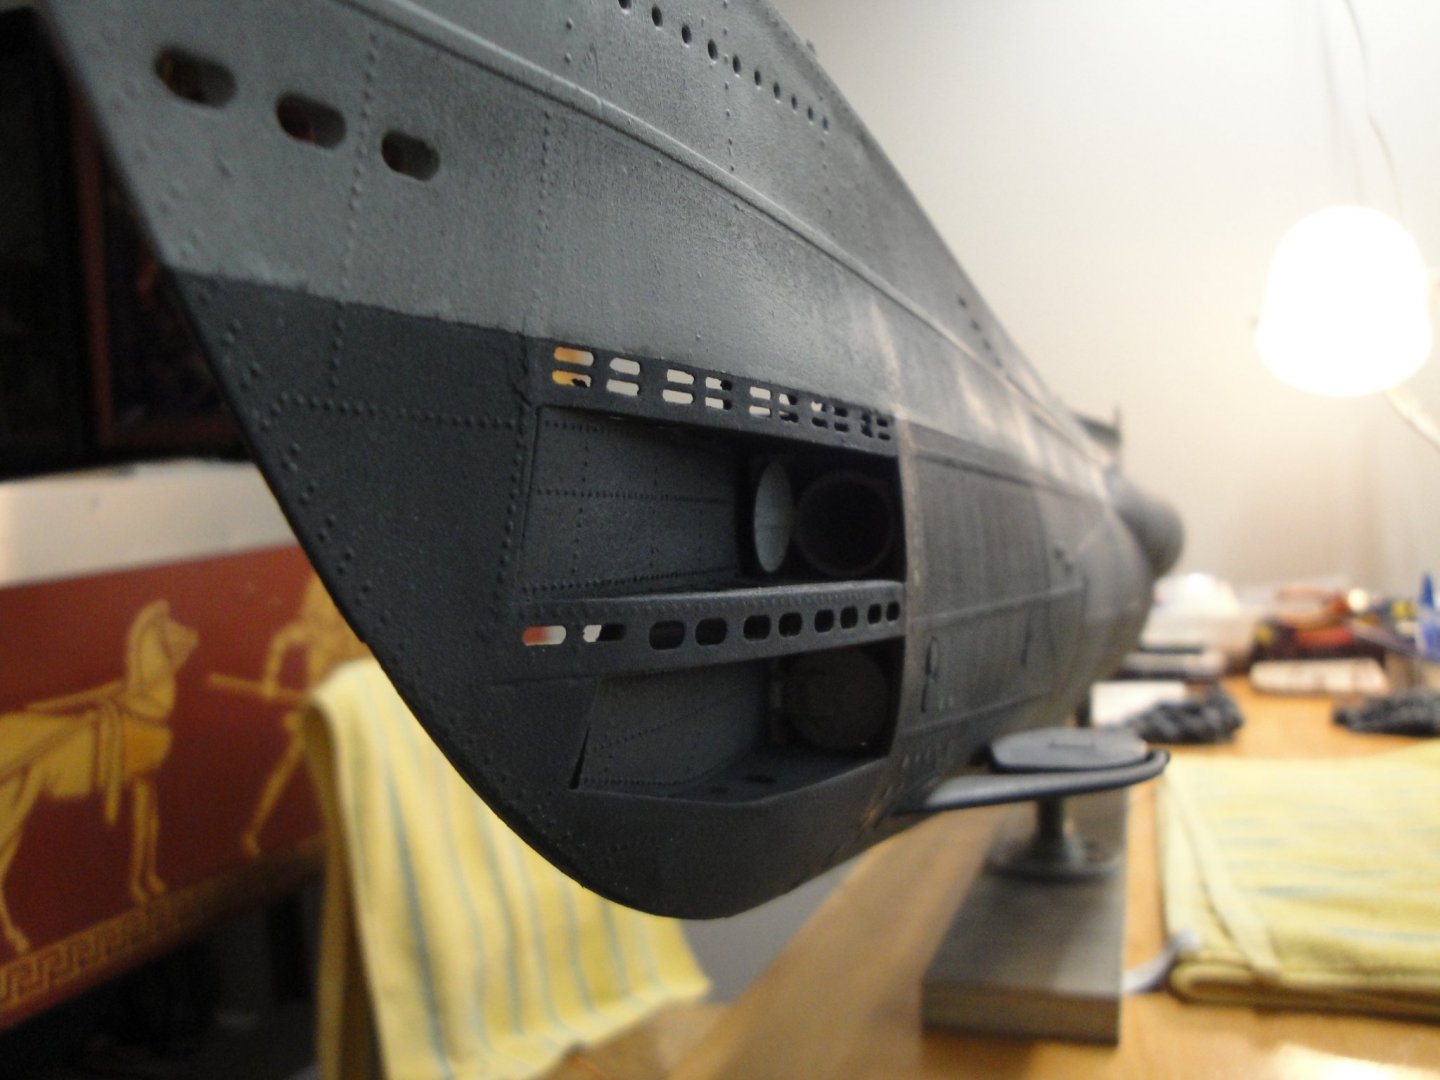
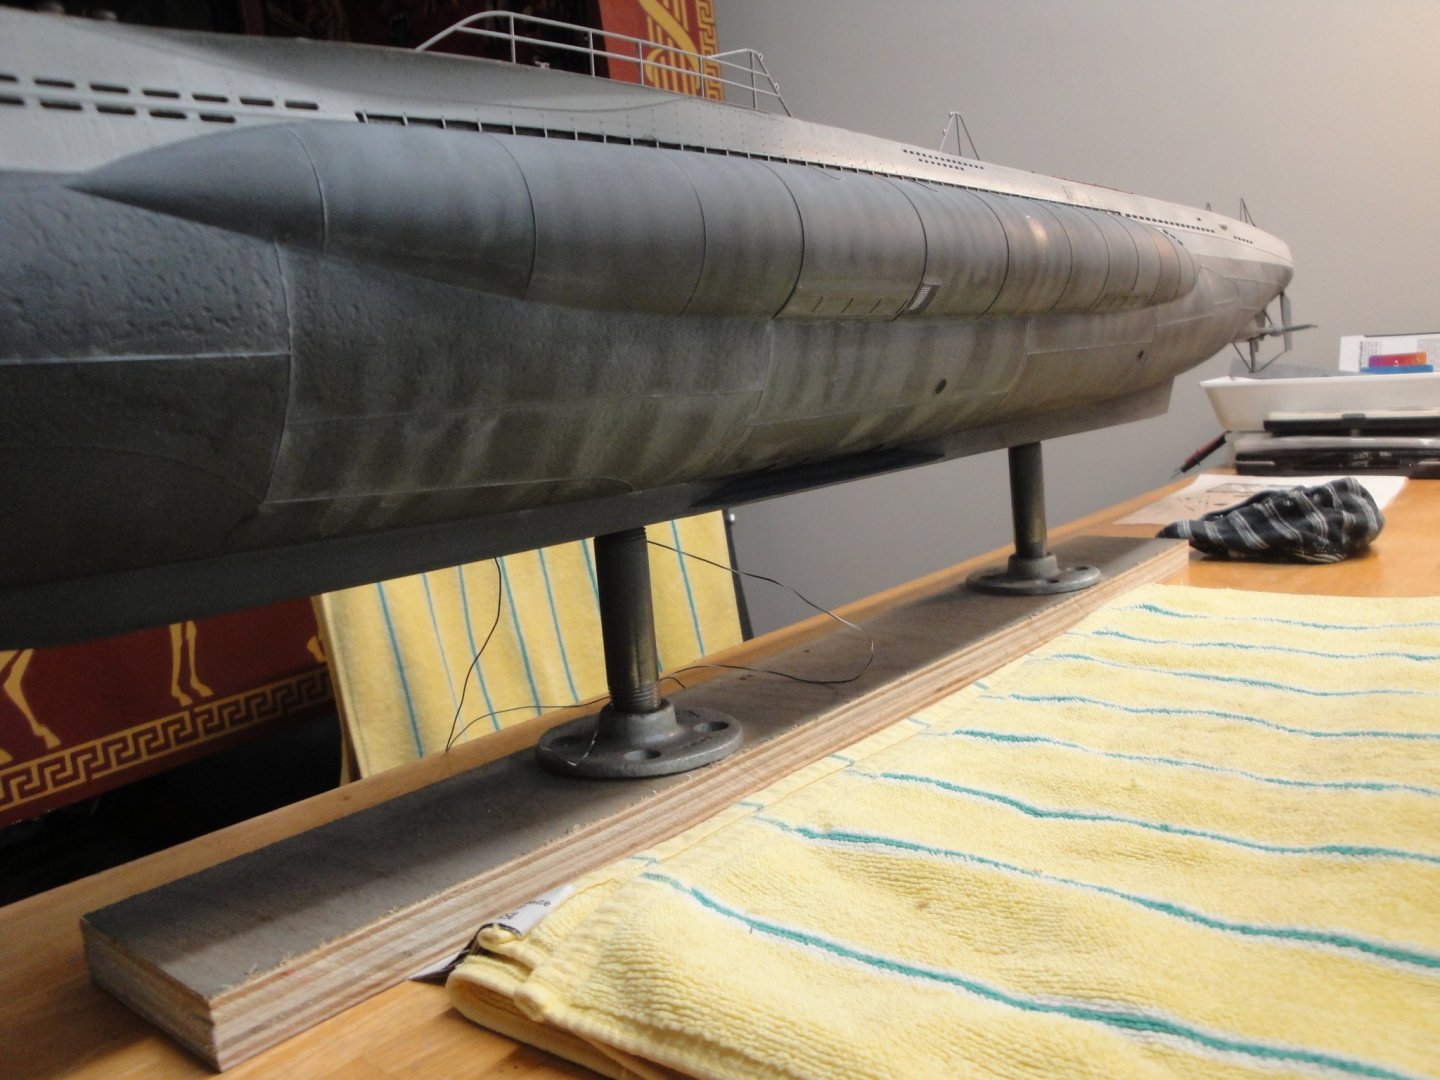
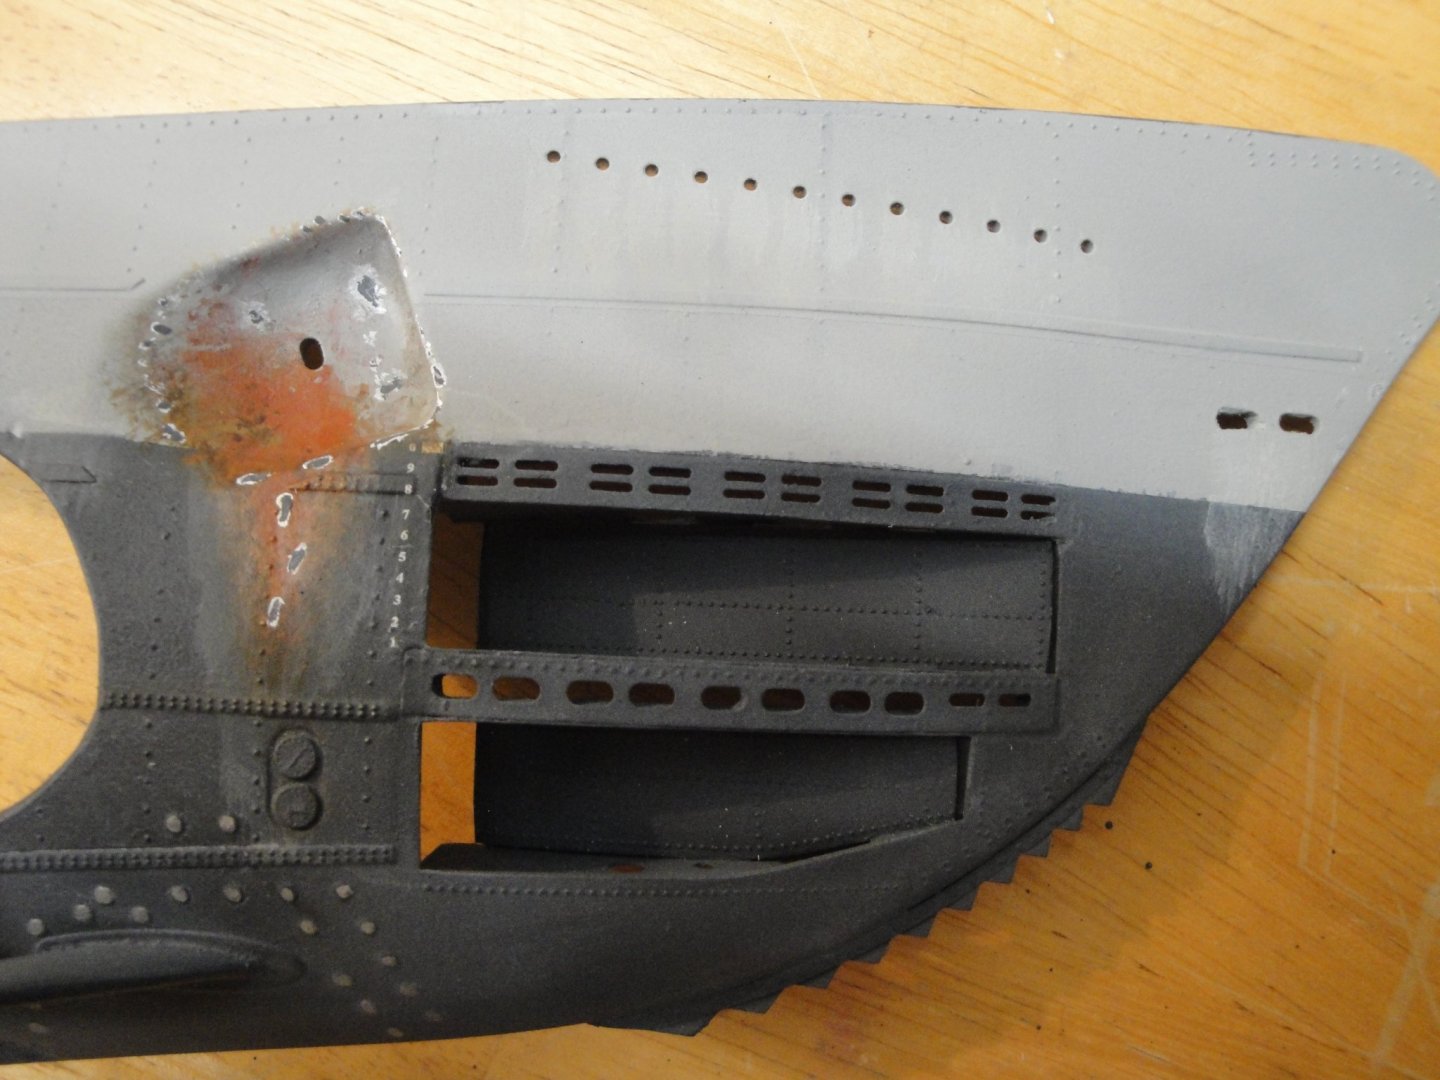
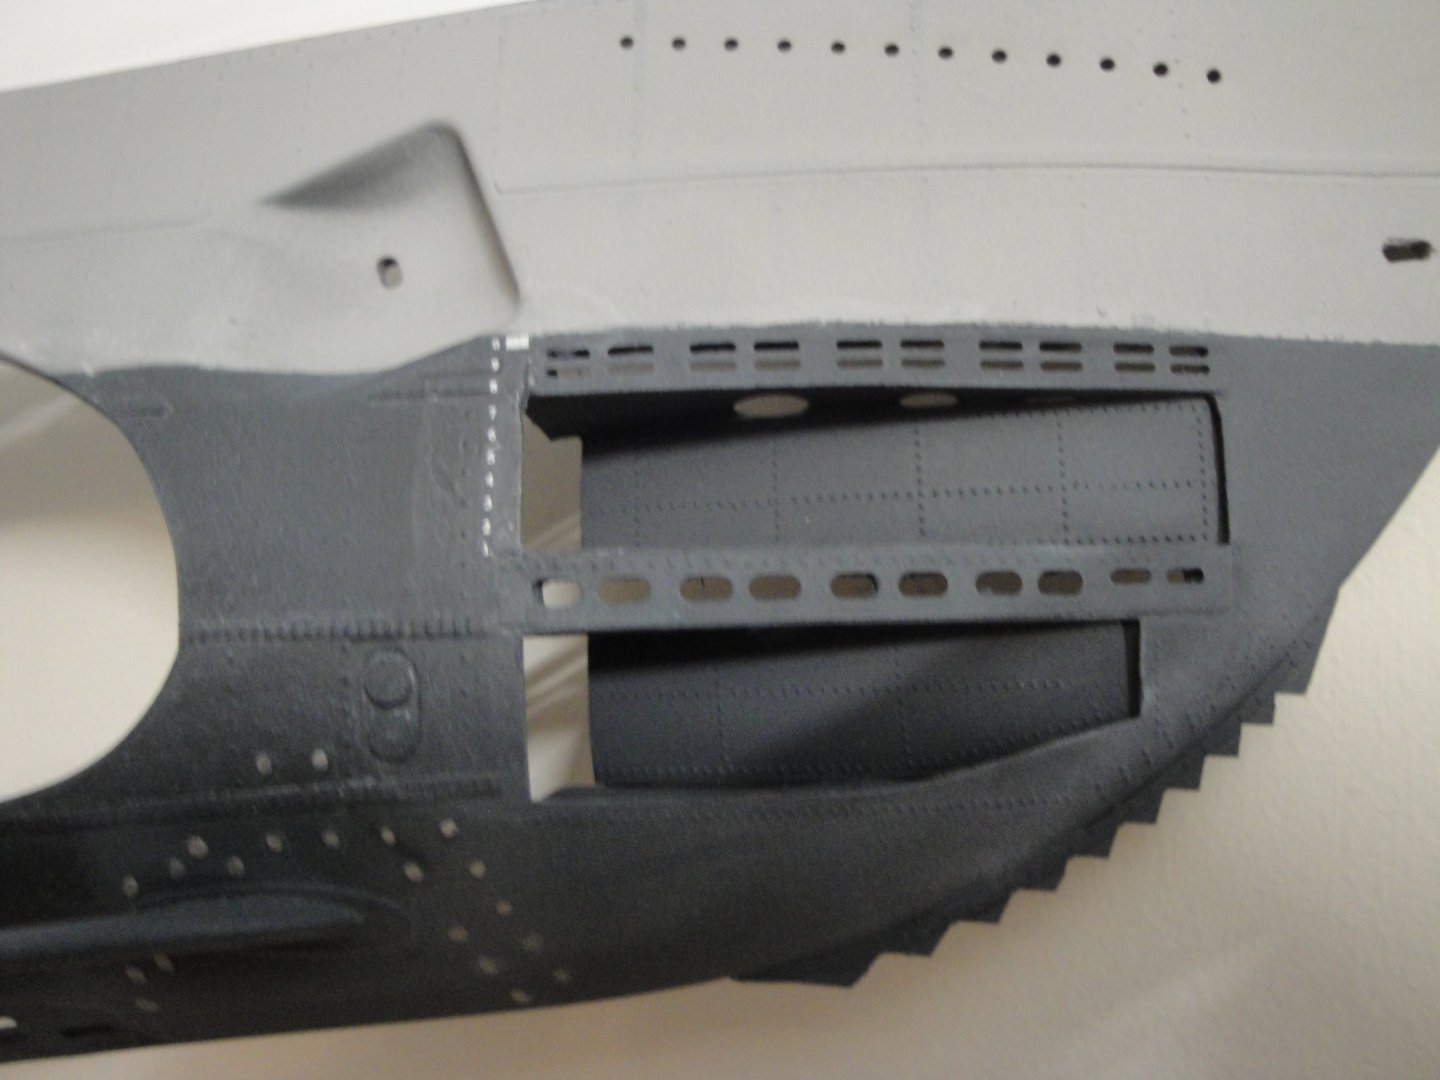
Thank you for the suggestions and comments. Yes, I agree with Katuna that most kits (especially Revell 1/72 which is an excellent base) are over weathered. I can understand the impulse and creative juice (no pun intended) that can flow when you are starting such endeavor. I have not seen pictures of real Type VII-c showing such a distress on their hull, even towards the end of the war, when maintenance was limited to the essential and panic was starting to be present in the axle forces. So we will for now, discard solution #3. Solution 1 is what you will normally see in Museums: models are presented in perfect conditions and all details are immaculate. Solution 2, offering a "matt" finish with saline streaks and a tiny amount of rust and flaking was for me the best approach. The following picture shows the approach I took on the left, whereas the right part of the stern, shows the Museum approach with glossy paint (simply wet). The difference is striking. So, the entire hull has been finished, besides some details (rust and algae). I will be showing more pictures of it, in the future. In the meantime, I wanted to start inserting a module into the hull. And the front torpedo compartment is an excellent candidate for that decisive phase of the assembly. It is still missing the anchor winch and a couple of air tanks that I will be adding later on, once the module is in place in the hull. The torpedo hatch has been completed: a kingdom of rust sealed by a heavy door (missing in the kit). "Alea Jacta Est" as the Romans used to say: The compartment is glued and there is no coming back..... A few more pictures.... Now, to work on the anchor winch, air tank and the diving plane mechanism. Yves


- 760 replies
-
- 16
-
-
So you are leaving sunny Florida? Tired of the Hurricanes? Too bad you sold that large kit. I (and many others) would have loved to see the masterpiece that you would have built. Yves
-
Folks, I am at a cross-roads and a little bit overwhelmed by the extent of what needs to take place. I would like to realize a hull that has seen some actions, but I doubt I can be up to the task. I could go with three different approaches: 1) Perfectly immaculate hull, freshly painted and somewhat un-realistic. Pretty model, quickly done and politically correct. 2) Slightly weathered, mostly saline corrosion and tiny spots of rust here and there. Some algae and salt deposits along the water line. 3) Really beat-up, full of corrosion and salt deposits. There are quite a few models on the web like these and they are outstanding and absolutely mesmerizing of realism and perfection. But these are made by artists and take an enormous amount of work and skills that I do not have. I have been toying and trying some practices on the removable hull (starboard). I am basically trying to stay with the second approach and these are some of my results. If it is not good enough, I am going back to Option #1 and repainting that section of hull. Saline traces coming out of the flood vents. The algae is rather missed..... :-( More saline deposits on the bottom of the hull. Some attempts at playing with rust and paint scaling. What do you guys think? I have not touched the other side of the hull yet. Just practicing... Yves

- 760 replies
-
- 10
-
-
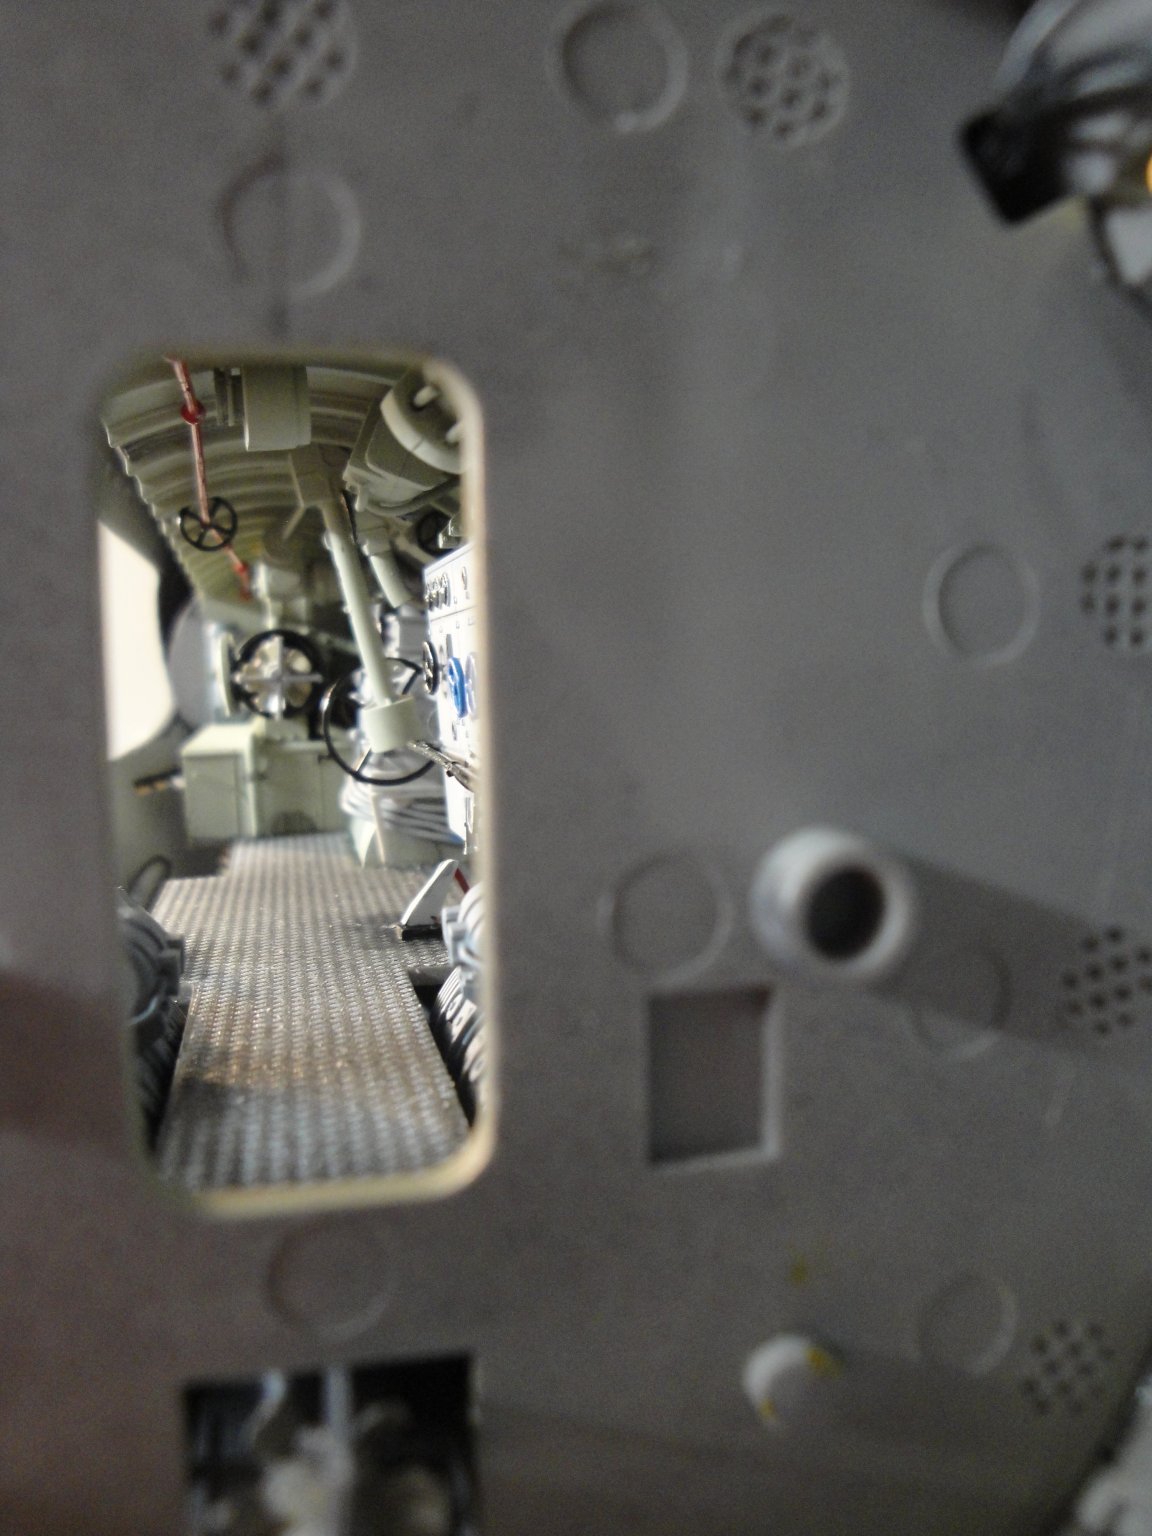
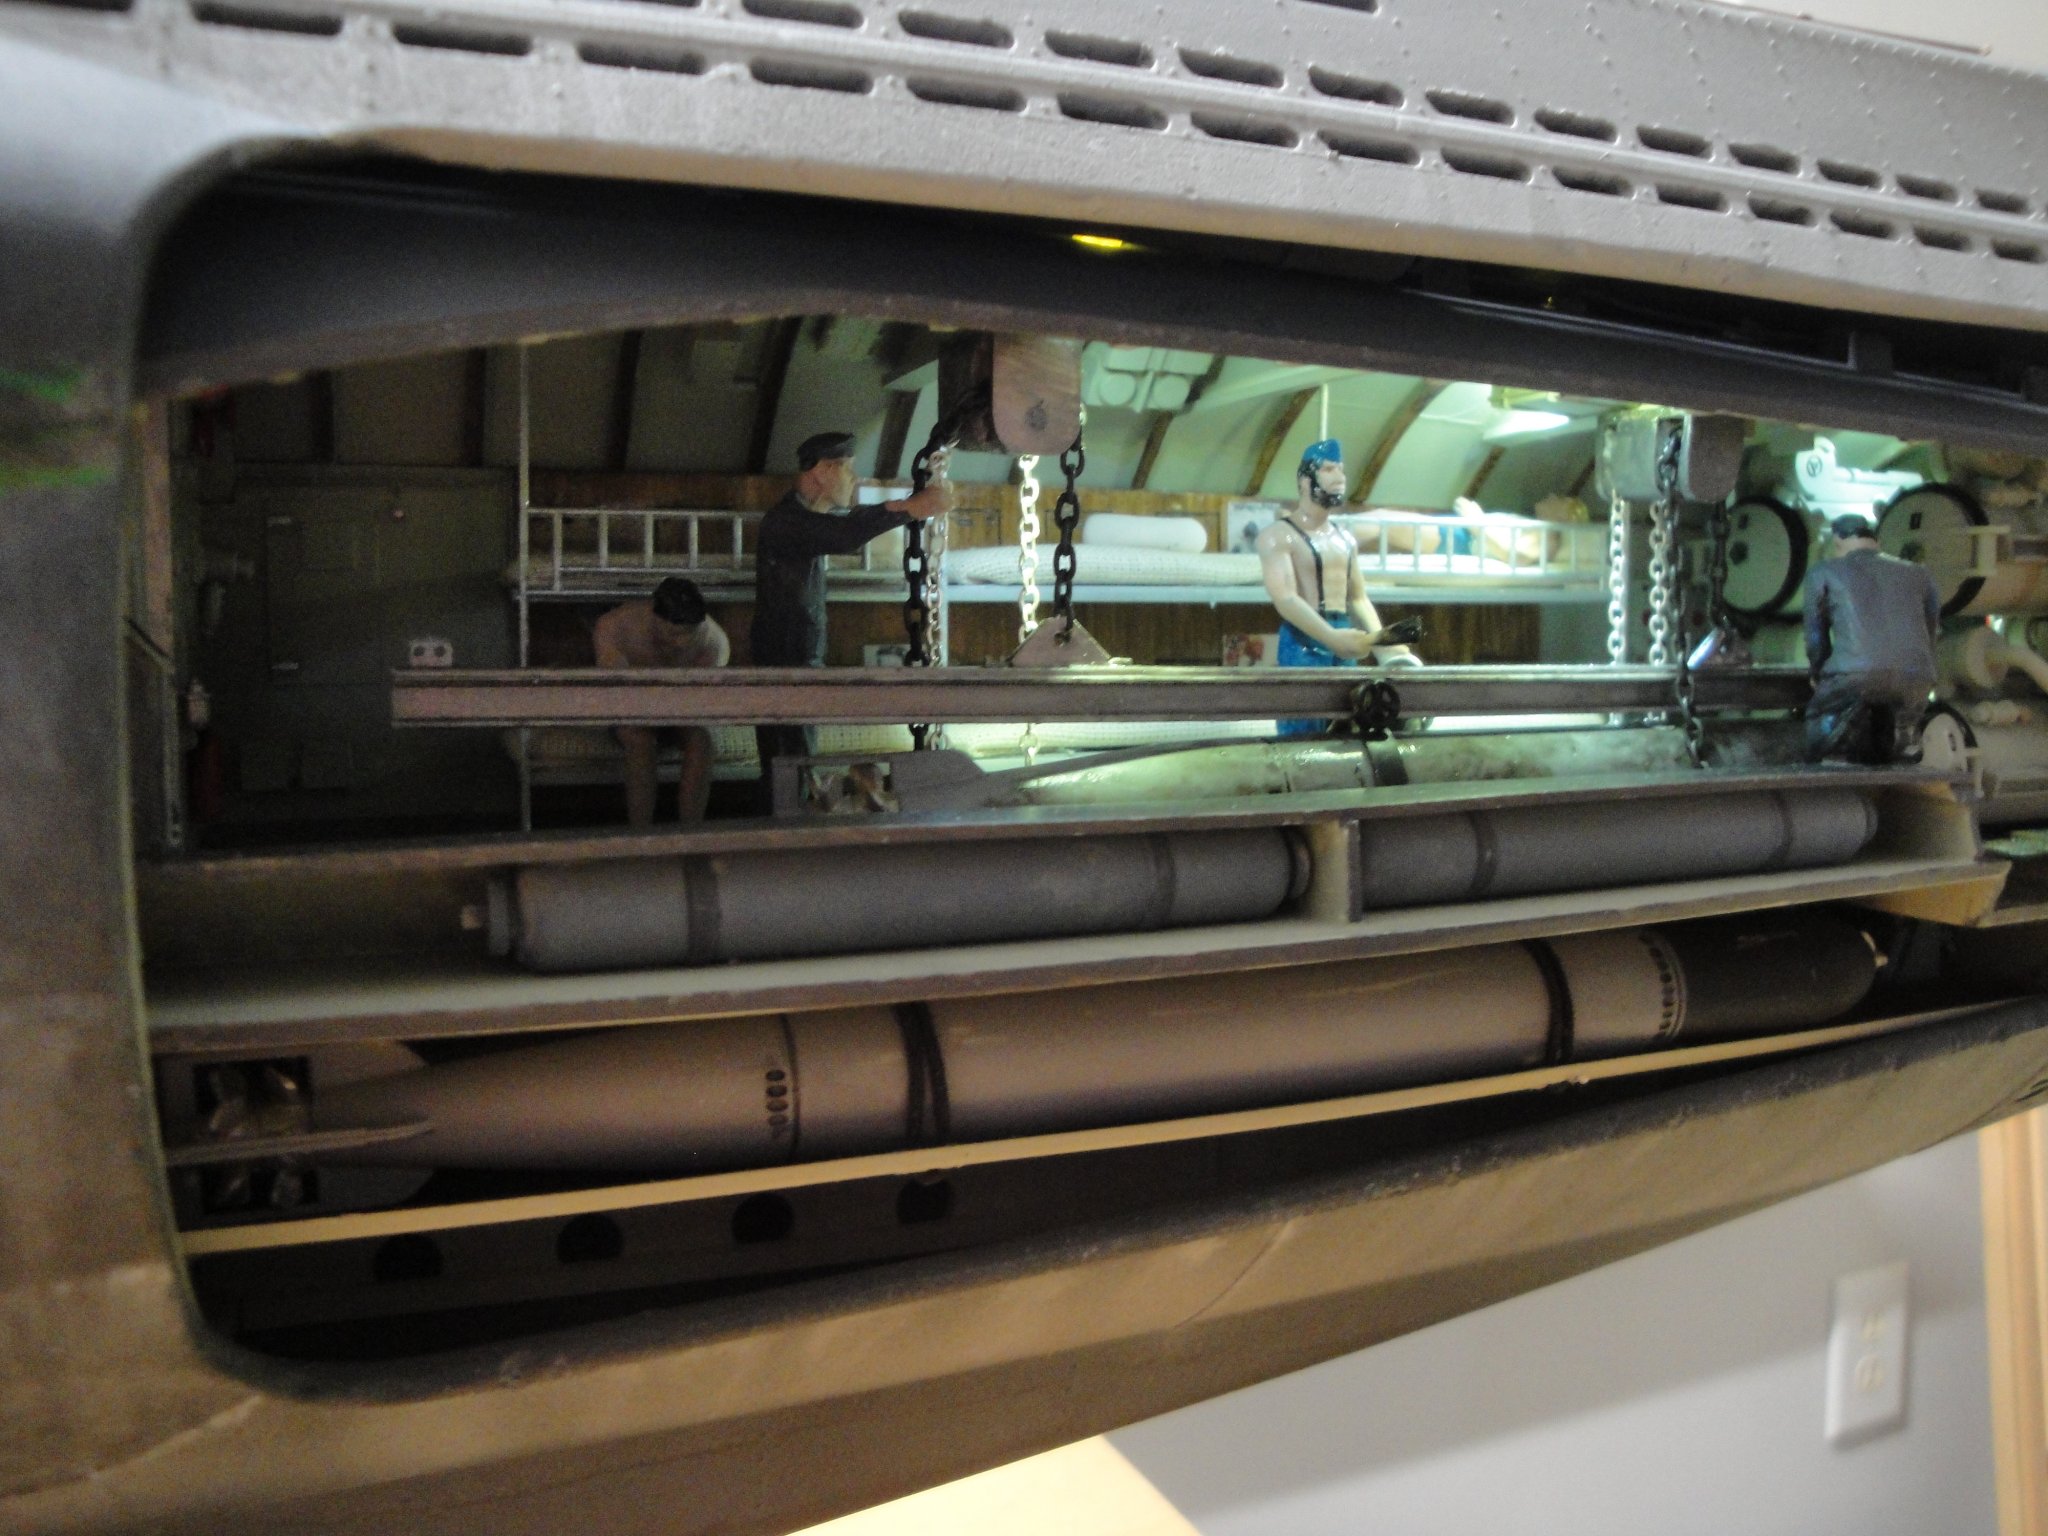
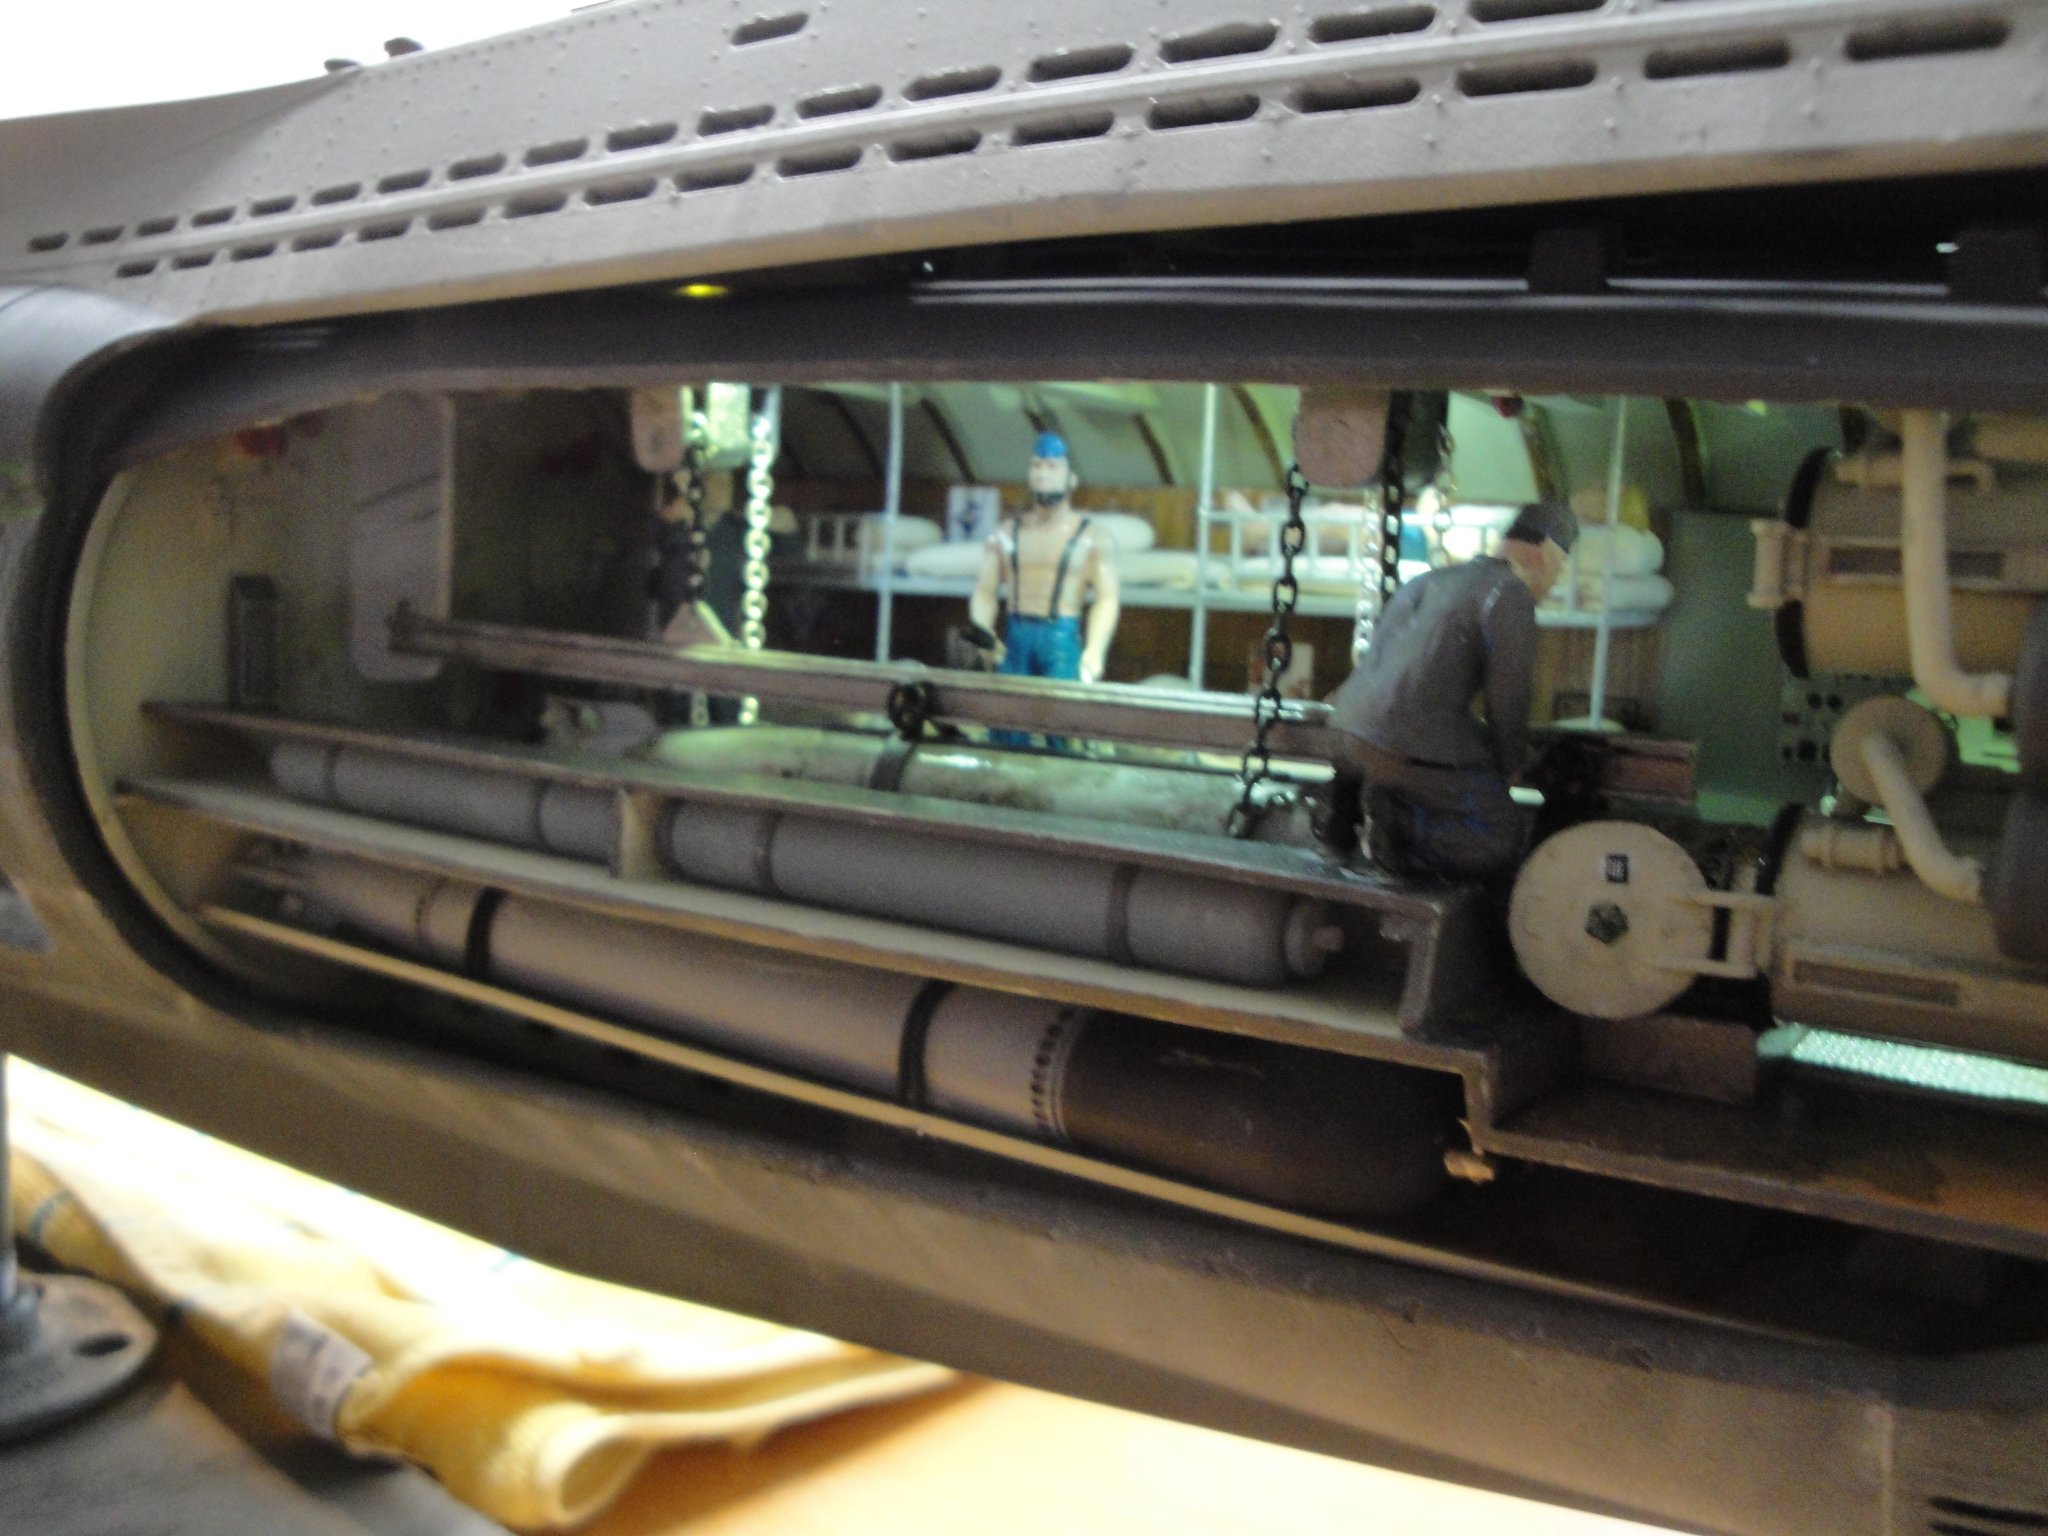
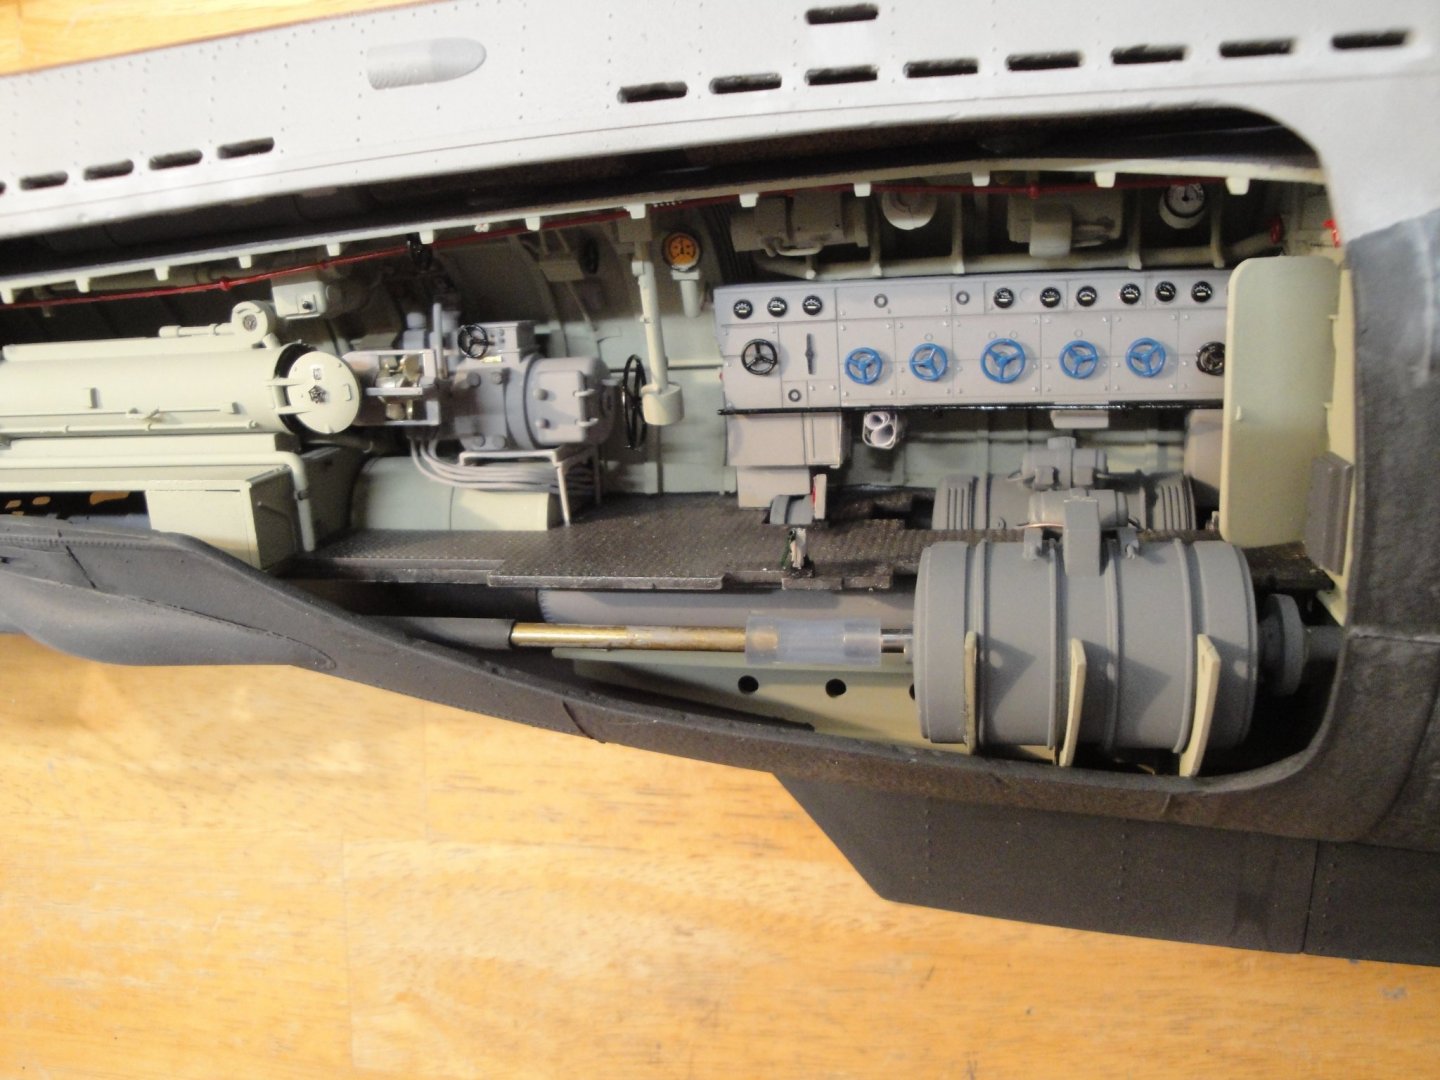
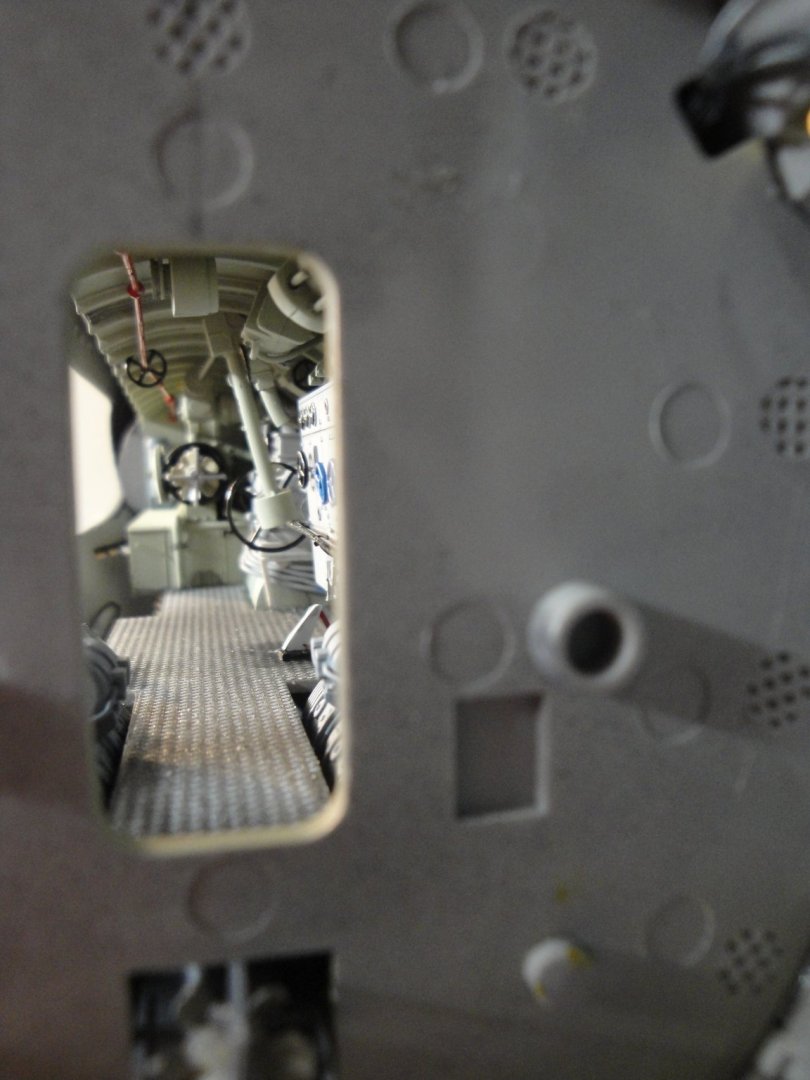
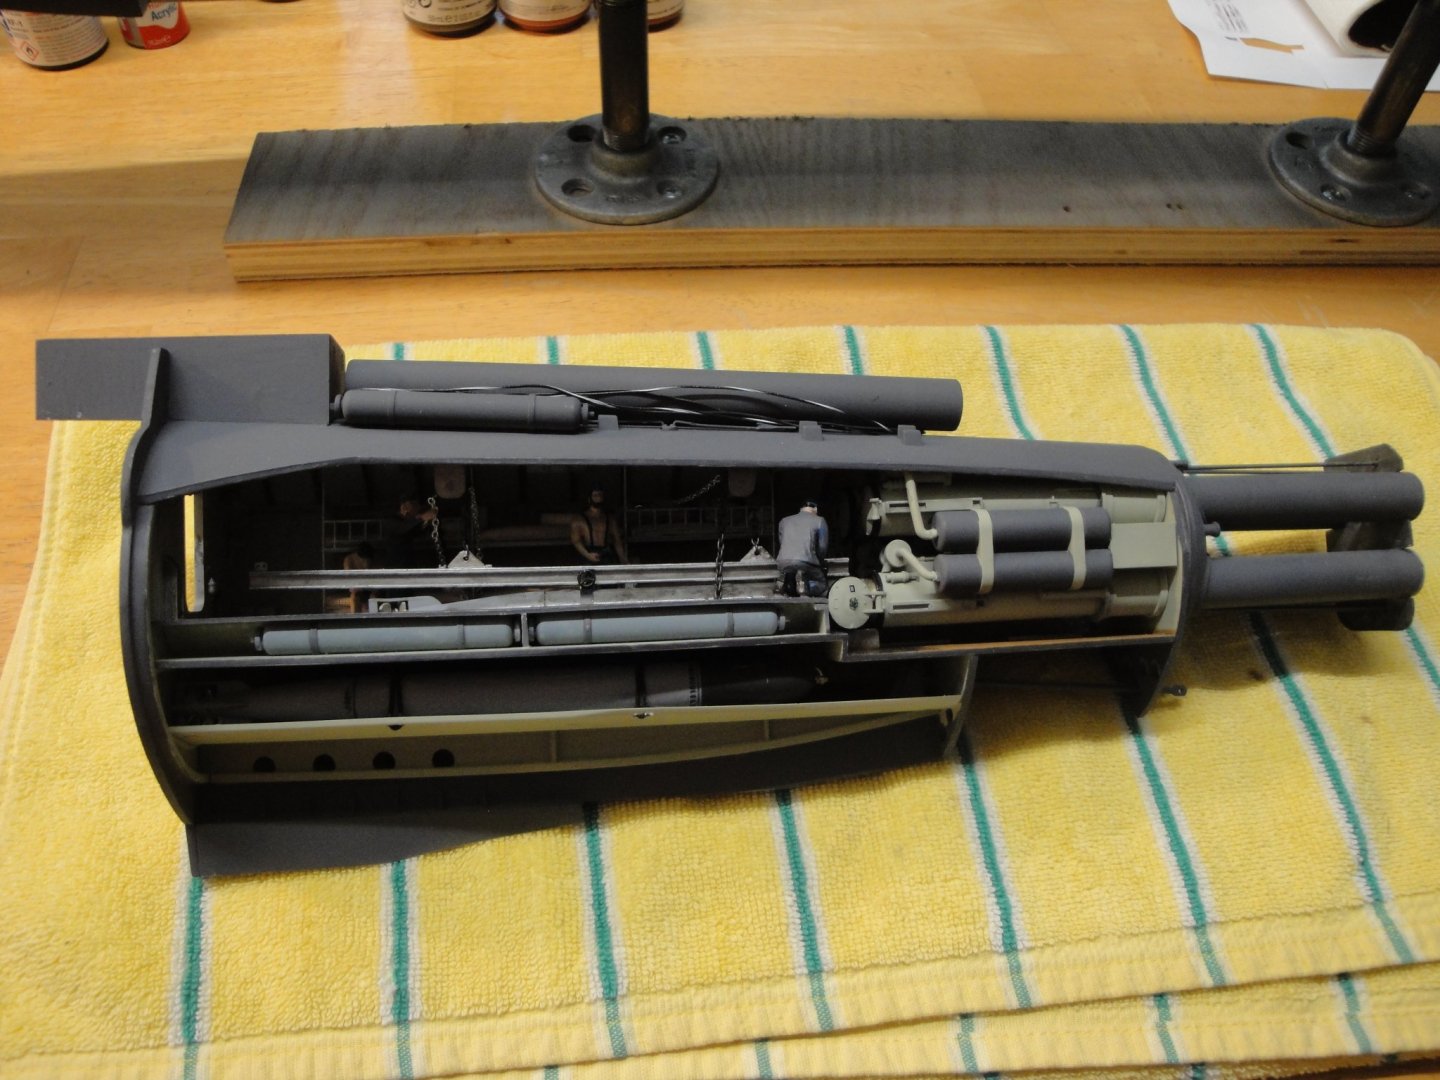
For me, the front Torpedoes room was the easiest. Then the Officers Quarters was a lot more tricky because I have been trying to replicate the fuel tank and batteries, underneath. Plus the additional bunks. Finally, the rear torpedoes compartment has been the most delicate because I have two electric motors and the capability to spin the propellers. I have not done anything else. I am focusing right now on the main hull and learning how to weather a model. Like you, I have been away of plastic models for the past 40 years, pretty much. Yves
-
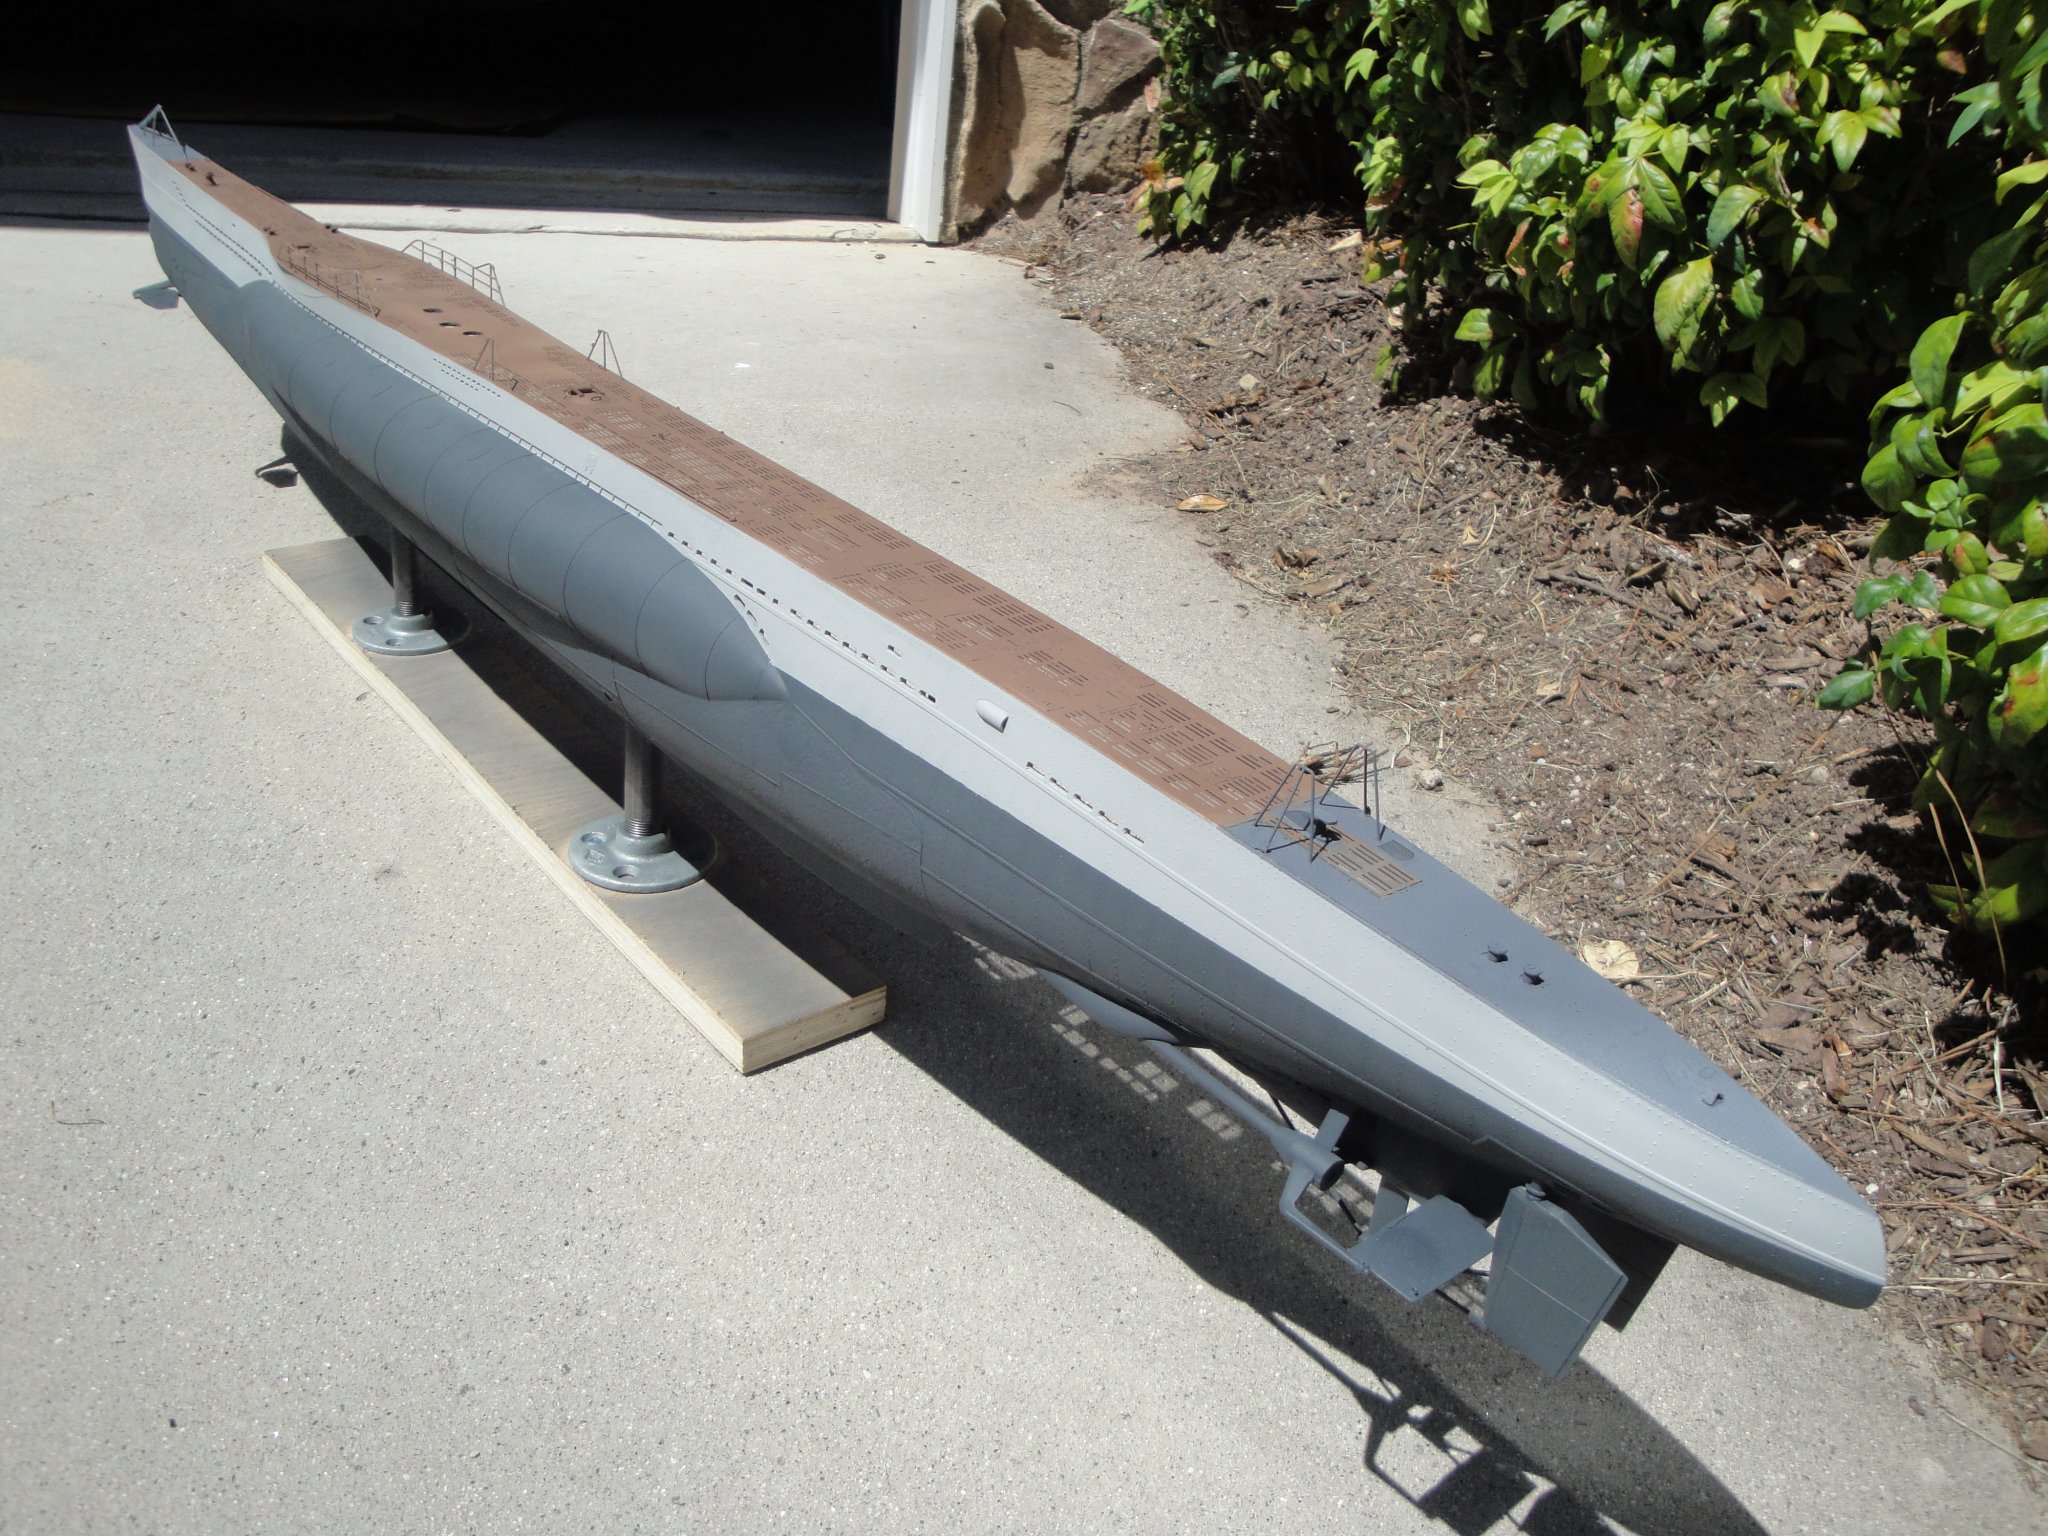
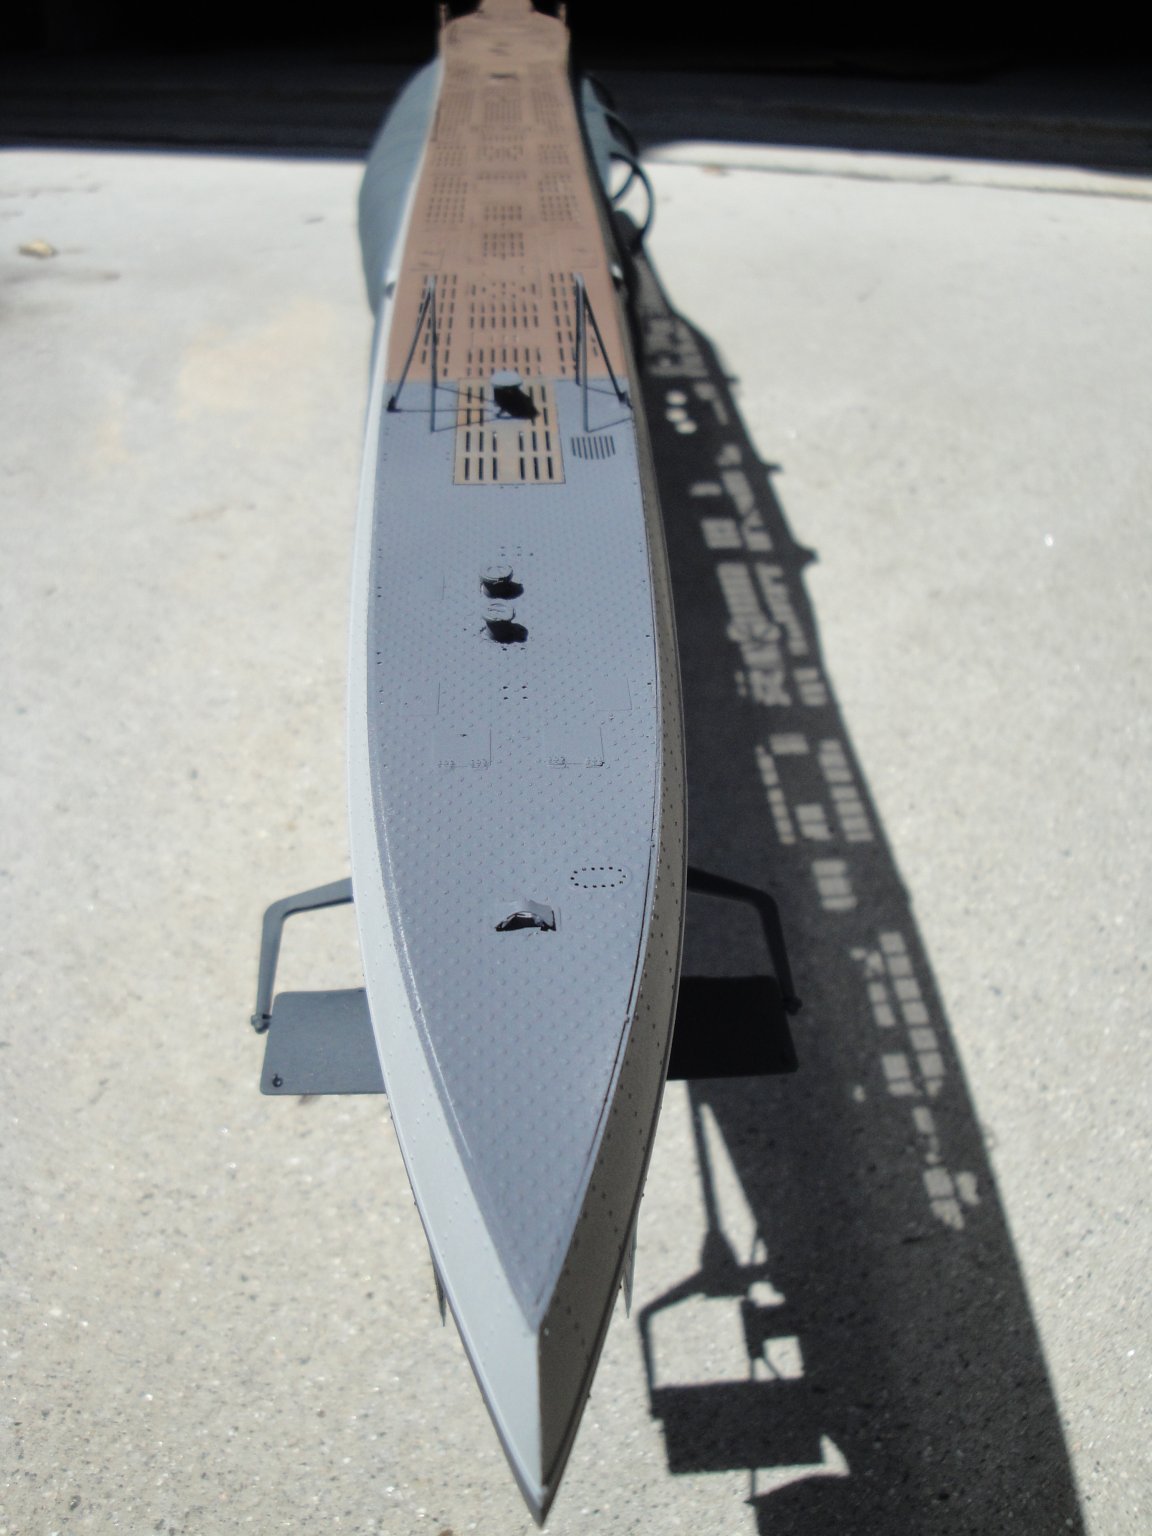
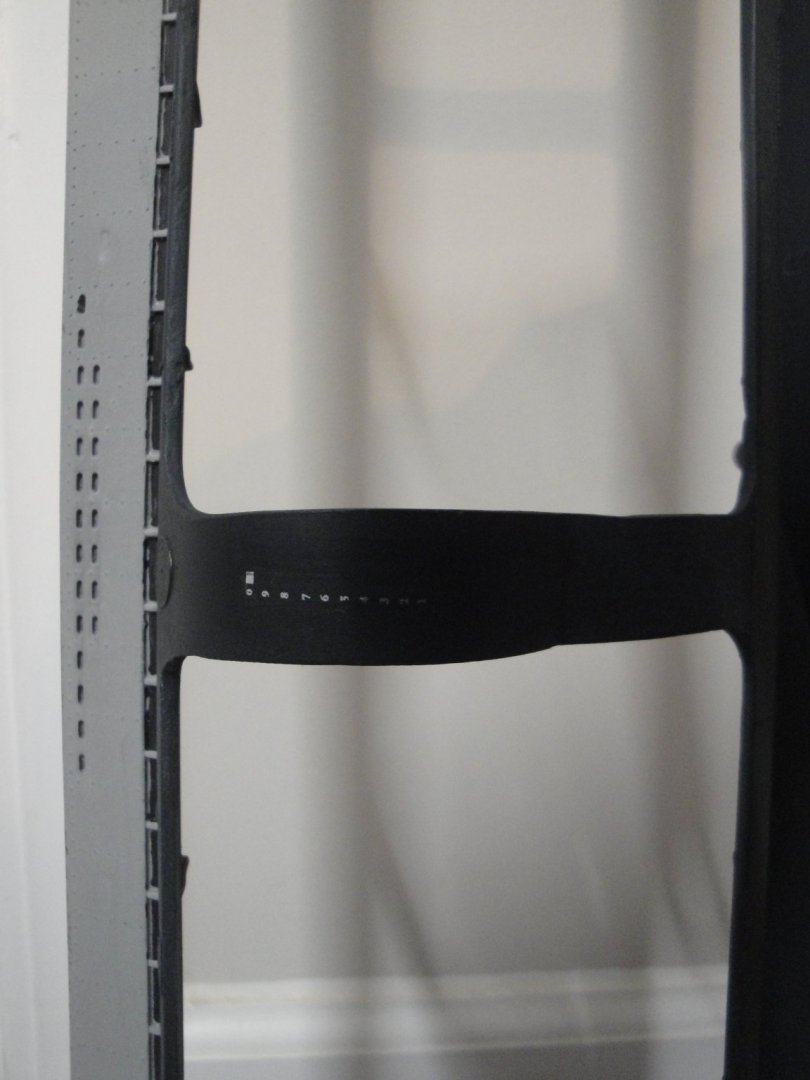
Waterline markings have been set. Now, I need to clear coat the entire hull, before starting the weathering and painting the details. Yves
- 760 replies
-
- 14
-
-
Thank you Katuna for all the praises and compliments. As a matter of fact, I have also been following your build log on the AMP web site and find your attention to details absolutely incredible. I am actually planning to use some of your research and Tore's publications to increase the level of detailing of this model and make it closer to the prototype. Tore, Prince, you and a couple of other guys are an incredible source of information that makes the building of this model, so much more entertaining. Keep up the good work and let's finish that Engine compartment. Yves
-
Congratulations. Well deserved for such a beautiful model. Yves
- 82 replies
-
- 3
-
-
- carl vinson
- trumpeter
- (and 2 more)
-
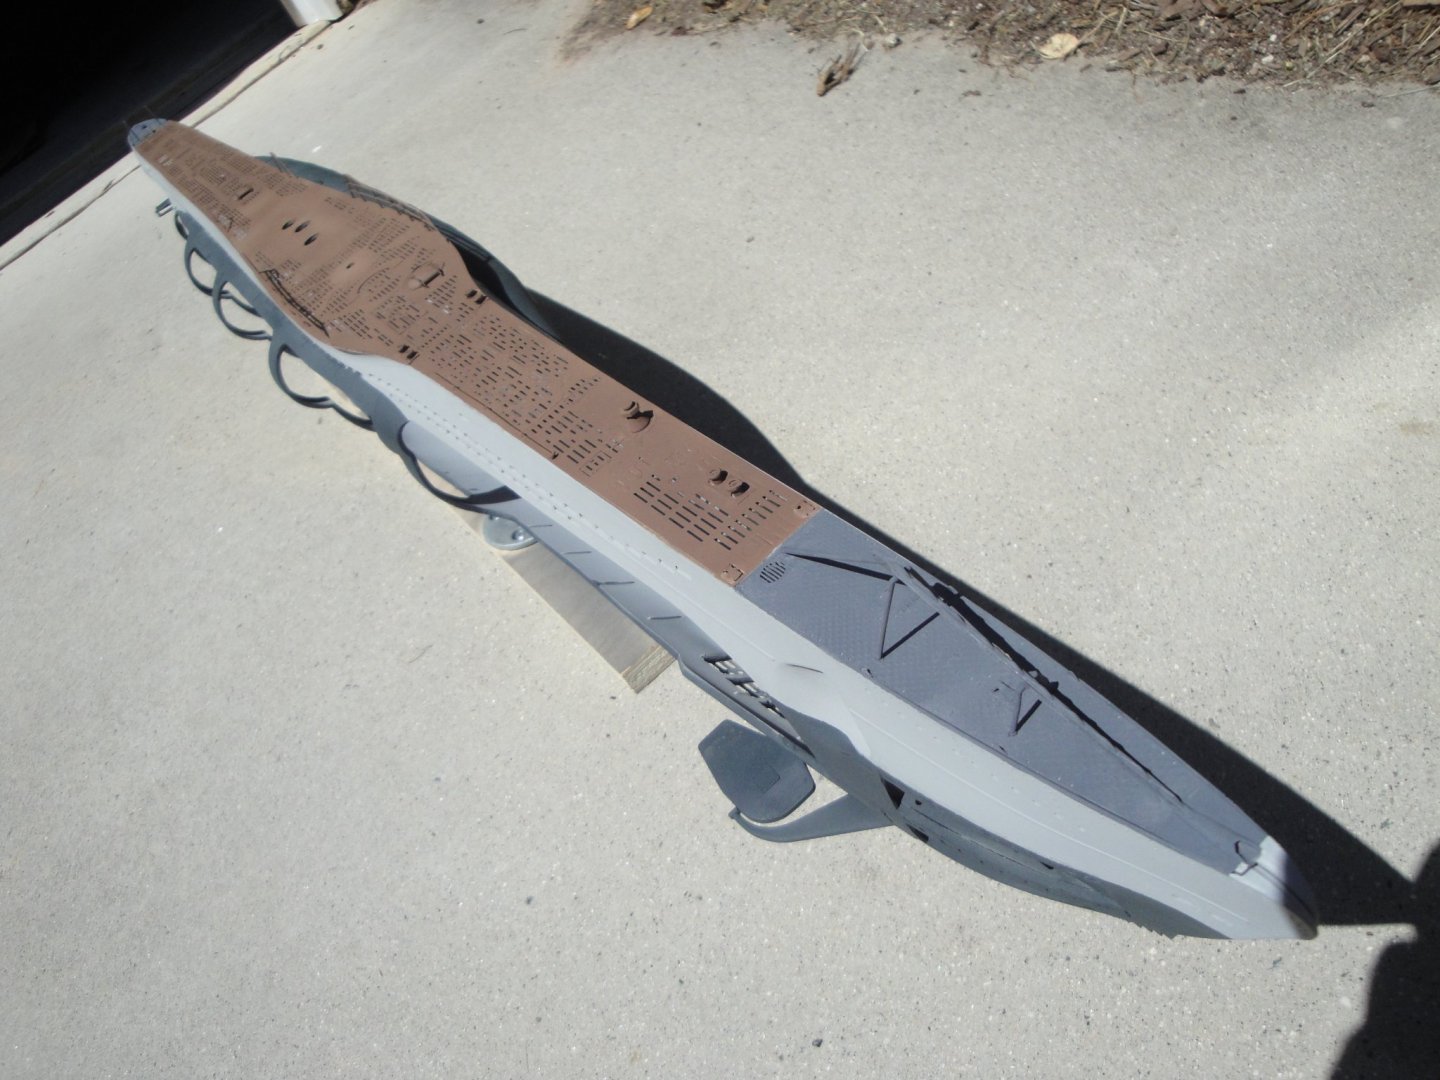
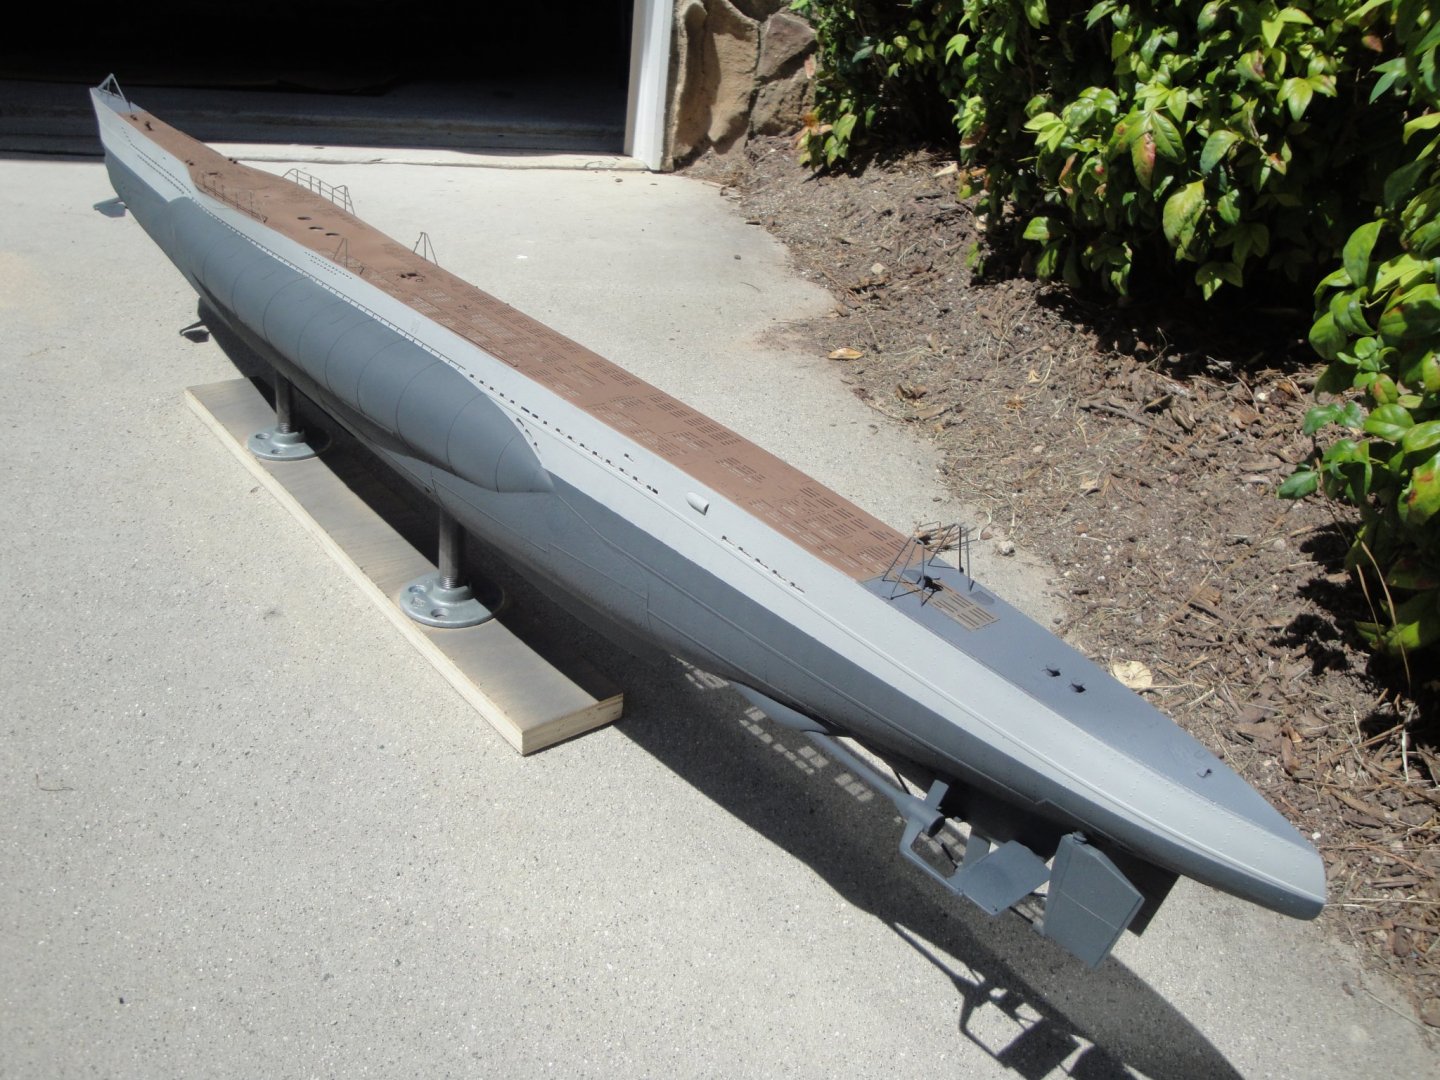
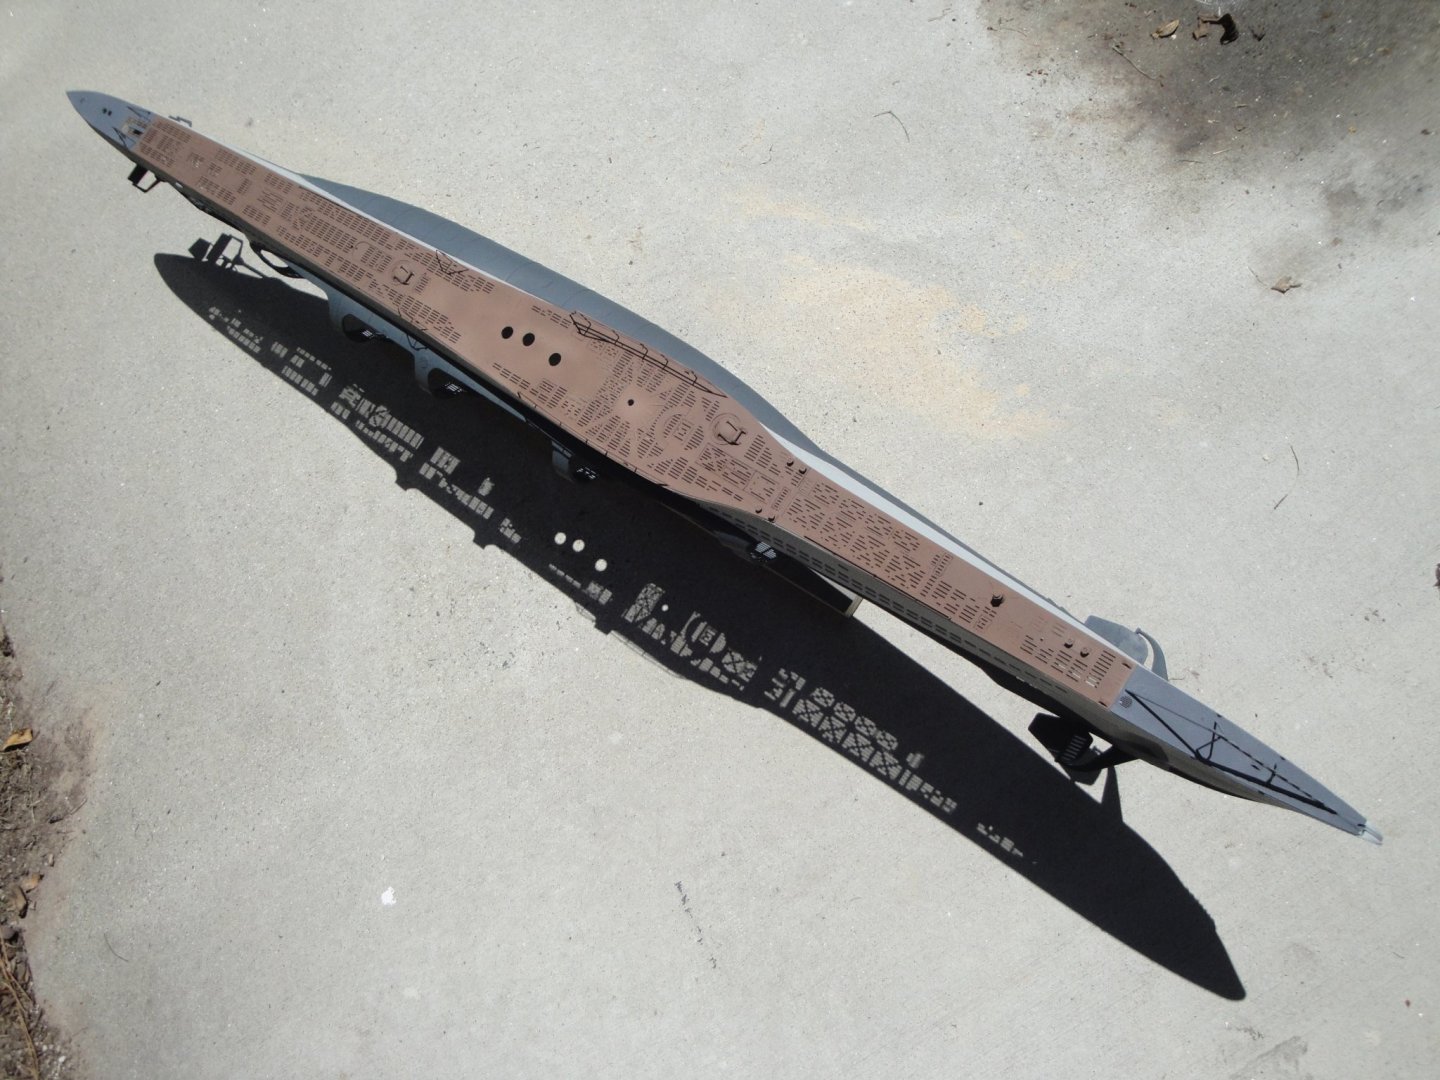
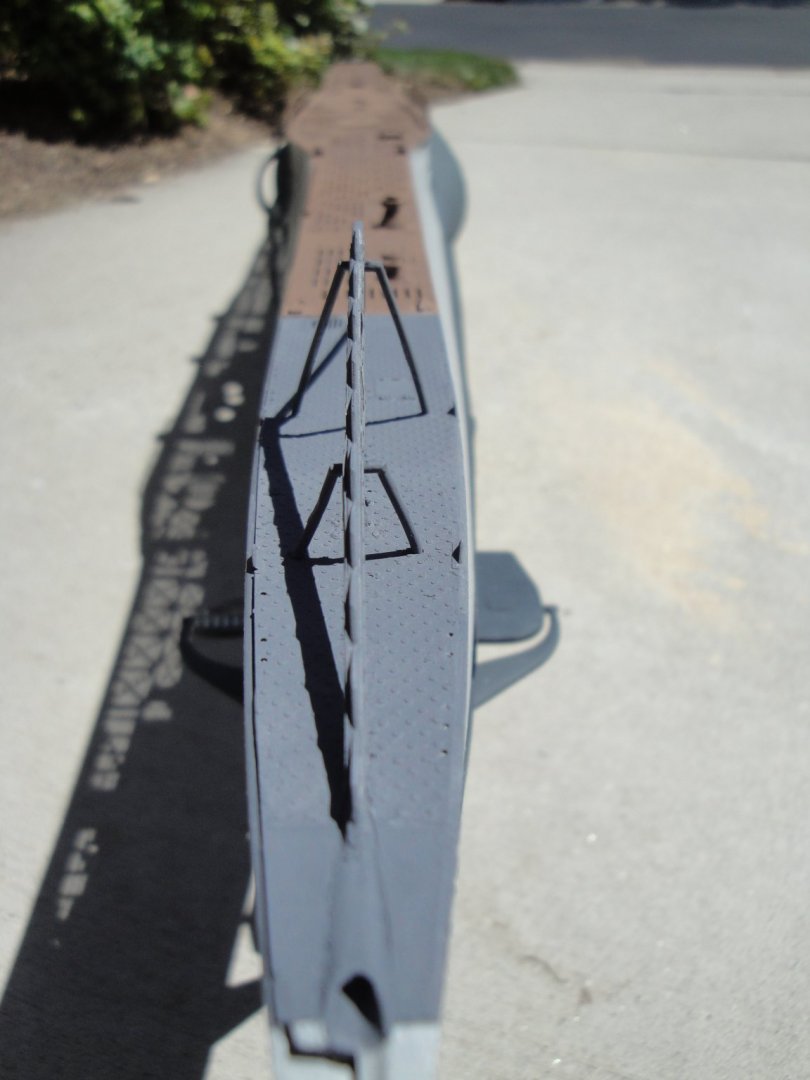
A few pictures of the completed hull, in intense daylight: This is an interesting play of shadows.... And some deck views: Yves

- 760 replies
-
- 16
-
-
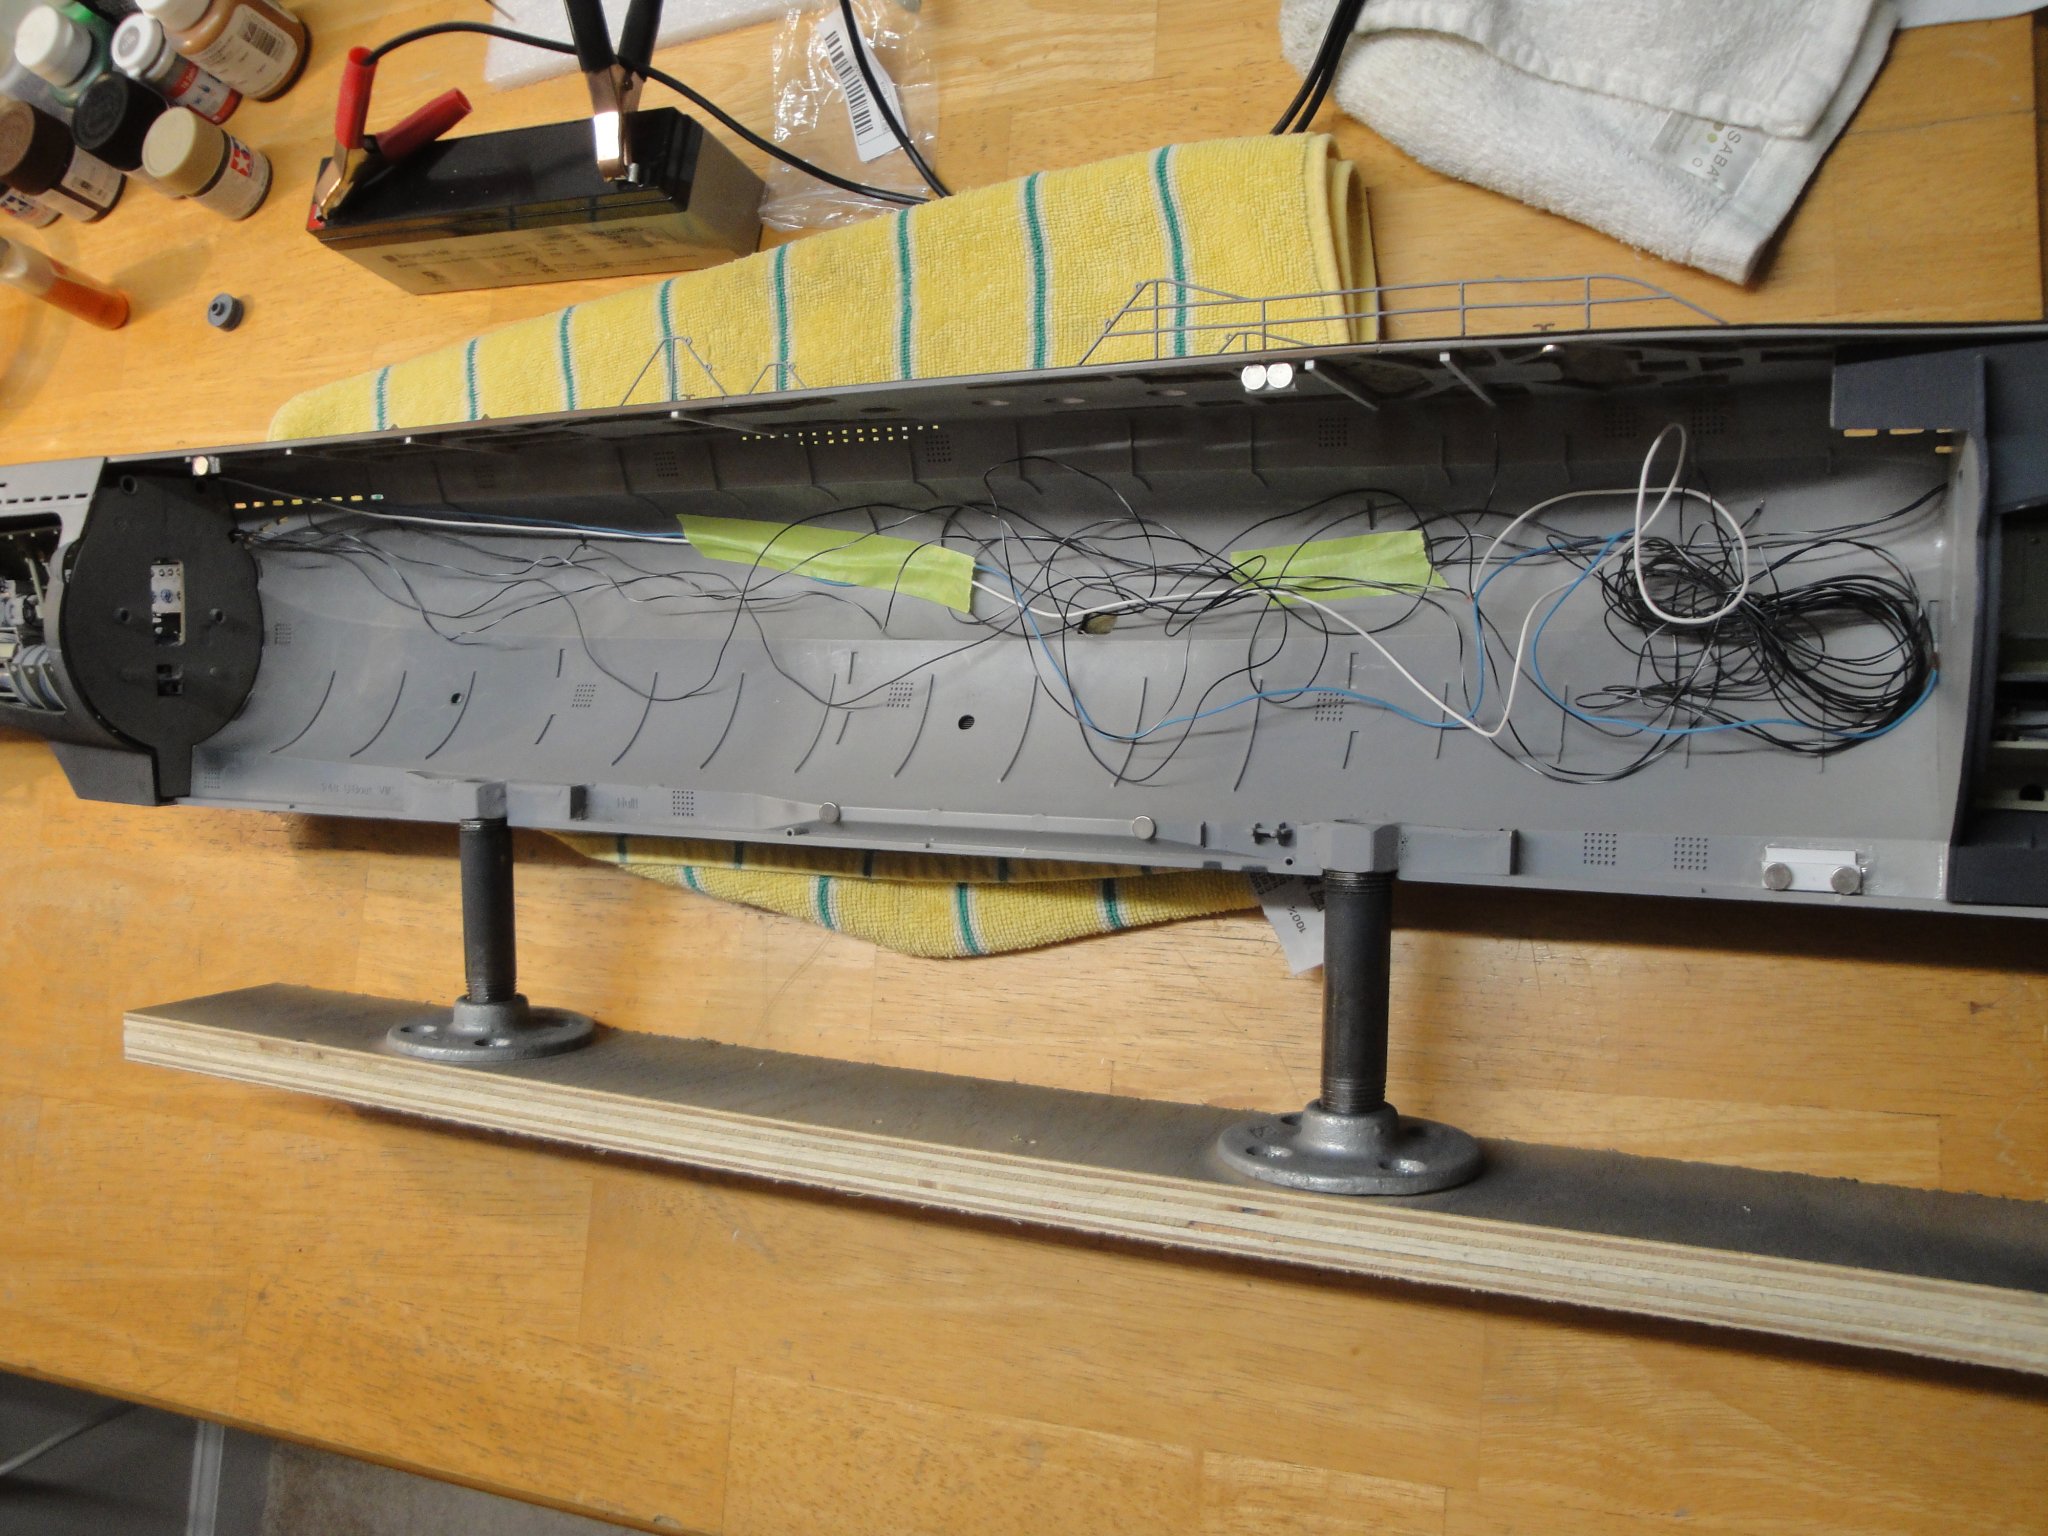
Jonathan, To be honest, I have not thought about all these details yet. The Mounting base will be very similar to what you are seeing ow, but with longer Brass tubes. I also have to design a base that can include some electronics and switches, for the lights and motors. We will see. This is still far away. Yves