


Jim Lad
-
Posts
9,207 -
Joined
-
Last visited
Content Type
Profiles
Forums
Gallery
Events
Posts posted by Jim Lad
-
-
-
I think my brain is starting to hurt keeping up with these three!

John
-
Excuse me Popeye, but we'll have no drinking on unlicensed premises!

John
- augie, popeye the sailor, Bindy and 1 other
-
 4
4
-
Moving ahead very nicely, Bob!
John
-
Thanks Popeye and Michael!
John
-
Hey, Andy; when I was working full time I was always under pressure, so how come I'm not perfect?

John
-
G'day, Danny!
Just found this log. Mate, you've got a heart as big as Western Queensland to take that on.
Good on the old bloke for having a try! As has already been said, if he'd only had a bit of help he might have been able to make a go of it, but it looks like you're turning it into a pretty reasonable model anyway.
John
-
I think both call for a celebration ,Danny!


John
-
-
Thank you for your support, one and all!
John
-
Ollie,
Well done with the planking, mate!
Just a bit of technical 'stuff'. If your scratch built catheads are the two pieces projecting over the stern are they, then they're actually stern davits! If you know perfectly well that they're davits, the please just ignore this paragraph.
Regarding the coppering; this link may be of some use. It's of the preserved remains of the Edwin Fox in Picton - much larger than your cutter, built 38 years later and a merchant ship, but built in Calcutta. The photos may be of some use for comparison.
http://www.edwinfoxsociety.com/gallery/
John
-
-
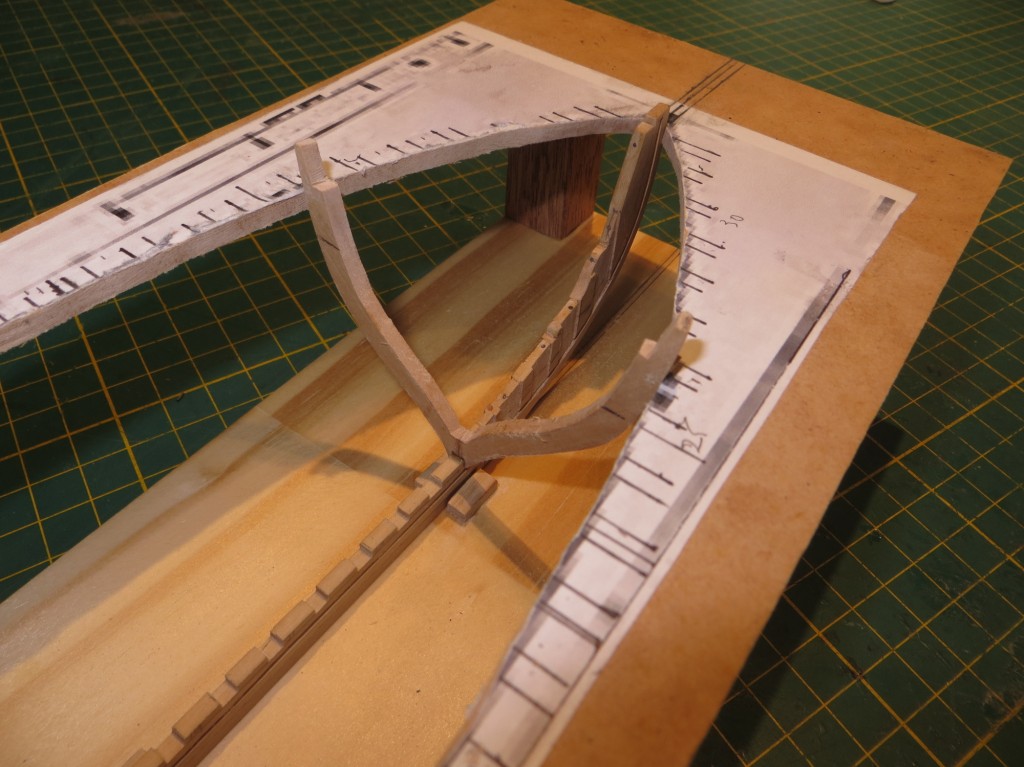
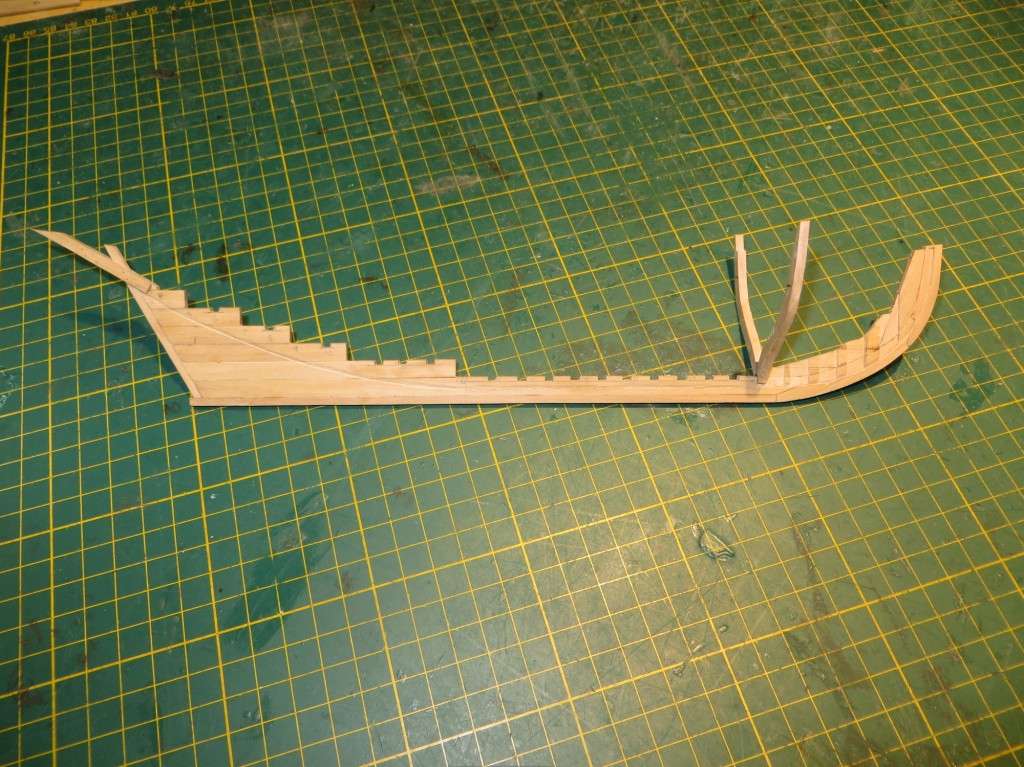
Well, some actual work to show you!
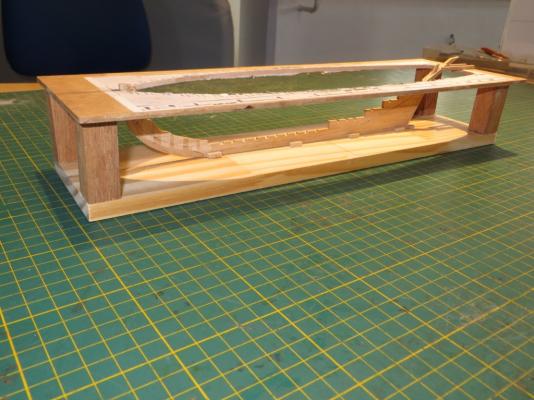
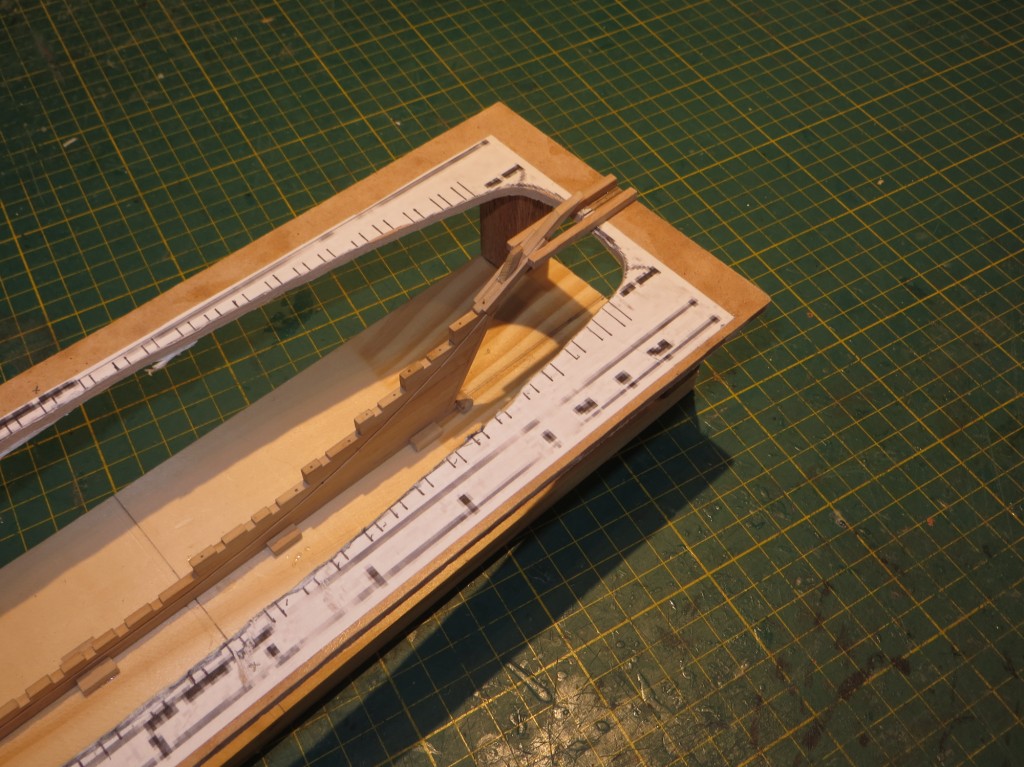
I'm continuing to make frame blanks and rough cut the frames, but I've now made my framing jig and have actually raised the first frame. This is the forward most square frame, so with that in place I can start to finish off and fit the cant frames.
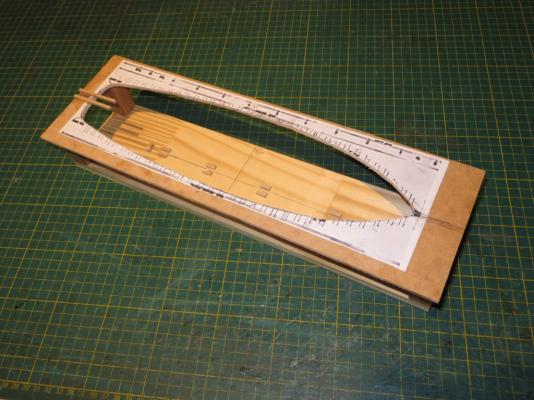
The framing jig ready for business

The 'backbone' in the jig


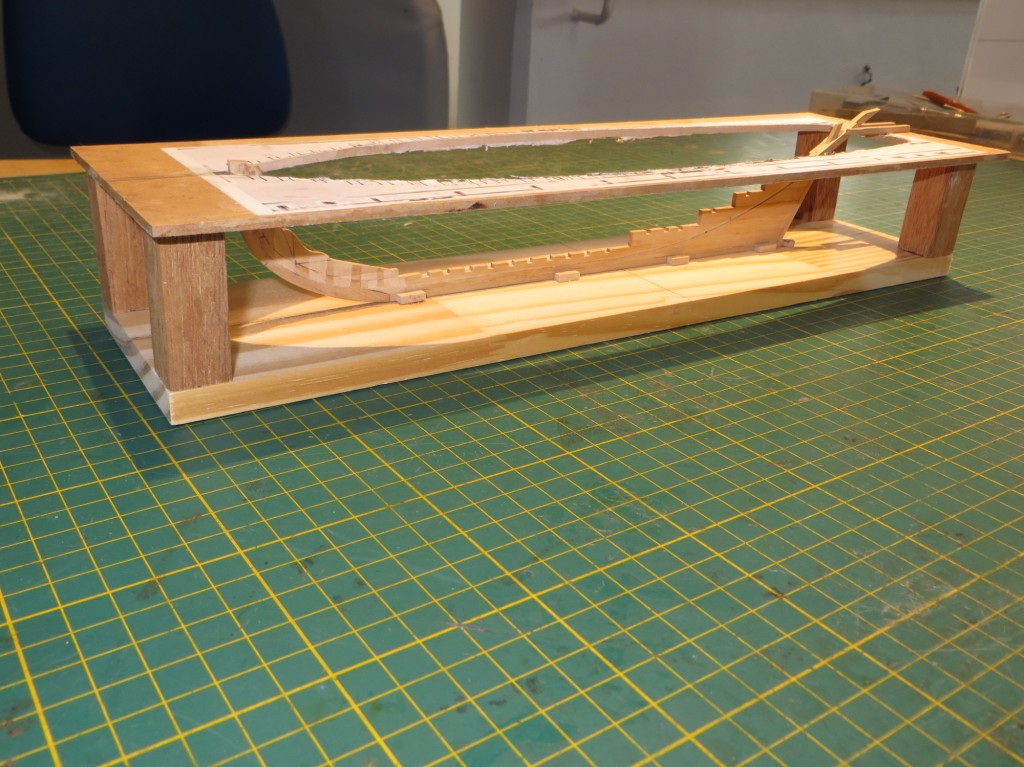
First frame fitted
The entire frame will be cleaned up after all the frames are fitted and faired.
John
-
-
-
Aha! Decks at last!
I'm glad to know that I'm not the only one who does dim witted things with computers, Popeye!
John
-
Tom,
You 'snuck' in that eagle while I was away and I missed it completely. I think it might look nice in gold!
You boat is looking good. It's always a comfort not to have to do the interiors.
John
-
You're certainly making good progress there, Stuart!
John
-
You're crowning glory, Danny.
John
- mtaylor, BANYAN and CaptainSteve
-
3
-
-
-
Beautifully done plating, Nils.
John
-
-

SS Stadacona by realworkingsailor - Sylvan Scale Models - 1:87 - Resin/Multimedia - kit-bash
in - Kit build logs for subjects built from 1901 - Present Day
Posted
Looking really good, Andy!
John