Mike Y
-
Posts
1,557 -
Joined
-
Last visited
Content Type
Profiles
Forums
Gallery
Events
Everything posted by Mike Y
-
 Oh, right, thanks for clarification! Very well thought through, as the rest of the project. Always reading it with interest, it is a very fine balance between an obsessive overthinking and a careful planning and precision Please keep it coming, we are in it for a long journey, as you said!
 -
Interesting idea with these curved blocks! Need to invest some time into making those as well... I guess they should give a better result then just eyeballing it and using flexible sanding pads to achieve a smooth curve. Have you considered making them from something softer, like a cork block? I made a few shapes with cork when fairing the hull, it is just the right softness level for fairing and it would not scratch the rest of the model if you bump it accidentally.
-
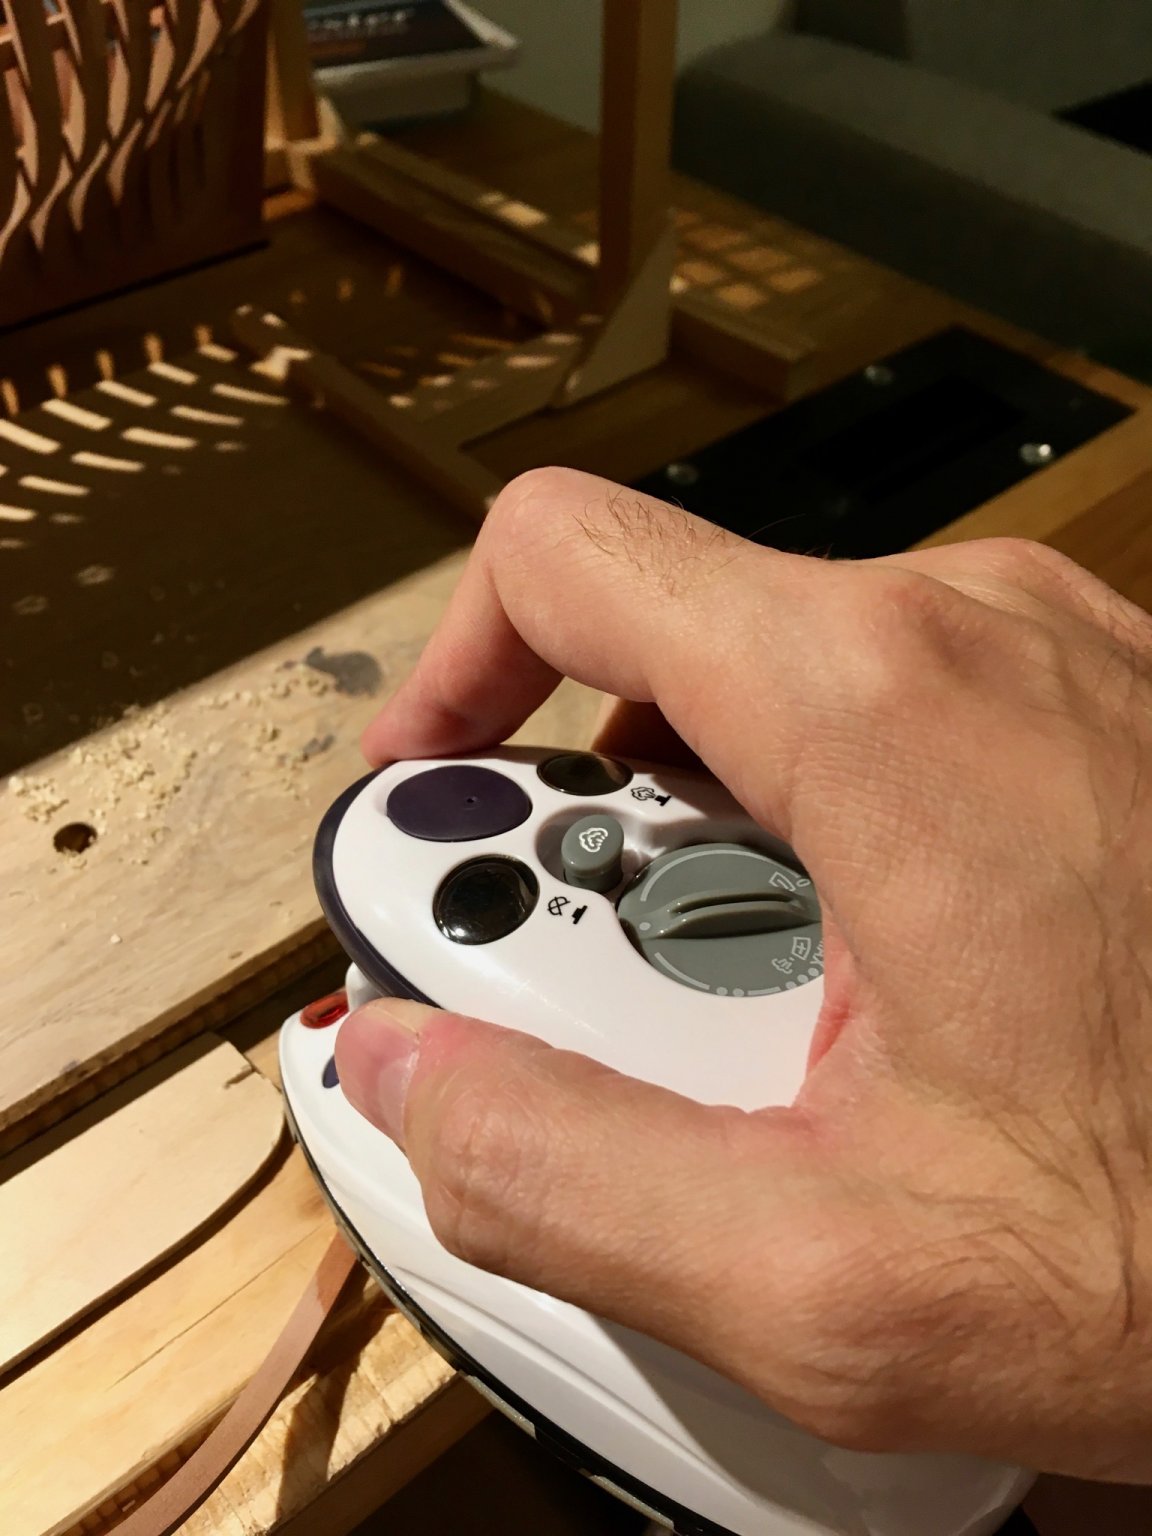
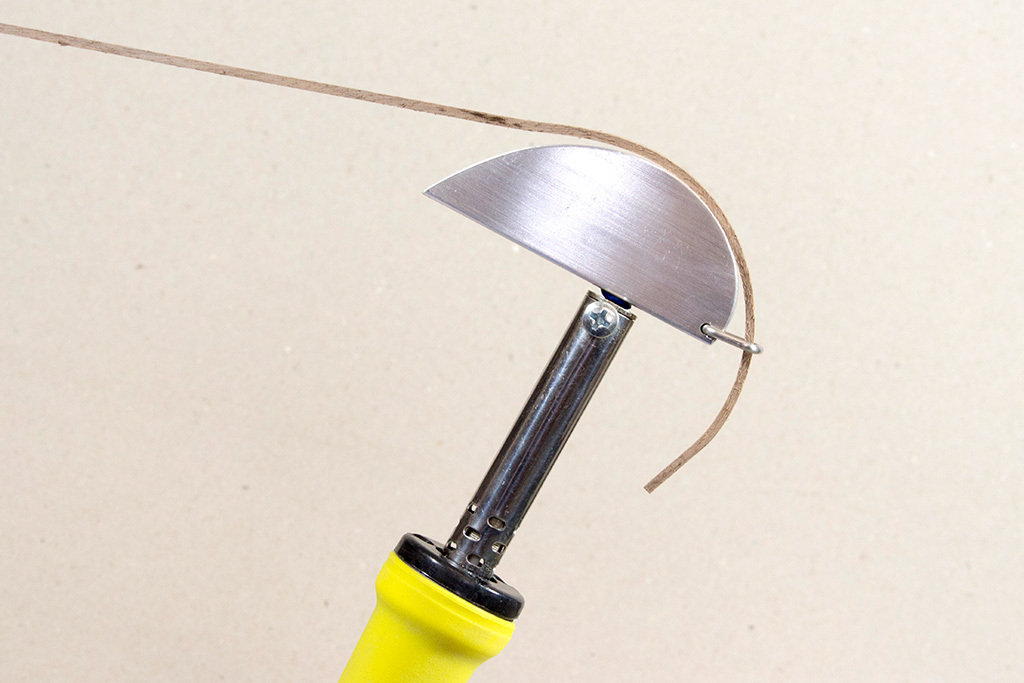
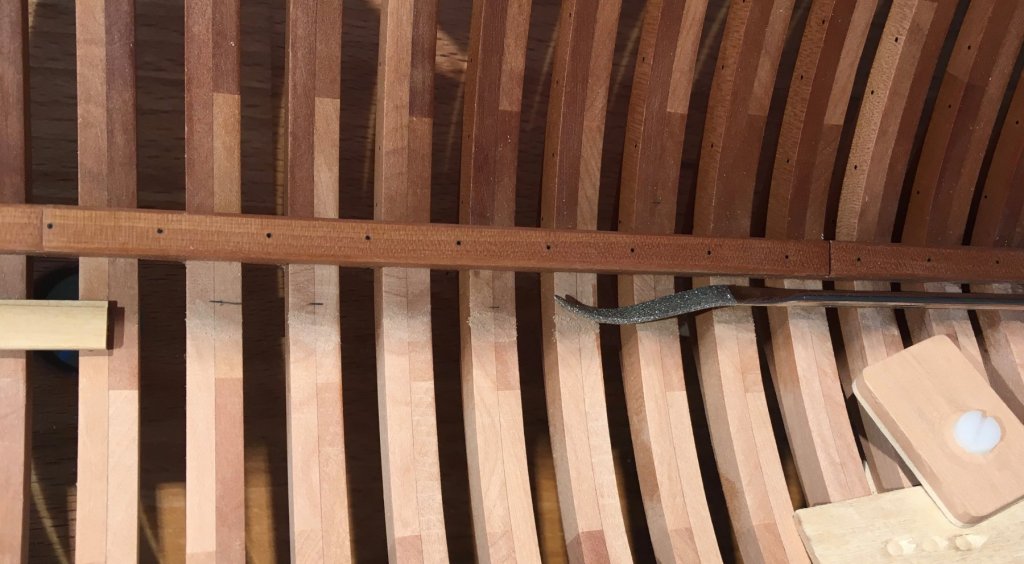
Practiced more today, and so far for edge bending a small clothing iron works better, takes just 15-20sec to heat up that boxwood strip (5mm wide, 1.6mm thick) to give it a slight edge curve. It is not powerful enough to overheat the wood, while a soldering iron is too aggressive. For the other dimension I had a good result with this soldering iron attachment - press it into the wood for 15-30sec, then when the area is hot enough - hook it and bend it slowly. The iron that is shipped with it is probably not powerful enough to make this big chunk of aluminum too hot, so no problems with wood burning and overheating. I do not have enough experience with heat bending really, just a few evenings and a dozen of planks bent in various directions. Thanks Chuck for promoting this method! It works so far, adding one plank per evening, trying not to miss any days The second inner planking strake is done. But I would still use my old preferred method for thick planks (like deck clamps or wales) - dunking them into a boiling (!) kettle for 30-60sec, then carefully bending by hand and just clamping onto a model overnight, with a slight over-bend. Works like a charm, allows for complex shapes with multi-directional bends, the only problem is a long drying period, can't just glue it right away. No steam box needed, but need to be sneaky so nobody sees you bathing wood pieces in a kitchen kettle, otherwise one would have an awkward explanation to do. My daughter knows though, but she keeps that secret
- 969 replies
-
- 8
-

-
- hahn
- oliver cromwell
- (and 1 more)
-
Thanks for the advices! It is nice to be back, spending a bit of time per plank every evening. Easier than trying to dedicate a long modelling session. Mark, I was trying to avoid soaking, because a soaked plank need to dry for some time, otherwise it will shrink and there would be a gap. The whole point was to be able to bend and glue the plank right away. Maybe it would become dry enough in the area that is heated, maybe not, but it would still be wet in the non-heated area. So I'll just practice more to find that sweet spot where wood bends, but haven't dried enough to be brittle.
- 969 replies
-
- 4
-
-
- hahn
- oliver cromwell
- (and 1 more)
-
Really like the first photo, interesting angle and reflexes on the wood!
-
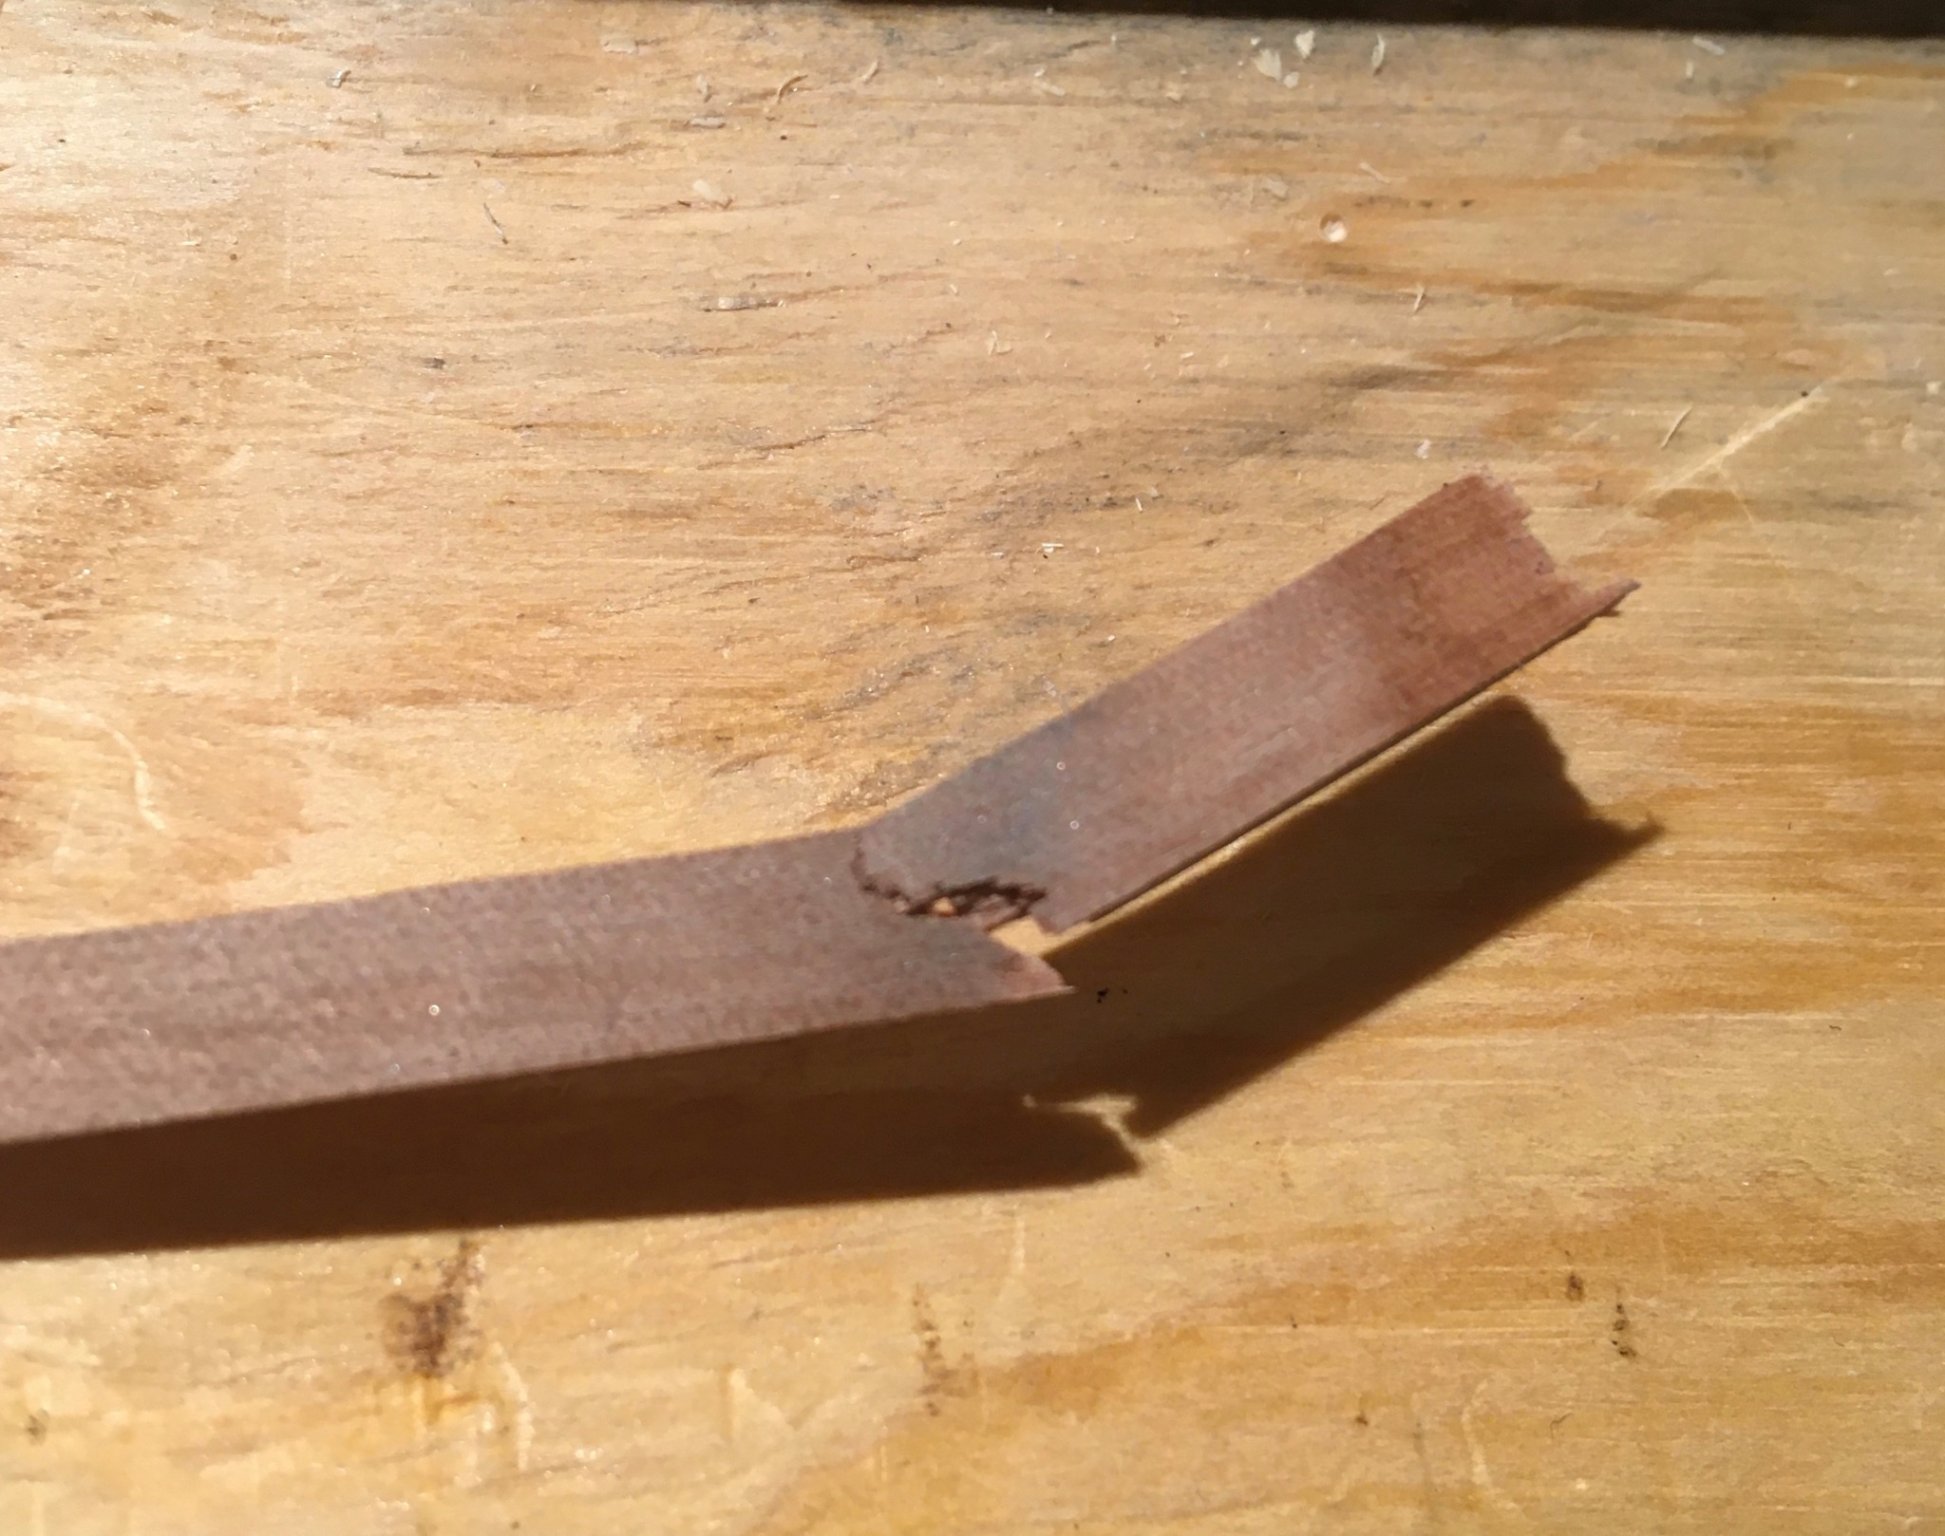
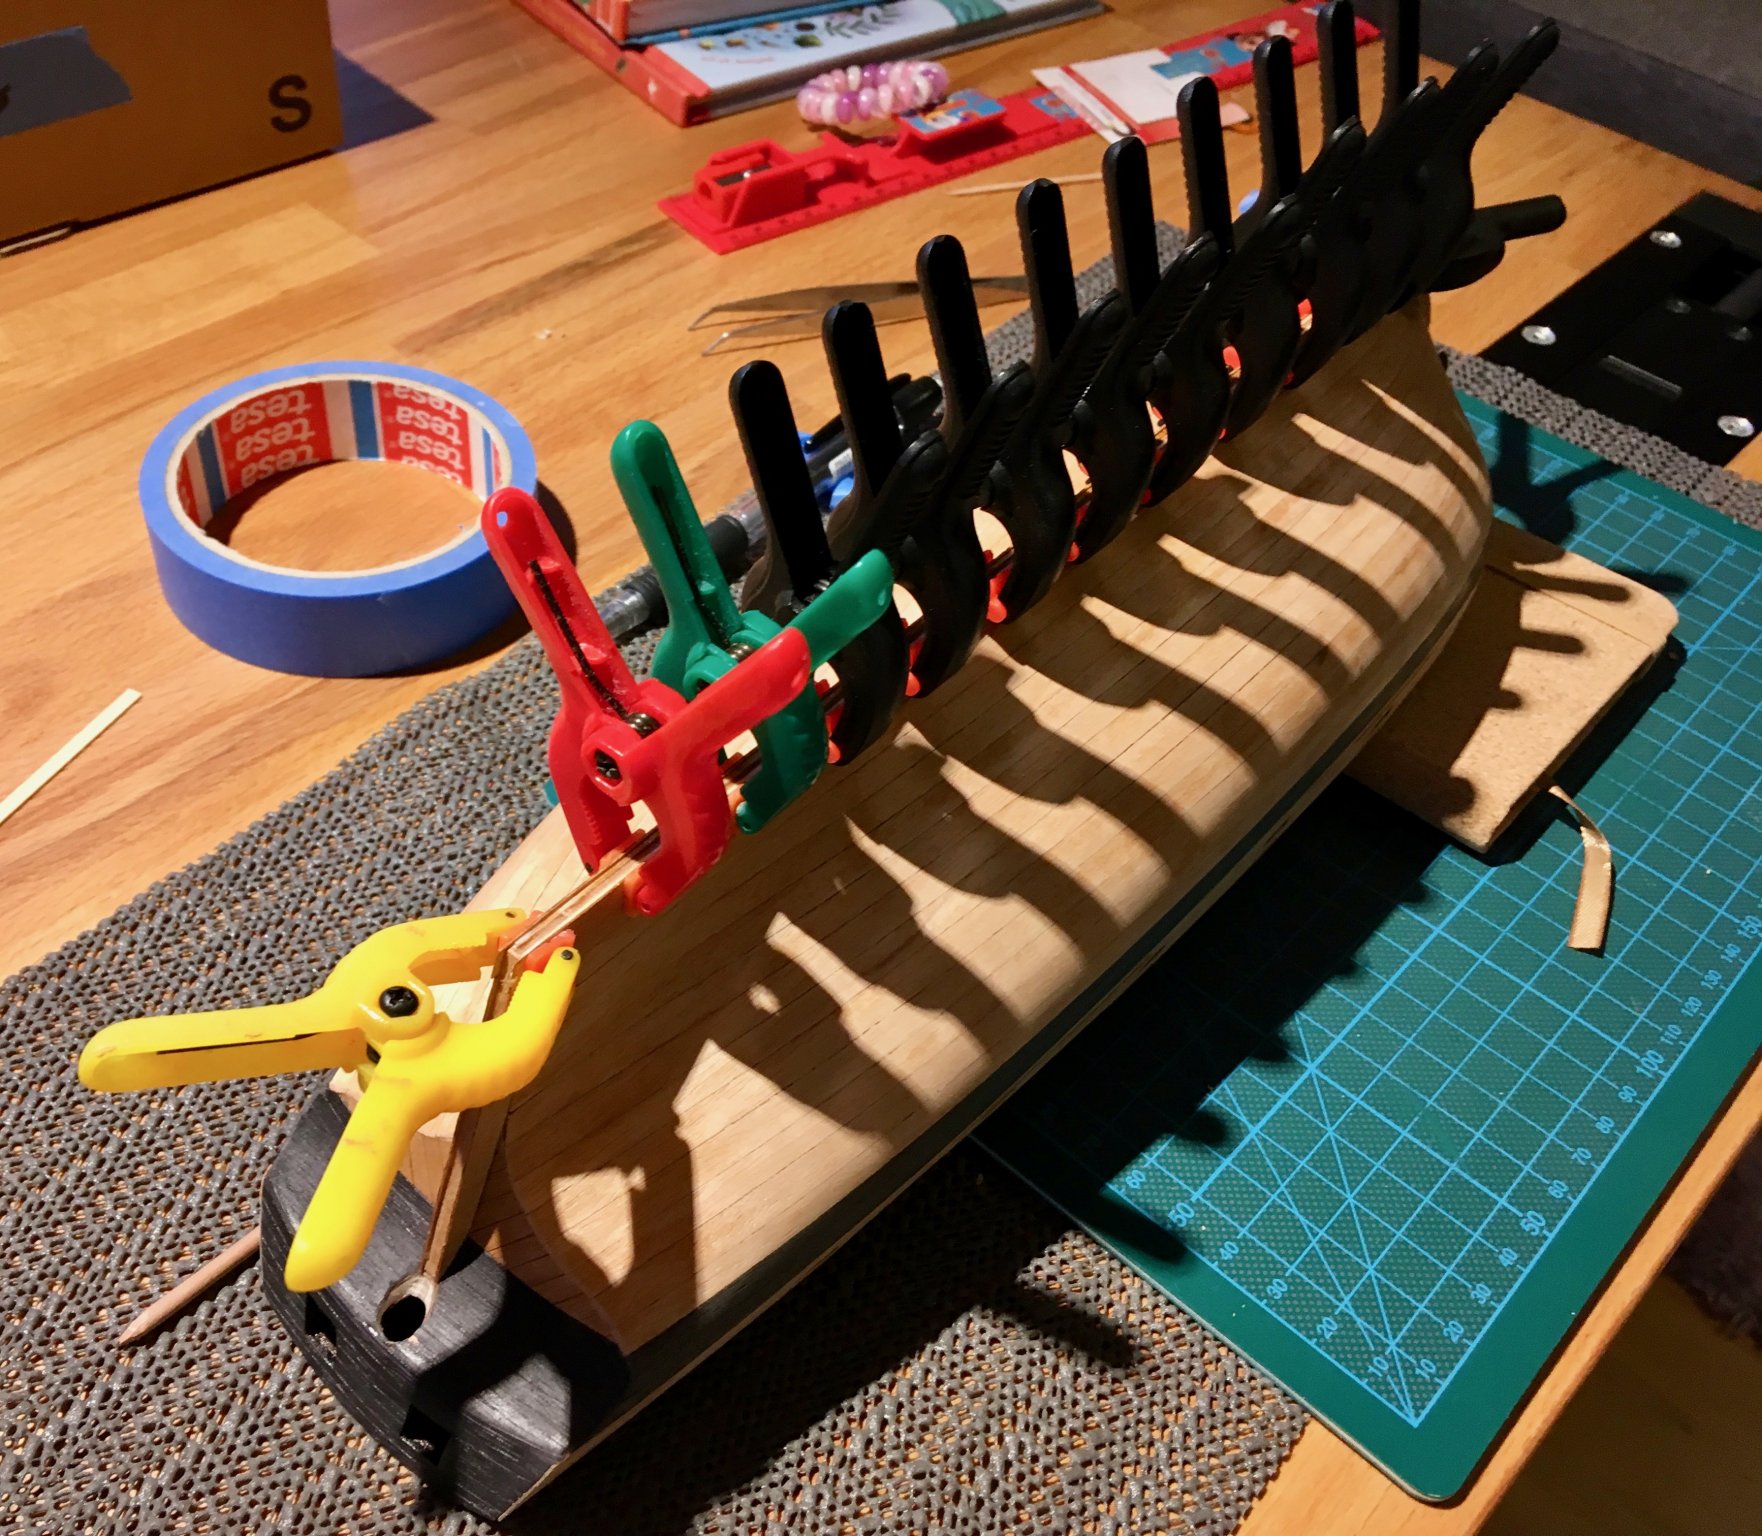
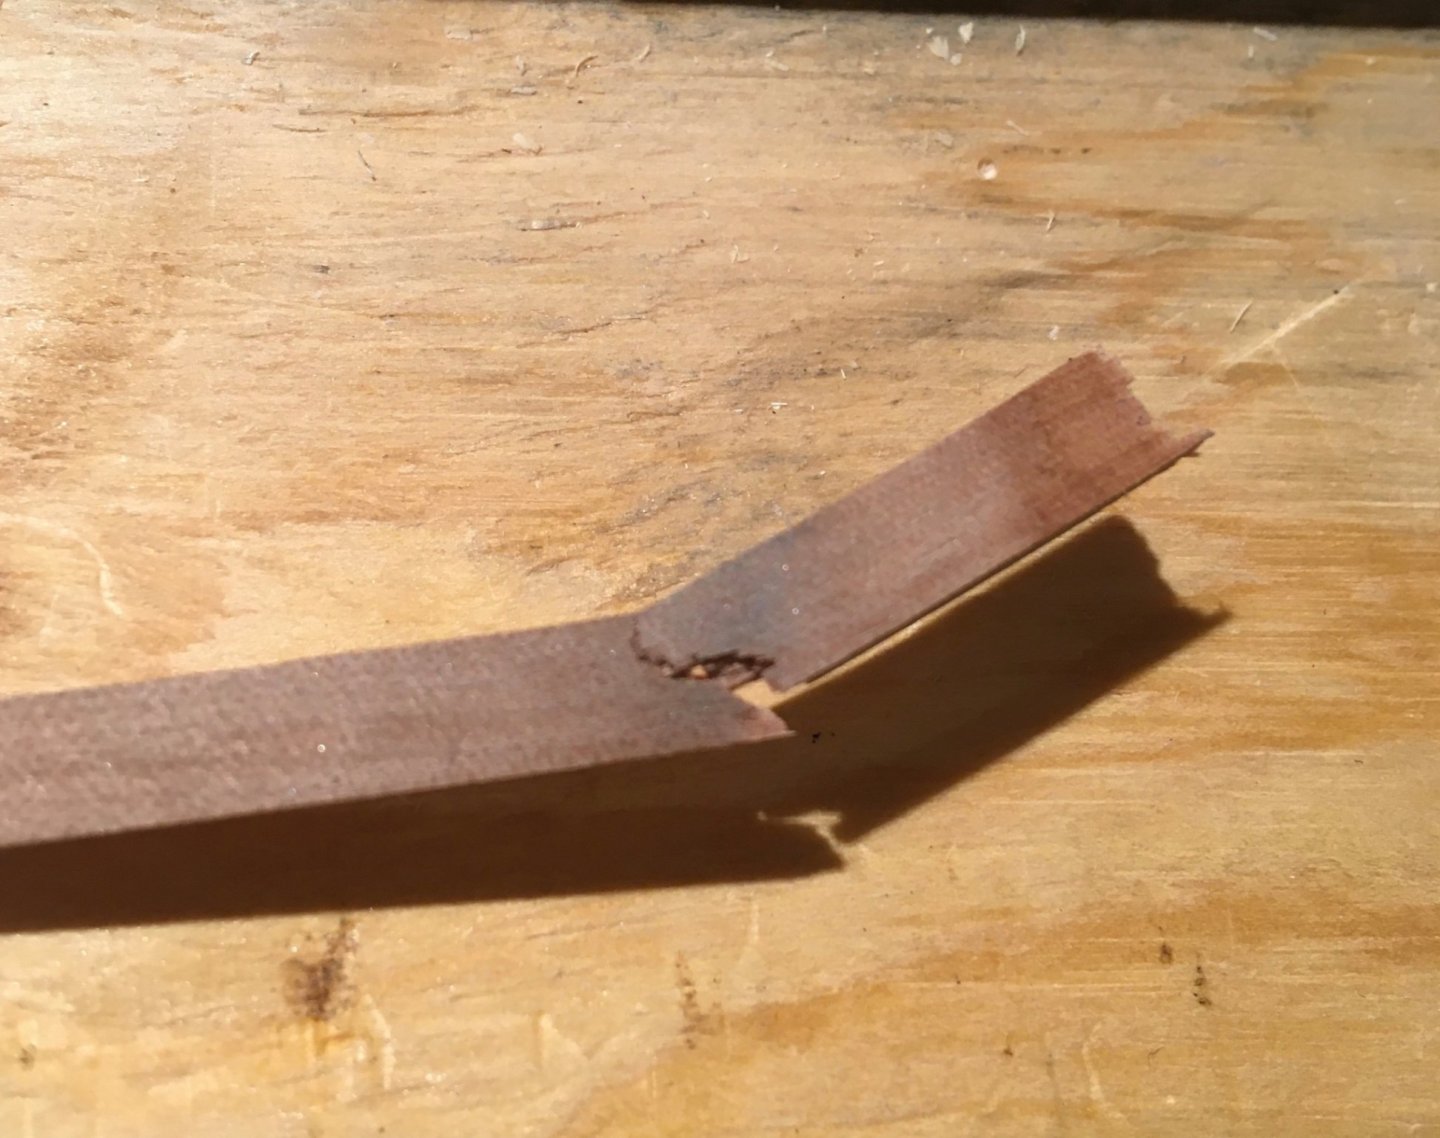
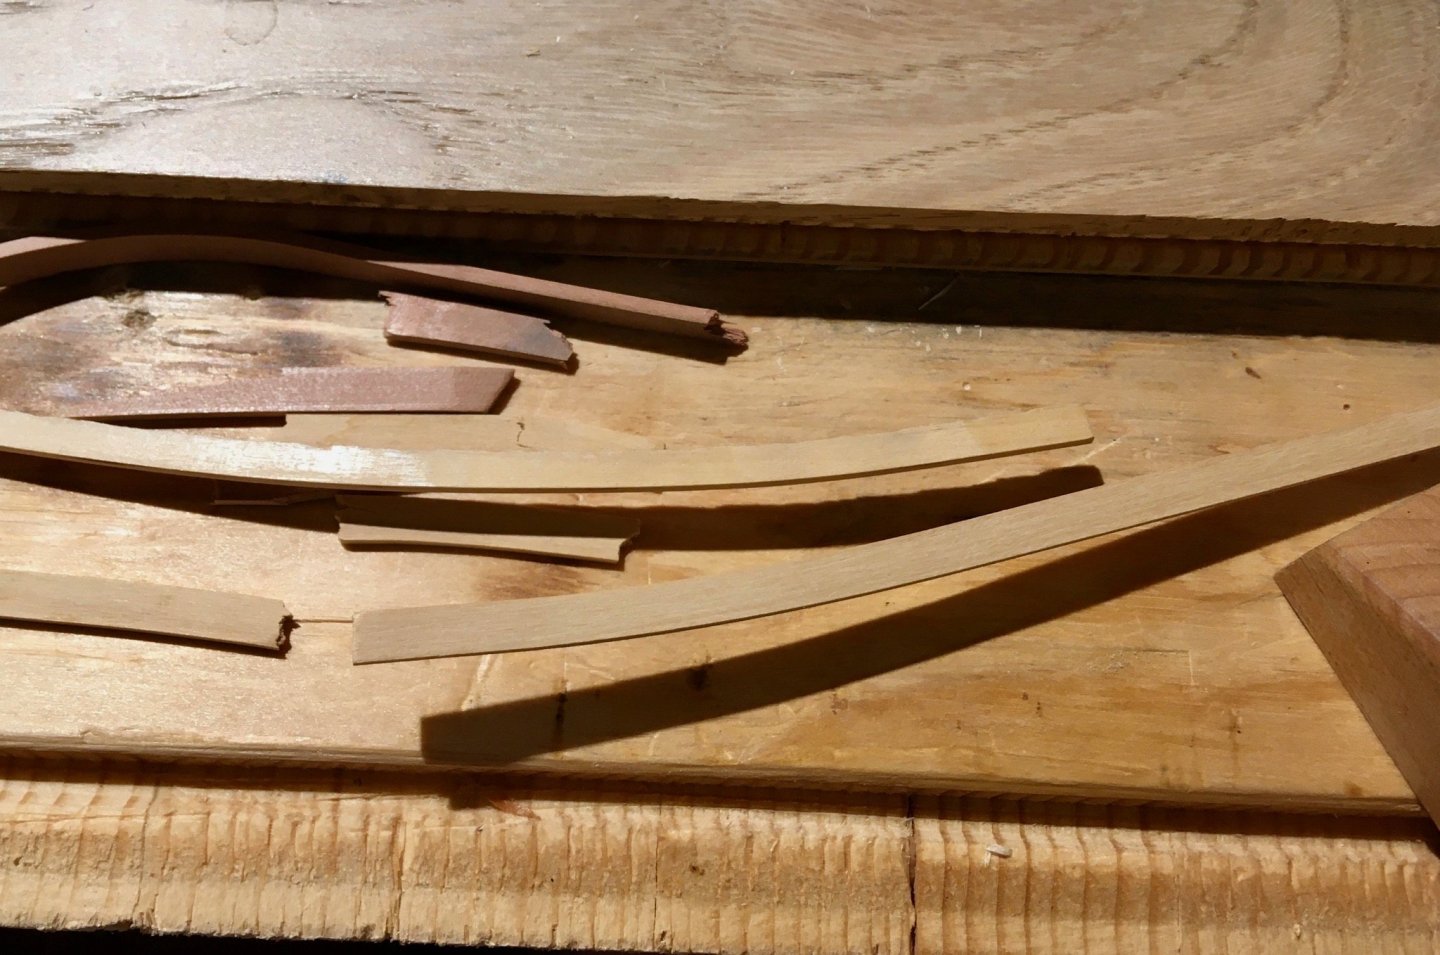
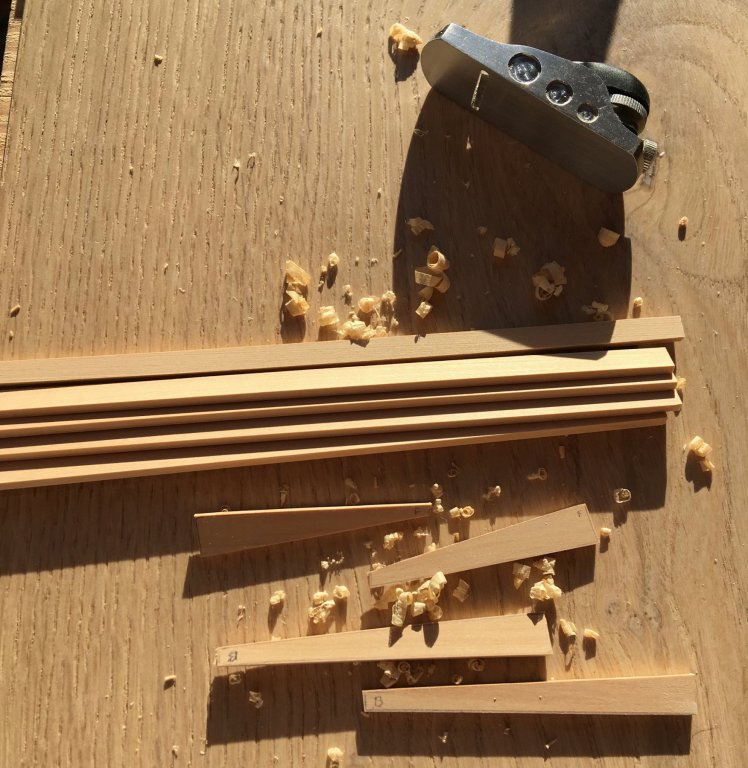
Thanks a lot for the comments! They are inspiring Had a bit of a block before continuing the inner planking. Started improving my build jig by adding some magnets to it. Very simple and very convenient, now I can attach tiny plane/chisel/scraper right to it, and nothing will fall off. Just stick magnets to your work surfaces, they are cool! Decided to try dry heat bending (thanks, Chuck!), ordered a tiny iron and a soldering iron with some special tips (really nice way to bend a circle!). It takes some practice... Who knew that you can overheat the wood by heating it for too long? Had a number of planks cracked because of that: A lot of mistakes were made:I need some margin, because it was not easy to control the location of a bend. Will practice more. Unfortunately you can't practice on scraps, results really vary depending on a wood type, width and thickness. I had two identical boxwood planks, one 5mm, another closer to 4.2mm width - the narrower one bends so much easier! But I like the method, no clamping and no need to wait for the next morning. Hopefully I will master that skill and will be able to prepare a bunch of planks during one modelling session. Finally I realised that I do not need an extreme side bend, just a little bit goes a long way. The first bent and shaped plank is in place, made out of a straight strip. So nice to find a method that works! Now I can continue with the rest of the planks. The glue-up was a bit awkward though, since there was no way to clamp the front tip. Luckily it mostly stayed in place because of the pre-bending, so keeping it with a finger worked just fine.


- 969 replies
-
- 18
-
-
- hahn
- oliver cromwell
- (and 1 more)
-
Fantastic initiative!
-
May I pull up a chair? This is going to be interesting!
-
No words... I hope your spark will come back to you soon enough, and something else (Belle Poule?) will bring a joy back! Too young and green to really feel your situation, but desperately trying to add a tiny bit to that massive community support. Hope to see you onboard again, soon!
-
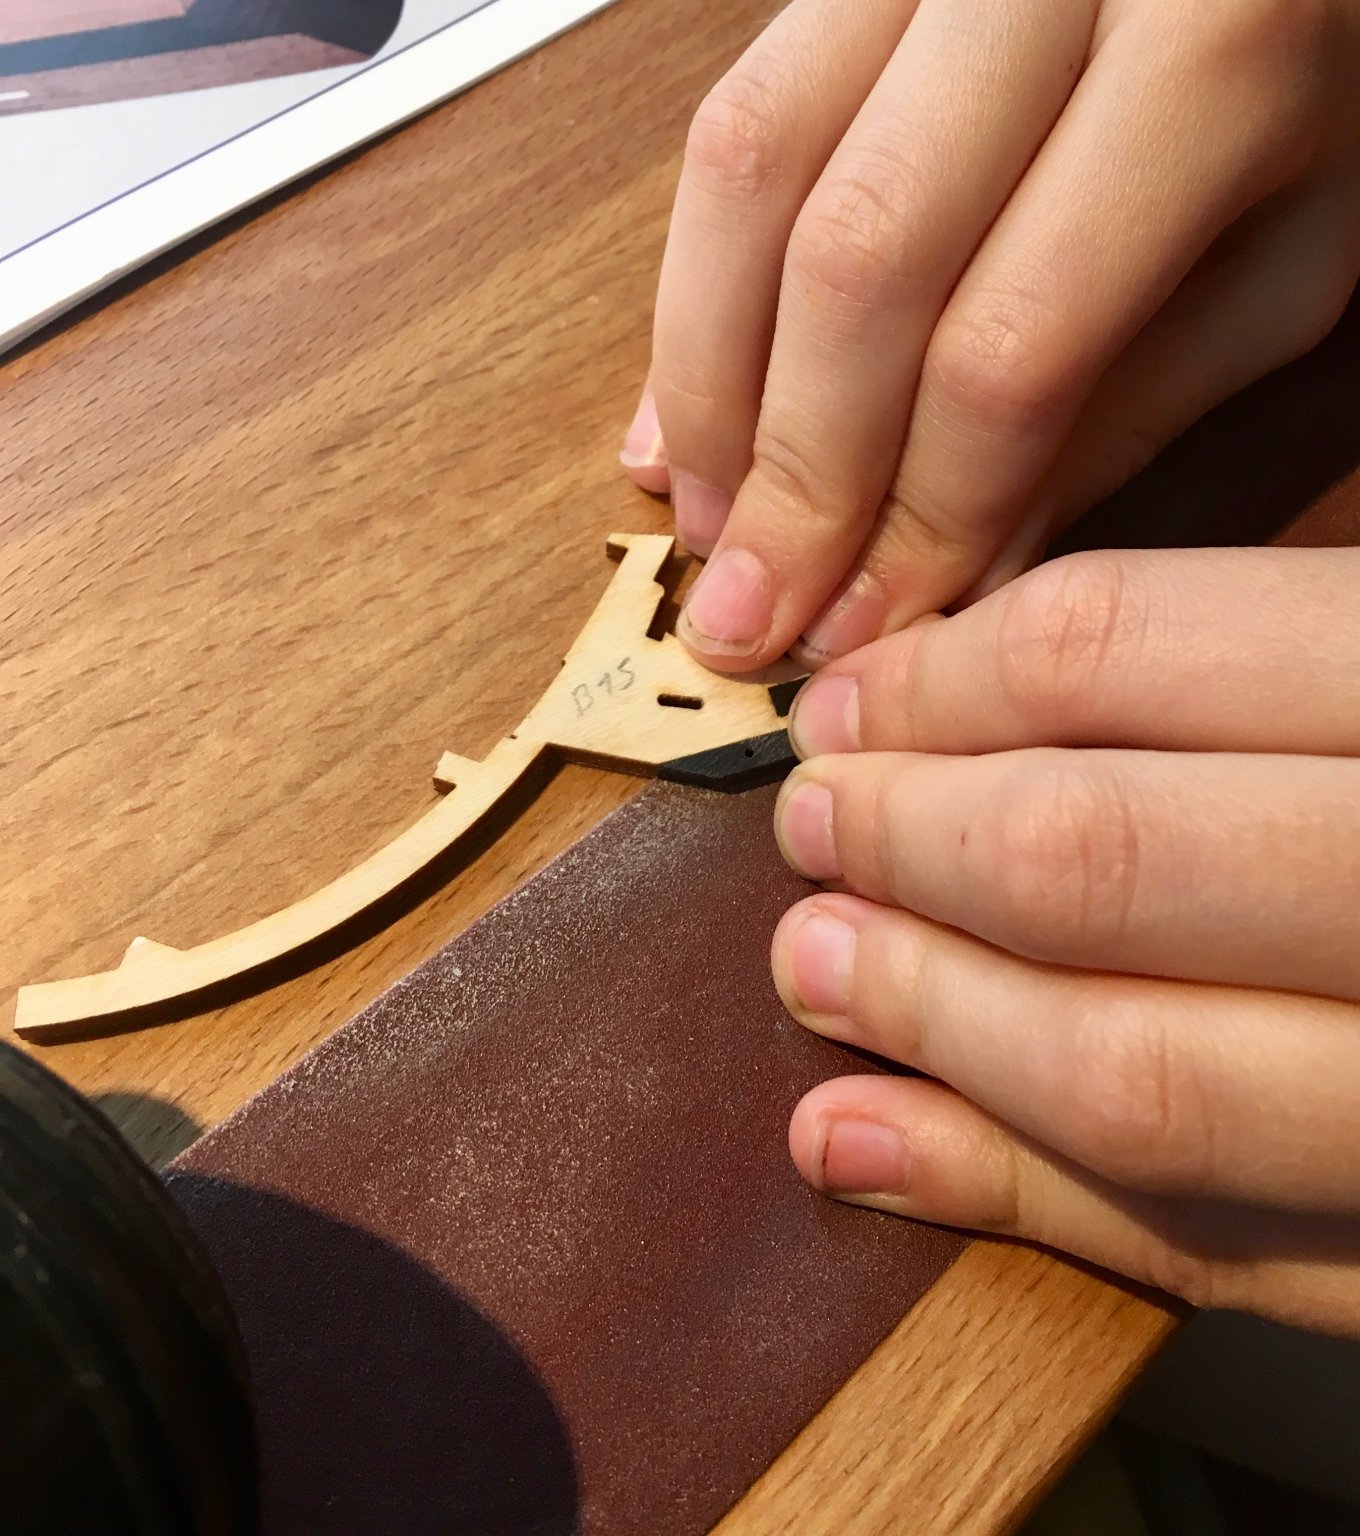
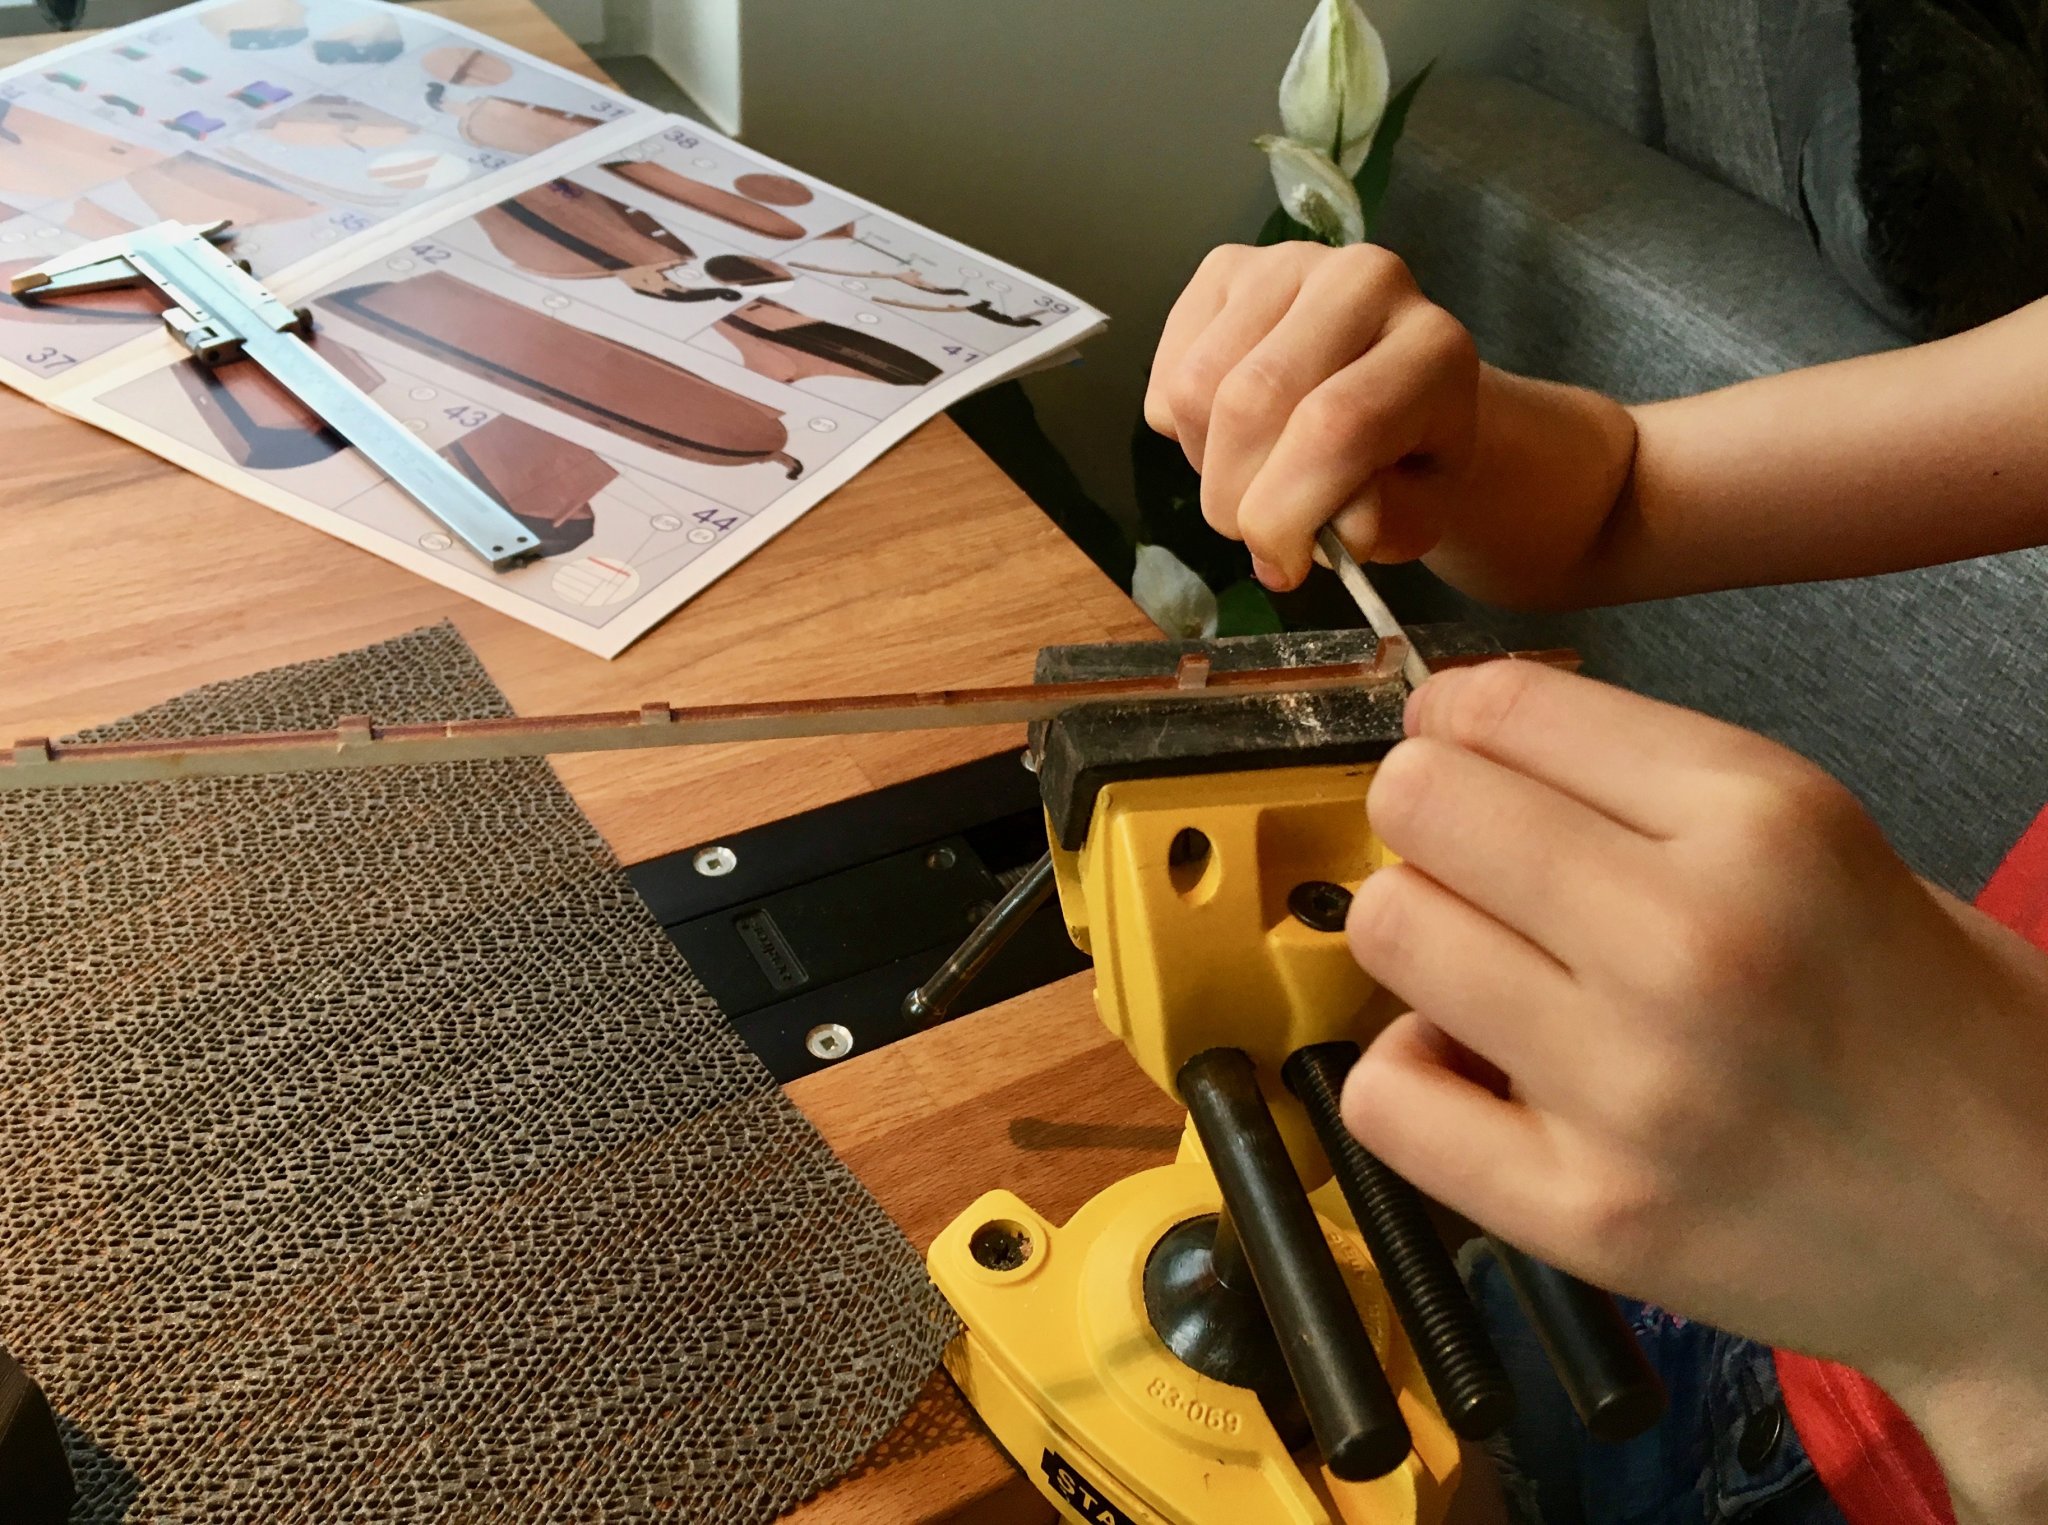
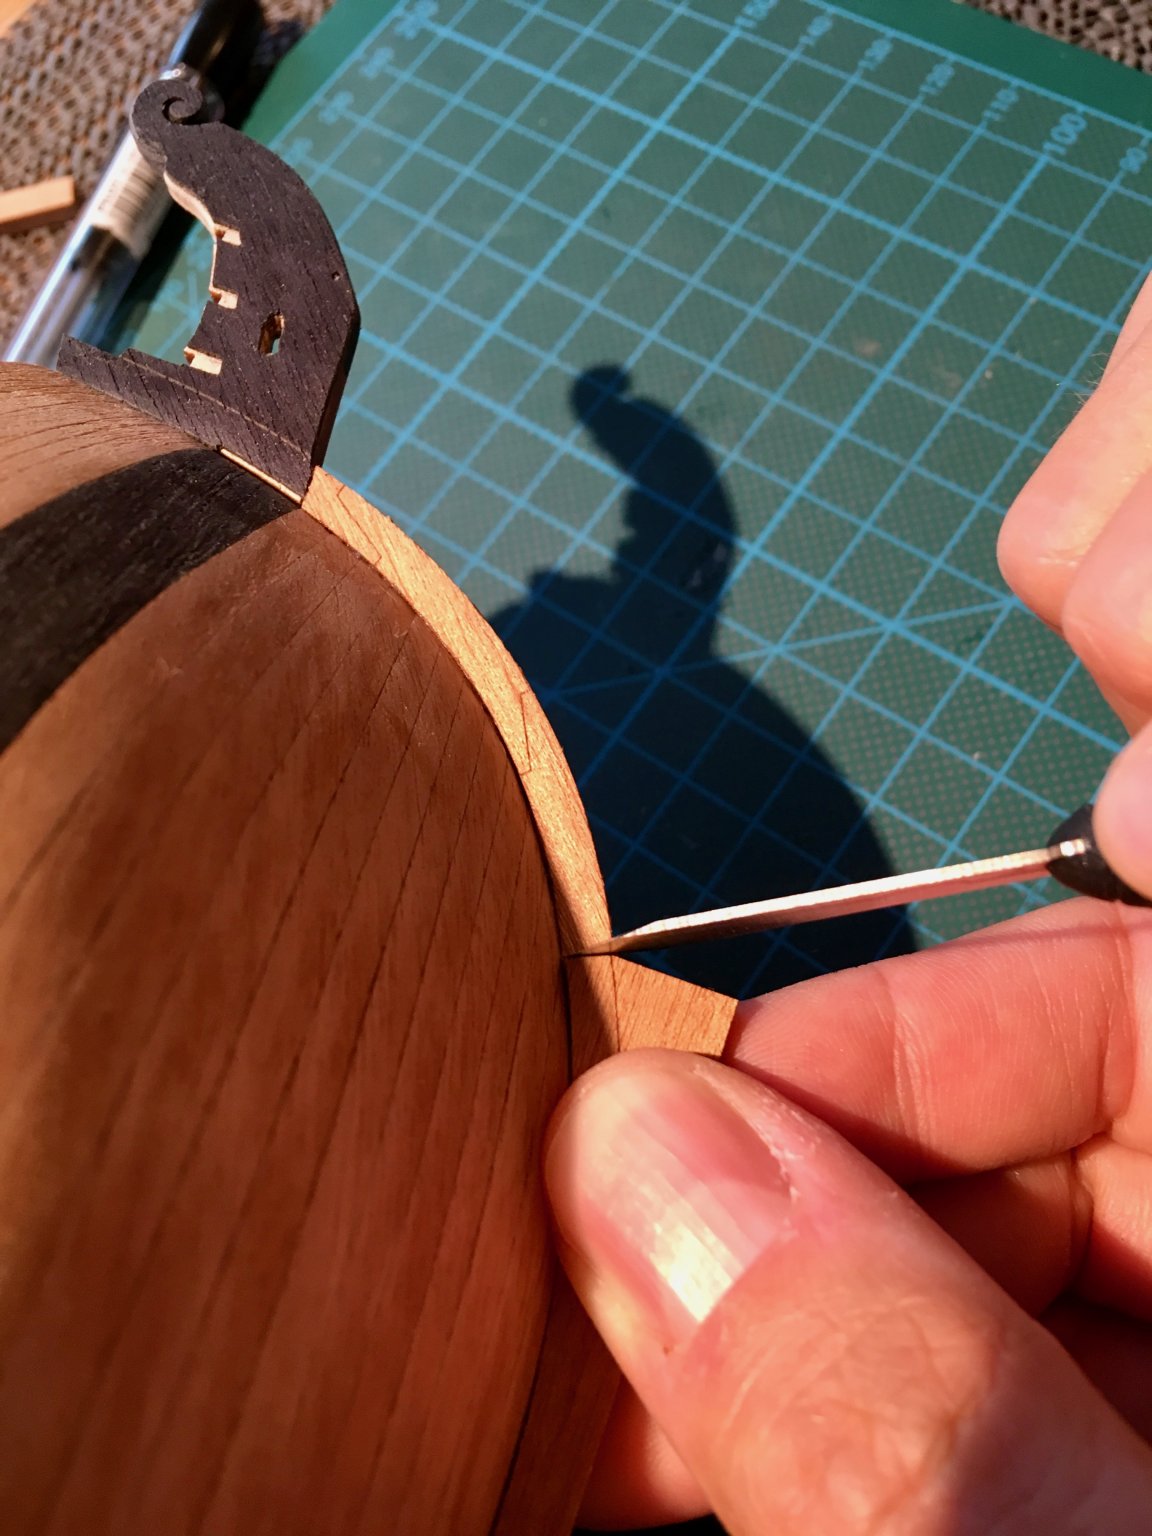
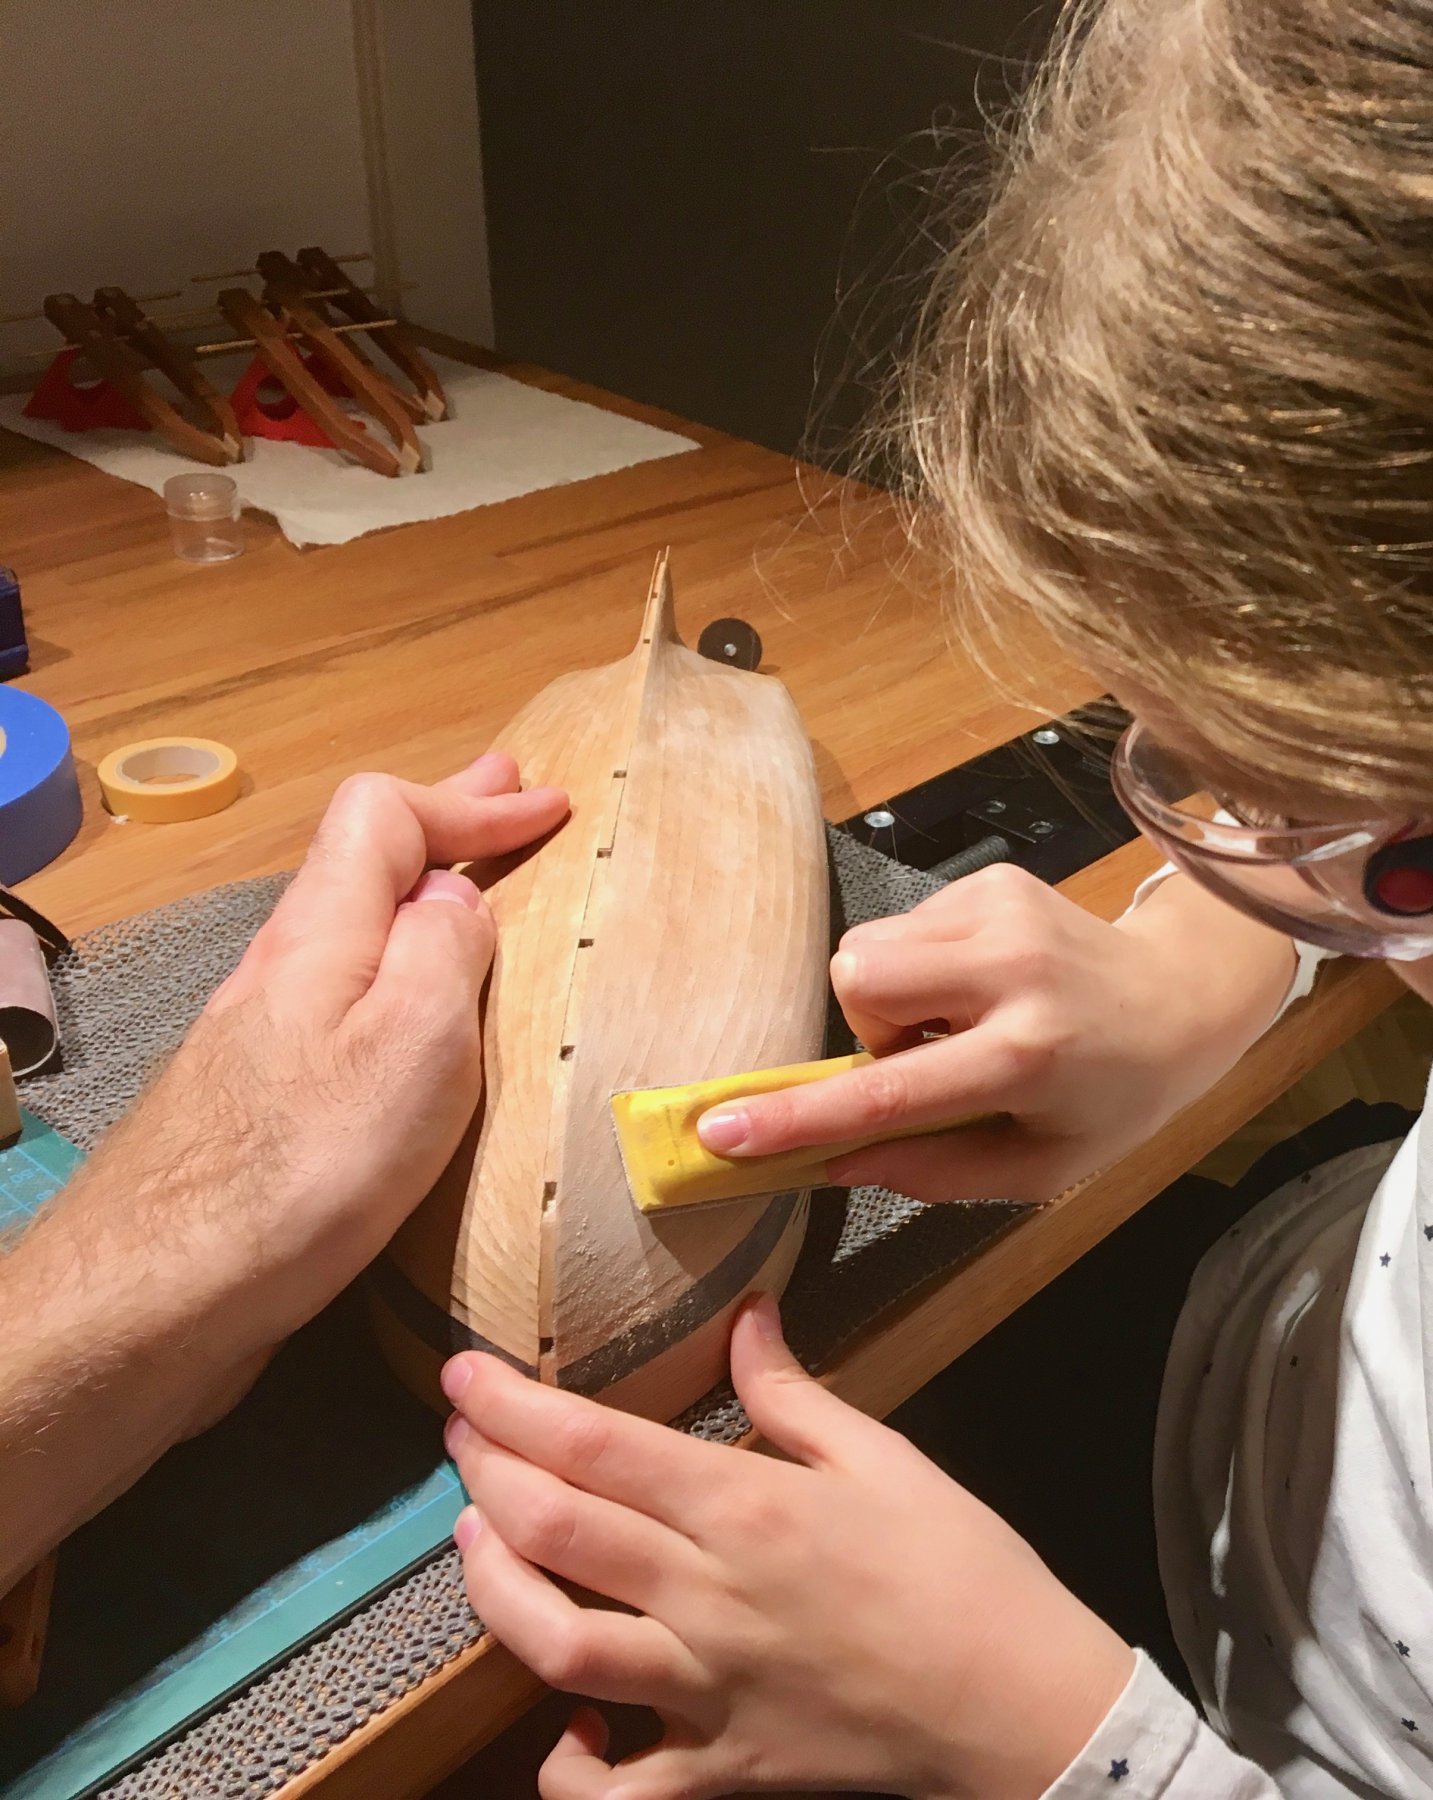
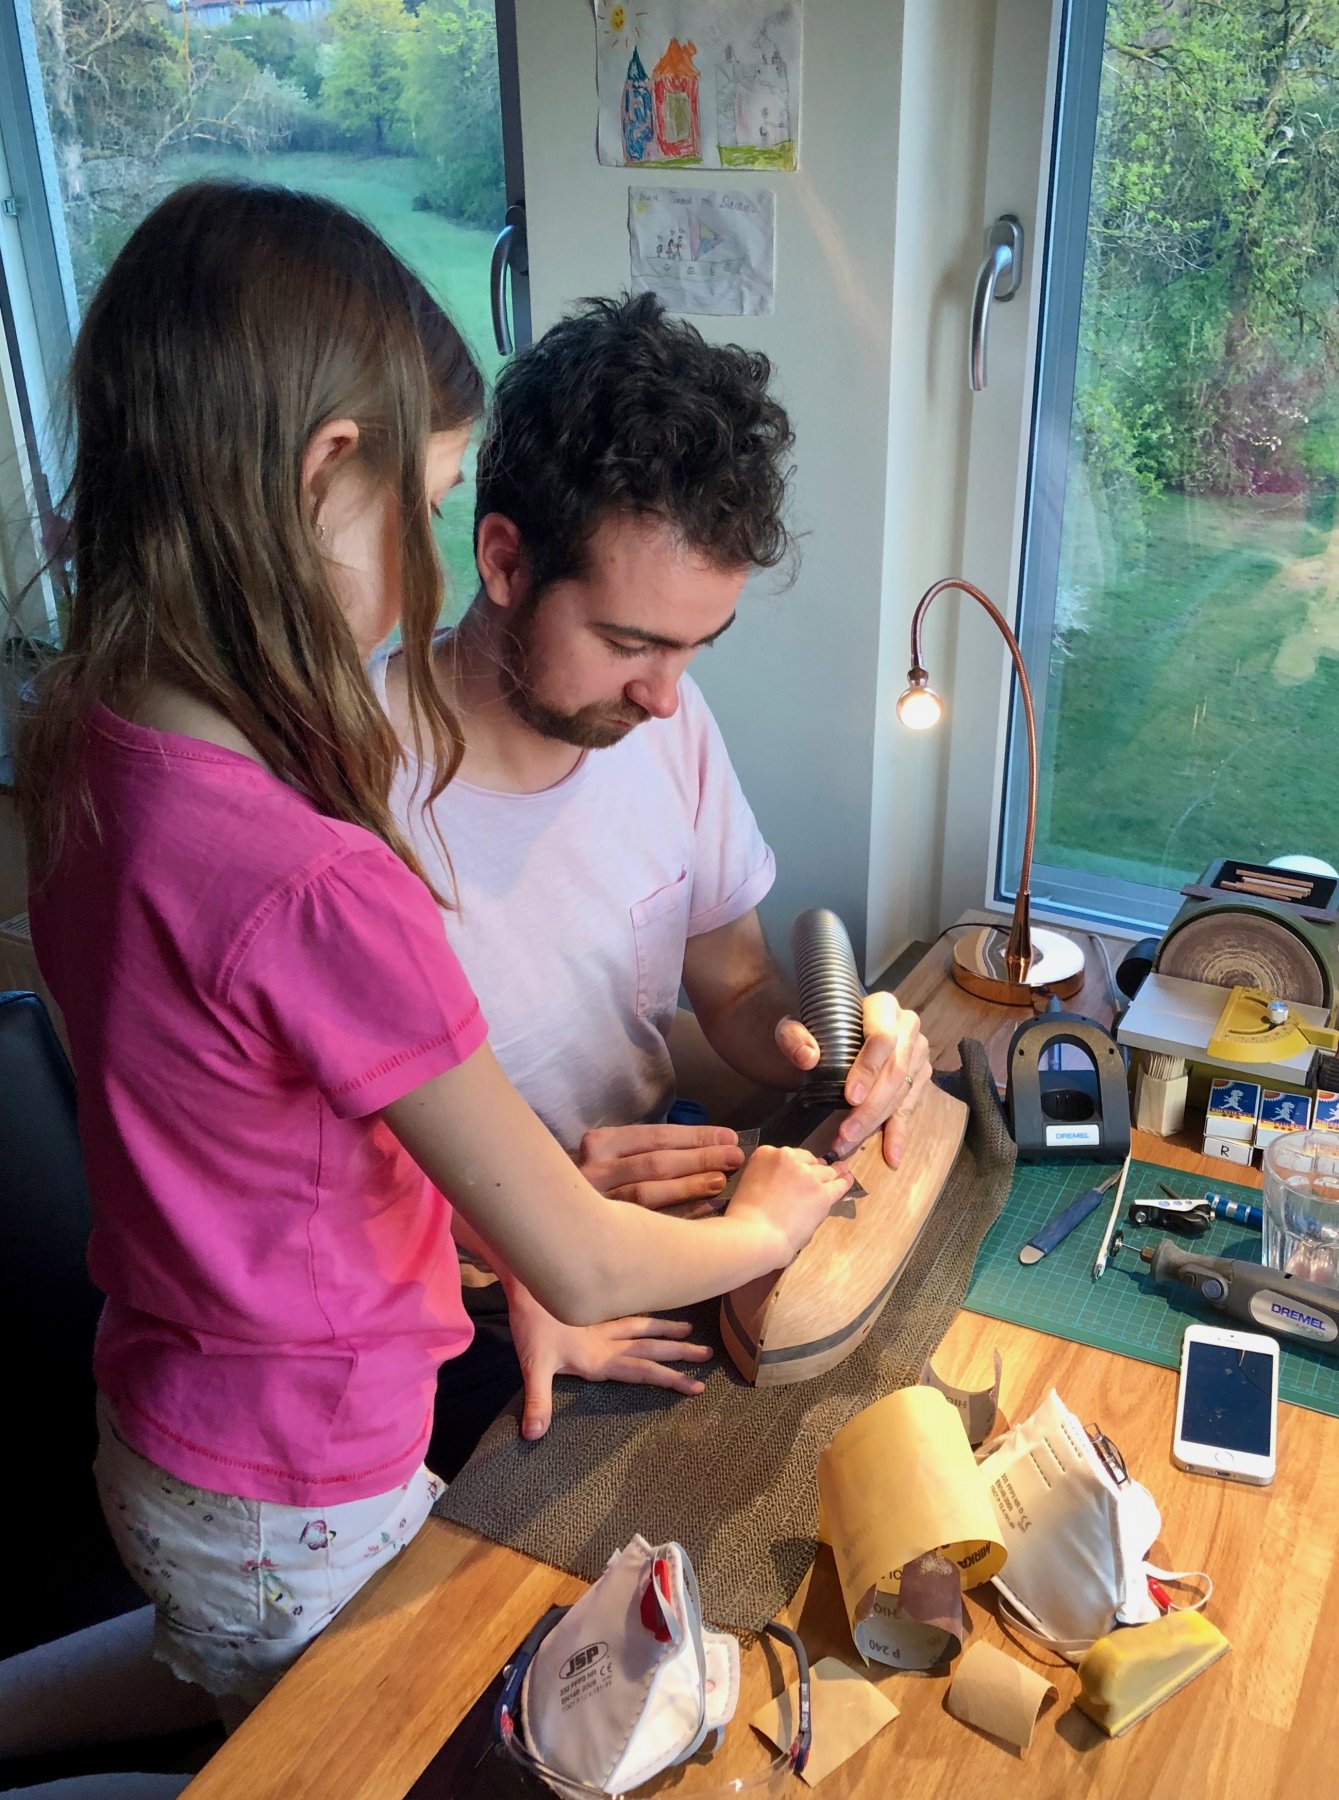
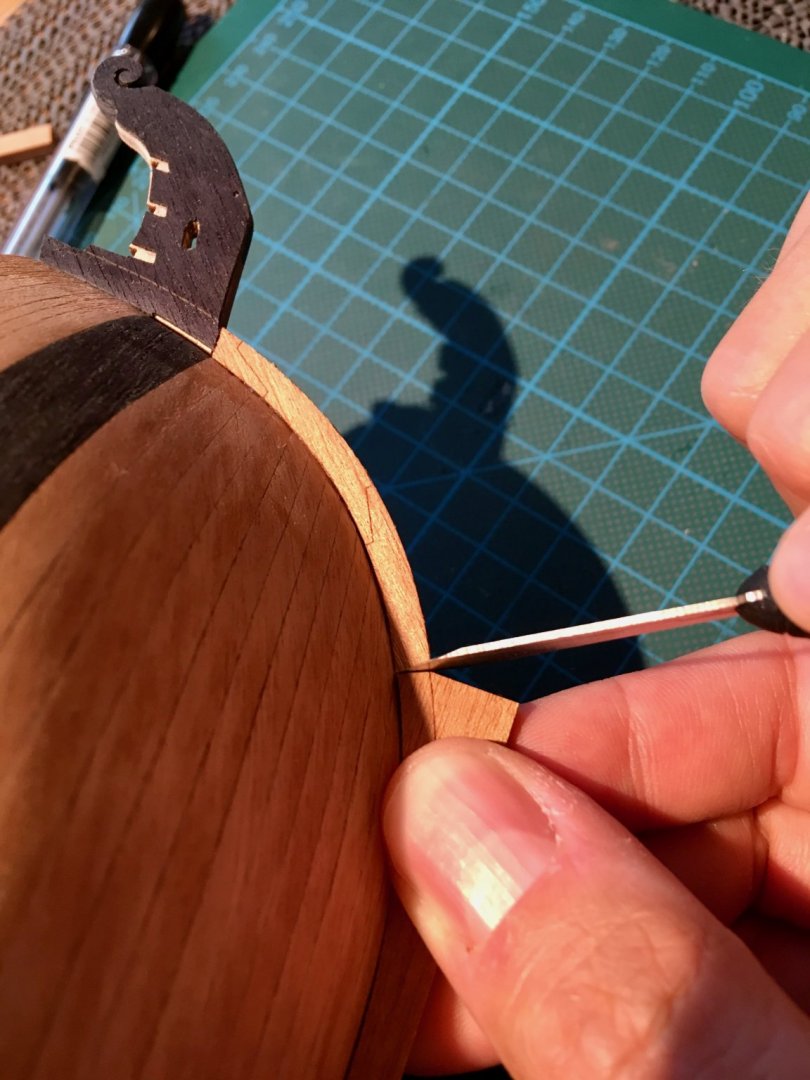
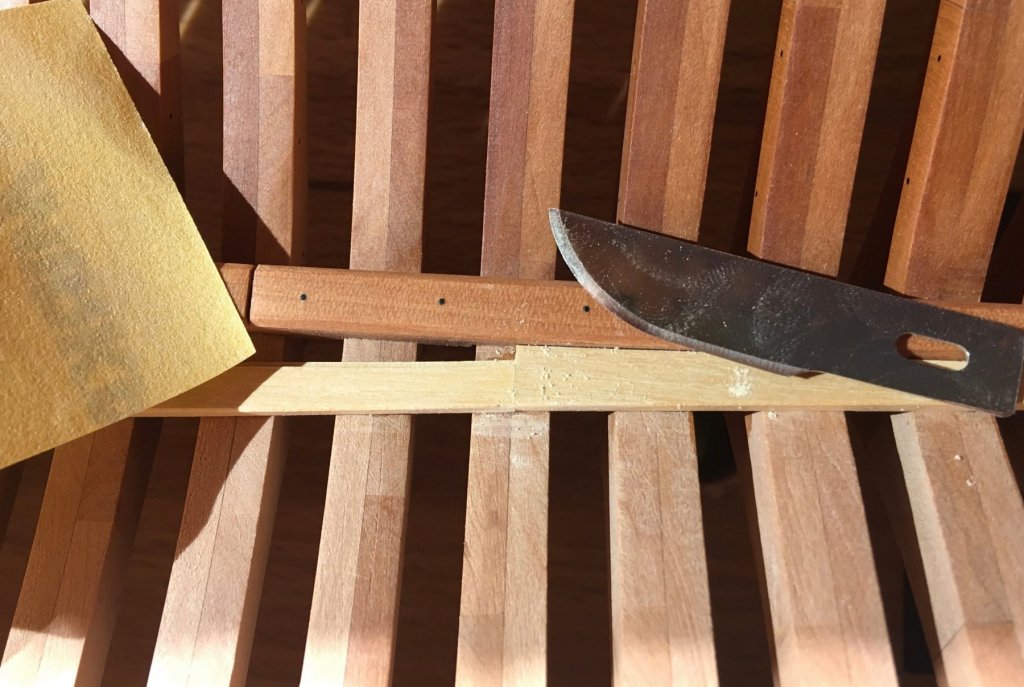
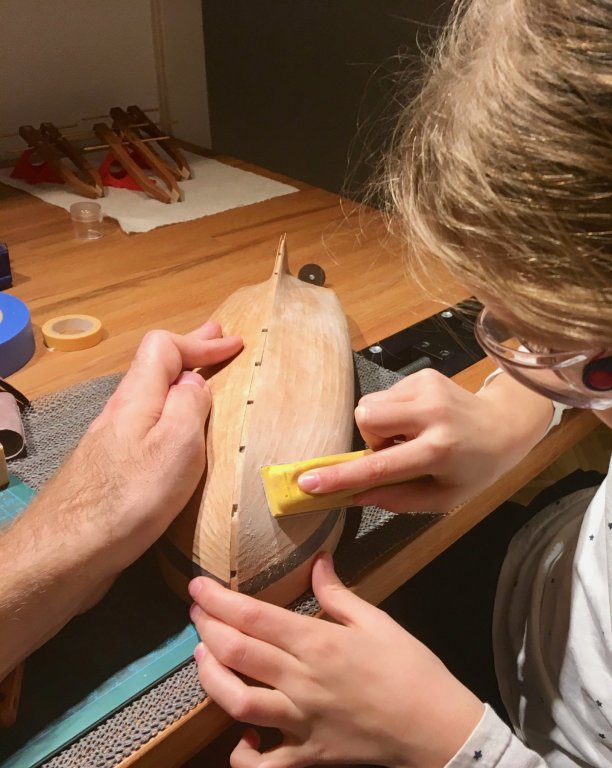
Daria is back after the summer, yay! The modelling sessions were rare, but enjoyable nevertheless. We learned how to taper flat surfaces: Fine fitting is easier now, she can do it alone: My clamps were quite handy when laminating the stem, it is tapered so you can't just clamp it between two pieces of glass, and veneer bends with moisture. First time using marking knife for precise trimming of veneer pieces so they fit each other: And her favourite photo: Also learned how to use a chisel in gentle pairing motions. Keeping a consistent angle is hard! And a few last pieces were done completely without me, she did everything from masking to fitting and gluing: But clamping a long piece with a masking tape is more fun if you do it together Hope we'll finish the stem soon!


-
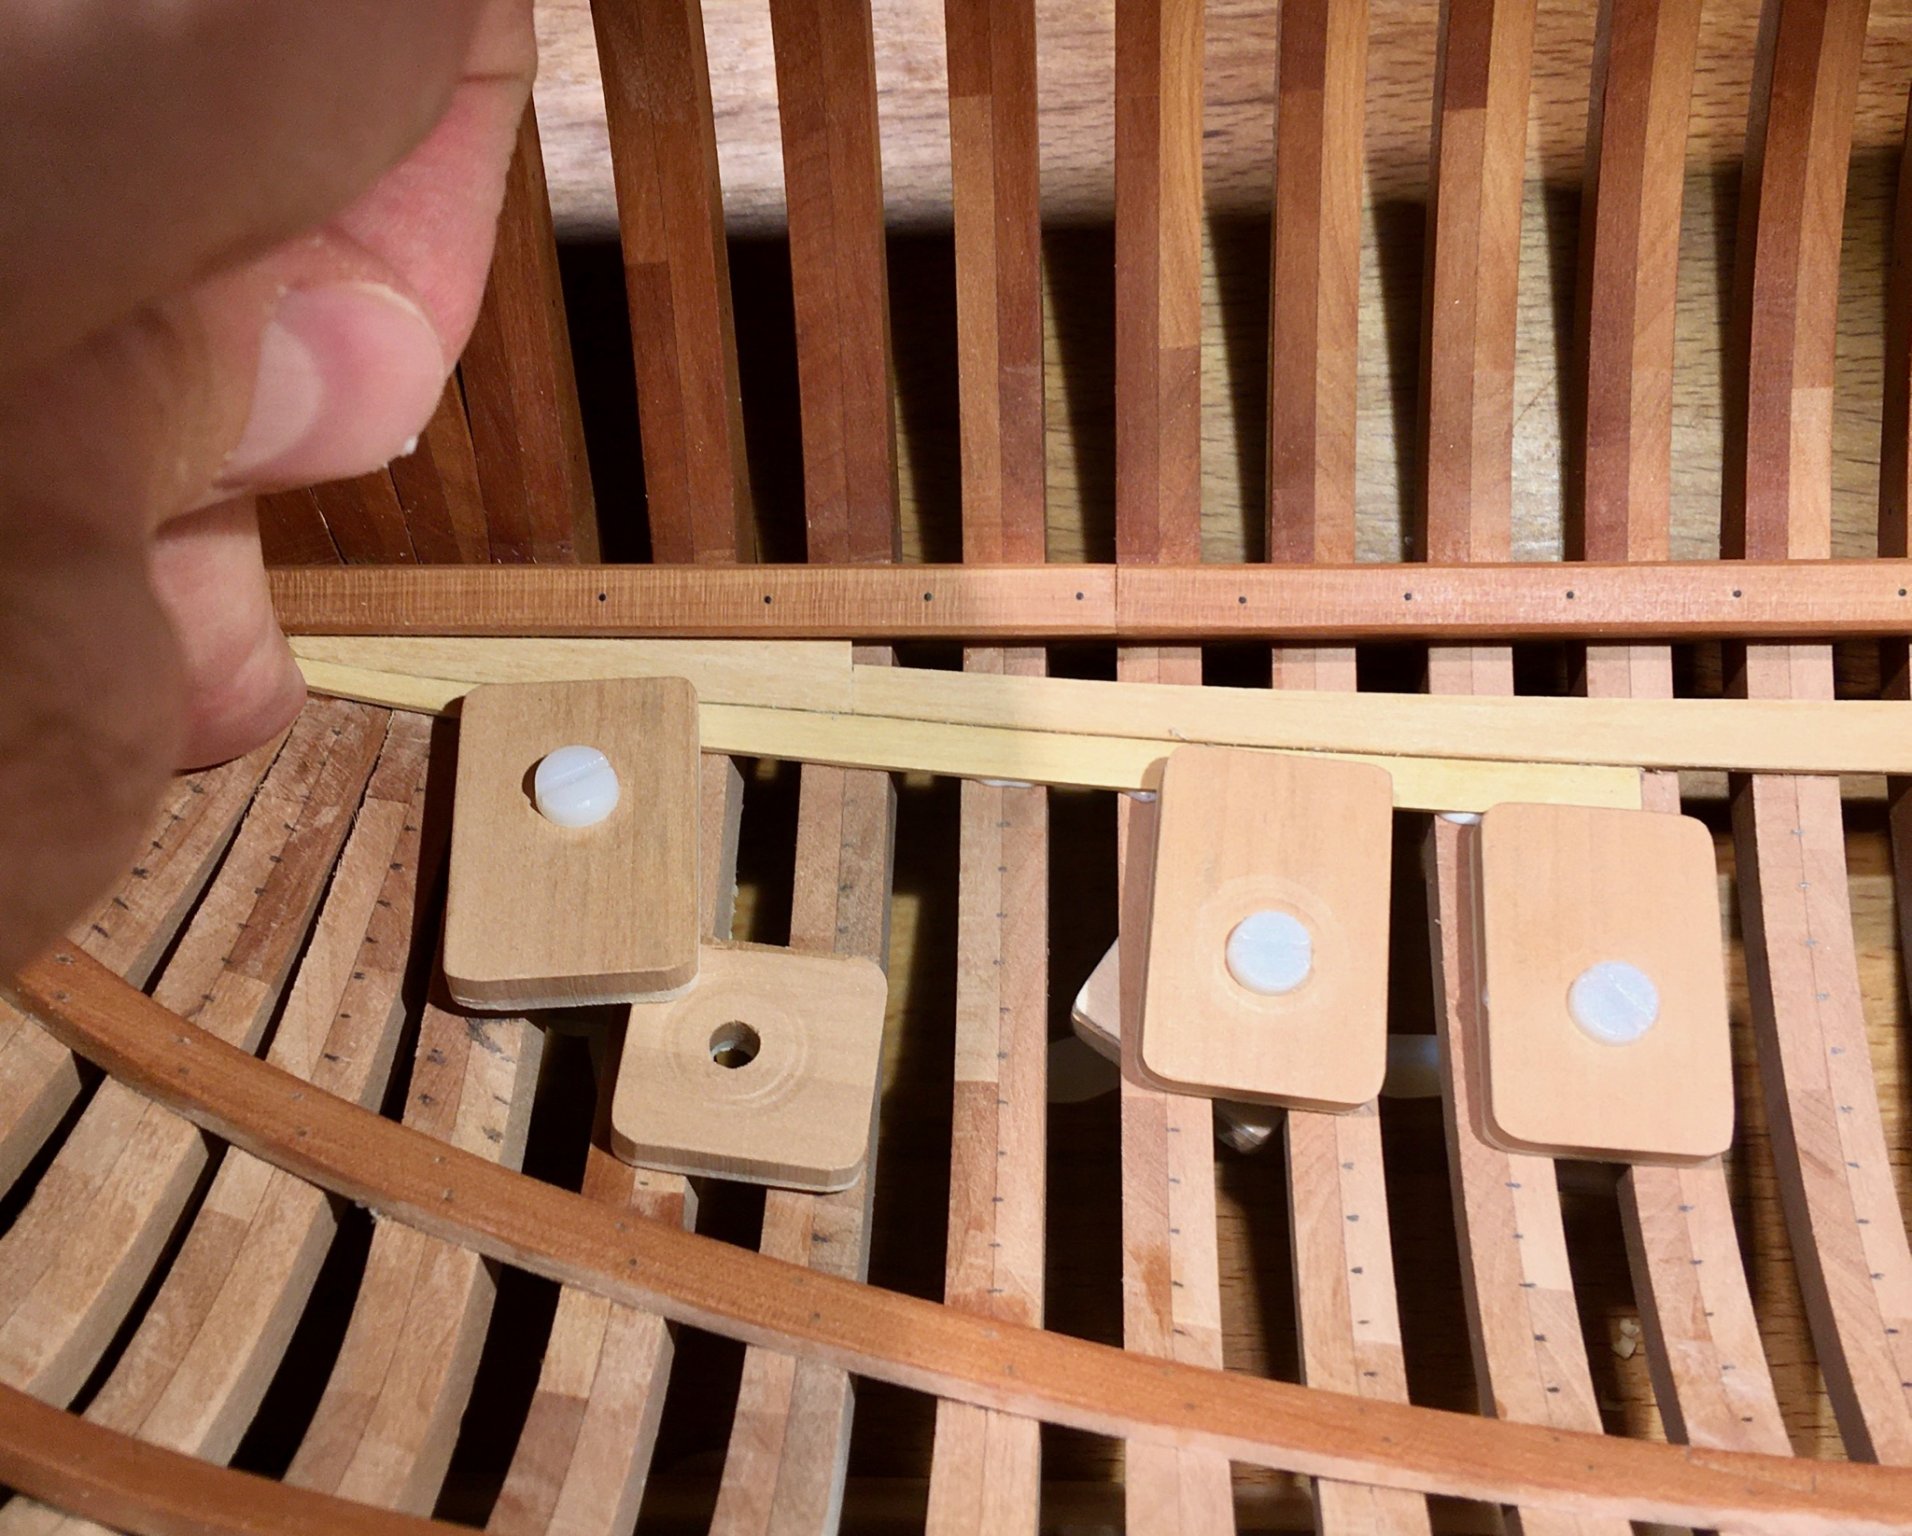
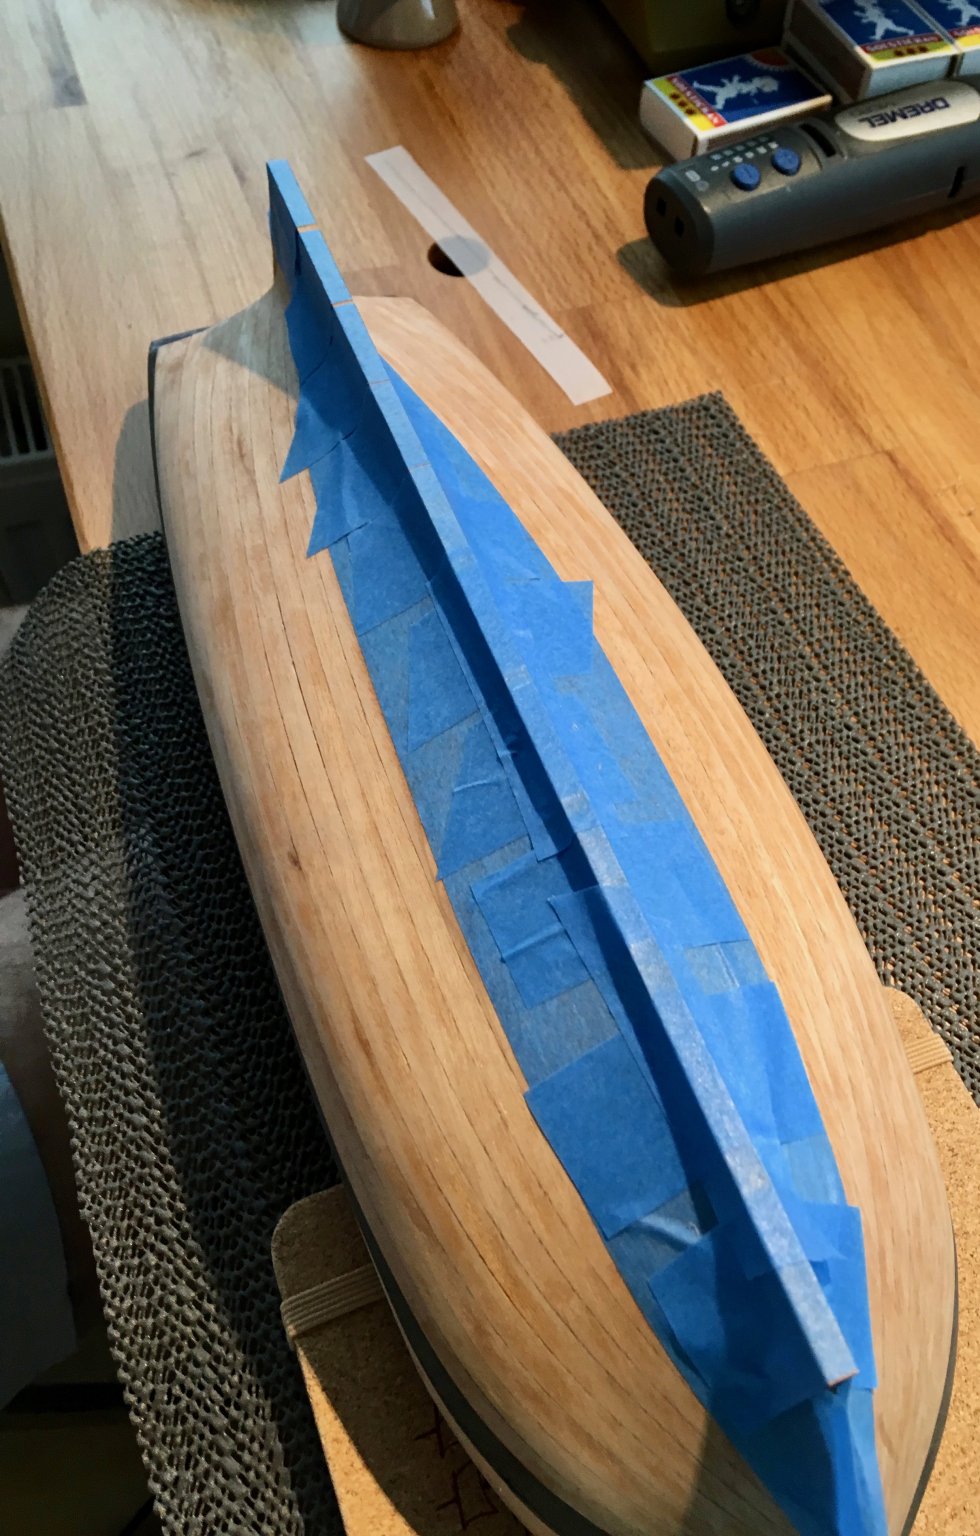
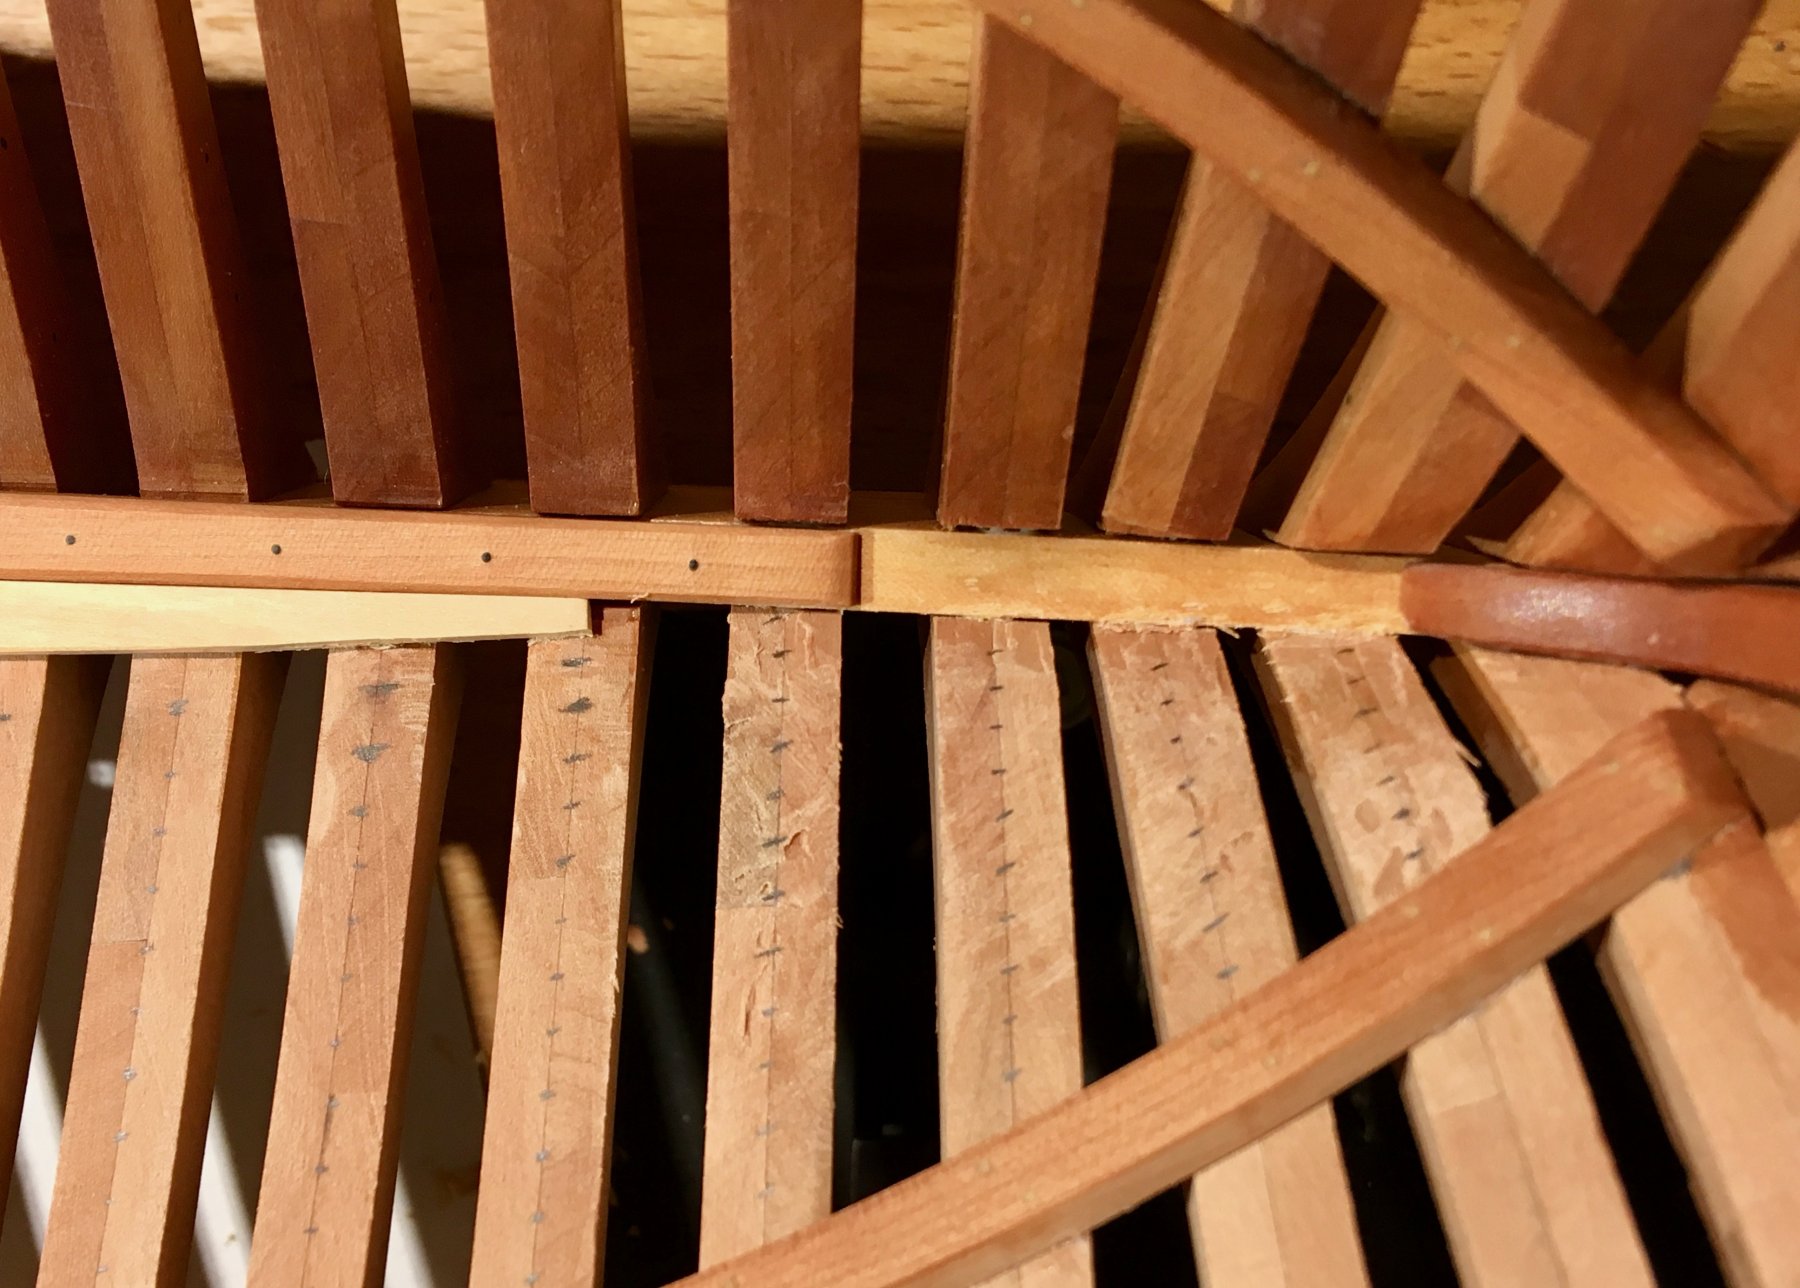
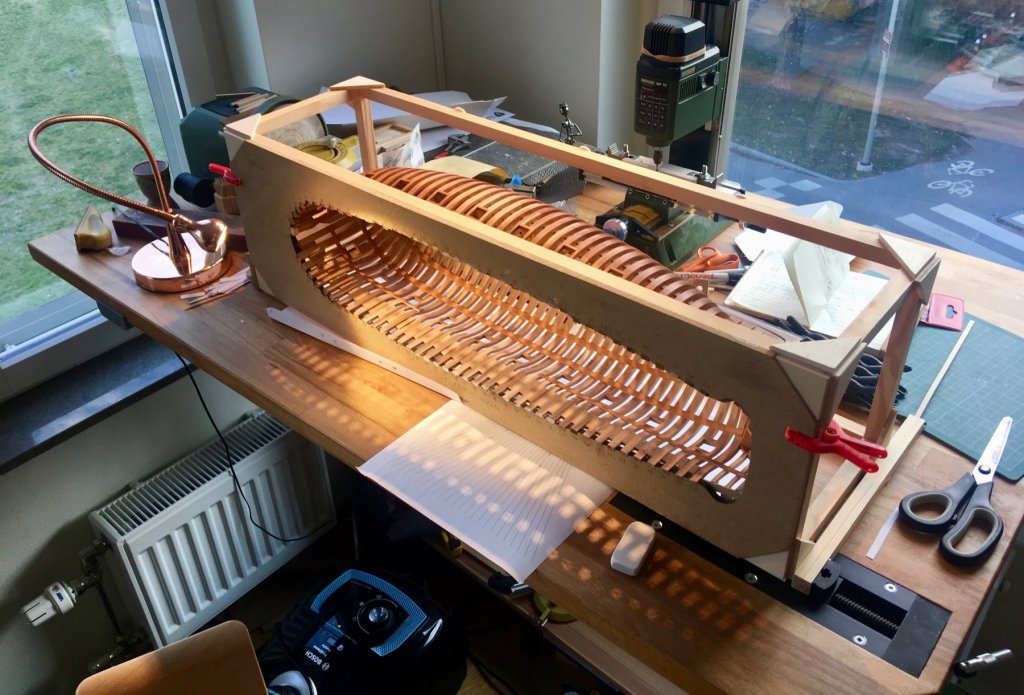
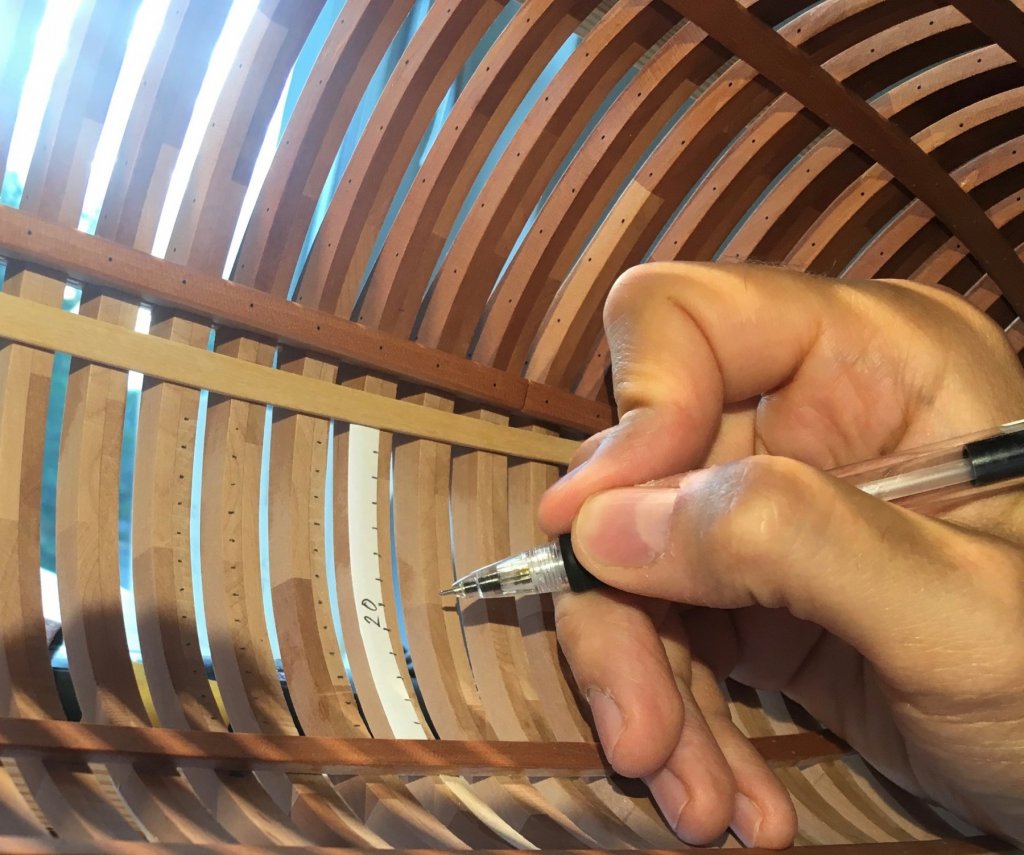
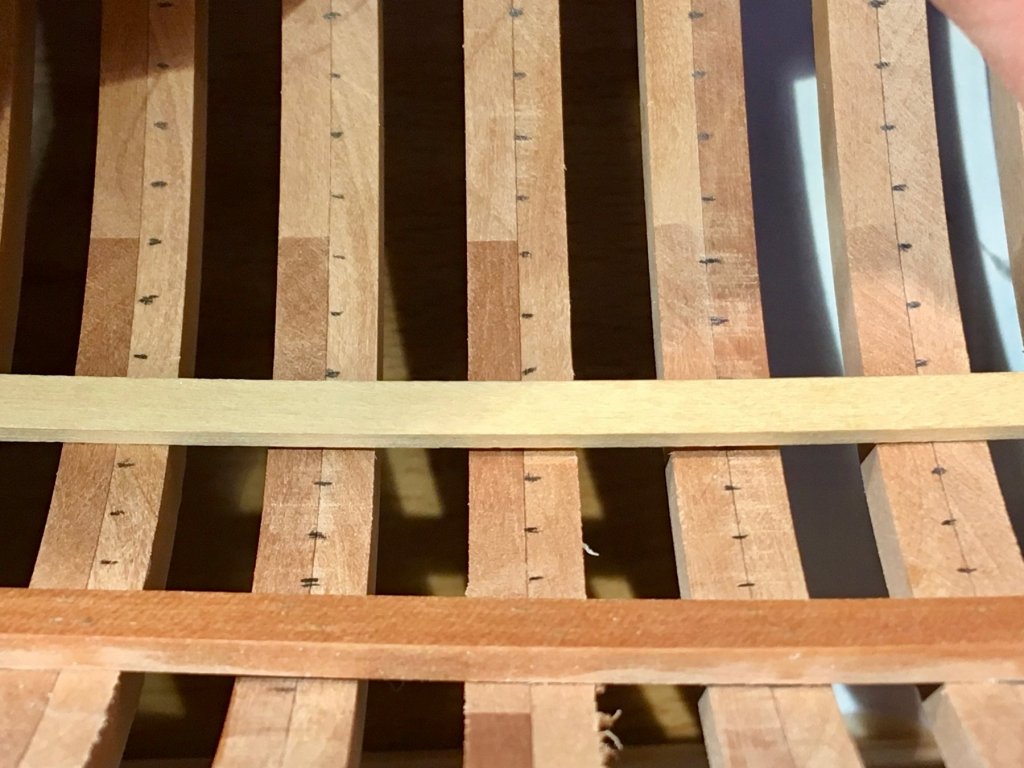
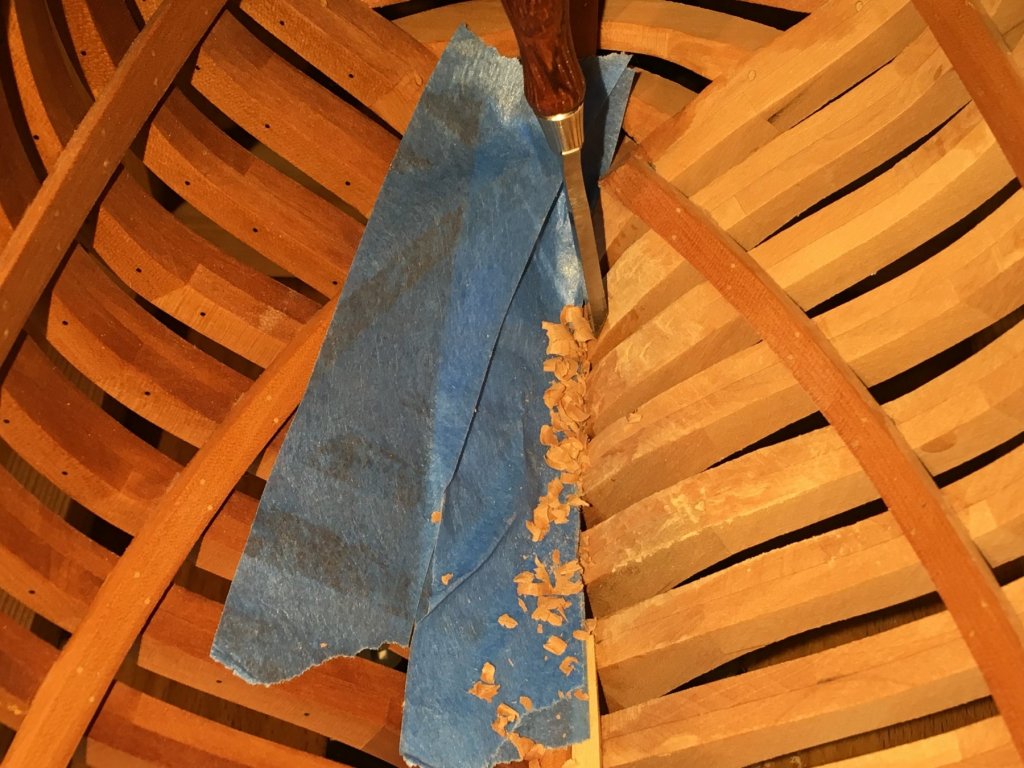
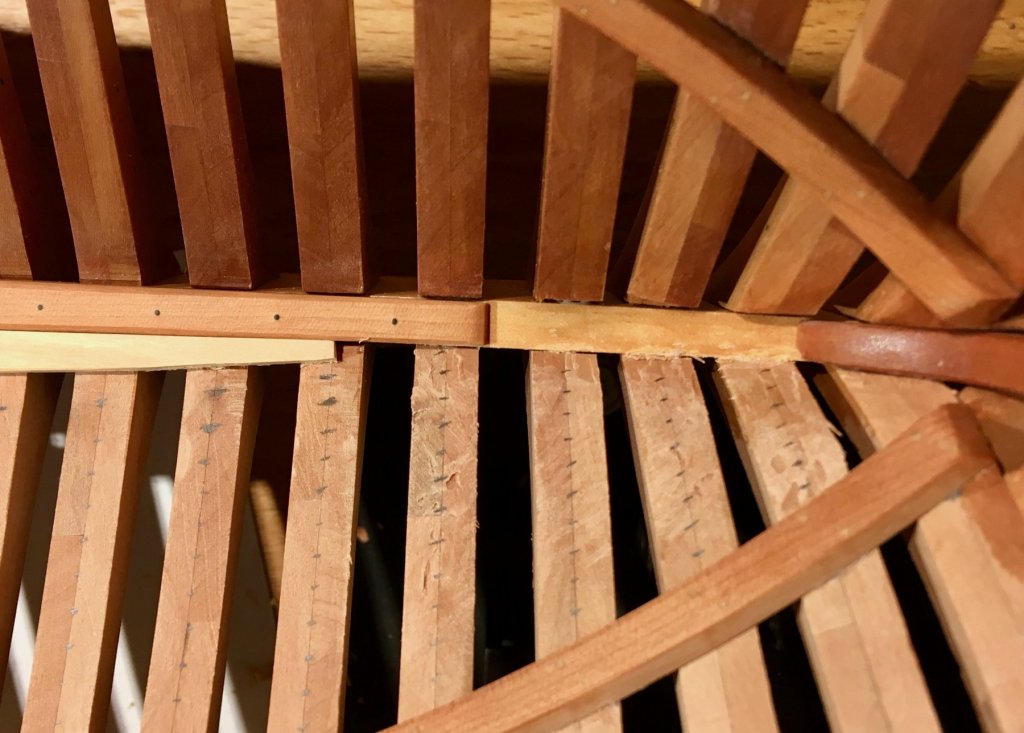
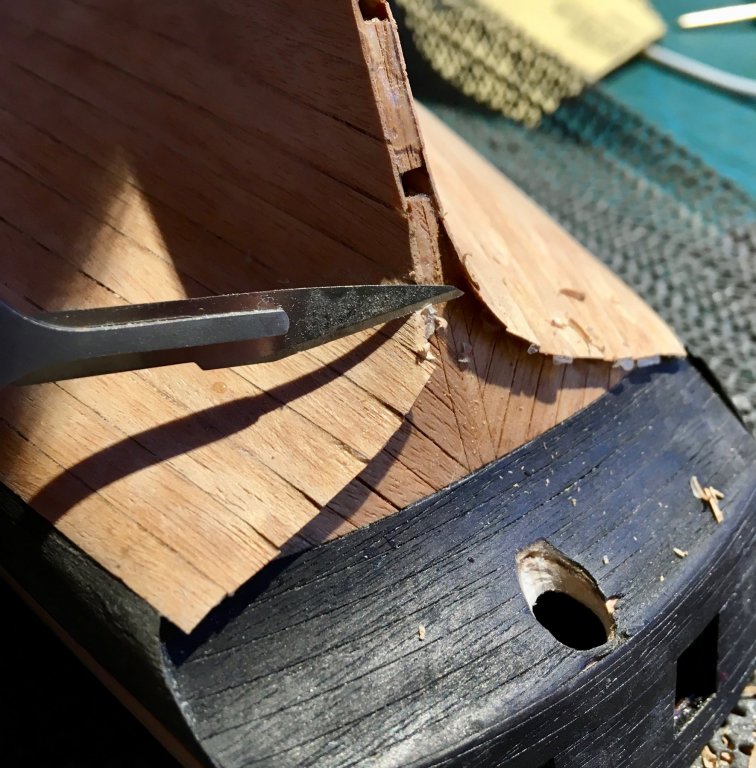
Before installing any more planks, started drawing the reference lines using tick strips. I should have done that before installing the limber strake, but I really wanted to cut some wood to resume modelling.. I am still happy with my flexible jig, that allows working with model in any direction. Very handy for such jobs, allows resting the hand instead of using it suspended. Now it's time to face some sloppiness that I made when fairing the hull. The exposed side got a lot of love, while the other side had a lot of areas that are not properly faired. "Not a big deal, I will plank this anyway", said stupid me a few years ago... Some areas are easy to fix (just adding a thin strip to bridge the gap): But some are bad, and are located in tricky areas. So I spent a few hours with tiny chisels and riffler files to level cant frames. Luckily no need for a nice finish, since planks will hide all the dents. But it is a very delicate task to avoid scratching everything around. Some masking tape and care is necessary. Note to self, and hopefully somebody will avoid the same mistake: spend extra time fairing everything, especially tight areas. Use a strip of wood to check the smooth run, your eye will deceive you. Any hour saved on fairing phase means you borrow that time and will spend 5x fairing it in situ. Damaging something while doing it. So now everything is lined up, but the close-ups around the stern are brutal Most of it will get hidden though. I assumed equal plank width when lining up, but of course they will have different thickness. It is good to have guide marks anyway! So now it's time to start planking, and hopefully avoid too many redos. Really worried about sloppy fairing biting me down the road, will see. Will try to counter it with creative sanding. In worst case scenario - will use a full set of carlings & ledges when making the deck, so nobody will see the mistakes


- 969 replies
-
- 17
-
-
- hahn
- oliver cromwell
- (and 1 more)
-
variable height desks
Mike Y replied to bigcreekdad's topic in Modeling tools and Workshop Equipment
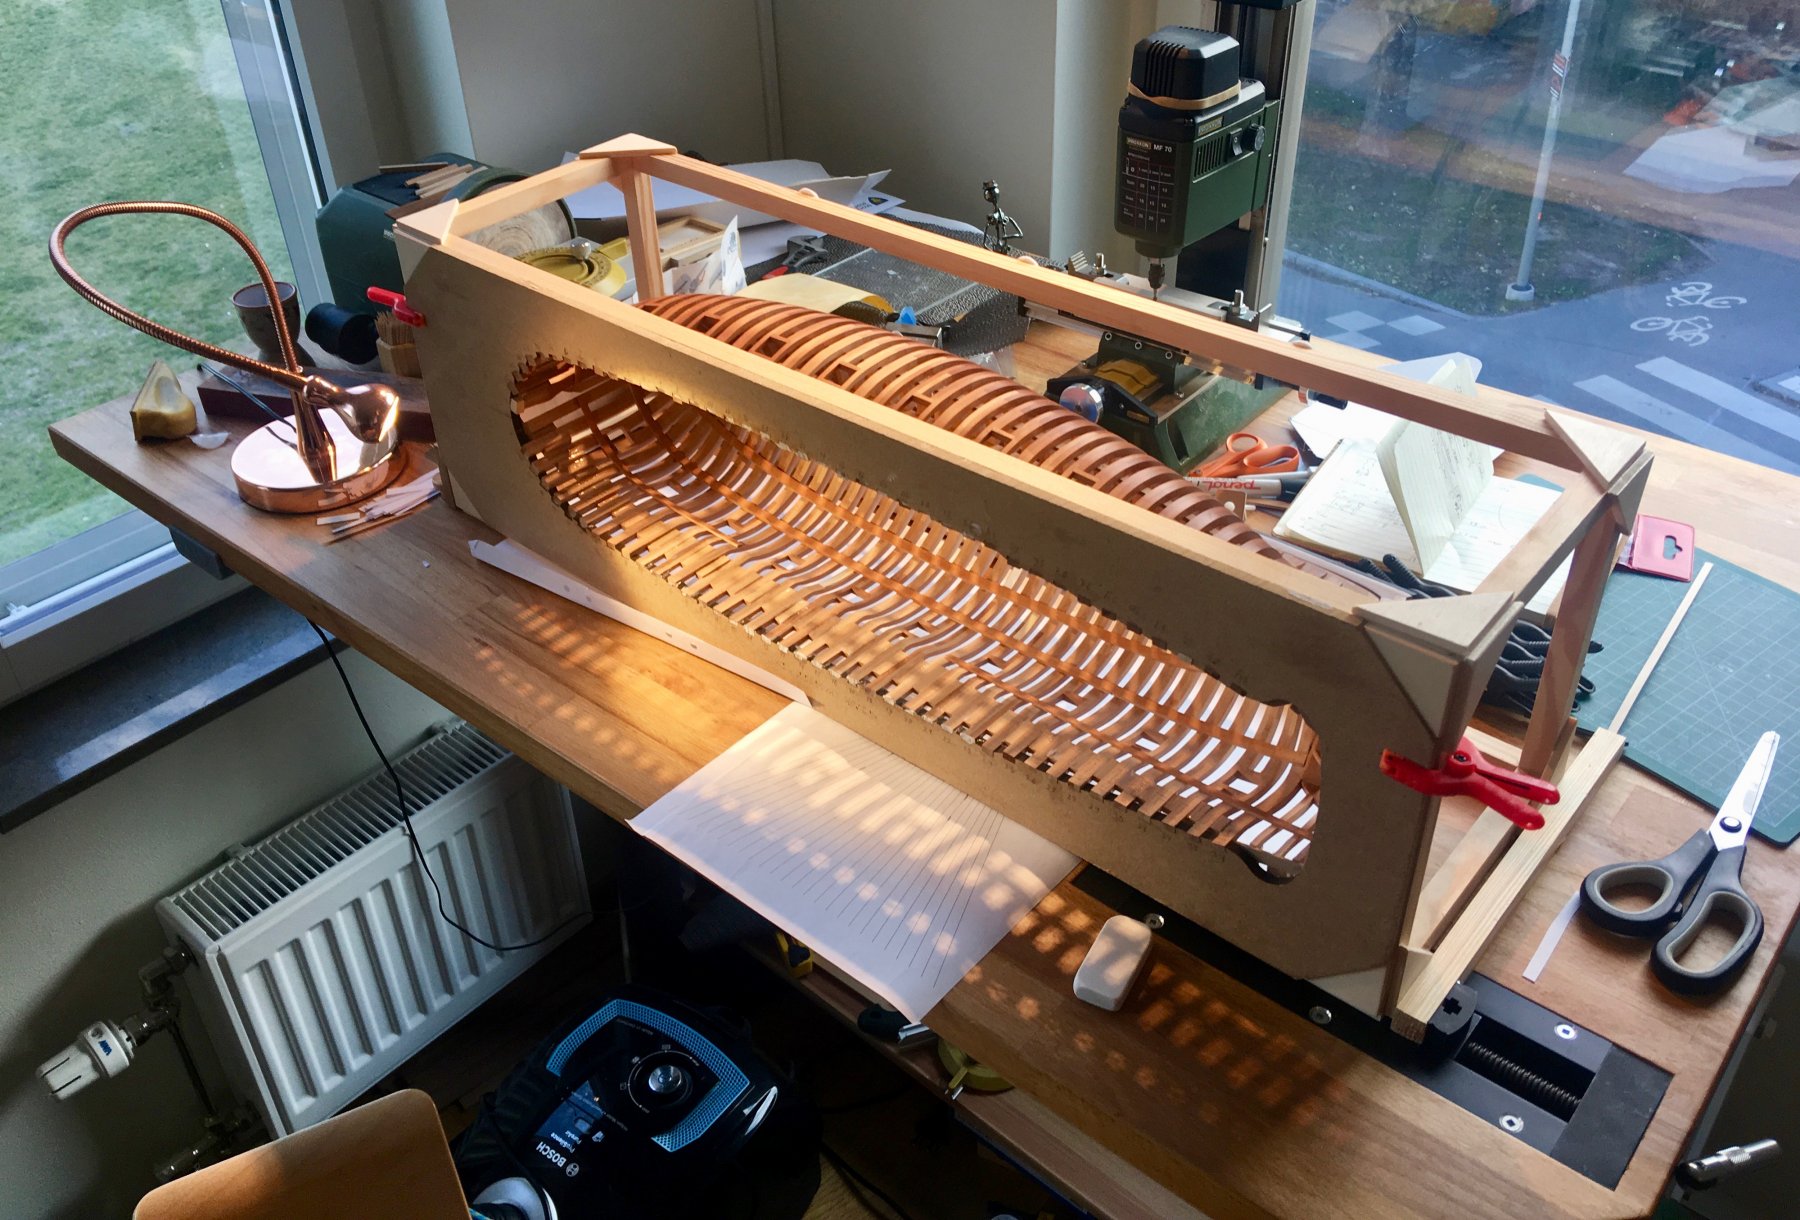
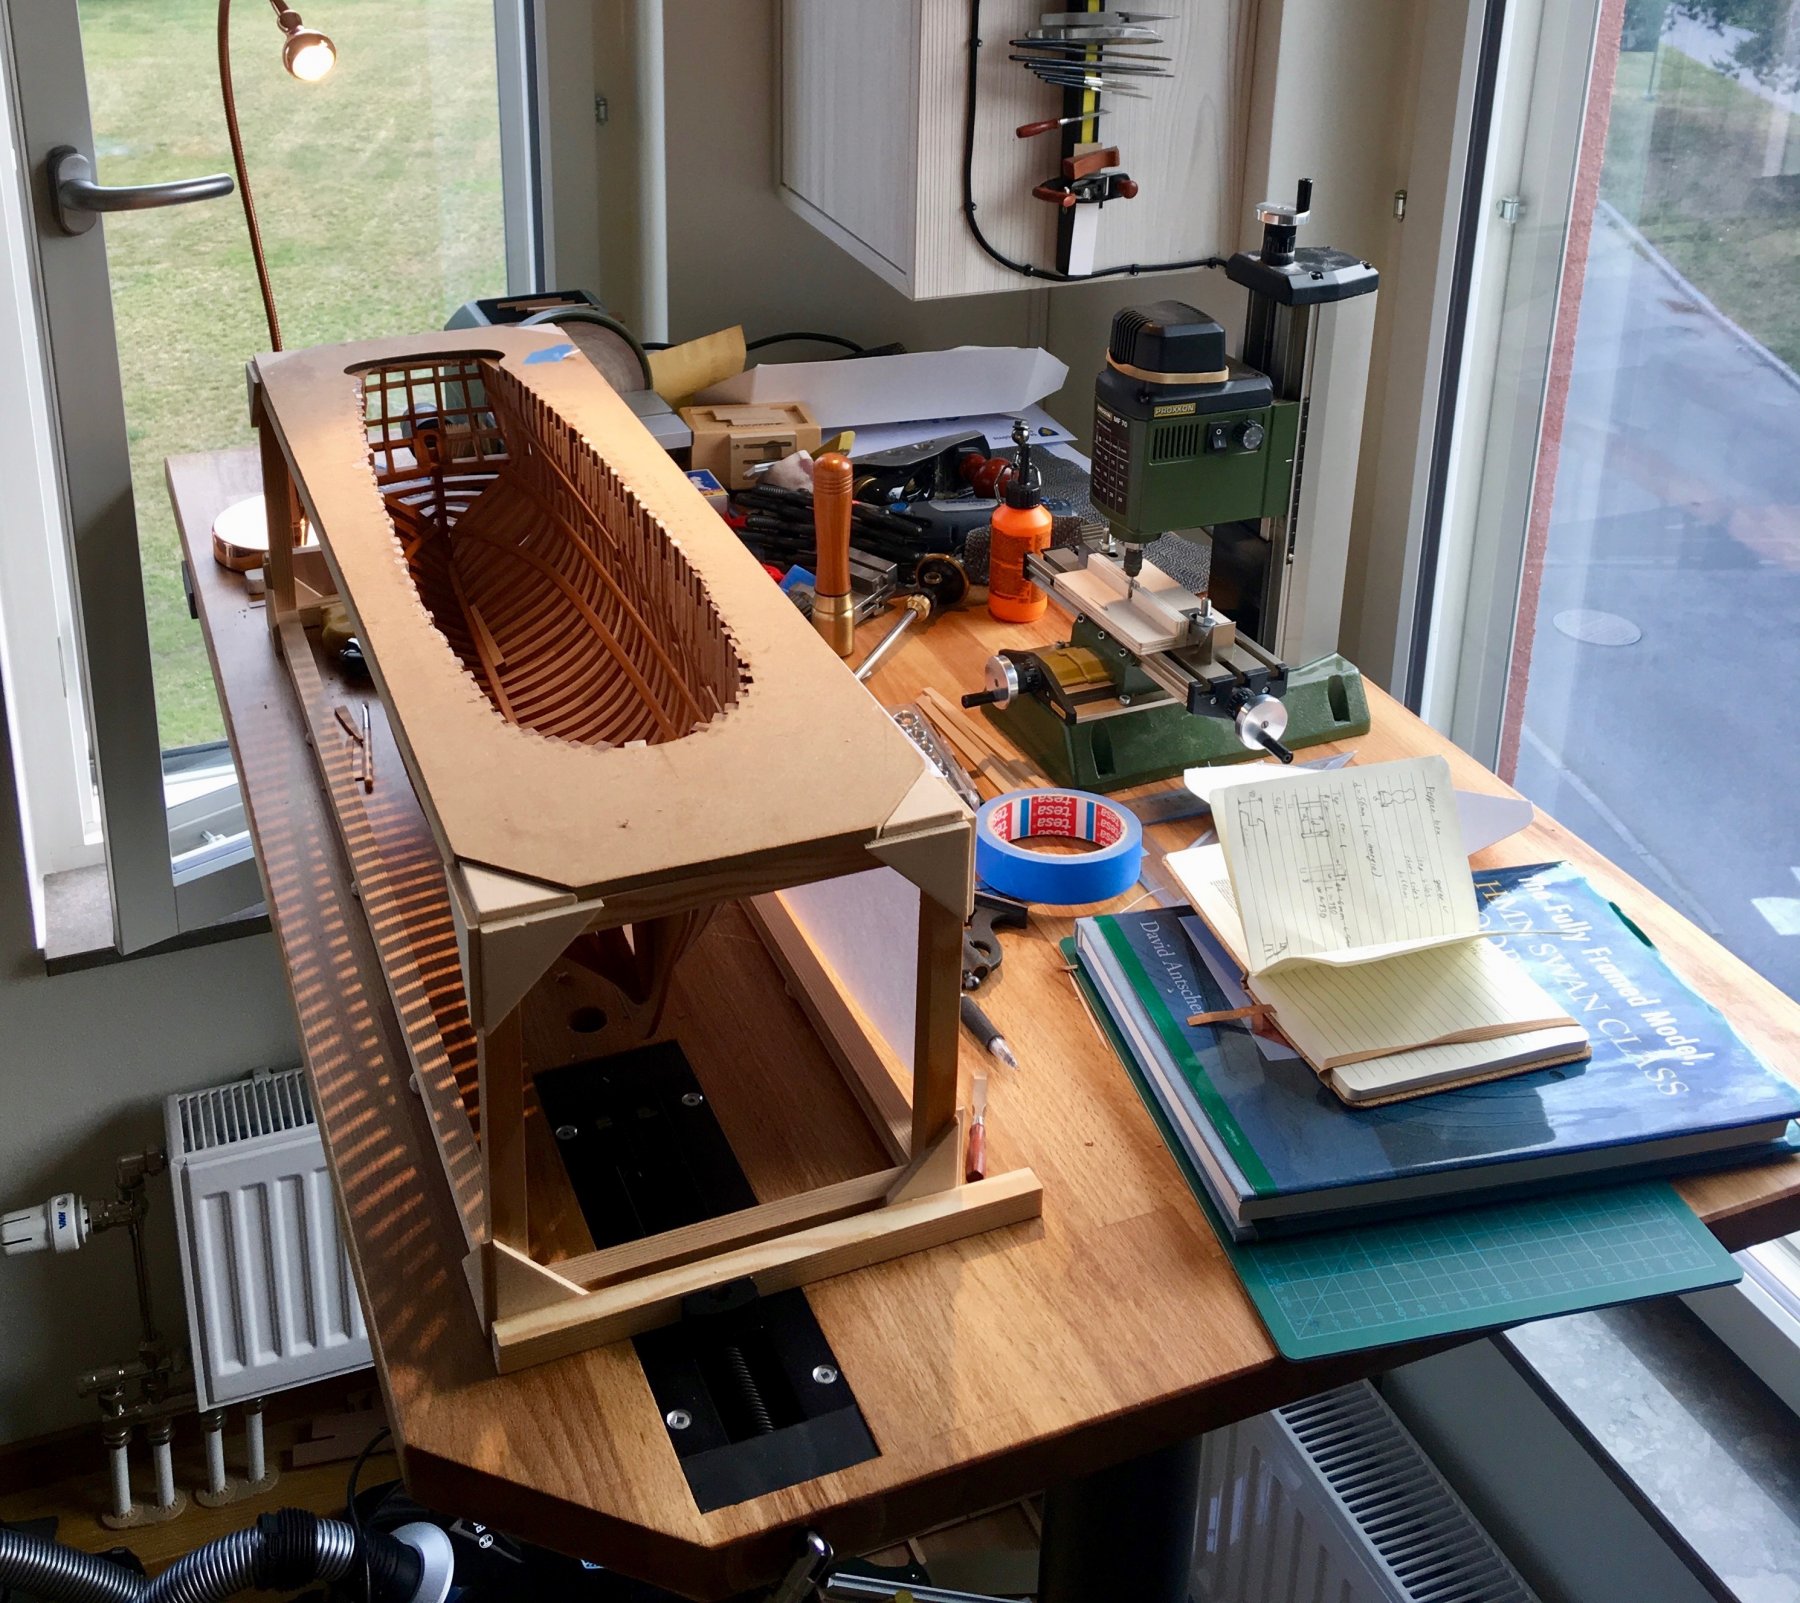
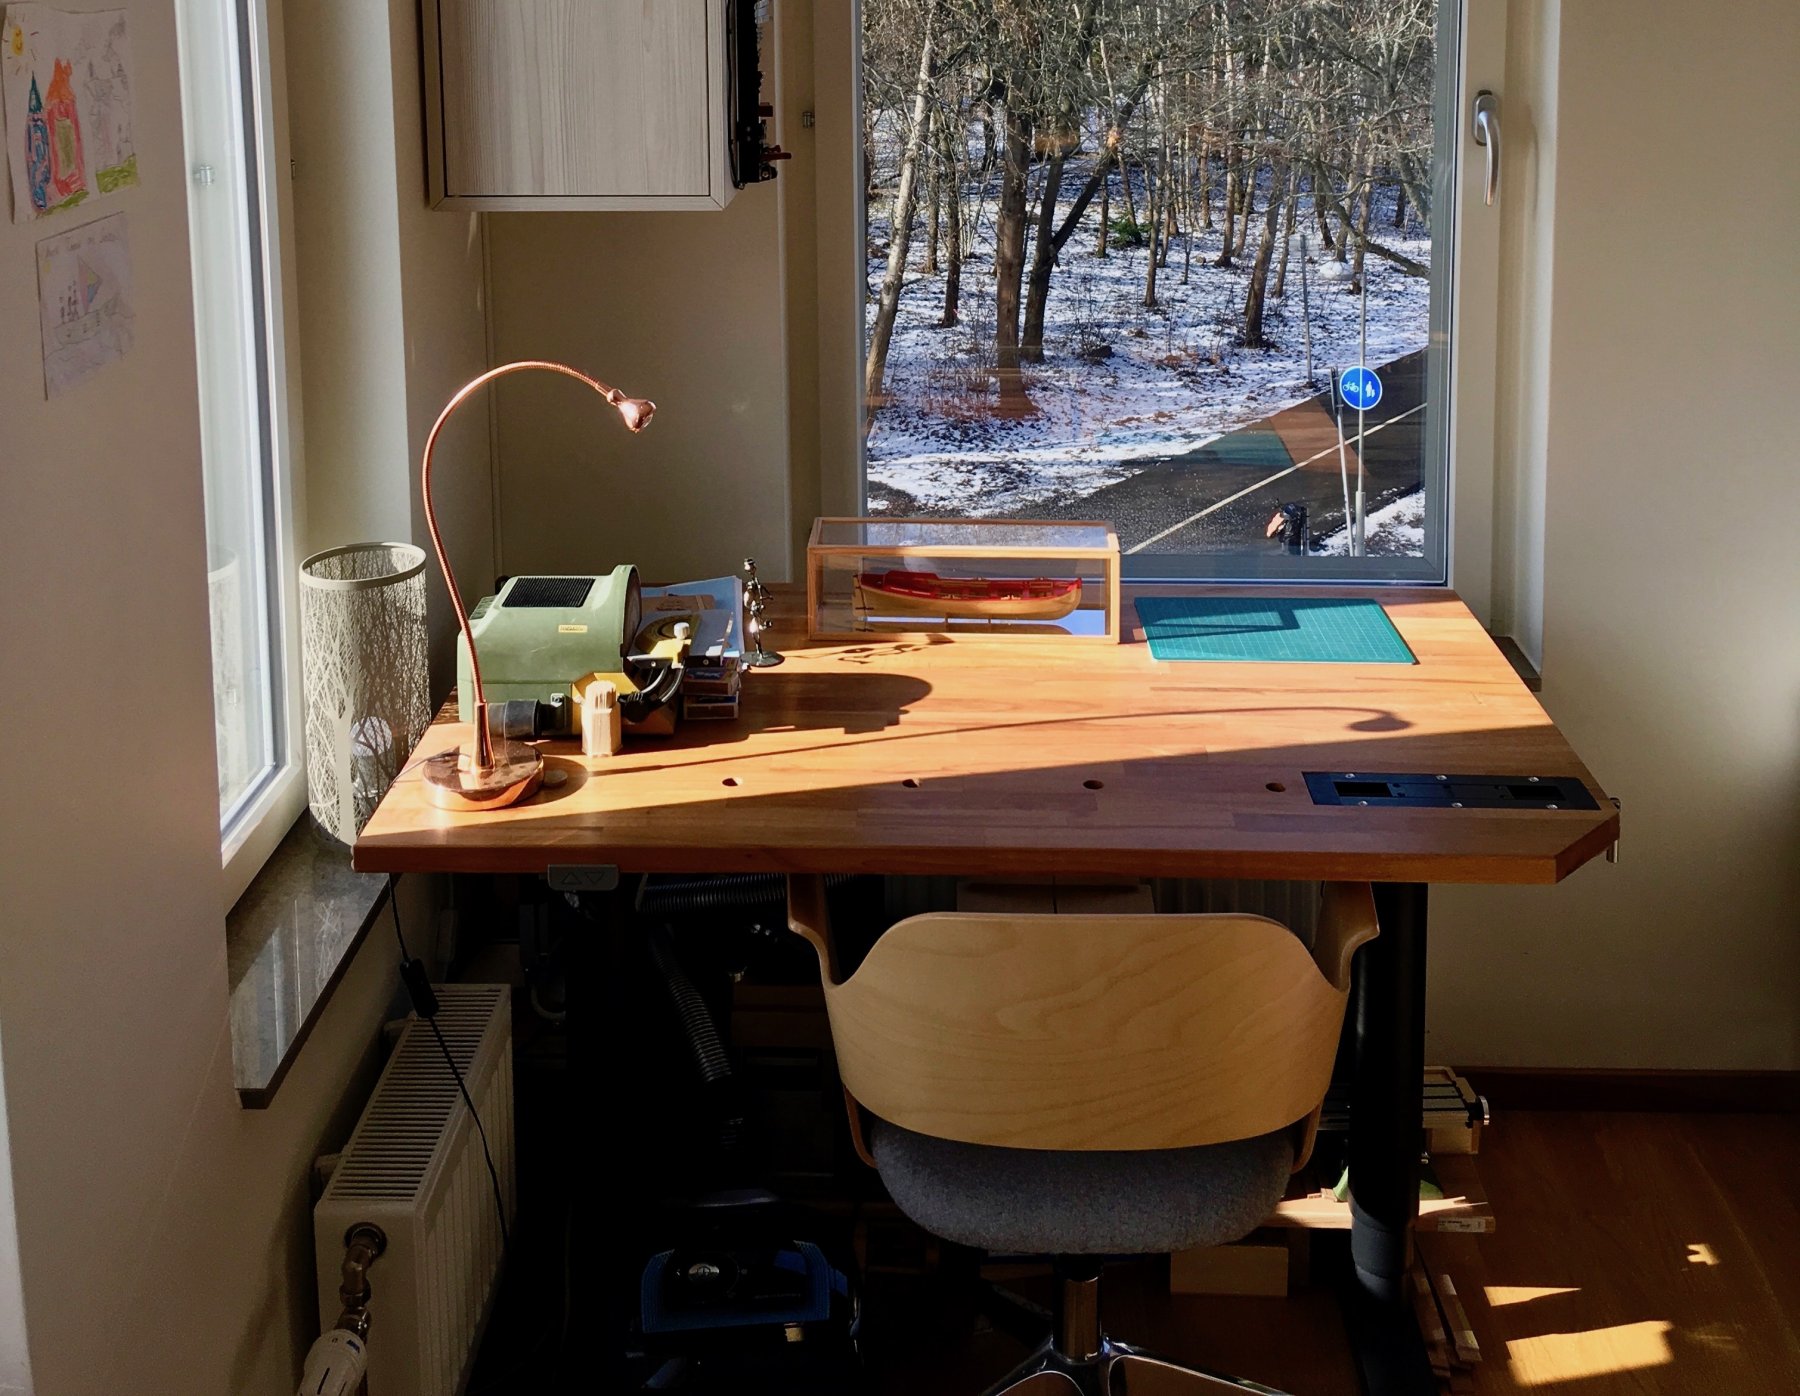
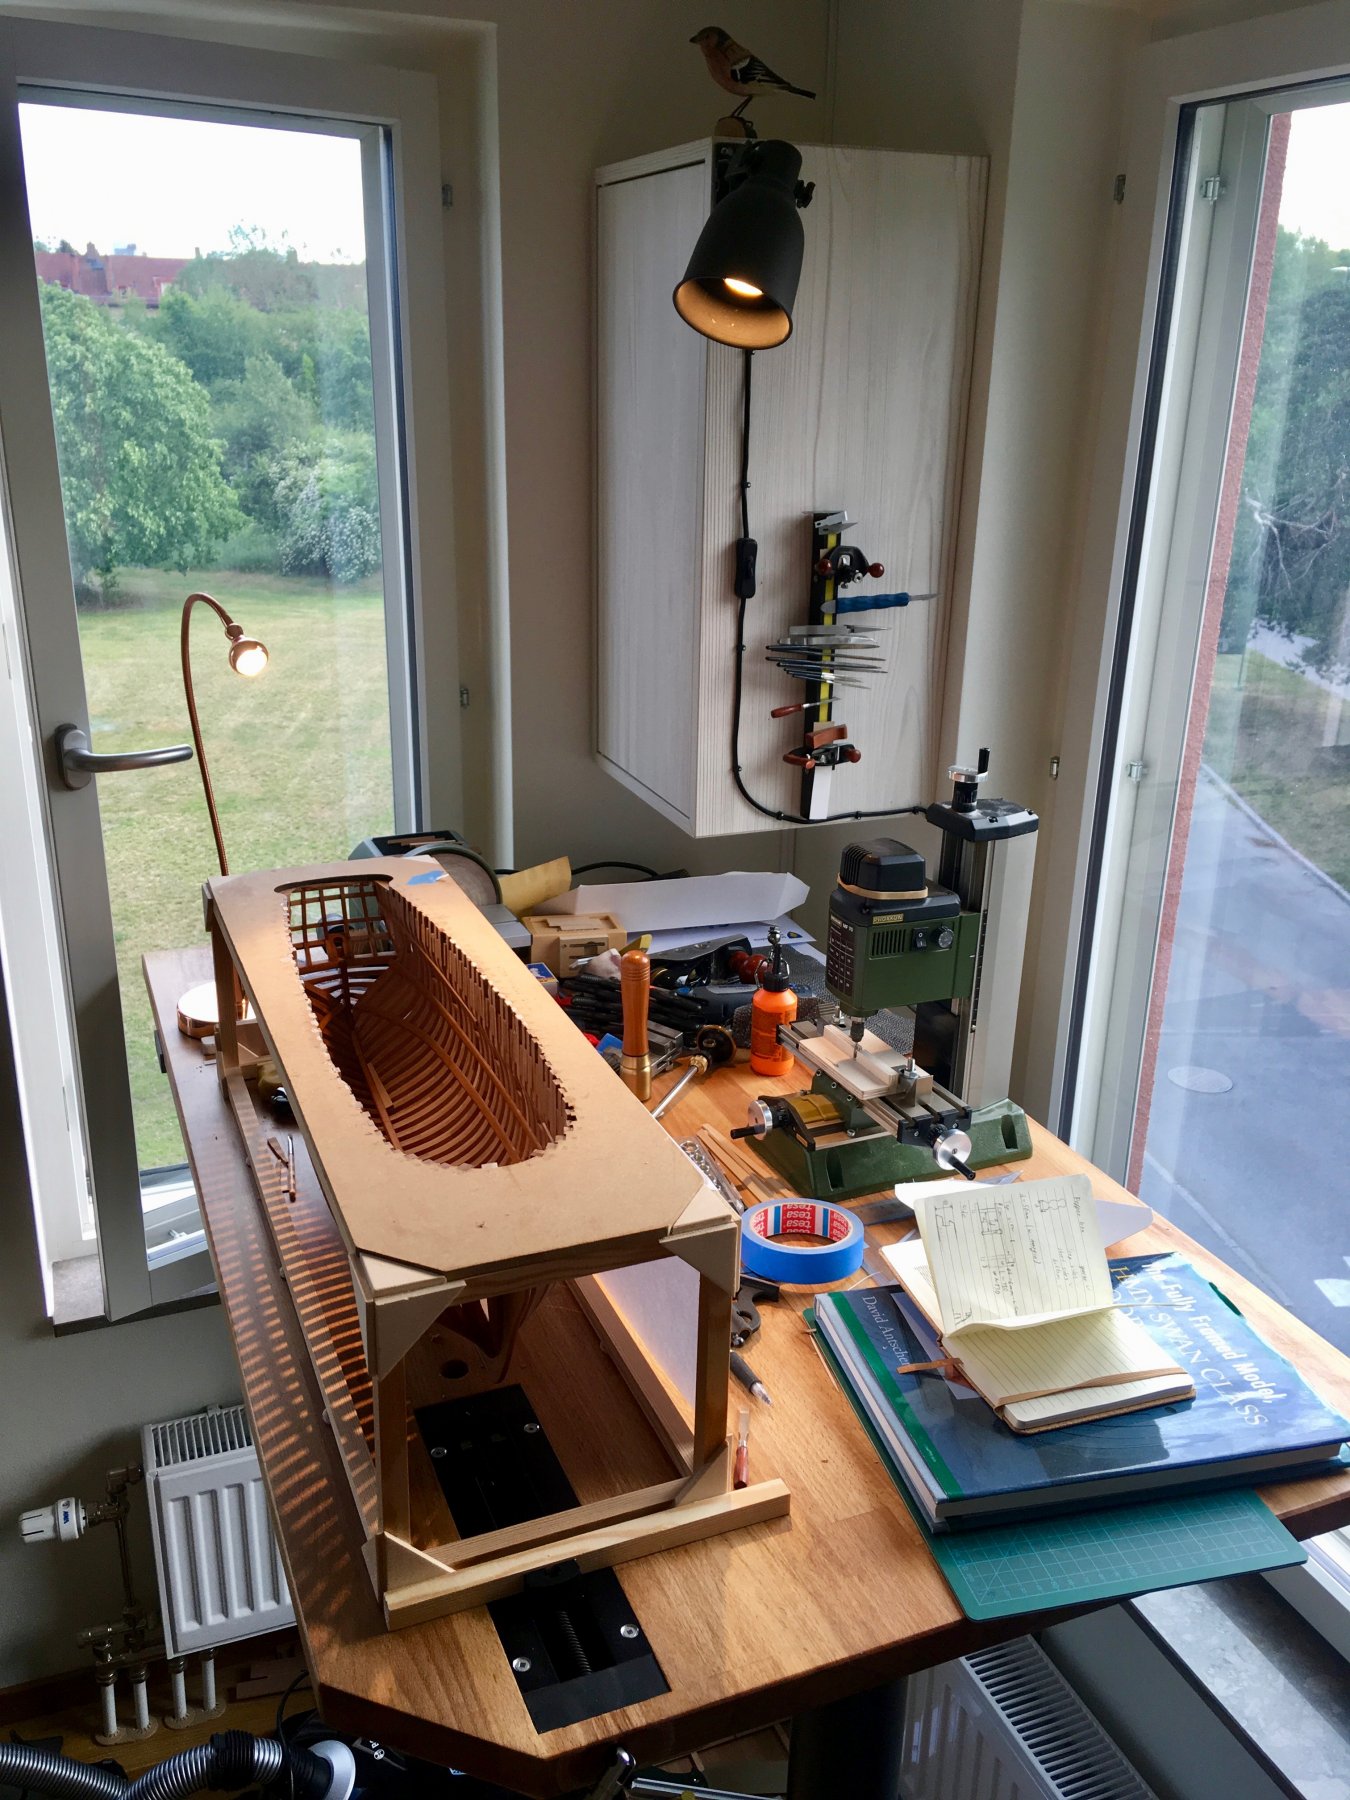
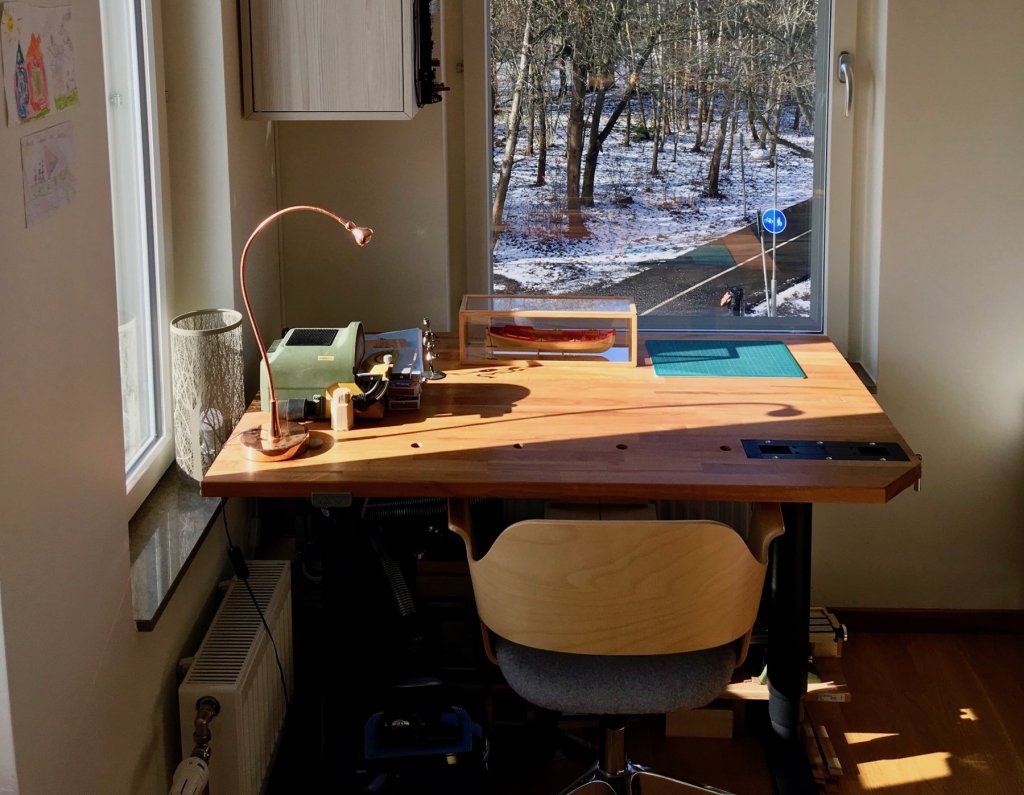
As a user of an adjustable table with the motor, I adjust it all the time... Different operations require different distance, and instead of bending to the table - I can just adjust the table a bit. Also working while standing is more convenient sometimes. I have the IKEA electric table, model name BEKANT. Works great, with very little wobble (heavy table top helps as well). The least wobbly of all the desks I tried. Note that they sell it with or without table top, so you can buy the base itself, and mount some thicker table top, more suitable for modelling other than office work. IKEA have some hardwood tops that are pretty cheap as well. But I would not dare using a hammer / mullet on that table, since that might damage the mechanisms inside the telescopic legs. The hand-cranked desk they have (model name SKARSTA) is built much cheaper and lighter, it is less stable and have a considerable wobble. I see that they have released a new line - IDÅSEN. A bit more expensive, only one size, different construction. Haven't tried it yet, just spotted on the website. I have it for probably 5 years. Once some electrics broke, it simply stopped working. IKEA mailed me a few replacement parts and then delivered a new table, no questions asked.. Not sure if they have the same level of service in US though. After that replacement, it worked with no issues. I guess some early versions had their faults (I bought it the same year it was released), but hope they fixed them now. Here is the final setup I ended up with. The combination of an inset vise + pegs allows me to quickly fix the model and work on it without holding. Note that the table is lifted to some sort of mid position here. Making fine continuous adjustments is very neat, I would not recommend to have a table that you can only adjust rarely to some fixed positions.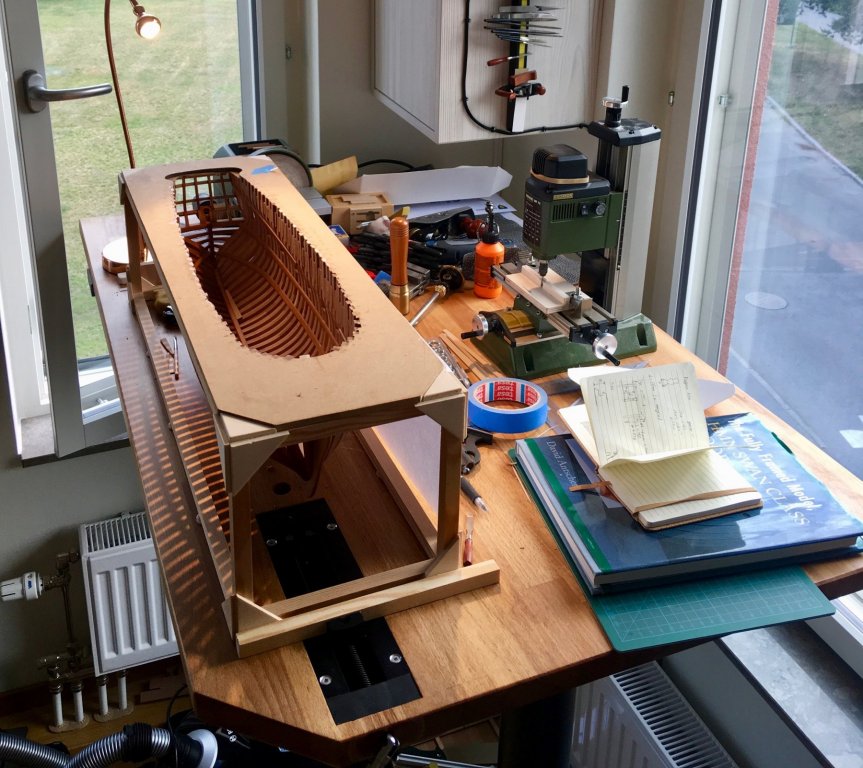
-
Here is the video from the wreck, it is really surprisingly intact:
-
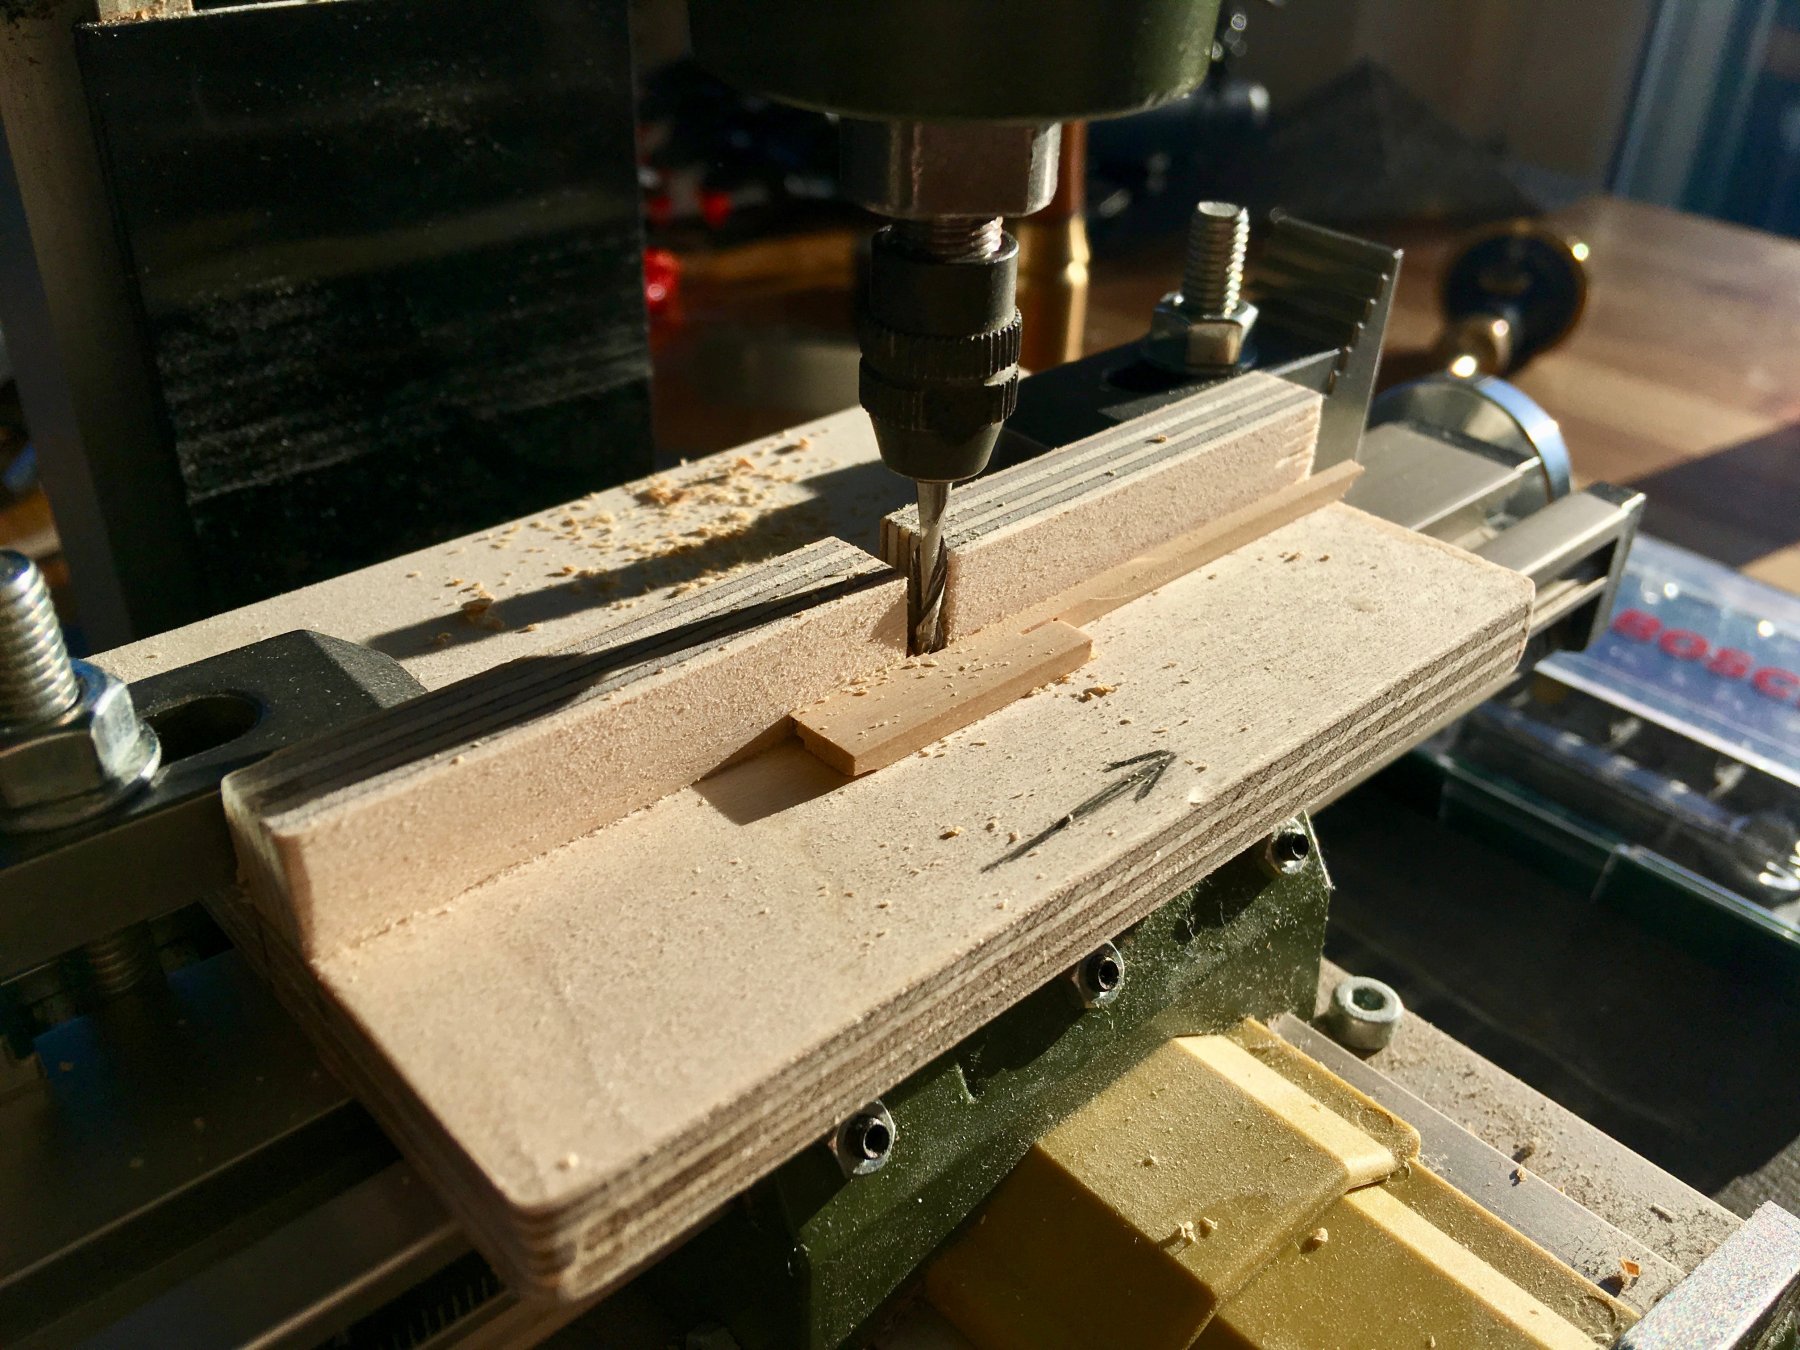
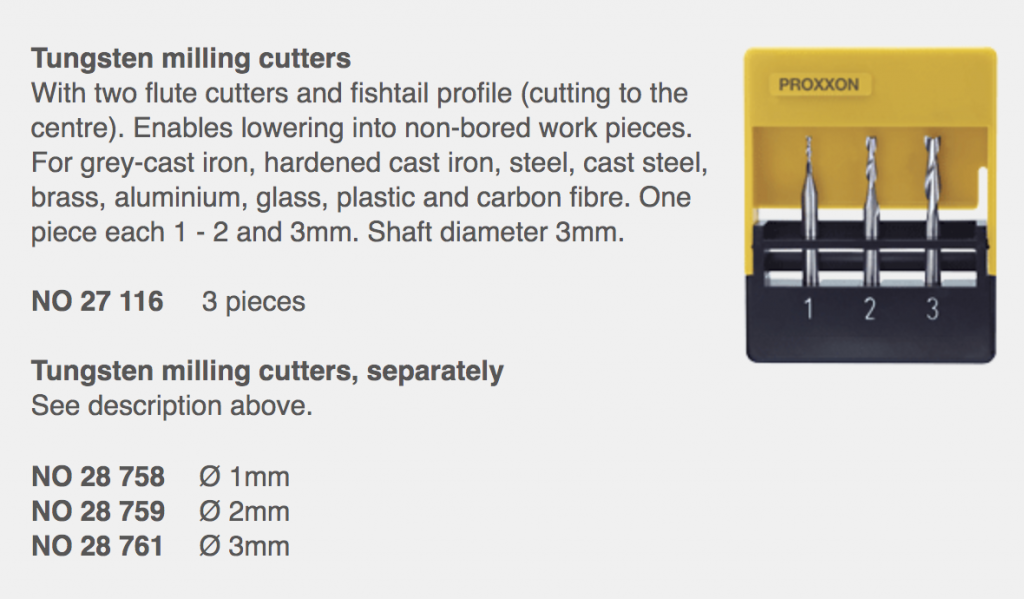
I am pretty much a milling newbie, but I had a very good experience with Proxxon cutters that they recommend for their MF70 mill. Used them primarily for hardwoods, sometimes plastics or brass, from small precision joints to cutting long grooves. They leave a nice finish, both on the side and in the bottom, really cutting the wood instead of scratching it like some other types of cutters. All other cutters that I have are waaay worse (dremel, etc). Of course, I guess some industrial grade cutters would be better, but at a price around 20 dollars for a set of 3 the proxxon ones are a good start. Now I only use these (except when I need some special shapes), they are still sharp as new, and I haven't broke a single bit so far. Very noob friendly!
-
Small correction: Arkowood changed the website to https://www.arkowood-lossburg.de/ To moderators: could you please edit the first post to adjust the URL? Thanks!
-
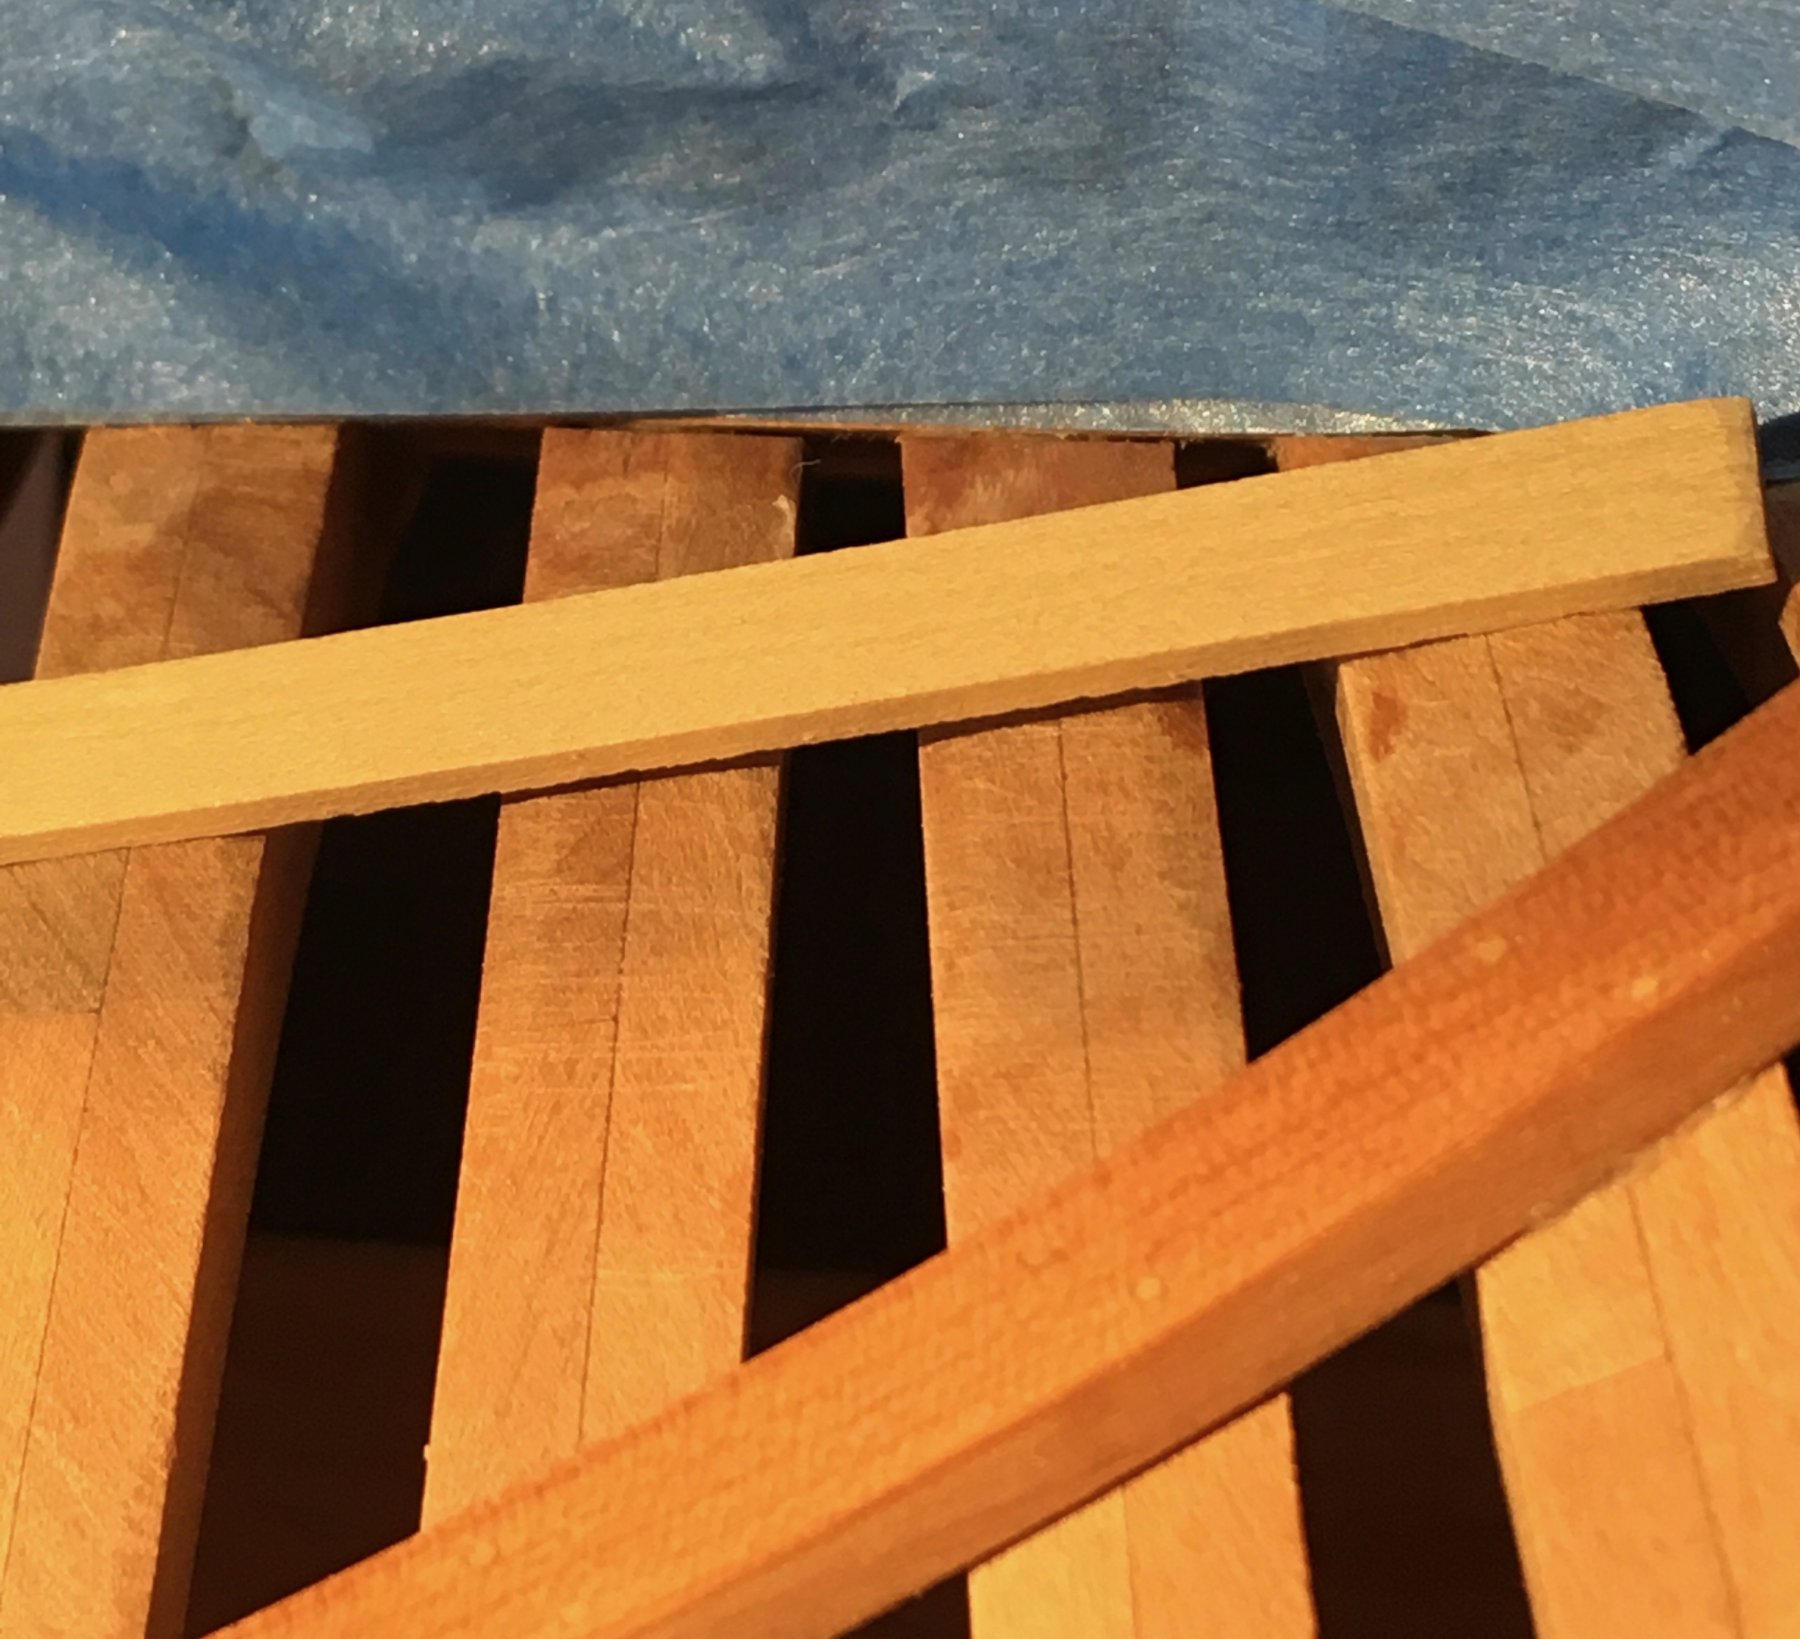
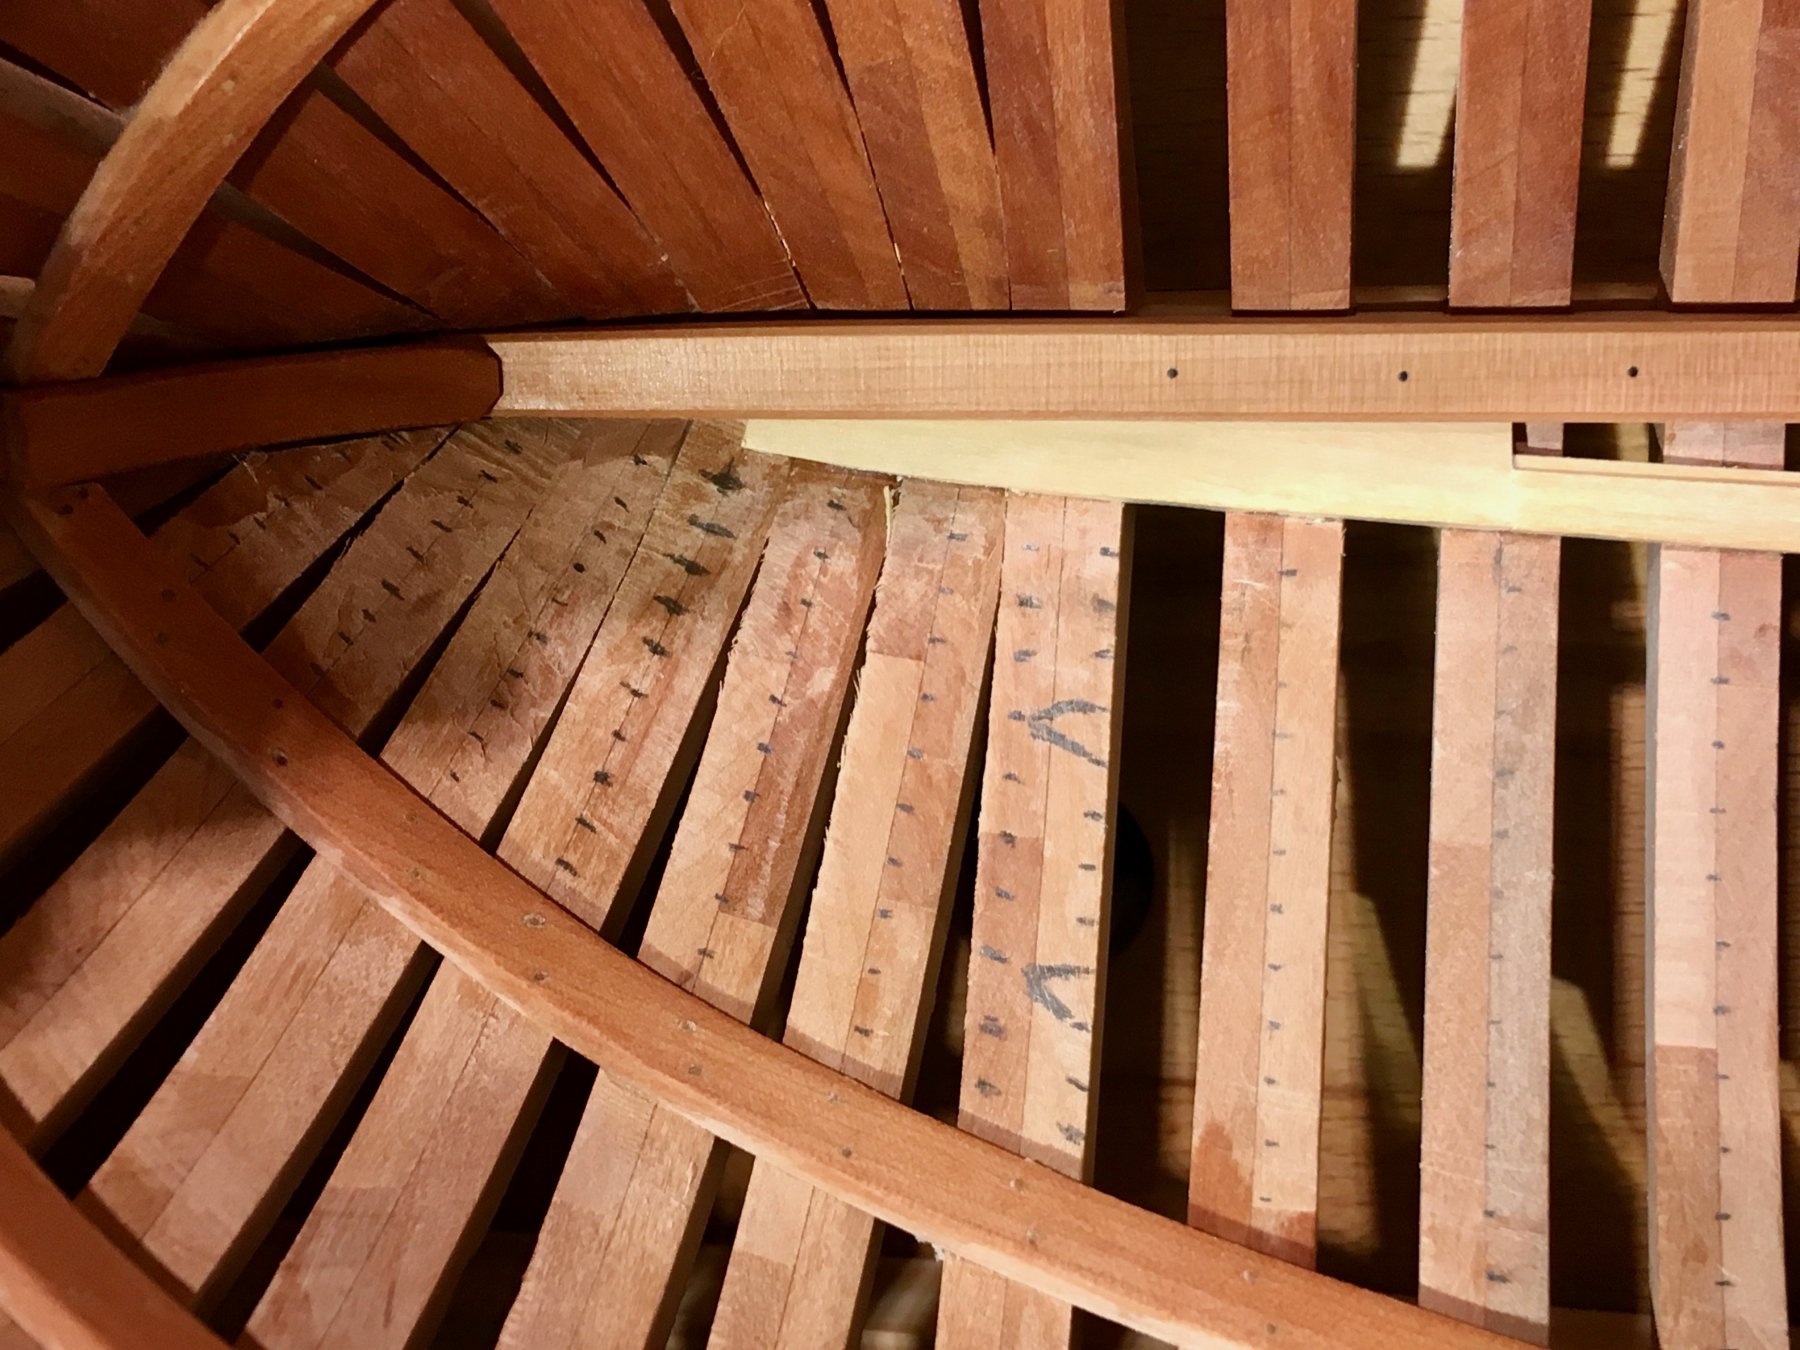
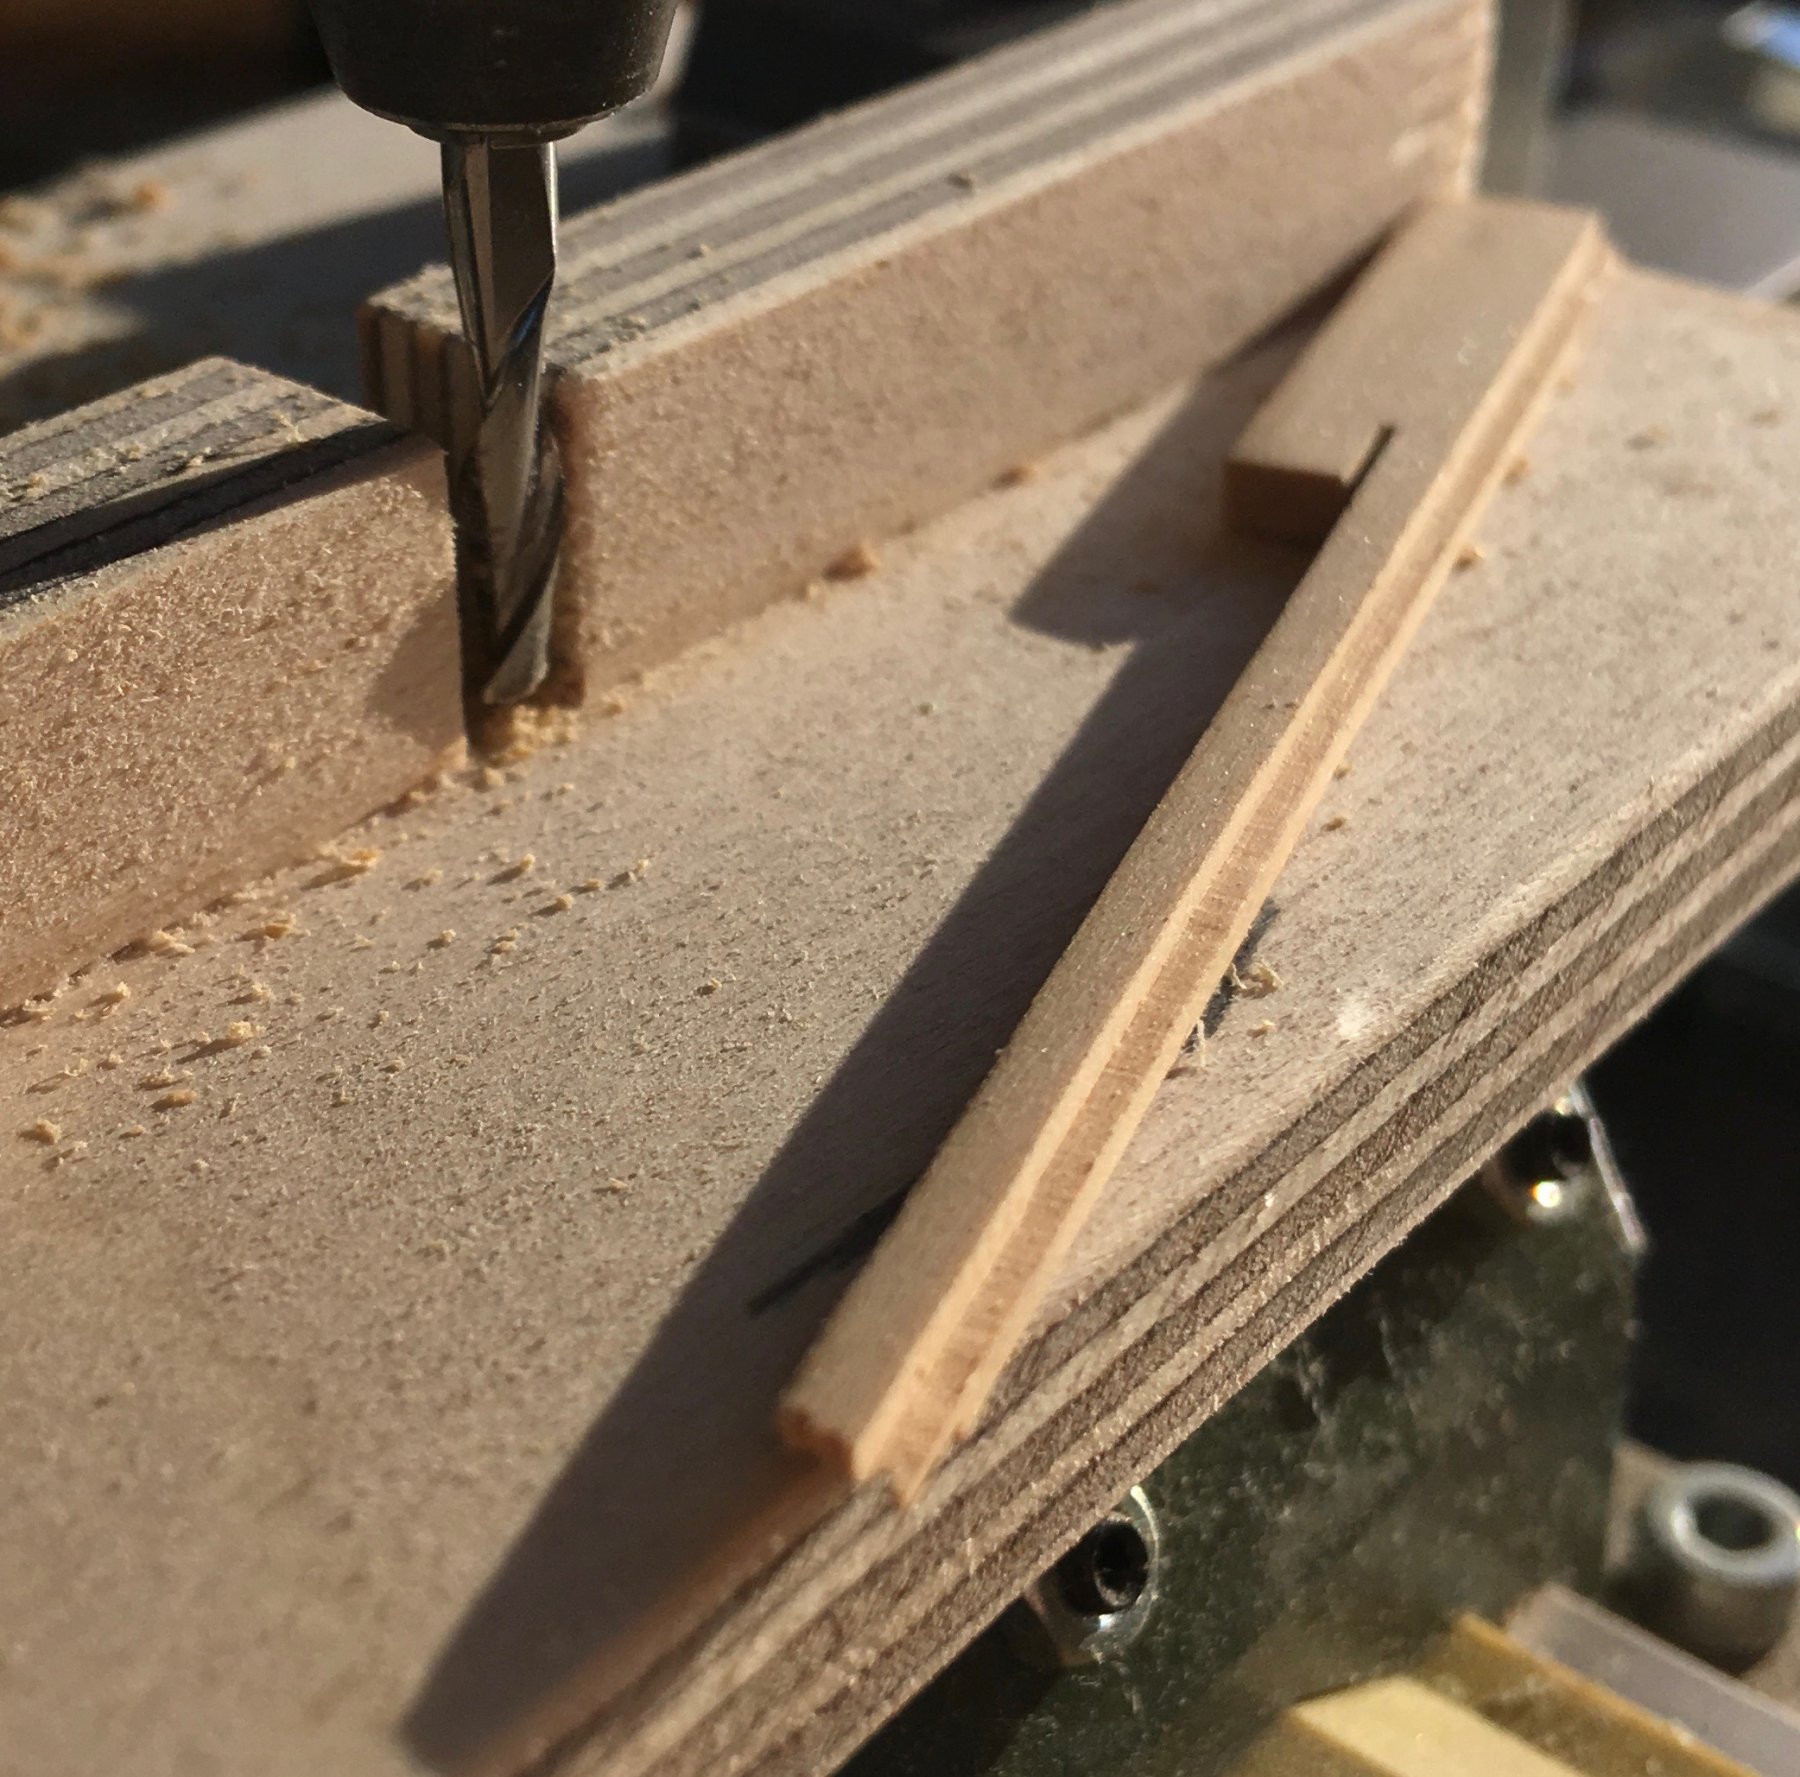
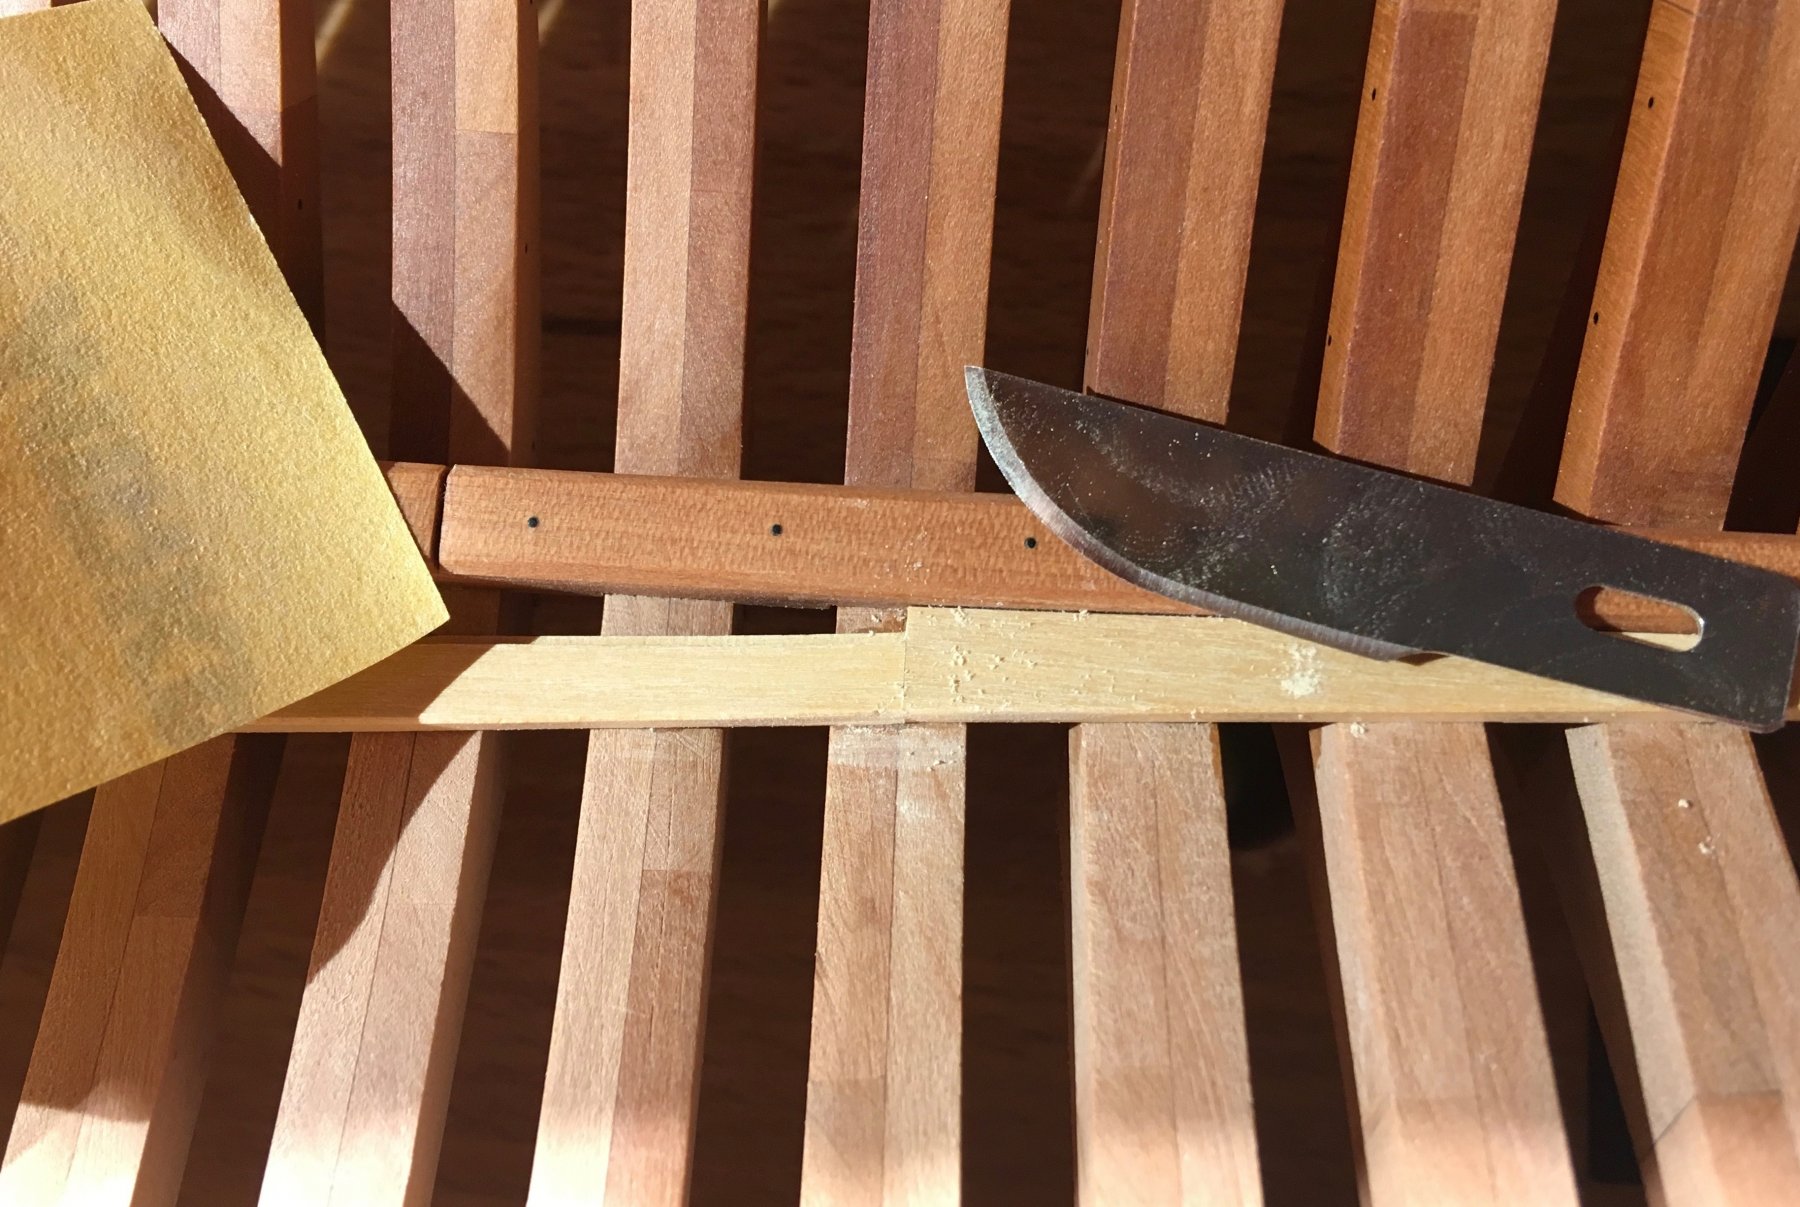
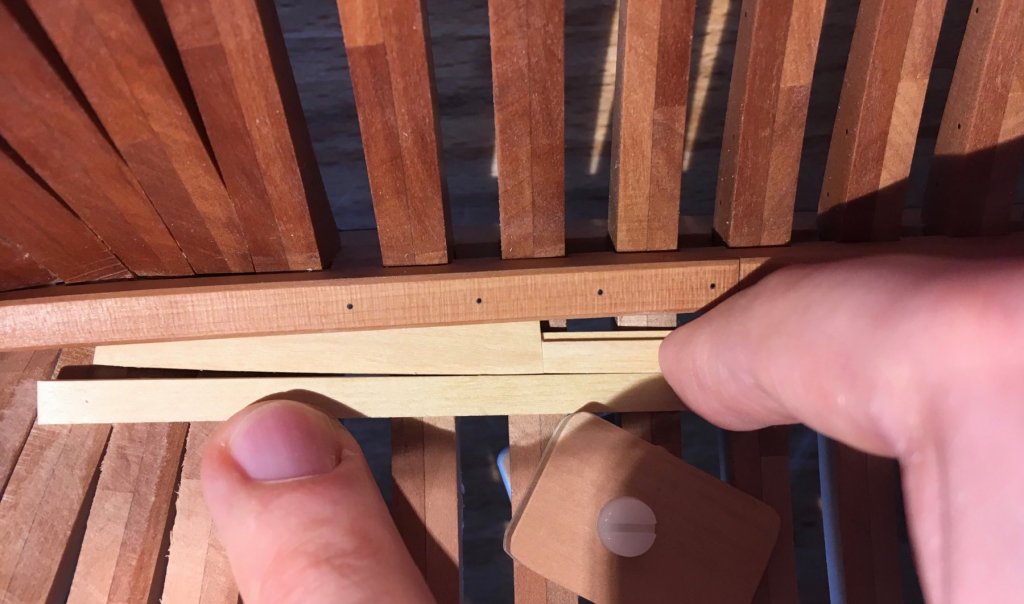
Thanks everybody! We are fully settled in the apartment and had a series of housewarming parties, kid birthdays, vacations and other offtopic activities. I finally got some time to resume modelling. The longer the pause is, the harder it is to resume. Especially since I am facing is an internal planking, which is a tricky thing if you want it to be neat. And not all mistakes could be hidden by sanding, since a lot of planks have different thickness. D-oh! Clamping jig to the table is very convenient, I am glad I added a vice to make it possible, can recommend! First boxwood pieces on the model! Future limber streaks. Planing during a sunset is very relaxing. Made a mill fixture to route a rabbet into that boards. It works, but the cut is not very smooth. Overall, this boxwood tends to chip a bit when you mill it freehand of when you scrape it. That is unusual after pear that scrapes smooth. So I need to rely more on files and planes, using scraping for finishing touches, not for shaping I haven't faired the internal part of the hull in delicate areas, so now I am repaying that debt by fairing it now, trying not to scratch the keelson. And hey, it's 21st century, moving pictures are a thing! Frames are scratched with a diamond file to improve glue adhesion and break down the surface patina layer. Final fit is checked with a test plank next to it. Of course, the bottom of the plank is shaped to follow the curvature, and underside edges are broken to simplify the fit with the next plank. After the glue-up, some final blending is done with fine sandpaper and scraping: And the end result is "hoorray, I installed the first plank in a few years" Now it's just a matter of adding the rest of the planks. It's so great to be back!


- 969 replies
-
- 28
-
-
- hahn
- oliver cromwell
- (and 1 more)
-
Thank you for warm comments from both of us (Daria included). We had a nice bonding time reading them together. Will keep up the progress
-
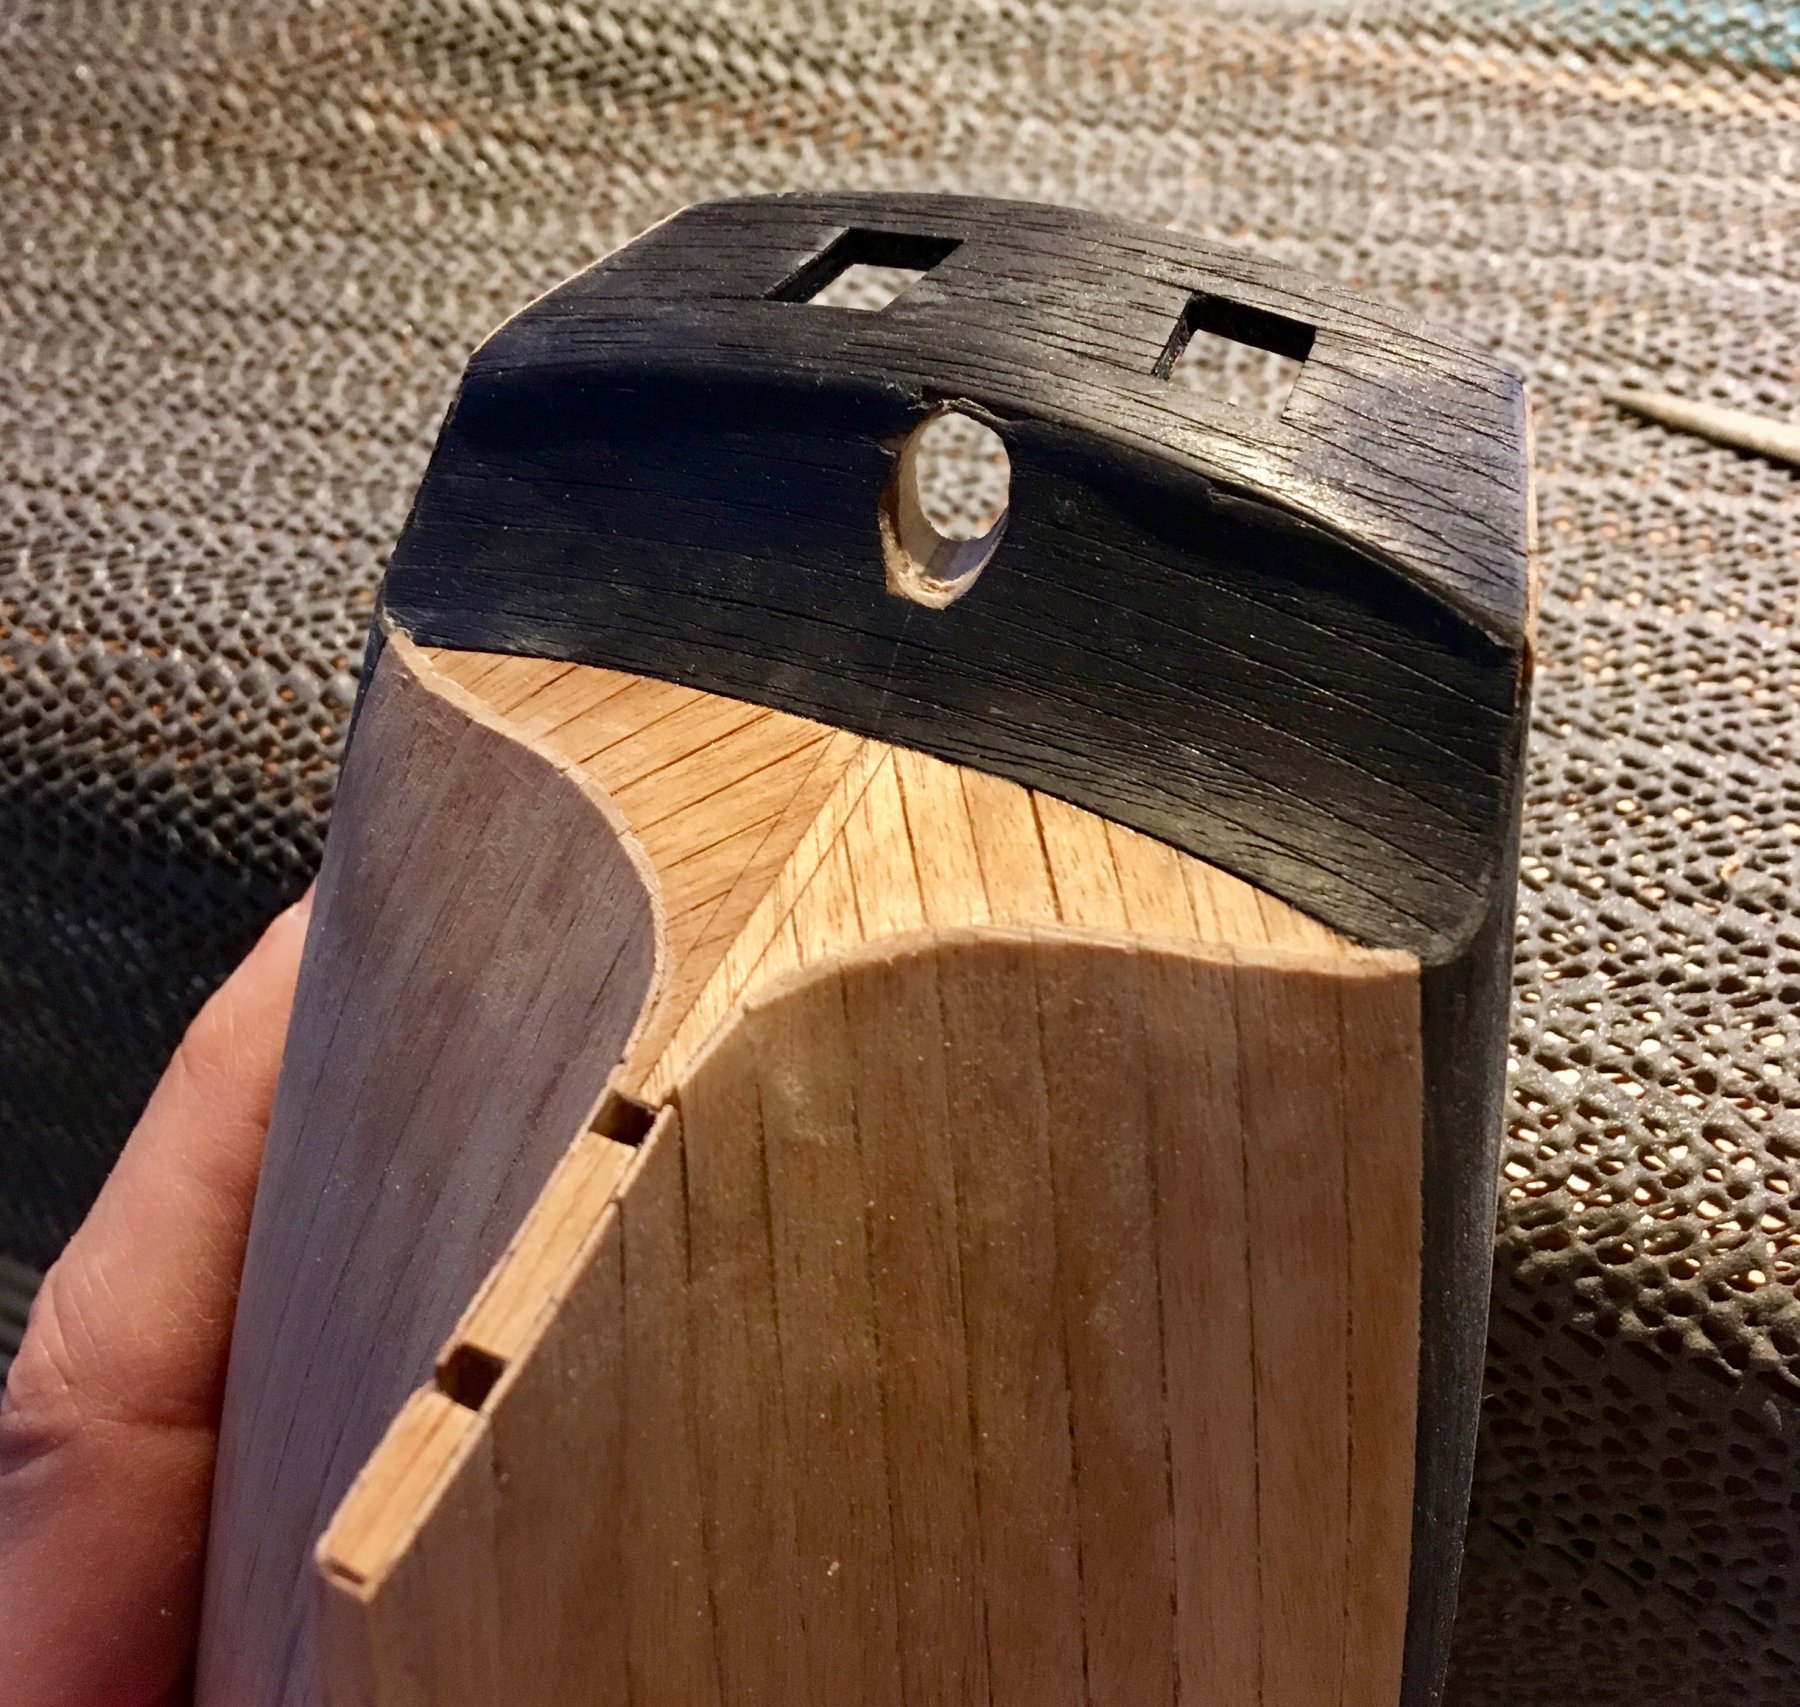
Mark, thanks for the advice! It is an interesting idea. Though this grain does not bother me so much, because the whole model has an out-of-scale grain, it is part of it style Transom is not an exception. SpyGlass: interesting, it is very well dyed then - the wood is black over its entire thickness (which is like 0.5-0.7mm though), and it is pretty hard. Not sure if dyes can do that with this grain direction. There should be some areas of incomplete penetration then. Also, it behaves similar to ebony when you scrape it - you get small particles instead of chips. All my limited experience with ebony shows the same picture. But I agree, the grain looks unusual. Can be a different type of ebony, or maybe branches vs trunks? Though the veneer sheet used here is 10-15cm wide, hard to find a branch that thick (ebony trees are pretty thin, afaik).
-
I like the "view port" that you left in the transom, great idea!
- 589 replies
-
- 2
-
-
- le gros ventre
- cargo
- (and 1 more)
-
Nice build! Milling adds quite a lot of precision to it!
-
Nice progress! Hope you will get hooked to the hobby, it is very addictive
-
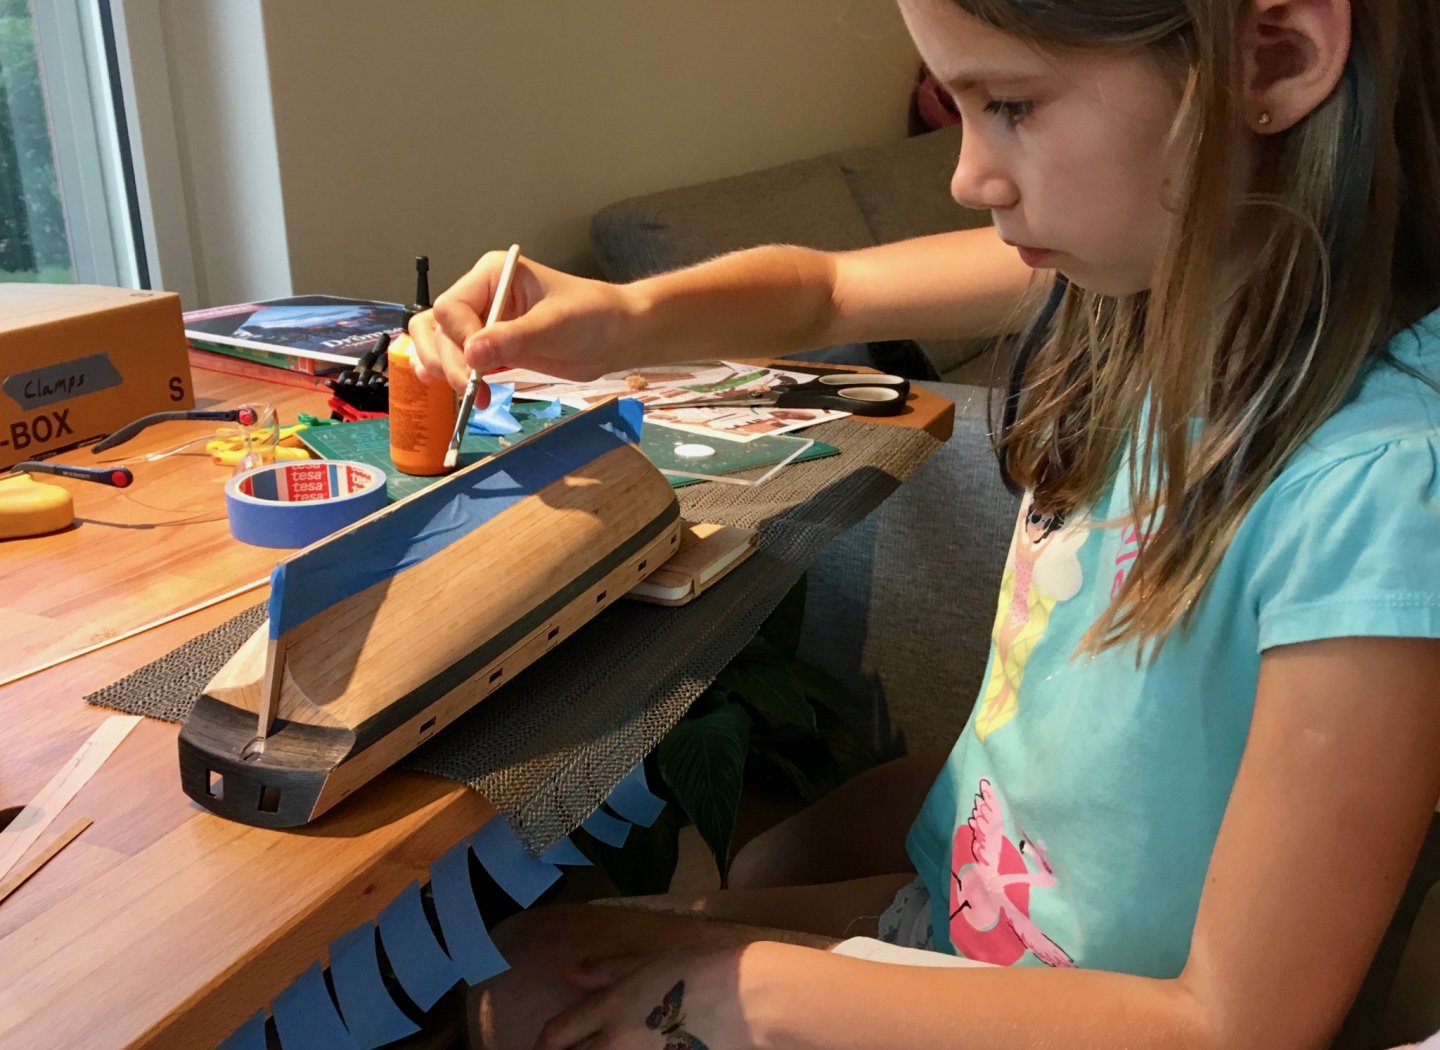
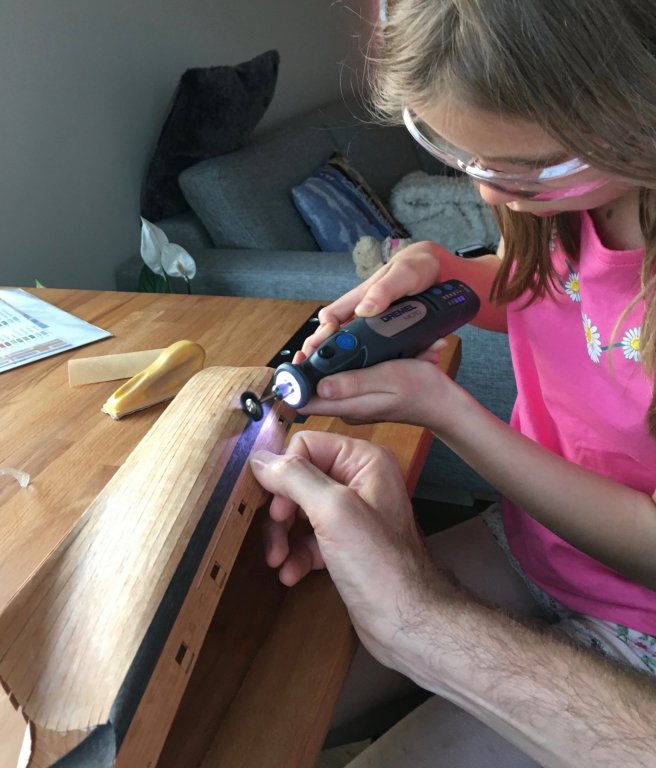
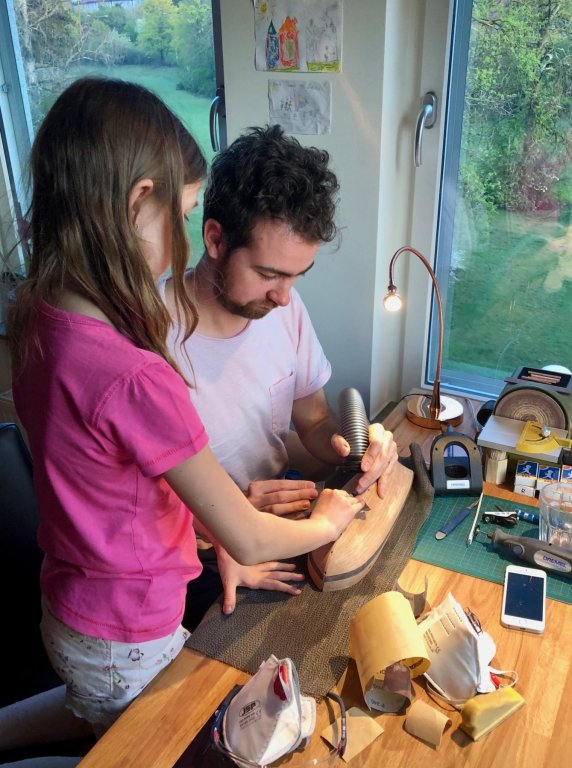
Thanks all for the comments and likes! Yes, we are using respirator masks when sanding (for some reason it was off on that photo, but it is mostly on), plus a vaccuum cleaner is always on to suck the fine dust right away. Working in a living room teaches you the dust hygiene pretty quickly, dealing with a fine sawdust everywhere is not a pleasant thing. And it is good for Daria to think about dust and lungs from early age, she is putting the mask herself now, I do not need to ask. The ebony veneer is reeeeally thin, so we are thinking twice before doing any sanding of scraping on it. It is too thin to sand away that grain, so will leave it like this.
-
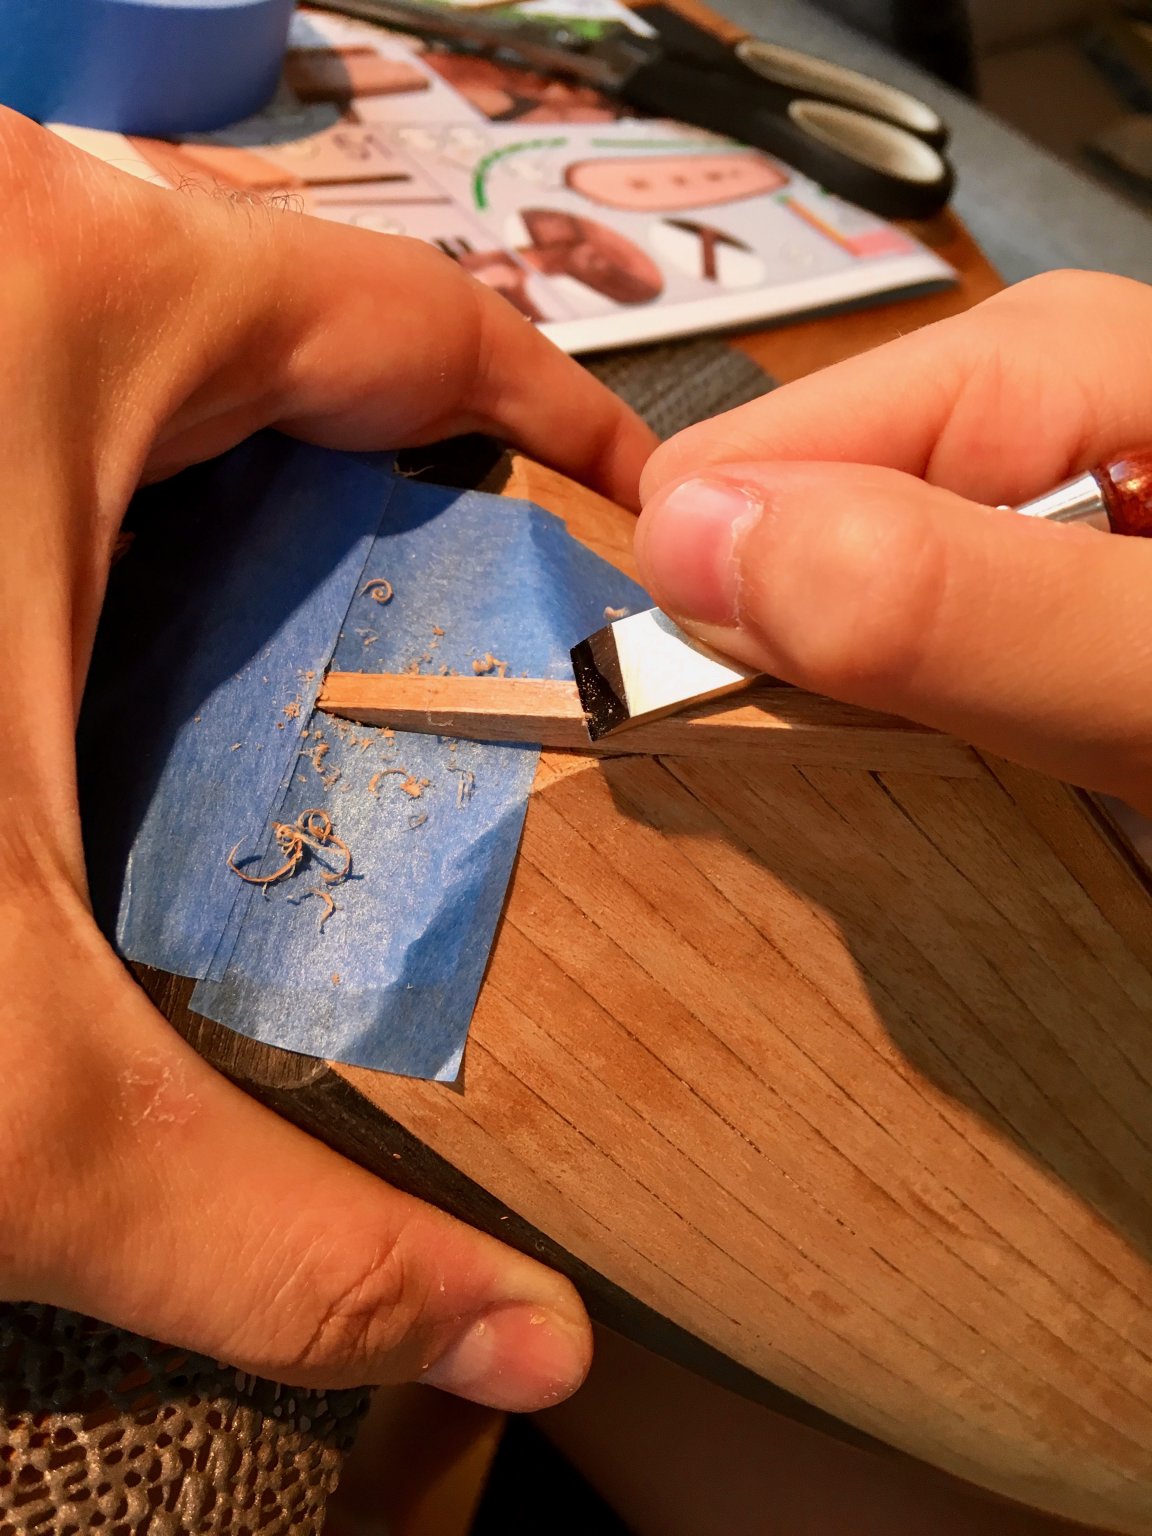
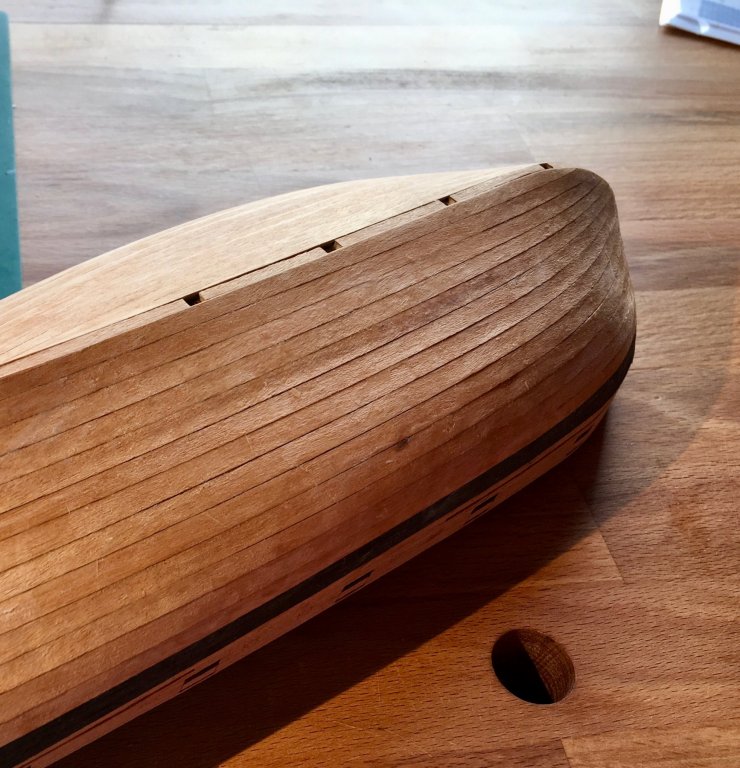
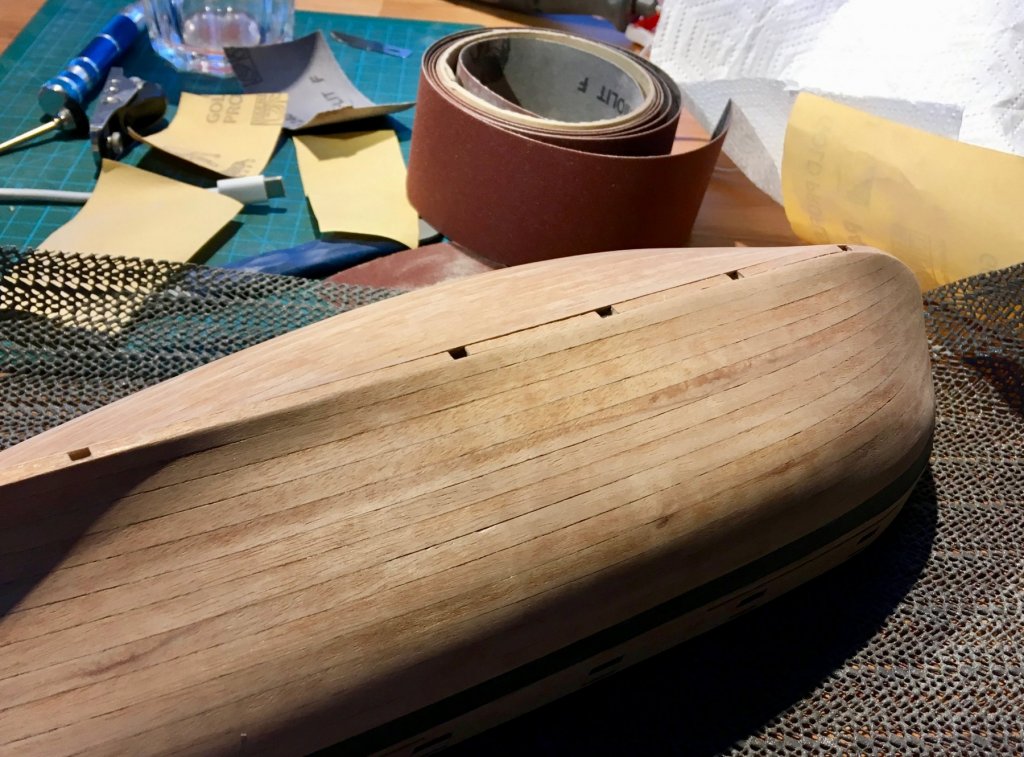
The apartment move is over, so we are finally back to modelling! Hull sanding took a while, and it was a big lesson about patience and persistence. To make sure that planks would not start peeling off - we used plenty of glue. Maybe too much, it took forever to get it out using a nylon dremel brush (did not want to apply any moisture to that fiddly planks, they are very sensible to it): Before sanding: After: There are some gaps visible, probably due to wood shrinkage. But we liked the process, good teamwork And she loves making something smooth, even though it is hard to keep going without breaks. I trimmed the plank ends, it was too risky to let Daria do it - they can chip out, it is easy to scratch the transom with a scalpel, etc. A mistake in this area would be hard to fix. But the result is ok. I am not sure what I think about this ebony, not very familiar with the way it sands and scrapes, kind of course and shiny at the same time.

-
Eiffel Tower by Mark Pearse - father/daughter build - WOOD
Mike Y replied to Mark Pearse's topic in Completed non-ship models
Very nice! Any progress photos? -
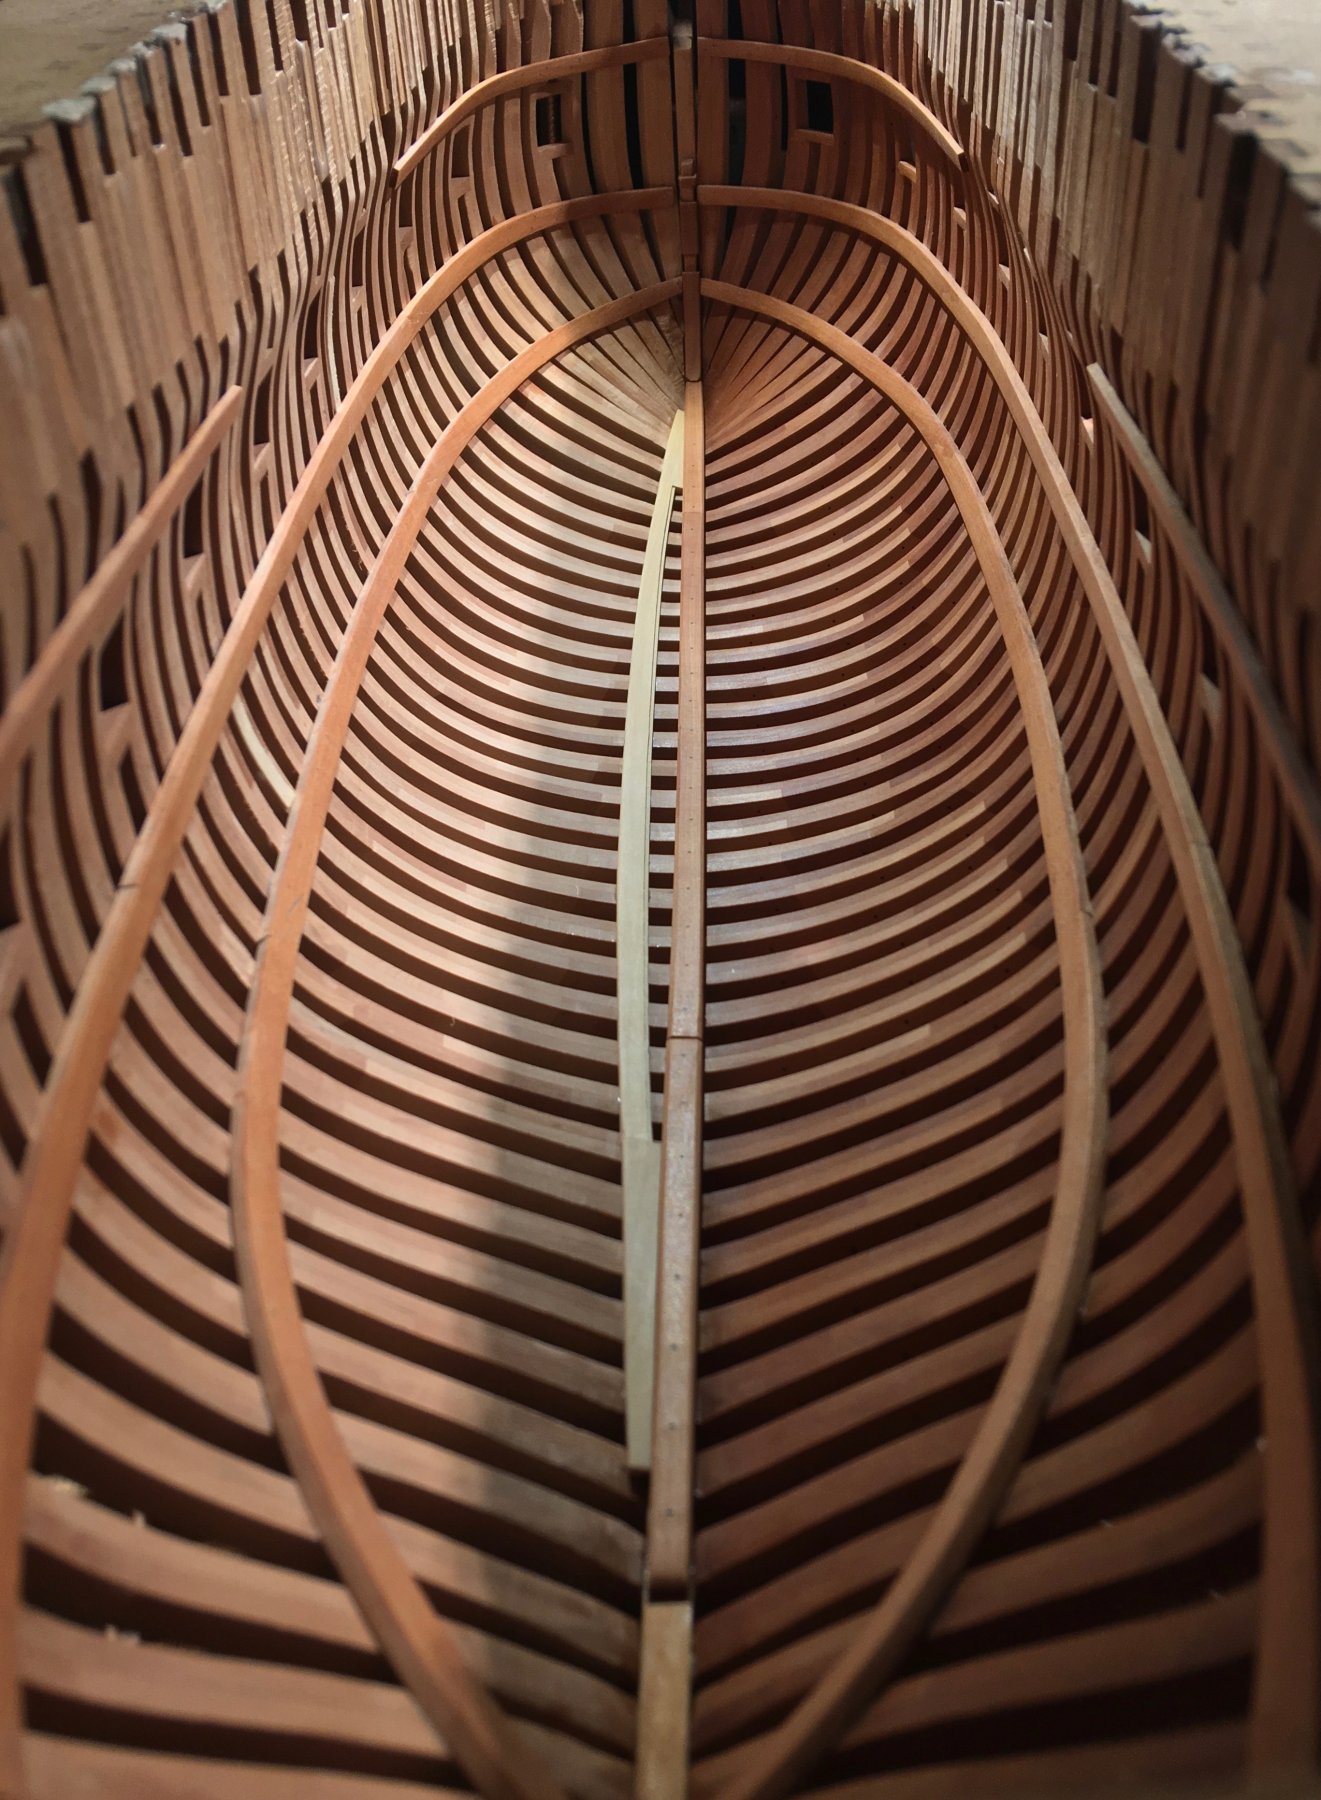
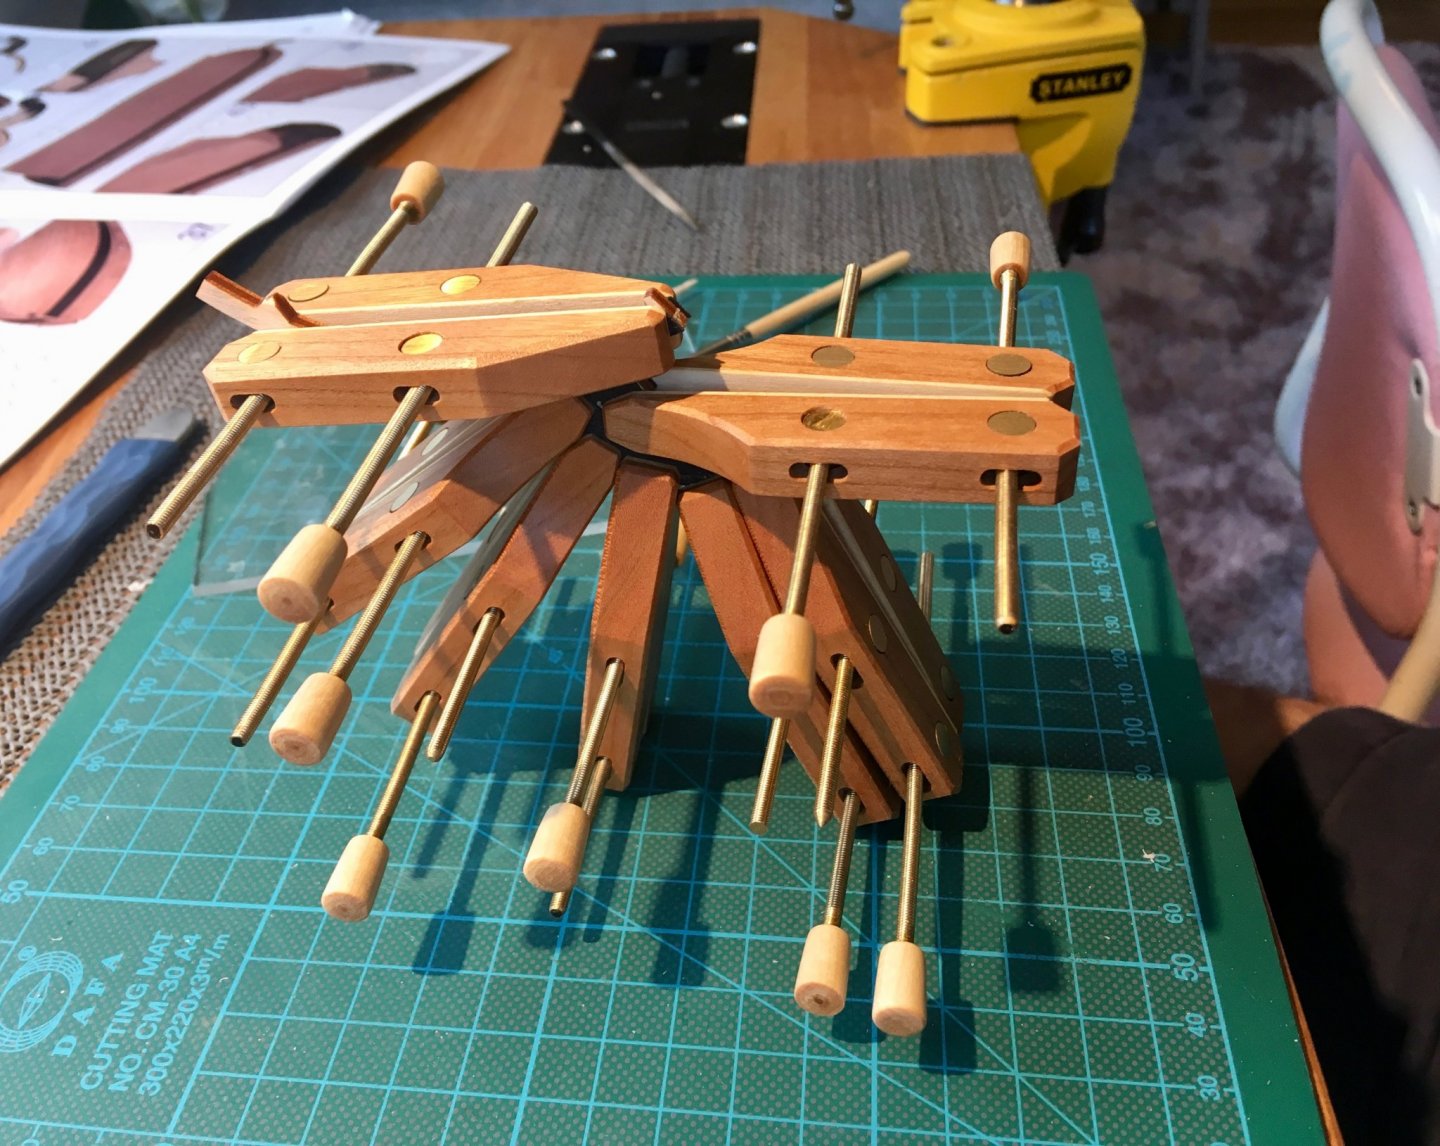
They look like bones of a mythical animal!