keelhauled
-
Posts
788 -
Joined
-
Last visited
Content Type
Profiles
Forums
Gallery
Events
Everything posted by keelhauled
-
 just catching up. Great progress! She is really taking shape Marc
- 453 replies
-
- 4
-

-
- thermopylae
- sergal
- (and 1 more)
-
Sorry for the delay in response. I ended up in the Hospital and recovery for a few days. They love to cut you open. Thanks for the reply Popeye. No big issues on the ship just a few steps backwards. Sailor1234567890, the method you describe is probably the better way. in my model Clove hitches are used for the middle shrouds and then a cow hitch is used at the ends as an alternative to using clove hitches. The cow hitch prevents the nibs at the end of the shrouds that occurs if you fun clove hitches to the end. just another way of representing the terminal end of the ratline. Thanks Marc
-
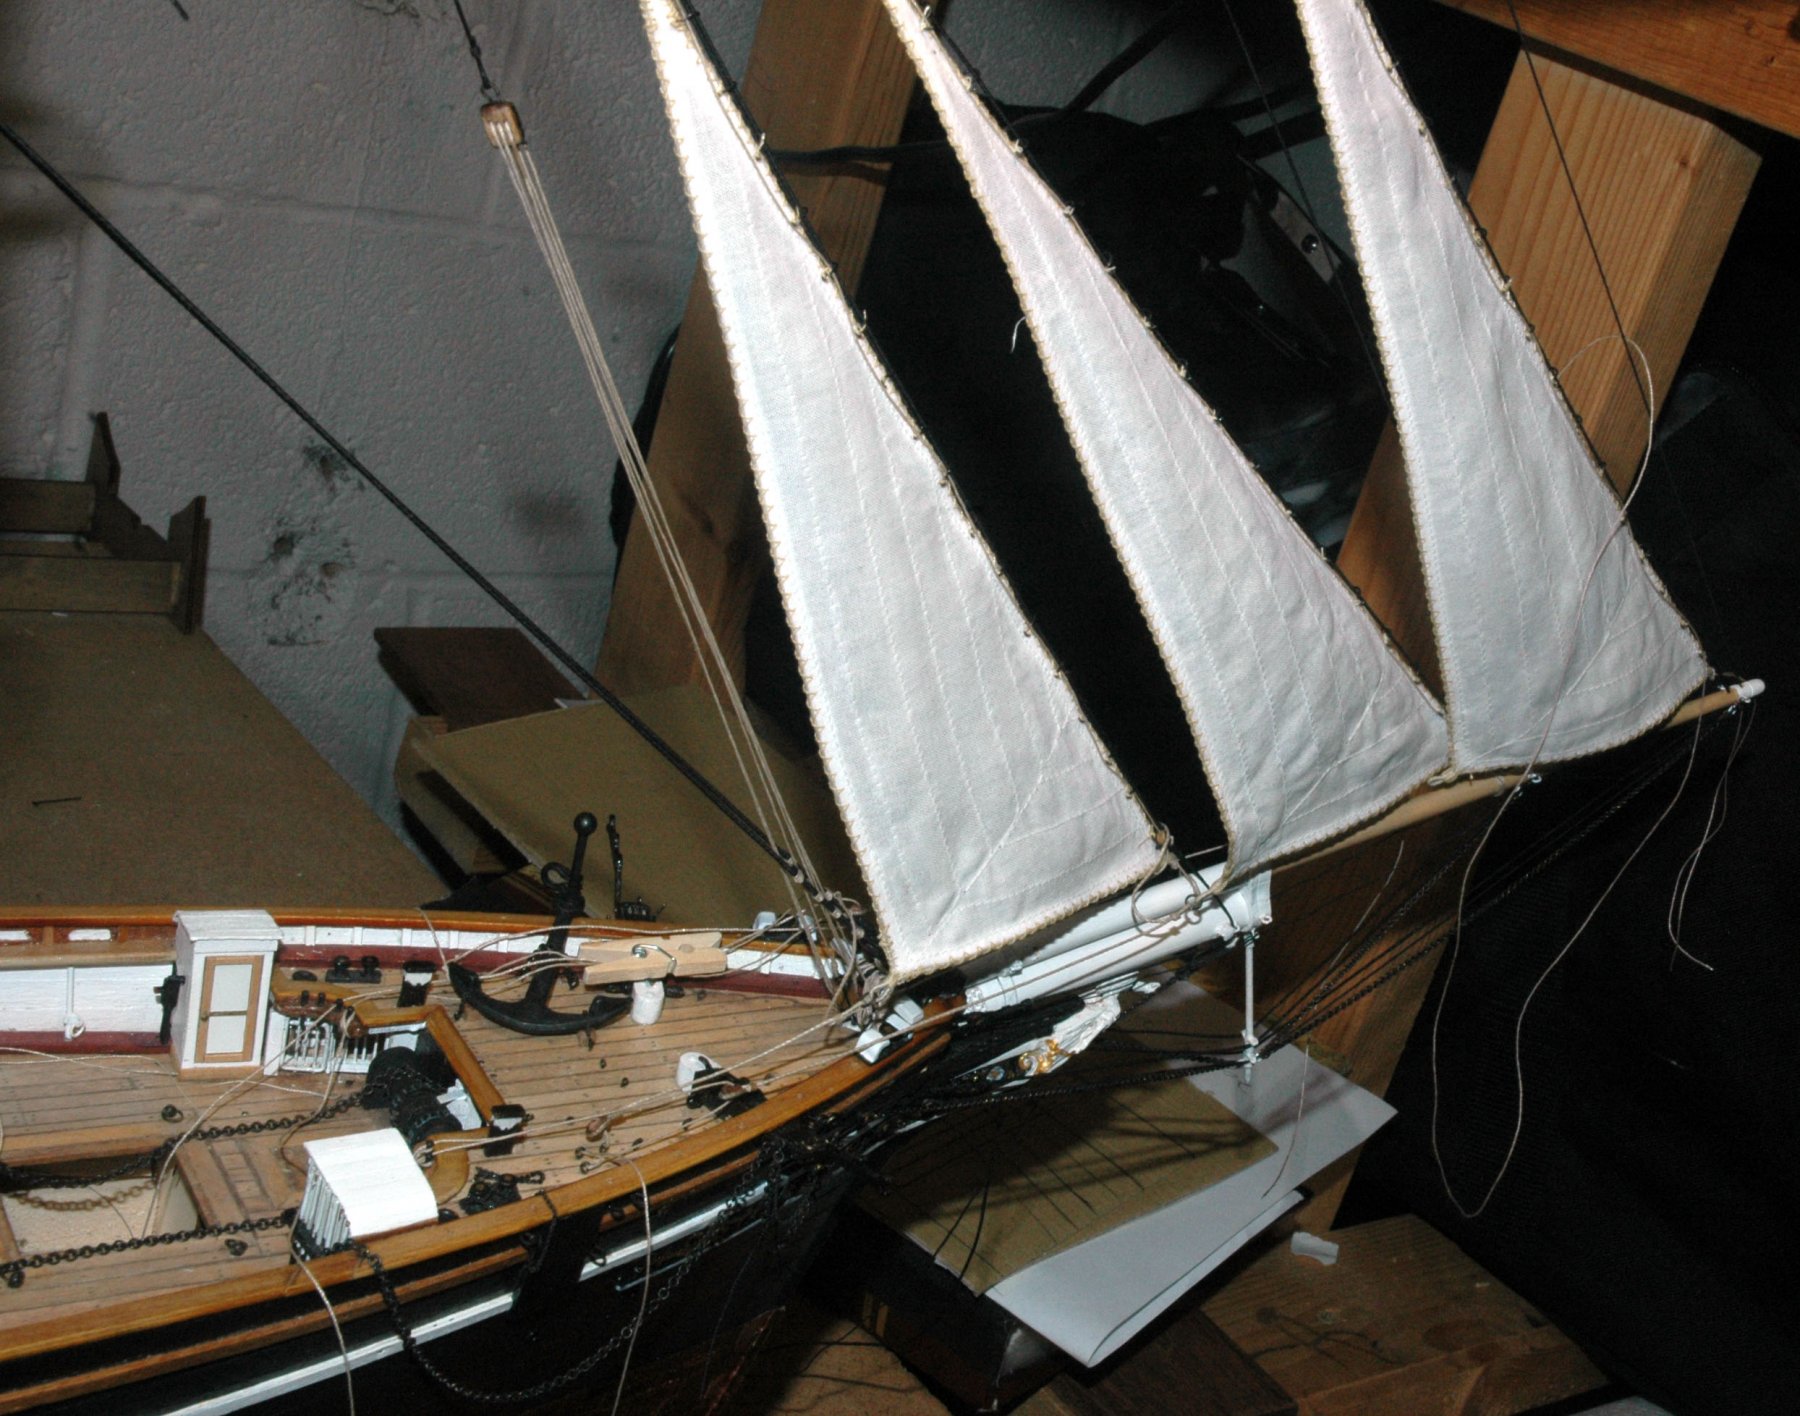
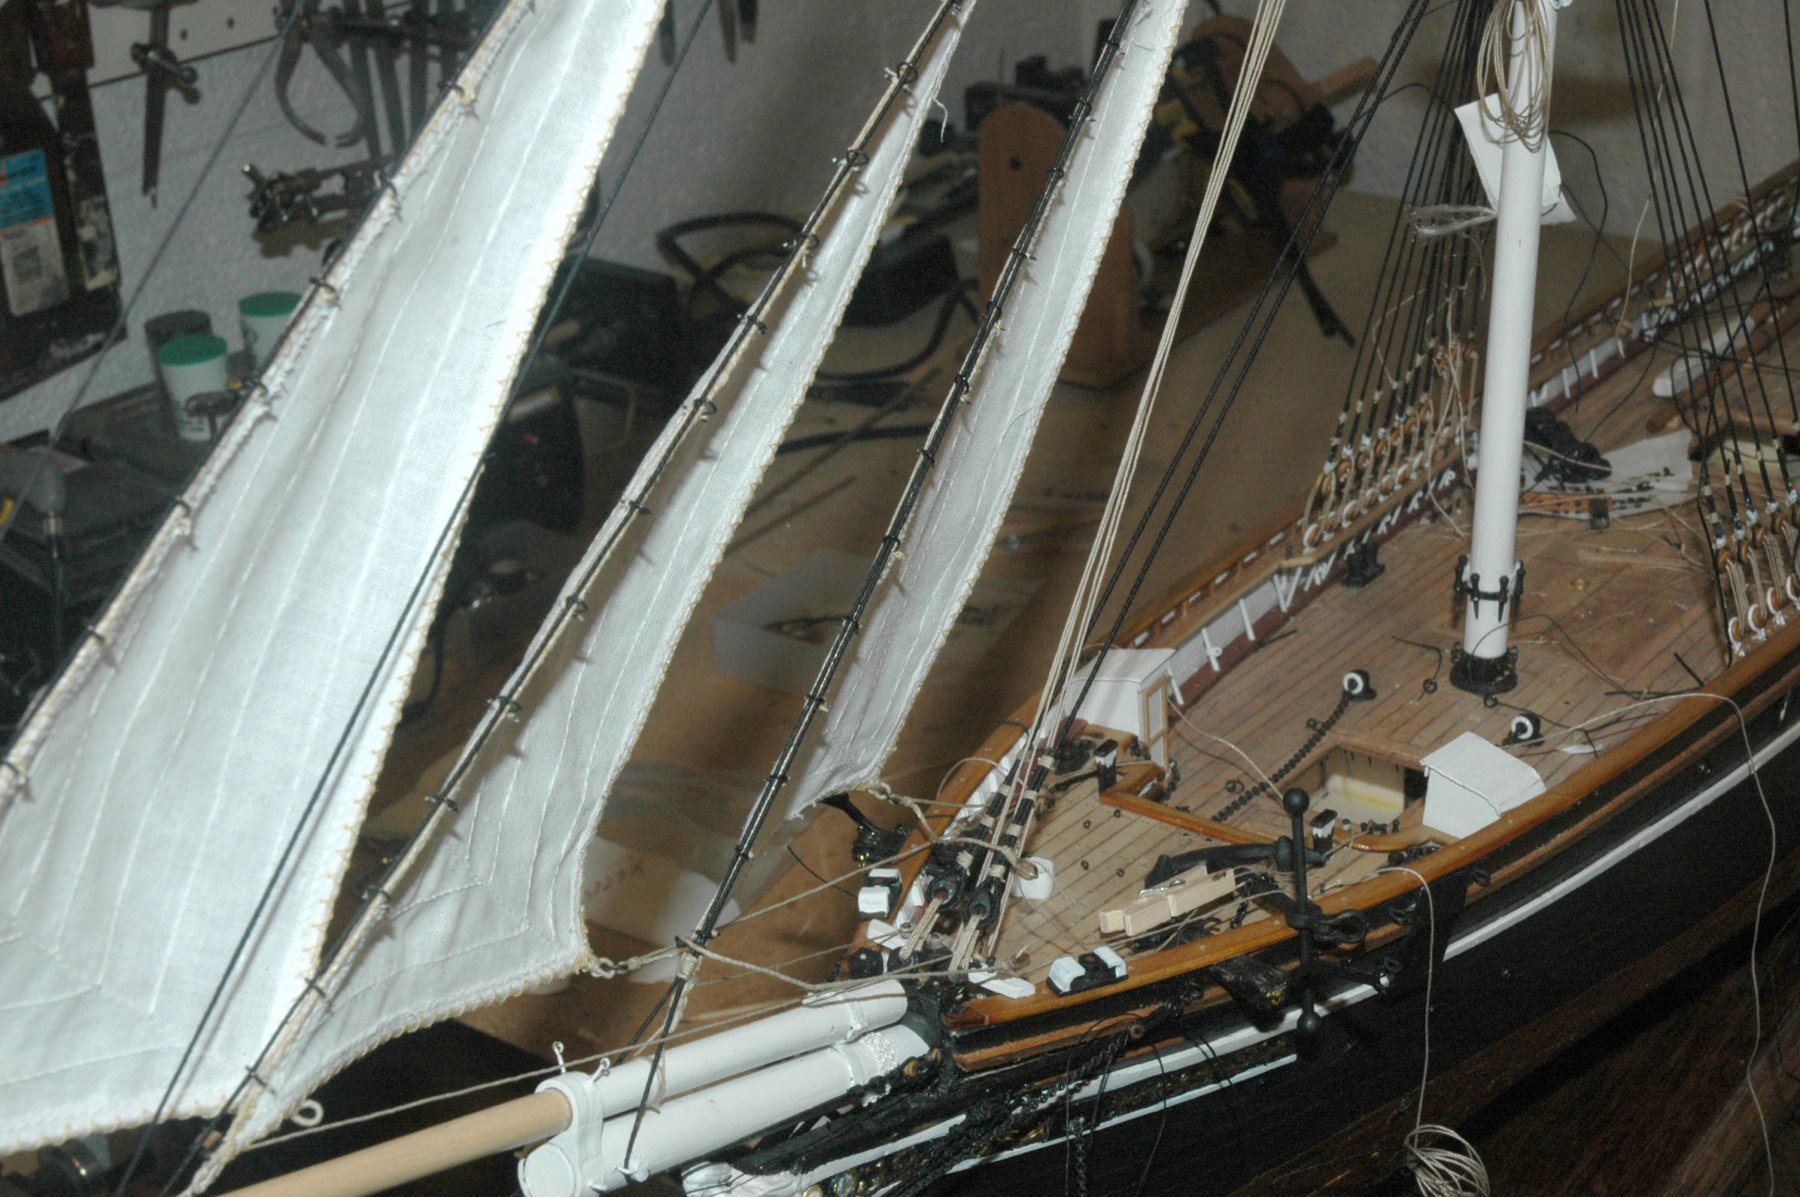
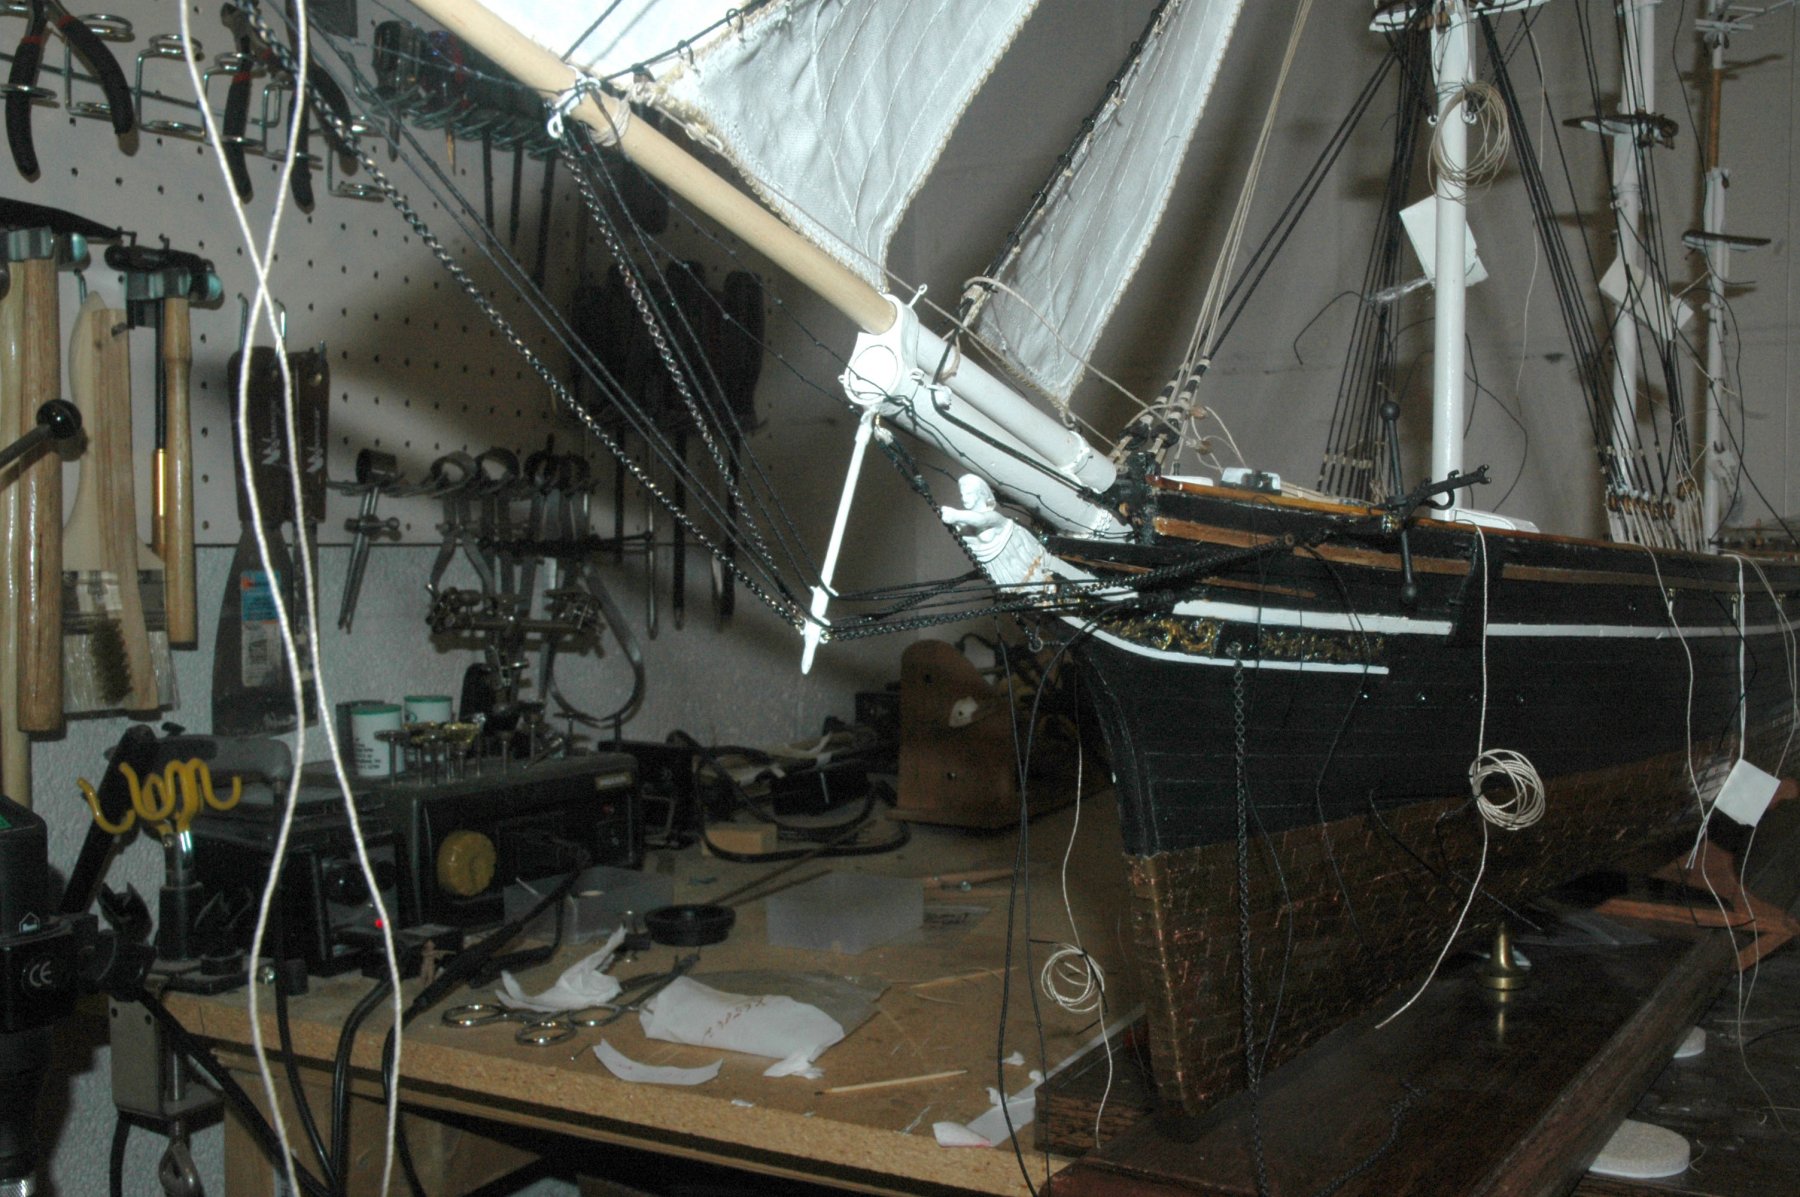
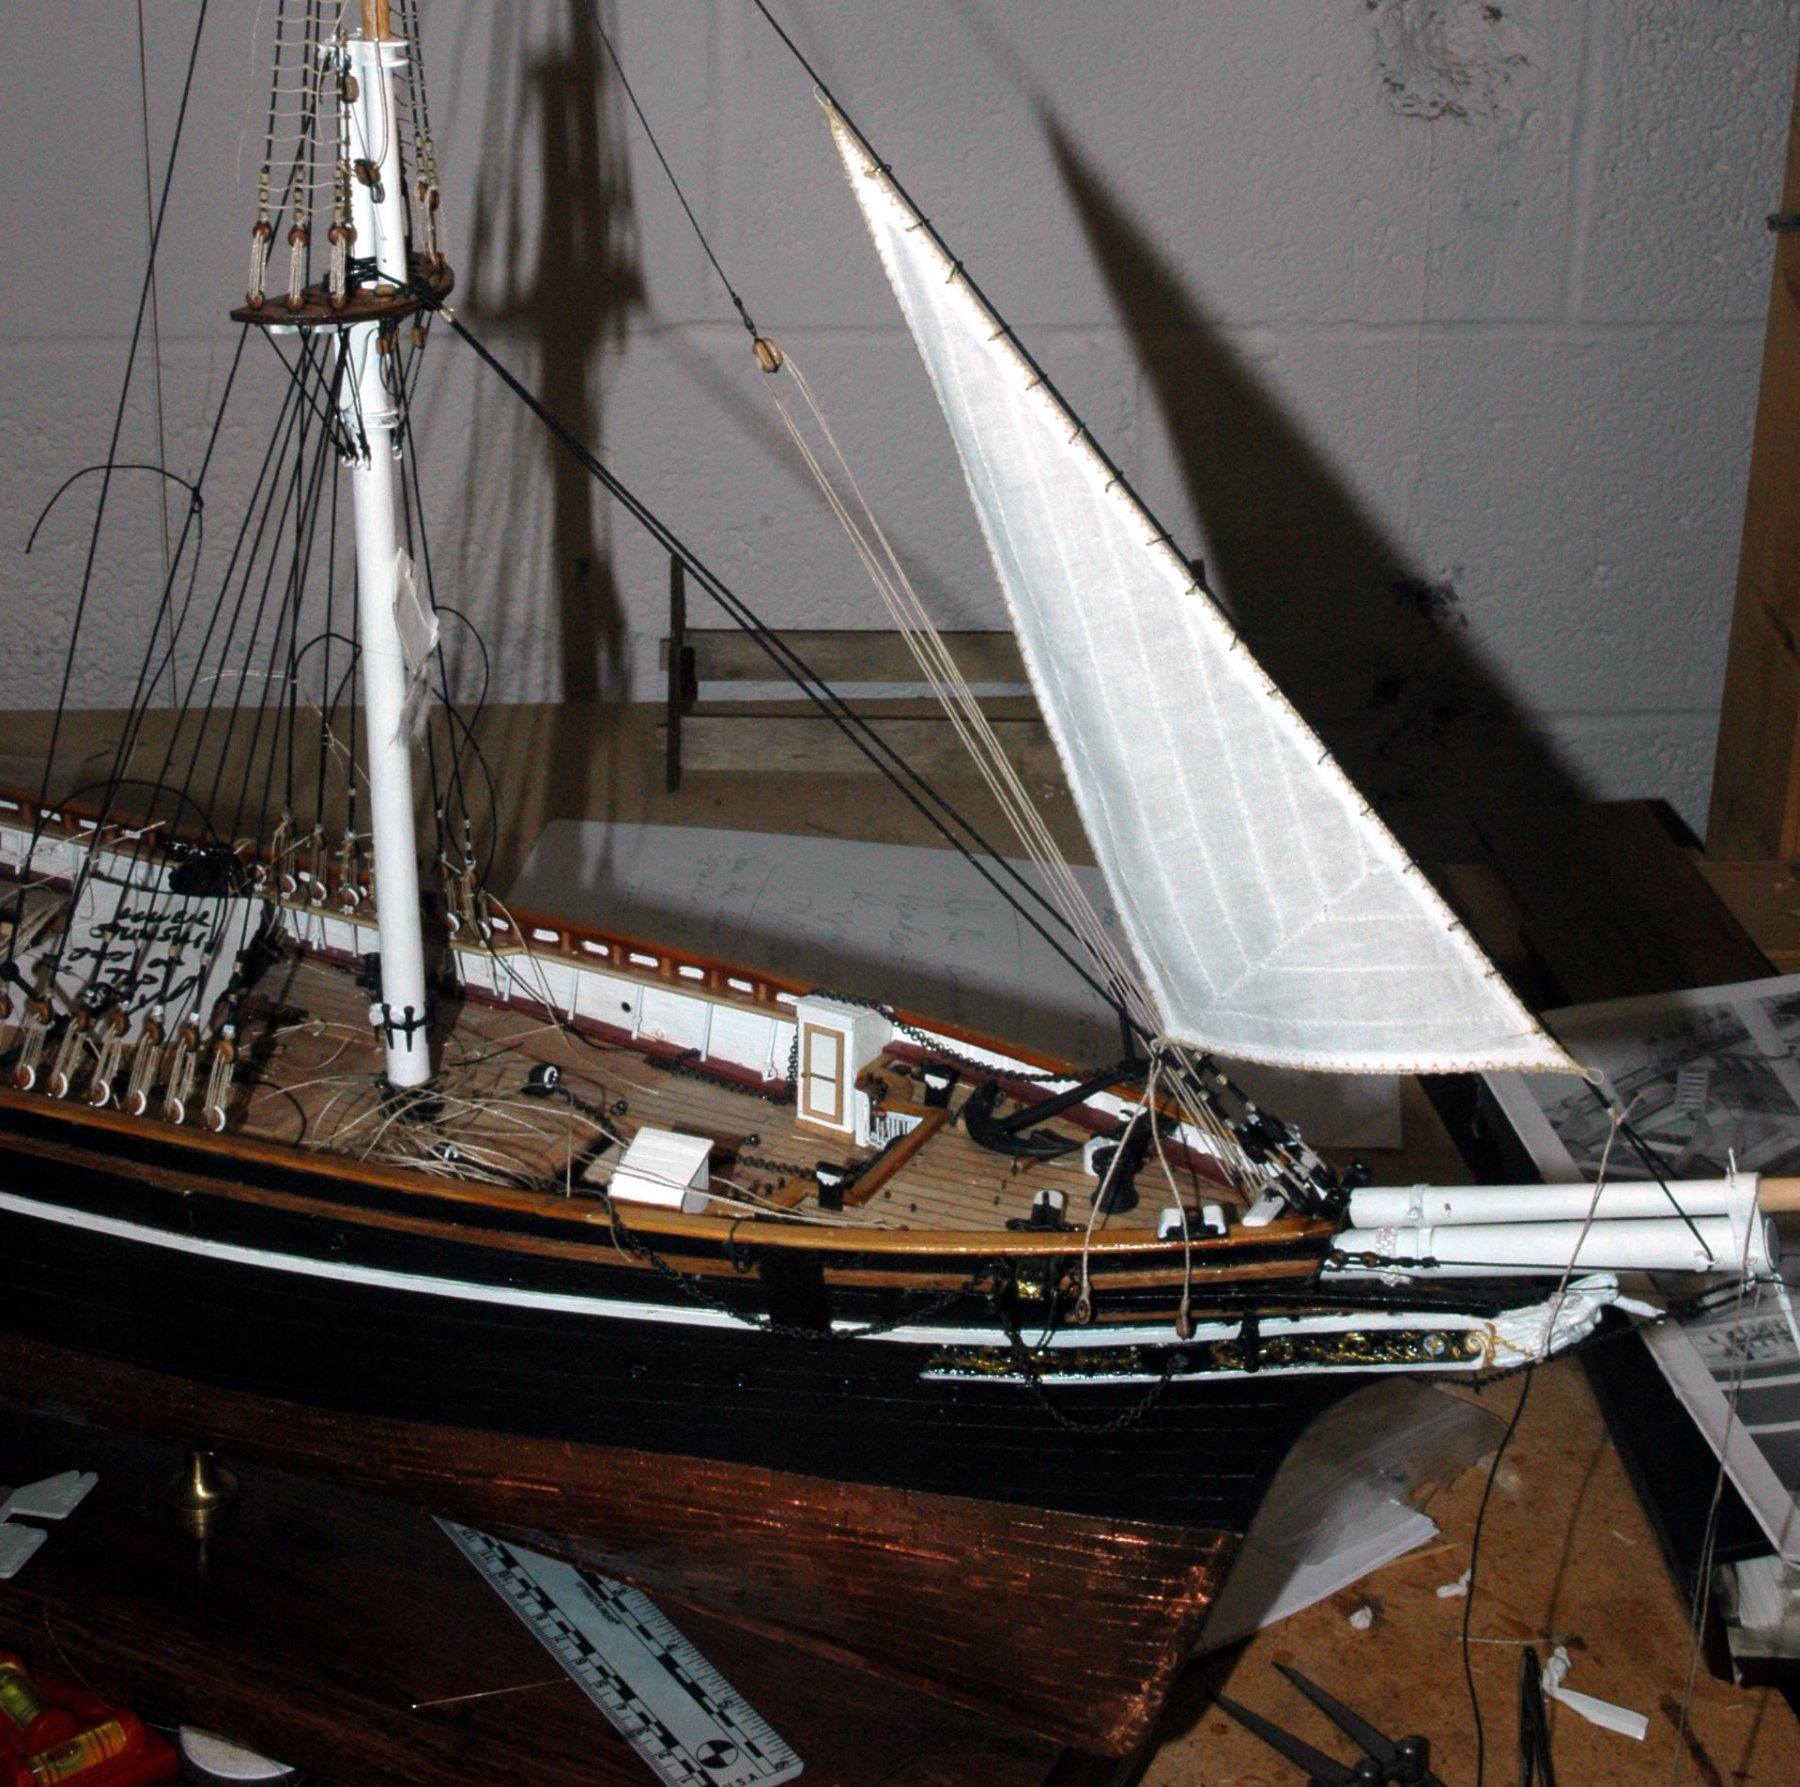
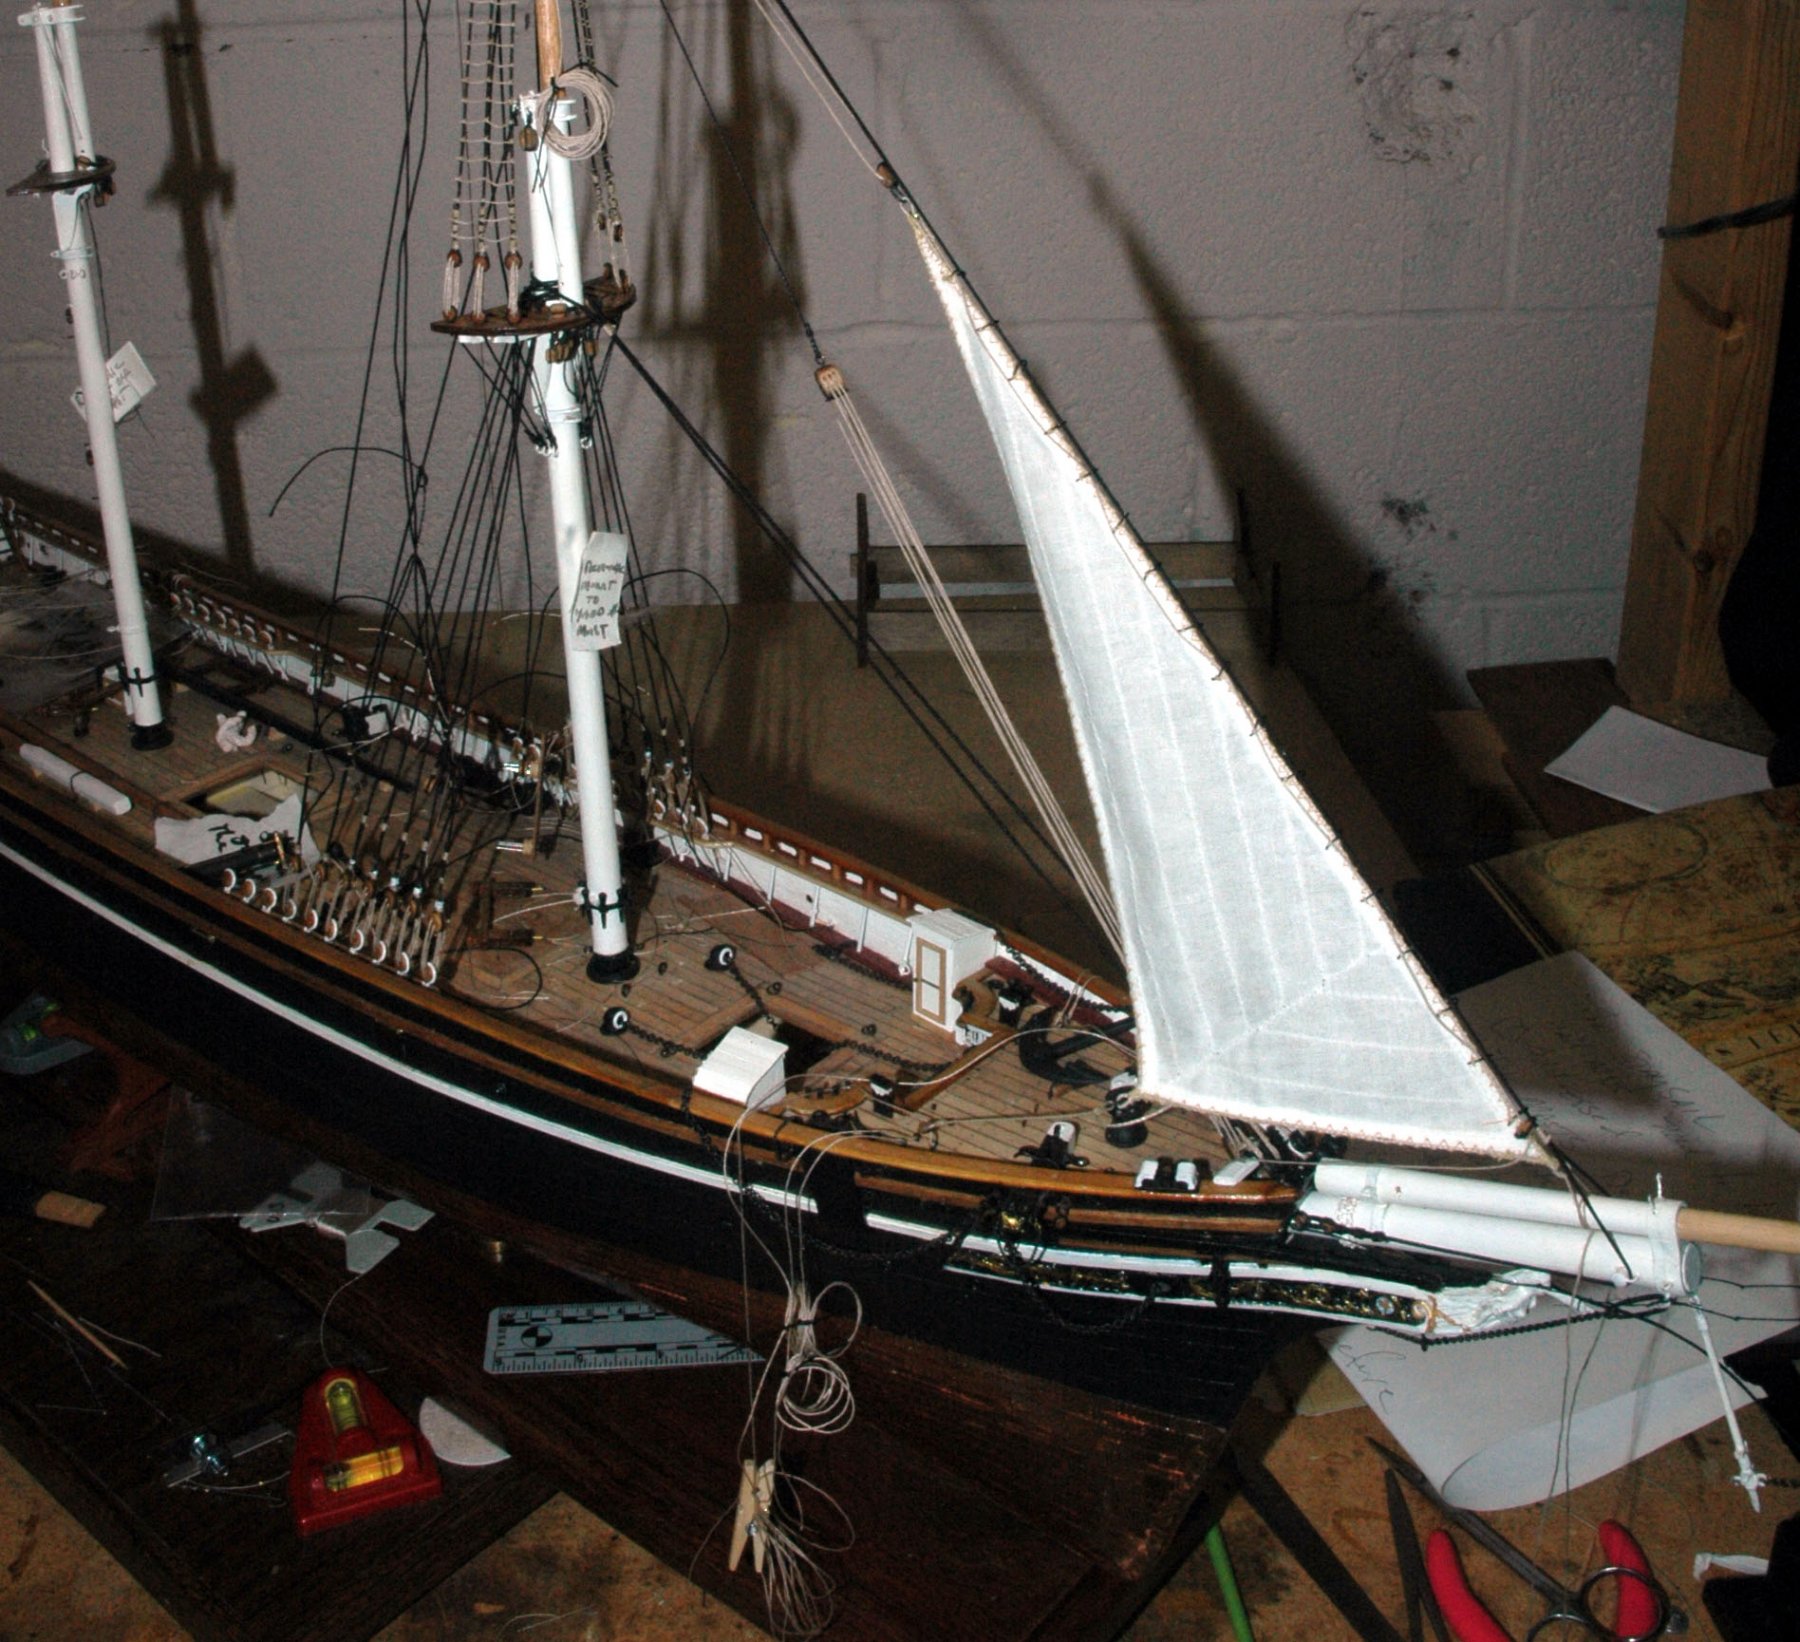
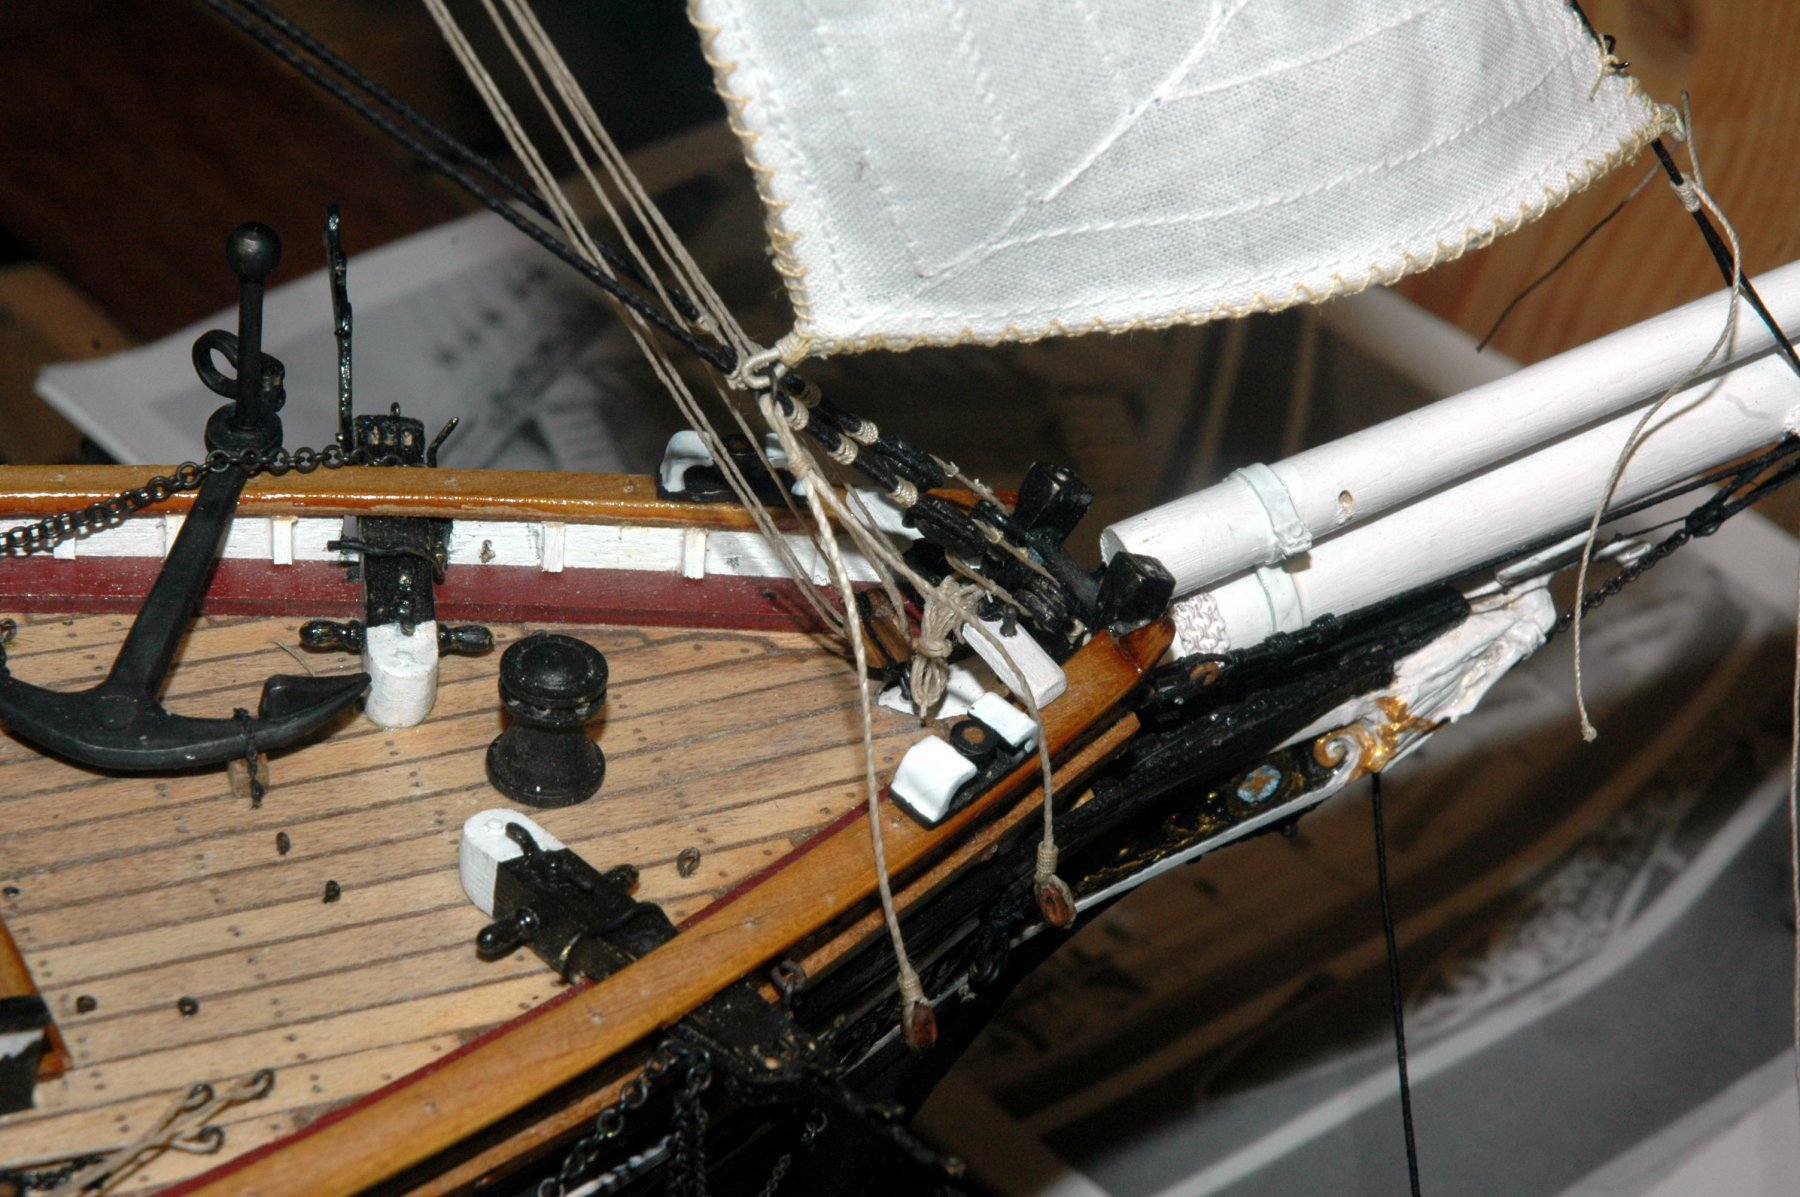
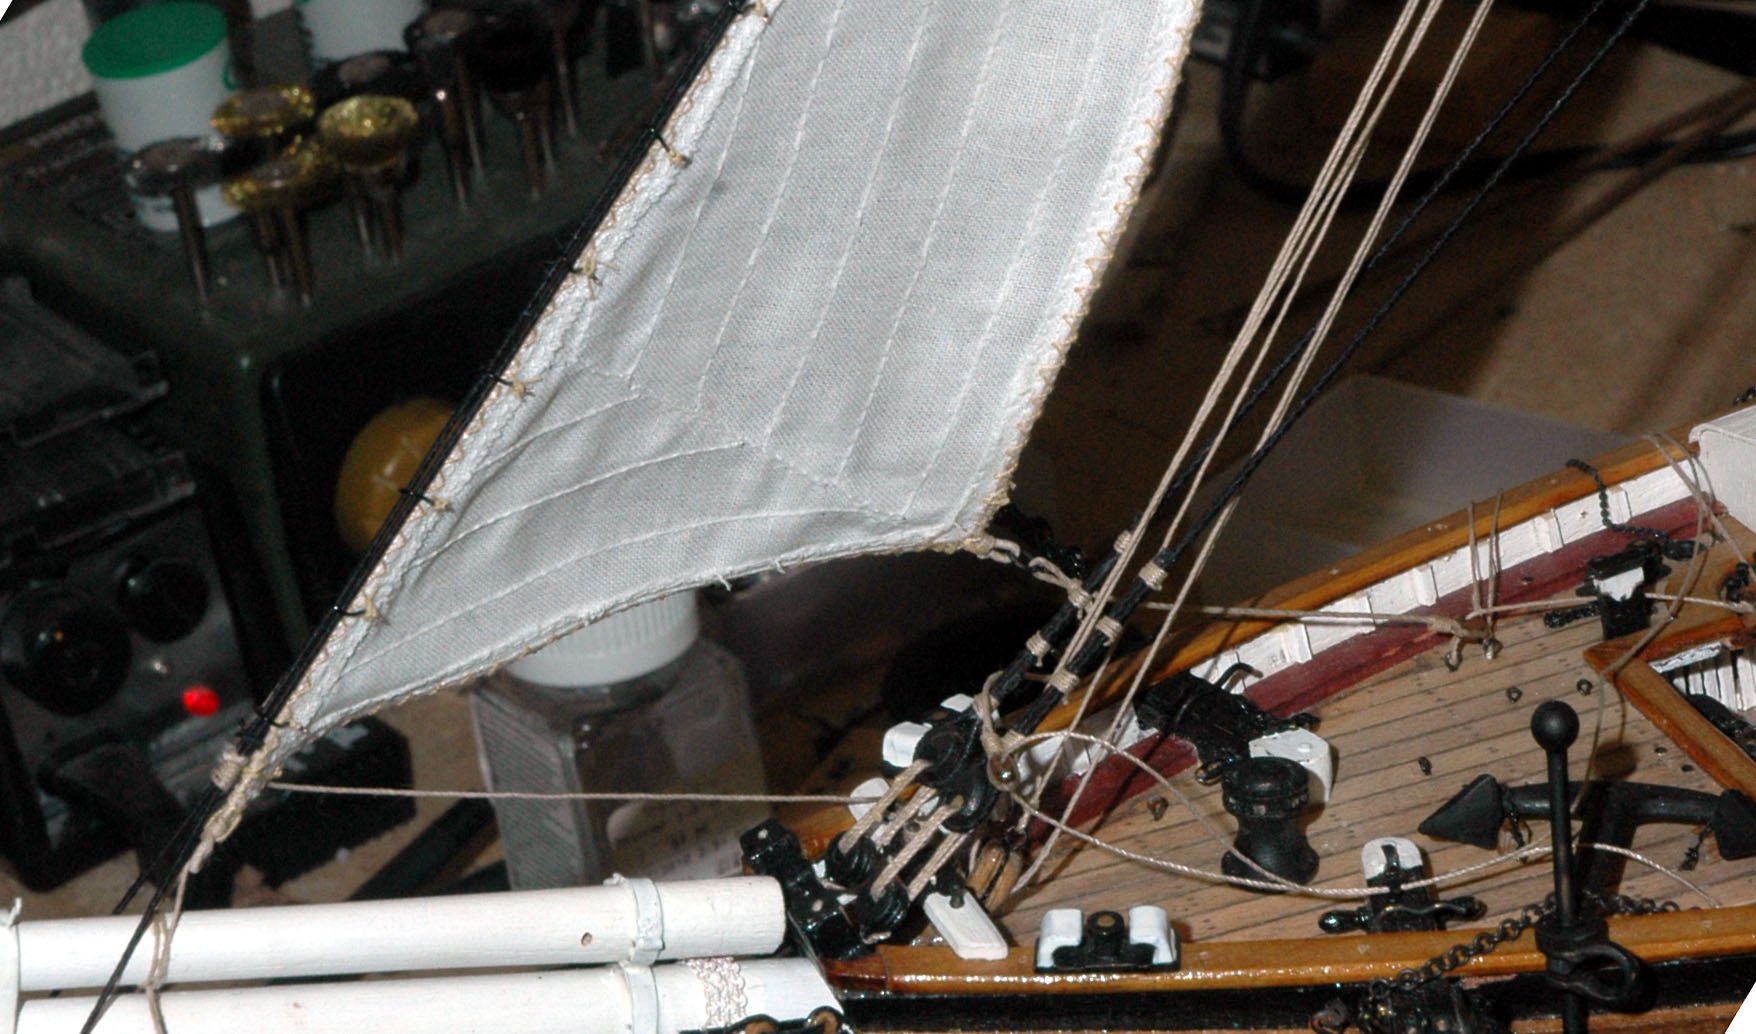
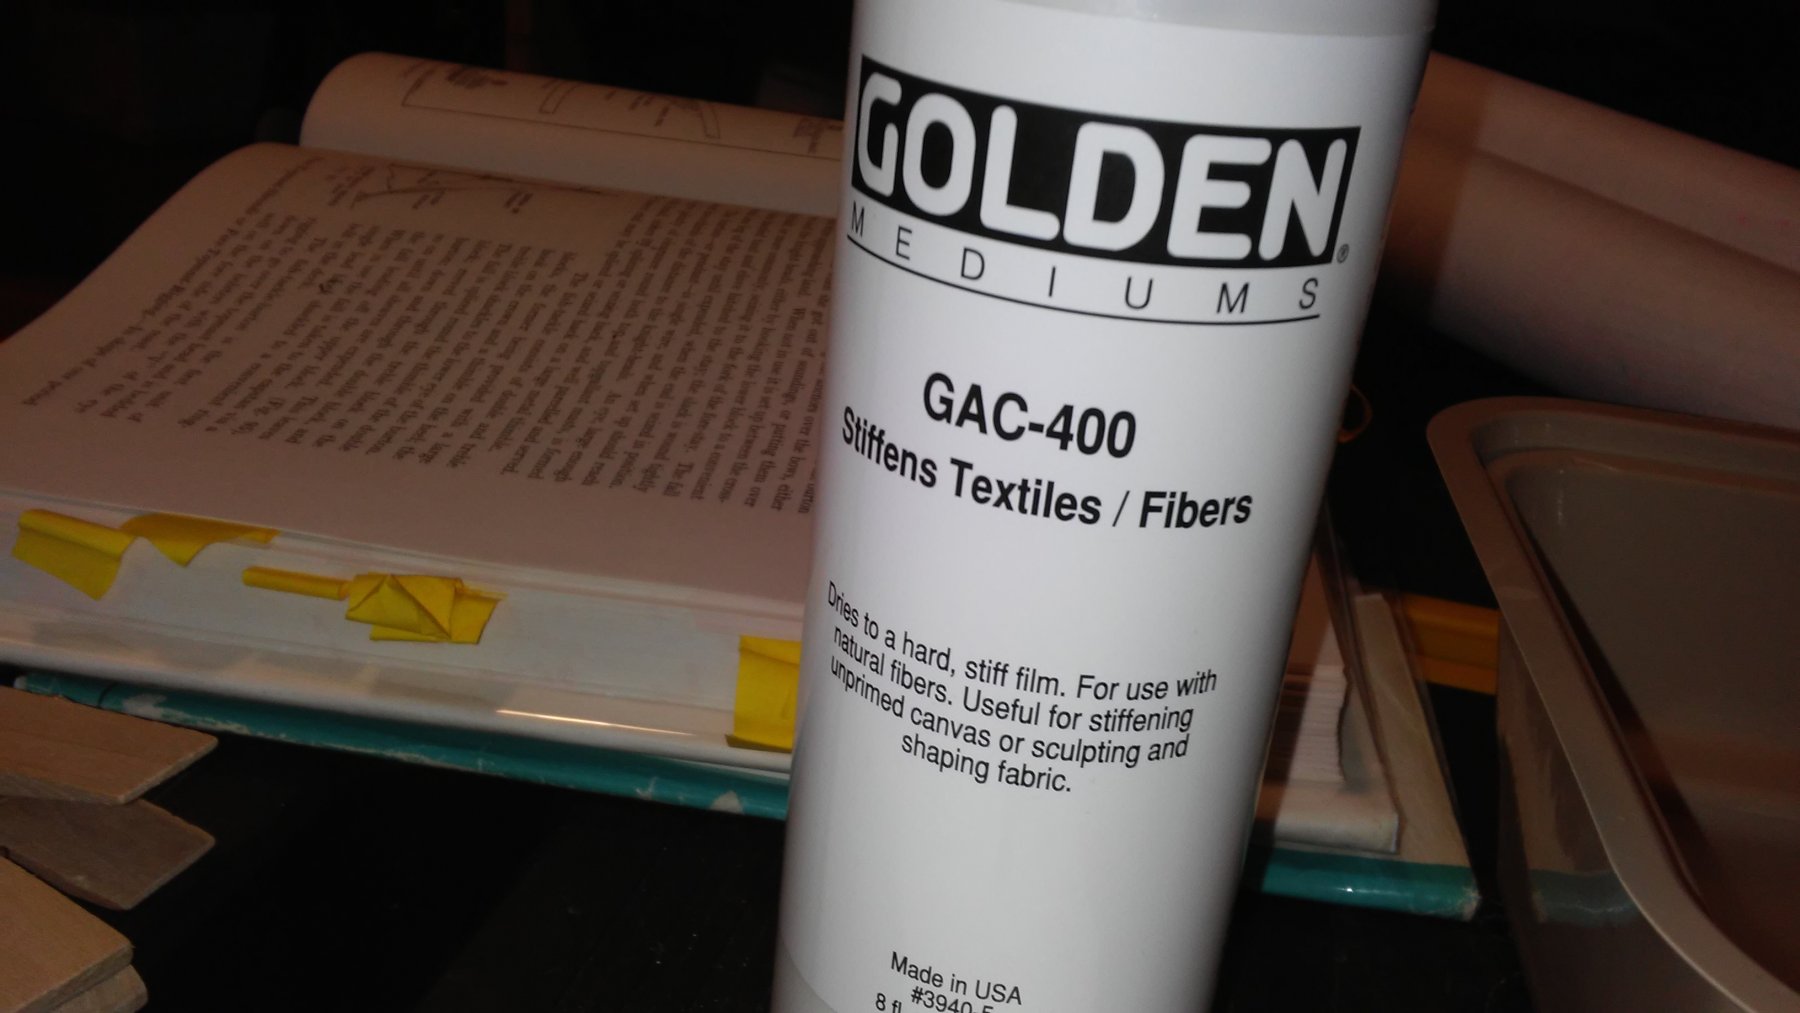
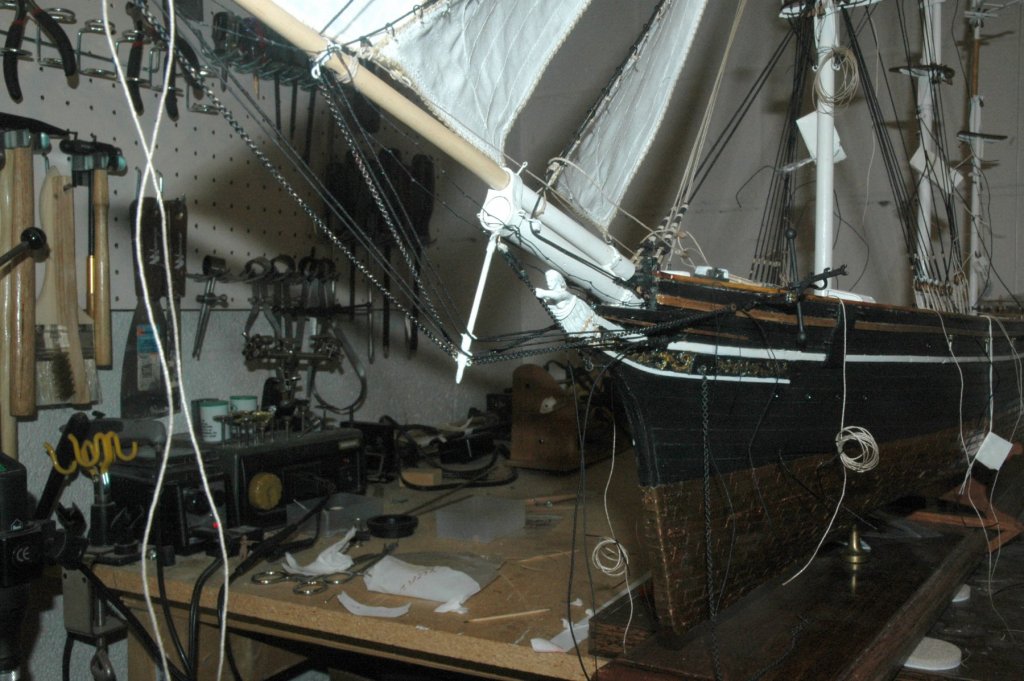
In addition to adding the fore staysail and jibs, I added more stays to the bowsprit and boom So here are the results for the fore stay sail and jibs. In these photos the otter jib hasn't been rigged and thus the droopy appearance. But I'm happy with the forming of the sails. Also, i found that I could stiffen the lines using the CAG-400. I placed it on the sheets which allowed the sails to keep their form and preventing the sails from rotating on the stays back toward the center line. hopefully, you can see how much the fore stay sail and inner jib stick out overboard and that the sheets are angled back onboard to the forecastle. So I got to this point and was proud of the way that the sails and sheets looked. Then I noticed a big issue. next post I'll explain why I had to take all of the sails back off the ship. Marc


- 525 replies
-
- 7
-
-
- cutty sark
- mantua
- (and 2 more)
-
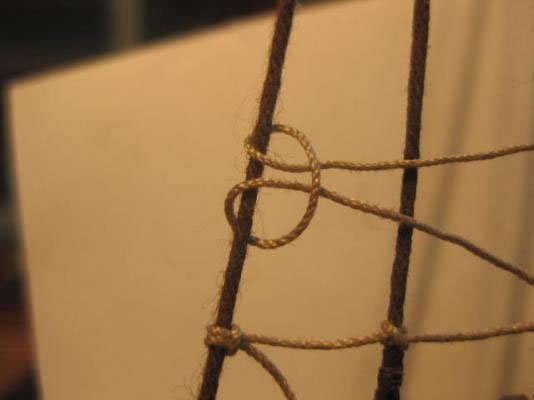
The name of the knot at the end of the ratline is the cow hitch. I can't find the link back to Danny's page right now, but here is Danny's image. I'll keep looking marc
- 525 replies
-
- 3
-
-
- cutty sark
- mantua
- (and 2 more)
-
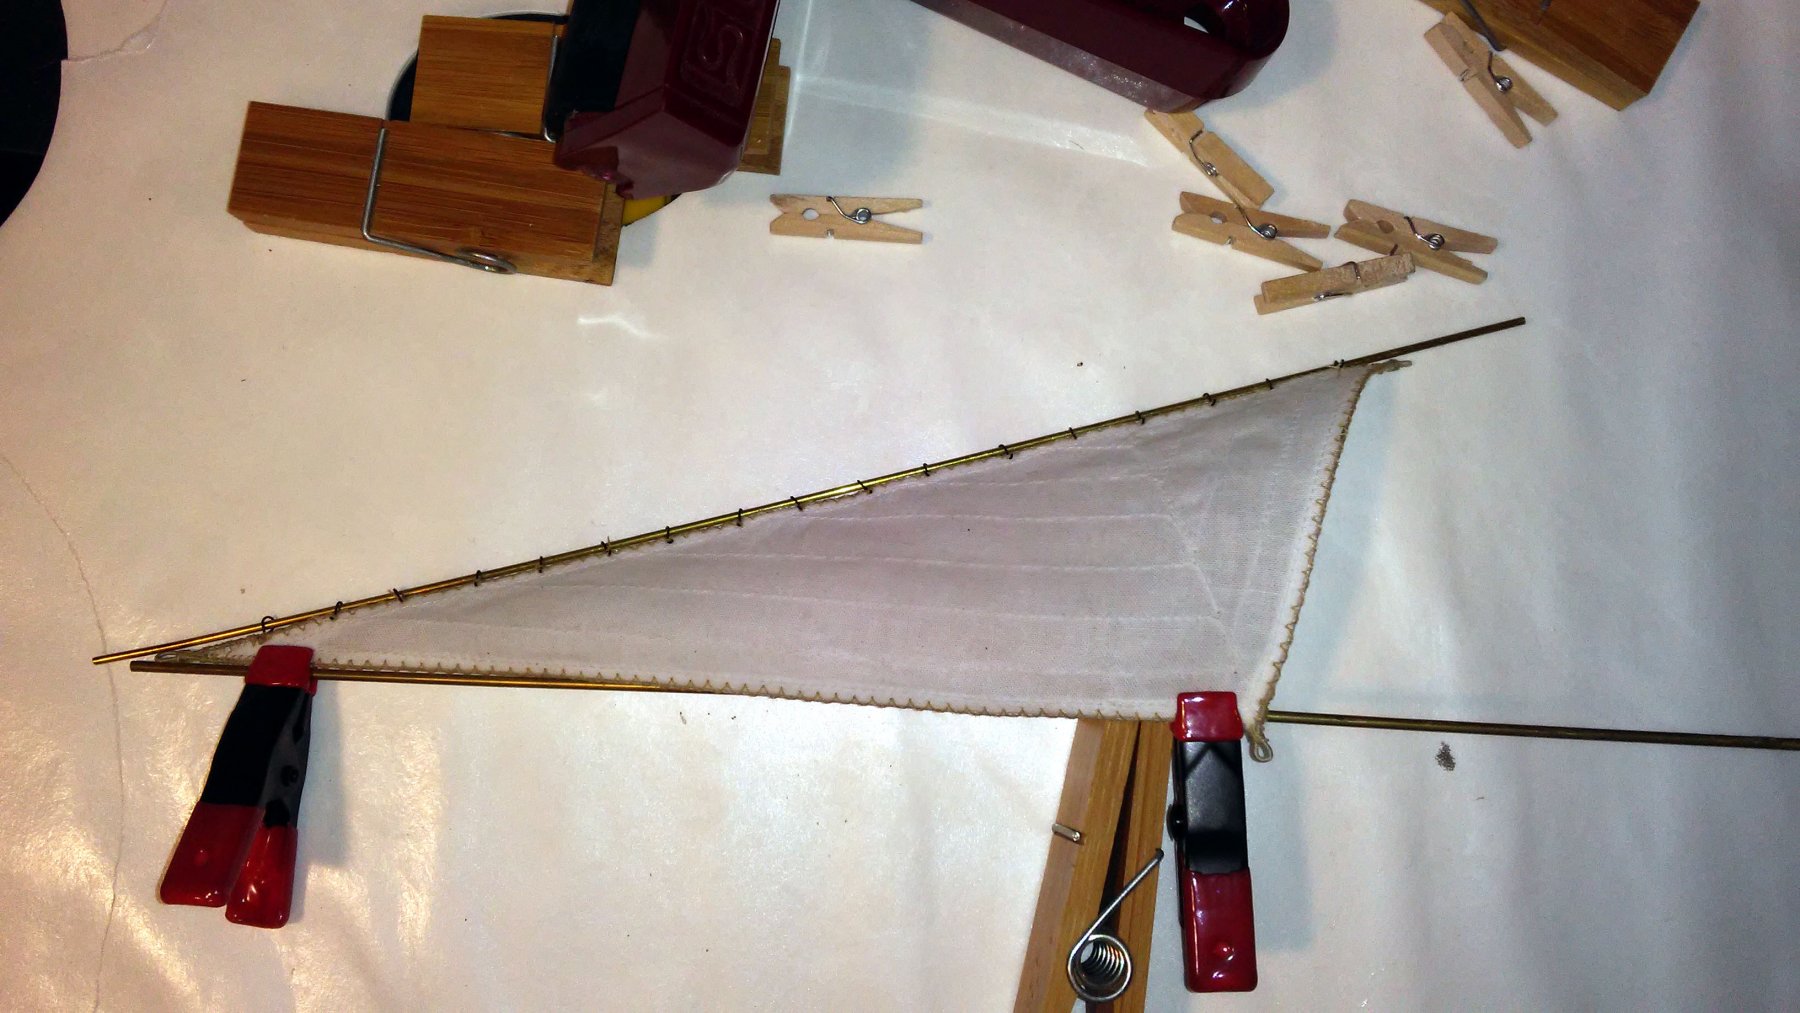
Hi, I don't seem to have photos of setting up the ratlines, but I'm sure that you've seen plenty. Also I do have photos earlier of the ratlines. I did make one change which is a knot that Dan Vadas uses to finish the ratline. I'll take a photo and post it later, but he has a great explanation. I'll also look for the link to his post. All of the stay at this point are served with chuck's machine. Also the sail's eyes are served. I used a method for forming the sails used described by Jersey Frank I used the Golden acrylic primer and applied it to the front and back of the sails. I put brass rods through the eyes to keep the sail strait. As it dried I pulled and used a hair dryer set on low to help form the belly. So here are my first results.
- 525 replies
-
- 4
-
-
- cutty sark
- mantua
- (and 2 more)
-
Hi everyone, It's been quite a long time since I've posted any progress. But, I have made quite a bit of progress over the past 5 months and although I haven't posted anything, I did take photos to share. Over the next few post I'll try to catch up on where I am. marc
- 525 replies
-
- 1
-
-
- cutty sark
- mantua
- (and 2 more)
-
Hi HOF, Great idea, but I'm way past the point of being able to go back and redrill the pinrail. oh well. I can't believe anyone will really notice. the missing stays were really just the doubling used for strength on the actual ship. Cheers Marc
-
Cutty Sark by NenadM
keelhauled replied to NenadM's topic in - Build logs for subjects built 1851 - 1900
Hi Nenad, Glad all is relatively well. We need to make sure that we keep life in balance and it sounds like you are doing a good job of it. The Cutty will be there when you need her. All the best, Marc- 4,152 replies
-
- 4
-
-
- cutty sark
- tehnodidakta
- (and 1 more)
-
Cutty Sark by NenadM
keelhauled replied to NenadM's topic in - Build logs for subjects built 1851 - 1900
All the best Nenad. I'll keep you in my thoughts and prayers Marc- 4,152 replies
-
- 5
-
-
- cutty sark
- tehnodidakta
- (and 1 more)
-
combination of set and furled sailes - yard angles
keelhauled replied to keelhauled's topic in Masting, rigging and sails
thanks Frankie. I thought that there might be a rule. It doesn't seem like there is. I spent more time looking through period photos and painting with the same observations that you made. It does appear that the majority have the furled yards raked like those yards with their sails set. Thanks again!! Marc -
Hi, I'm rigging my clipper with the royals and sky sails furled, but the topsails set. I want to rig it close hauled. do the furled sails brace slightly corkscrewed with the topsail yards or are they braced perpendicular to the keel? Thanks Marc
-
They are excellent at replacing bad parts and respond quickly. Really a great company!!
-
Looking like a masterpiece under construction! Keep up the great work! Marc
-
HI Mark, Looking good! Like everyone else, I'm sorry to hear of your frustration. I have the same issues with frustration and life getting in the way. Due to work travel and trying to make up for being gone so much. Until last week I wasn't able to work on the ship since September. Also, it is why I've been working on this ship since 2003. I'm finally rigging and attaching sails. keep on doing a great job!! Also I just posted to your question about the burton. If your question was about the Cutty or a clipper, then my answer applies, if not then just skip it. Take care, Marc
-
Hi everyone, I'm not sure what period or type of ship that Mark is working on, however, there is a burton pendant that leads down to fish tackle on clipper ships. It is located on the topmast crosstree. The burton pendant and fish tackle are for helping to cat and get the anchors on board. The end of the pendant has an eye or shackle that running end of the line runs through making a loop. This pendant is looped is located over and around the finished forward topmast crosstree. An example is the Cutty Sark. The pendant and tackle could be easily removed for stowage once the ship was out at sea. As to the fore stays, if this ship is a clipper, the burton pendant and fish tackle run between the stays when the stowed, with the hook of the fish tackle blook attached to the pin rail before the bowsprit or to an eye attached to the bowsprit itself. The Cutty Sark has a dedicated eye on the bowsprit just above the deck. When the rig is being used it was led over the fore stays to the side of the ship it was being using. If you look on youtube there is an educational video of the Star of India raising the anchor using the burton pendant and fish tackle. Maybe this helps. Thanks Marc
-
Cutty Sark by NenadM
keelhauled replied to NenadM's topic in - Build logs for subjects built 1851 - 1900
Nenad, Nice work. We always seem to be building the same parts over and over. I was rigging last night and re-made the same fish tackle 4 times. The third time I used a flame to burn off the little fine hairs on the line and forgot that I had waxed the line earlier with a wax solvent mixture that apparently wasn't fully dried. The line which was rigged on the ship went up in flames instantly. luckily it only burnt the one line and didn't hurt the ship or any other rigging. So I won't be using any techniques with open flames anywhere near the ship going forward. every trial is an opportunity to learn - hopefully! Marc- 4,152 replies
-
- 7
-
-
- cutty sark
- tehnodidakta
- (and 1 more)
-
As long as you are having fun it doesn't matter. Otherwise it isn't a hobby. If that is the case your collectors or clients will dictate the amount of detail either by desire or costs. If it is your hobby, put in whatever detail you like and exclude those that you don't like working on. In the end if it wasn't fun, then why did you spend your time on it?
-
Cutty Sark by NenadM
keelhauled replied to NenadM's topic in - Build logs for subjects built 1851 - 1900
Looking good! very realistic look to the canvas!- 4,152 replies
-
- 6
-
-
- cutty sark
- tehnodidakta
- (and 1 more)
-
Cutty Sark by NenadM
keelhauled replied to NenadM's topic in - Build logs for subjects built 1851 - 1900
very nice hatches! the last photo you have of the actual cutty has the canvas and the iron bars with their wedges that were used to "batten down the hatches" I don't know if you've ever heard of that phrase, but that is what they are speaking of. Really nice work on such a small scale! Marc- 4,152 replies
-
- 3
-
-
- cutty sark
- tehnodidakta
- (and 1 more)
-
Cutty Sark by NenadM
keelhauled replied to NenadM's topic in - Build logs for subjects built 1851 - 1900
Congrats on the addition! Nice work on the ship also. I've been on the road on and off for the past month and just catching up. Keep up the good work!- 4,152 replies
-
- 3
-
-
- cutty sark
- tehnodidakta
- (and 1 more)
-
Cutty Sark by NenadM
keelhauled replied to NenadM's topic in - Build logs for subjects built 1851 - 1900
Great work Nenad!- 4,152 replies
-
- 3
-
-
- cutty sark
- tehnodidakta
- (and 1 more)
-
Cutty Sark by NenadM
keelhauled replied to NenadM's topic in - Build logs for subjects built 1851 - 1900
Hi Nenad, It looks like the net was there later in her life. referring to your post with the photos of the net: The top photo is from 1954. The middle is 1927 and the bottom is 1945. From 1922 to 1954 she was a training ship. I don't know if her being used as a training ship had anything to do with the addition of the net or maybe changes in regulations. I don't think you can go wrong by adding it to her. After all, it was there at one point. marc- 4,152 replies
-
- 5
-
-
- cutty sark
- tehnodidakta
- (and 1 more)