HOLIDAY DONATION DRIVE - SUPPORT MSW - DO YOUR PART TO KEEP THIS GREAT FORUM GOING!
×


keelhauled
-
Posts
788 -
Joined
-
Last visited
Content Type
Profiles
Forums
Gallery
Events
Everything posted by keelhauled
-
 Michael and Chasseur, thank you for the kind words! Marc
- 525 replies
-
- 1
-

-
- cutty sark
- mantua
- (and 2 more)
-
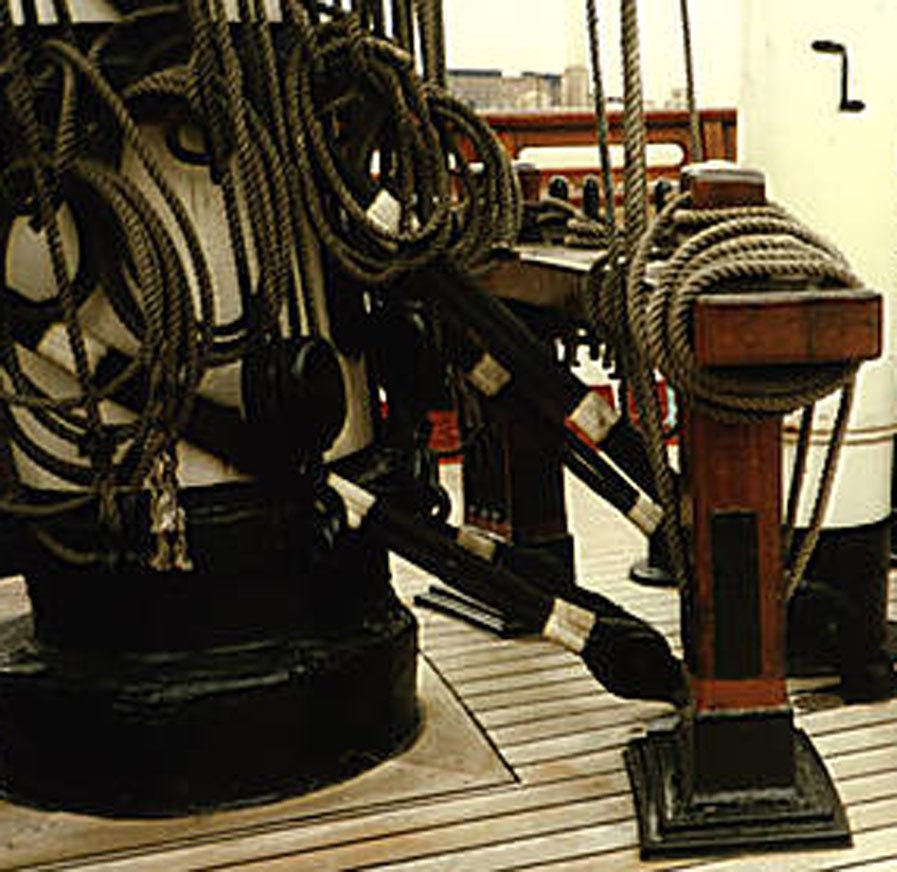
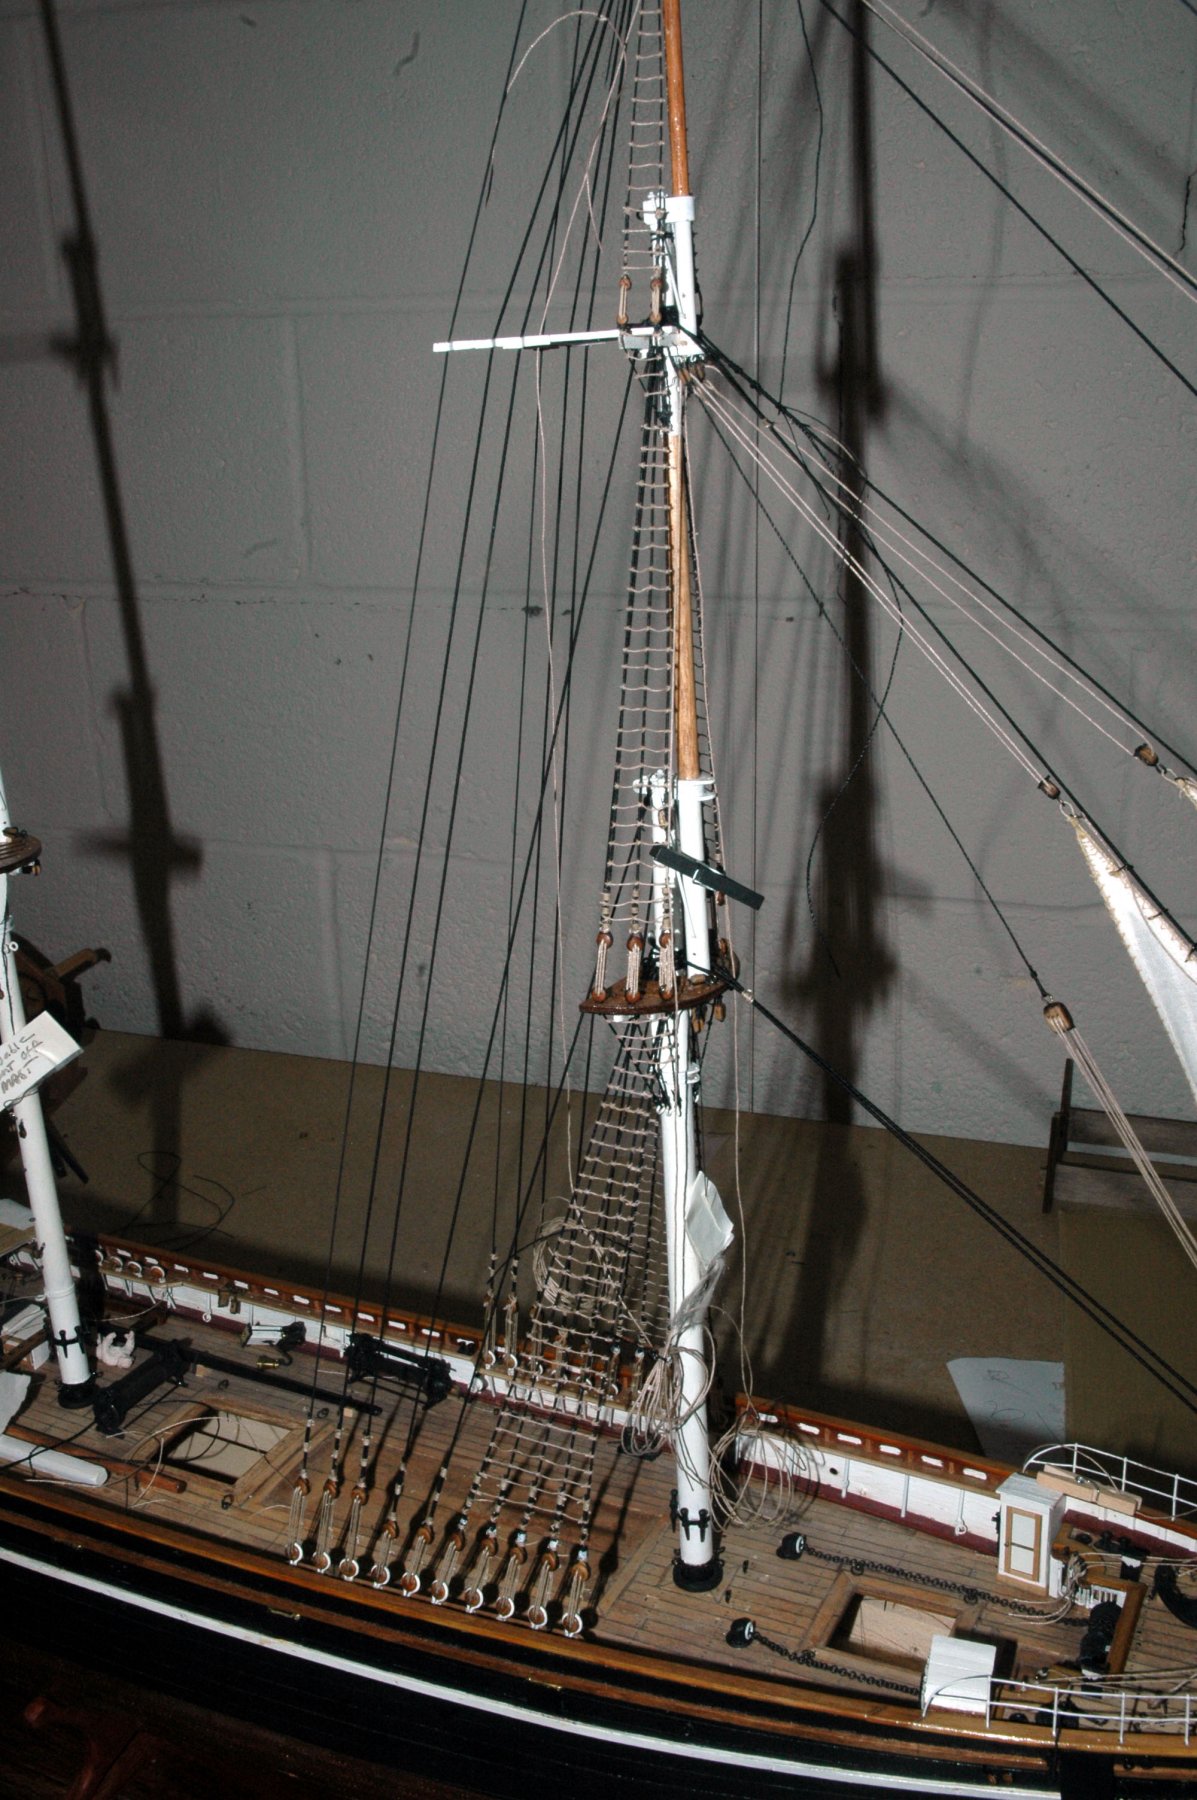
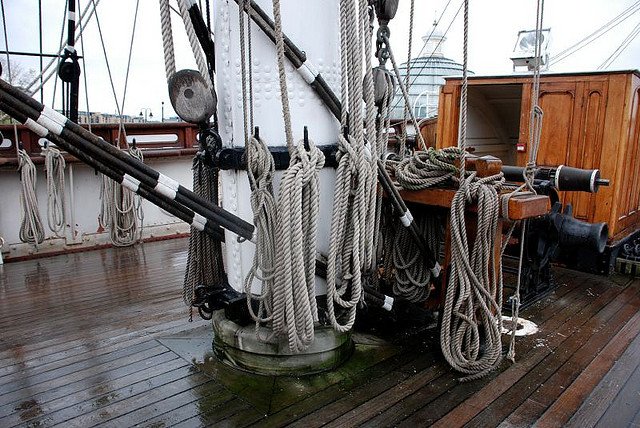
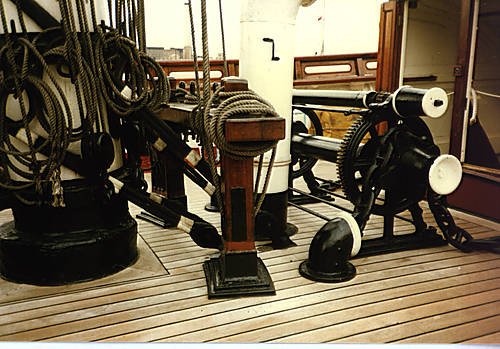
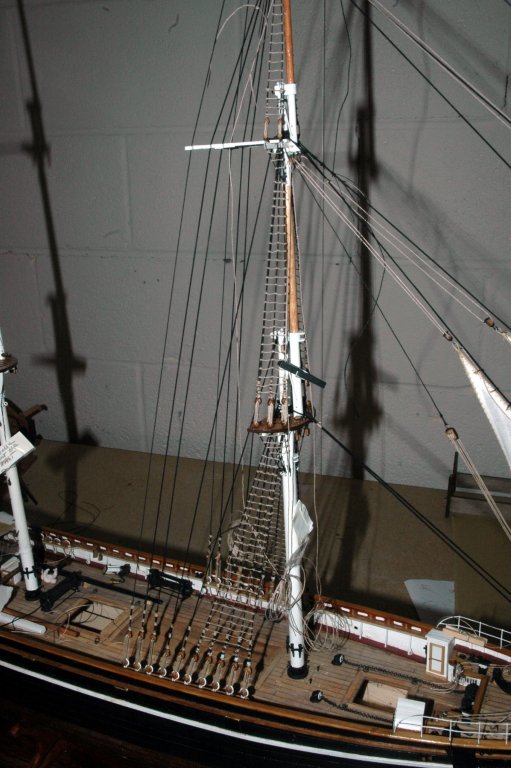
Thanks Dennis and Nenad. The compliments mean a lot to me coming from you gentlemen. I attached the fore course and started rigging the lines. shouldn't have been that much work, but the chains for the lower top sail sheets were a pain and I ended up breaking a chain which meant I had to undo all of the work and replace the chain and start again. I'll have to wait a couple of weeks to post photos. Another snag. My original thought was that I would rig the standing rigging of the fore mast, install the sails on the foremast. I would then repeat the procedure with the main and mizzen masts respectively. As opposed to installing all of the standing rigging and then installing the sails and running rigging. My thought was that I would have unobstructed access to the aft of each mast as I was working on it and it would be easier. Probably true. However, the problem I have is that the Main Mast stay and Main top stay run extremely close to the spider bands, sheet blocks and lift blocks on the main mast. In fact the stays run behind the blocks - that is between the blocks and the mast. I might not be able to judge the correct distances or correct any issues due to scale issues. Hopefully these photos show what I'm talking about. I think that I need to install the stays and then the blocks with the running rigging. I can adjust the hooks on the bottom blocks for the main stays or the distance between the blocks to accommodate the main top mast stays, but I can't change to the location of the stays to accommodate the running rigging - at least not after the fore mast is rigged. So I will revert to the traditional method of rigging. Marc
- 525 replies
-
- 4
-
-
- cutty sark
- mantua
- (and 2 more)
-
Cutty Sark by NenadM
keelhauled replied to NenadM's topic in - Build logs for subjects built 1851 - 1900
Hi Nenad, Happy to see you back in the ship yard! I hope all is well with you and your family! The captain's gig looks good! What are you using for planking? Marc- 4,152 replies
-
- 5
-
-
- cutty sark
- tehnodidakta
- (and 1 more)
-
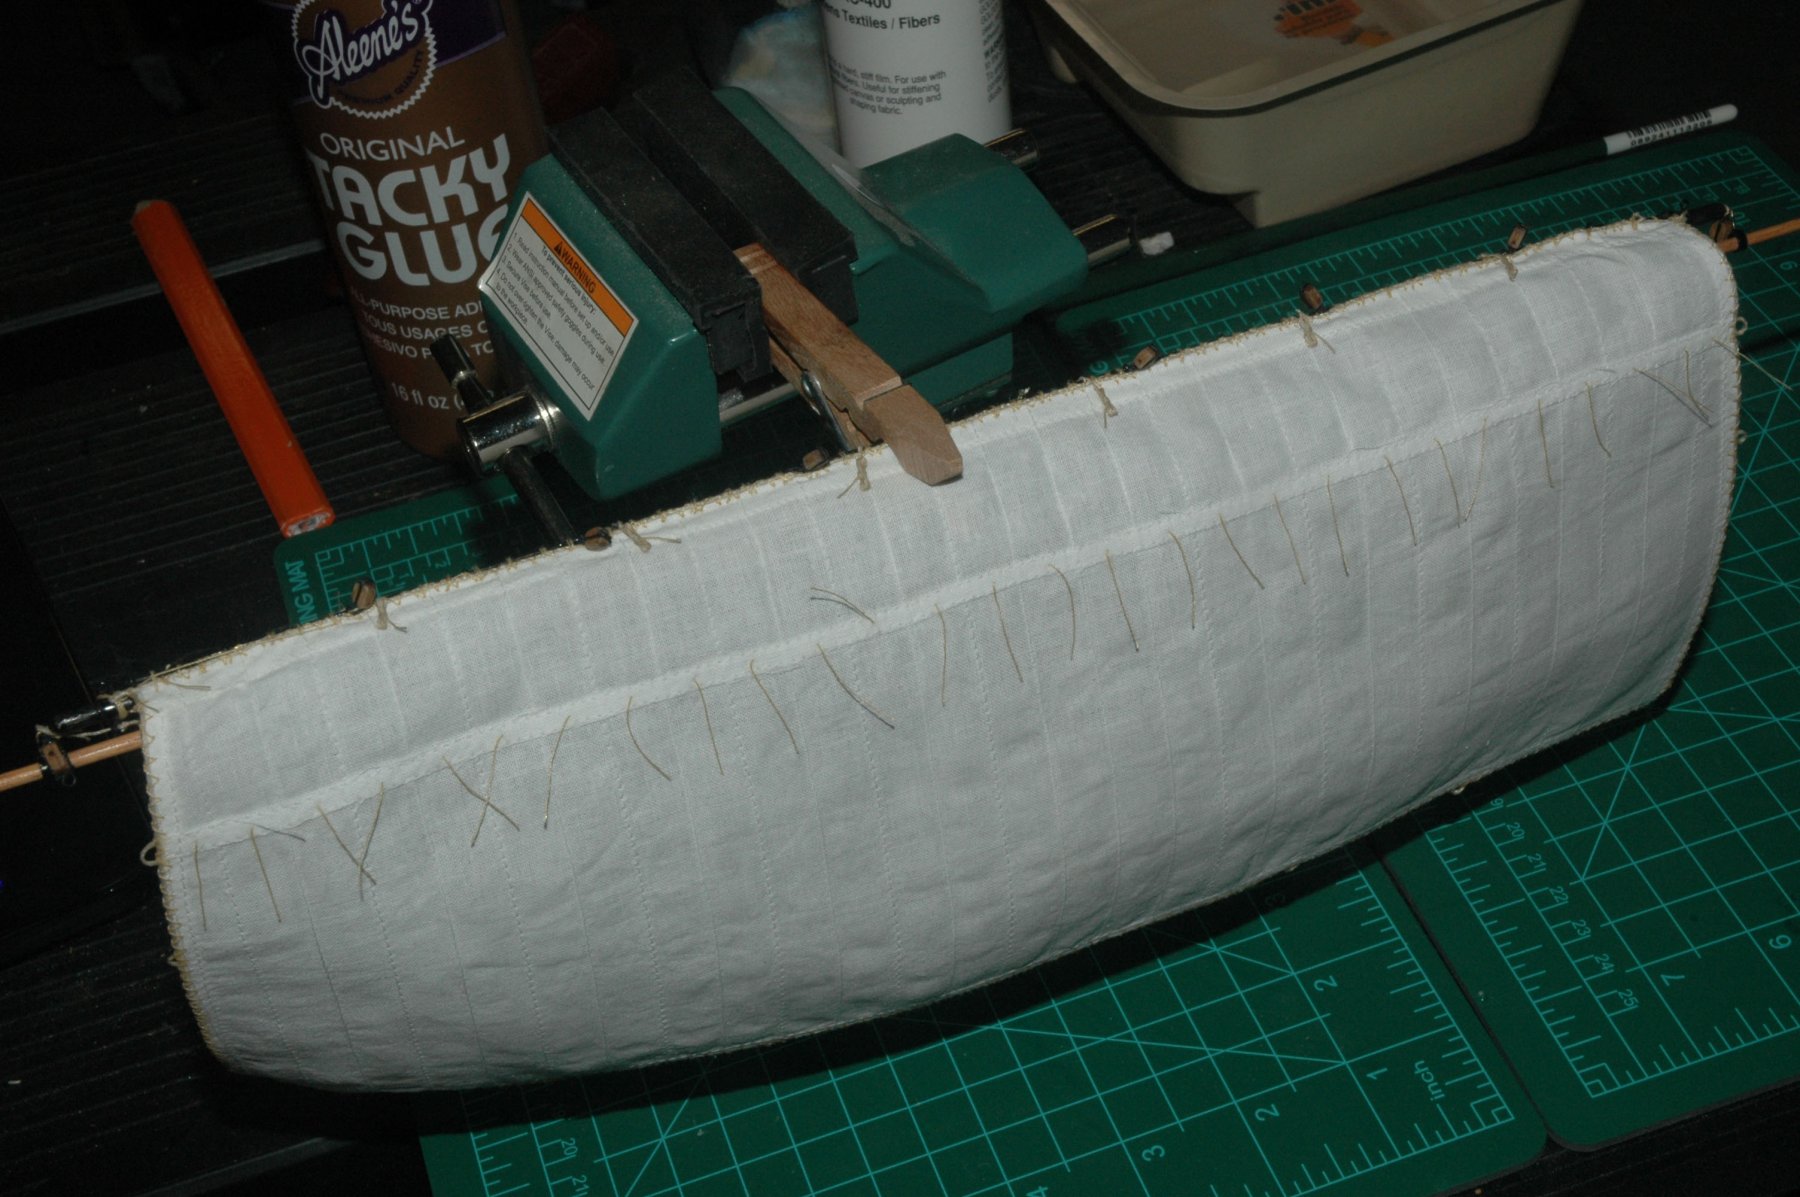
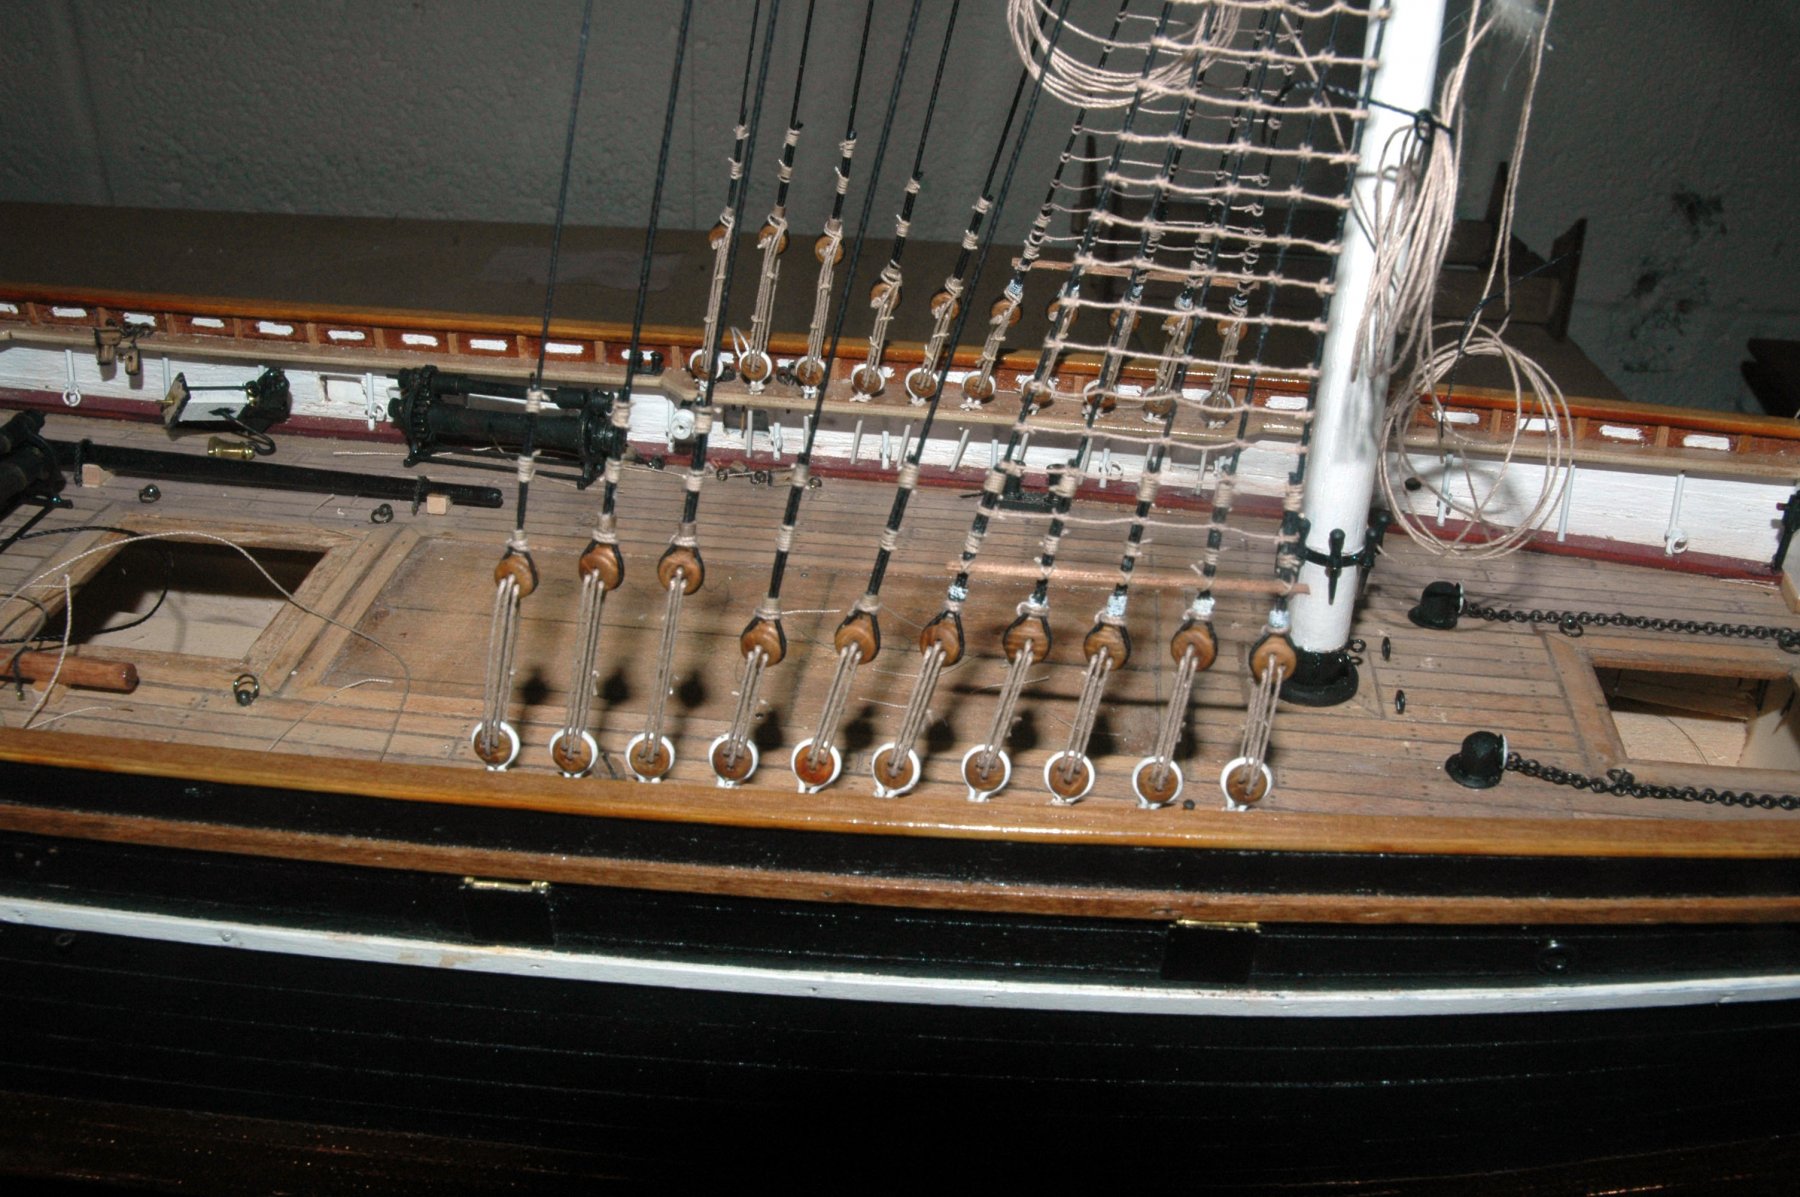
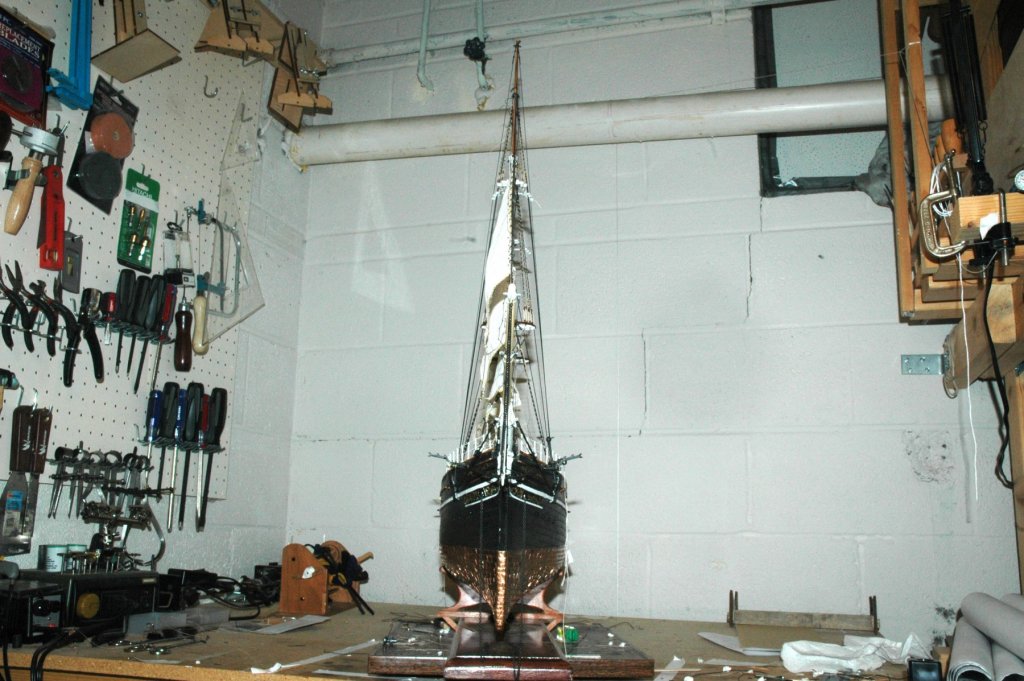
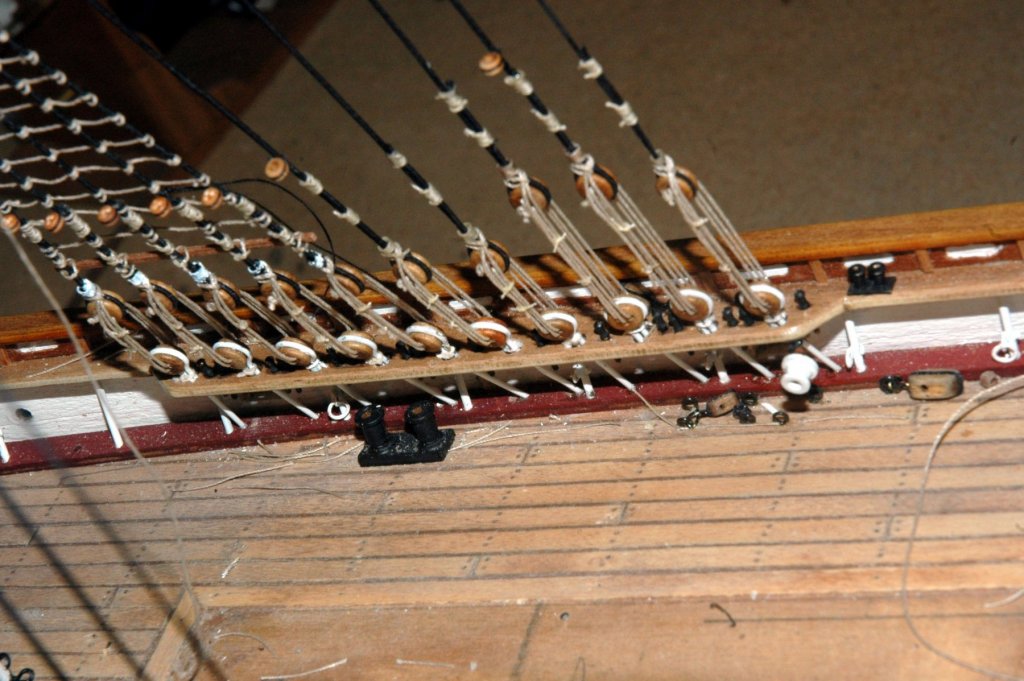
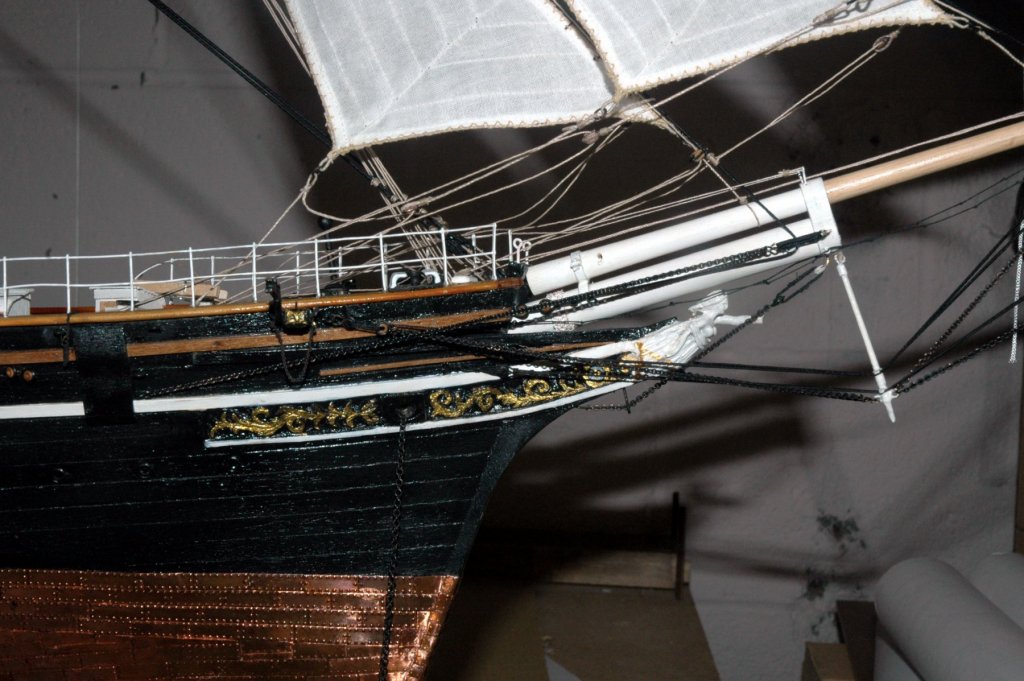
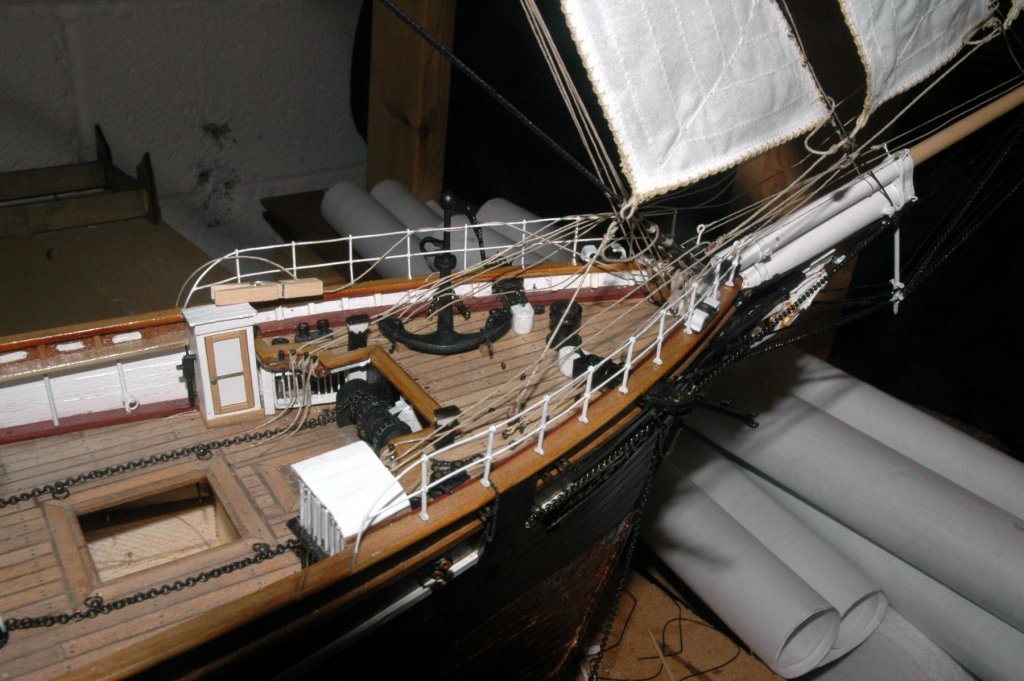
So more progress while I continue to serve lines for the standing rigging of the main mast. Here are some shots of the sheets for the fore staysail and jibs belayed . A few shots of the shrouds with the deadeye lanyards finished with cow hitches per cambell. Also the fairleads have been attached for the running rigging A couple of shots checking the alignment of the masts. You can't see it in the photos, but I used a suspended plumb bob and levels on the hull to check the vertical alignment. Here is a photo of the course being formed using the same method as used for the jibs.


- 525 replies
-
- 7
-
-
- cutty sark
- mantua
- (and 2 more)
-
Thanks Dennis. Life does get in the way. Although, I wouldn't have it any other way . Spent this evening in the ship yard serving lines. All of the Cutty's standing rigging is fully served. I must have spent hundreds of hours now on Chuck's serving machine. Tonight was the topmast shrouds and the t'gallent stays. My fore arm is killing me now. I must endure pain for my craft!
- 525 replies
-
- 3
-
-
- cutty sark
- mantua
- (and 2 more)
-
Thanks Popeye! I appreciate the feedback. By the way you have quite a pirate ship you're working on in addition to your clipper. very nice!
- 525 replies
-
- 1
-
-
- cutty sark
- mantua
- (and 2 more)
-
Looks like you're having fun!! Good to break up your other build with a light distraction every now and then.
- 140 replies
-
- 4
-
-
- jolly roger
- lindberg
- (and 1 more)
-
I like the large guns. never know when the pirates will strike! Also, when she is racing, she could used them to blow out the competitor's stern if she is passed. Marc
- 453 replies
-
- 5
-
-
- thermopylae
- sergal
- (and 1 more)
-
very nice! The chain plates look great! really nice build. Beautiful execution!
-
Rigging Instructions 1/96 Revell Constitution
keelhauled replied to kruginmi's topic in Masting, rigging and sails
Interesting change. This was the ship that started my hobby. I ended up rigging the model in much more detail than the kit using other sources, but always went back to check against the kit instructions because of their clarity. Still think this is a great model kit. Marc -
Hi Grant, I'm just catching up with the build. Unfortunately my jaw is hurting from it continually hitting the floor. The work and the results are just amazing. Love the wheel, the planking, the finish, the whole package. Just amazing!!! marc
- 339 replies
-
- 3
-
-
- dumas
- Chris-Craft
- (and 3 more)
-
My admiral thought that she might like to make a model and work beside me while I worked on mine. I bought a small solid hull viking ship that she picked out. We chose a very simple kit. It lasted a day. She became frustrated cutting the laser cut pieces out with the xacto knife. But, she tried. She also does not sew my sails. I had to go out buy a sewing machine and have my mother-in-law show me how to operate it. Then the admiral come to me with sewing jobs that she wanted completed!!
- 453 replies
-
- 9
-
-
- thermopylae
- sergal
- (and 1 more)
-
Very nice jig! more milling and lathe magic! the plates are really coming along.
-
Seems odd to me. Is there anything inboard that the sheets would foul with when the rest of the running rigging is in place? When actually sailing I don't think it would be an issue - the windward line would be slacked and the lee would most likely be off the shrouds, at least I think I have that correct. But it does look off on a bare pole model. I've seen some schooners at the docks with the sheets coiled and stowed near or beside the windlass - might be an option if you are sure of the run and you don't like the look.
-
Don't know why it wouldn't. It's my understanding that European privateers were often converted merchant ships or small retired navy ships. Not sure about American privateers, but I can't believe that it wouldn't have some decoration.
-
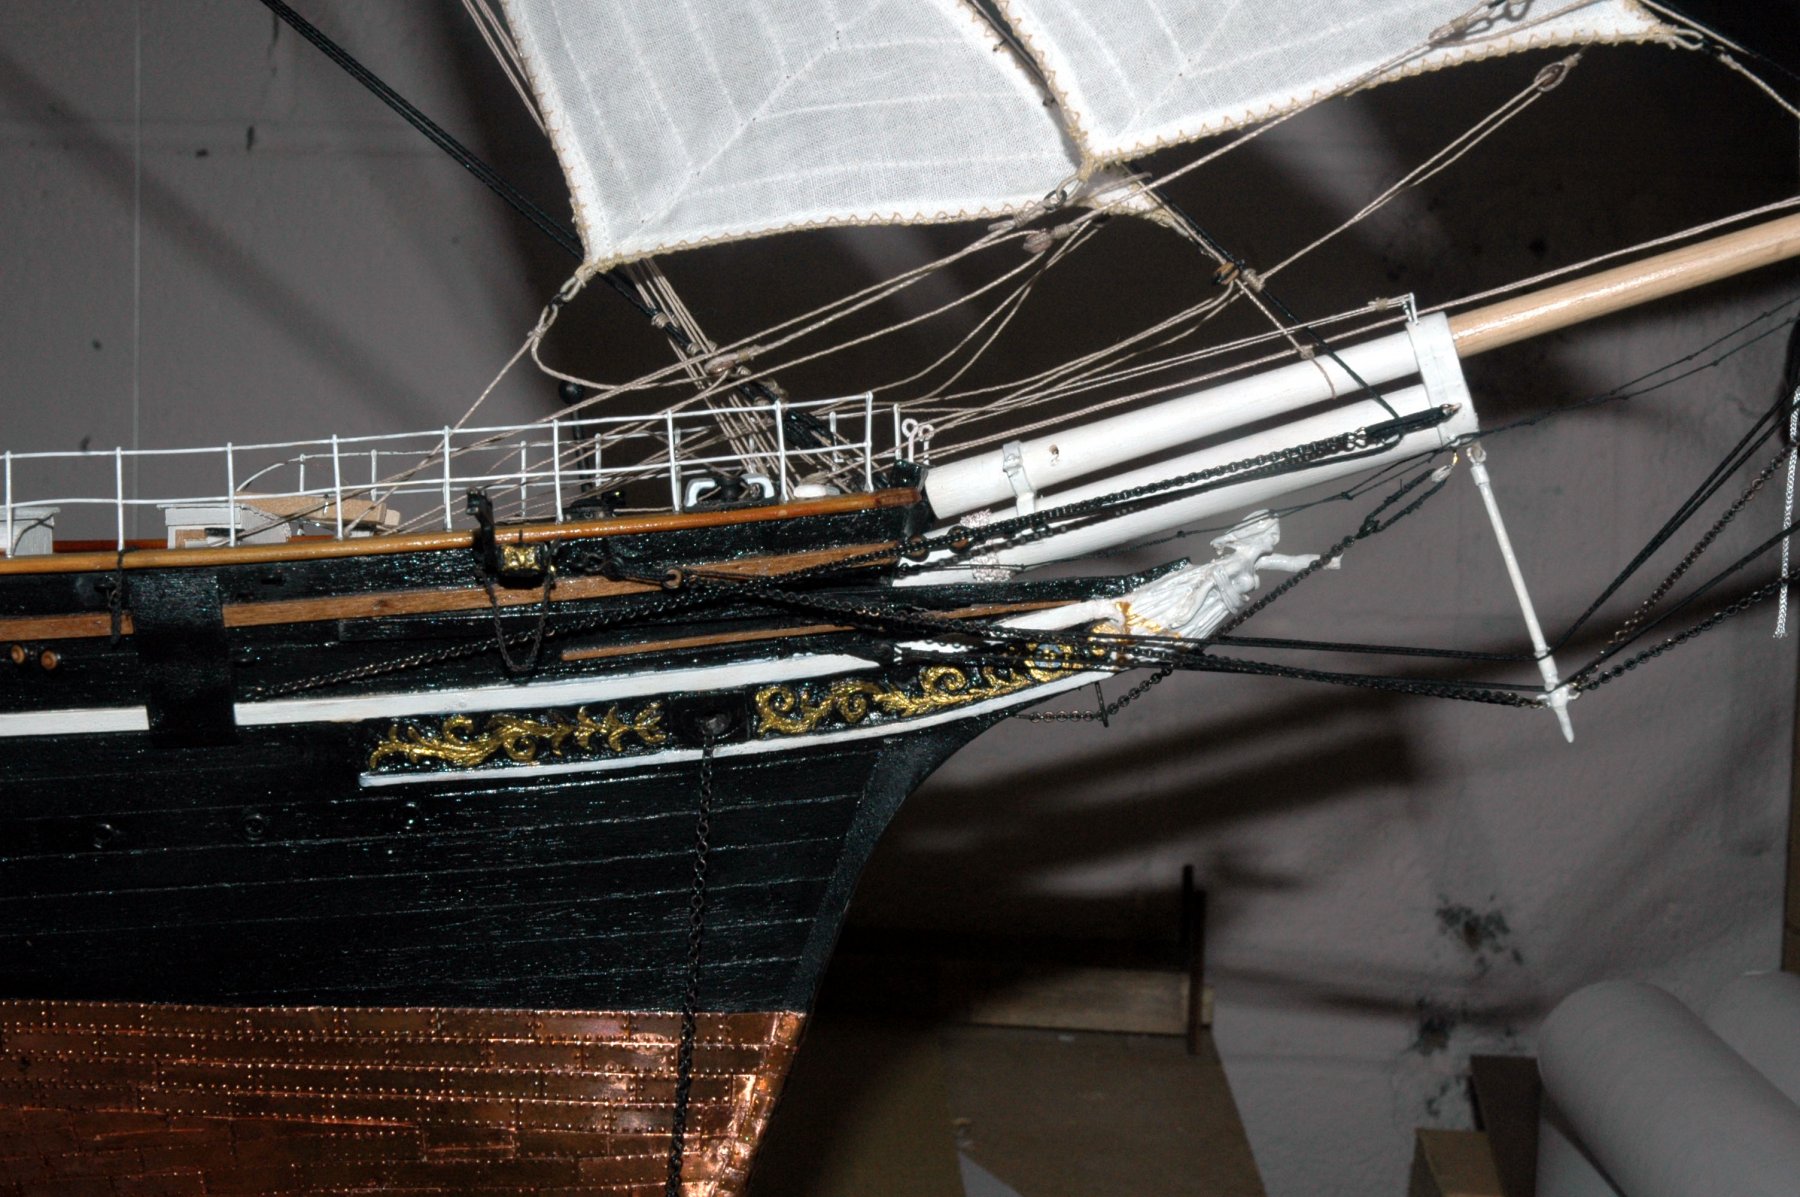
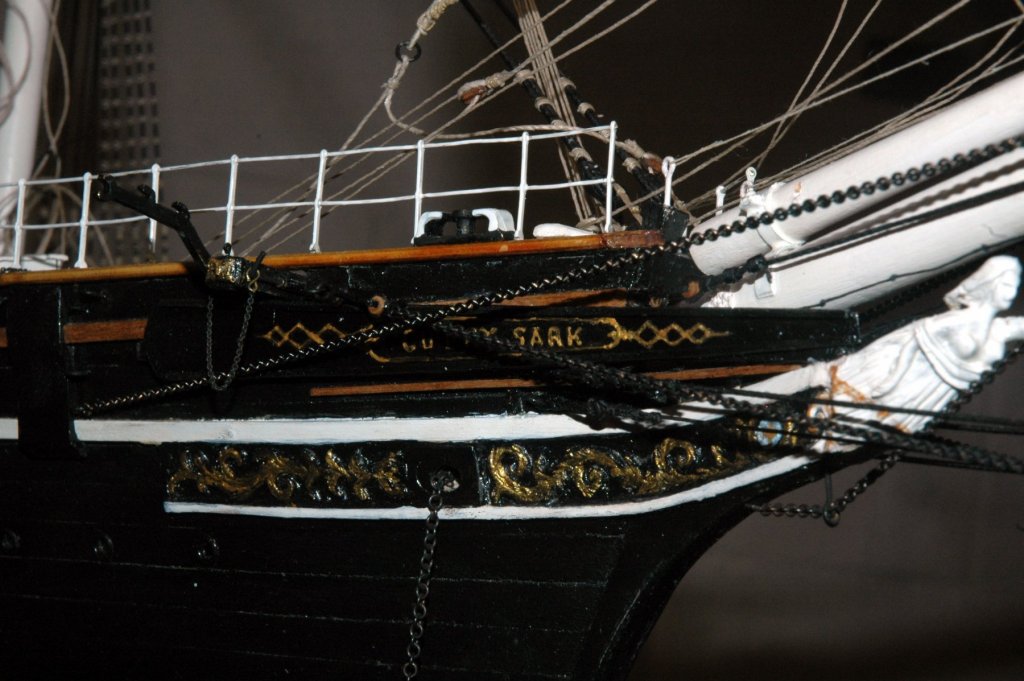
More catching up on the build. I built the billboards and installed them before the surgery. My painting might not be the best, but I think it turned out ok
- 525 replies
-
- 6
-
-
- cutty sark
- mantua
- (and 2 more)
-
Congratulations! A beautiful build. thanks for allowing us to follow along! Marc
- 1,051 replies
-
- 3
-
-
- cheerful
- Syren Ship Model Company
- (and 1 more)
-
Hi Graham, Very nice work. I love the way you incorporated the Actual Ship's materials into the model. Well done! It appears that you're very skilled in fabricating metal work - very beautiful mounting pedestals. Thank for the clear descriptions of the tools, jigs, and approaches you are using. thanks Marc
-
I wish that I could work as fast as you operate! I see that you have work completed on the masts already! I'm enjoying the build! Marc
- 453 replies
-
- 6
-
-
- thermopylae
- sergal
- (and 1 more)
-
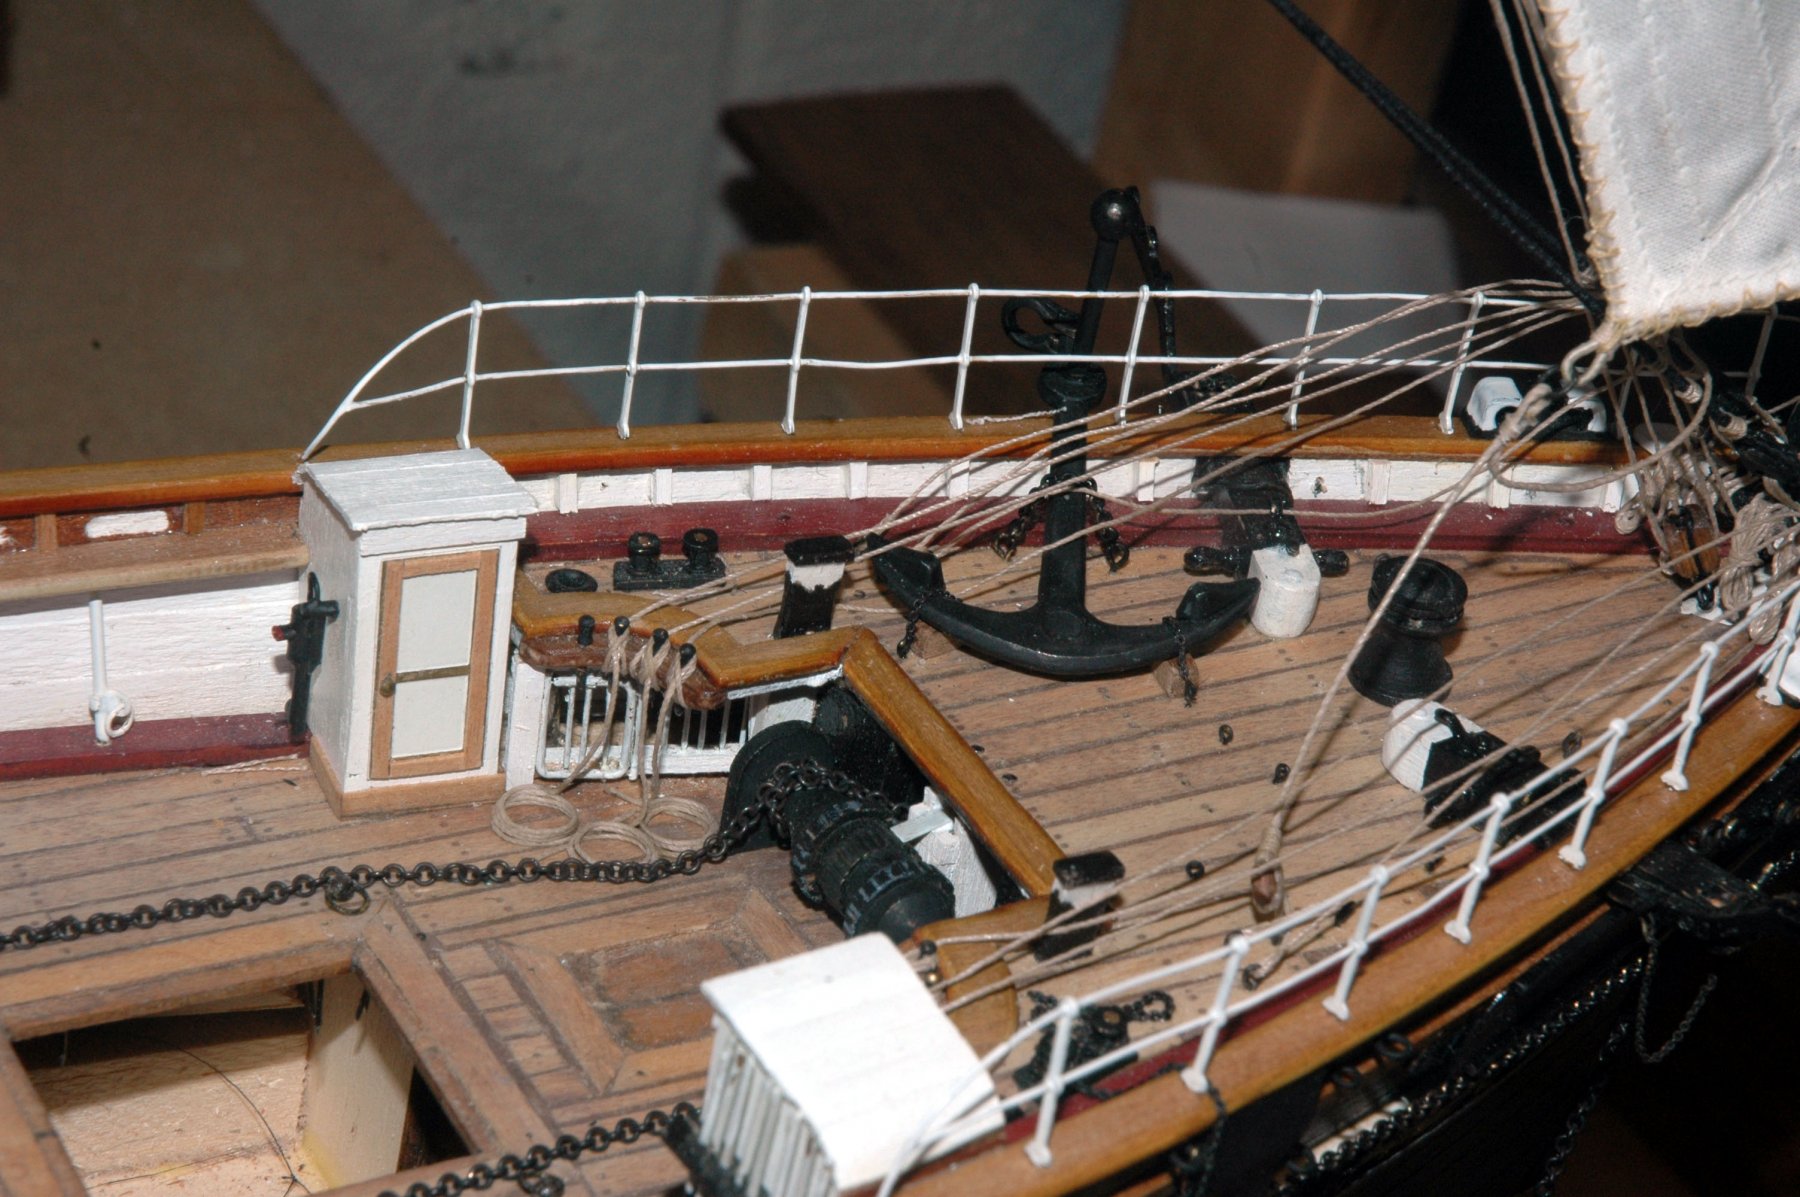
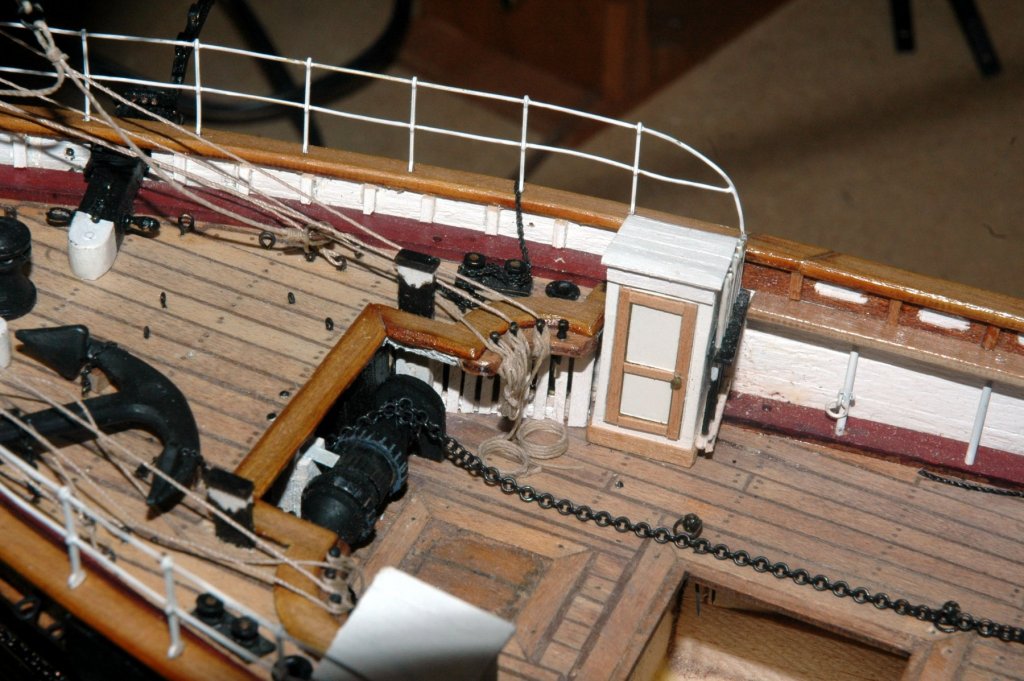
Popeye, You're no dummy, I'm missed installing the rails on the actual ship. then I realized that I had glued the chain on the deck without allowing enough slack it feed it over the gears of the which! It's been bothering me since I went into the hospital three weeks back. For some reason it hit me while I was laying in the hospital bed. After teleworking, I went into my shop and and addressed the situation this afternoon. Don't tell my Admiral, I'm supposed to be in bed recovering. But now that I can walk and stand I had to take a shot. I only lasted an hour before I needed to go back and rest, but I managed to break my anchor chain, tear up the deck planking and break my windlass. one step forward two steps back seems to be a recurring theme for me lately! Shiphile, thanks for the compliment. Do you have a build log yet? I'd like to see your progress. Nenad! I'm so pleased you checked in! You have so much going on now!! I hear your Cutty calling, but she'll wait for you! Hopefully once I've recovered I can make up some build time while you take some away from your build -- you are always showing me up with all of your progress. I still think you'll finish before I do. Not that it is a race. Thanks! Marc
- 525 replies
-
- 1
-
-
- cutty sark
- mantua
- (and 2 more)
-
Chuck, Very nice anchors. I'm sure that I couldn't tell that they were not metal. The execution is the key to all of these illusions. Very nice work on the sling. Thanks for sharing your technique! Marc
- 1,051 replies
-
- 4
-
-
- cheerful
- Syren Ship Model Company
- (and 1 more)
-
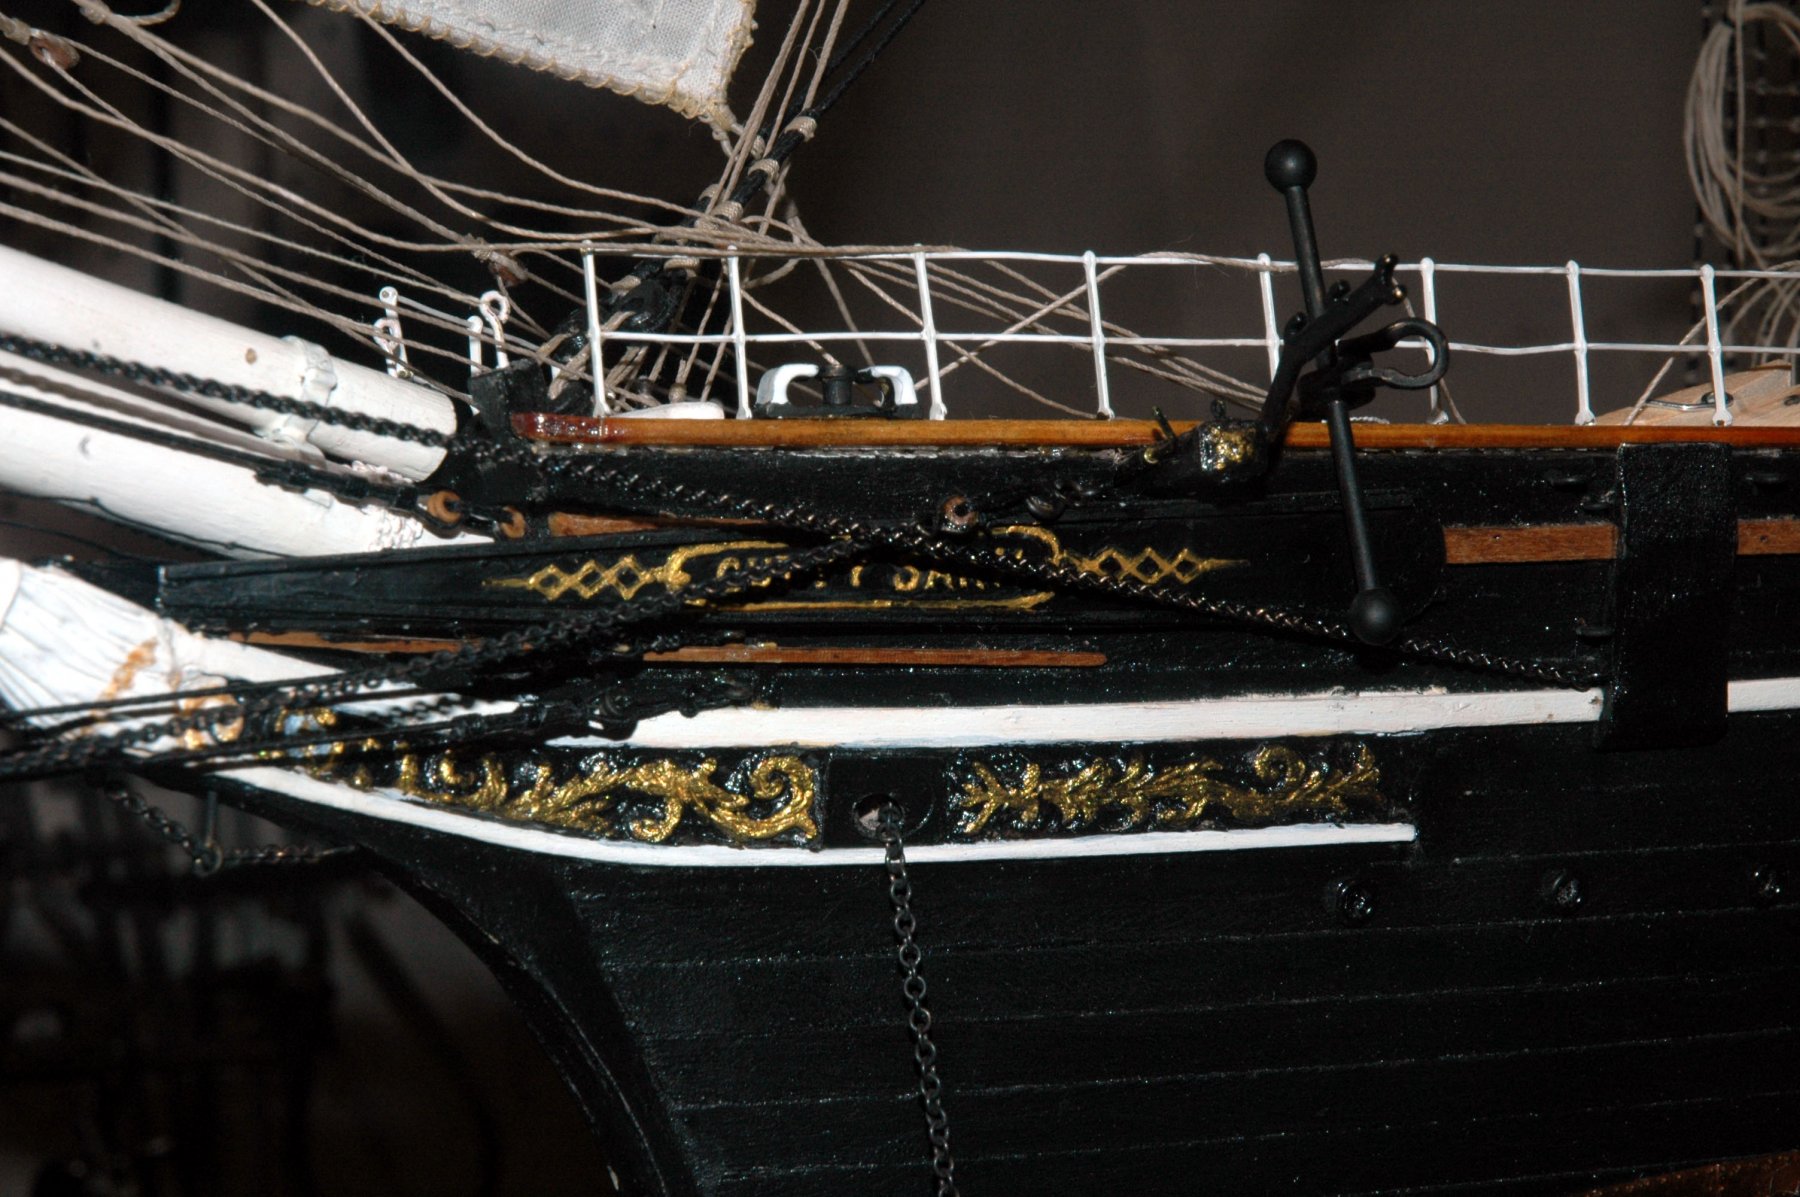
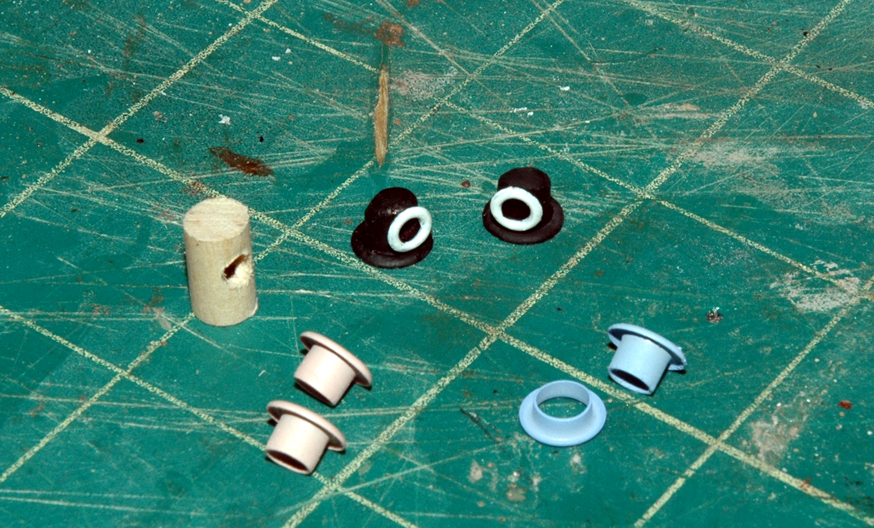
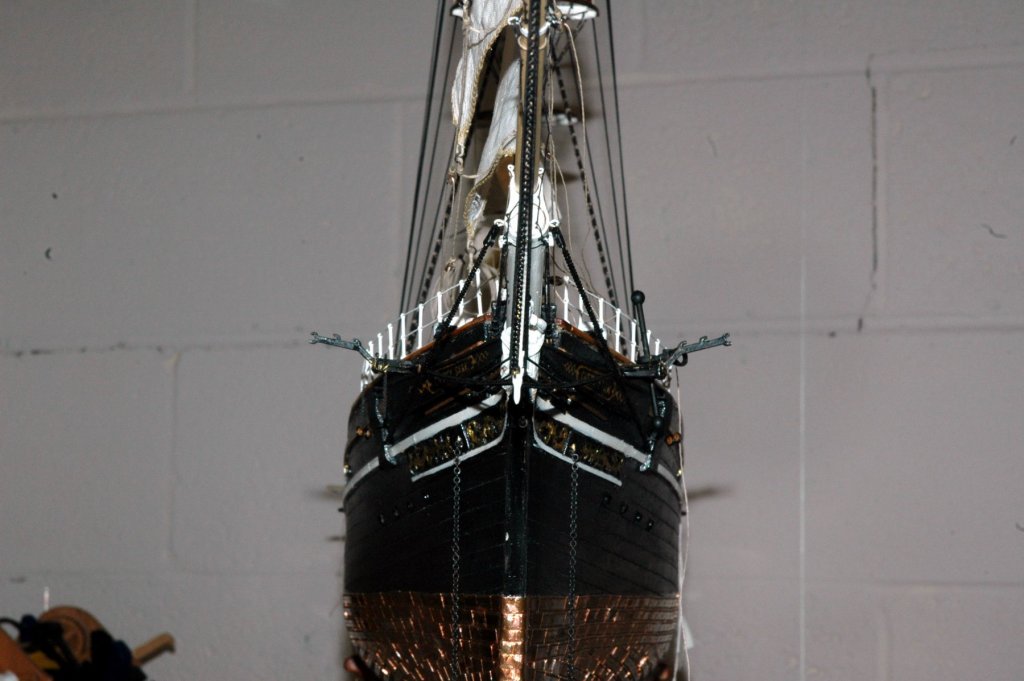
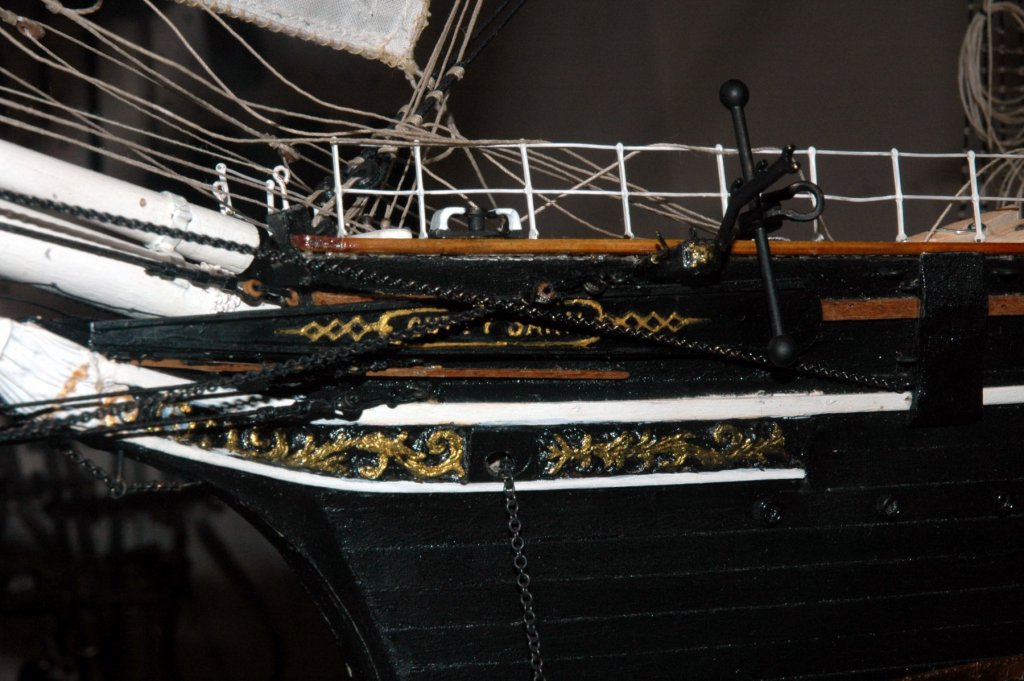
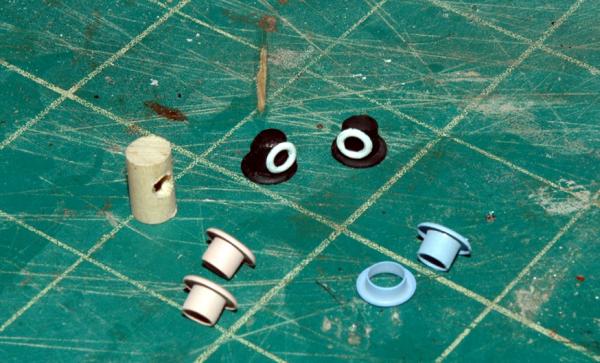
Michael and Lou, Thanks for the complements. Michael, I did about 50% of the needle work on the sails. Redak of www.radekshipmodels.cz did the other 50%. He worked with me on getting the initial work and a basic suit of CNC sails. You can check out some of my post on page 8. I added all of the bolt ropes. served eyes, etc. as well as 100% of some of the sails (As my sewing skills improved, I took a shot at experimenting with reshaping a couple of sails). I really like the translucence of the cloth. Our cloths are slightly different, but at six inches you can't tell the difference. It took about the same amount of time to sew and detail the sails as it did to plank and copper the hull - maybe longer. Lou, The actual hawse pipes on the bow are made from scrap booking eyes, which I've bent and shaped into ovals with a rat tail file and heating. For the anchor chain pipes that I made from eyes for scrap booking and a wooden dowel. I drilled the dowel from the bottom and side so that the chain can actually run through them. I used two sizes of the eyes. Thanks Marc
- 525 replies
-
- 3
-
-
- cutty sark
- mantua
- (and 2 more)
-
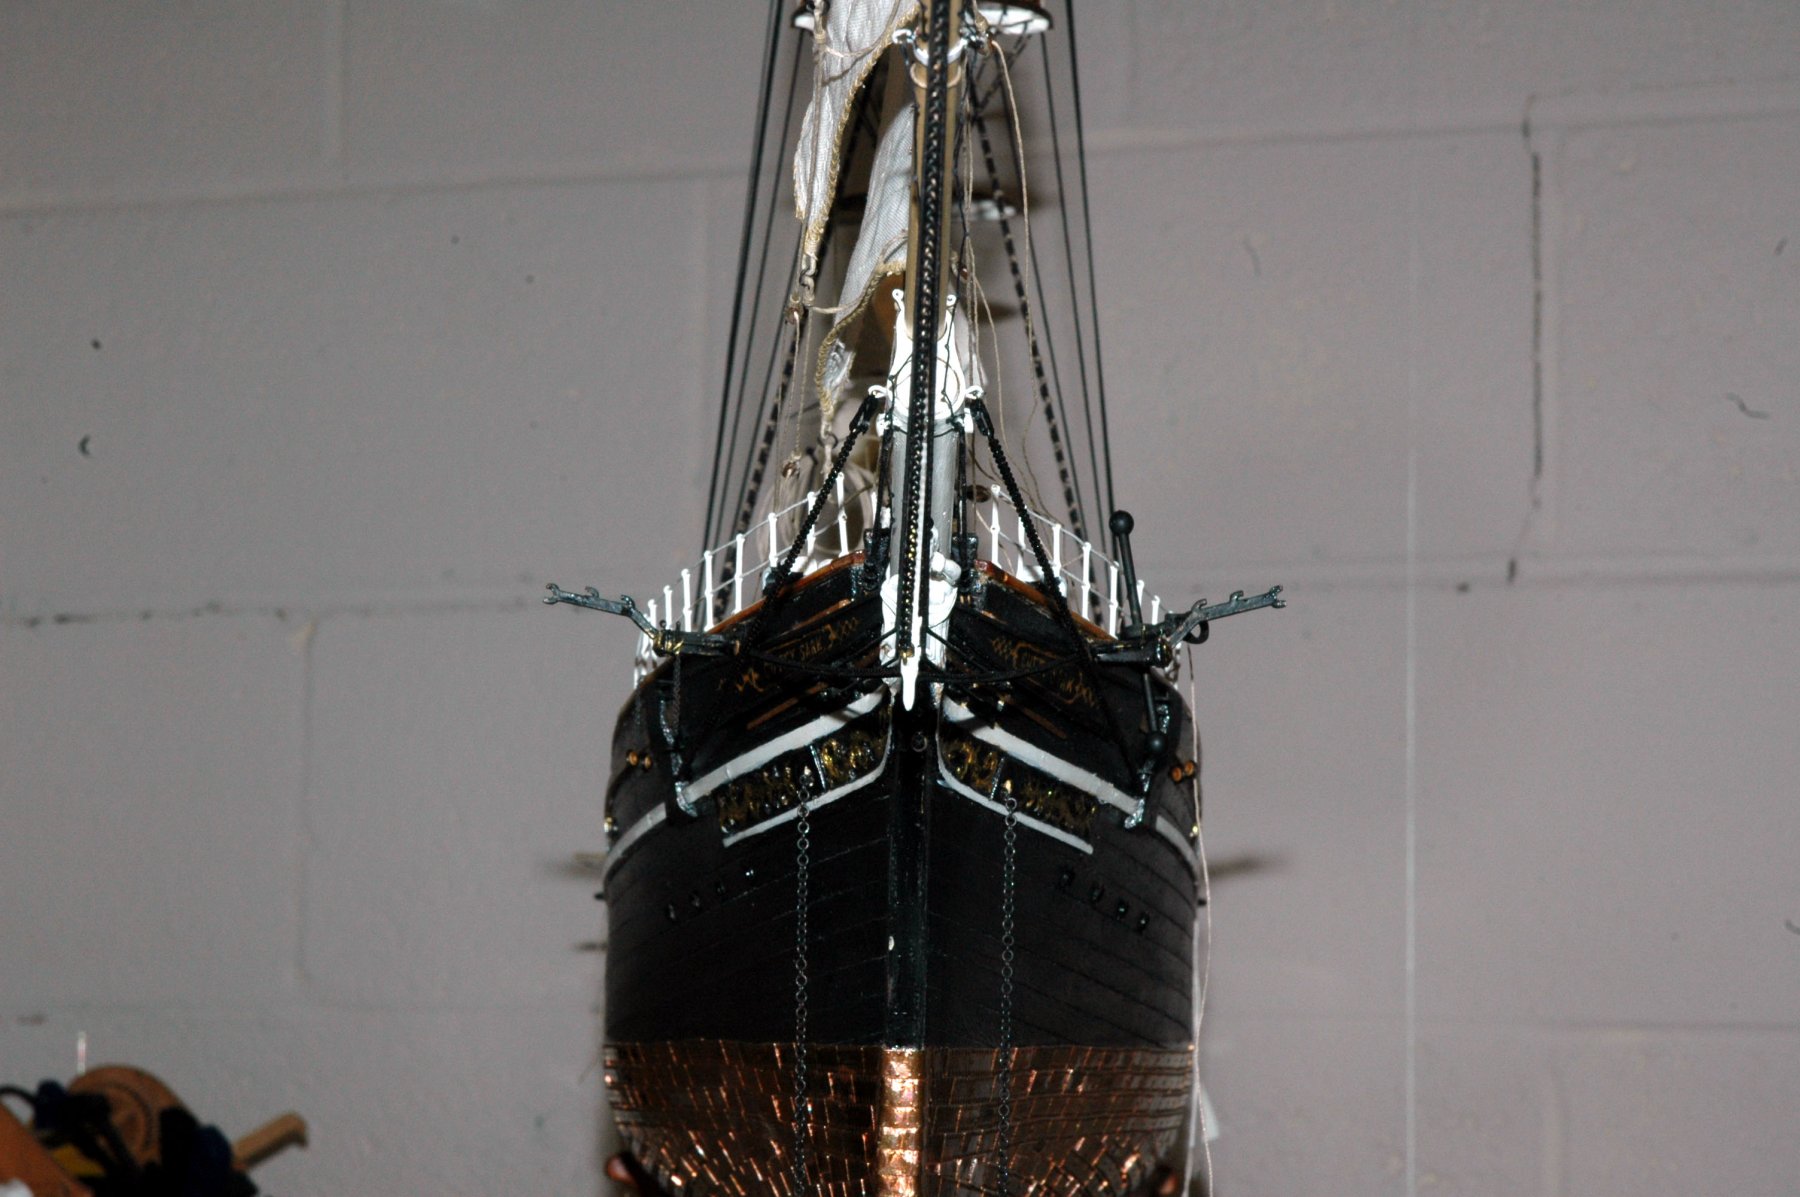
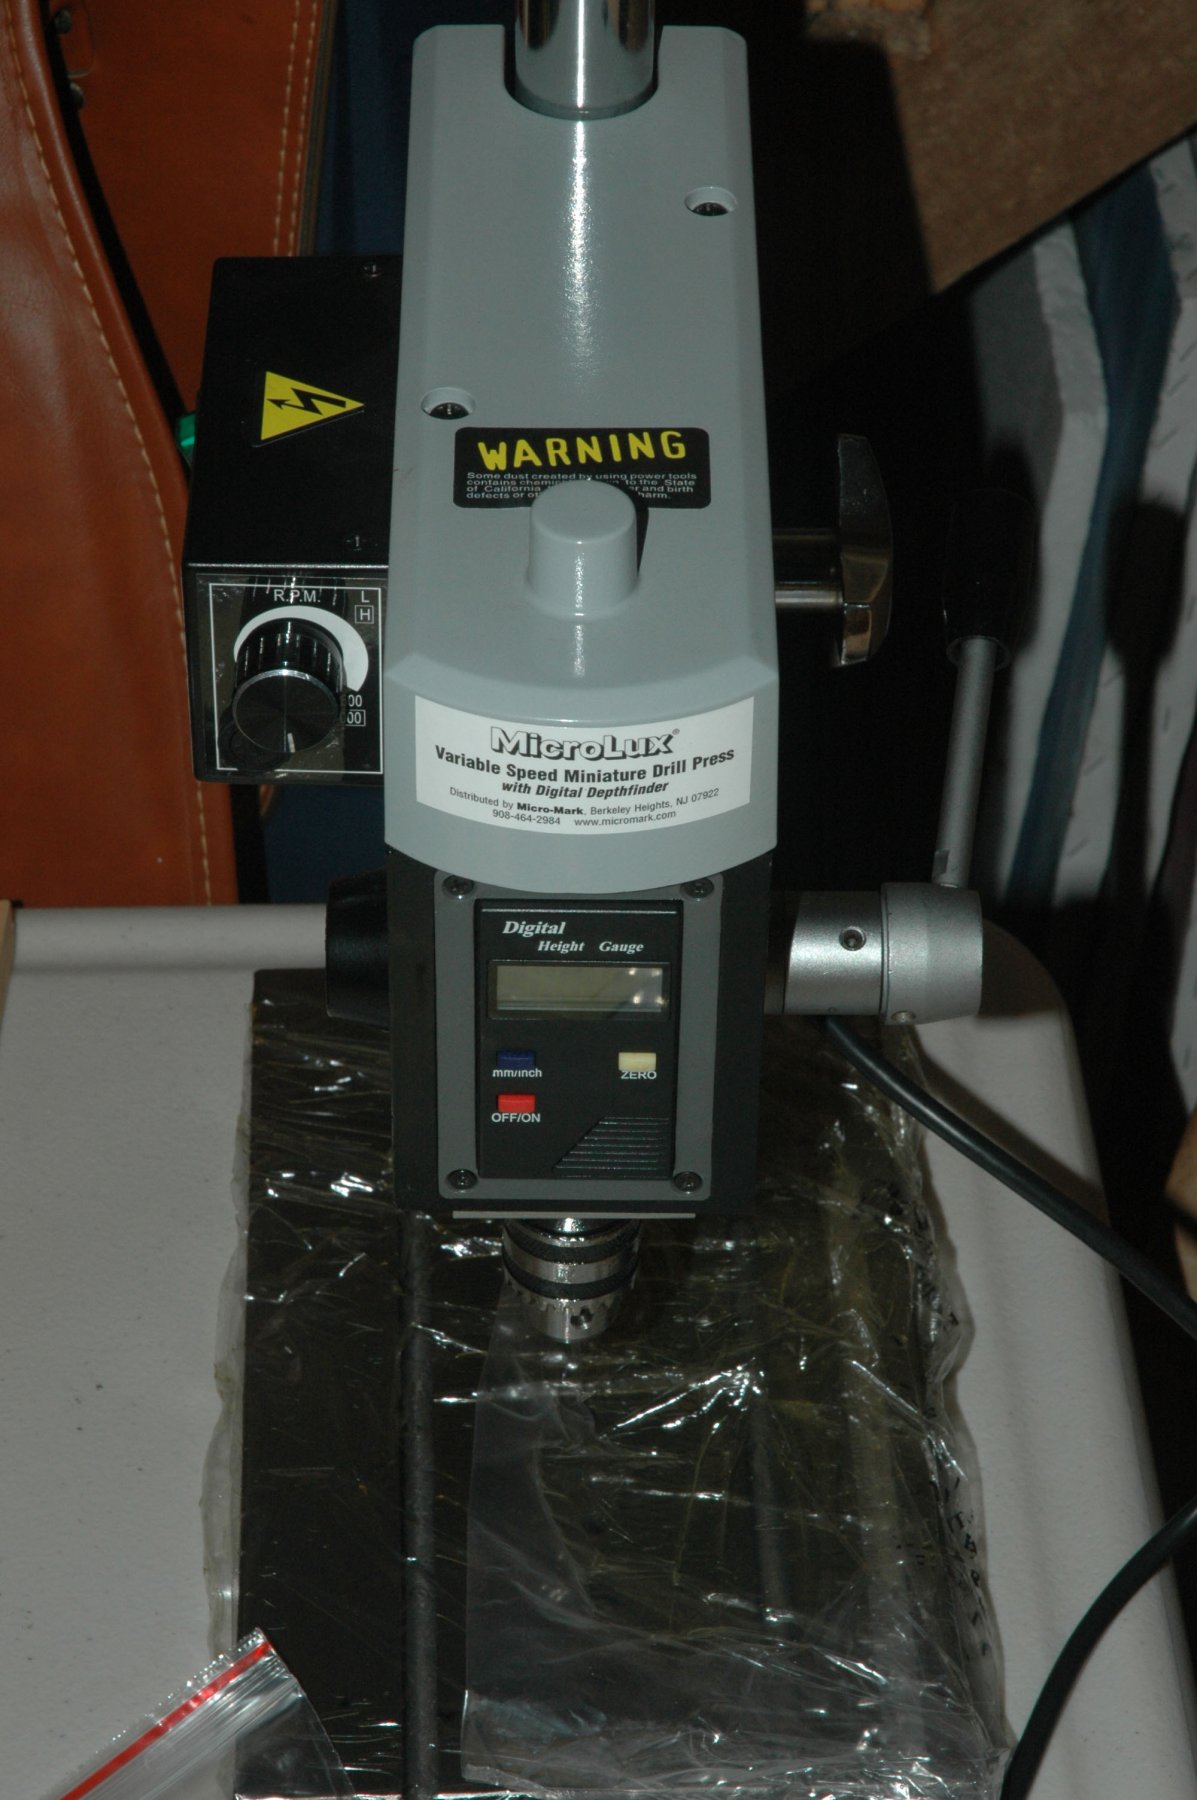
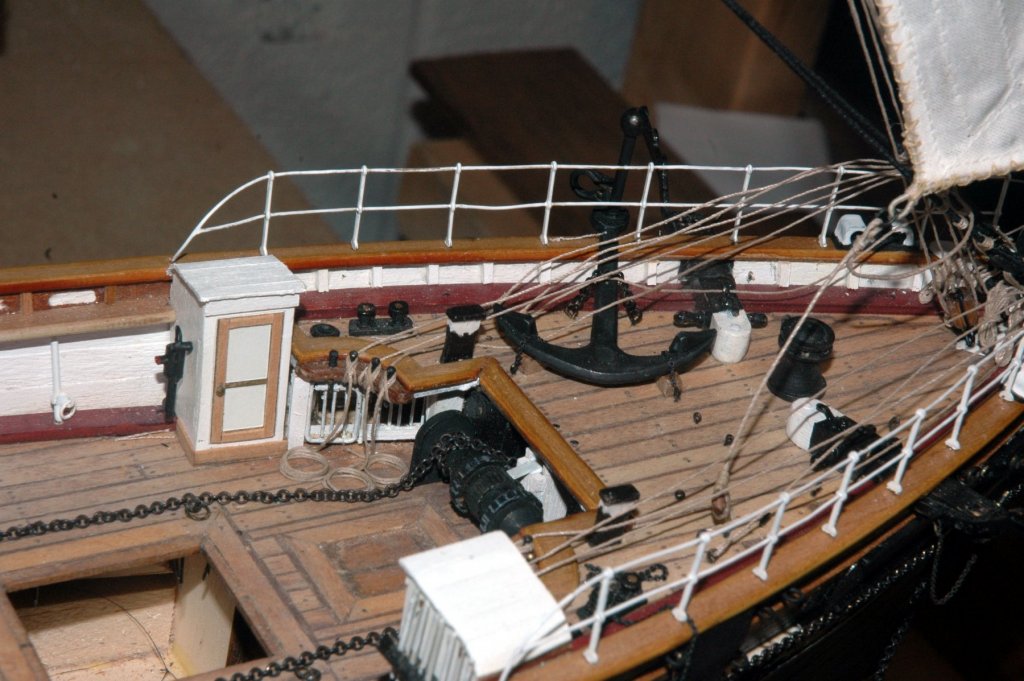
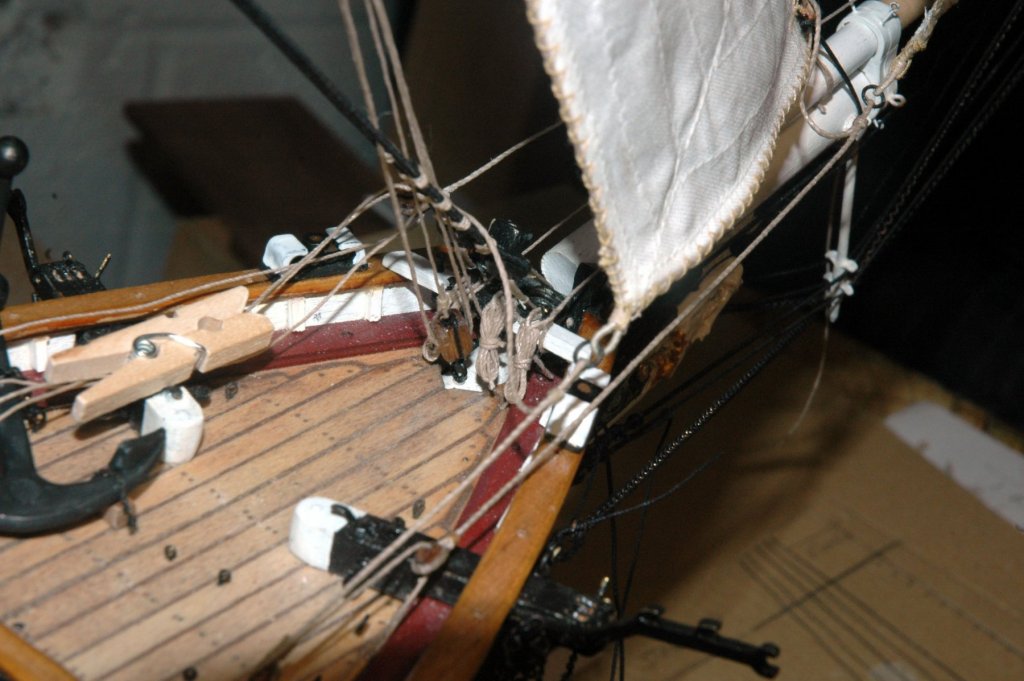
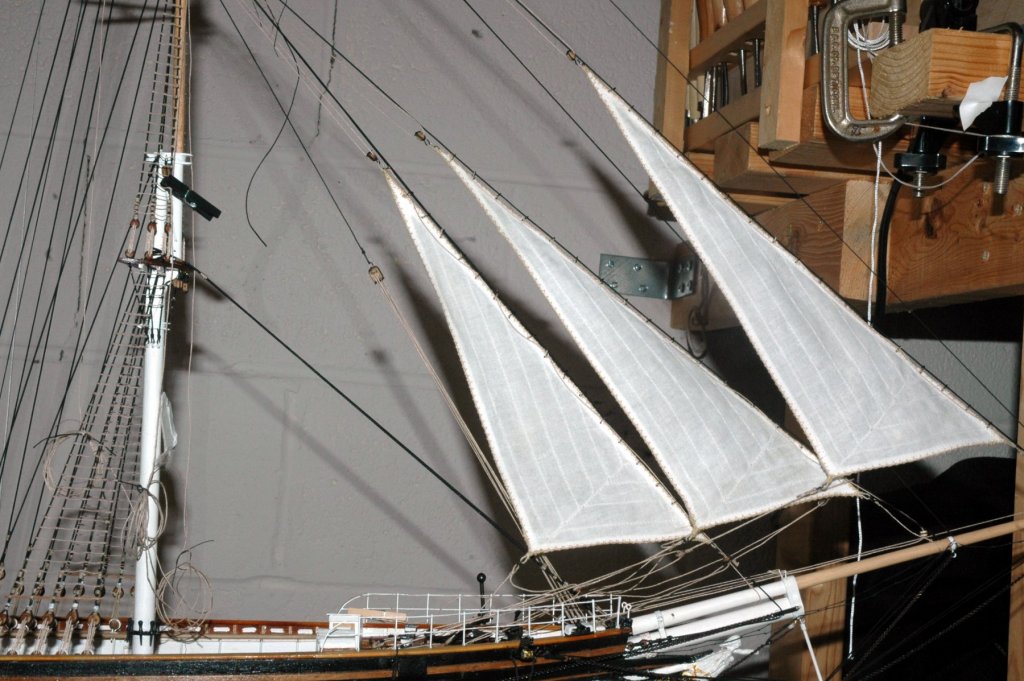
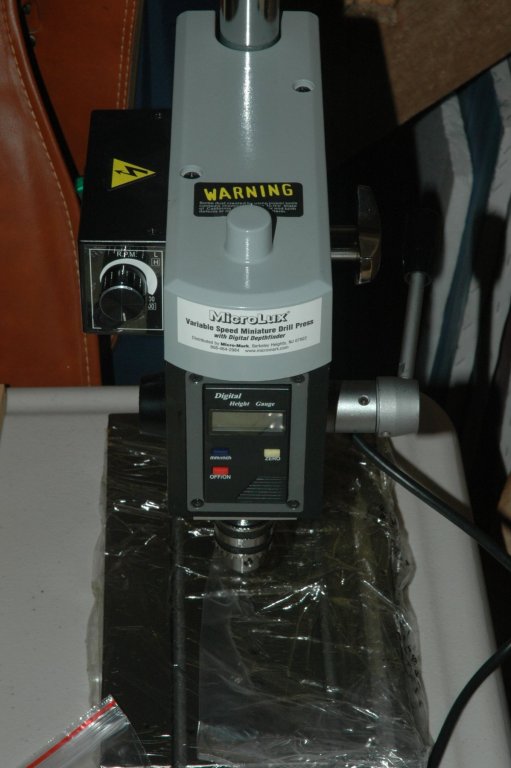
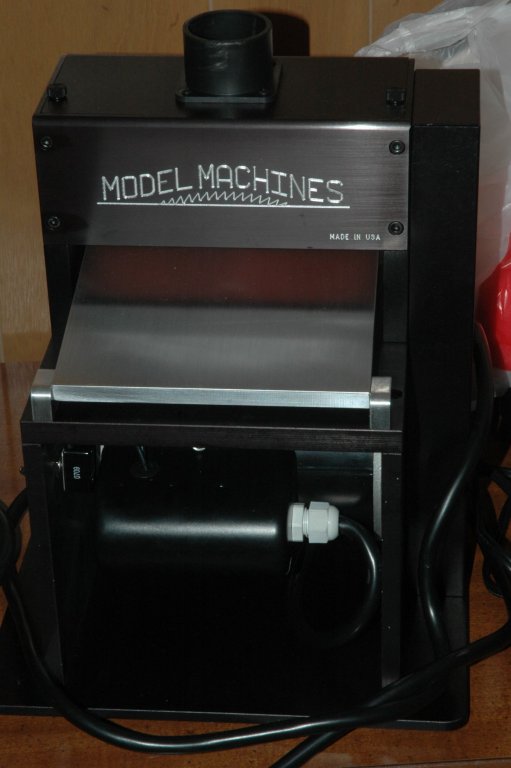
So, as I was admiring my handy work. and how nice the sheets looked -taunt to the pin like they were keeping the sails from flying away. Then I noticed a big problem. take a look - did you notice the problem? The sails and sheets are too low. There will not be any clearance for going over the rails. So, instead of dealing with this, I went and finished the ratlines for the shrouds. I bought equipment and built a nice workbench for the new equipment (new Byrnes toys!). Who says that shopping isn't fun? It's the type of shopping. My New Disc Sander, thickness sander and drill. My ratlines finished for the fore mast After admiring my toys and rigging, I un-bent the sails. removed the sheets, blocks, etc. I installed the rails and then bent the sails and rigged the sheets


- 525 replies
-
- 9
-
-
- cutty sark
- mantua
- (and 2 more)