HOLIDAY DONATION DRIVE - SUPPORT MSW - DO YOUR PART TO KEEP THIS GREAT FORUM GOING! (Only 24 donations so far out of 49,000 members - C'mon guys!)
×


popeye the sailor
-
Posts
16,007 -
Joined
-
Last visited
Content Type
Profiles
Forums
Gallery
Events
Everything posted by popeye the sailor
-
 thanks Eric.......you can see what the plan diagram lacks. there is no eye bolt there...I have to drill a couple holes { I think I even have that picture} take the stocks off the anchors and flip them over......is that what you mean John? yes Andy........I can't wait to start rigging........you folks are having so much fun.....I want to go crazy too! thanks Mark....rigging soon .....Yepper! thanks Sjors and Augie....The Goth is up and running!
 -
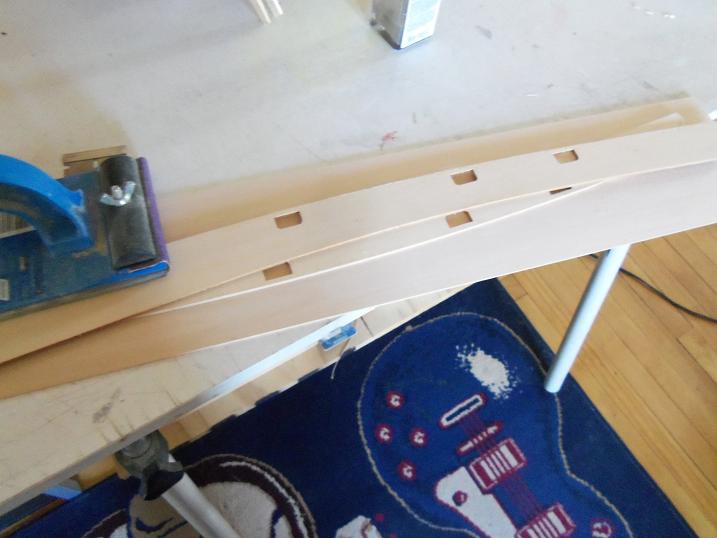
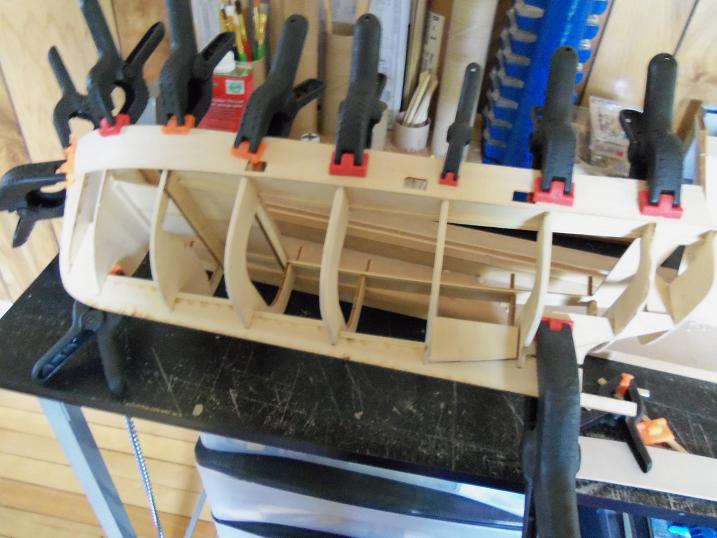
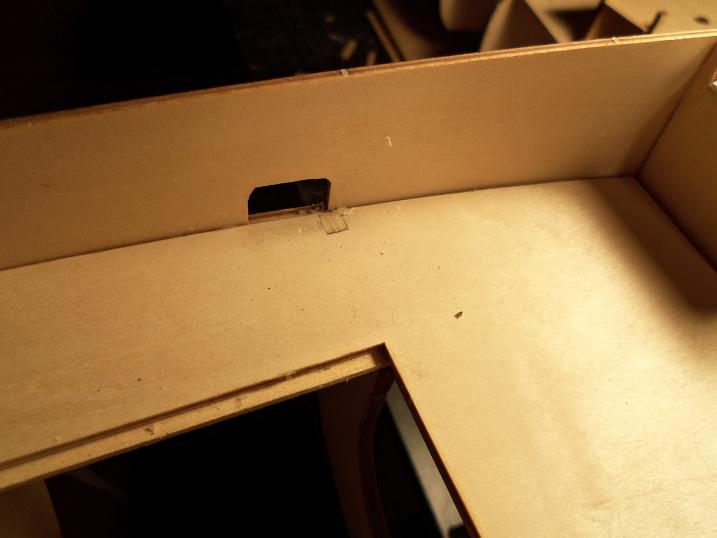
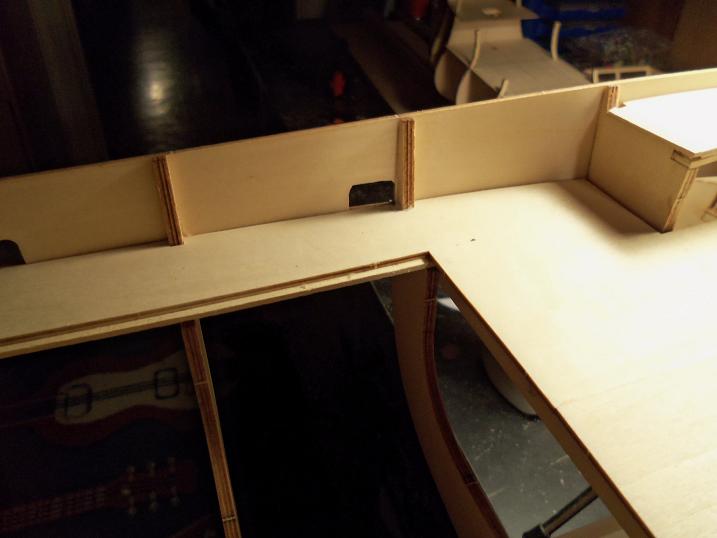
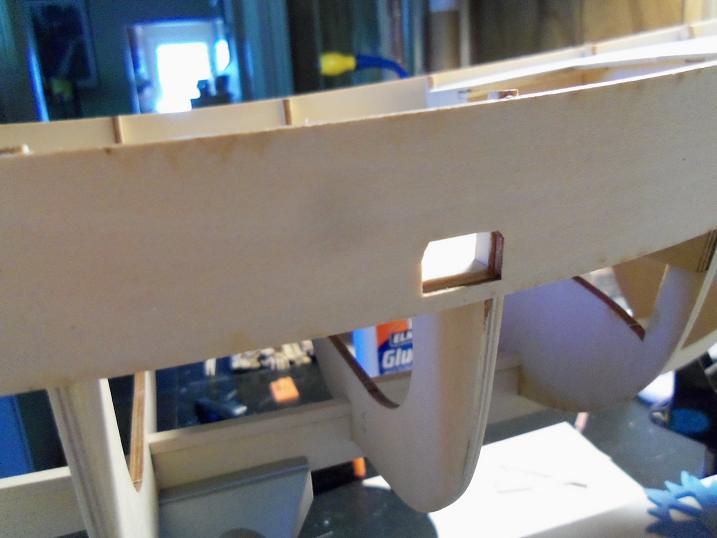
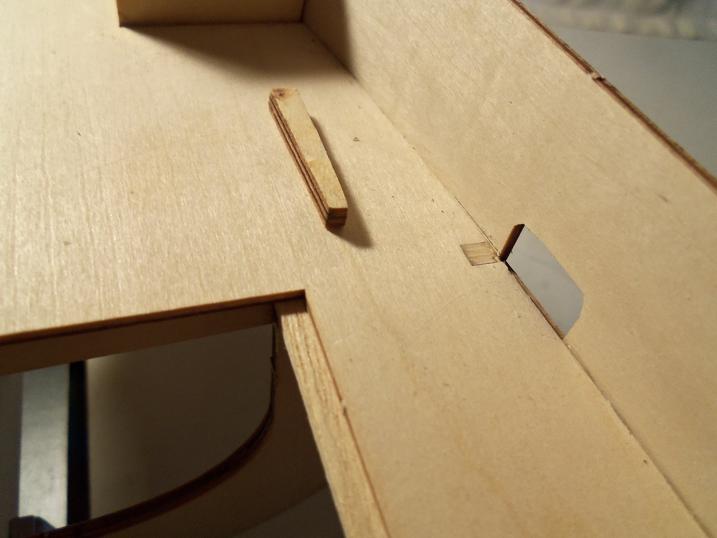
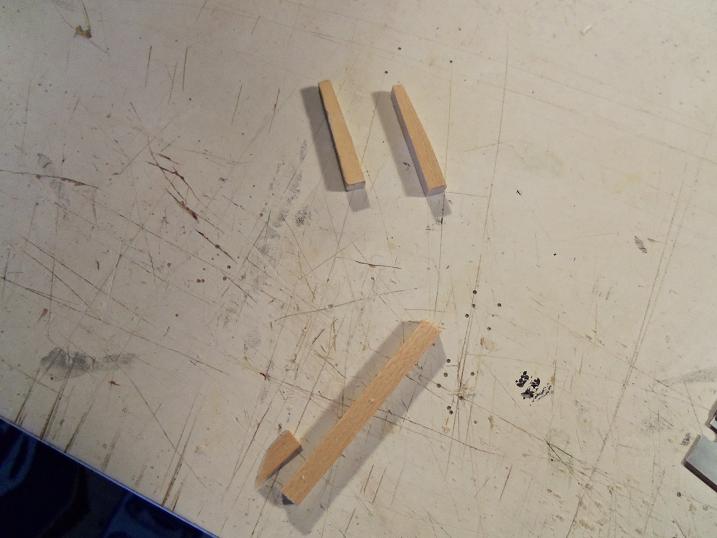
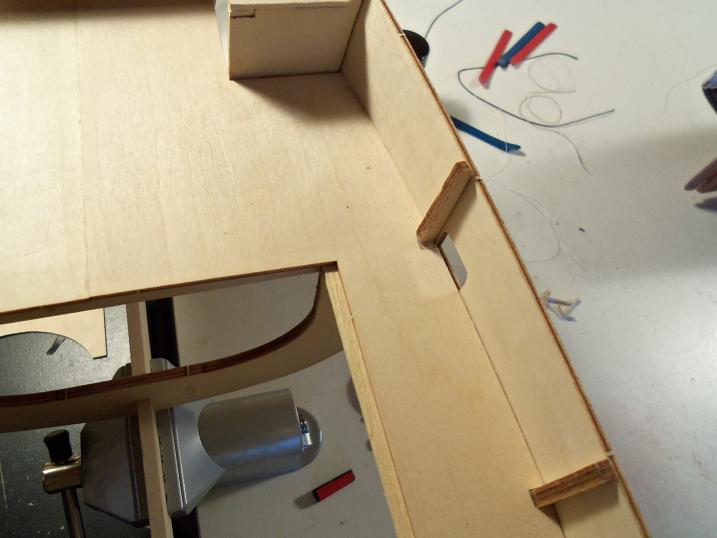
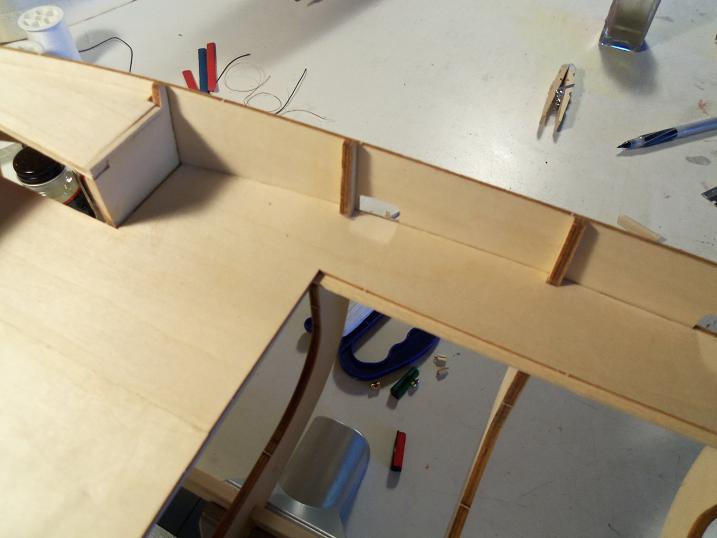
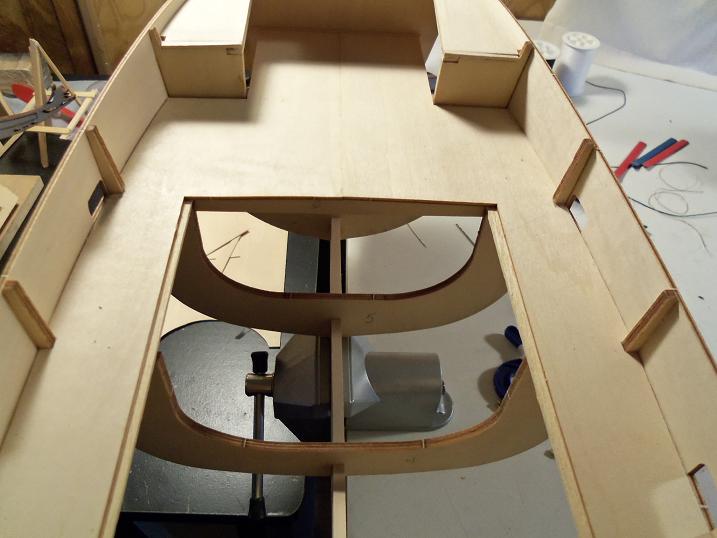
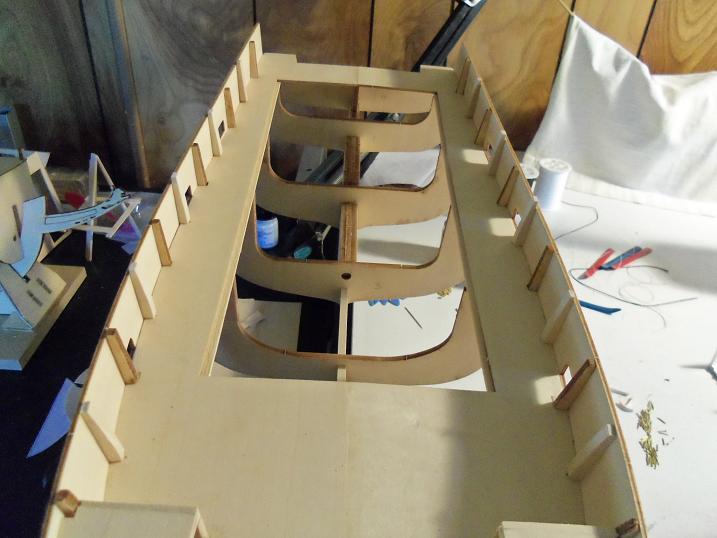
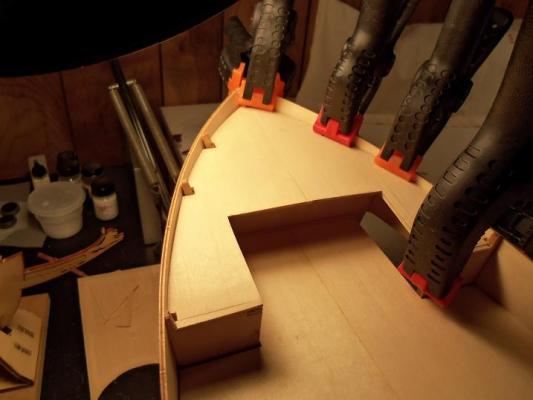
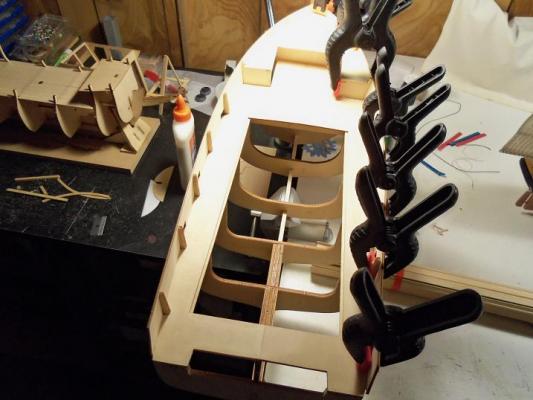
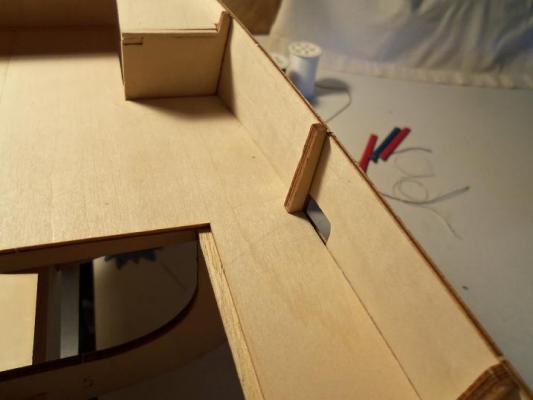
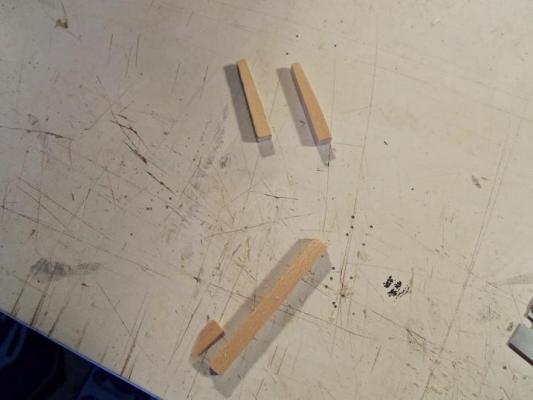
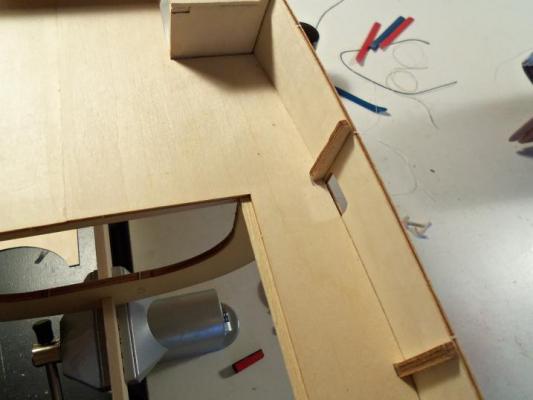
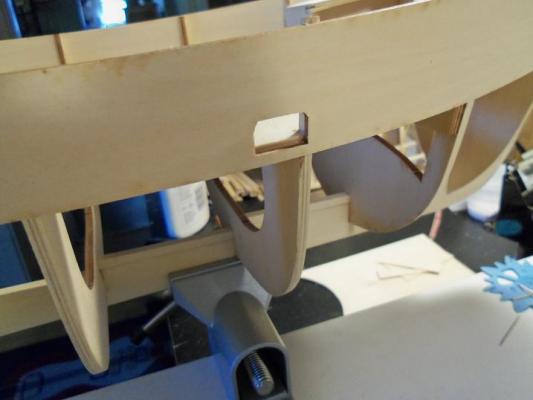
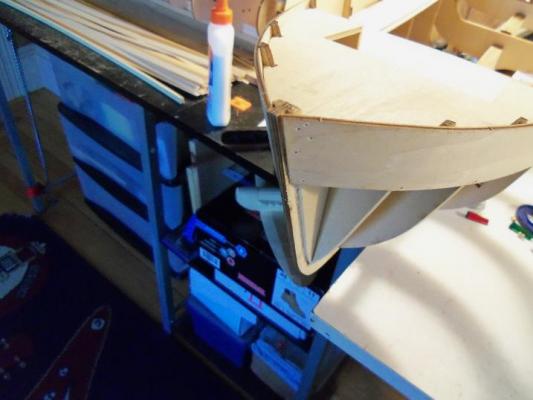
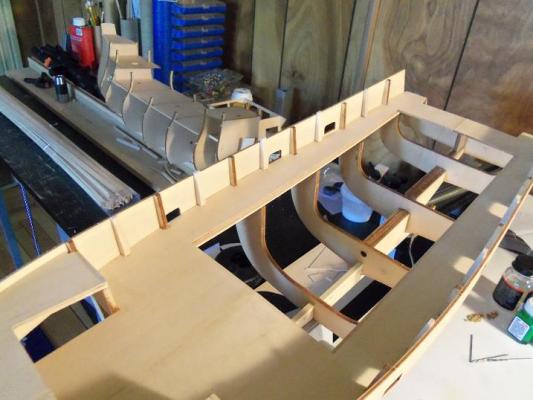
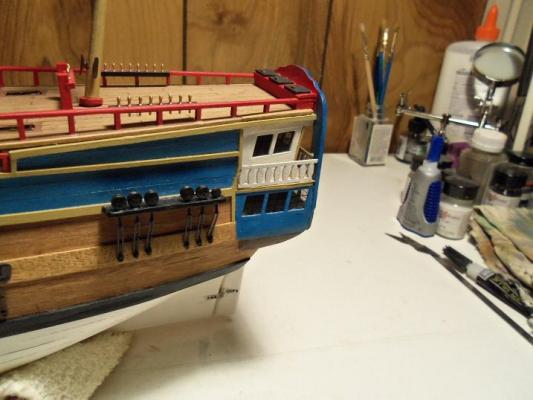
I pulled this out of mothballs around mid May. I'm doing this now, so I won't have two builds needing planking........and more variety. first I need to get the bulwark panels on.........if it weren't for the scuppers, I would have planked the whole build......what a pain they were. first to fare the hull. here are the panels I contemplated making them from basswood flat stock.....that might have been a better choice. these are a plywood......I was afraid to wet them, for fear that they would separate {plys} after they were cemented in place........and doing some creative clamping at the bow, I noticed something was wrong. the first bulwark post shows through the scupper. I did not cement here, in seeing this beforehand......I chose to cut the post off flush to the deck and move it about 2mm. I did the same for the starboard side I have to make additional posts for the bulwark. while I had this one off, I used it as a template. the bow looks pretty good.......clamping this to shape was a real pain it itself. the extra posts were cemented in place.......a couple of them are a bit short, butthey will be covered with the top rail. if they show, I'll doctor them up then.


-
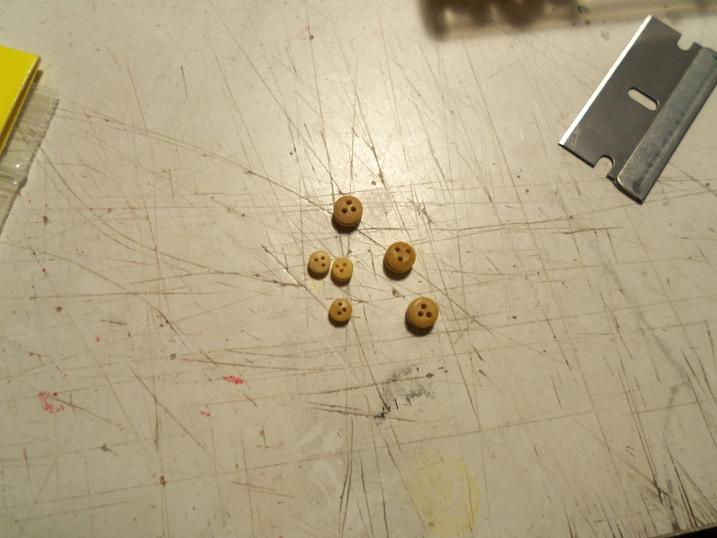
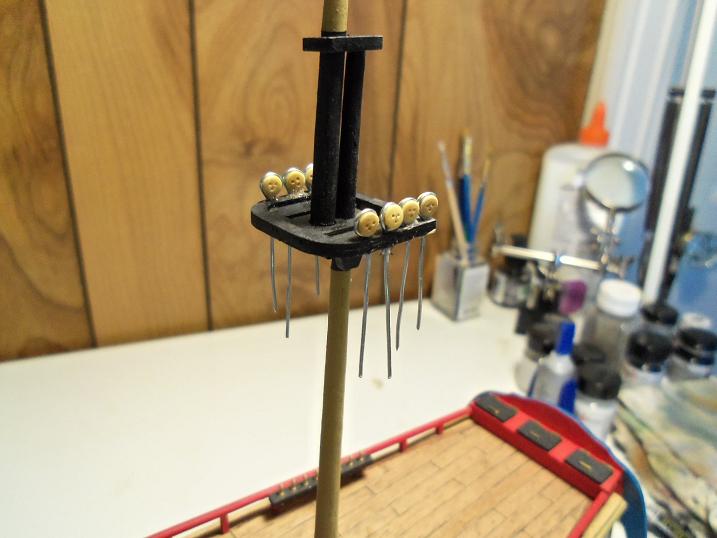
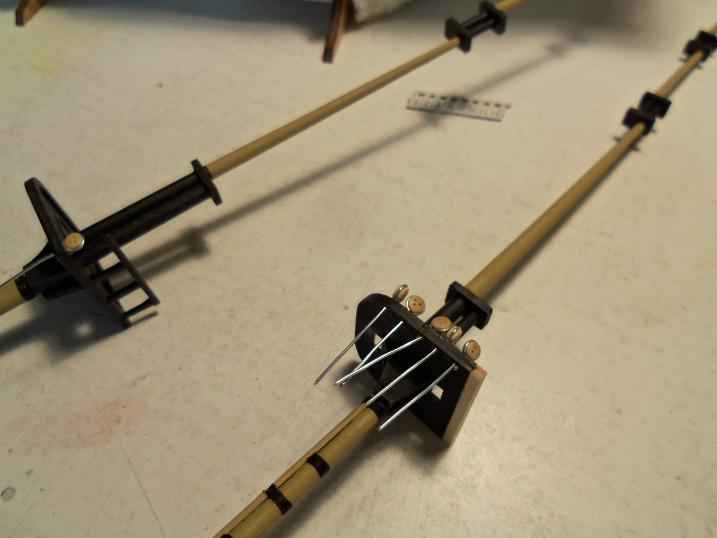
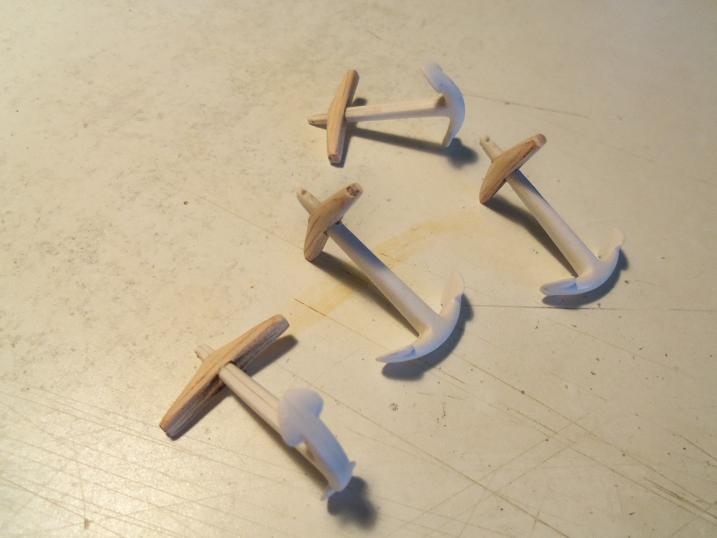
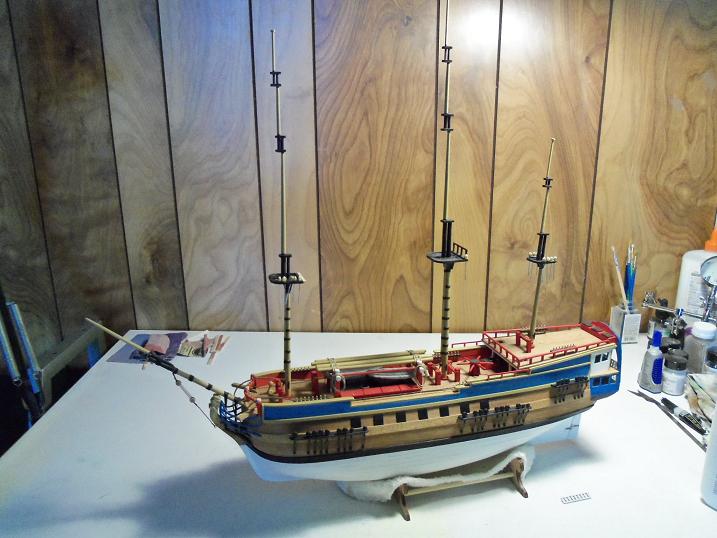
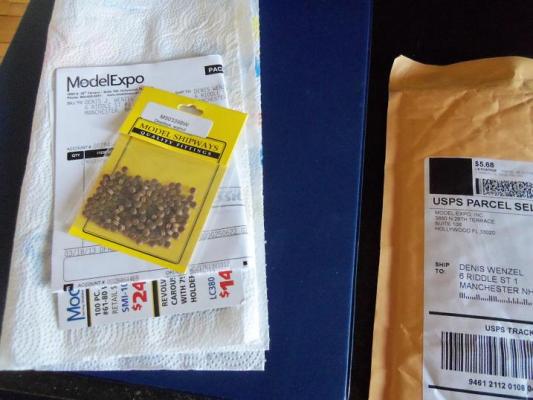
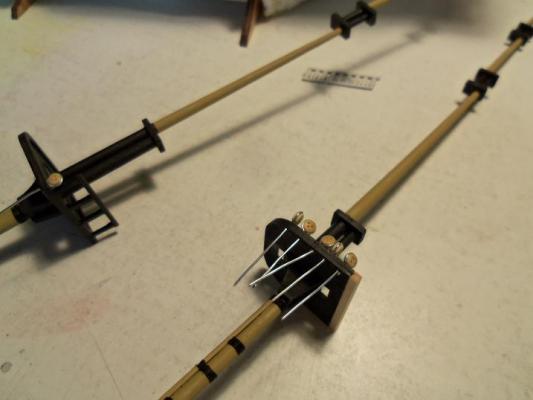
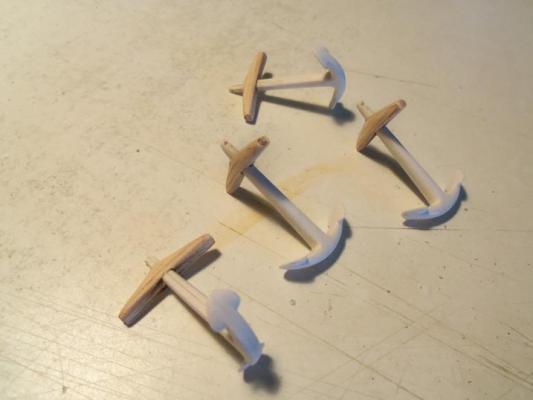
hopefully, your still around Andy, so you can see these. they are not much....but I have taken the masts out from time to time, to do a bit on them. so, to recap.....I did get the dead eyes. since I have all of these dead eyes now......I began to arrange them in the tops. I'm still having to redrill all the holes for spacing........I have no idea where they got their measurements from. I will need to take account of the double blocks........I did use a few for the AmericA build. I do have a bunch of those triple blocks though.......they might look better for the lower yards. if not, I can modify them. the anchors are almost ready......a bit more shaping, and then paint. the masts all in place.......just a dry fit... and, of course, as I mentioned, the broken railing has been replaced. I still need to do a bit more at the stern....moldings are sorely needed here. I am thinking.....that's a good sign. I'm going to remove that bit of bow rigging too.......it's badly done, and it looks different in the pictures. I won't get every line on her......but I will make her as busy as I can


-
P.E. is great.........nice work Daniel!
-
open up your rooks! don't take the knights for granted either! nice bit of work Sjors......good to see the clown laugh again
-
nice bit of rigging so far andy....too bad you'll be called out soon. I'm sure you'll make the most of it
-
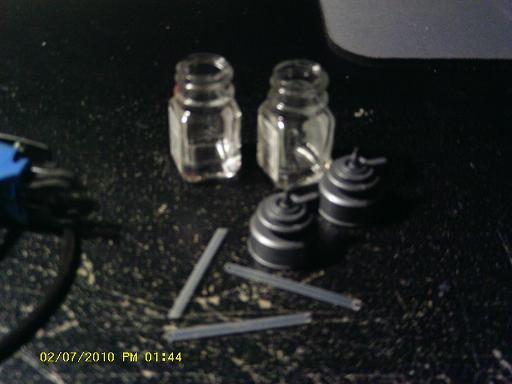
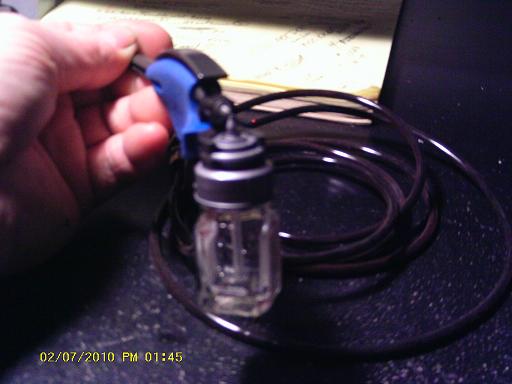
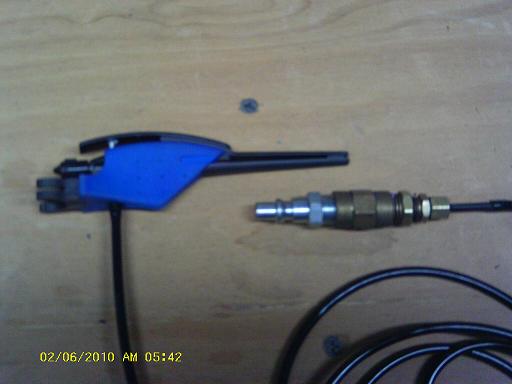
does the can ice up during use? that's what I've heard......it has to be shaken on a regular basis ans it helps to keep it in a bucket of warm / room temp water. if I had it in front of me, I could break it down and show you better....not to sure I remember the fitting sizes either. but what I did was come up with a fitting with a short piece of plastic tubing sticking out of it 7/32nds I believe it is the tube size. I snipped off the can fitting and pushed the hose over the short tube....it's on there pretty tight. I have a few more pictures........I hit the 'add' button too soon. here are some other pictures......perhaps it will give you a better idea.......I was drinking when I did it the last picture gives you a good idea how I can regulate it. I got this unit for nothing.....I was test driving a car I had repaired, and it was side the road. I stopped to look at it and the guy came out and assured me that it was free........so, I took it! it's been sheer nirvana ever since I thought I still had the pictures of my other aribrush outfits, but I must have thrown them out. I have a friend that has been on hard times with his airbrush....thought he might be interested in one of them.
-
.....getting an idea of what I was thinking when she was tabled........is a real pain, although, I did glue back on the balcony railing that got knocked off. I have to go to work today, but I did take a couple pictures. I'll have them up this evening.........thanks for all the kind comments.....I really appreciate it.
-
thanks everyone! I'll try hard to get some sort of update up here.....even if it's a small one
-
welcome back Andy........knew you could ace it nice looking ship......do you know who built it?
-
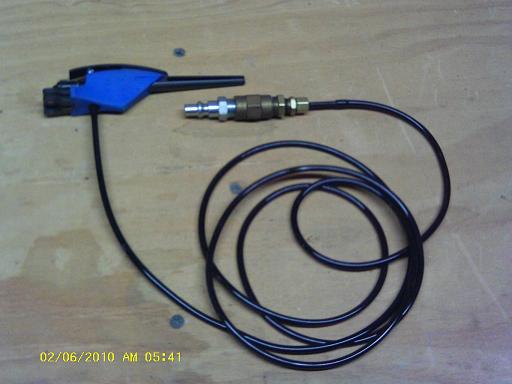
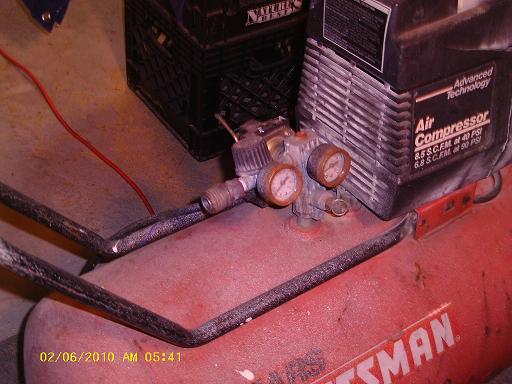
I remembered I have pictures of this bad boy.......this is my set-up
-
I didn't recall the second part of your question........I tend to go the opposite. gravity feed is OK, but you cant tip the airbrush without spilling paint.......makes those angled areas tough to do. with a siphon feed, the paint is in a somewhat sealed bottle.....you have a bit more freedom. as far as cleanup goes.........it depends. both of the other airbrushes I have channels the paint through the nozzle, where as the testor's does not. I use the 1/4 oz bottles that the paint come in......I clean some, or I buy the 1/4 oz bottles of thinner, to get my extras. the bottle and cap is external........so all I have to clean is the bottle, siphon tube, cap, and maybe the nose of the air nozzle from any overspray that might get on it. in case your interested in taking a look at this one, you can probably find in in most hobby and craft stores Testors » Airbrushes » Airbrushes look at the EZ airbrushes.........they are the same as the amazing air brand. note that they are produced by Aztek
-
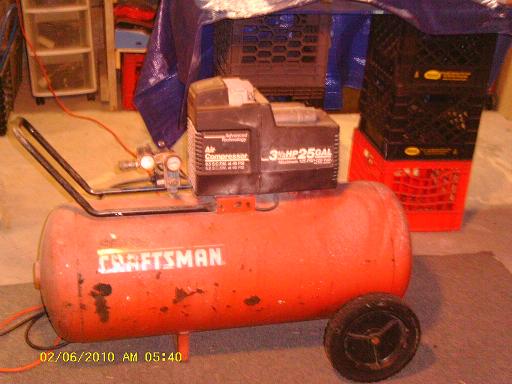
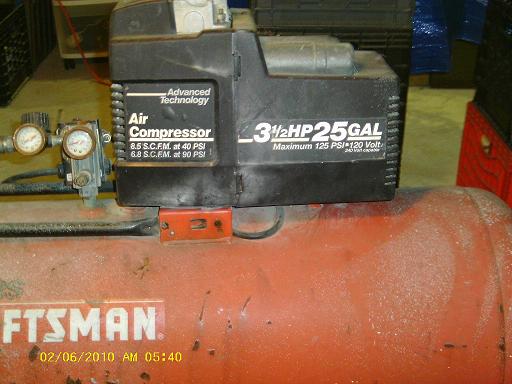
provided you can adjust the output to 15 to 25 PSI.......sure you can. I have one of those testor's 'amazing air' cheepos, and it works great on my compressor........I have a craftsman 25 gal. originally, this was to be run on one of those air canisters, but I adapted it to run on this compressor..........I can run the big outfit this it. I have a couple other airbrushes.......an Aztek A-320 siphon feed and a spraycraft SP30 gravity feed {comes with it's own air compressor}.......haven't tried either one of them yet.. I use the same couplings like you would for air tools ........the reducer fitting brings the size down to around 7/32 or so. it can be done though.
-
thanks for the enthusiasm Andy......I'm going to need all I can get.
-
all bets are off gentlemen........the Goth is sitting in the middle as we speak. I was looking her over last night, planning the restart.
-
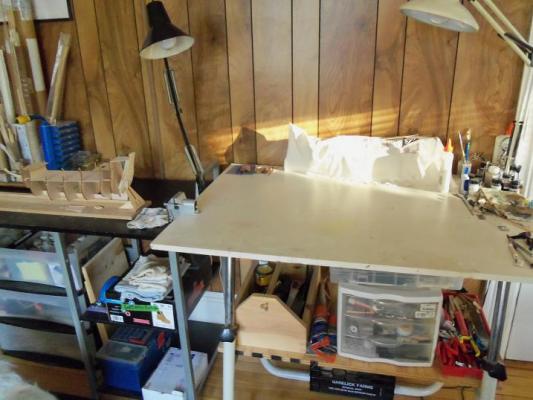
just thought I'd show you something you won't see every day.......a clear table the Goth will be filling the space soon.
-
really nice work Daniel........you must be a hoot around Halloween {if you celebrate it in Germany}
-
dead eye and shrouds look really cool in stainless steel.......your resorcefulness shows your determination. it payed off well!
-
nope Sherry.......just one of me pulled a couple of "2 in the AM" to get the hull planked. pulled this out of the closet just before finishing the AmericA. I have more to add.....recent stuff now. should have more up soon
-
decking looks very good Adam.......right down to the grating........sweet!
-
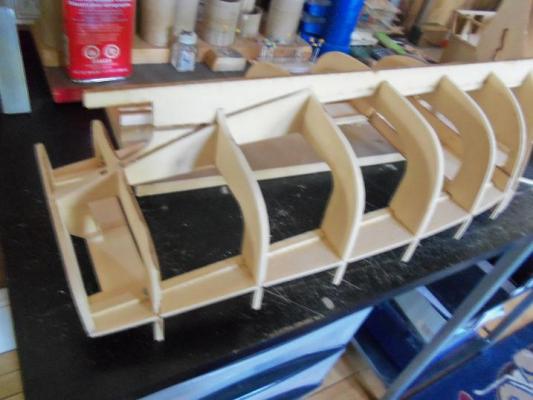
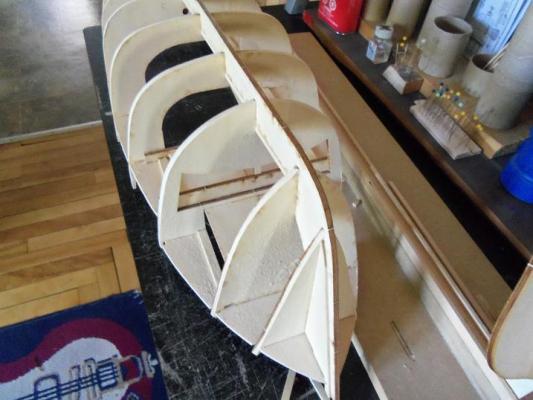
hey there Buck.......the hull measures 22 inches long, and 7 3/4 inches wide. yepper......even the admiral said the same thing. now that the hull's planked, it looks even bigger. my next "off the beaten path" build is going to be modeled from this hull. it will be a collection of three vessels......the first hull frame is already cut out.....that won't begin for a while now. thanks Augie......I had to get this one a step or two ahead of the Half Moon........different steps, different things to do. I will do my best.
-
thanks Bob......everything here was done in 2011. I brought her back out as I was finishing up on the AmericA......figured I'd do the hull planking. I can work on the hull and paint while I'm planking the Half moon and working on the Gothenborg. the table is clear now, the Boulogne is planked.....not how I would have liked it, but it going to see paint, so I didn't have to be picky.