HOLIDAY DONATION DRIVE - SUPPORT MSW - DO YOUR PART TO KEEP THIS GREAT FORUM GOING! (Only 24 donations so far out of 49,000 members - C'mon guys!)
×


popeye the sailor
-
Posts
16,007 -
Joined
-
Last visited
Content Type
Profiles
Forums
Gallery
Events
Everything posted by popeye the sailor
-
 my level of detail ........indeed! now your trying to upstage me.......... I knew you can do it! the windows and doors look really good as well. are you going to put in cup holders too?
 -
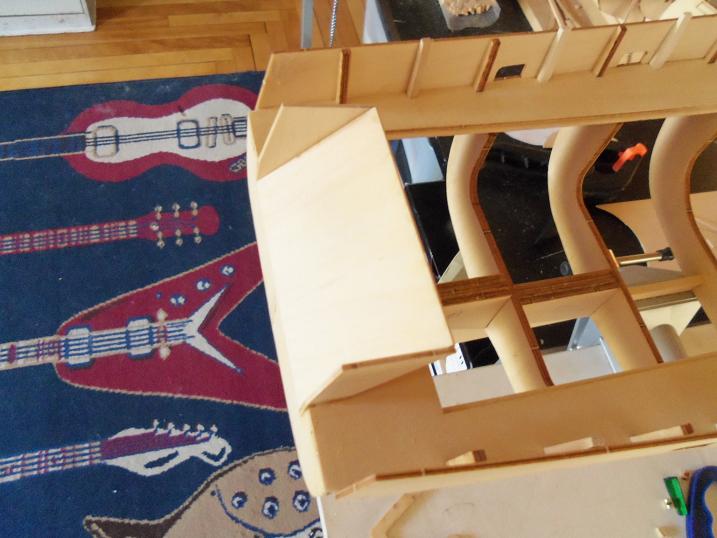
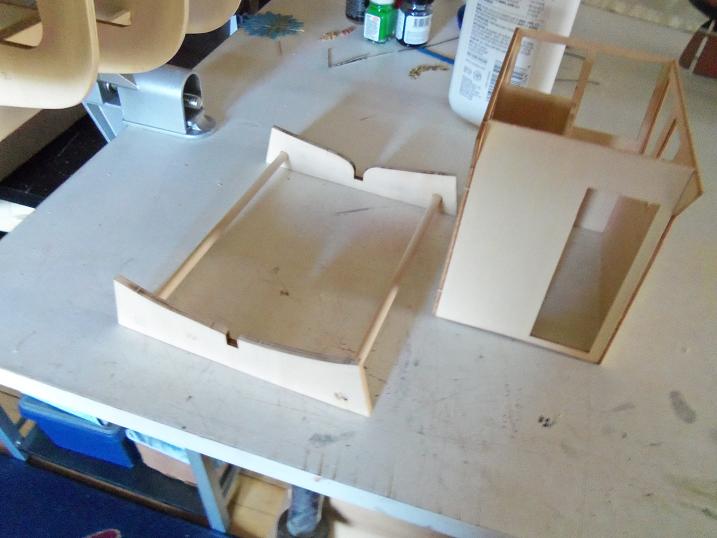
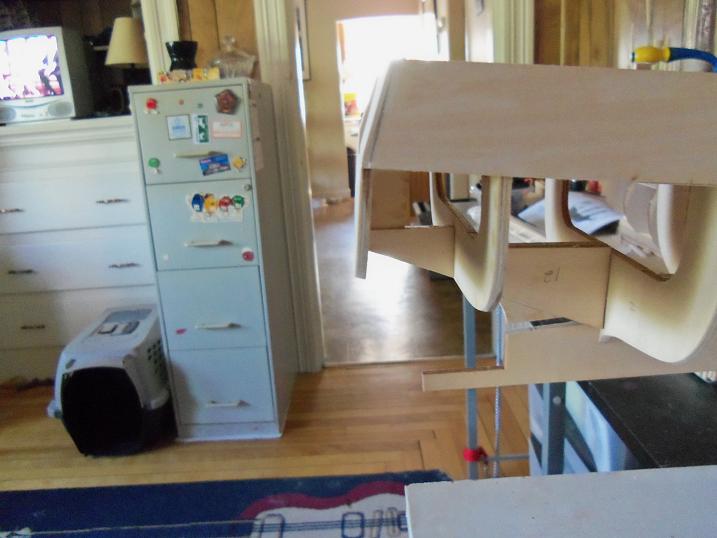
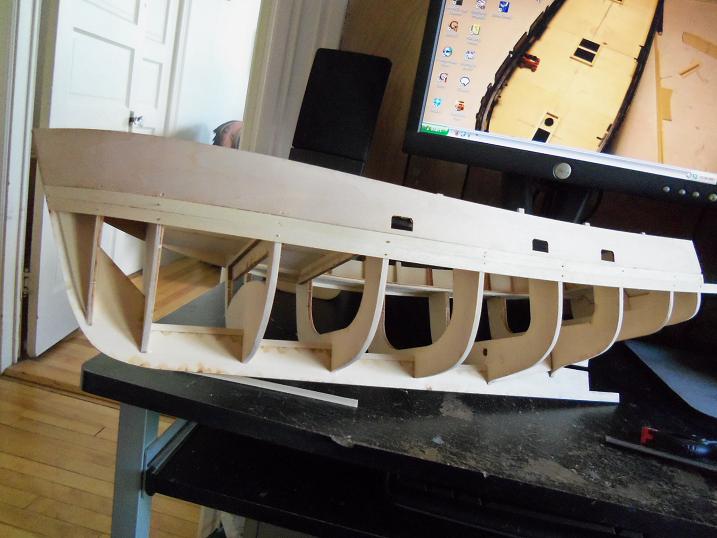
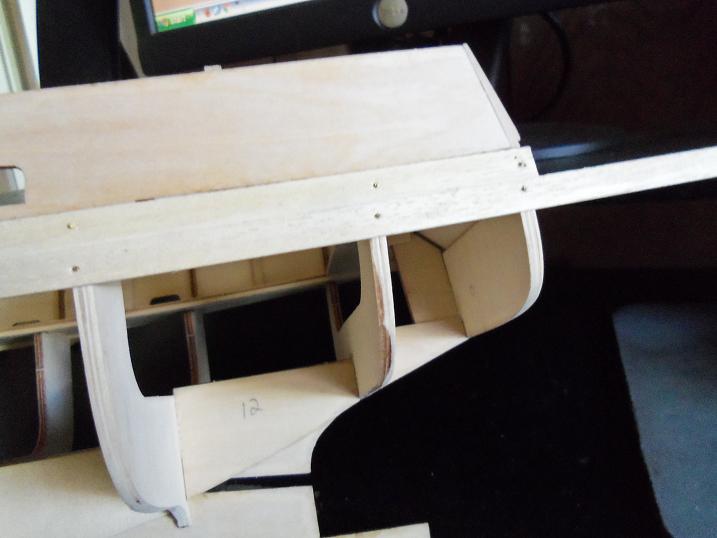
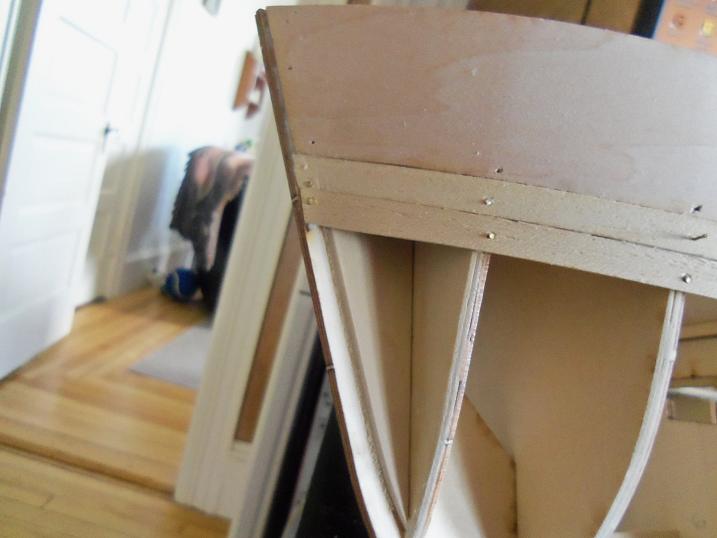
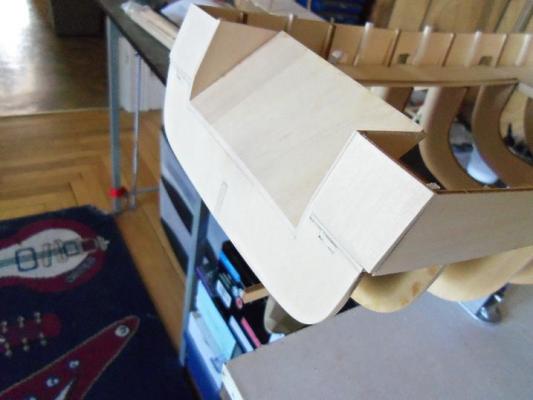
to complete the bulwark walls, the stern ramp needed to be installed. you can see the walls and top rail on the table......but these parts won't be used. in setting up the side walls for the ramp, I noticed that the stern wall were too short, and left a fair gap there. I made a pair for this area......but this also means that the top rail can't be used either. no matter, I'll just make one of those as well.......and I see no problems with the erection of the gallow booms, because of this. I made the stand for her as well.....she'll need it after she's planked there was a bit of sanding to be done......didn't want to do too much though. I added posts in the corners of the stern walls. making sure all was ready, the planking comenced. the kit supplied 1.8 x 7 mm planking, but I had taken the strips from this kit, to do one of my other projects. I was going to order more from Billing's when I was ready to do it. I'm sure that some of you have found out that Billing USA is closed, but I was able to get a bundle of 1.8 x 8 mm planking.....more than enough to do the hull.


-
thanks Mobbsie.....now to get the rest of the dead eyes on there, and get the party started
-
totally agree with all the others Ron.........nice job! your coming along great with the ratlines. I, myself.....have to get a move on.....I want to join in on all the good stuff too!
- 240 replies
-
- 1
-

-
- supply
- caldercraft
- (and 1 more)
-
looking great Sjors......your really making some headway on this build what's a great warship without cannon balls anyway? now you'll have to work on the cannons.........THEN......everyone can start to worry
-
happy belated birthday Andy.......sounds like you pulled off a good day of it. I'll look forward in hearing more of your adventures, seeing as your going off to work. you've done well though.........made great strides with your lady Peg....she's looking sweet! good luck on this trip, my friend, and stay safe.
-
actually, I wouldn't do anything with them......when you showed the panels....the offset was quite noticeable. but, now that they are on the deck, they look better. to try to fix them might damage the overall appearance. they have a unique antique look to them. don't be afraid to experiment a little....that's what makes creativity grow
-
thanks Runner63....I should have an update up soon
-
thanks Runner63.....nice to have you looking in thanks Ferit.....Eric has sent me many pictures during the time he's worked on her. I also received pictures from two other members as well.....so I am well armed.....visually. there are a few aspects that differ from the actual ship....if I had seen them, I might have corrected them. now they are too buried in the build to even try. but I will carry on with the build and complete it the way it is. I do hope you follow along.
-
looking good there,....Andy.....splendid in natural light. you've made some great progress to be sure!
-
isn't that a bit out of scale, eric? owww!
-
oh....my god!!!!!!! I love your work!
-
check in #2...........I need a fix. hope all is OK.
-
beautiful execution of detail.........nicely done
-
it's a busy life.........model building should be done to ease life's tensions. the beauty of it however, is that it can be done to one's own spare time, for fun and recreation.......best not to muddle the fun with duty.........each has their sweet time
-
yes Sherry.......you are an admiral......... as for us {if others feel the same way} .......we are all but simple deck hands
-
I've seen what laser cutting does to plywood Yambo........there have been times where I threw these parts out and planked it.....makes it so much easier. if it wasn't for the scuppers {preformed}.......I would have done so. I have a multi build coming up....I will make them out of basswood......it will make them easier, and I can position the scuppers where I want to........that pesky 2mm will not haunt me again....... bwaaaaahaaaaa! thanks for looking in your like me Sjors.........a poor working stiff!
-
they're gonna look great when installed
-
I will fix that John.....the glue doesn't really hold good to this plastic...should be an easy fix thanks again to every one that posted.........I didn't realize how closely this build was followed I'm humbled! one more day of work I have to endure.........then I'm hell bent for election! I hope to have an update soon
-
sorry to hear that Mobbsie........I do a lot of my work with razor blades....I am a very lucky man. take care my friend.......
-
I didn't see those pictures.........now that looks sweet! your doing a great job Sjors.......keep it up
-
nice one Andrieke..........look for the mood then you can prose about Sjors and his brood really can't vision Sjors on the street donning a clown suit looking discreet asking donations for a ship on his mind not that he's in need or in a bind but one day he will to add to his stash that dear ship Aggie another ship to bash! this man's so creative oh, see what he's done he juggling two ships a clown having fun
-
Looking really sweet Andy..........can't wait to see your rigging as a whole!
-
sweet!!! the only suggestion I can make, is to try and keep the doors square to the deck. your creativity level is over the top....so we'll just keep this between you and me ...LOL! big thumbs up from me
-
I know John ......I showed you this one......in the closet for all this time. it's about time I got the log going for this one. I wish there was a jig for shaping the bow Sjors..........what a pain it was to get the panels to stay there......that plywood was so stiff.