DelF
-
Posts
1,409 -
Joined
-
Last visited
Content Type
Profiles
Forums
Gallery
Events
Everything posted by DelF
-
 Thanks Phill. I'm happy with them for now but I may still have a go at doing them in wood to get a more natural look. Here's the ones I did for Royal Caroline, albeit at the slightly larger scale of 1:48: I may set myself the challenge of doing similar at 1:64, but for now I'll concentrate on the rigging.
- 725 replies
-
- 3
-

-
- vanguard models
- speedy
- (and 1 more)
-
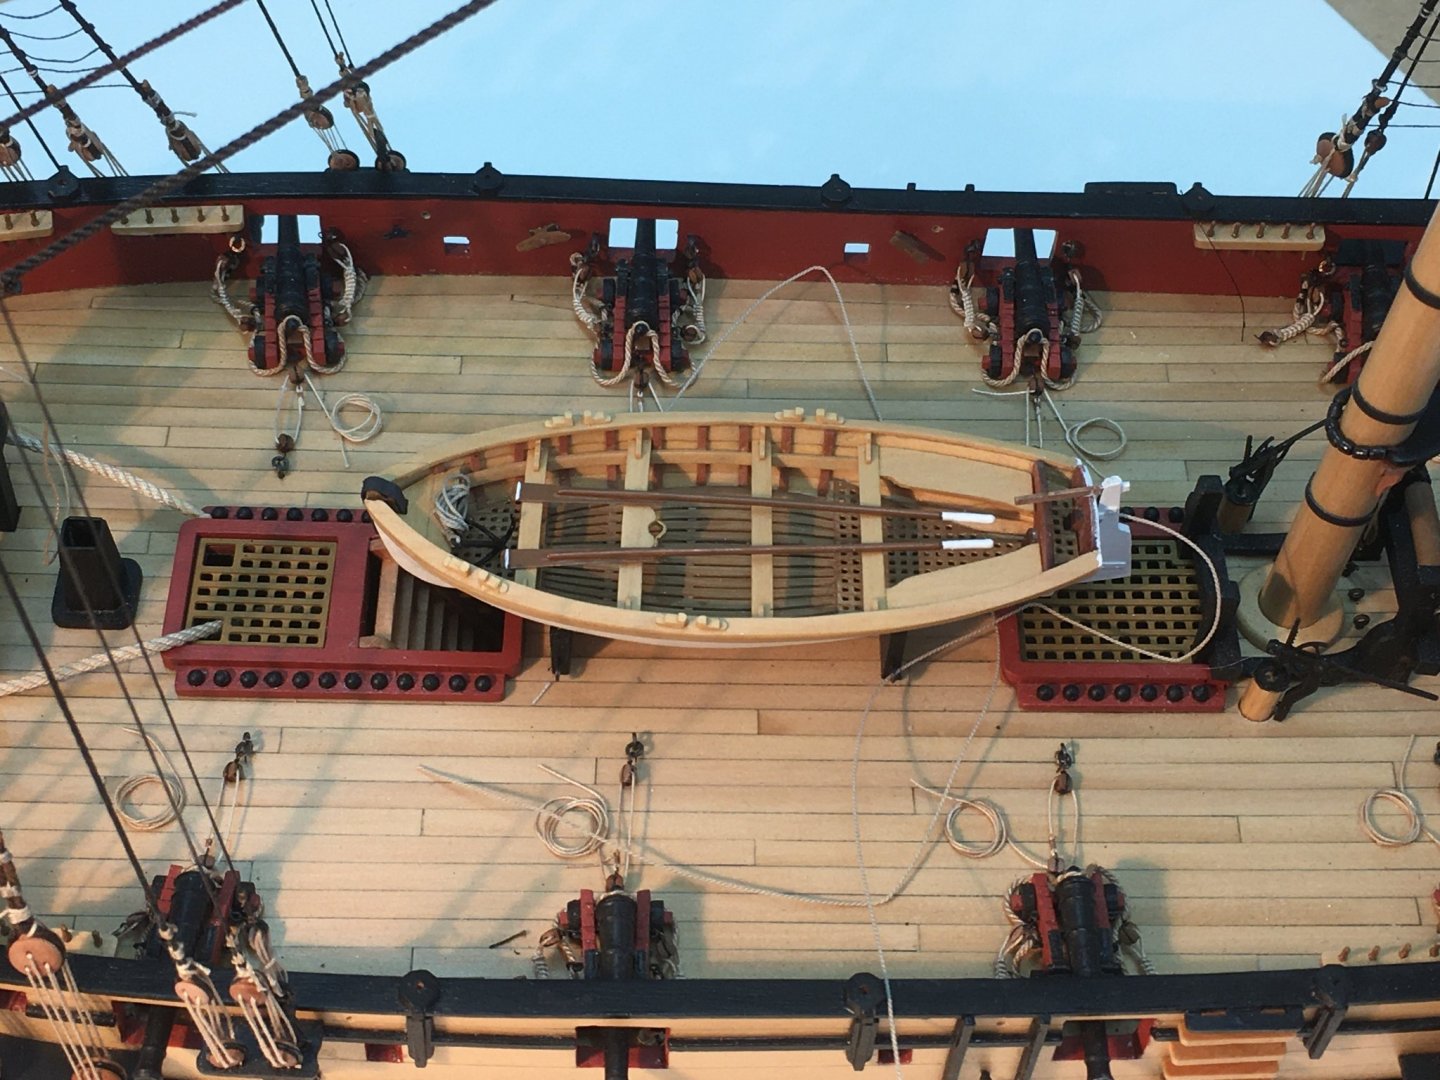
I think I'll go with the modified oars: Not perfect, but I'm not inclined to try making them in wood. Doing that in 1:48 scale for Royal Caroline's boat was hard enough and 1:64 might be a stretch too far. I may change my mind towards the end of the build if the oars start bugging me again.
- 725 replies
-
- 11
-
-
- vanguard models
- speedy
- (and 1 more)
-
Thanks Gray, I appreciate your kind words and I'm glad you've enjoyed Speedy so far. I'm not the fastest builder on the forum but, to (mis)quote an old cliché, the journey is as important as the destination.
- 725 replies
-
- 1
-
-
- vanguard models
- speedy
- (and 1 more)
-
Thanks Glenn, although I see myself as practical rather than creative. I enjoy the problem solving aspect of our hobby - looking for different/better ways of doing things. I've seen your photography website so I know what real creativity looks like!
- 725 replies
-
- 2
-
-
- vanguard models
- speedy
- (and 1 more)
-
Excellent rigging work Glenn. The served rope looks superb. Serving is one of those little touches that lifts a model above the crowd.
- 778 replies
-
- 2
-
-
- cheerful
- Syren Ship Model Company
- (and 1 more)
-
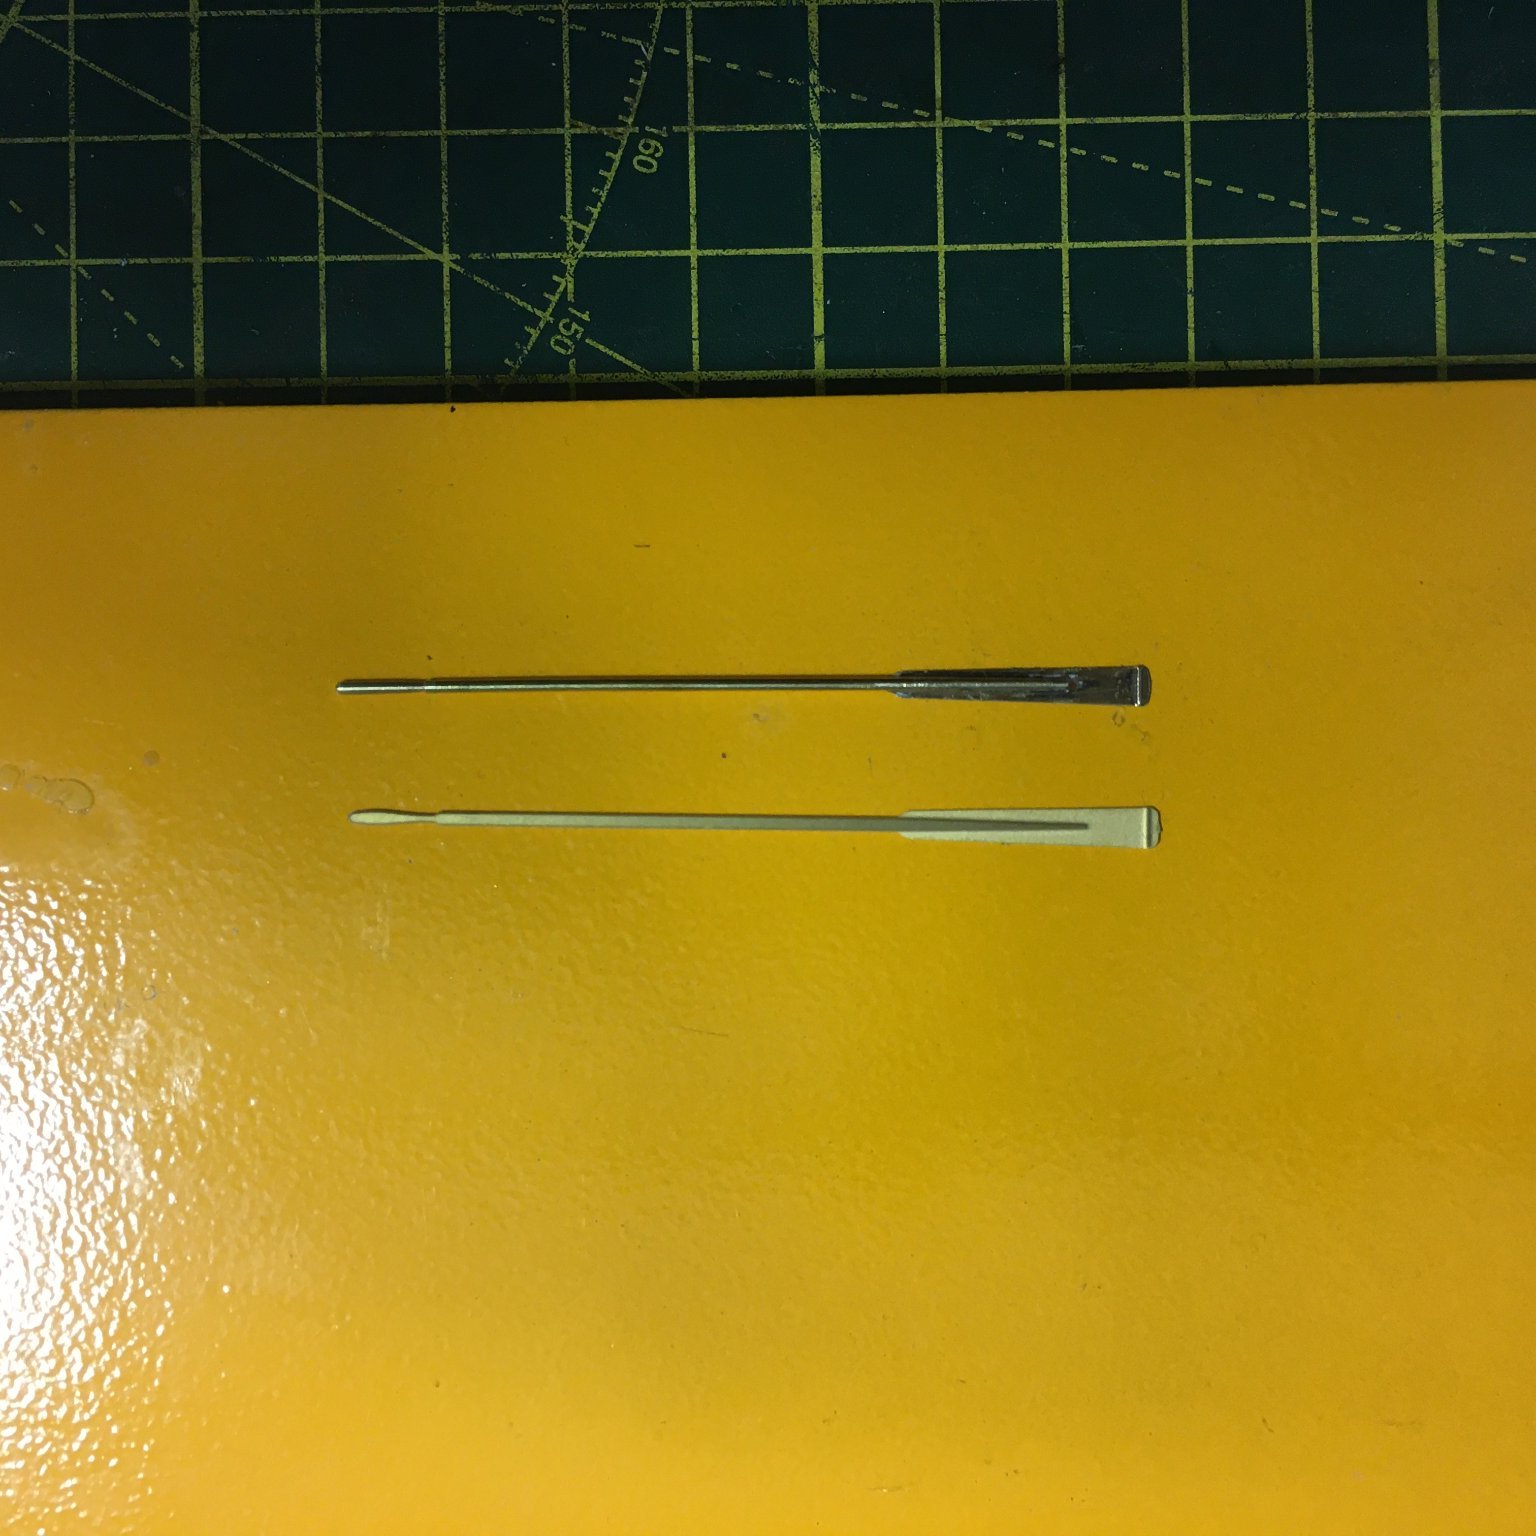
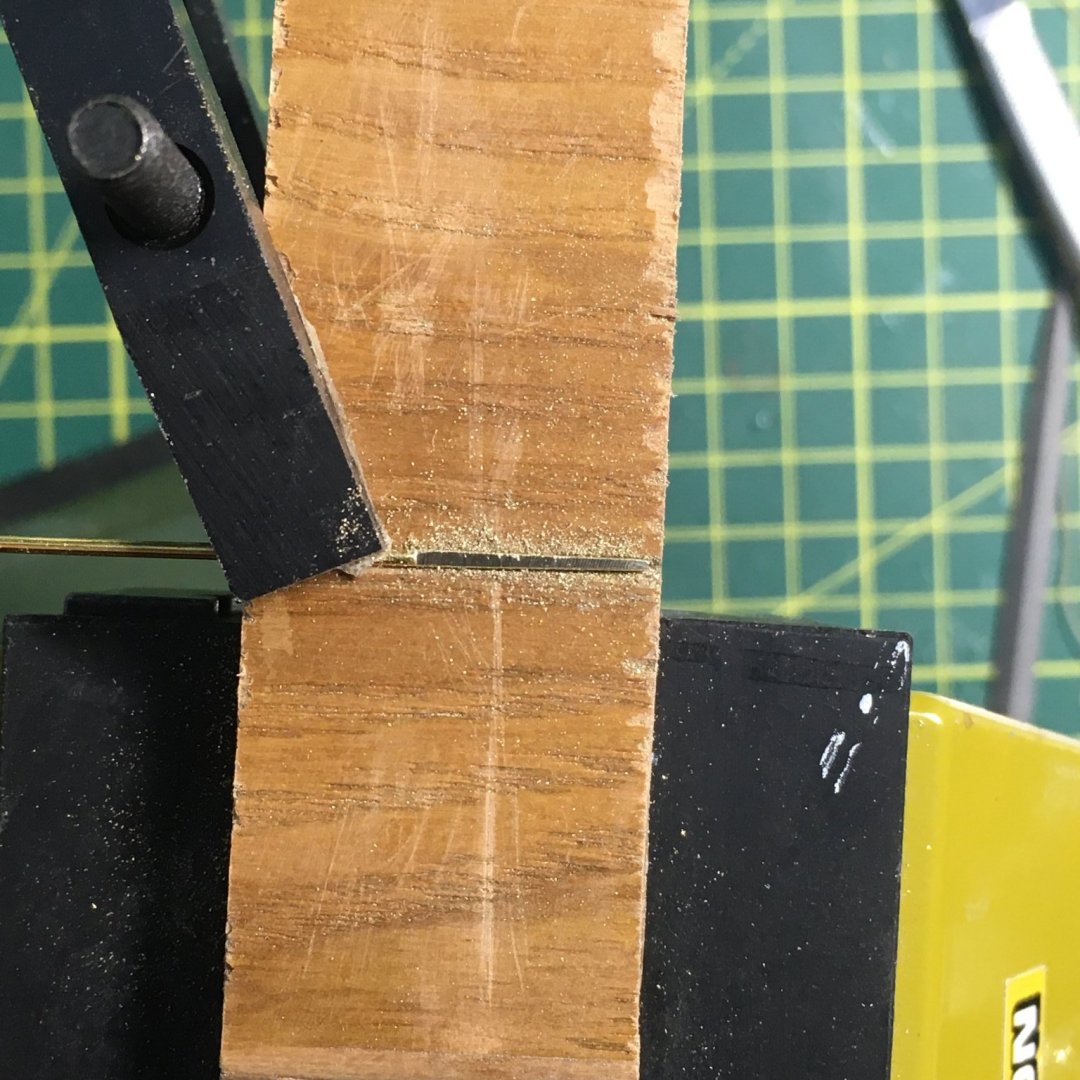
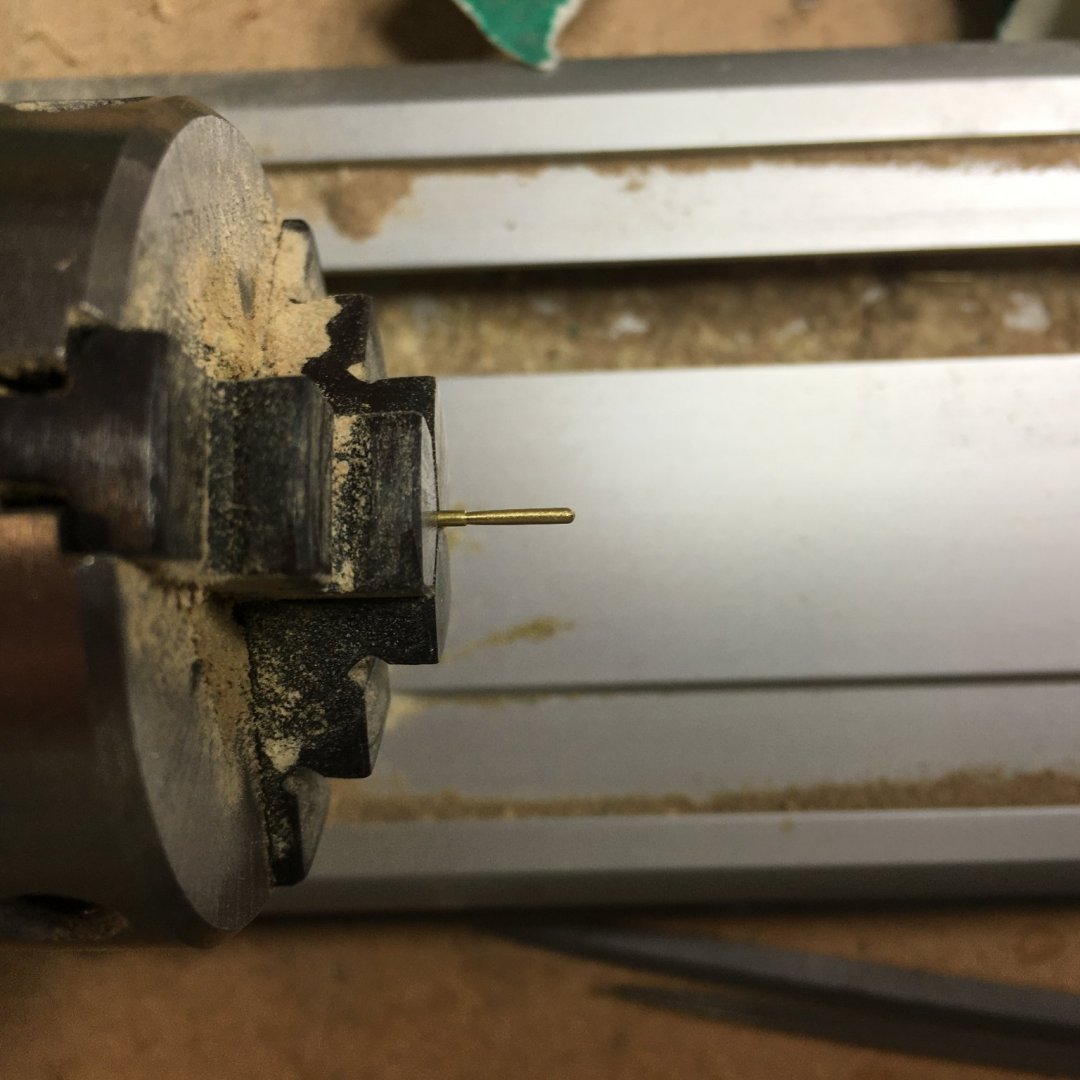
An experiment with oars I've been busy with building work around the house for the last week or so and have had little time in the workshop. Rather than getting on with the rigging, I thought I'd use the small amount of time I had to resolve an issue that has been bugging me for some time - the boat's oars. The kit oars are photoetch, and whilst the detail is very good they are undeniably flat. I don't mind some of the flat PE parts such as the belaying pins but the oars just didn't look right to me so I thought I'd have a go at modifying them. I started with 1mm brass rod held in the Proxxon lathe, using files to create the handle shape in one end: Next, I needed to taper the other end where it fits against the blade. This time the tapered section was too long to work unsupported, so I cut a shallow groove in a small piece of hardwood to hold the end of the rod whilst I filed it. I didn't have enough hands to photograph this stage, but you can see the block in the next shot in which I'm filing a flat in the tapered end for the blade to fit against: As the PE blades were nicely detailed I simply cut one off and glued it to the rod. Here's the result alongside an original PE oar for comparison: I think it's an improvement, but I'll reserve final judgement until I've painted it. Hopefully the building work won't keep me out of the workshop quite so much over the next week or so and I'll be able to crack on with the rigging. Derek

- 725 replies
-
- 8
-
-
- vanguard models
- speedy
- (and 1 more)
-
Very clever use of the quadhands Glenn - I'll copy that one!
- 160 replies
-
- 1
-
-
- Alert
- vanguard models
- (and 1 more)
-
Crikey, you've not even paused for breath after Duchess!
-
Well done Glenn. You must be justifiably proud of a fine model. Derek
- 382 replies
-
- 1
-
-
- Vanguard Models
- Duchess of Kingston
- (and 1 more)
-
Best wishes to your wife Chris. I’m just glad we live in a bungalow (and have a small dog!) 🐾
-
Beautiful gratings ... and welcome to the MF70 club! Deck treenails would have been about 1"/ 25mm diameter, so approximately 1mm at 1:24. Derek
-
She's looking great - a year well spent!
- 778 replies
-
- 1
-

-
- cheerful
- Syren Ship Model Company
- (and 1 more)
-
Justifying the purchase of a mill
DelF replied to Captain T's topic in Modeling tools and Workshop Equipment
I have the Proxxon MF70 and would highly recommend it. I also have a larger mill for bigger jobs, but the Proxxon is ideal for the smaller scale stuff you're likely to face when kit bashing. Even with kits, as opposed to scratch building, there are lots of ways you can improve the basic offering with a mill. The cathead in Gaetan's earlier post is one example, and as you rightly surmise, the mill doubles as an accurate drill press - with care you can get tolerances close to +/- 0.01mm which is more than sufficient for our hobby. For examples of the MF70 check out my Speedy log. For a recent convert have a look at Glenn Barlow's Cheerful log, which contains several examples of work he has achieved with the mill not long after buying it. For examples of a real maestro at work, look at any of Marsalv's logs. I bought my mill after seeing what he achieved with the MF70 on his Royal Caroline build. He has since gone down the CNC route, but still uses his basic machine a lot. Another good feature of the Proxxon is that you can achieve good results without spending a fortune on additional tooling. I believe the MF70 still comes with a set of cutters and clamps as standard, and the only other essential you need to get you started is a precision steel vice - I got the PM40 which is fine. The mill takes ordinary drill bits up to 3.2mm so there's no extra expense there. I left refinements like rotary tables until I'd got the hang of the basics. Arguably no power tools are essential, and many modellers still produce fine results without them, but I find the convenience and accuracy makes the mill well worth it. I should add that figuring out how to get the best from the mill is part of the fun, especially if you enjoy problem solving. Again, look at Marsalv's work to see the ingenious jigs he makes up from bits of MDF and bolts. Hope this helps Derek -
Wow, thanks!
-
Richard, I owe you a big 'thanks' for motivating me to try and improve my own photography. Like you, I went to Amazon to get the lights and backdrop, although I went for a larger woven backdrop as I felt it would give me more flexibility. I got some very useful advice on camera settings from Glenn (@glbarlow, here), and picked up useful tips from contributors to this topic (I'm particularly grateful to @Dr PR and @Dziadeczek). Anyway, here's one of my first attempts with my old Nikon D90. Lots of room for improvement, but better than I usually manage: ...and a cropped version, slightly tweaked in photoshop: Derek

-
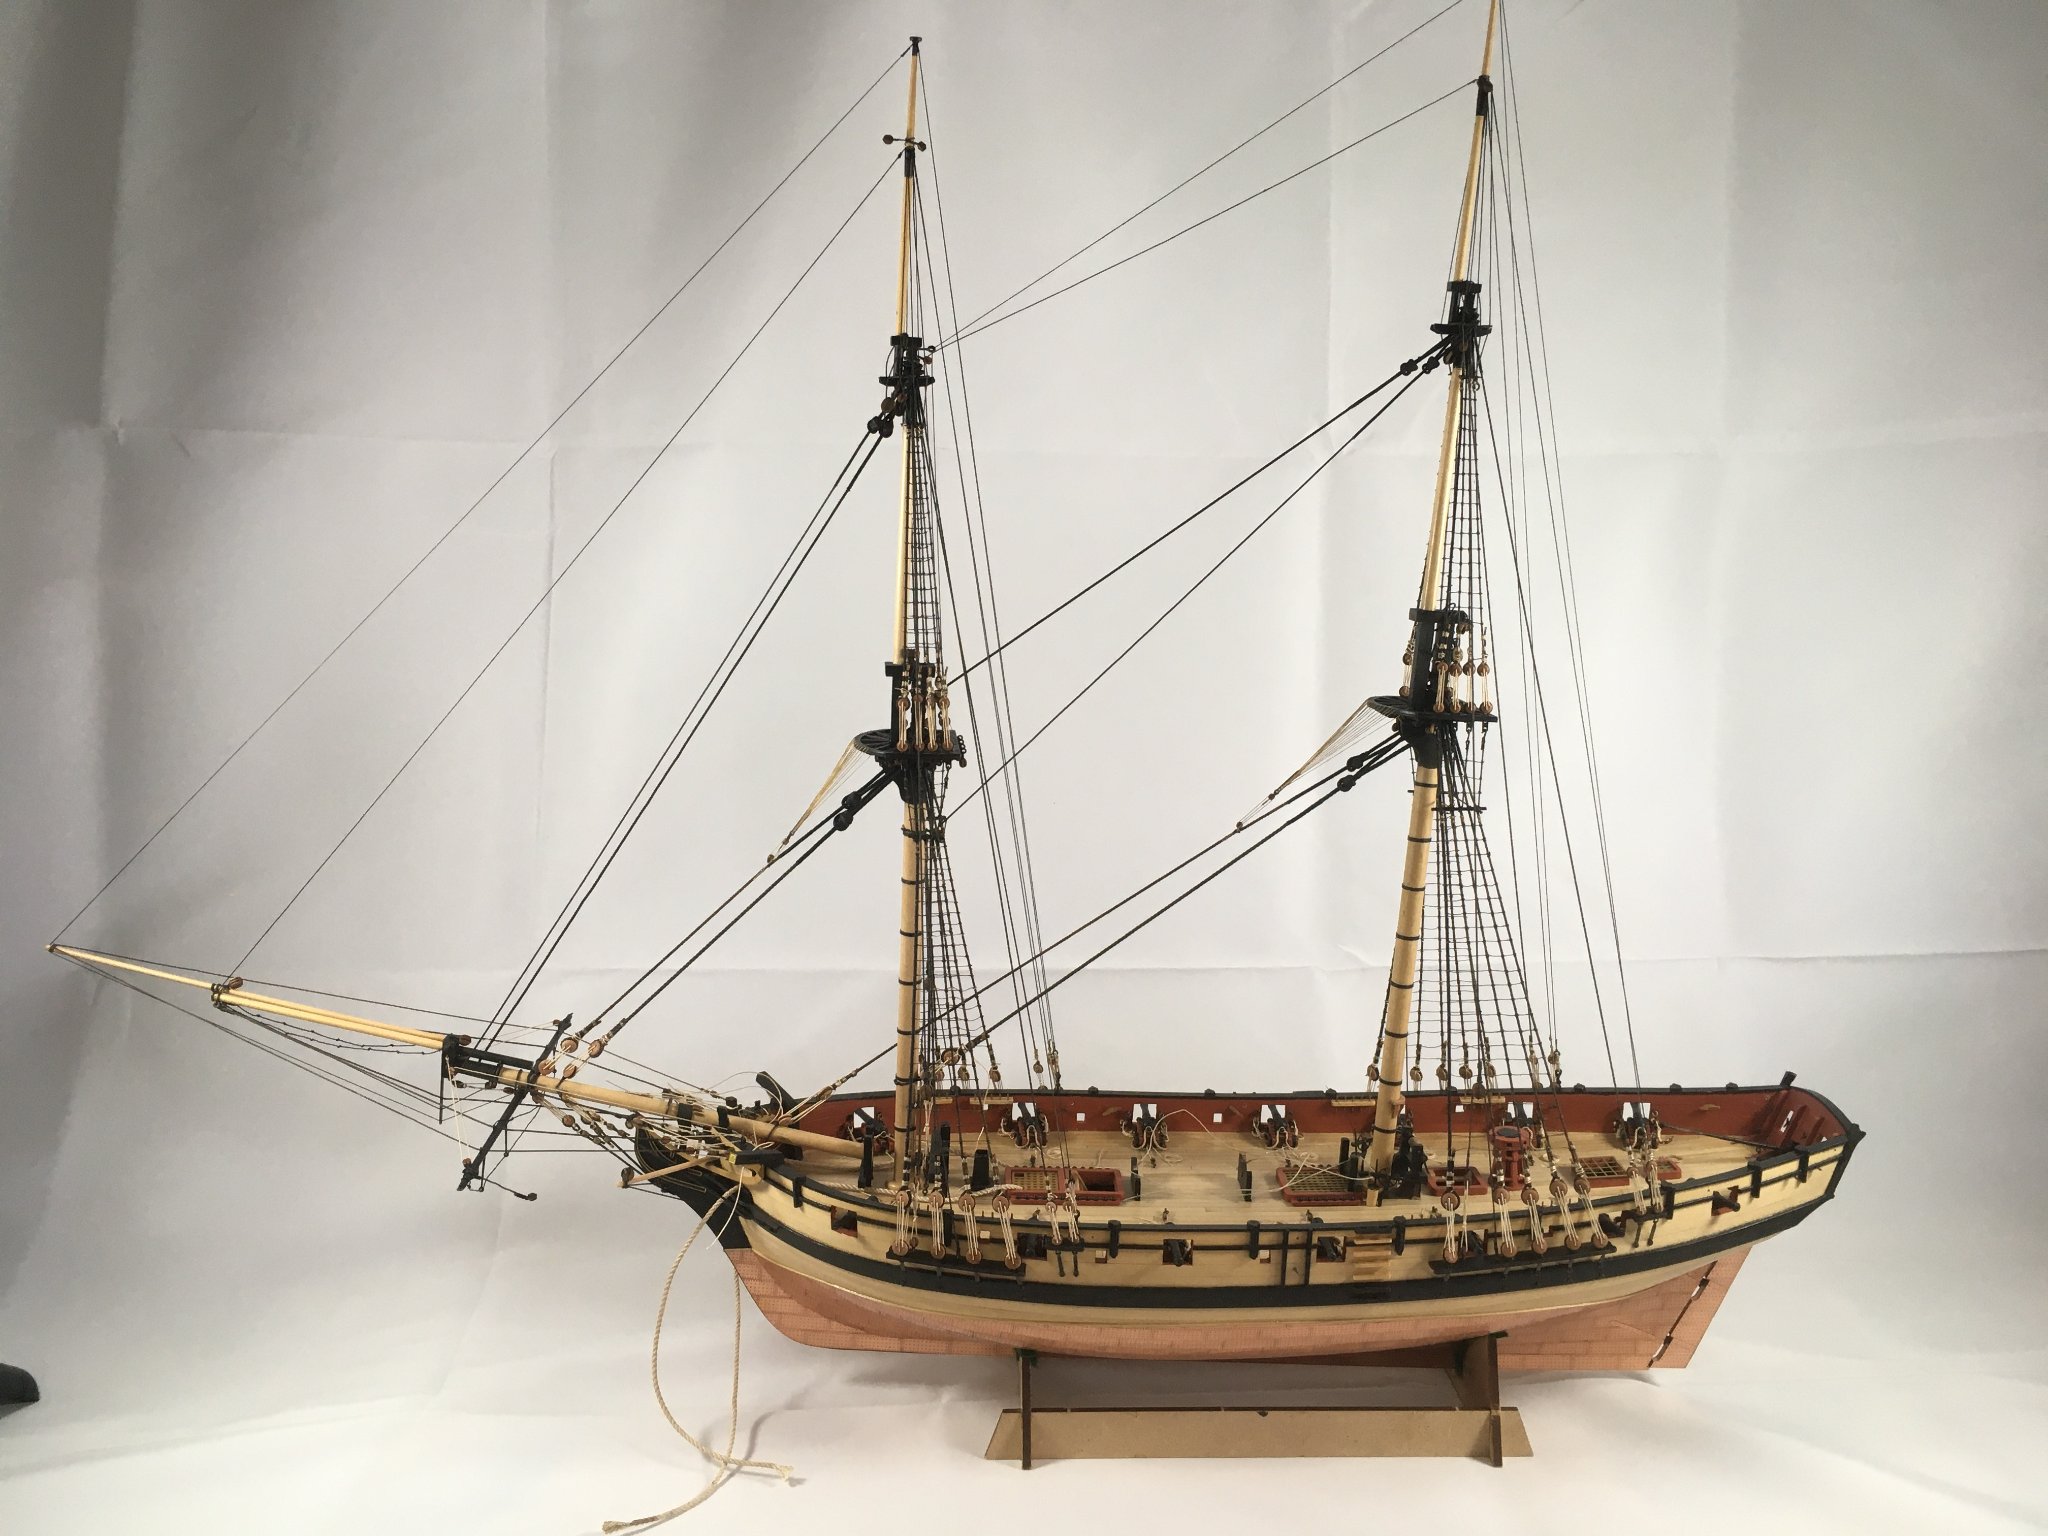
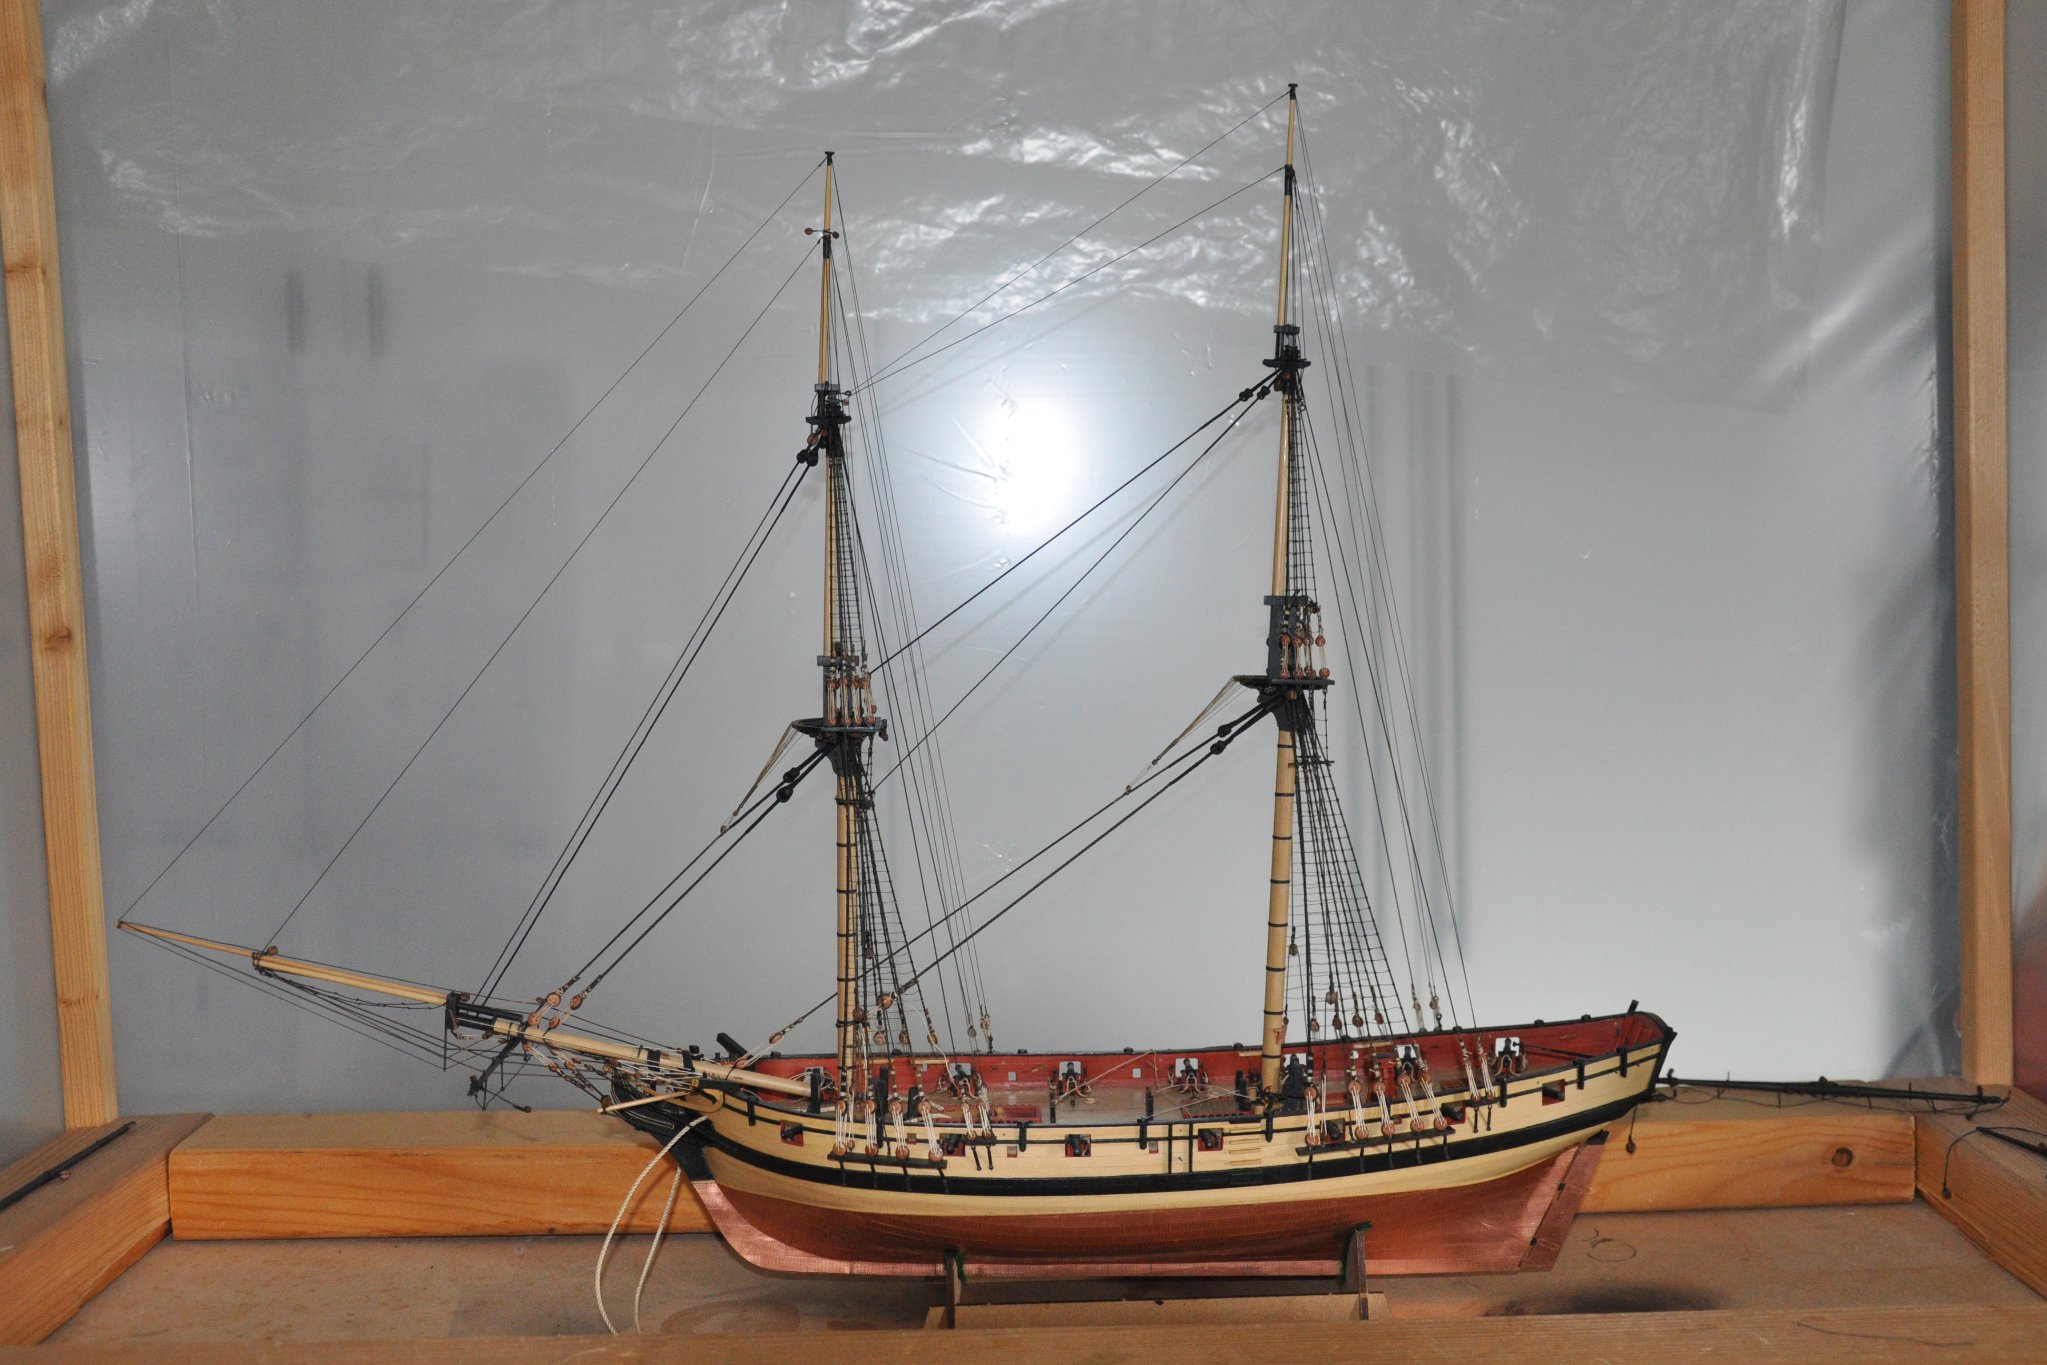
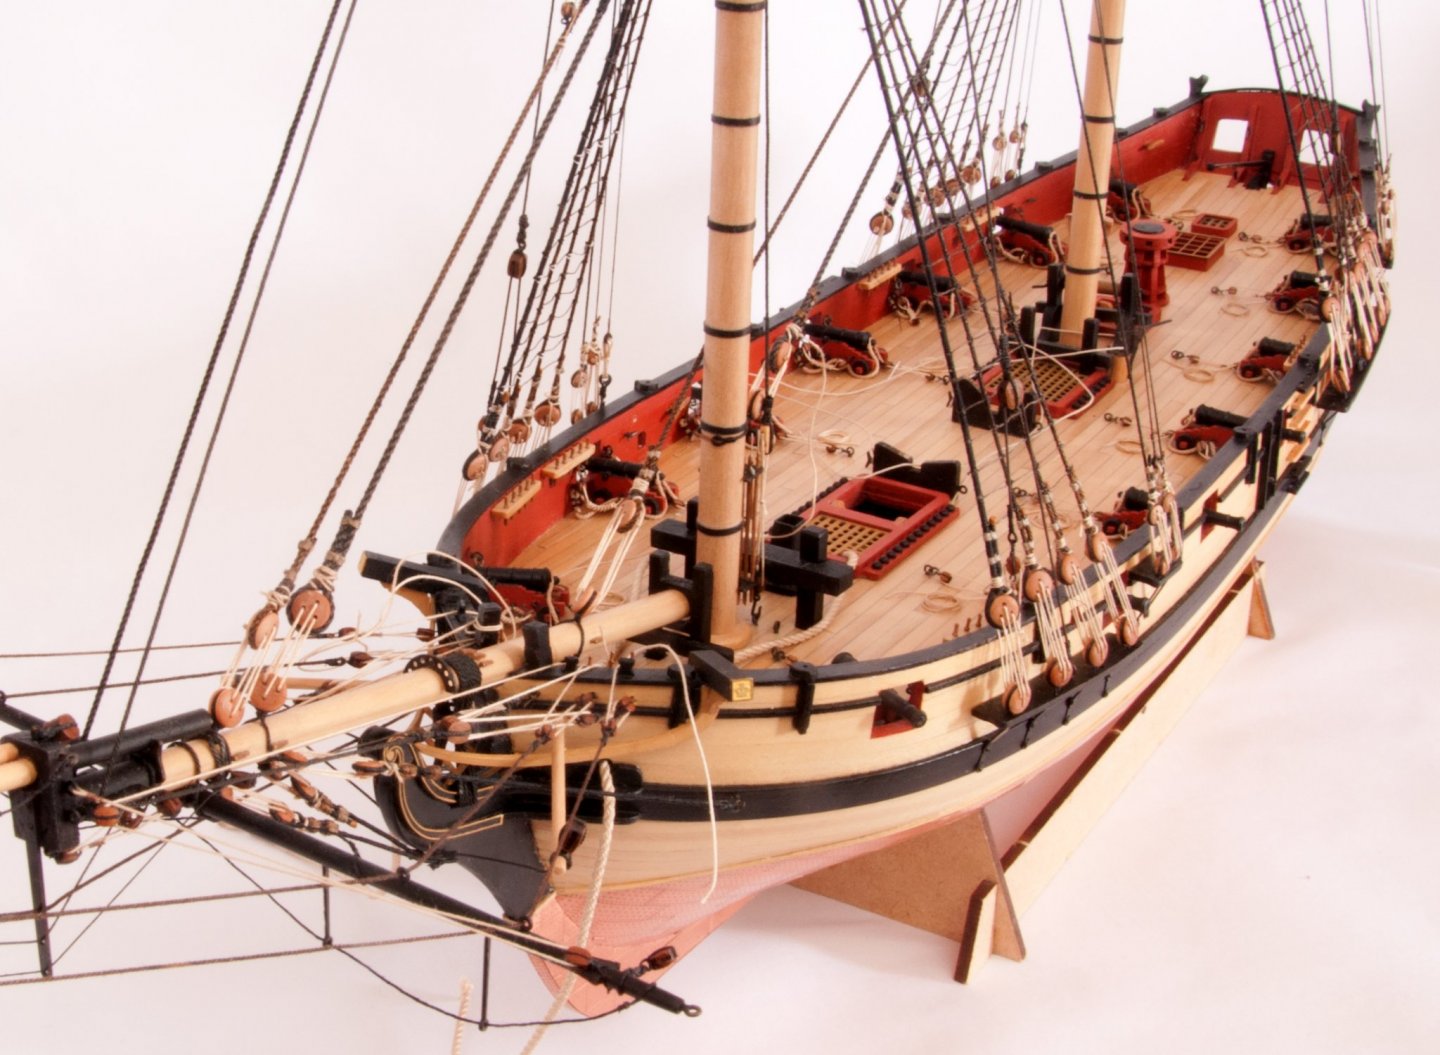
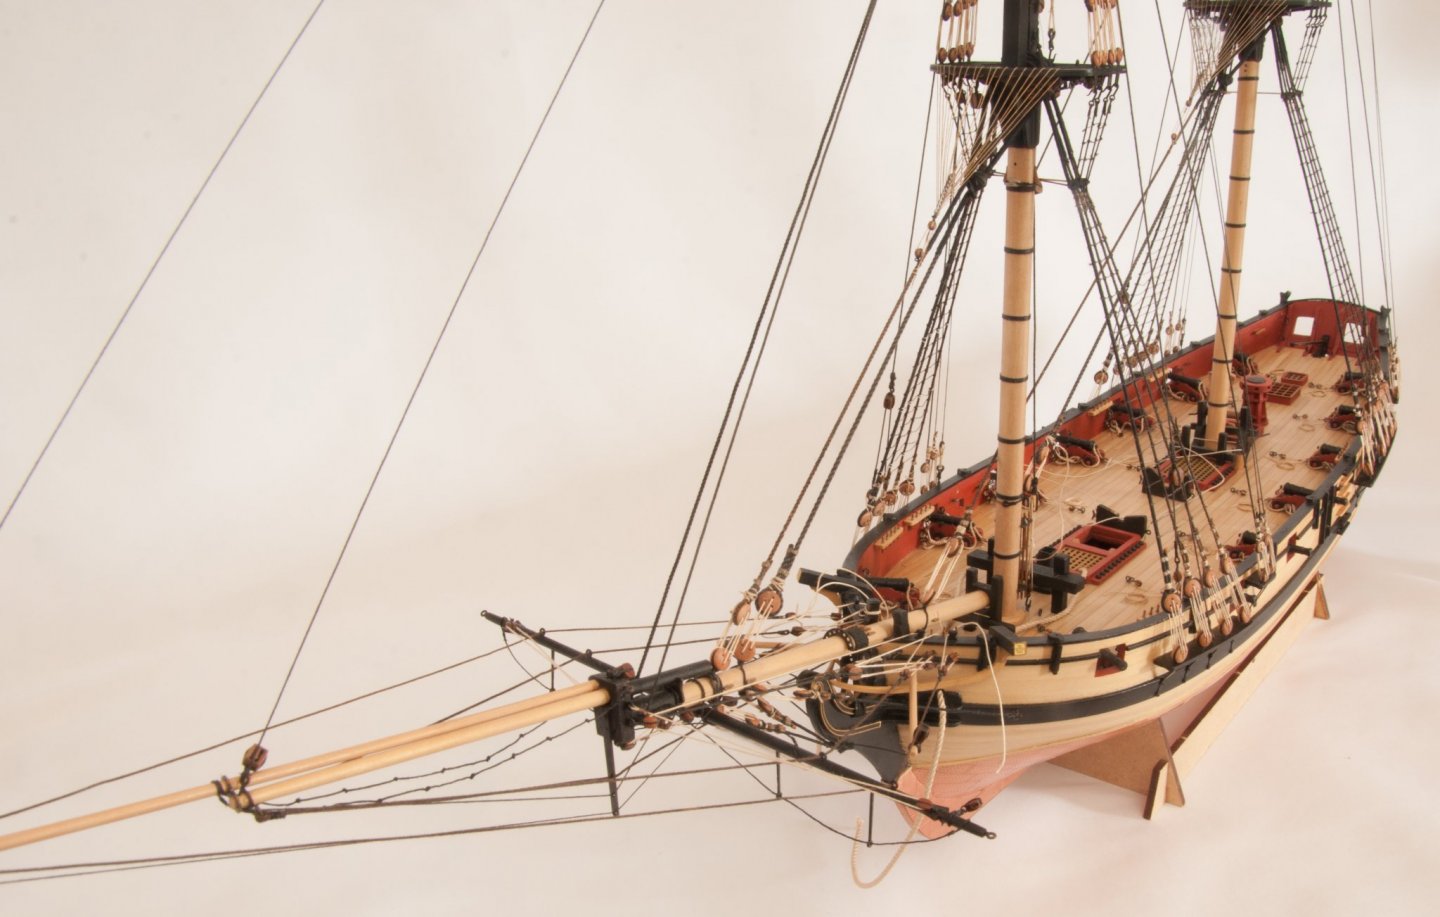
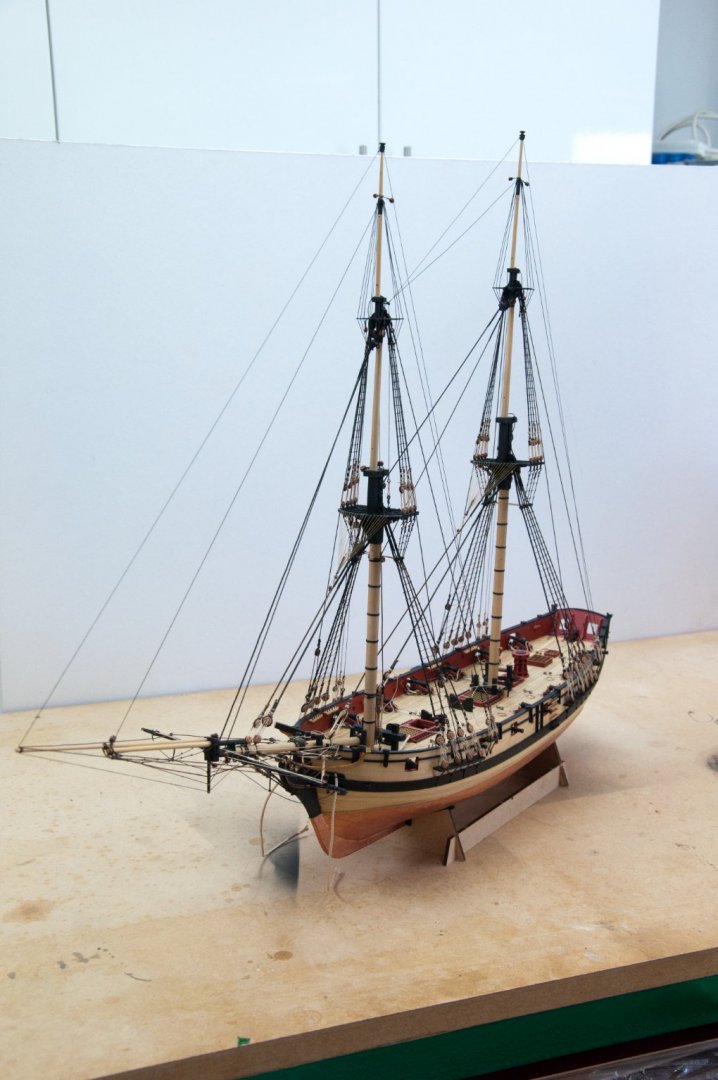
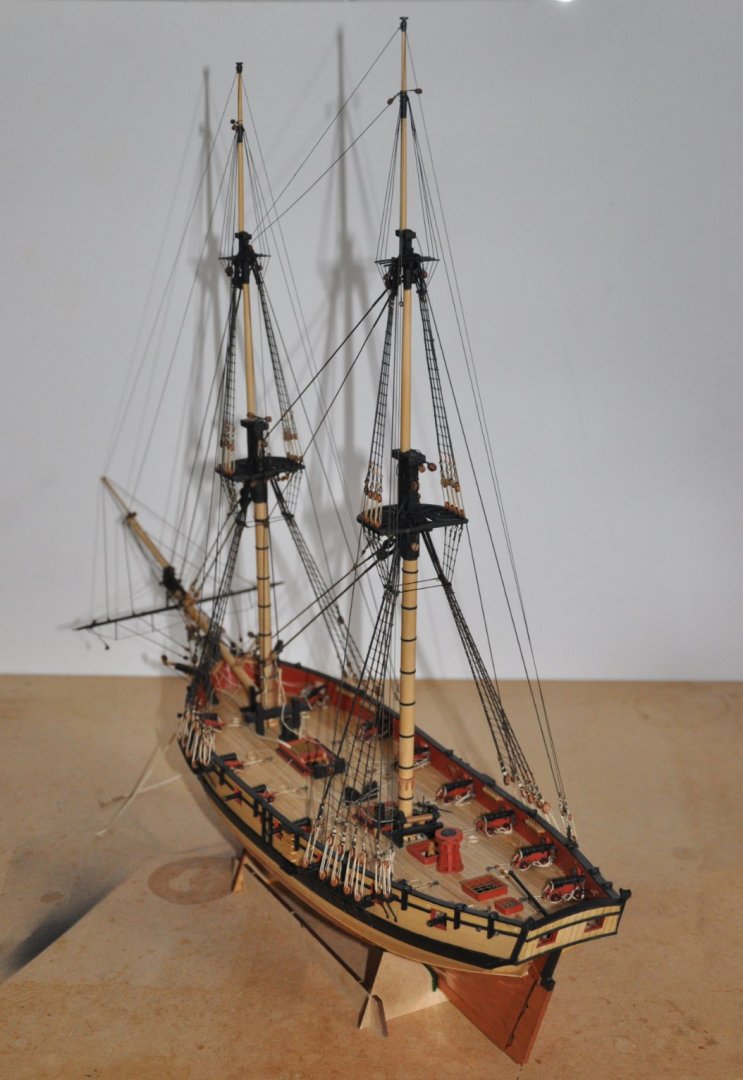
Right, I've had a go with the new lights and backdrop. In the end I went for a material backdrop (here) as it is bigger than the PVC the one Richard (@Rik Thistle) described and I felt it would give me more flexibility in framing shots. Here's one of the first shots I took (before I'd even ironed out the creases in the material!): Here's a couple more... Here's a cropped version of the same shot which I think is better: Not brilliant but I'm starting to see the potential, especially if I can experiment a bit more with settings. I followed Glenn's advice (@glbarlow) and found his recommended settings worked very well. I did struggle with shadows though, but I suspect that was because my flash is a lot brighter than the LED lights. Either that or I wasn't positioning the lights well. In the spirit of experimentation I decided that if a smaller aperture gives a deeper depth of field and f11 is good, then f22 must be very good. The downside is exposure time, so to offset that I dug out a tripod which also allowed me to dispense with the lights. The last shot above is a 3 sec exposure and, whilst the focus isn't perfect, I think the depth of field is better than I'd normally achieve. I've included one shot designed to show that shadows aren't necessarily a bad thing, as they can bring a model to life more than a perfectly lit shot: Onwards and upwards (and back to actually building the model!) Derek


- 725 replies
-
- 13
-
-
- vanguard models
- speedy
- (and 1 more)
-
That's very kind James. Some of the close-up shots I've taken have been OK, but I'm not happy at all with the more formal shots I've tried to take, for example in that last batch in post #591. I see a world of difference when I look at the photographs in Glenn's Cheerful log and in the logs James H (@James H) does on Chris Watton's Vanguard prototypes, to name just two examples. That's the standard I'd like to aspire to. That is so helpful Glenn. This is all new to me - apart from my work on astrophotography I'm strictly a point and click novice, so I'm really grateful you've taken the time to set out this guidance. As well as your logs I've also seen your photography website so I realise you know what you're talking about. I take most of my model shots with my iphone (a relatively prehistoric 6 SE) but I've also got an old Nikon D90 that still takes good photos, albeit in point and click mode. I'll look forward to trying the settings you recommend and will post some results over the next day or so. I might also post the results in the new photography sub-forum as a follow-on to Richard's posts, with a link to your advice which I'm sure others would find useful. Derek
- 725 replies
-
- 1
-
-
- vanguard models
- speedy
- (and 1 more)
-
Curtesy of Amazon I've just received some gear I hope will help improve my photography - a couple of LED lights and a white background sheet. I owe a big thanks to Richard (@Rik Thistle) who recommended these products (here) in the new How to Photograph your Models sub-forum. Richard also provided a link to a very informative Youtube video on photographing small objects in the second post in the new forum. I'm looking forward to setting up the new kit and playing with it. Hopefully I'll be able to post some improved Speedy shots shortly. Derek
- 725 replies
-
- 2
-
-
- vanguard models
- speedy
- (and 1 more)
-
Thanks Phil!
-
Very useful resource - thanks for sharing. I have Lees's book and Danny's spreadsheet and refer to both frequently, but the ability to focus on the mast diameter and edit makes your spreadsheet particularly helpful. Derek
-
Good work Glenn. Great to see you working through the challenges. Just a thought though - isn’t that line in the last shot running rigging, not black standing rigging? Derek
-
Thanks John. I hope the log helps you avoid some of my mistakes! Derek
-
Rigging Confusions - Lifts, Halyards and More, Oh My!
DelF replied to rraisley's topic in Masting, rigging and sails
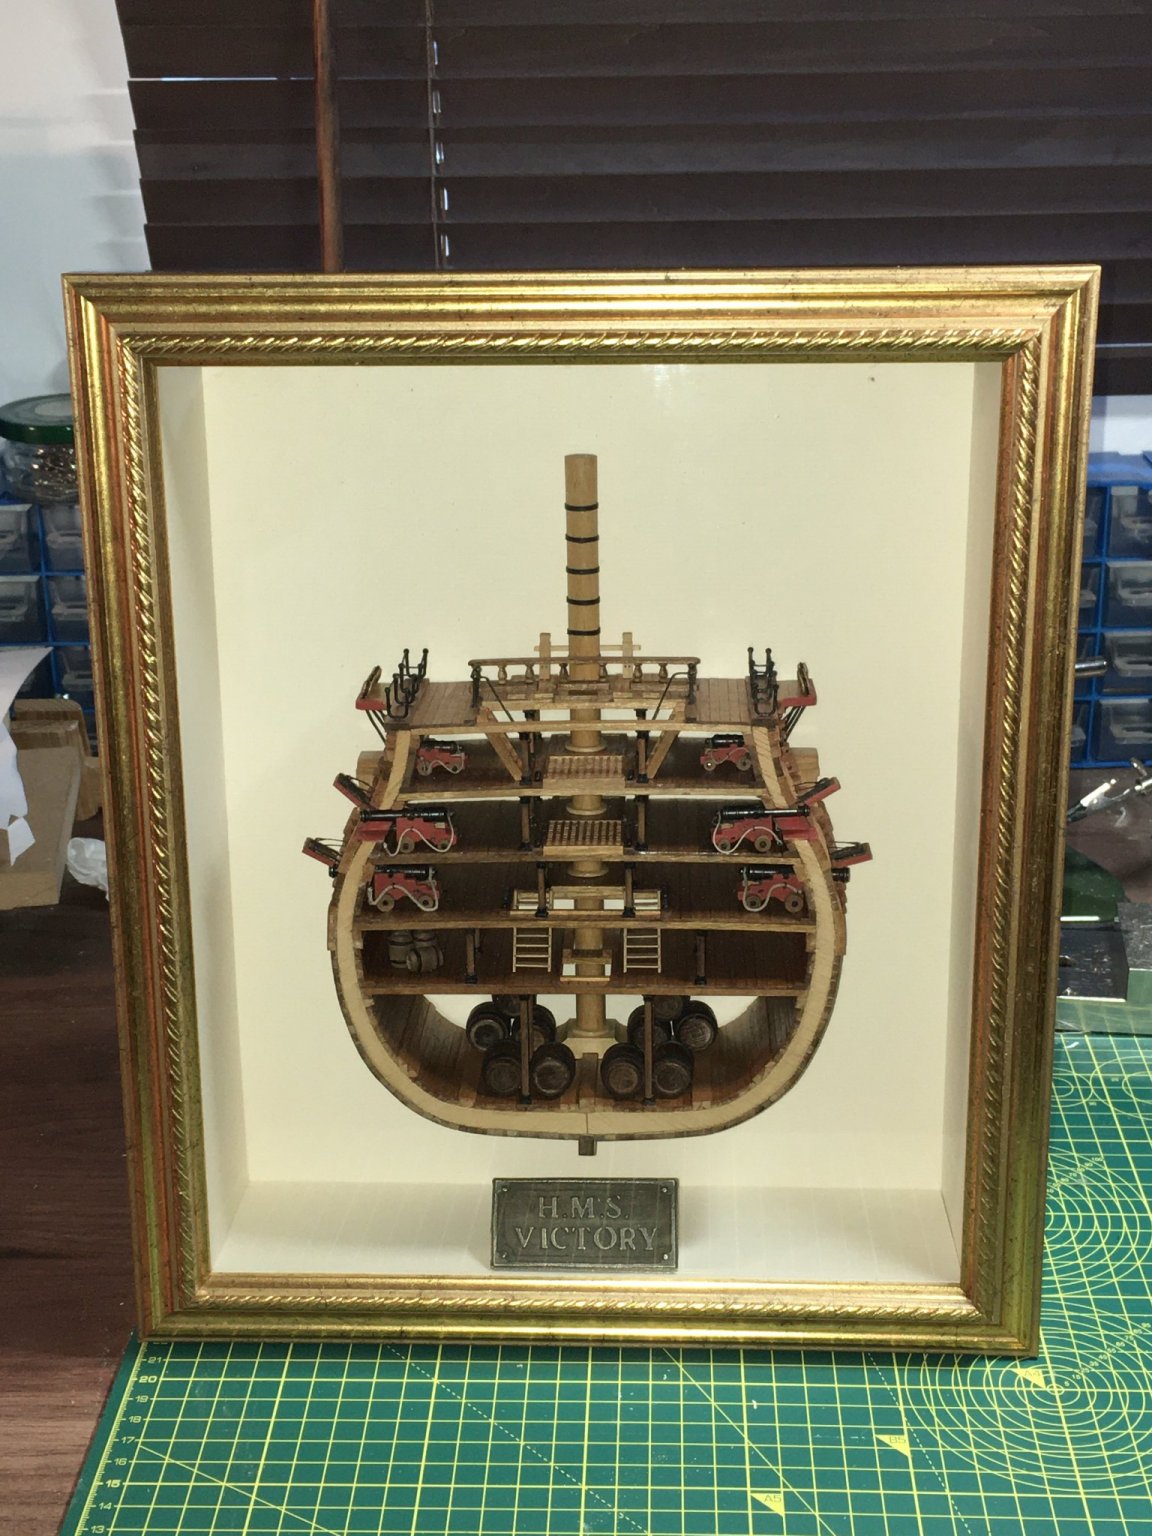
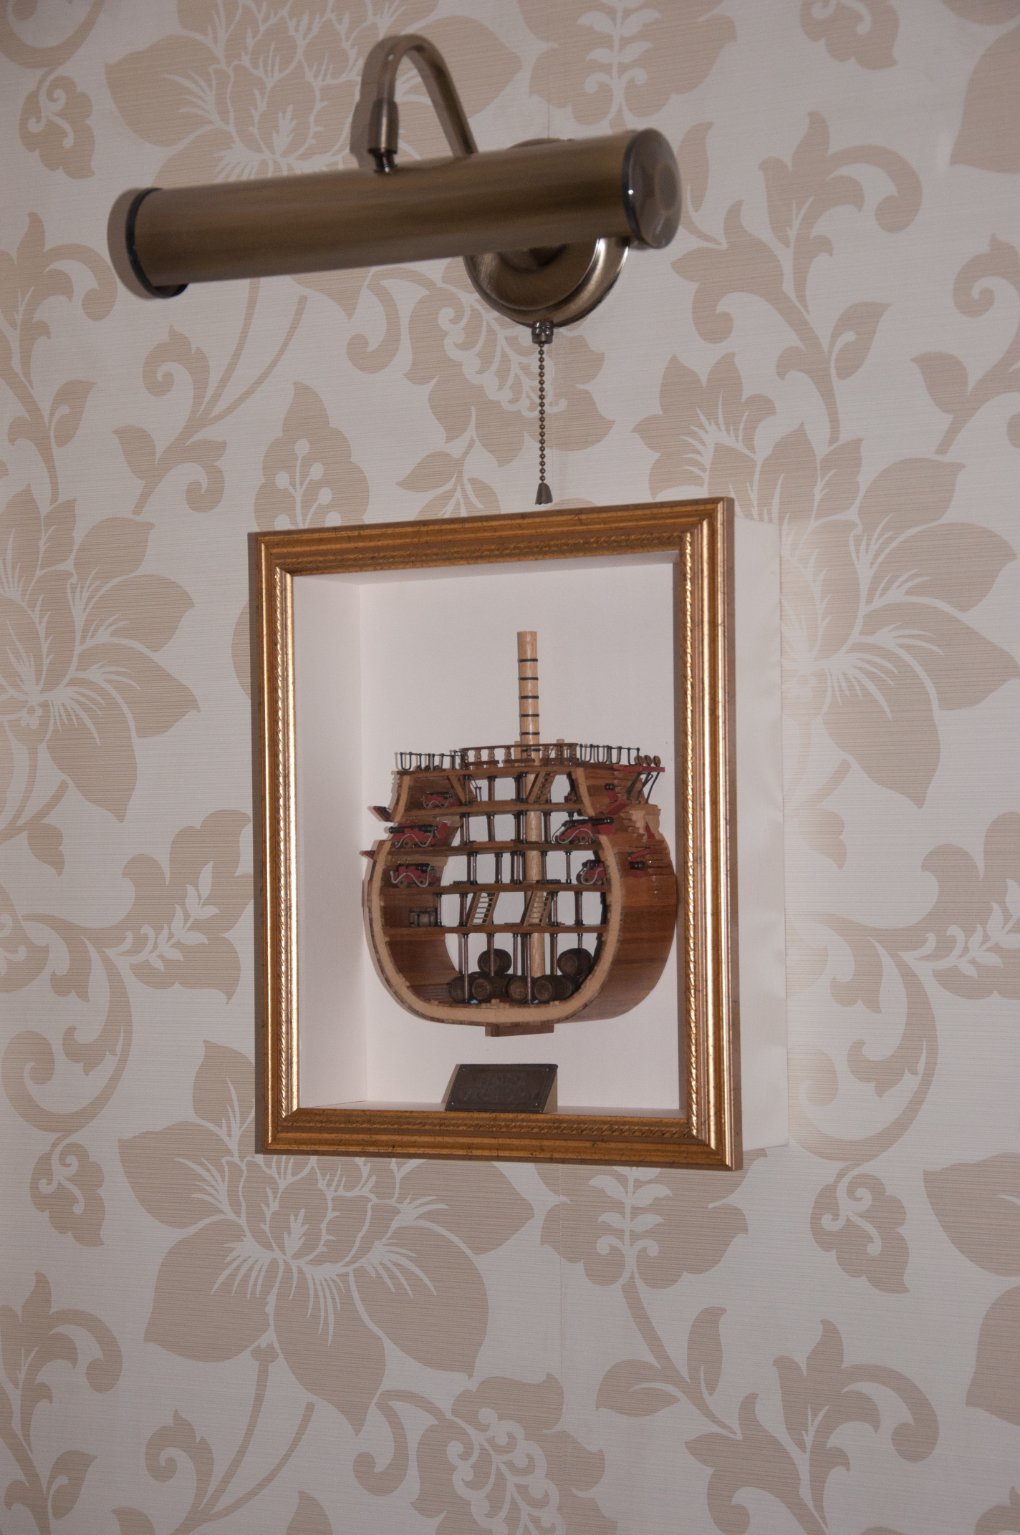
I remember going through the same dilemma with the same kit. The kit rigging is necessarily simplistic, partly because the cross section isn't deep enough to contain all the rigging to the mainmast. For example there is only room for three shrouds on each side whereas from memory I think there would have been at least 11 plus around 5 backstays on each side. I wasn't happy with that degree of paring down and in the end I decided to leave it out and just incorporate a stub mast. Probably not the feedback you wanted, but at least it shows you can get a half decent result from the pared down model: If you really want to press ahead then the best source I know is The Anatomy of Nelson's Ships by Longridge which, despite the title, just covers (in great detail) his construction of a 1:48 scale model of Victory. Given the degree of standardisation in the Georgian navy it's well worth having as a great source of information about British warships of the period. Hope this helps. Derek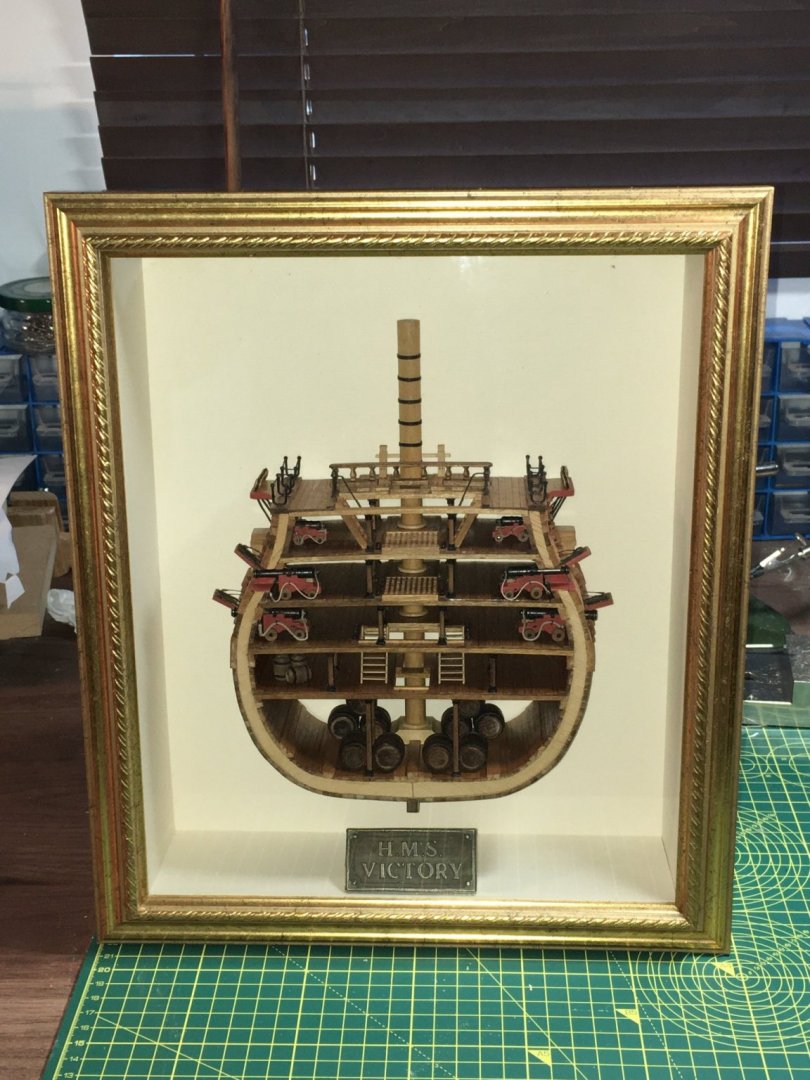

-
@glennard2523, @SpyGlass, @whitejamest, @Casi and all the likes - thanks guys, much appreciated. Thanks Chris, I'm just sorry my photographs don't do your great model justice. Derek
- 725 replies
-
- 1
-
-
- vanguard models
- speedy
- (and 1 more)
-
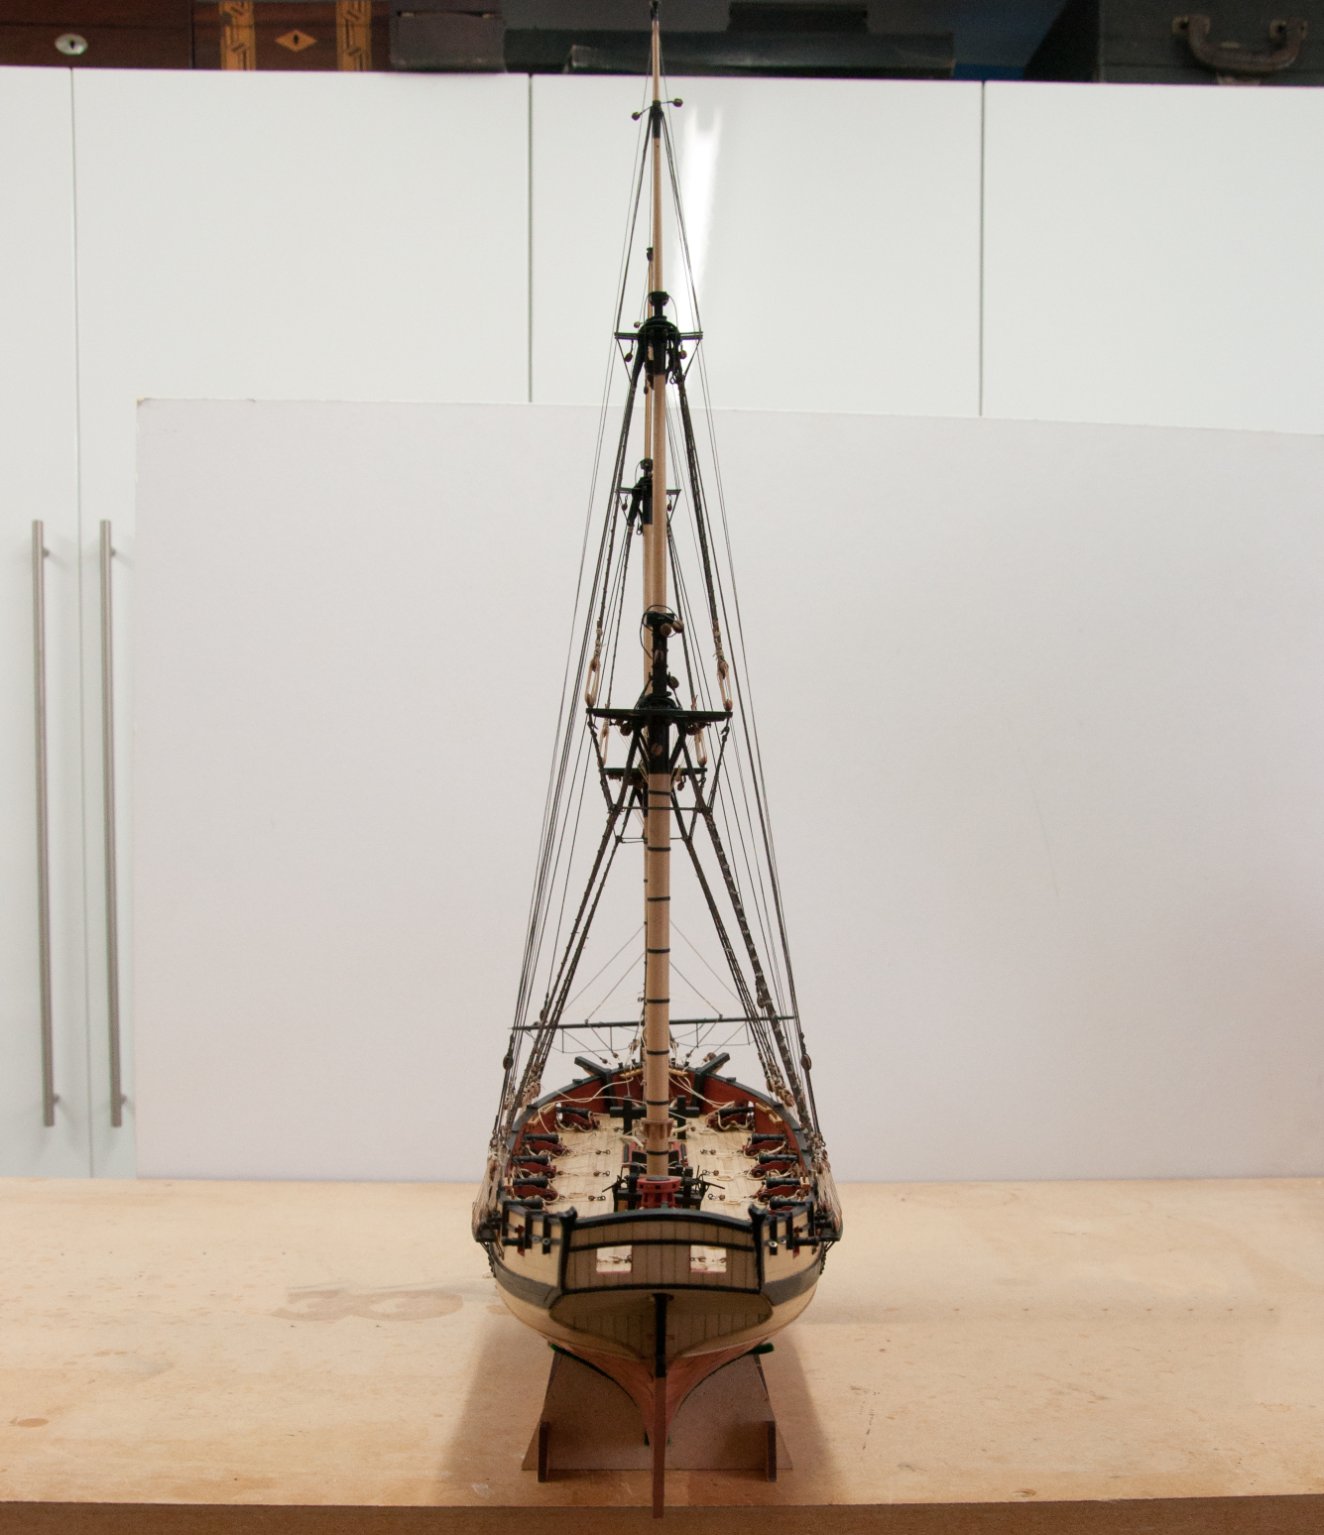
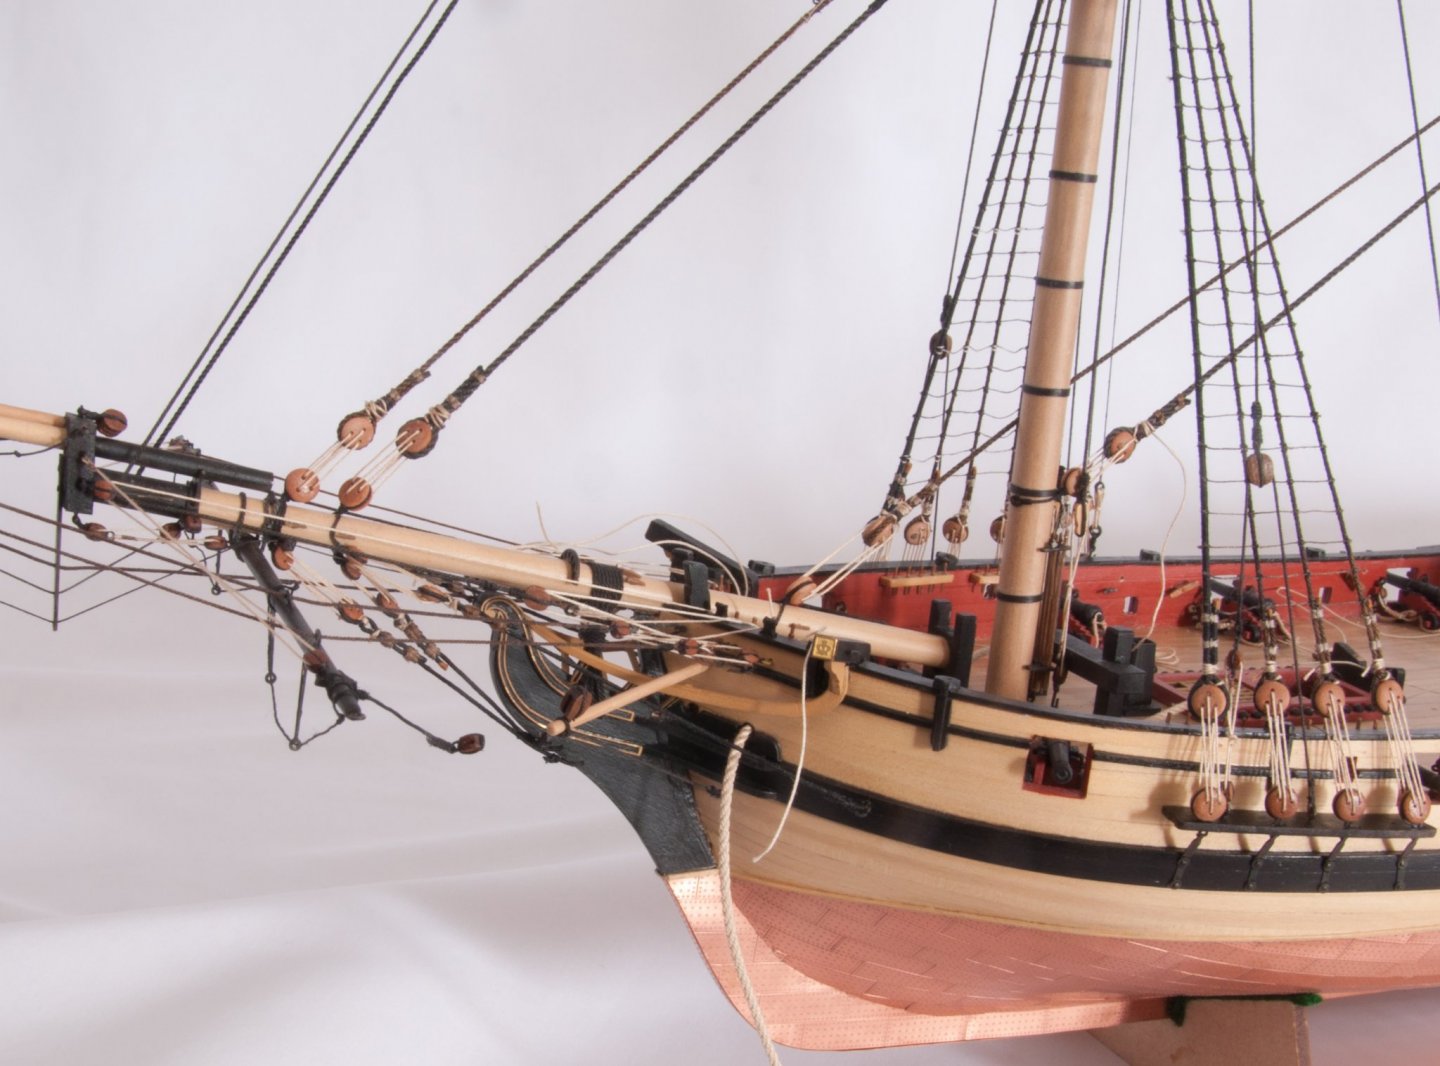
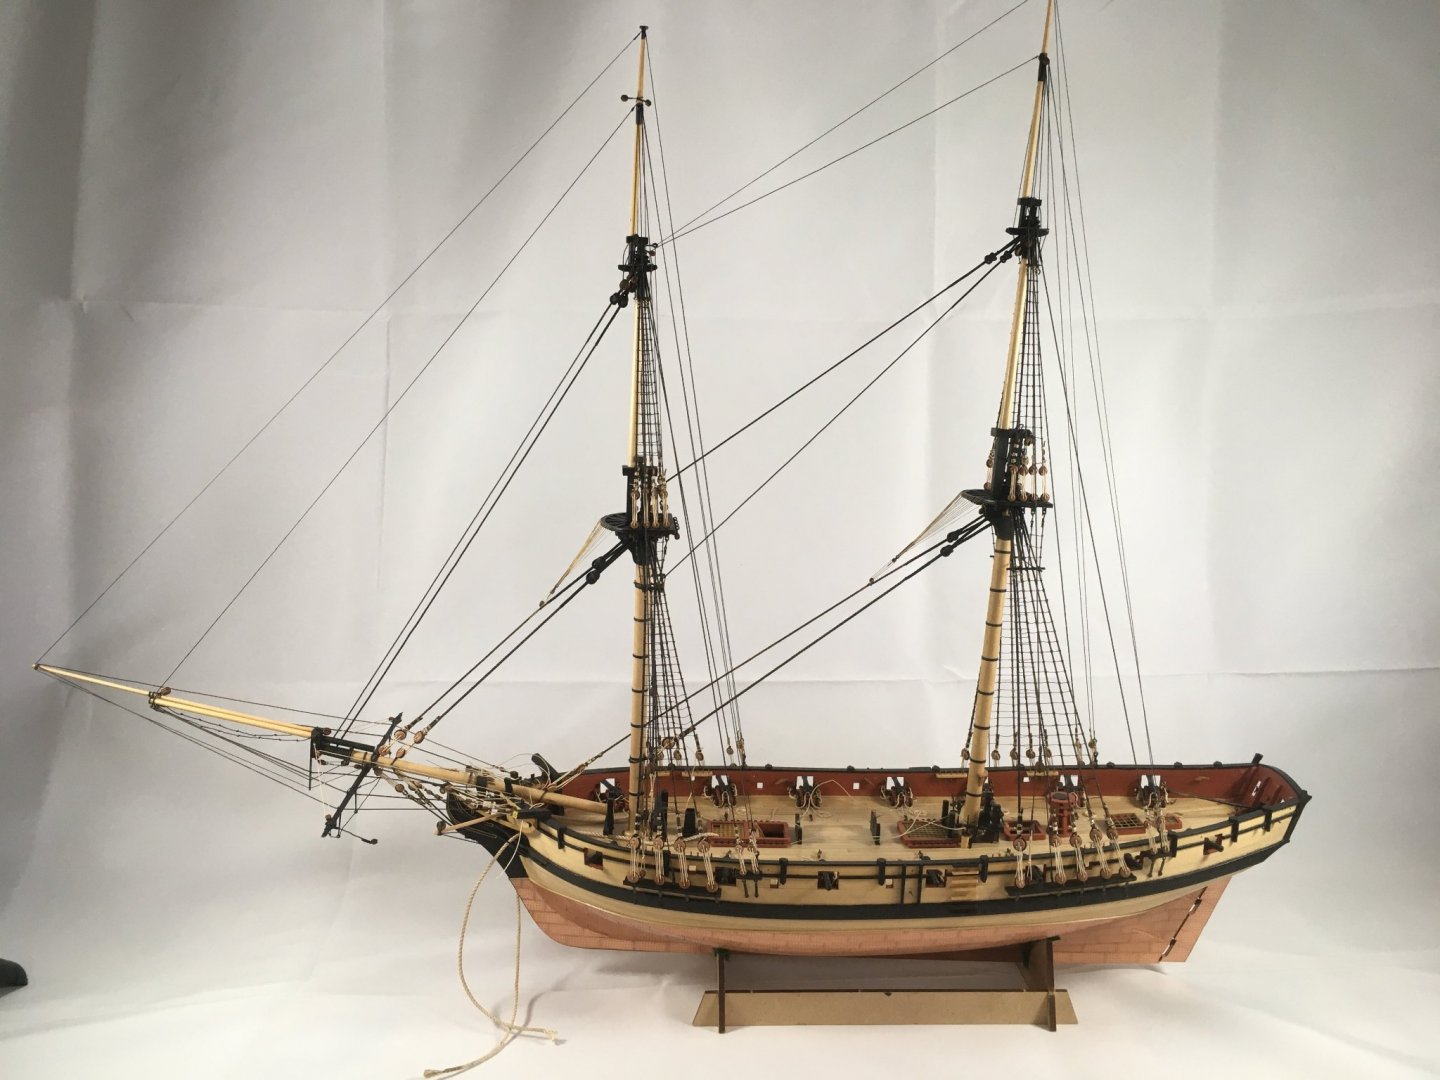
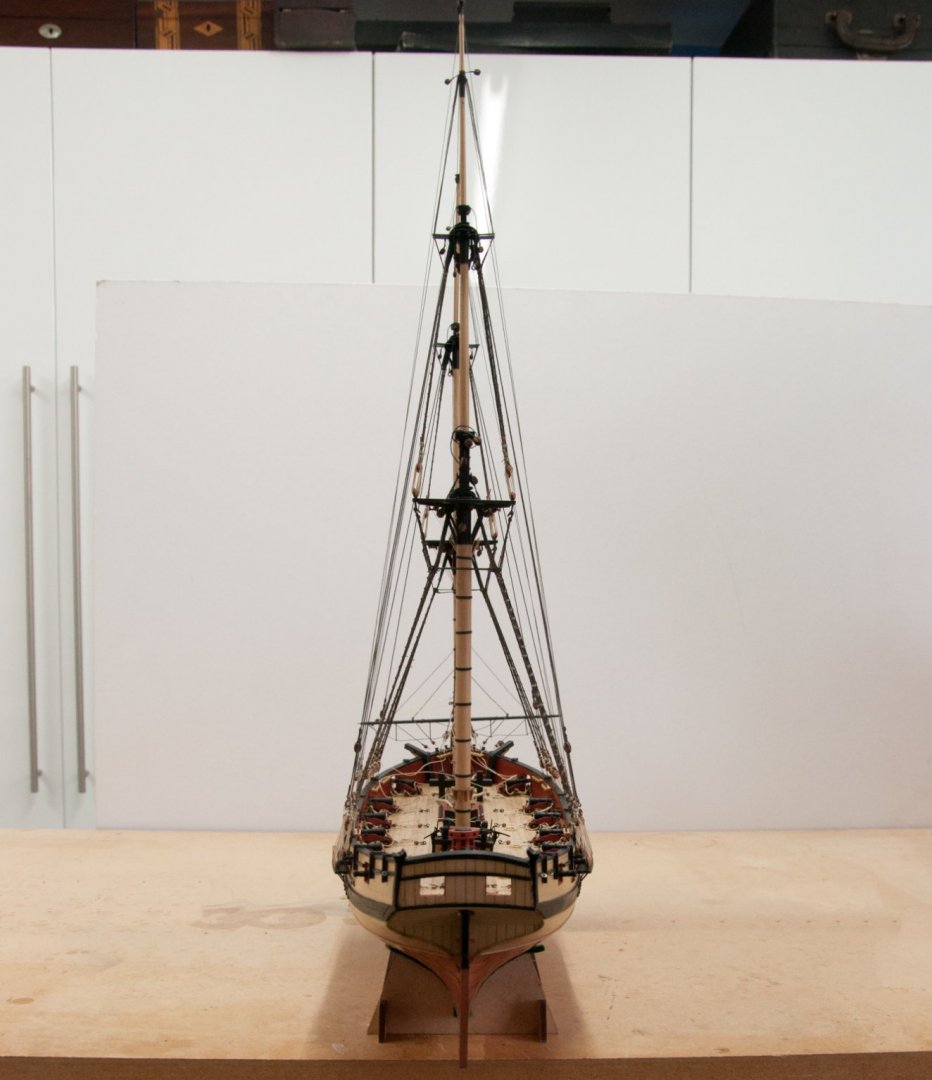
Standing rigging finished I promised a few shots once I'd reached this milestone. Unfortunately I couldn't promise that my photography skills would have improved 😬 Next, on to rigging the boom and gaff. Derek


- 725 replies
-
- 17
-
-
- vanguard models
- speedy
- (and 1 more)