-
Posts
1,897 -
Joined
-
Last visited
Content Type
Profiles
Forums
Gallery
Events
Everything posted by catopower
-
Speaking of Douglas Brooks and the practice of traditional Japanese trades, he's back in Japan now building a cormorant fishing boat (and Ukaibune) under the direction of what I believe is the last of the builders of these boats. He's blogging about it now, which you can follow at http://blog.douglasbrooksboatbuilding.com. This project is being documented (measurements taken for CAD) by Marc Bauer of Tri-Coastal Marine and there's hint that there might be a publication in the works. In the meantime, I'm trying to convince Douglas Brooks to allow the publication of specifications for a couple boats for ship modeling purposes. There are very few plans available for us to build from. Most are published in Admiral Paris's Souvenirs de Marine, and I'm kind of wondering about some of the details on those. Also, those plans are drawn based on western practices, and hard to use as you have to work to extract the information needed to build a model the correct way, based on Japanese practices. At least, that's what I find. Clare
-
Carl, thanks for recommending that book. I bought a used copy online. It was waiting for me recently when I'd gotten home. I opened up the package and stood in the doorway for 10 minutes just fascinated by the material in the book. I told boatbuilder Douglas Brooks about it. As you may know, he's been something of a mentor to me on the subject of Japanese traditional boats. Of course, he comments that he knows Azby and he's a great guy. Anyway, I think I'll learn some thing from this book! Clare
-
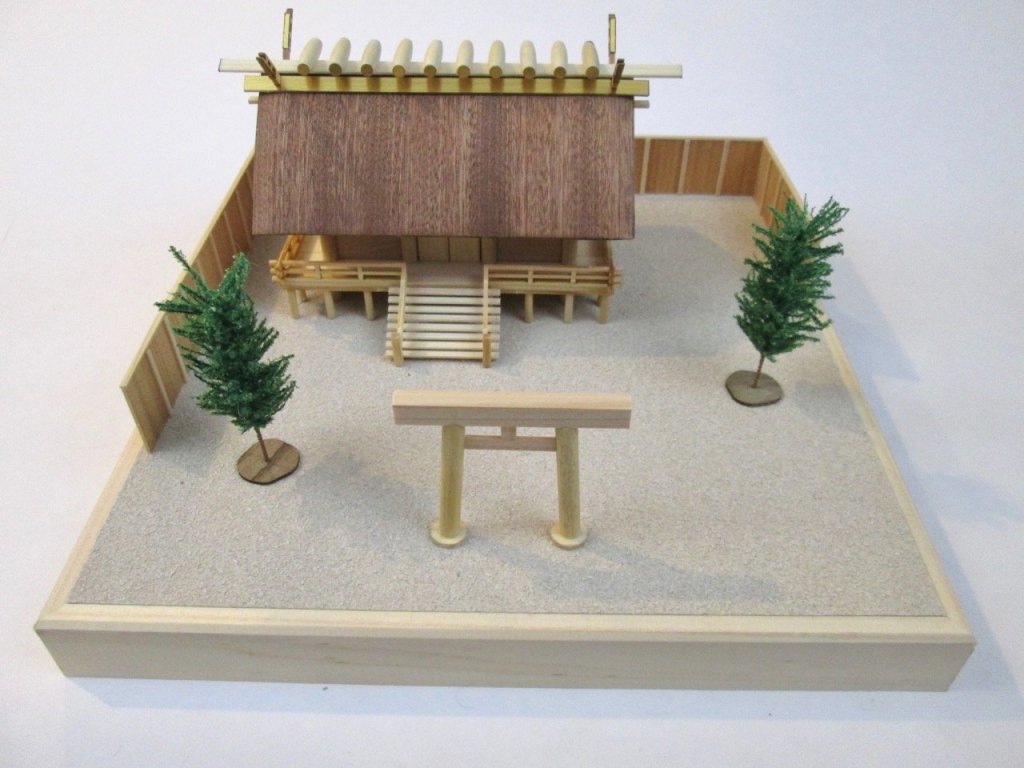
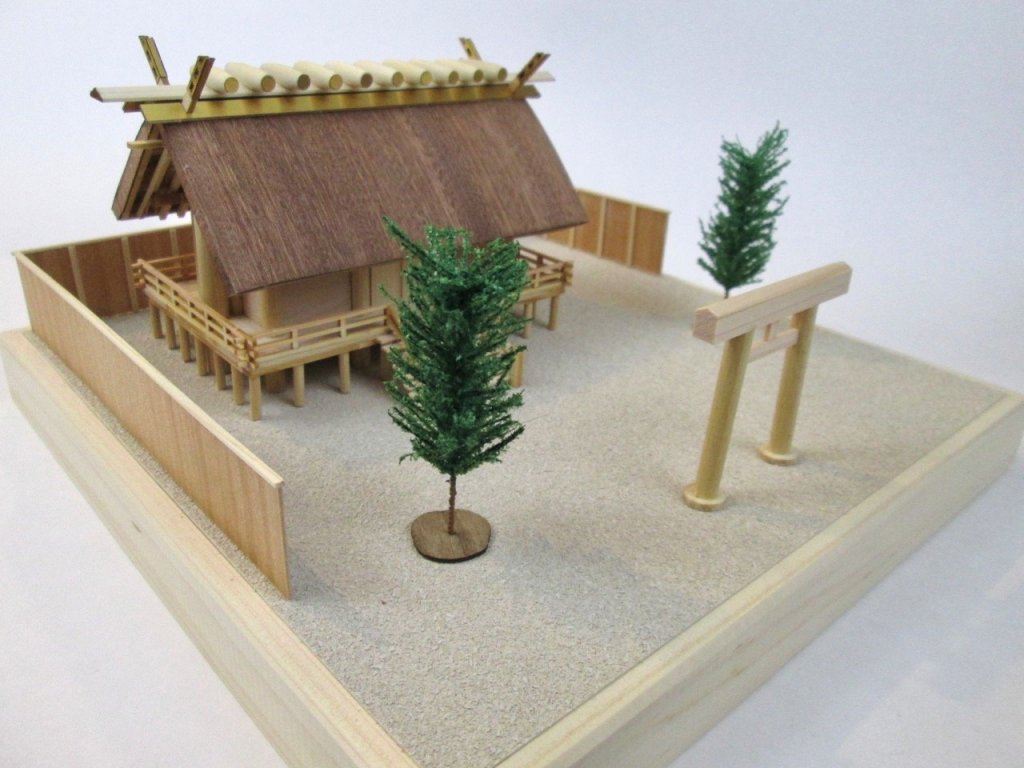
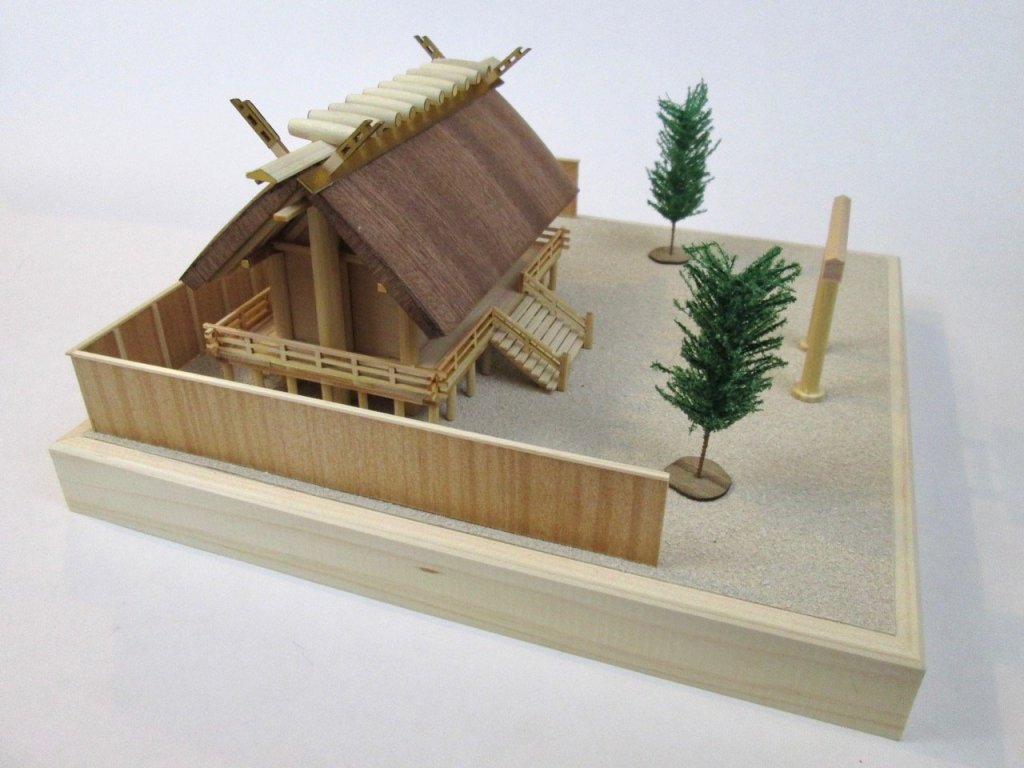
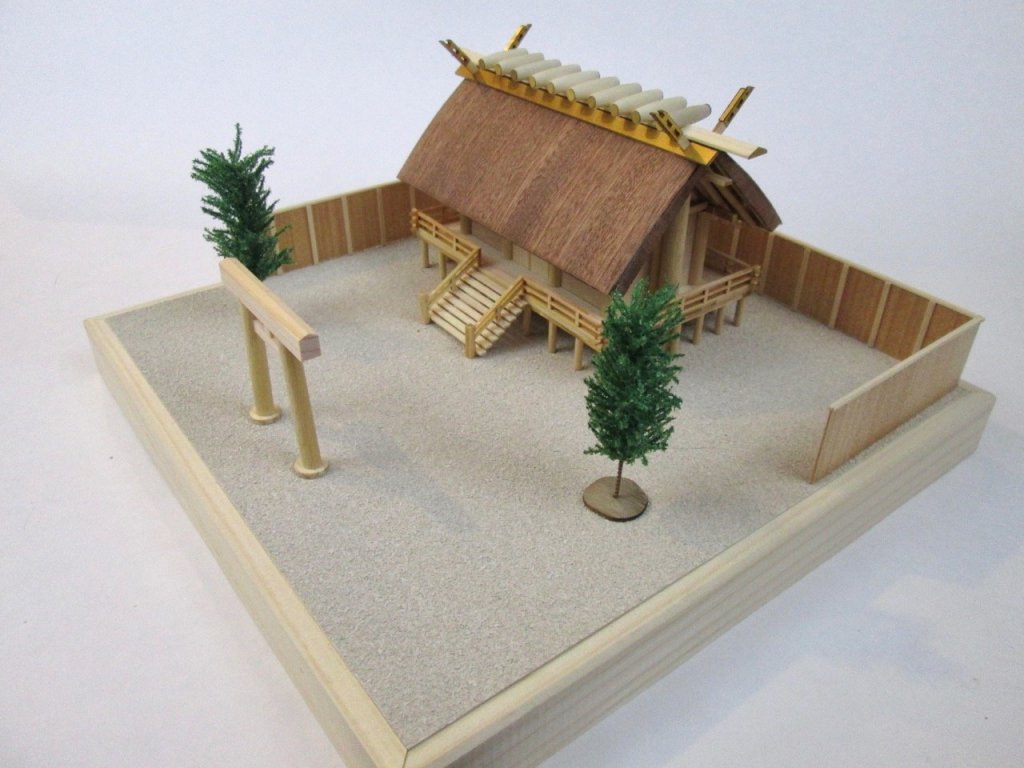
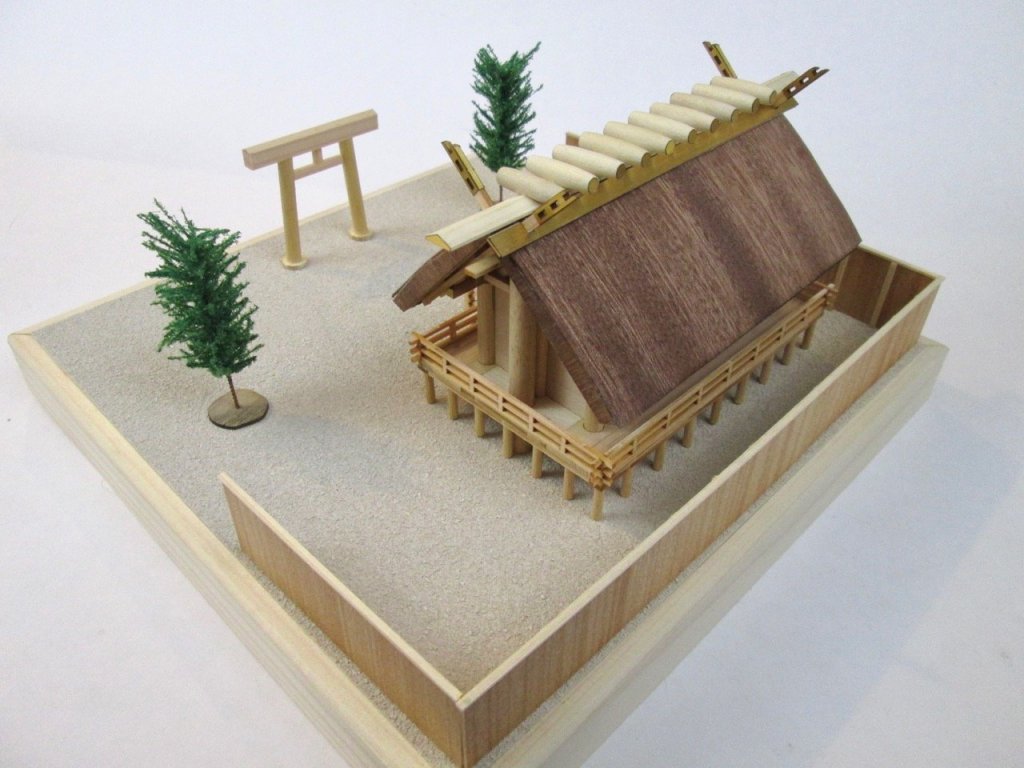
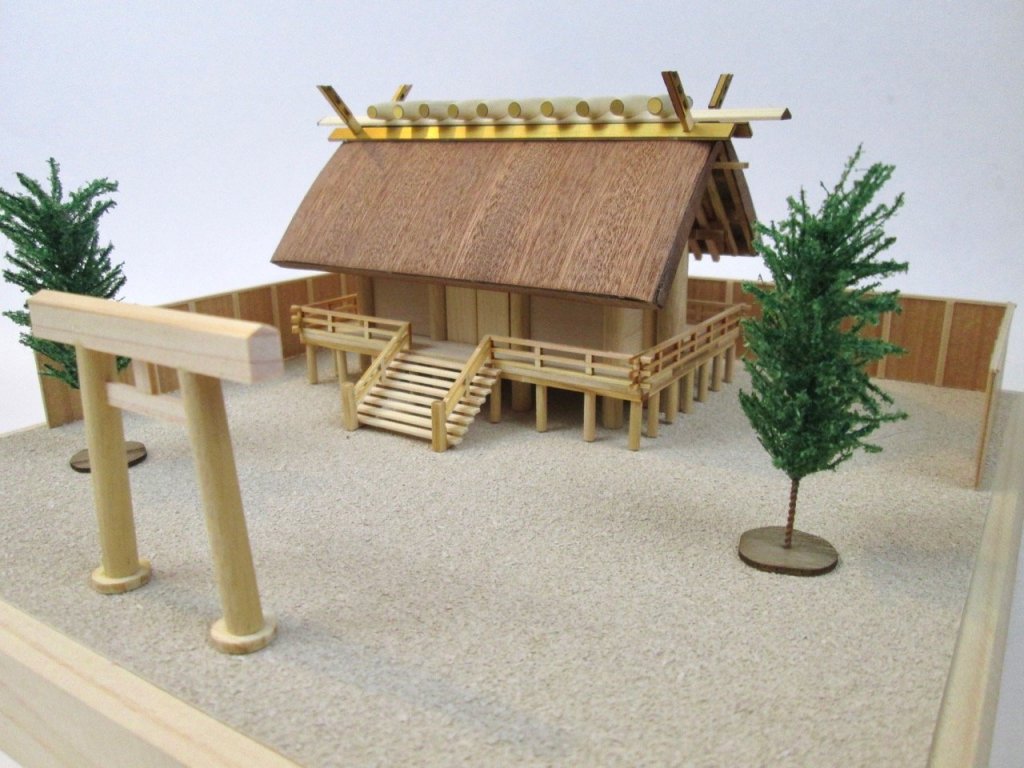
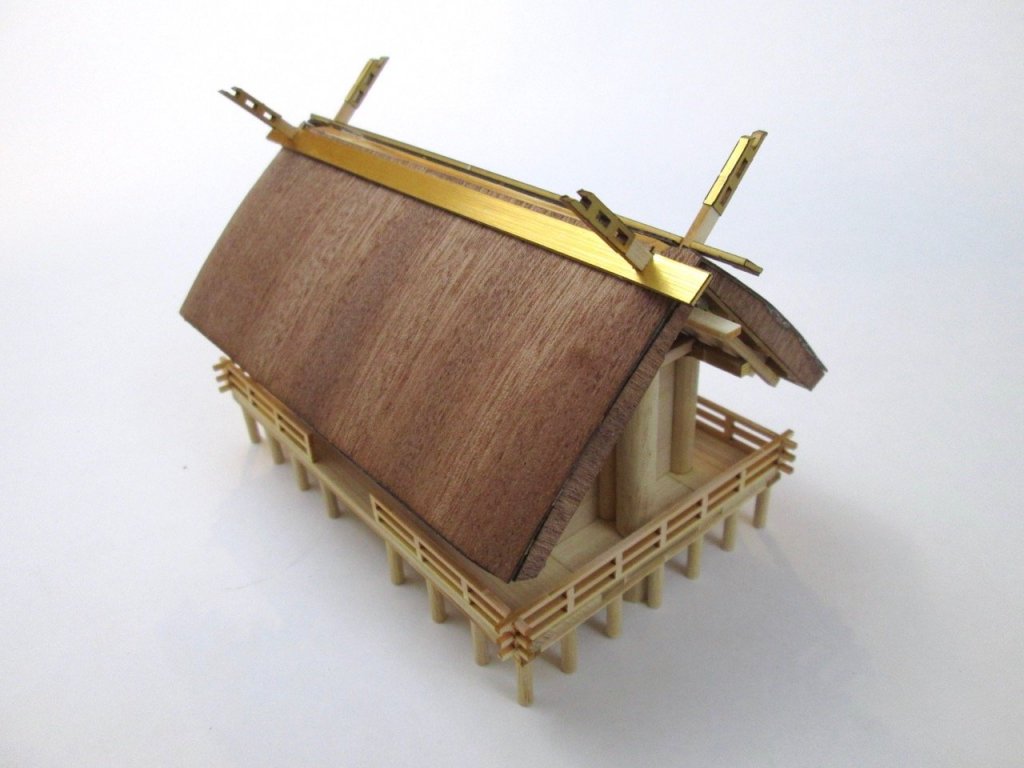
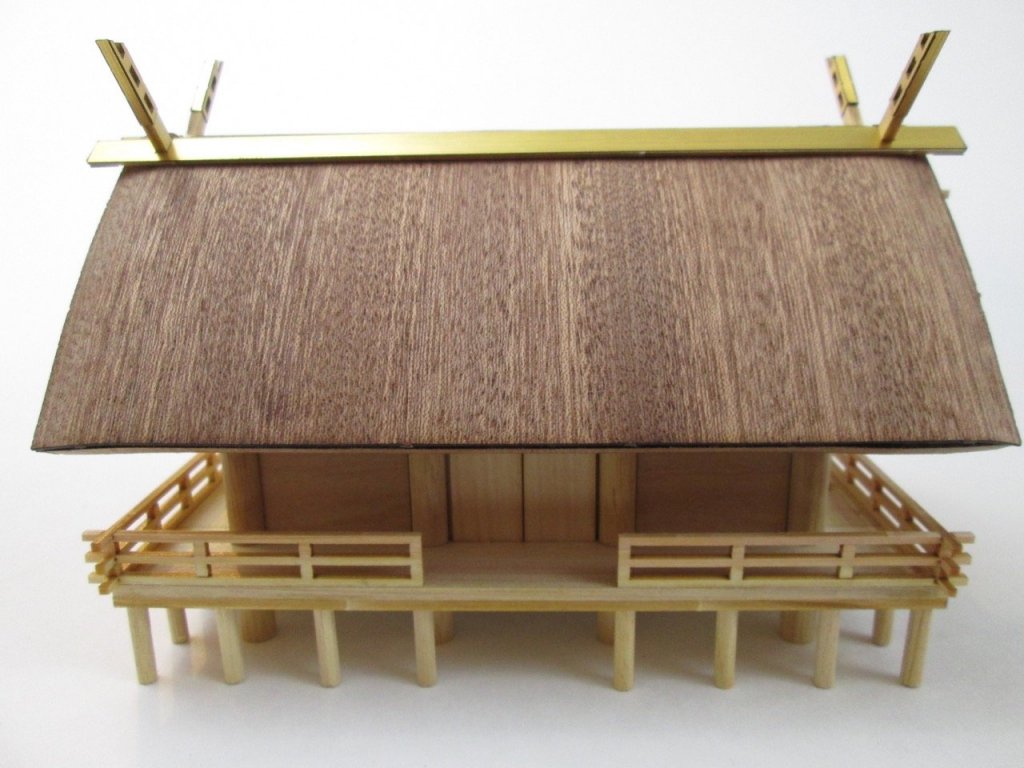
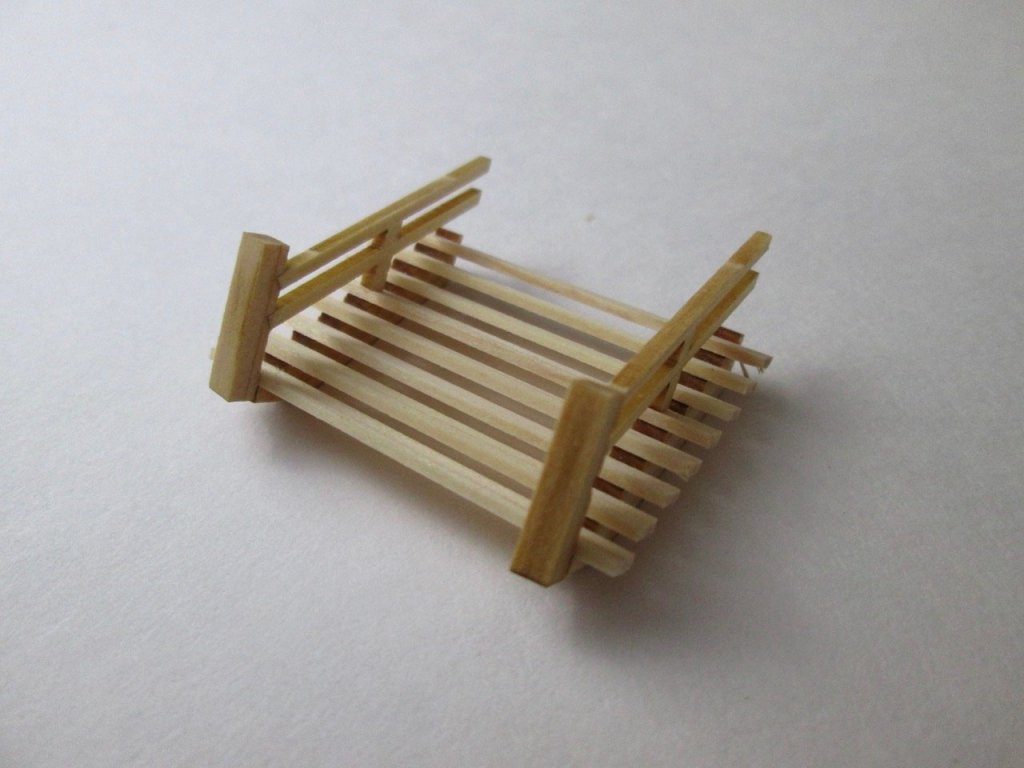
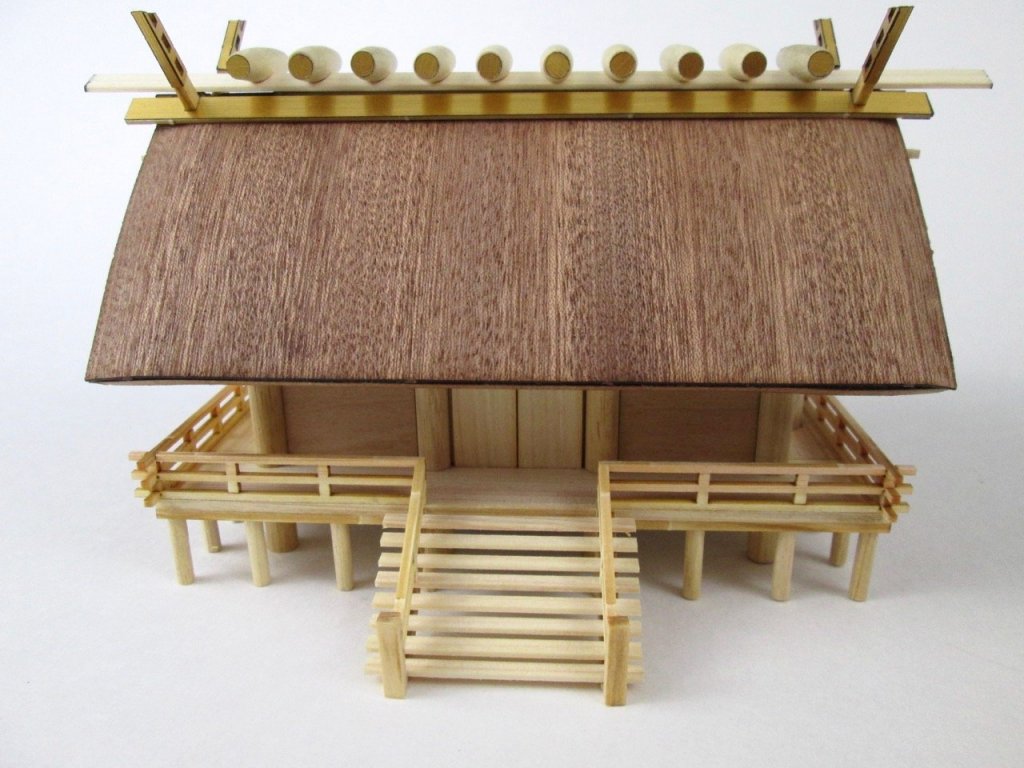
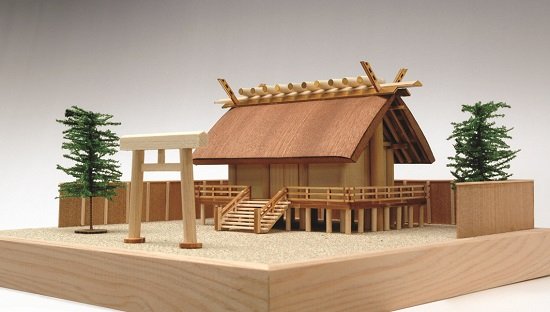
Well it's done! I finished Woody Joe's Shinmei-zukuri shrine model. It took a while since I was documenting the steps – just posted the 8th and final part of the build. Here are some final pics. If your interested in building this or any other Woody Joe kit, as always, I highly recommend buying from the Japanese online hobby dealer Zootoyz at http://zootoyz.jp. You can read the final post on this build here: https://shipmodeler.wordpress.com/2017/05/23/building-woody-joes-shinmei-zukuri-shrine-part-viii-completion/
-
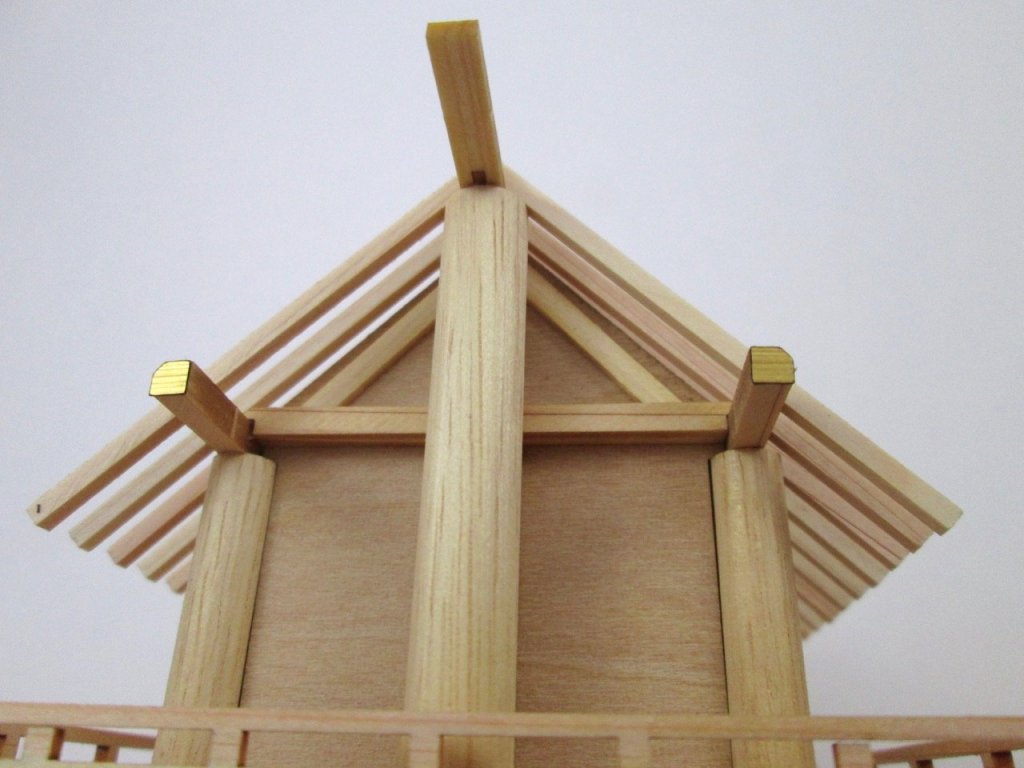
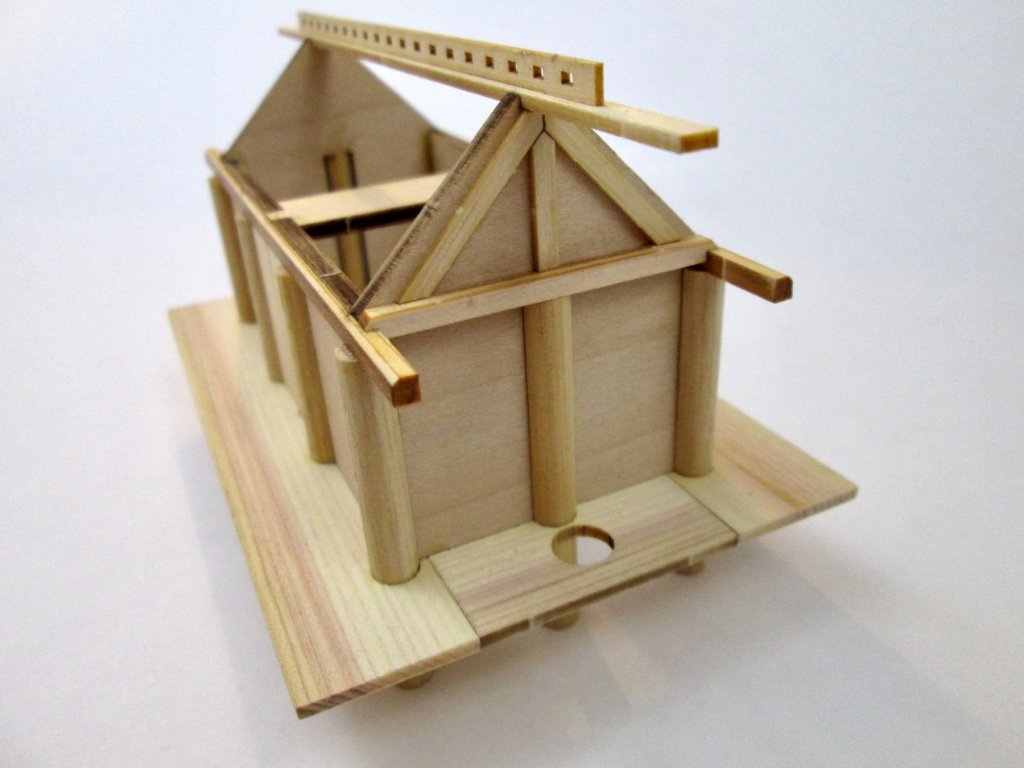
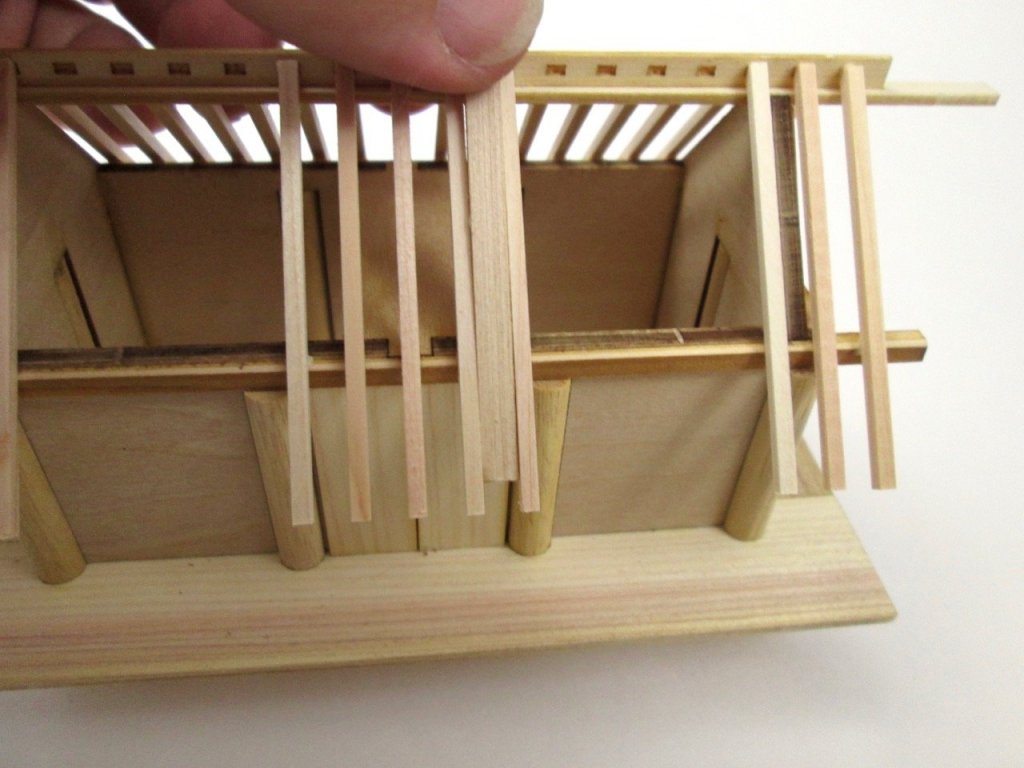
Just posted Part VII, which will be the next to last post on this build. Things sped up as soon as I finished the roof. You can catch up with the build here: https://shipmodeler.wordpress.com/2017/05/11/building-woody-joes-shinmei-zukuri-shrine-part-vii/ And, in the meantime, here are some recent pics. Clare
-
Hi Carl, I'd love to know the name of your book on Japanese temple construction. I think I could learn a lot from something like that. In the meantime, I just posted Part V of my build, which puts me just about half way through completion of the project: https://shipmodeler.wordpress.com/2017/05/04/building-woody-joes-shinmei-zukuri-shrine-part-v/#more-3716 Here are some photos... Thanks, Clare
-
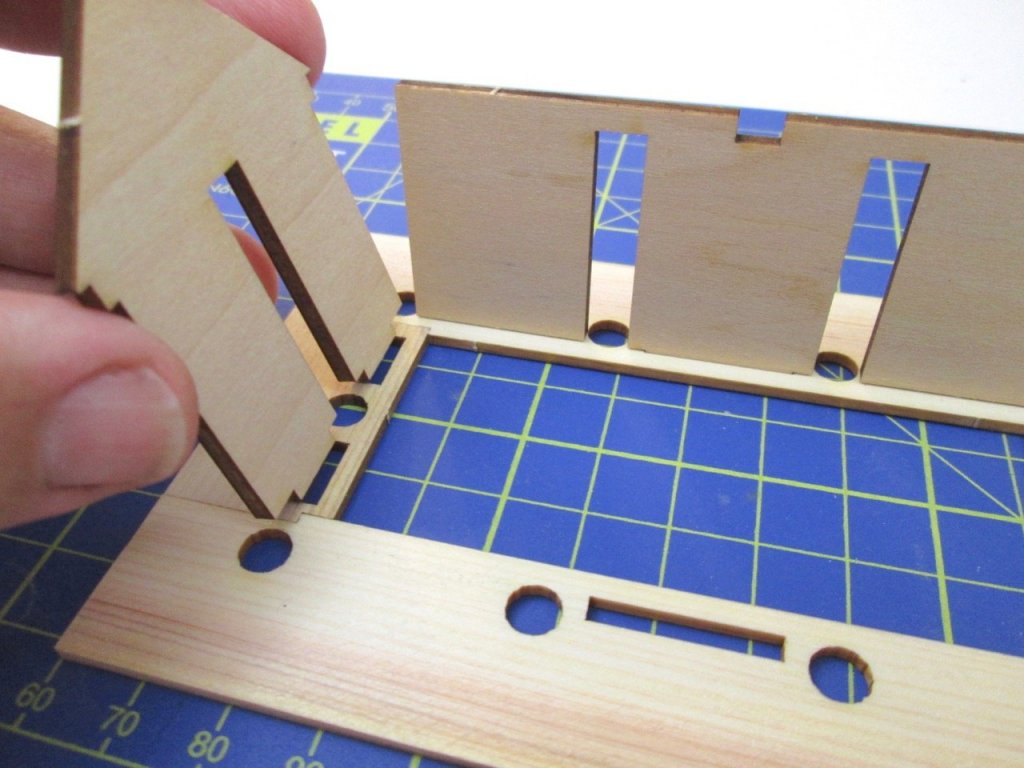
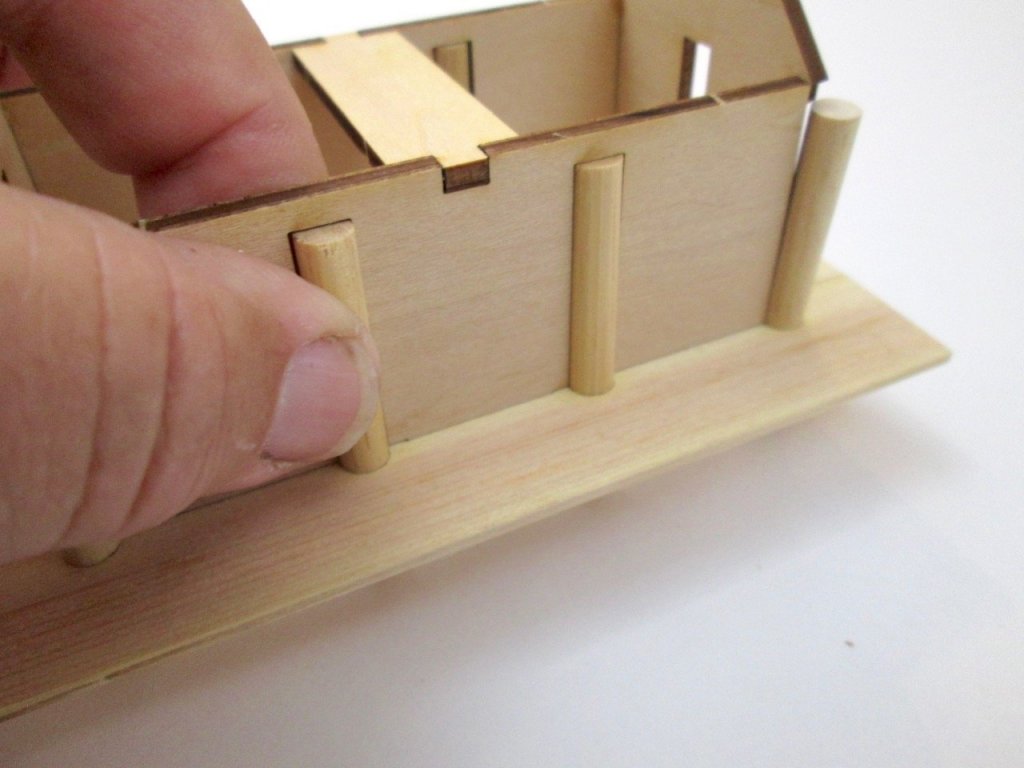
Thanks Grant, Eddie, This is a very short turn-around build. Blogging already takes about 5 times longer than the actual build itself, so I'm just posting the updates on my own site, rather than posting again here. But, I'll upload some update photos. I just completed step 4 out of the total of 12 steps, and now need to write it up. Lots of photos taken though. Here are a few, so you can see how it's coming along. For some detailed descriptions of the steps, please visit https://shipmodeler.wordpress.com/category/non-ship-models/shinmei-zukuri-shrine/ Thanks, Clare
-

How to sharpen a file.
catopower replied to dgbot's topic in Metal Work, Soldering and Metal Fittings
An interesting discussion to which I'm a late arrival! Wefalck's comment about the saying in German reminded me of my college chemistry teacher's comment, which works best if you say it with a Brooklyn accent "Do as you oughta, add acid wata". Always wondered what to do about files getting old. I like the "buy new files" idea. Clare -
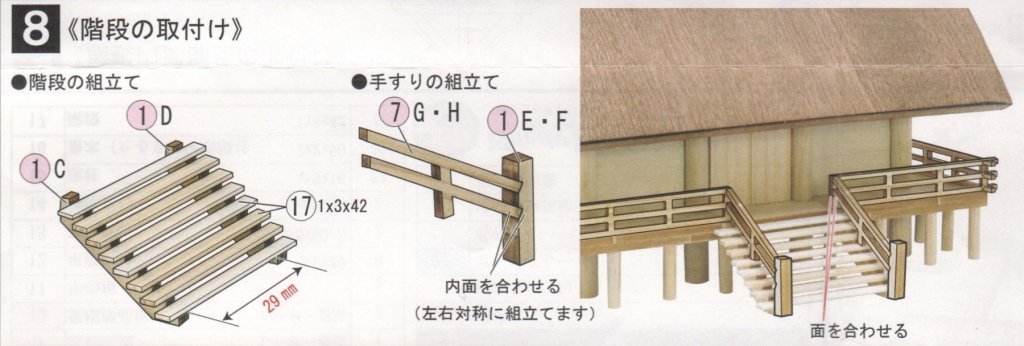
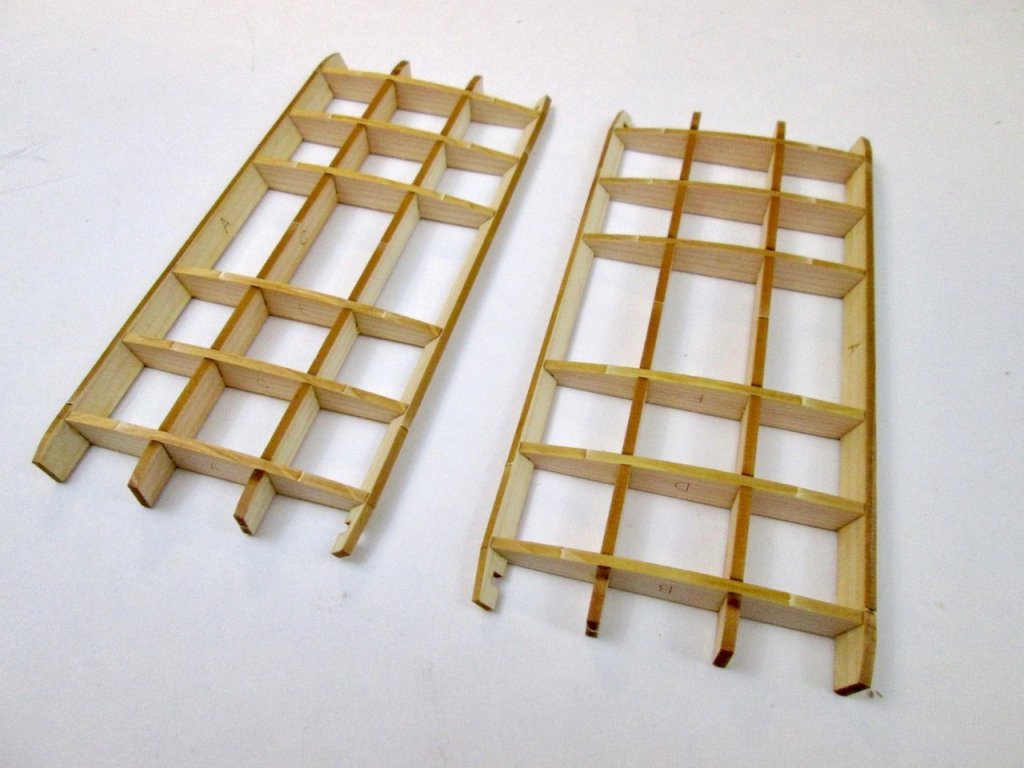
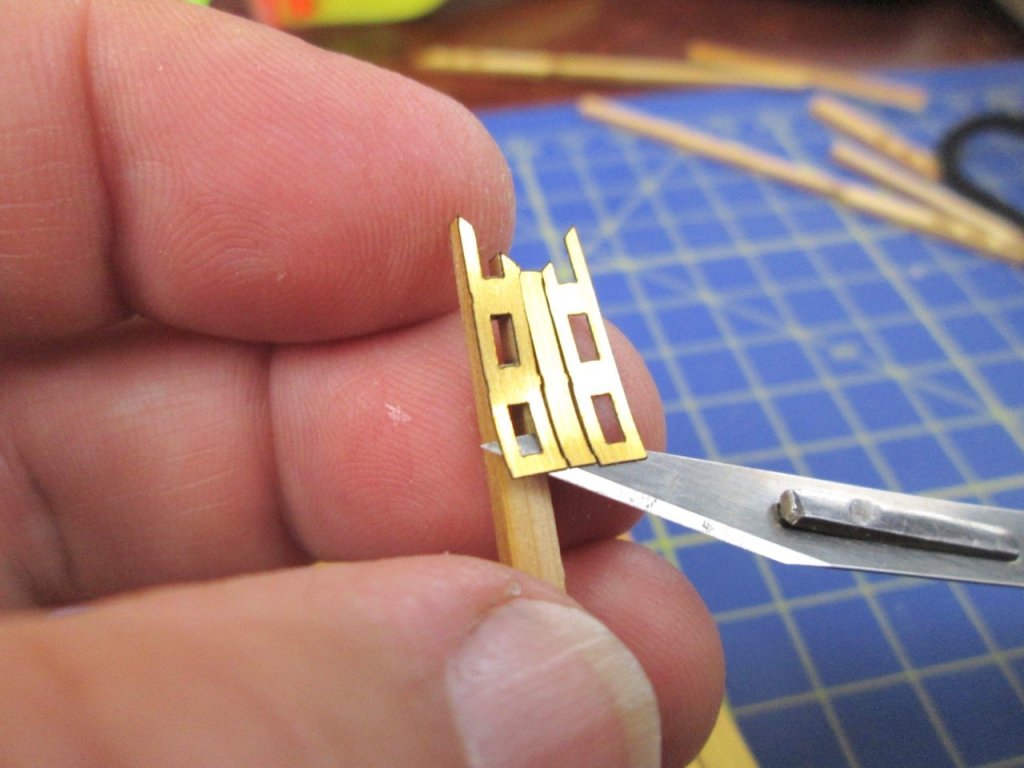
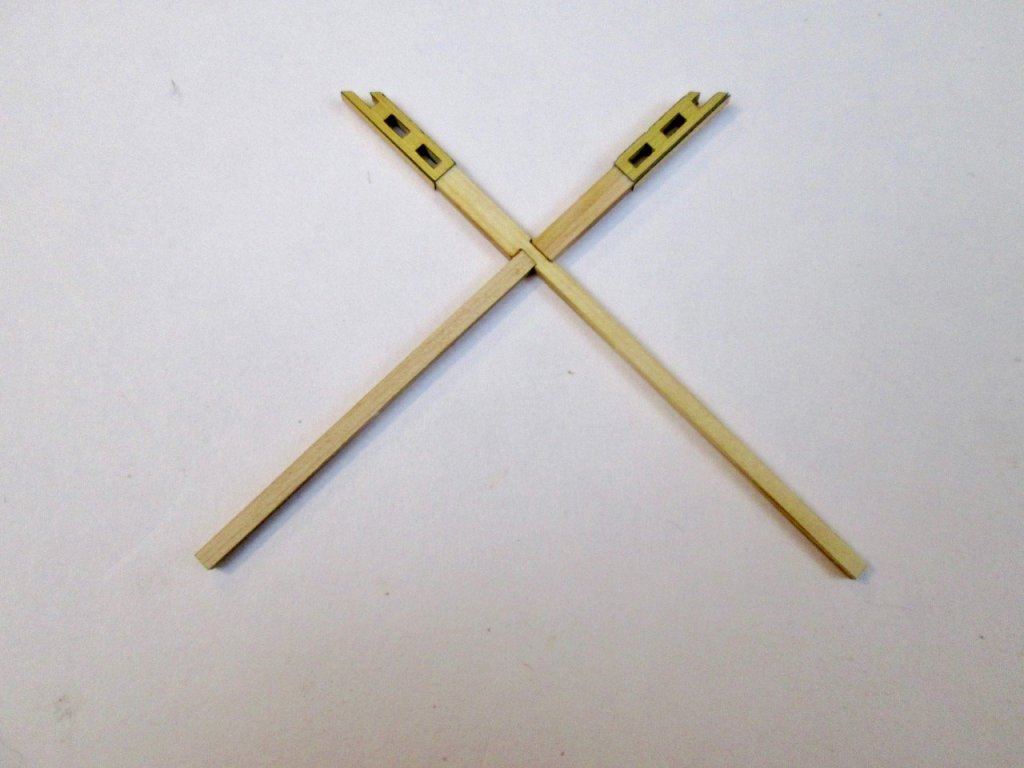
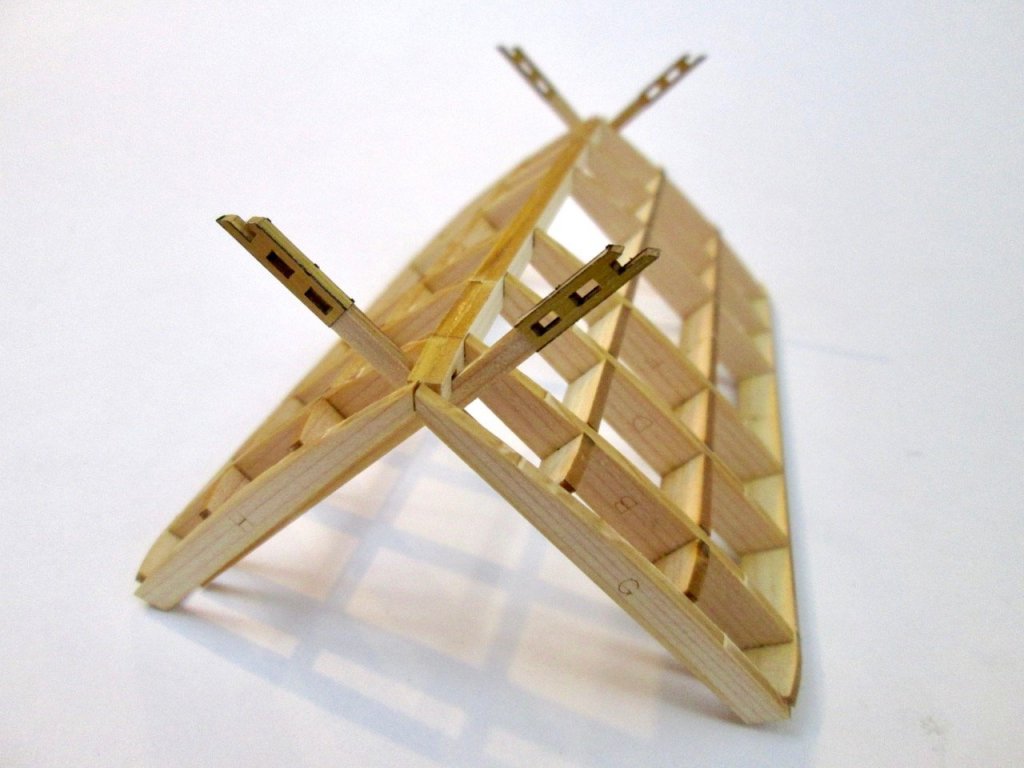
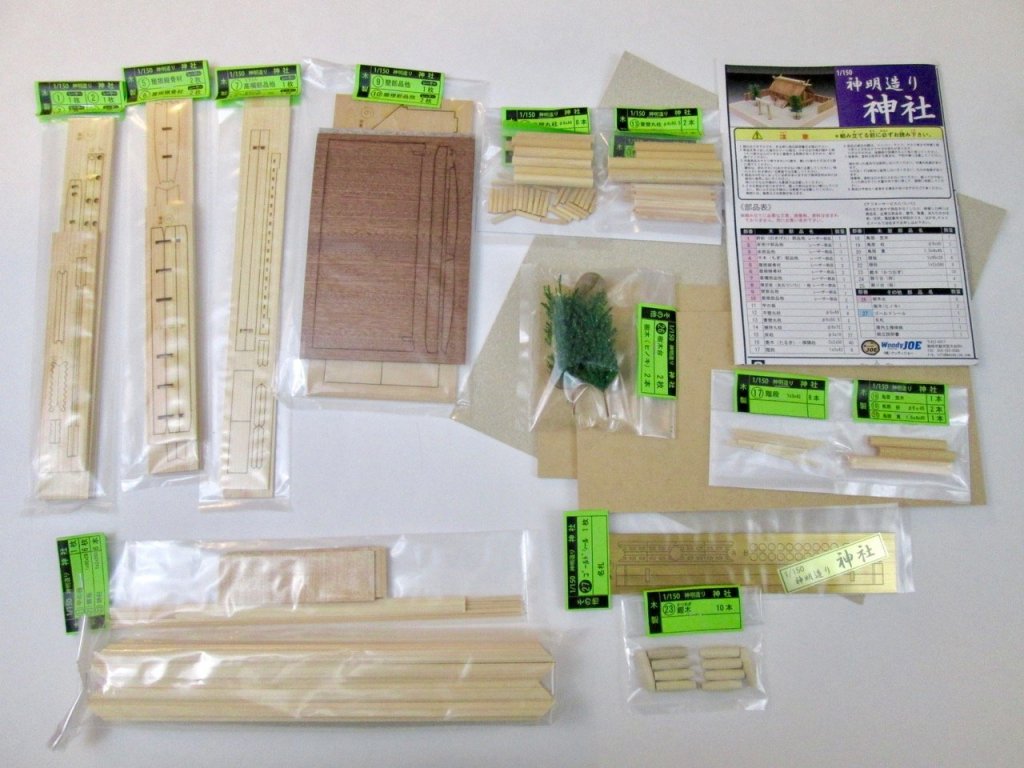
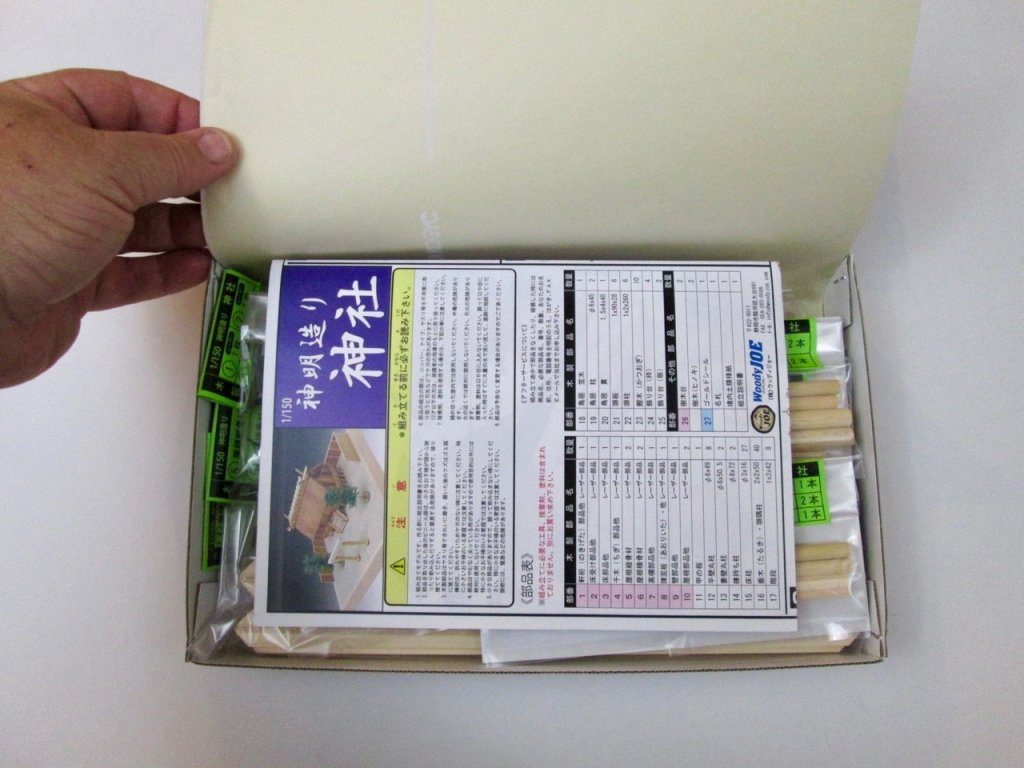
I haven't been posting much here on MSW lately, but I have been doing a lot of shipmodeling work, spread out across a few active projects. Recently, I kind of hit a slick spot in the road and been spinning my wheels a bit. I got bogged down in some details and got distracted by other things – don't you hate when life gets in the way? Now, a while back, I got some non-ship model type kits made by Woody Joe – Yes, I've been kind of Woody Joe crazy the past couple years. The Japanese wooden model manufacturer just makes some really cool stuff. Also, someone sent me a 5-story pagoda kit along with some smaller project kits I got, with the idea that I'd write up something about them. Well, I've had them for a while now, and since I've been in a slump anyway, it seemed like it was the right time to take on at least one of them. I picked out the kit called Shinmei-Zukuri Jinjya or Shrine. This is a neat little kit that Woody Joe claims to be a 10-hour project. Of course, with blogging, photographing and all, it would take a lot longer than that. But, the idea is that it's not a forever project. I bought the kit from, who else, Zootoyz. It cost roughly $85 plus shipping. Of course, the exchange rate has improved immensely for us after I went to Japan last September when it was terrible. This is a neat 10" x 10" kit that I will probably gift when completed. It's all laser cut and even includes the landscaping. The instructions look very straight forward. The model is that of a very old style Japanese Shinto shrine. The architectural style dates about to the early 6th century Japan. The existing examples of this style of shrine are rebuilt to exact specifications every 20 years, so the style of construction has been maintained for the past 1500 years. This architecture can be seen at the Ise Grand Shrine in Japan's Mie Prefecture. There's a short Wikipedia entry on it here: https://en.wikipedia.org/wiki/Shinmei-zukuri If you're interested in the kit, I'm making this a topic of a build log on my blog site here: https://shipmodeler.wordpress.com/category/non-ship-models/shinmei-zukuri-shrine/ This should go pretty quickly. Then, maybe I can make some better progress on my ship modeling projects! Clare
-
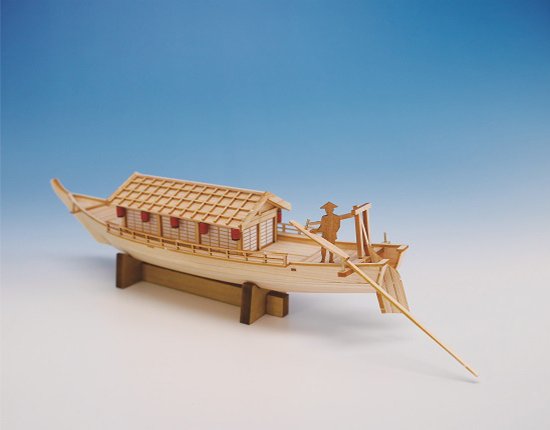
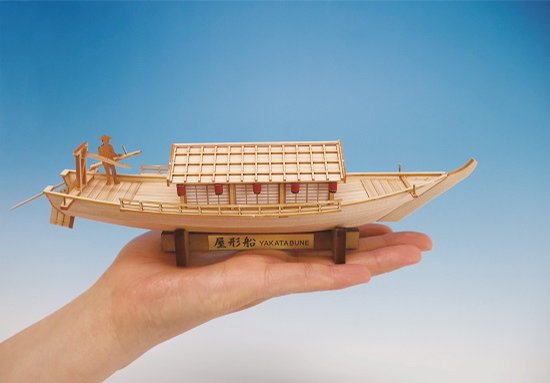
Thanks for the kind words, Craig. I hope you enjoy the kit. Will you be posting your build here on MSW? In the meantime, I still have one of the Woody Joe mini-Yakatabune kits and also the Kanrin Maru kit available if anyone is interested. If you're curious about the Kanrin Maru kit and the original warship, I have several posts on the subject on my blog: https://shipmodeler.wordpress.com/category/ship-model-blogs/kanrin-maru-build/ And, if you're curious about the Mini-Yakatabune kit, I also posted some info about my earlier build on my blog: https://shipmodeler.wordpress.com/category/ship-model-blogs/mini-yakatabune-build/ Clare
-
Hi Andrew, Sorry if I didn't catch a mention of this before, but those look like Marine Models kit plans of the Jeff Davis, and I know they made a kit. I took a look at the Blue Jacket plans for their kit, and they show the exact same feature. The plans also clearly show a staysail running across from the main topmast pole. Seems odd, but there it is in a second set of plans. Clare
-

Something is wrong with these measurements (SOTS kits)
catopower replied to Ulises Victoria's topic in Wood ship model kits
Add to that fact, even Amati's plans for the Sovereign of the Seas builds to a model that's 1100mm long. What's with this magical number? http://www.amatimodel.com/en/models/naval/construction-plans/sovereign-of-the-seas I don't know what scale those plans are though. Clare -
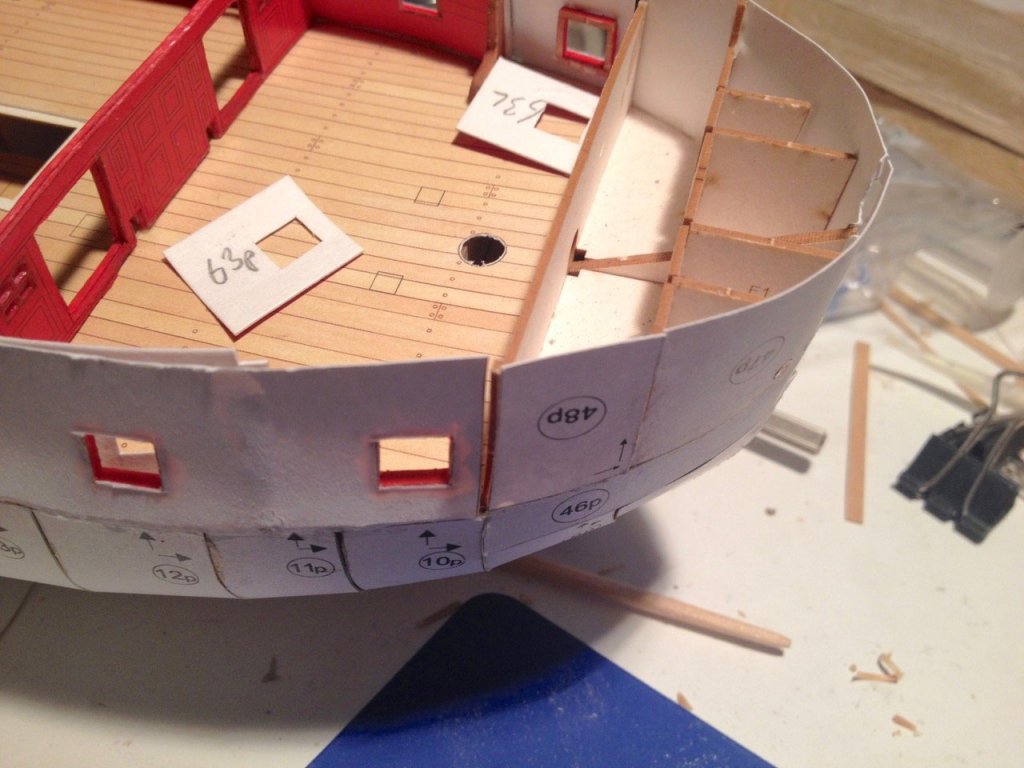
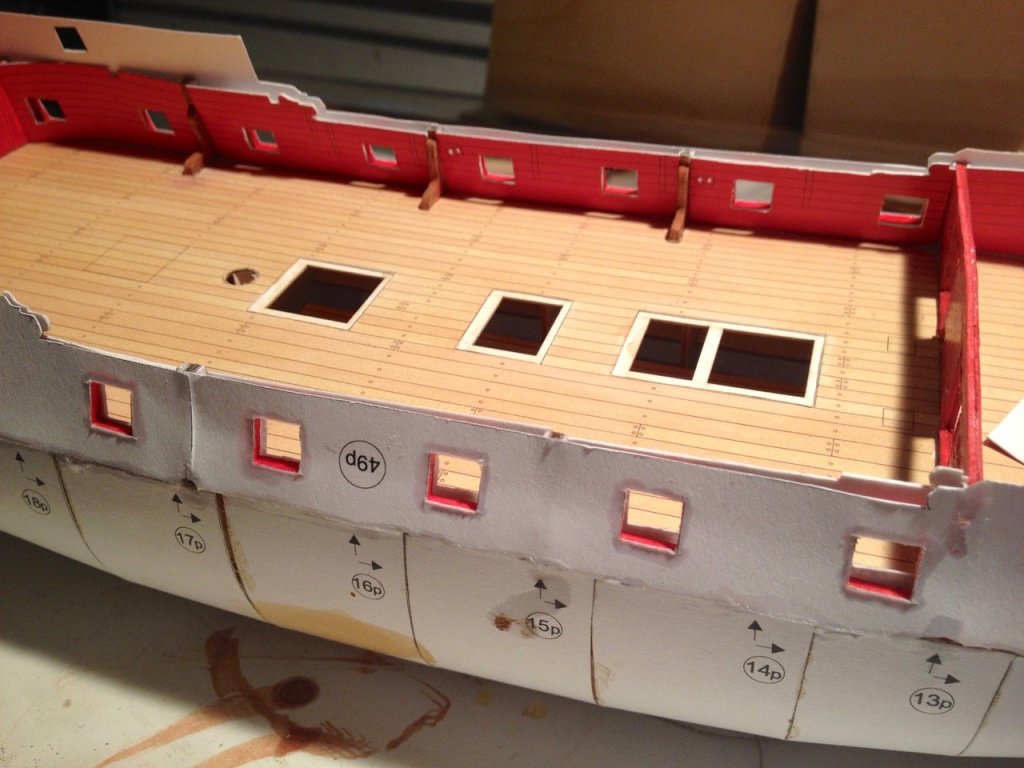
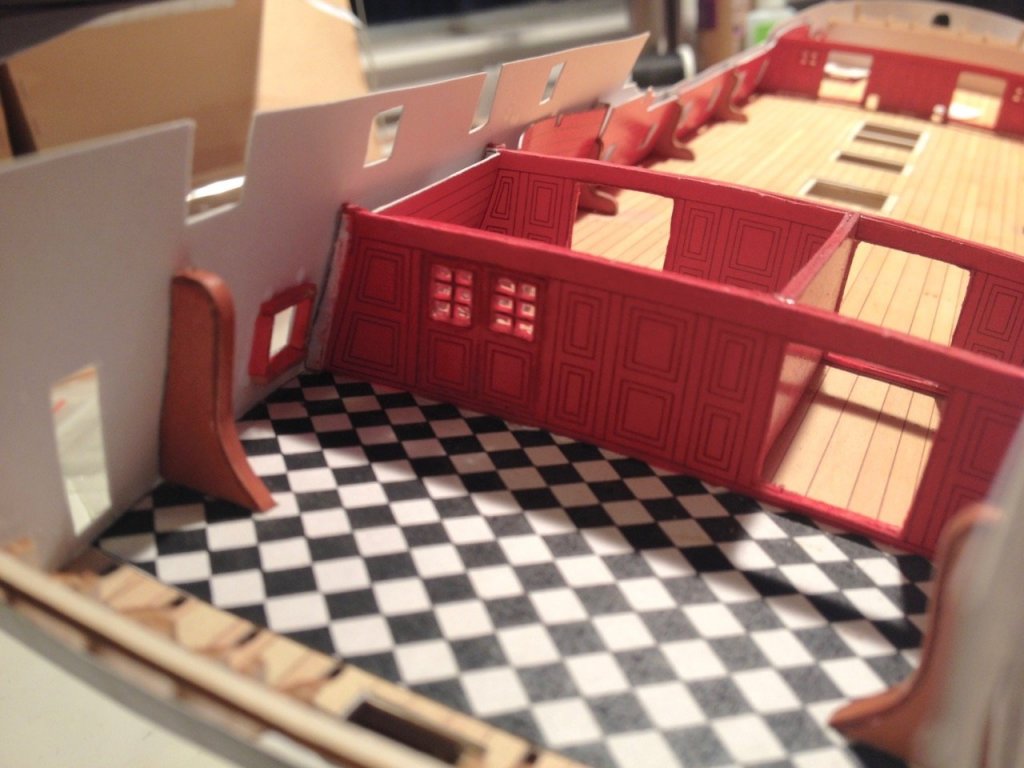
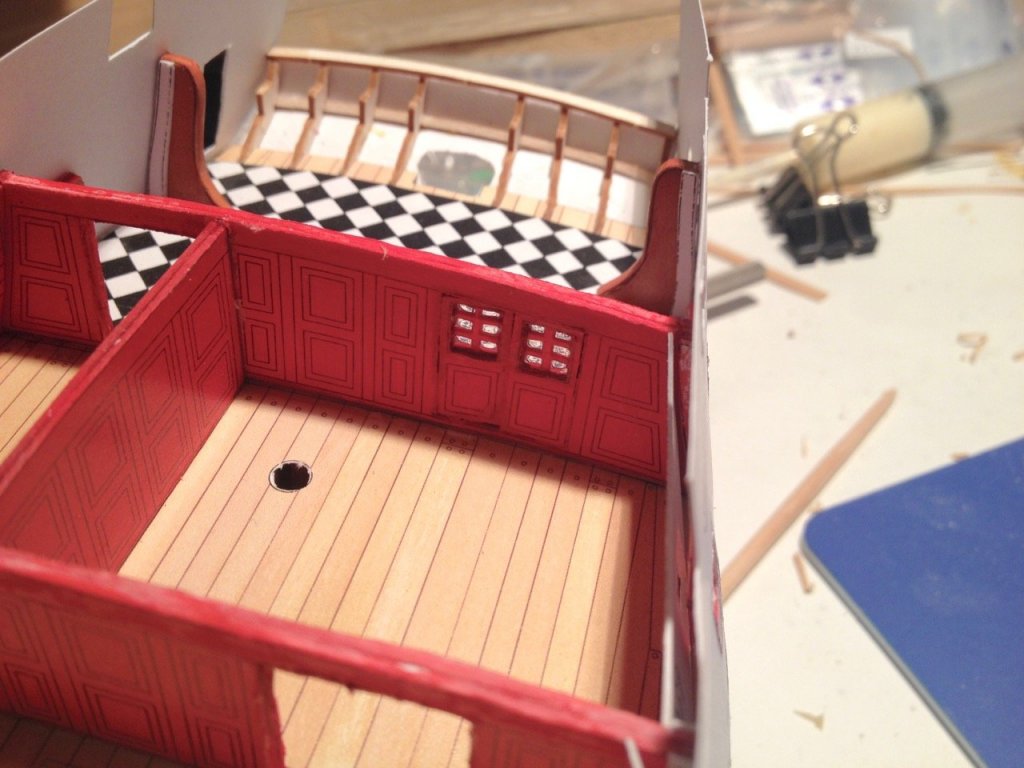
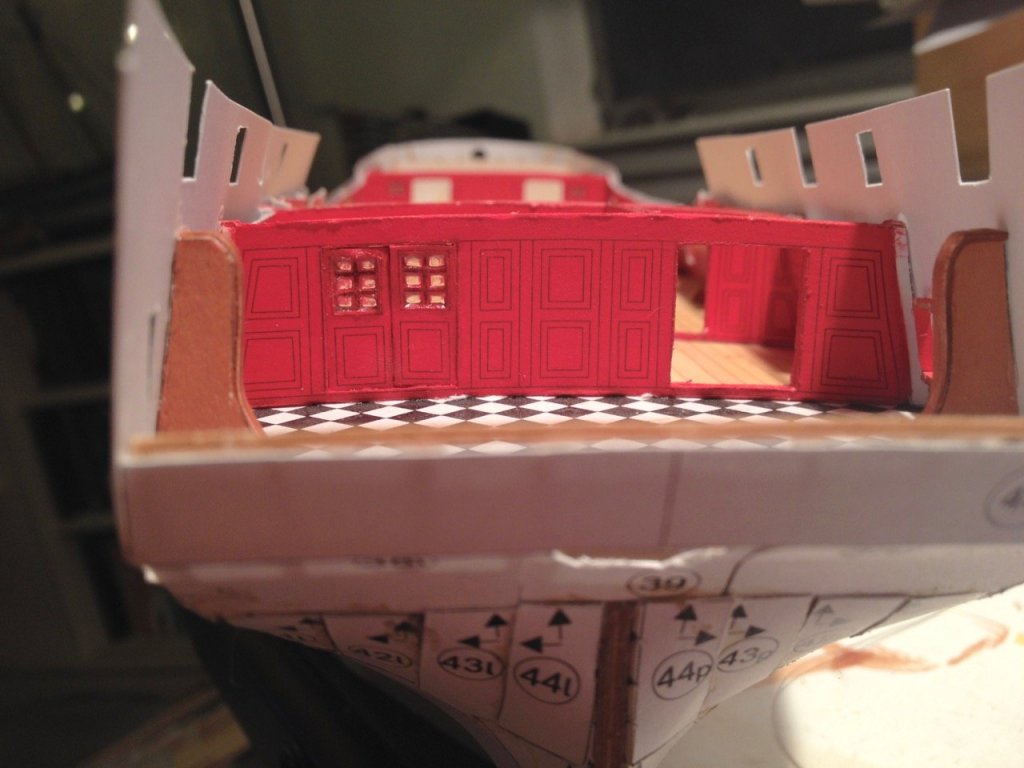
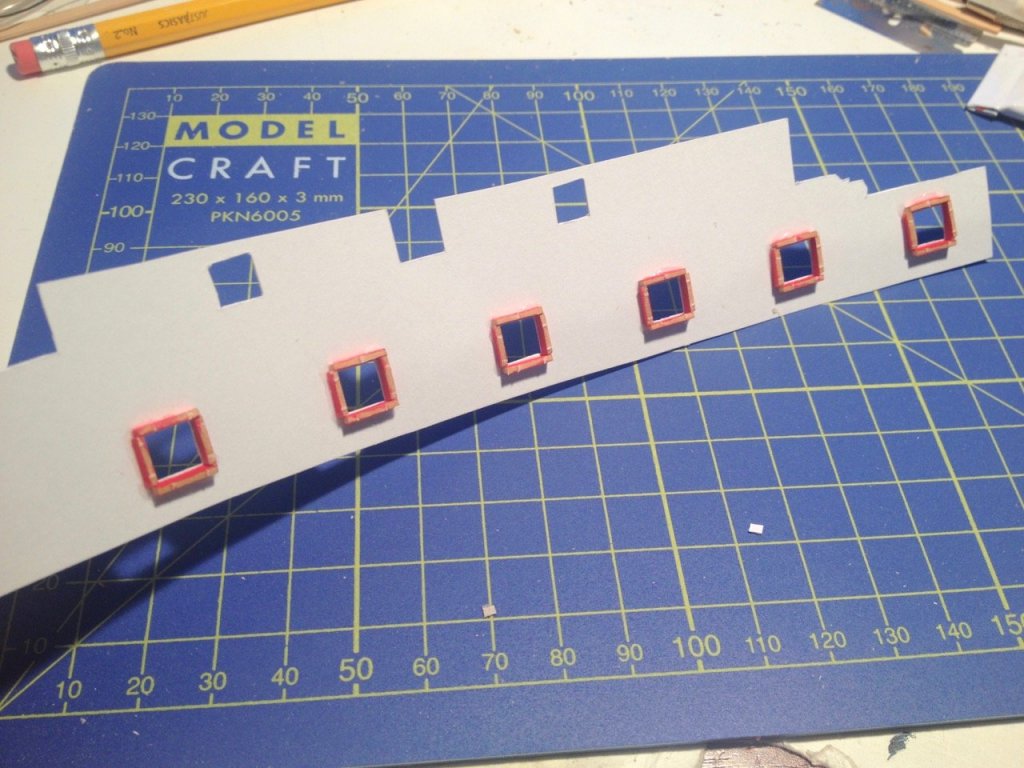
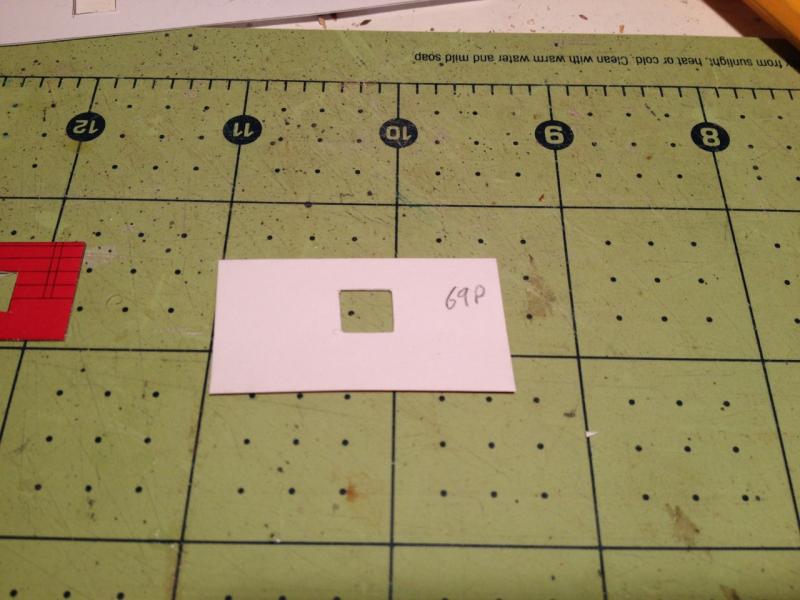
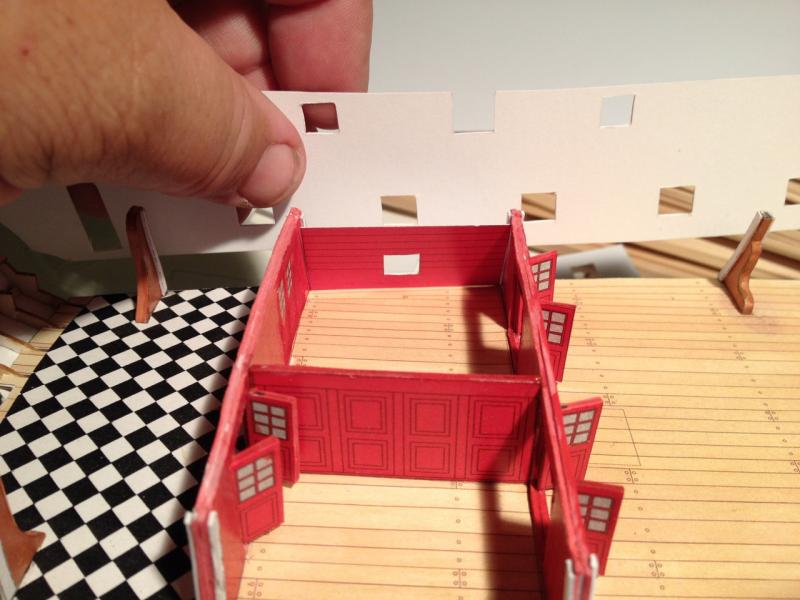
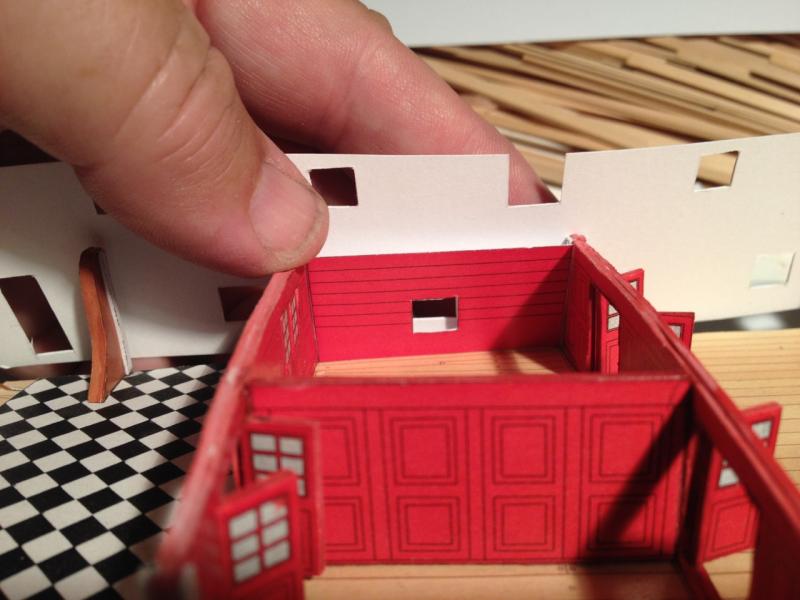
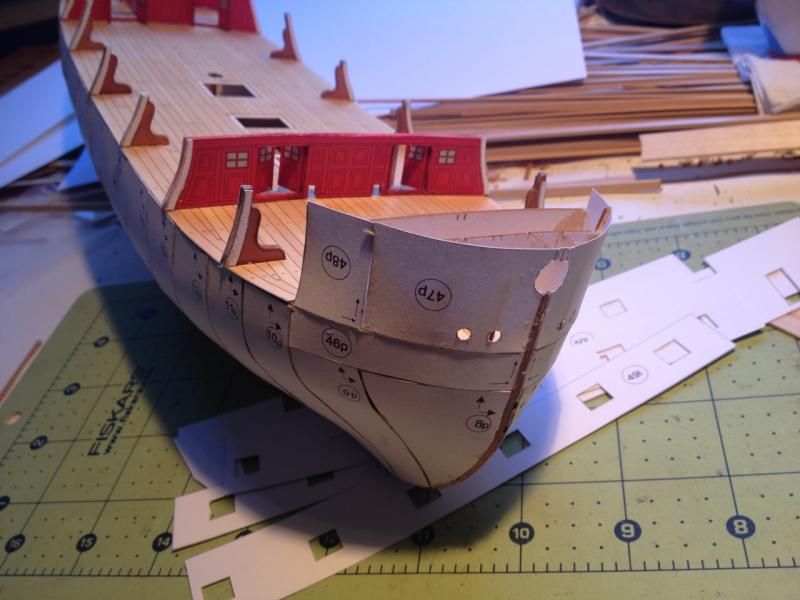
Okay, before getting back to my other projects, I thought I'd wrap up this issue about getting the bulwarks into position so that the gunports line up with the inside pieces. First, I had to finish up the windows, which worked out fine, using a film of canopy glue for the glass. They're not perfect, but they're mostly down inside the ship and not very visible. As I worked to get the bulwarks pieces in position, the addition of the newly windowed doors could wait. I cut and temporarily positioned the internal bulwarks pieces to help me with the alignment of the large outer bulwarks pieces. Without doing this, I don't know how one would know where the big pieces would fit. As you can see, some of the inner pieces have to be trimmed to fit. None are glued in at this point. You can see the seam where the large pieces meet between the first and second gun ports in the foreground on the left. At the bow, I ended up with a small gap for some reason. I will probably glue a support piece on the inside corners, which will be covered by the inside bulwarks pieces. I know the outer layer looks pretty gluey, but it's all going to get covered up anyway. Inside the great cabin, I didn't worry about the alignment except at the very stern. If everything else lines up, this area should be fine. I did discover than I needed to bend the stern transom framing back a little, so that things lined up better. Here's the same bulkhead viewed from the cabin forward of the great cabin... And another view of the great cabin from a higher angle... It's pretty cool to be working with this kind of interior, as you never get this kind of detail in a wooden kit. That's all for now. I may tinker with installing the doors and adding the inner bulwarks pieces over time. But, this was a nice break, and I'm ready to make some progress on elsewhere. Until my next break! Clare
-
Hi Shiphile, Those are some really great looking kits. I'd like to try one of the boxed kits sometime. I'm in the same fix regarding the HMS Mercury kit. It's a nice kit, but it's more money than I should really be spending. Anyway, I've started to take a shine to the smaller paper model kits in 1/96-scale. My first shipmodel was the Model Shipways Phantom, oh so long ago, and after that, I swore I'd only build in larger scales. But, I really enjoyed working in 1/96-scale with the HMS Alert kit. The smaller size makes for a neat model, plus it takes up far less room on the shelf. The low cost of these paper model kits makes it difficult not to go out and buy ones that I might be interested in building. Then, I thought it might be interesting to buy one and try enlarging it to another scale. I had to catch myself from going out and buying yet another kit – they're just so darned cool! Clare
-
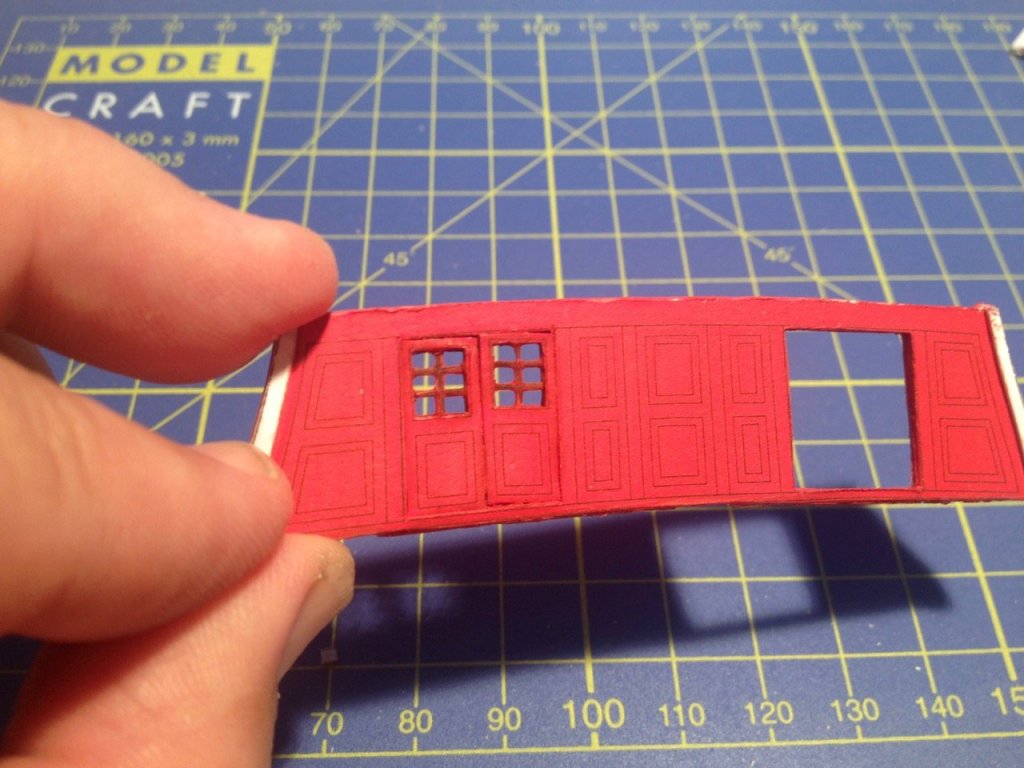
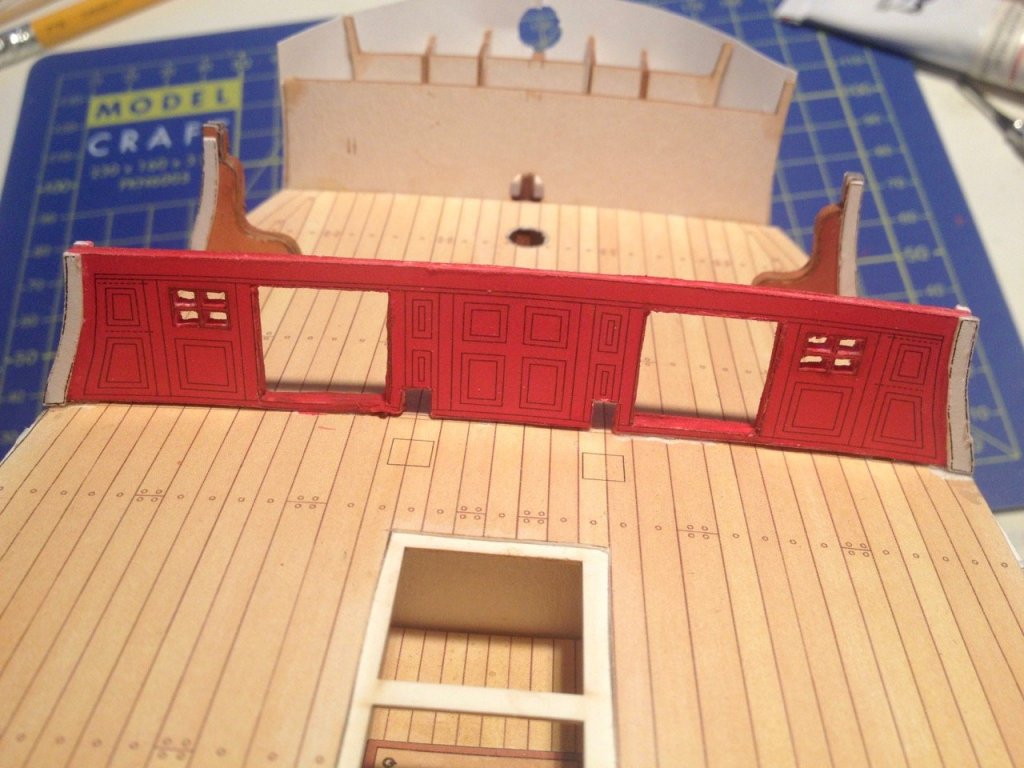
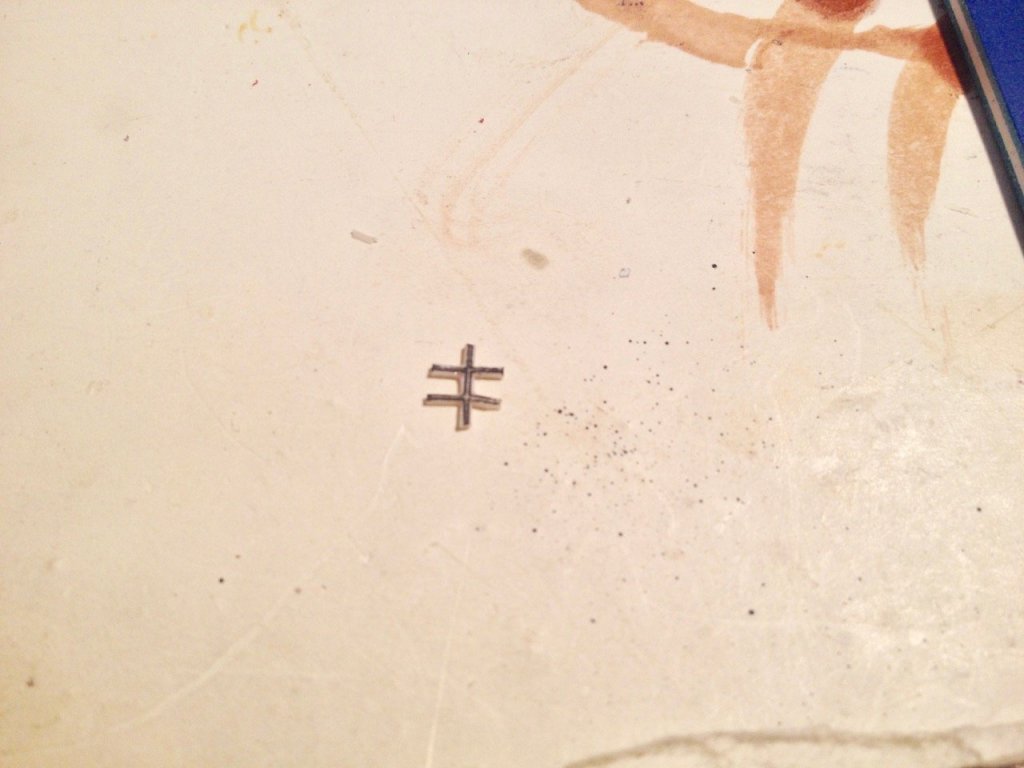
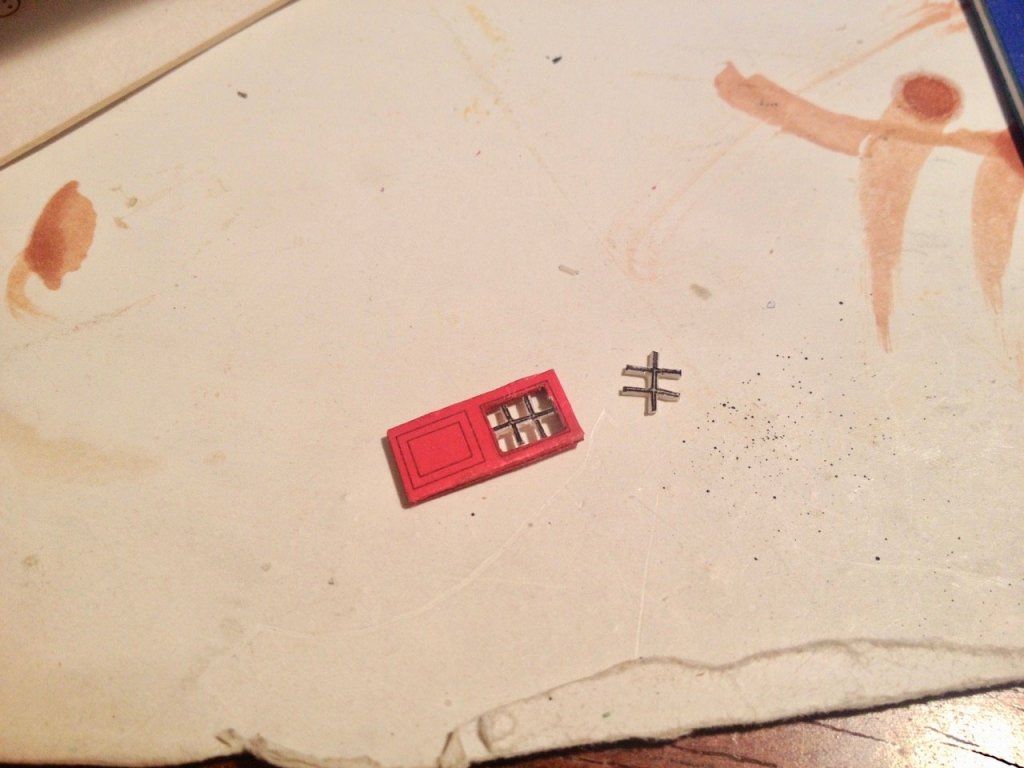
A long belated thanks, Zoltan! It's been, what, six months since I last posted? I just finished writing up an article for SIS on buiding the HMS Alert paper model, so that's been occupying most of my paper modeling time for the past few months. With that done, and having spending a pretty significant amount of time working on my main wooden ship modeling projects, I thought I'd put a little time into HMS Mercury again. I've been contemplating those fake window panes and recently realized that forward partition is pretty much right under the edge of the forecastle deck, so those windows are pretty visible. Also, since I'm building this model so that the stern gallery windows are clear, you'll be able to look inside and see the windows in the aft partition as well. So, I broke down and cut out those fake windows. I had to remove the partitions in order to do it, but that wasn't too bad. I actually managed to cut out just the fake glass panes of those 4-pane windows in the forward partition and its doors. However, the after partitions and doors all have 6-pane windows, so I had to cut out the whole window section in one piece and then rebuild them. As you can see, the results aren't perfect, but I'm reasonably satisfied, because I'm pretty sure I can't do better than this. I'll try using some canopy glue to create the window pane glass. So far, I have all but 4 doors left to do. Once that's done, I'll move on to the next thing. Before I started getting obsessed with getting rid of the fake windows, I went on to the next step, which was to add the gunport frames to the bulwarks core pieces. The frames came from the laser-cut super detail set I purchased from GPM. It was a little confusing figuring out which piece was which, because many of the pieces vary in shape and have unique part numbers. I should point out here that one of the reasons I got inspired to do some work on the model again, is because I was at a local IPMS conference and spoke with someone who was building his first paper model, and I think it was also his first ship model, the larger 1/72-scale boxed kit of the same ship, HMS Mercury. He's doing a great job and some photos of his progress were posted on Ages of Sail's blog here: https://blog.agesofsail.com/2017/03/08/a-172-scale-hms-mercury-card-model/ Clare
-
Hi Druxey – It would be harder to part with them if I didn't have so darned many of them! I actually have another Kanrin Maru kit that I've been working on (was working on when I had more time), and I plan to eventually build the Nippon Maru, just not right now. While Woody Joe seems to limit production and sell a kit until they run out, I think these should be available for a while yet. Also, I still have a Charles Yacht, another Hacchoro, another Higaki Kaisen, the Kanrin Maru kit I mentioned, a Sir Winston Churchill, an old line (before laser-cut production) Sengokubune and an out of production Kitamaesen to build. I've been thinking I really should add a couple of these to the sales list too. But, in fact, if nobody wants to buy any of these kits, I won't exactly be heartbroken! Clare
-
Let me add that with the Kanrin Maru kit, I'll add a copy of the kit review I wrote in Ships in Scale a couple years ago. Also, since I'm already building another identical kit, I can share my research on the subject and some construction photos. Also, with the Nippon Maru, I'll include a CD with the photos (over 200 I think) I took aboard her sister ship, Kaiwo Maru. There are some various small differences between the two, but the photos should provide some useful details. You can always access my Wood Joe Kit Builder's Guide on my shipmodeler blog. Just hover over the Resources menu, scroll down to Shop Notes and choose Woody Joe Kit Builder's Guide. I just looked at it again and realized there's something I should add about identifying parts. So, I'll probably be updating it in the next month or so. Clare
-
Hi Don, In fact, I just jumped back in on the Independence and going full tilt to get her done. I think I'll have the rigging finished this weekend, and then I have to work on finishing and mounting the swivels. Also, I lost the compass I made, so I'll be remaking that as well. That should be it. Unfortunately, I haven't had time to blog about it. Too much to do! Clare
-
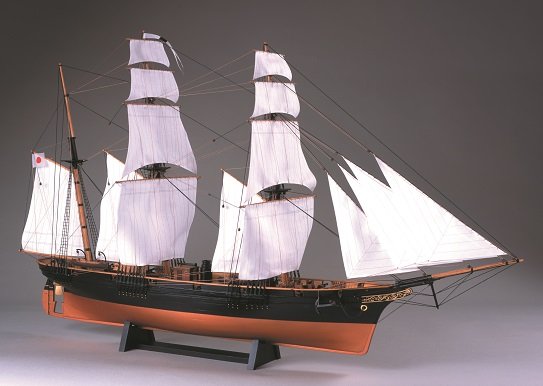
Well, as long as I'm posting today about needing some Syren 5/52" Swiss pear single blocks, I thought I'd also take the time to offer some kits that I have on hand. I've been realizing that I just have way too big a stack of Woody Joe ship model kits, all brand new in the boxes. I'm cutting down the stack, though I will still have something like a half dozen to build! Two kits are still available: Yakatabune mini-kits, 1/75-scale Kanrin Maru w/sails. While they all have well illustrated instructions, please keep in mind that what text there is it's in Japanese. I don't really NEED to sell these, but I'm not getting to them any time soon. I've listed some of them on Amazon.com, but I'm offering them here for a bit less. Please contact me for more information, photos, options. Yakatabune mini-kits (1 sold, 1 still available) Length 210mm Width 49mm Height 57mm $45 + shipping Kanrin Maru w/sails, 1/75 scale The Kanrin Maru was built by the Dutch at the request of the Japanese Shogun, becoming her first screw steamer and her second steam warship, the first being the paddlewheel corvette Kanko Maru (ex-Soembing). Kanrin Maru became the first Japanese navy ship to visit the United States as an escort for the Japanese embassy, arriving in San Francisco on March 17, 1860. Aboard the ship was then Lieutenant John M. Brooke, who with a handful of American sailors, was instrumental in the ship's successful navigation across the Pacific. The details of the journey are chronicled in the book John M. Brooke's Pacific Cruise and Japanese Adventure, 1858-1860. With the model kit, I'll add a copy of the kit review I wrote in Ships in Scale a couple years ago. Also, since I'm already building another identical kit, I can share my research on the subject and some construction photos. Length 820mm Width 203mm Height 487mm $320 + shipping
-
Hi All, I'm putting out a general call out to anyone who may have some extra 5/32" single Swiss pear blocks from Syren Ship Model Company. I'm running very short. As you may know, these are out of production and only boxwood blocks are now available and I don't need those. I've checked with Chuck Passaro just in case, but no luck. I have a small supply of other sizes of Swiss pear blocks. I'm hoping someone out there has an extra pack or two of the 5/32" singles they might be willing to sell or to trade for another size they might need. Thanks in advance for your responses, Clare
-
Hello All, I just wrote up an out-of-the-box review of the Sir Winston Churchill kit that Woody Joe revised and re-released last year. I posted the review on my blog, but though I'd go ahead and put it here too. I was originally going to write this for Seaways' Ships in Scale magazine, but I've already written three Woody Joe kit reviews for them, and I figured people might get tired of reading them in the magazine. So, I put it here. Of course, I don't get any money when I post articles online (and I could really use the extra income), but I was going to write it regardless. Hope you find it useful! The sail training schooner Sir Winston Churchill is a beautiful looking 3-masted, steel-hulled schooner that was originally launched in 1996 to compete in the Tall Ships Race. Woody Joe's revisted kit was released in 2015. The model is 1/75-scale and measures 24" long and just over 20-1/2" tall. Like other Woody Joe kits, the model features plank-on-bulkhead construction, using Woody Joe's box-frame structure, which is designed to help the modeler more easily achieve good alignment of the parts. The kit features lots of laser-cut wood parts, with a healthy supply of both cast metal and photo-etched brass parts. The only plastic parts in this kit are the lifeboats and rigging blocks. It no longer surprises me to look inside the box of the Woody Joe kits. Their ship model kits fit well in the box, and everything is plastic bags, so that the box is full, and the bags are so numerous that they provide a certain cushion, keeping items from getting knocked about and damaged in shipping. One sheet of styrofoam fills the remaining space underneath, keeping things from bouncing around in the box. Small parts are organized into separate bags, with each bag carded and labeled with the part numbers, descriptions (though in Japanese) and quantities in the bag. Small bags are stapled to a cardboard insert that keeps the box nice and neat. A small coardboard tray at one end seems to be a standard packing feature of Woody Joe kits, and contains any loose packages of parts as well as the spools of rigging line. The plans consist of 7 sheets of A3 sized paper, 13" x 19" each. Six of these sheets are pairs, so that they make up 3 larger drawings. Registration marks are provided, allowing you to align the sheets properly. Some of the older Woody Joe kits have larger sheets, but I expect that there is a cost-cutting move to these smaller sheets as they can be printed on a large office laser-printer instead of a dedicated plotter. Given the alignment guides, this shouldn't be a problem for the builder. There is one oddity, however, in that the models is about 1/4" too long for the plans. The result is that the top of the jackstaff at the stern is cut off. This is a minor issue, but it's a little odd to look at. I don't it will create a hardship for any builders. Instructions The instruction book is extremely well illustrated with steps clearly identified, and lots of color drawings and photos. Being that this is a Japanese kit made for the Japanese market, all the text is in Japanese. This may put off many potential builders outside of Japan. However, if you are an experienced ship modelers, you shouldn't have any trouble with the instructions. That may not be true of complicated kits of non western-style ships like Woody Joe's Higaki Kaisen kit. But, for the schooners, galleons, clipper ships, yachts, and sailing ships and barks that Woody Joe makes, there's probably nothing out of the average ship modeler's experience. Most of the text in the instructions and plans are labels. There are some instructions, but most are pretty simple in nature. If you look at the example below, Step 8 tells you to use a strip of wood to help you determine the correct bevel of the bulkheads. A close-up of a frame edge highlights the beveled edge. In another example, Step 11 shows you to use alignment marks laser-etched onto the bulwarks piece to get the position correct. Woody Joe does a good job at "dummy-proofing" the process by putting two alignment marks, one for each edge of the bulkhead, so you would have to go to extreme measures to mess up the step. The same step also shows you to pre-bend the bulwarks piece with a photo illustrating how you can bend it over a curved surface, like a large bottle, to apply the curve. One suggestion though, make sure you dampen the wood before you try to bend it. Another piece of advice. Look ahead a step or two, particularly when you see red text in the step your on, to make sure it's telling you not to glue something in place yet. Sometimes, a part, like the deck in this case, is just used temporarily to aid in alignment. If you look at the next step or two, you'll notice that the part is no longer in place. That's a good clue that you're not supposed to glue that part. Also, in any red text, look for a step number. If you jump to that step, you may see where the part does get glued into place, helping you get a better handle on the big picture. Being that this is a model of a steel hulled vessel, Woody Joe's method of hull construction is particularly well suited. The stern, in particular, requires a stack of laser-cut blocks that you must file to shape. This works just like bread-and-butter style hull construction, with the blocks pre-defining your contours for you, making it very easy to get exactly the right shape. My steel-hull comment above refers to the fact that with some models, you want the lines of planking to show. But, this method used the stern block un-planked and flush with the hull planking. On a model of a steel-hulled ship, this is a non-issue, as you want a good smooth surface anyway. And the method results in an accurate hull shape. On this model, the deck is not planked. Instead, you are provided with a single laser-scribed sheet, with all the deck planking and waterways already marked for you. Wood The wood in the kit is made up of at least three types. The frames are made of some type of plywood that resembles birch; the remaining laser-cut parts and most of the strip woods are Hinoki, or Japanese cypress, a very pleasantly aromatic wood that is stiff and slightly brittle when dry, but bends easily when wet; and some structural parts, such as the stern blocks, are a fine-grained, grayish wood called Ho (I don't know the western equivalent name). The laser-cut parts are interesting in that there is almost no char. Either a lot of care has gone into the manufacturing of the kits, or the woods used are thin enough or possess some other quality that makes the laser cutting process easier. Probably, it's a combination of both, as Woody Joe tends to use parts that are a bit thinner than other manufacturers All laser-cut sheets are also laser-scribed so that part numbers are clearly identified on the part or next to it. Woody Joe also makes good use of scribed lines to create alignment guides and beveling guides or, in the case of the deck sheet, the outlines of the planking. Fittings As I mentioned before, fittings are well packaged and identified. Each pack is carded, includes the part number and quantity. Note that Woody Joe's quality control is very good, and I've yet to hear of missing pieces. But, if the model calls for 20 turnbuckles, as shown below, that's exactly what you'll get. There's no extras thrown in, so make sure not to lose anything, as it's not going to be very easy to claim that the kit was just missing a piece. Those who don't like plastic, can easily upgrade these few parts using commercially available fittings. My preference for wooden blocks would be for those made by Syren Ship Model Company. Being that this is a 1960's steel-hulled schooner, perhaps metal blocks such as those sold by BlueJacket Shipcrafters might be more appropriate. Cast metal parts are plentiful and the castings are of excellent quality. I've had someone ask me about them before and I'd send them photos, and after getting the kit, they told me the photos didn't do justice to the high quality of the castings. They're very good. There's also a nice sheet of photo-etched brass parts, some turned brass parts, etc. Rigging and Sails The kit includes three sizes of black line for the standing rigging, and one size of tan line for the running rigging. These are provided on plastic spools, so there's no worry about your line getting tangled and knotted. The sails are a stiff cloth, possibly, this is pre-stiffened in some way, as the cloth comes rolled, not folded. The material is printed on one side, and the ink used is a beige color, so the lines of the sail are subtle, as they should be. Weaknesses in the Kit Really, this is an excellent looking kit. I think the detail is better than the Kanrin Maru kit that was the first Woody Joe kit I'd ever reviewed. I was actually pretty excited by what I could see of this revised kit when it was released, and I haven't lost any of my enthusiasm for it when I looked it over in detail. Wood Joe kits are, however, designed to be relatively easy to build, and there are sometimes simplifications that experience ship modelers might not like. But, these seem to be pretty minor in this kit. In fact, some things that I might consider a weakness, are just a matter of personal taste, like the use of a plastic for the blocks and dinghies. There is really just one weaknesses that I can see in the Woody Joe kit, and that is that the laser-scribed deck sheet is thin and a little delicate, and will require some care to work with, as I've discovered in working with the kit. In particular, the deck is weak along the laser scribed planks. If you run into any issues, I recommend reinforcing the deck by gluing some short wood pieces underneath. Just make sure that they don't interfere with where the deck rests on the framing. You might even want to do this before you run into any issues. Less of a weakness, and more just a simplification, is that the way the mizzen sail attaches to its mast. The use of mast hoops are shown, but I believe the real ship doesn't use mast hoops there, because the spreaders on the mast would interfere with the raising and lowering of the sail. Instead, I believe there is some internal track inside the mast to which the sail attaches. I don't know how a kit manufacturer would design this in a kit thats supposed to be a fairly easy build. Certainly, just using mast hoops is simple. Another simplification are the yokes on the ship's squaresail yards. These are simply made from stamped brass in the Woody Joe kit. This is the same thing they do in their other kits as well. I've tried to catch a glimpse in photos on the Internet of what these look like on the real schooner, but I've had no luck. I'd probably replace this with something that looks a little more realistic, even if it's not accurate. Woody Joe versus Billing Boats The Woody Joe kit's of scale of 1:75 is the same as the Billing Boats kit of the same ship. I had hoped to find the Billing Boats kit to do a comparison, but it's been hard to come by. However, I'm pretty familiar with the Billing Boats offerings and their instructions and plans. Pricewise, the Woody Joe kit lists for ¥30,000. At this time, that's about $300. The Billing Boats kit, by contrast, lists for $280 at Ages of Sail, which is the U.S. distributor for Billing Boats. Having seen other Billing Boats kits, the main comment I can make here is that the packaging of the Billing Boats kits doesn't even come close to the care taken with the Woody Joe kit. Most Billing Boats kits are put in oversized boxes that are sturdy, but leave the parts to slide around inside, often allowing the heavier wooden parts sheets to potentially damage the bags of fittings. I've seen this in many cases, where the parts bags get torn in shipping and small parts fall loose in the box and either slip out of the box or end up damaged. Also, the parts in a Billing Boats kit are usually just all piled into one bag, requiring you to sift through them to find out what's what, and to make sure you received everything you're supposed to. Both the Woody Joe and the Billing Boats kits offer laser-cut wooden parts, stripwoods for planking, dowels for the masts and spars, rigging line, etc. Both offer turned brass fittings, photo etched brass, as well as some plastic parts. But, one difference is that the only plastic parts in the Woody Joe kit are only the blocks and the two dinghies. The Billings Boats kit provides quite a few detail parts in plastic, including the props, cabin doors, fife rails, binnacles, ladders, boat chocks, anchors, etc. Most of these are either cast metal or laser-cut wood in the Woody Joe kit, which certainly adds to the cost. However, the Billing Boats kit does have the advantage of including one page of instruction in English. You can check the Billing Boats instructions out for yourself, as they have the instructions on their website and you can download them here. As for the Woody Joe instructions, simply from the images I posted above, you can see that with any experience, you should be able to build this model just from the numerous color photos and illustrations. And comparing the two brands, Billing Boats gives you 9 pages that have a large black and white, labeled instructional photo or diagrams, many of which simply show you where things go, plus 3 pages of illustrations of the included parts. Woody Joe provides 33 pages that are packed with color photos and illustrations. That said, I actually do like Billing Boats kits. They seem to do a nice job on overall accuracy of the basic structure of the subject. Where they may be a little lacking in detail, they can be enhanced by a good modeler. And, I for one, am the kind of person that will buy a kit and replace the fittings with ones I like better. So, a cheaper, but accurate kit isn't necessarily a bad thing. But, if your expectations are high for a kit, and you appreciate quality and want something that will build into a beautiful model with a minimum of fuss, the Woody Joe kit is hard to beat. To purchase the kit, you might be able to find it on Ebay or Amazon, but I recommend the Japanese online seller Zootoyz. I've worked with the owner, Mr. Kazunori Morikawa, for the past couple years and his service is very good. He stopped selling Woody Joe products for a while, but resumed a couple months ago. Ω
-
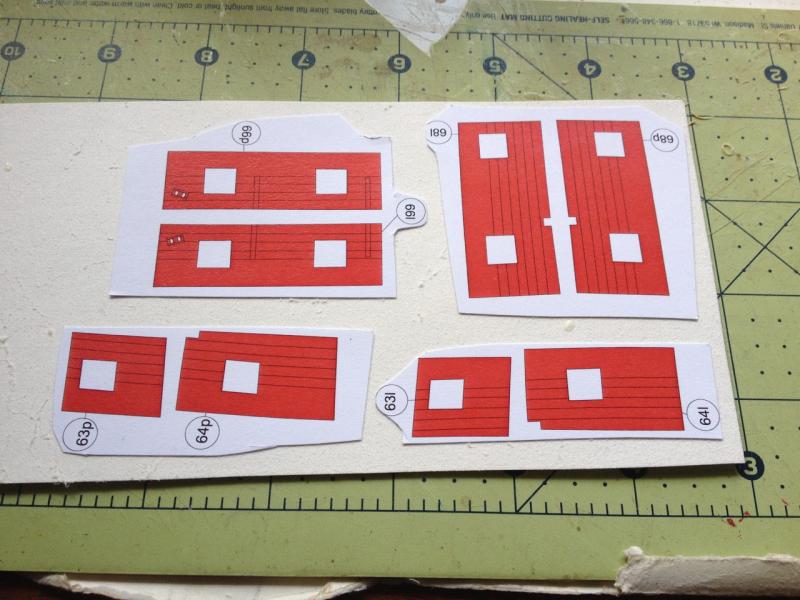
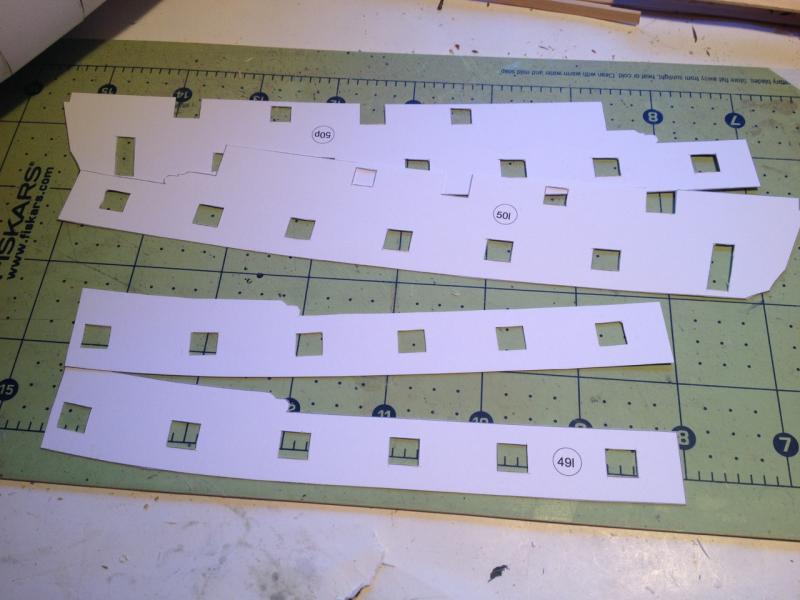
I'll have to admit that my recent post wasn't much of an update and doesn't really say much of anything. So, I'm continuing on here. I have been trying to figure out how to make sure that my bulwarks core pieces will be lined up properly on the hull. The reason I thought it was important is that the gunports are pre-printed on these pieces and have to be cut out. Those have to line up with the gun ports cut out of the inner bulwarks pieces as well as those of the outer hull pieces. So, if something is off somewhere some parts aren't going to line up correctly, and that's gotta show up somewhere. Realizing that the inner bulwarks pieces can only fit between those inverted knees and bulkheads that are already glued in place, it seems that the position of these pieces, and their gunports, is pretty well determined. But, even with so, there is a little wiggle room as I discovered some of the inner bulwarks pieces will need to be trimmed a little in order to fit. It would seem a lot of test fitting is in order at this stage. So, I decided it was time to go ahead and laminate (to a thickness of 0.5mm) and cut out all those inner bulwarks pieces. You'll notice in that last photo, I finally got smart and wrote the part number on the back of the part. So, I did a little dry fitting, but it is clear I'm going to have to get a little more elaborate and start taping or temporarily tacking lots of pieces into place to work out the alignment issues. Still, I think this is going to go a long ways toward getting this hull together right. Clare
-
At the NRG Conference, I took my HMS Alert model and it was nice to see some of the attention it got as a paper model. I had brought my HMS Mercury project, but I didn't work the Ages of Sail table like I did at past conferences, so I didn't really trust that it wouldn't get squished and didn't bring it out. But, yesterday, I finally did a little bit more work on it. I cut the core pieces for the bulwarks, which the gunport linings will be glued to. I attached the bow pieces, which have no gunports, and test fit the other pieces. In doing so, I realized that I screwed up on the placement of those inverted knees. I have no idea how it happened. I must have mixed up some of the part numbers, but I can't tell because the part numbers were on the parts sheet area that got cut away when I cut out the pieces for the knees. Another good reason for photocopying all the parts sheets, which I didn't bother to do in this case. I managed to make the repairs last night, removing the knees that were in the wrong place and relocating them and fixing the bulwarks spacer on one of them. All appears well, and I'll be adding the gunport linings next. I think I'll attempt to do this with the bulwarks sheets off the model, as the sheets are not very sturdy and I think they'll be easy to mess up once glued in place. One oddity is that you may notice that the inboard hawse pipe has a frame partially blocking it. I don't see how I could have messed this up. There simply aren't any options when cutting and applying the conflicting pieces. So, I have to assume this is a kit fault. Later, I'll either have to black out that frame and not use the inboard hawse pipes, or I'll have to drill it out. That shouldn't be too much of an issue for the structure once the hull planking and forecastle deck is in place. Clare
About us
Modelshipworld - Advancing Ship Modeling through Research
SSL Secured
Your security is important for us so this Website is SSL-Secured
NRG Mailing Address
Nautical Research Guild
237 South Lincoln Street
Westmont IL, 60559-1917
Model Ship World ® and the MSW logo are Registered Trademarks, and belong to the Nautical Research Guild (United States Patent and Trademark Office: No. 6,929,264 & No. 6,929,274, registered Dec. 20, 2022)
Helpful Links
About the NRG
If you enjoy building ship models that are historically accurate as well as beautiful, then The Nautical Research Guild (NRG) is just right for you.
The Guild is a non-profit educational organization whose mission is to “Advance Ship Modeling Through Research”. We provide support to our members in their efforts to raise the quality of their model ships.
The Nautical Research Guild has published our world-renowned quarterly magazine, The Nautical Research Journal, since 1955. The pages of the Journal are full of articles by accomplished ship modelers who show you how they create those exquisite details on their models, and by maritime historians who show you the correct details to build. The Journal is available in both print and digital editions. Go to the NRG web site (www.thenrg.org) to download a complimentary digital copy of the Journal. The NRG also publishes plan sets, books and compilations of back issues of the Journal and the former Ships in Scale and Model Ship Builder magazines.


