riverboat
-
Posts
1,756 -
Joined
-
Last visited
Content Type
Profiles
Forums
Gallery
Events
Everything posted by riverboat
-
Lawrence you 're quite welcome........... if you try it, don't be mad at me if it doesn't come out , just kidding, don't worry, take your time and have fun with it. you can use what ever you want paint ,stain ,powders ,whatever, keep messing with it until you get the look your looking for. Frank
-
Thanks for ck'n out my build Michael....... your input is always welcomed, when my weathering skills get to the level of your modelling skills, then I'll be happy Frank
-
hey Adam.... hope you're feeling better, really liked the picture of the Mayflower, it's so nice when you have a real reference when your building the same ship. Your Build is coming along nicely. by the way if you think ,what is it the 84?, is bad you ought to come out here and test the 91 freeway!!! It's horrible. did you get your Ann. gift yet? lucky dog!! Frank
-
Hi Dave .... yeah, it's good to have that part behind you. Hows your project coming along ? frank
-
Great!!build Brian, just went thru your log again to catch up. Nice score on your Reno trip !!! Frank
-
You're welcome Denis.... Frank
-
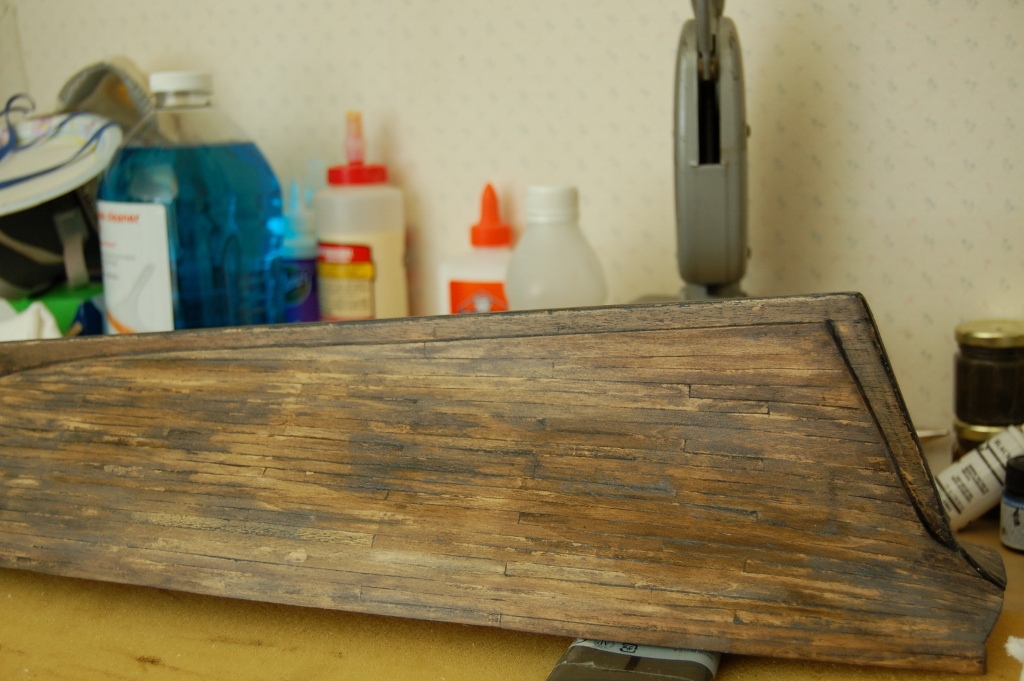
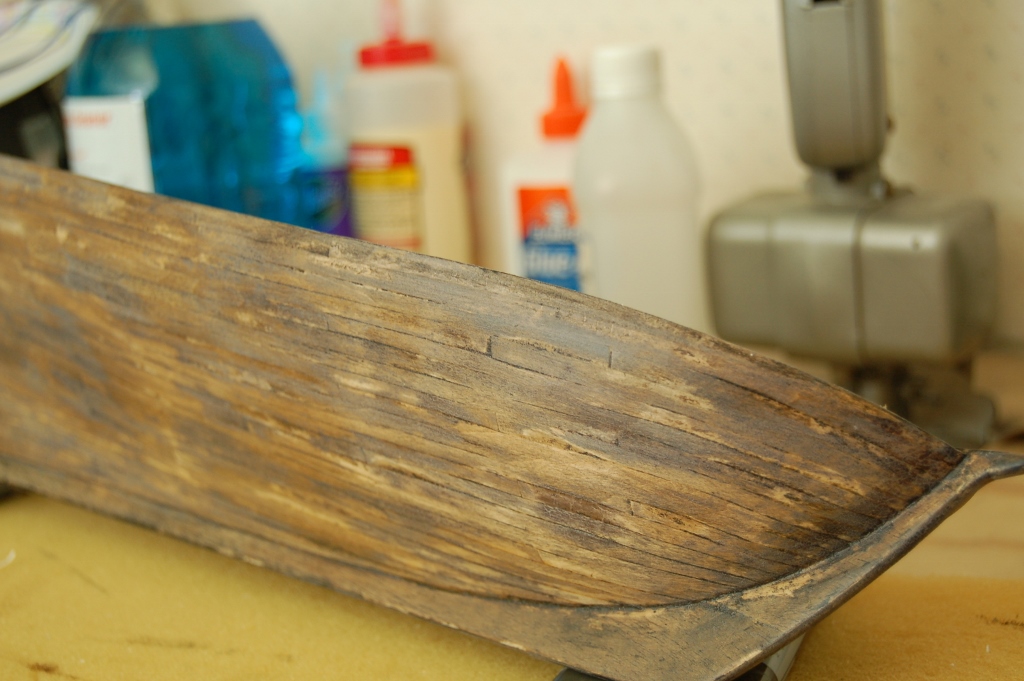
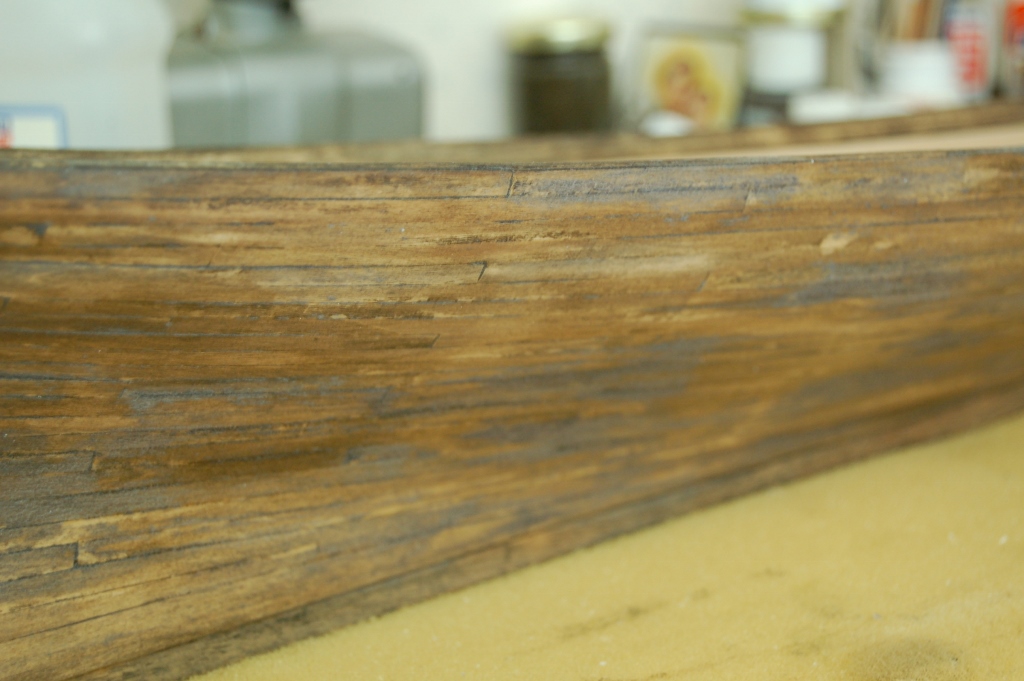
OK, today is tomorrow like I said yesterday,so I'll see if I can explain to those interested the method I used to weather the Alert's hull. First off, let me tell you, anyone can do this , but you have to commit yourself to it, once you start you really can't go back.So once you've made the commitment to mess up a perfectly good planking job get all the pictures you can on the ship you're going to build. Unfortunately for us ship builders there's not too much out there to help you out, so you'll have to use your imagination for most of the weathering process. An example , my first weathered boat was a riverboat, well there's plenty of old pictures to guide you, now on the Alert there's nothing, so I pretty much guessed it all the way. Mike was saying he'd like to do a weathered whaler, well he's lucky The Morgan is still afloat, so he'll be able to get a real good perspective on the whole process. Now that we know you don't have to be a genius to do this , let me see if I can explain what I did For the stains I used JoSonja's water based gel stains, you can use any stain you like. I like to use water based products they're a little more forgiving if you want to make corrections. The first coat applied was English Walnut, it's a real nice dark base, let it stay a few min.then wipe it down with a clean cloth, after that dried I gave it a light sanding so some of the natural wood showed thru ( not too heavy with the sanding ) then I applied a coat of Jacobean oak, this added a browner tone to the existing coat.. repeat the previous process, again a very light sanding (220 weight paper ). Try not to be to fussy, you're looking to get an uneven looking finish . After I had applied those two coats it still wasn't the look I was looking for, it was a little too brown now, so I applied another coat of the English walnut ,wiped it down and another light sanding. While I let this set up awhile, I painted the keel flat black, after looking at it I was not happy with the black keel,so I sanded it all off,which turned out to be a bonus. Looking at the hull again I decided to give it a burnt umber wash,I also did the keel too. there was some black residue left on the keel after sanding so that gave the burnt umber a real nice look , I wiped the hull down again very gently with a damp cloth, and a very light sanding again on the keel. Now I was starting to like the color, all it needed now was a black wash ( I used The Detailer ready to use washes) ) or you can make your own washes by diluting your paint.I generally put a wash over a gloss or satin finish and let it set over nite ,then wipe most of it off with a damp cloth or cotton swabs, but this time I just added right on top of the stained surface and I didn't let it dry completely and just gently wiped it off.I liked what happened , it gave the color some depth and I also got some crackled effect to the surface which I really liked. After letting it stay for a couple days, I decided that I could live with the finish. I just added 2 coats of Delta Ceramcoat Matte varnish, and that's it. So you see, it's a pretty simple process that anyone can do if he or she chooses to.......a little time consuming , but worth the effort if you're looking to get a working ship look!! As my build progress' I'll add some weathering powders to enhance some of the colors. I hope I explained the process well enough, if there are any other questions just let me know. While we're on the subject , there are a couple of other guys on this site that are very proficient at this, Matti being one of them, ck his work out he's very good. You also might want to ck. out some of the armor modellers on KitMaker .net, those guys are the real masters!!. Well that's it for now , Hope this was of some help, Thanks for look'n in. Frank
-
Before I forget..... ( that's what us seniors do).... Thanks for all the "LIKES " Frank
-
Hi Lawrence , thanks for your nice comments, I'm going to post something here on how I did the weathering, a couple other people were interested also, so ck back a little later O.K.? Frank
-
Hi Grant, thanks for your nice comments....... It was a little push and pull there for awhile as to" weather or not" ( I should do it) as you saw ,the "weather " won. Frank
-
Sjors, you're a genius!!, why did'nt I think of the mud , would've saved me a lot of time, maybe next time I'll give the mud a go! Thanks for look'n in. Frank
-
Hey Denis how you doing?..... thank you too for your interest, like I told Brian in the previous post, I'll post some info tomorrow right here O.K. Glad you liked the way it turned out, surprised me too!!! :D Frank
-
Hi Brian.... thanks for your interest ..... Sine you ,Mike and Denis are interested, what I'll do is ,tomorrow I'll get my thoughts together and try and explain as best I can what I did, Mind you I'm not any kind of master guru, so don't be disappointed in the simplicity of it all. . I'm a little tired right now ( close to my bedtime) so like I said tomorrow would be best. I'll post it here. Thanks for looking in. Frank
-
Very nice!!! Piet Frank
-
Hi Mike.... glad you liked it ...... Yeah, I'll tell you how, I'll p.m. you later O.K.? Frank
-
Hi Mark........ don't know about being a master ( but thank you anyway). it's more like hit and miss, if you know what I mean. Thanks for looking in. Frank
-
Hi Matti....... I'm really glad you liked it, and you're right, it was a real bear trying to balance it out. I must've done it 3 or 4 times before I settled on the way it is now , and even now I'm not completely satisfied, but I think once everything is in place it'll blend in OK. Thanks for looking in. Frank
-
Thanks Alistair.... I would have never been a good sailor,I like to messy a ship Thanks for your nice comments on the planking,like I told Tony I really had fun using Chucks tutorial for the planking. I think he made a convert of me Frank
-
Thanks for looking in Coleman, and thank you for your comments....... glad you liked the look of the hull. Frank
-
Hey Denis, I'll try and keep everything on deck out of the water . Sometimes I get carried away!! Frank
-
Augie, glad you said that, I was worried there for awhile thinking it had too much of a museum quality look!!! Frank
-
Tony...... thanks for your comments mate, did'nt even think of the cannon shot holes, something to consider next time! Glad you liked the planking, had fun doing it and thought about leaving it clean , but I just couldn't do it, I like to see my ships worn out. Stay tuned and you'll see it come together. ( I hope ). Frank
-
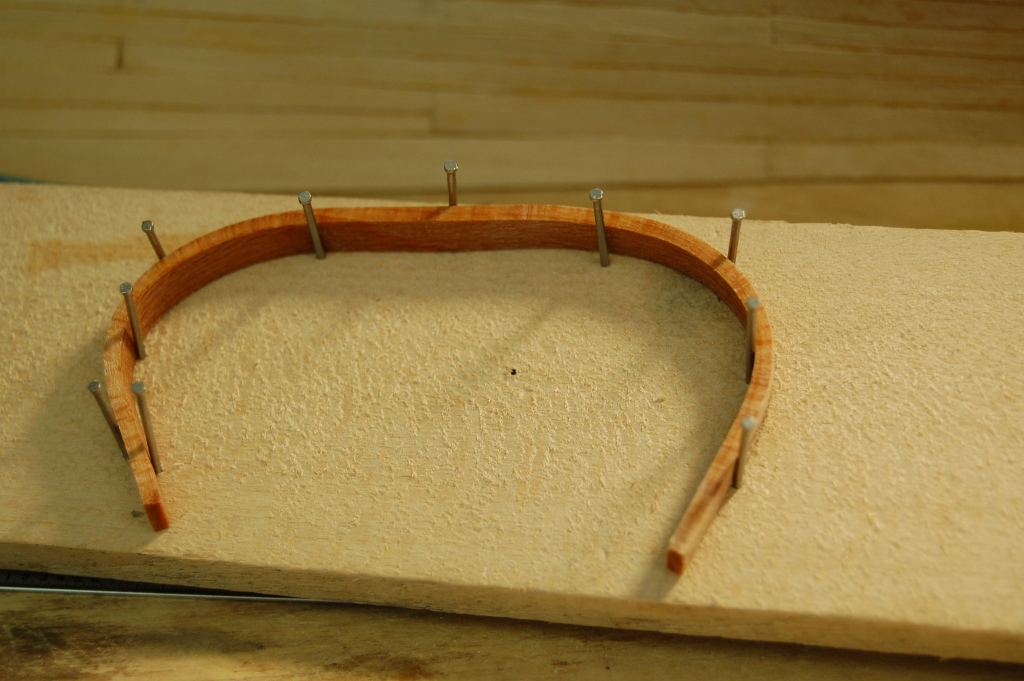
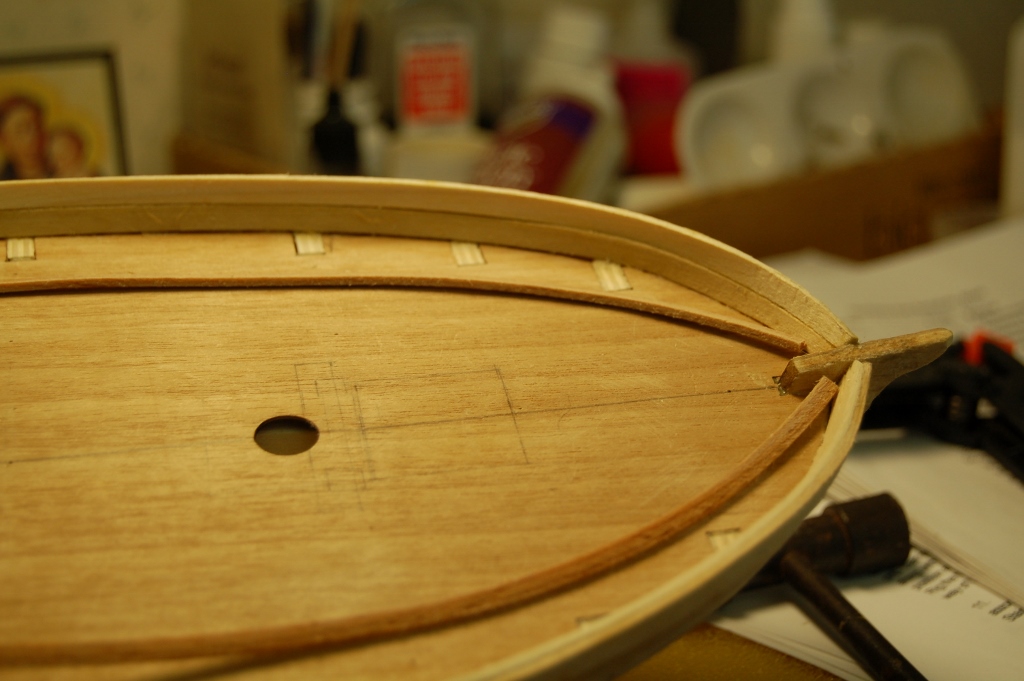
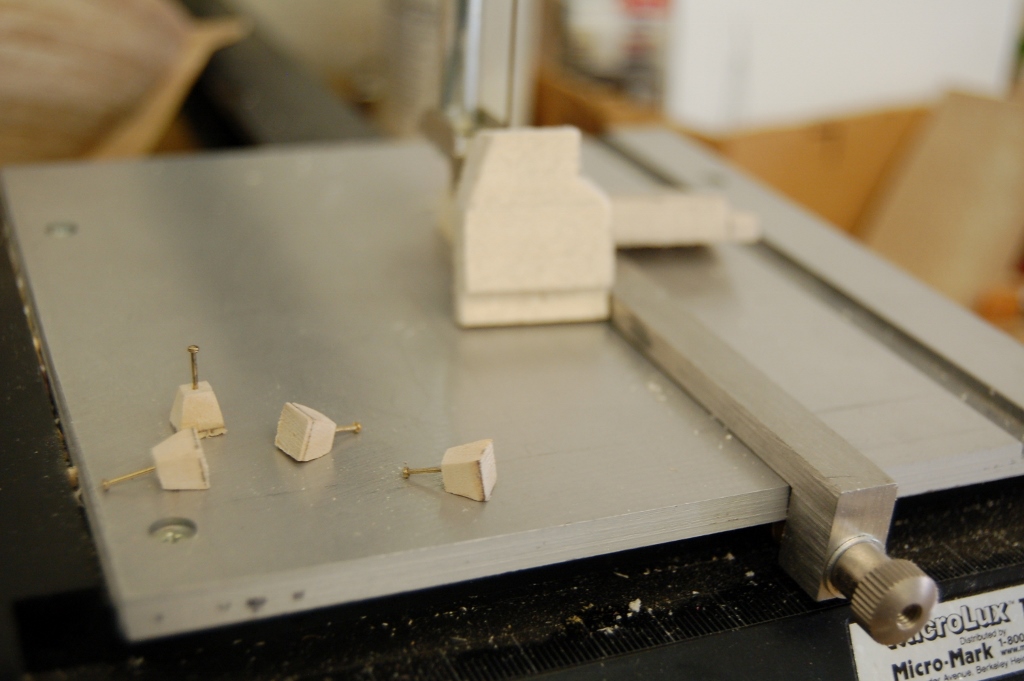
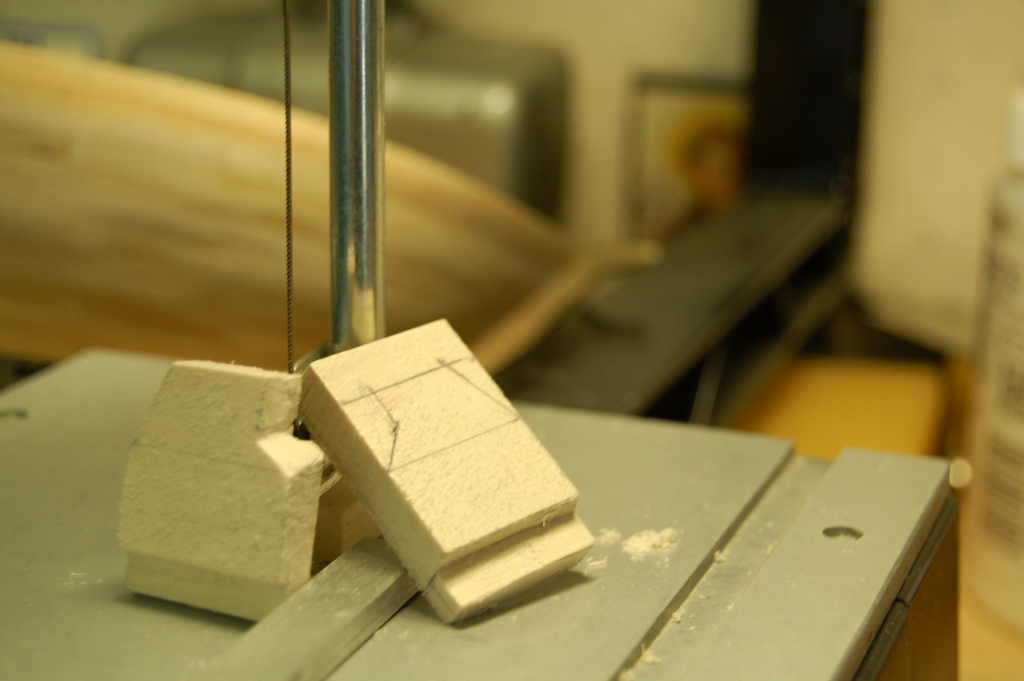
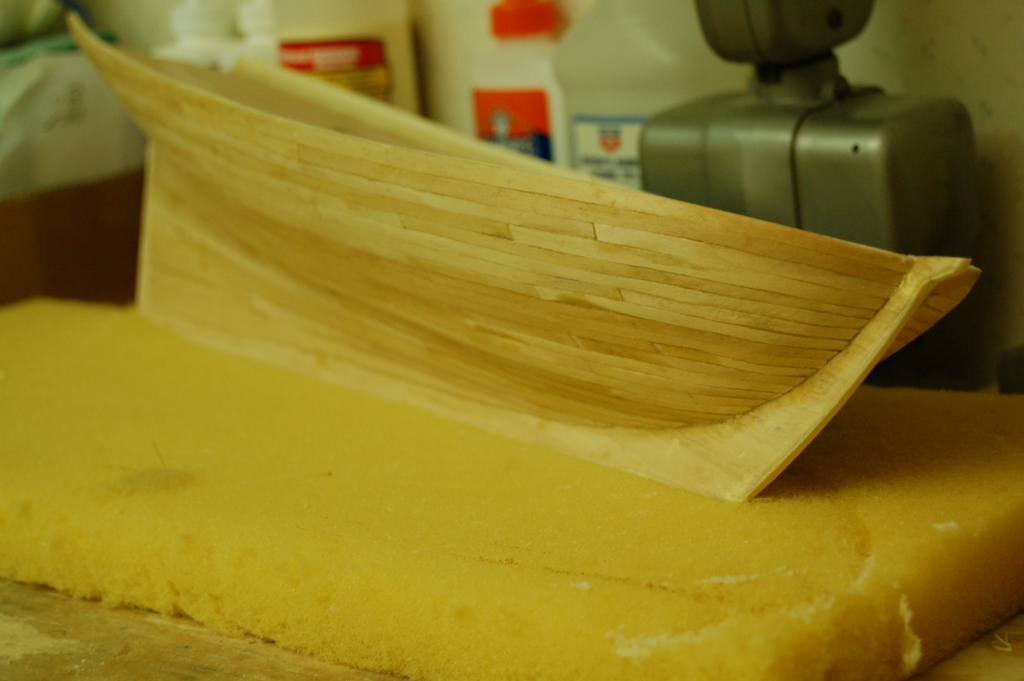
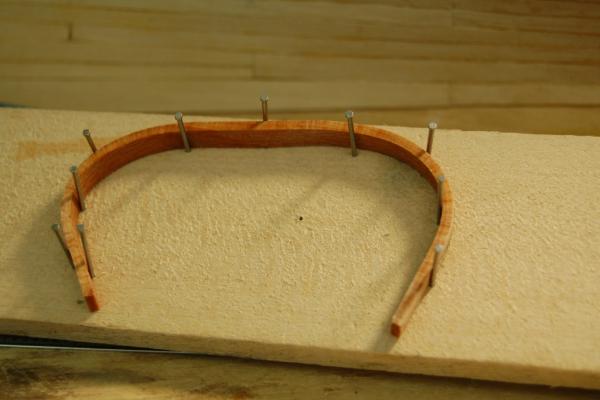
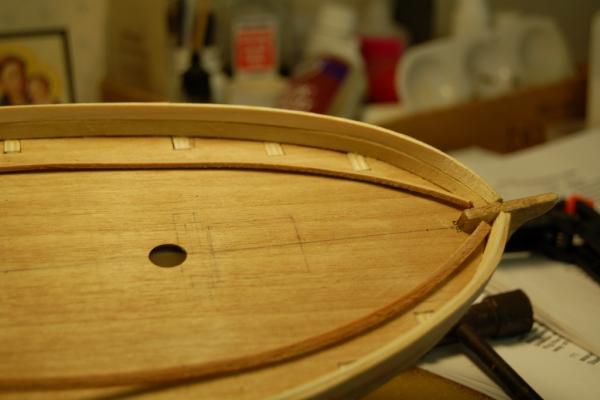
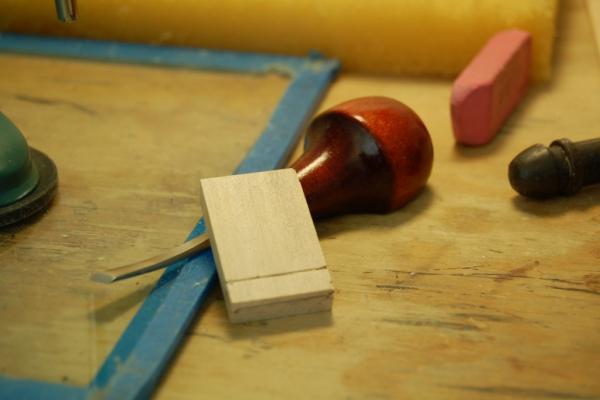
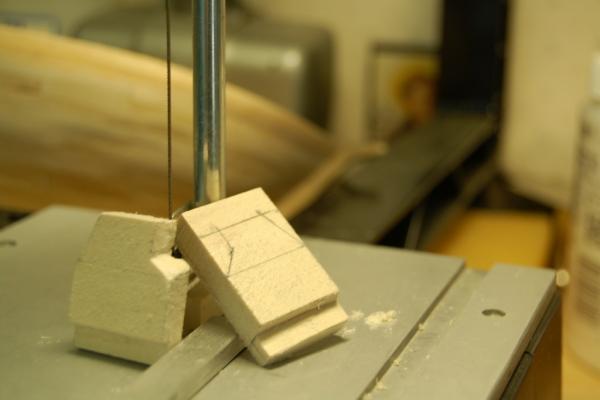
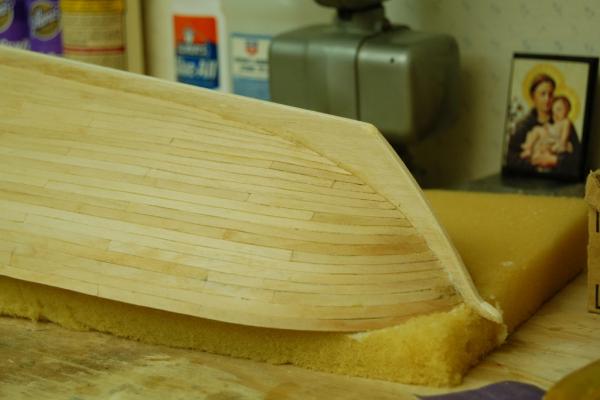
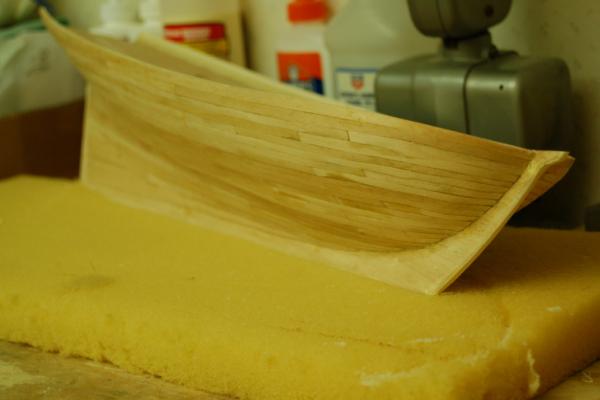
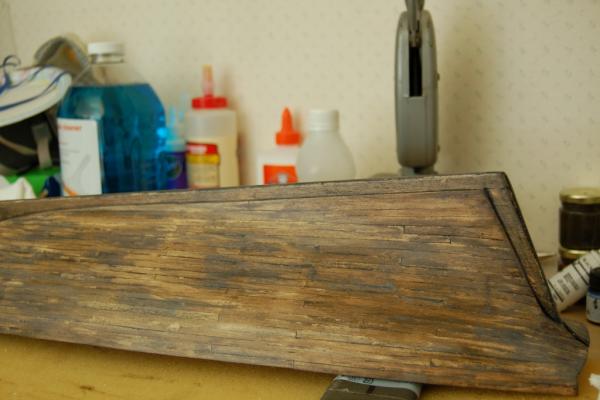
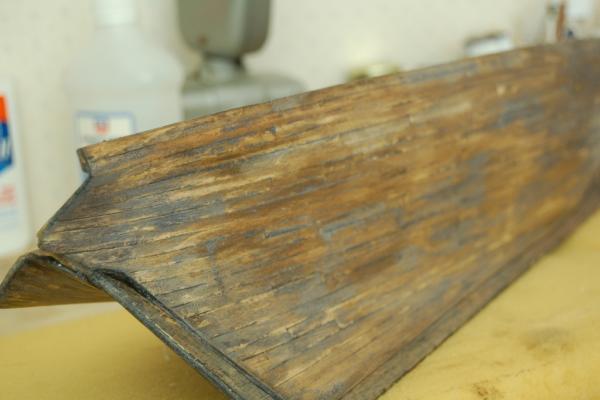
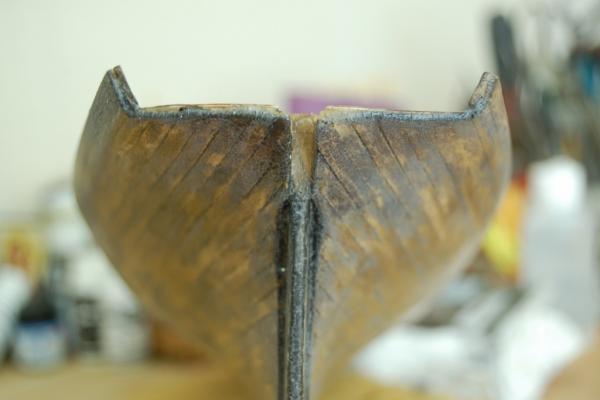
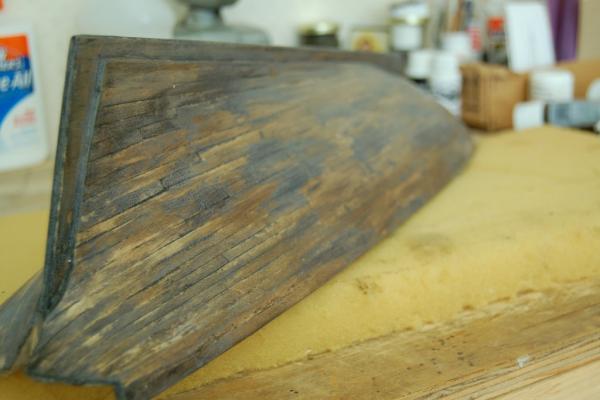
Update time is here again!! .... man,how time flies...... well, I've gotten a couple things done since our last meeting, the main being the finishing of the hull and beating it up a little. ...... I know weathering is not everyone's cup of tea and maybe considered very sinful , but, being the sinner that I am,I went ahead and spoiled a fairly decent looking hull ( again ) trying to make it look like it just took on the whole British fleet , Anyway,the pictures will give you a better idea of what I mean. The first set shows the stern pc. being shaped along with some bow pc's being shaped, it also shows the hull being finished after some scraping and light sanding. The last ones, of course, show the mess I made of it. BUT............ it'll look alright when every thing comes together!! As always, thanks for stopping by. Frank This wood was the easiest wood I ever had to bend. Waterways shaped and ready to install Bow piece starting to take shape, won't finish these until railing is installed. Heads to be attached to bow pc. later Last two pictures show the hull finished before staining These pictures are showing what the hull looks like after taking on the British fleet!! Thanks again for looking in, all comments are welcome good or bad!! Frank


- 455 replies
-
- 19
-

-
the planking looks real nice up against the hatch ......... nice! work Mike. Frank