-
Posts
718 -
Joined
-
Last visited
Content Type
Profiles
Forums
Gallery
Events
Everything posted by Geoff Matson
-
Jeff: I can never find good straight dowels. So I make my own. For the Conny they are a strip of poplar wood from Menards. I then cut them to proper size and then sand away. themadchemist: The sanding blocks are made by GreatPlanes and called easy-touch hand sander. They fit good in your hand and are easy to use. I have five of them with grits of 80,100,150,180 and 220. Makes sanding alot easier.
-
Nice job Toni. It is nice to see it all come together.
- 75 replies
-
- 18th century longboat
- model shipways
-
(and 1 more)
Tagged with:
-
Geoffrey Thanks for the photos of the island, Looks like this will be an interesting build. Look forward to more posts.
- 15 replies
-
- young modeler
- korean
-
(and 1 more)
Tagged with:
-
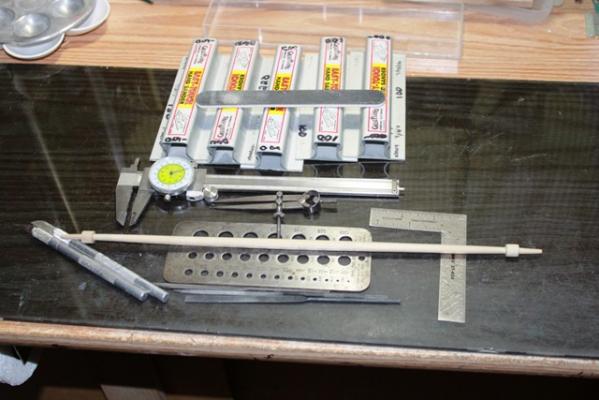
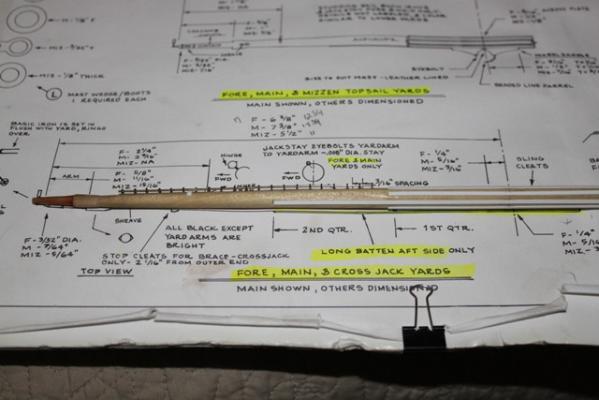
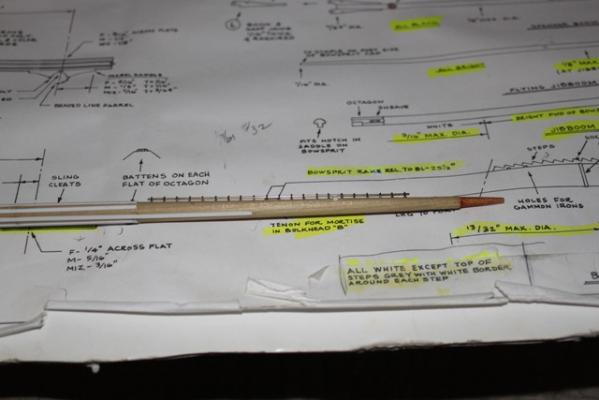
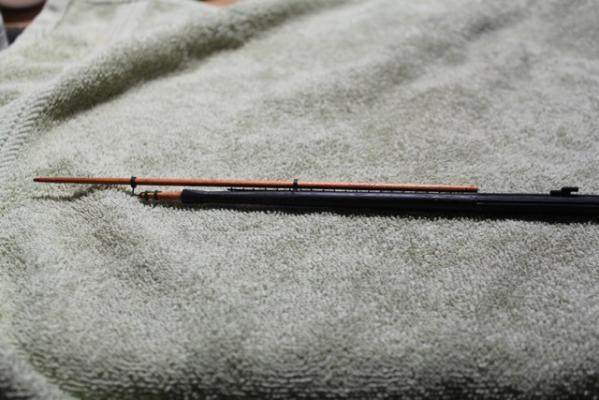
Making progress on the yardarms Since I have no lathe here are the tools I use to make the yardarms. I start with a square dowel and sand it down. Here is the yard before painting. Again I used styrene to simuliate the wood battens and iron fittings. Here it is painted The studding sails dowels were colored with Burnt Sienna oil paint.
-
Hey Alistair Nice job on the AVS. Glad I found your build log.
- 55 replies
-
- armed virginia sloop
- model shipways
-
(and 1 more)
Tagged with:
-
Jay I have heard of modelers using a fan blowing to help set the sails to the bellow they wanted. Just a thought.
- 732 replies
-
- constitution
- model shipways
-
(and 1 more)
Tagged with:
-
Jay Sails are looking outstanding as usual. You better put the Conny in a case before she sails away .
- 732 replies
-
- constitution
- model shipways
-
(and 1 more)
Tagged with:
-

Homemade Rudder Hinges
Geoff Matson replied to lamarvalley's topic in Metal Work, Soldering and Metal Fittings
Your craftsmanship is outstanding, thanks for the post. -
Thanks for taking the time to post your method. Next time I make some rings I will give it a try.
-
Again everything is looking great and thanks for working through all those little forgotten parts of build
- 732 replies
-
- constitution
- model shipways
-
(and 1 more)
Tagged with:
-
Wow You are making great progress on the bowsprit. I am really worriedonce I get that far I will surely break something off It sure is fun watching your build knowing what I have to Look forward to. I am experimenting with bending some eyebolts and rod for the jackstays
- 732 replies
-
- constitution
- model shipways
-
(and 1 more)
Tagged with:
-
I am in the process of making the eyebolts and getting the right rod figured out. Your bullseyes turned out great.
- 732 replies
-
- constitution
- model shipways
-
(and 1 more)
Tagged with:
-
Thanks for your reply. I think I am going to give them a go.
- 732 replies
-
- constitution
- model shipways
-
(and 1 more)
Tagged with:
-
Jay I have a question for you. On the plans for the yards they show the jackstays, Eyebolts with a rod thru them spaceds about 3/16" apart. In the practicum it is stated that they did not supply the eye bolts so he decided to leave them off. On the main yard looks like you could put quite few on each side of the yard. While looking ahead I think it shows some of the foot ropes lashed to the jackstays and I think they were also used to stow the sails. Any Ideas from you or the other Conny buiders would be helpful. Thanks
- 732 replies
-
- constitution
- model shipways
-
(and 1 more)
Tagged with:
-
Chuck Simply outstand work and craftsmanship on the blocks. I will be waiting for them to become available.
-

galley
Geoff Matson replied to toly.kol's topic in Discussion for a Ship's Deck Furniture, Guns, boats and other Fittings
What great details! The only thing you need is some bacon for those eggs. Simply outstanding. With a scale of 1/48 you can really add details. -
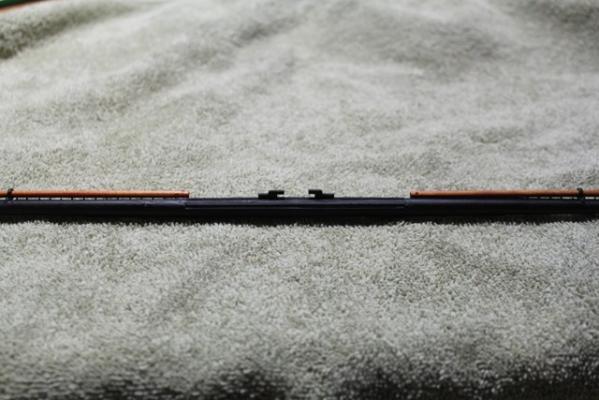
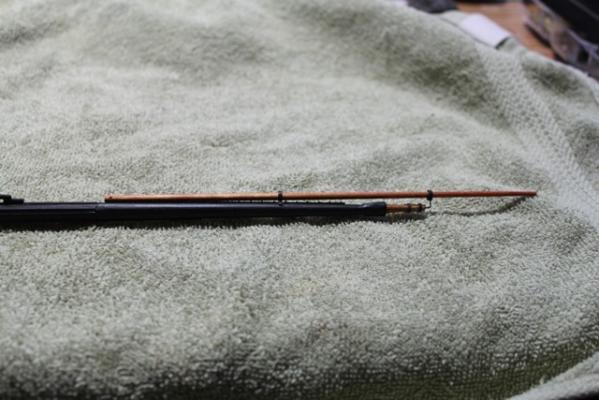
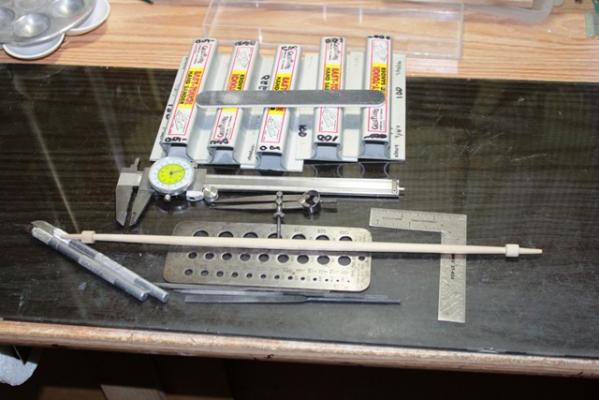
Everything is looking great. Nice progress. Without a lathe or shopsmith here is all I need to make my yards And yes maybe someday a lathe.
- 732 replies
-
- constitution
- model shipways
-
(and 1 more)
Tagged with:
About us
Modelshipworld - Advancing Ship Modeling through Research
SSL Secured
Your security is important for us so this Website is SSL-Secured
NRG Mailing Address
Nautical Research Guild
237 South Lincoln Street
Westmont IL, 60559-1917
Model Ship World ® and the MSW logo are Registered Trademarks, and belong to the Nautical Research Guild (United States Patent and Trademark Office: No. 6,929,264 & No. 6,929,274, registered Dec. 20, 2022)
Helpful Links
About the NRG
If you enjoy building ship models that are historically accurate as well as beautiful, then The Nautical Research Guild (NRG) is just right for you.
The Guild is a non-profit educational organization whose mission is to “Advance Ship Modeling Through Research”. We provide support to our members in their efforts to raise the quality of their model ships.
The Nautical Research Guild has published our world-renowned quarterly magazine, The Nautical Research Journal, since 1955. The pages of the Journal are full of articles by accomplished ship modelers who show you how they create those exquisite details on their models, and by maritime historians who show you the correct details to build. The Journal is available in both print and digital editions. Go to the NRG web site (www.thenrg.org) to download a complimentary digital copy of the Journal. The NRG also publishes plan sets, books and compilations of back issues of the Journal and the former Ships in Scale and Model Ship Builder magazines.


