


Glenn-UK
-
Posts
3,005 -
Joined
-
Last visited
Content Type
Profiles
Forums
Gallery
Events
Posts posted by Glenn-UK
-
-
You have done a great job so far, so there is no need to worry to much about how it looks as it gets sanded smooth, filled and then covered with the 2nd planking. I have altered my planking approach as I fit the few planks per side as helps me to speeds up the process and also helps me get a better shape requiring less filling and sanding. I hope to complete my 1st planking either later today or tomorrow morning.
-
I will continue to watch you progress with great interest.
- Blue Ensign and mtaylor
-
 2
2
-
-
-
23 minutes ago, Jasseji said:
Actually i thinned the deadwood A bit so incliding the planks on both sides it is a total of 4mm thick, i can thin it down to 3mm so it aligns with the Sternpost (do you Remember that the 2nd later of planking is 0.8mm and there is still a layer of 0.8mm dexcorative wood to be added to the Sternpost)
I hope that works out for you. I did the same on my DOK build but I still had to sand the 2nd planking for a flush fit. This time I am following the method shown on the build manual, as shown in the following photo taken from James Hatch's build log
- bruce d, GrandpaPhil, Kathy Teel and 3 others
-
6
-
-
HULL ASSEMBLY
FIRST PLANKING – PART 3
BUILD MANUAL STEP 138 - 141
Tools Used
Titebond original glue
Old paint brush
Gathering the materials required
The following kit parts are required for this section of the build:
F-43 1mm x 5mm x 650mm strip – Limewood
Brass pins
Assembly Process – Keel
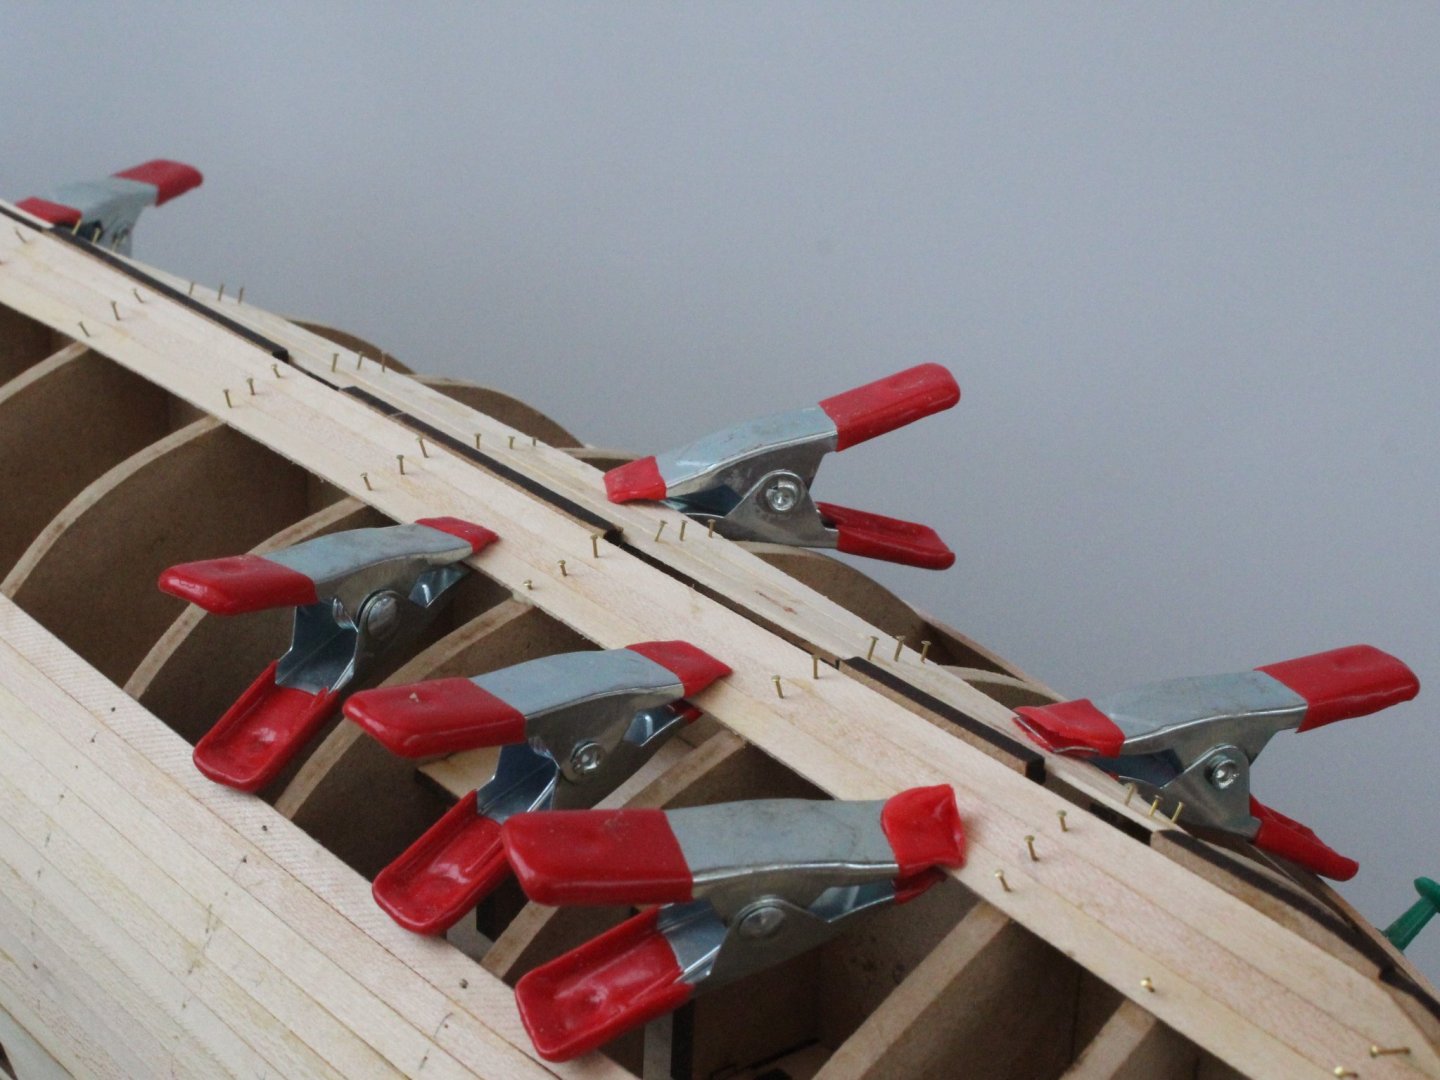
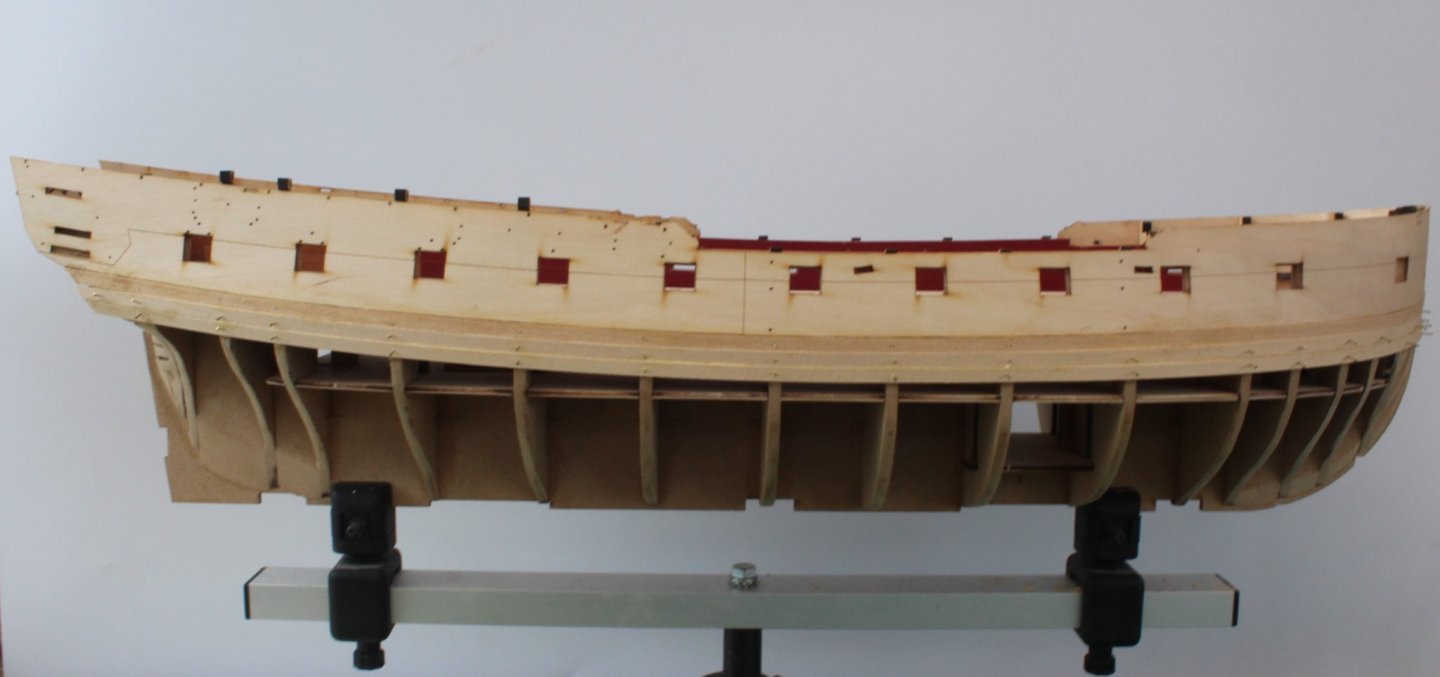
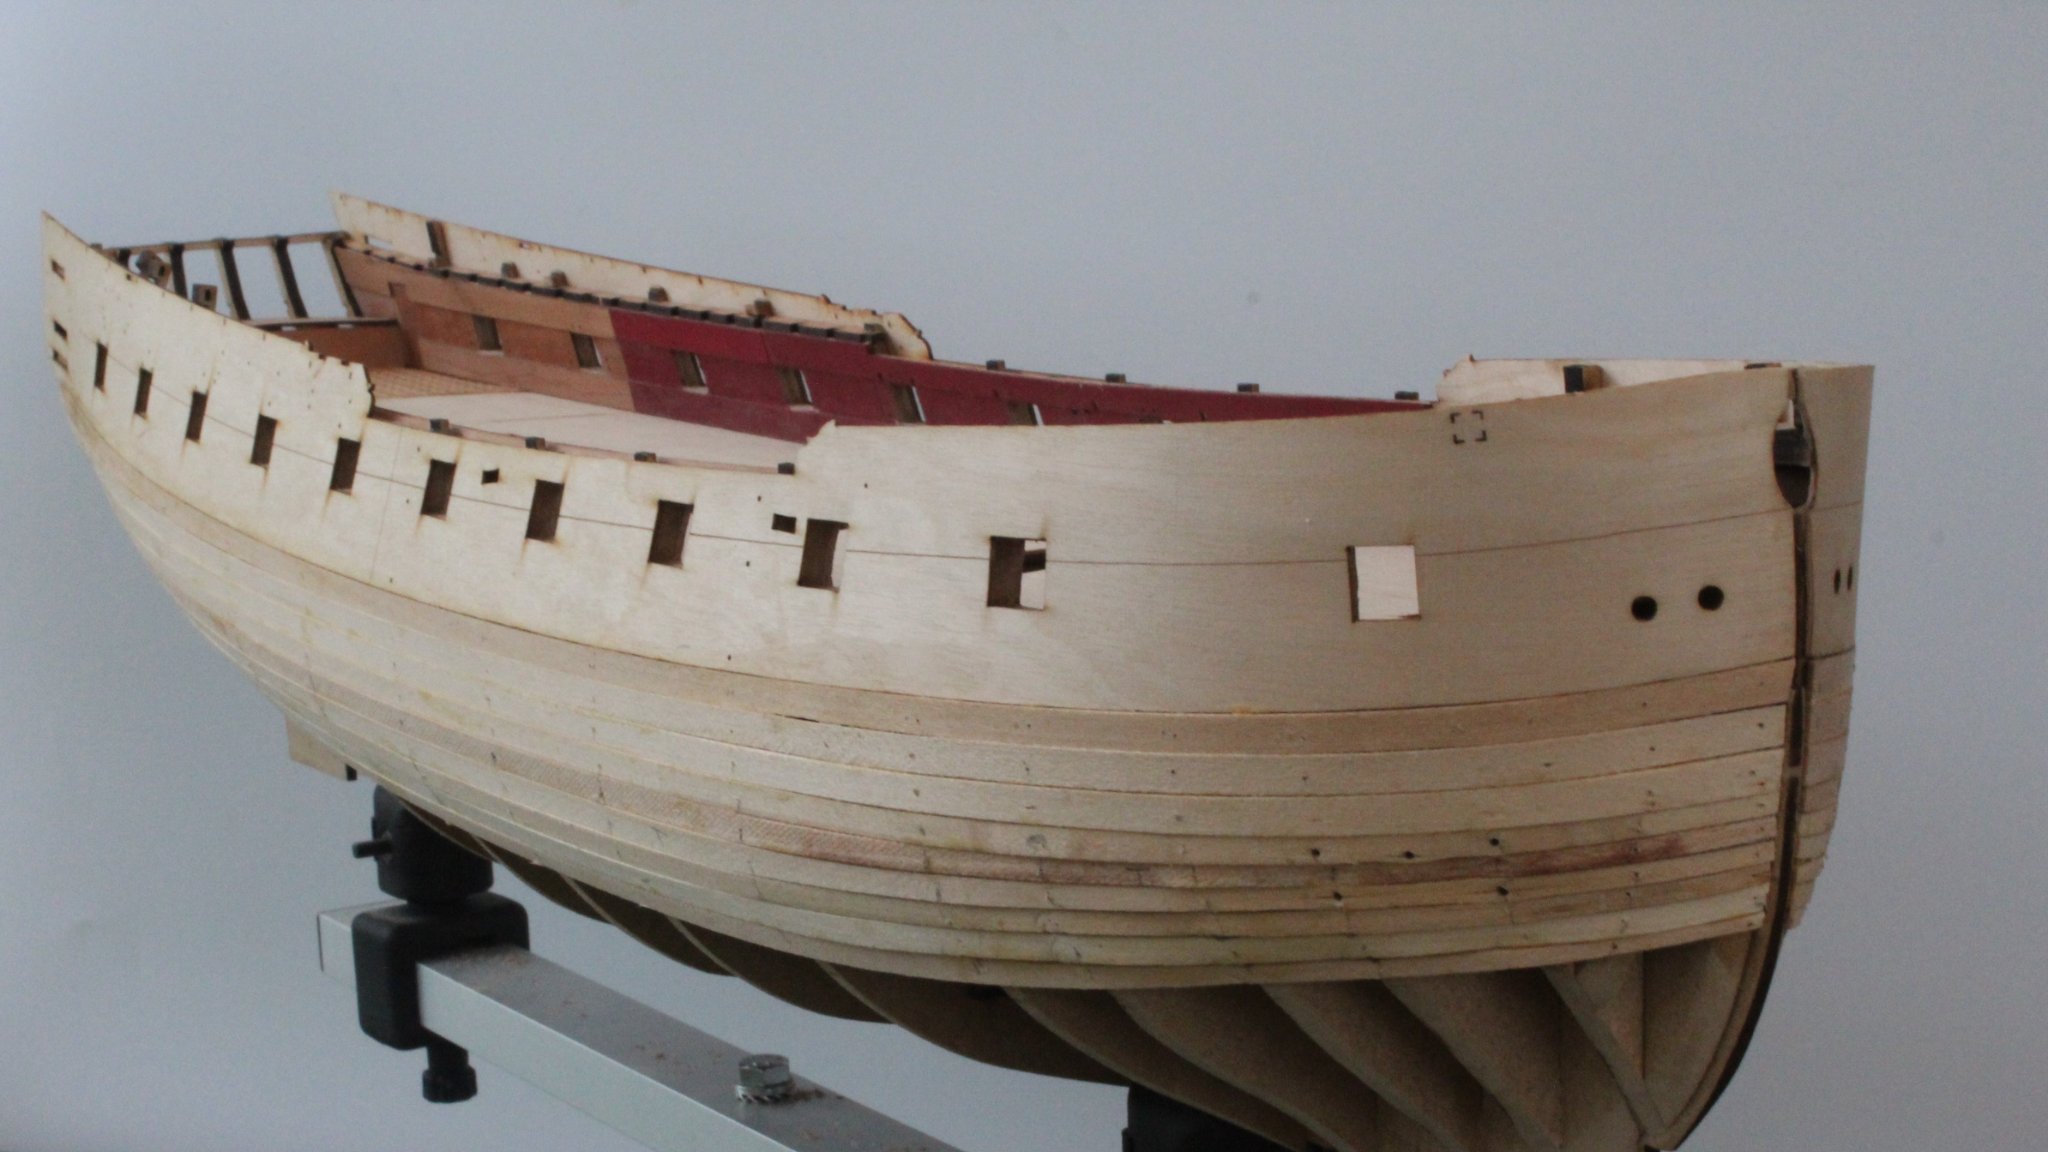
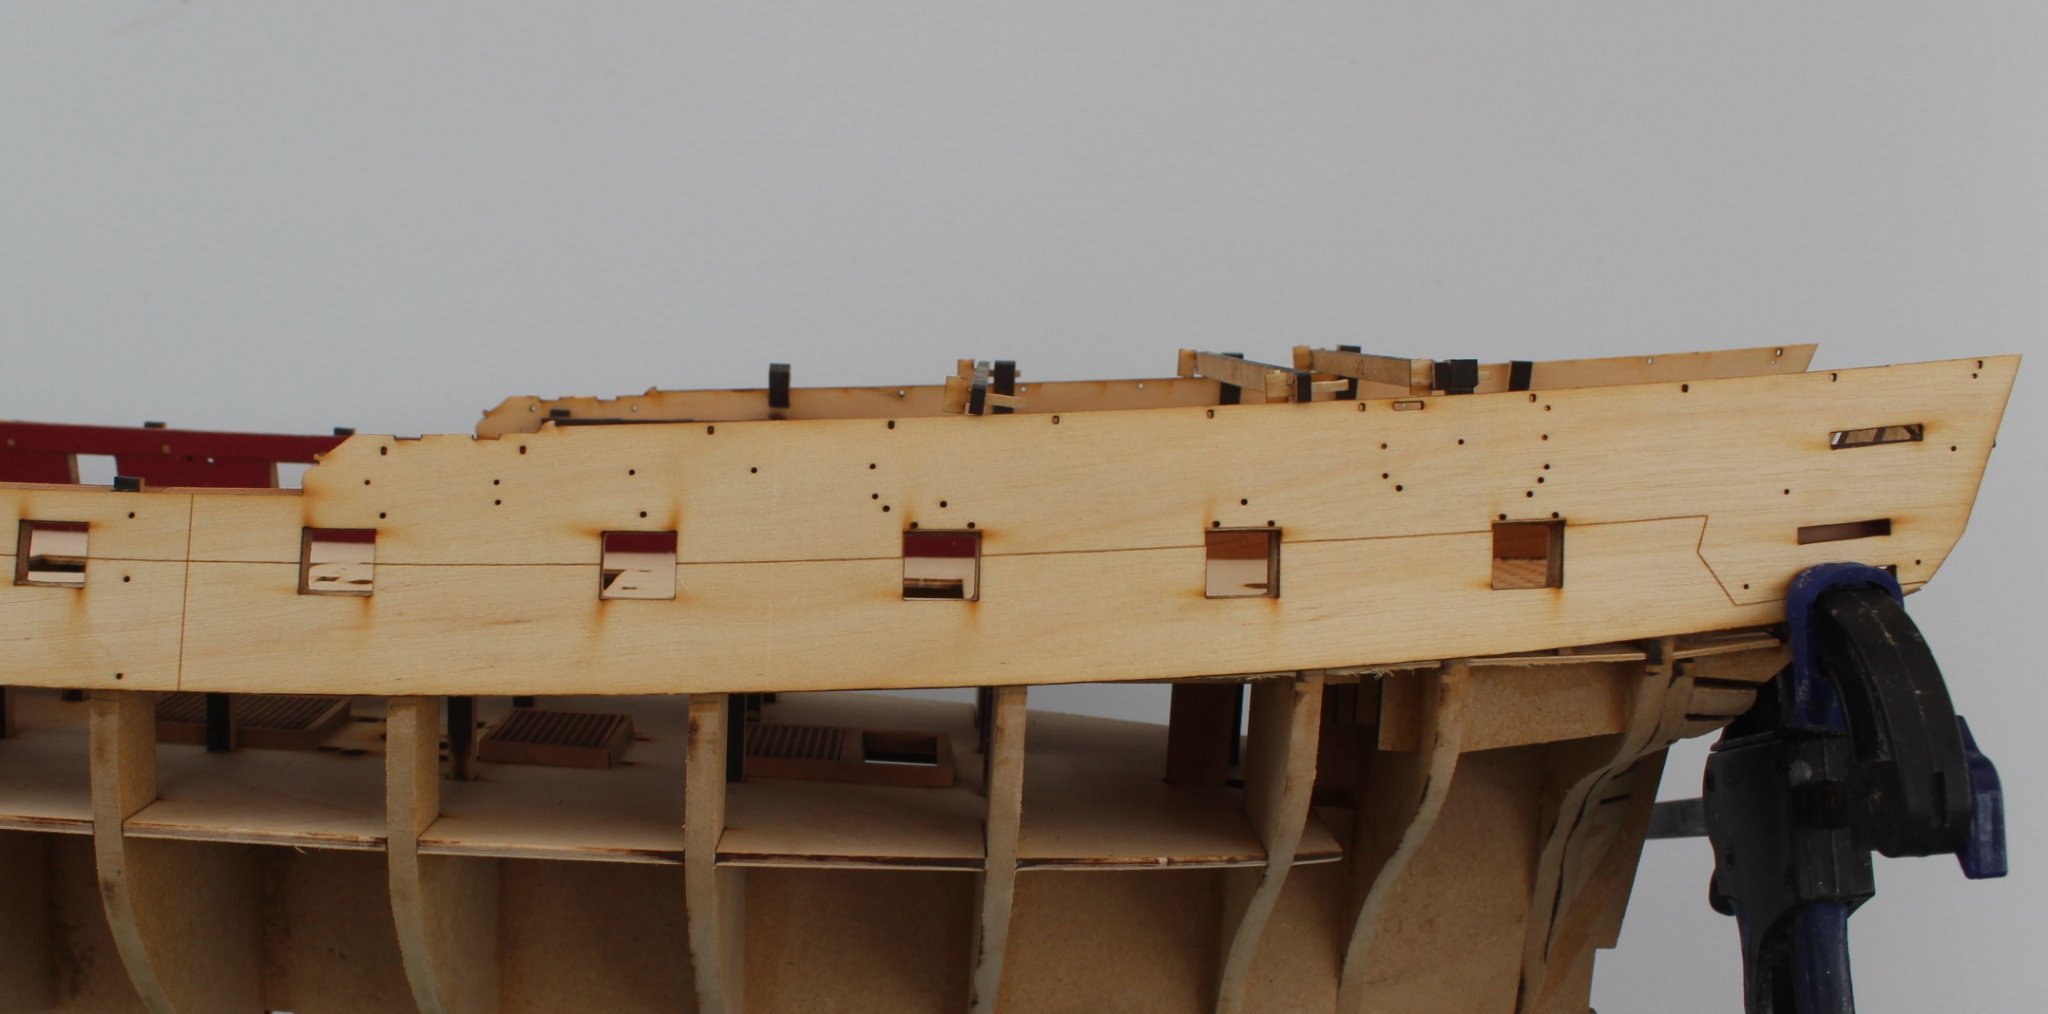
After adding a couple more planks this morning, I reached the point where I like to start planking up from the keel. Although I have measured the width, at the widest point, to be an exact number of plank widths, experience has proven this never usually the case in practise when once they have been glued in position. If I need a slightly thinner plank I prefer to fit it a few planks up from the keel.
I have now fitted three full planks from the keel.
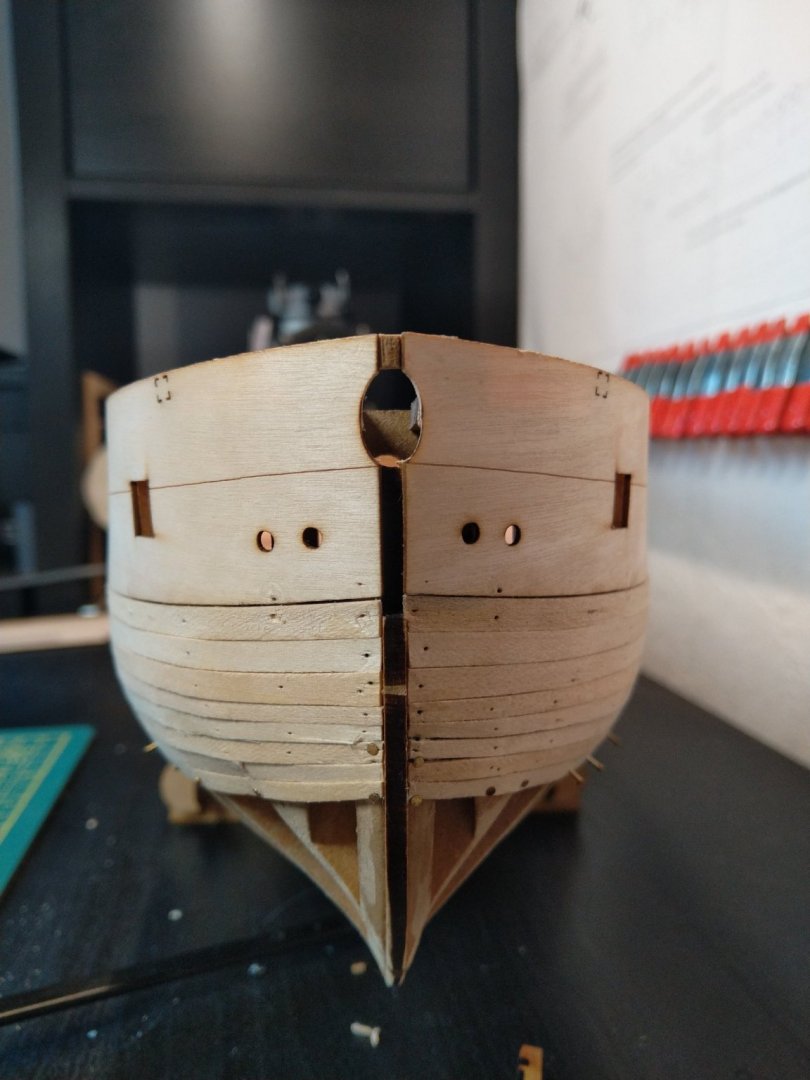
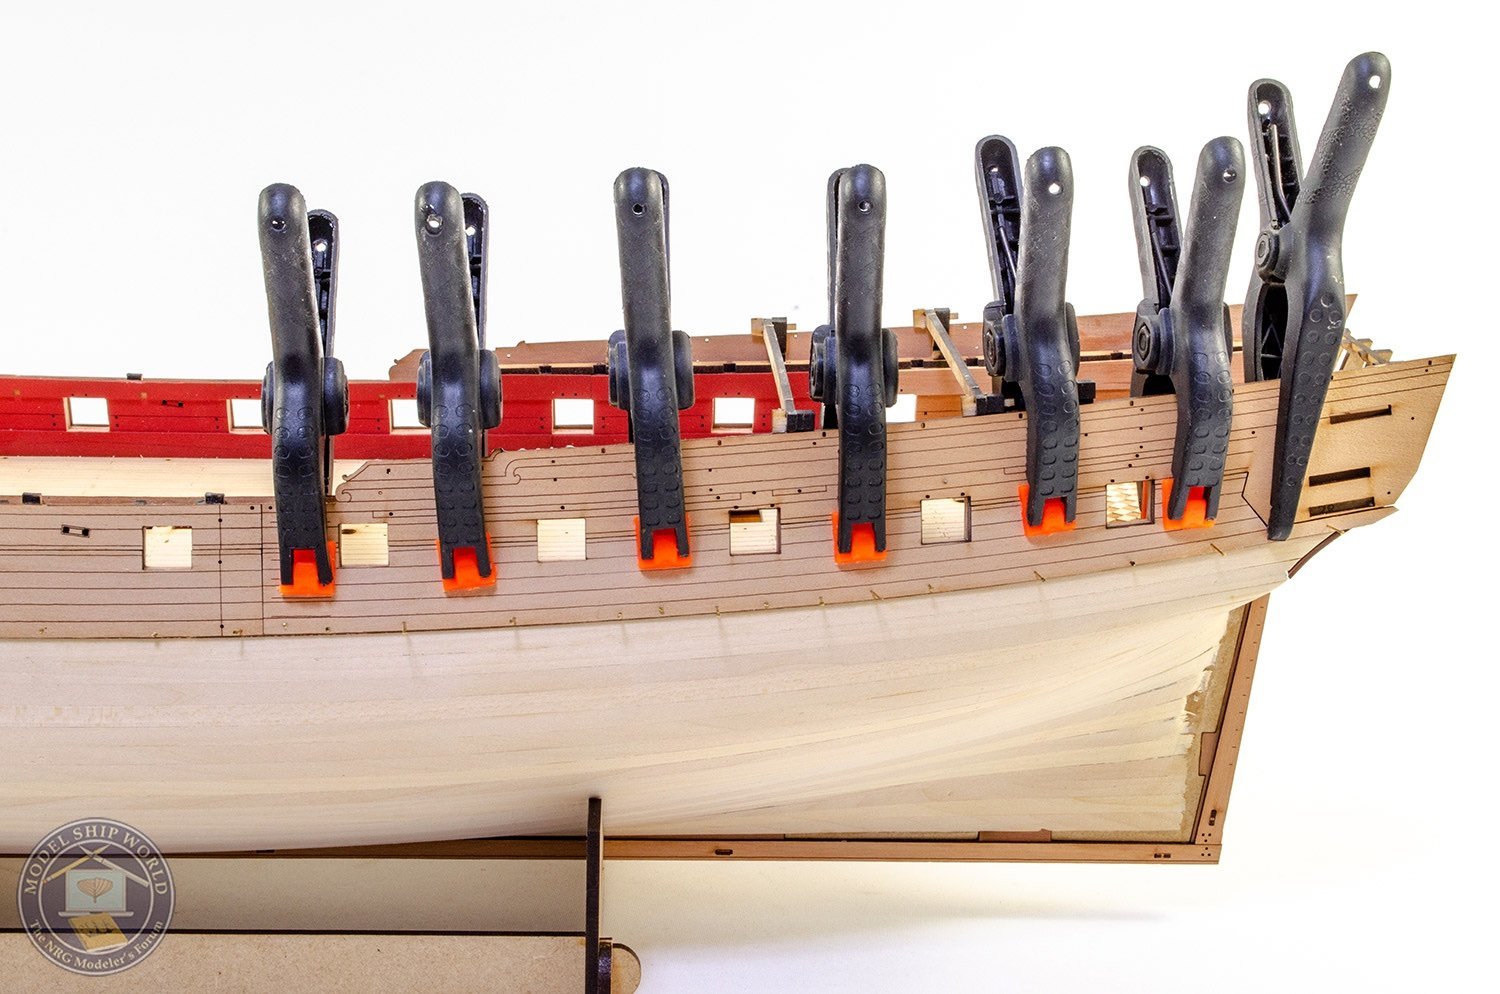
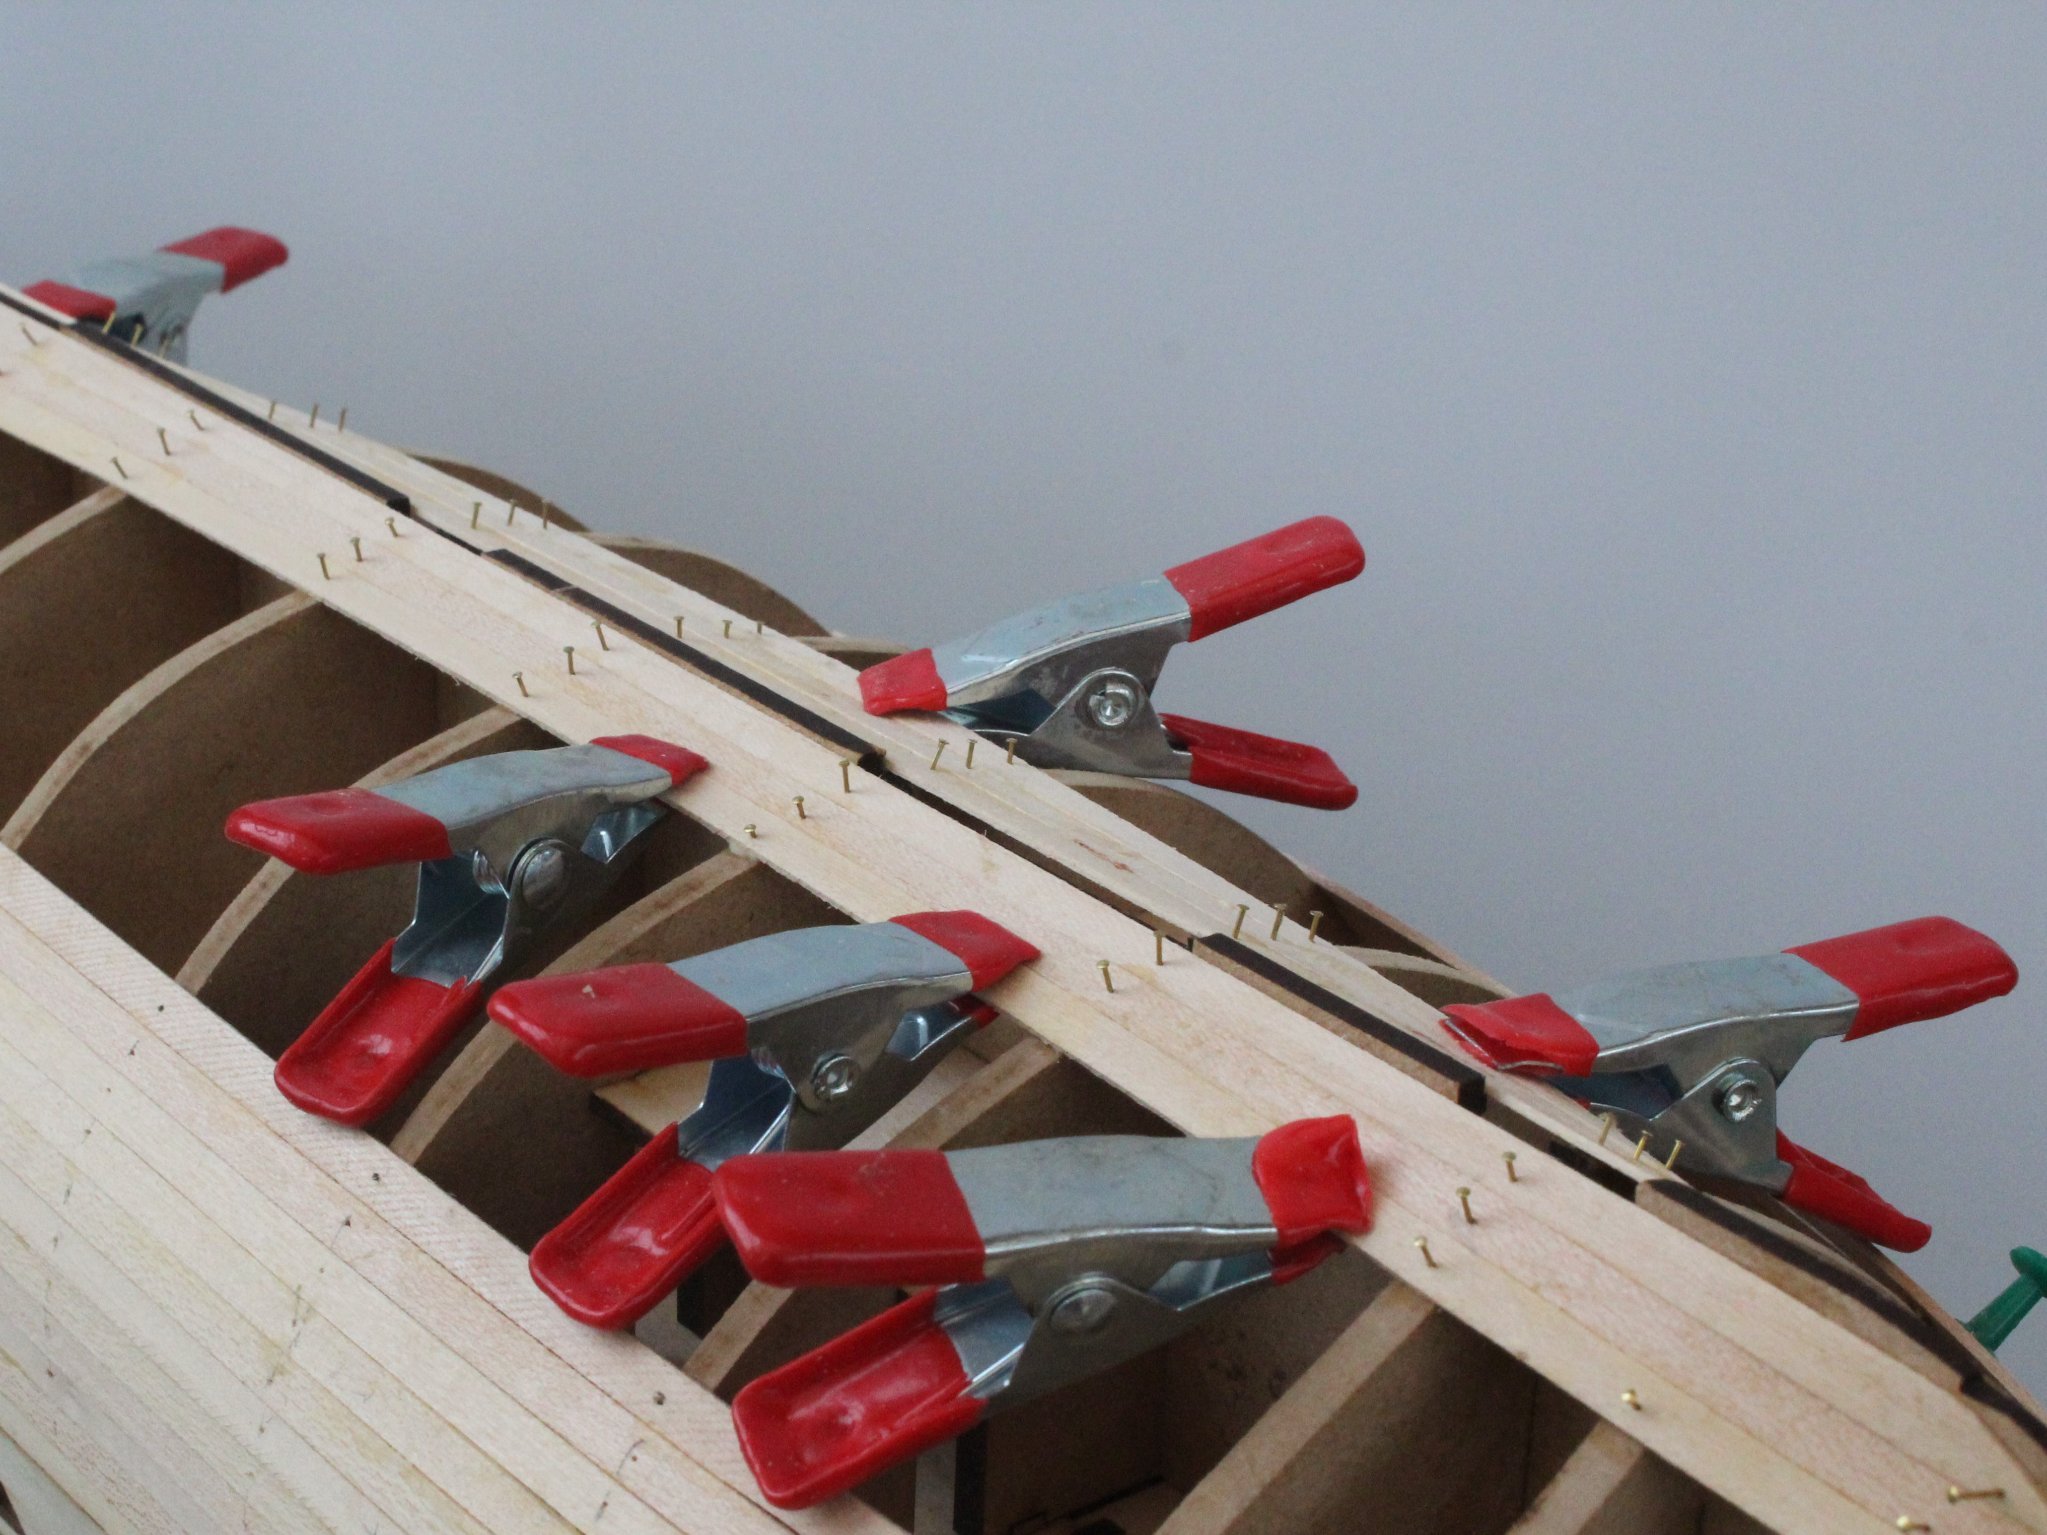
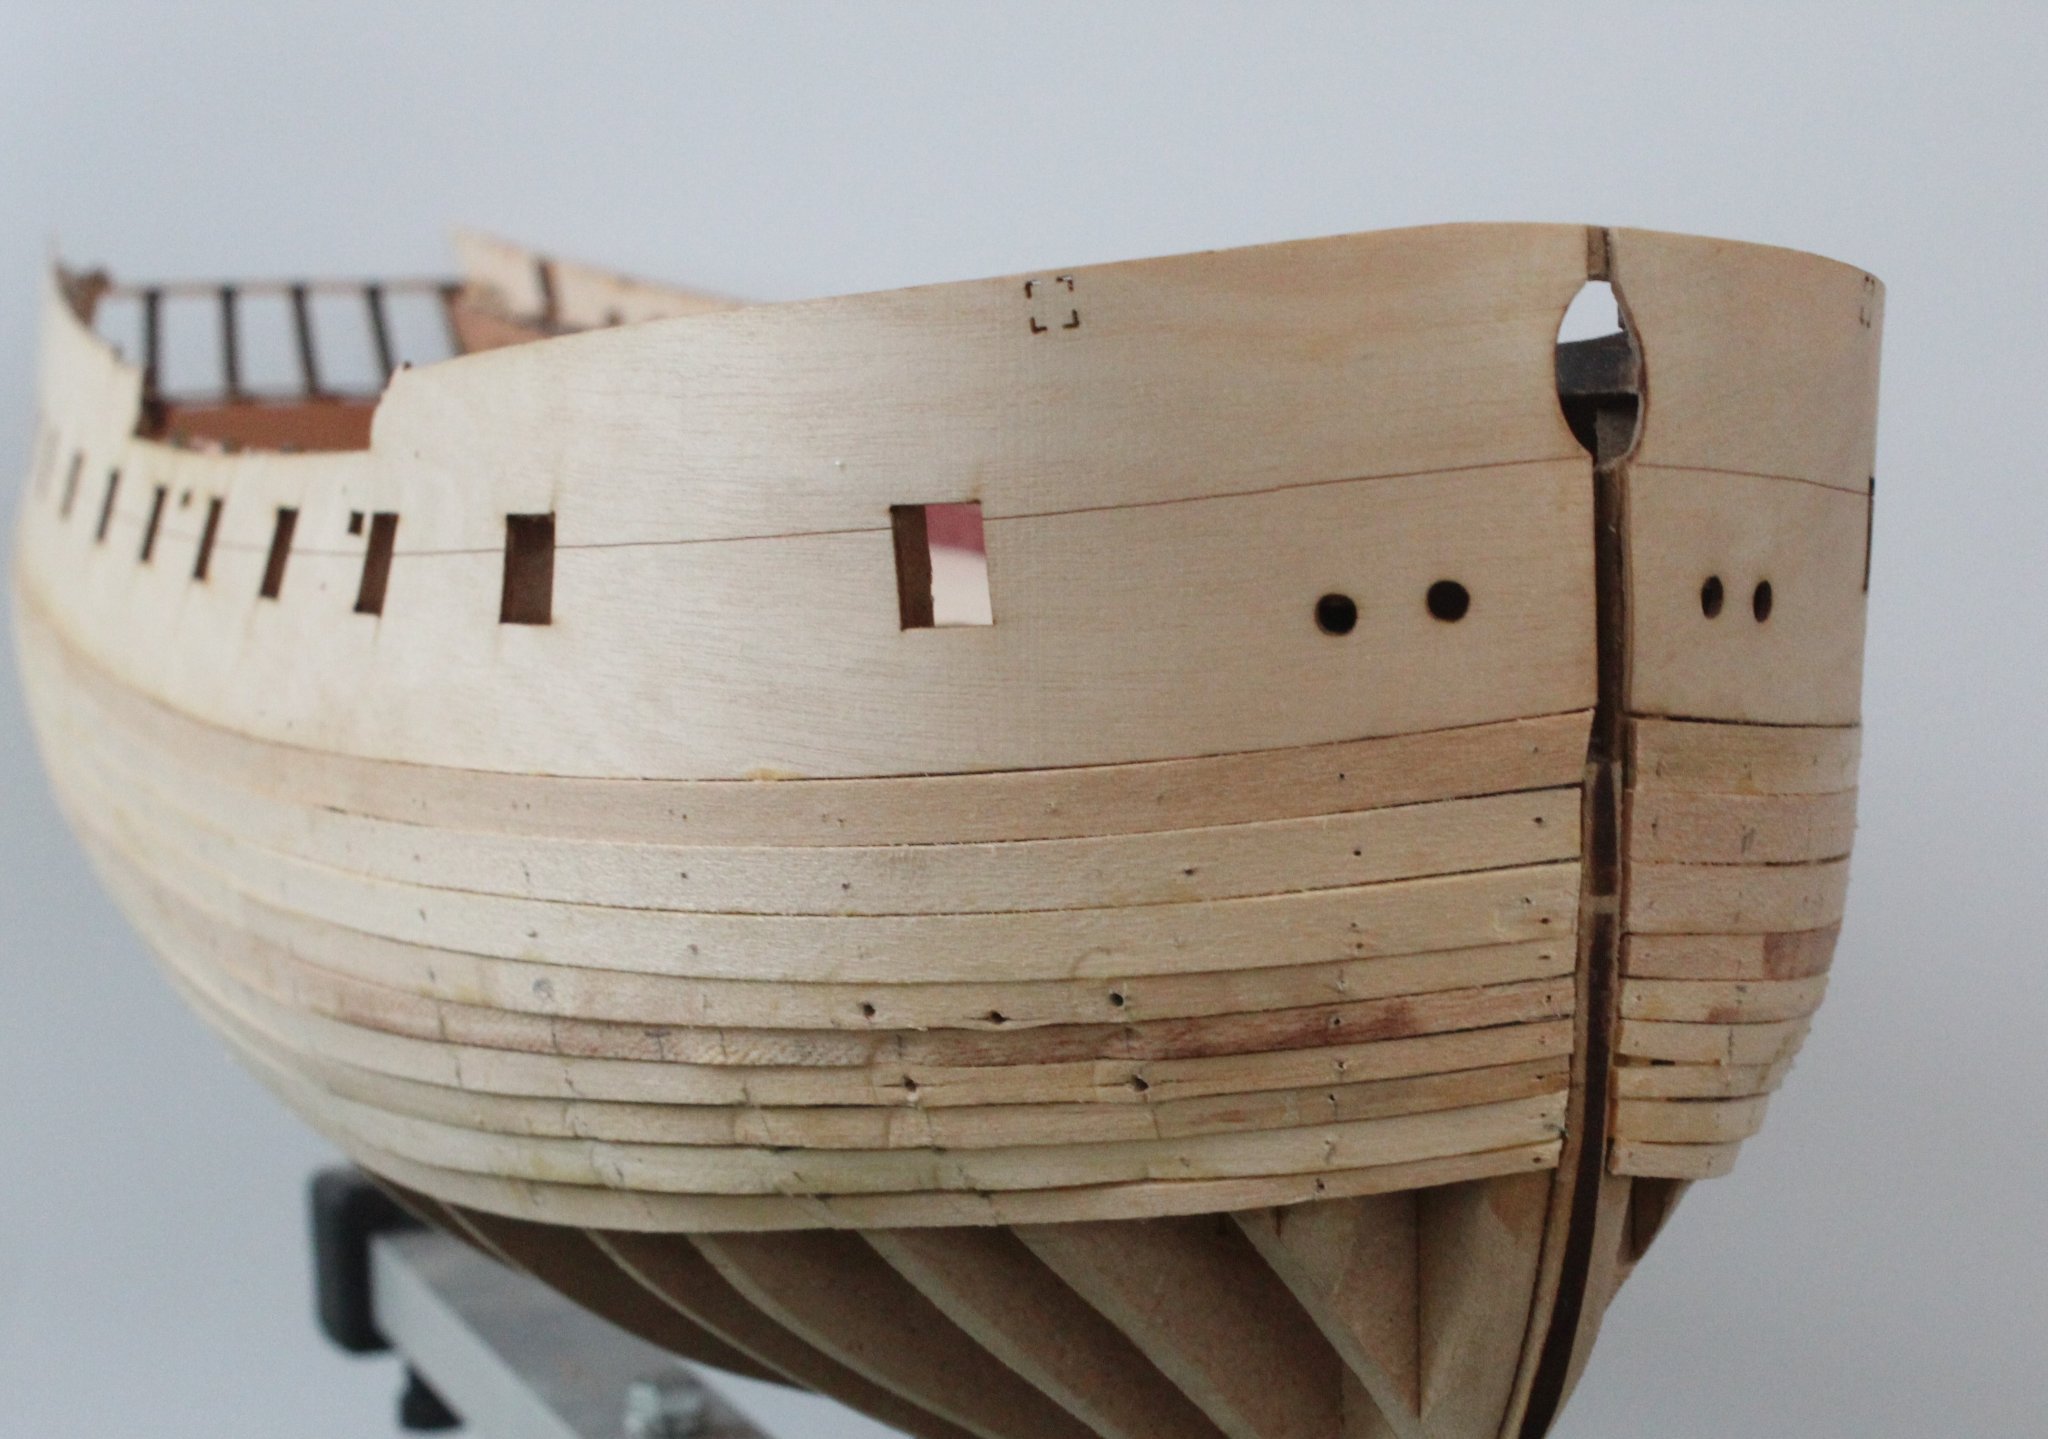
Bow
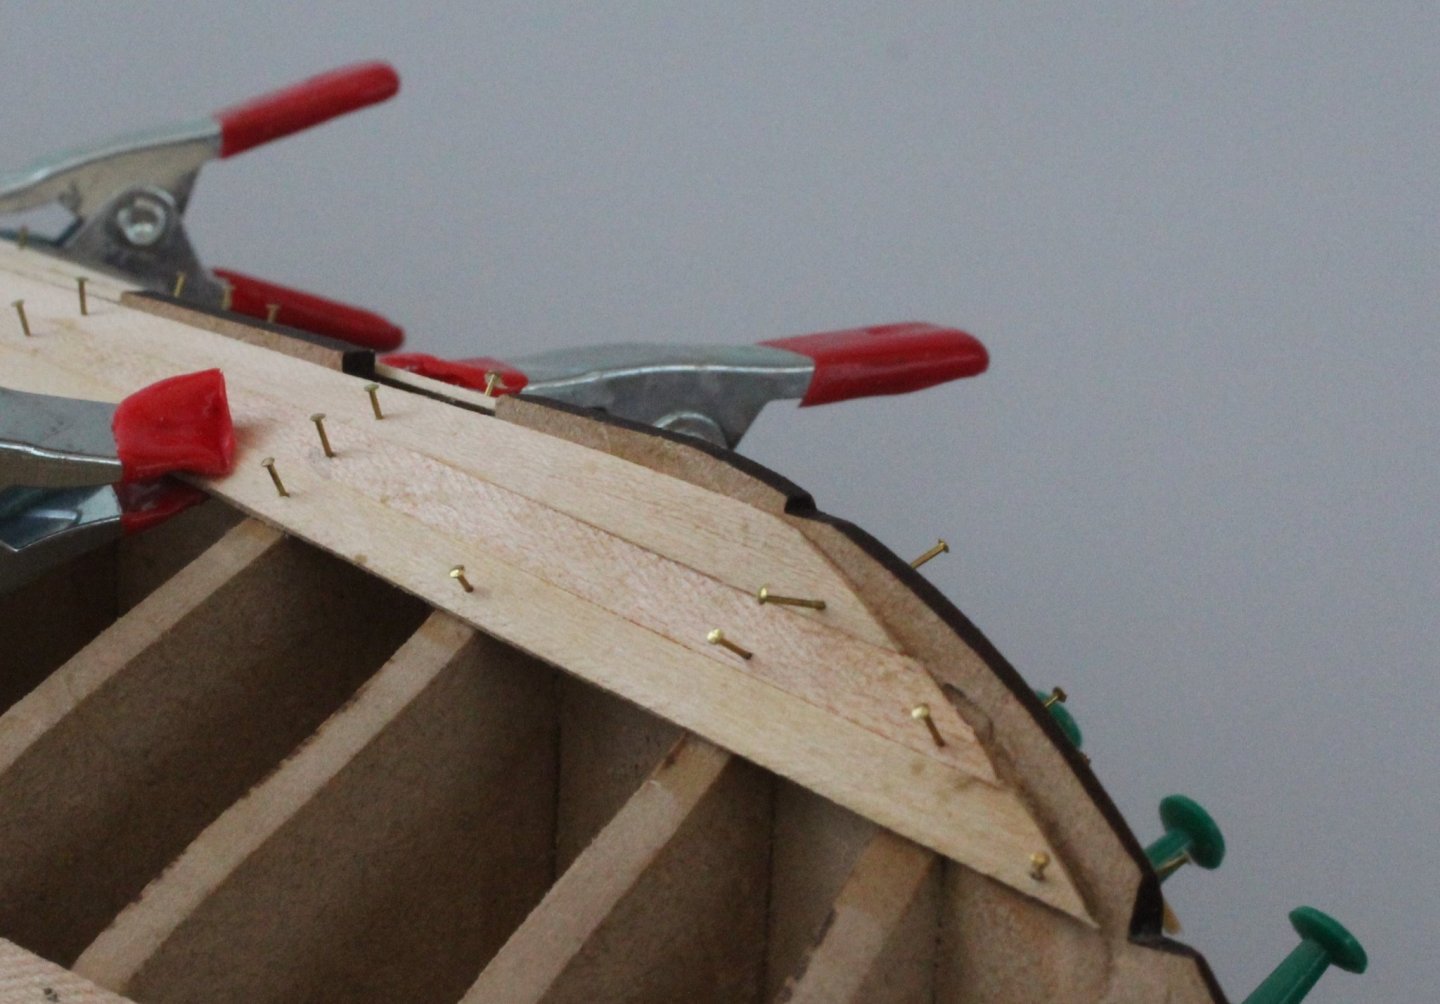
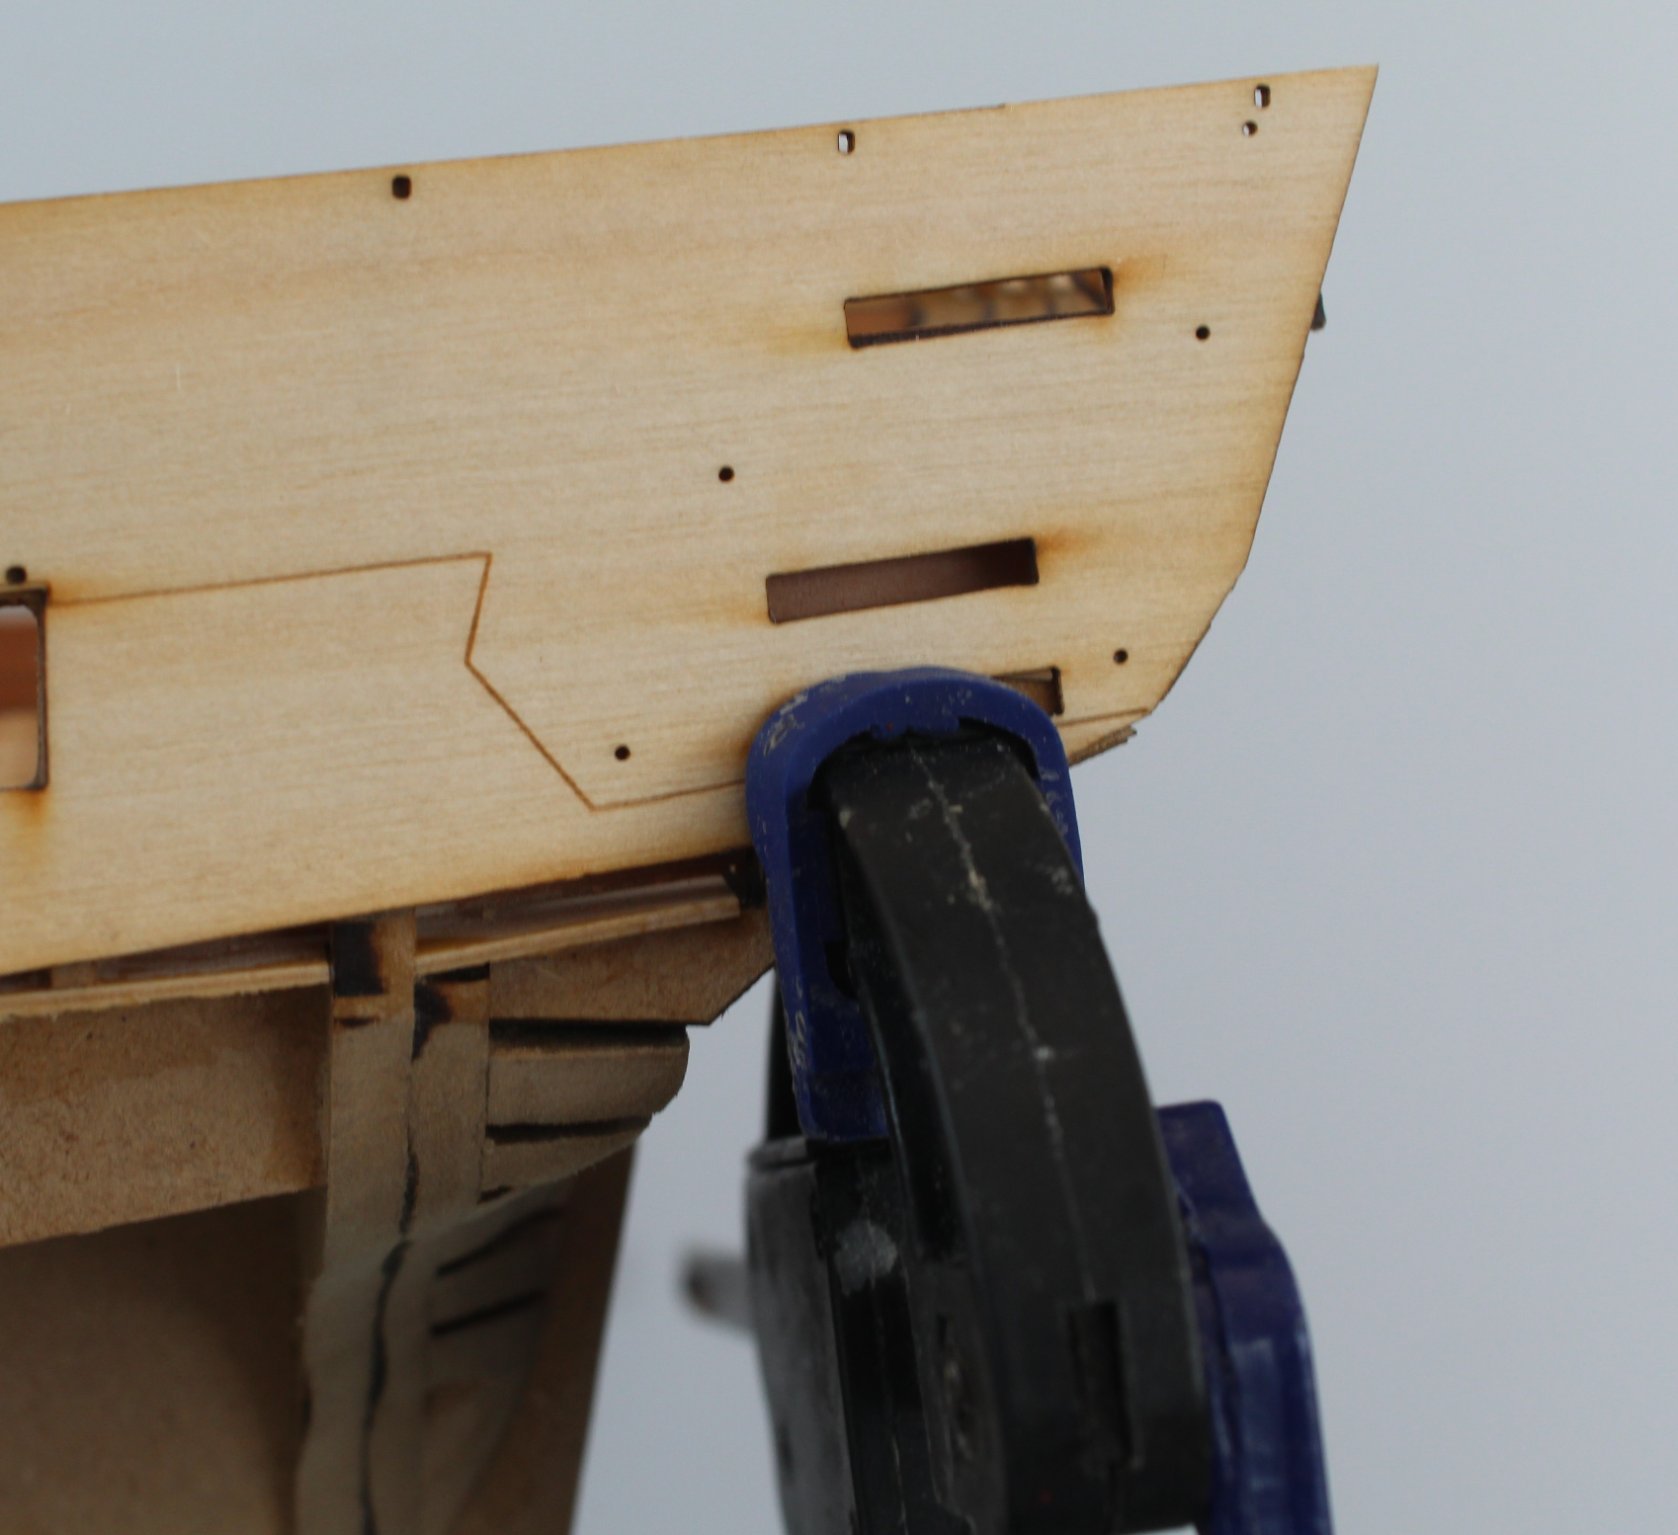
I found using the clamps, as shown, helps to keep the planks together
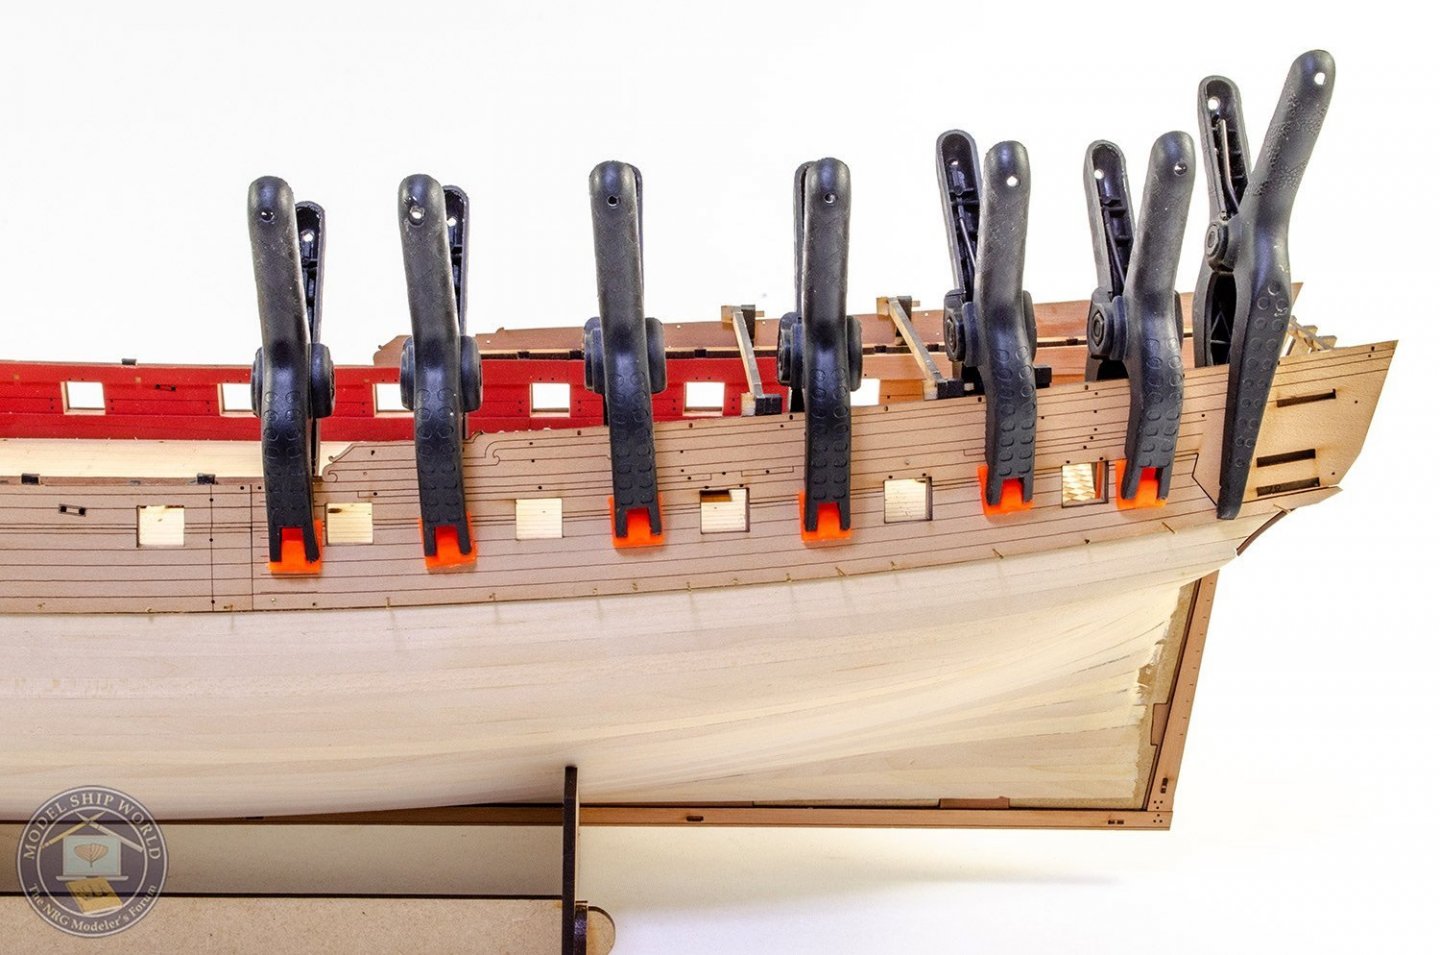
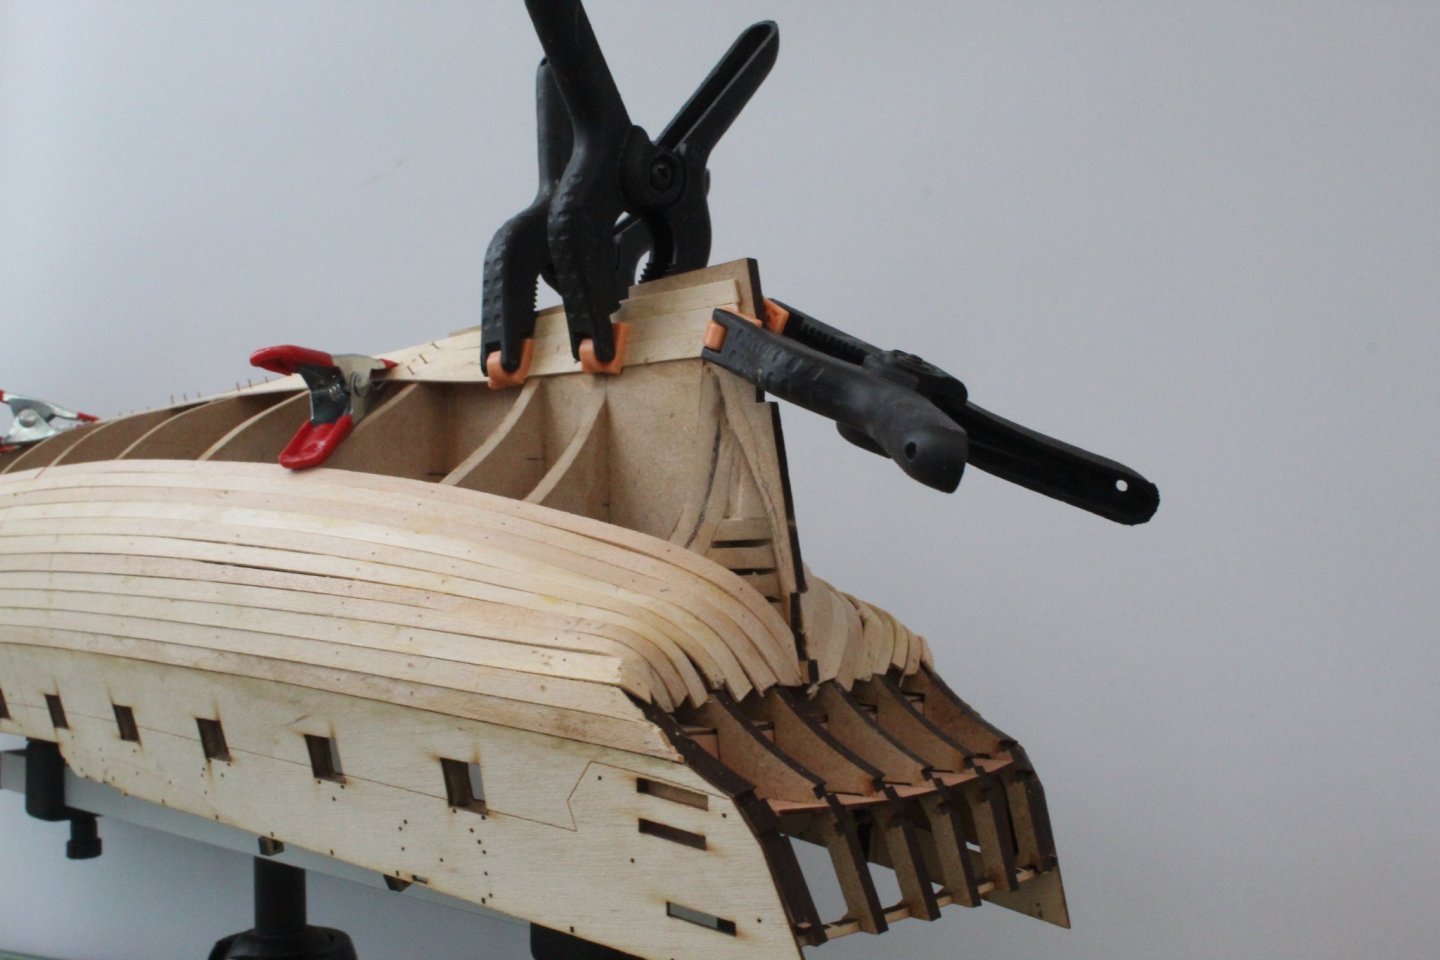
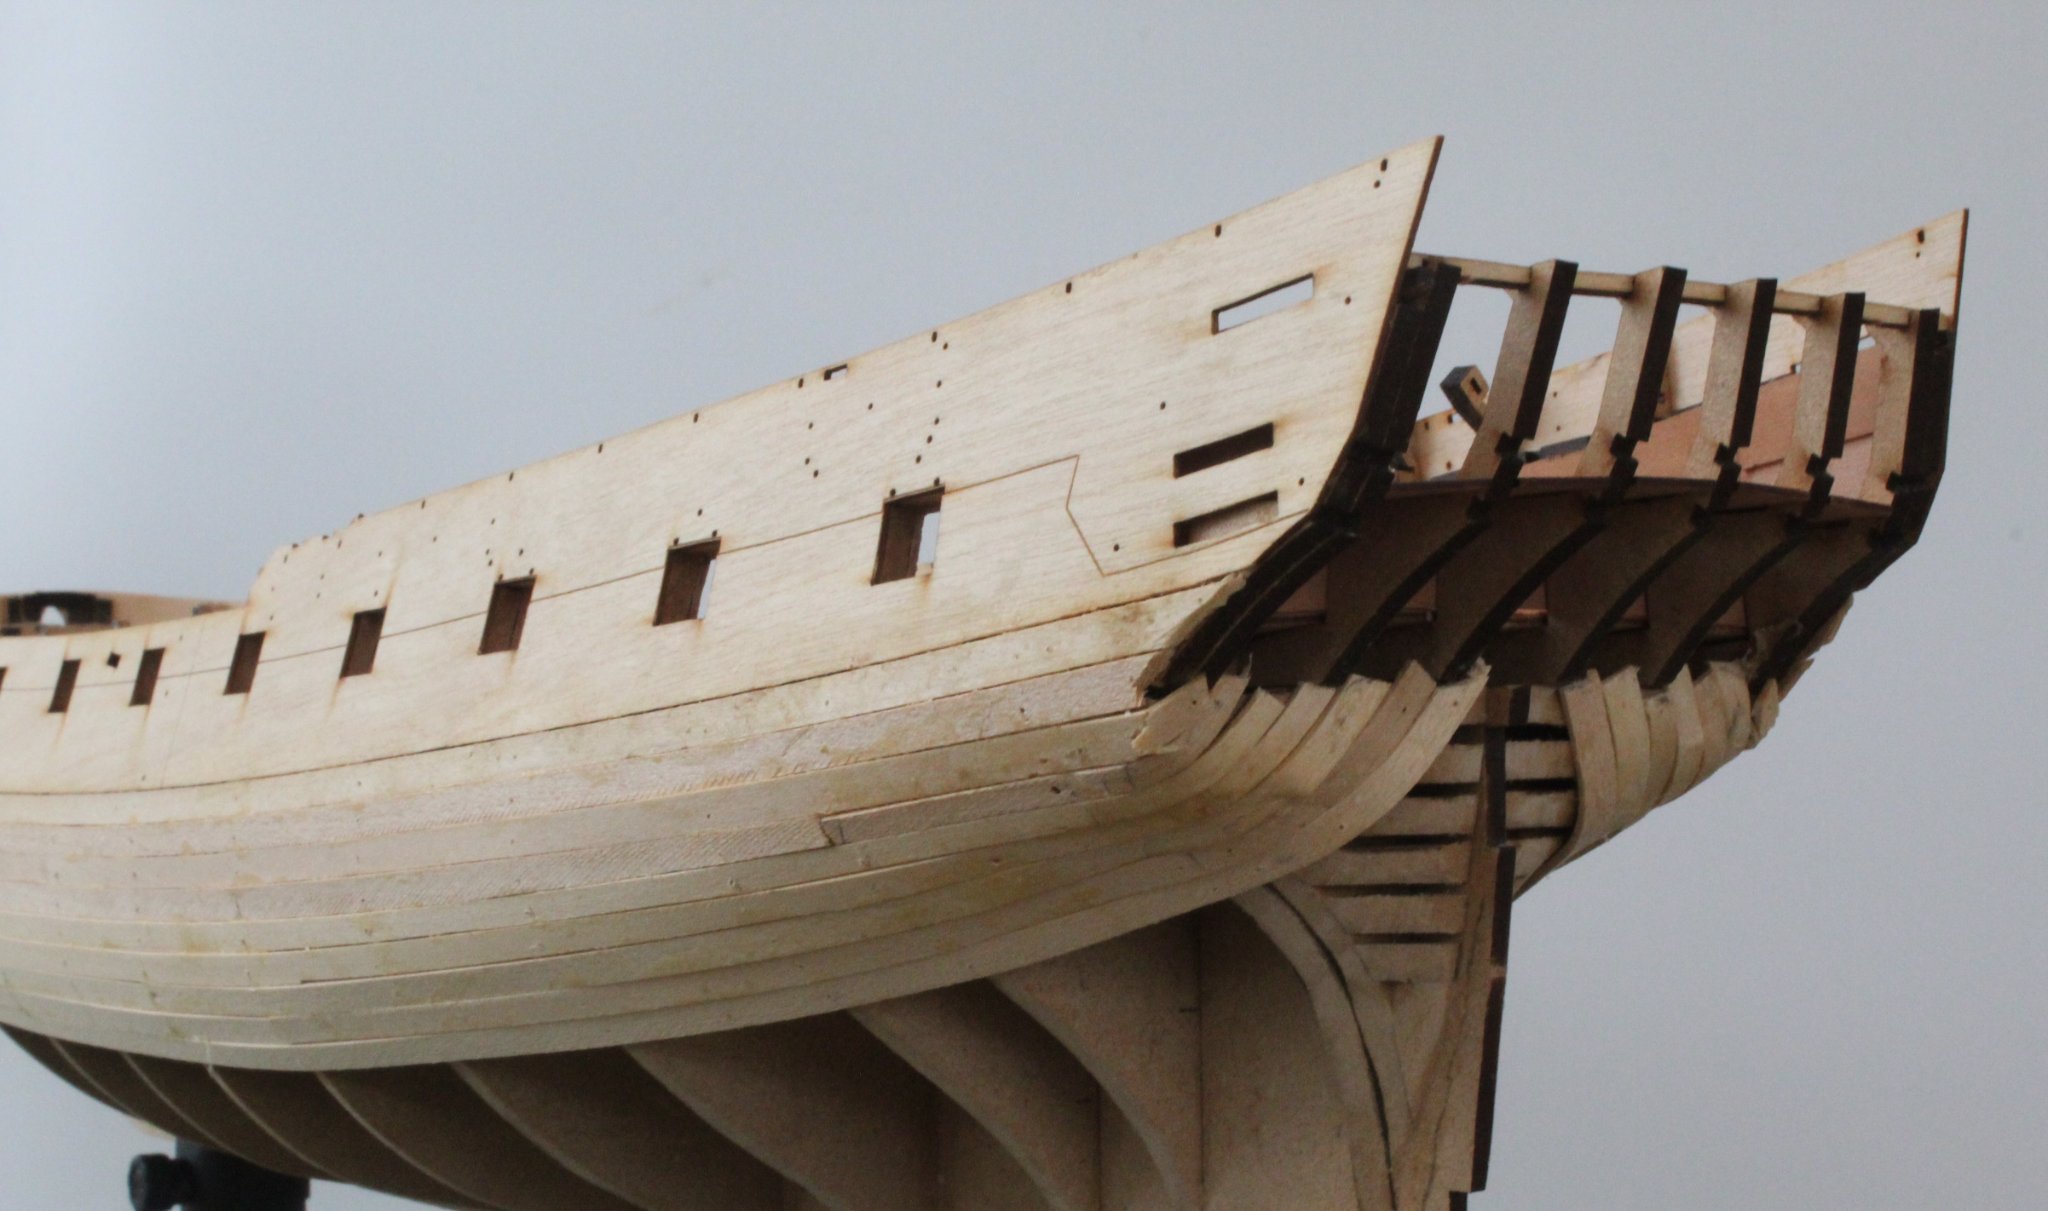
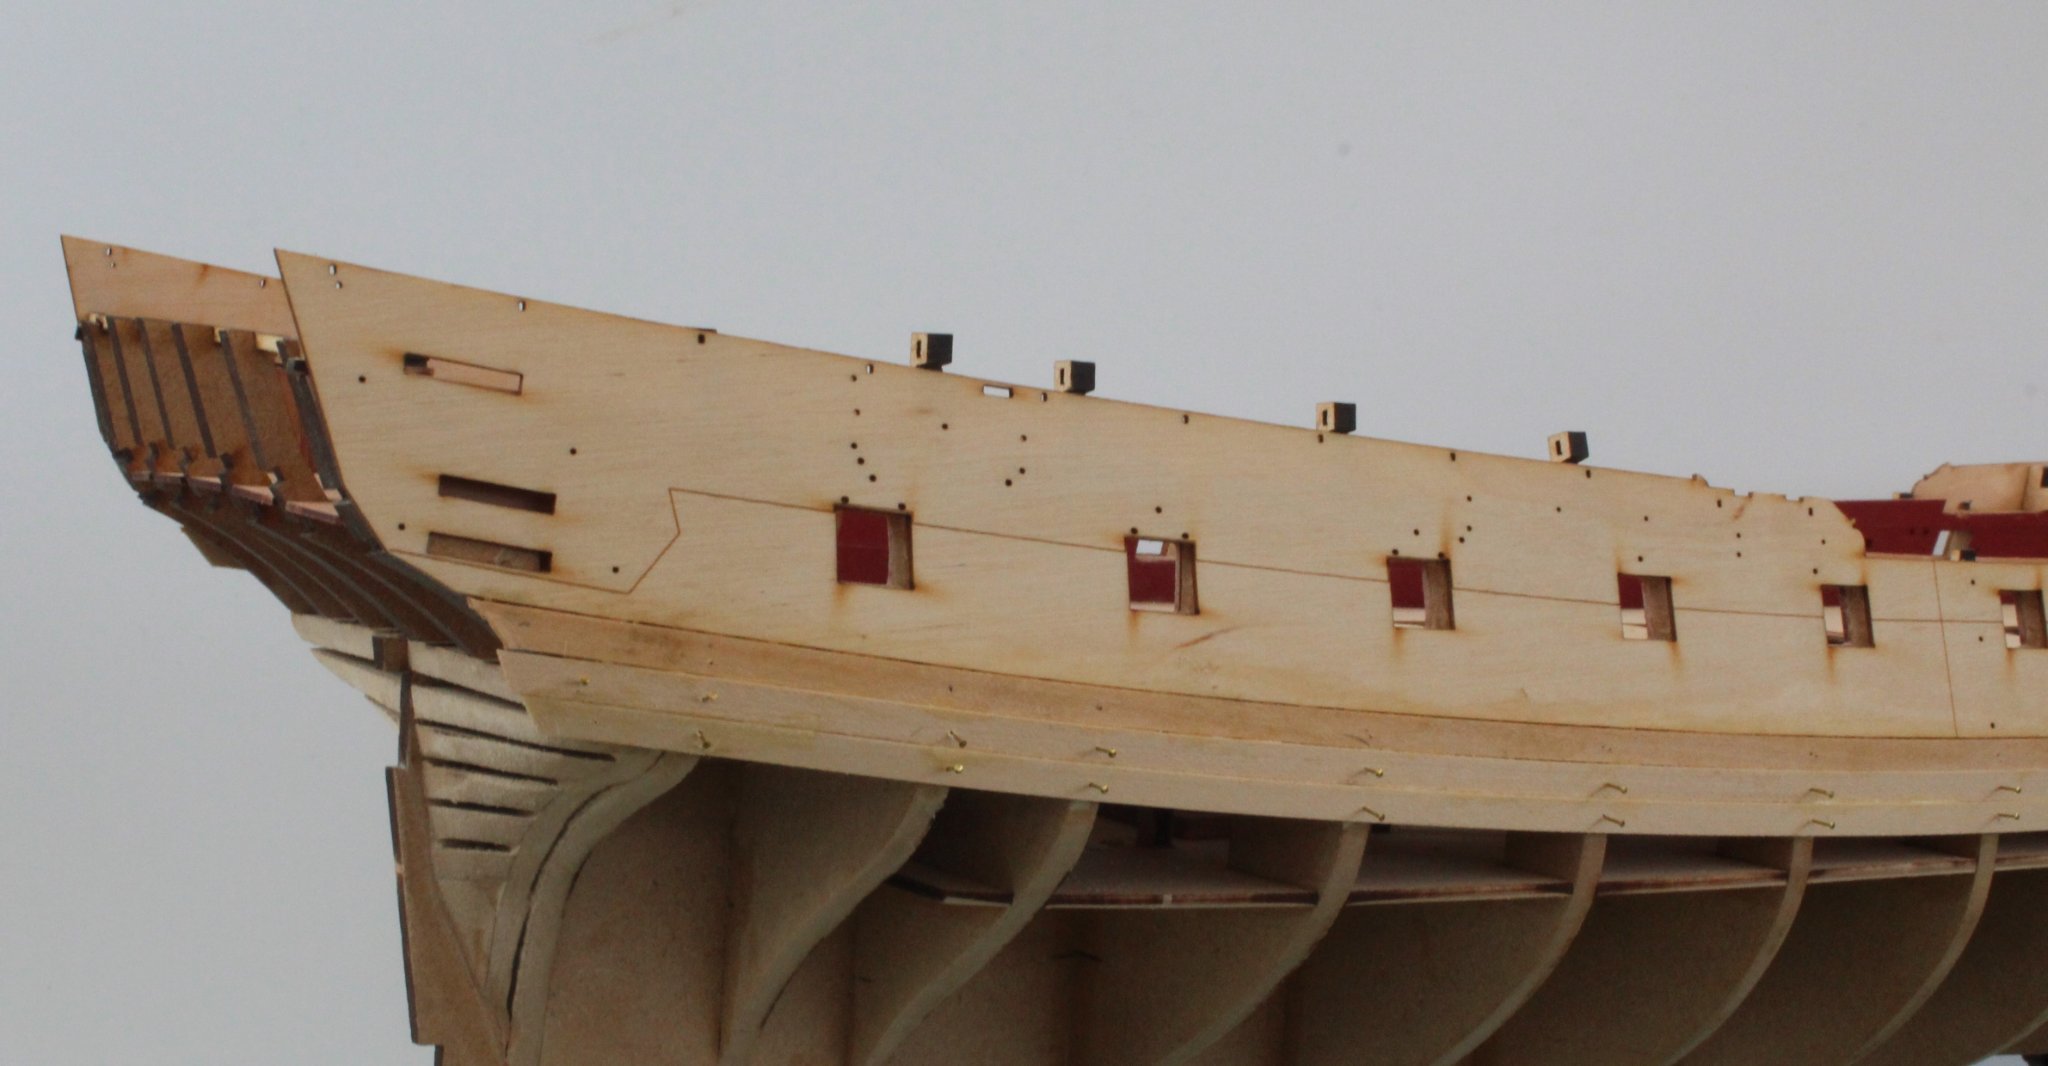
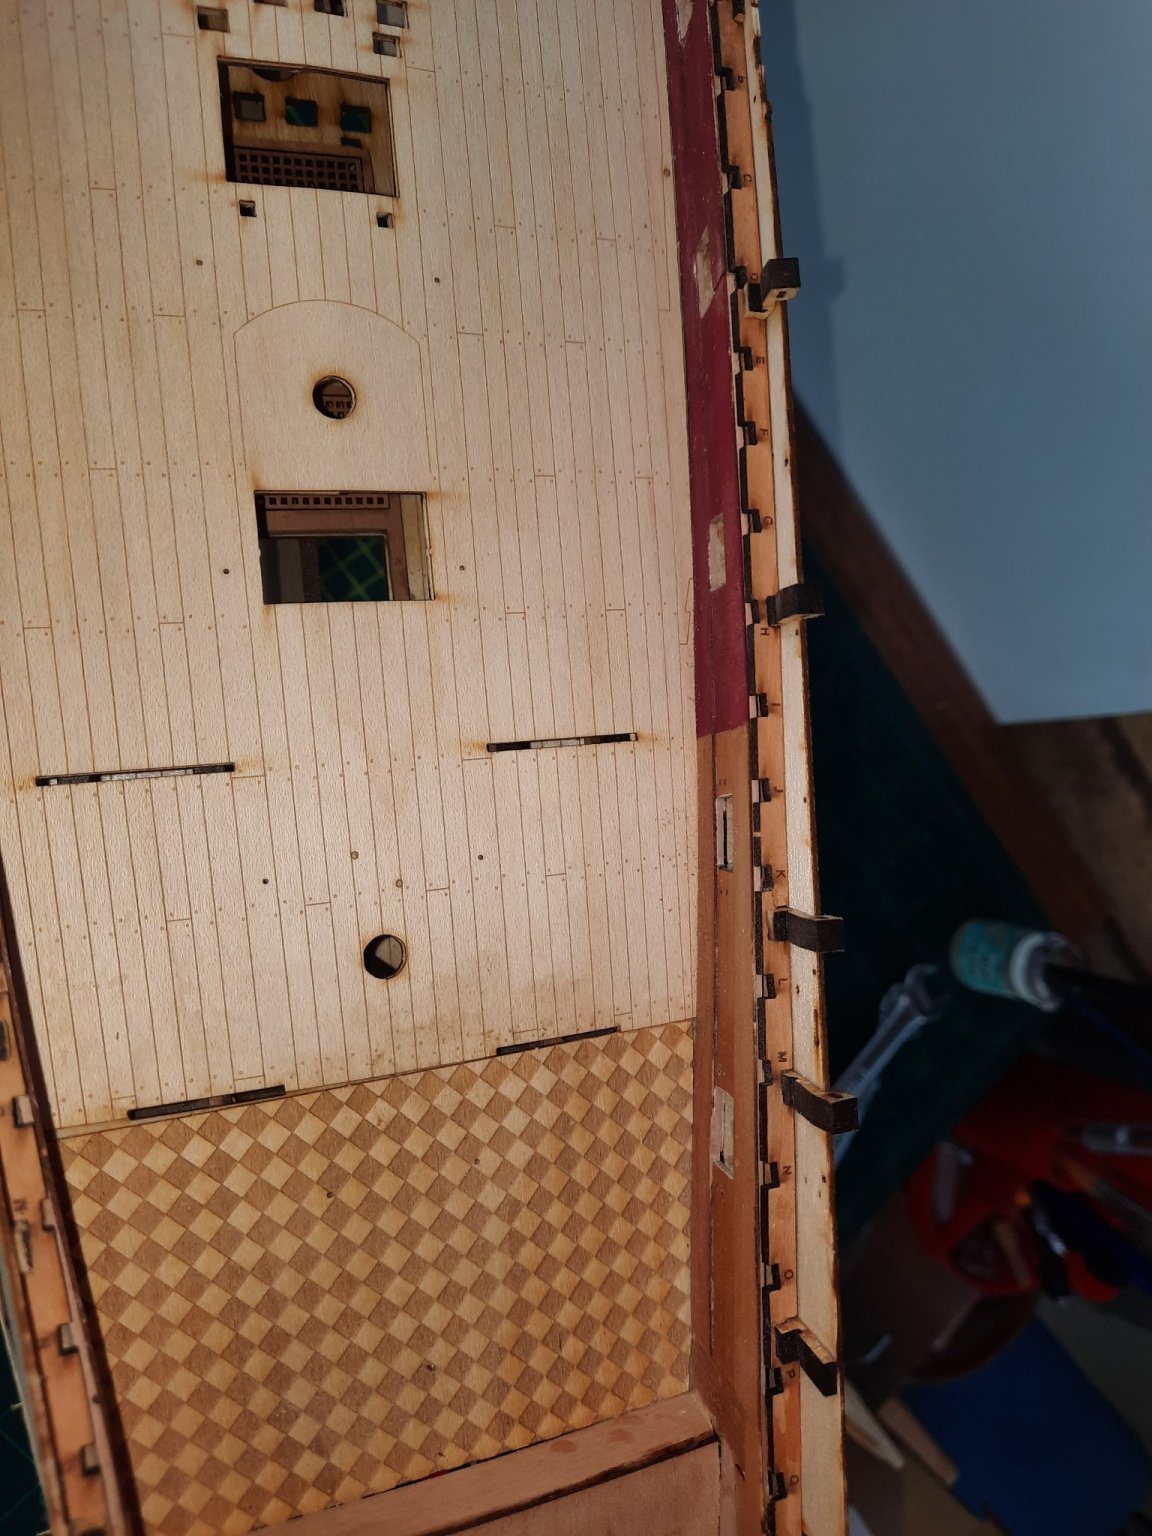
I have not planked right to the end as this area needs to be left so the 2nd planking will line up with the rudder and keel

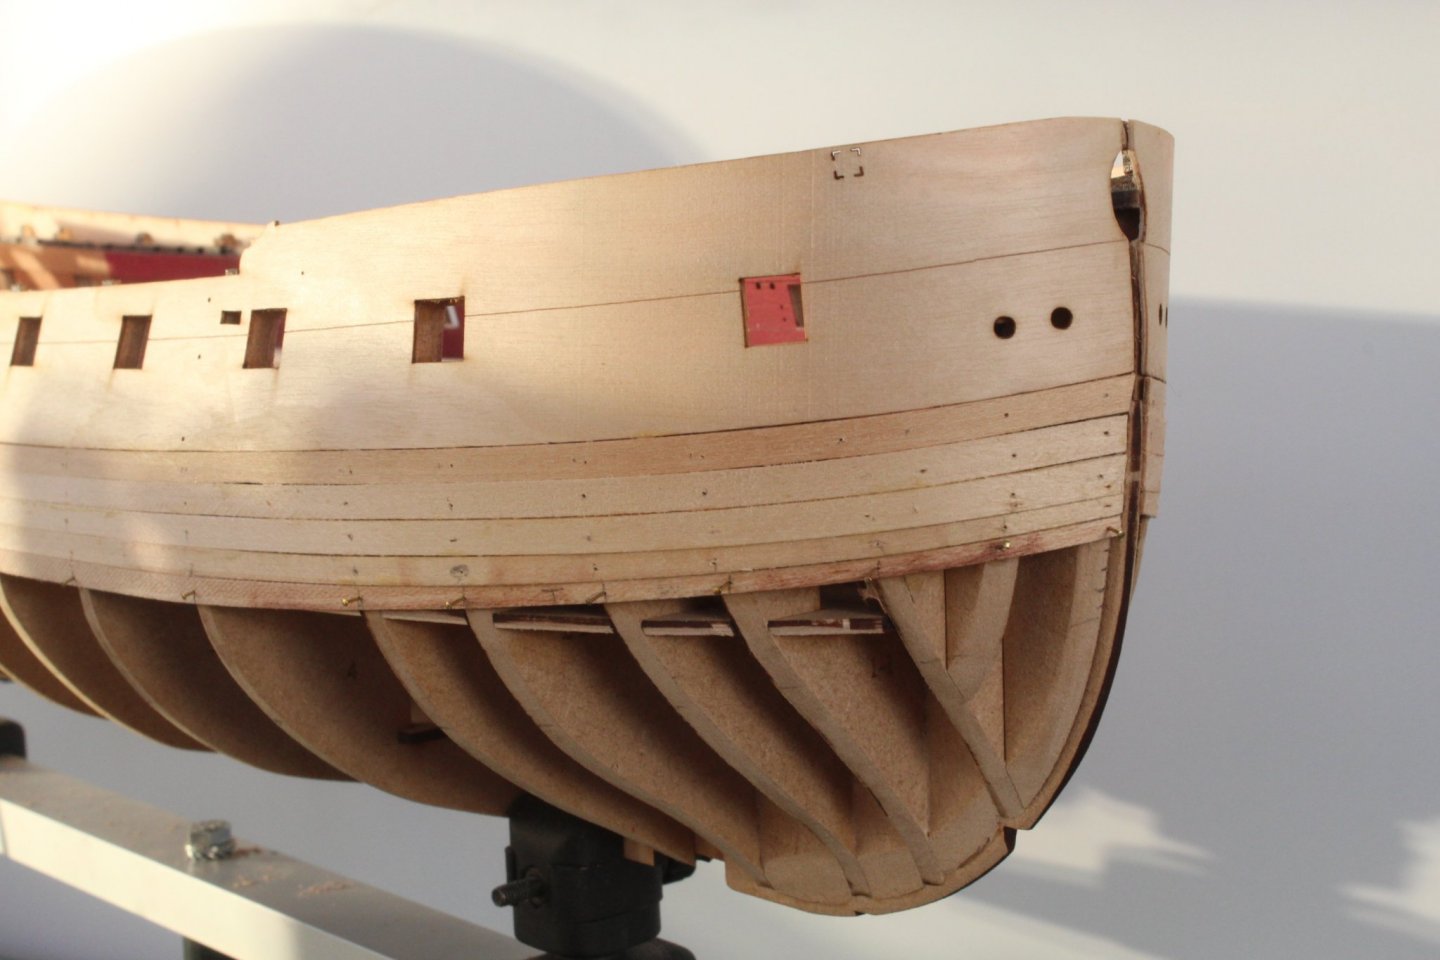
You can see what a mess I have made of the planking around the stern counter area. Once the edges have been trimmed and then filled & sanded as necessary it will not look to bad.
-
-
17 minutes ago, Jasseji said:
Question, how long are you heating the planks with the Bender for EDGE-bending?
Around 30 seconds on each side of the central clamp. I brushed water on before applying the heat. I don't think the plank bender heats the plank to the same amount as a travel iron, which Chuck uses. I used a hairdryer in a previous build which works well but suffers with thermal shutdown
-
HULL ASSEMBLY
FIRST PLANKING – PART 2
BUILD MANUAL STEP 138 - 141
Tools Used
Titebond original glue
Old paint brush
Heated planking bender
Gathering the materials required
The following kit parts are required for this section of the build:
F-43 1mm x 5mm x 650mm strip – Limewood
Brass pins
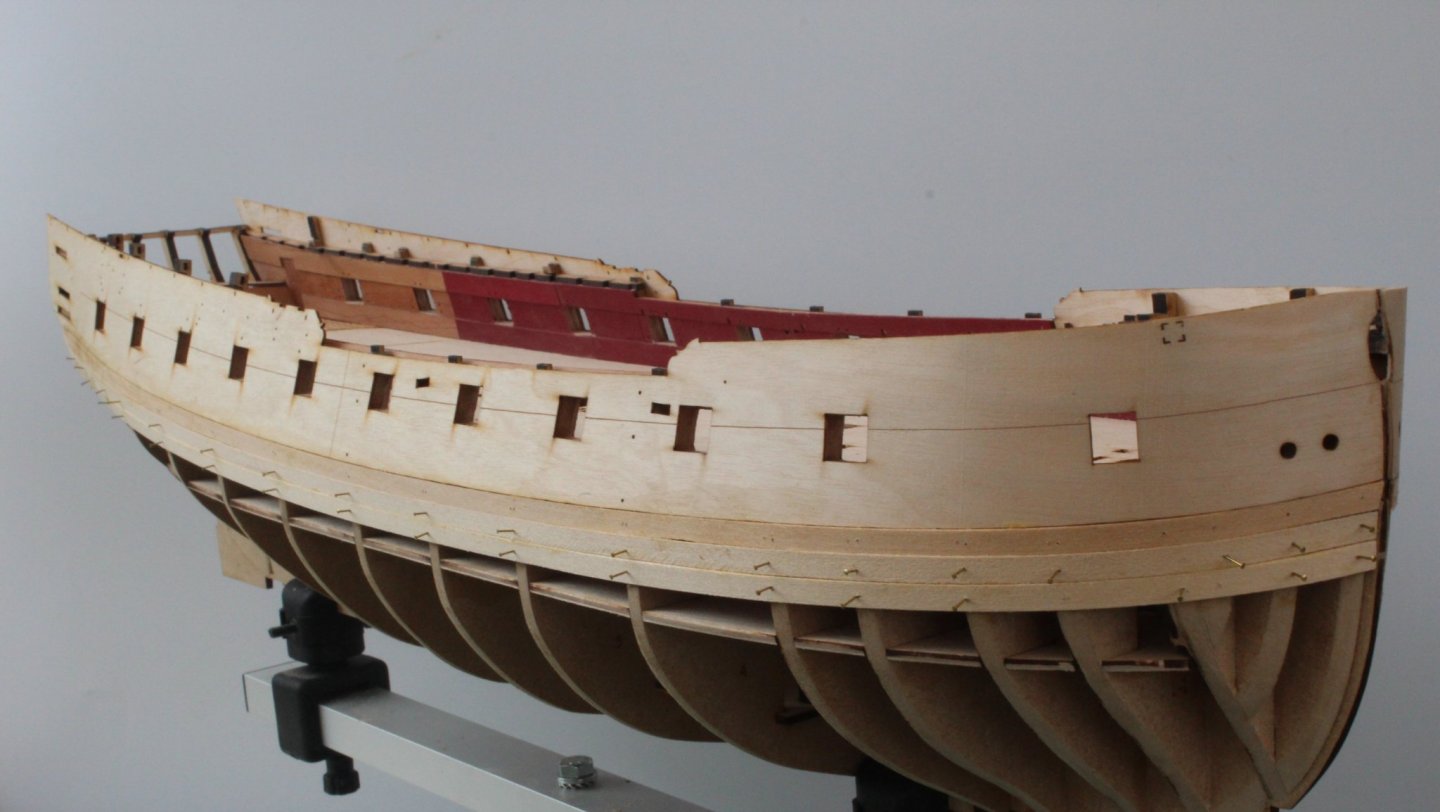
Assembly Process – Band 1 Planking
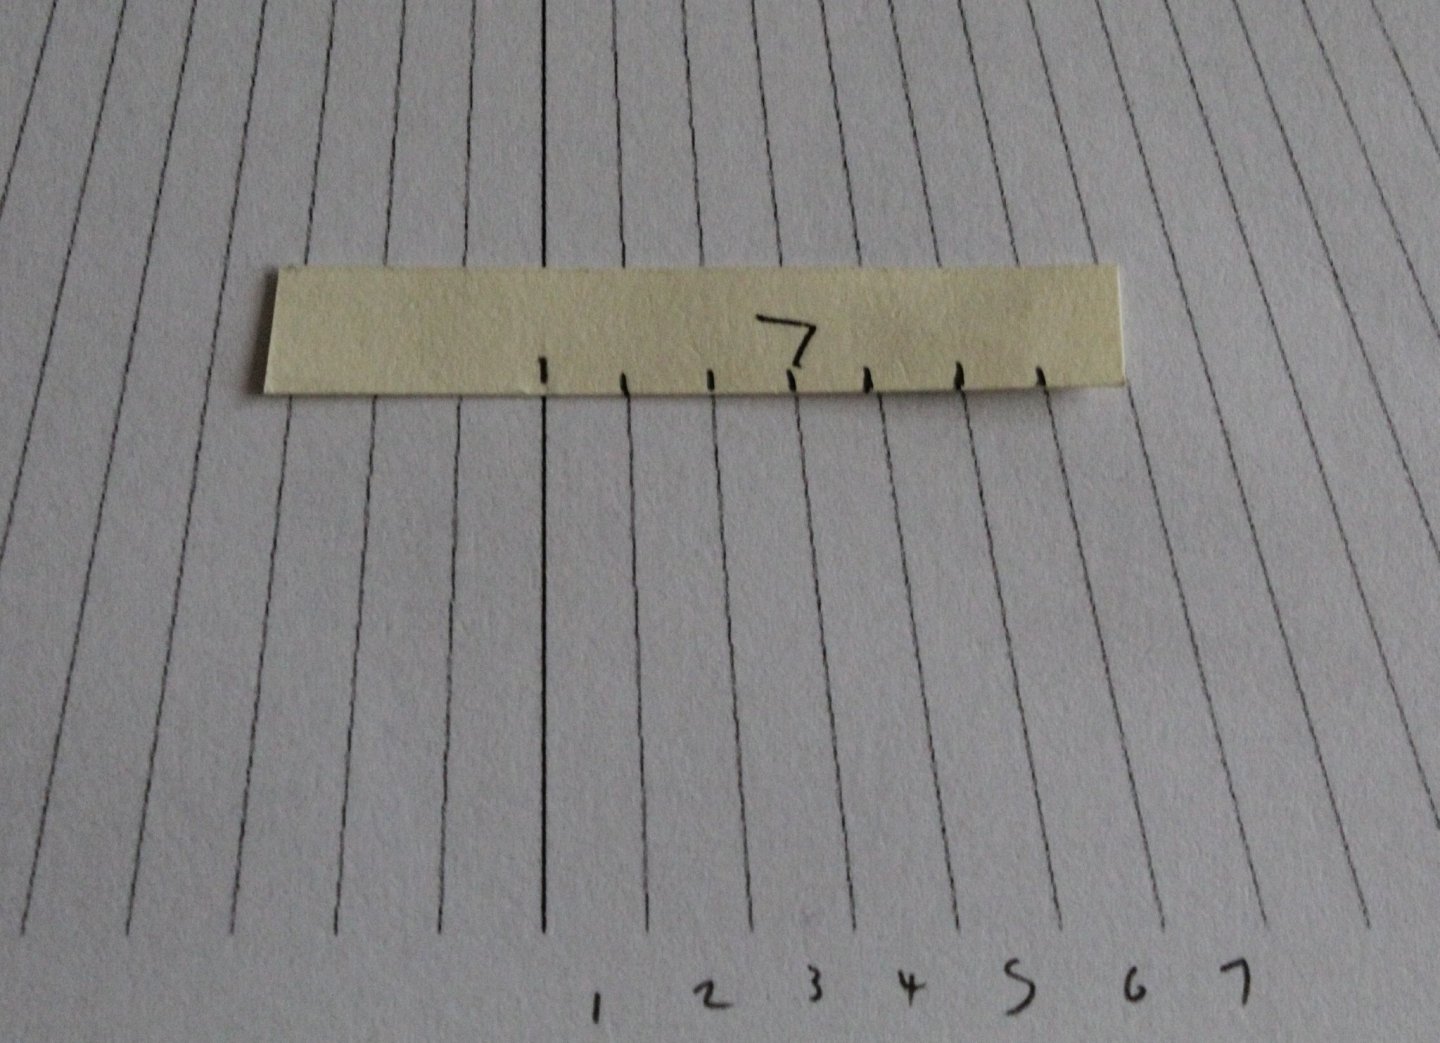
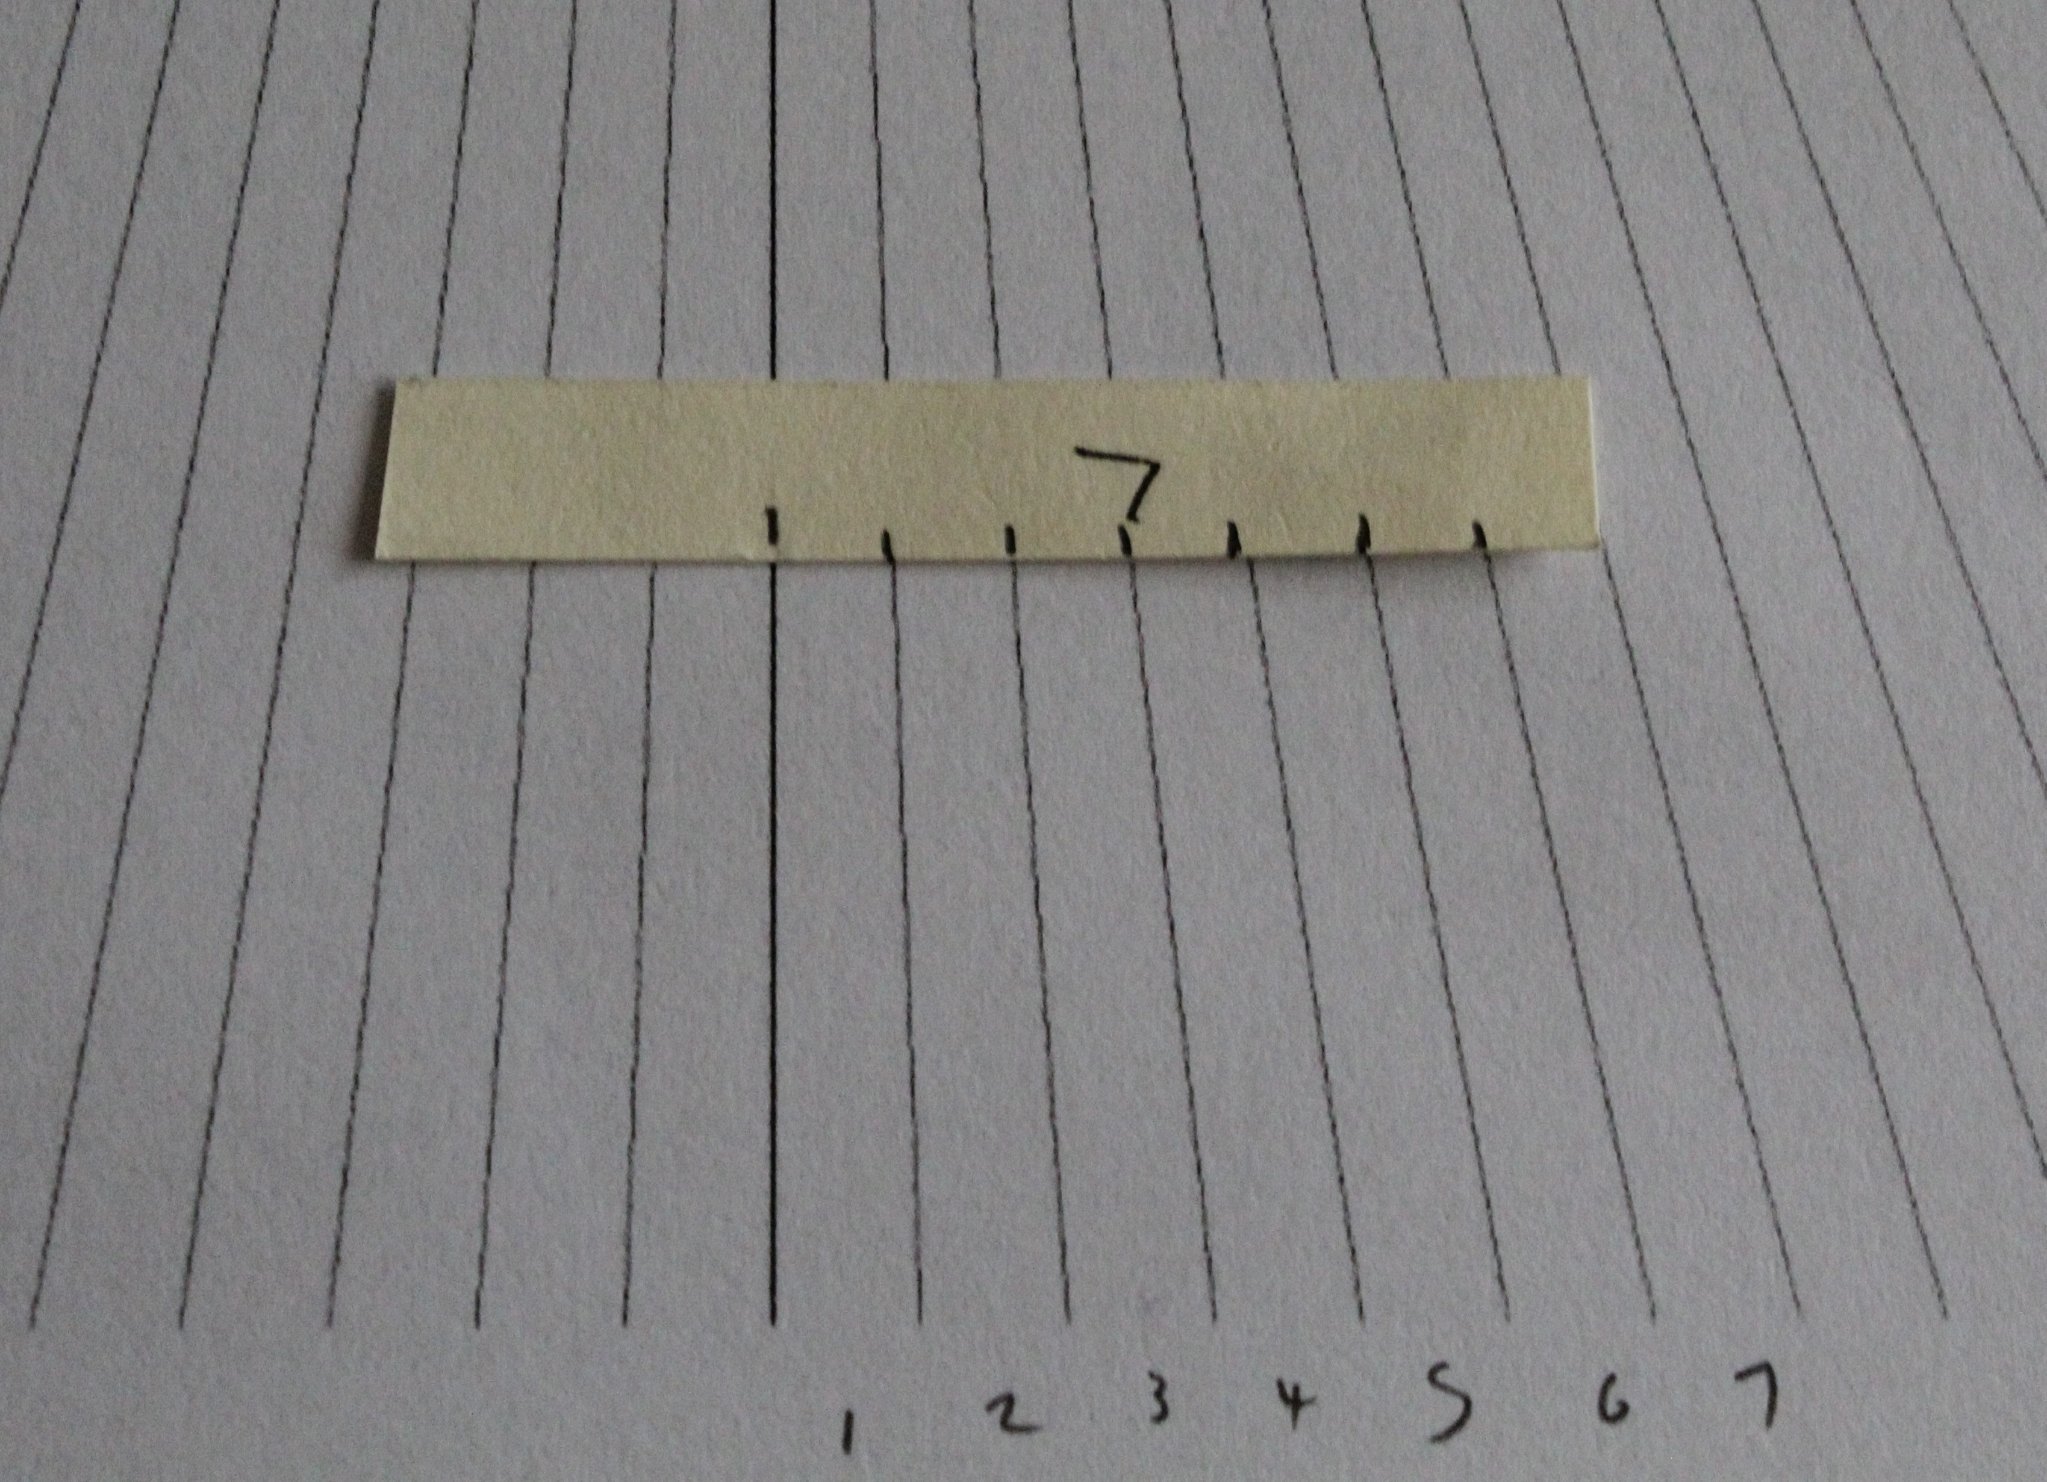
The first band is 35mm (7 planks) at the widest point which covers 5 of the central bulkheads. Using the dimensions in my banding spreadsheet I marked the required plank widths at the different bow bulkheads for the first right-hand side plank and drew a straight line. I then double checked the line using my tick strip.
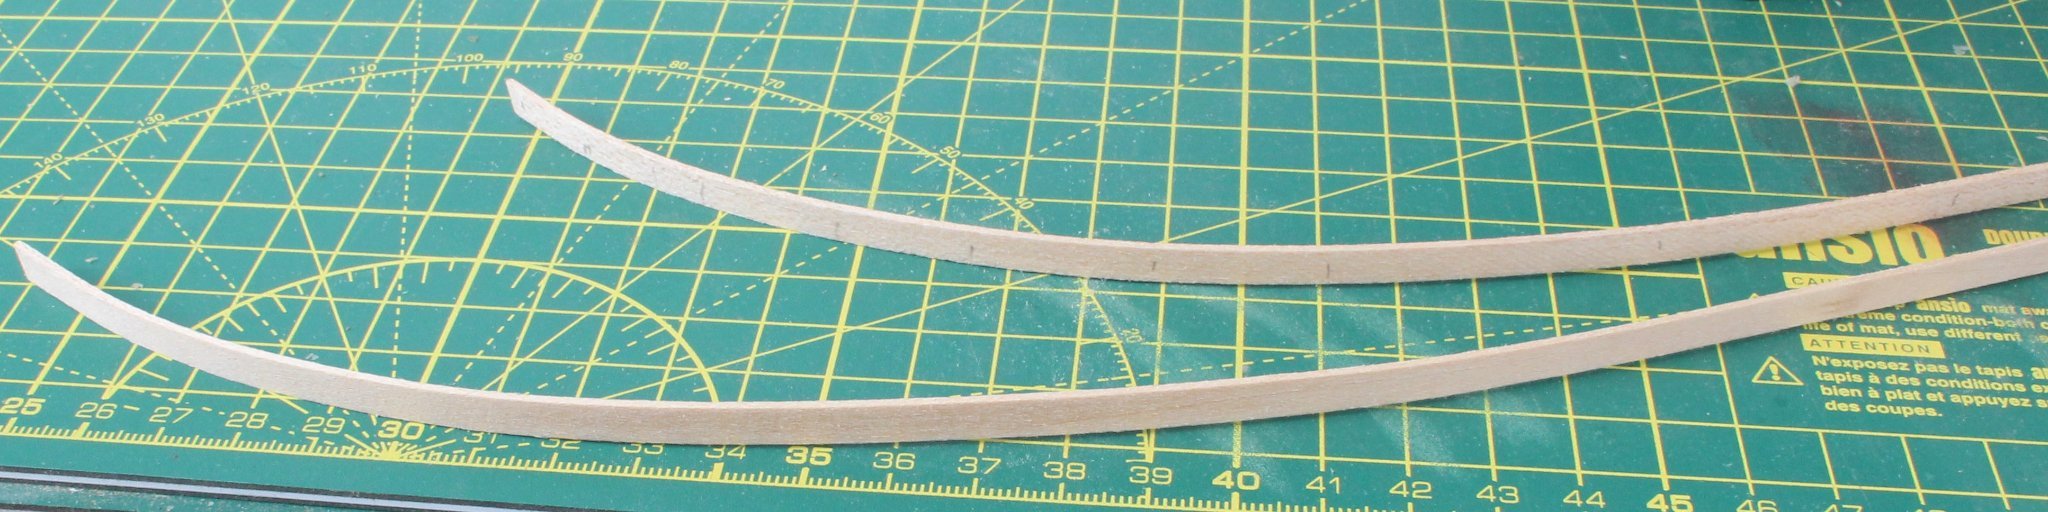
The first plank is ready to be tapered
I repeated the above process for the first left-hand plank, aiming to have a matching pair.
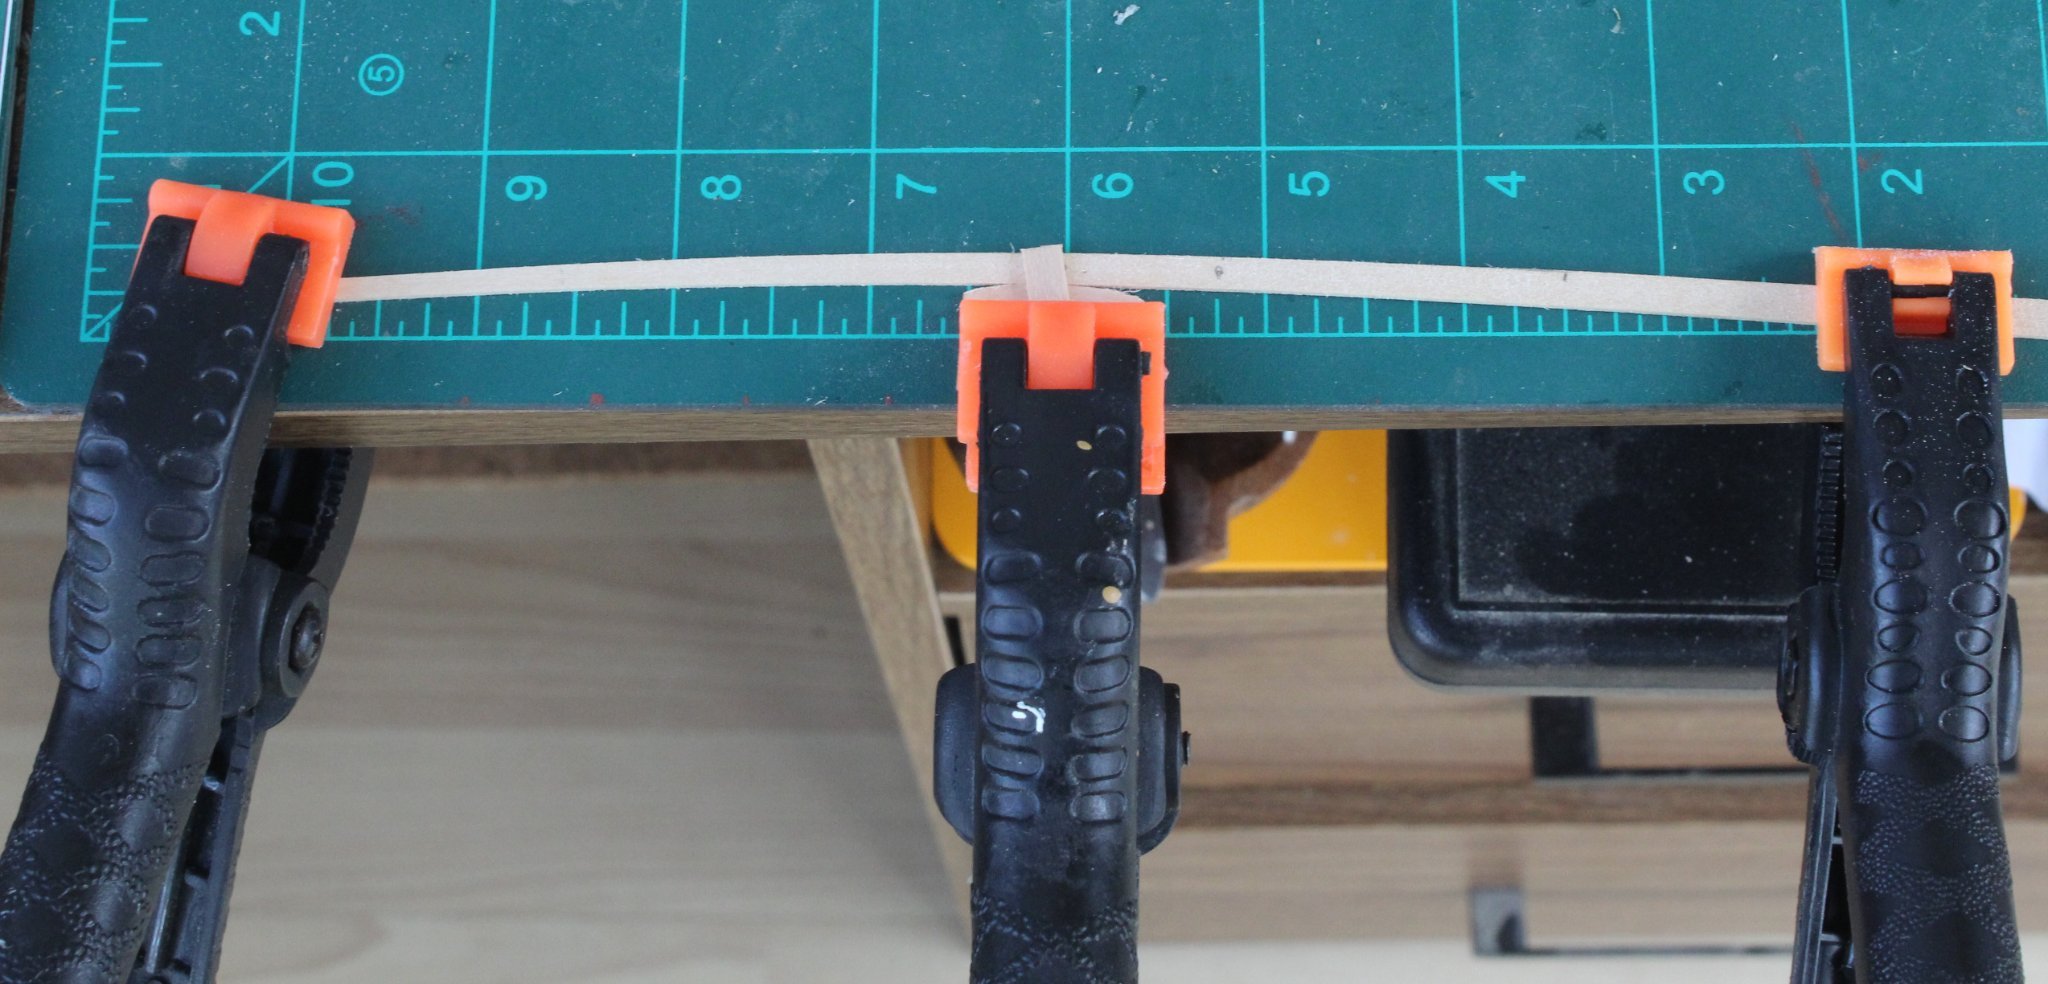
Following the method outlined in Chuck’s YouTube video’s I marked the point of the widest gap and then clamped the plank in my bending station.

I brushed some water on the plank and then applied some heat, using my plank bender. The bent plank was test fitted and looked to be a good fit. I then tapered the stern section of the plank. I used my plank bender to achieve the required sharp bend up to the stern counter. I applied some glue to the various bulkheads and along the top edge of the plank and secured it place using brass pins.
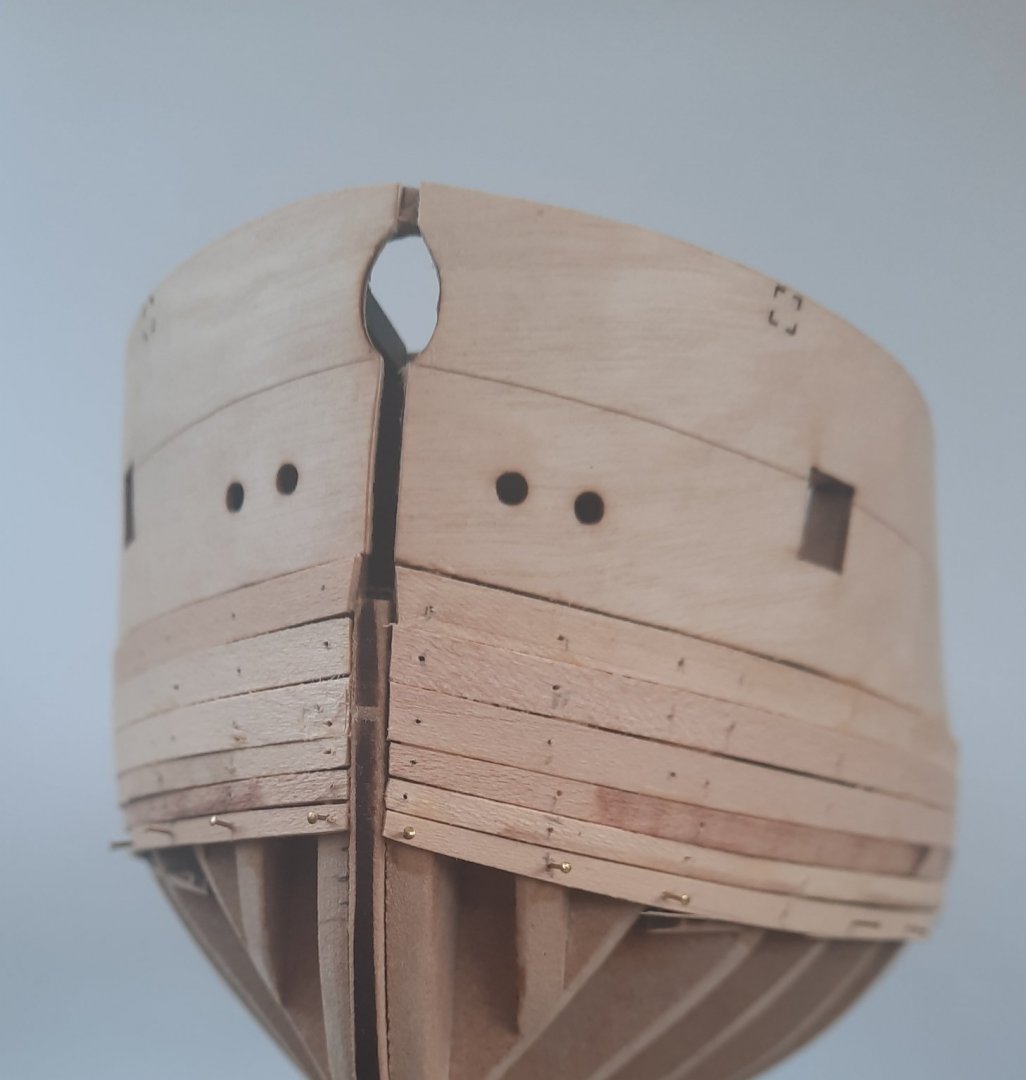
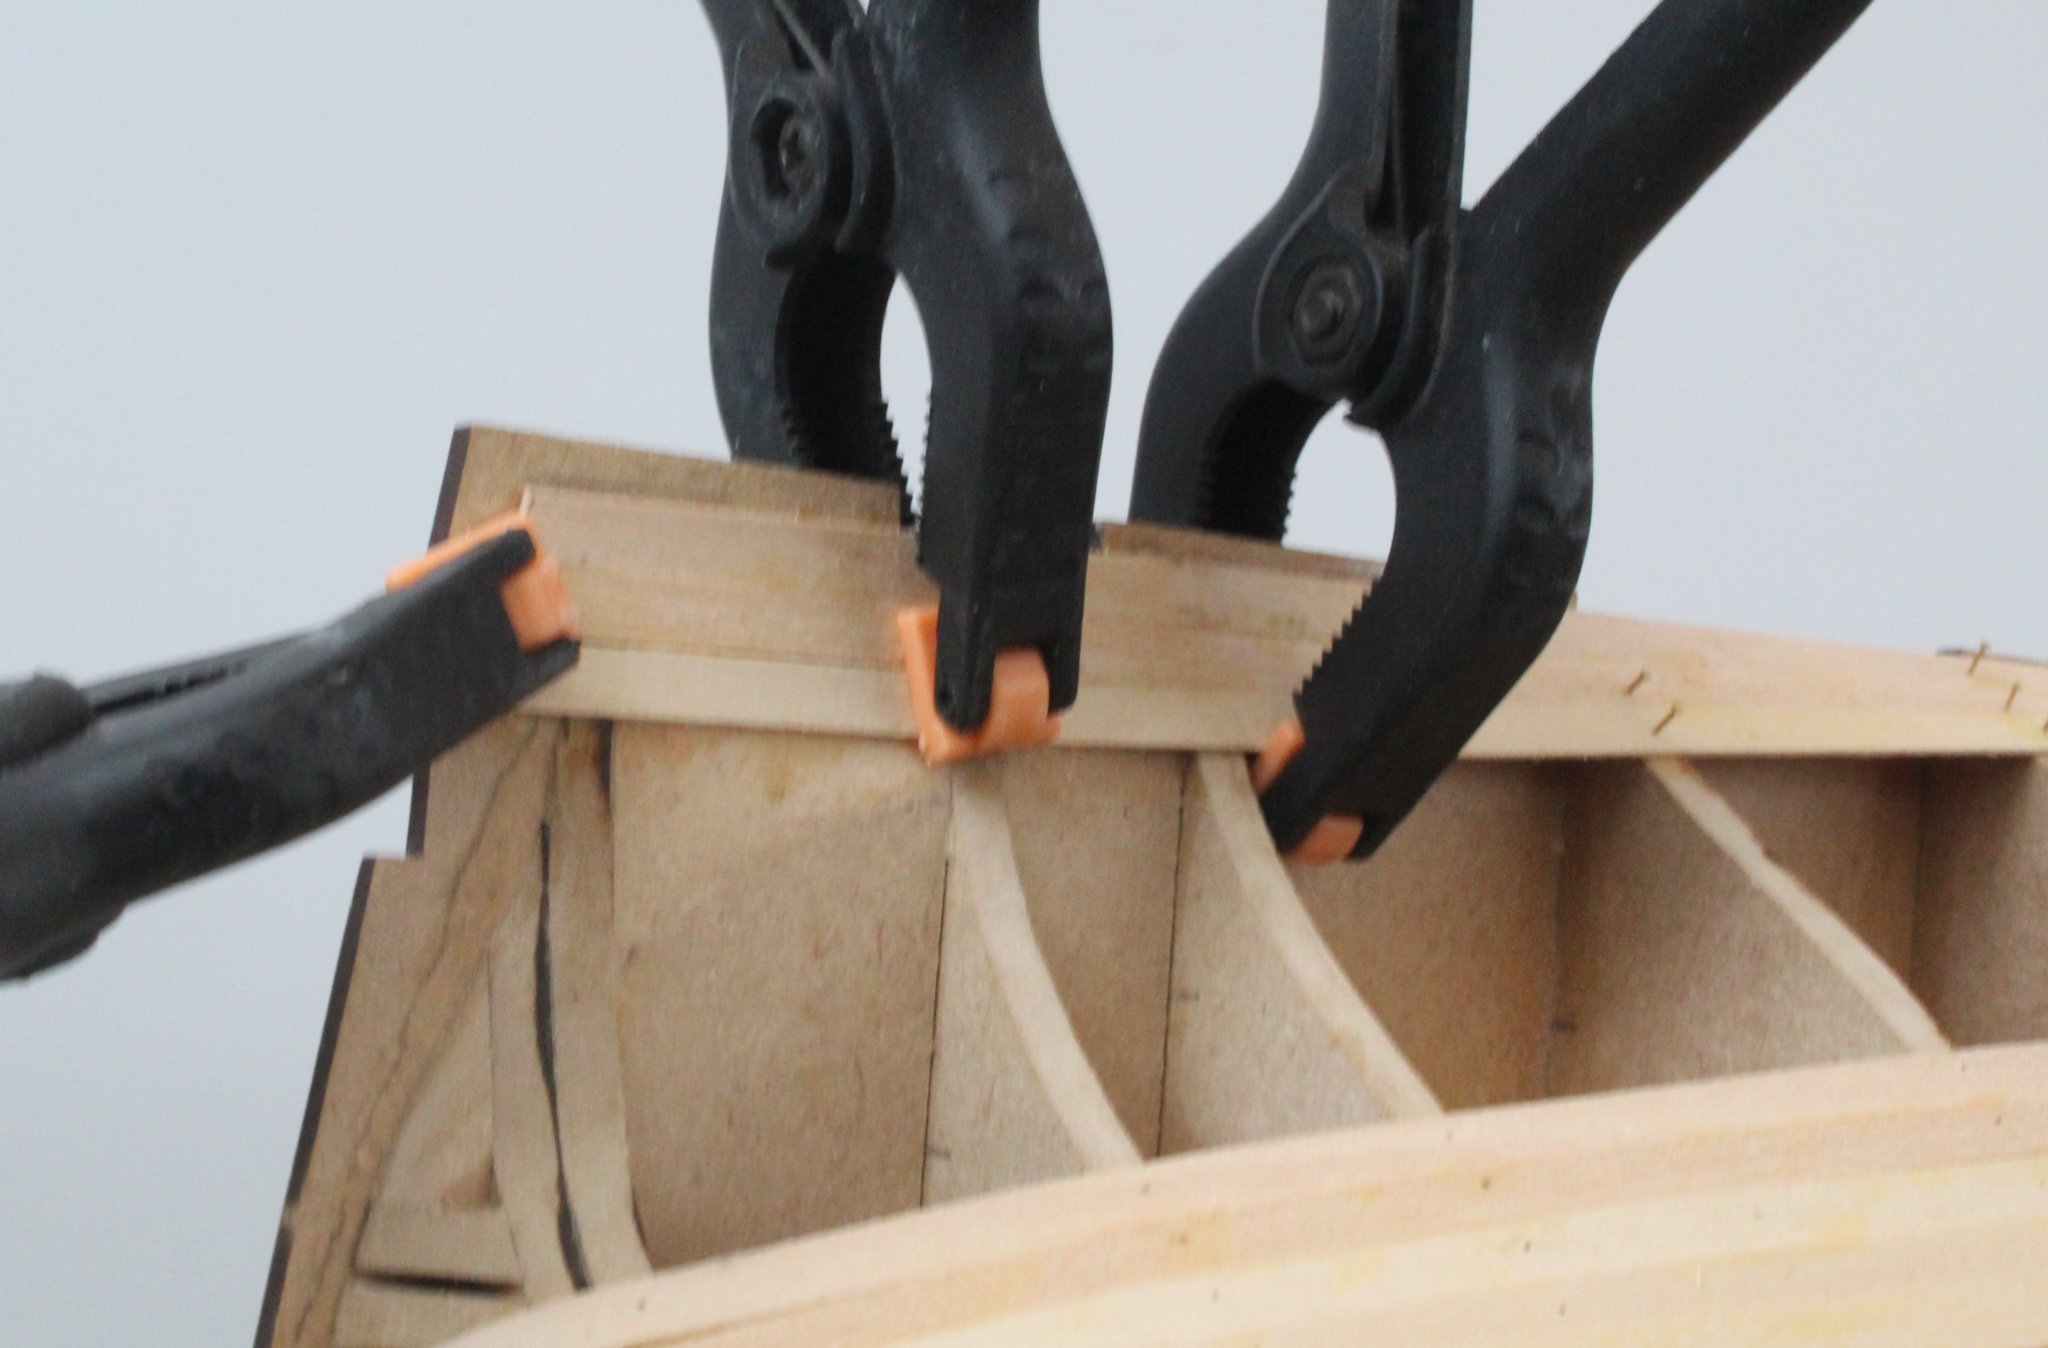
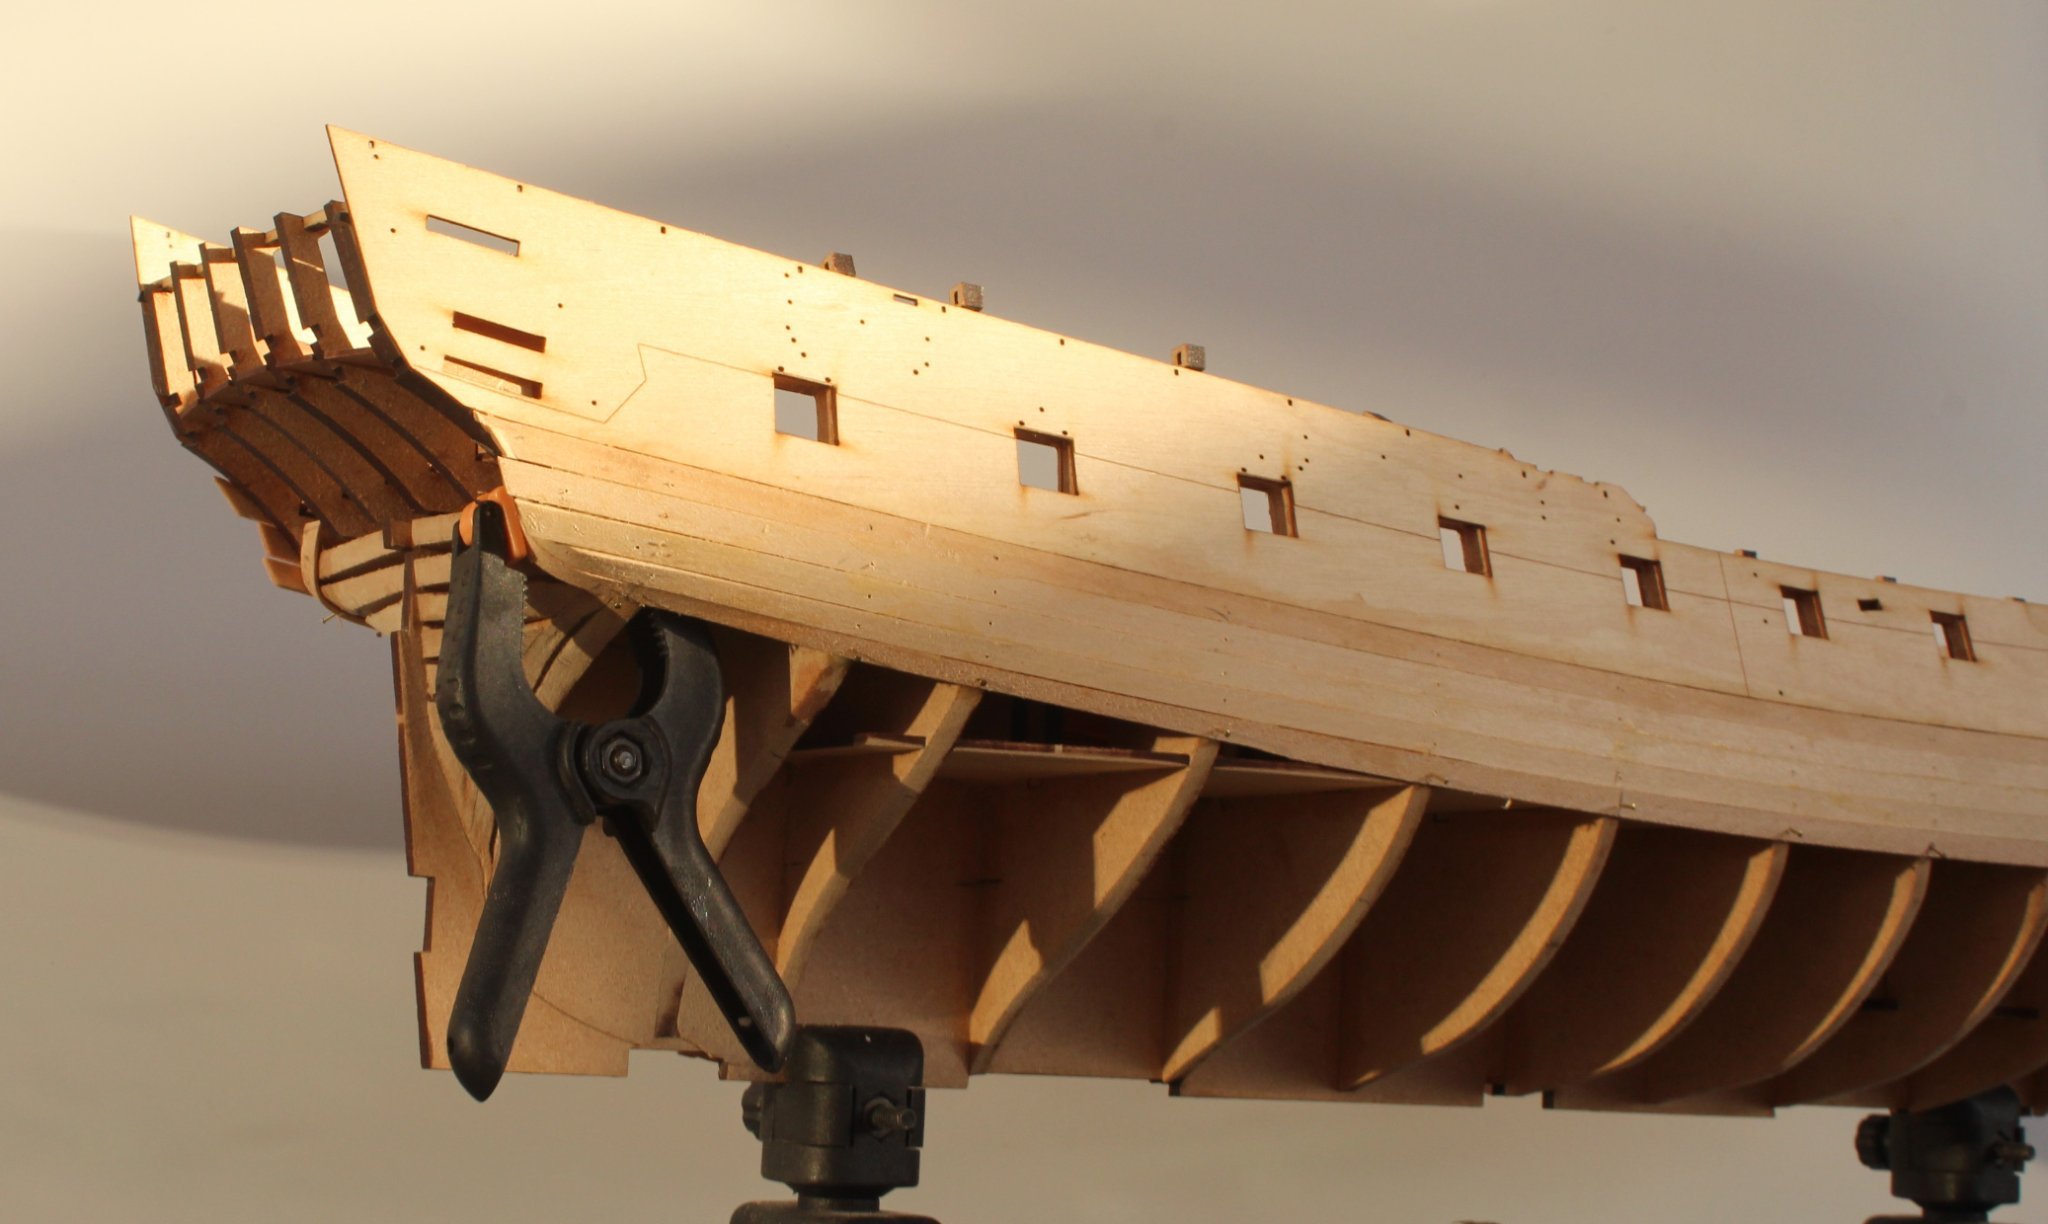
Bow section
I found it necessary to use a clamp to secure the plank for the stern counter bend.

I have now fitted all the planks in the first band.
Bow section. I have kept the bow planking even as both left and right sides are a reasonably good match
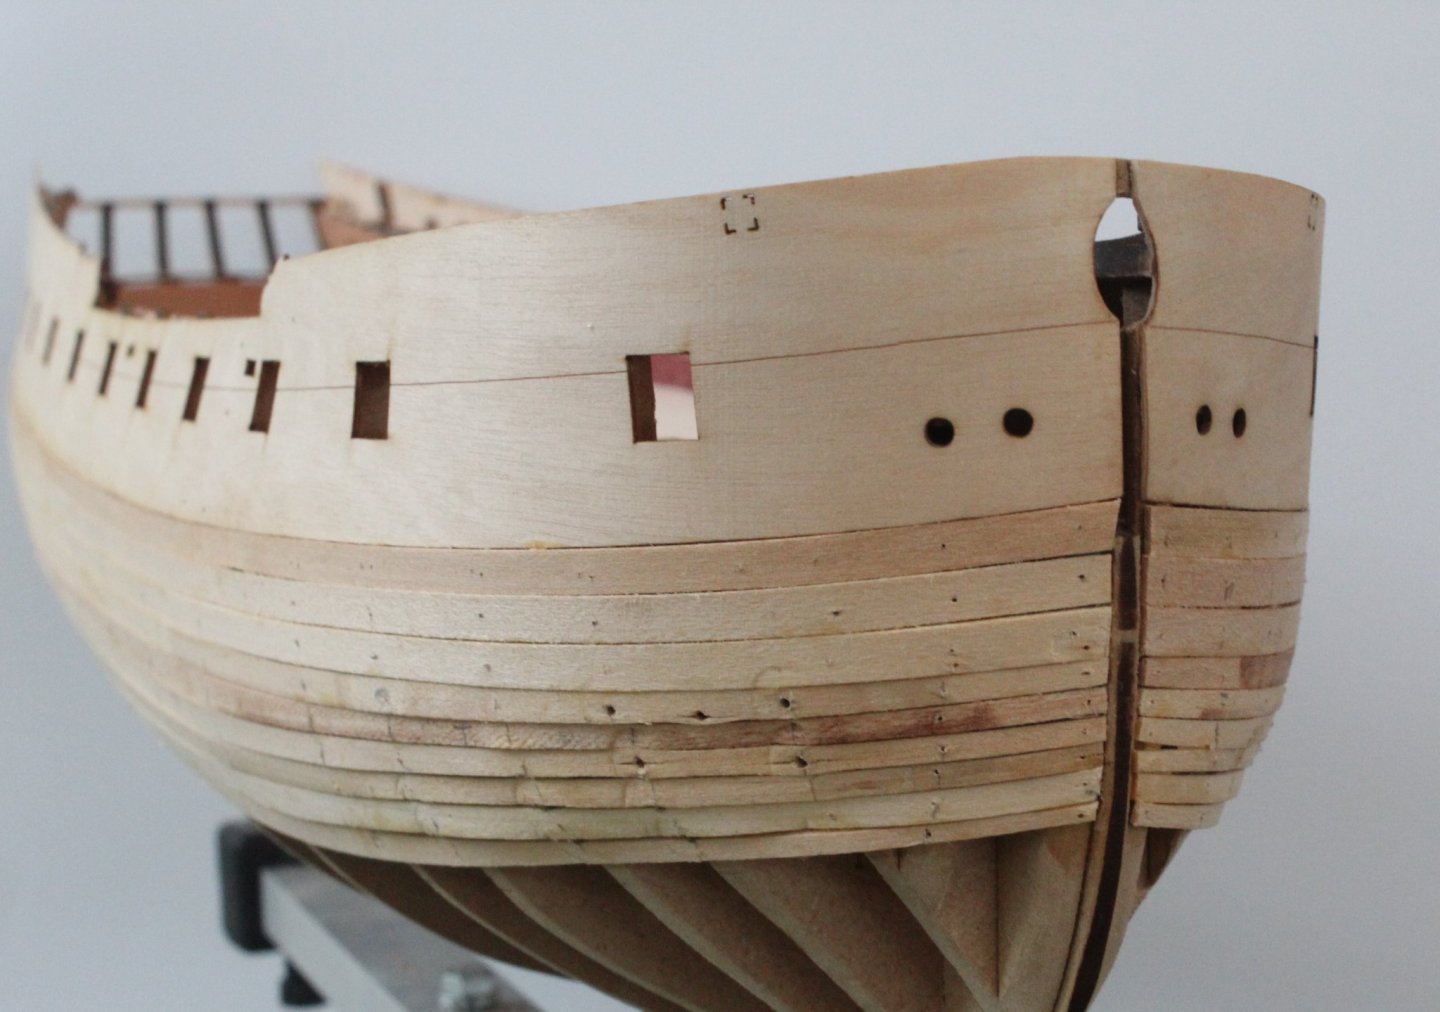
The discolouration is from the heated plank bender used on fairly dry planks.

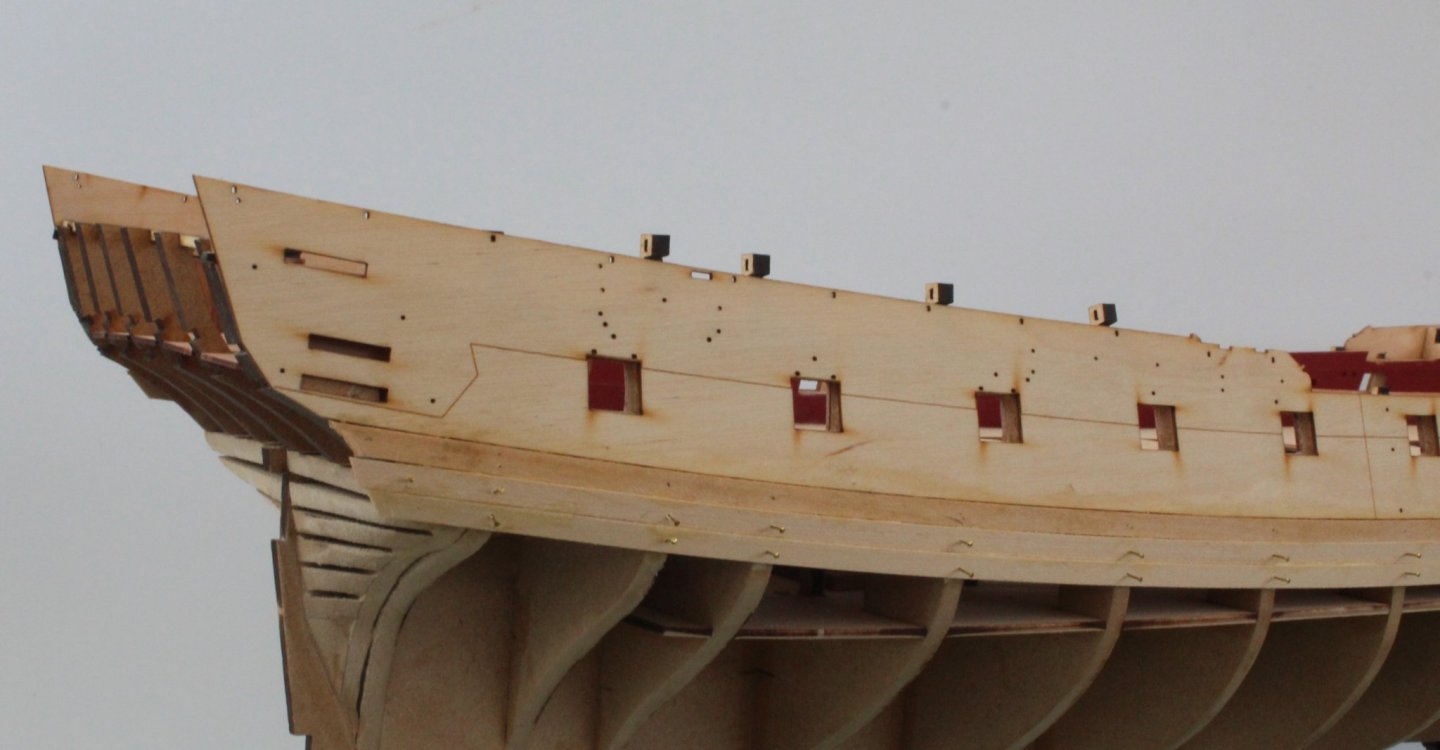
The major mistake I've made, in my opinion, was applying a slight taper to some of the stern planks. The left and right sides are not a good match. Thankfully this will not be seen when the 2nd planking has been added.

-
-
17 minutes ago, Jasseji said:
3 planks each side done during the whole day, combination of edge-bend and no edge bend
@glennard2523 i dont know about you, but at this stage i find that making half lenght planks Would have been easier due to the Stern shape
I totally agree. I have fitted 3 tapered planks per side, the bow looks nice but the stern is not so nice. I am finding it very time consuming to fit each plank at the moment

- JeffT, Canute, GrandpaPhil and 1 other
-
4
-
I am in the process of tapering the 4th plank which is currently clamped in my bending station.
From my banding calcs I only need to taper the stern end of the planks from 5mm to 4mm. I know the planking will not be seen but I'm trying to improve my technique so I can practise with the 1st planking. I have not broken any so far and have 12 off spare 5mm x 1mm limewood strips from a previous project. I can always get more stock from Cornwall Model Boats.
-
-
15 minutes ago, Malcolm Greig said:
I was hoping you would include a detailed description of how you go about planking, and you have. I've barely got away with muddling my way through planking in the past. Very clearly explained post. This could end up as a "go to planking tutorial". Thanks for sharing your process Glenn.
regards
Malcolm
I also muddle through my planking but I am trying to take my time and get it looking better for this build.
-
-
-
HULL ASSEMBLY
FIRST PLANKING – PART 1
BUILD MANUAL STEP 138
Tools Used
Titebond original glue
Old paint brush
Heated planking bender
Gathering the materials required
The following kit parts are required for this section of the build:
F-43 (1mm x 5mm limewood strips)
Brass pins
Assembly Process – First Three Planks
The build manual indicated the first three planks could be fitted without any tapering so I decided to go ahead and fit the first three planks.
This is a picture after the first plank had been glued in place.

I decided, after fitting the first plank, that it would be better to bend the planks around the bow section. I soaked the planks in warm water for about 10 minutes and then applied the required bend using my heated plank bender.
Picture of the next two planks ready to be fitted.

The planks were then fitted without any problems. I am glad I spent time sorting the planks widths, as per my earlier post.
Assembly Process – Banding Process
I have read and watched videos on planking where the hull is split into bands. I have never tried this method before but thought it would be worth trying on this build. With reference to the attached pdf file.
I had already measured the length of each bulkhead prior to fitting the first three planks so I made the necessary adjustment. I calculated that I would need 20 planks at the widest section, so decided that I would have three planking bands, 2 bands would be 7 planks wide and the third band would be 6 planks wide. The spreadsheet provided me with the required plank widths at the different bulkhead positions. as can be seen in the attached pdf file I then tweaked these calculations so the banding lengths would be easier to measure.
I transferred the band 1 dimensions to a sheet of card and cut out the required shape for the bow and stern. I also glued 7 small lengths of planks to double check the maximum band width. I taped these patterns to the hull and marked the lower edge on the bulkheads.
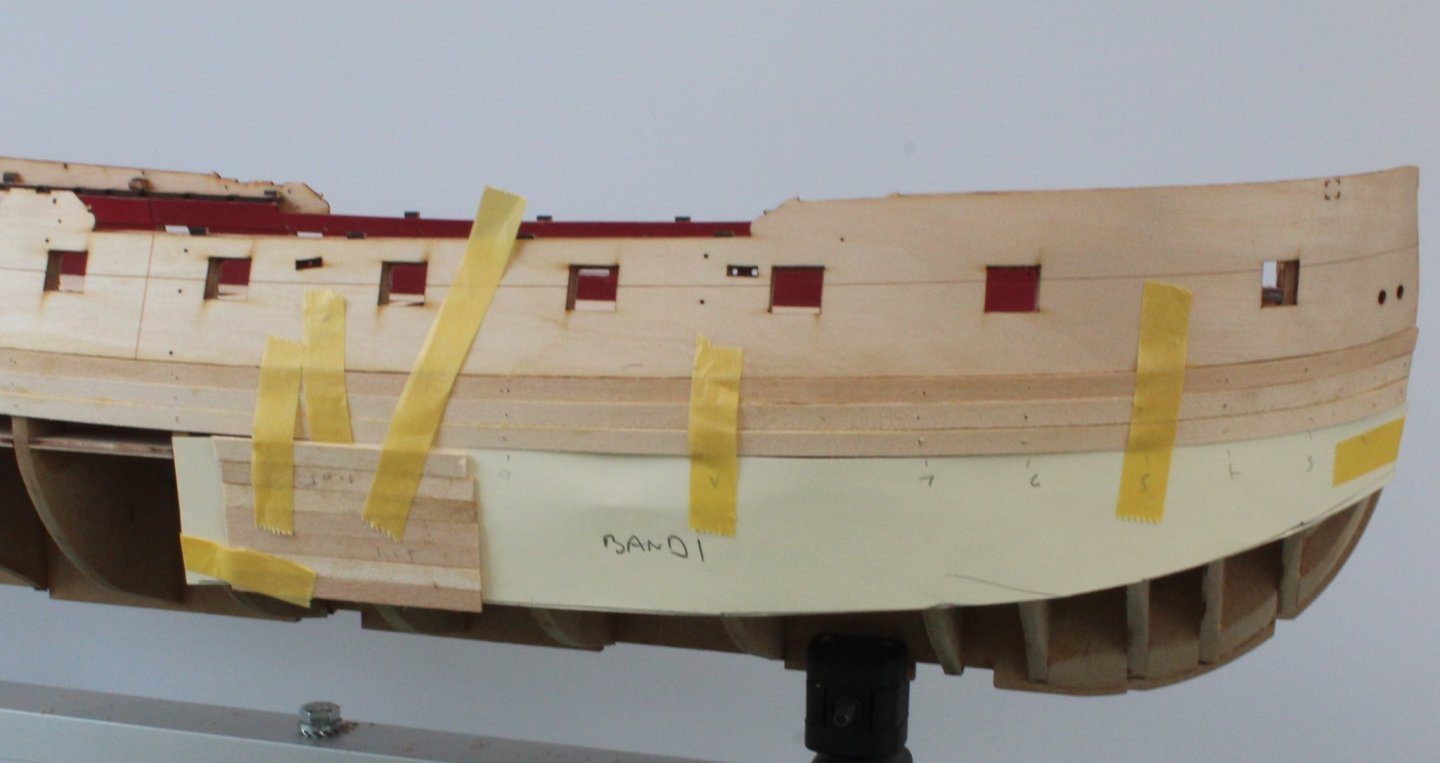
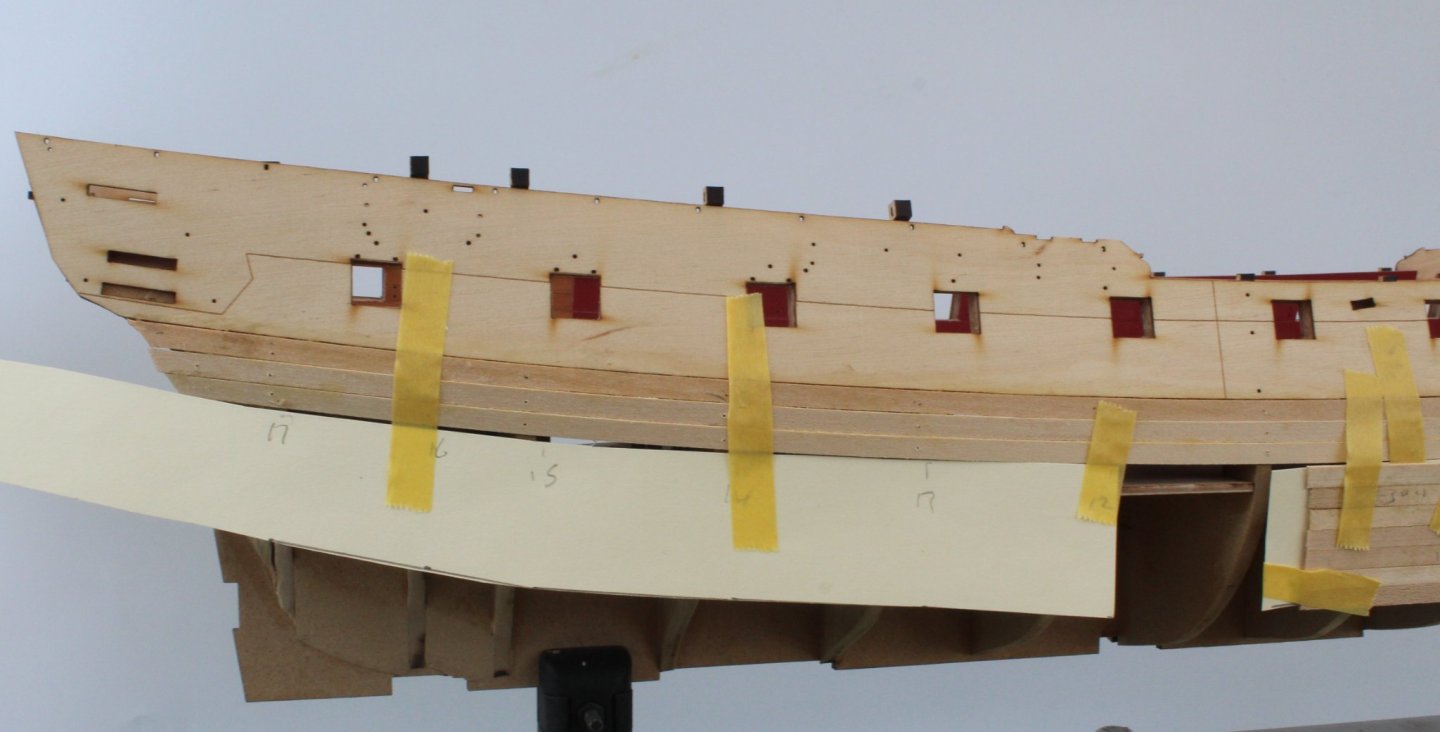

The patterns were then removed and I added a banding line using some tape, using the pencil marks as a guide.
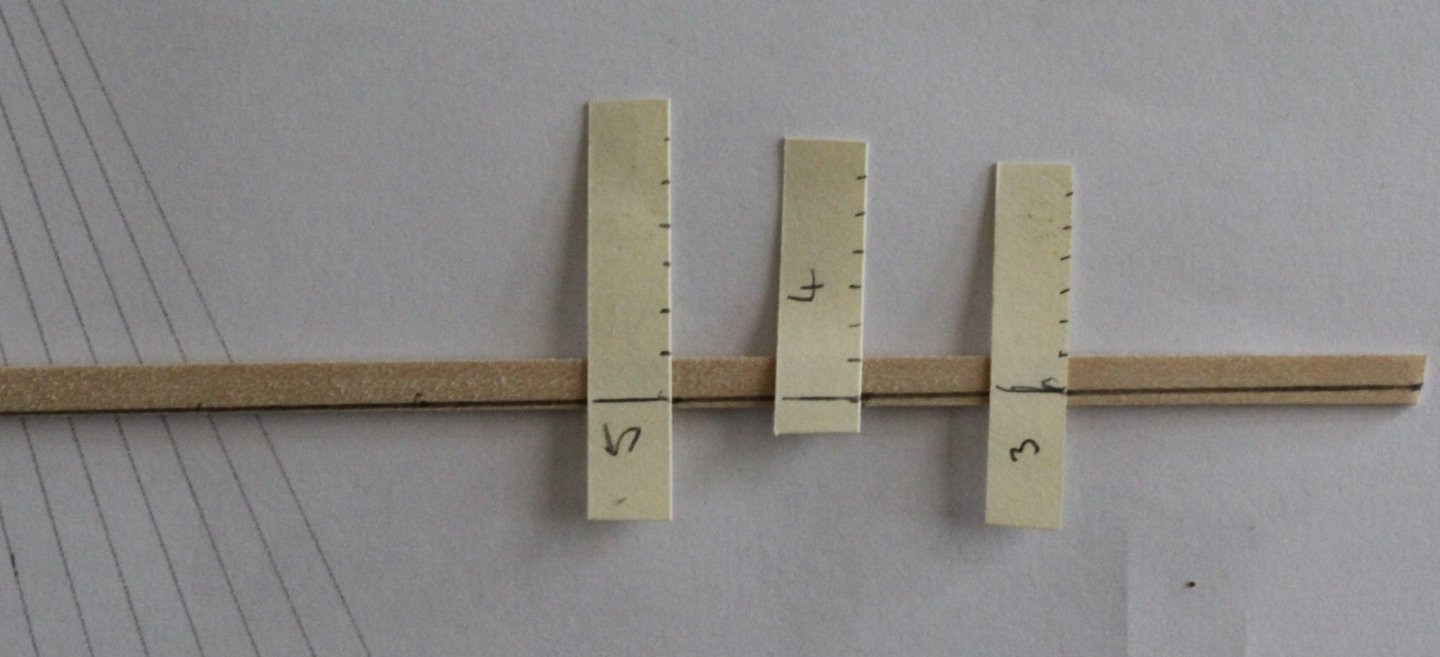
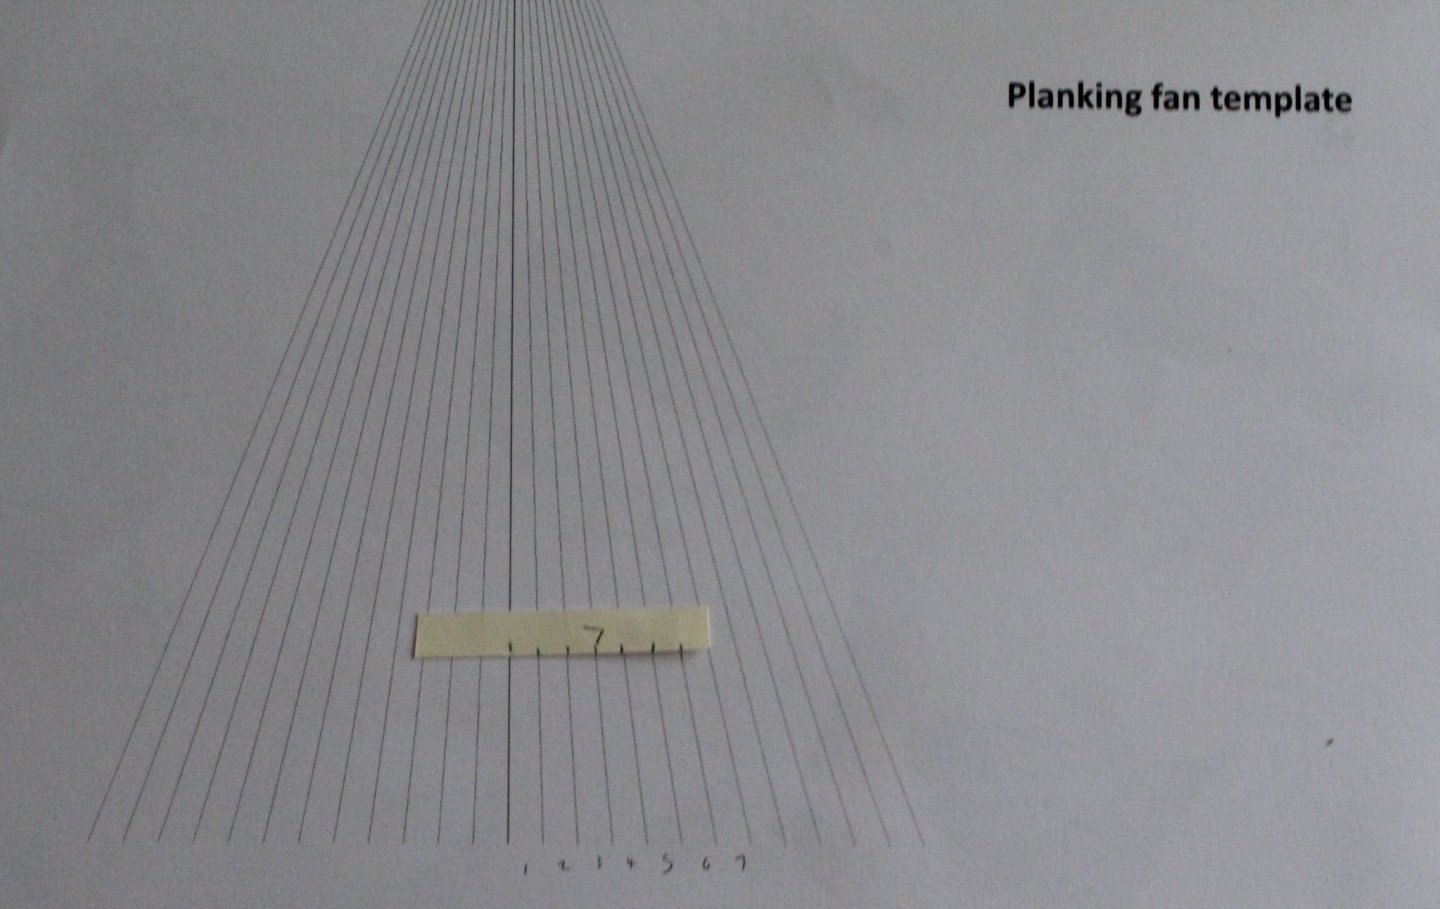
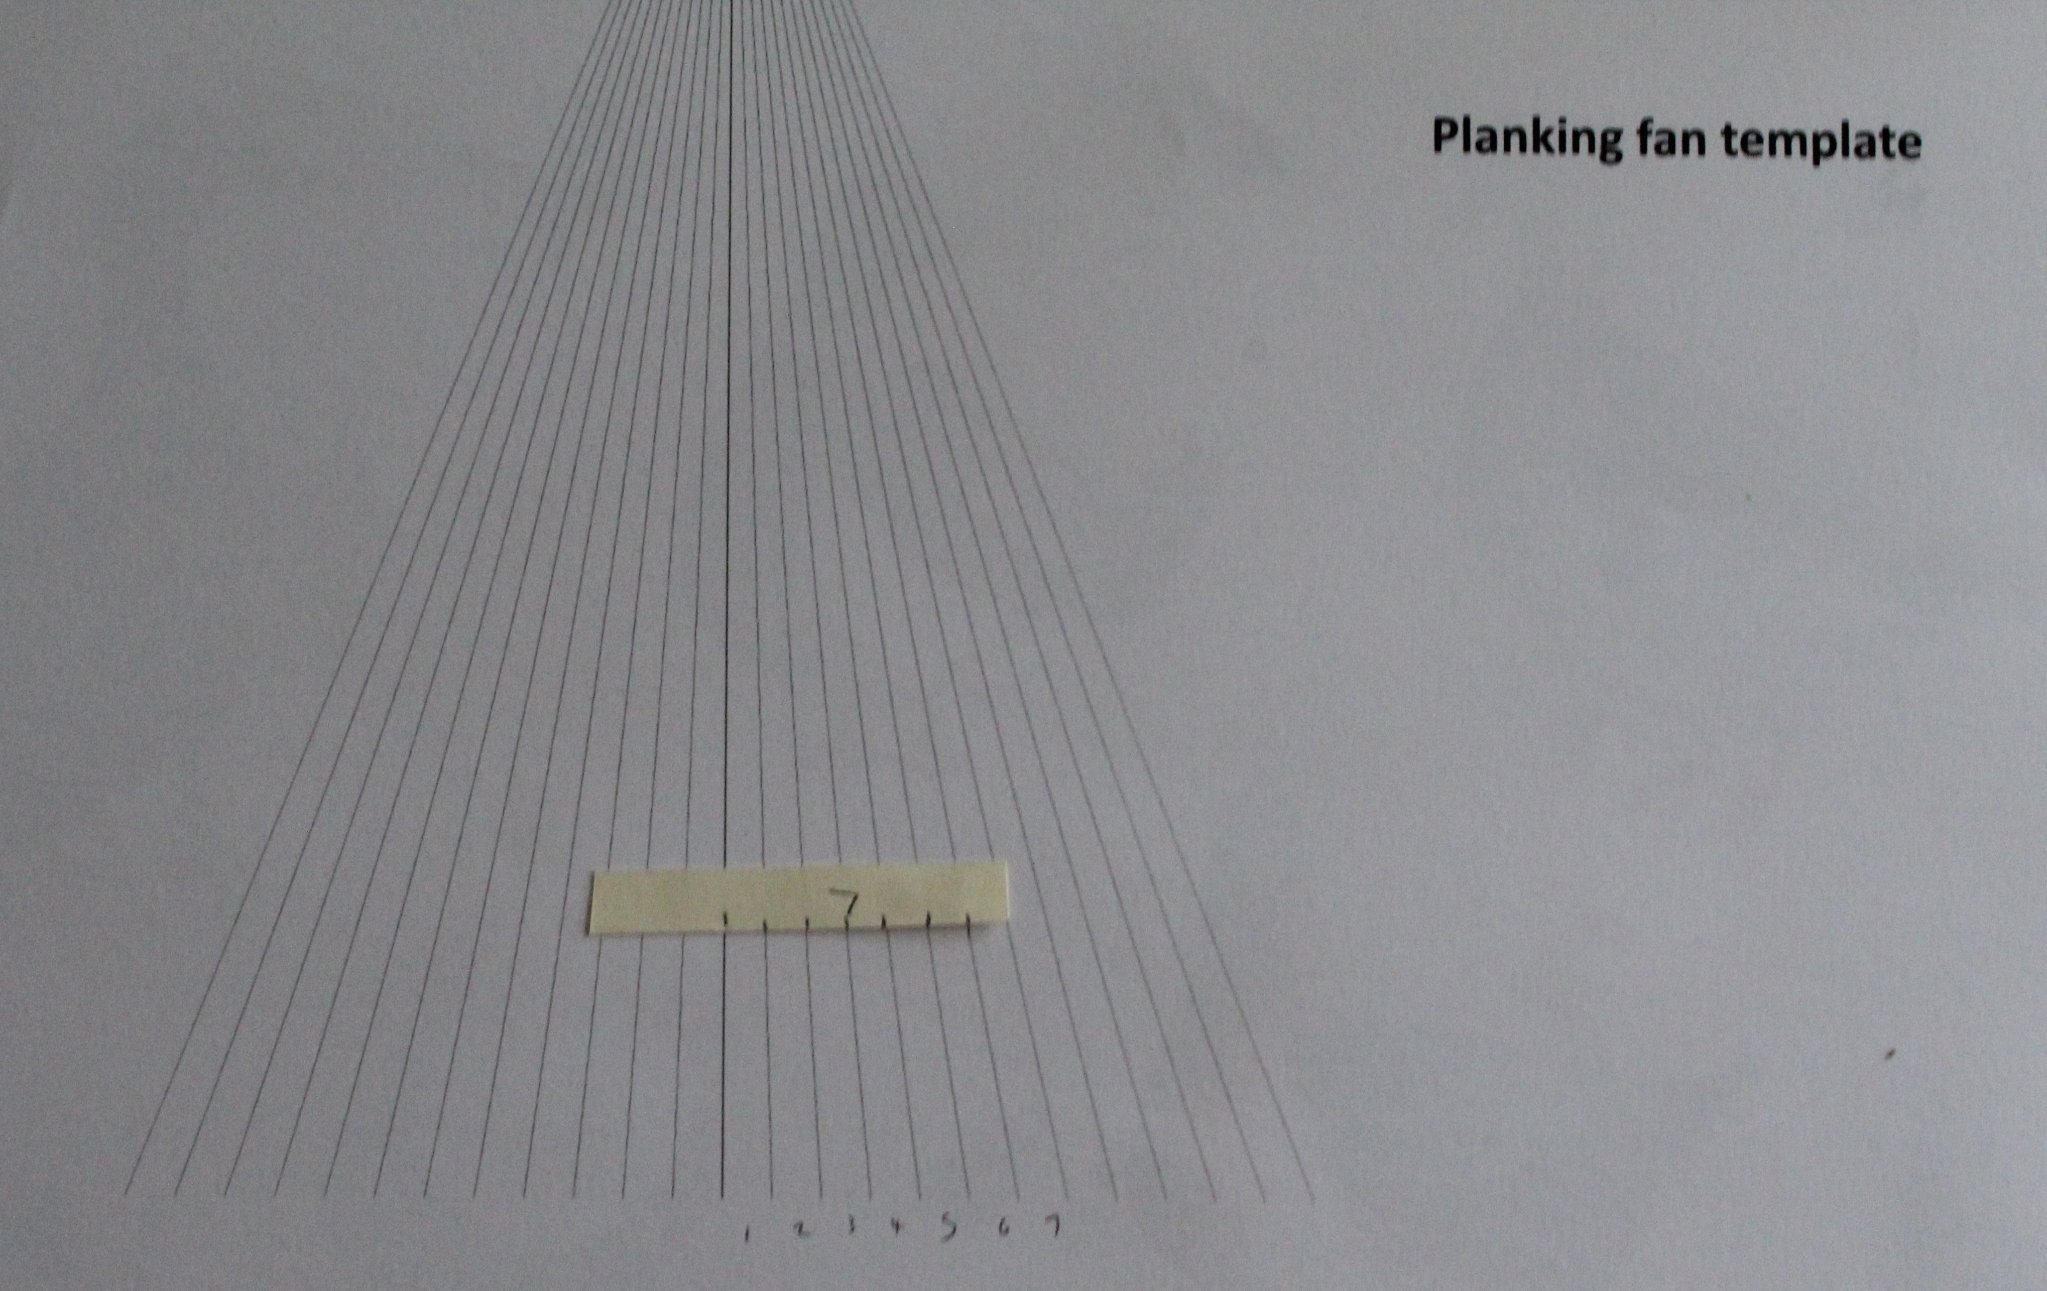
I have now started to mark up the tick strip, for each bulkhead position, using a planking fan template.
This concludes the progress to date. In the next stage I will transfer the tick marks to the next 7 planks so they can be added to the hull. I will also add the lateral edge bends so the planks will lay flat around the bow shaping. I may split each plank into two pieces with a midship join.
- JpR62, mtaylor, GrandpaPhil and 5 others
-
8
-
-
-
Looking good, it takes quite a bit of effort.
- Kathy Teel, Canute and mtaylor
-
3
-
-
BUILD THOUGHTS
FIRST PLANKING
Planks
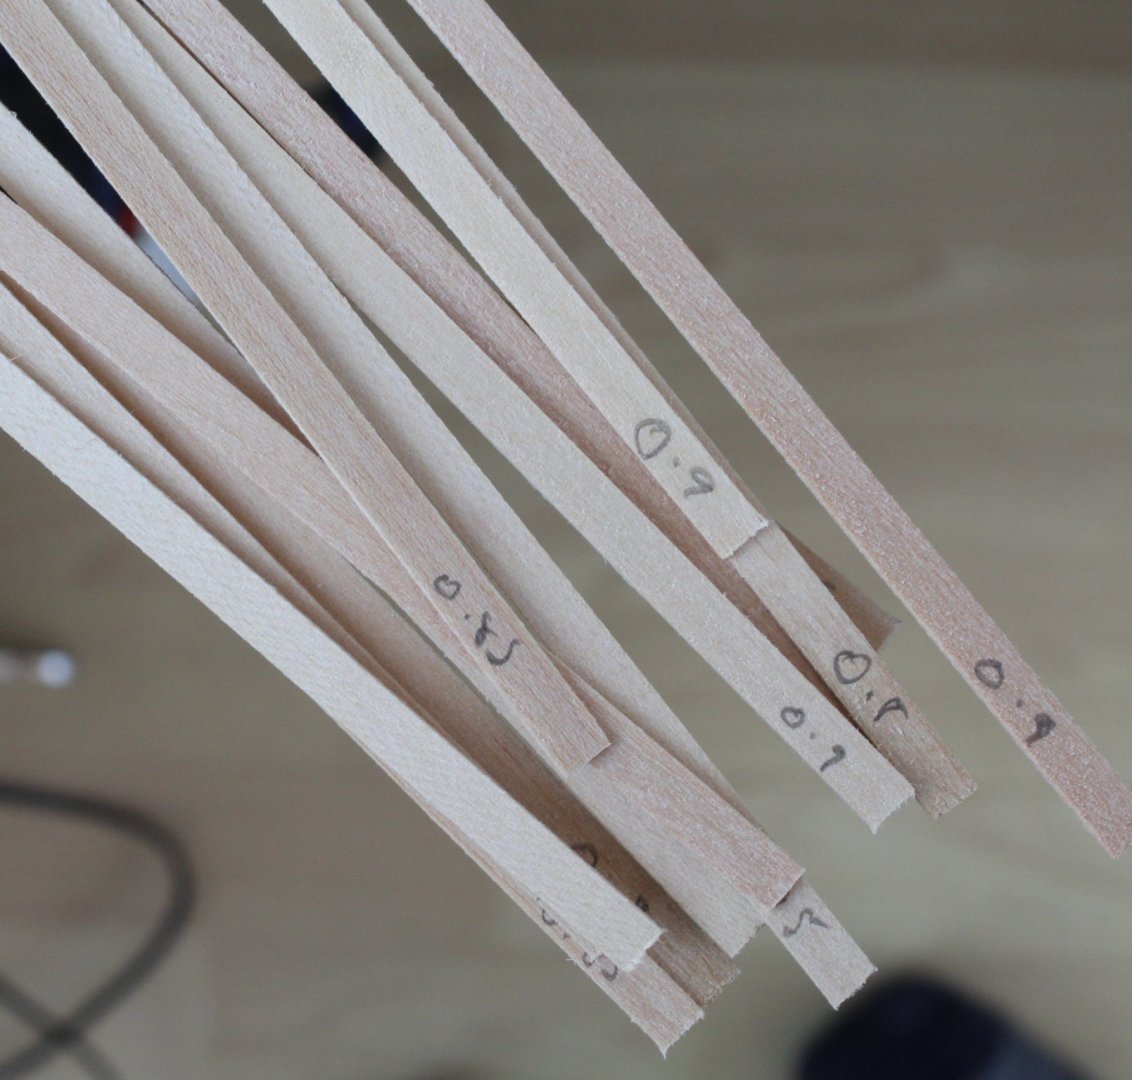
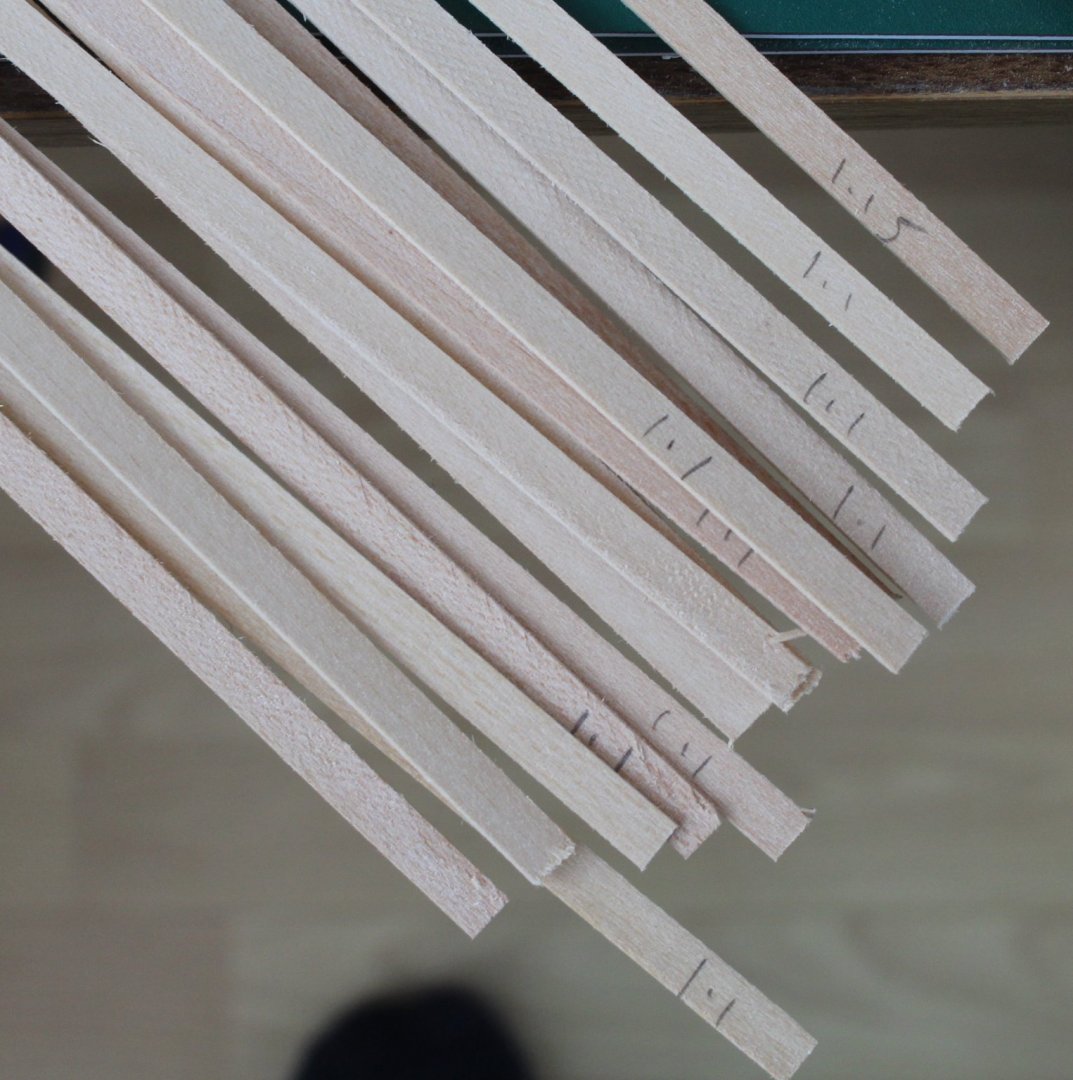
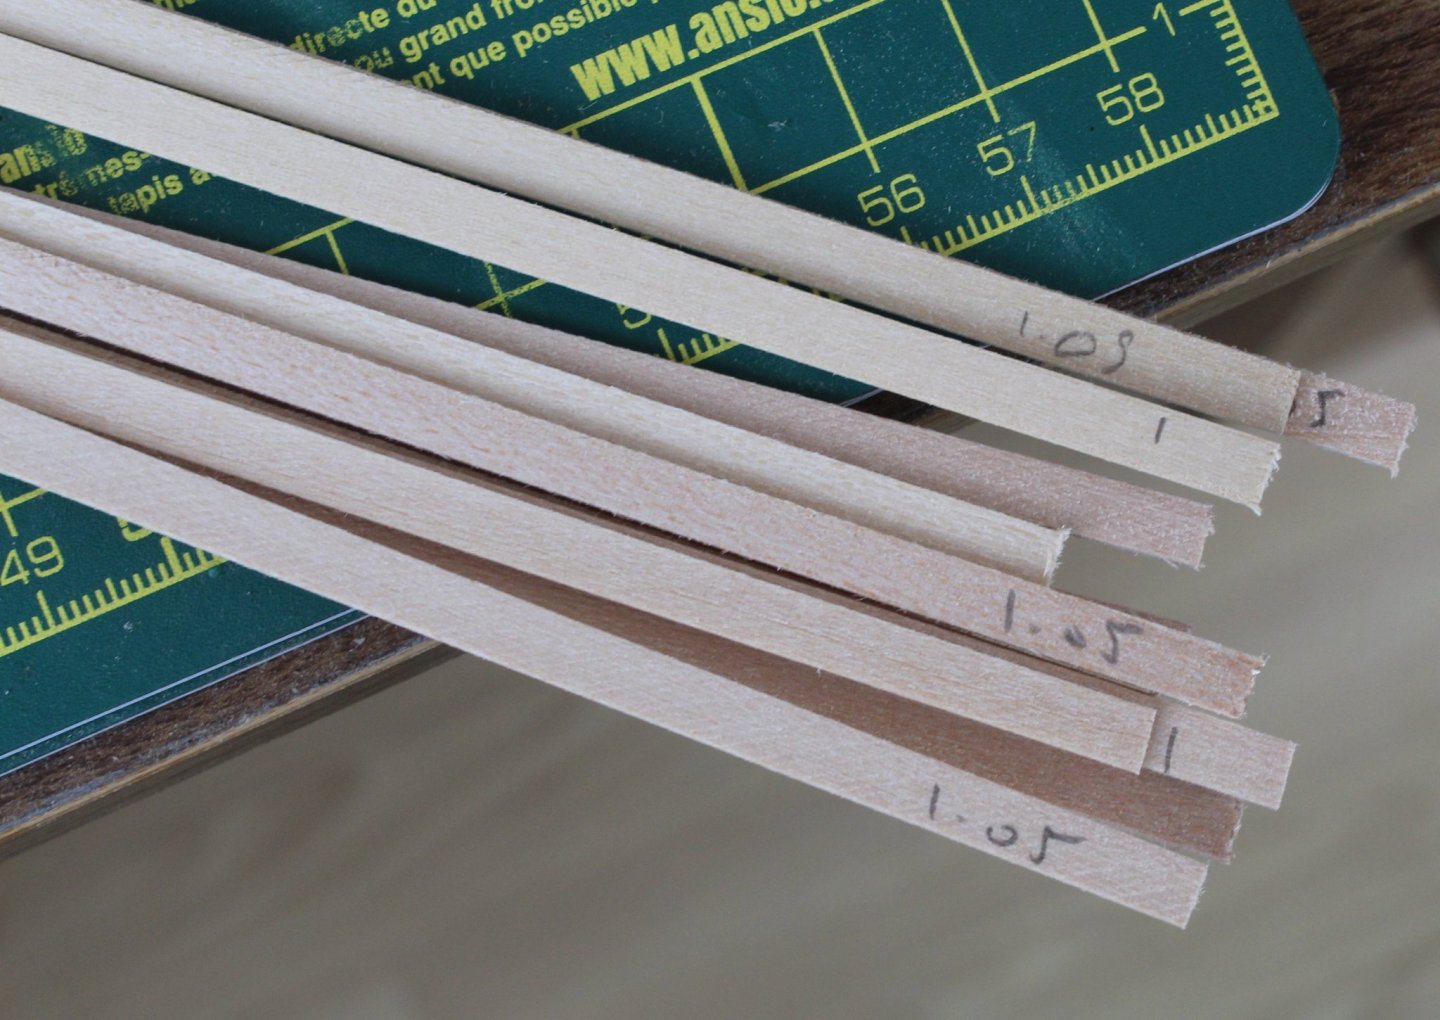
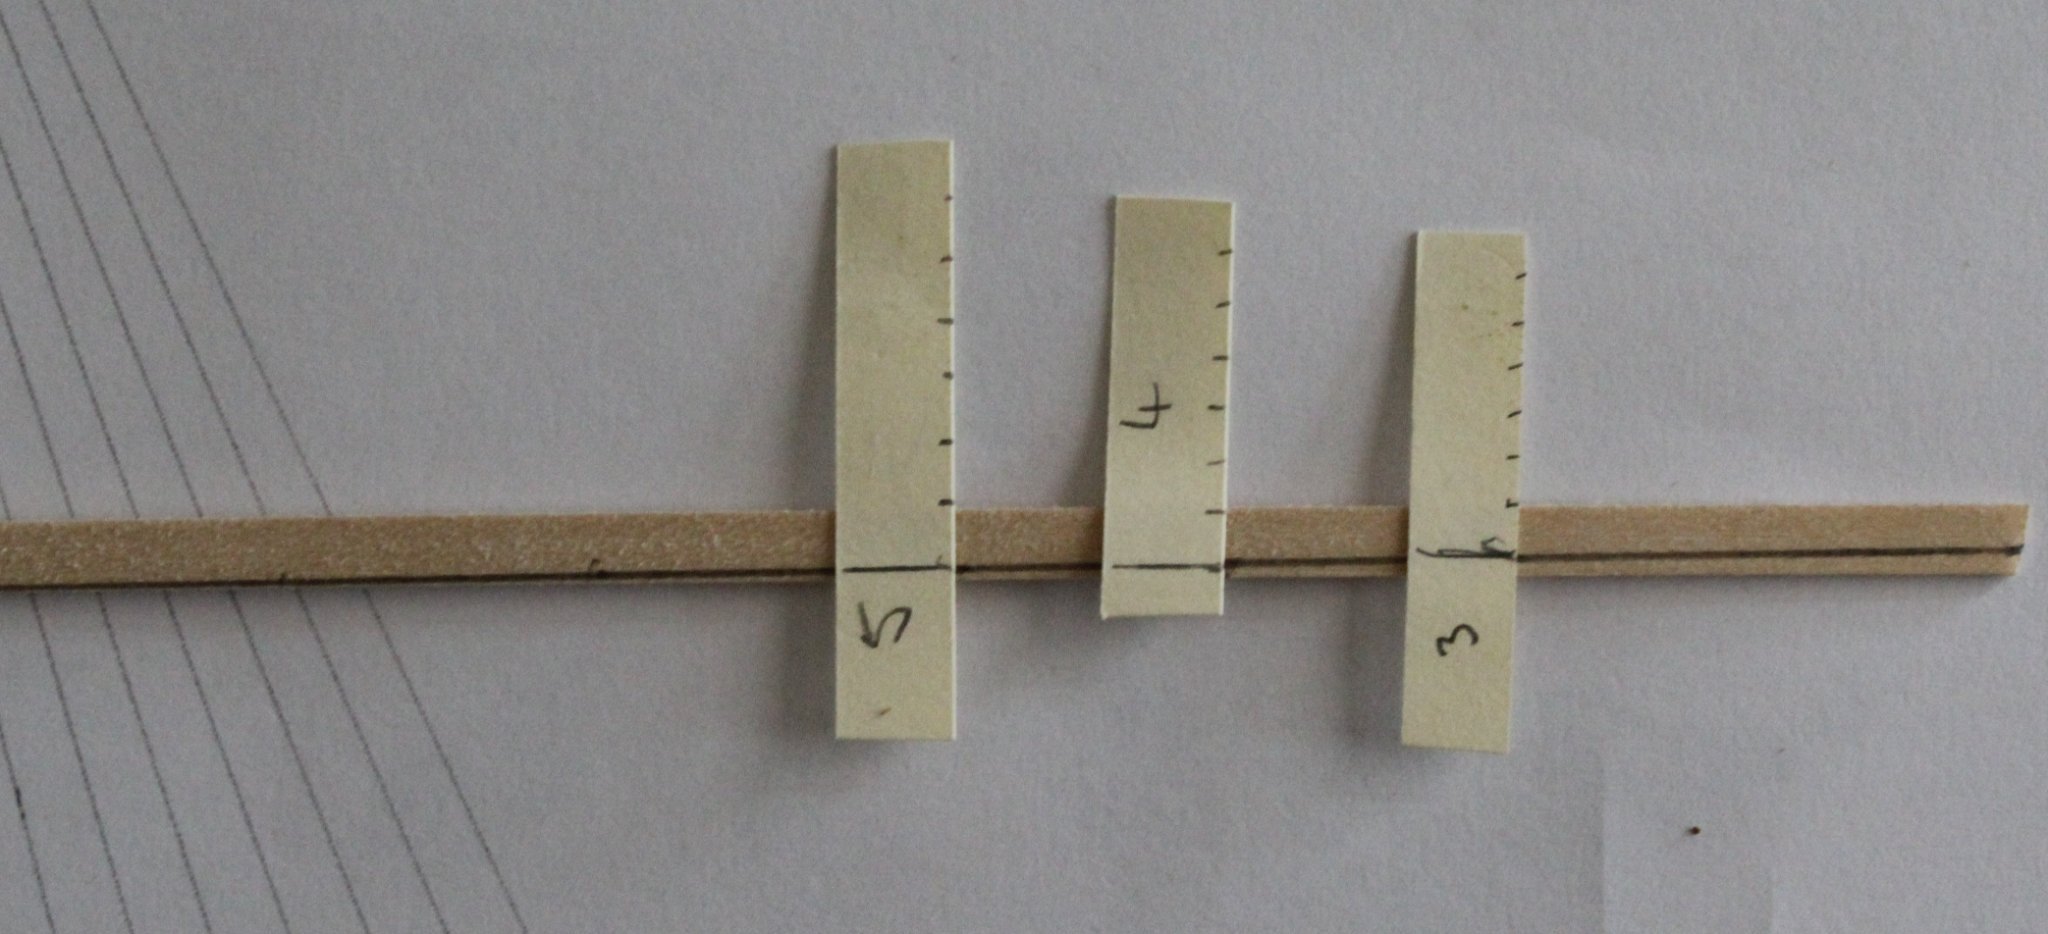
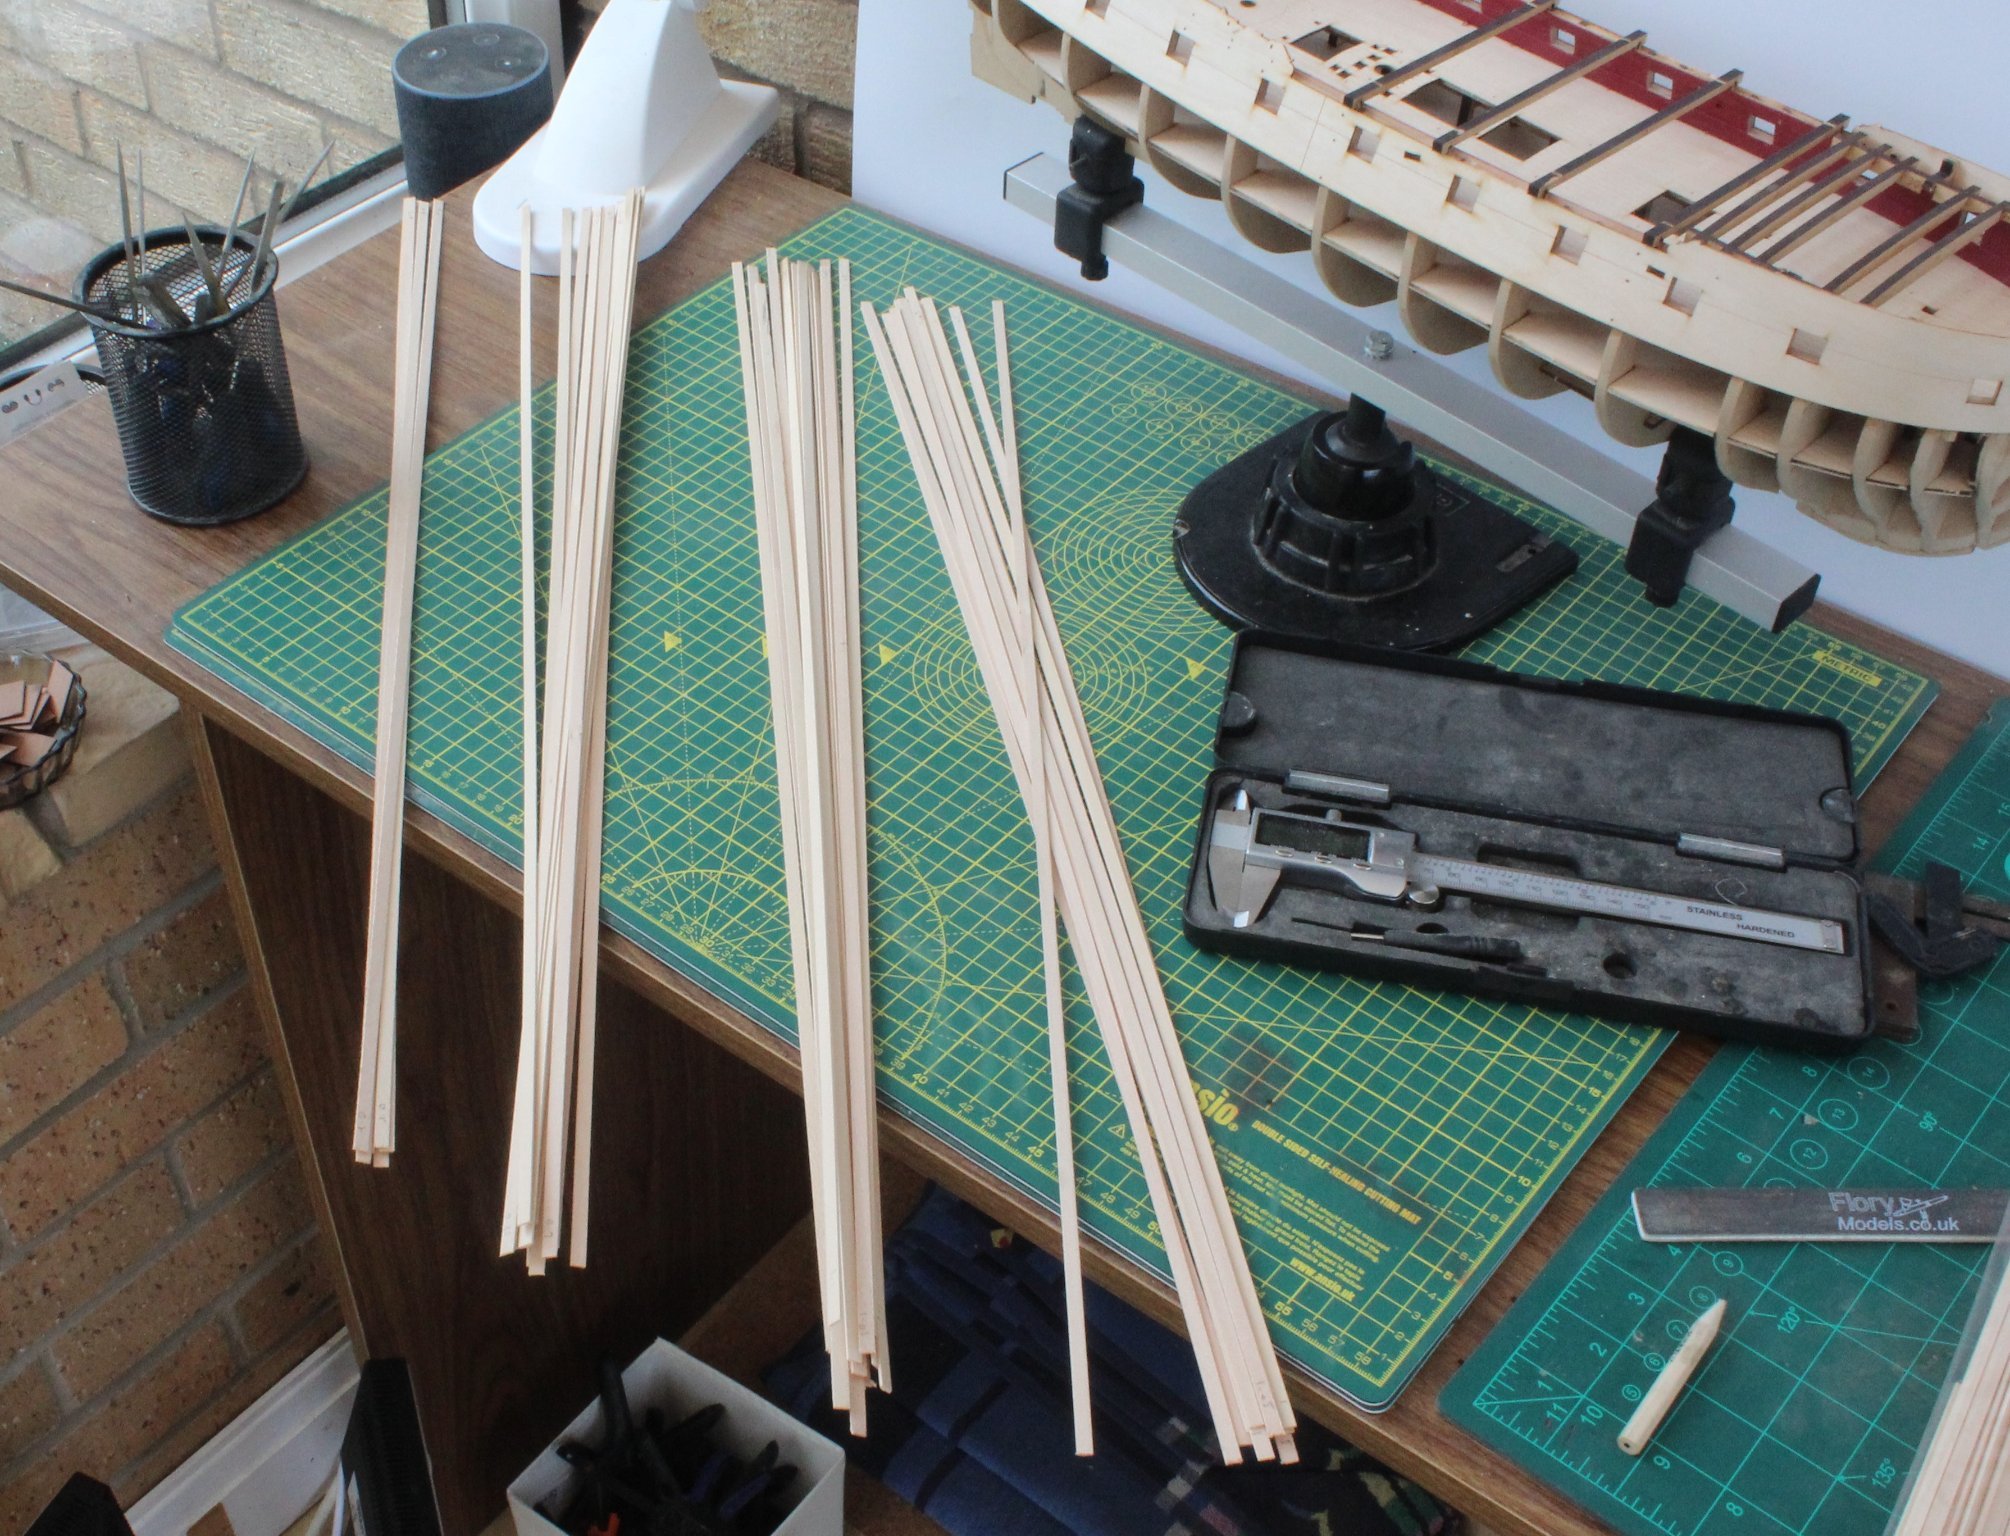
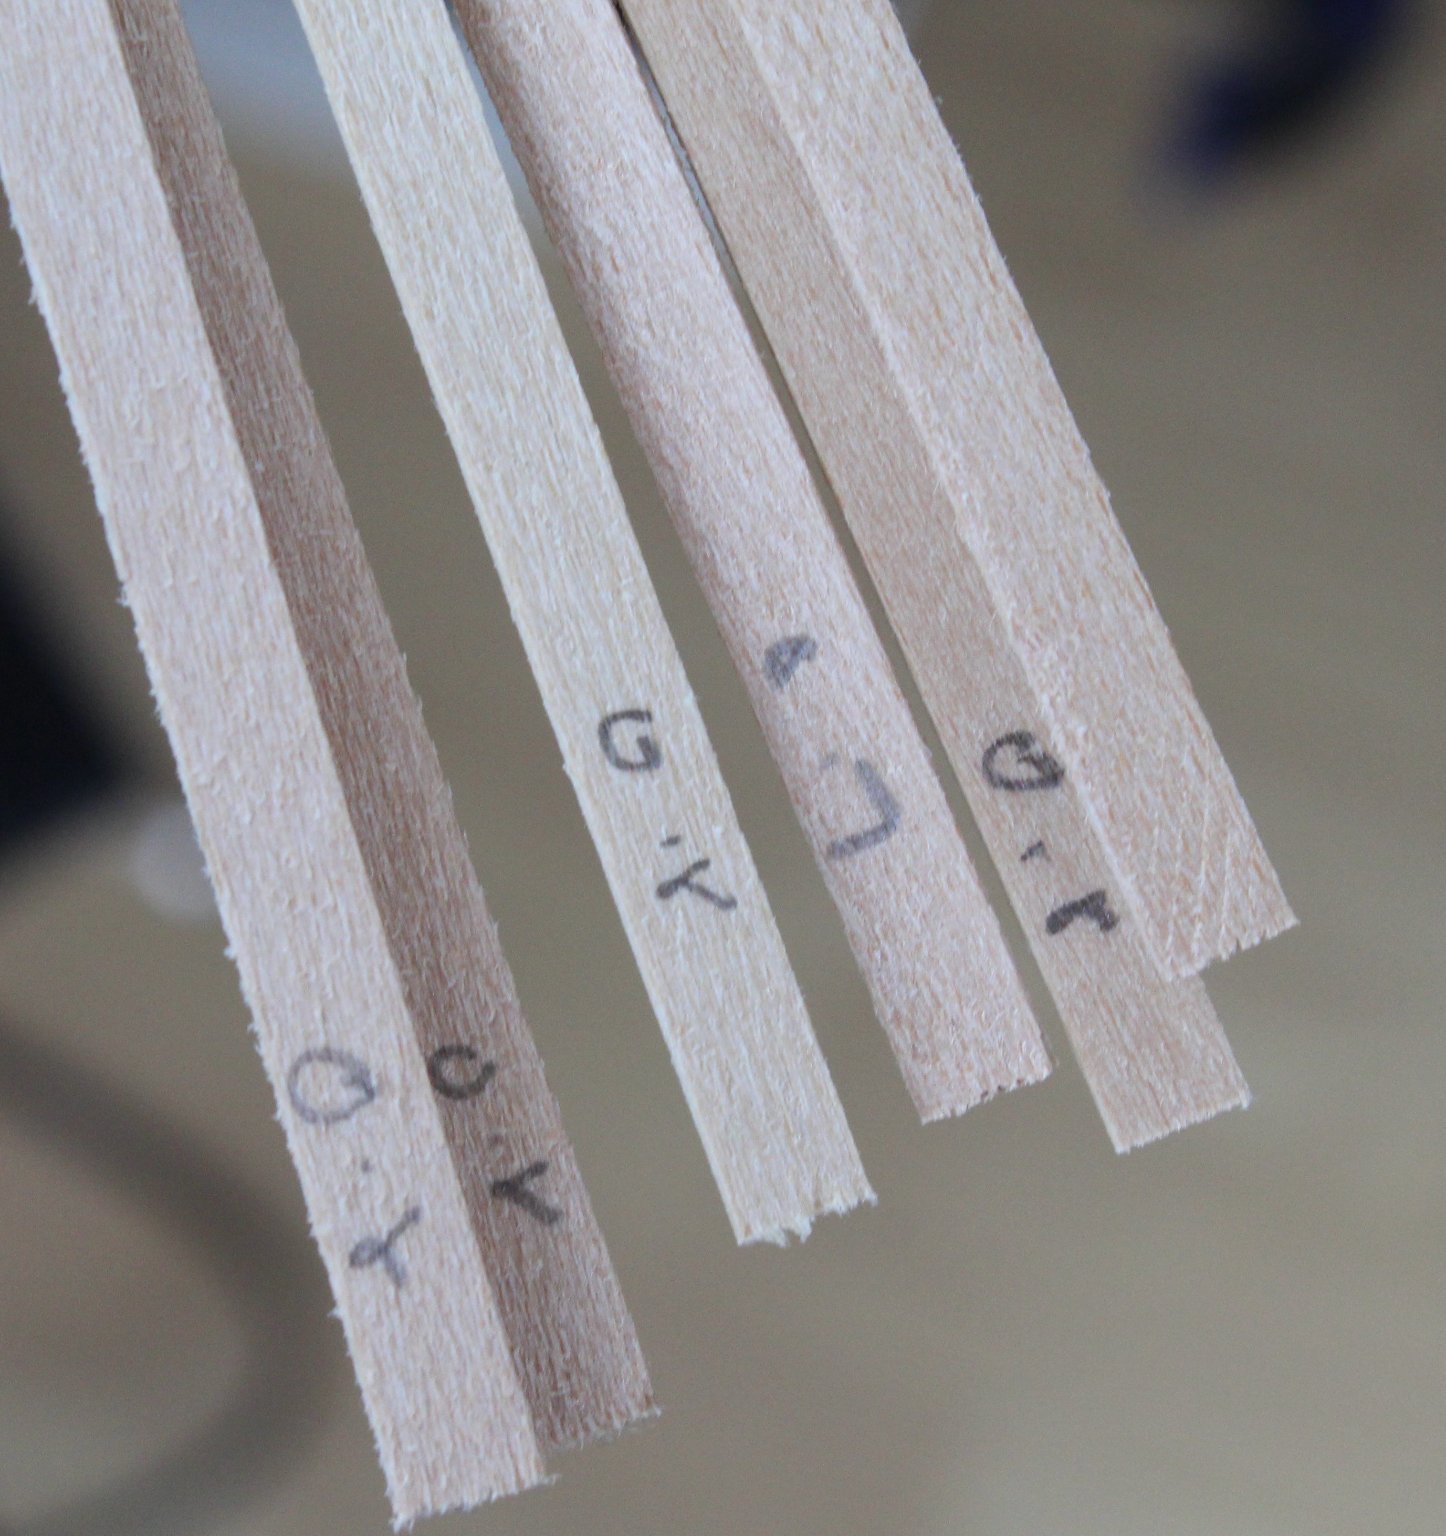
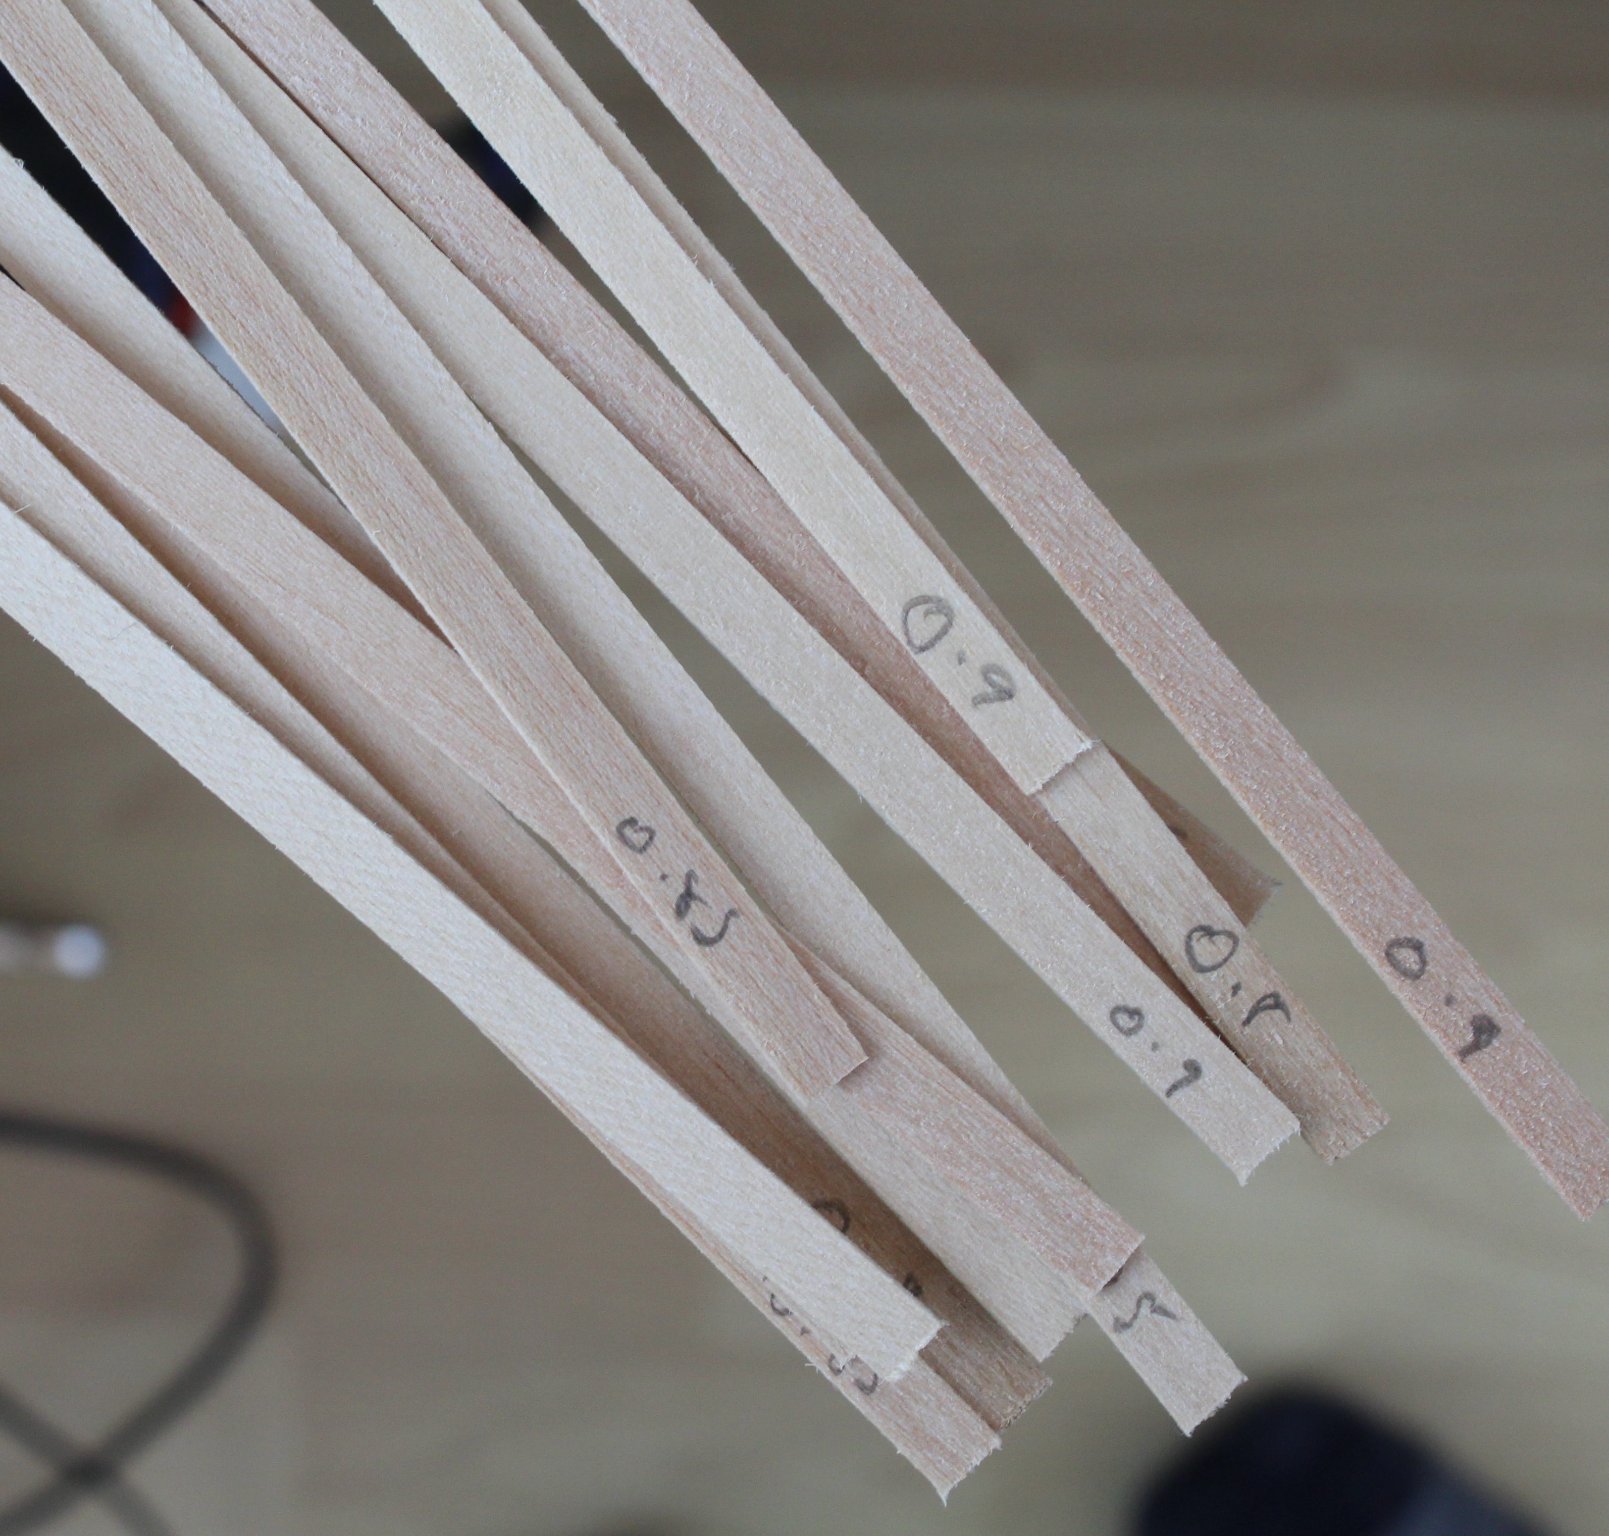
In an attempt to get a more even planking I decided it would be a good idea to sort through the planking material and sort into groups based on the plank’s measured depth. I used my digital vernier gauge, checking at both ends of each plank and at several points along the plank. I then marked the depth on the planks, at each end.
Picture of the sorted planks

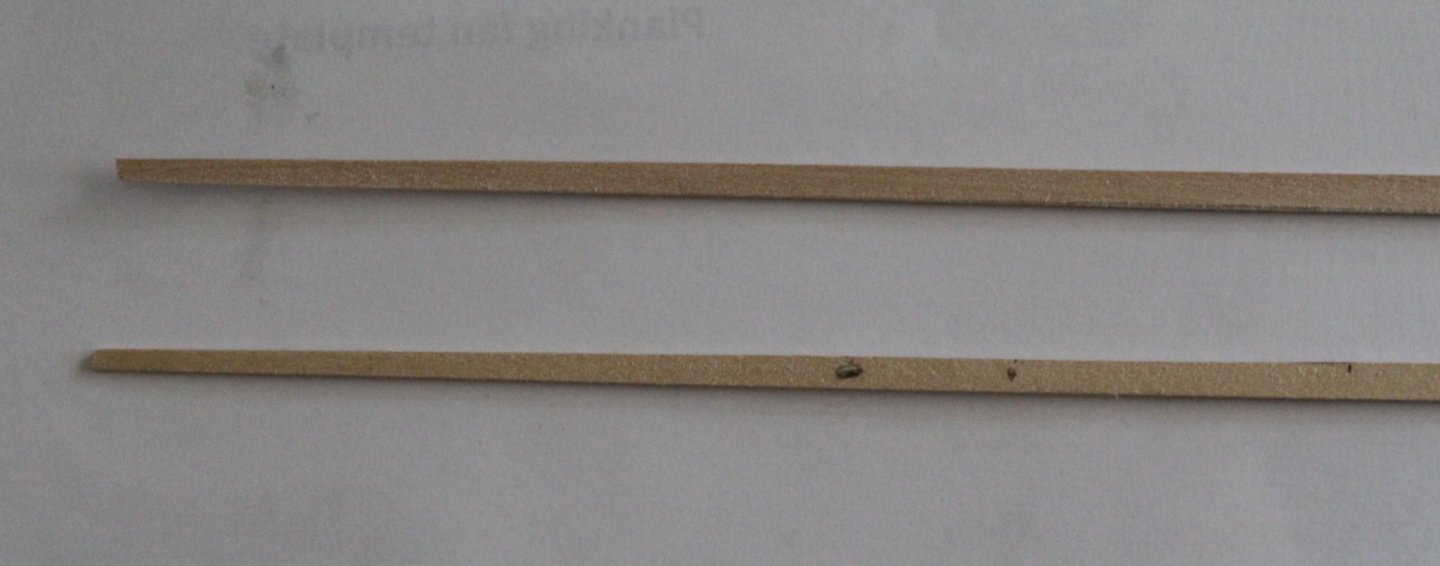
These are the rejects as they are too thin, and will only be used only if necessary.

These planks are all under 1mm thick (0.8 to 0.9mm), so I plan to use these toward the keel
This is the thickest group of planks (1.1 to 1.15mm) and will be the first group of planks used
The final group is the 0.95 to 1.05mm grouping.
Method
I cut some cardboard strips and measured the length of each bulkhead and calculated that I would need 23 planks around the midships, reducing to 14 plank widths at the bow and 19 plank widths at the stern.
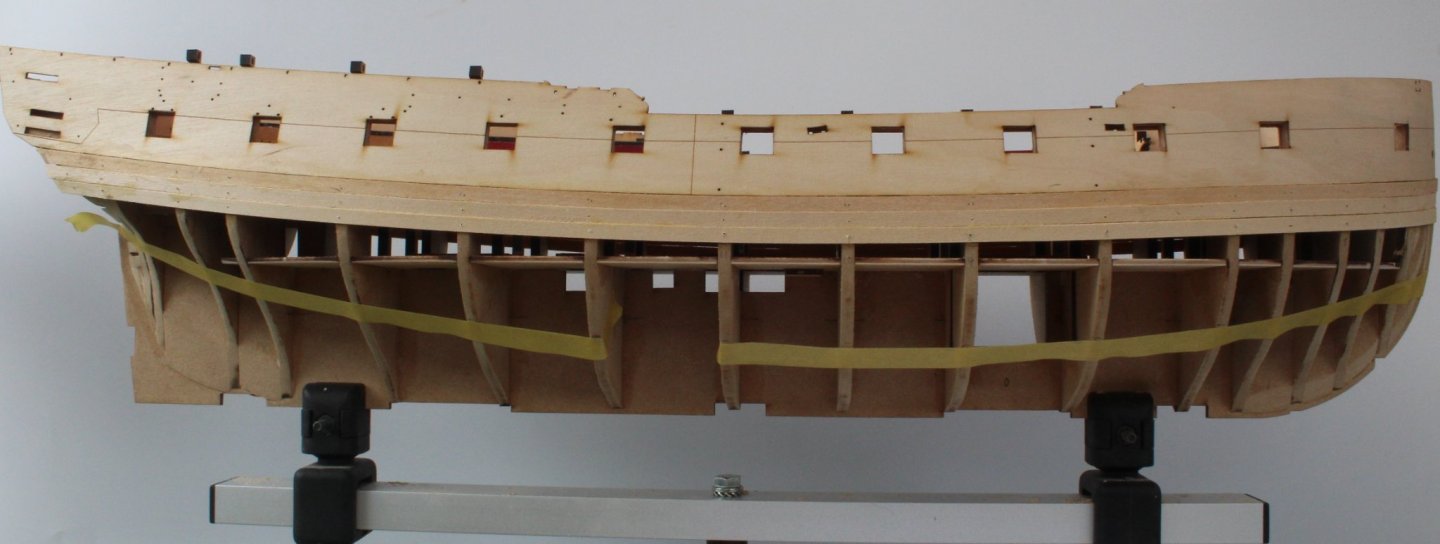
In the manual James’s noted the first three planks were fitted without any tapering required. I did a dry fit test and concluded it is possible to fit the first three planks without the need to taper. I was a bit concerned with the natural flow of the first plank from the midship section to the stern due to the upward curvature of the hull pattern. I think with glue and pins it should be Ok.
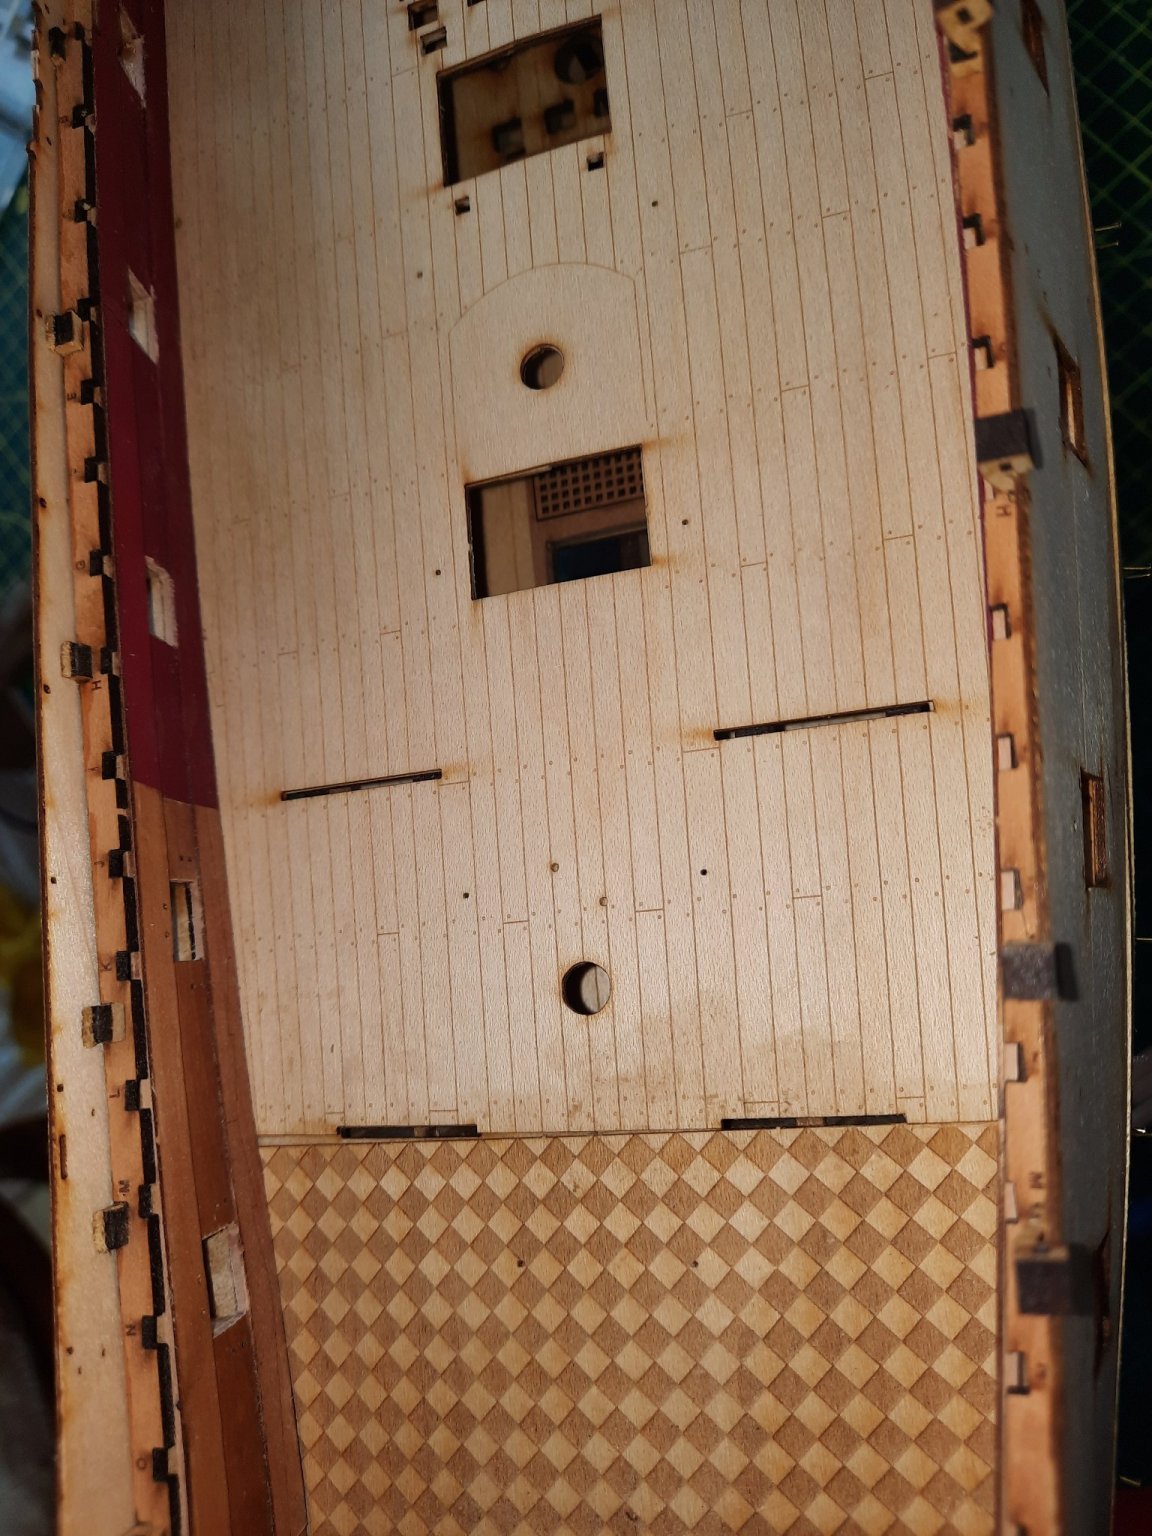
This picture shows the upward curve

Clamping
I also noticed there was quite a gap where the plank sits under the quarter gallery. This required a touch of glue and clamp as the bottom edge of the hull outer pattern was not in contact with the frame.

-


HMS Sphinx 1775 by Jasseji (Jacek) - Vanguard Models - 1:64
in - Kit build logs for subjects built from 1751 - 1800
Posted · Edited by glennard2523
I've just finished my 1st planking. Time to go for my daily run so the glue can cure on the last three planks. I had exactly 23 plank widths on one side and 22.8 plank widths on the other side.