
HOLIDAY DONATION DRIVE - SUPPORT MSW - DO YOUR PART TO KEEP THIS GREAT FORUM GOING! (Only 51 donations so far out of 49,000 members - C'mon guys!)
×


mtaylor
-
Posts
26,273 -
Joined
-
Last visited
Content Type
Profiles
Forums
Gallery
Events
Everything posted by mtaylor
-
Welcome to MSW, Tom. Moved to appropriate area. I suggest you do a short intro of yourself also in this topic. As for planking, do you have the plans? There are planking tutorials available here to help.. top of the page under the "More" heading.
-
More congrats are in order then. What an honor for you and the model. I'll be among those keeping my fingers crossed that transportation goes smoothly and safely.
- 108 replies
-
- 1
-

-
- leon
- brigantine
- (and 1 more)
-
You might just as well give in as resistance is futile. The Dark Side of the Force beckons. I went with a Little Machine Shop machine after my MicroMark mini mill died. Very useful. As for sanding frames... they make assorted sizes of sanding "cones" (cylinders?) for drills that work well in a mill. The abrasive sleeves are consumables.
-
It's all making sense to me now, Bob. One thing that's been said in somewhat of a jest is that we need a "Wayback" machine. The reality, is... we really do.
-
One of the issues here is "tar". Tar today is an oil based product and black. Way back when it was resin based and when fresh was anything but black (amber as I recall). So color choices could be made on the shrouds and lanyards.
-
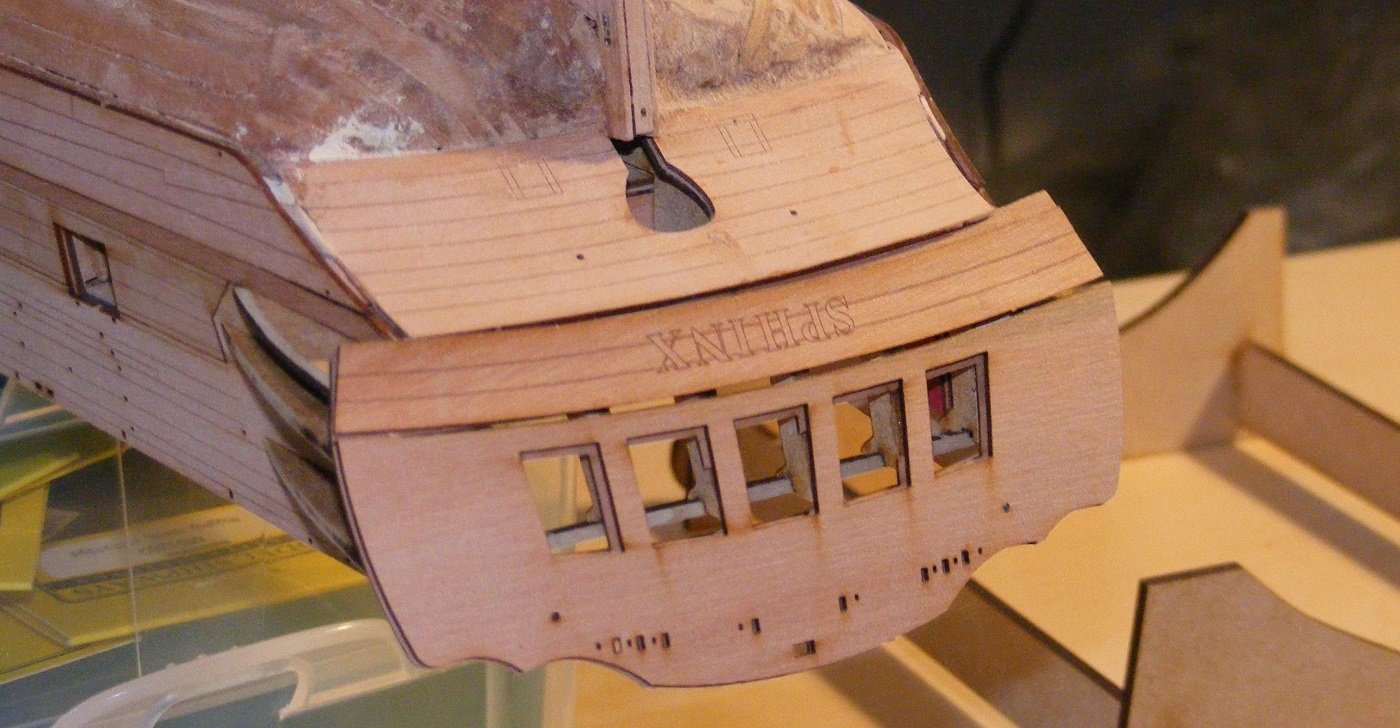
I think I have the stern fixed. Still needs a bit of shaping which is in work. I couldn't remove the underlayment for both pieces as I'd CA'd them. Bad on me. But the upper parts are where they should be. The lower one is now where it should be. Here's pics of the stern as fixed. I'll have to do some fettling for the windows but I accept that. I've also learned that wood this thin is delicate and need to remember to have a lighter touch.
- 505 replies
-
- 21
-

-
- vanguard models
- Sphinx
- (and 1 more)
-
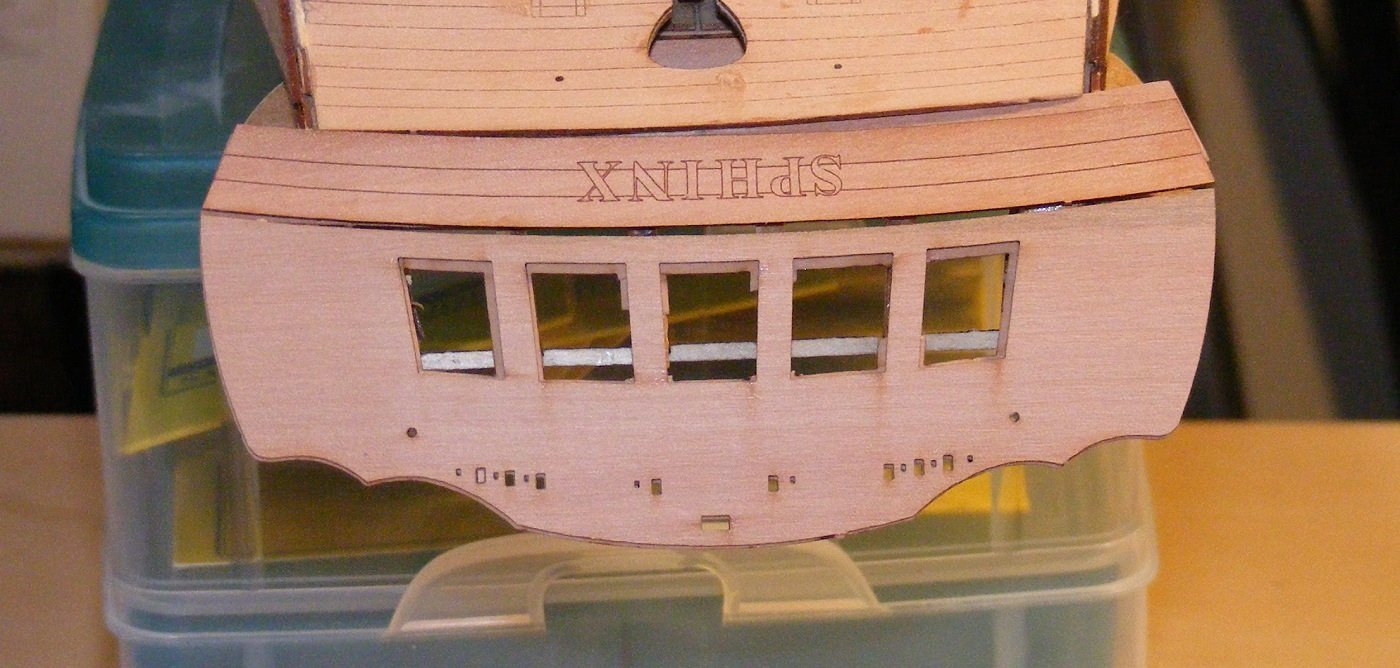
I re-reading this and looking at the first picture, several things come to mind. The picture shows 7 windows with the 2 outboard ones seemingly hanging out there with no quarter galleries. Follow the line from the stern bulwark downwards and it appears to go between the the outboard windows. We know that many countries did false windows to make the stern appear larger. On some, they were all false windows. You are right about O'Brian and his method it seems. He may have been a technical writer but his books aren't technical. Their about the characters and their actions. So, as for what's below the quarter deck, don't worry about it unless you're planning on doing cut-outs in the hull and showing interior works. If that's the case, then it's another can of worms to sort out.
- 341 replies
-
- 1
-
-
- Sophie
- Vanguard Models
- (and 1 more)
-
Barefoot seems to a common practice but not everyone did it. I've seen more than few paintings from the 1700's/1800's of sailors barefoot and the guy next to him has shoes.
-
Beautiful work and that's going to be large and impressive model when done.
-
Swan-Class Sloop by Stuglo - FINISHED - 1:48
mtaylor replied to stuglo's topic in - Build logs for subjects built 1751 - 1800
Looking great from here. Love the detail work. And that's a great idea to put some of the hidden stuff outside the ship and on the display. -
Download the guide that posted. The right blade as such is dependent on wood thickness.
-
SA-6 Gainful by Baker - FINISHED - Trumpeter - 1/72 - PLASTIC
mtaylor replied to Baker's topic in Non-ship/categorised builds
Looks to be a very nice kit of topic not seen much here. BTW, Trumpeter is legit. We have quite a few logs here on their products. both ships and non-ships. -
Hi Lauren,, Welcome to MSW. Once you know what model you'll build, feel free to open a build log in the kit area.
-
Thanks B.E. I'm fixing it now. Once dry, I'll post a pic. The issue was actually the counter.
- 505 replies
-
- 2
-
-
- vanguard models
- Sphinx
- (and 1 more)
-
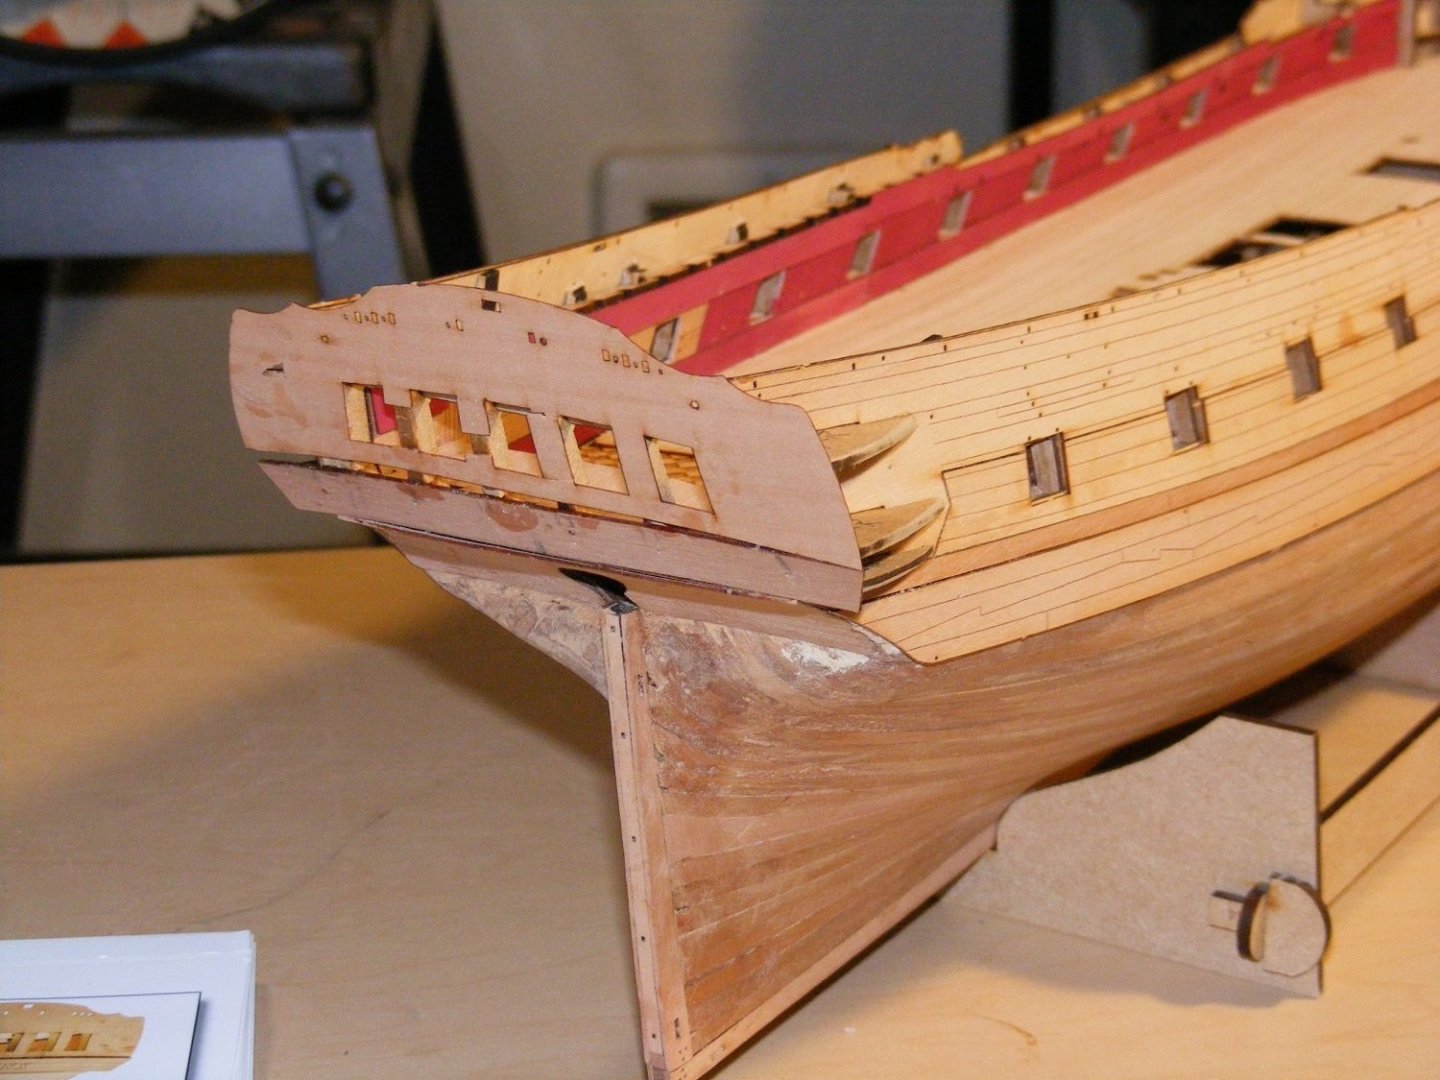
Thanks for the likes and comments. Making more progress, slowly but still moving forward. I've installed the gallery framing and also the first stern fascia. Had some issues but my fault for not noting that the stern needs to be higher than the pics at this point show. The note is later in the build,,,,, doooooh . Broke a few bits off moving it but I'll add them back on before the covering piece. There is some misfit with the counter blank as I think I set it too low but I think a bit of fill, sanding, and then the paint at the appropriate time will fix that. I'll holding off painting the wales for a bit until I get the rest of the galleries set up. I'm not fond of gluing things to paint which includes the gallery lower finishing pieces.
- 505 replies
-
- 24
-
-
- vanguard models
- Sphinx
- (and 1 more)
-
The little guys look great as always from you. And as others have said, it brings things to life and adds detail to the model.
-
Good lighting is a must. I have a set of magnifier "googles" with built in LED lights that I use along with some hand held magnifiers. I also now have a pair of 4X reading glasses from my eye doc's office that was very reasonably priced and included the prism I need for one eye. Start with the lighting then go from there. See your doc about reading glasses. They can set the magnification and distance focal point for you.
-
Wow... that is an improvement. Getting the upgrade bits probably helped a lot also. Congrats. I hope things keep going well.
- 460 replies
-
- 5
-
-
- Finished
- Flower-class
- (and 1 more)
-
I did find out that brass can be tempered which is probably what this needs. However, finding an oven to get that hot is a problem. https://sciencing.com/determine-copper-real-10511.html Scroll down and you'll instructions.
- 460 replies
-
- 4
-
-
- Finished
- Flower-class
- (and 1 more)
-
Don't forget that the planks will need tapering at the bow. This should reduce the clinkering also. I failed to taper far enough aftwards on my build but was able to "push" the next plank such that it filled the clinker. Once the clinkering started I redid the plank tapers and it came out much better. And also accurately line off the hull and follow the marks. This is probably the most important part.
- 476 replies
-
- 2
-
-
- sphinx
- vanguard models
- (and 1 more)
-
Welcome to MSW, Steve. By all means, do a log. It's probably the best way to meet others and also get help. And do try to have some fun. Model building should be fun and relaxing and not stressful. As for other logs... two ways to make searching easier. The first is to go here and https://modelshipworld.com/forum/130-build-logs-for-ship-model-kits-by-era-launch-date/ look at the top pinned post... it's an index by ship name but a bit behind on being up to date.. The other way is to have a look here that sorted first by manufacturer..... https://modelshipworld.com/forum/150-index-of-all-kits-by-brand-and-subject/ Or you can just search for the ship name and drill down using settings for "title only".
-
The link is to an article on the Confederacy (1782). There's another one coming this week. https://www.norwichbulletin.com/story/news/history/2021/11/21/historically-speaking-norwichs-u-s-navy-frigate-u-s-s-confederacy/8683820002/
- 1 reply
-
- 2
-
-
Wow... what a difference. Who would have thought it was the brass feed gear? I hope you'll pop them a message about the brass gear wearing like that and that fast.
- 460 replies
-
- 4
-
-
-
- Finished
- Flower-class
- (and 1 more)
